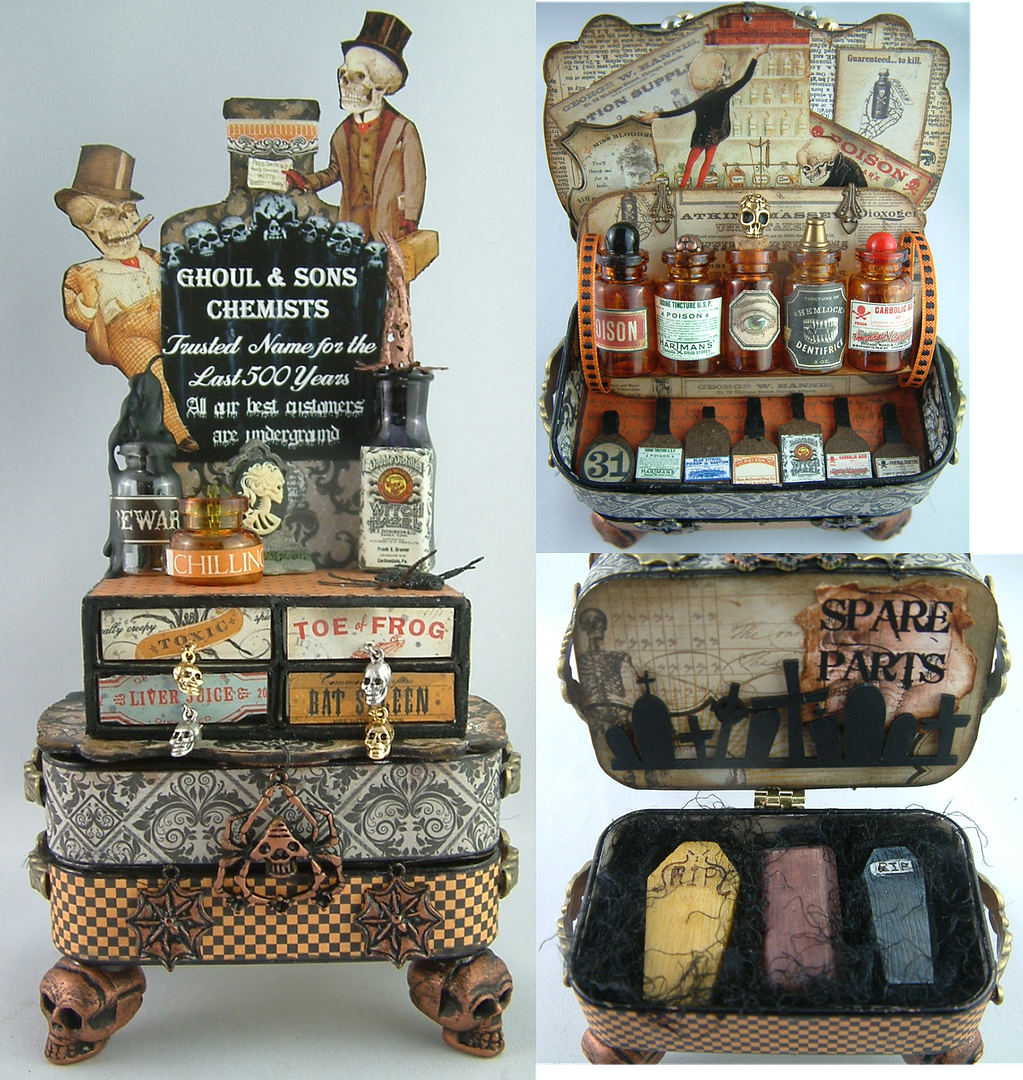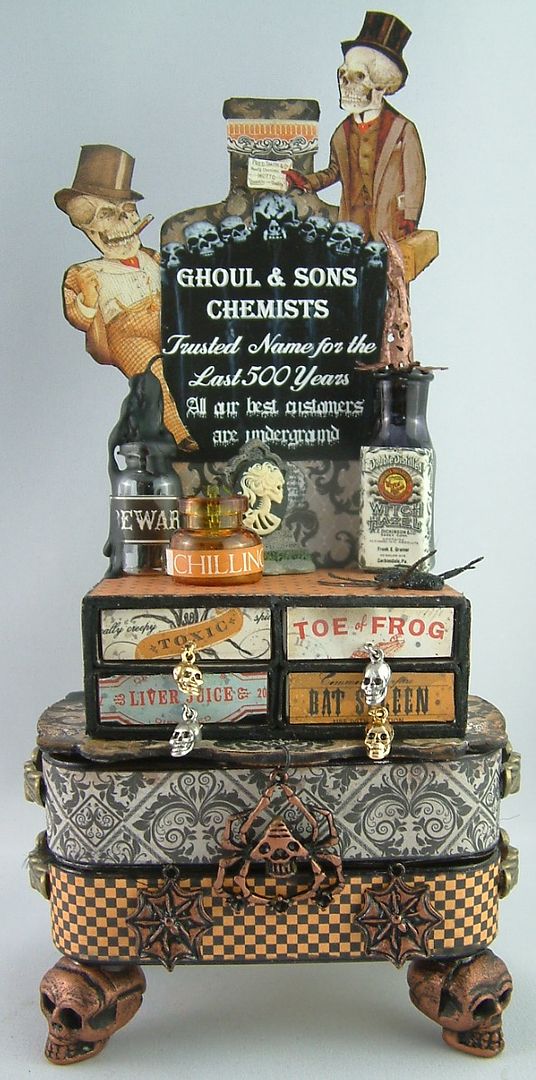
GHOUL & SONS CHEMISTS
Trusted Name for the Last 500 Years
“All Our Best Customers Are Underground”
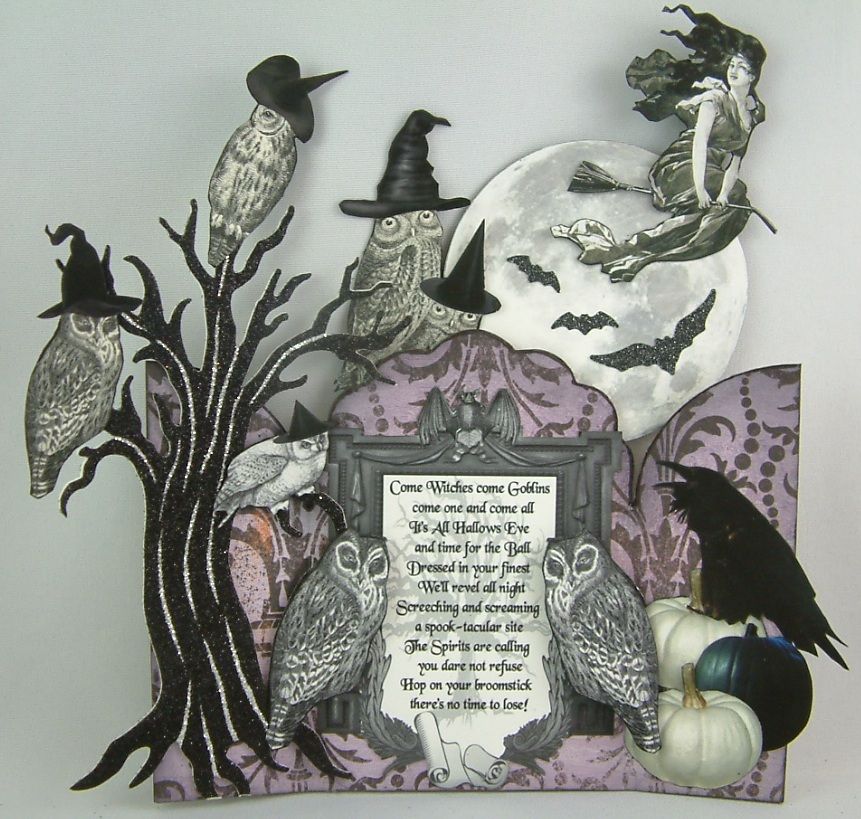
This is my last Halloween treat for
you!!
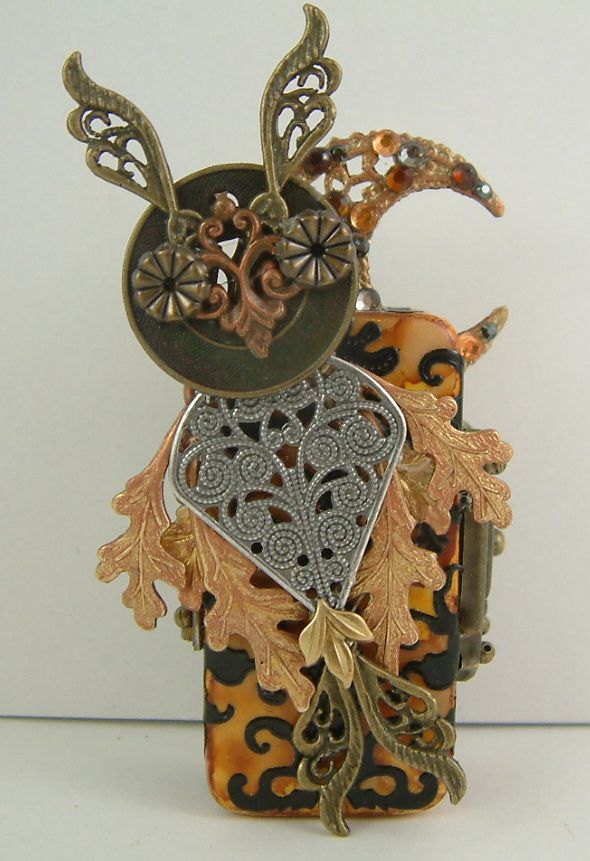
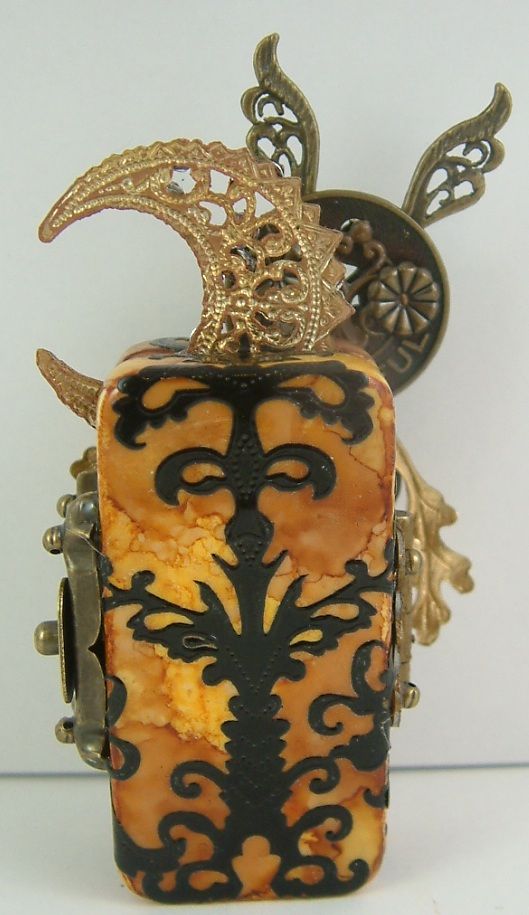
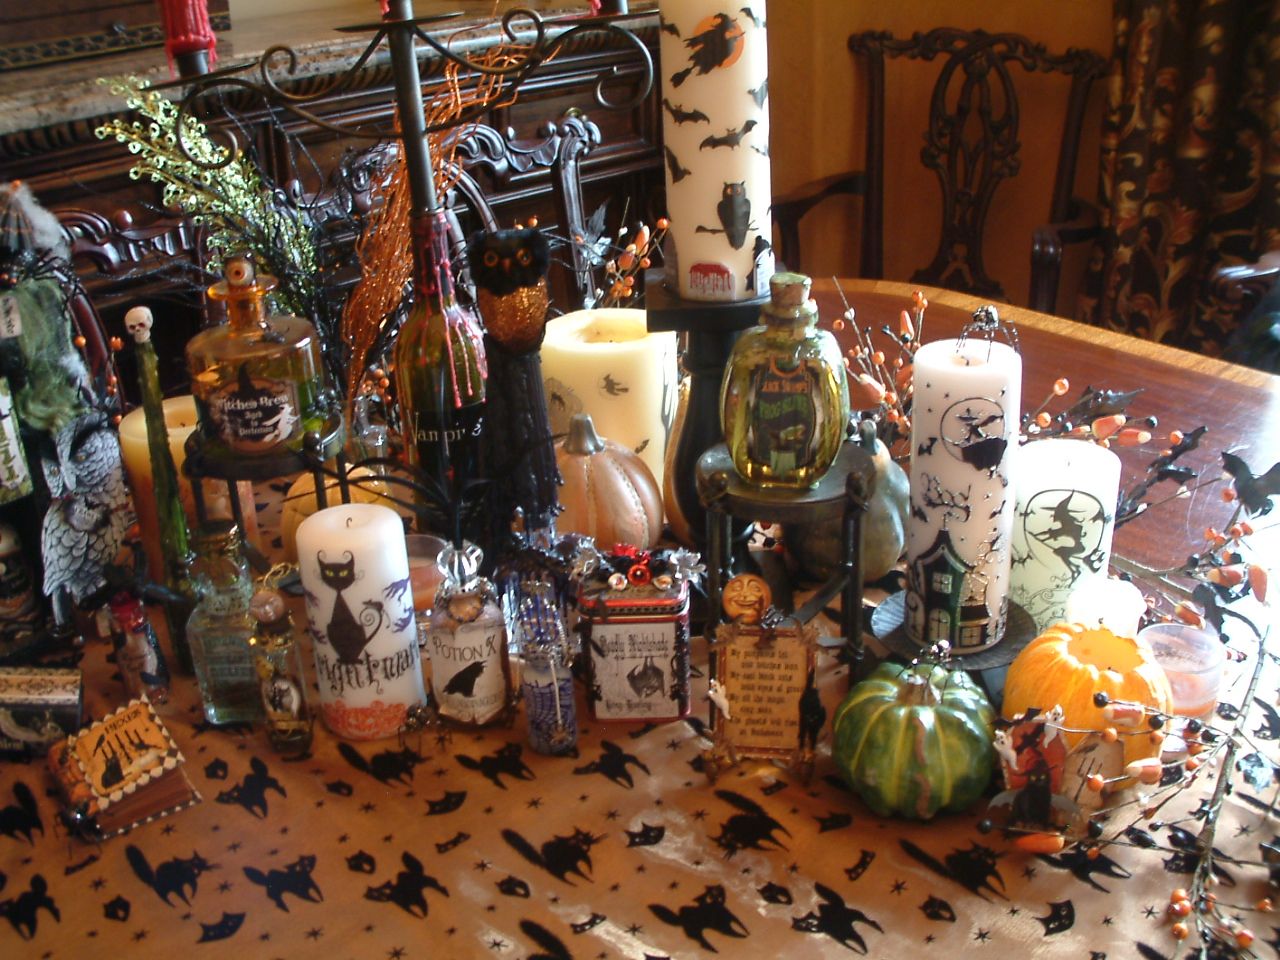
This
piece has three tiers consisting of matchboxes, two Altoids tins and a chipboard
potion bottle for a back (the same kind I used for the potion swap). All the tiers are hinged together. The first tier is a matchbox chest with
drawers that open. The matchboxes are
sitting on a decorative piece of chipboard.
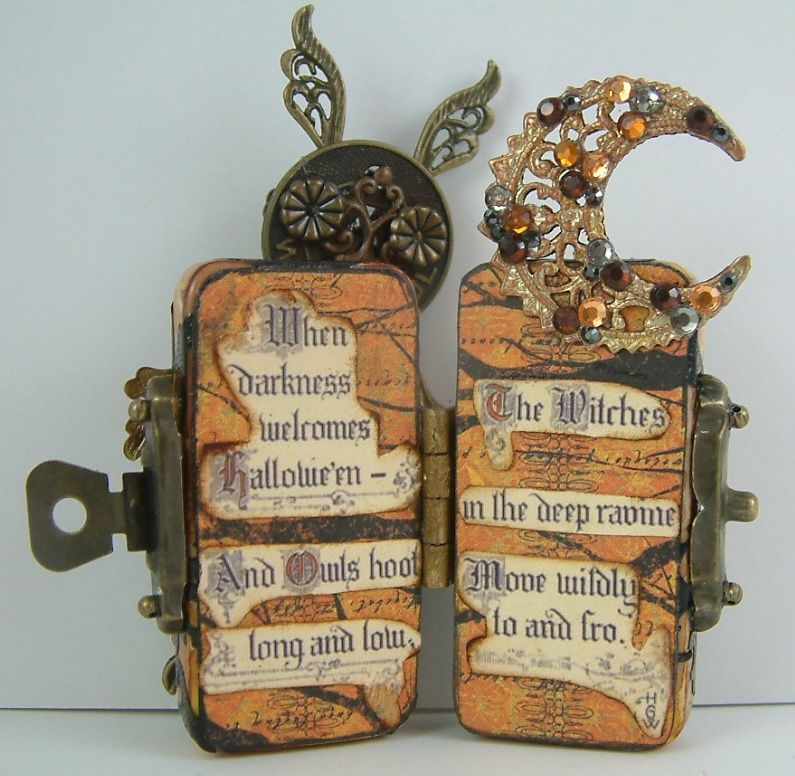
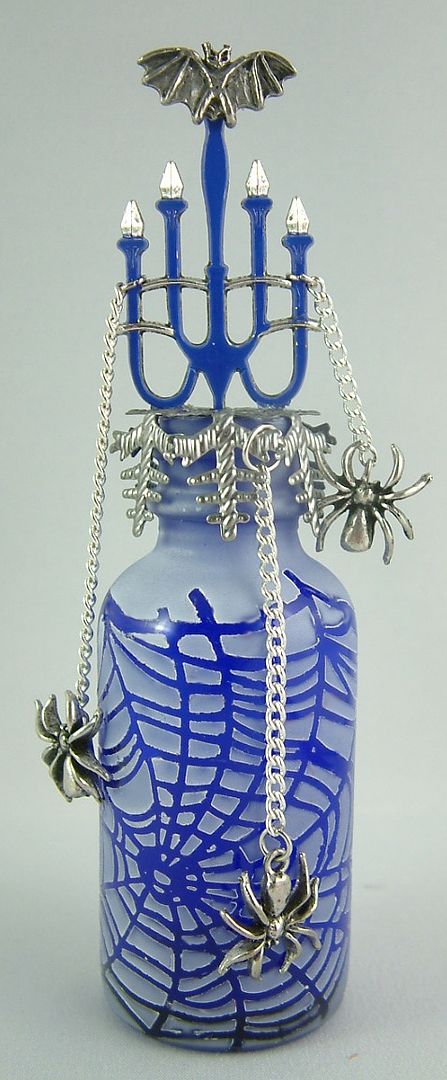
The chipboard is hinged to the first Altoids tin. By lifting the copper colored spider charm
you can lift the top to reveal the contents - the matchboxes and everything are still attached.
I used one of the chipboard
potion bottles that I used for the potion swap for the back of the piece. The first layer is a matchbox chest with
drawers that open. The matchboxes are
sitting a decorative piece of chipboard.
The chipboard is hinged to the first Altoids tin. By lifting the copper colored spider charm
you can lift the top to reveal the contents.
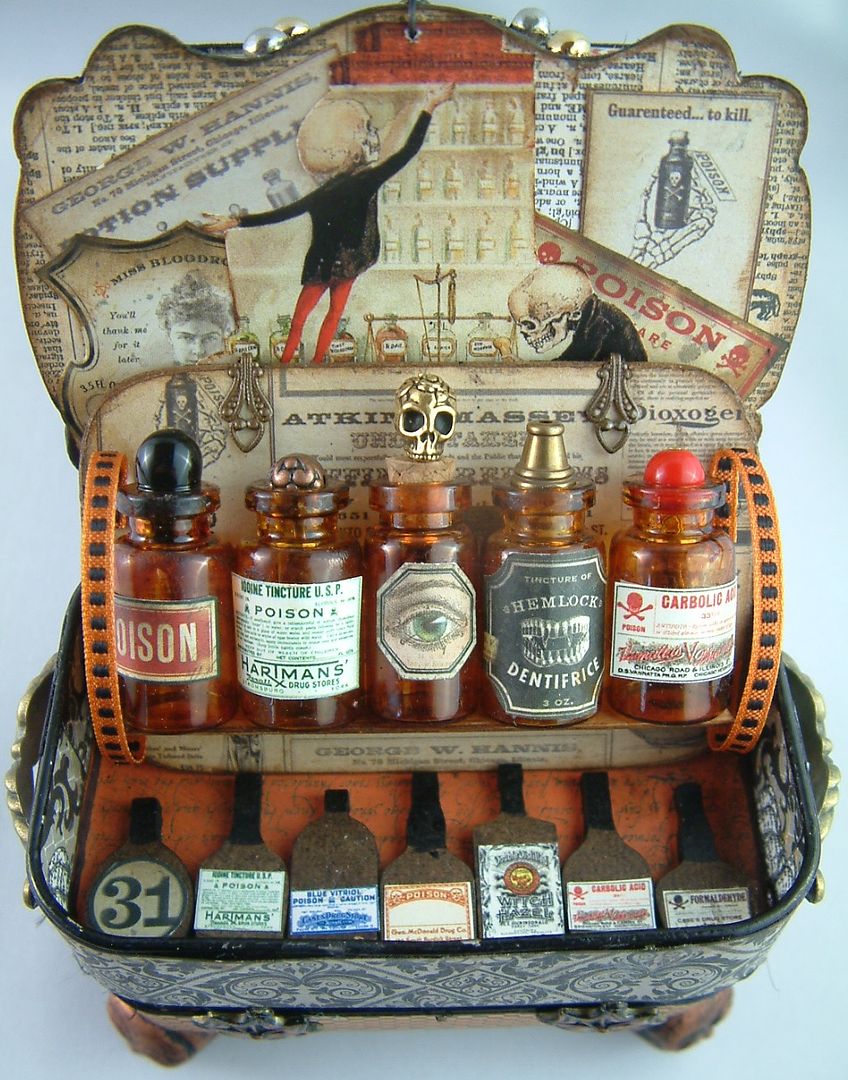
Inside the Ghoul sons are
busy at work mixing their concoctions. The
bottles you see are resting on a piece of chipboard. By pulling on the ribbon handles you can lift
the bottles out of the tin.
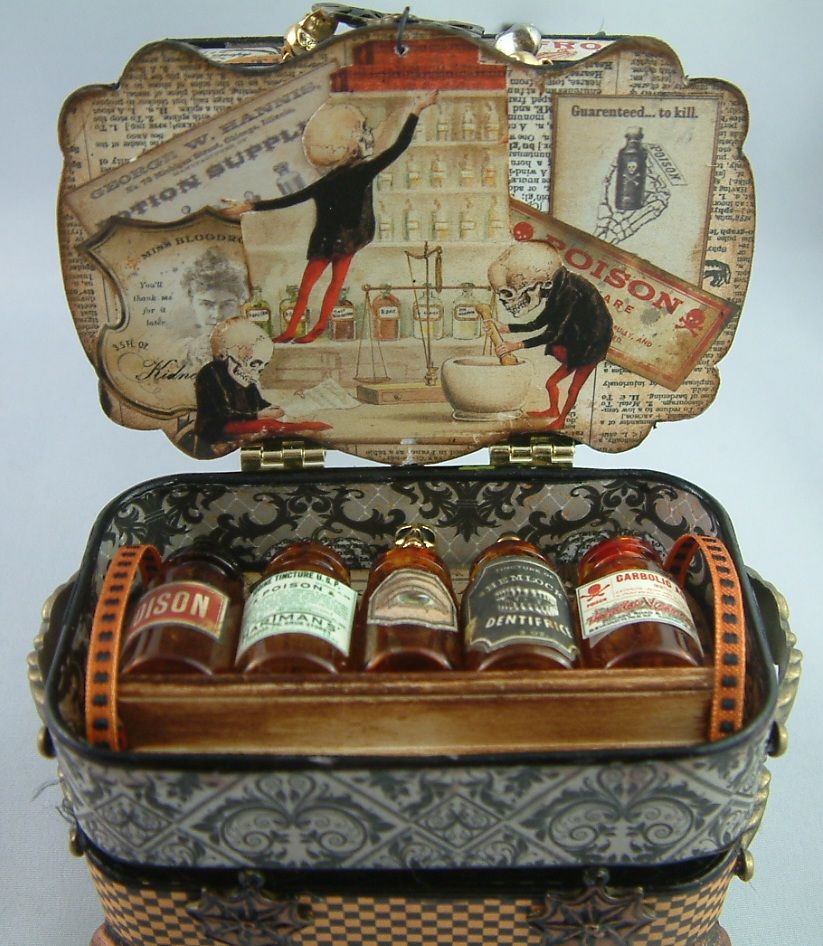
At the bottom of the tin are Masonite
bottles – the same ones I used for the book apothecary in the tutorial. You can use them to prop up the glass bottles
attached to the chipboard; like a traveling samples case.
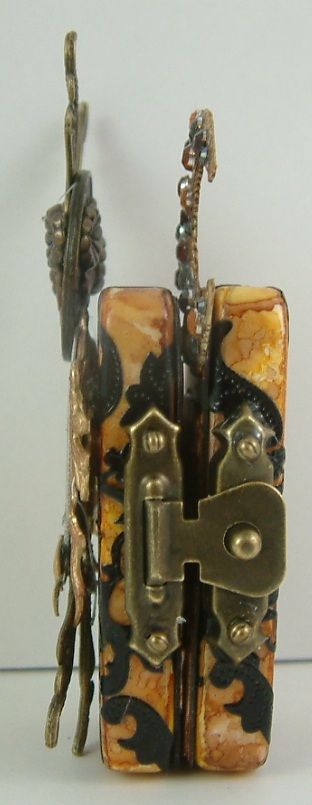
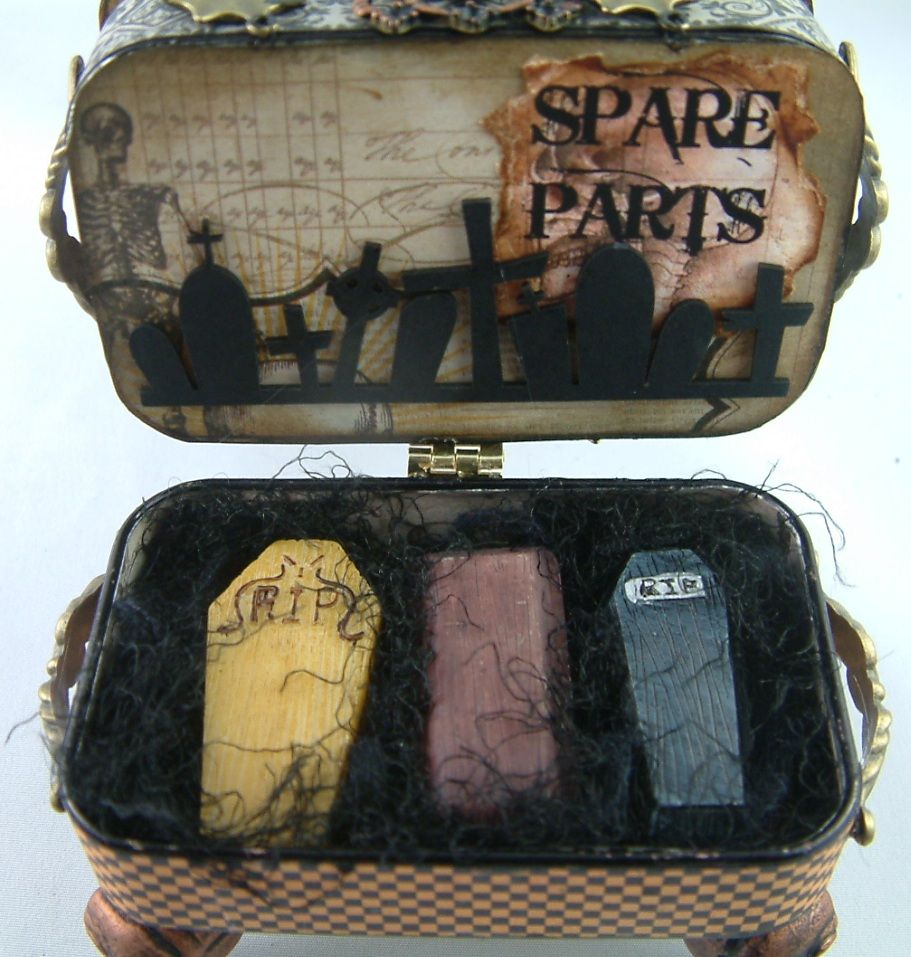
The first and second tins are
hinged together. By pulling on the two spider web copper colored charms you can
lift the entire piece and access the second Altoids tins. That’s
where the Ghoul family keeps its spare parts!
I hope you have enjoyed my little
engineering project!
HAPPY HALLOWEEN!!!
HAPPY HALLOWEEN!!!
Alpha Stamps Products Used In this Piece
CHIPBOARD/MASONITE
PAPER & STICKERS
COLLAGE SHEETS
BEADS & CHARMS
METAL BITS & Other Items
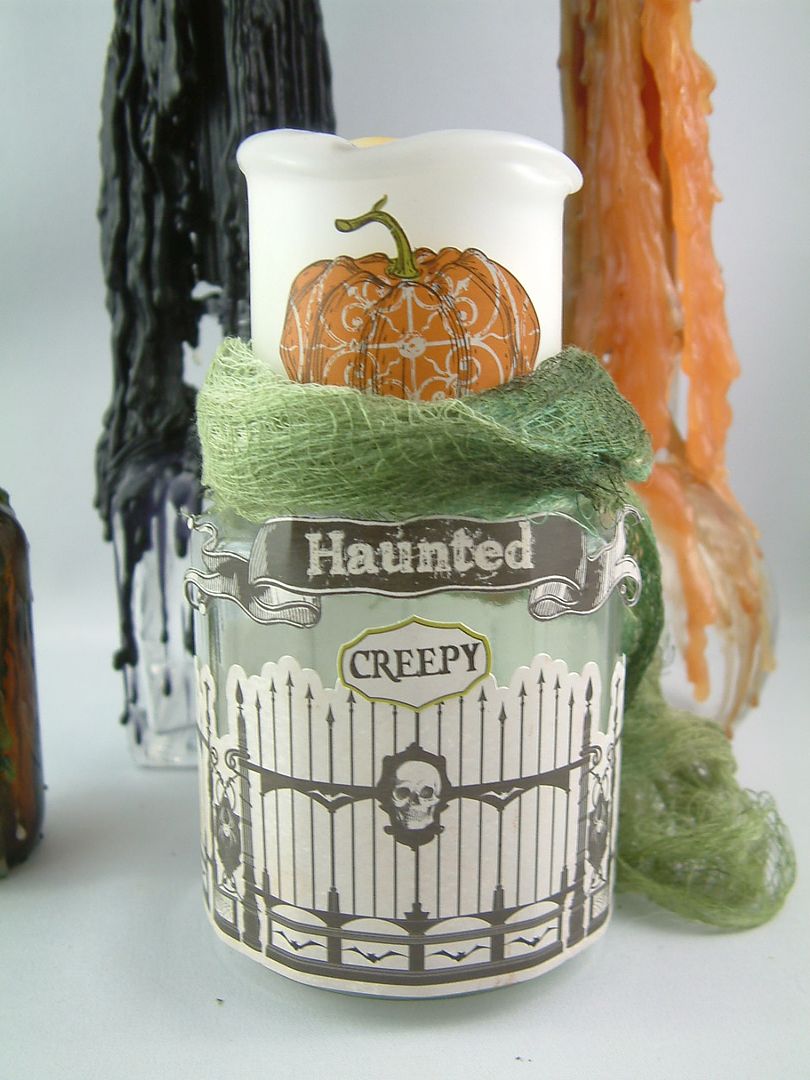
Halloween Fiber Set – Black Fiber
BOTTLES