Pages

Sunday, March 31, 2013

ATC Armoire New Sample & Video of Supplies You'll Need


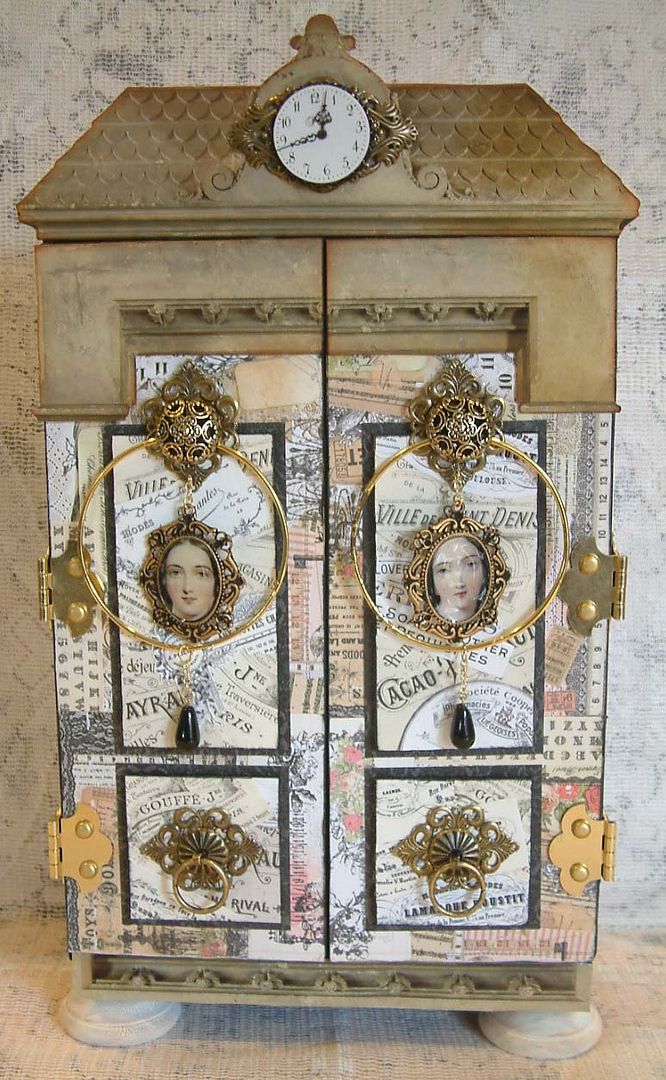
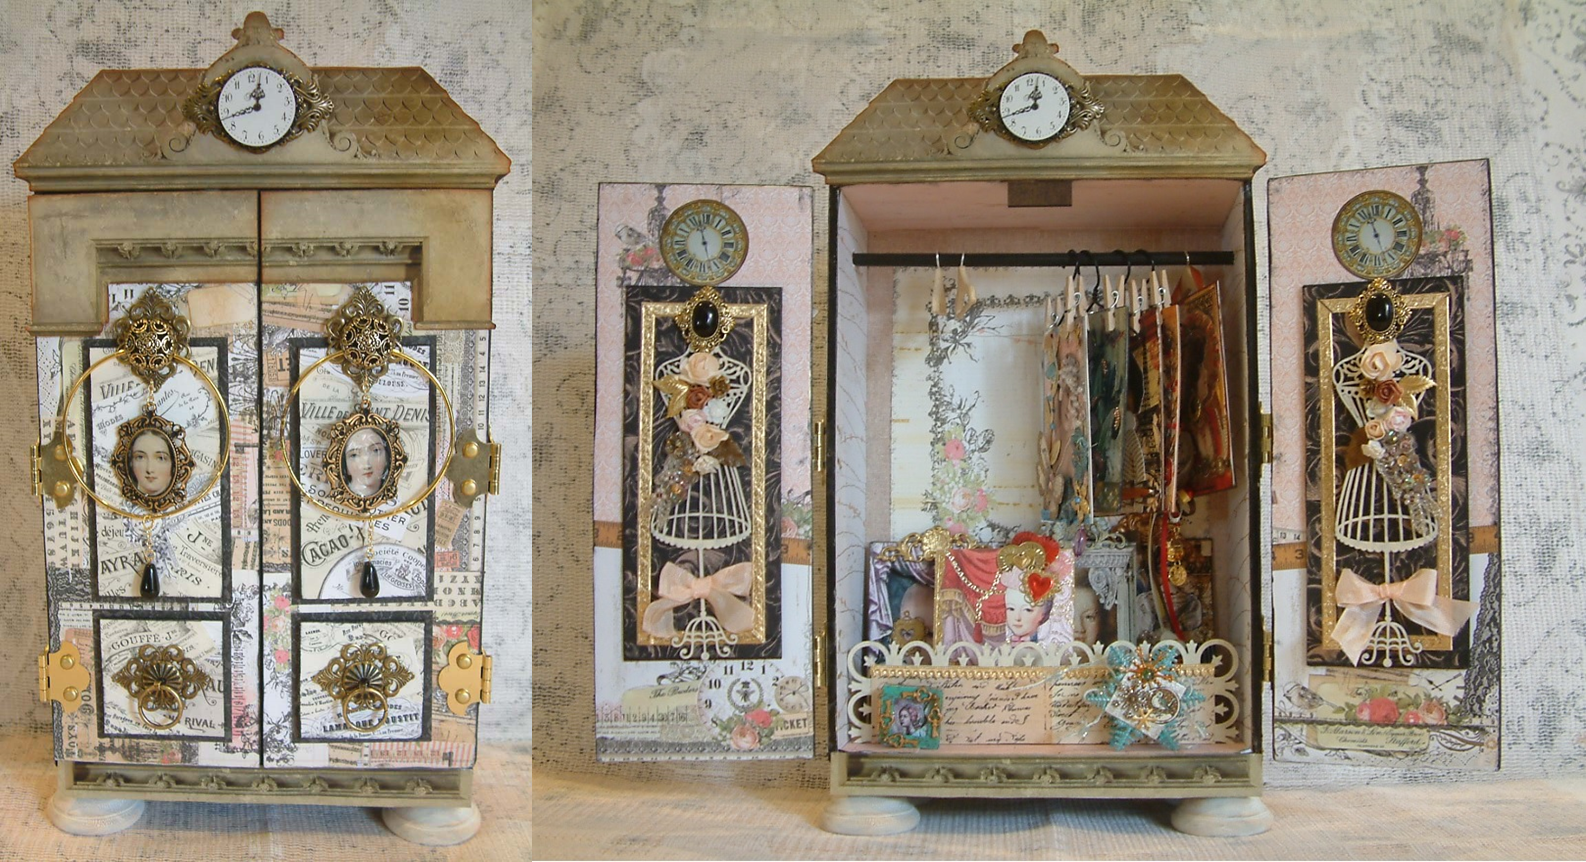
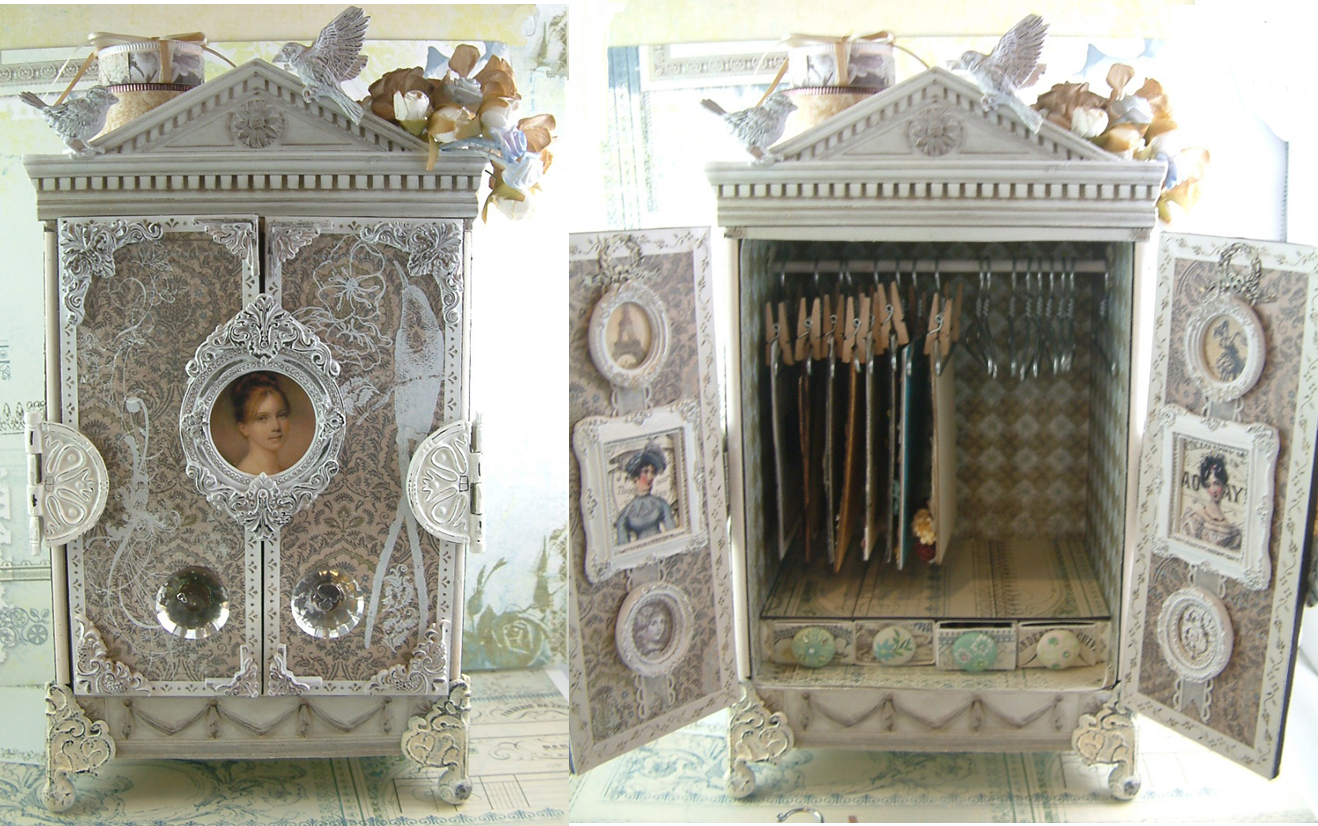
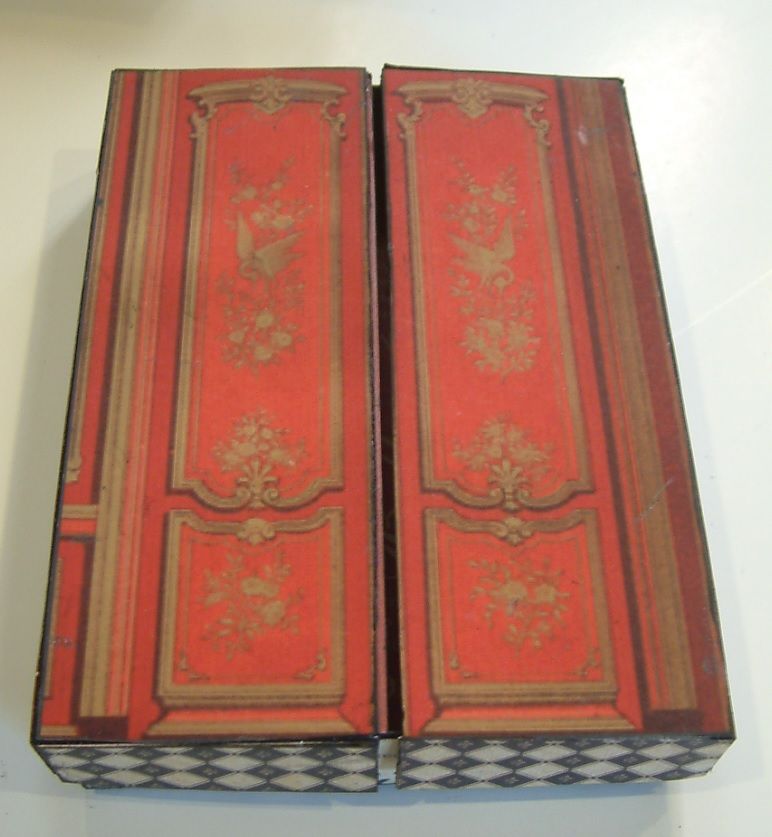
Next to creating art and playing with art supplies (as in endlessly reorganizing them), I’m thinking the next best thing is to create something that displays your art.  This Armoire made from a cigar box fits the bill.  If tags or postcards are your thing then there is no reason why you can create an Armoire that accommodates them as well.  Last month, I posted a regency themed Armoire and now I have a new French themed sample for you to checkout.  

Below is short video that walks though the key supplies you’ll need for the project and the options to consider.  I’m already busy filming the tutorial for the project and hope to have it available to you the middle of April.  So it’s time to decide on your theme,  dig through your stash, collect your supplies and get ready to create your own Armoire.
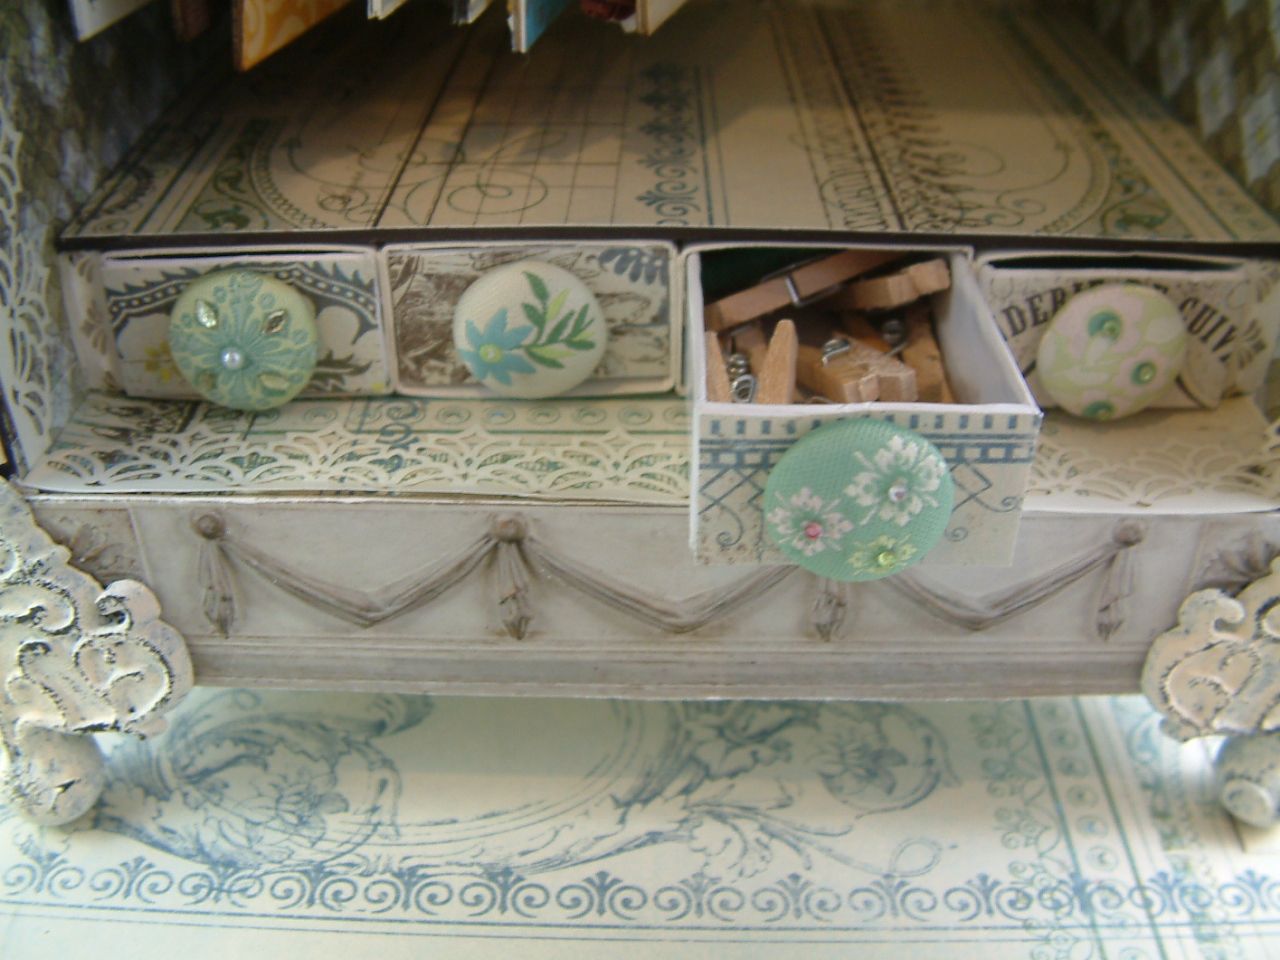
Below are the links to the various products I discussed in the video and links to products I used on each of the Armoires.  You’ll note from the video that based on the size of the box you find or build there are options for what you can include inside.  In addition to the rod for hanging art you can add matchboxes, shelves or a panel.  With this project there are so many surfaces available to decorate on the inside and out.  You could even hang your ATCs or Tags on the outside of the Armoire.
FEET OPTIONS:
Wooden Knobs (could be used as feet or knobs)
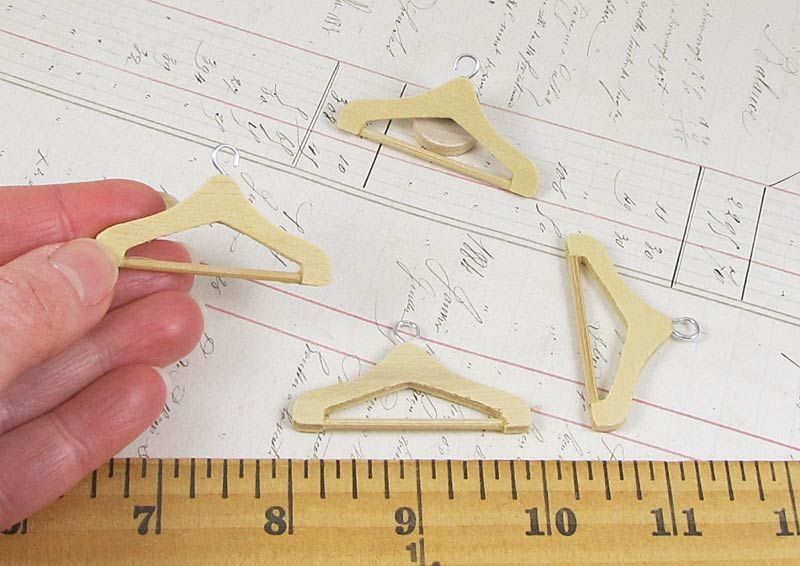
HANGERS & CLOTHES PINS:
HINGES:
Tim Holtz Hinges – Available in April
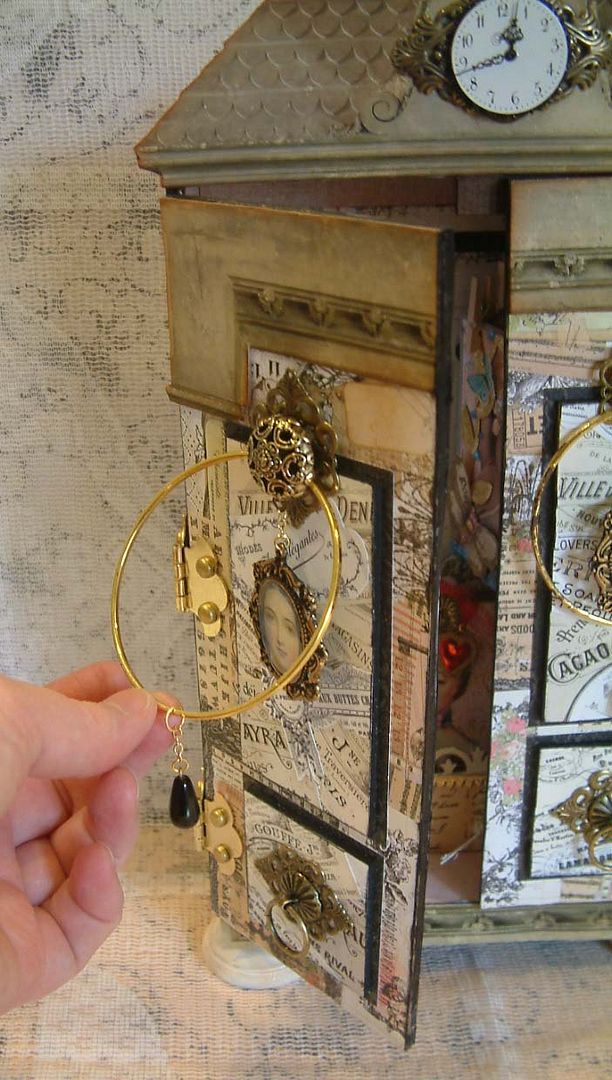
LARGER FRENCH STYLE ARMOIRE
I created raised panels on the front of the doors using 2 layers of thick chipboard.  I used images from the Vintage French Ads Collage Sheets as decor.
Paper – Lyric 6x6 Paper Pad
Feet – Egg Cups
Hinges – Butterfly Hinges
Clock – Junkyard Findings Clock Faces
Used On the Door Panels Vintage French Ads Collage Sheet
British Queens Collage Sheets
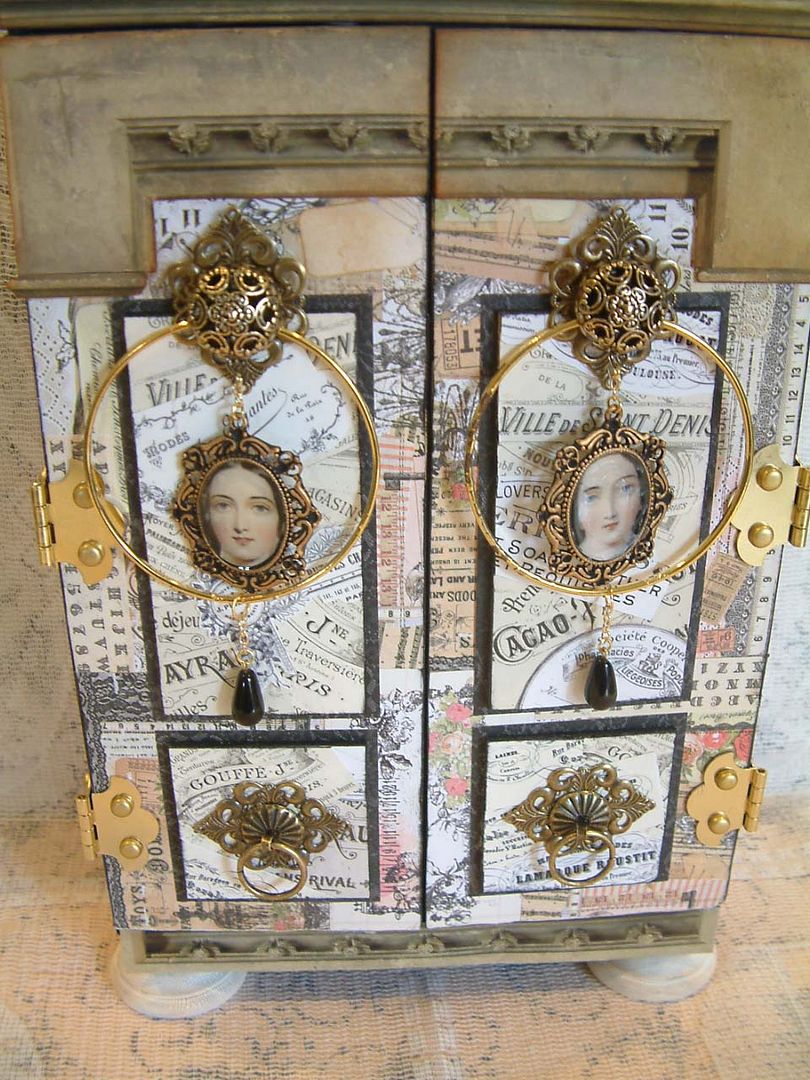
I used a gold bangle bracelet, buttons, a fold over bail and filigree to create the pull.  I demonstrate how to assemble it in the tutorial.
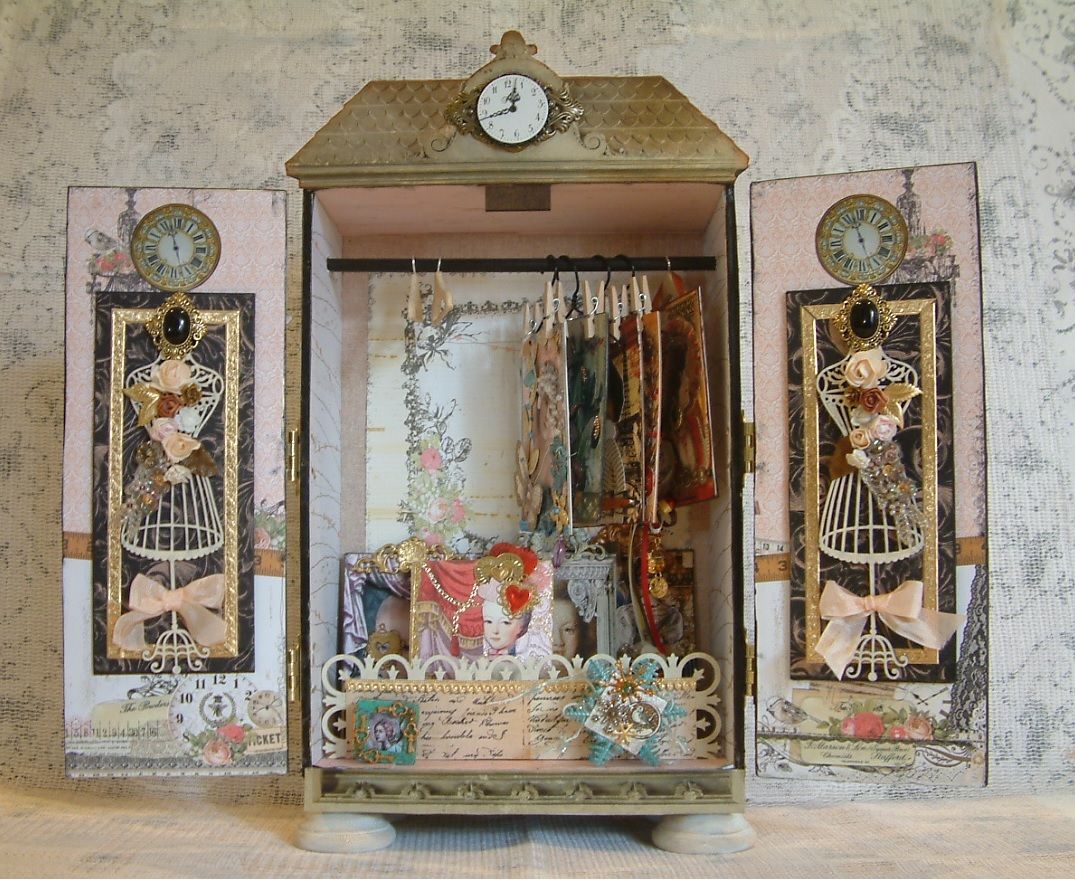
INSIDE
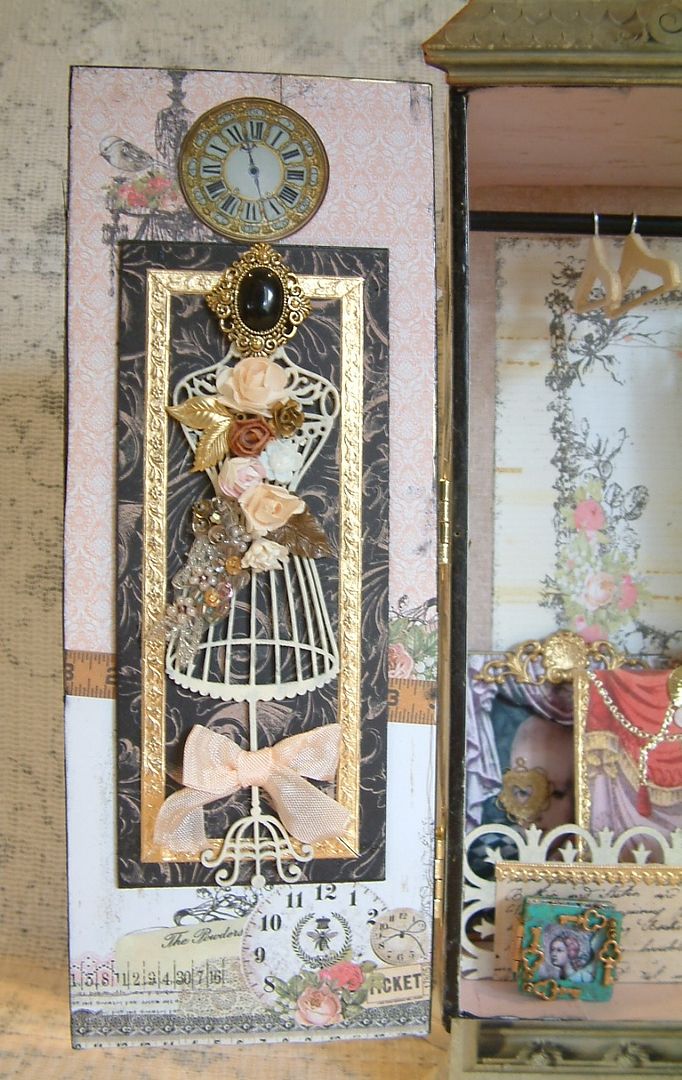
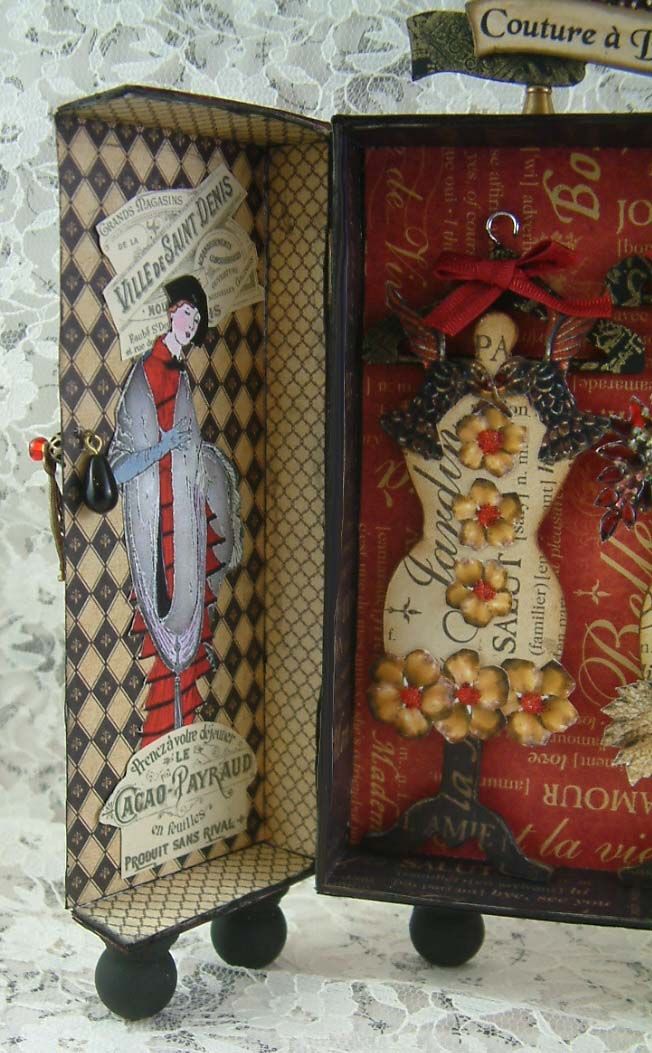
On the inside of the doors I’ve decorated chipboard mannequins.
At the bottom I added a decorative chipboard panel where I can display more ATCs.  The area in front of the panel is large enough to display small pieces.

REGENCY STYLE ARMOIRE
Have fun gathering your supplies!!!
Sunday, March 24, 2013

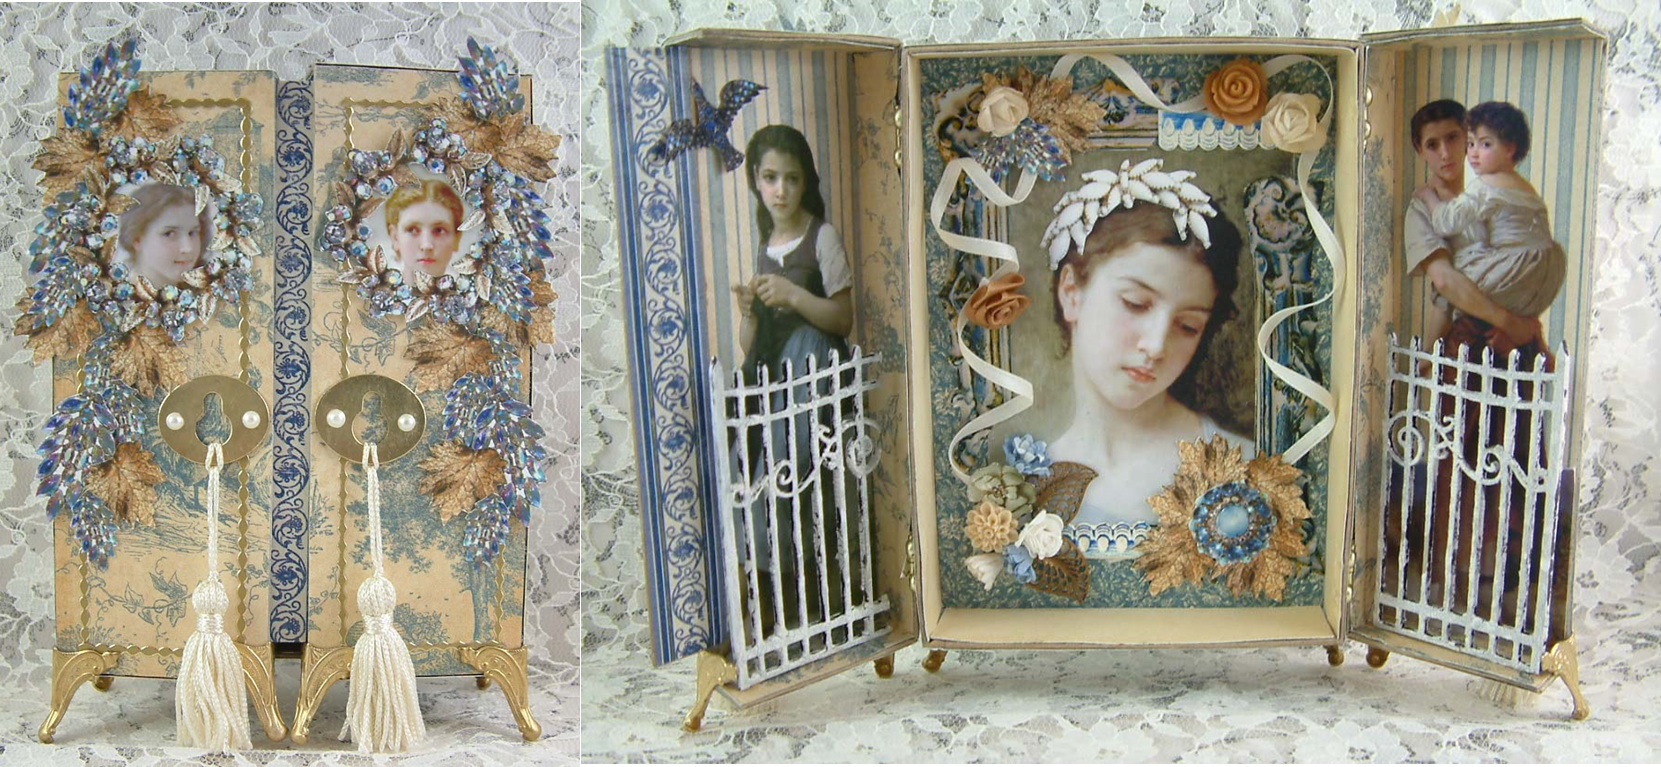
Bouguereau Inspired Hinged Craft Box

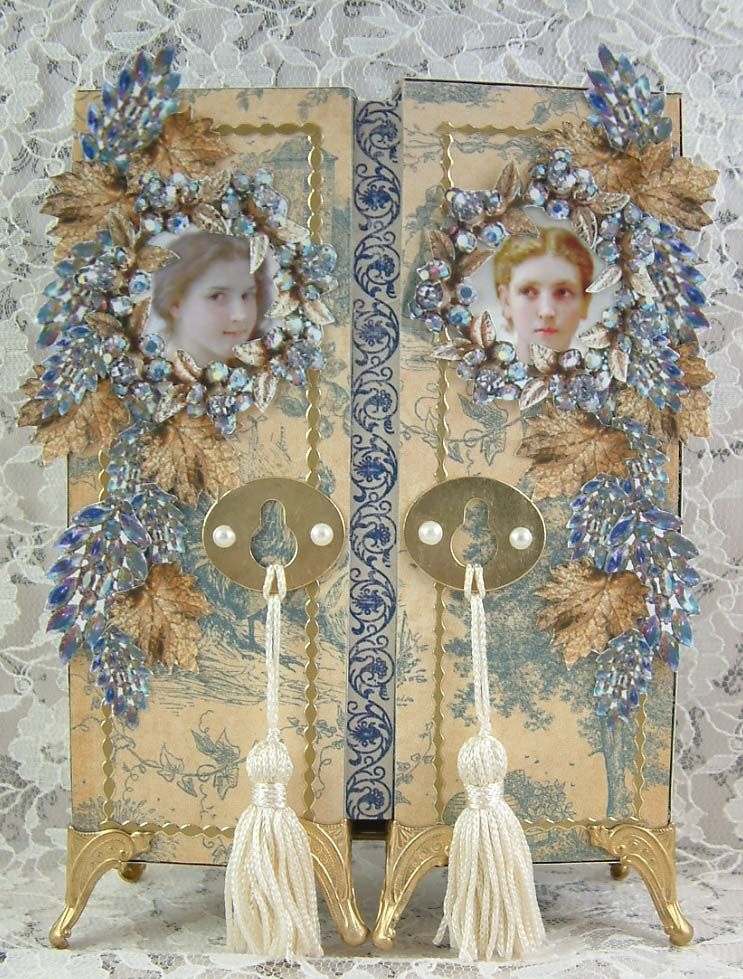
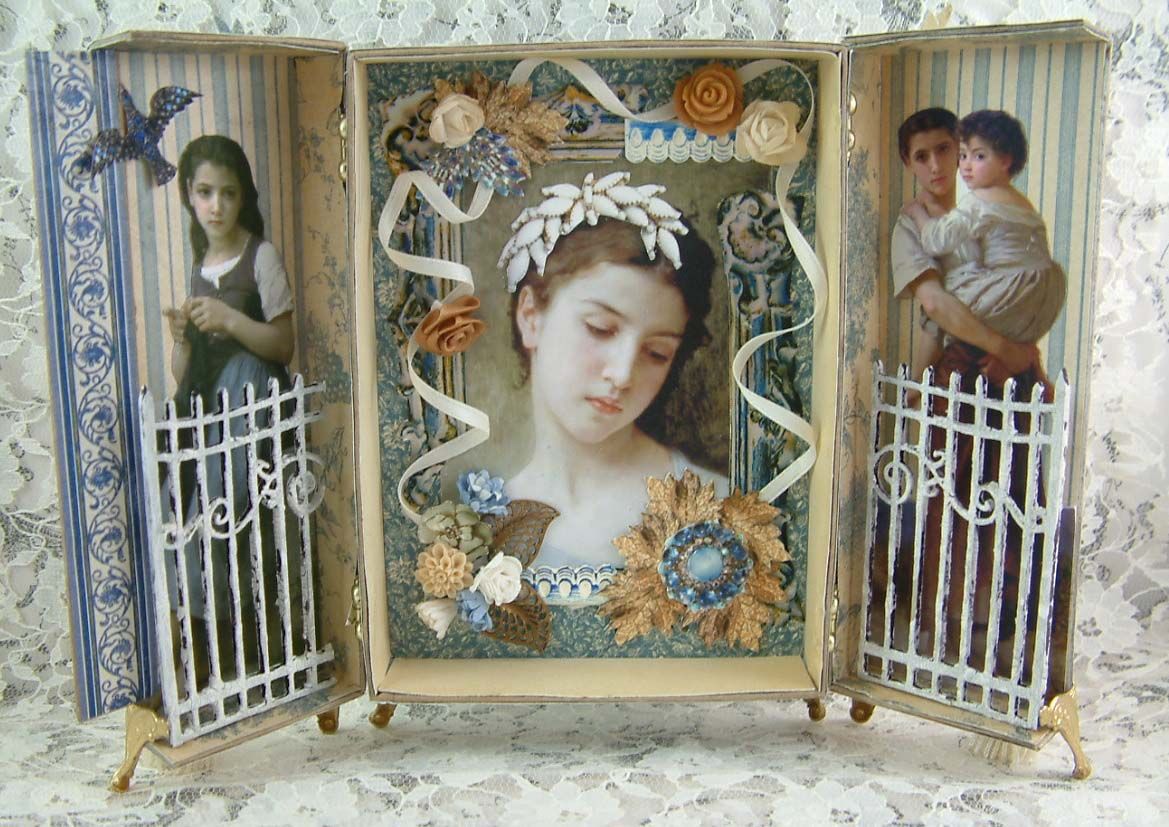
The inspiration for this project is images by the 19th century French painter William-Adolphe Bouguereau.  And once again I have used my new “Bejeweled” Collage Sheet as a source of many of the embellishments.  The images on the front of the cabinet are surrounded by jewelry from the sheet.
The construction of the cabinet is the same as for the Couture a Bejeweled cabinet with the exception of the placement of the hinges and the strip of chipboard in the center of the doors.  The hinges I used for this cabinet were bulkier than the ones that I used in the Bejeweled cabinet, which meant that the gap between the doors was wider.  I attached a piece of chipboard covered in decorative paper to the inside of one of the doors so that when closed, the gap is filled.
The other difference in this cabinet is in the placement of the hinges.  In order to accommodate bulkier embellishments; like the chipboard fence, I mounted the hinges close to the edge of the box.  For the Bejeweled cabinet I mounted the hinges as far back as possible on the box.  I used the same box for both projects.  You can see in the photos above the difference in where I attached the hinges.
Instead of wooden finials for feet I used brass box feet.  Since the doors hang down further than the box I attached the feet to the box at a different point that on the doors so that the box would be level.
Alpha Stamps Products Used for Cabinet:
Thin Border Stickers-Gold

Wednesday, March 20, 2013

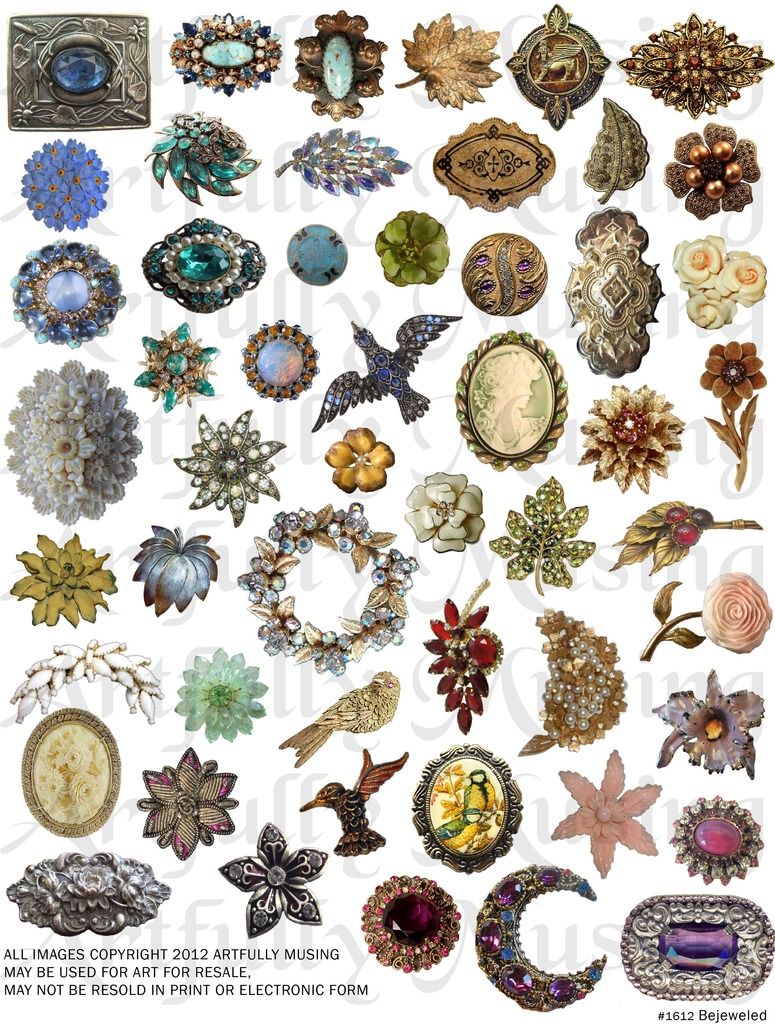
Hinged Craft Box Tutorial & New Bejeweled Collage Sheet

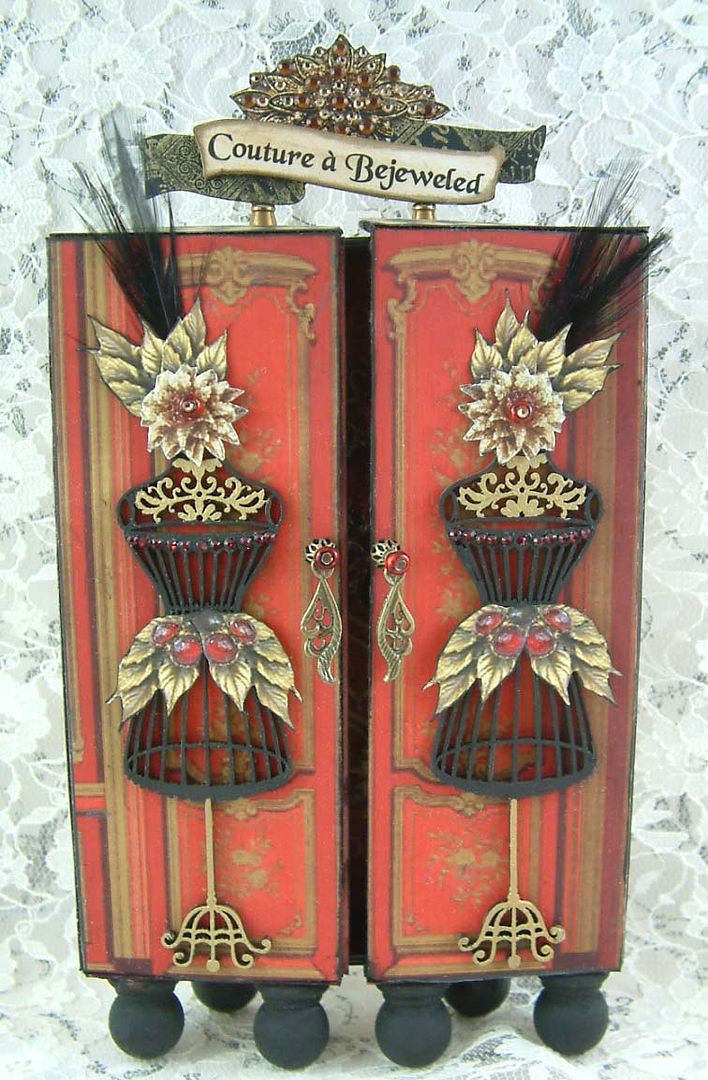
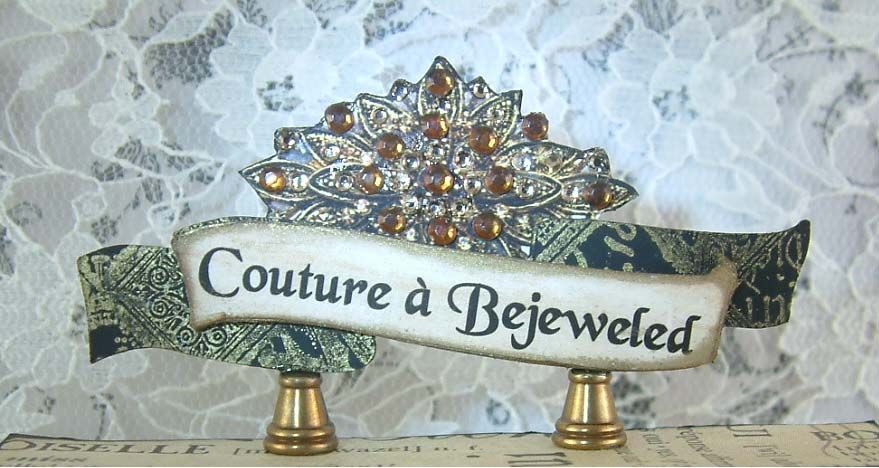
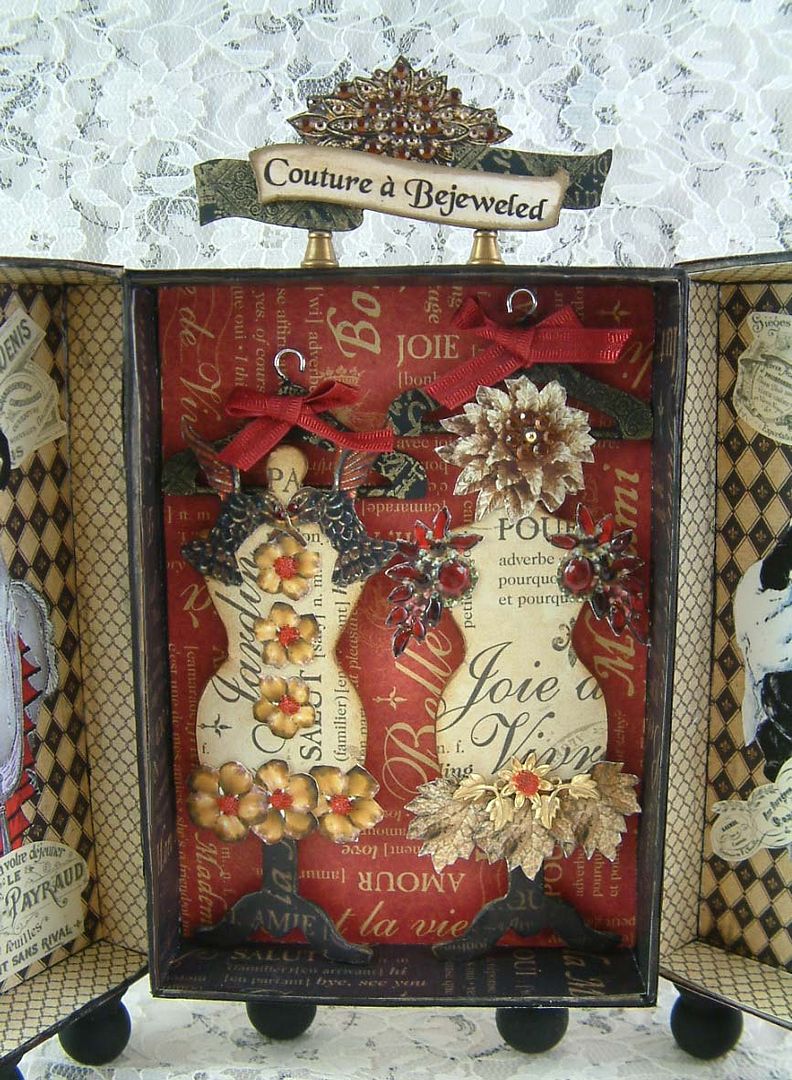
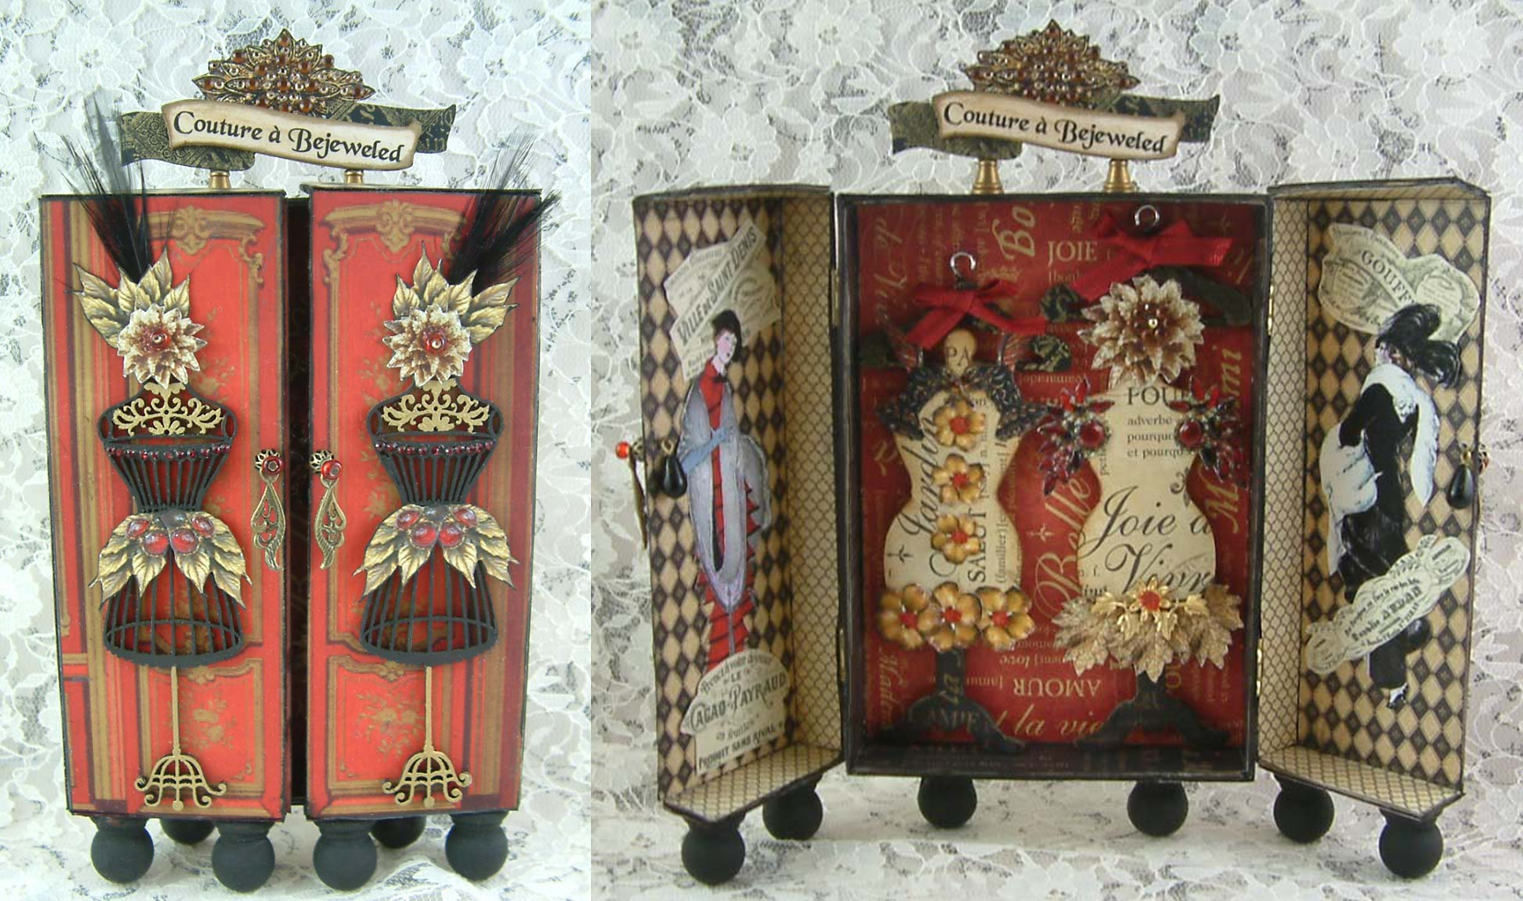
Welcome to “Couture a Bejeweled”, where a simple craft box is transformed into a hinged cabinet! 


Images of vintage jewelry are one of my favorite things to use as an embellishment.  The great thing about using an image (instead of the real thing) is that you can use it over and over in different ways.  An image is easy to “jewel up” by adding rhinestones, Glossy Accents, microbeads, glitter, and Stickles.
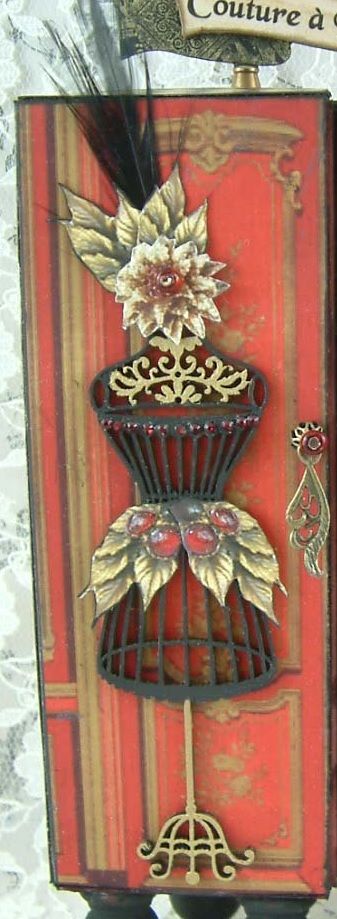
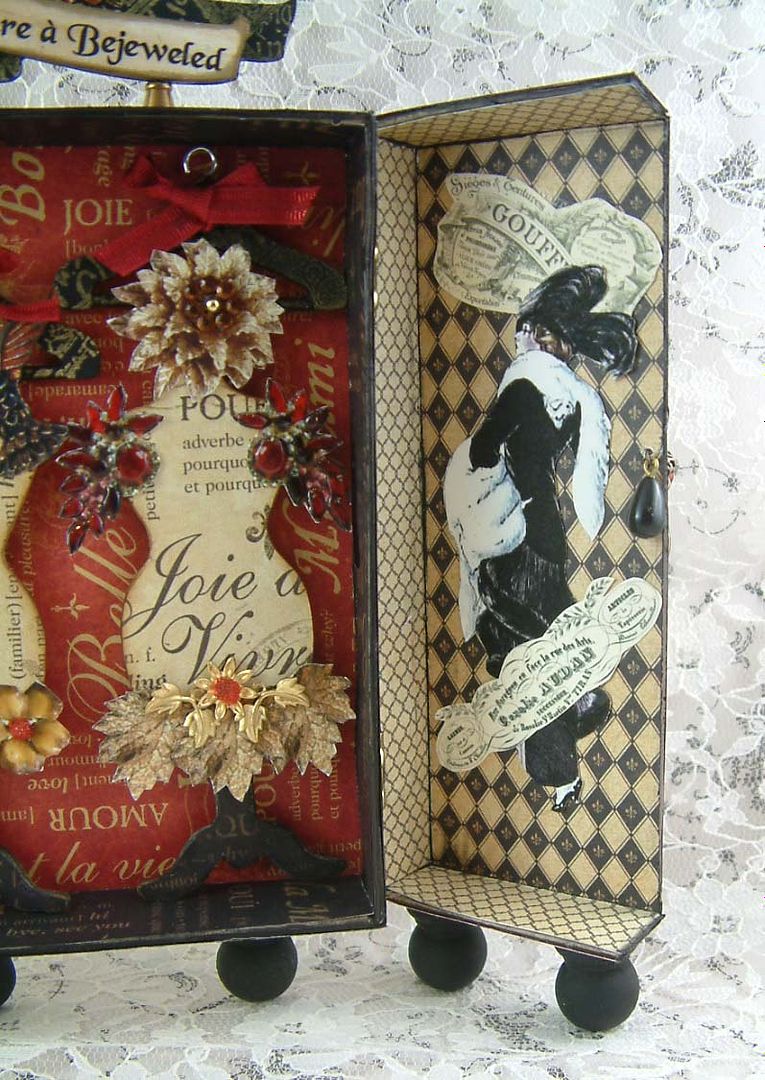
The dress forms on the front of the doors are ornate chipboard mannequins which I painted and then added images from the collage sheet.  The dimensional quality of the red stones comes from applying Glossy Accents which gives them a domed appearance.  To the flower jewel image at the top, I added a bead.
To “jewel up” the sign on the top of the cabinet I added rhinestones.
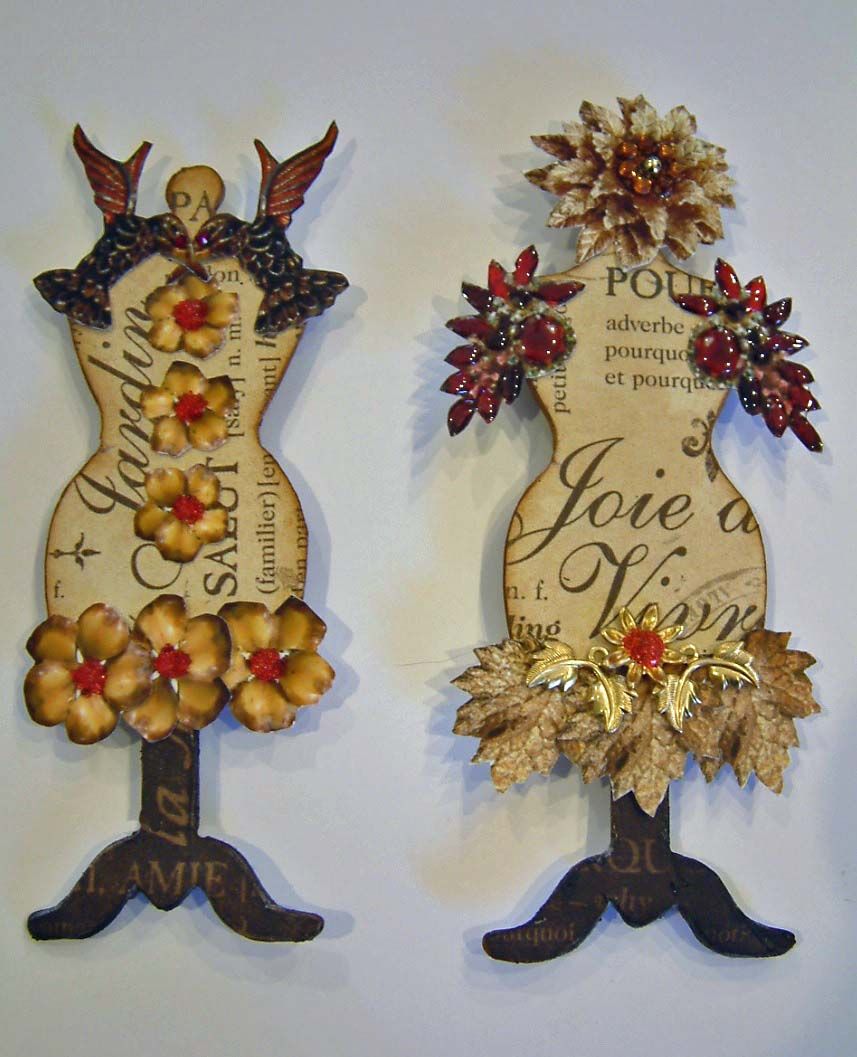
For the mannequins inside I used a chipboard dress form for the base.  I added paper and images from my Bejeweled Collage Sheet.  For the dress on the left, I used hummingbirds as sleeves and added dimension to the flowers with microbeads.  For the dress form on the right, I added rhinestones to the image at the top and Glossy Accents to the red sleeves.  The large leaves at the bottom are also images from the collage sheet.  Stickles and glitter are another options for “jeweling up” these images.
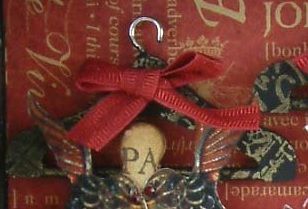
Inside the cabinet, the dress forms are attached to wooden coat hangers.  I painted them black and stamped them with gold ink.
ASSEMBLING THE BOX
The box I used for this project measures 5 ¼” x 3 ¾ and 1” deep.
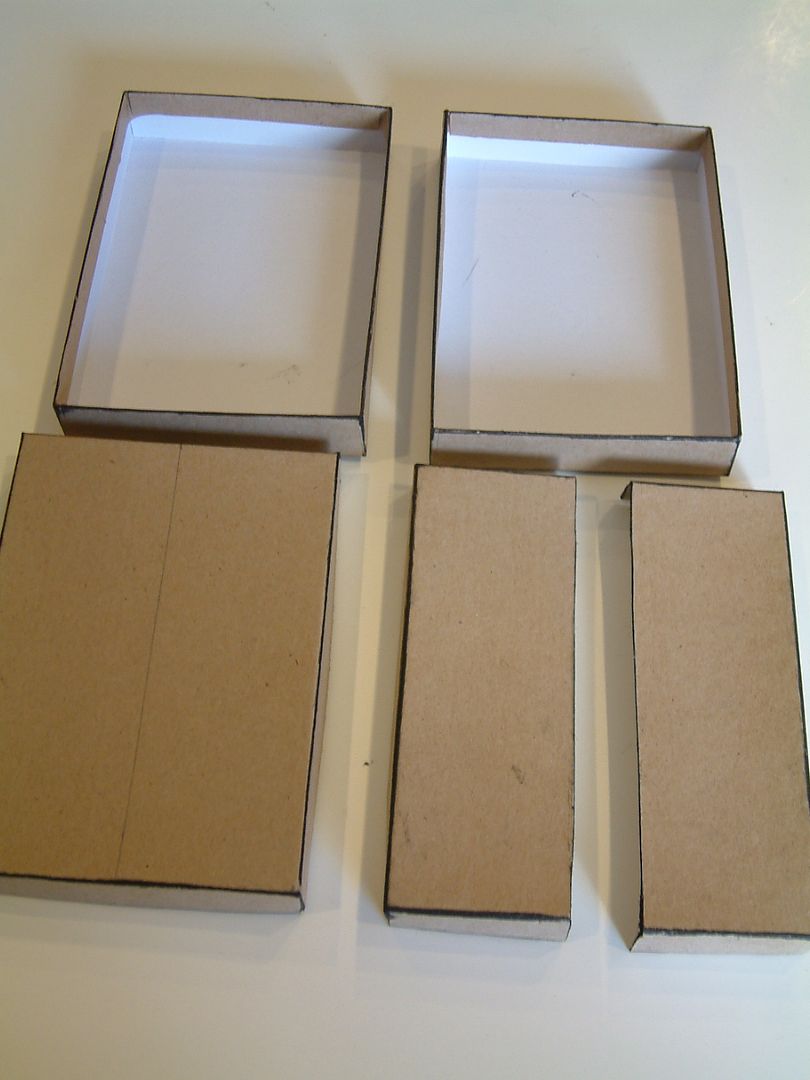
STEP 1: CUTTING THE LID
  • Mark a line down the center of the box lid.
  • Cut along the line (I used a combination of a large box cutter and heavy scissors).
  • Sand the cut edges until smooth.
STEP 2: HINGING THE LID (or doors) TO THE BASE OF THE BOX
  • Since I was covering the box with the paper I first inked all of the edges.
  • If you are covering the box with paper, cover the outside of the lid halves and the outside of the box.
  • Re-ink all edges.
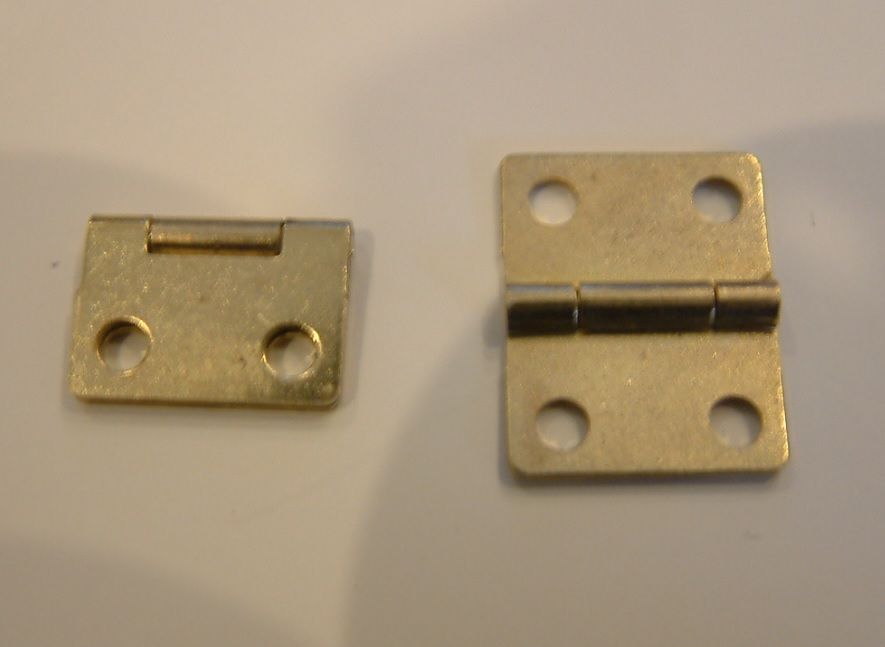
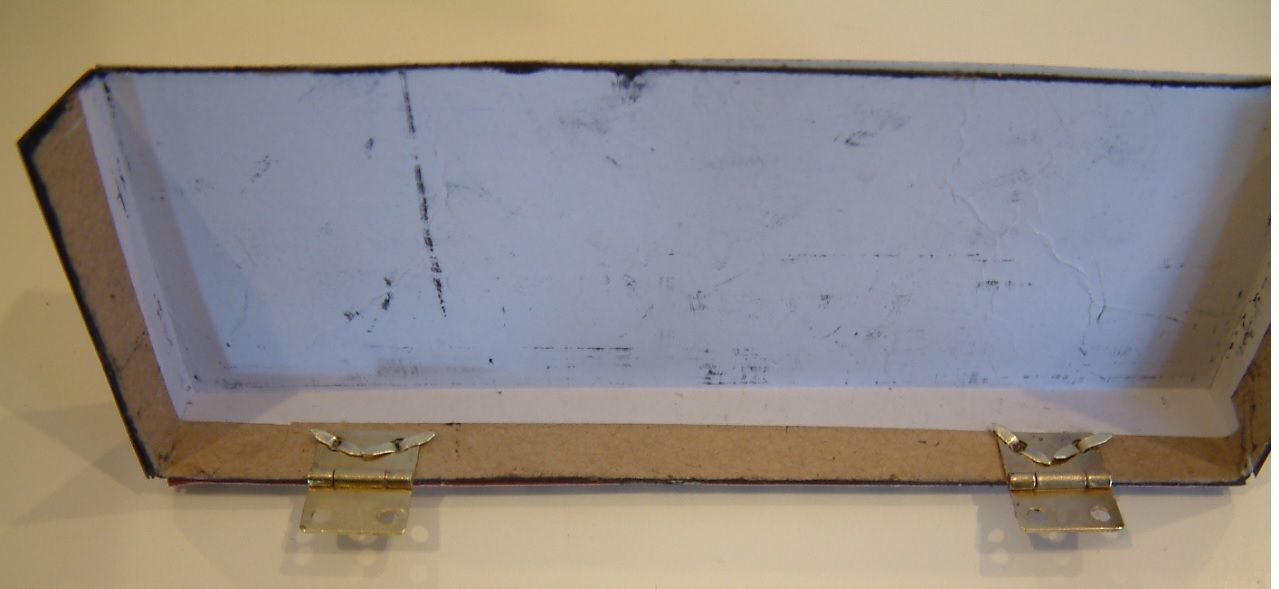
  • You can use either two small hinges for each side or one large hinge for each side.  Fold the hinges in half.  Hinges will fold in half only one way.  If the hinges are stiff oil them before attaching them to the box.
  • Place the hinge on the inside of the lid with the join of the hinge just barely off the edge.
  • Mark the holes.
  • Repeat the placement and marking for all 4 hinges.
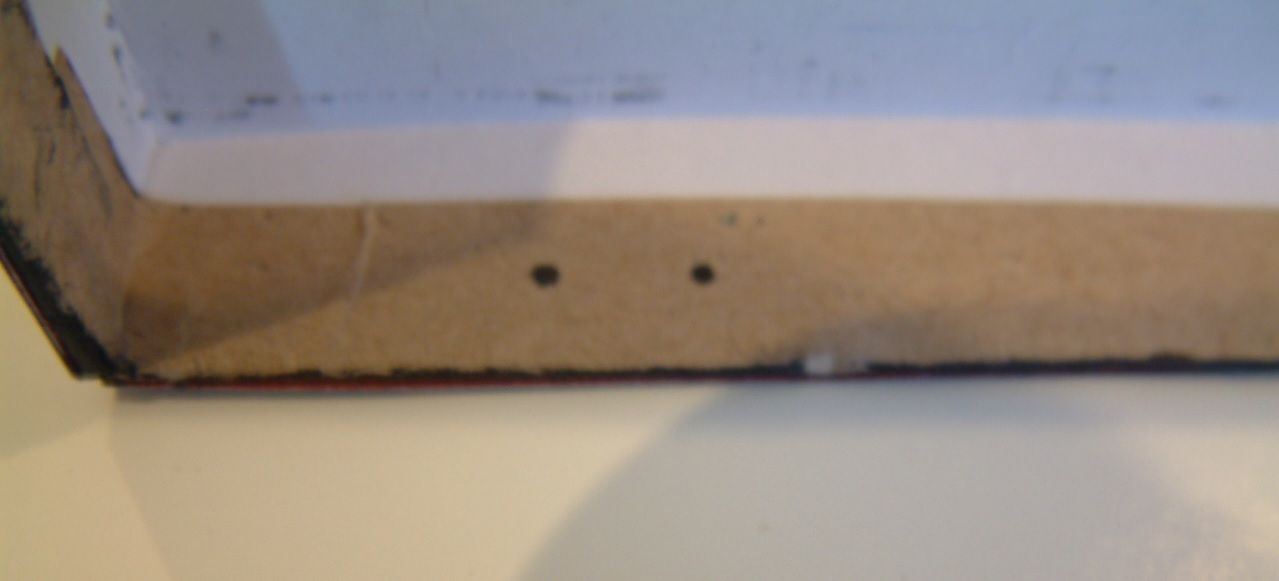
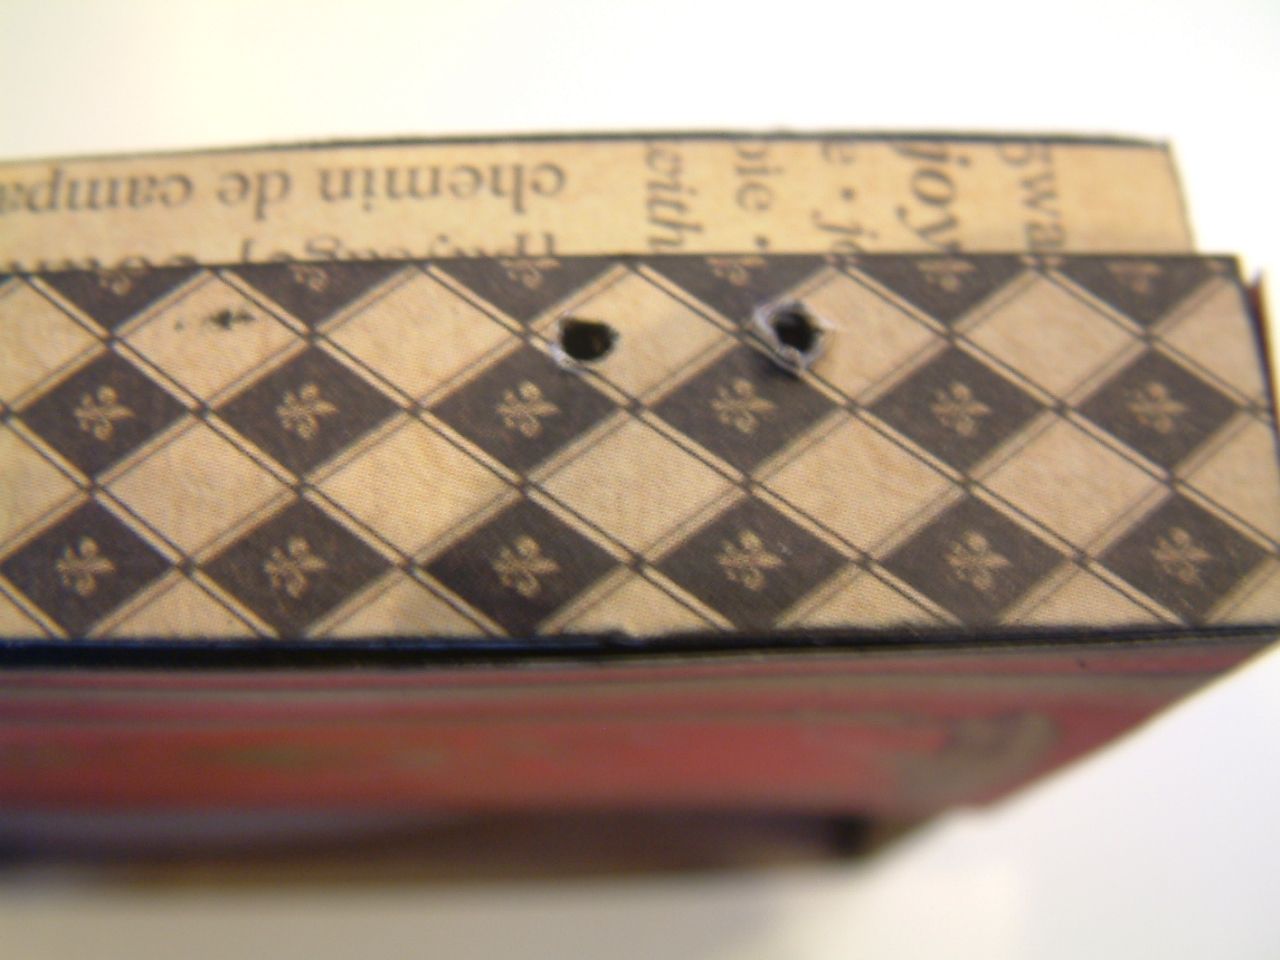
  • Poke the holes where marked on the 2 lid pieces.
  • Put the lids back on the box, and using the holes in the lids, transfer holes onto the base of the box.
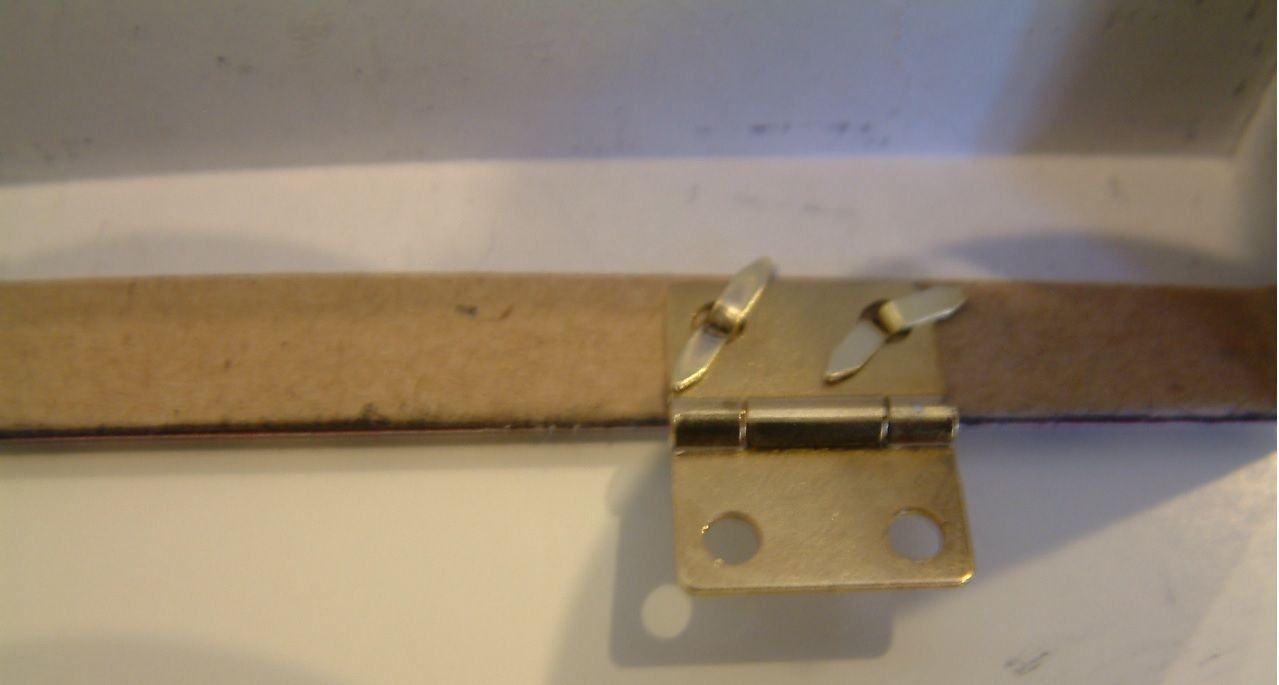
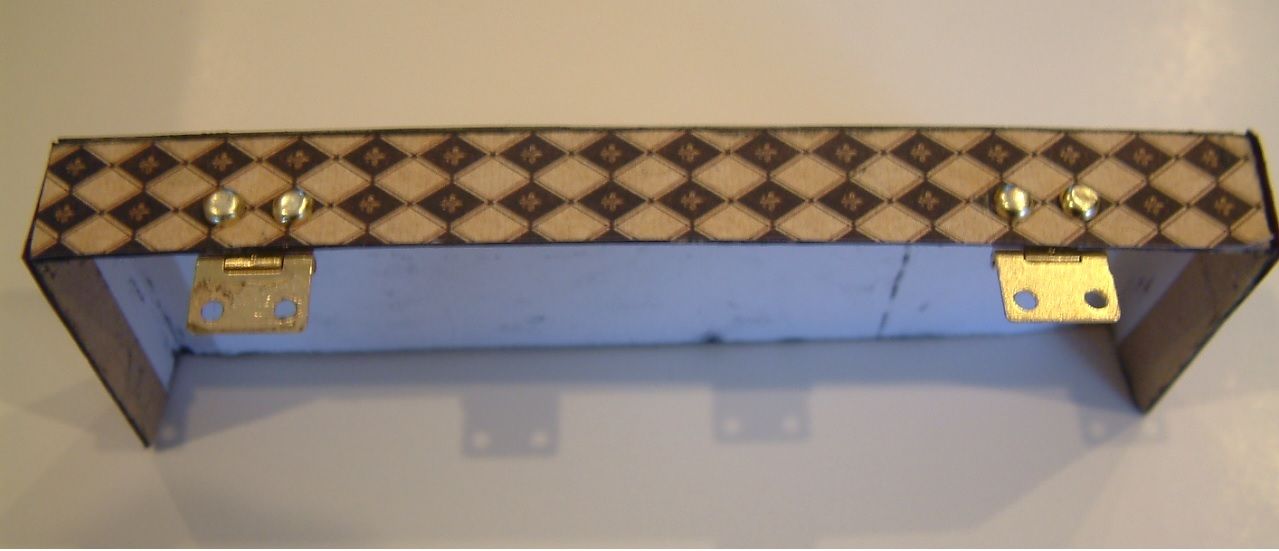
  • Attach hinges to the lid pieces using brads.  Place the hinge inside the lid and insert the brads from the outside of the lid to the inside of the lid.  The direction of the hinge – You should be able to fold the hinge toward the inside of the box or on top of the brads.
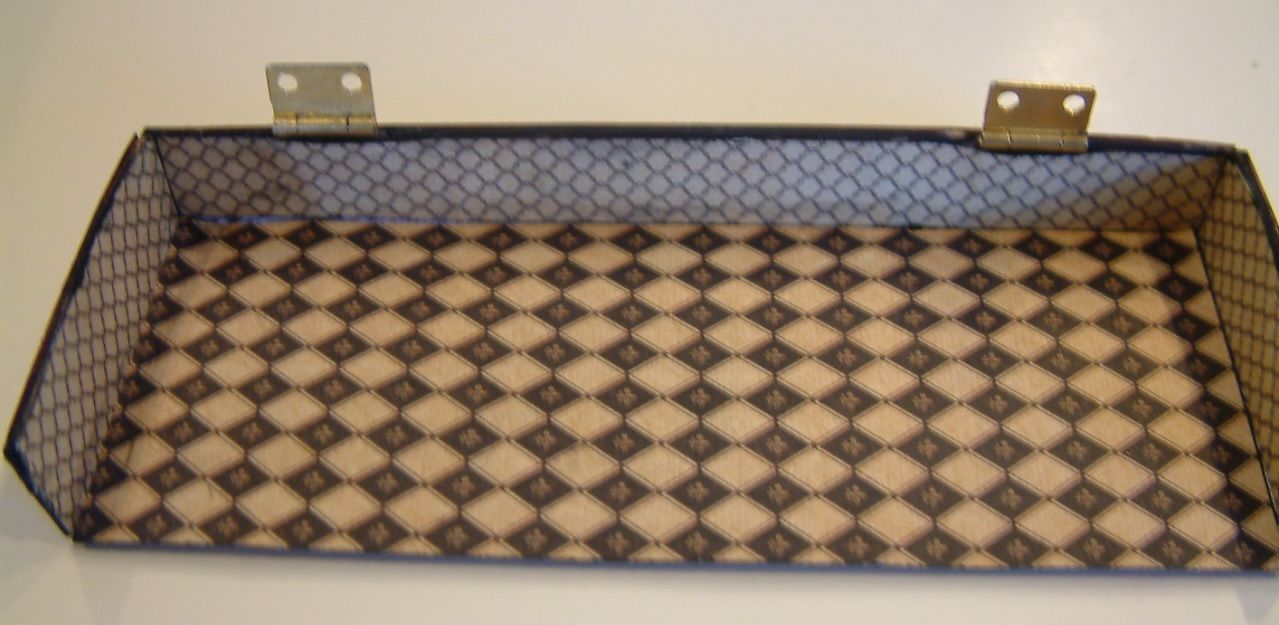
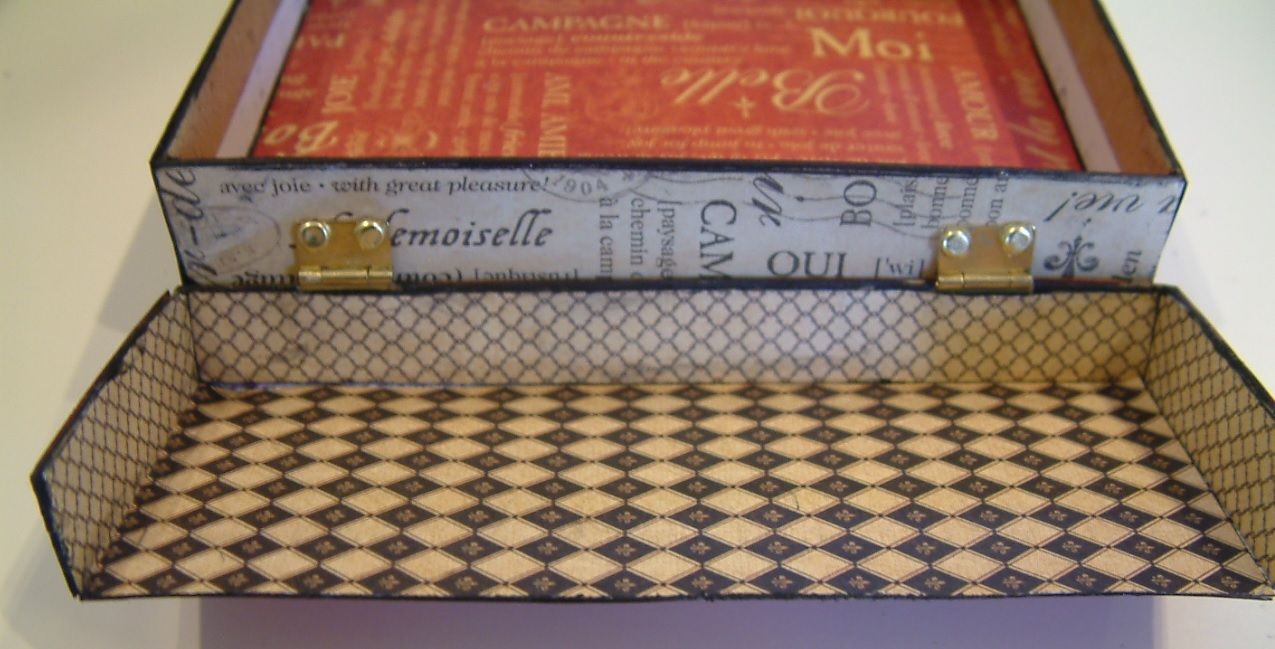
  • Paper the inside of the lids.  The paper will cover the brads and hinges.
  • Attach the hinges to the base of the box.  You can see in the picture below that you are attaching them to the outside of the box.  Place the hinge against the outside of the box and insert the brad through the hinge and into the box.
  • Paper the inside of the base of the box.  The paper will cover the brads and hinges.  
STEP 3: ADDING FEET
I used wooden finials for feet.  In order for the box to stand when open, I attached 2 feet to the back of the box and two feet to each side of the lids.
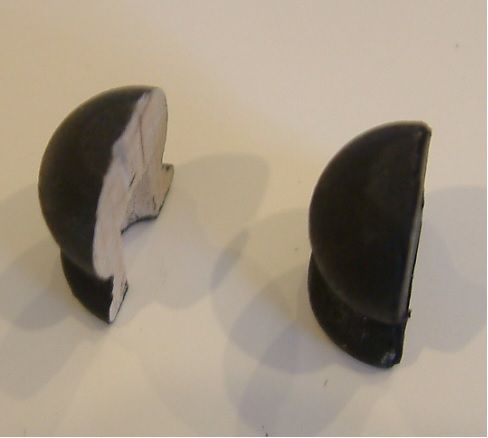
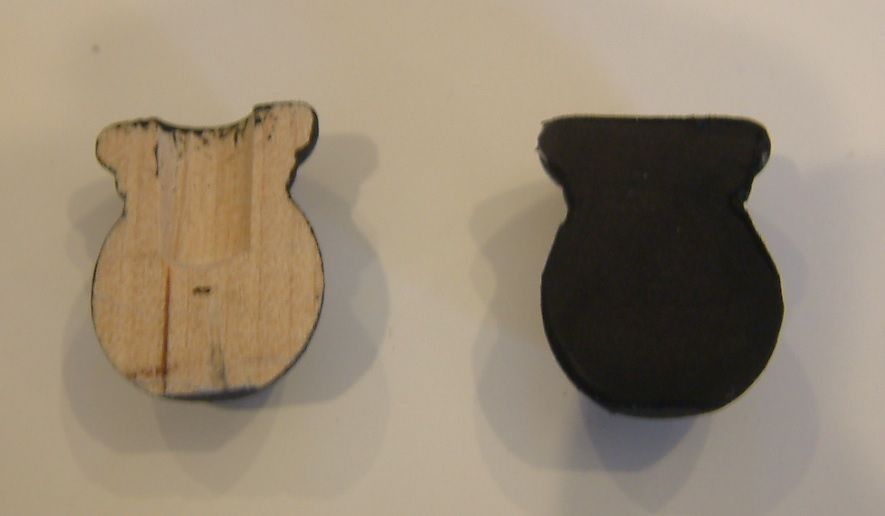
I cut the wooden finials attached in the back in half.  When the lid is closed, there is not enough room to attach the finials without them sticking out past the back of the box.  Cutting the finials in half made them flush with the back of the box.  It’s really up to you if you want them flush or not.
I covered the exposed center part with black cardstock.
Another thing to consider when adding feet is that when standing, the box and the lids are at different heights.  To make the cabinet level I added layers of cardstock to the top of the 2 back feet before I attached them to the box.

Monday, March 18, 2013

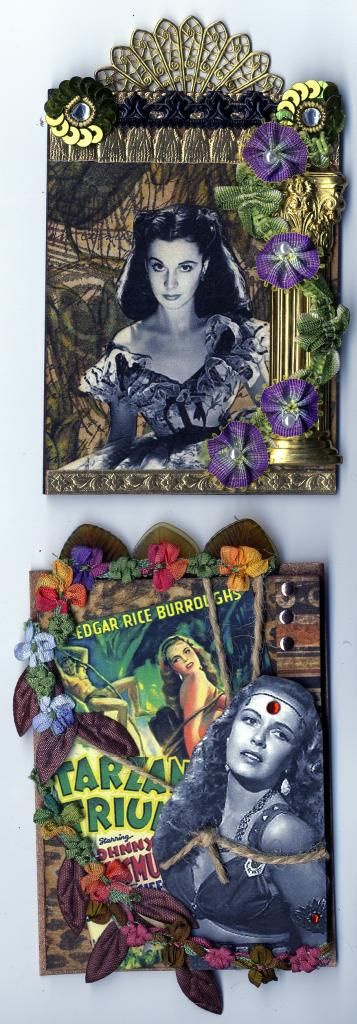
Movie Themed ATCs by Kris Dickinson

Here are two really cool movie themed ATCs by Kris Dickinson.

Sunday, March 17, 2013

Fun and Flirty ATCs by Gina Peake

I just love Gina's style and sense of humor.

I'm sooooo far behind in posting ATCs that I have received over the last several months.  I'm going to try to catch up over the next few weeks; particularly since I'm working on some large projects and tutorials for you.  I should have a new tutorial posted on Thursday.

Friday, March 15, 2013

Altered Frame by Lorraine

Last week I posted an altered frame I created for a swap in the Marie Antoinette group.  As promised here is my return from Lorraine Beaumont.  What a beautiful job she has done and I can tell you that it is even more lovely in person. 
Thanks so much Lorraine!!
Thursday, March 7, 2013

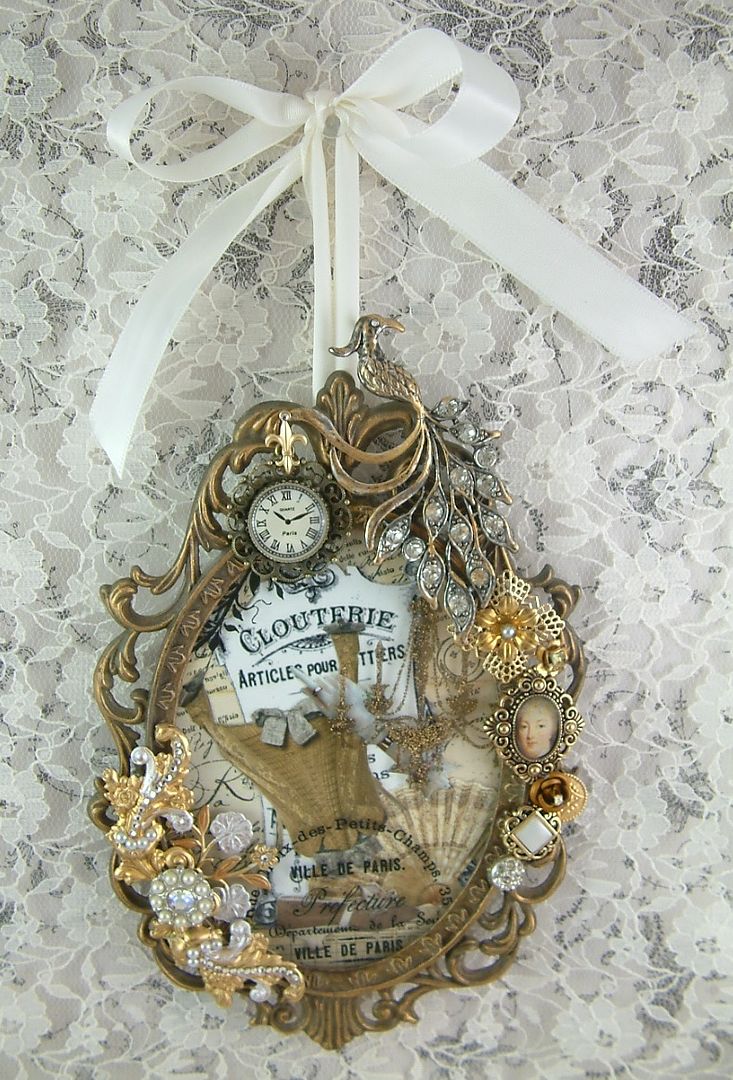
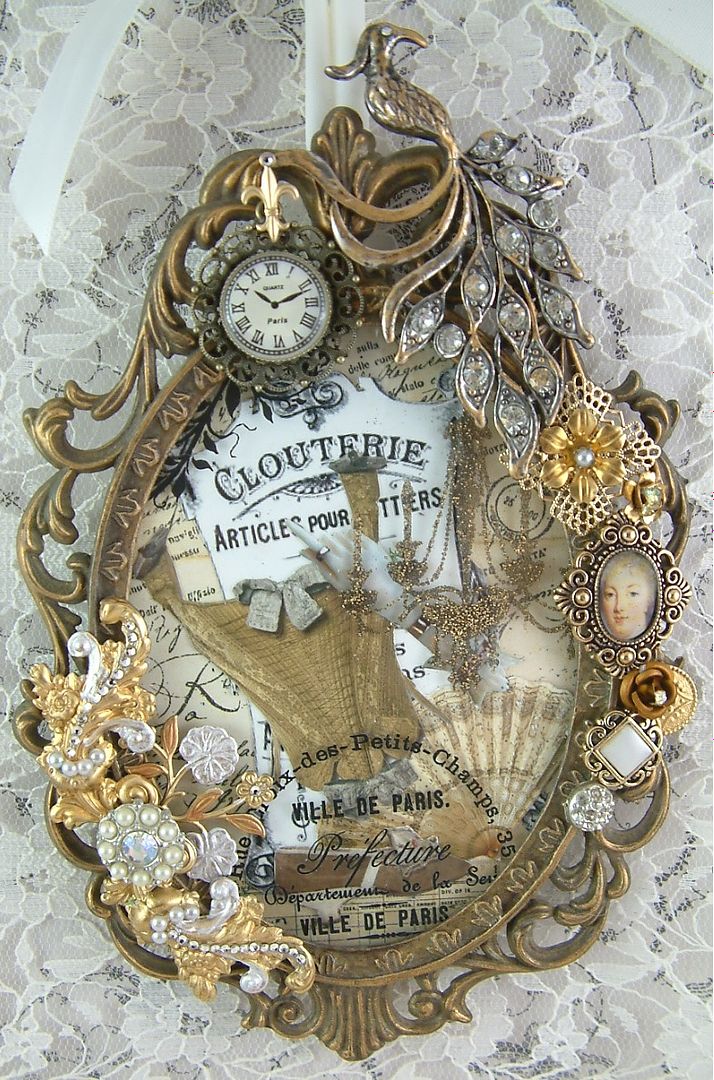
Marie Antoinette Inspired Altered Picture Frame

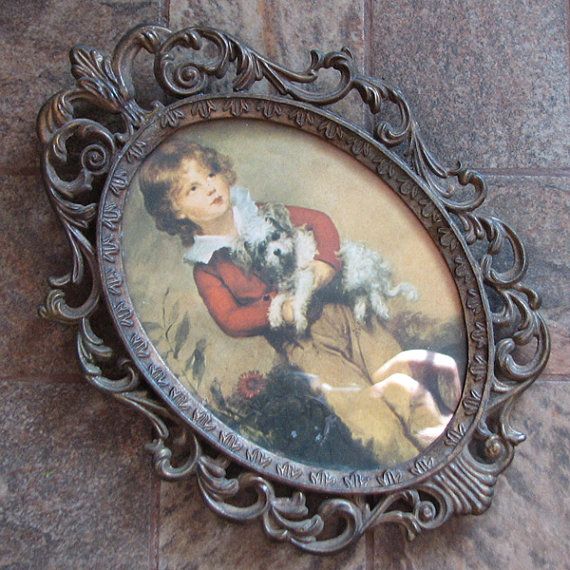
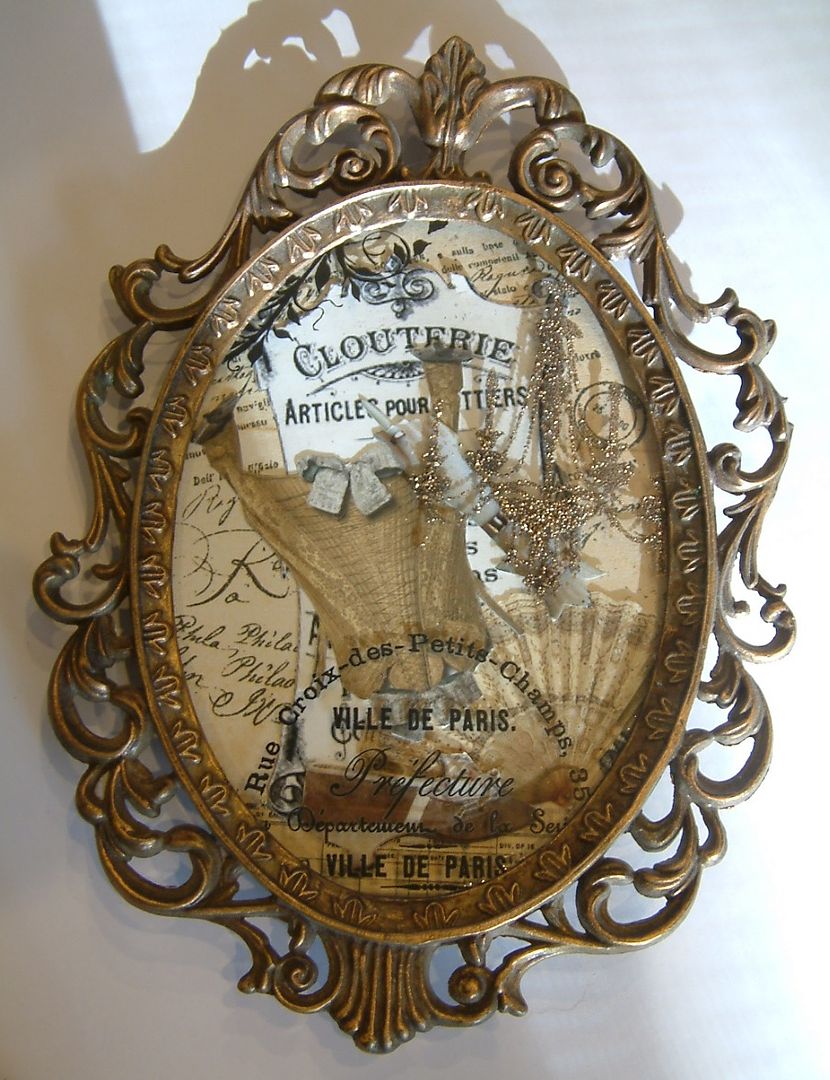
This is a piece for a swap in the Marie Antoinette Art group.  I started with a vintage frame I purchased on Etsy (in the picture below).
I embossed a chandelier on the glass and added some rub-on transfers.
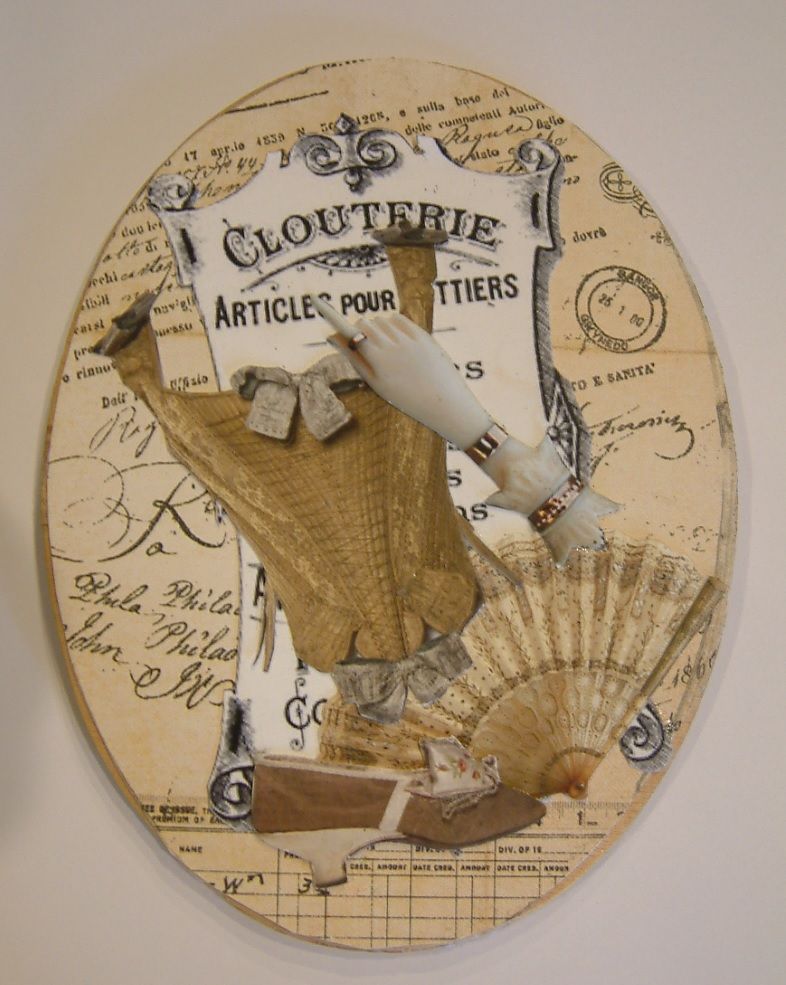
I collaged some vintage images on the insert.
I glued the glass and the insert into the frame.
To the frame I attached various pieces of jewelry, brass findings, pearls and rhinestones.
I’ll share the one I get from my swap partner as soon as it arrives.