-->

Welcome

I love answering your questions. If you ask them in the comment section, I have no way to answer you (if you haven't heard from me, that is why). If you use the "EMAIL ME" in the left column of this page, I will be able to respond to you. You can also use it if you want to be added to my newsletter. Laura

Wednesday, February 22, 2012

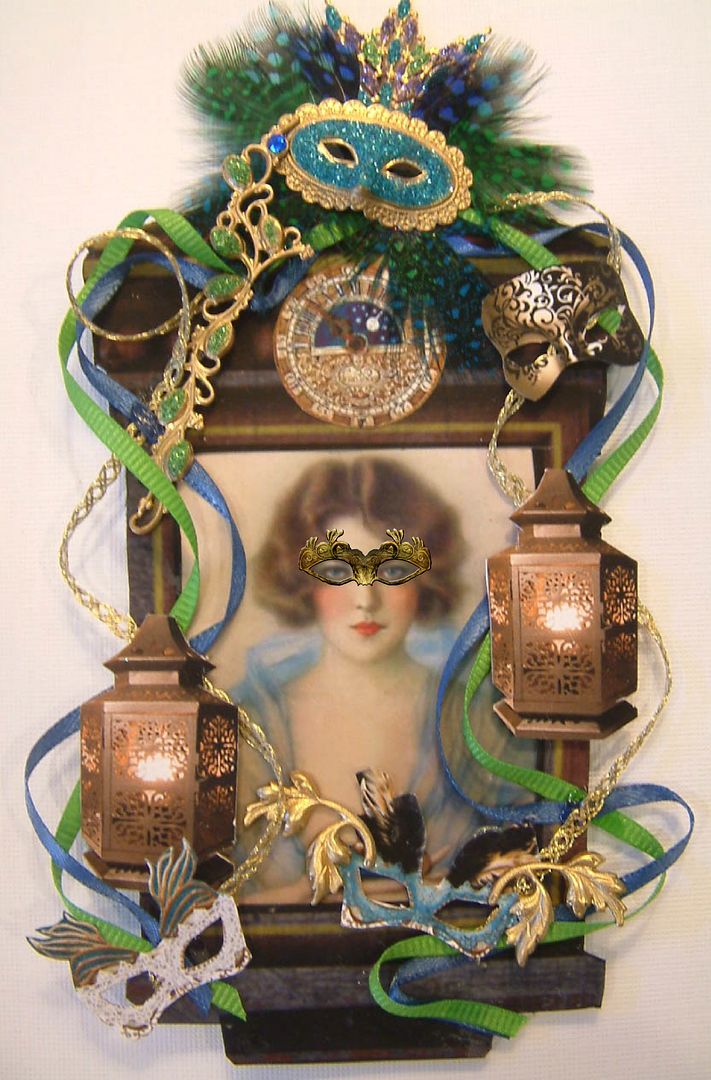
Mardi Gras


The overall dimensions of this piece are 7 ½” x 3 ½”.
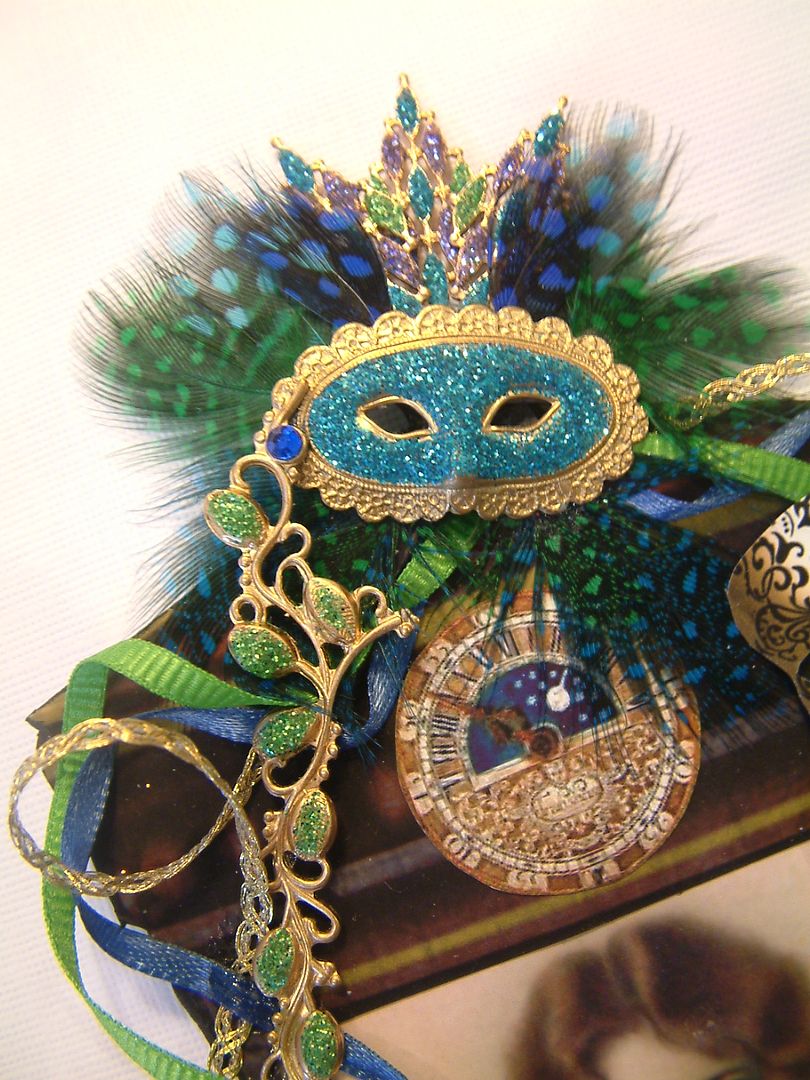
My design process started with the mask at the top.  After assembling it using various metal bits and pieces, feathers and glitter I then moved on to deciding how to use it.  The mask has been sitting on my worktable for several months waiting to be used.  I’m happy to have finally done something with it.

Sunday, February 19, 2012

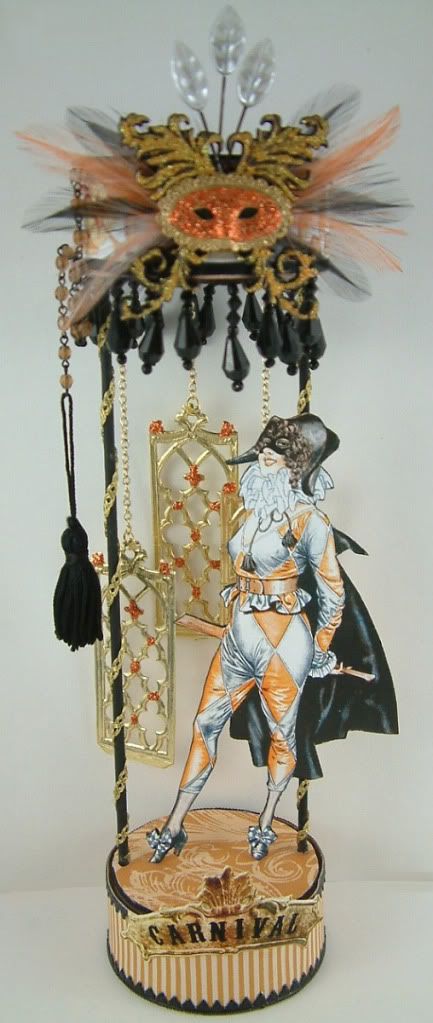
Carnival

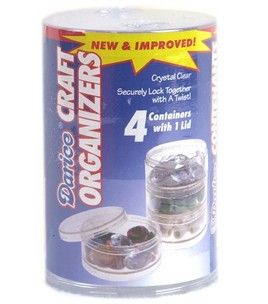
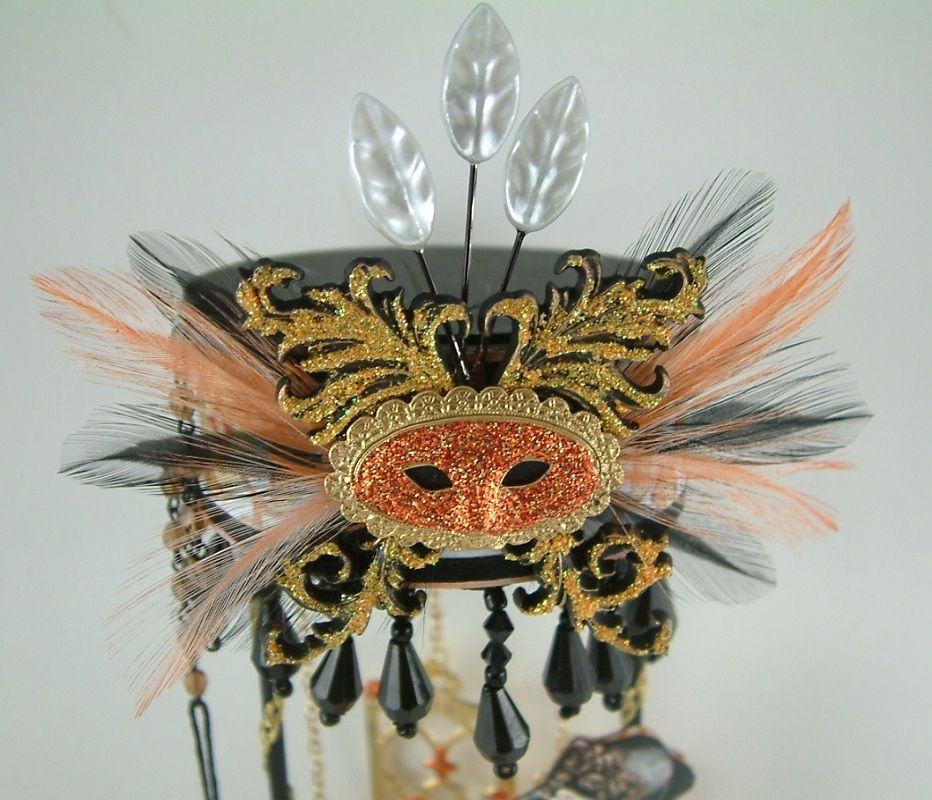
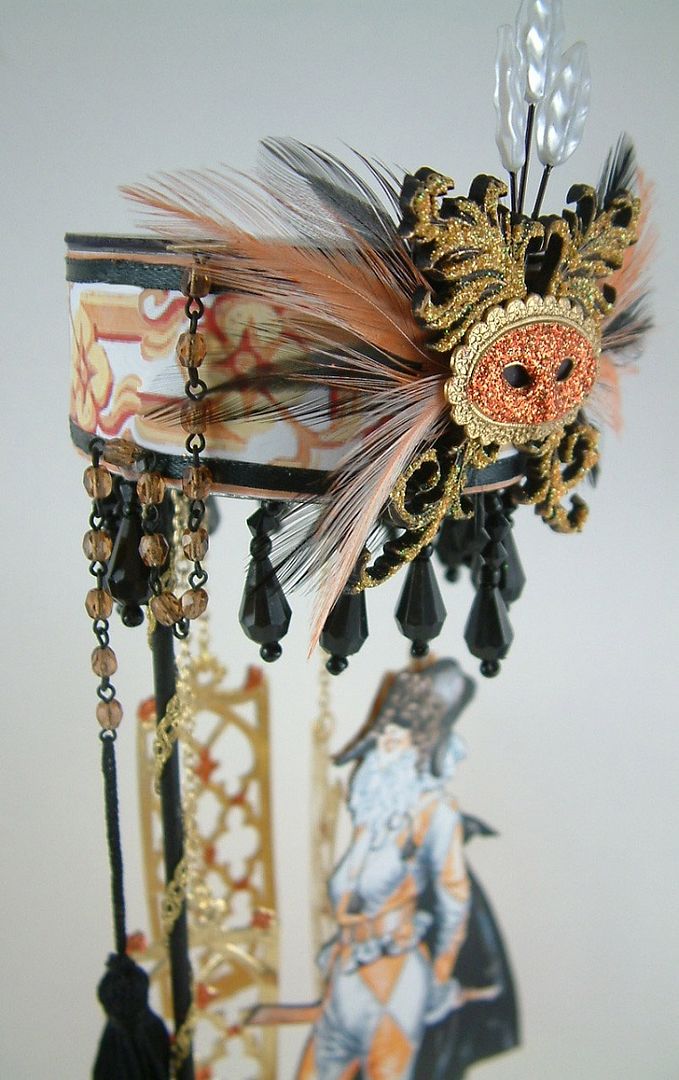
With Mardi Gras fast approaching I’ll be posting some carnival themed art over the next week.  This first piece is something I designed for Alpha Stamps.  The top and the bottom are made of plastic craft organizers connected by wooden skewers.  The hanging windows are German Scrap.
The mask is made from a combination of feathers (I dyed white feathers orange using Ranger Alcohol Ink), Stamped Flourishes to which I added glitter, a gold brass mask to which I added glitter and white leaf stickpins.
Alpha Stamps Products Used:

Wednesday, February 15, 2012

Marie Inspired Paper Fan – Designed for Alpha Stamps

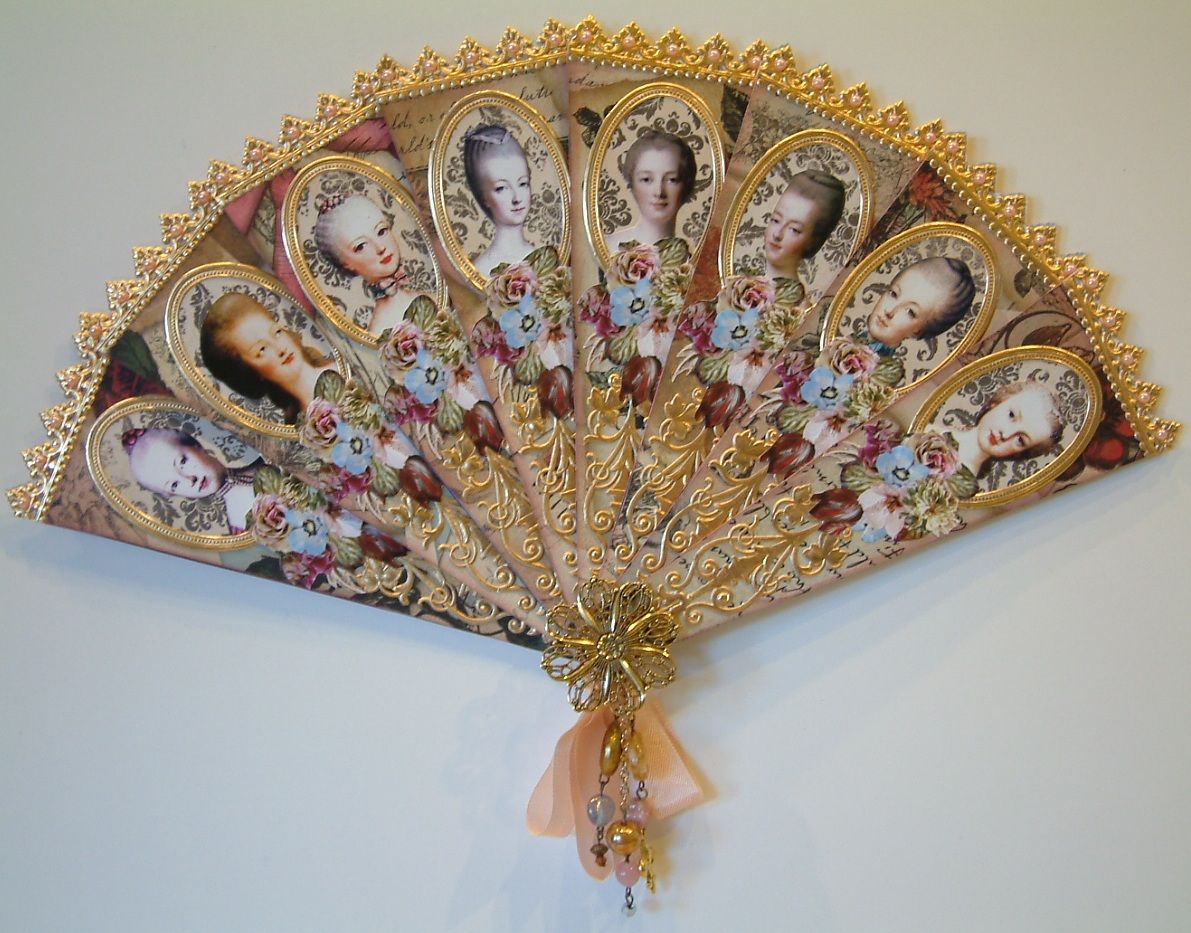
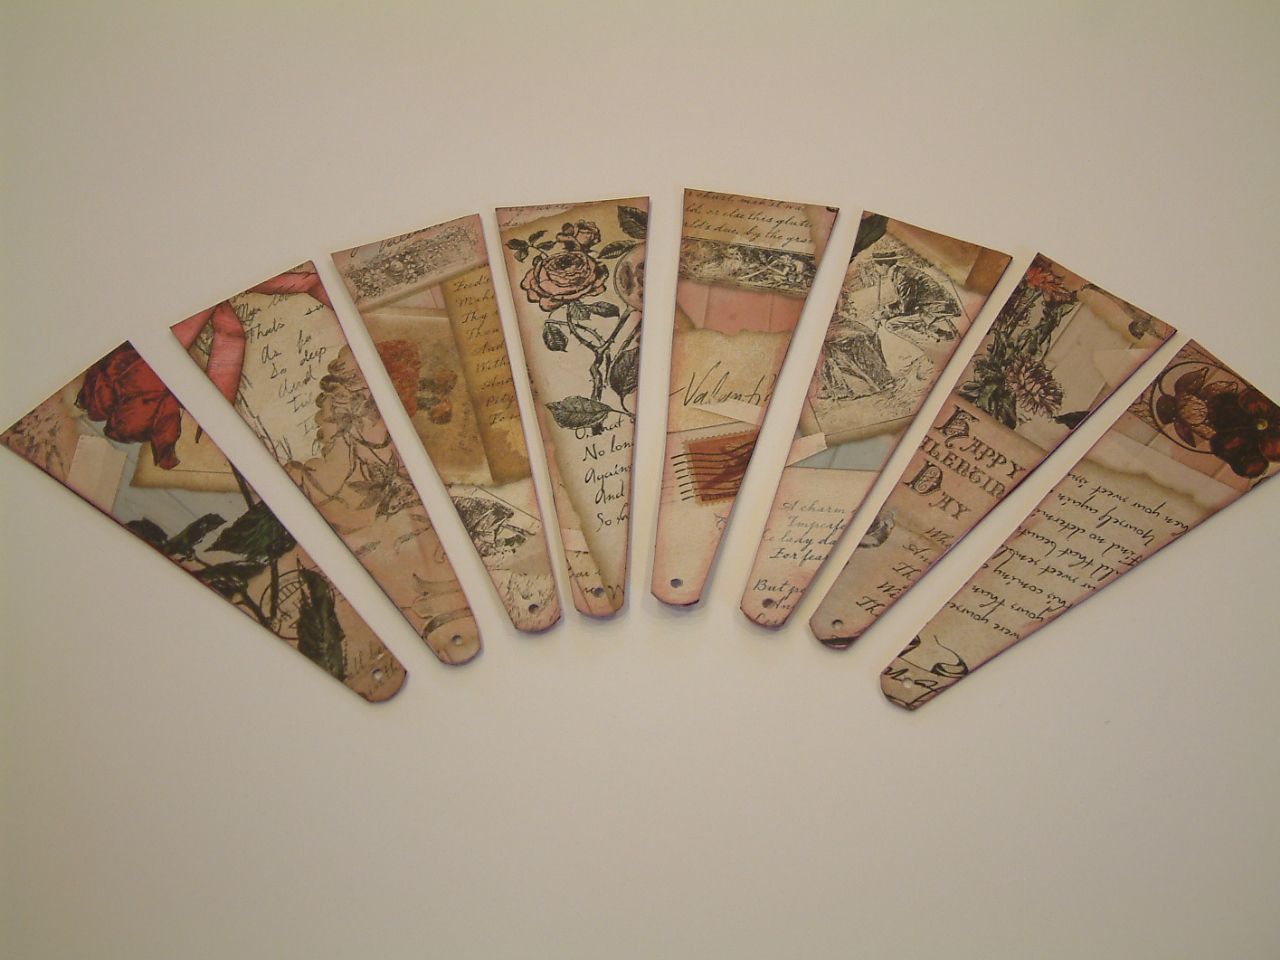
This is a fan I designed for Alpha Stamps.  I started with triangular shaped blades.  The front paper is Love Letters scrapbook paper.  Sandwiched between the front and back decorative paper is a thin piece of chipboard. 
After assembling each blade I inked the edges.  Next, I added Baroque Dresden borders to the ends of each blade (front and back).  I decorated the blades with images of Marie from three different collage sheets.  The images are glued to paper from the Timeless paper pad and framed with small Dresden oval frames.  I added images of flowers and more gold German scrap.  The blades are secured with a brad to which I added ribbon and beading.  I glued a piece of filigree to the brad.
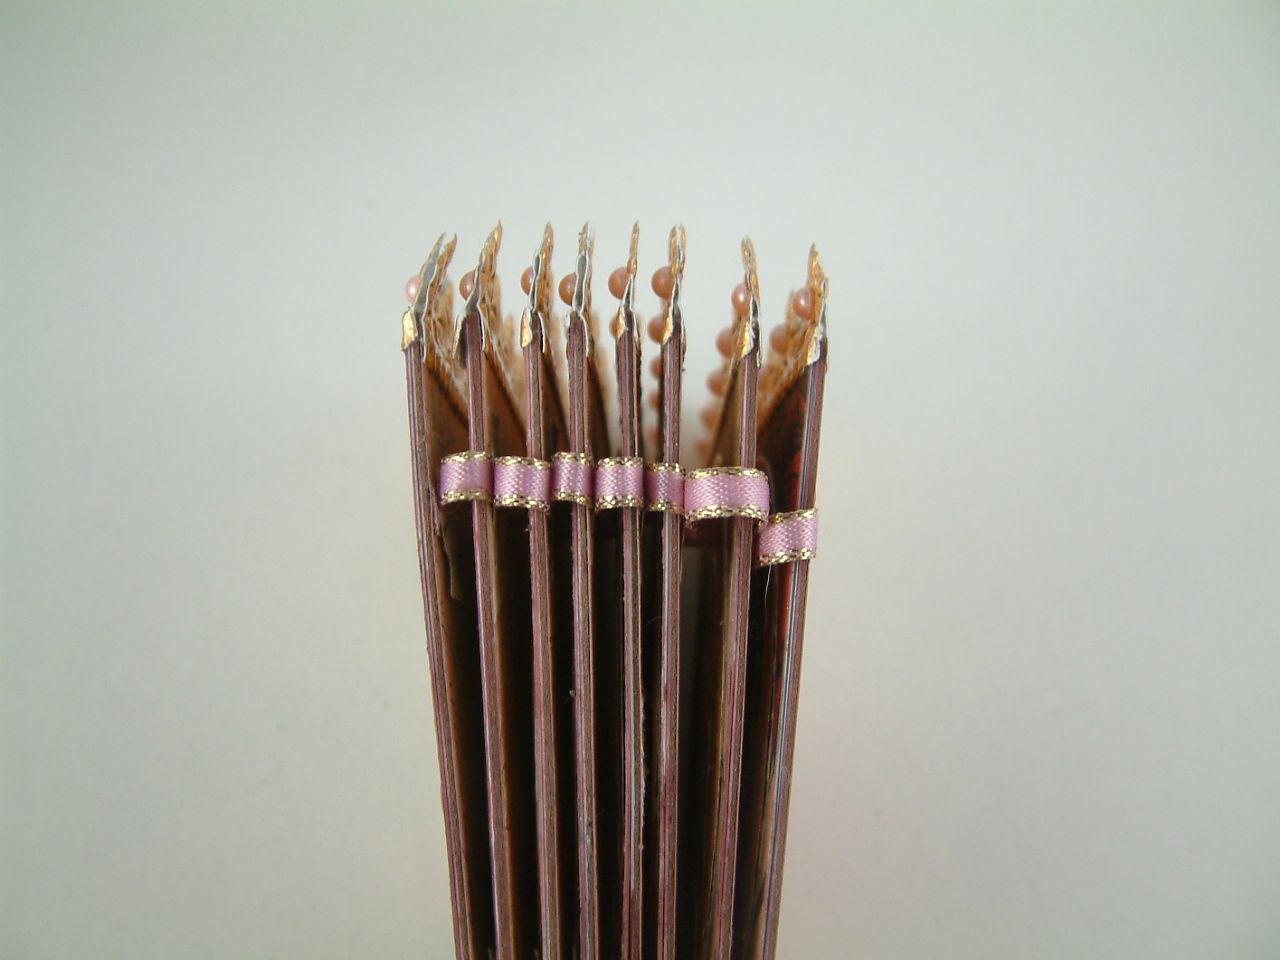
I attached ribbon along the back of the blades to act as a stop to keep the blades from opening too far.  I glued a piece of paper at the points on the blade where I glued the ribbon to the blade. 
The ribbon folds between the blades when the fan is closed.


Below is a complete list of the Alpha Stamps products I used to make this fan.

Tuesday, February 14, 2012

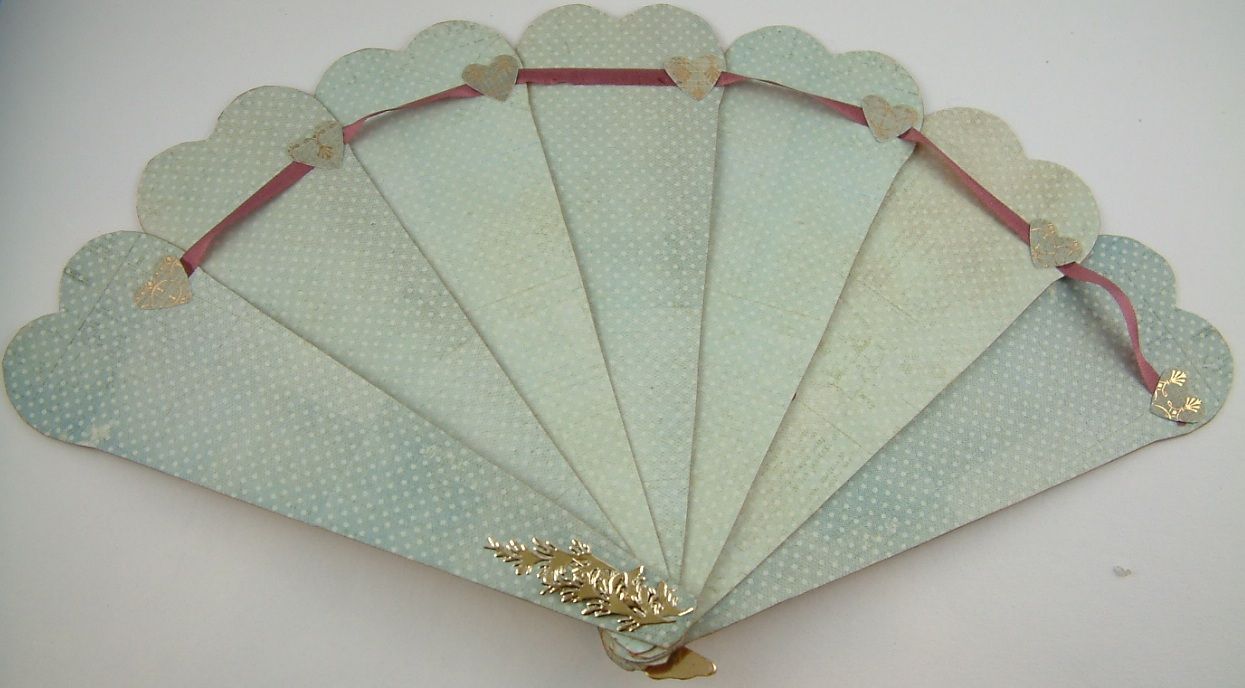
Sweet Nothings Paper Fan

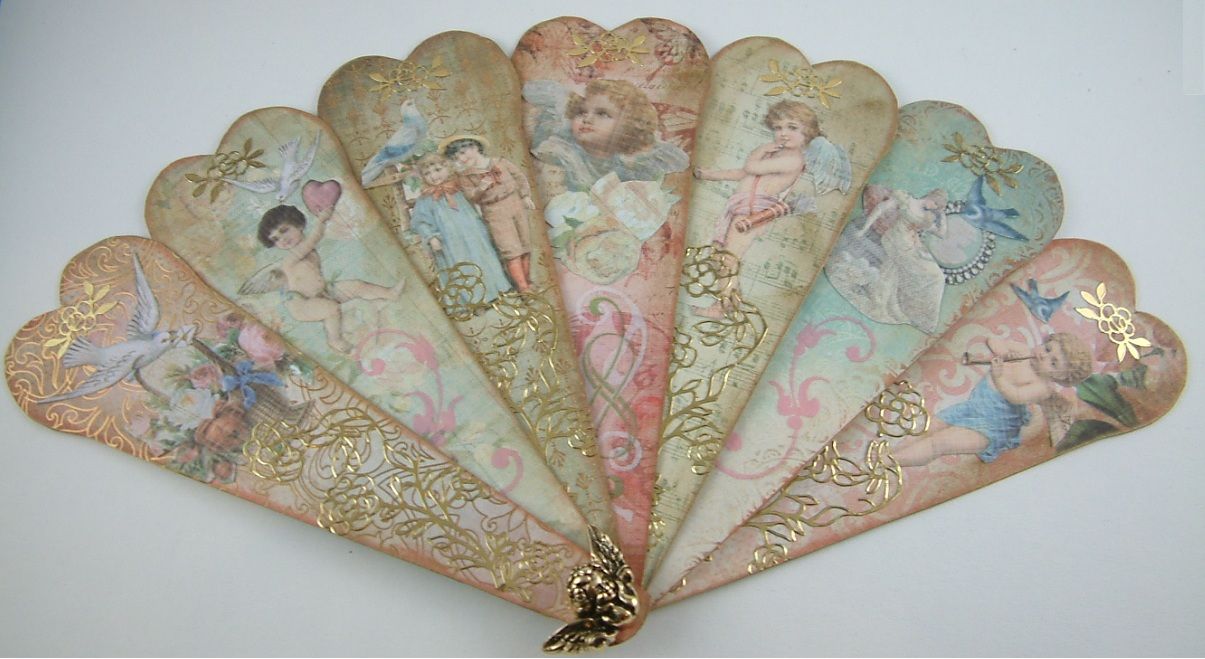
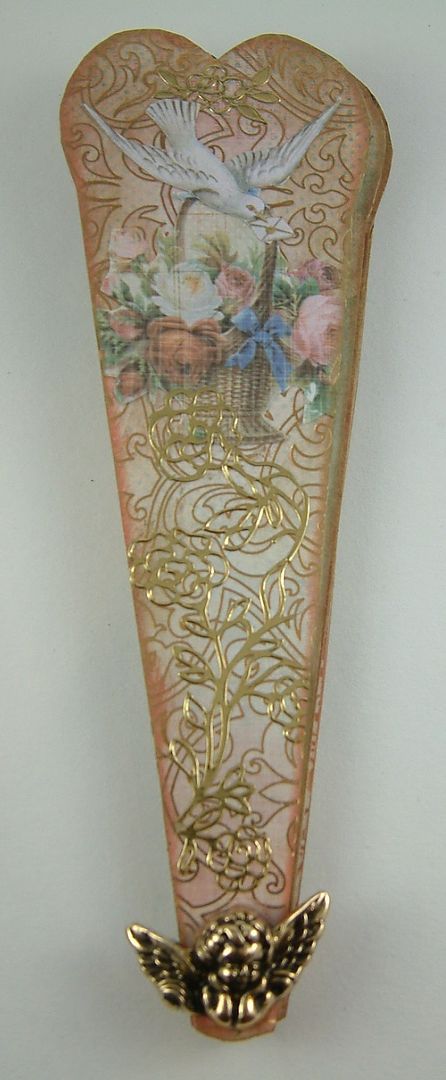
This simple heart shaped fan was made from the Sweet Nothings 6 1/2” paper pack that you can find at Alpha Stamps.  The package comes with a variety of pattern sheets including gold foiled paper.  It also contains images, tags and borders.  I used the patterned paper for the fan blades and then on each blade I collaged a variety of images from the paper pack. As a final touch I inked the blade edges and added gold stickers and rub-ons. 
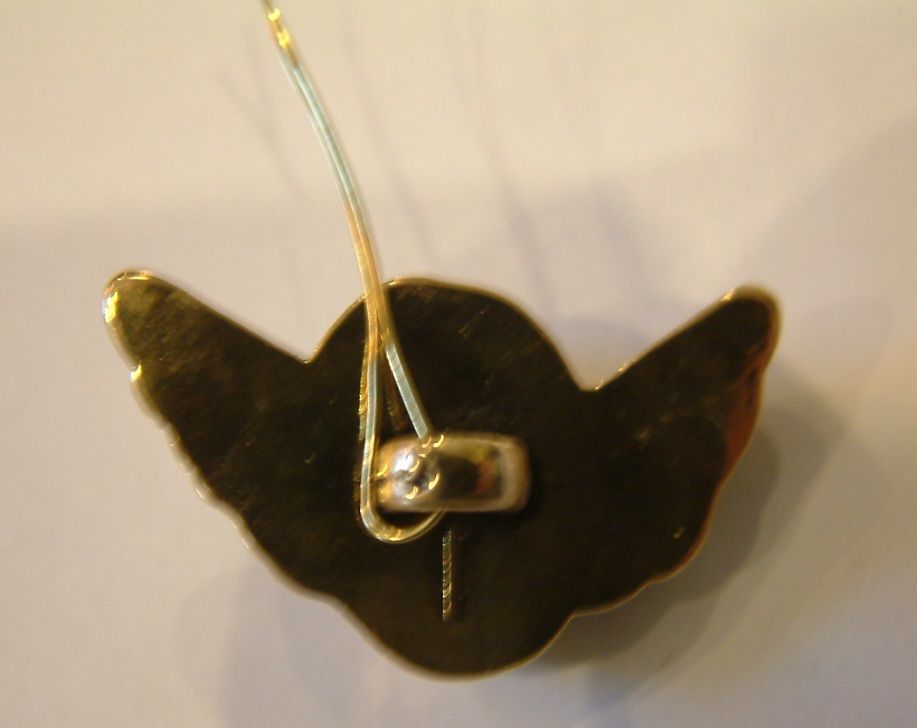
The fan is held together with a cherub button.  I threaded a piece of wire through the shank of the button.  The wire acts as a stop to keep the shank in place.  I bent the wire in the back, glued it and covered the wire and hole with gold stickers.

The ribbon running along the back acts as a stop to keep the fan from opening too far.  I used a heart shaped punch to punch little hearts.  I used the hearts to cover the points where the ribbon is glued to the blades
Happy Valentine’s Day!!

Monday, February 13, 2012

Final Altered Jeweler's Tin

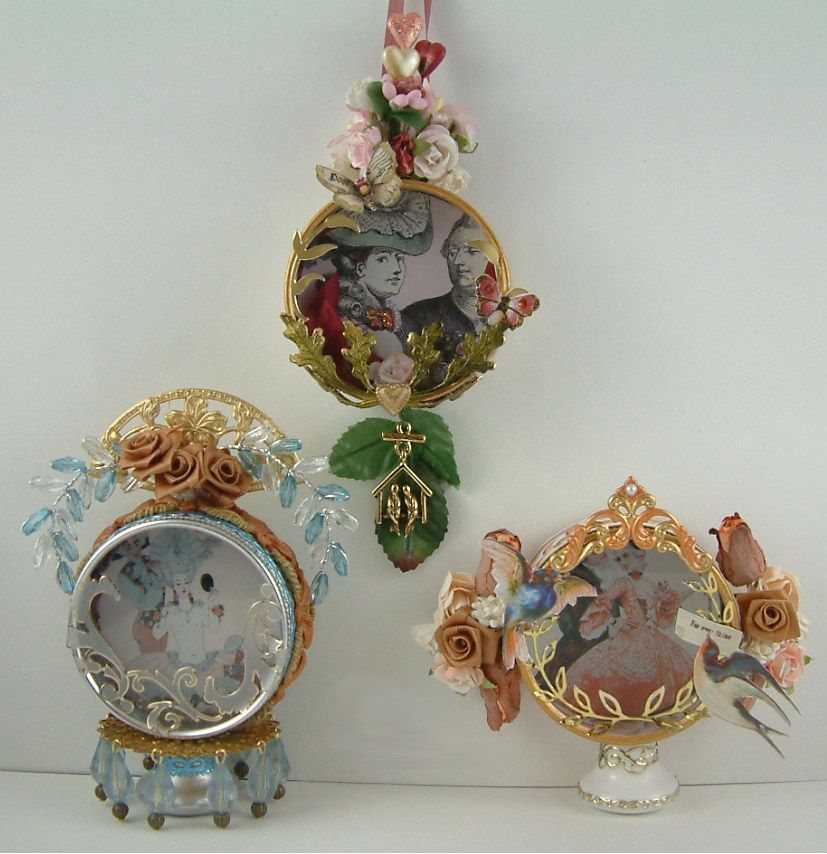
This is the third and final altered tin I made for the “Naughty Valentine Tin” swap hosted by Alpha Stamps.  Just like the others I drilled holes in the tin so that I could insert flowers, leaves etc.  I added glue (Glossy Accents) on the inside of each hole to keep the embellishments in place.
All Three Tins


Tuesday, February 7, 2012

2nd Altered Jeweler’s Tin

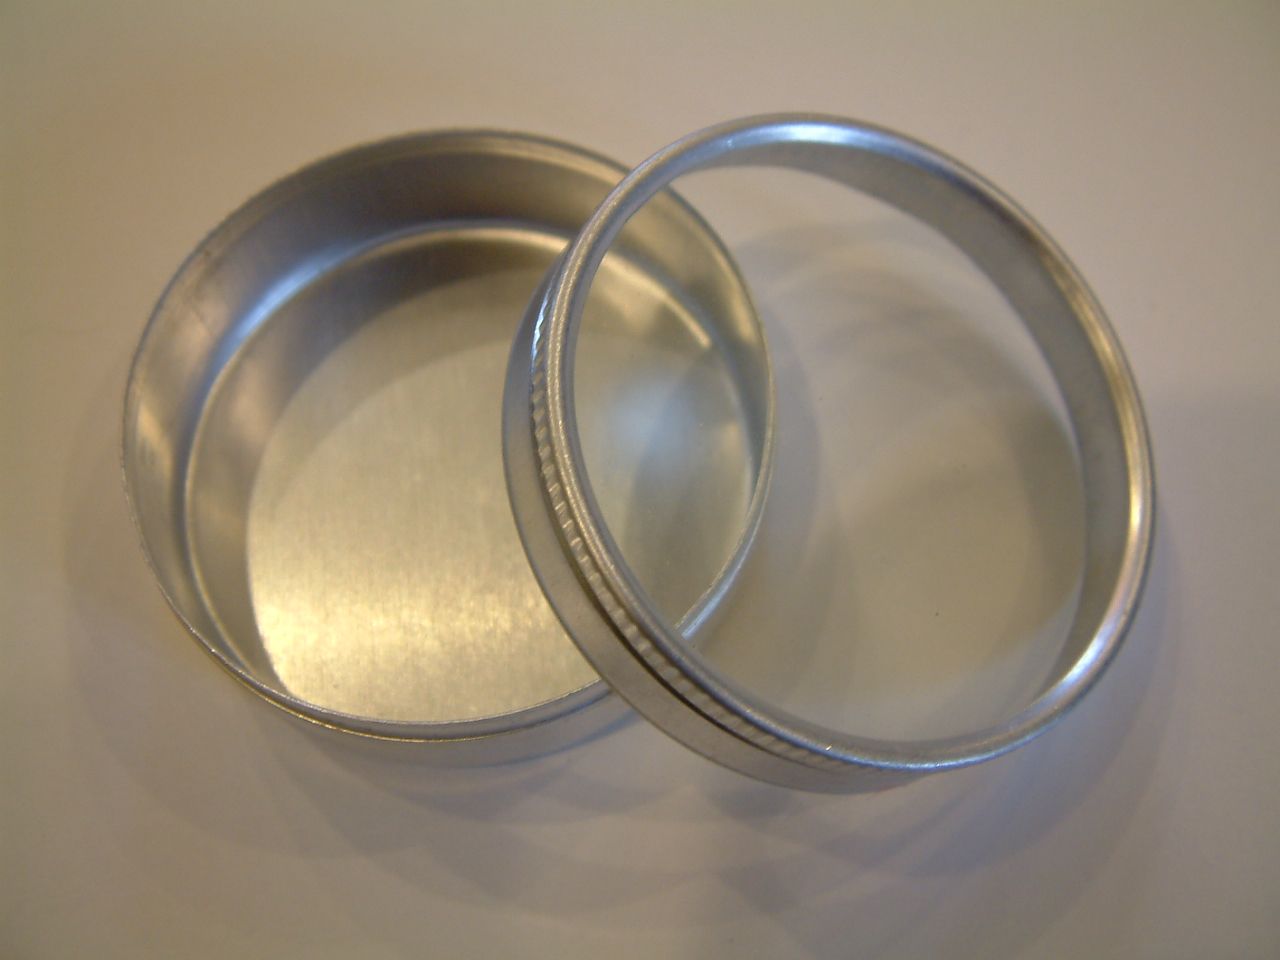
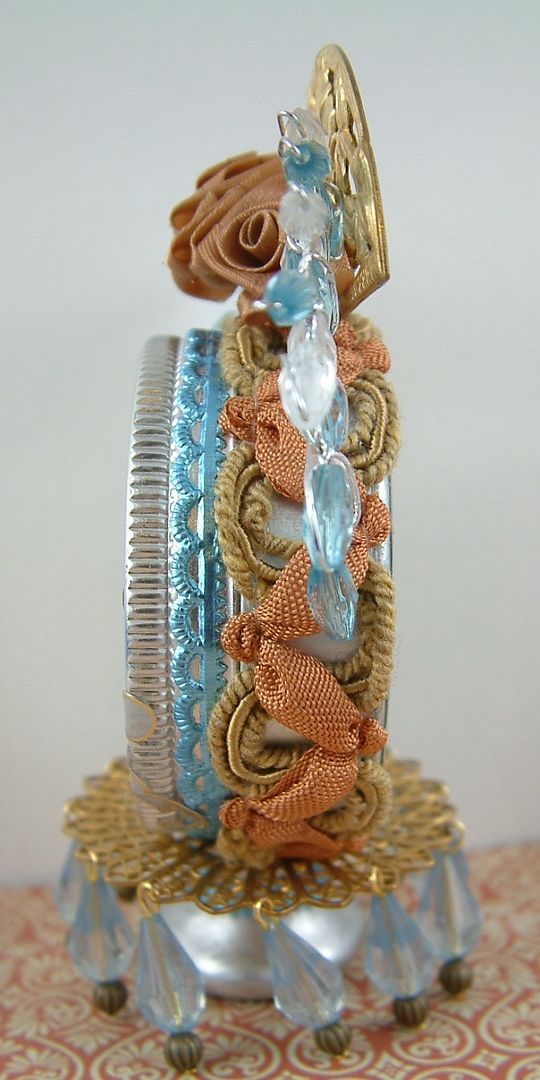
This is the second of the altered tins I’m making for the Naughty Valentine Swap hosted by Alpha Stamps.   The unaltered tin measures approximately 2” wide by 1” deep. 
Just as in the first tin I used a drawer knob as the base.  I painted it silver and added blue German scrap.  On top of the knob I glued a piece of gold filigree to which I added blue and antique gold beads.
I also drilled a hole in the tin just as in the first tin.  It’s through the hole that I inserted the flowers, beading and fan.  I covered the side of the tin with ribbon trim and German Scrap. 
You can find the jeweler’s tin and the collage sheet I used at Alpha Stamps.  Below are the links.

Monday, February 6, 2012

Valentine Pierrot

Sunday, February 5, 2012

Madame de Pompadour Altered Bottle - Designed for Alpha Stamps

I designed this bottle for Alpha Stamps.  The bottle was about 1½” high before altering and all four sides are decorated.  Once I added the feet and stopper, the overall height of the finished piece was 3½”.   I really loved working with this bottle as the sides are very flat.  Some bottles look flat but they curve slightly in or out.
I started by stamping and embossing each side of the bottle using the Enchanted Clear Stamp Set.  Click here for a tutorial on how to stamp, emboss and paint glass.  I painted the bottle using green metallic paint.
Next, I added German scrap to the bottom and the neck of the bottle.  I used alcohol inks to paint the German scrap at the bottom green. I mounted the images of Madame de Pompadour in oval settings.  To make the oval settings look more like a cameo, I added Glossy Accents on top of the image.
I painted the feet with the same metallic paint as I used on the glass.  At the mouth of the metal birds is a loop.  I used the loops to hang the rosary chain.  After attaching the rosary chain to all of the birds, I glued the birds onto the glass using Glossy Accents.  Lastly, I added the gold rose charms and filled the centers with green Stickles.
The bottle came with a cork stopper which I painted.  I inserted the fan in a slit I cut in the top of the cork.  I painted the fan gold to match the other metal pieces and added green crystals.

Friday, February 3, 2012

Marie at the Opera Accordion Folded Book – Designed for Alpha Stamps

I designed this accordion folded book for Alpha Stamps.
The bookbinding tape that I used on the spine was originally white.  I tea dyed the tape to give it a more antique look.  The tape lost some of its tackiness when I soaked it in the tea so I had to add some additional adhesive.  The design on the spine is a rub-on transfer.
Alpha Stamps Products Used:


Young Marie Collage Sheet
Paper Doll Fans Collage Sheet


Thursday, February 2, 2012

Altered Jeweler's Tin

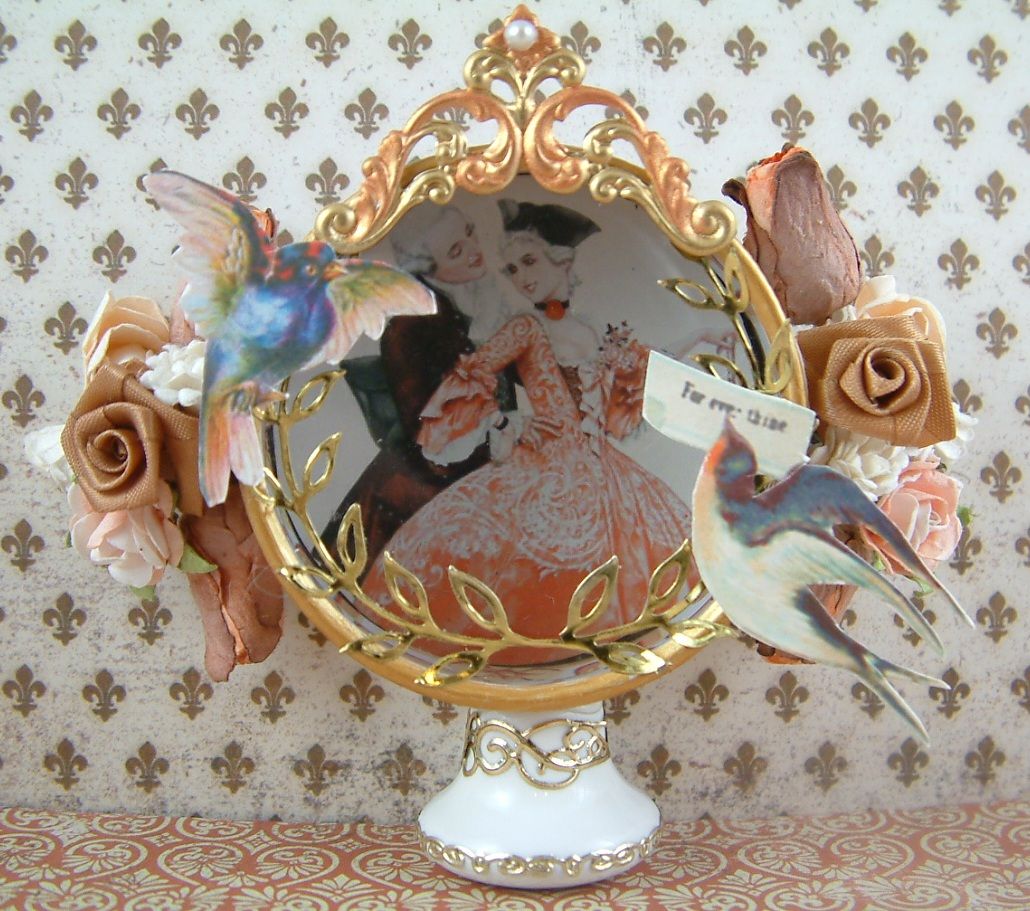
I created this altered tin for the Naughty Valentine Swap hosted by Alpha Stamps.  This is the first of three tins. The unaltered tin measures approximately 2” wide by 1” deep.  The finished dimensions are 4” wide by 3 ¼ high.
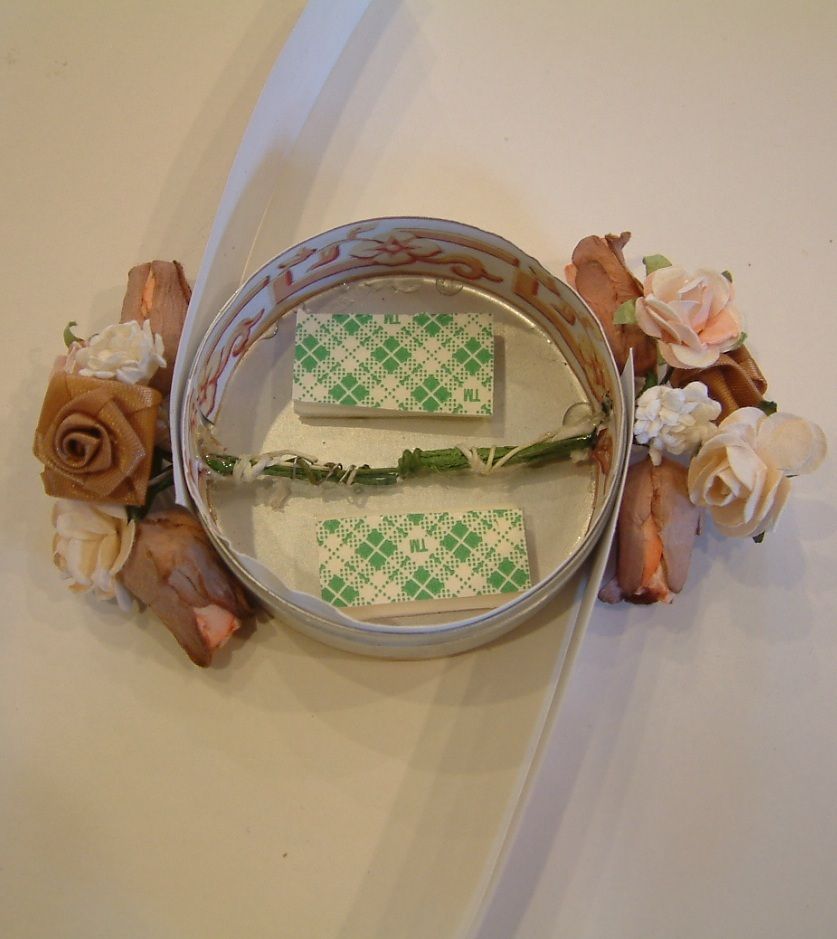
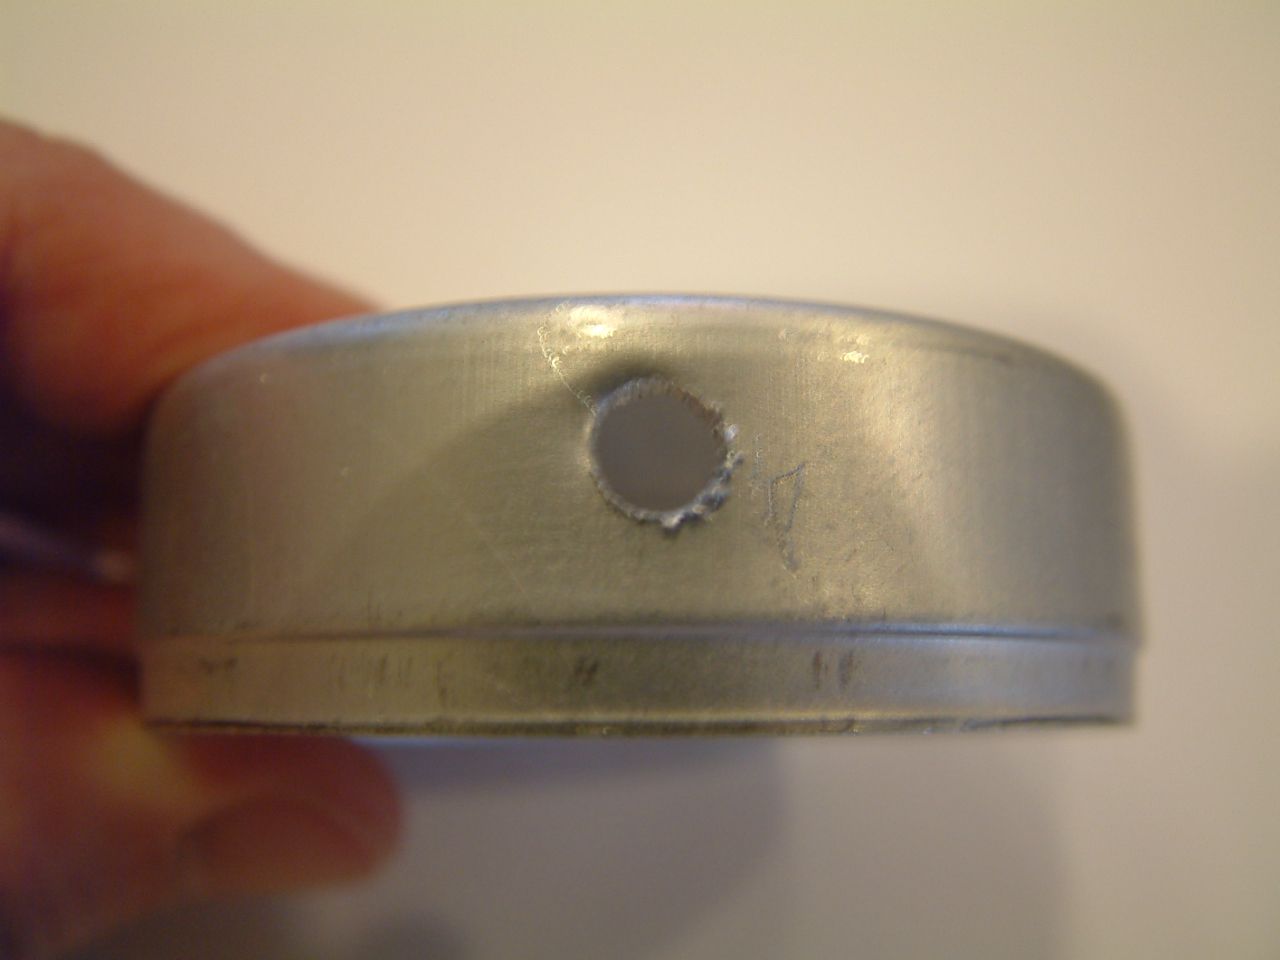
I started by drilling two holes in opposite sides of the tin towards the back of the tin.  After drilling the first hole I inserted a wooden skewer through the hole and used it to figure out where drill the hole on the opposite side.  The holes are to accommodate the flowers.
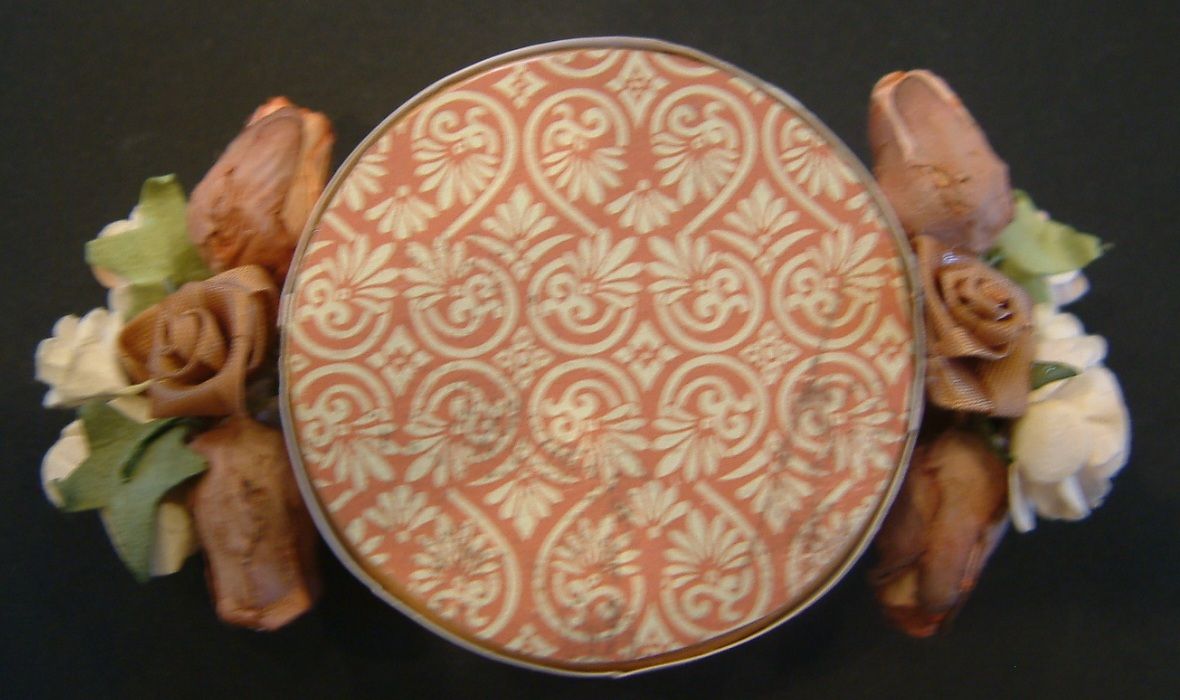
I added paper to the inside of the tin and re-opened the holes.  I decided to cover the back and sides with paper.  Since the edges of the tin are round, it is impossible to completely cover them so I first painted them gold.
The next step was tricky.  Since I was inserting the flowers through the holes, I needed to attach the paper to the outside first.  But I couldn’t cover the outside with paper before adding the lid.  I couldn’t add the lid until I added the flowers and the inside image.  It was a "what come first" moment ‘the chicken or the egg”.  I solved the problem by gluing the outside paper to just the area where the hole were.  Then I re-opened the holes, inserted the flowers through the holes, and glued the flowers in place.
 
I needed to create a “false bottom” as the stems of flowers create bulk.  Next, I added layers double stick tape to the back of the tin until the tape was flush with the stems.  Now when I insert the image into the tin it will stick to, and rest on, the tape.
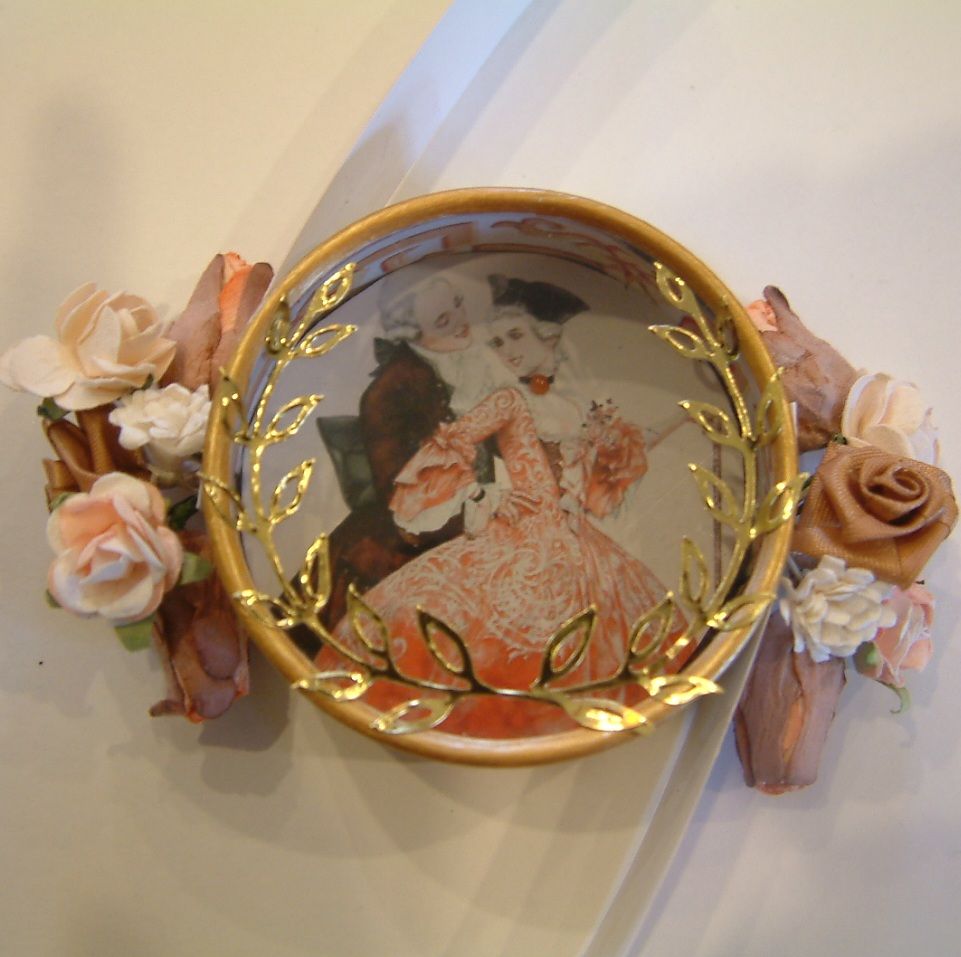
I inserted the image into the tin and added the lid.  The lid is painted gold and edged with gold metallic stickers.
Once the lid was in place, I finished glueing down the paper on the outside of the tin.
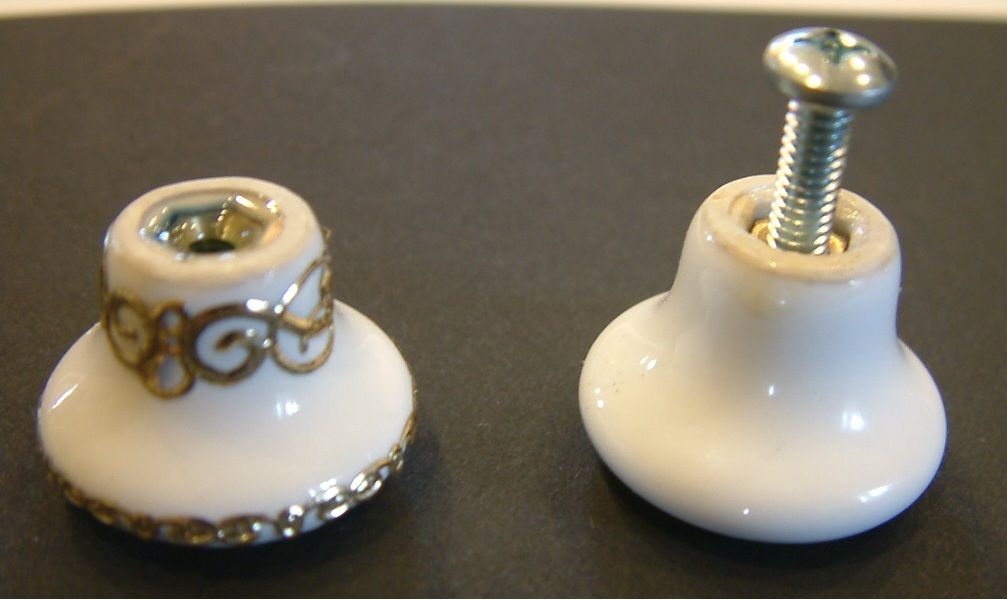
The base of the piece is made from a porcelain drawer knob to which I added gold metallic stickers.  Even though the stickers are backed with adhesive, I added just a little Glossy Accents to make sure they would stick to the porcelain.  I used Glossy Accents to glue on all of the elements of this piece.
The final touches were to glue the knob to the tin, add a decorative metal piece at the top and paper birds to the edge.
You can find the jeweler’s tin and the collage sheet I used at Alpha Stamps.  Below are the links.
Wednesday, February 1, 2012

Marie Antoinette Valentine Domino Book

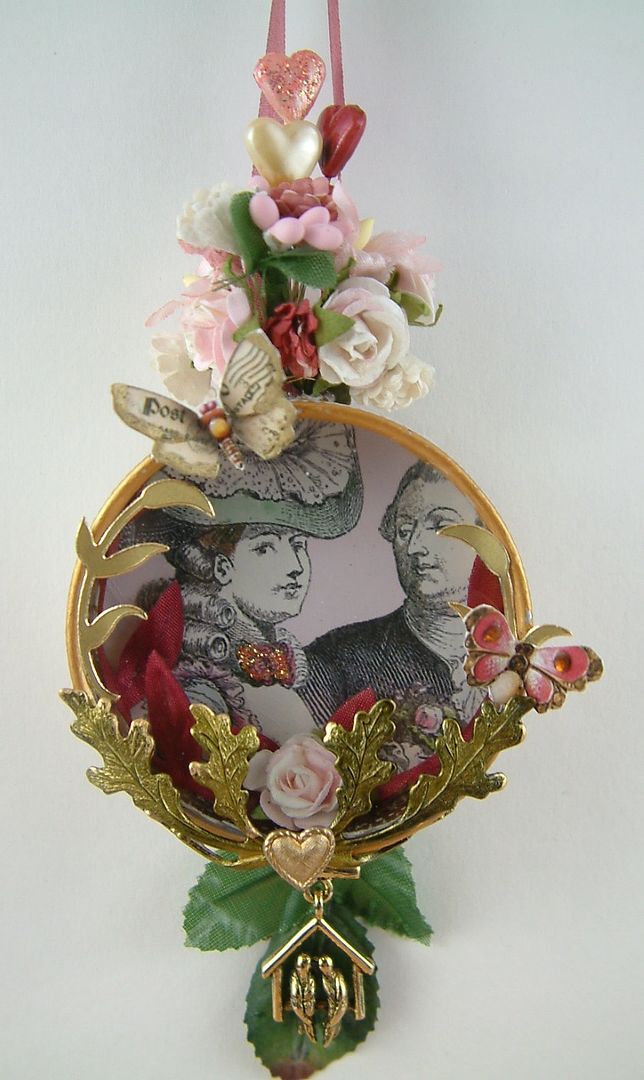
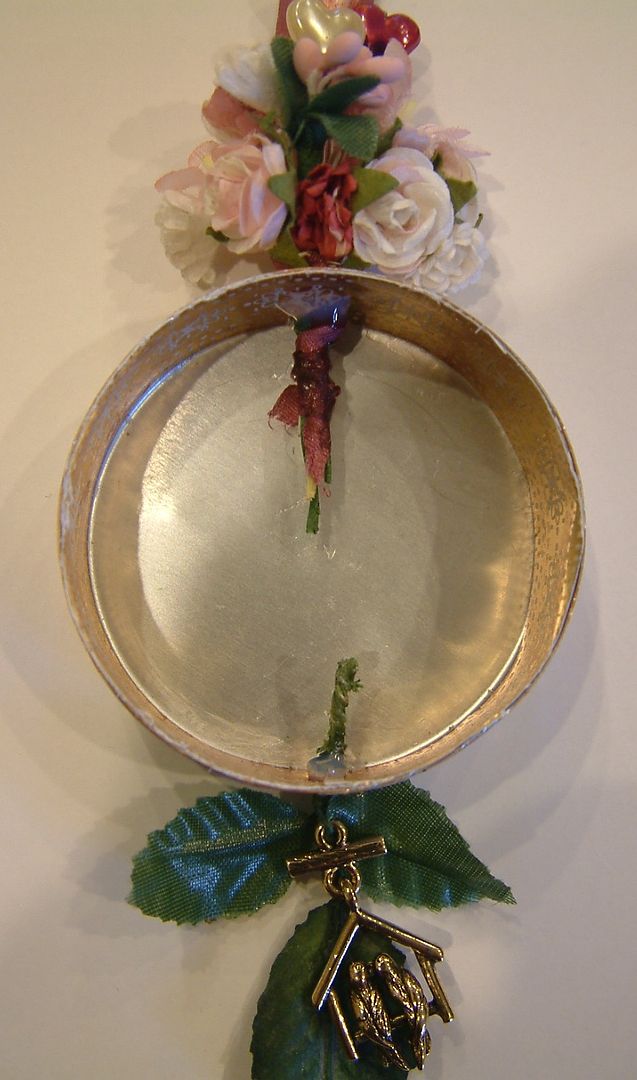
I stamped both dominos with black StazOn ink.  To the front I added a white resin frame.  Next, I glued on a bunch of flowers and heart stickpins.  I covered the stems with a heart button (with the shank removed).
The sides of the domino are coated with a mixture of pink mica flakes, gold flakes, pink microbeads and red glitter. 
I coated the sides of the dominos with Glossy Accents and then pressed the sides into the mixture.
INSIDE
BACKSIDE - Hearts with romantic French expressions.