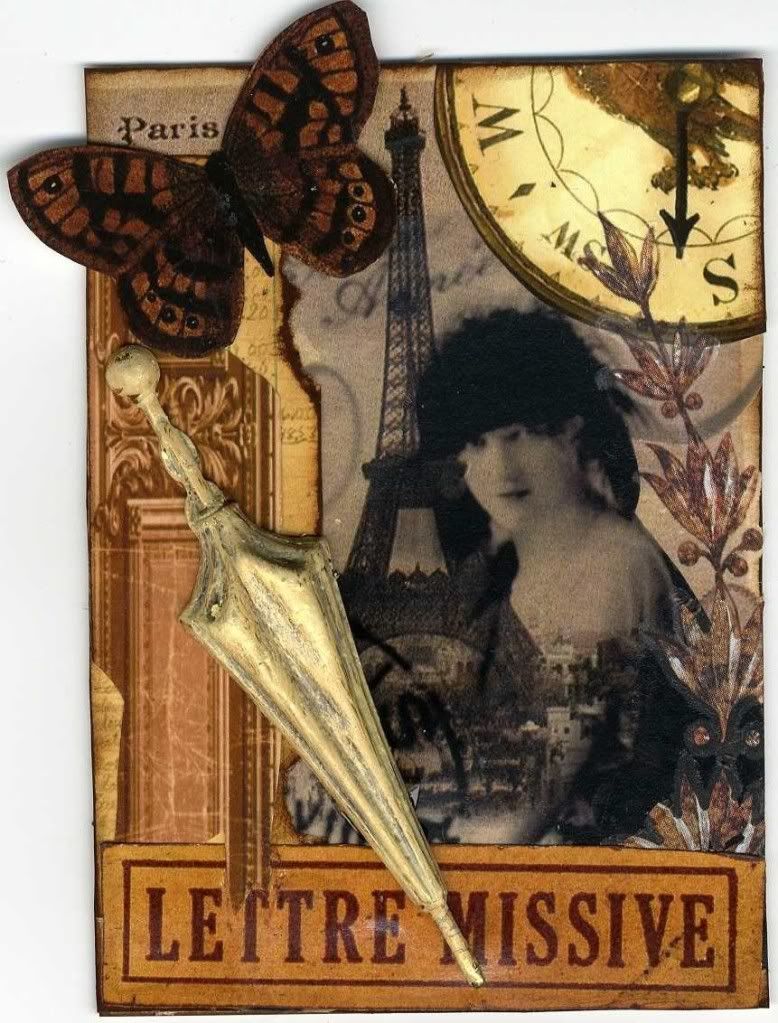
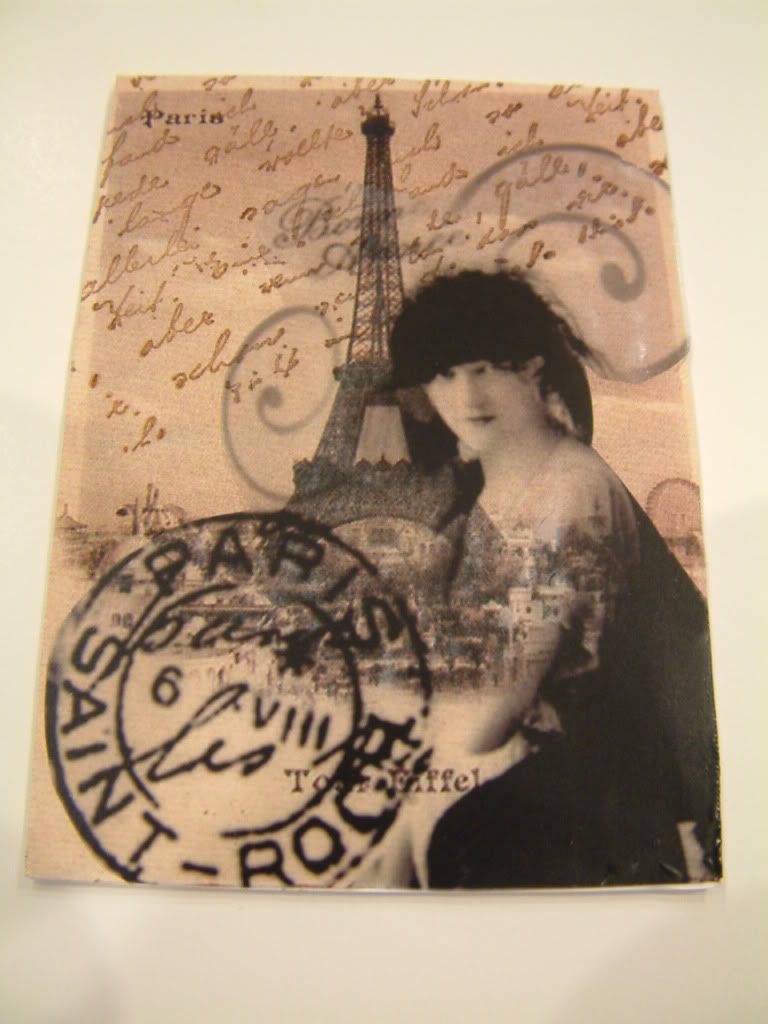
In the ATC below, the image of the woman is a rub-on I created using Grafix Rub-Onz Transfer Film and my printer. If you are like me, you have lots of images on your computer that would work great as rub-ons. It is difficult to achieve a good result with many of the other transfer methods available, such as packing tape, gel mediums, etc.
I’m going to outline how to use the Rub-Onz Transfer Film so you’ll have a general idea of how it works before investing in the product. I’ll also give you some tips that you won’t find in the product instructions.
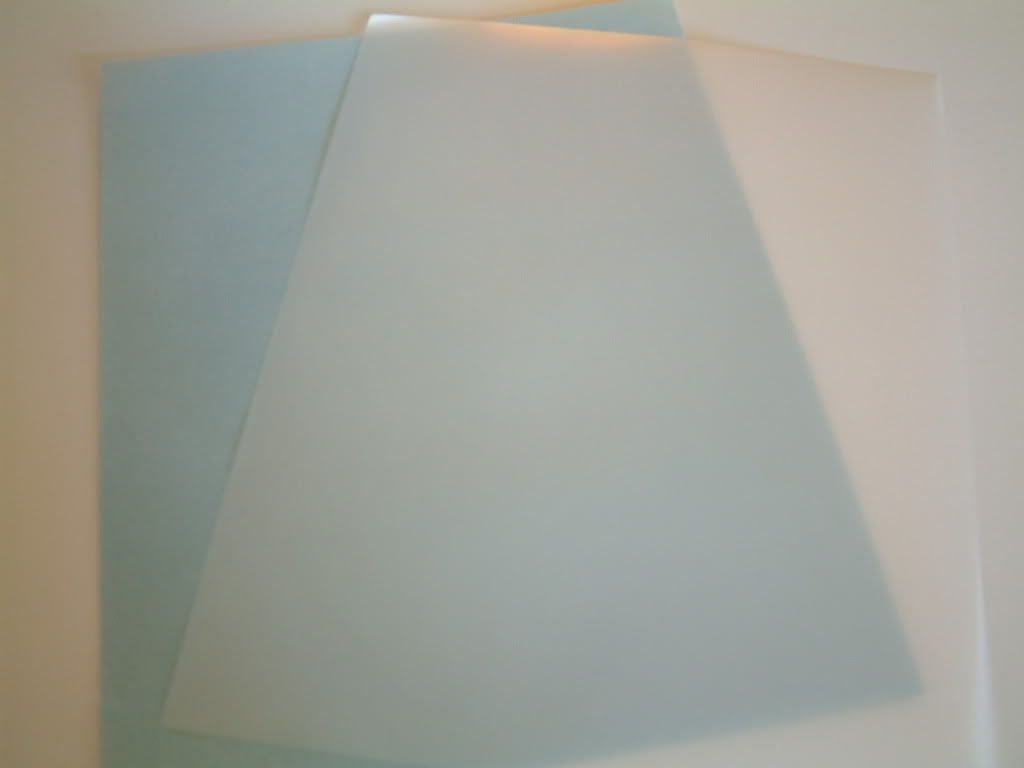
The product comes with two 8½” x 11” (letter-sized) sheets; one sheet is an adhesive film with a blue backing, and one sheet is a white frosted film. The purpose of the process and sheets is to transfer the ink from your printed image to an adhesive that you then apply to your project.
Step 1 – Print Your Images
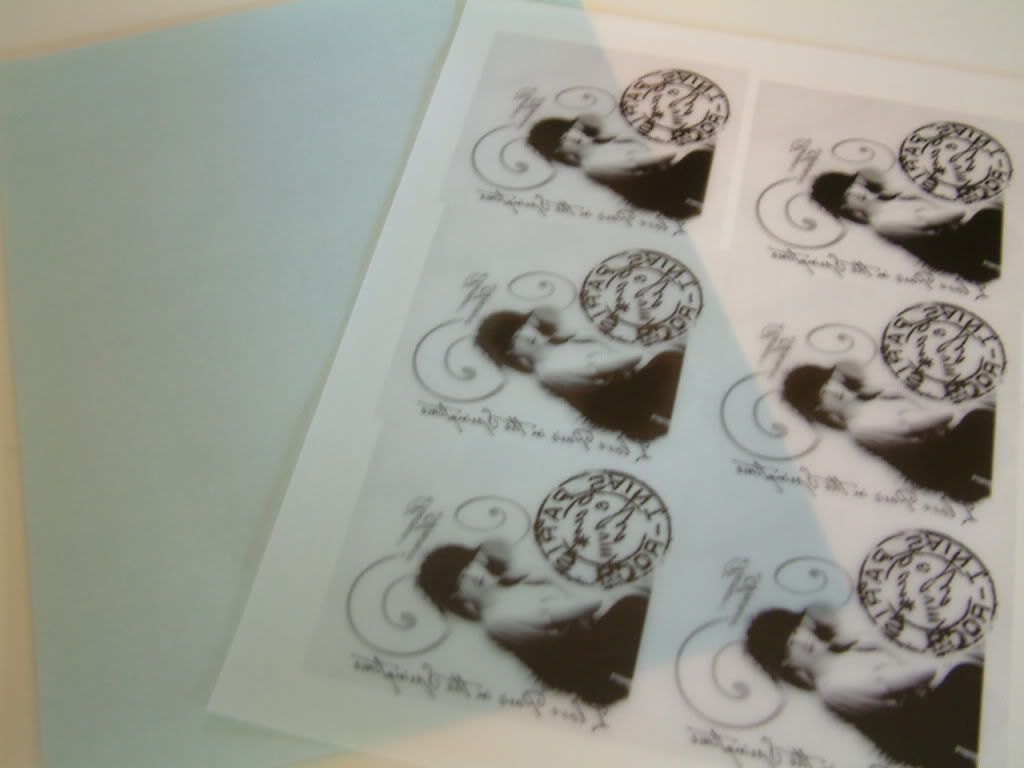
Print your images on the rough side of the Rub-Onz film with your printer set to “Photo Paper” and the resolution at the maximum setting.
TIPS
OPTION:
Instead of printing the images, you can use a rubber stamp to stamp the image and inks (pens, markers, alcohol inks, etc.) to color the image. Use an ink like Staz-On for stamping. The steps are the same regardless of which method you use (printing or stamping). You can also print some and stamp some on the same sheet. Make sure you complete all stamping, printing, coloring, etc., before moving on to the next step.
Try to fill up the entire sheet. The product is not terribly expensive, but it’s not cheap either.
The sheet you print your images on is not the sheet that is used to apply your image. You are going to be transferring the image to an adhesive sheet, so the image will be reversed. If the direction of the image matters, either reverse your image before printing or change your printer settings to “Mirror Image” before printing.
Trying to create a transfer of text does not work unless the text is part of an image or the text has color behind it. Plain text has no ink around it, so there is nothing to stick to the adhesive.
If your printer feeder does not handle the sheet of film (one of mine did not), you can tape (removable double-sided tape) the sheet to a piece of heavier paper, and it should work.
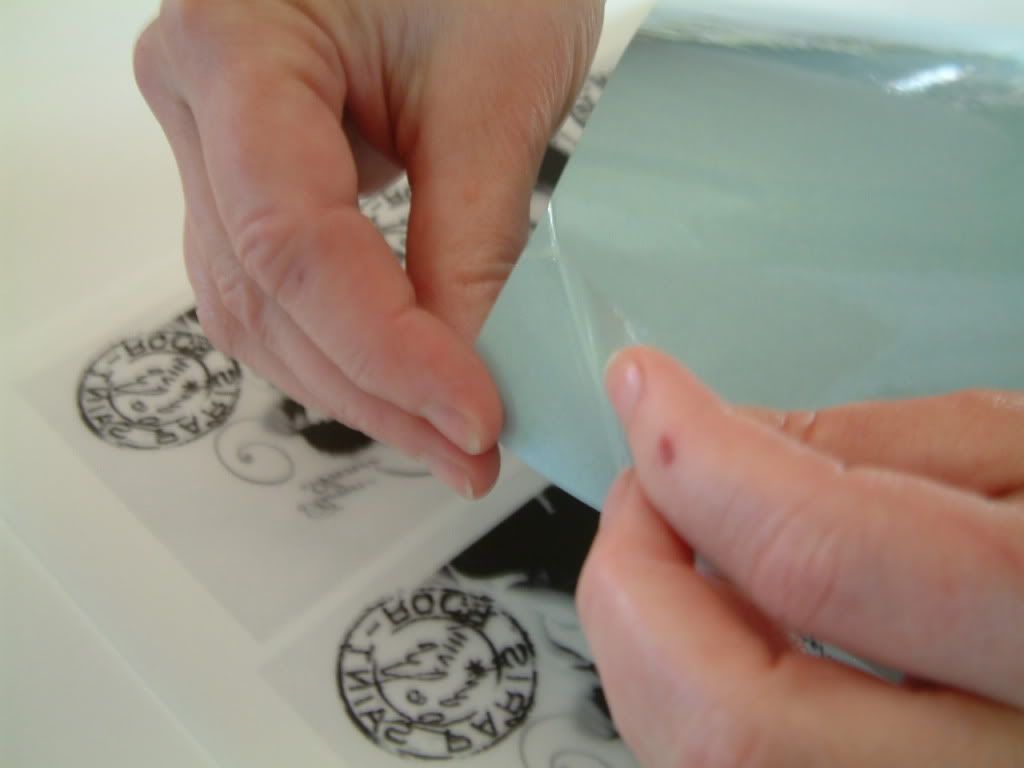
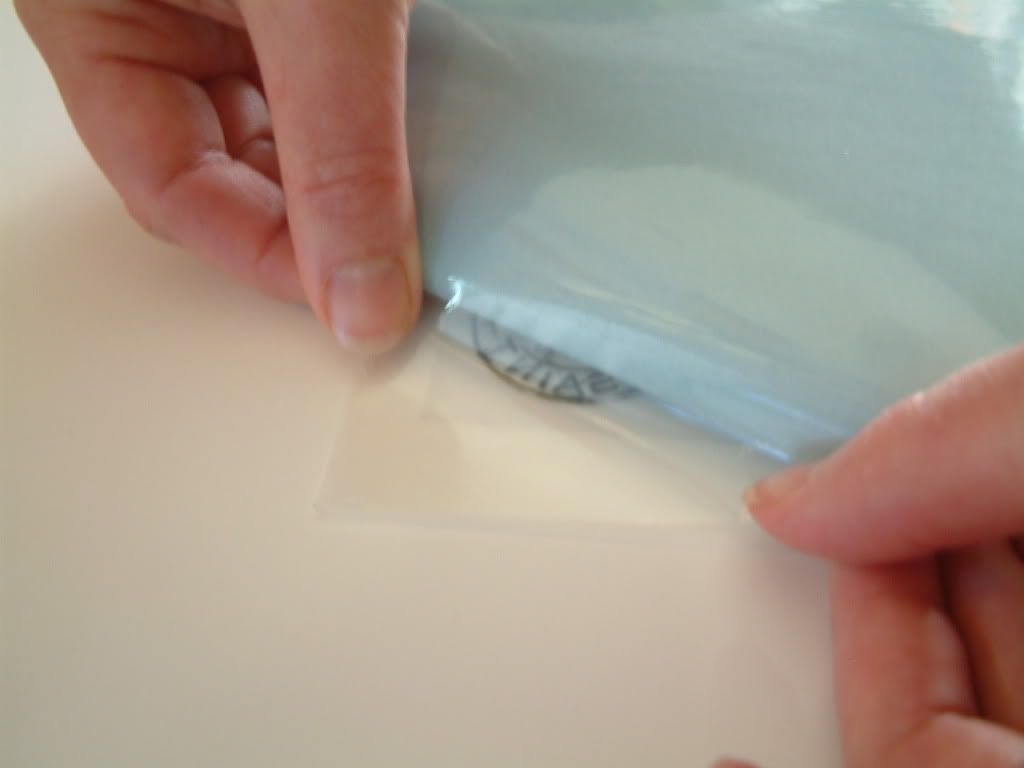
Step 2 – After printing, wait approximately 15 minutes for the sheet to dry. The time will vary depending on the dampness of your climate. You’ll then apply the adhesive film sheet from the blue sheet to the printed sheet. Start by taking the blue sheet and separating the blue side from the clear side at a corner. Only separate a small part of the sheet.
Apply the clear side of the sheet, which is coated in an adhesive, to your printed sheet.
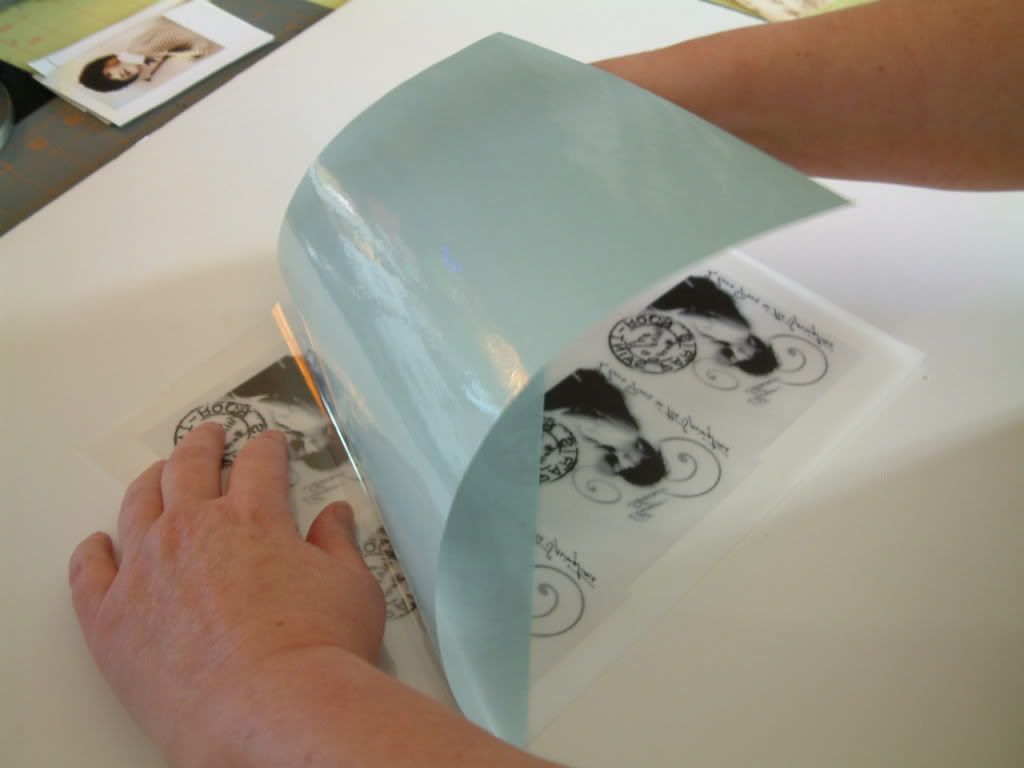
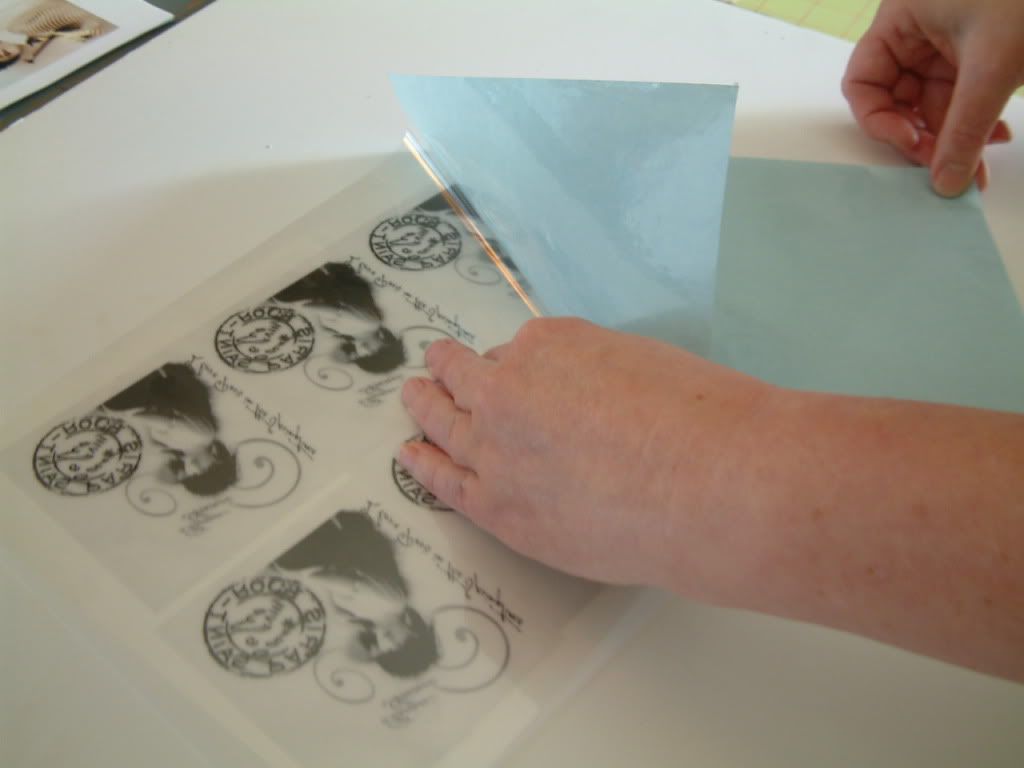
Slowly pull back the blue sheet and press the clear adhesive side onto the printed sheet. You want to avoid creating bubbles between the sheets.
Continue until the entire clear adhesive sheet is applied to the printed sheet.
VERY IMPORTANT
Once you start applying the adhesive sheet, you cannot stop, and you can’t lift it and shift it.
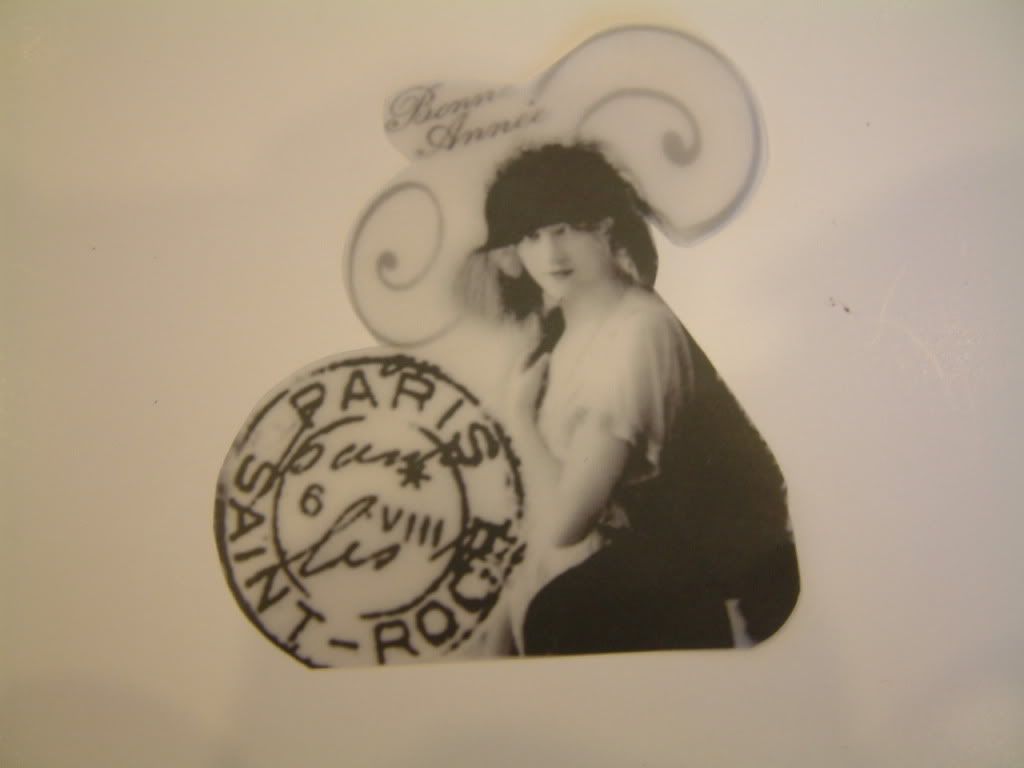
Step 3 – Cut out your image. The transfer film has a slight sheen, so cut your images as close as possible.
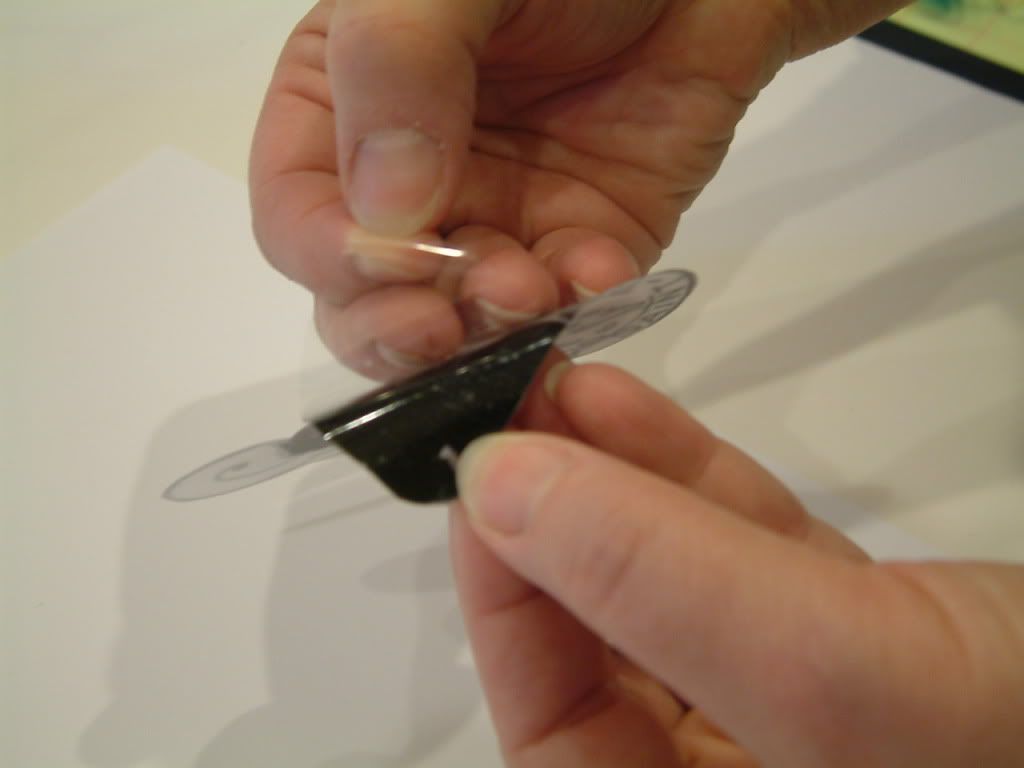
Step 4 – Separate the transfer film from the adhesive film at the edge
Tips
· If you can’t get the films to separate, shift to a different edge and try again.
· If the films separate improperly, press them together, move to a different edge, and try separating them again.
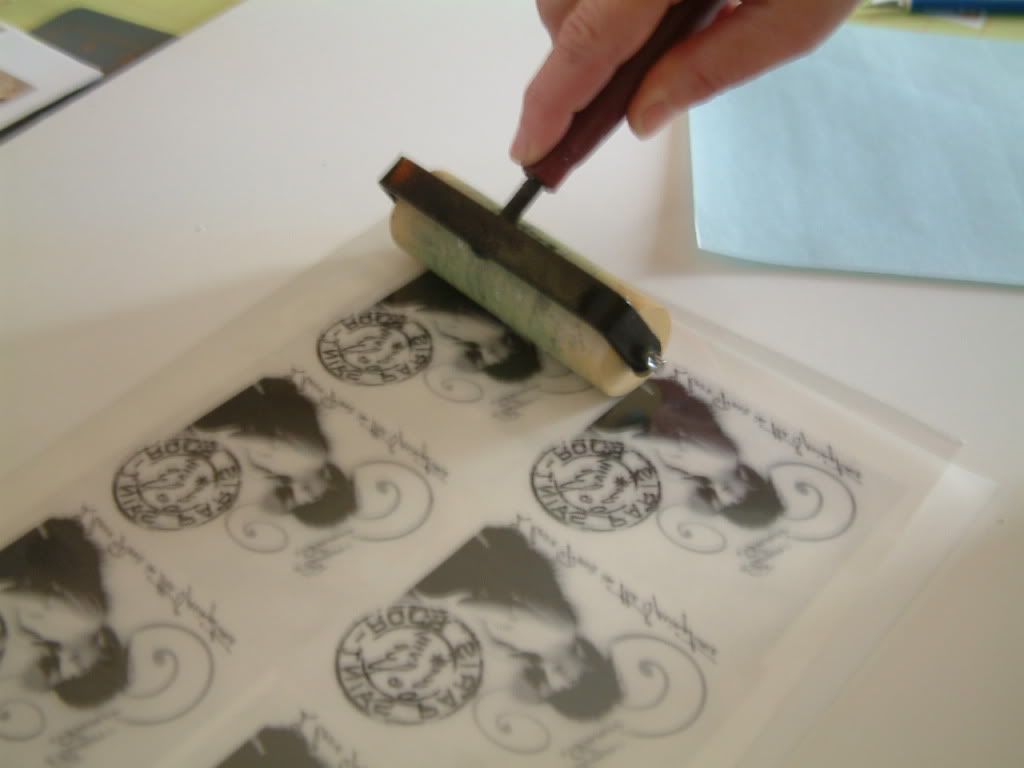
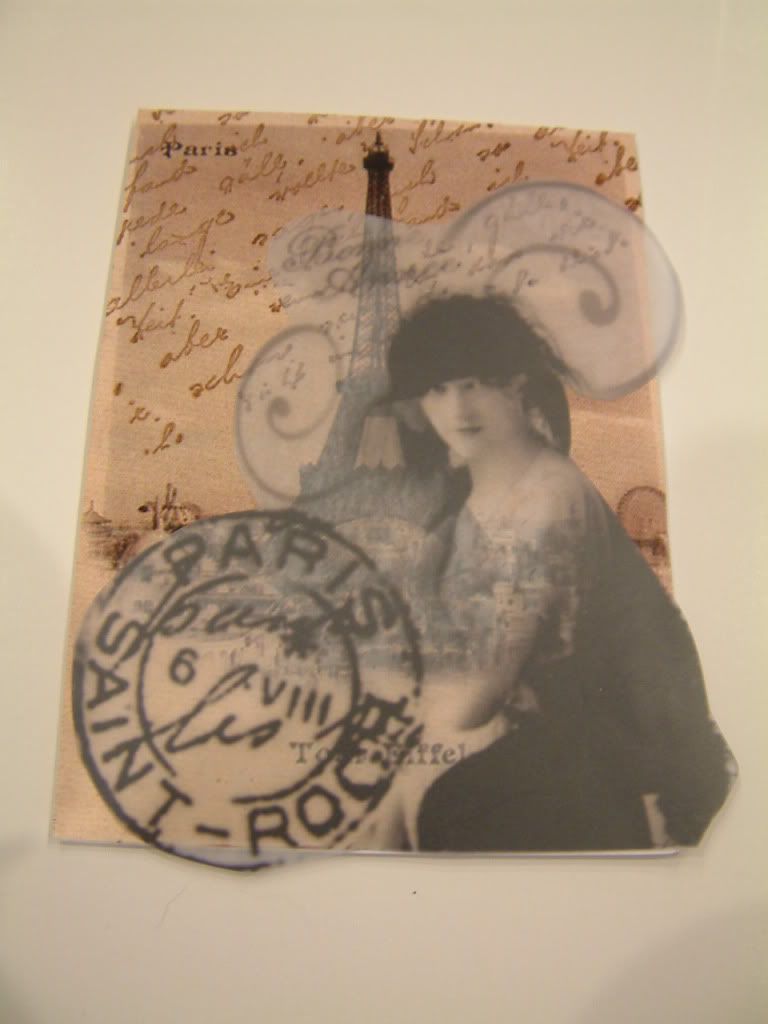
Step 5 – Place the image (sticky side) on your project, and using a popsicle stick, rub the image until you can lift the transfer film.
To check more techniques using Grafix Rub-Onz Transparency Film, click here http://artfullymusing.blogspot.com/2010/12/tutorial-aging-and-crackling-image.html
Below is the Grafix website, where you can find sites to purchase the product.
Click here to download the PDF file of this tutorial.

Thank you Laura!
ReplyDeleteThank you Laura!
ReplyDeleteYou are my idol Laura! You have so many techniques and tips I have not even heard of. THANK YOU!
ReplyDeleteWow, just yesterday evening, I saw some rub on images that were pricey and thought how nice it would be if I could make my own images into rub ons. Here is the tuotrial! Thank you so much for these. Your site is amazing, it's my first time here. I came here via Alpha Stamps site.
ReplyDelete