
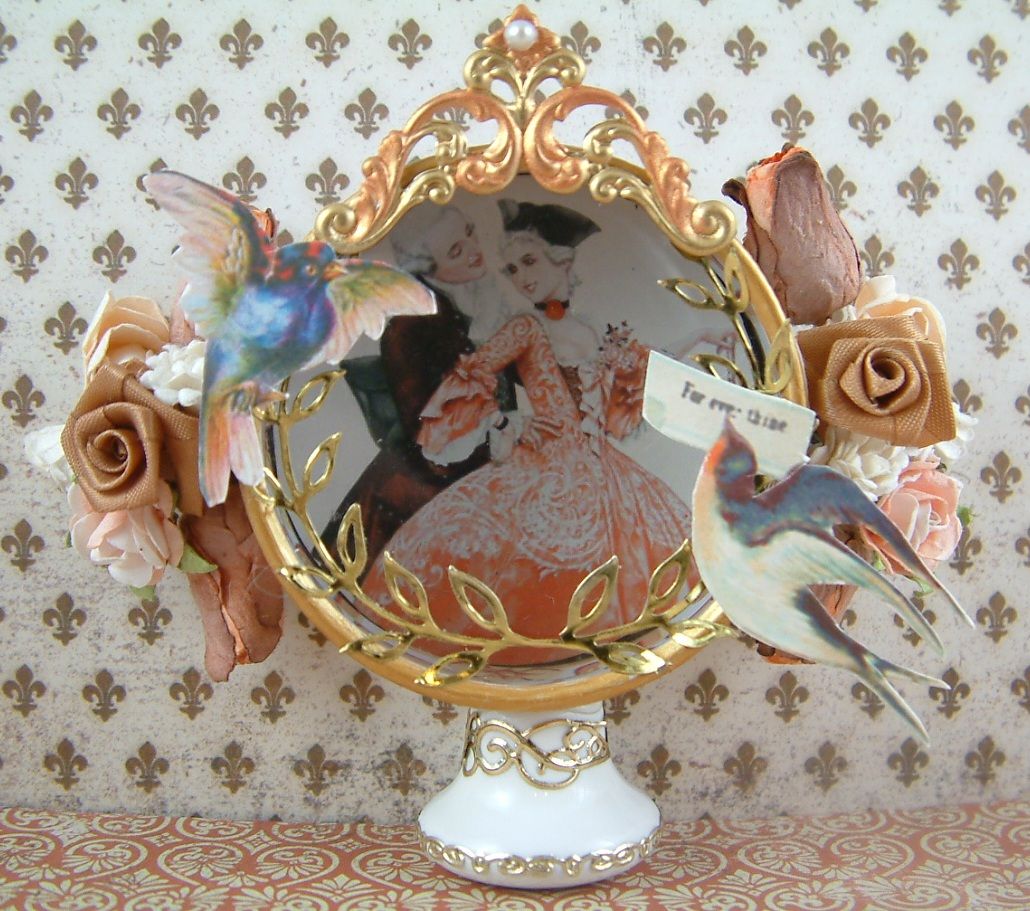
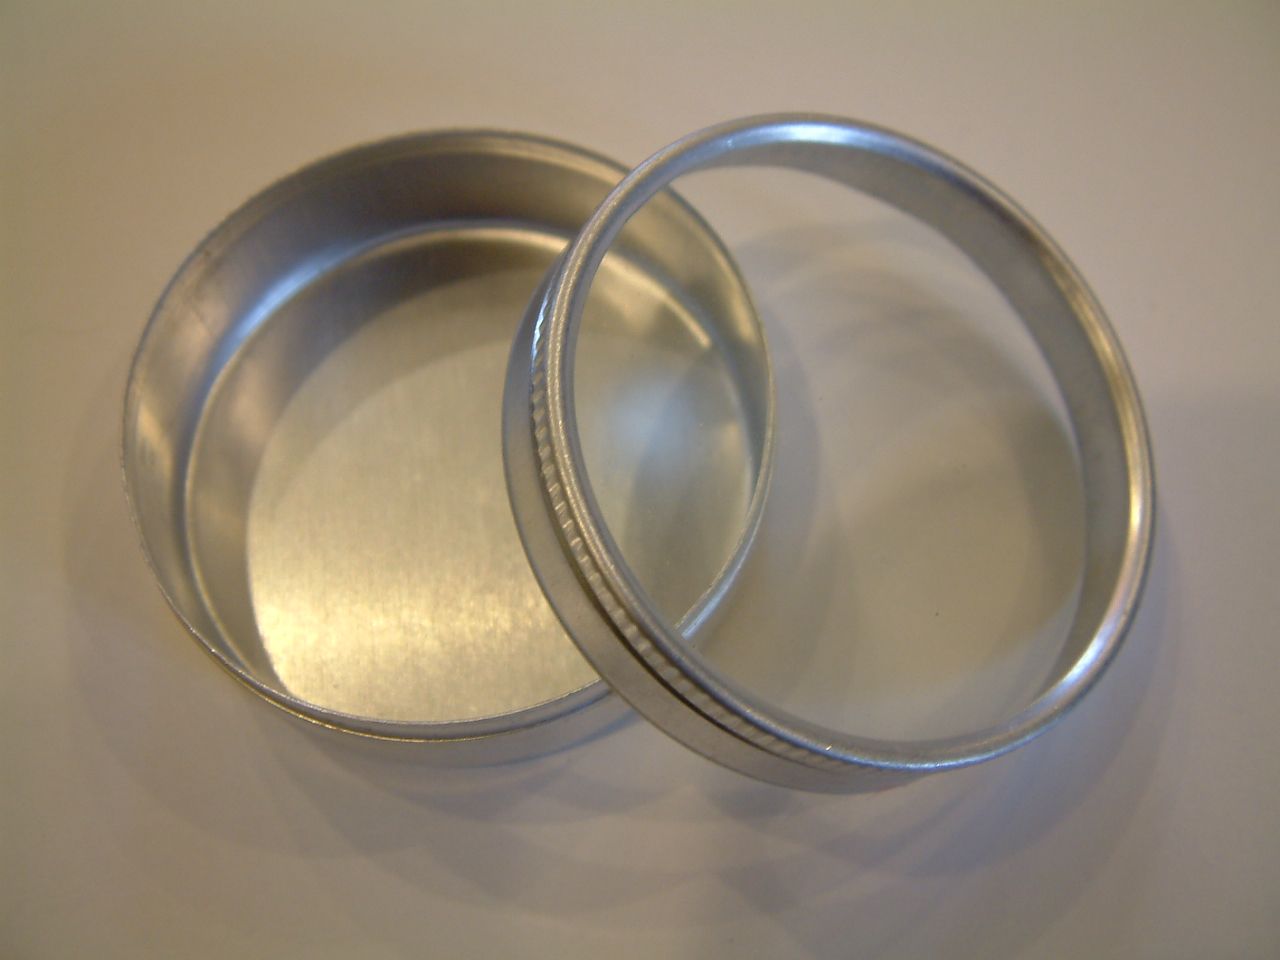
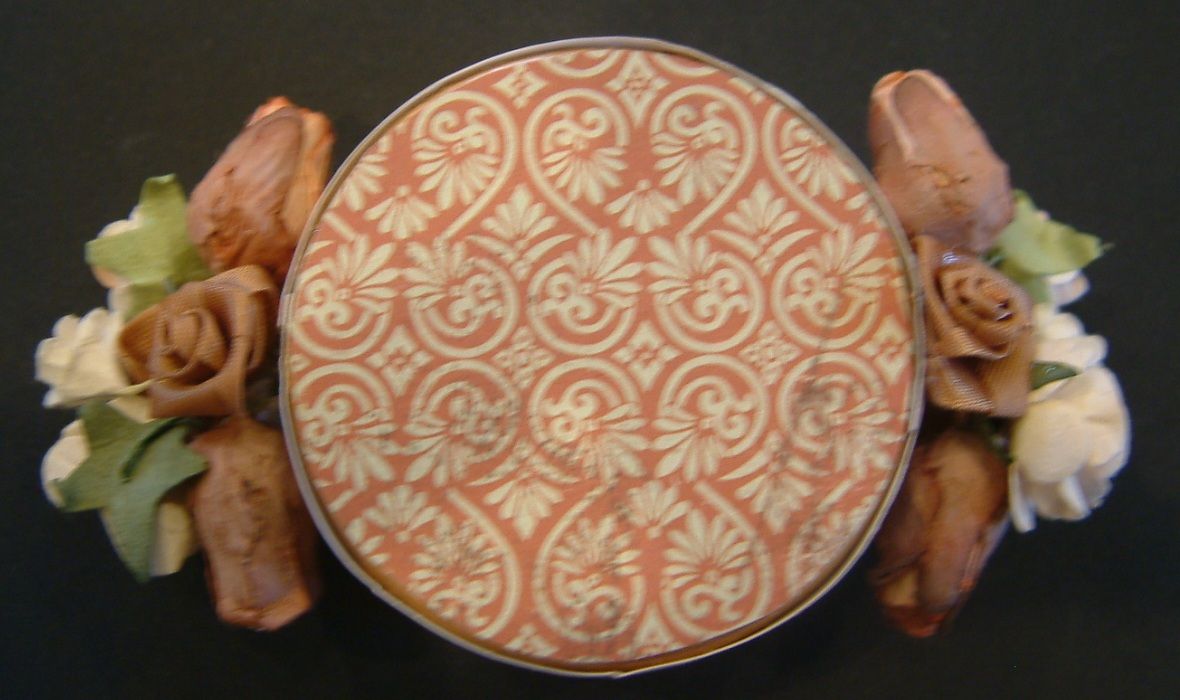
I created this altered tin for the Naughty Valentine Swap hosted by Alpha Stamps. This is the first of three tins. The unaltered tin measures approximately 2” wide by 1” deep. The finished dimensions are 4” wide by 3 ¼ high.
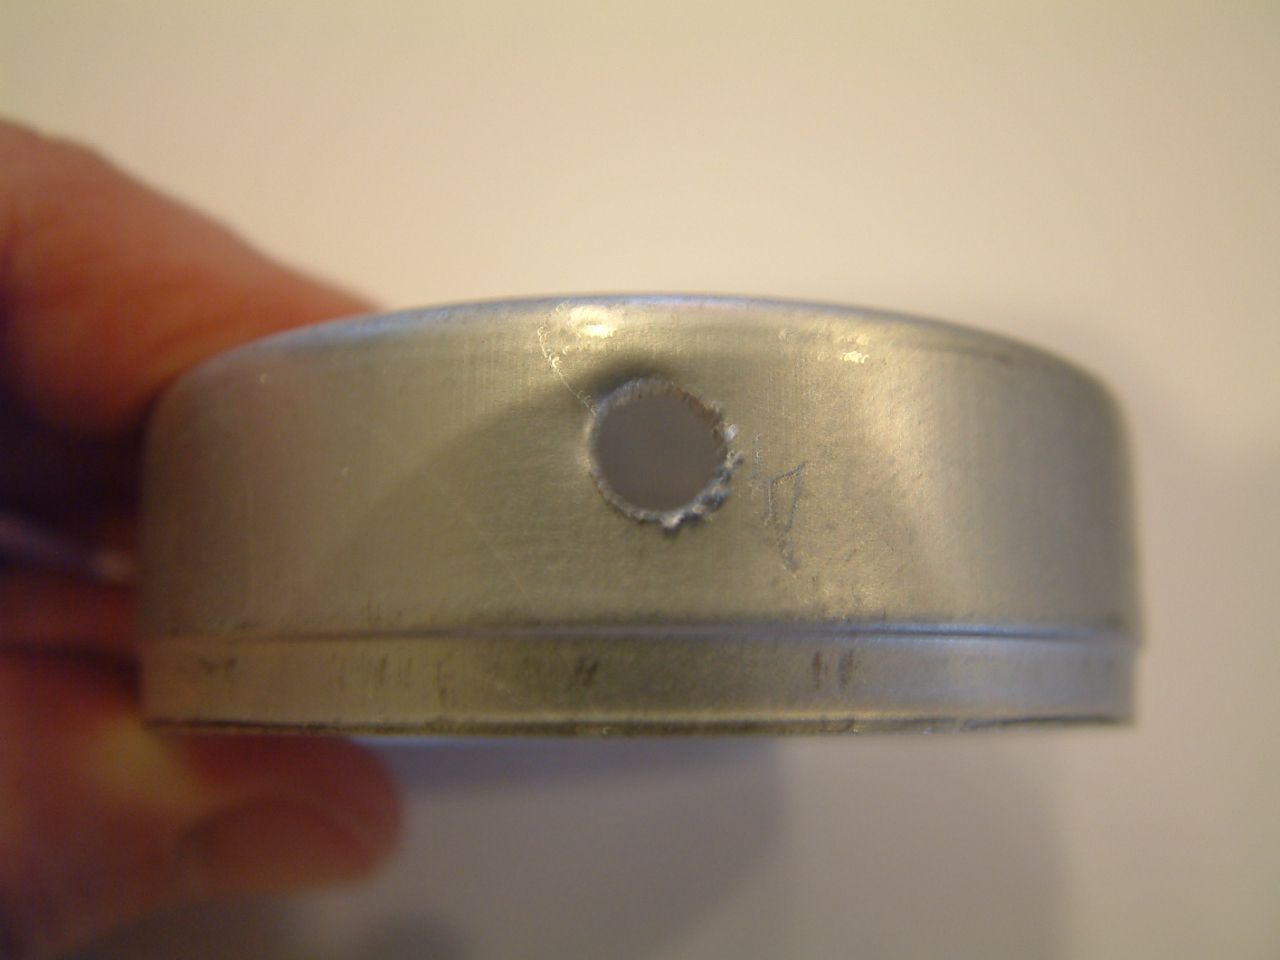
I started by drilling two holes in opposite sides of the tin towards the back of the tin. After drilling the first hole I inserted a wooden skewer through the hole and used it to figure out where drill the hole on the opposite side. The holes are to accommodate the flowers.
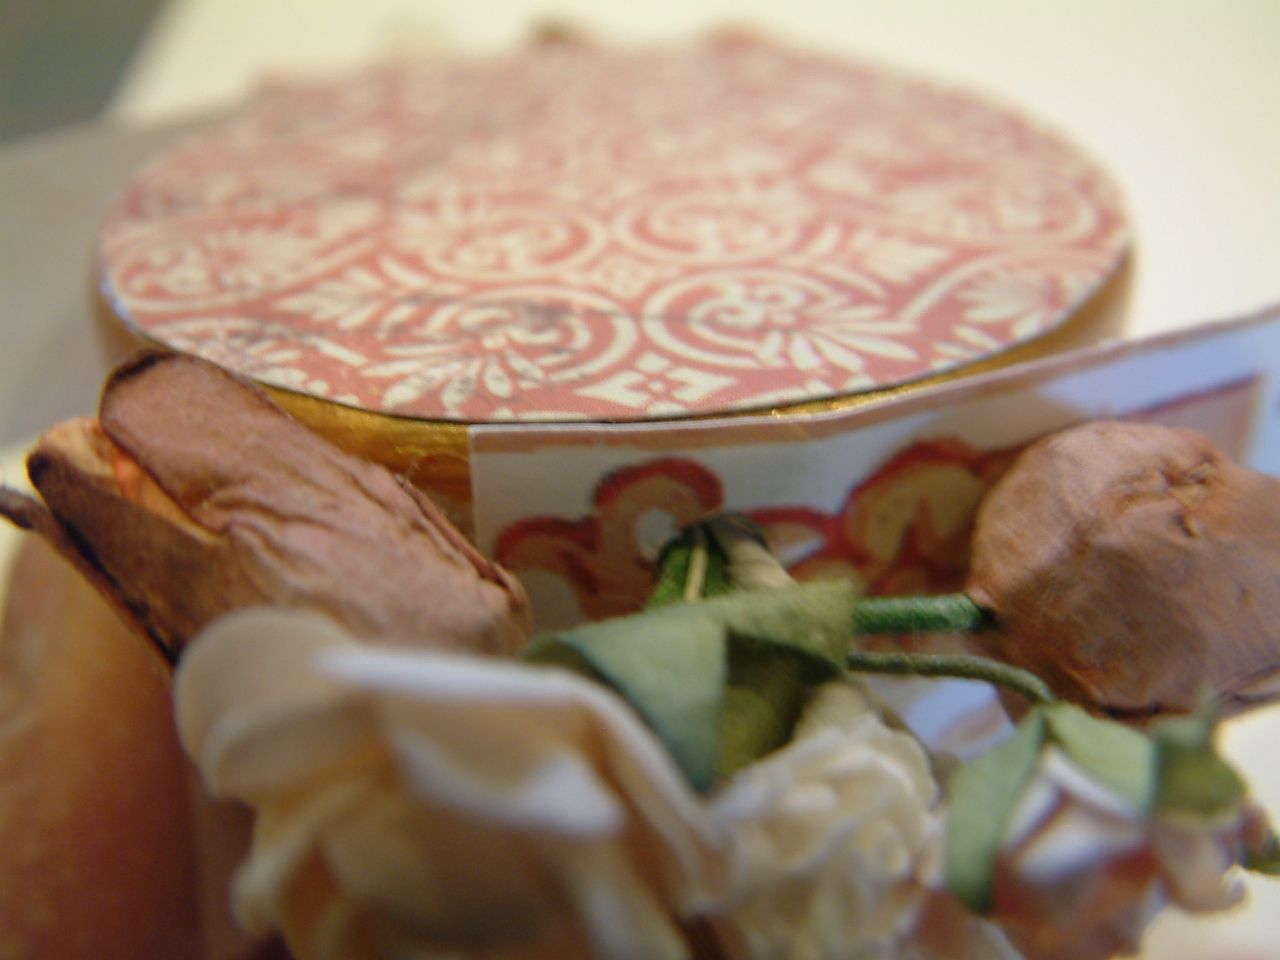
I added paper to the inside of the tin and re-opened the holes. I decided to cover the back and sides with paper. Since the edges of the tin are round, it is impossible to completely cover them so I first painted them gold.
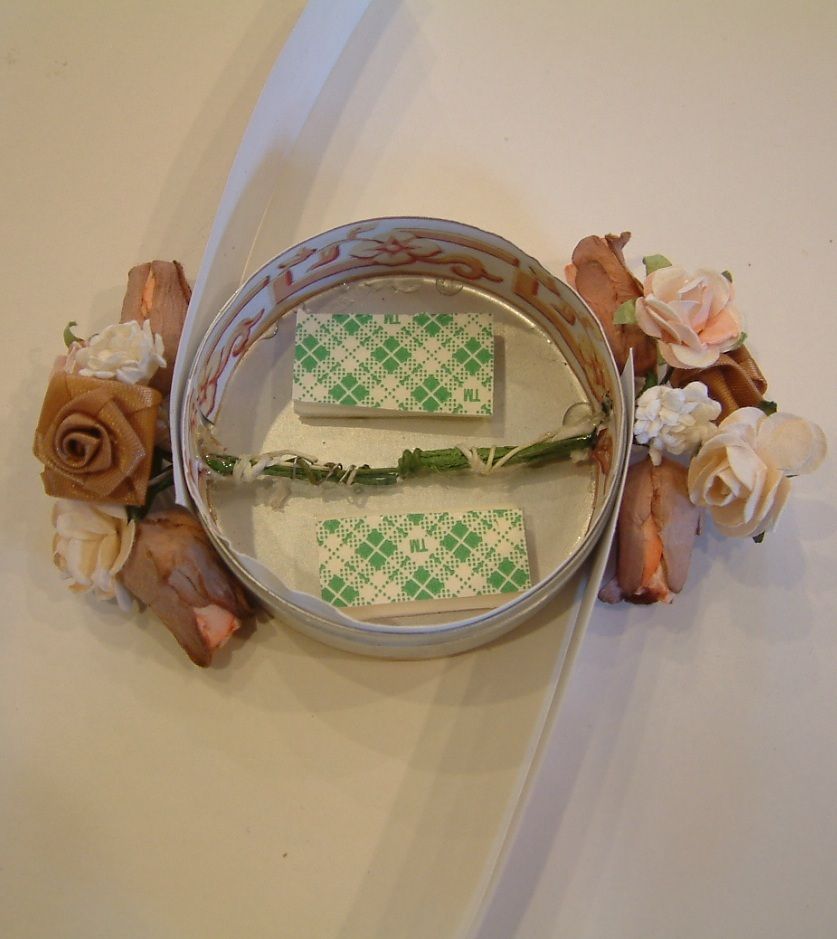
The next step was tricky. Since I was inserting the flowers through the holes, I needed to attach the paper to the outside first. But I couldn’t cover the outside with paper before adding the lid. I couldn’t add the lid until I added the flowers and the inside image. It was a "what come first" moment ‘the chicken or the egg”. I solved the problem by gluing the outside paper to just the area where the hole were. Then I re-opened the holes, inserted the flowers through the holes, and glued the flowers in place.
I needed to create a “false bottom” as the stems of flowers create bulk. Next, I added layers double stick tape to the back of the tin until the tape was flush with the stems. Now when I insert the image into the tin it will stick to, and rest on, the tape.
I inserted the image into the tin and added the lid. The lid is painted gold and edged with gold metallic stickers.
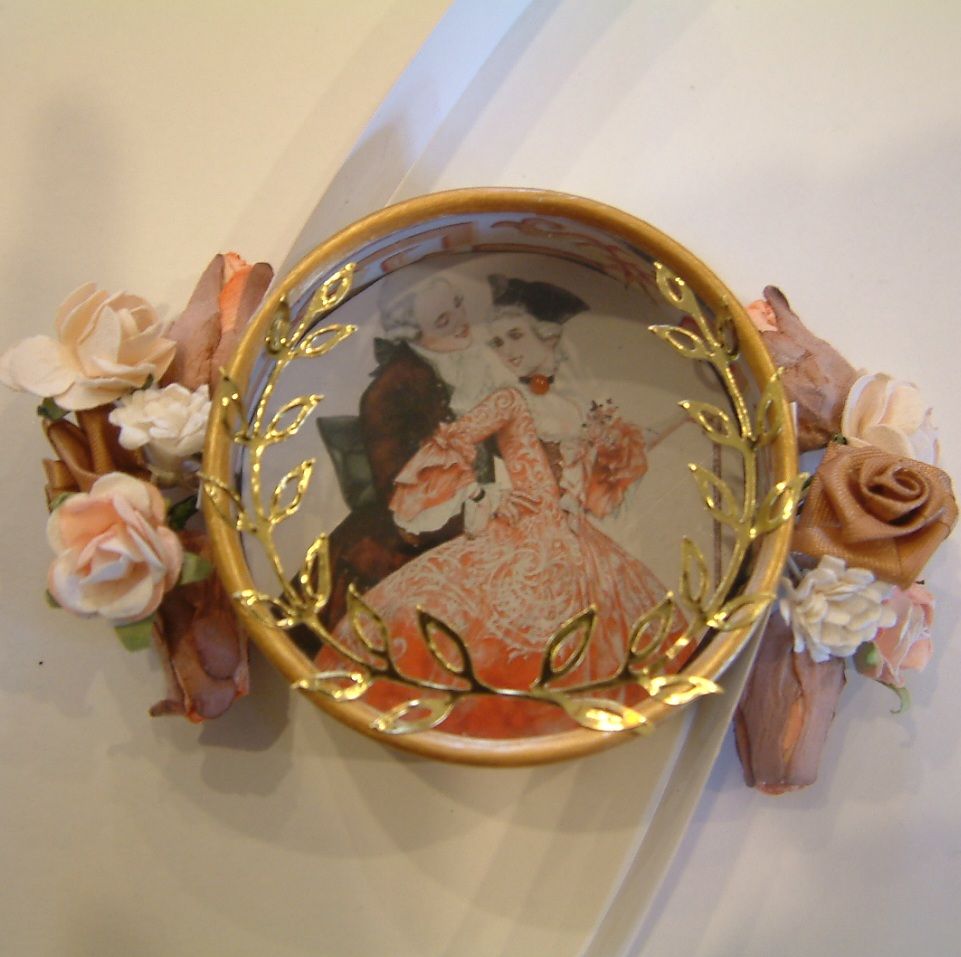
Once the lid was in place, I finished glueing down the paper on the outside of the tin.


Beautiful Laura!
ReplyDeleteYour tin is absolutely beautiful. I'm participating in the same swap and am now ashamed of my poor little tins. It's my first time at decorating tins so I've been at a loss. I have two completely done, but maybe I can go back and adjust. Your work is inspirational.
ReplyDeleteSmiles~
Marilyn
Gorgeous tin, Laura! Every detail is beautiful!
ReplyDeleteVery pretty and I like how you solved your "chicken or the egg" dilemma!
ReplyDeletePhew that was a project and a half, so much work.....but so worth it. Fabulous, x
ReplyDeleteBeautiful Laura! You are so clever, love how this turned out.
ReplyDeleteElaine Allen
W.O.W. Laura!
ReplyDeletelove the details on this :D
~victoria~
Love your fabulous tin, Laura. Your talent never ceases to amaze me. Is it too early to put my hat in for February's giveaway? hee hee
ReplyDeleteAll I can say is WOW, this is so neat! My friend made me one and I thought it was fantastic, now yours. Gotta get me some of these tins.
ReplyDeleteGorgeous! All your creations amaze me everytime!
ReplyDeletethank you for sharing your process. beautiful tin!
ReplyDeleteBeautiful laura. If you hadn't given the details,I never would have imagined this was a tin.
ReplyDeleteHugs
Amazing transformation of something so ordinary to WOW extraordinary!
ReplyDeleteThis is so creative. I love it!
ReplyDeleteHugs!,
Gigi
Beautiful! Such a wonderful idea. What gentlemen or lady wouldn't love to receive this artfully created Valentine!
ReplyDeleteclever use of that door knob!! Lovely. :)
ReplyDeleteYou never cease to amaze me! This is wonderful!
ReplyDelete