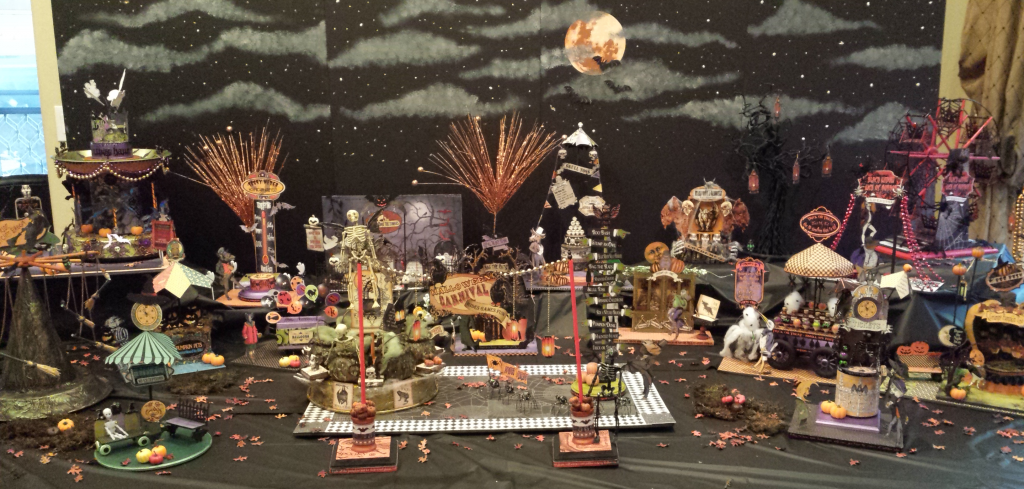
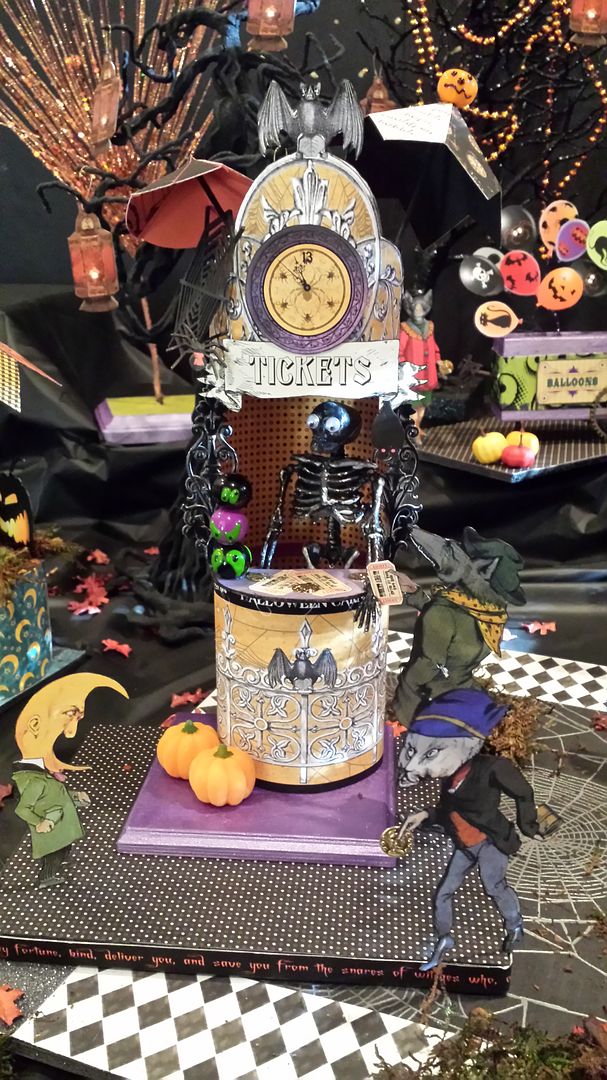
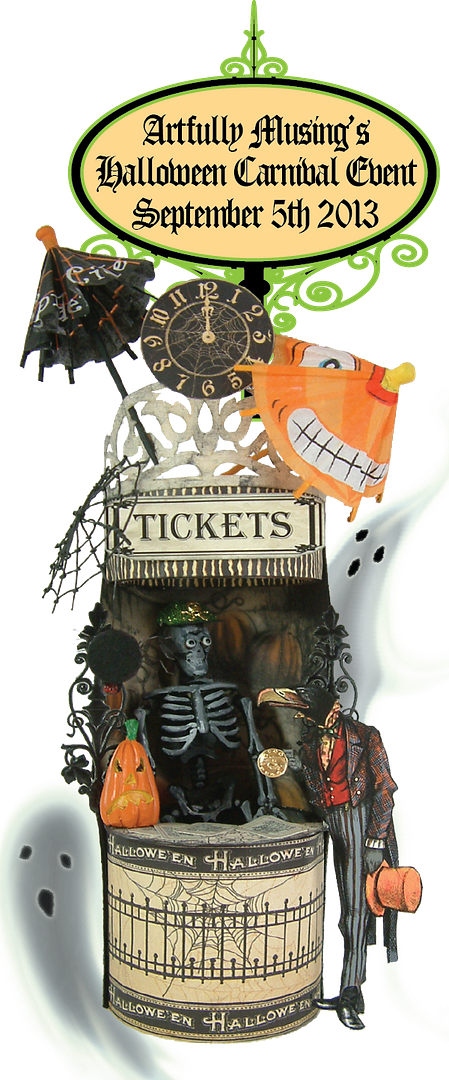
The Halloween Carnival has finally come to town and you are all invited. There is something for everyone but first you’ll need a ticket. Mr. Bones is working the booth tonight and he’ll be happy to help you. Once you have your ticket you’ll want to check out all the carnival has to offer; lots of games, rides and of course sweet treats to tempt you.
Next, you’ll need to dig out your Halloween stash plus your tin cans, pie pans, cake pans, Tinker Toys, wooden skewers etc.; yes, we are doing some serious up cycling with this project. I’m going to throw lots of ideas at you to help bring the carnival to your town.
The great thing about this project is that you can tackle as many pieces as you like with whatever resources and time you have, and add to your carnival over the years. This is a project your whole family can enjoy.
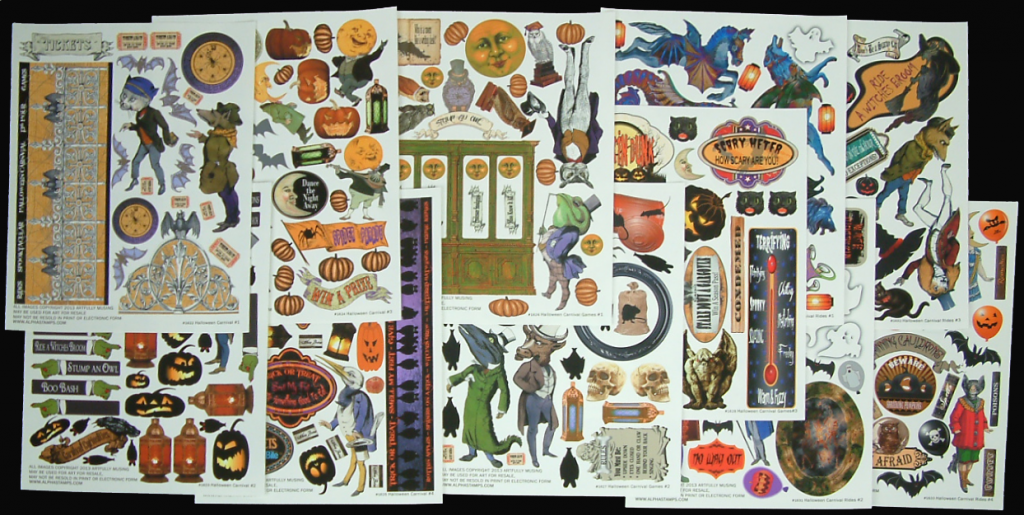
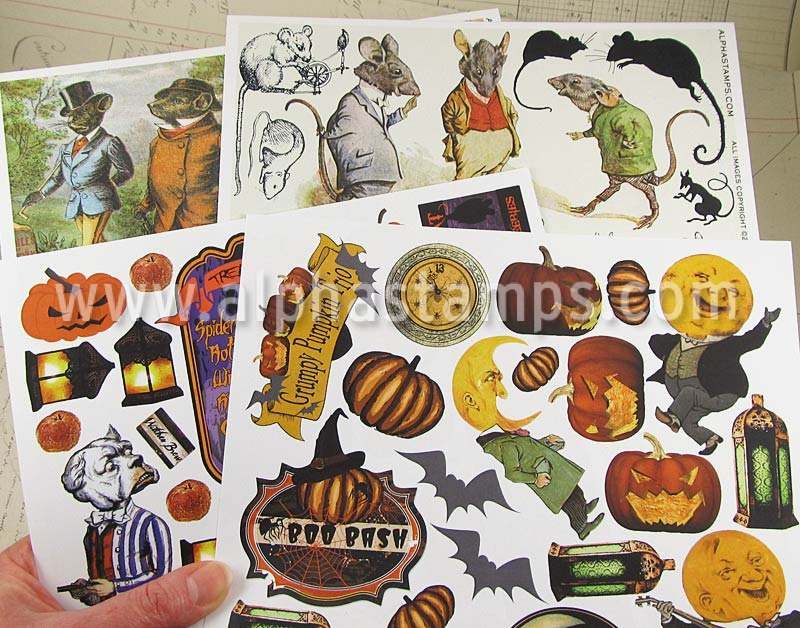
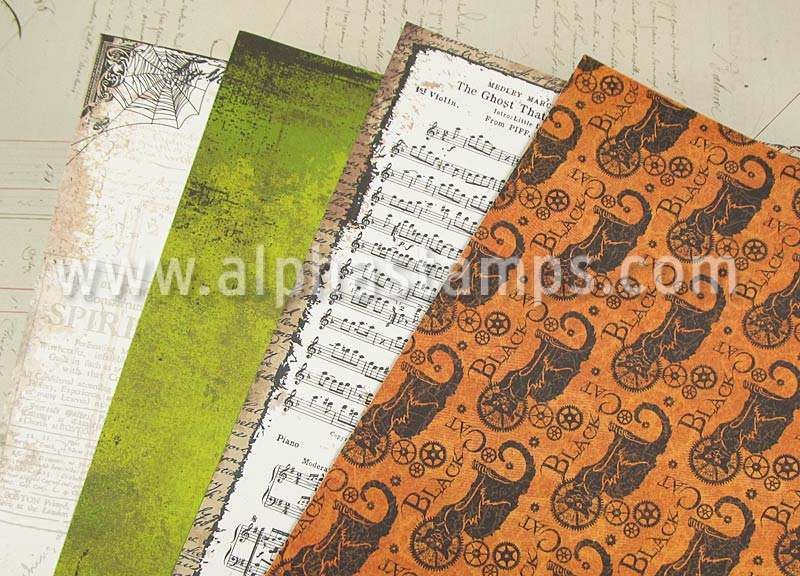
For the event I’ve created 12 new Carnival Themed collage sheets (click here to see them in detail). Or if you prefer there are 3 digital kits which contain all of the collage sheet images plus more.
All of my Carousel Themed Collage Sheets and File Sets are on sale at Alpha Stamps. I also have a free collage sheet for you to download (you’ll find it at the bottom of this post). Alpha Stamps is once again carrying many of the products I used and for those of you who participated in the Apothecary Event last year, you’ll see some of those products used again. Of course like the collage sheets the products are on sale too!
GIVEAWAY - Winner Anna Hedberg
An event must have giveaways!! The first is for those who make a carnival. To participate:
- You must make at least three pieces for your carnival.
- They can be any three pieces.
- They can be like the ones I demonstrate or anything else you desire.
- You do not have to use the products I use except that you must use at least one image from one of my Carnival Themed Collage Sheets or Digital File Sets. The free collage sheet does not count.
CHALLENGE - Winner Debra Rollier
With a Giveaway
For this event I thought it would be fun to have a challenge. To participate:
- You must create one carnival piece that is different than any you see in the video tutorials.
- The piece can be a game, ride, or some other type of booth you would see in a Halloween Carnival.
- You do not have to use the products I use except that you must use at least one image from one of my Carnival Themed Collage Sheets or Digital File Sets. The free collage sheet does not count.
Alpha Stamps Boo Bash Giveaway
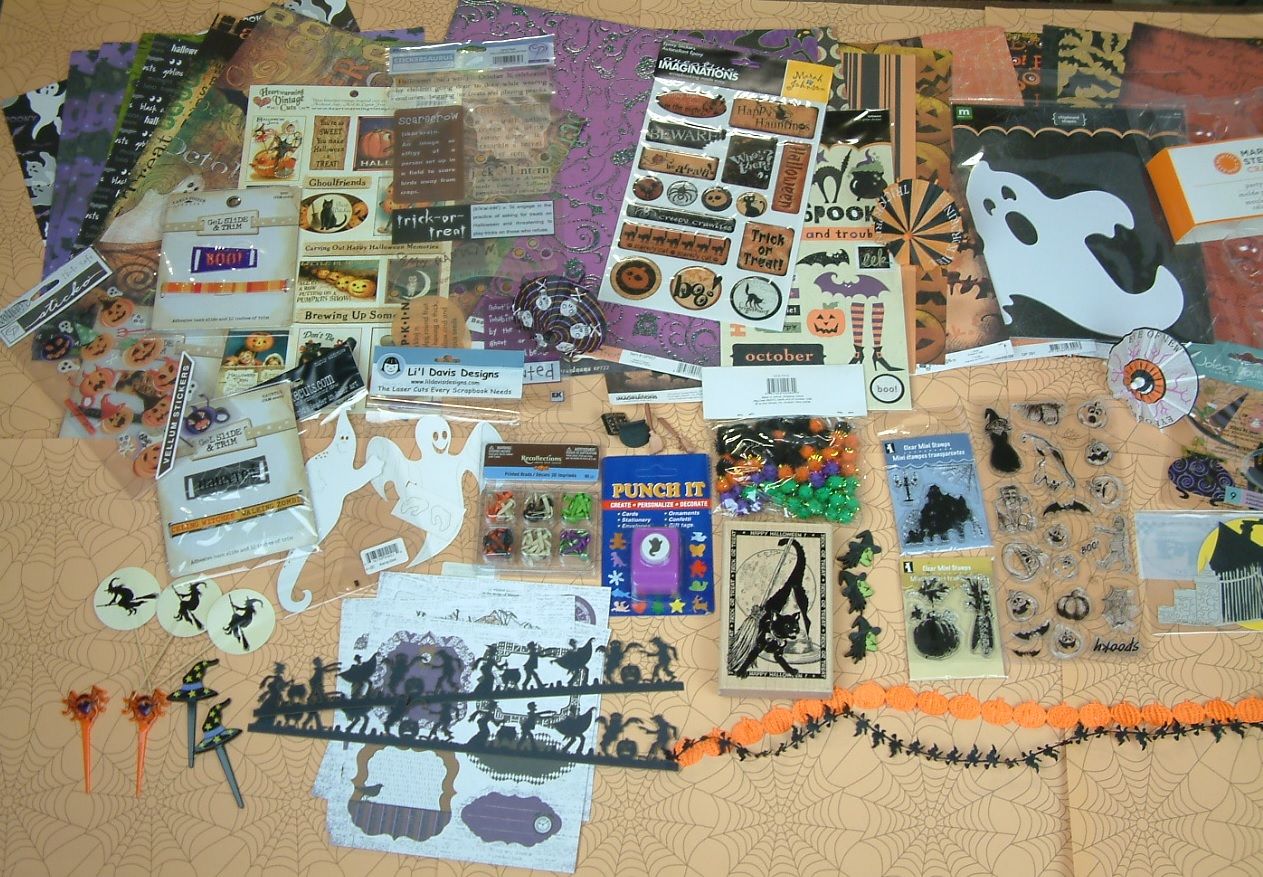
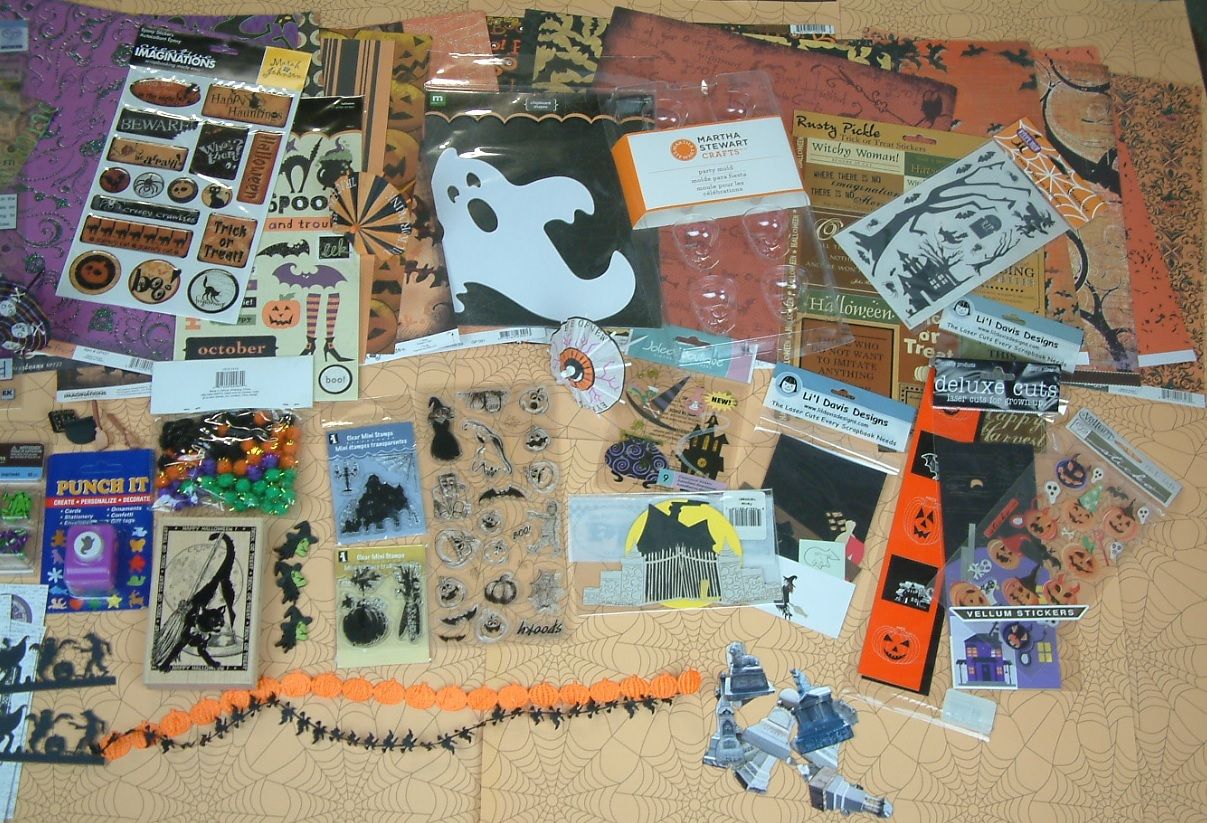
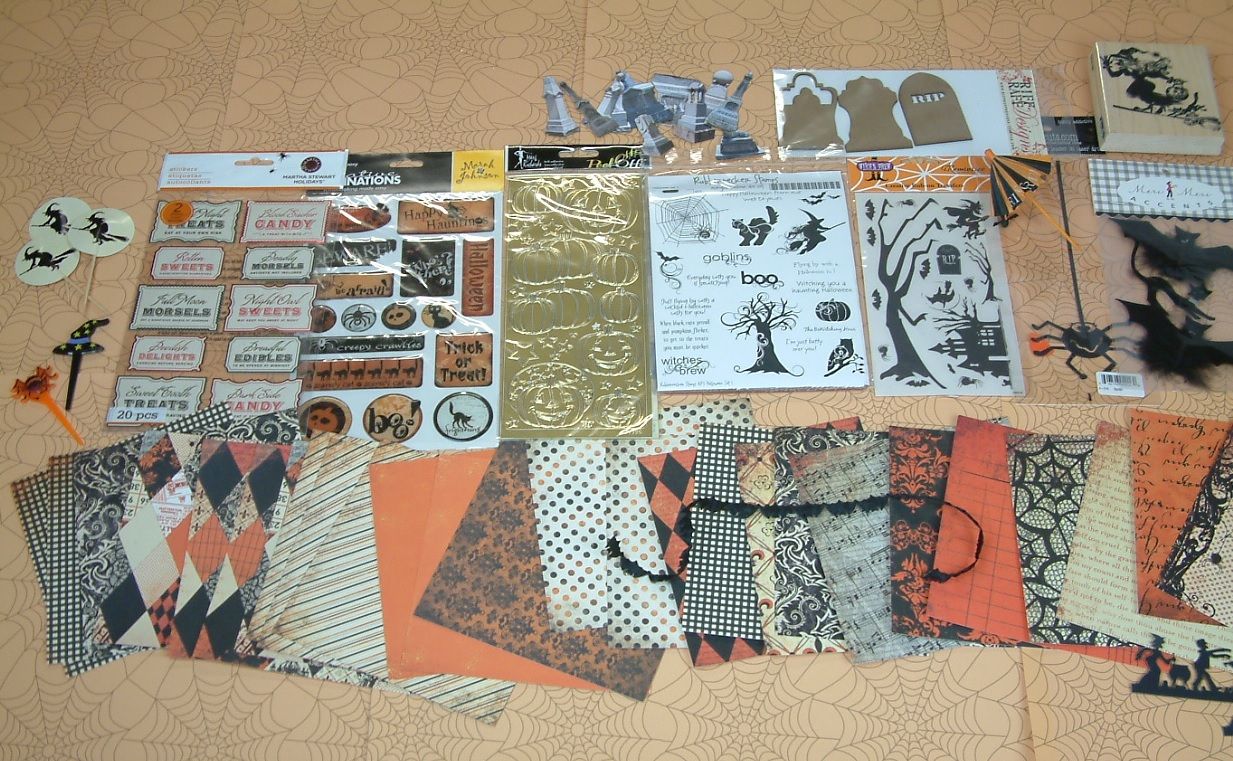
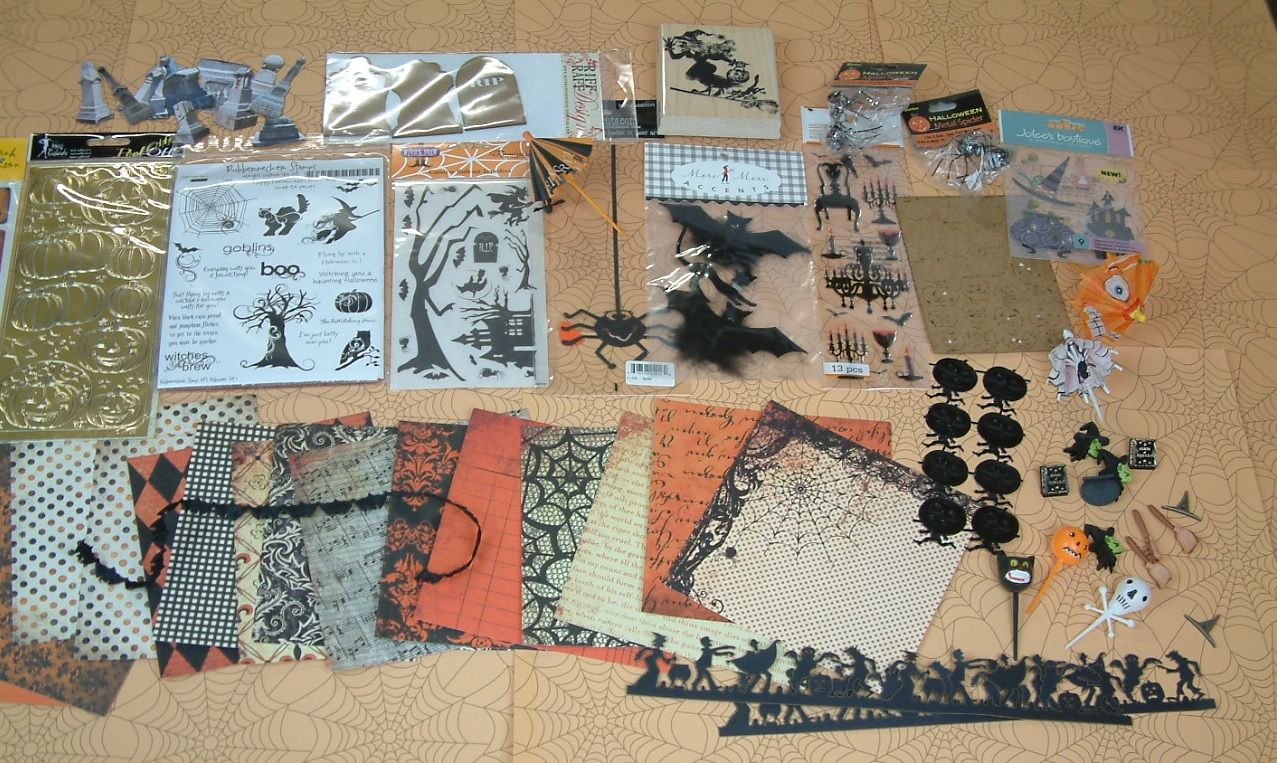
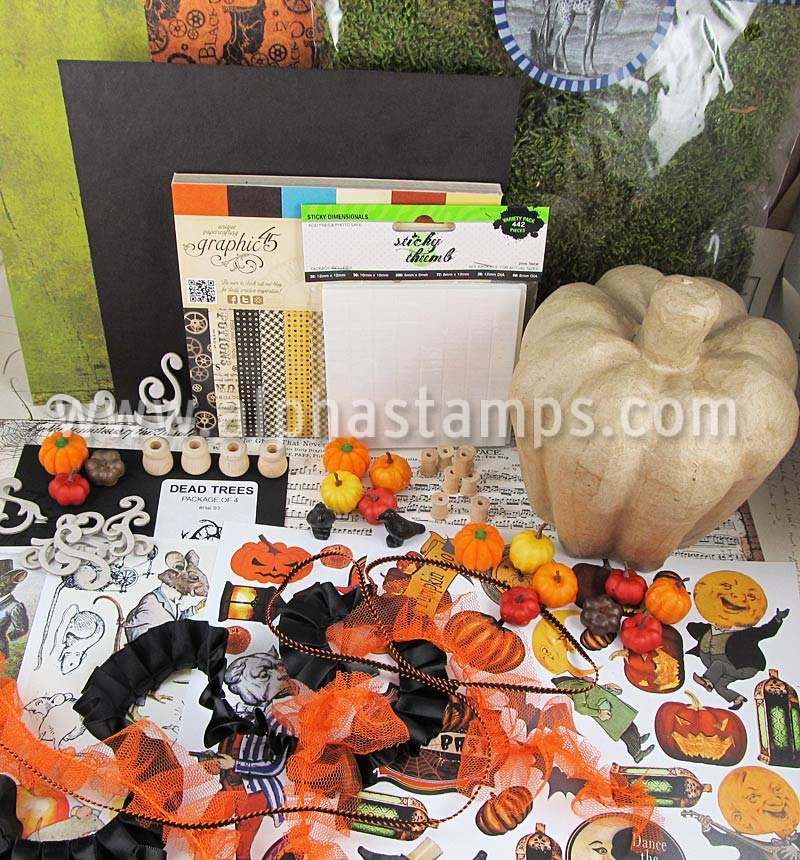
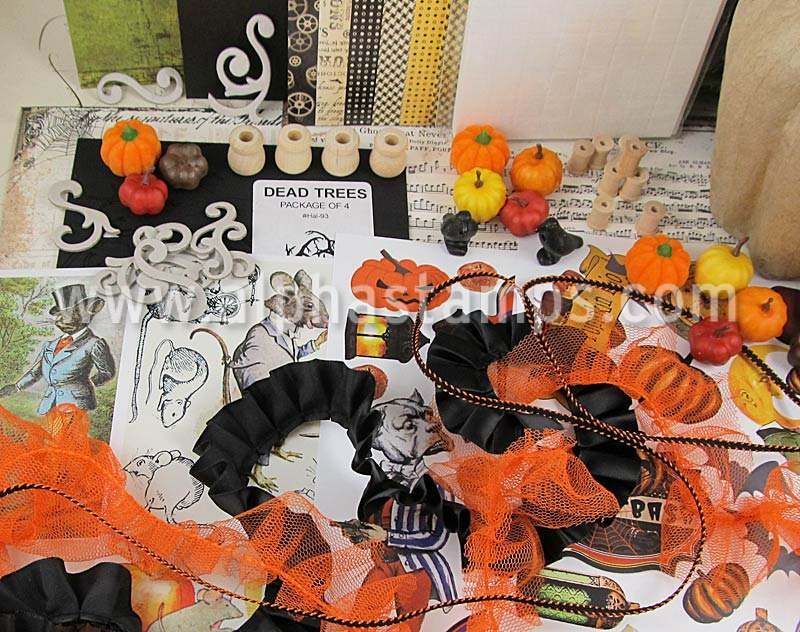
I'm not the only one having giveaways in honor of this event. Alpha Stamps is giving away all of the products they carry that I used in the Boo Bash (see pictured below) including my collage sheets plus more!!
Just look at all the goodies!!
OTHER IMPORTANT INFORMATION
The tutorials, collage sheets and free images will not go away after October 31st. They will continue to be available for as long as I have a blog so no worries.
Since this carnival is so large and there were some thing’s that didn’t make it into the tutorials, I will be showcasing individual pieces here on the blog throughout September plus the ones not covered in the tutorials.
Questions – If you have any questions use the Email Me button in the right hand column of the blog (it's the raven sitting on the ball) so that I have a way to contact you to answer your questions.
Since this post will start moving down my blog I’ve added a tab at the top of the blog for the event. The tab will always contain all of the event information and any new updates that arise after this post.
If you are new to my blog and are into Witches Apothecaries, below is the link to last year’s tutorials for that event.
TUTORIALS
When you finish watching each video be sure to download the companion PDF document which includes pictures of the pieces, complete supply lists, step by step directions and other information.
VIDEO TUTORIAL 1
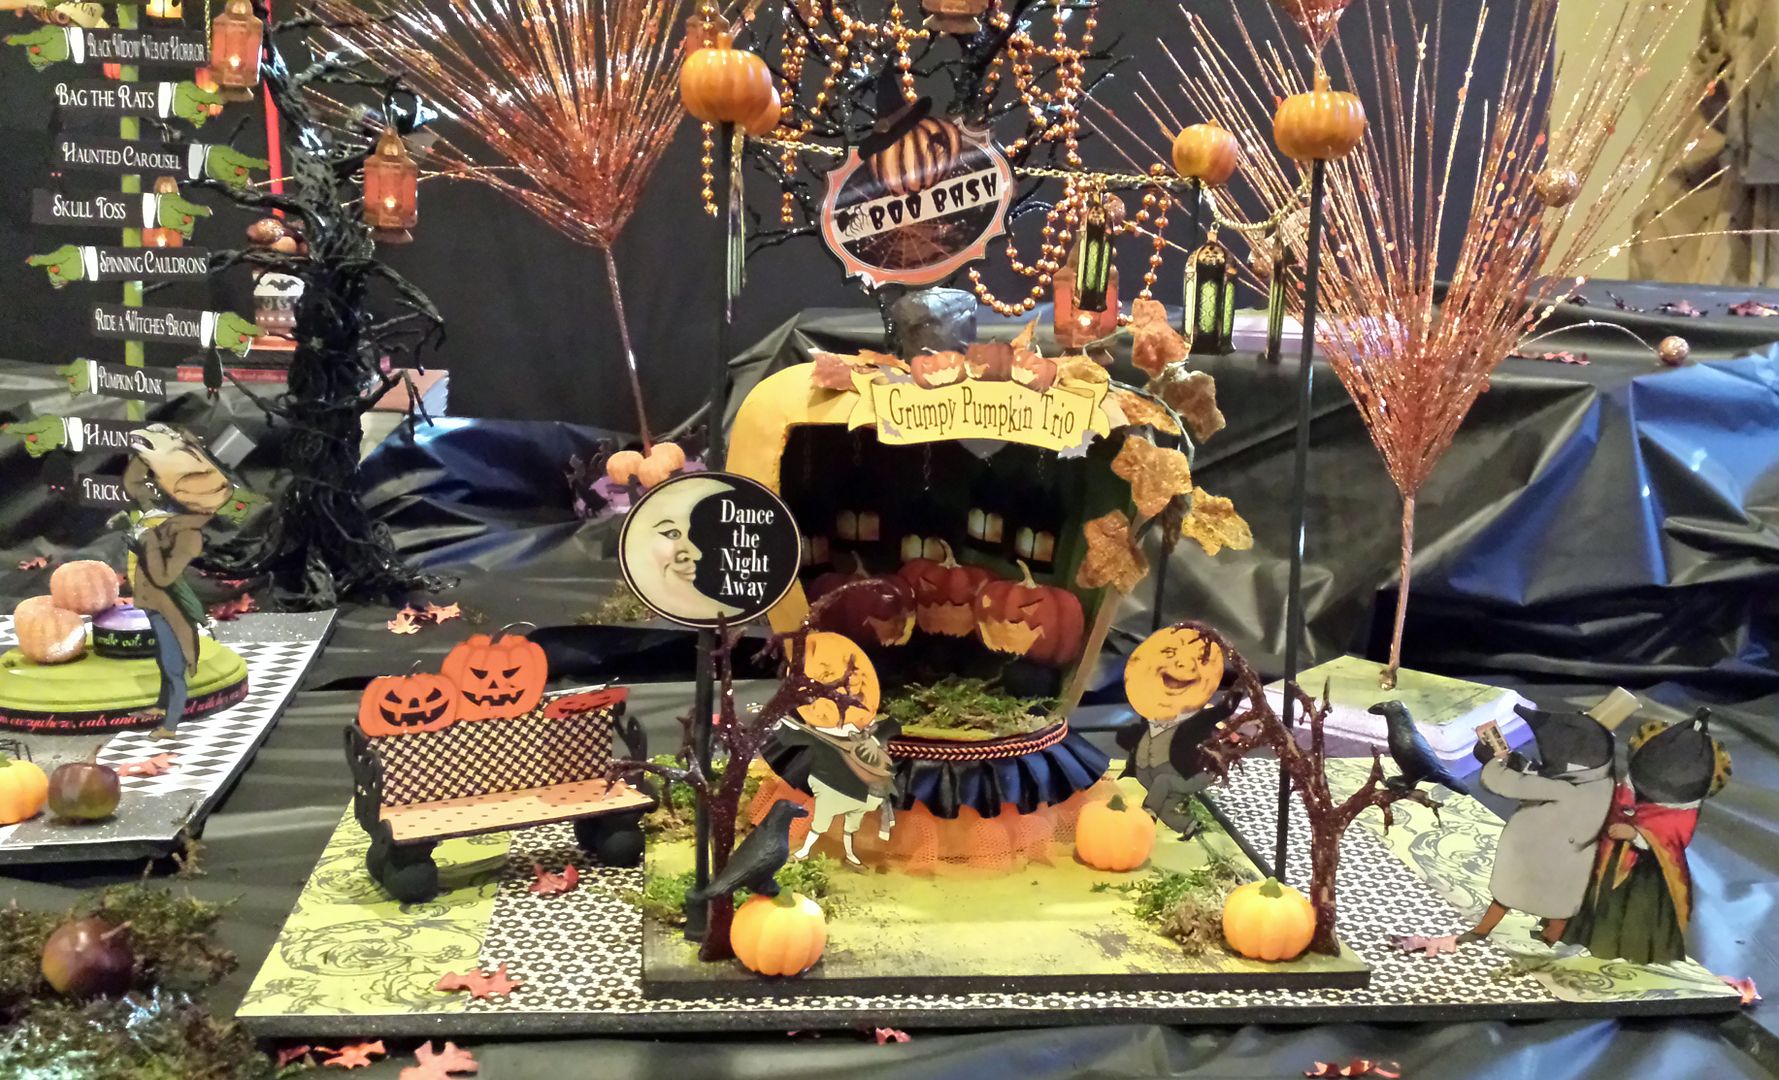
In this video I cover making an Entrance Sign, Directory Sign, Ticket Booth, Pumpkin Pets Booth (guaranteed to bite), Boo Bash (where you can dance the night away) and the Trick or Treat Smell My Feet Give Me Something Good to Eat concession stand).
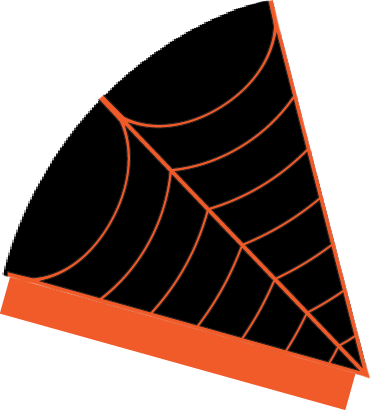
Below is a panel used to make the spider web umbrella I used on the Ticket Booth. To download the panel, click on the image to expand it, right-click and select Save As. Print 5 panels and assemble using the orange tab.
VIDEO TUTORIAL 2
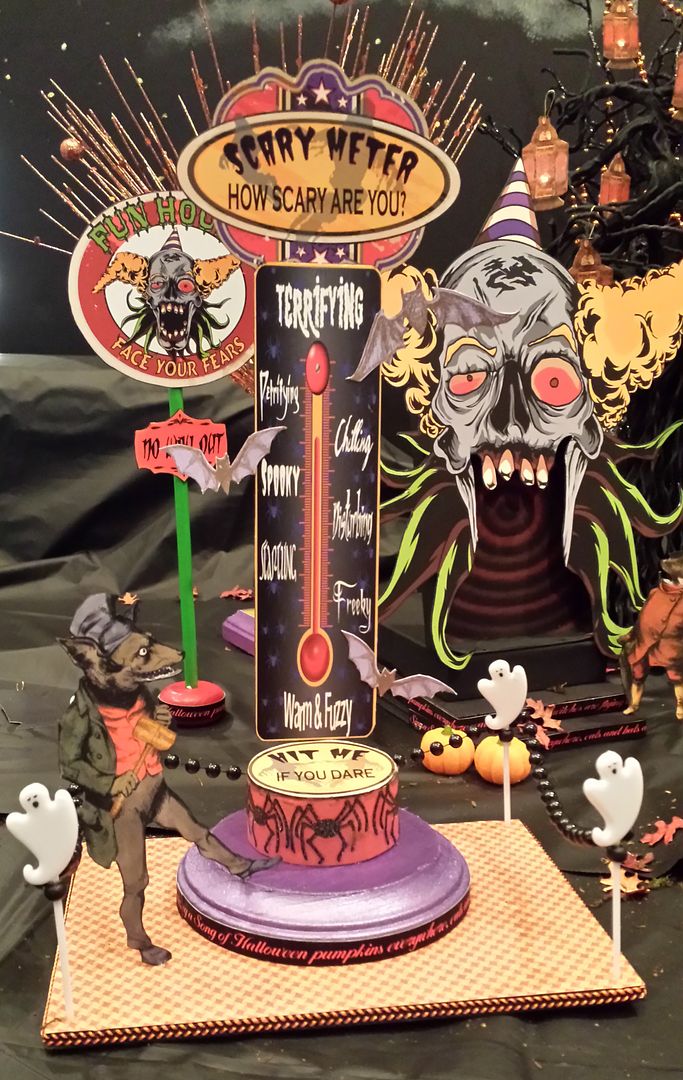
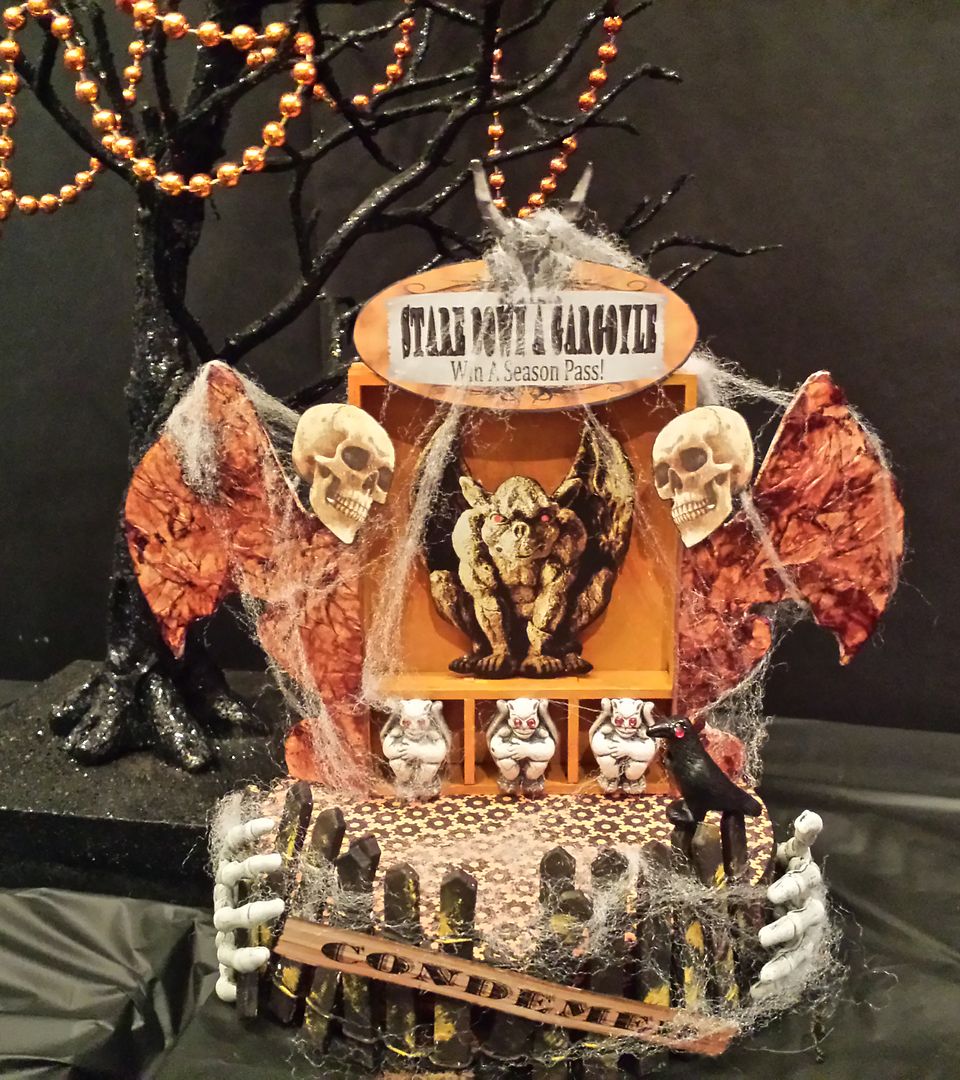
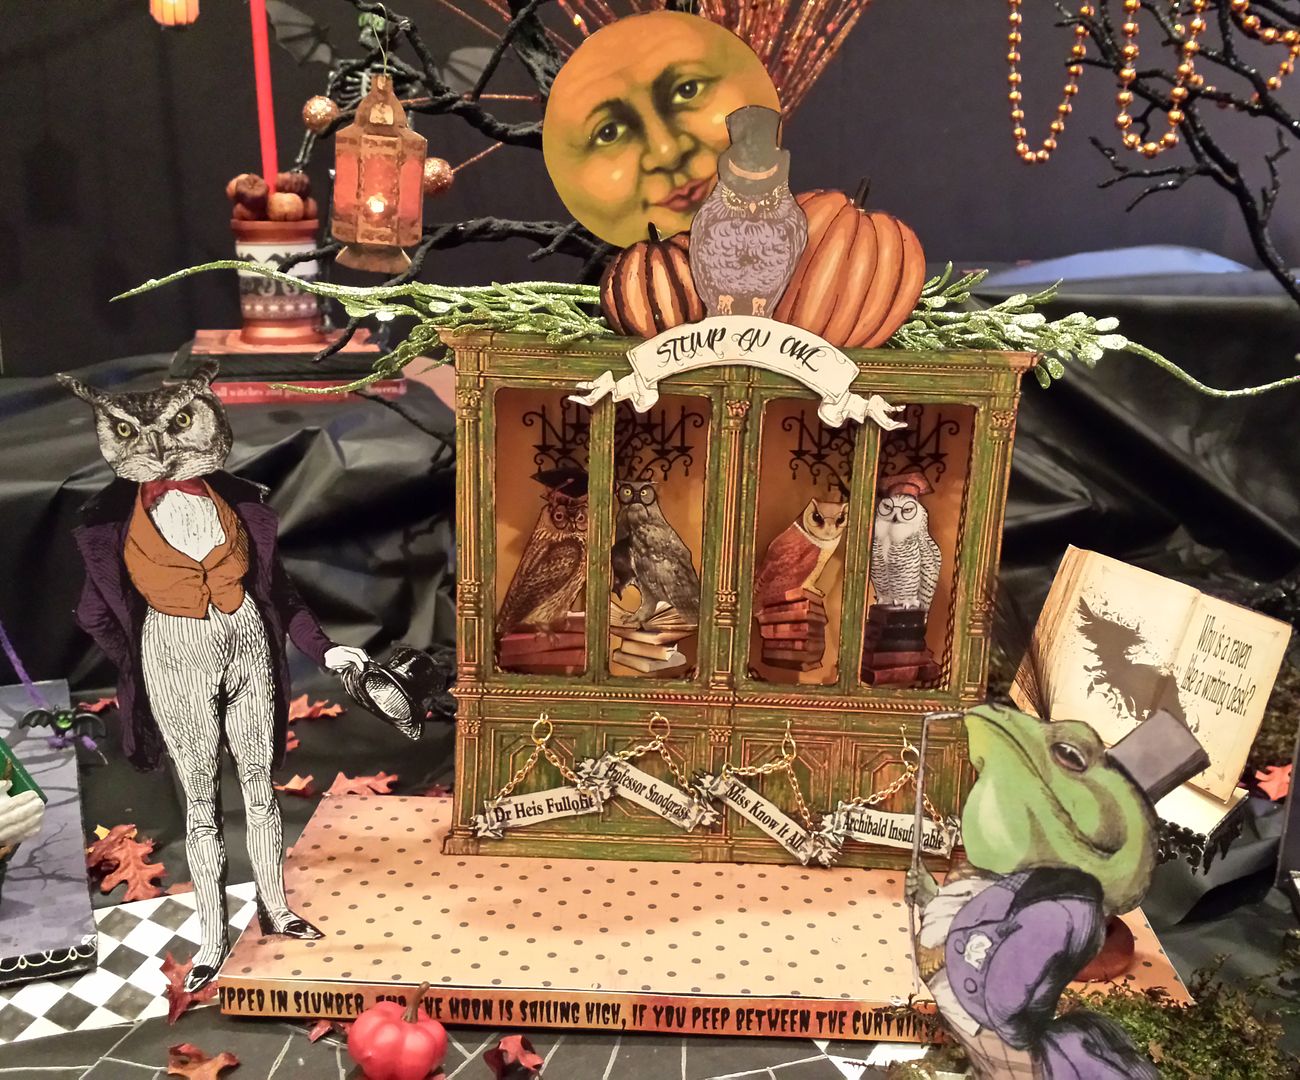
This video is all about carnival games. Included are; Scary Meter, Bat the Rats, Stump the Owl, Stare Down a Gargoyle, and Dodge the Zombies.
VIDEO TUTORIAL 3
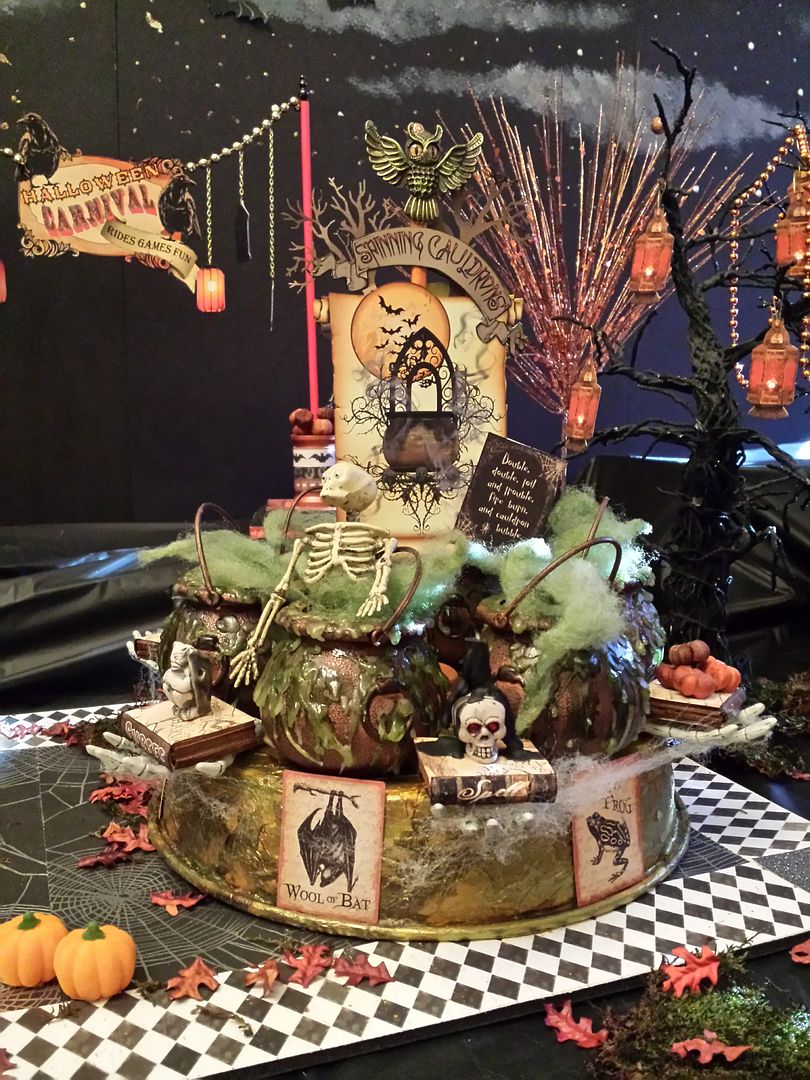
Video three covers carnival rides. Included are; Haunted Carnival, Spinning Cauldrons, Ride a Witches Broom and the Black Widow Web of Horror Ferris Wheel.
Click here to open and download the Video 3 Tutorial companion document.
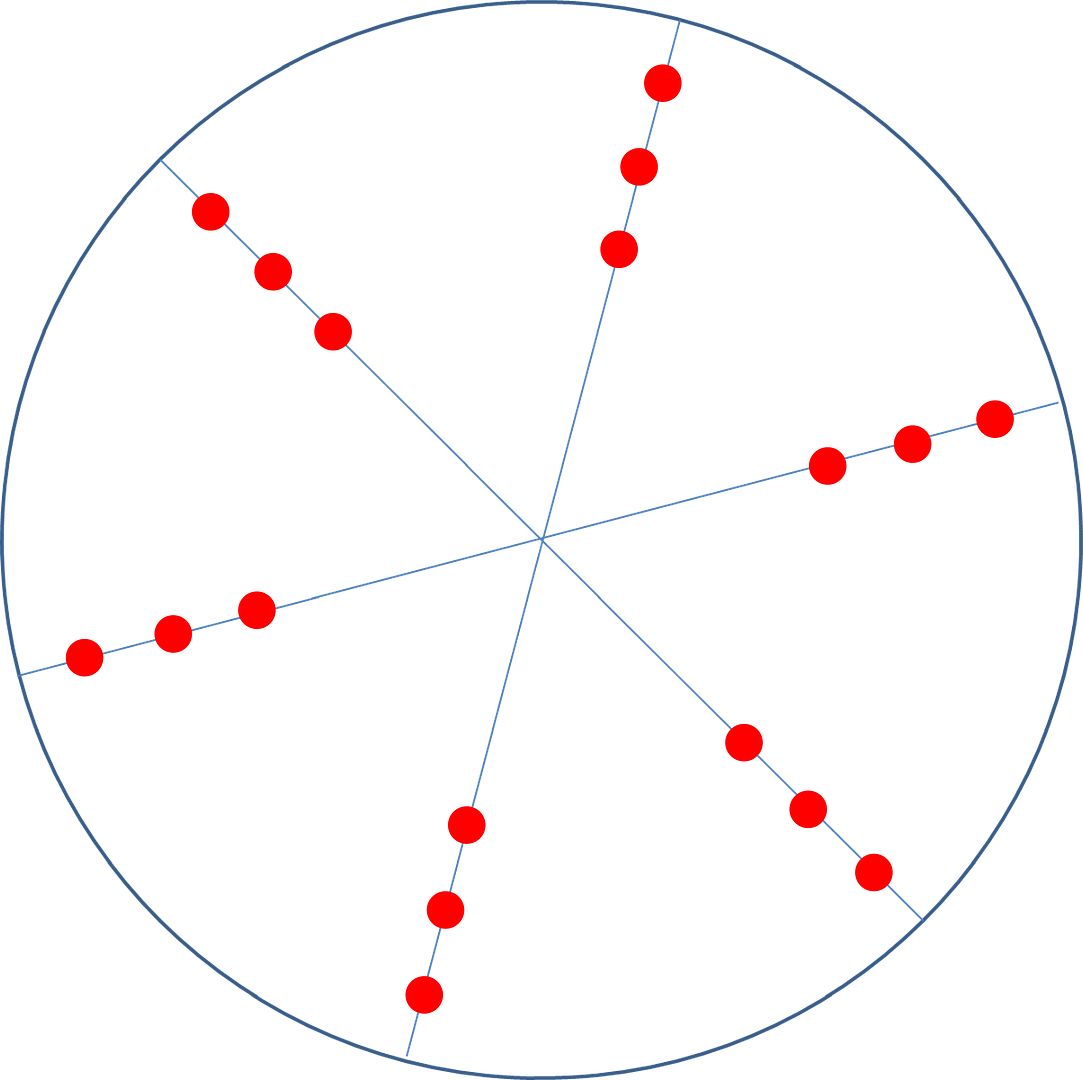
Haunted Carousel Pole Placement Template
To download the template, click on the image to expand it, right-click and select Save As.
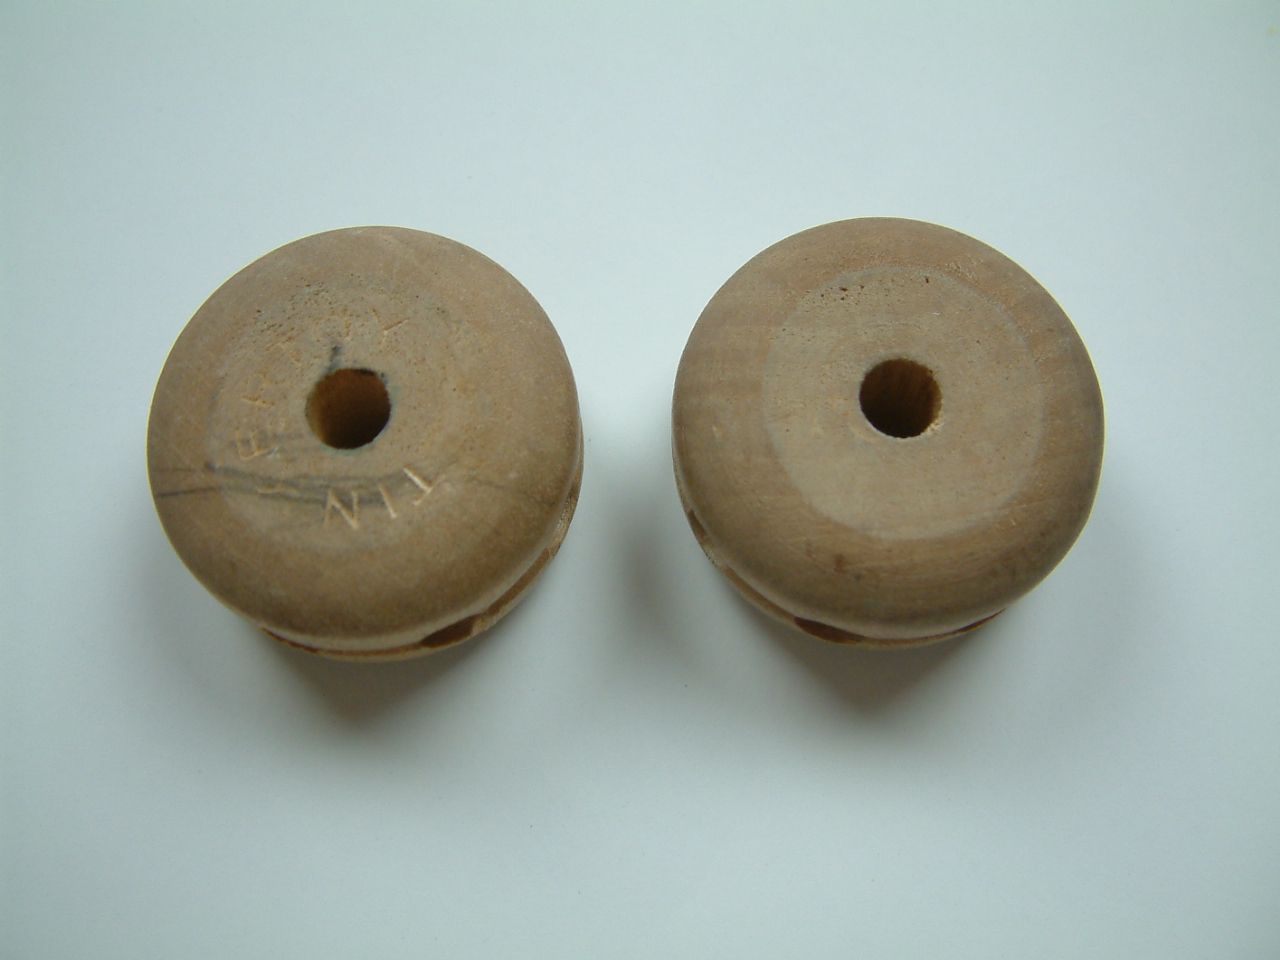
Round Tinker Toy Pieces for the Ferris Wheel
I know that some of you are having trouble finding sets of Tinker Toys. Two round pieces with the pre-drilled holes are the important parts. I bought my set on Ebay and there were several of the pieces in the set. I have listed my extra round pieces in sets of 2 in my Etsy Store. I’ve priced them at $2.00 for a set, which covers shipping, the bubble envelope and the fee I have to pay to Etsy for listing them. This price covers shipping in the US. If any international participants want to purchase a set, please email me first so I can calculate the shipping for you. Here is the link to my store:
If I run out of sets, and there are other participants with extras that they would like to sell, just let me know and I will try to hook people up.
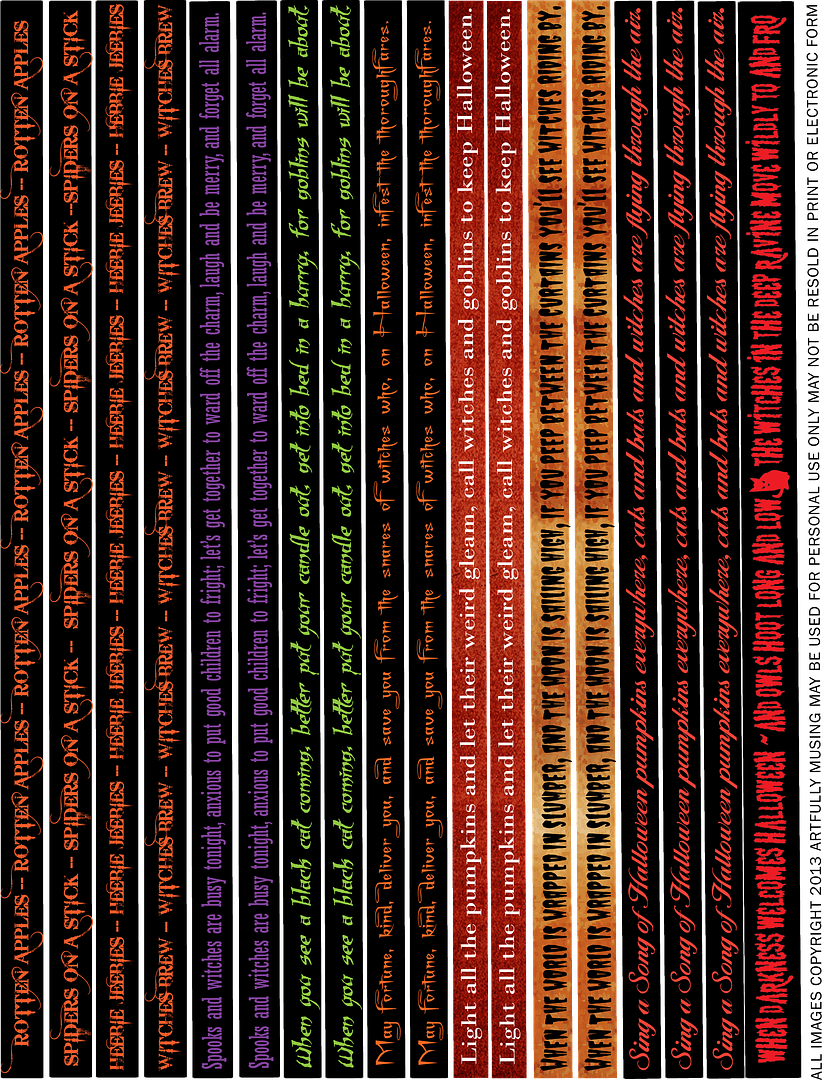
FREE COLLAGE SHEET - HALLOWEEN BORDERS
Below is a collage sheet which contains the vintage Halloween poem borders I used on many of the pieces. Feel free to use it in your art. To download the sheet, click on the image to expand it, right-click and select Save As.
I hope you have lots of fun creating your carnival pieces and while you are busy I will be working on more Halloween inspired art to share with you over the next two months!
Fellow bloggers, it would be great if
you help me spread the word by grabbing the event badge code below!
CODE FOR THE HALLOWEEN
CARNIVAL EVENT BADGE BELOW
<a href=" http://artfullymusing.blogspot.com/2013/06/halloween-carnival-event-september-5th.html"><img
border="0" src=" http://i921.photobucket.com/albums/ad54/lauracars/HalloweenCarnivalEvent_zps6c9f2e11.png"
width="170" height="400"border="0"/></a>
I’m
so excited about this year’s event and I hope you are too!

