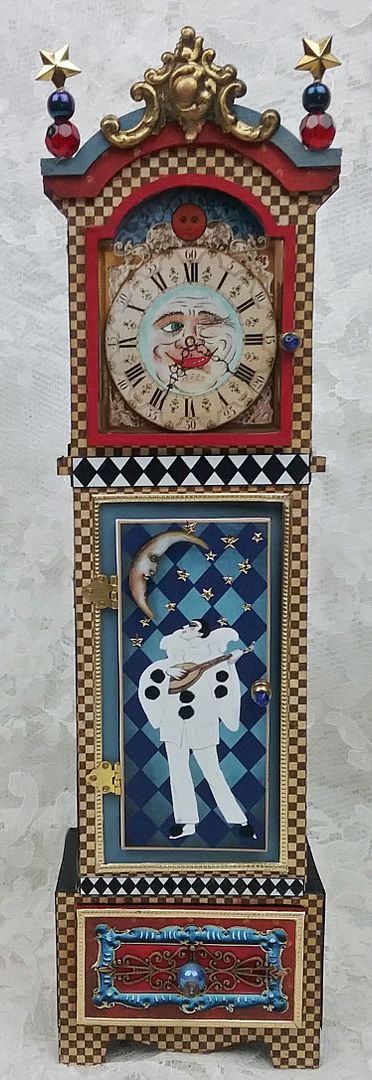
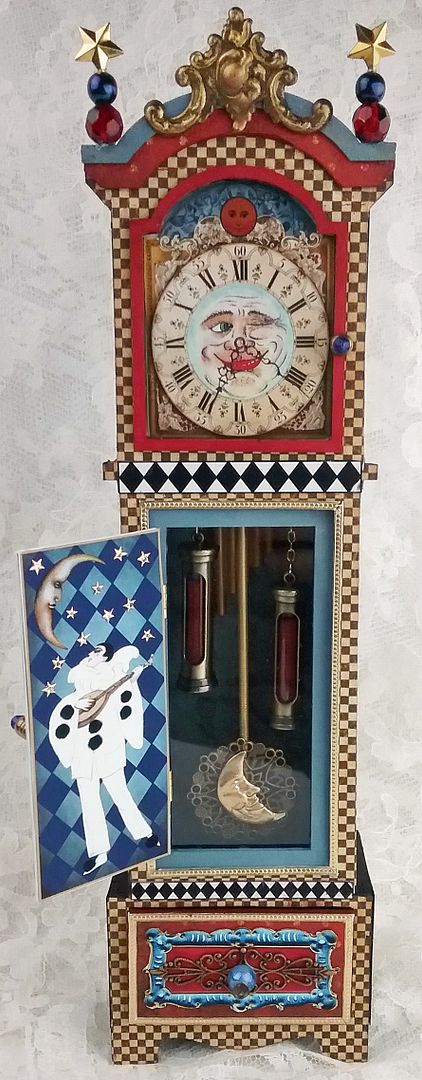
I thought I would take a short break from Halloween projects with this moon-themed 3D grandfather clock. Clocks lend themselves to all kinds of creative possibilities and themes, which caused me much angst in deciding which way to go before I settled on the moon theme. No doubt you'll see me do something else with this clock in the future.
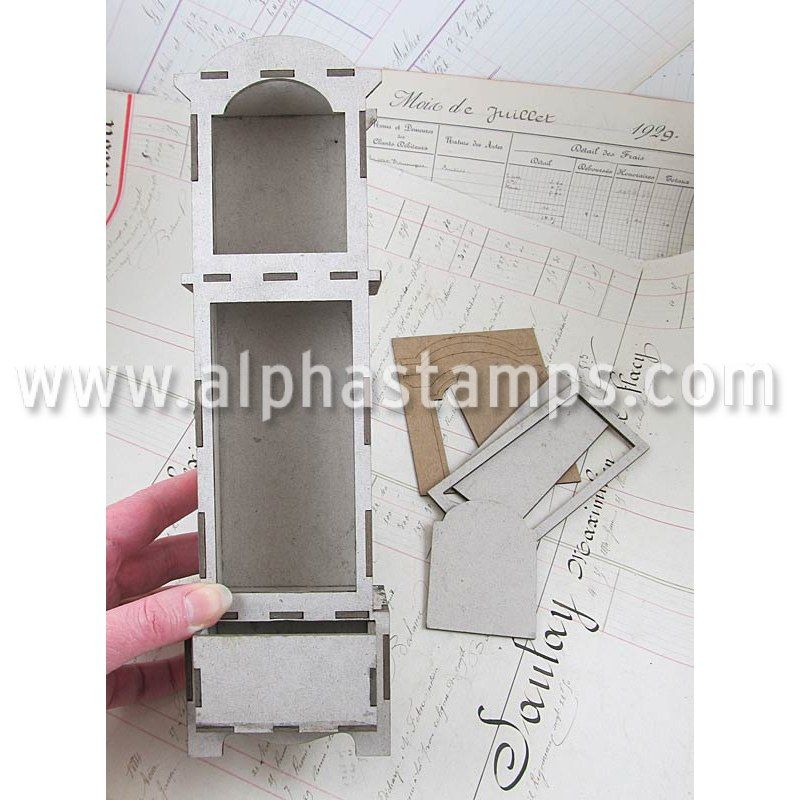
The clock is made from a chipboard kit, making assembly easy. In addition to the large clock kit I used in this project, Alpha Stamps is also carrying a smaller version that is 1:12 scale in size.
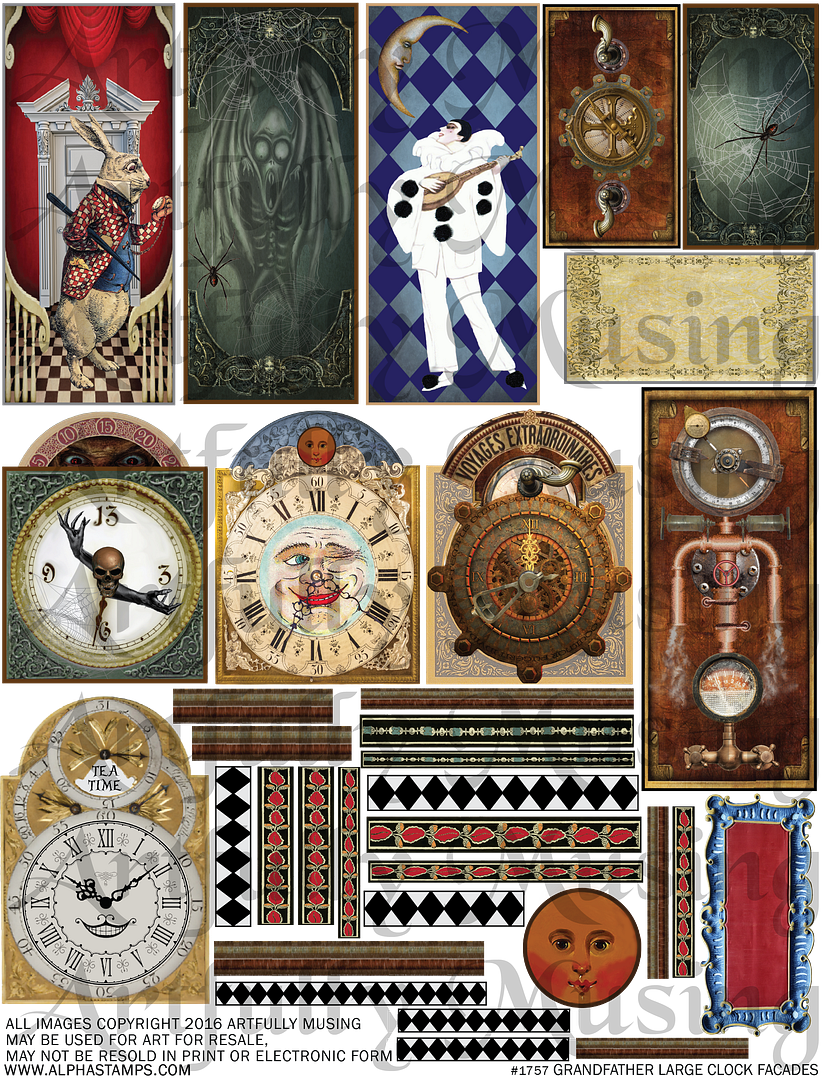
I’ve created a new Large Grandfather Clock Facades Collage Sheet to complement the clock kit. The moon-themed images I used from the sheet are just one of four different themes to choose from, which also include Alice in Wonderland, Steampunk, and Halloween.
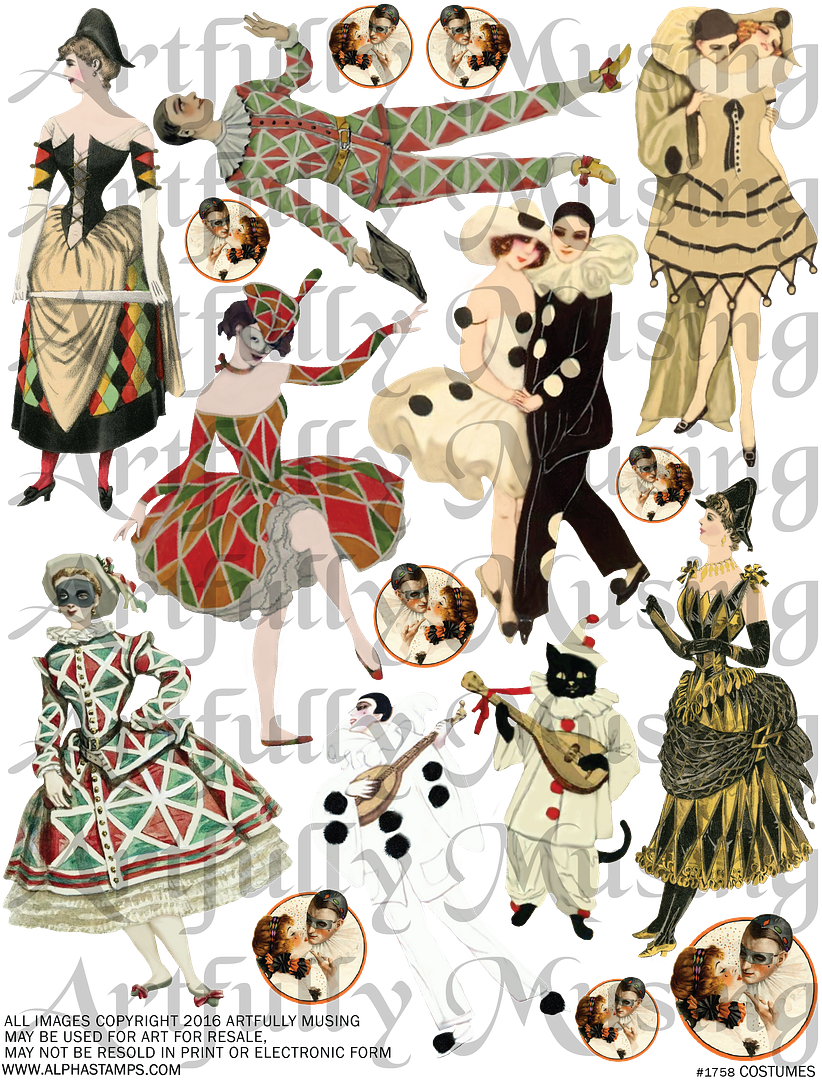
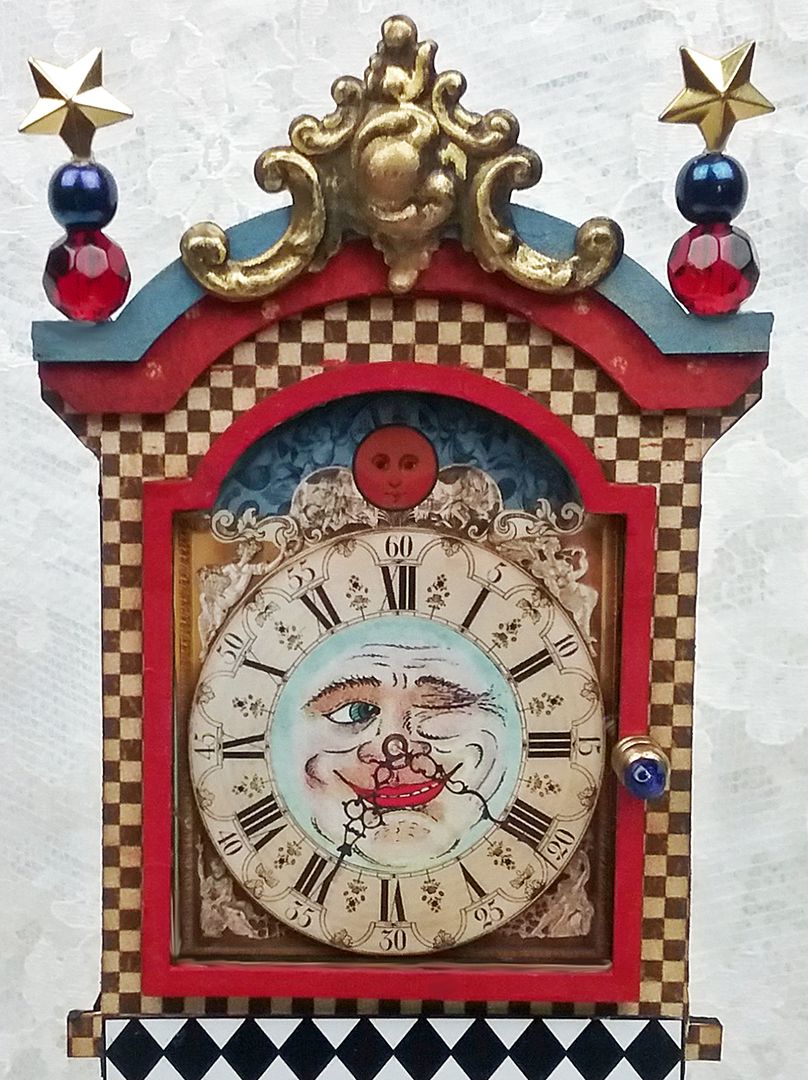
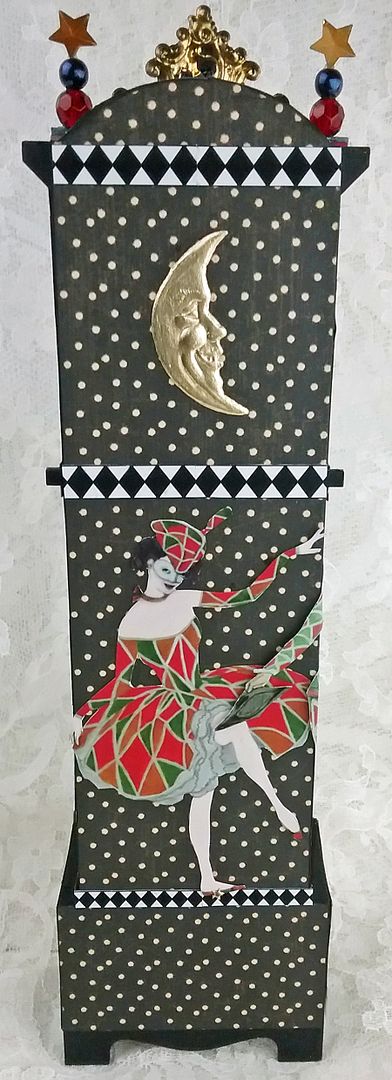
To add more whimsy to the clock, I created a new collage sheet of costumed characters dressed as Harlequin, Columbine, and Pierrot. You’ll notice that Pierrot appears on the front of the clock serenading the moon.
If you choose to hinge the clock face to the clock cabinet, you will want to hide the area with the jump rings and rod. An option to cover that area would be to use the drawer of a matchbox turned upside down. The compartment is deep, so there is plenty of room for the matchbox drawer. In the case of my moon clock, the clock face is glued in place, so there was no need to hide the jump ring and rod or to worry about the ugly-looking glue.
For my moon clock, I chose to glue the clock face and frame to the clock front.
Between the image of the clock face (which comes from the Large Grandfather Clock Façade collage sheet) and the clock face frame (painted red), I glued a piece of clear plastic to serve as faux glass. I used a raw brass box foot and a bead as a faux pull.
The kit comes with two chipboard trim pieces to dress up the top of the clock. I papered one with Double Dot Vintage Wild Berry scrapbook paper and painted the other blue.
For my moon clock, I decided to add a hinged door using an image from the Large Grandfather Clock Façade Collage Sheet. I cut a thin piece of chipboard and glued the image to one side. To the other side of the chipboard, I glued small hinges. Next, I glued a second version of the image on the other side of the chipboard, thereby covering the hinges.
Finally, I glued the hinges to the front of the clock over the opening in the frame. I used a raw brass box foot and a bead as the door handle.

Next, I added black and white diamond trim from the new collage sheet to the front, sides, and back. I added Dresden moons and figures from the Costumes collage sheet.
The clock is made from a chipboard kit, making assembly easy. In addition to the large clock kit I used in this project, Alpha Stamps is also carrying a smaller version that is 1:12 scale in size.
To add more whimsy to the clock, I created a new collage sheet of costumed characters dressed as Harlequin, Columbine, and Pierrot. You’ll notice that Pierrot appears on the front of the clock serenading the moon.
This sheet contains four different themed facades, sized to fit the large 3D grandfather clock. The themes are Alice in Wonderland, The Moon, Halloween, and Steampunk. There are clock face images, front panel images, and decorative borders for each of the themes.
This sheet includes 9 men, women, and a cat dressed in Harlequin, Columbine, and Pierrot costumes. Click on the image below to purchase this collage sheet.
THE CONSTRUCTION
CLOCK CABINET ASSEMBLY
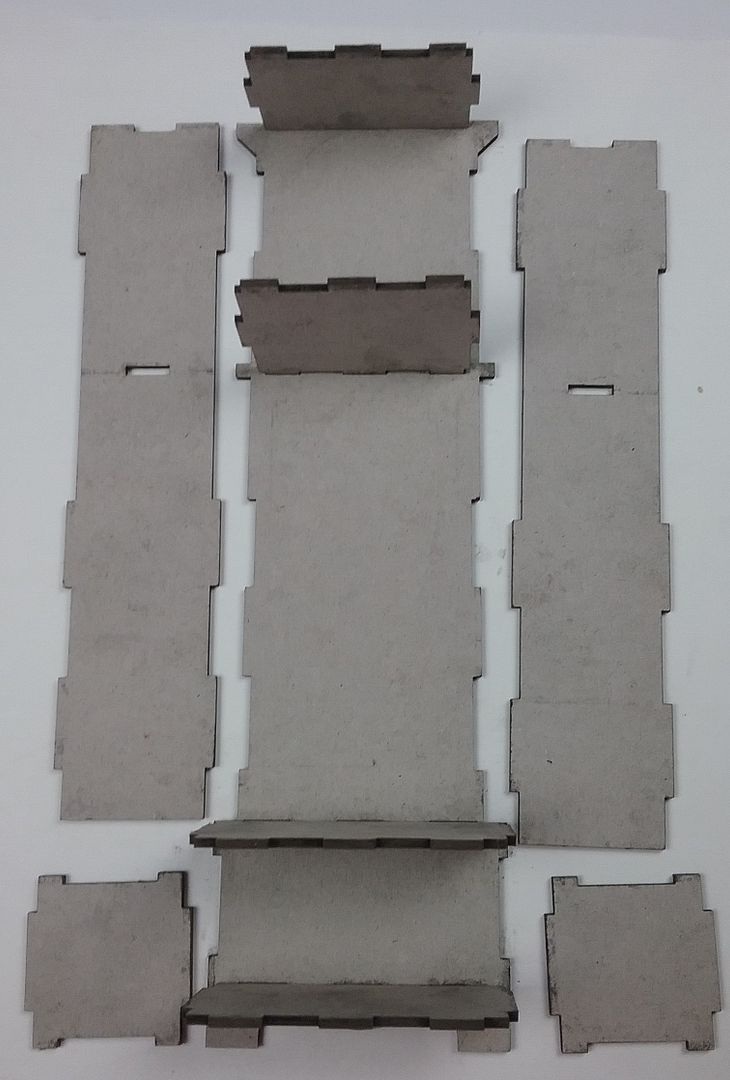
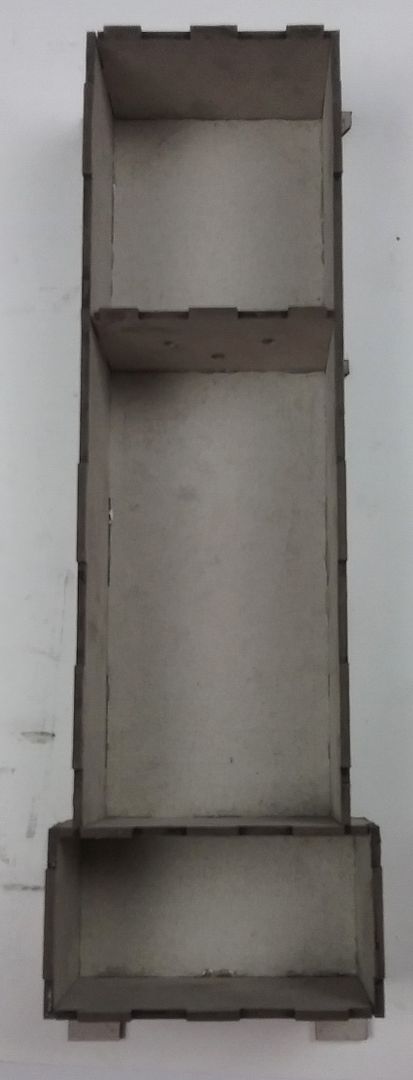
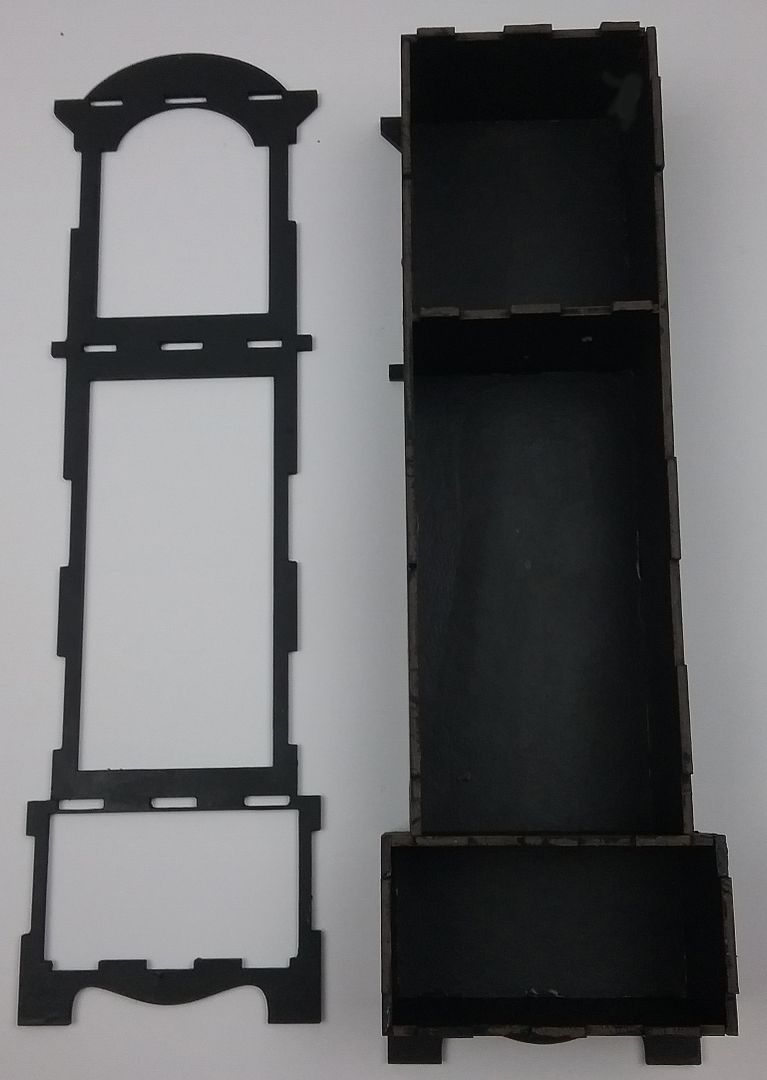
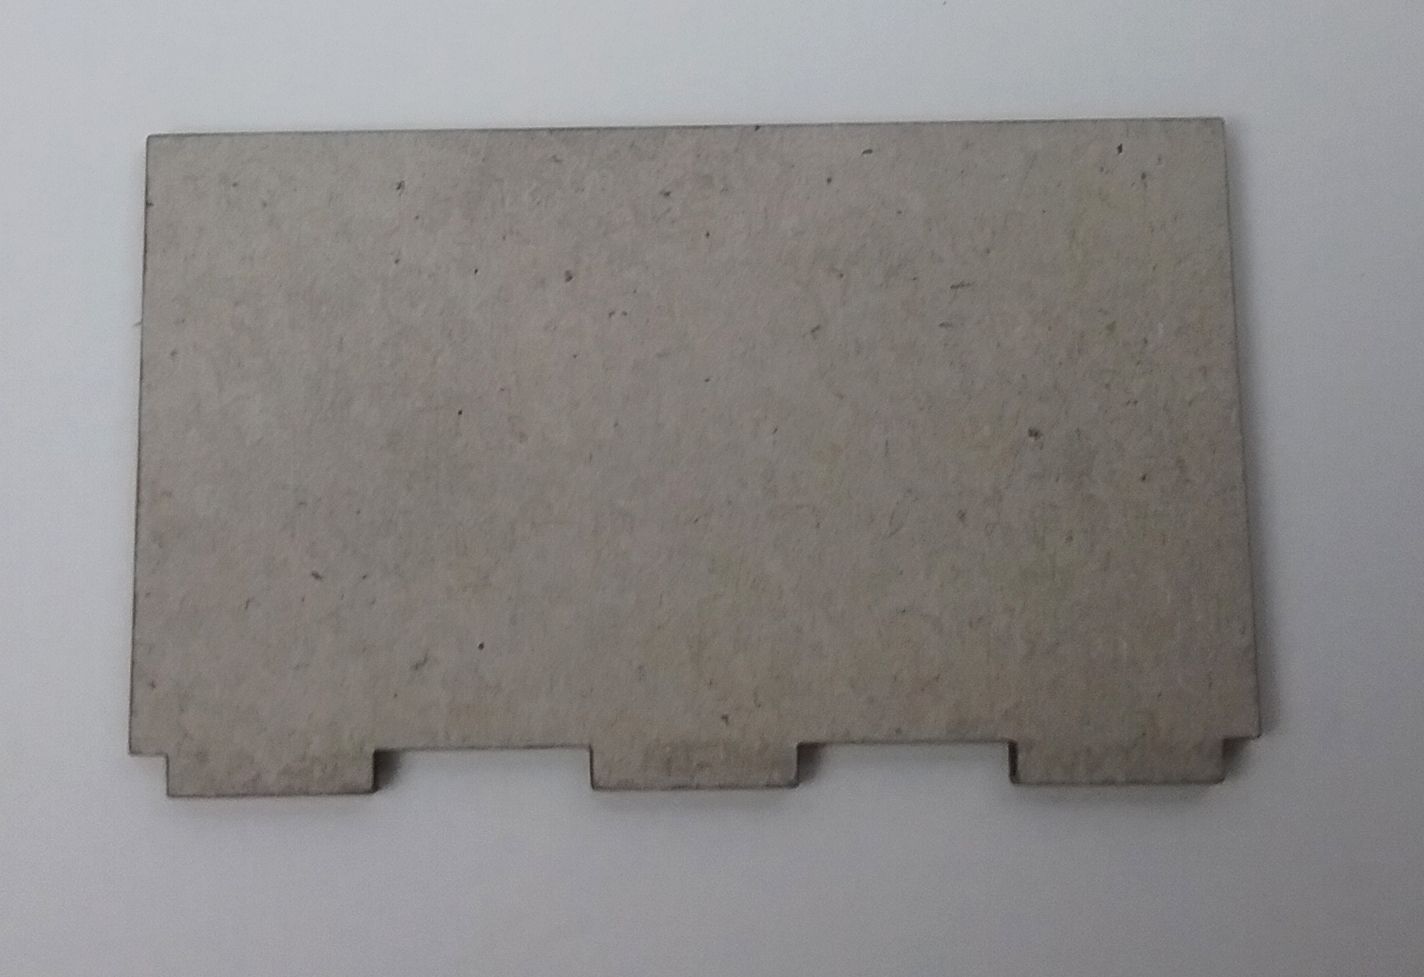
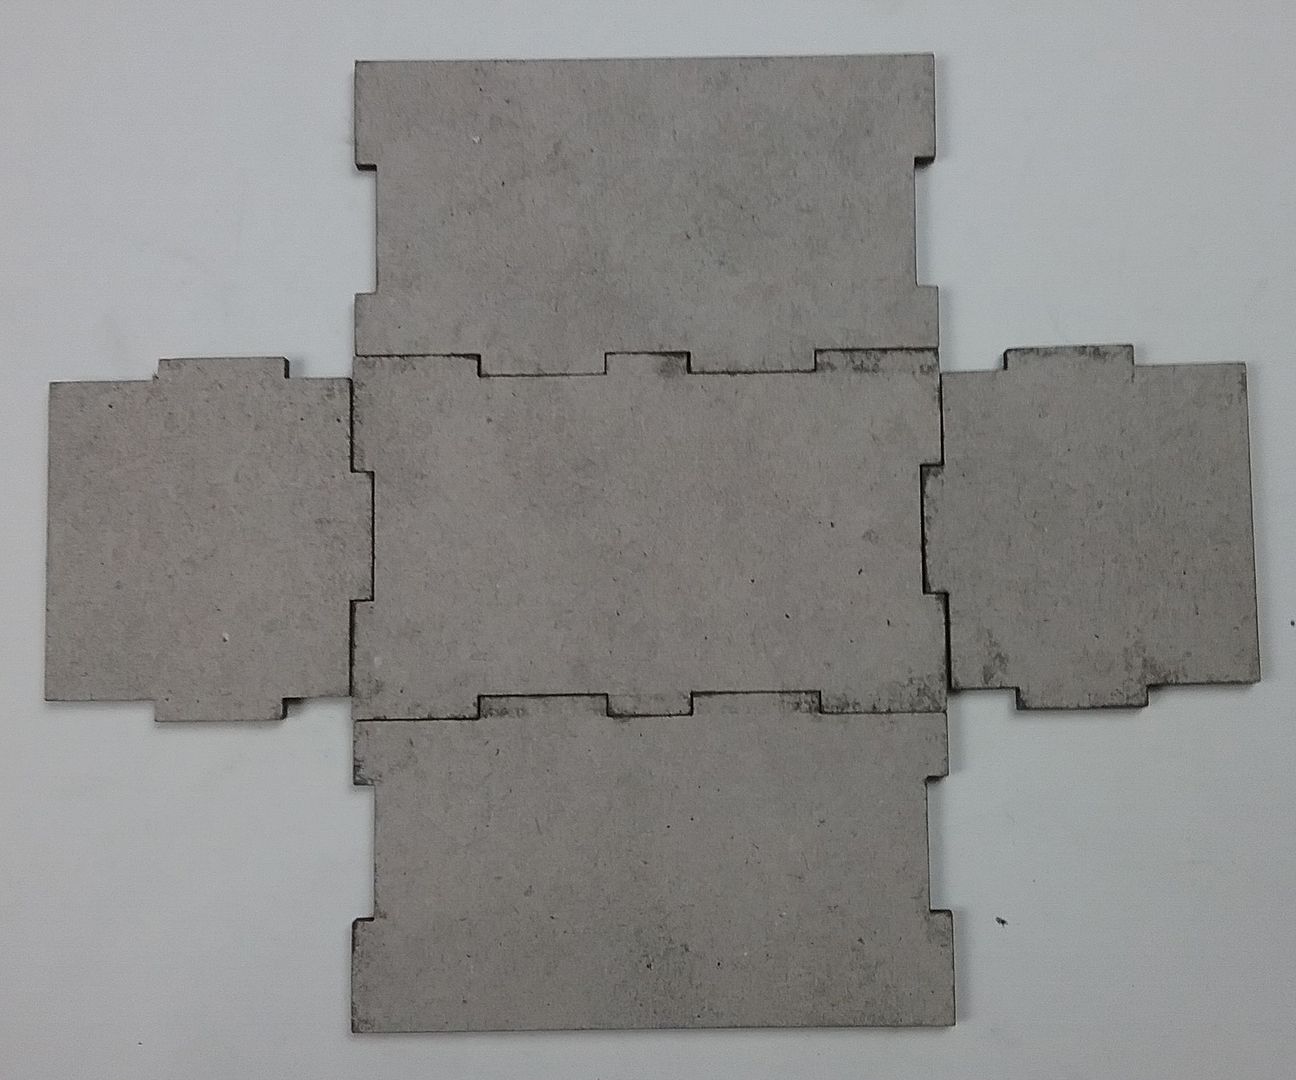
I started by assembling the clock cabinet. Below are pictures to help you see how the pieces fit together.
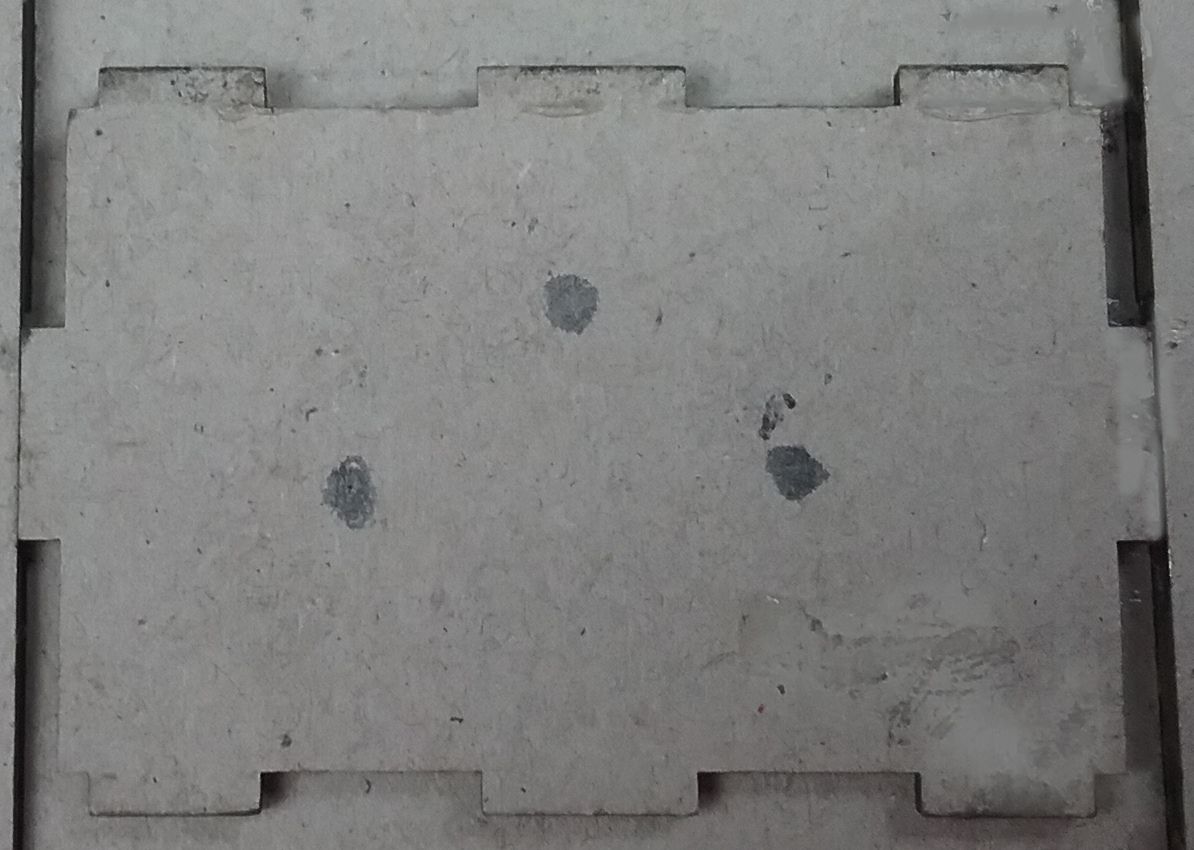
Before assembling the cabinet, I marked and punched holes for the clock weights and pendulum.
Next, I assembled the cabinet and painted it and the clock front black.
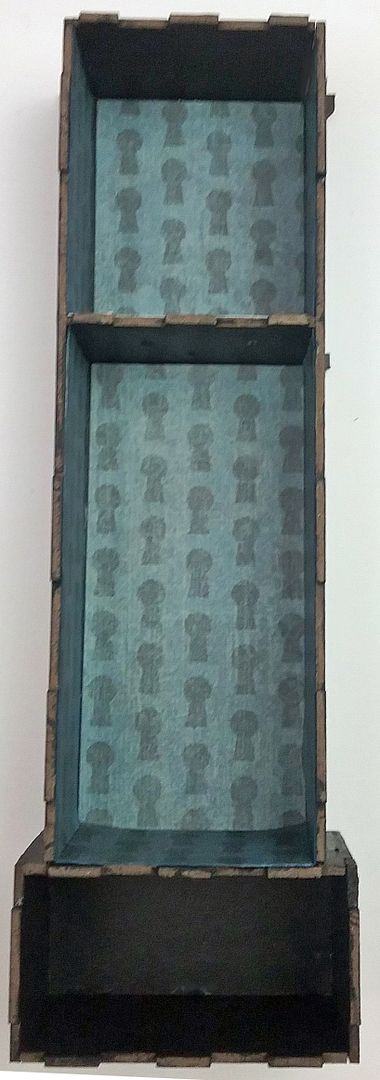
I then papered the inside of the clock cabinet and re-punched the holes.
CABINET MIDSECTION
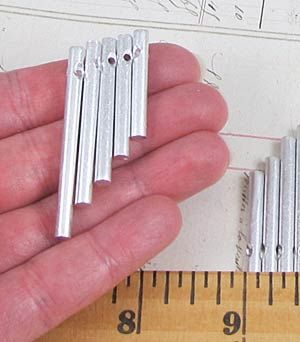
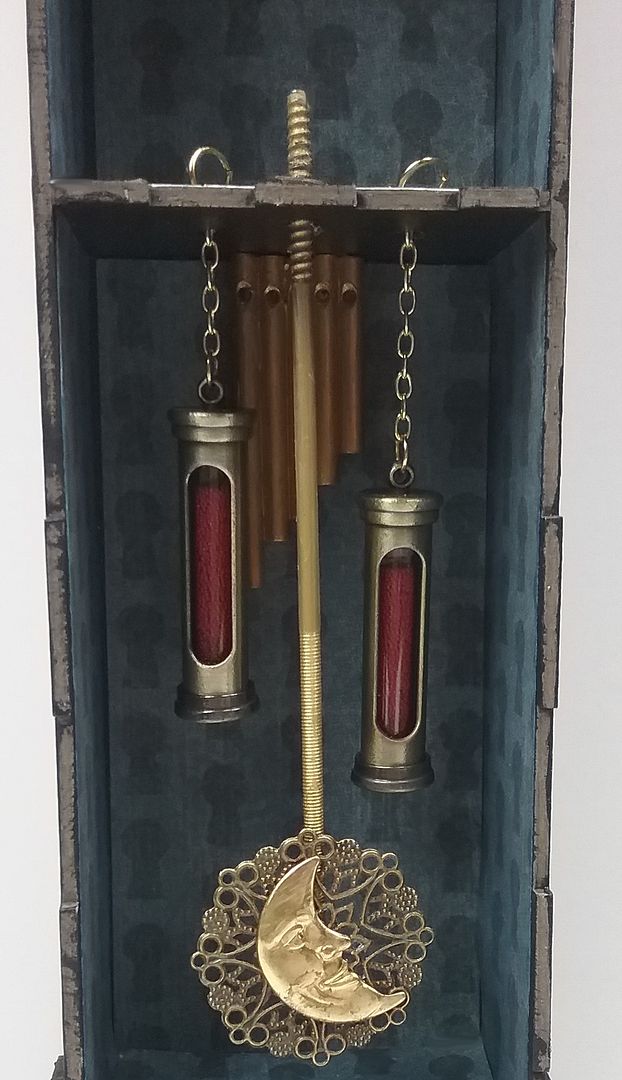
For the inner workings of the middle section of the cabinet, I started by gluing chimes that slightly popped up from the back of the cabinet. The chimes are made from Mini Silver Wind Chimes that are glued together and painted gold.
The weights are Mini Glass Tube Pendants filled with microbeads. You can pull off the bottom of the tube pendants to access the glass tube inside. I hung the pendant weights on chains and then used a jump ring on the other side of the chipboard divider to keep the chain in place. To ensure that the pendant's opening faced forward (so you could see the beads inside), I added glue to the jump ring, which keeps the chain from twisting.
The pendulum is a metal rod from my stash, filigree, and a brass moon. I inserted the rod through the hole and glued it in place. For extra support, I slid a rondelle onto the rod and glued it in place.
If you choose to hinge the clock face to the clock cabinet, you will want to hide the area with the jump rings and rod. An option to cover that area would be to use the drawer of a matchbox turned upside down. The compartment is deep, so there is plenty of room for the matchbox drawer. In the case of my moon clock, the clock face is glued in place, so there was no need to hide the jump ring and rod or to worry about the ugly-looking glue.
CLOCK FRONT - CLOCK FACE
I started by papering the front side of the clock front with tan and brown checkered paper from my stash (the back side is painted black).
With this kit, you can have the clock face fixed in place, or you can hinge it to the clock front, which then gives you access to the clock face compartment.
If you were going with a Steampunk theme, it would be cool for this section to open and see the clock's inner workings.
If you were going with a Steampunk theme, it would be cool for this section to open and see the clock's inner workings.
For my moon clock, I chose to glue the clock face and frame to the clock front.
Between the image of the clock face (which comes from the Large Grandfather Clock Façade collage sheet) and the clock face frame (painted red), I glued a piece of clear plastic to serve as faux glass. I used a raw brass box foot and a bead as a faux pull.
The kit comes with two chipboard trim pieces to dress up the top of the clock. I papered one with Double Dot Vintage Wild Berry scrapbook paper and painted the other blue.
CLOCK FRONT – MIDSECTION
Just as with the clock face area, you have an option as to how you want to view the middle of the clock case. You could just glue the frame in place and leave it open to view the weights, pendulum, and chimes, or you could add a hinged panel that opens to view the area.
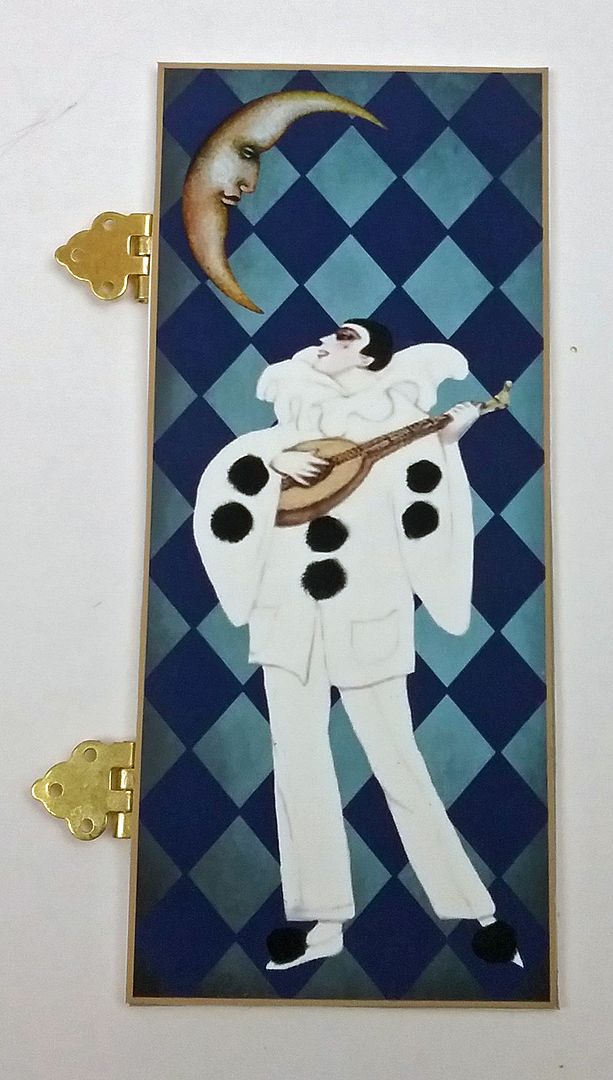
For my moon clock, I decided to add a hinged door using an image from the Large Grandfather Clock Façade Collage Sheet. I cut a thin piece of chipboard and glued the image to one side. To the other side of the chipboard, I glued small hinges. Next, I glued a second version of the image on the other side of the chipboard, thereby covering the hinges.
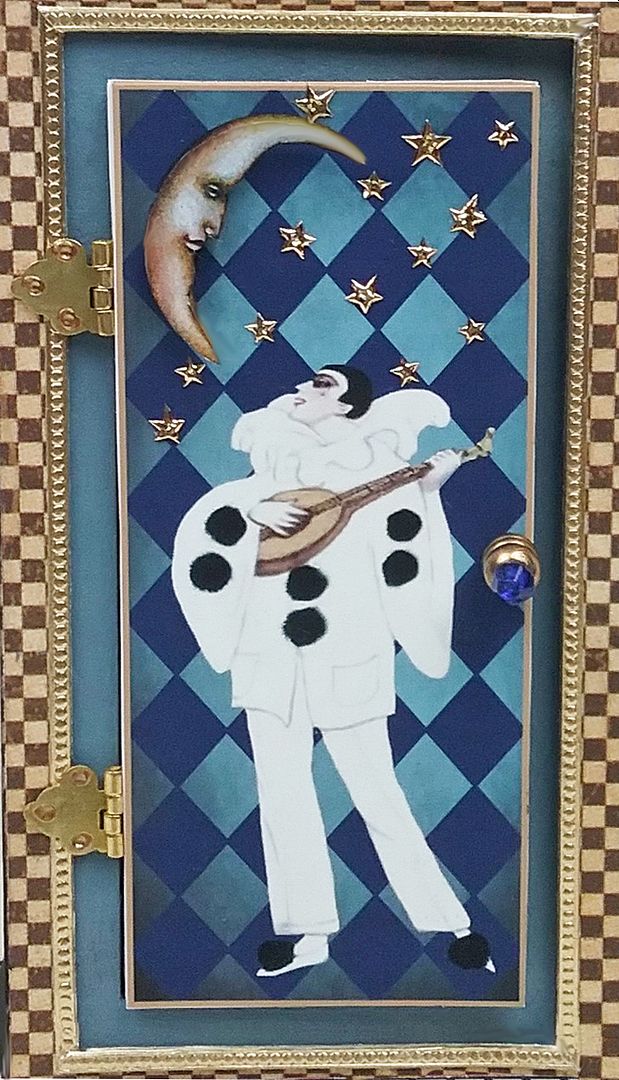
The kit includes a frame for the midsection of the clock front. I painted this frame blue and then glued a piece of clear plastic behind the frame to serve as faux glass. Next, I glued the frame in place. The frame fits flush with the opening. I trimmed the frame area with tiny gold dot Dresden borders.
Finally, I glued the hinges to the front of the clock over the opening in the frame. I used a raw brass box foot and a bead as the door handle.
Next, I glued the front of the clock to the clock case. If you choose to use a panel for the bottom section, you should glue it in place before gluing the front of the clock to the clock case.
CLOCK FRONT – BOTTOM SECTION
For the bottom of the clock, you can either use the panel or drawer from the clock kit.
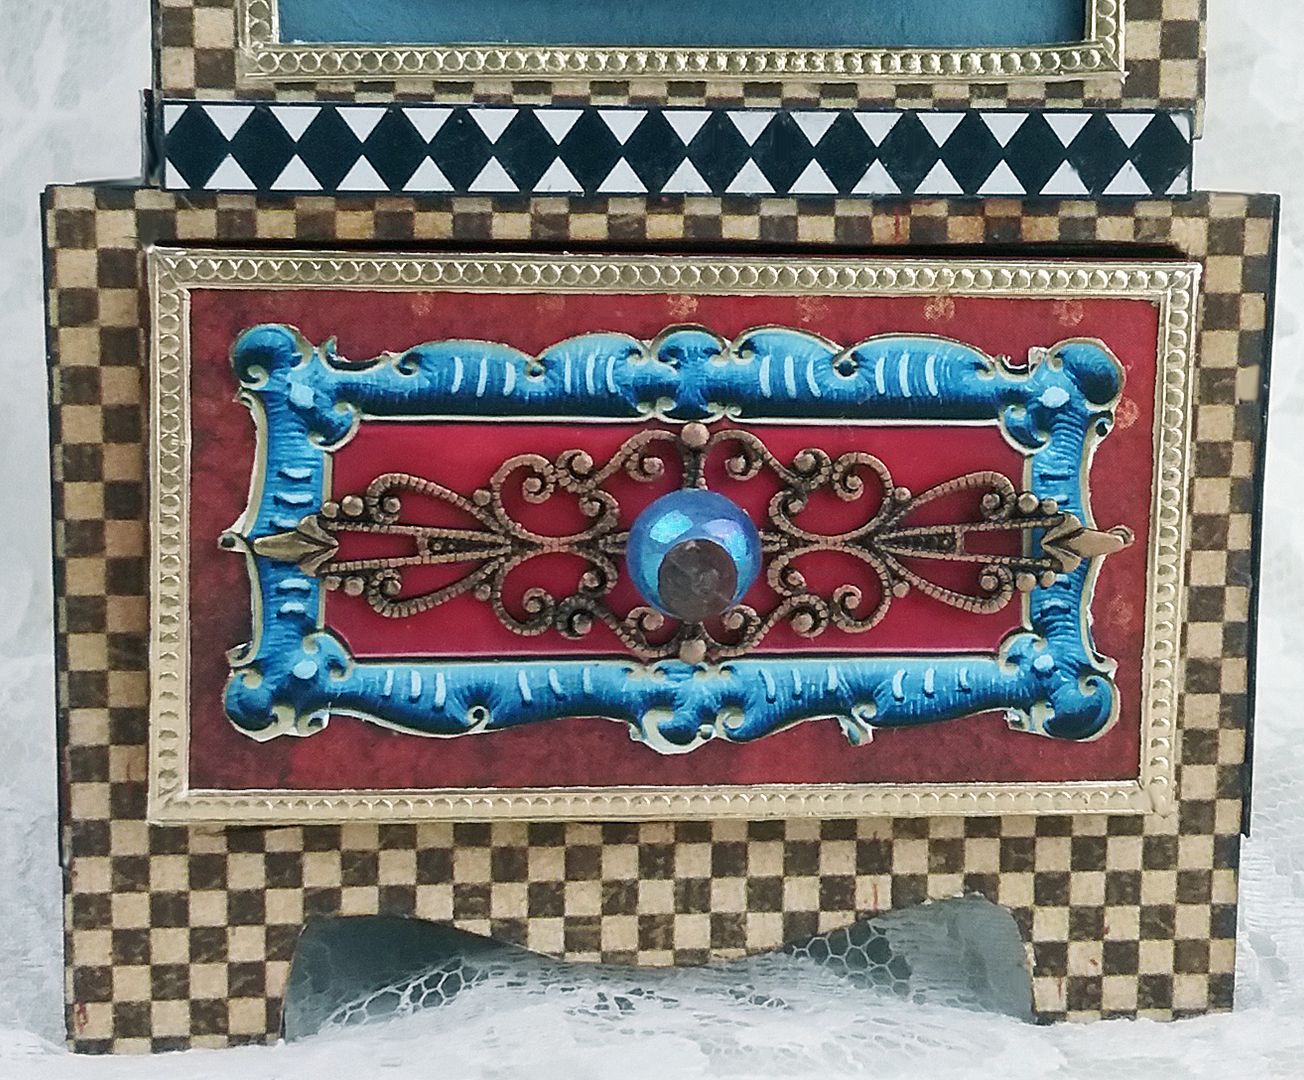
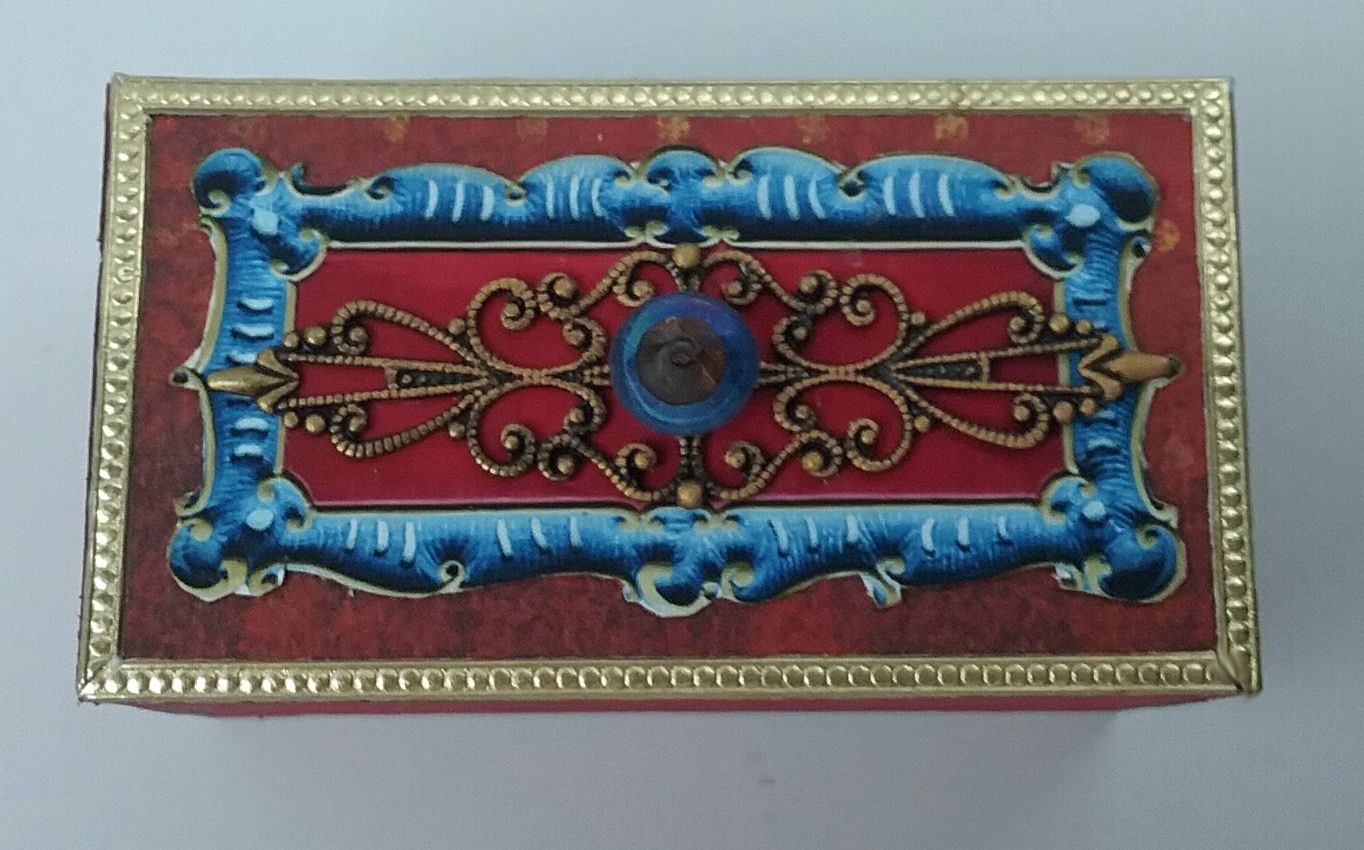
Below you can see a picture of how the drawer pieces fit together. I painted the drawer red, then papered the front of the drawer with Double Dot Vintage Wild Berry scrapbook paper. I didn't paper the sides or bottom of the drawer as I didn't want to create too much bulk that would get in the way of sliding the drawer in and out.
I added a panel from the new collage sheet, plus a piece of filigree, and trimmed the front with tiny gold dot Dresden borders. I used beads for the drawer pull.


CLOCK FRONT – BOTTOM SECTION
I papered the sides and back with Halloween in Wonderland – Wonderland Classifieds scrapbook paper. Waiting to paper the sides and back until after attaching the clock front to the clock case allowed me to cover up the tongue and groove areas where the two pieces fit together.
Next, I added black and white diamond trim from the new collage sheet to the front, sides, and back. I added Dresden moons and figures from the Costumes collage sheet.
CLOCK TOP
I added a decorative brass piece from my stash to the top center of the clock. To serve as finials, I stacked beads and gold star studs.
DETAIL MASTER SUPPLY LIST
Double Dot Vintage Wild Berry Scrapbook Paper
Halloween in Wonderland – Wonderland Classifieds – Backside
3D Grandfather Clock Large
12x12 Clear Plastic for Windows
Mini Glass Tube Pendant
Mini Silver Wind Chimes
Flat-Back Gold Star Studs – 12mm
Red Faceted, Fire –Polished Glass Beads – 10mm
Man in the Moon – Raw Brass
Gold Dresden Moon
Tiny Curved Hinges
Thin Ornate Filigree
35mm Round Flower Filigree
Tiny Dot Dresden Borders - Gold
Raw Brass Box Feet - Rounded





Laura, this is so freakin' fantastic!!! So whimsical, and yet so beautiful. I need this!!! Once again, I am so gobsmacked at your vision!
ReplyDeletetrès belle réalisation
ReplyDeleteLaura, You are amazing!! And so is your creativity and artwork!!
ReplyDeleteI have never been a fan of grandfather clocks till now! Your clock is out of this world!! Bravo!!
Jackie xx
This is wonderful as always. I love your color, design and pattern choices. Very nice! I was wondering if you can tell me how deep this clock is? Thanks Laura!
ReplyDeleteI love this, it is truly a piece of art!
ReplyDelete