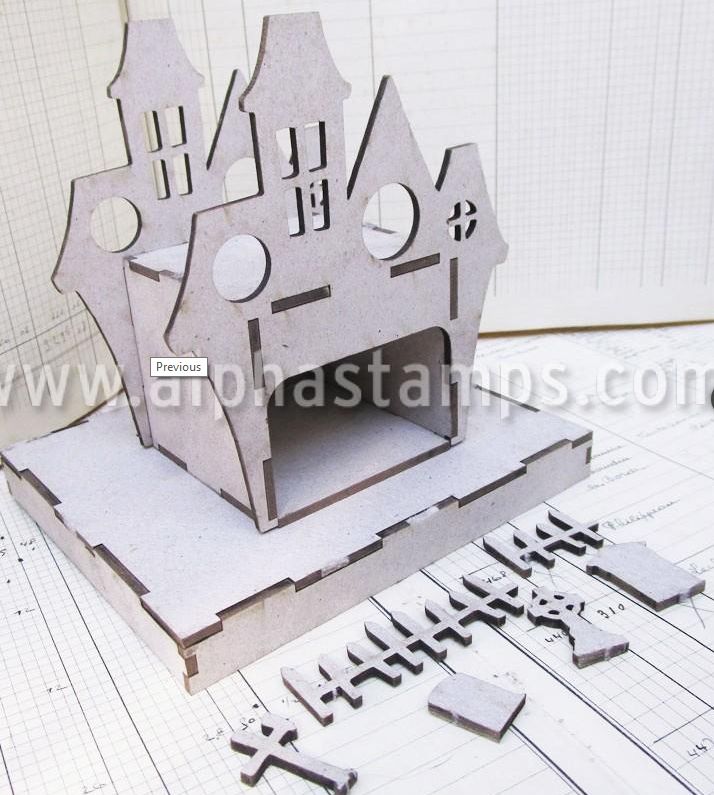
This project was inspired by an easy to assemble Tea light Haunted House kit which is part of AlphaStamps's "Halloween Haunted House" theme for October.
The front and back of the kit are the same except for a large opening on one side to house the tea light. The kit also comes with a base, fencing, and some tombstones
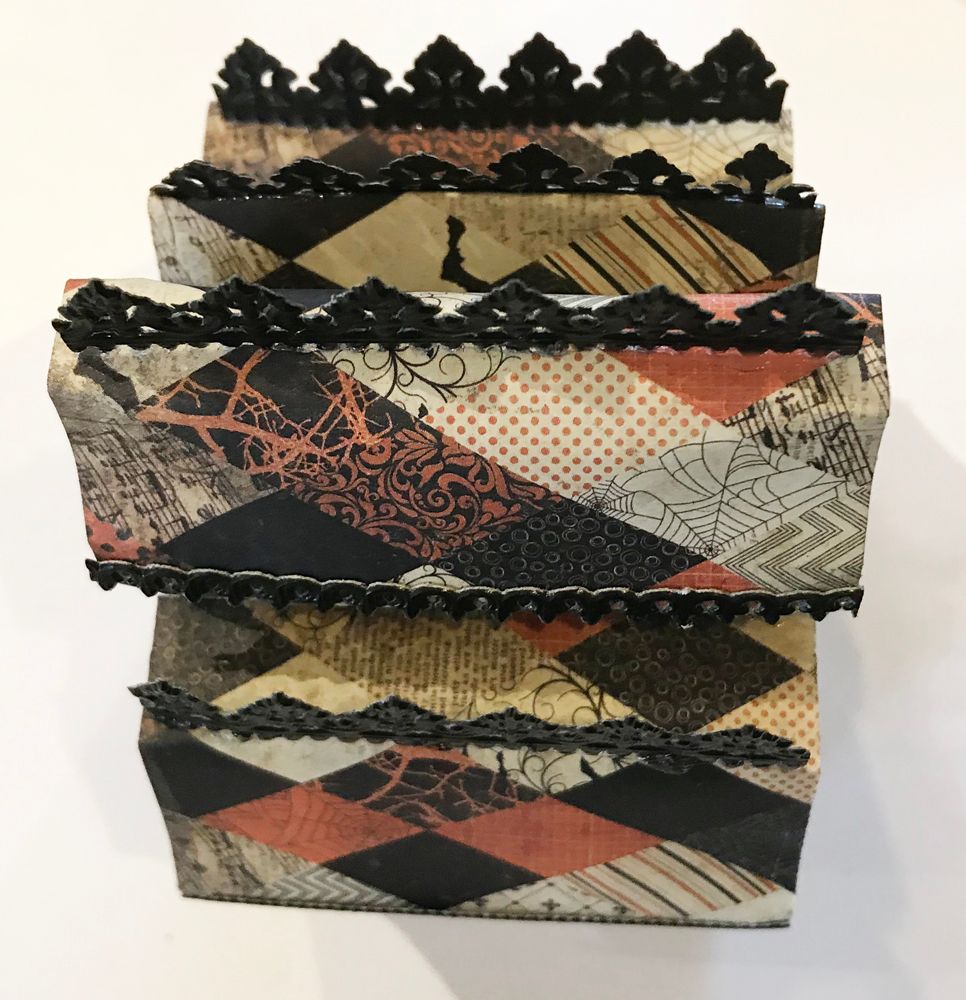
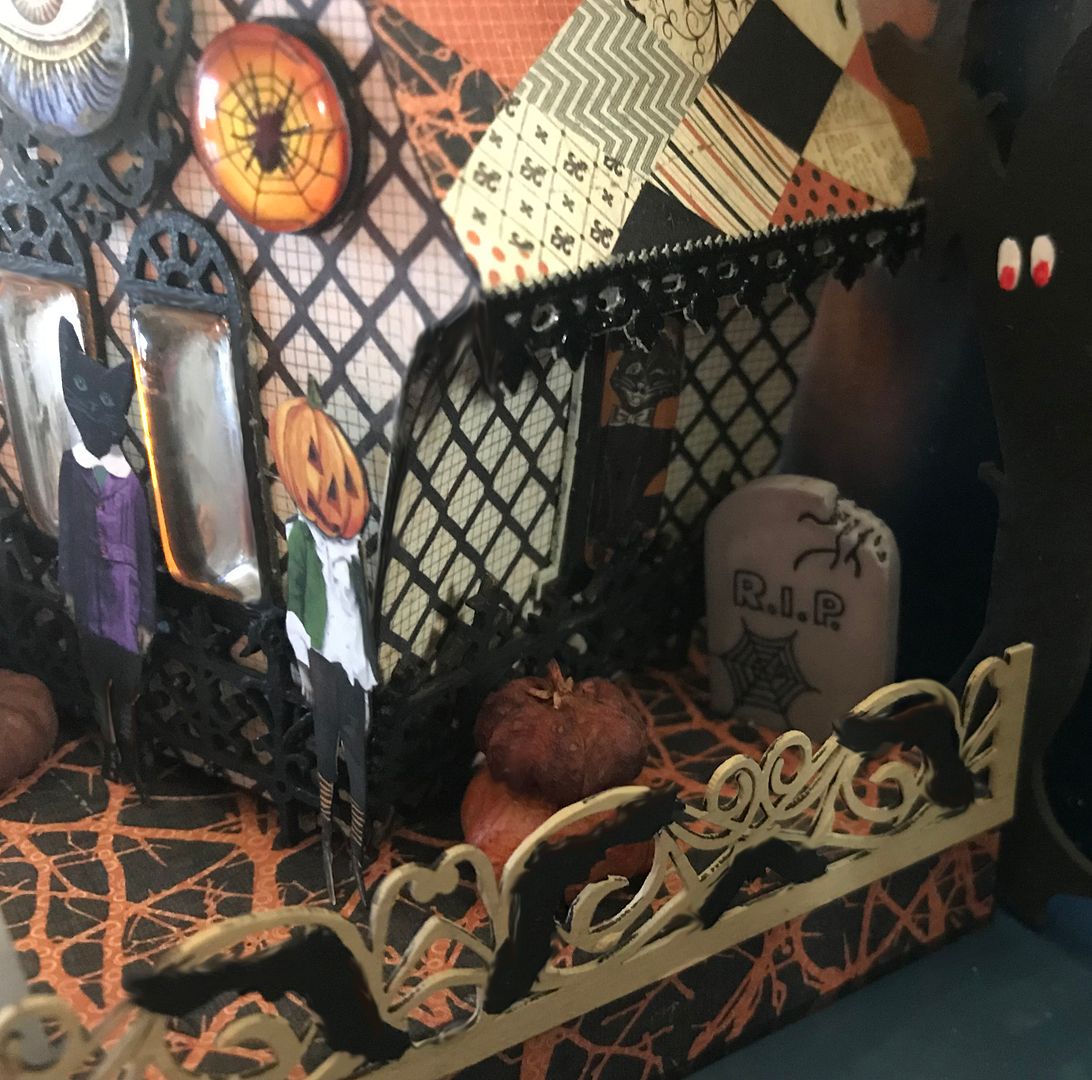
I started by assembling the house and painting it black then adding paper to the front and back. To add more interest to the house, I used strips of decorative paper to create a roof, gluing the paper from the front of the house roofline to the back. I then used pieces of black Dresden to dress-up the roof lines.
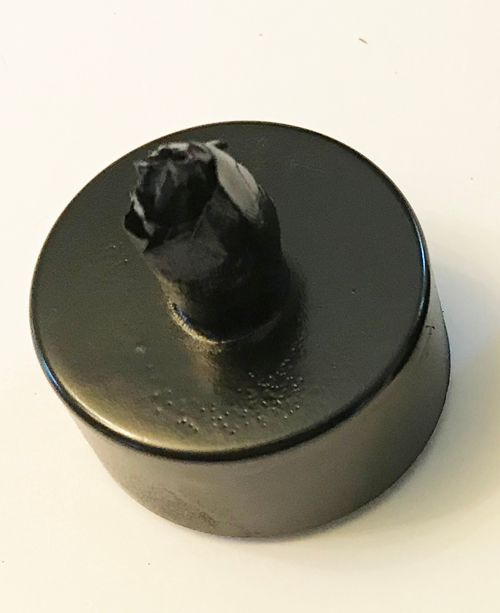
By adding paper to the rooflines, I could use an additional tea light on the back of the house to light up the second floor. I stuck the flame part into a round window on the back.
I painted the light black to make it blend in with the house.
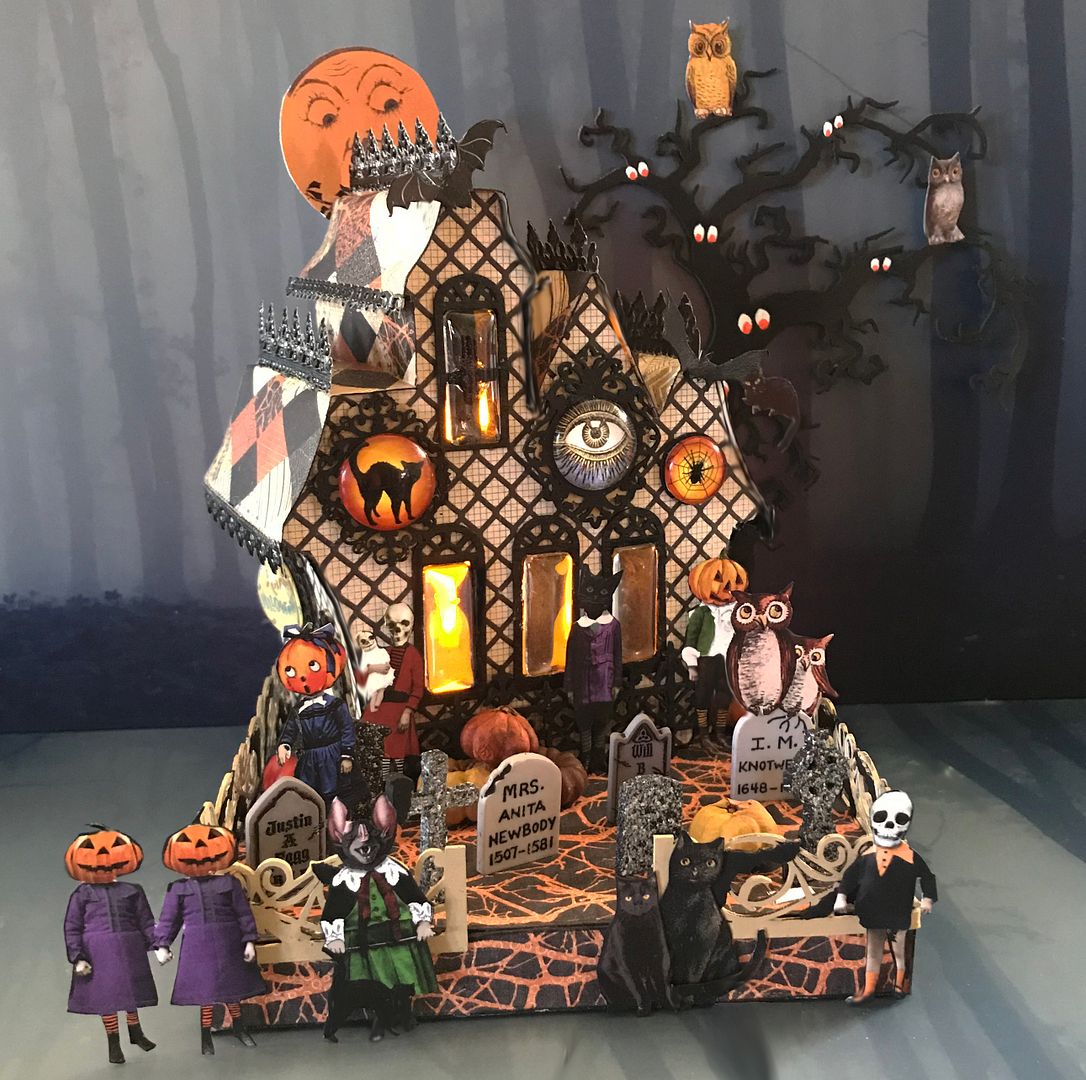
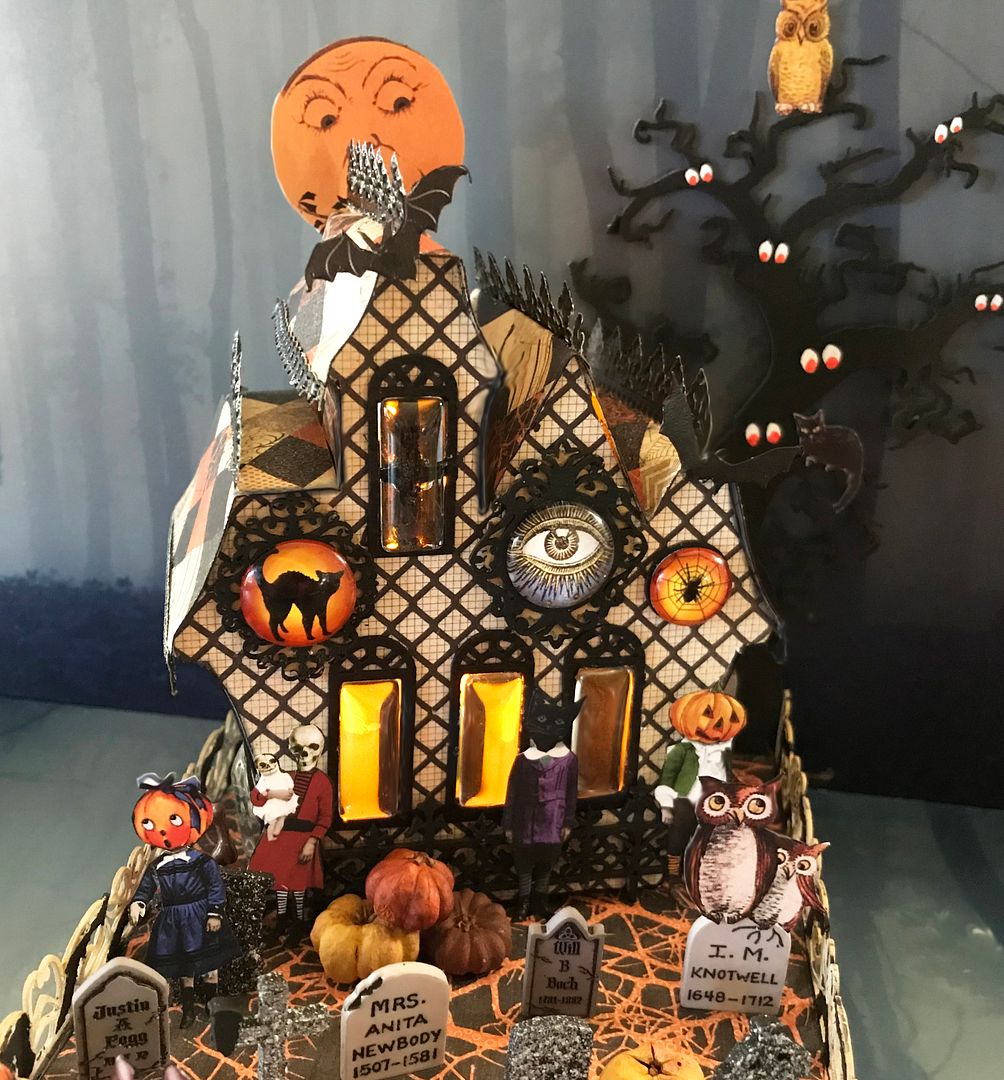
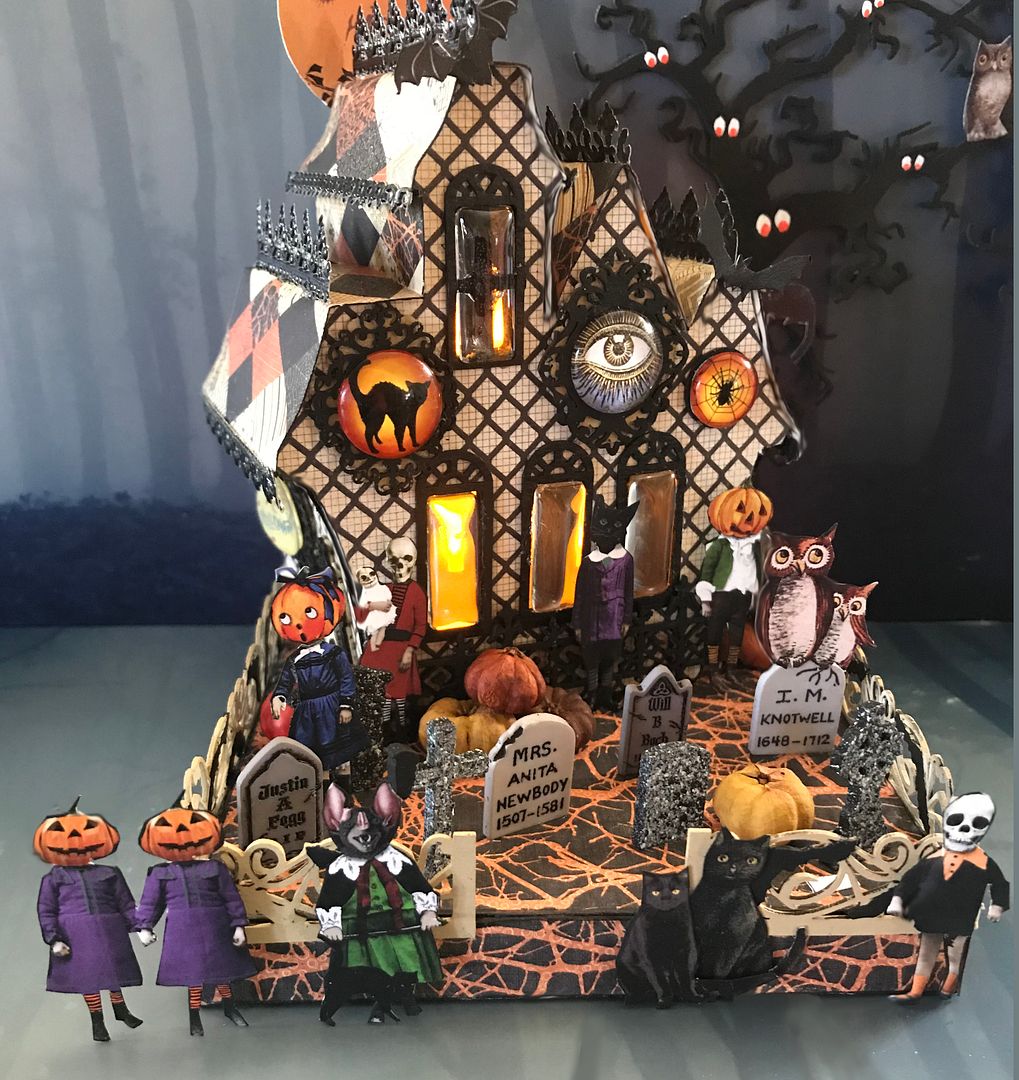
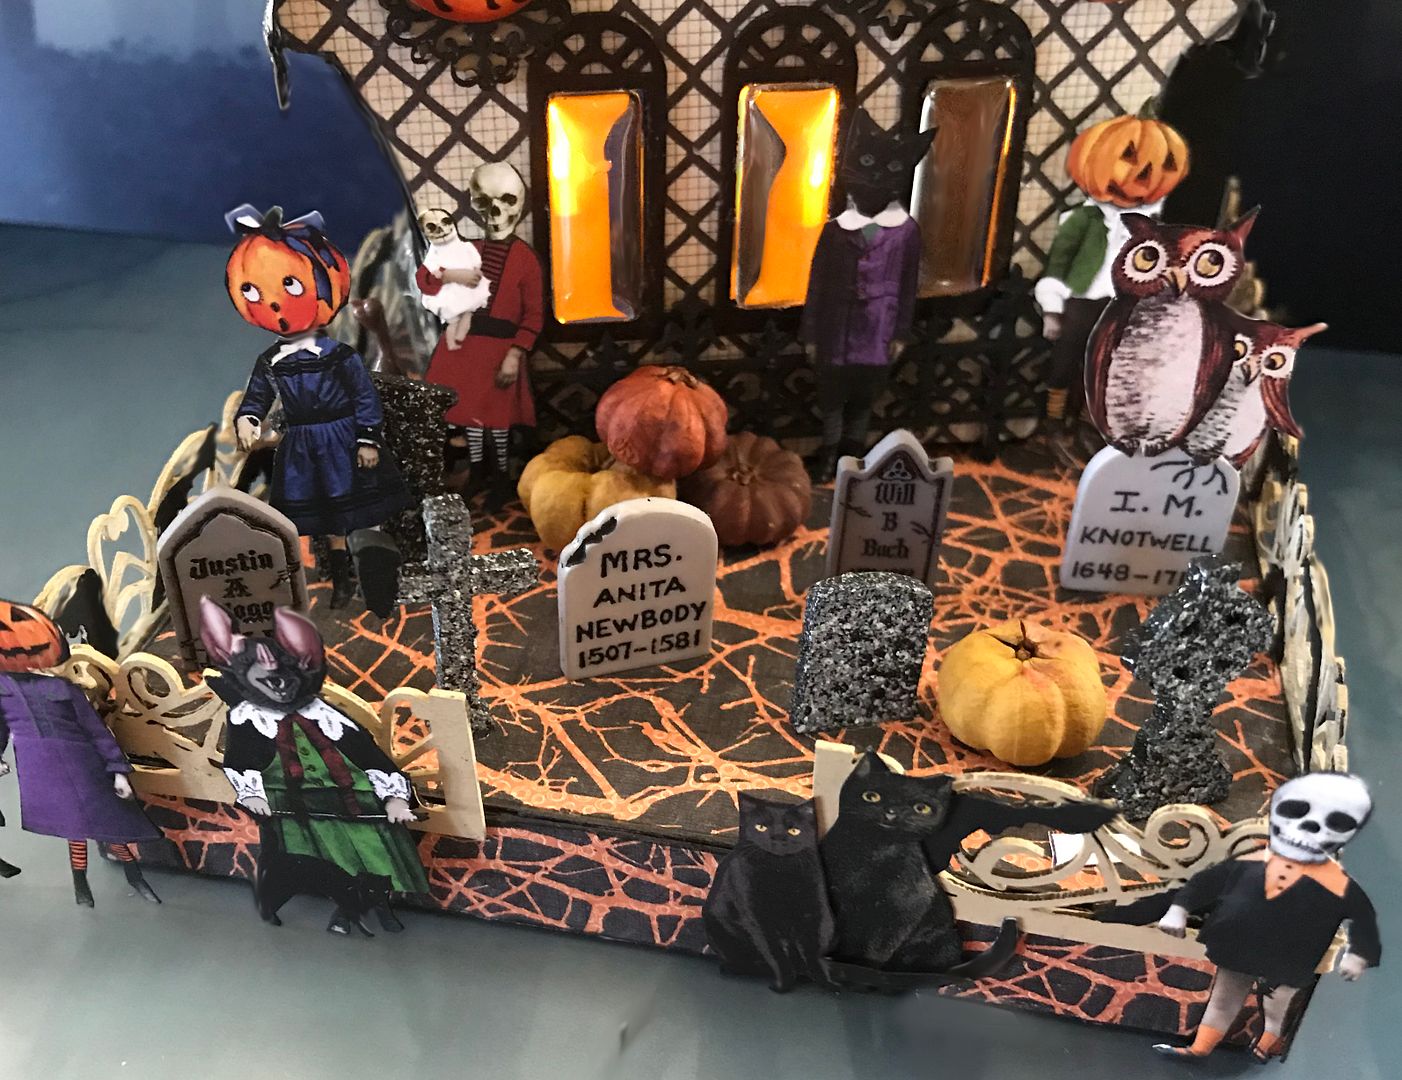
To dress up the windows I used die-cut chipboard frames to which I attached round and rectangular cabochons.
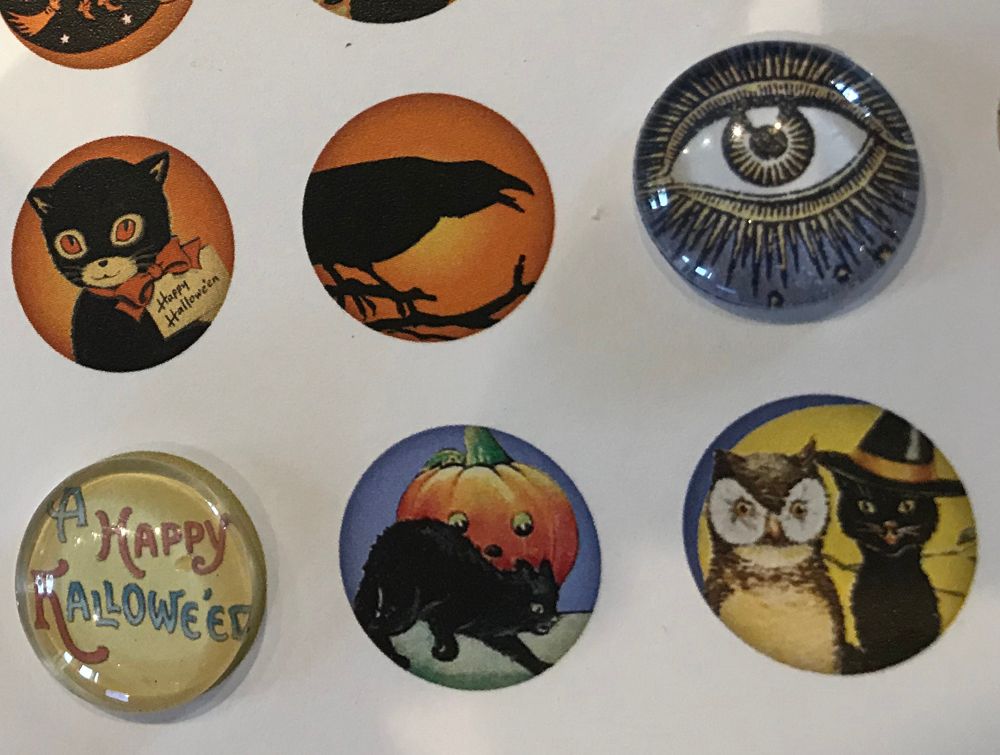
I added images (from the Halloween Pendants Collage Sheet) behind some of the cabochons using Glossy Accents.
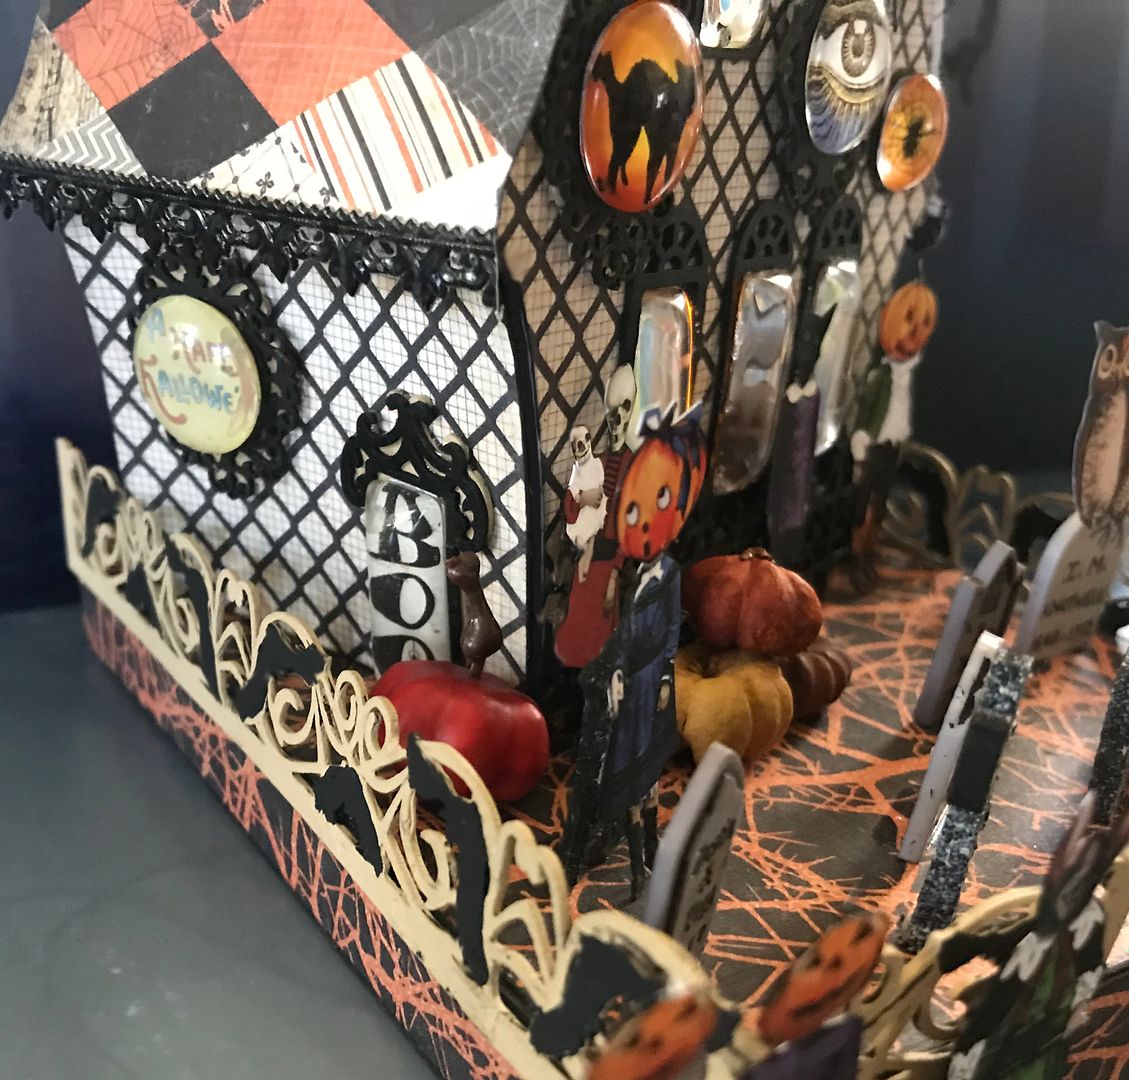
Notice that I also added paper to the sides of the house and attached faux windows and a door using the die-cut chipboard frames and cabochons.
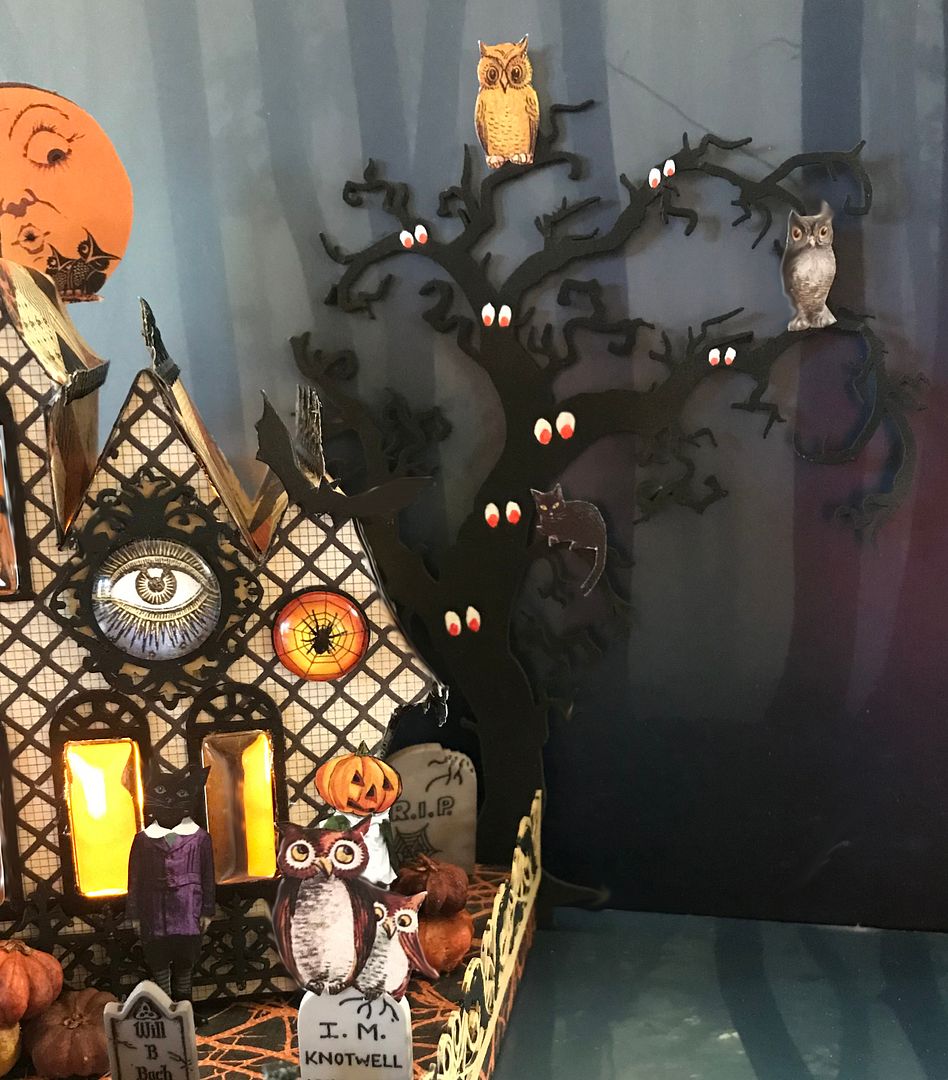
I covered the base with more decorative paper and added die-cut spooky fencing with decorative bats. To the base, I added pumpkins, and tombstones (some from the kit and some from my stash). The creepy kids are from a new Mini Halloween Darlings Half Collage Sheet and the owls and cats are from the Familiars Collage Sheet.
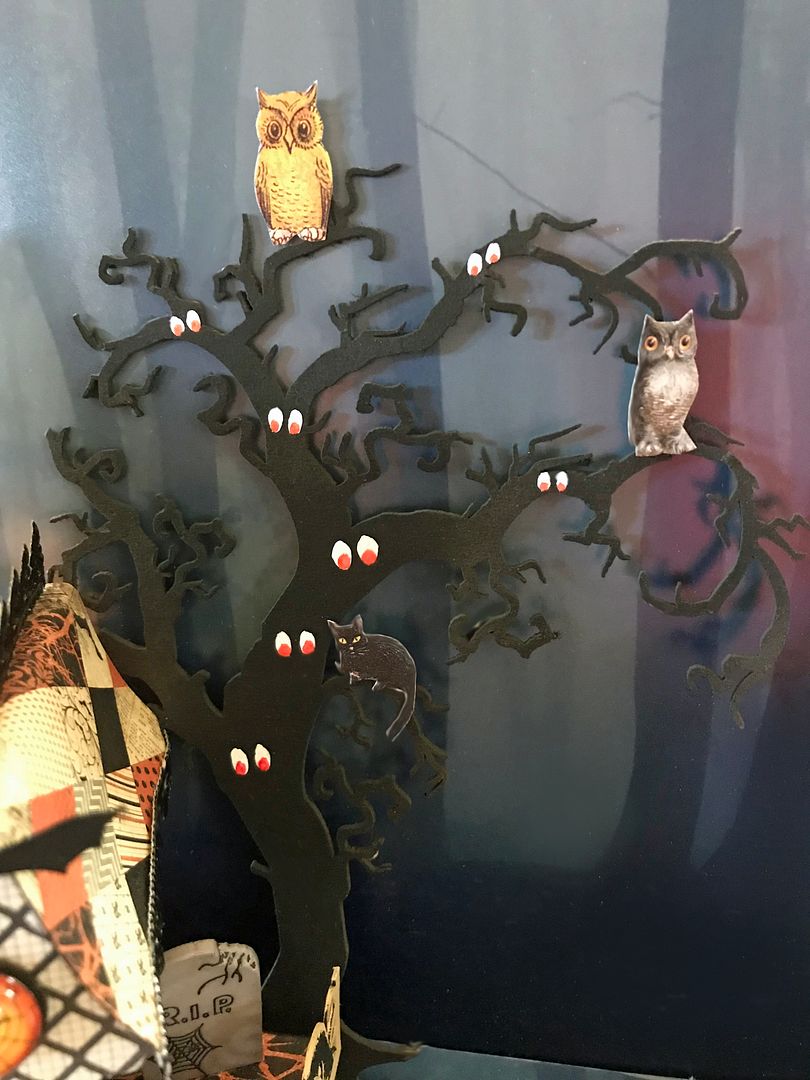
Final touches are the bats attached to the roofline and the spooky tree attached to the back. To make it look spookier I painted red eyes in various places on the tree.
DETAIL SUPPLY LIST


No comments:
Post a Comment
Thanks for your comment!