
I’ve made many traditional handmade
books and journals over the years but this time I decided to take this travel journal
in a different direction and create something that was more of a display piece.
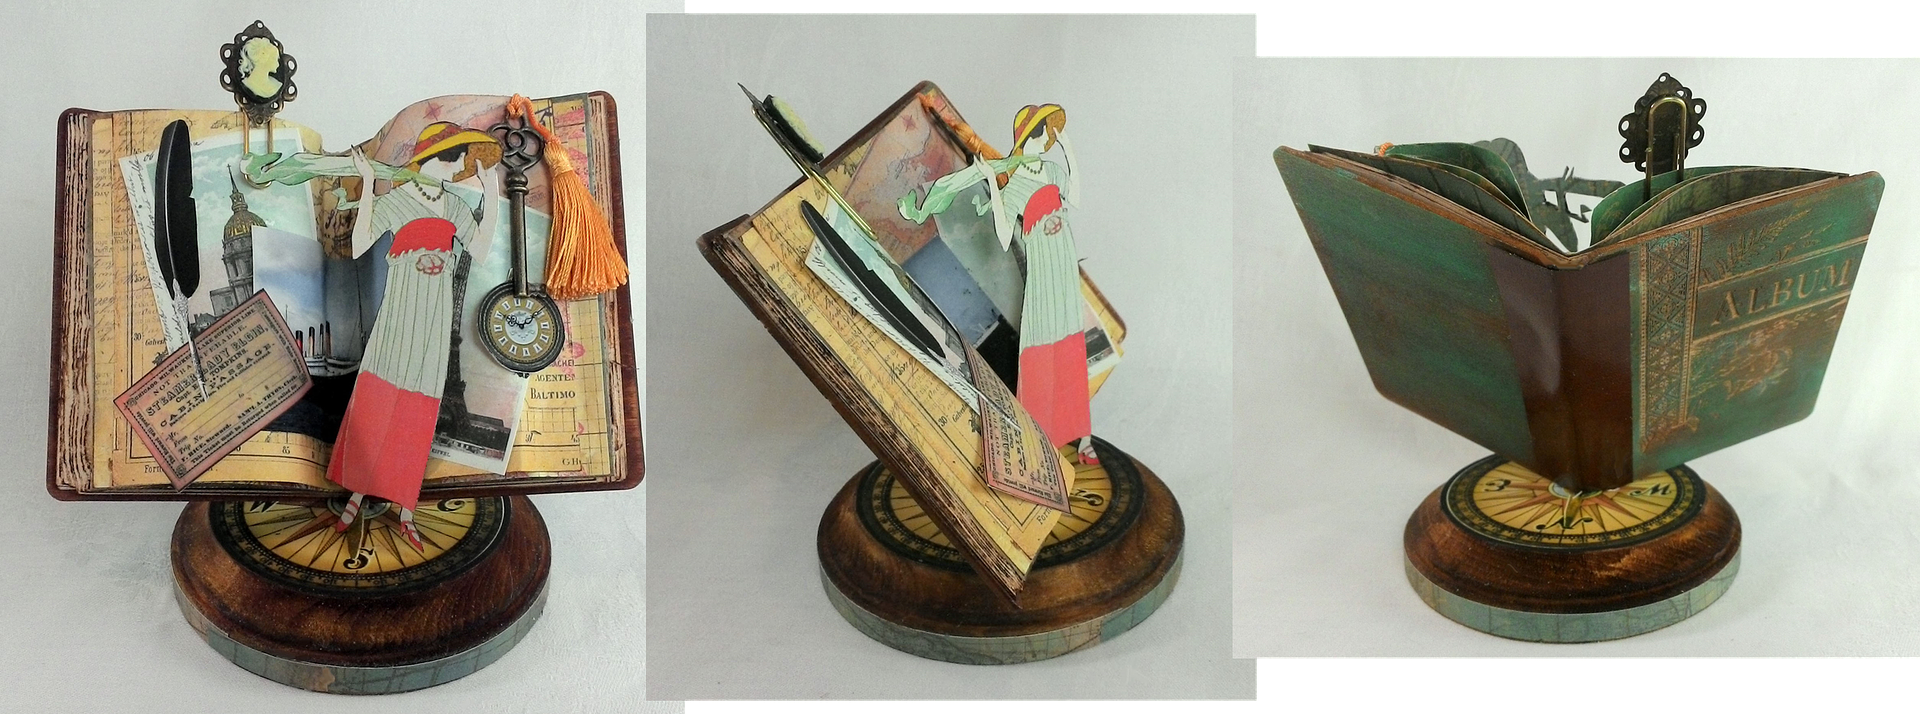
The book is mounted on a wooden base using a wooden skewer with the pages glued
in place. The open book becomes the display
area. Beyond an art piece, I could see
doing this with a photo and some ephemera from a real trip.
TUTORIAL
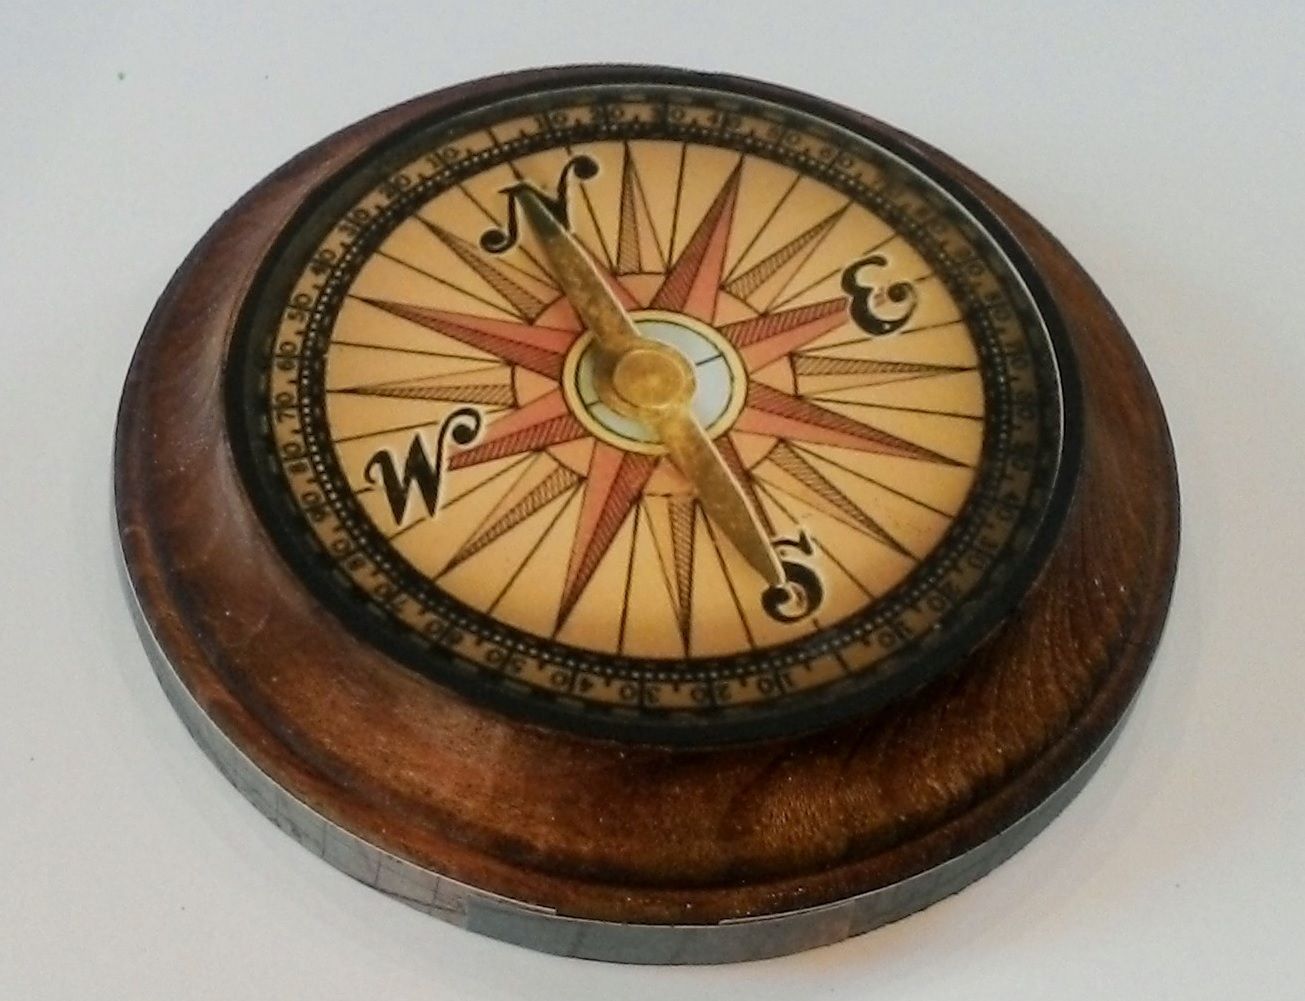
I started by staining the
wooden base with Distressed Ink. I
covered the bottom edge with paper and then use the compass image from my The Sea Calls to Me Collage Sheet for the top of the
base.
The wooden
album covers measure 2 7/8 x 3 7/8” which makes them slightly larger than
an ATC. I used Distressed Ink to stain
the covers and then Gilder’s Paste to add color.

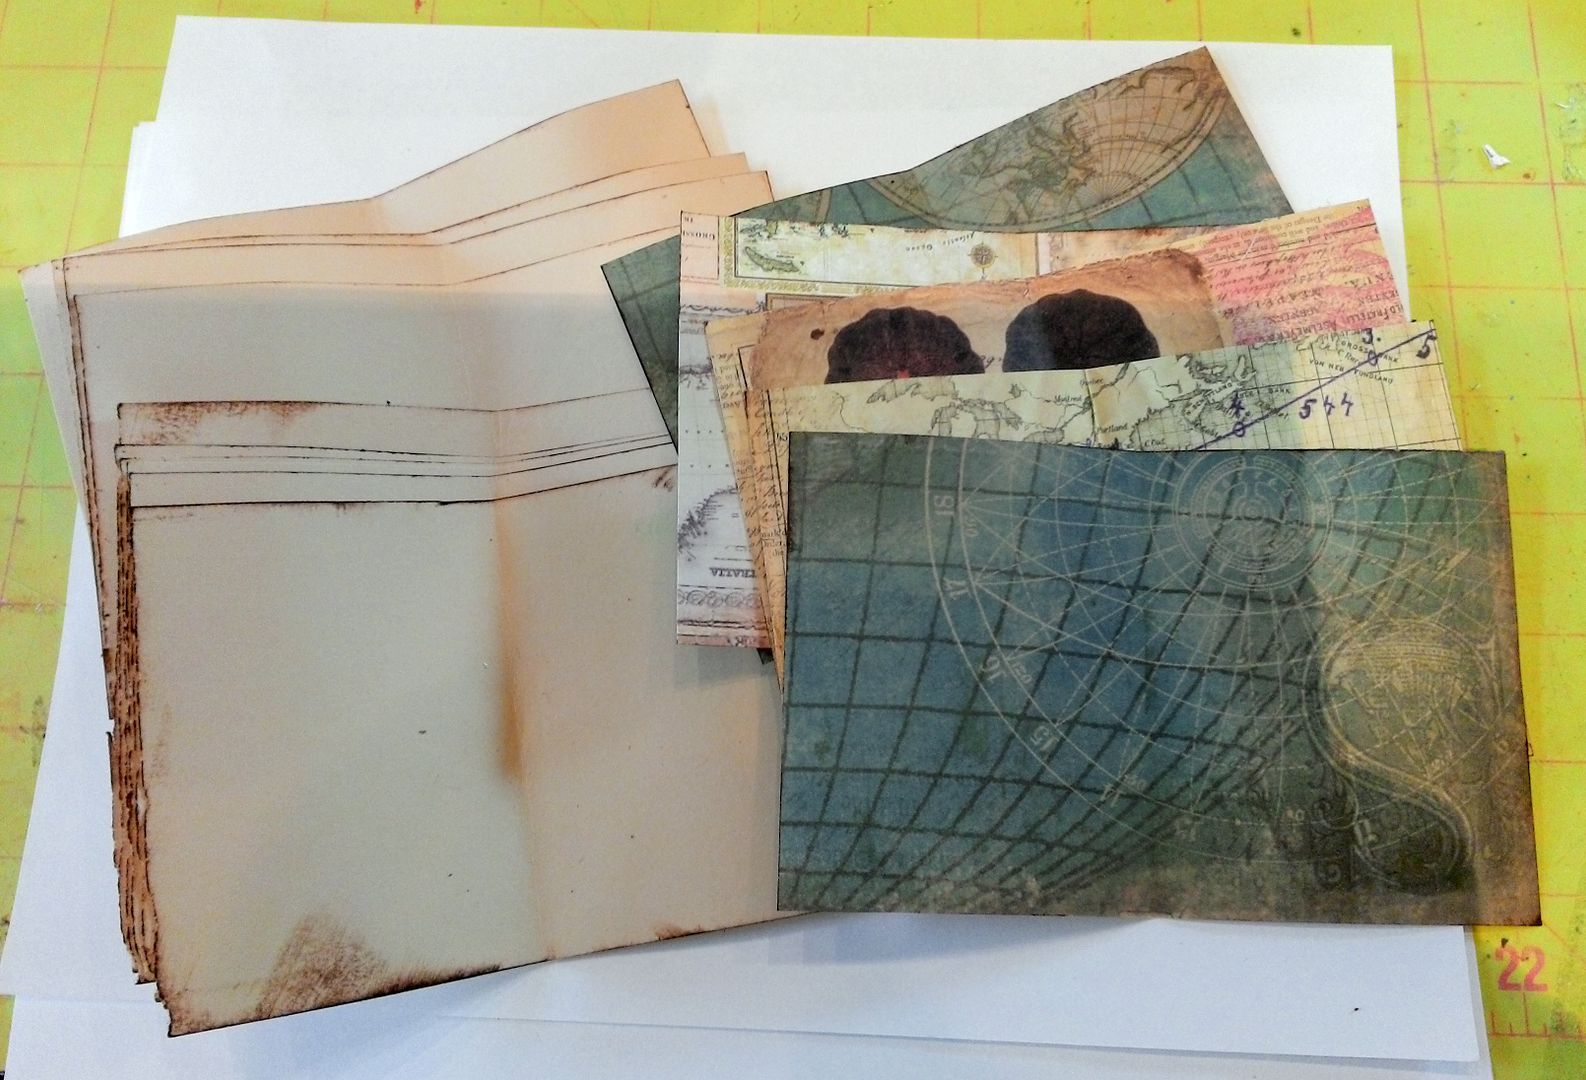
I cut pieces of cardstock and
decorative paper slightly smaller than the covers with each page cut (width-wise) smaller than the one before it. I
inked and distressed the edges of the paper.
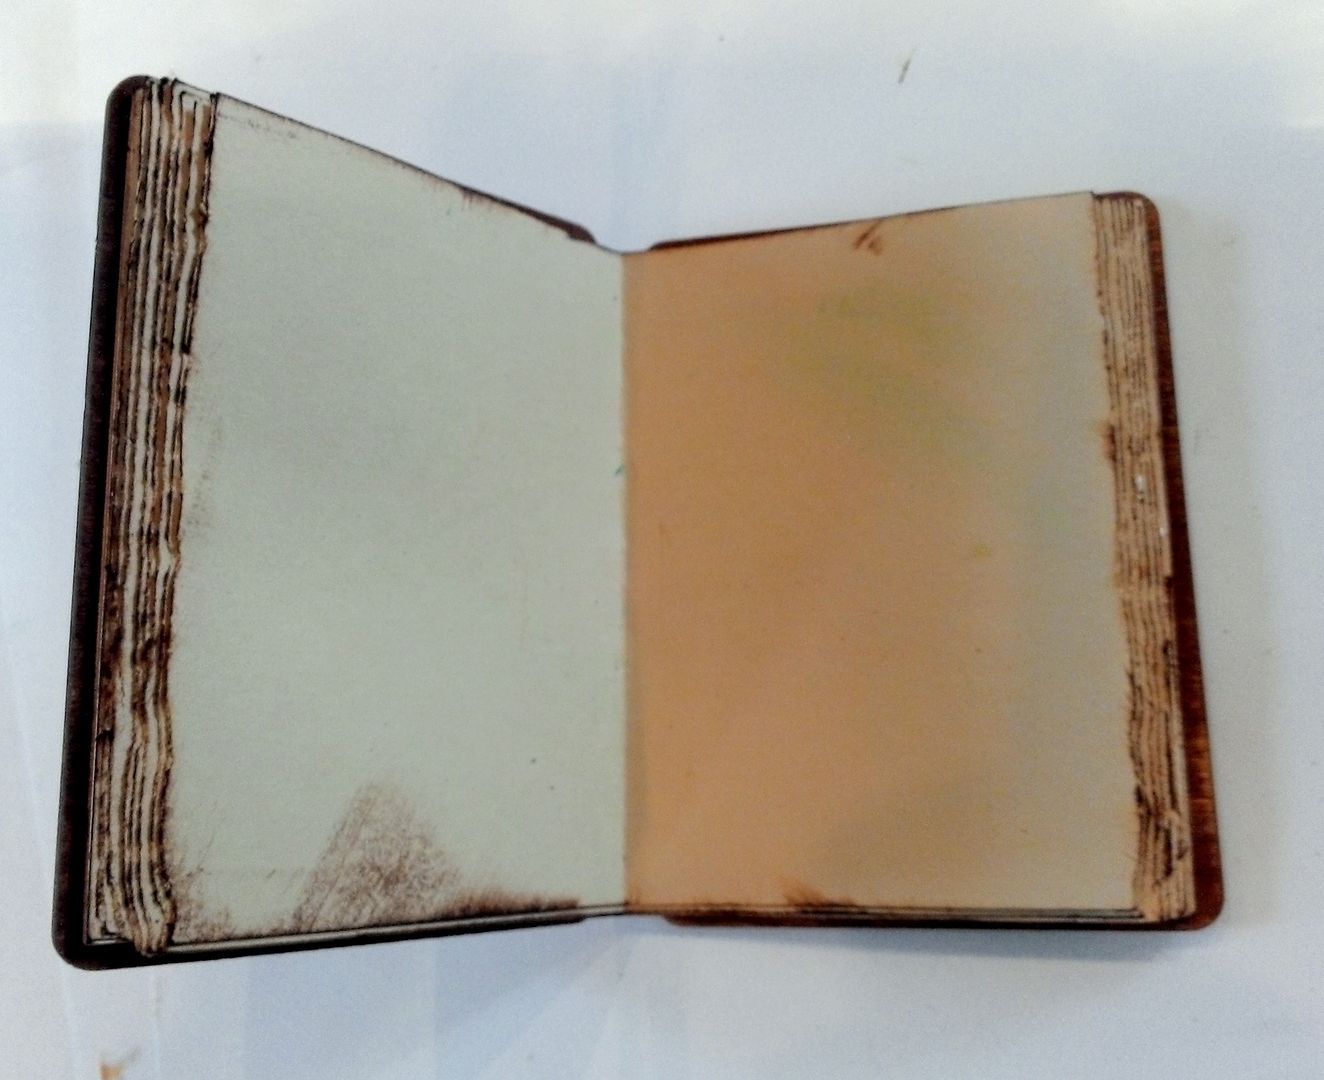
I glued the
cardstock pieces to the covers and to each other. In the picture below you can see why I cut
each page a little less wide than the one before it. As you glue the folded pages to each other
the bulk of the pages will cause the next page to stick out past the one before
it if you don’t cut it a little shorter.
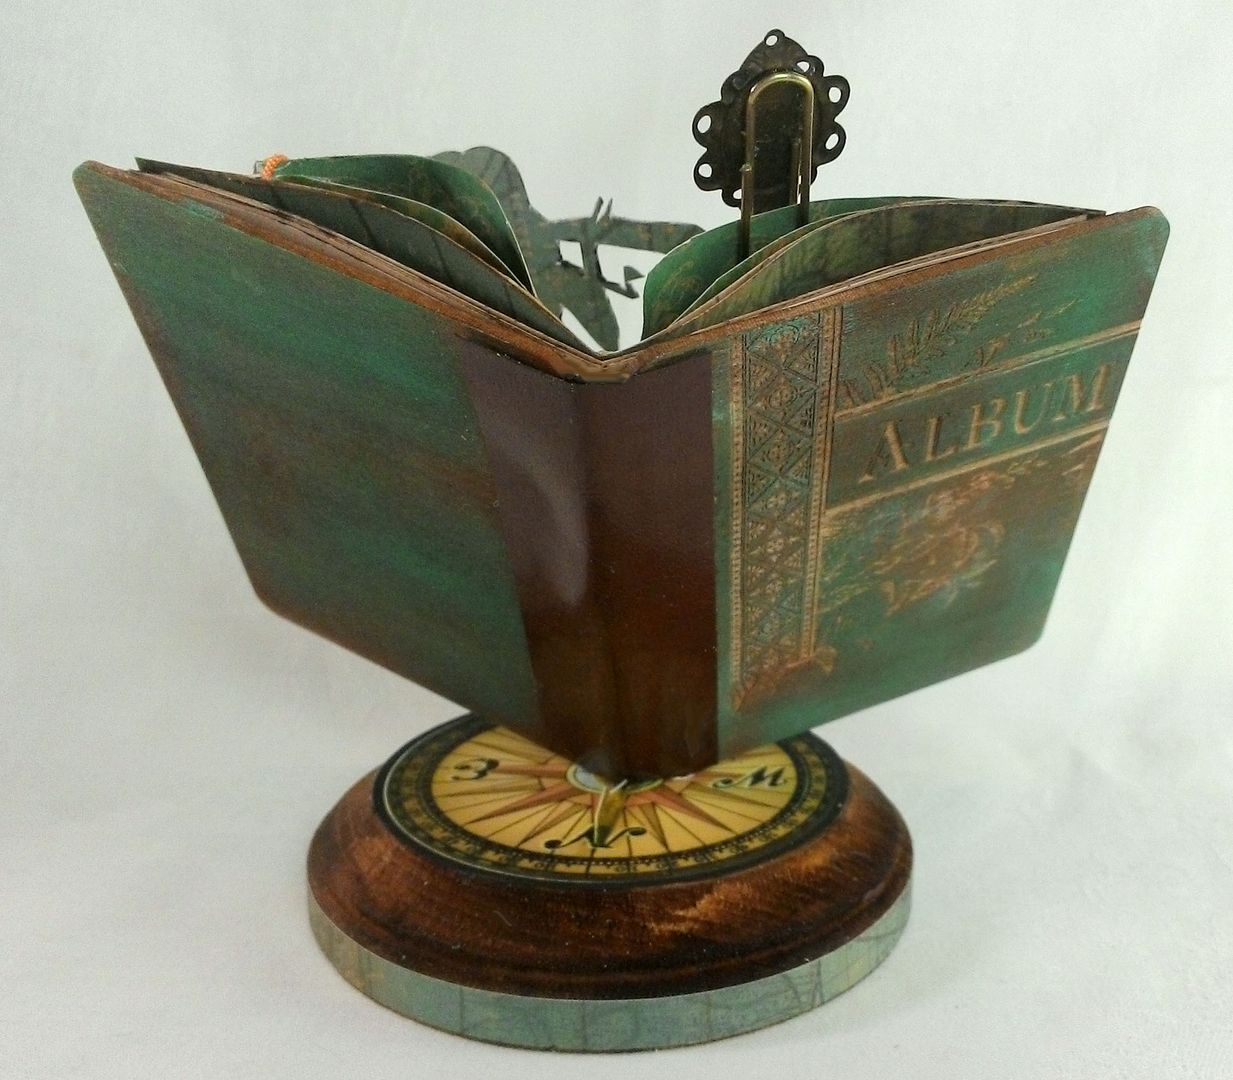
In the picture below, you can
see what the book looks like from the backside.
Notice the gap between the covers.
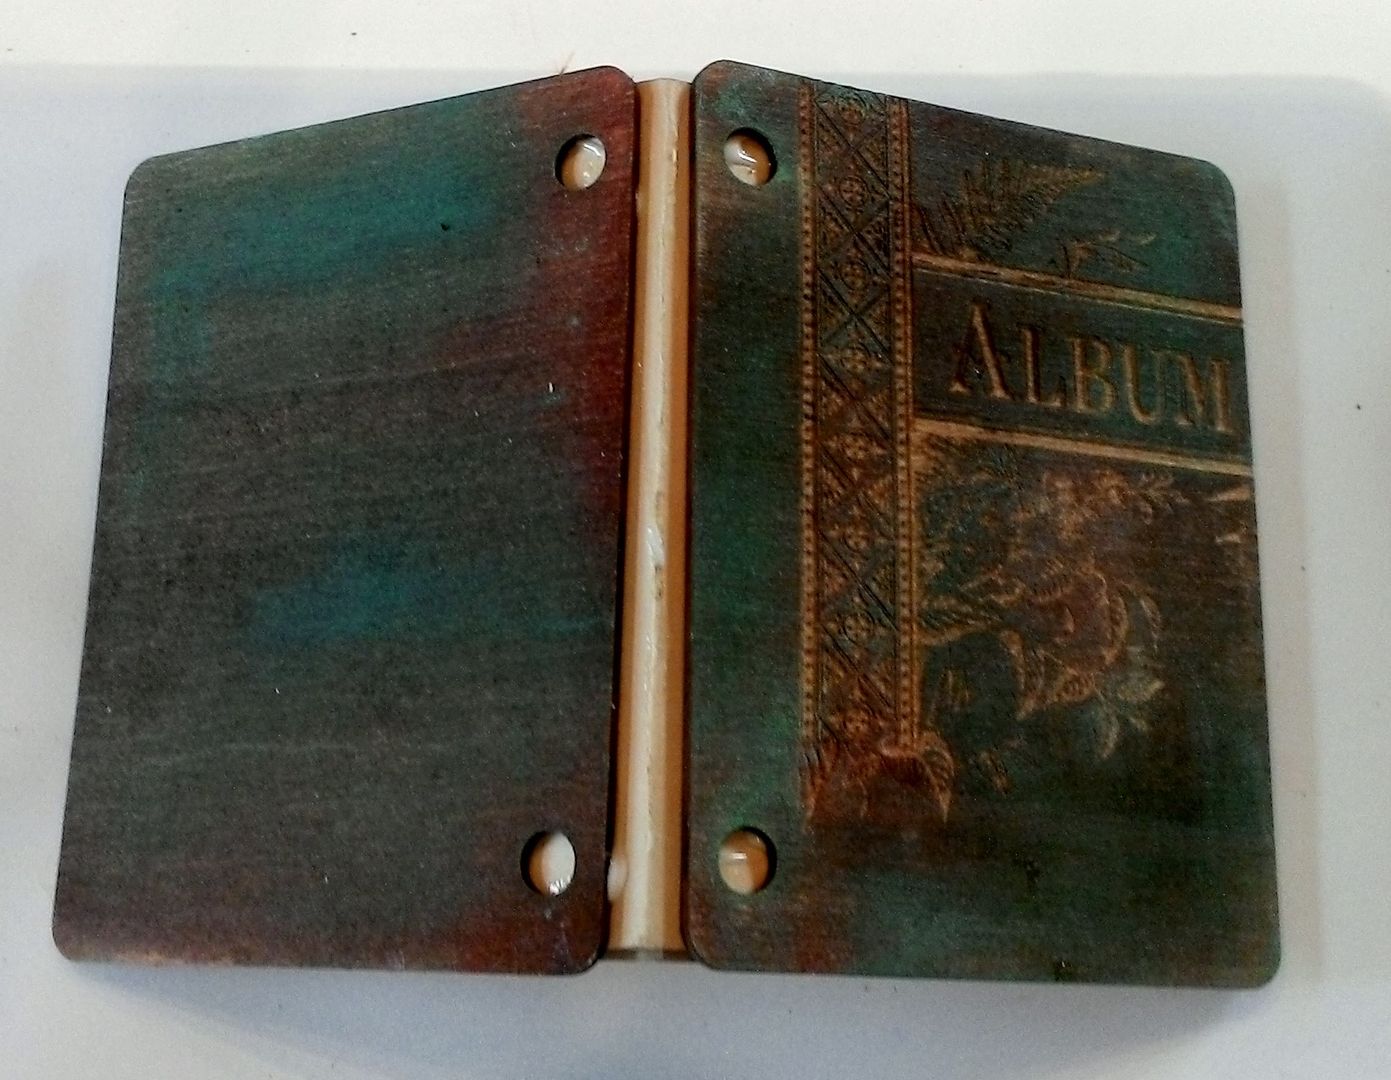
In the gap in the back I
attached a stained wooden skewer.
I then added the decorative
paper and images to the book. I glued
the decorative paper to the book only at the fold.

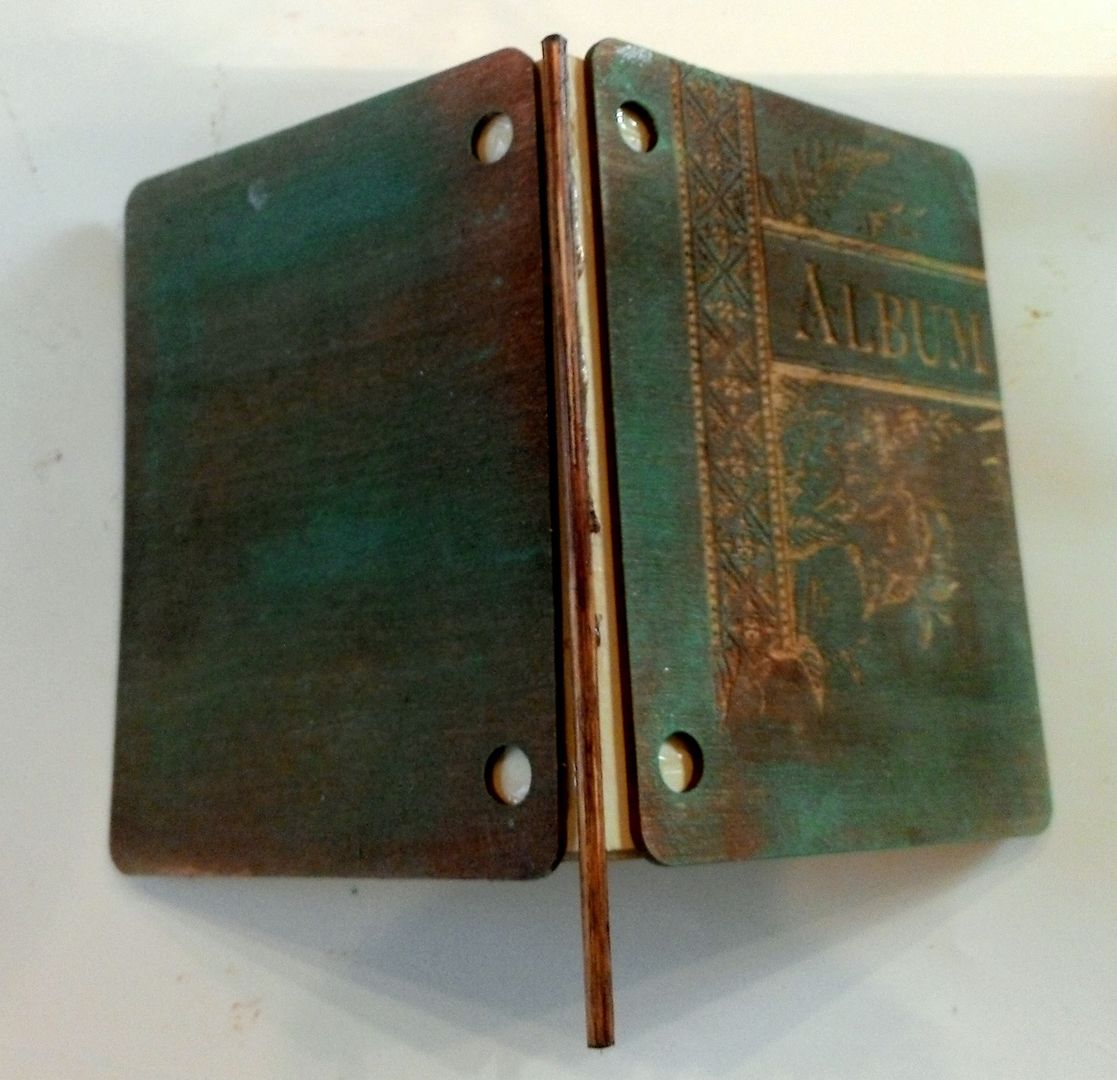
Notice in the picture below
how the pages are bowed and then glued in place. You can see why I started by only gluing the
paper to the book at the fold. As a
spine for the book and to hide the skewer I used a piece of leather paper from
my stash.
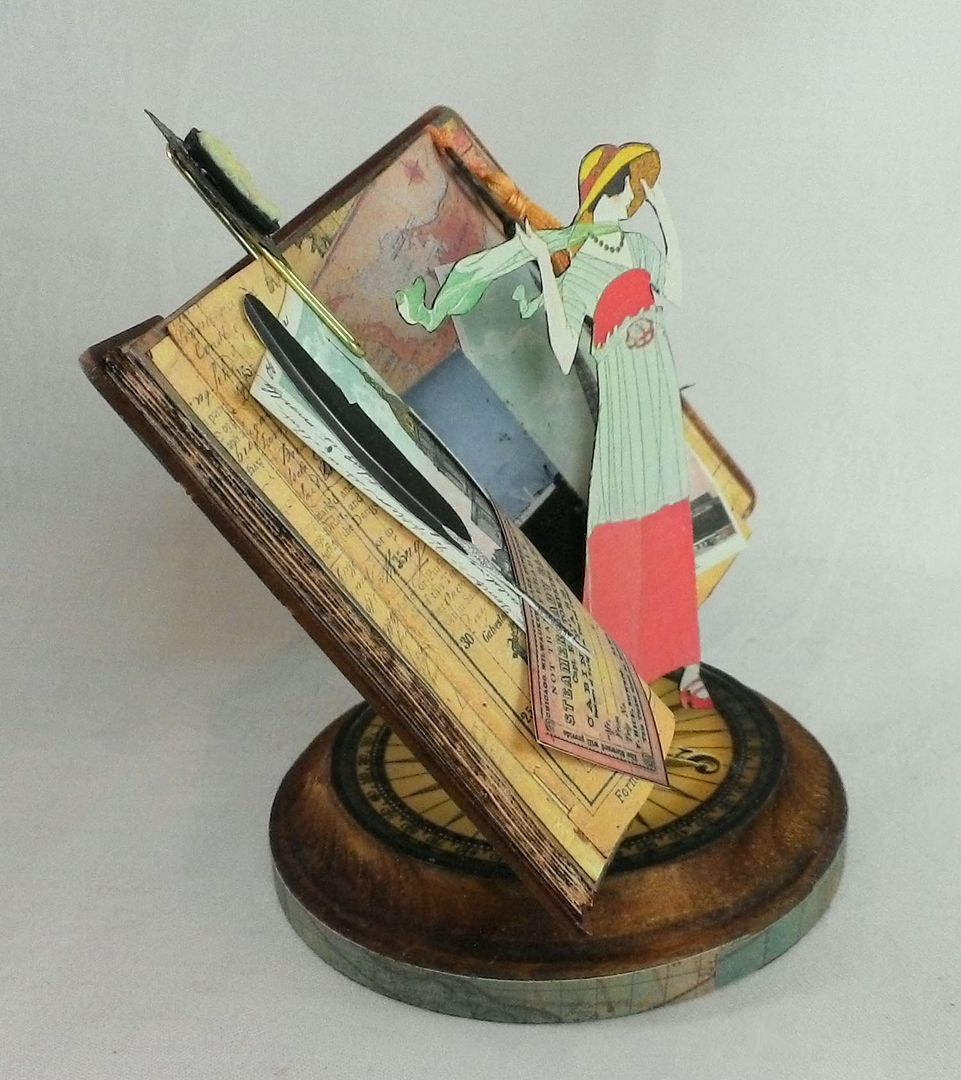
To attach the book to the
base I used an awl to make a hole in the center of the base to accommodate the
skewer. The hole is at a slight angle so
that the book would tilt back.
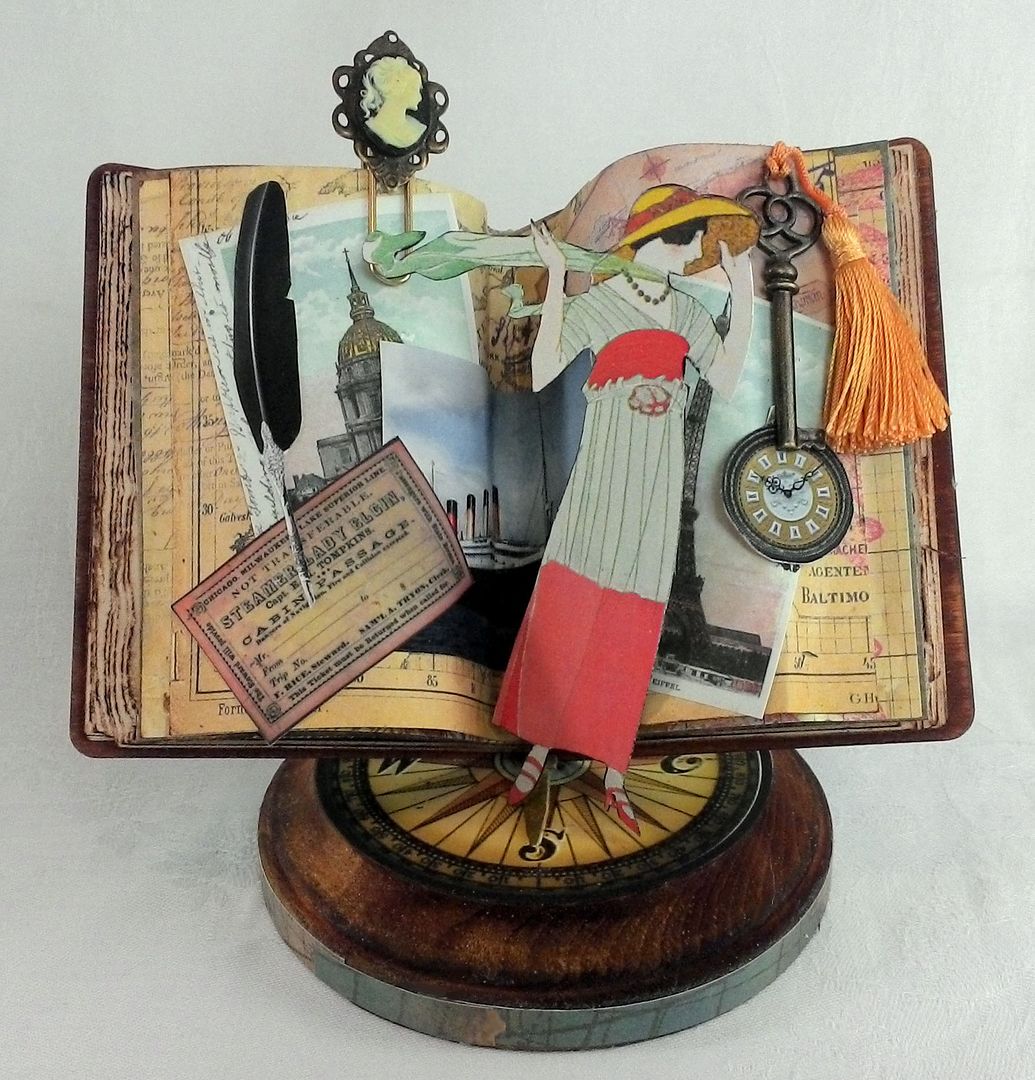
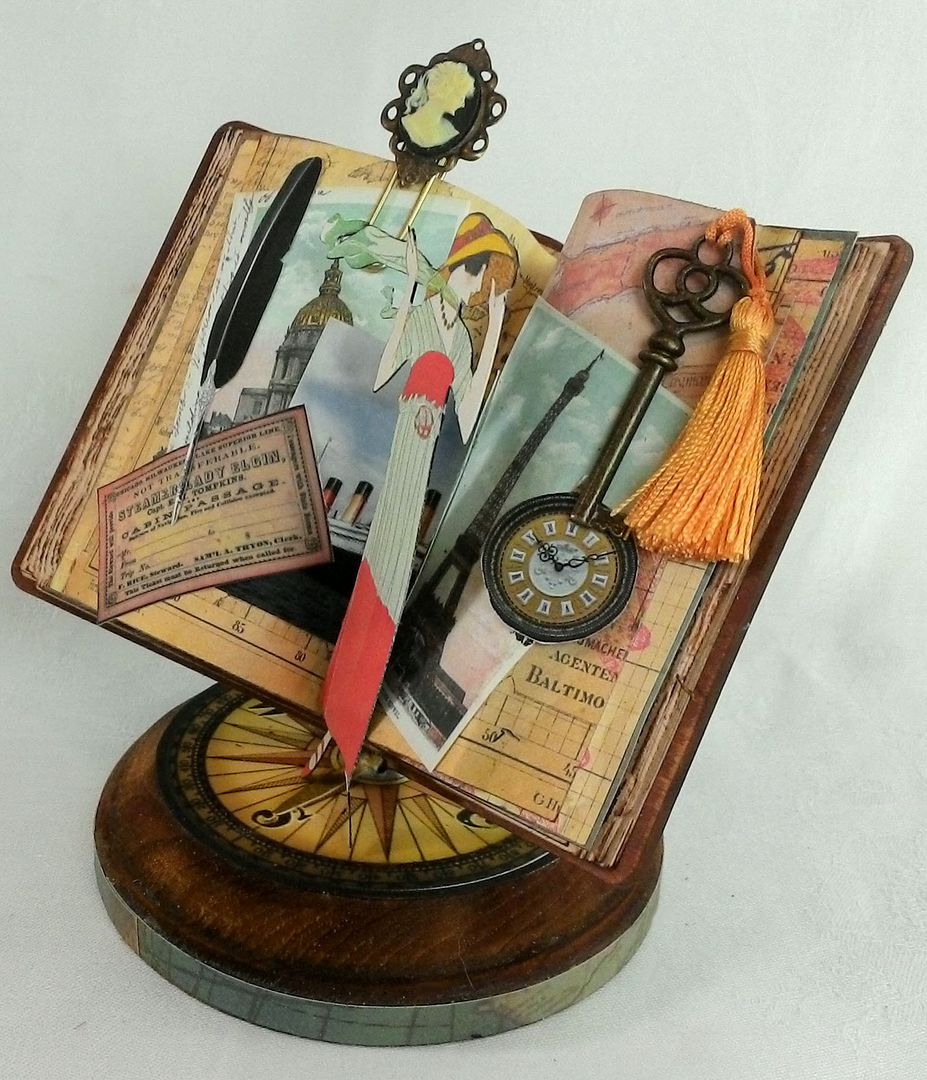
Final touches include a key,
tassel, a cameo glued to a paper click and the image of the woman which is
standing and glued to the edge of the book.
Wonderful piece! Thanks for sharing. You are so generous with your time and talent! Linda
ReplyDeleteWonderful piece! Thanks for sharing. You are so generous with your time and talent! Linda
ReplyDeleteI always love your creations...but this one is sending me over the moon!!! I think it is amazing and fabulous!!! LOVE IT!
ReplyDeleteI'm clapping out loud. What a great idea! So very cleverly made too.
ReplyDeleteThis is so unique Laura! I love it.
ReplyDeletehugs Karen
Beautifully done as always. Thanks for sharing. Karen.x
ReplyDeletewhat an awesome idea!
ReplyDeletethis is gorgeous!!!!!
What a wonderful project Laura, thanks so much for sharing how you created it! Happy Easter to you and yours.
ReplyDeletePhenomenal! Beautifully executed!
ReplyDeletepretty nice blog, following :)
ReplyDeleteYou write the best tutorials! I love this idea for recycling/repurposing a book. Anne, yourmainestamper
ReplyDeleteLove, love this. I am going to do one based on my trips to Paris. You do such amazing work and inspire us all!
ReplyDelete