Pages

Wednesday, October 31, 2012

Ghoul and Sons Chemists


GHOUL & SONS CHEMISTS
Trusted Name for the Last 500 Years
“All Our Best Customers Are Underground”

This is my last Halloween treat for you!!

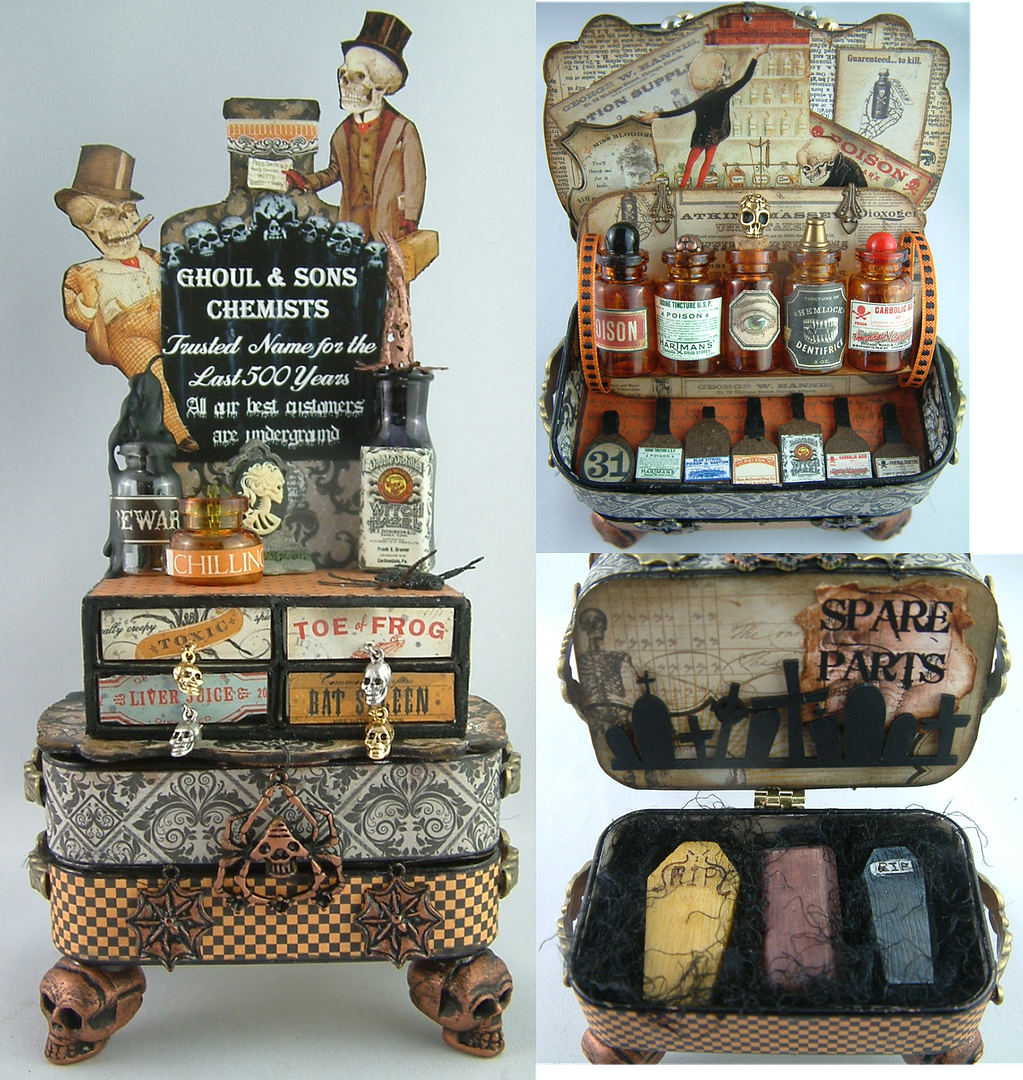
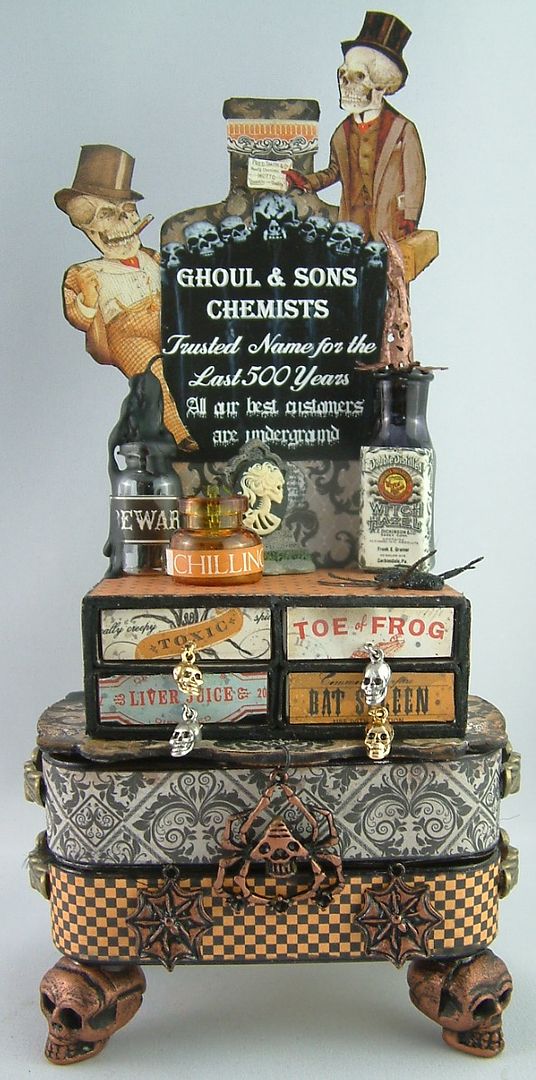
This piece has three tiers consisting of matchboxes, two Altoids tins and a chipboard potion bottle for a back (the same kind I used for the potion swap).  All the tiers are hinged together.  The first tier is a matchbox chest with drawers that open.   The matchboxes are sitting on a decorative piece of chipboard.  The chipboard is hinged to the first Altoids tin.  By lifting the copper colored spider charm you can lift the top to reveal the contents - the matchboxes and everything are still attached.

I used one of the chipboard potion bottles that I used for the potion swap for the back of the piece.  The first layer is a matchbox chest with drawers that open.  The matchboxes are sitting a decorative piece of chipboard.  The chipboard is hinged to the first Altoids tin.  By lifting the copper colored spider charm you can lift the top to reveal the contents. 

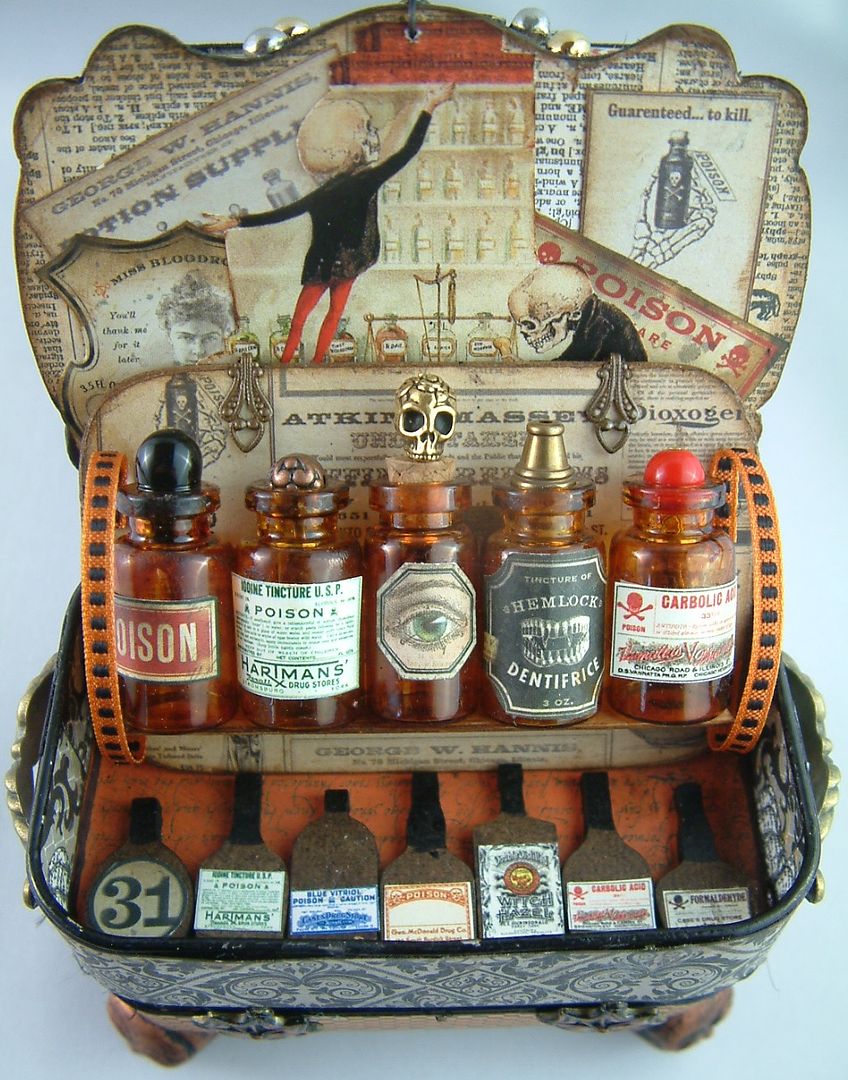
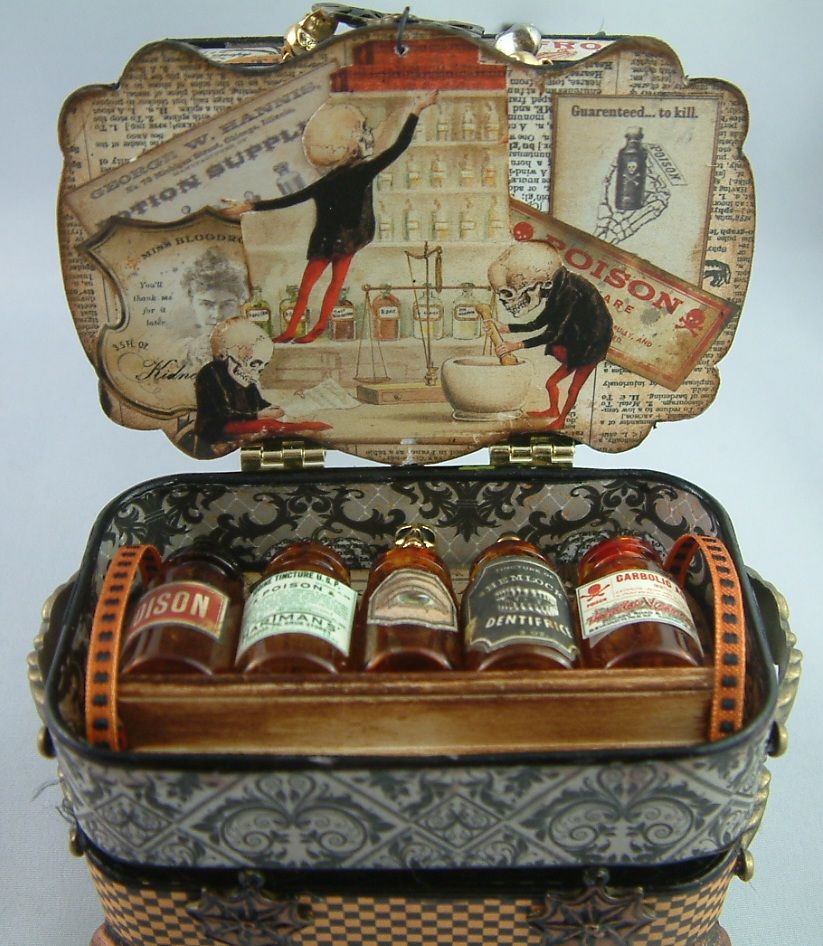
Inside the Ghoul sons are busy at work mixing their concoctions.  The bottles you see are resting on a piece of chipboard.  By pulling on the ribbon handles you can lift the bottles out of the tin.
At the bottom of the tin are Masonite bottles – the same ones I used for the book apothecary in the tutorial.  You can use them to prop up the glass bottles attached to the chipboard; like a traveling samples case.
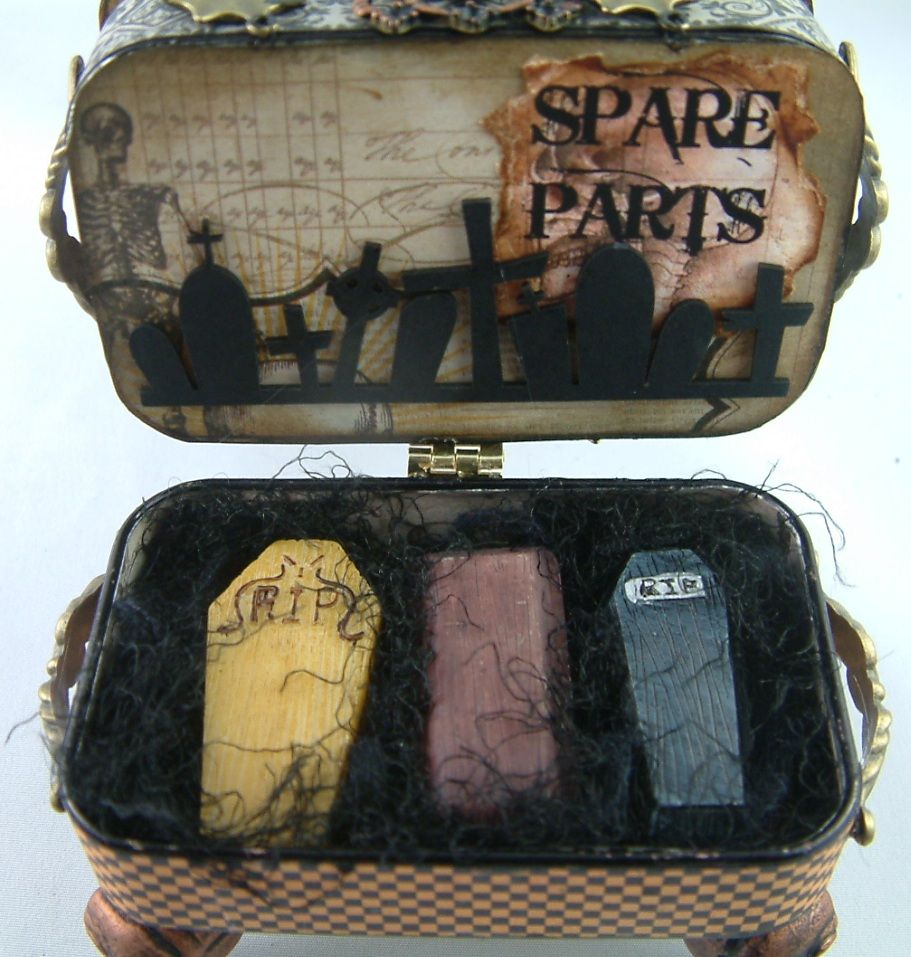
The first and second tins are hinged together. By pulling on the two spider web copper colored charms you can lift the entire piece and access the second Altoids tins.    That’s where the Ghoul family keeps its spare parts!
I hope you have enjoyed my little engineering project!   
HAPPY HALLOWEEN!!!

Alpha Stamps Products Used In this Piece
CHIPBOARD/MASONITE
PAPER & STICKERS
COLLAGE SHEETS
BEADS & CHARMS
METAL BITS & Other Items
Halloween Fiber Set – Black Fiber
BOTTLES

Friday, October 26, 2012

Halloween Blog Party – Witches Ball

Welcome!  I’ve been very busy getting ready for the witches ball.  This annual even hosted by the gals of the “Black Hat Society” is the premier event of the season.  The invitation just recently arrived so I’m in a tizzy about what to wear.  I know that many of the witches will have already ordered their outfits from the best shops in Transylvania, but I don’t have enough time to do that.   I guess I’ll just have to whip up my own.
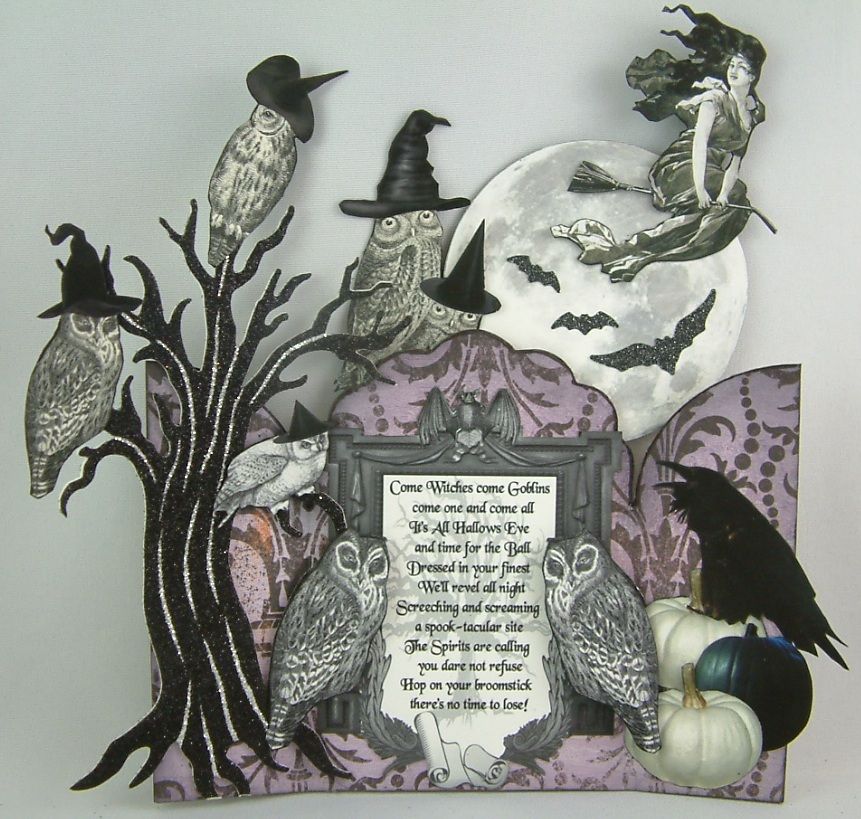
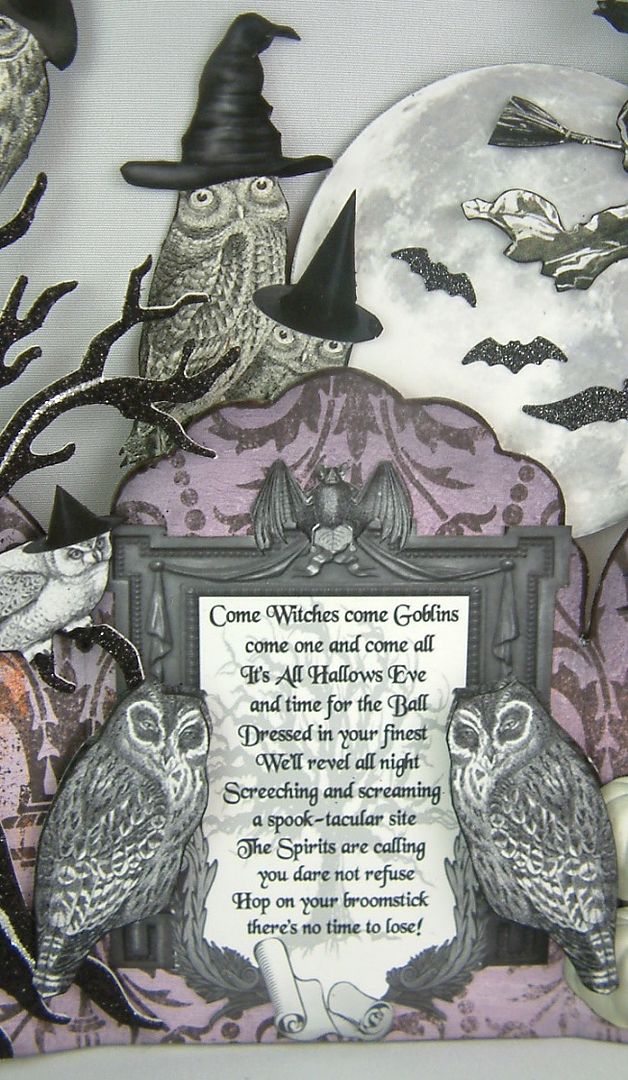
This is from one of my collage sheets and the little ditty is written by me.
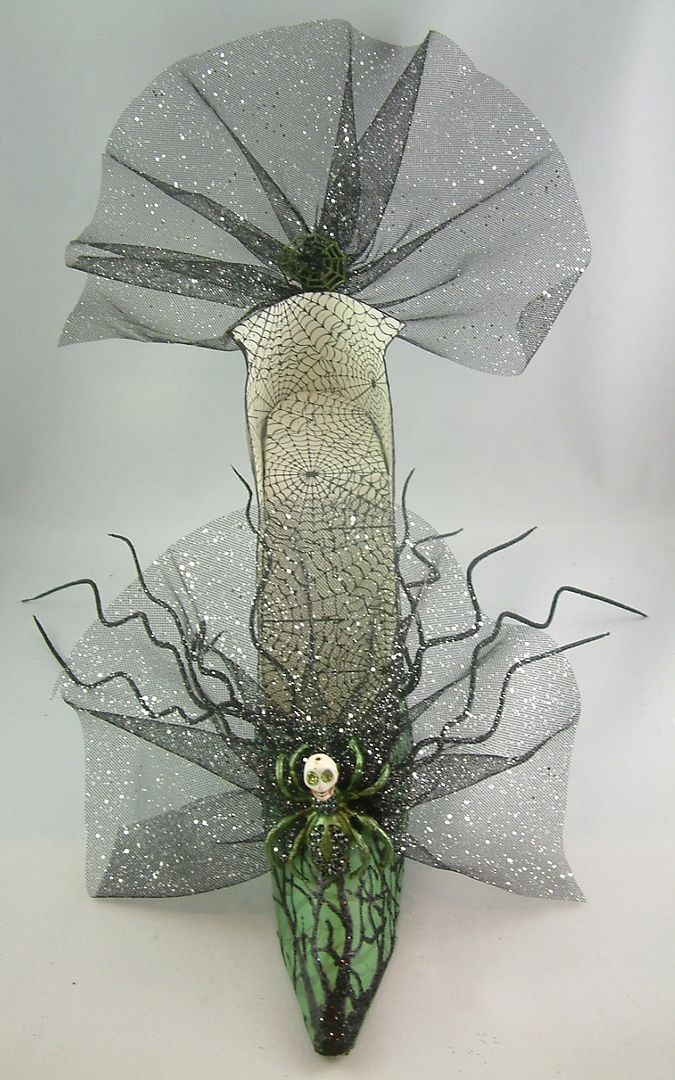
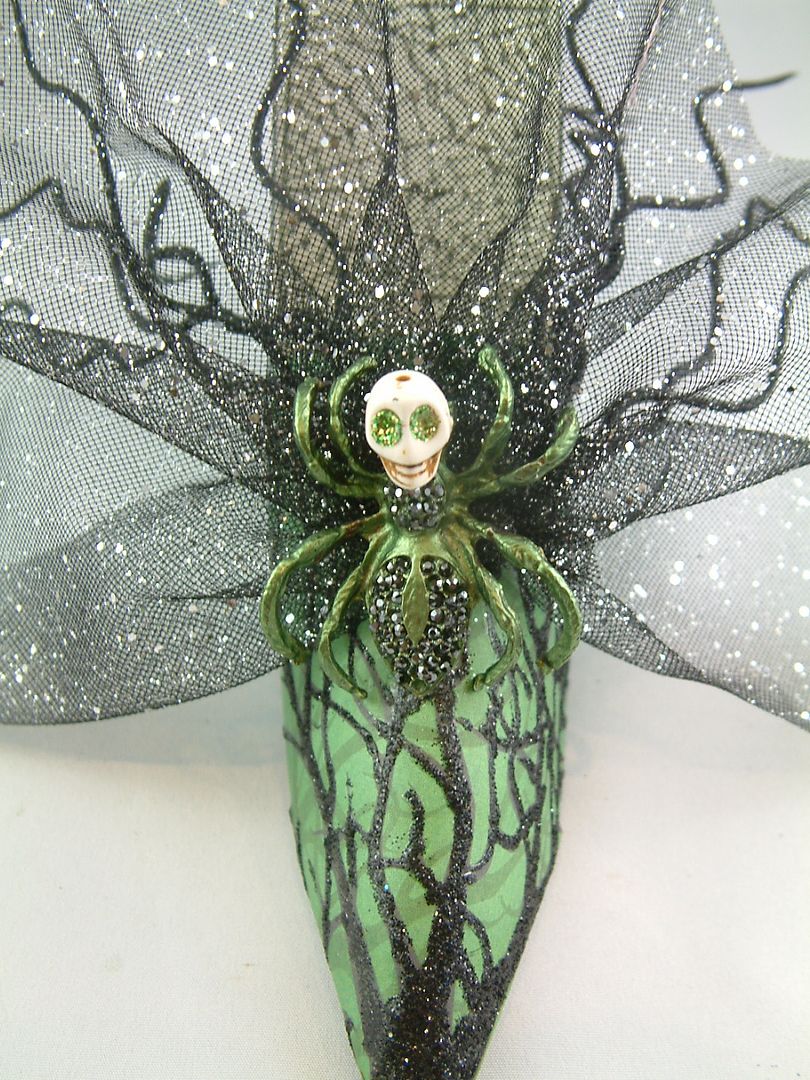
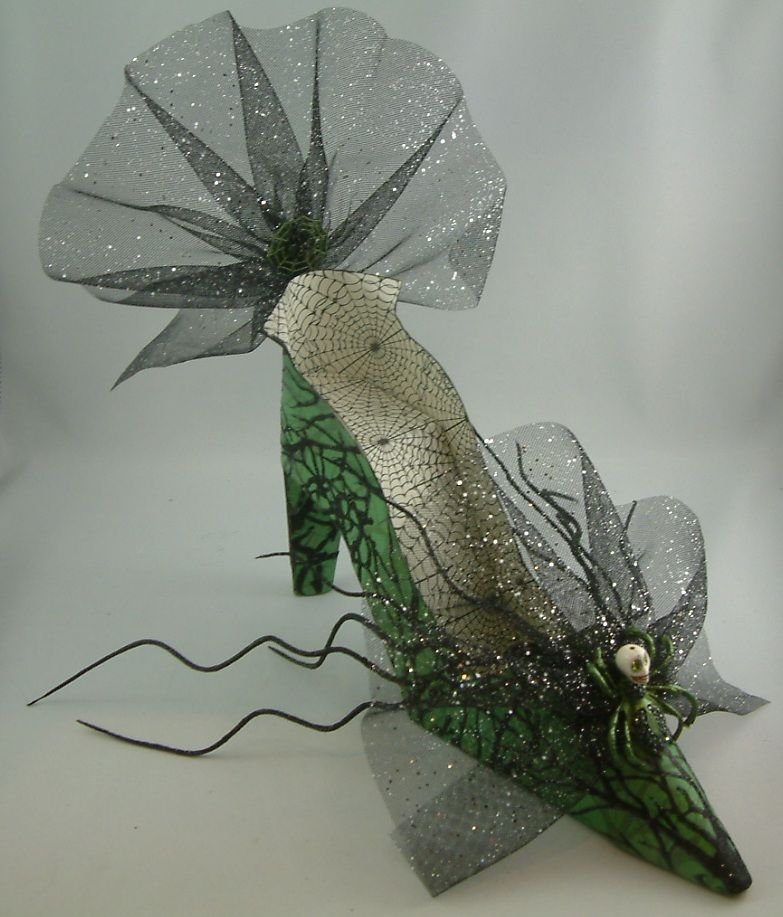
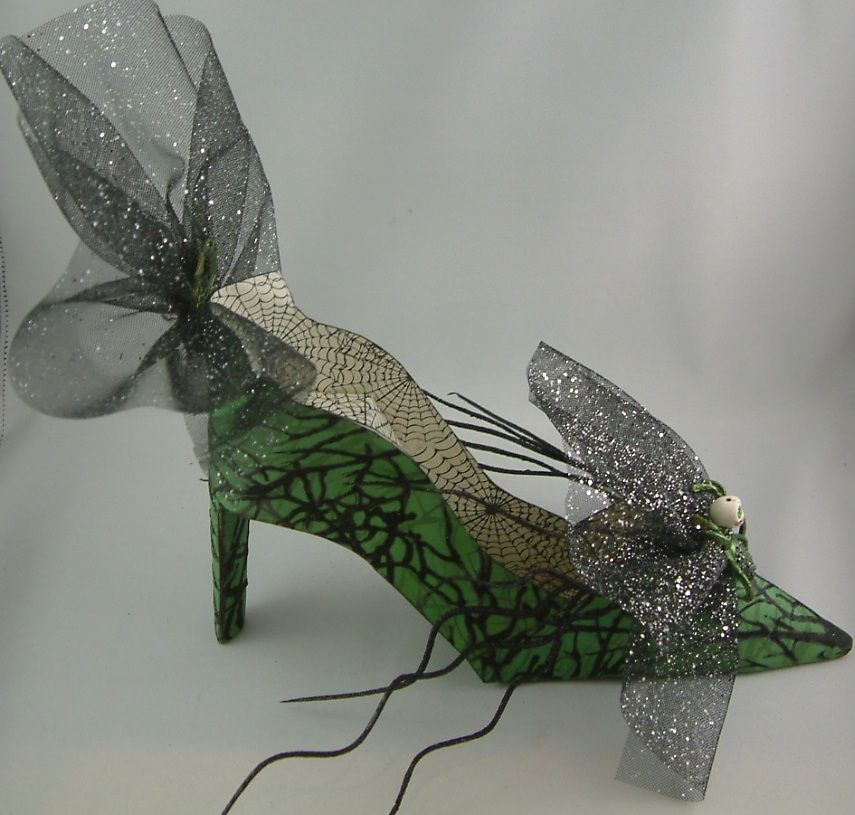
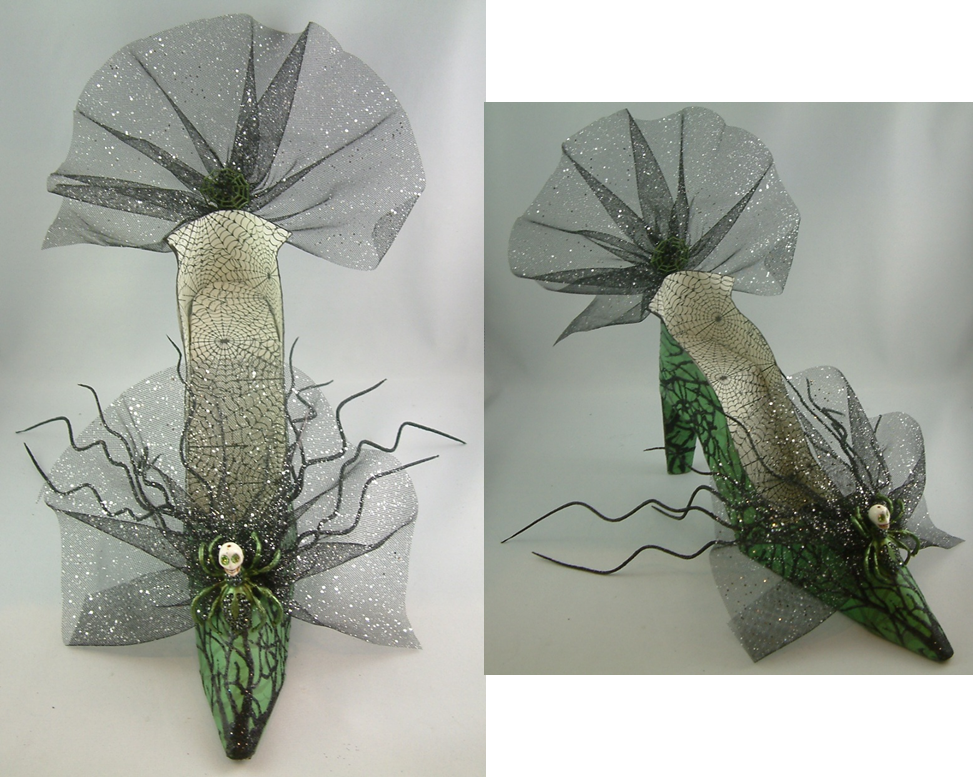
I don’t know about you, but I have a thing for shoes!  I whipped this one up using paper.  I accented the design of the paper with glitter.  I added sparkly fabric and twigs.  The brass spiders are painted with Metallic Olive Lumiere paint and accented with black Swarovski crystals.

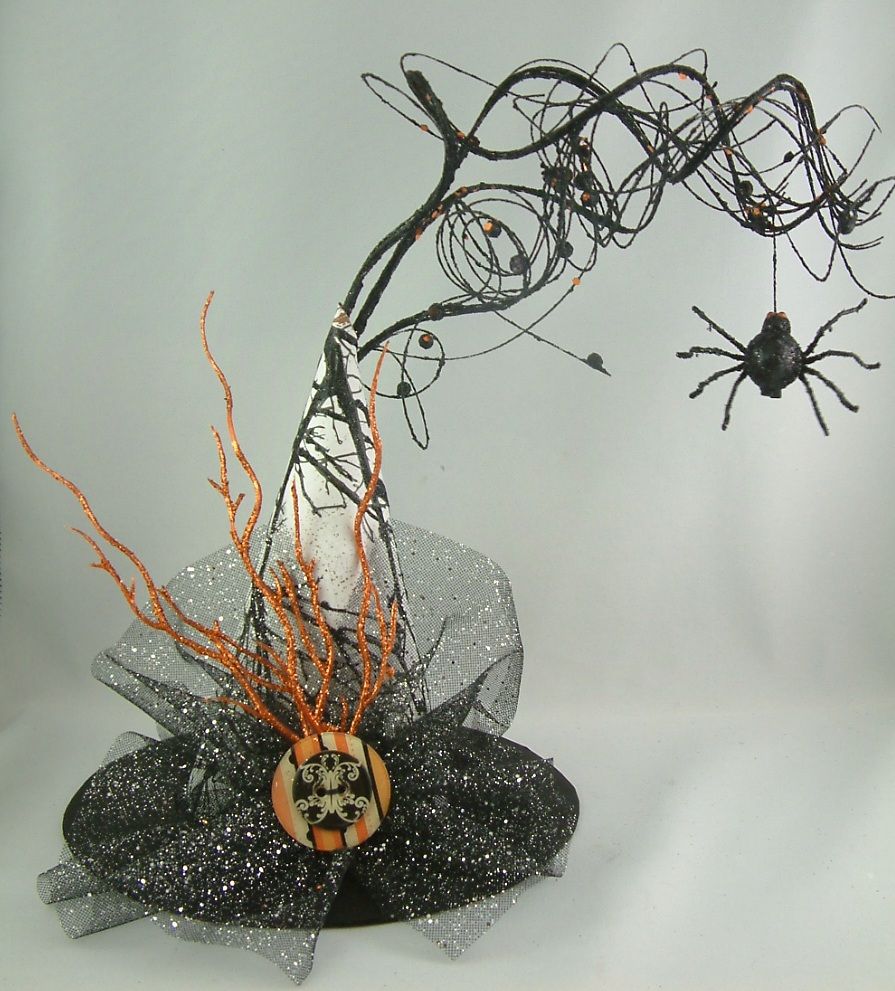
Itsy Bitsy Spider wanted to go to the ball, so I told him he could if he hung off the end of my hat and promised not to annoy guests by biting them.
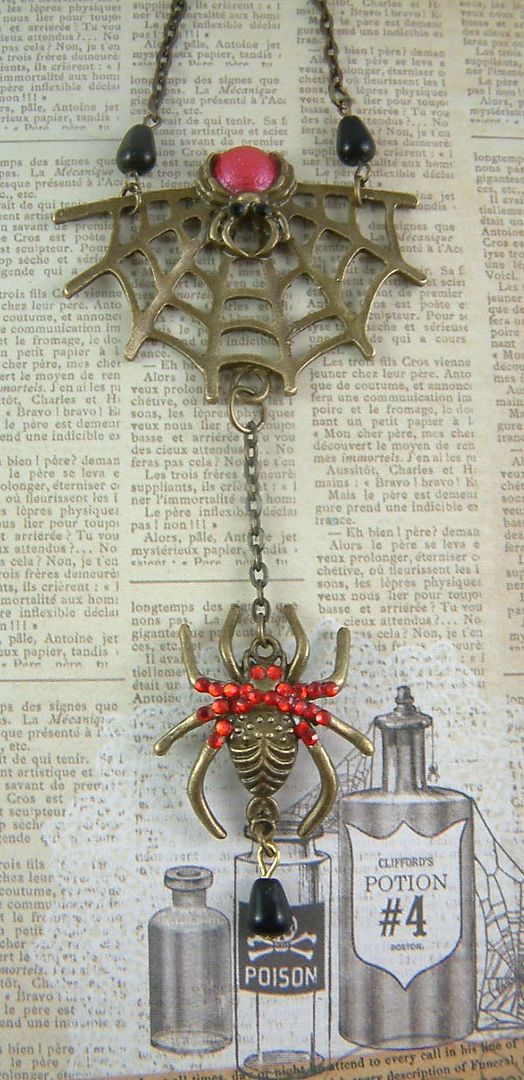
I think this necklace will work perfectly.  The spider on the top is painted with red Liquid Pearls.  The spider at the bottom is accented with Swarovski Crystals.
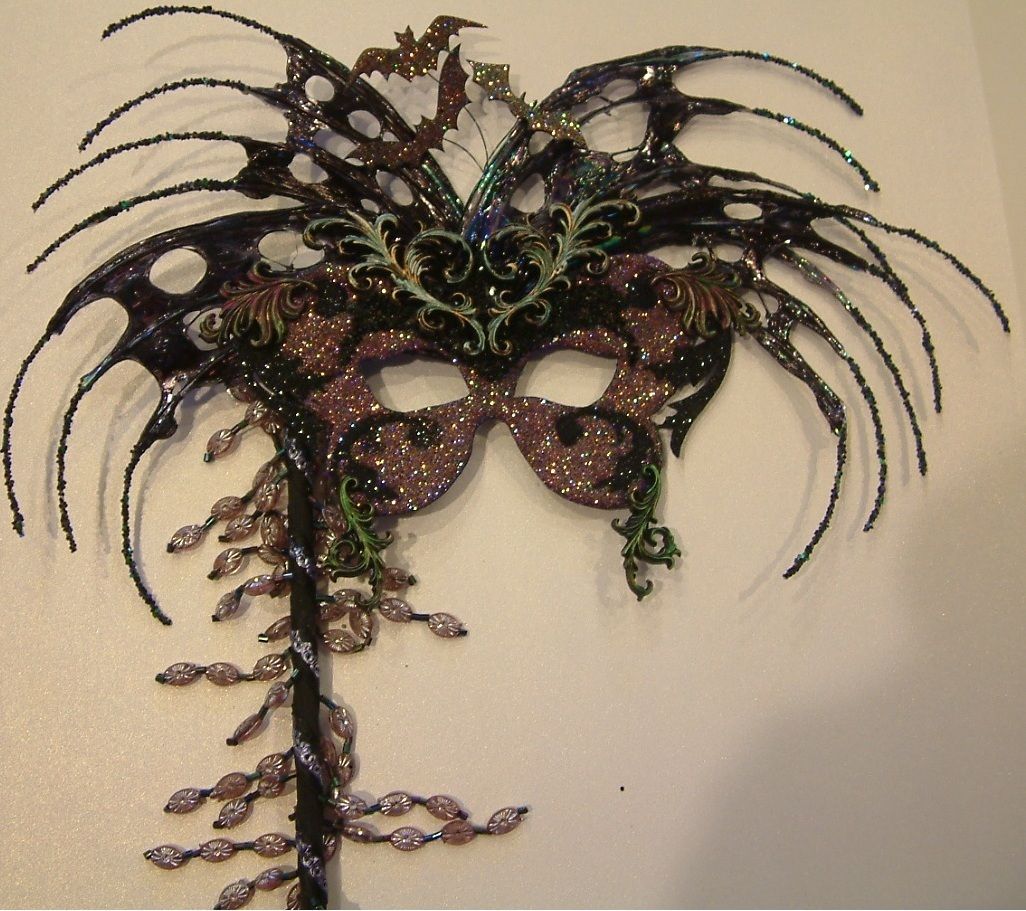
I can’t go to the ball without a mask.  This one is made from paper, fun wire and fantasy film and accented with beading and glitter.  I’ve also embellished it with bats and swirls.
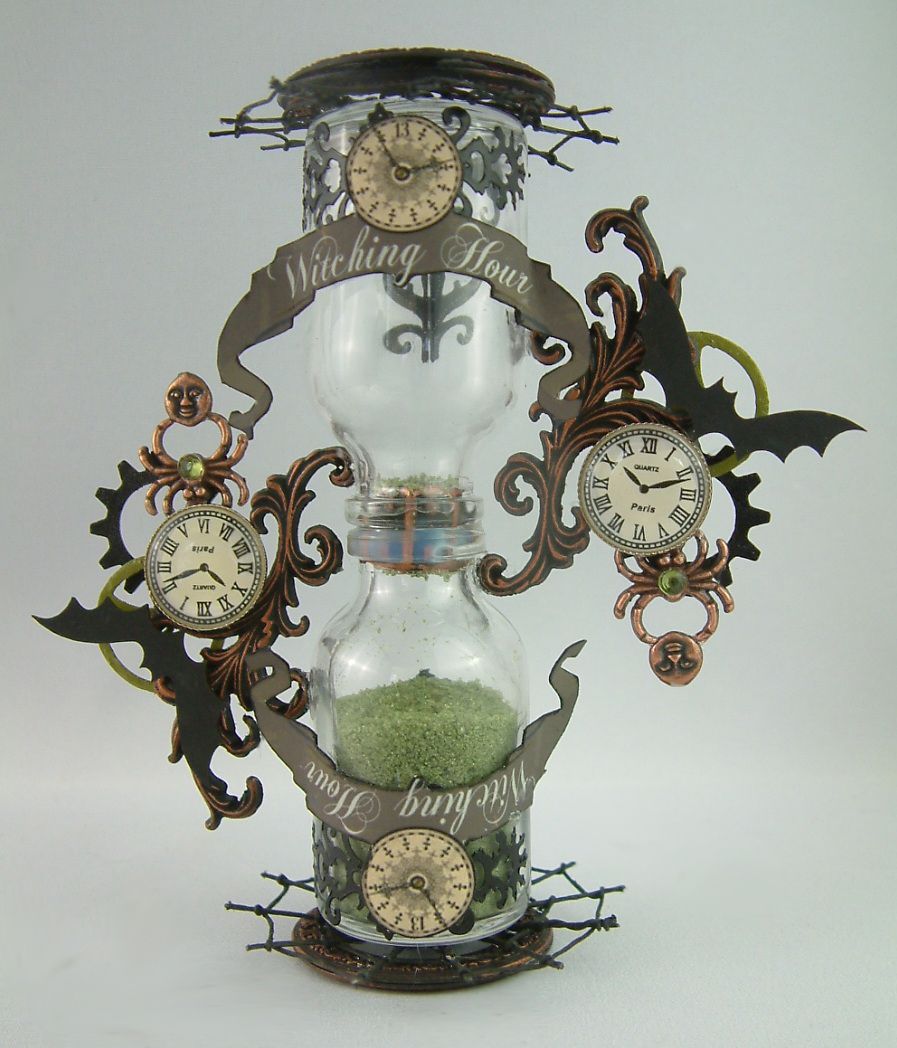
Oh I just know I’m going to be late.  My "Witching Hour" – Hour Glass says its time.
This is a working hour glass made from two bottles.  I’m thinking I’ll do another winter themed one and include a tutorial for you guys.

Thanks for stopping by and I hope to see you there!

Thursday, October 25, 2012

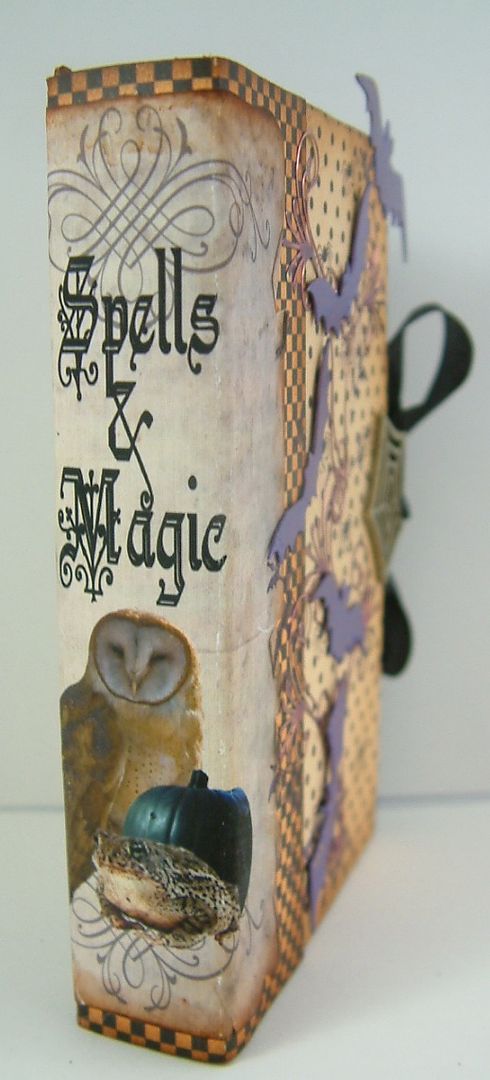
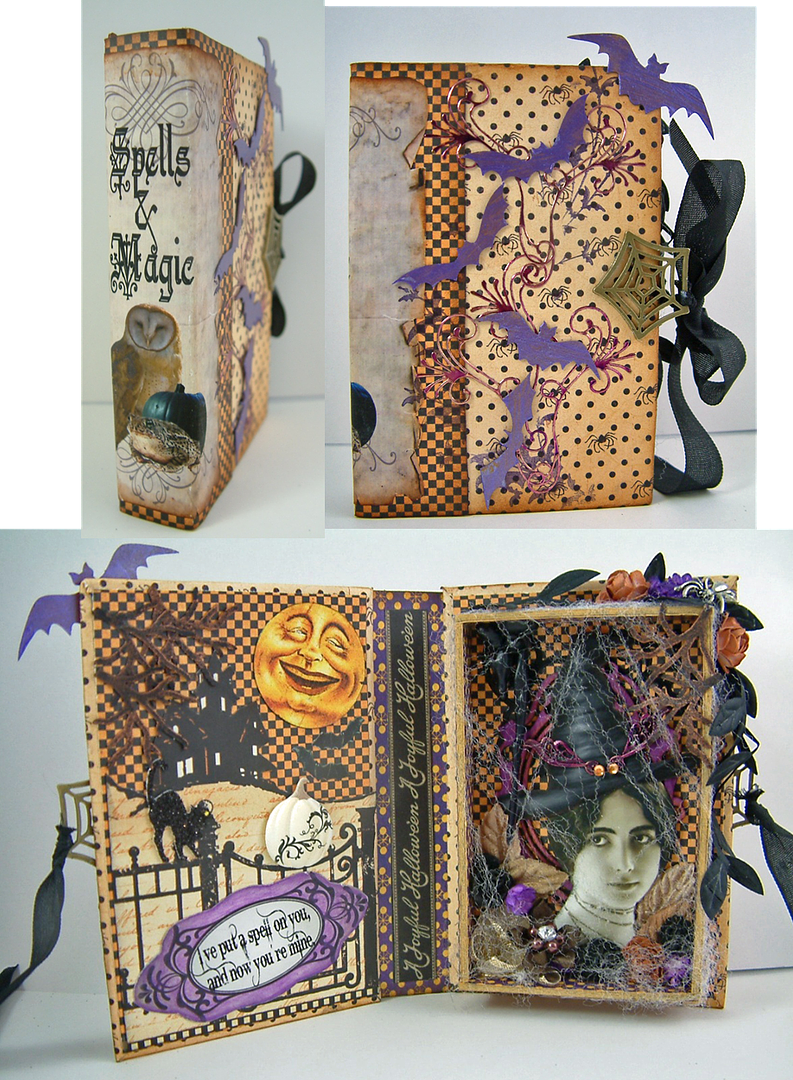
Shadow Box Book – Spells & Magic

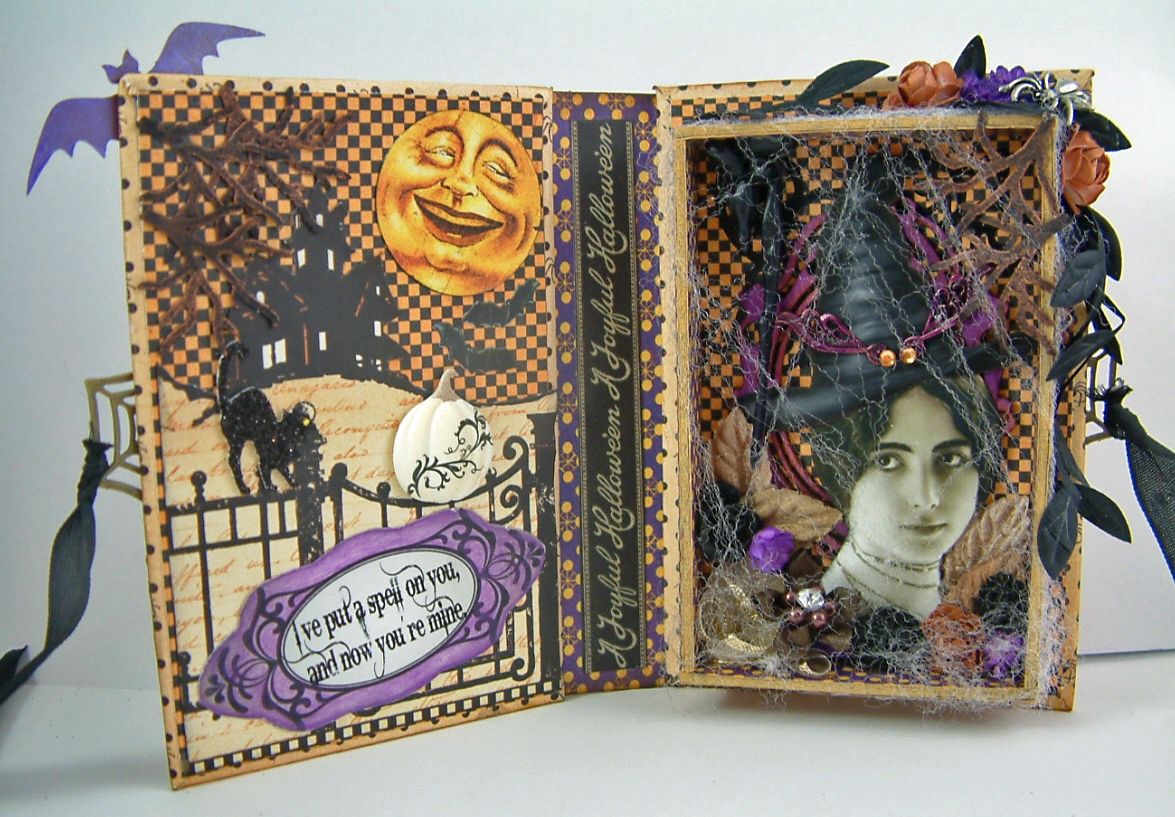
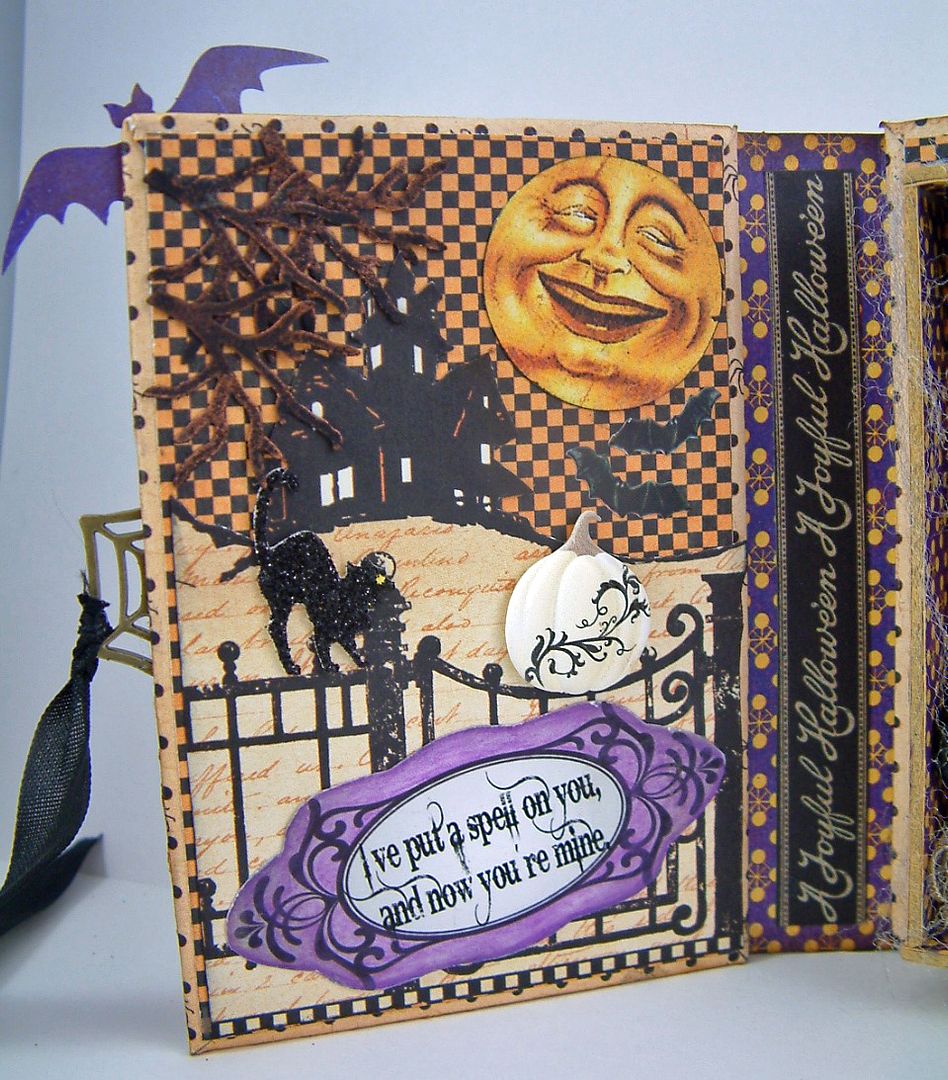
 “I’ve Put a Spell on You, And Now You’re Mine”
This is a book I intended to include in the third apothecary tutorial “Books, Coffins and Cauldrons”.
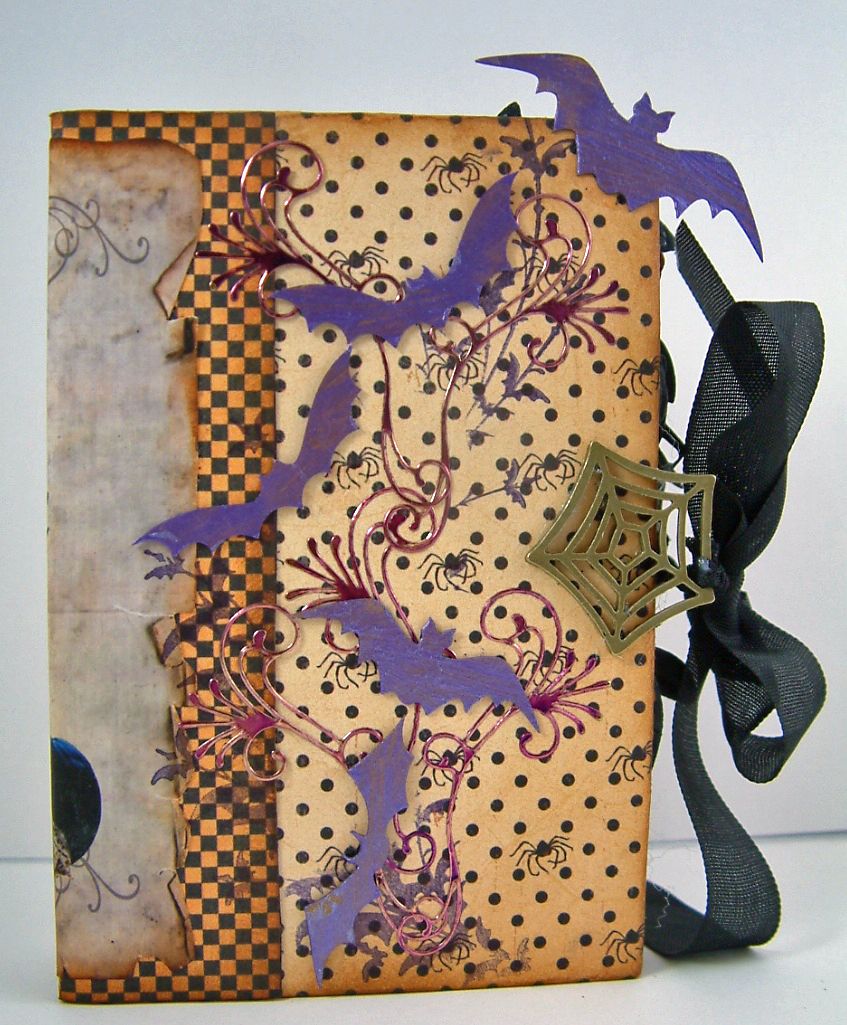
The cover and spine of this book is constructed the same as all of the other books in the tutorial.  The covers of this book are 4 ½” x 3”.  The size will fit in the apothecary I demonstrated in the tutorial.
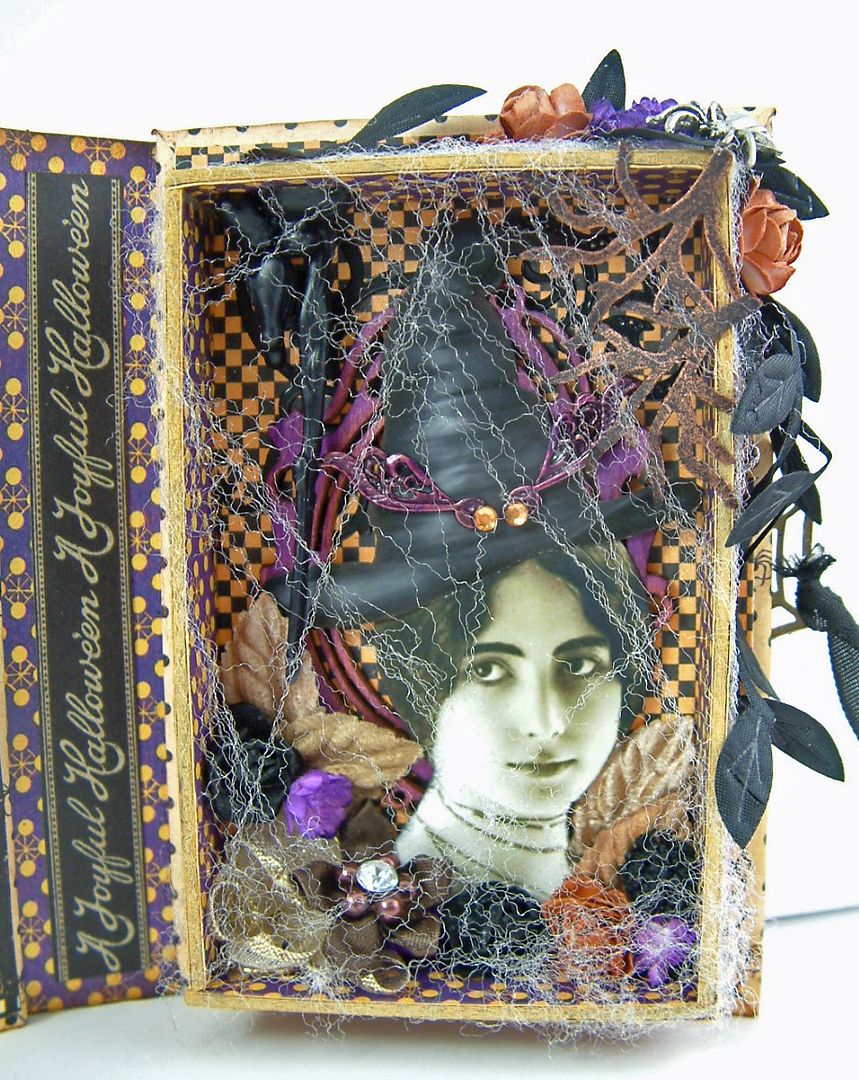
The difference is in the inside where there is a box made from chipboard.  All I did was cut four pieces of chipboard (2 long pieces and two short pieces) so that when glued to each other they would create a frame slightly smaller than the book cover.  The depth of the frame is up to you.  My frame is 5/8” deep.  You don’t need a back as the back book cover gives you the back.  I would recommend that make your frame first before assembling your book so that you make sure the spine of the book is big enough to accommodate the frame and you can close your book. 
The frame creates a great niche for dimensional embellishments.  I draped spider webbing that I purchased at the craft store around the front of the frame.
Supplies Used In This Piece

Wednesday, October 24, 2012

Apothecary Event Giveaway – Update


I hope you have all been enjoying the apothecary eye candy I’ve been throwing at you from the giveaway participants.  I know I have been inspired by the direction each person has taken and all the clever ideas.  Below is the list of participants I have on the list so far.  I’ve posted the artwork of all of them with the exception of a couple.  Today I discovered that some of the entrants emails had been dumping into a spam file of mine.  I think I recovered everything and contacted all the people affected.  If you have sent me your entry, and you don’t see your name on the list below, please contact me again so I can get you on the list and post your pictures.

You have until October 30th to send me your entry.  You can send me pictures or the link to your blog where your pictures are posted.  I’ll be doing another big post (like today) of entrants on the 30th

 LIST OF GIVEAWAY PARTICIPANTS – SO FAR
Tracey-Anne McCartney
Gene Fisher
Hazel Thomson
Joanne Parkin
JoAnne Webster
Carmen Daspit
Martina Fuchs
Wendy Aspinall
Janice Bryanted
DiAnn Denson
Rhea Freitag
Ginger Benedict
Ginger Brame
Janice VanBeek
Sandra
Paulette Lancaster
Sue Young
Virginia Johnson
Raeven
Debbie Lynch
Elaine
Celine Verdegaal
Ruth Hanslbauer
Donna Humphries
Karen Mallory

Laurie Davis – Not posted yet - holding for a question
Barbara Thompson – Not yet posted - holding for more photos

Other Things Coming In October

I have more Halloween stuff planned for you!  I have another type of book that I’ll be posting that didn't make it into the video tutorial on books, coffins and cauldrons.  I’ll be participating in the Halloween Blog Party Saturday that is hosted by Afancifultwist.com so I have a bunch more art ready for that event.  And for Halloween, in addition to posting the winners of the giveaway I have another apothecary of mine to show you.  

Saturday, October 20, 2012

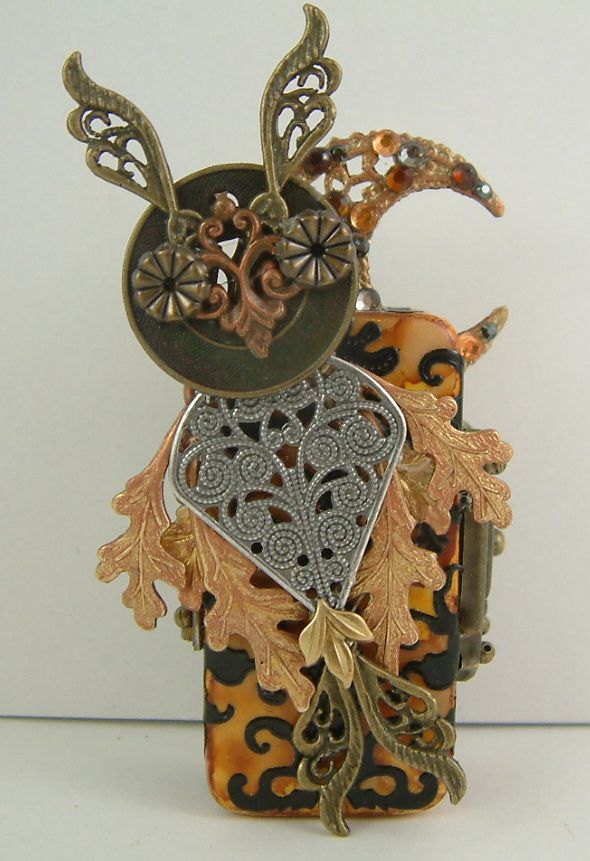
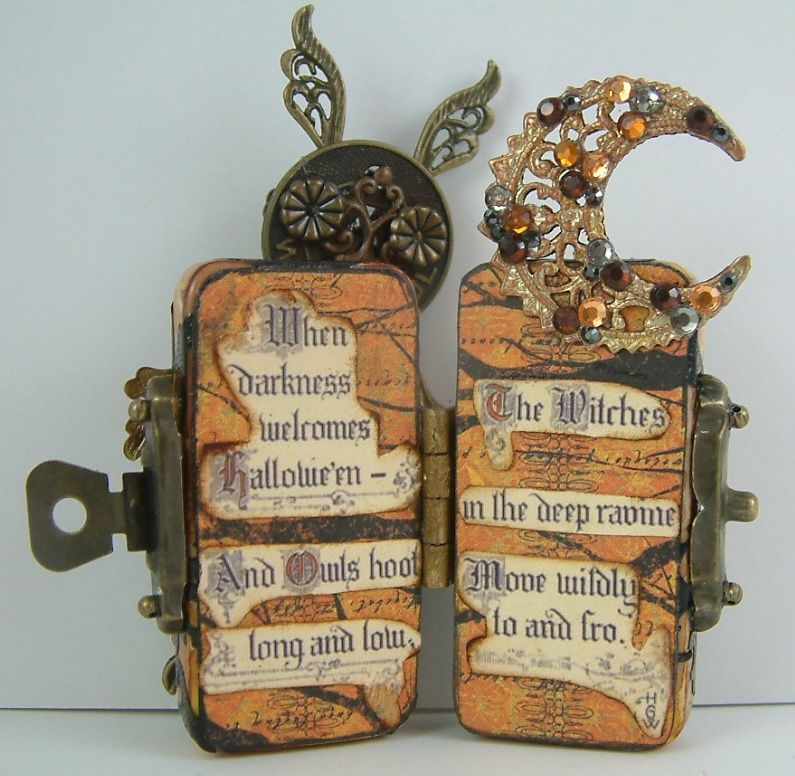
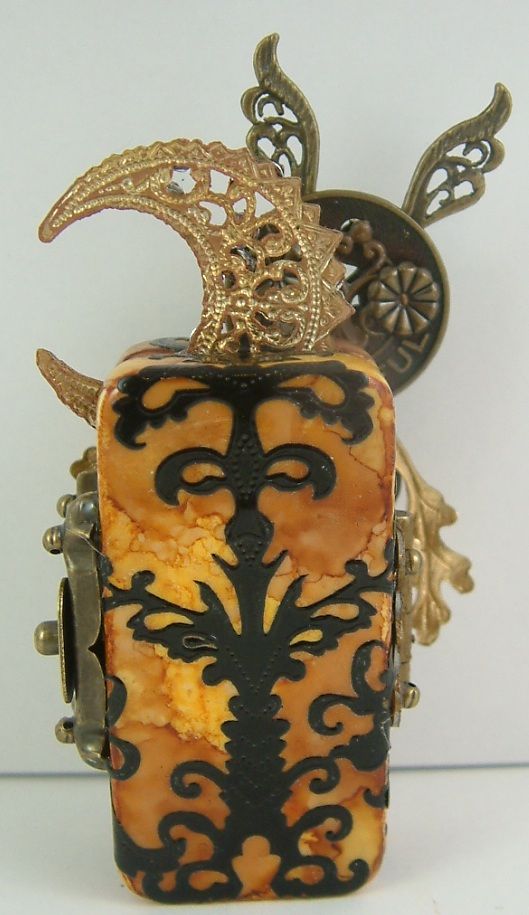
Owl Domino Book

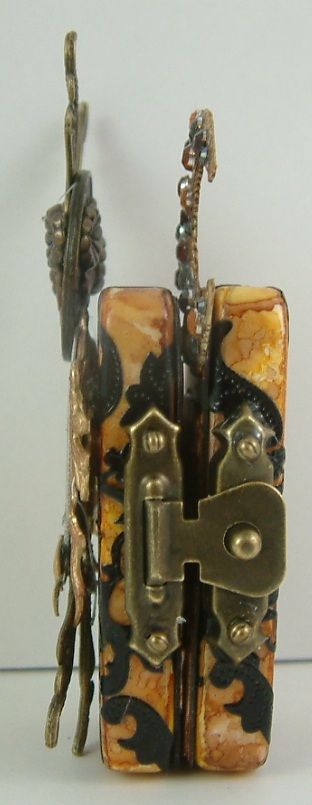
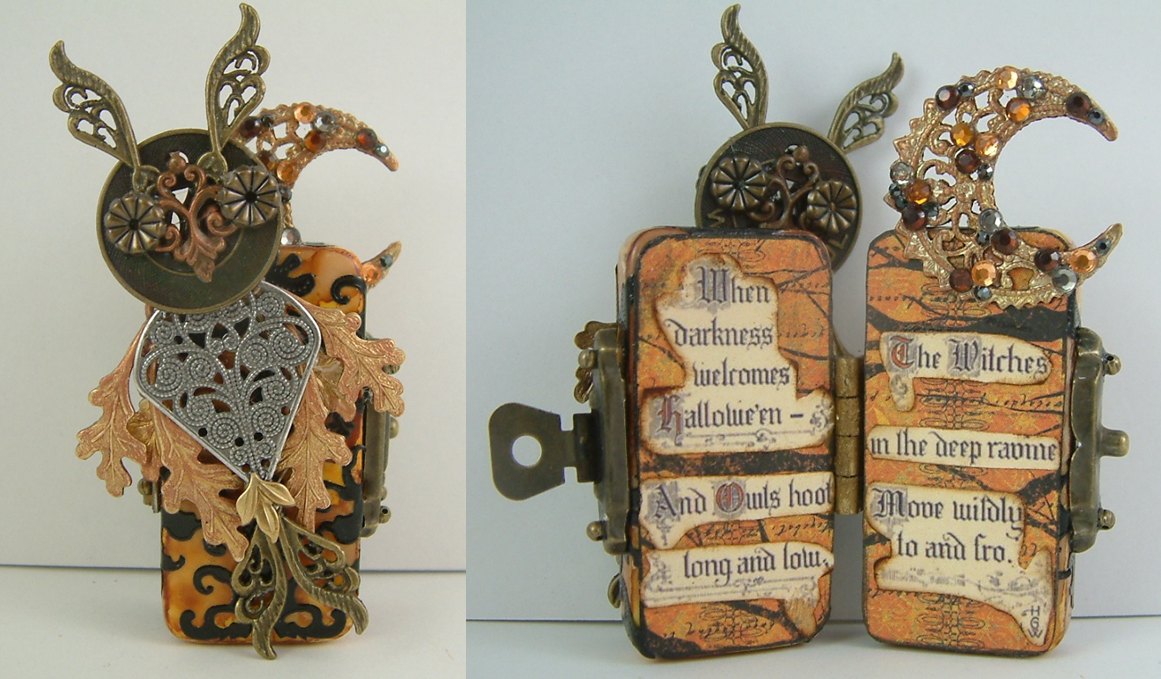
I love making owls out of bits of jewelry findings.  I decided I would use one for the cover of a domino book.  I first colored the domino with a combination of alcohol inks.  I then added black stickers.  Unlike the previous domino book which was tied closed with ribbons, this one is hinged and closed with a clasp.  
The poem inside says:
When darkness welcomes Halloween
And owls hoot long and low,
The witches in the deep ravine,
Move wildly to and fro.
It comes from a vintage postcard.

Supplies Used In This Piece

I’ll be posting more of these owls in November with fall inspired art.

Friday, October 19, 2012

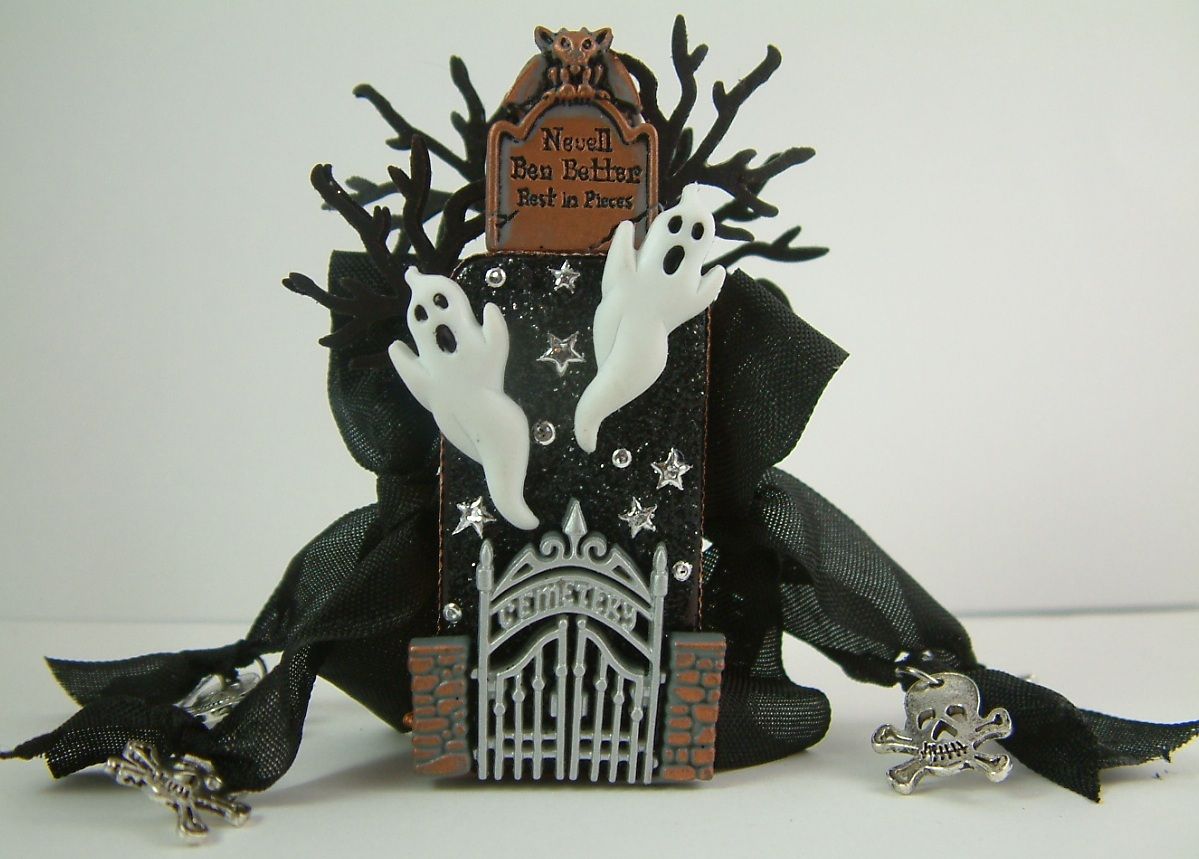
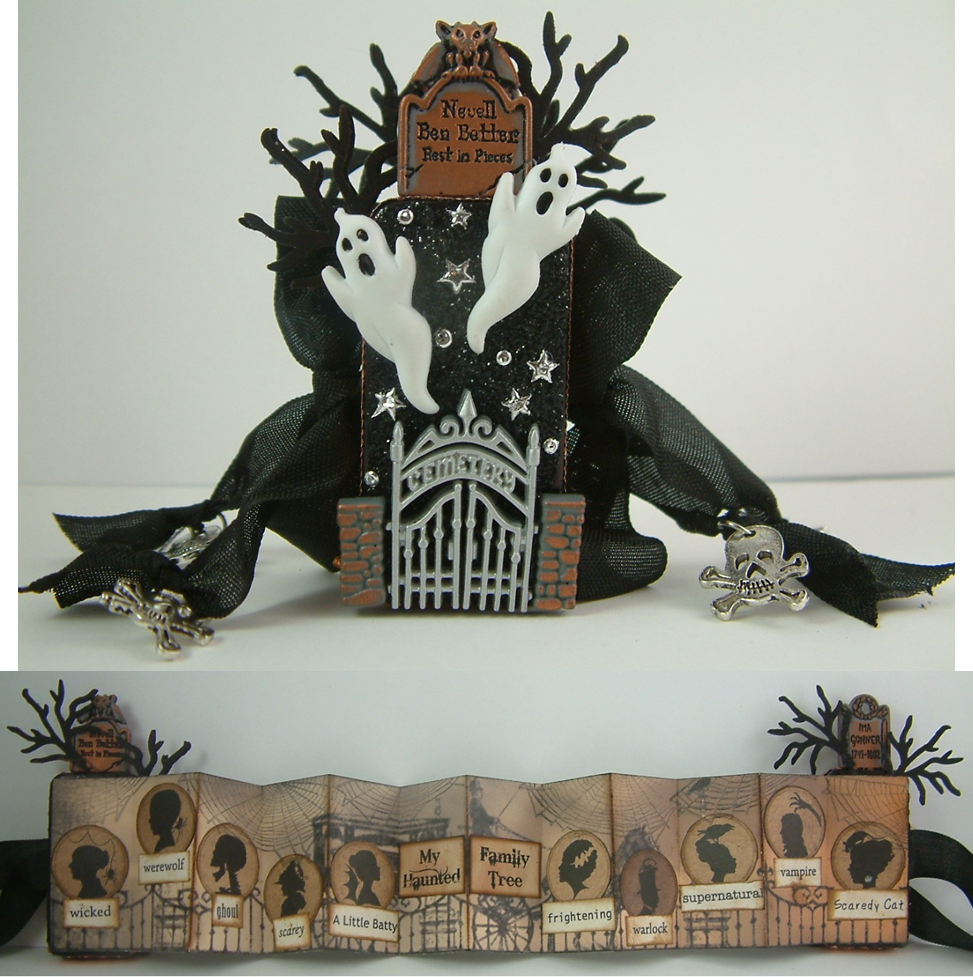
My Haunted Family Tree – Domino Book

I couldn't go through Halloween and not make some domino books.  On this book I started by coating the front of the dominoes with Glossy Accents, then sprinkling on black glitter.  The gate, ghosts and tombstones are all buttons (with shanks removed).  I used Copper Gilders Paste to add color to the gate and tombstones.  I used a punch to create the black branches (I think it is a Martha Stewart punch).
I used two different 12 x 12 papers on the inside of the book.  One of the papers is the strip with the gate and hearse and the other had all the images of the gruesome silhouettes (which I cut out).  

Supplies Used In Making This Book

Thursday, October 18, 2012

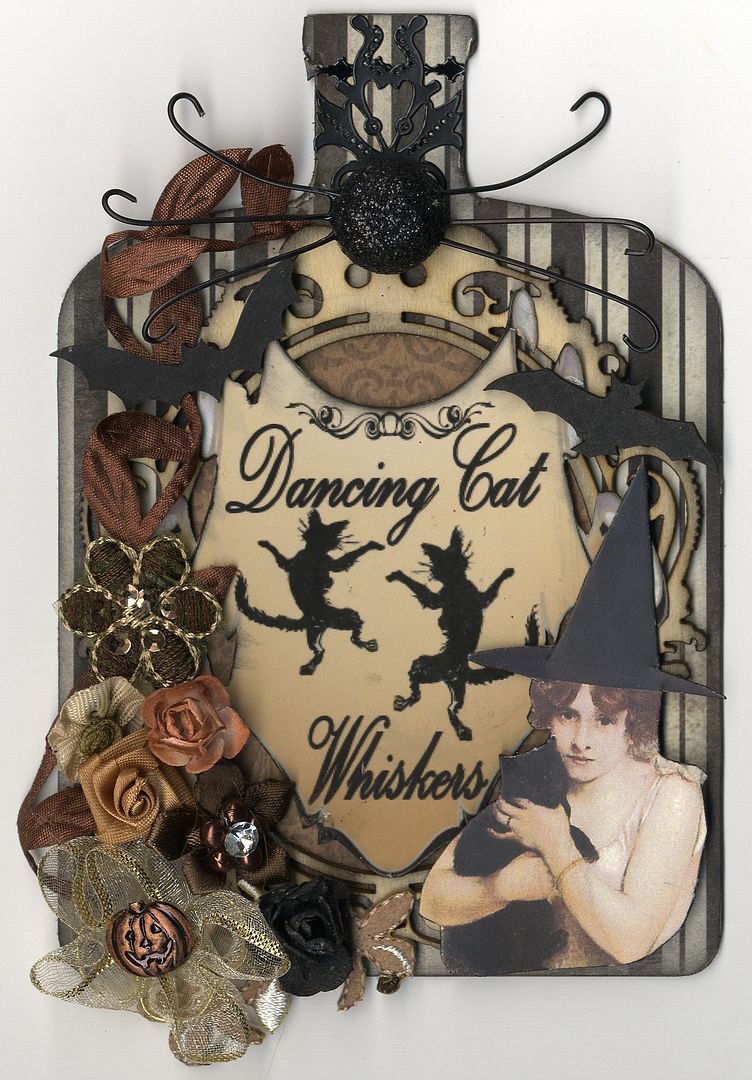
Dancing Cat Whiskers Chipboard Potion Bottle

This is my first bottle for the chipboard bottle swap.  The label is from one of my new potion label collage sheets designed to fit the chipboard bottles and large glass bottles.  For the nose and whiskers at the neck of the bottle, I found some small round glittered Styrofoam balls at Michaels Craft Store.  I cut them in half and added wire whiskers.

Supplies I Used:

Wednesday, October 17, 2012

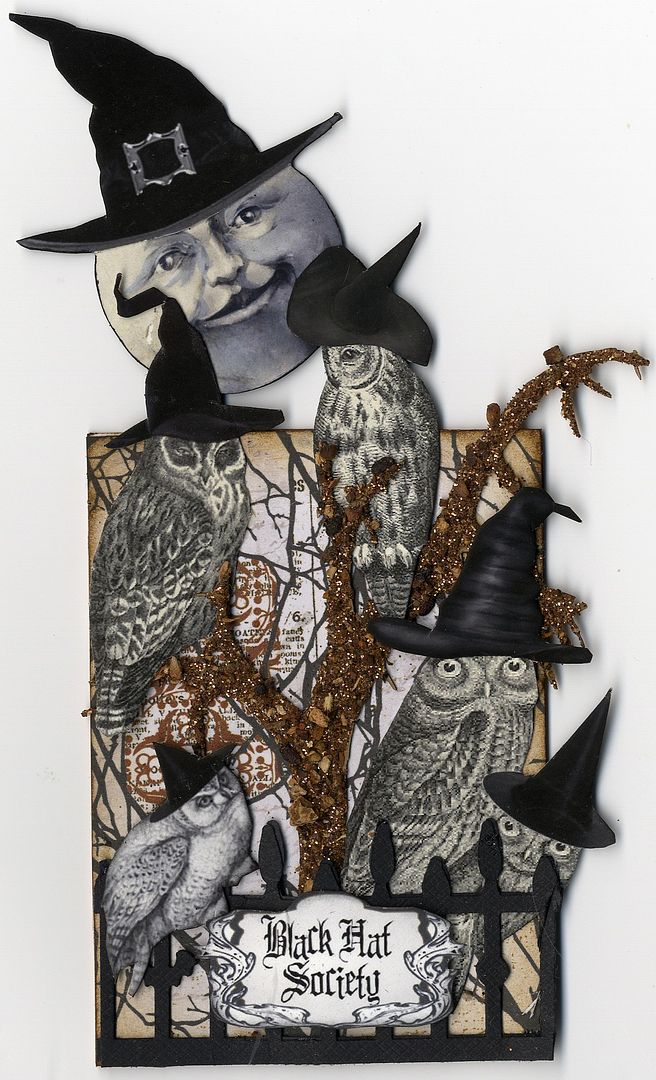
THE BLACK HAT SOCIETY


The girls are all gathered for the annual meeting of the “Black Hat Society”!

Tuesday, October 16, 2012

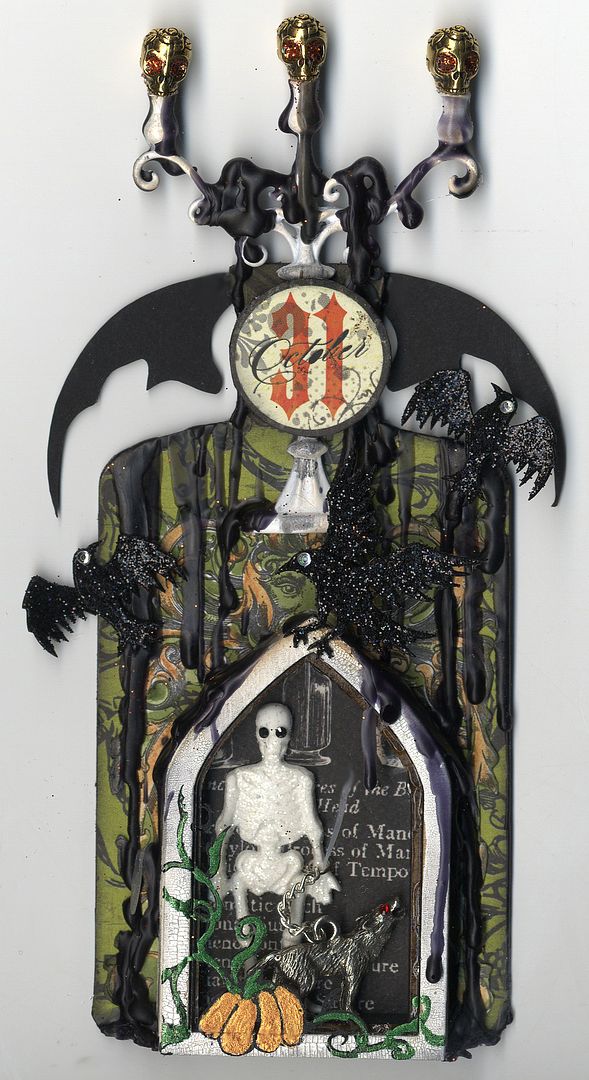
Chipboard Potion Bottle Designed for Alpha Stamps


I’ve been showing so many altered bottles for Halloween.  How about a bottle made from chipboard.  Alpha Stamps is now caring a set of chipboard bottles in three different sizes.
The bottle pictured above is 6 ½” tall with candelabra and skulls.  At the bottom is a shadow box shrine with a skeleton and his pet wolf inside.  I used real wax to create the black drips on the bottle.  The candelabra is made by Prima and is part of their Shabby Chic Collection.  I think that lots of stores carry it.
Alpha Stamp Products Used on This Piece

Thursday, October 11, 2012

The Bewitching Home Blog Party

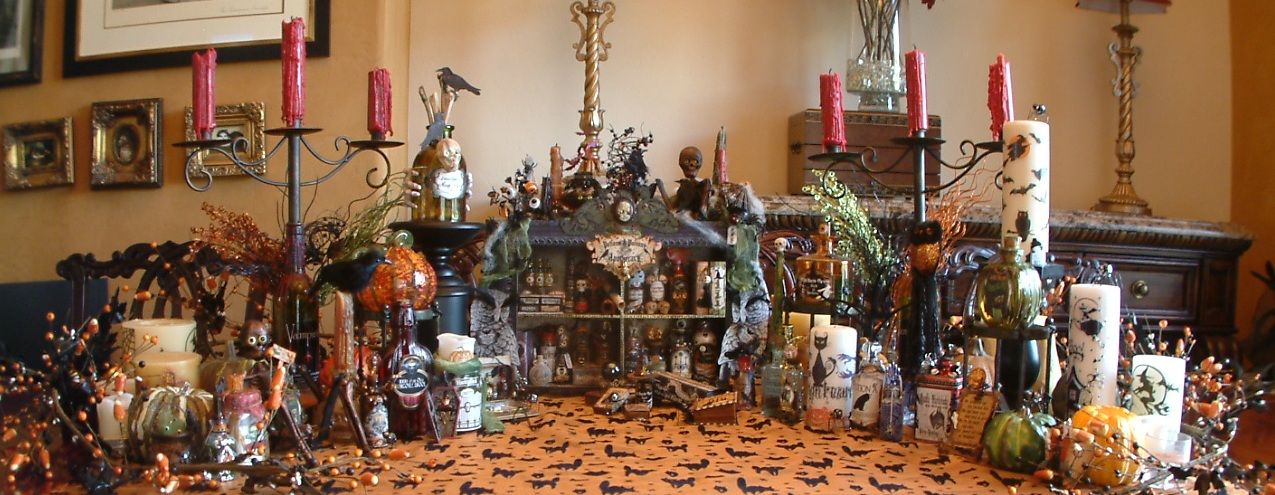
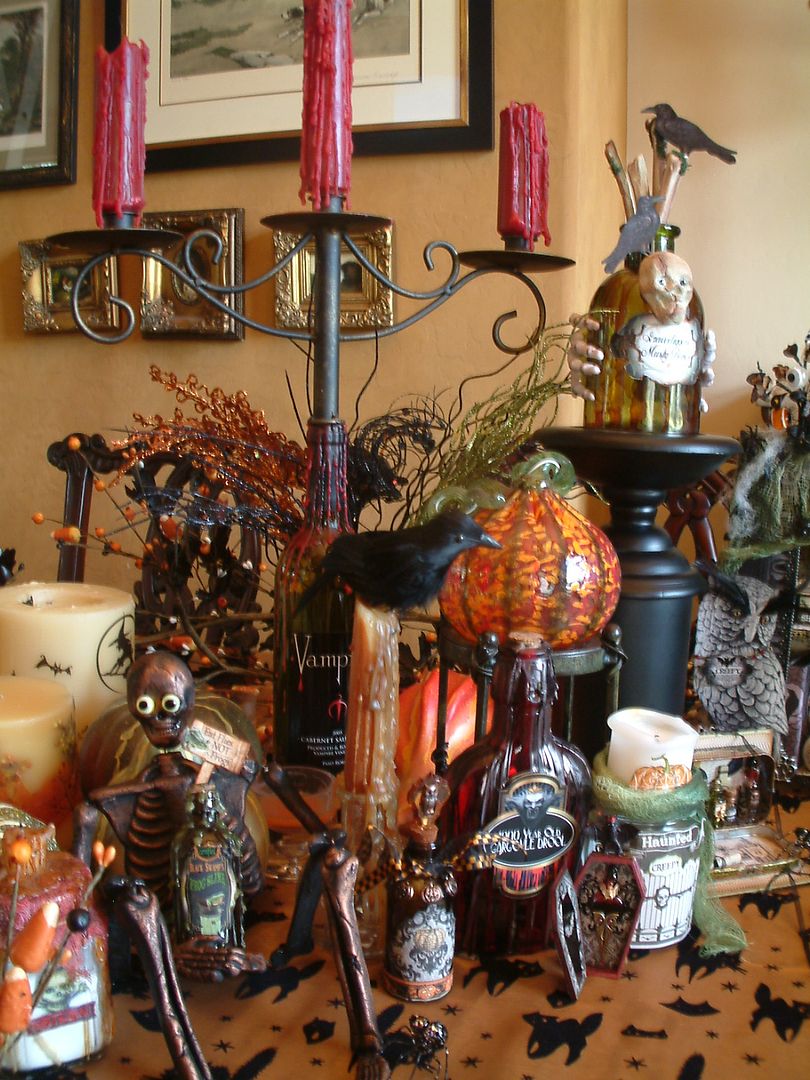
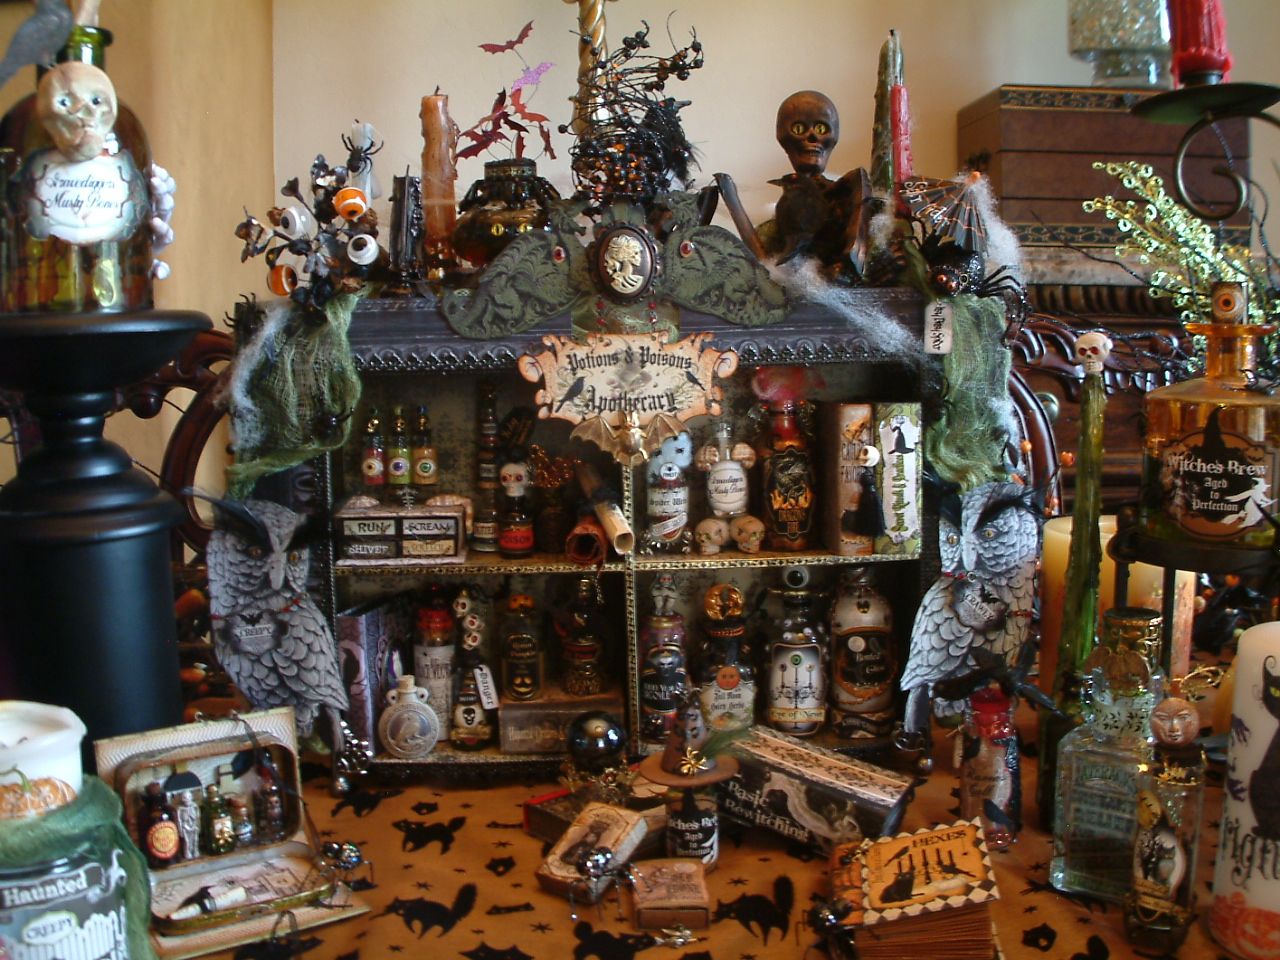
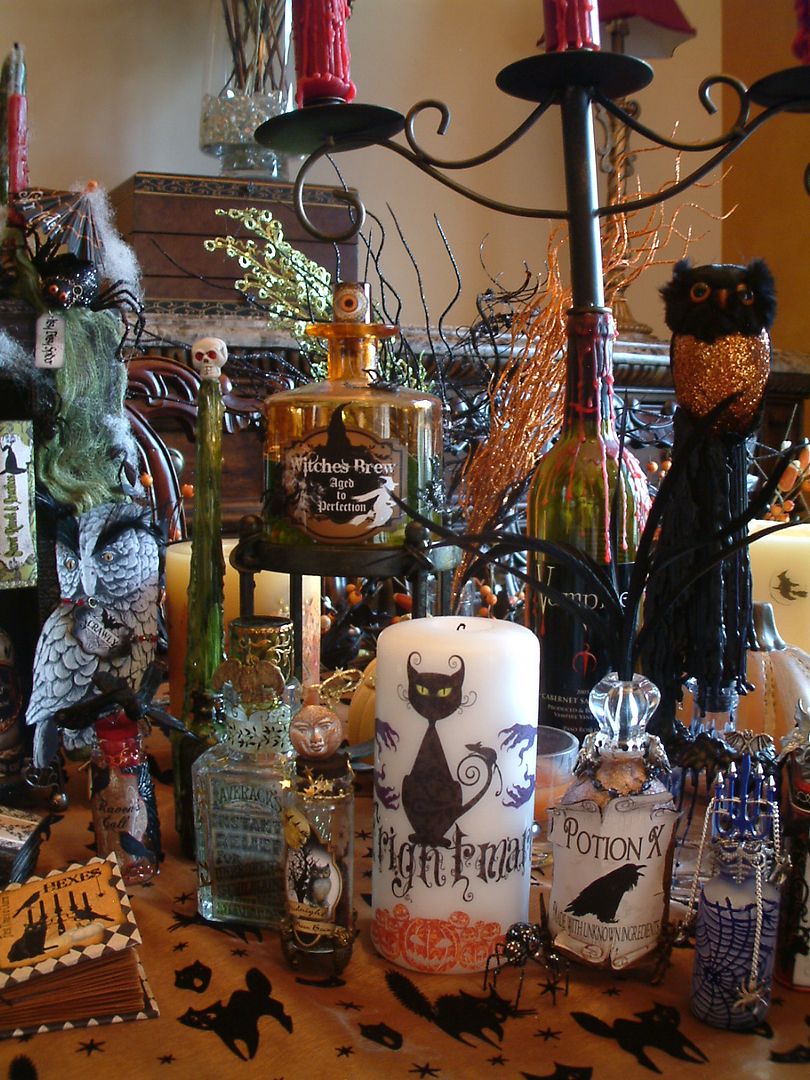
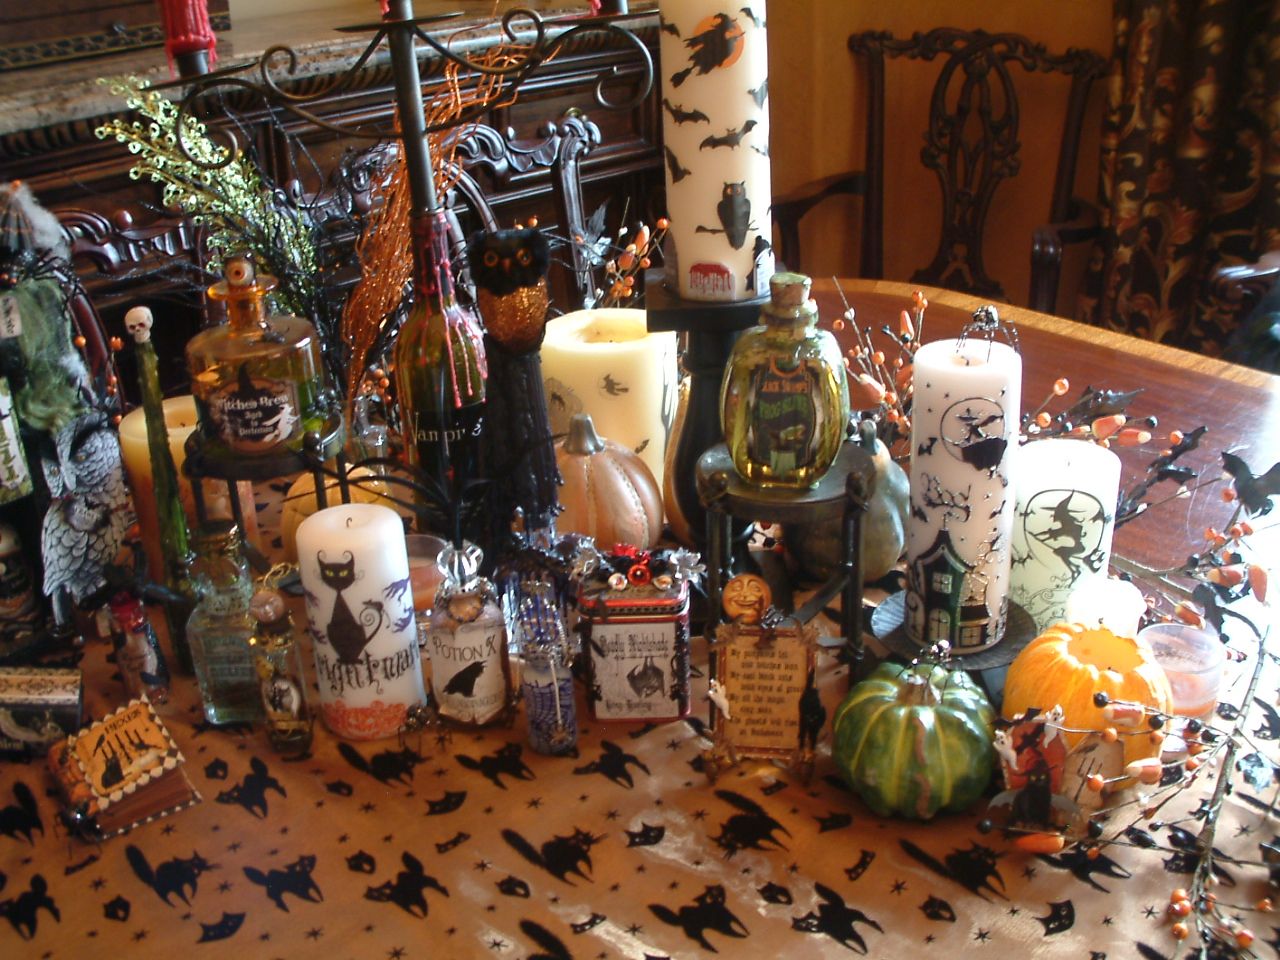
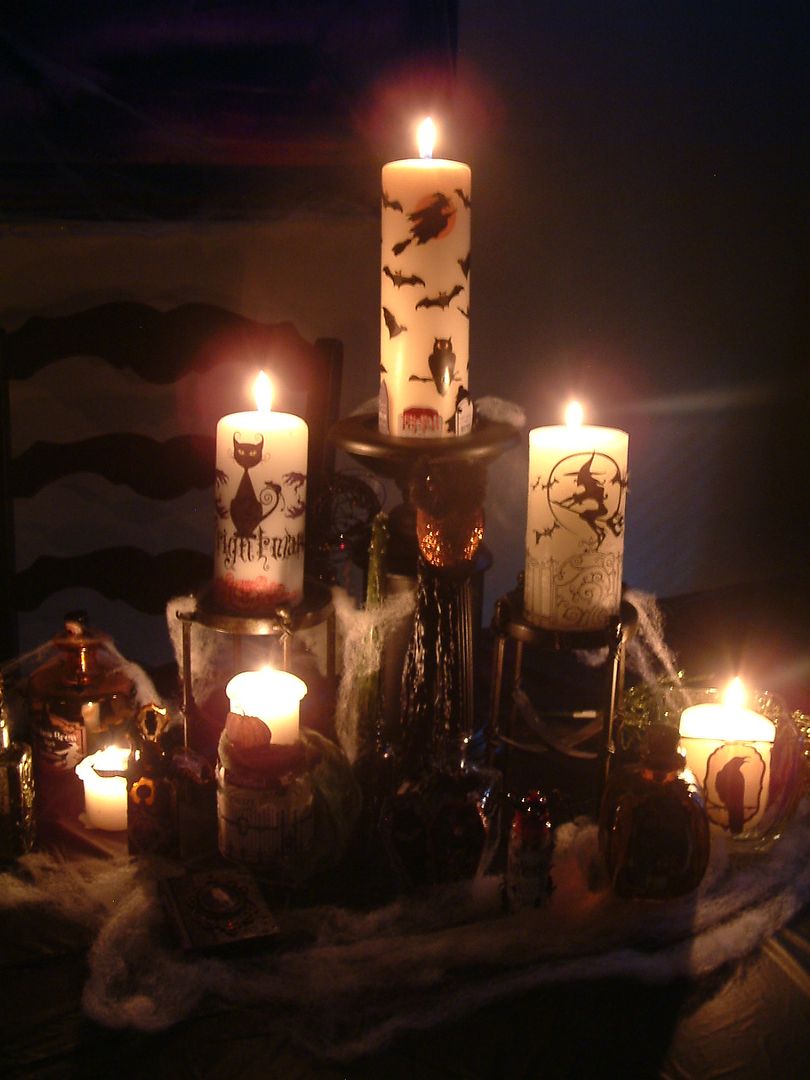
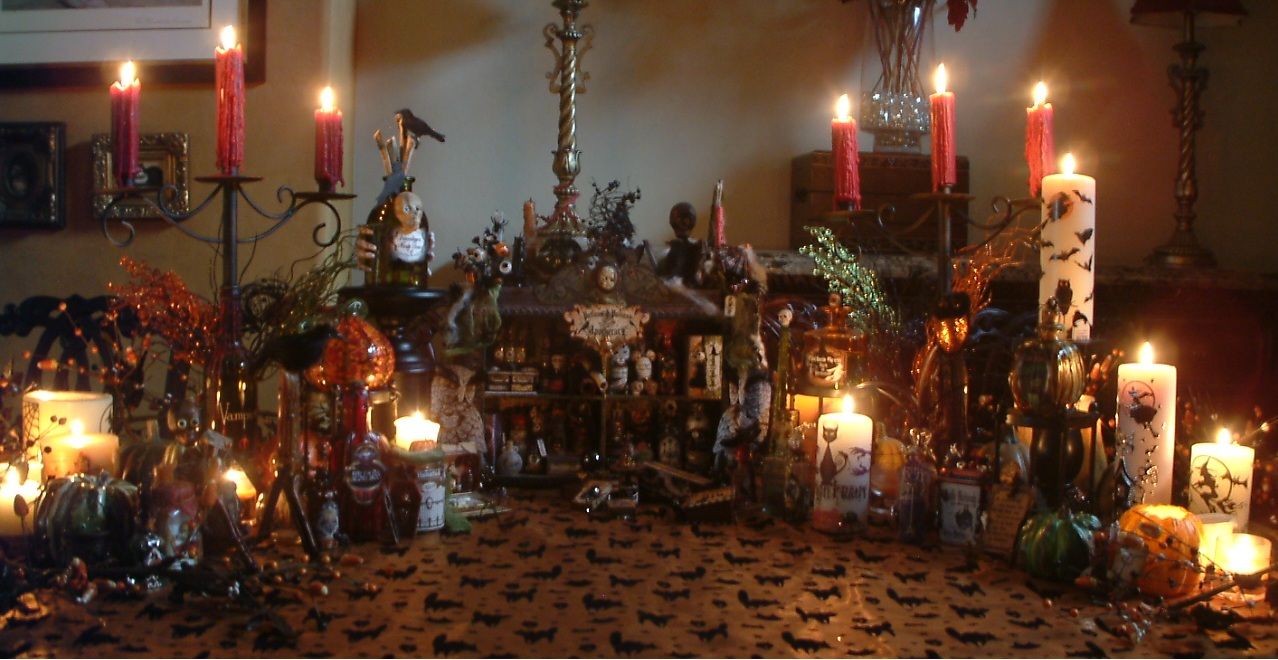
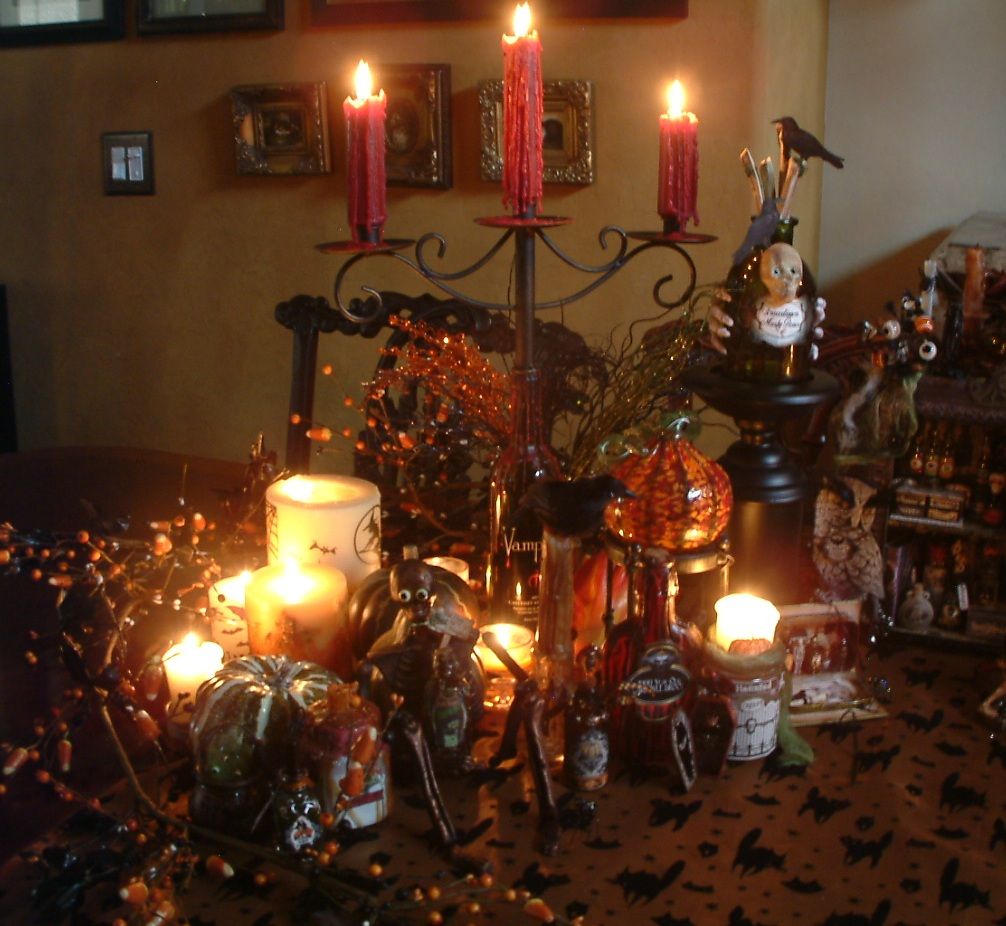
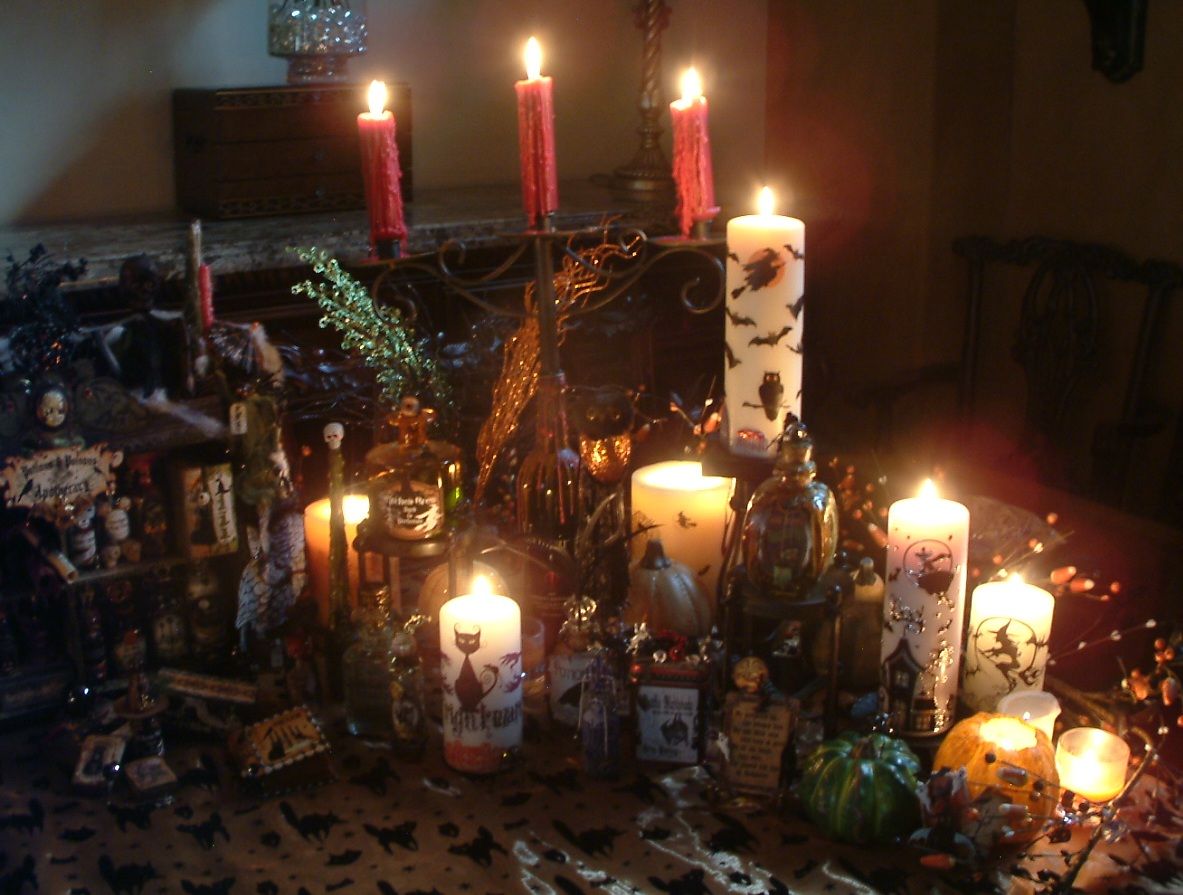
Every witch’s home needs a table centerpiece for the season.  I’ve pulled out all the stops on this one.  I started with my apothecary from the Pretty Potions & Poisons Apothecary Event and surrounded it with other decor like large bottles altered bottles, decorate candles and other Halloween and fall décor.  I’ll walk you through how I created some of the pieces in case you want to add something to your own “witchy” décor!
If you missed the Pretty Potions & Apothecary Event Tutorials and want to learn how to build your own apothecary click here.
LARGE BOTTLES
In addition to the small bottles contained in the apothecary cabinet, I also made some large bottles to create more of a tablescape.  I’ve created two NEW large label collage sheets which contain larger versions of some of my favorites from the other label collage sheets, plus new labels and decorative images.  You can find the collage sheets at Alpha Stamps.
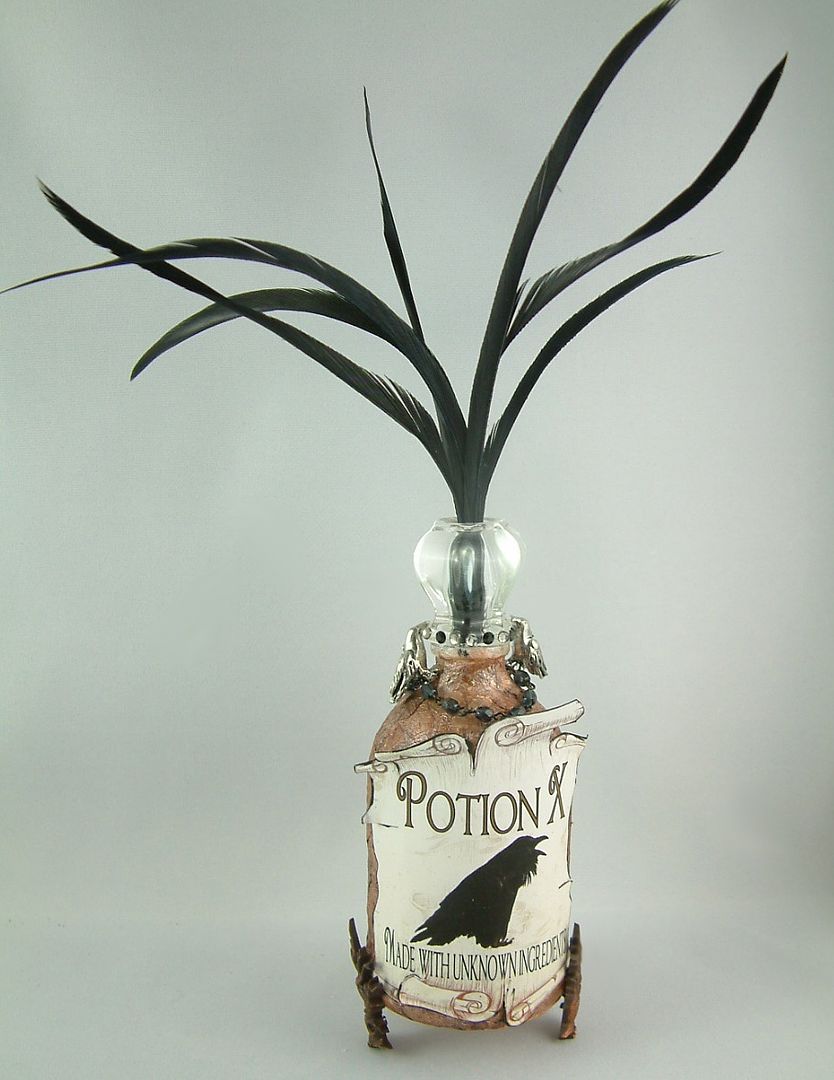
Potion X Bottle
"Made of Unknown Ingredients"
A really easy way to add texture to a bottle is to crumple up white tissue paper and glue it to a bottle.  To achieve the color, I inked the tissue paper (after it was attached) with the Tarnished Brass Distress Stain to give it a metallic look then inked it with Vintage Photo Distressed Stain; wiping off some of the stain after I applied it.  I applied more of the Vintage Photo Stain in some areas than in others. 
The topper is a crystal drawer pull.  The hole for the hardware made a convenient place to insert feathers.  I used tree buttons as feet.  I added color to the raised areas or the trees using Copper Gilders Paste
Alpha Stamps Products Used on the Potion X Bottle:
Copper Gilders Paste – Used on the tree feet
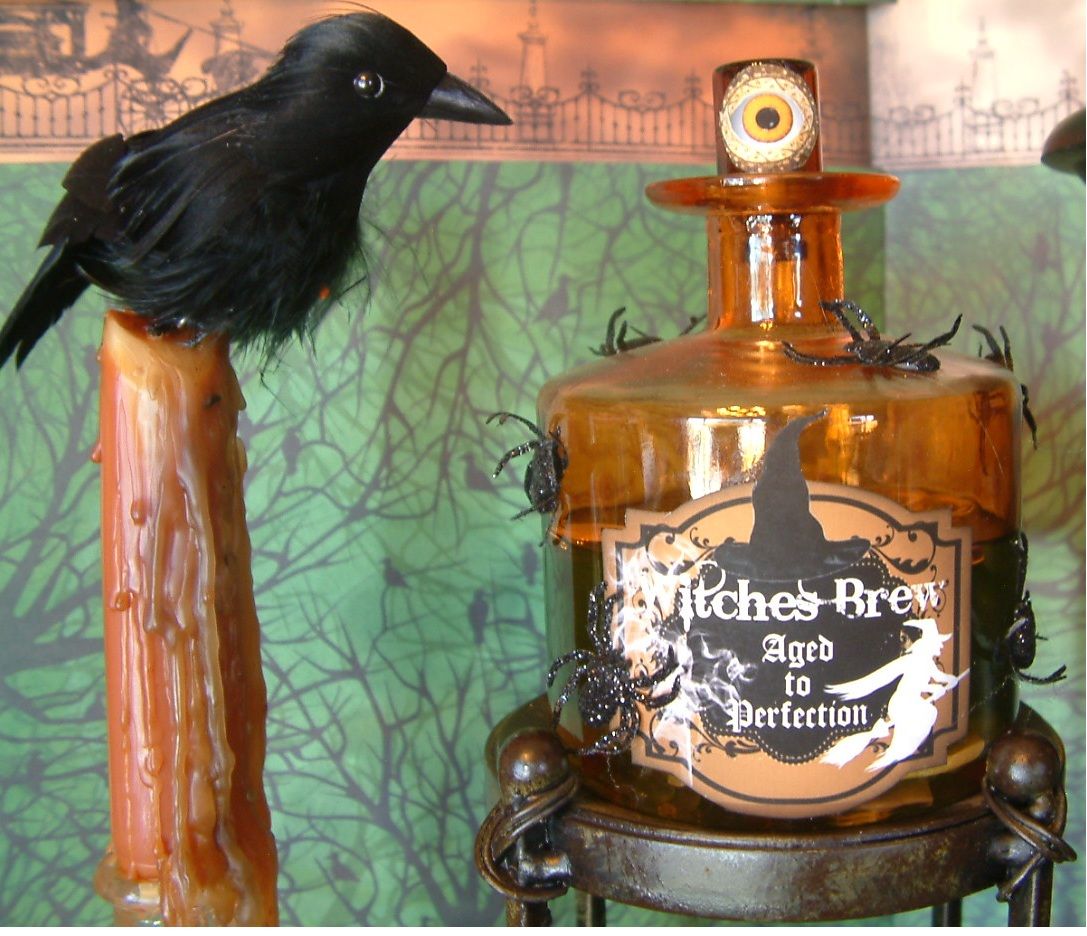
Witches Brew
"Aged to Perfection"
I purchased the orange bottle at Michaels Craft Store.  I used a smaller bottle turned upside down as a stopper.
Alpha Stamps Products Used on the Witches Brew Bottle:
Small Amber Bottle w/Corks – Used as the stopper

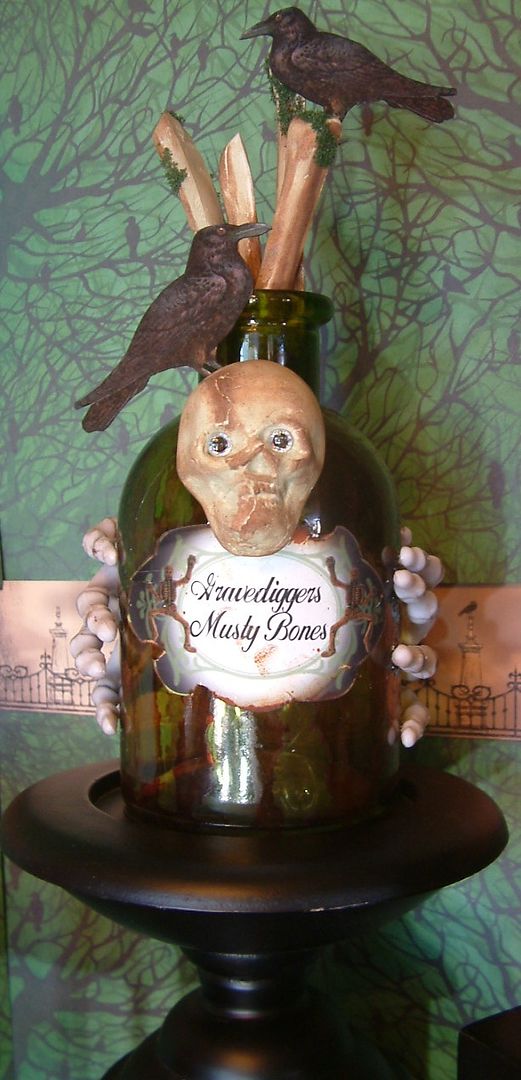
Gravediggers Musty Bones
I purchased the green bottle at Michaels Craft Store.  I dripped Caramel Alcohol ink on the bottle to age it.  I used a skeleton mold and paper clay to make the head and bones.  This is the same mold and technique I used and demonstrated in the first Apothecary Event tutorial.  The hands glued to the sides of the bottle are plastic.  To create different heights in my tablescape I placed some bottles on candle stands.
Alpha Stamps Products Used on This Bottle:
Large Bendable Skeleton Hand – Glued to the sides
Large Skeleton Mold – Skull on the front and in the bottles
Caramel Alcohol Ink – Used to distress the bottle
Holographic Round Eyes – Glued in the skull eye socket

1000 Year Old Gargoyle Drool
&
Certified Black Swamp Frog Slime
I purchased the bottles from Michaels Craft store.  I dripped black wax on the Gargoyle Drool bottle and white wax on the Frog Slime bottle.  I colored the white wax with Pesto Alcohol Ink.
Alpha Stamps Products Used on the Gargoyle Drool & Frog Slime Bottles:

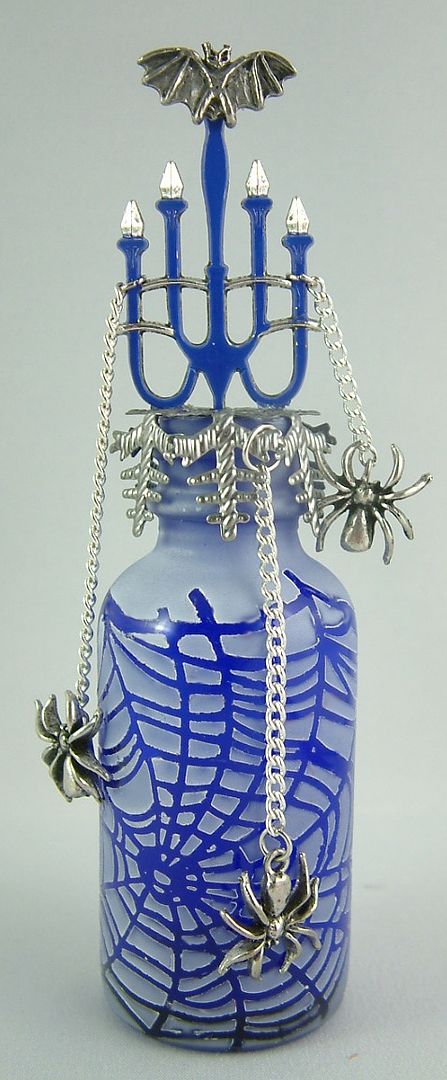
Spider Web – Frosted Blue Bottle

This bottle is a little bit of a tease for a future tutorial.  I used an easy technique to create a frosted etched look.  I’ll be posting a tutorial on how to do this with some winter themed art.
Alpha Stamps Products Used on This Bottle:
Giant Snowflakes – Used as the lid – bent the prongs of the snowflake down around the neck of the bottle.

DECORATING CANDLES
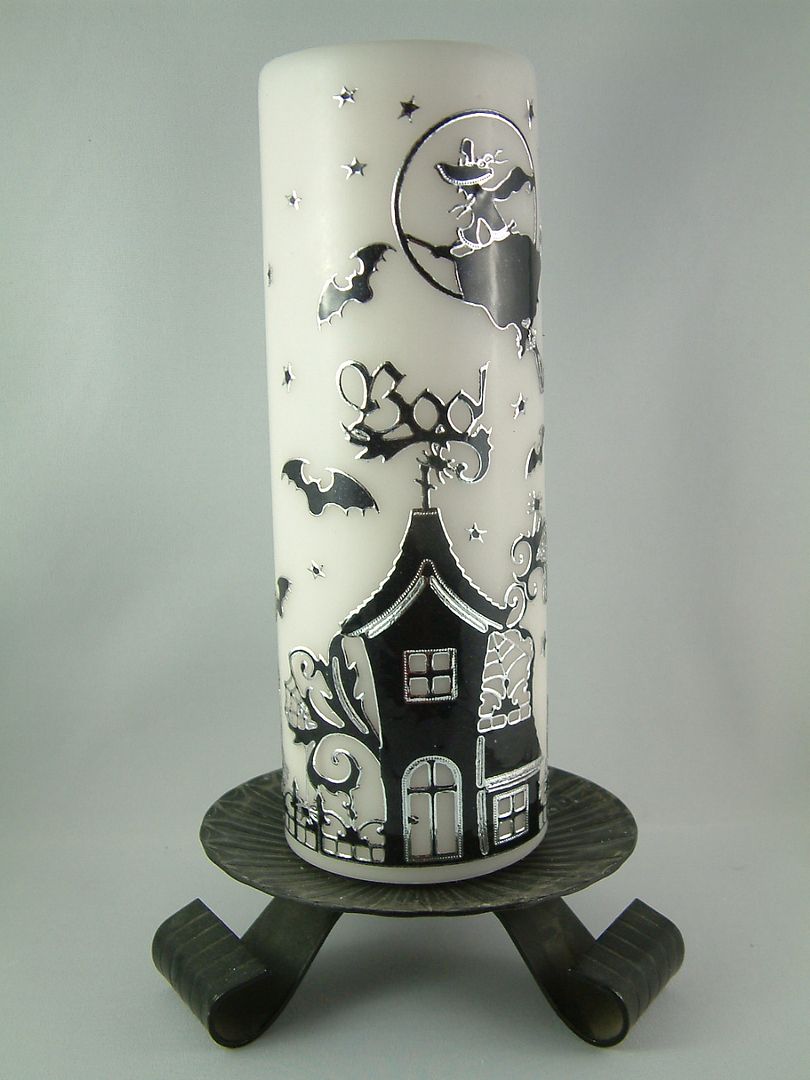
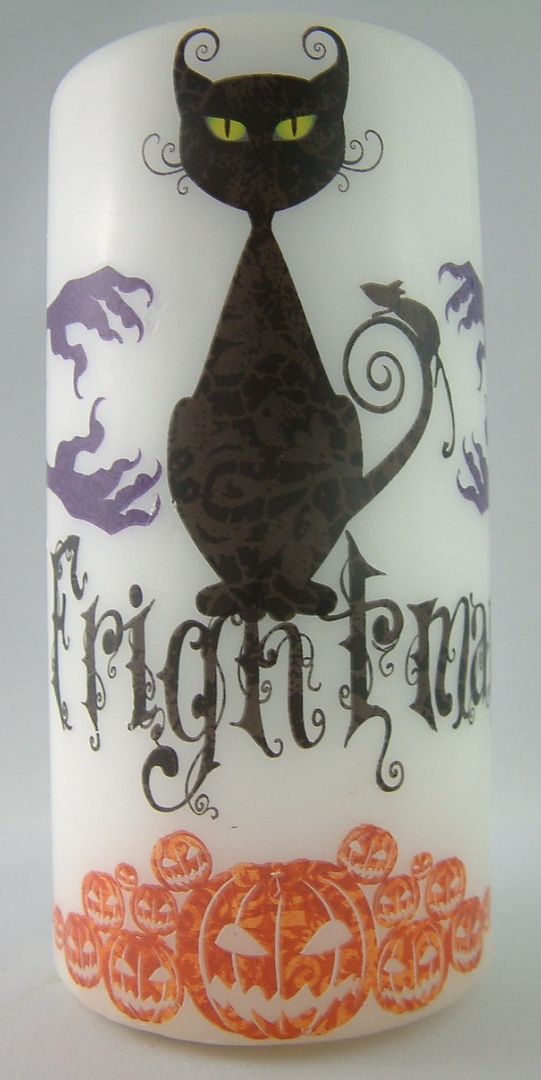
Why not jazz up your candles with stickers, rub-ons and paper.
A fun and easy wait to decorate a plain candle is to use stickers.  You can find the Dazzles Boo Stickers I used on the candle above at Alpha Stamps.
Another option for decorating candles is to use rub-ons.  The trick is to use a good quality rub-on (all rub-ons are not created equal), and to use a candle with a smooth even surface.  The rub-ons I used on the candle above are made by Creative Imaginations and are from their Fright Night line.  Unfortunately they don’t make these anymore but you may find some Ebay or Scrapbooking Stores. 

CANDLES & BOTTLES
Another great item to add to your décor is to mix candles with bottles.
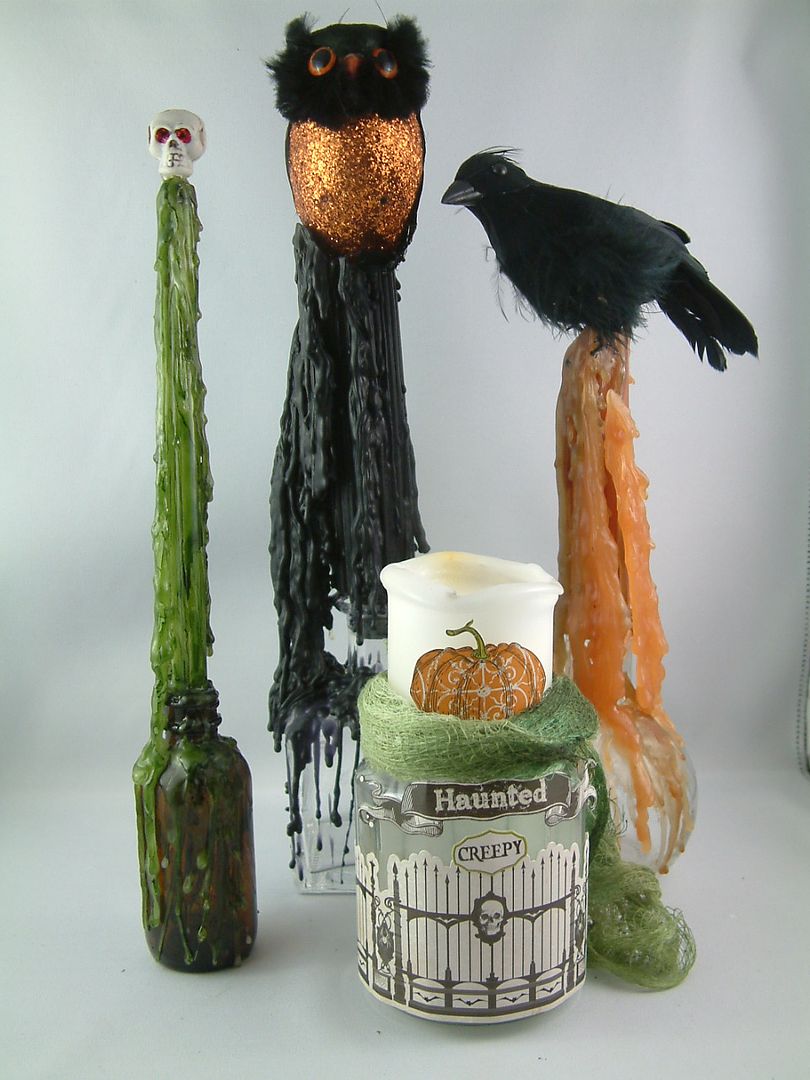
 I start by inserting the candle in the bottle and burning it down to the desired height.  The cheaper the candle the better as it will drip more.  I don’t worry about having a colored candle.  Most of the time, I paint the candle wax with alcohol inks because you get a varied translucent look that you don’t get with a colored candle.  After the candle is the desired height, I use a second candle to create even more drips on top of the first candle.  To embellish the candle even further you can glue something to the top of the candle.
Feathered Crows – Alpha Stamps
Resin Skull Bead – Alpha Stamps
Alcohol Ink - Pesto to color the wax– Alpha Stamps
Owl –  Michaels Craft Store

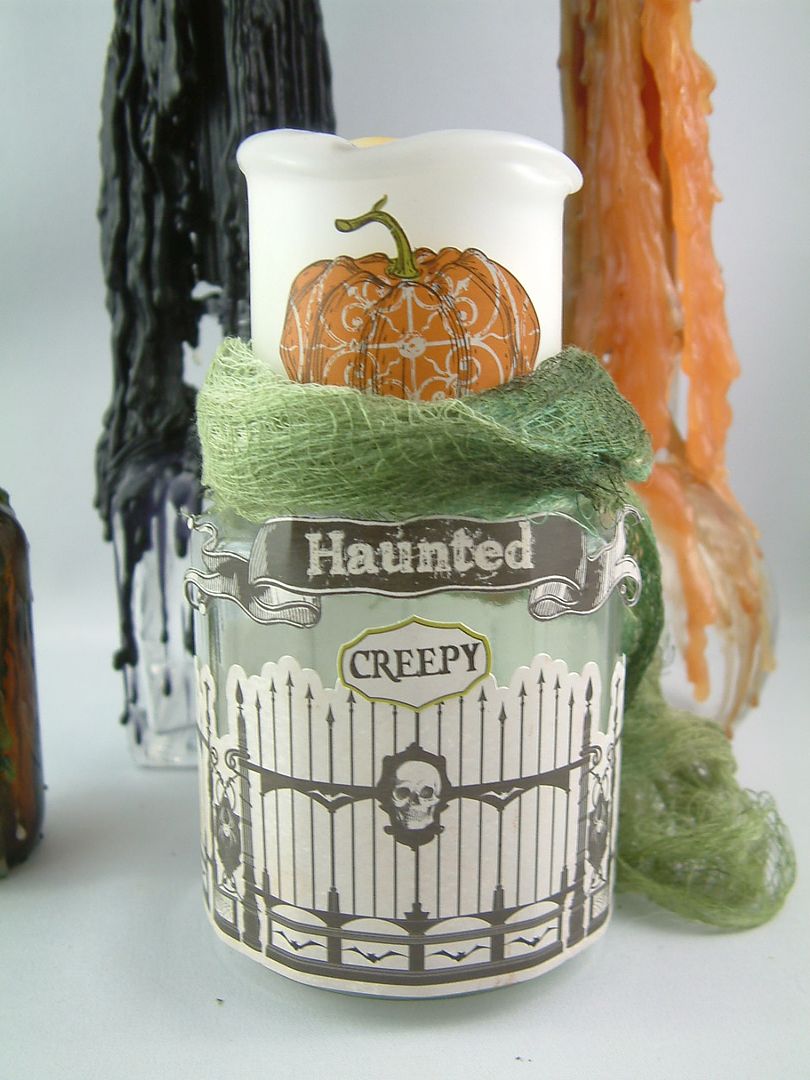
For the candle below I started with a jar and added Chillingsworth Manor Elements Stickers to the jar and the candle.  Then I died a piece of cheesecloth dyed with Pesto Alcohol Ink and tied it around the bottle.

Wine Bottle Candelabra
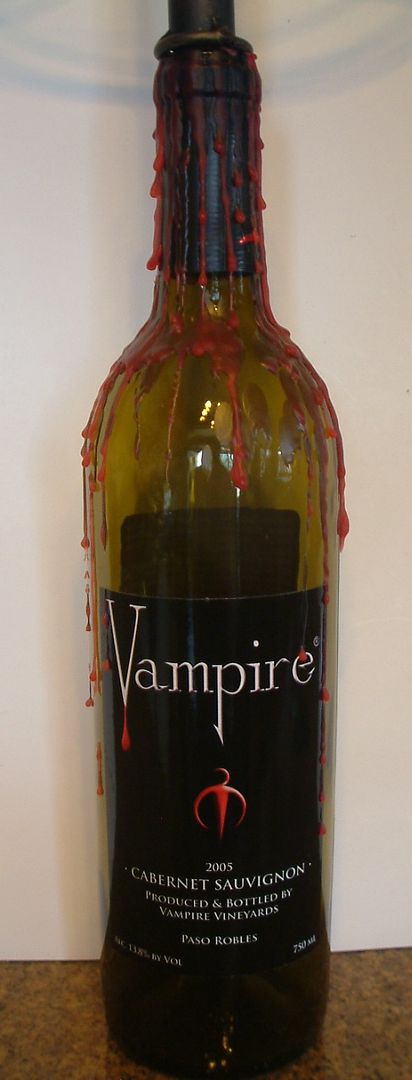
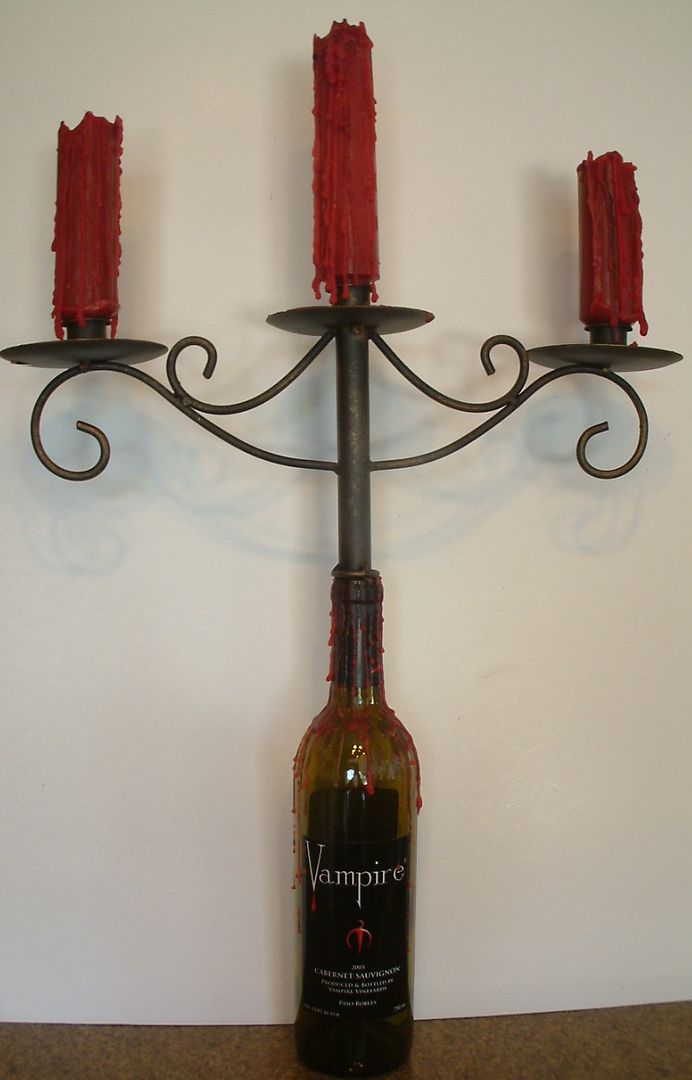
Friends of mine found some bottles of Vampire wine and thought instantly of me. Hmm wonder why?  My sister generously drank them as I’m not into red wine.  I was just going to stick a candle in them and drip wax but I discovered a candelabra made to fit in the top of a wine bottle.  Perfect!
You can purchase the candelabra at Save On Crafts.  They are $19 each or $17 each if you buy three.  Here is the link:  http://www.save-on-crafts.com/winebottle.html

As the shadows start to lengthen and night approaches, it’s time to light the candles.  
Thanks for stopping by and a special thanks to the Witch of Howling Creek for putting this party together.  To checkout other blog party participants click here.

If you love Halloween Blog Parties (and I do), you’ll want to stay tuned for the 5th Annual Halloween Party hosted by A Fanciful Twist on October 27th.  I’ll be participating and if you’d like to join in the fun, click here for more details