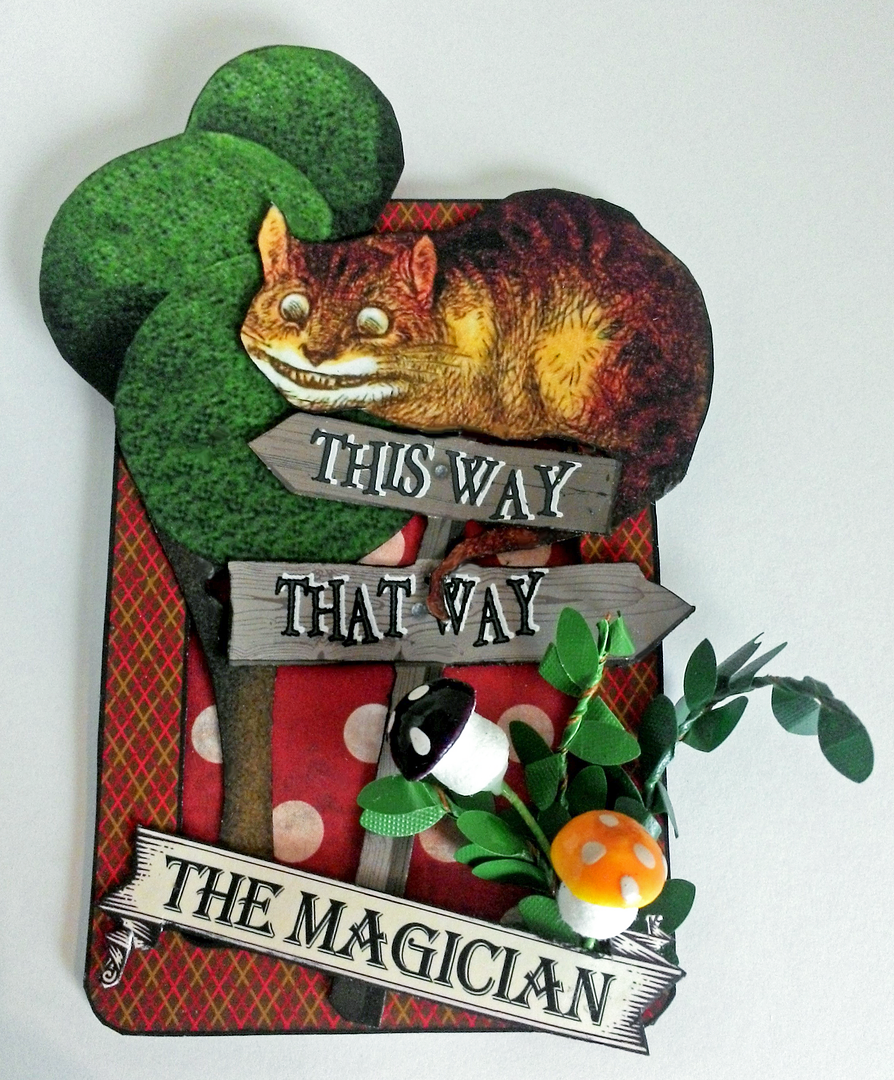
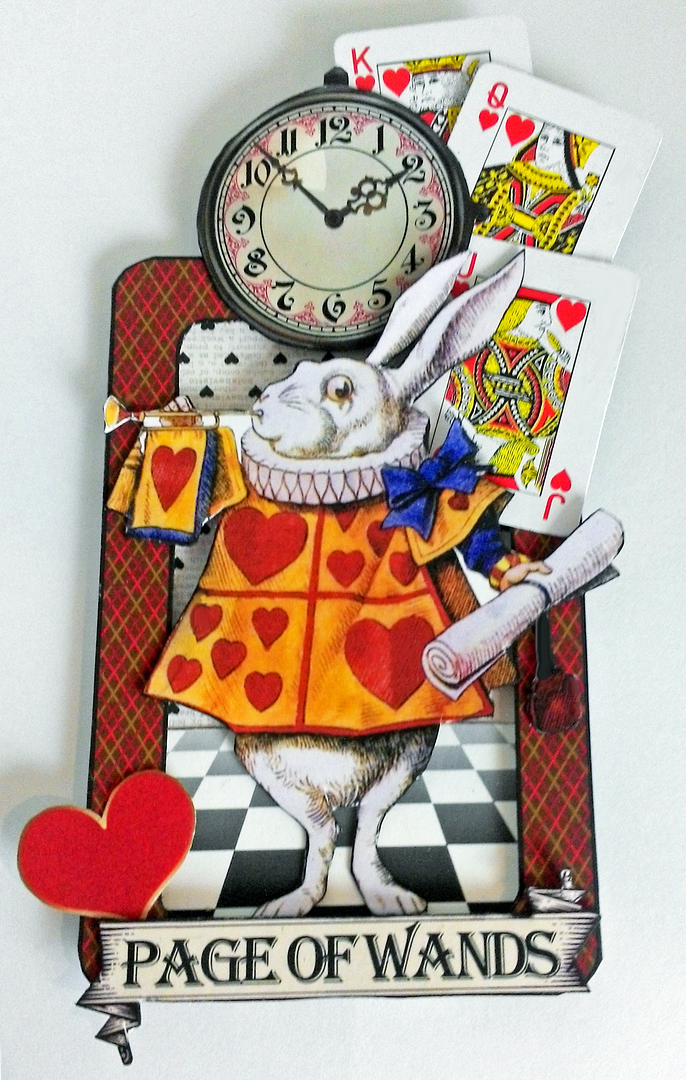
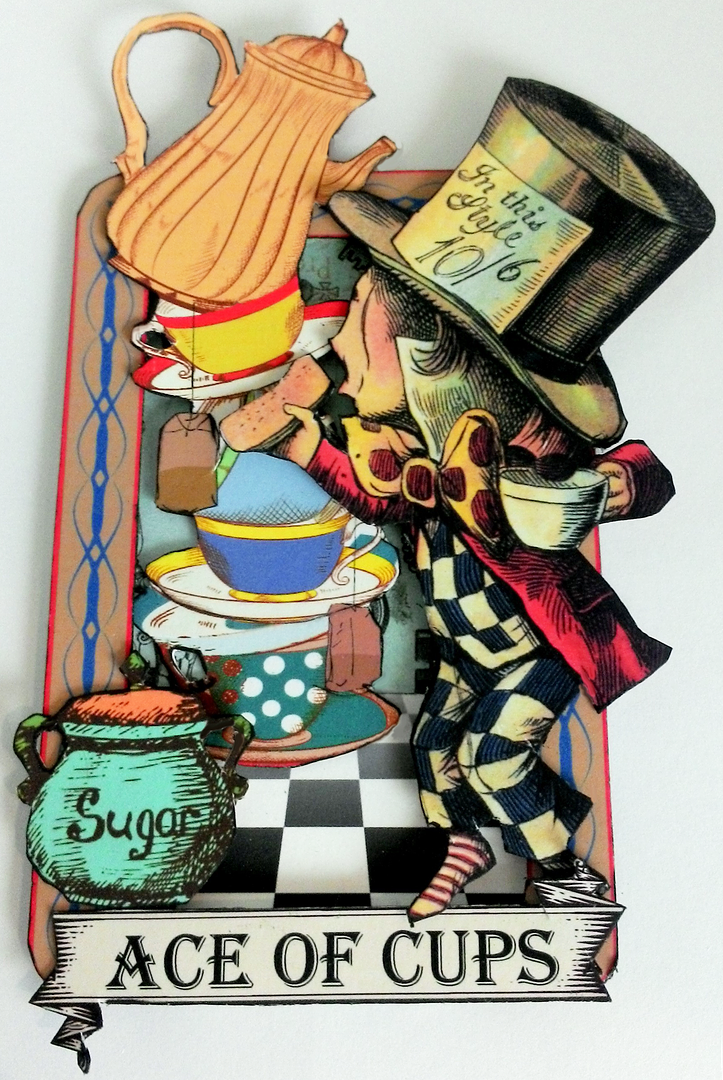
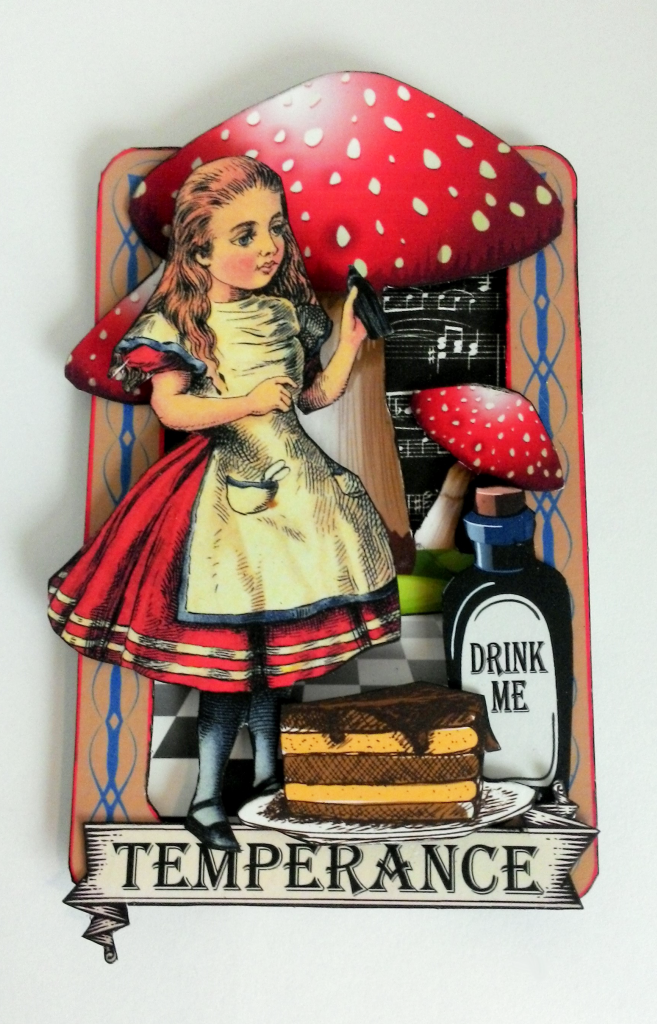
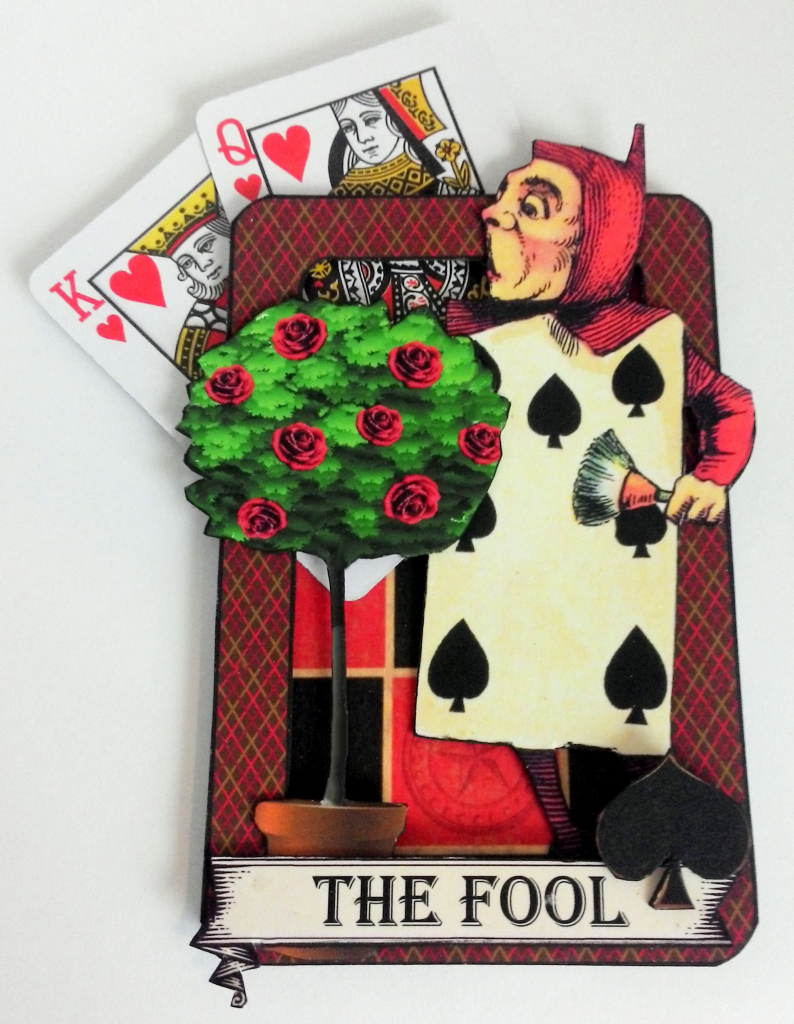
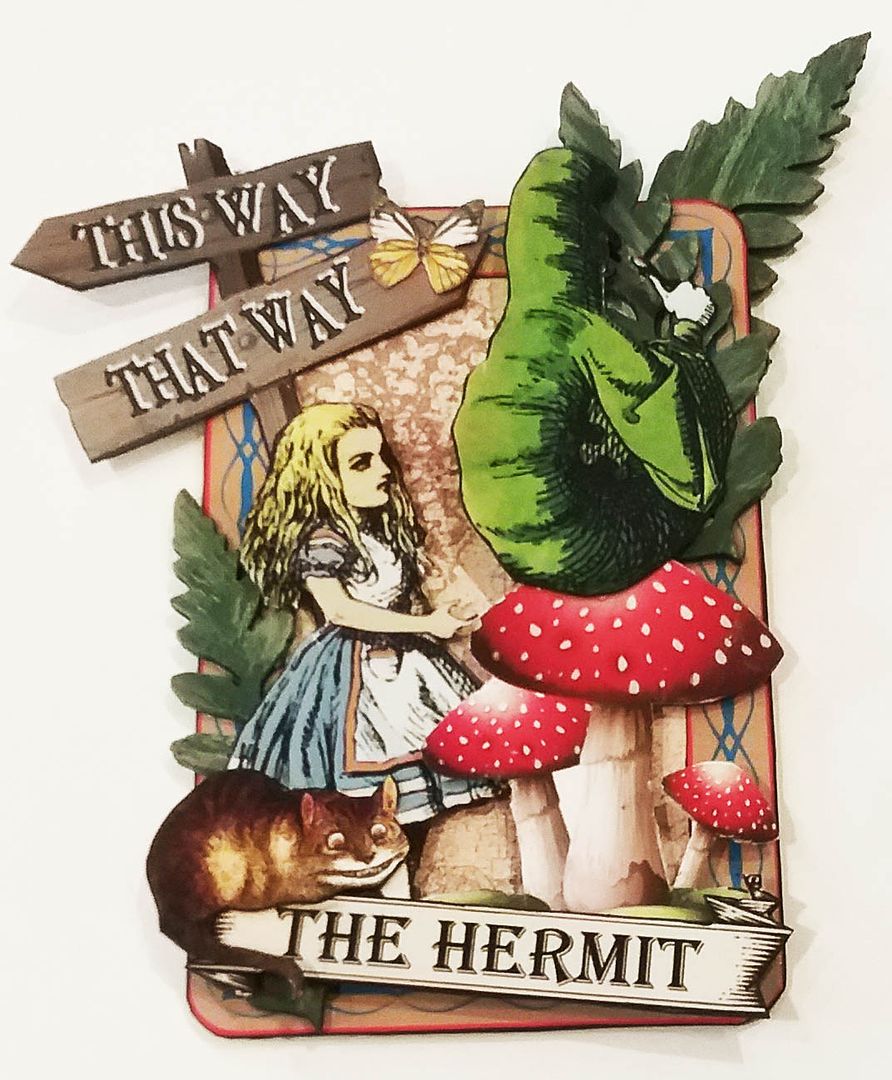
I’m kicking off the New Year with a trip to Wonderland where anything is possible. When I saw this month’s kit at Alpha Stamps all I could think of was Alice, and with a set of Alice tarot cards, you can unlock your own future.
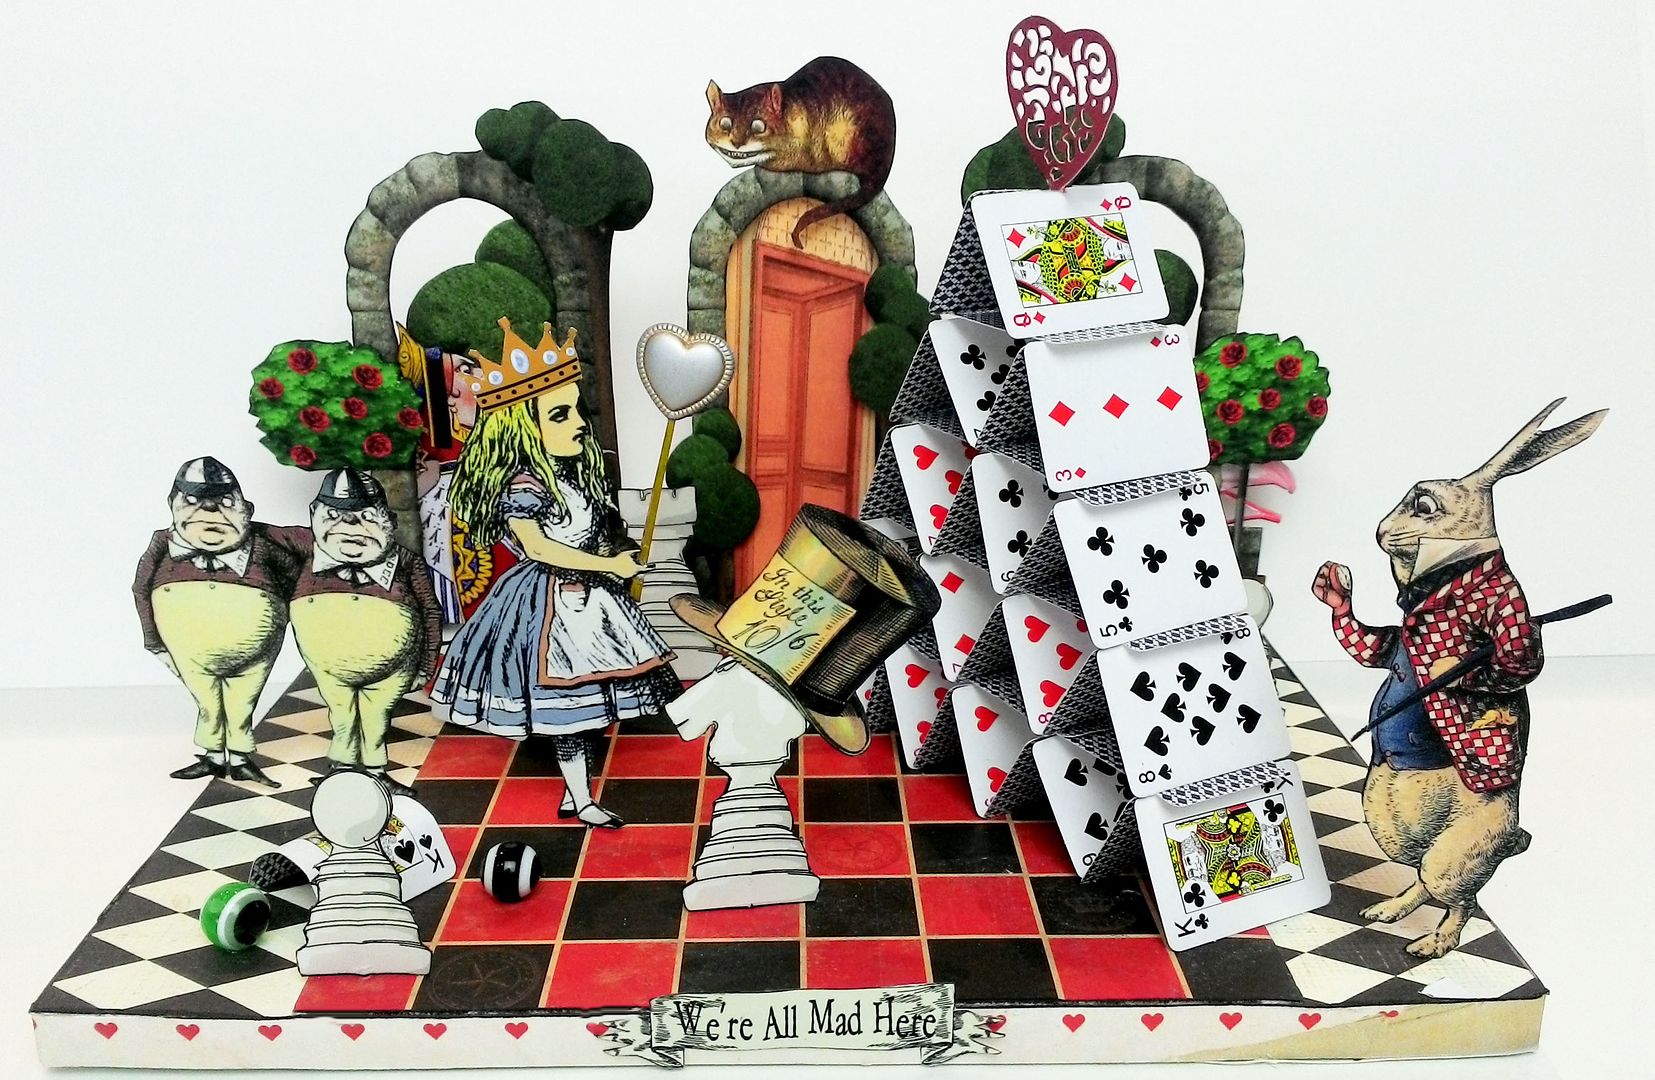
In addition to the tarot cards, I was itching to build a diorama. The small playing cards were the inspiration as I thought they would make a great house of cards, and if Alice was queen, she might enjoy stacking them.
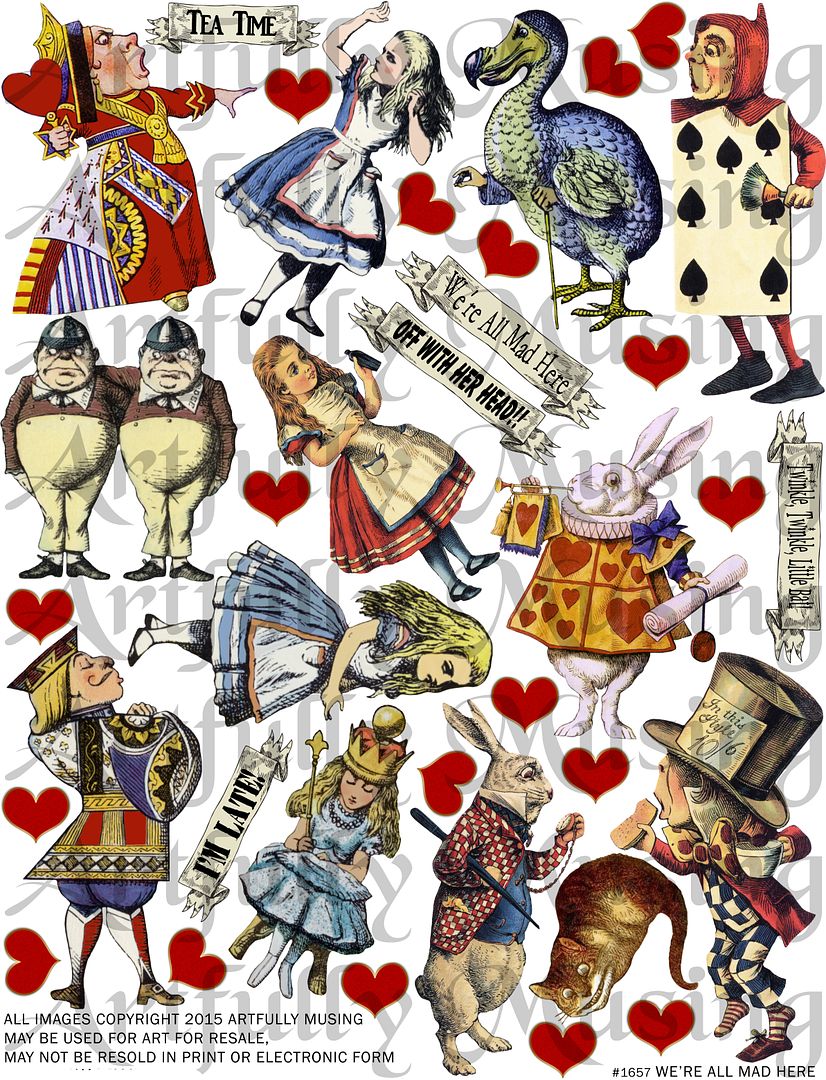
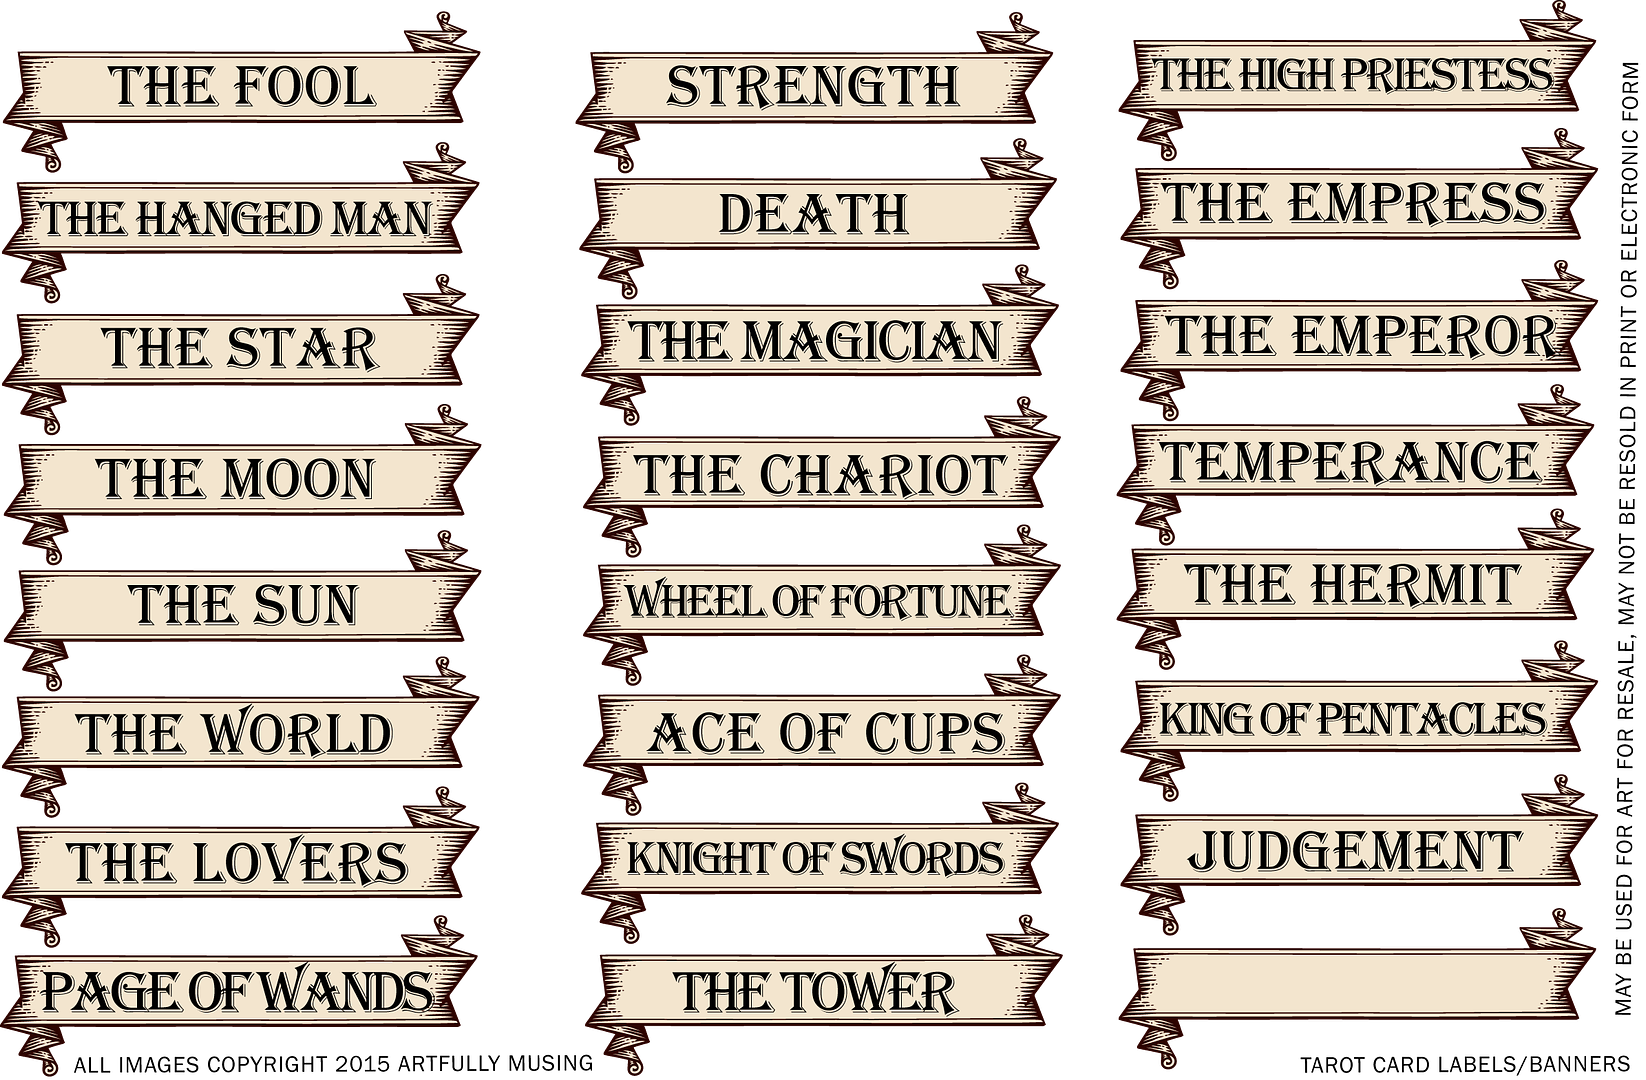
For the projects, I created two new Alice themed collage sheets and a digital image set. I've also created a free tarot card label/banner half collage sheet that you can download and use for your own tarot cards.
NEW COLLAGE SHEETS & DIGITAL IMAGE SETS
You can find all of my collage sheets and digital image sets at Alpha Stamps.
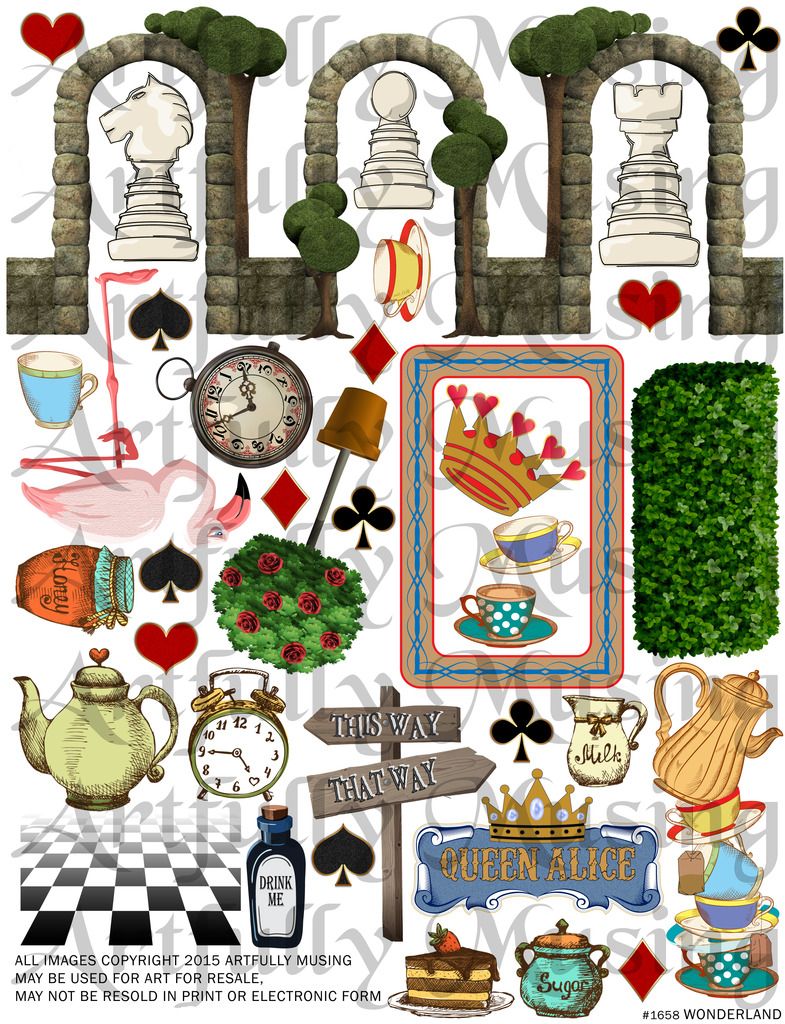
The Wonderland sheet has various elements to create Alice’s Wonderland.
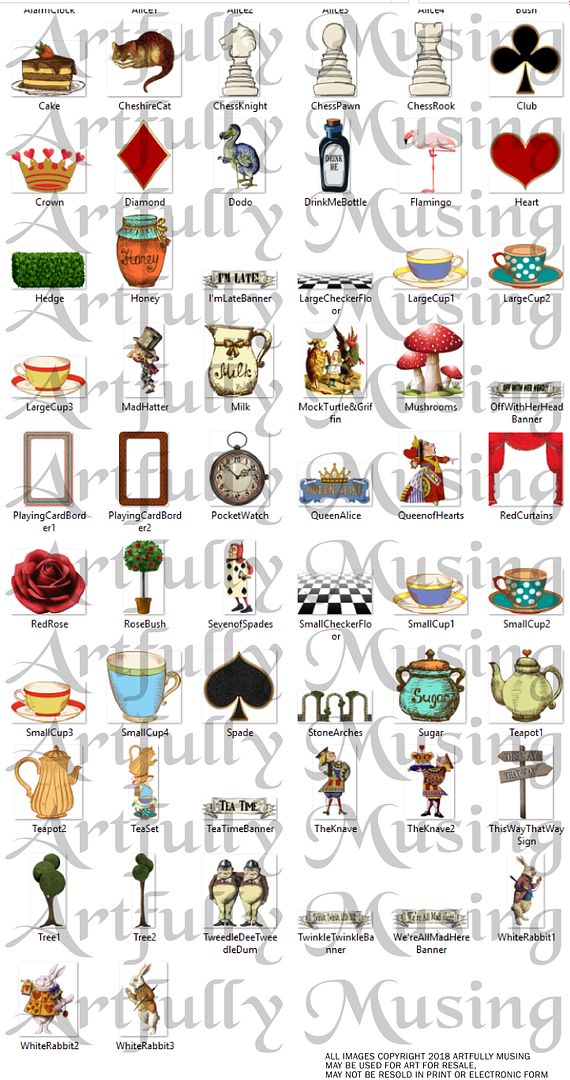
The 62 files are in .png format. PNG format files have a transparent background so are easy to layer over other digital images. You can open .png files using most image management programs like Photoshop Elements. Digital collage sheets and digital images can be saved to your computer and printed as many times as you wish.
The Alice in Wonderland digital image set includes all of the images in both the “We’re All Mad Here” collage sheet and the “Wonderland” collage sheet. It also includes 14 more images listed below:
- Large versions of 3 teacups
- A second teapot
- Alice in a chair with Dina
- Bush
- Large perspective checker floor
- An additional playing card border
- The Mock Turtle, Alice and the Griffin
- Mushrooms
- Red Curtains
- Knave with crown
- 2 Trees
- Another white rabbit
TAROT CARDS
The bases of the cards are made from blank playing cards. The frames you see on each card are from the Wonderland collage sheet and the Alice in Wonderland digital image set.
I used double stick tape to pop up the frames. I attached some of the images behind the frames and some on top.
FREE HALF COLLAGE SHEET OF TAROT CARD LABELS/BANNERS
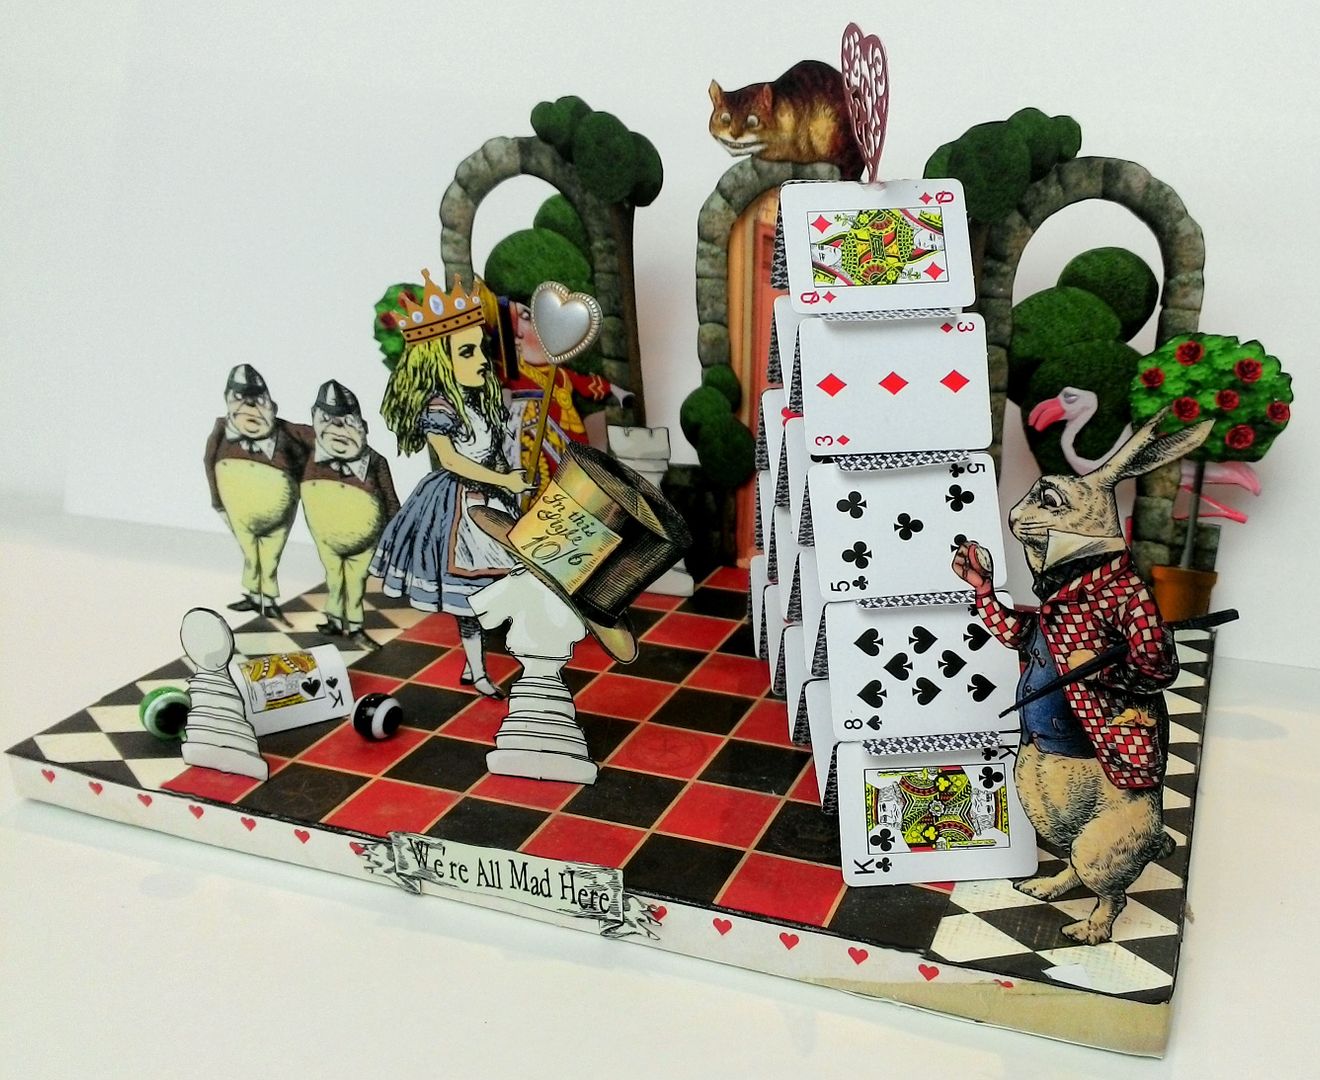
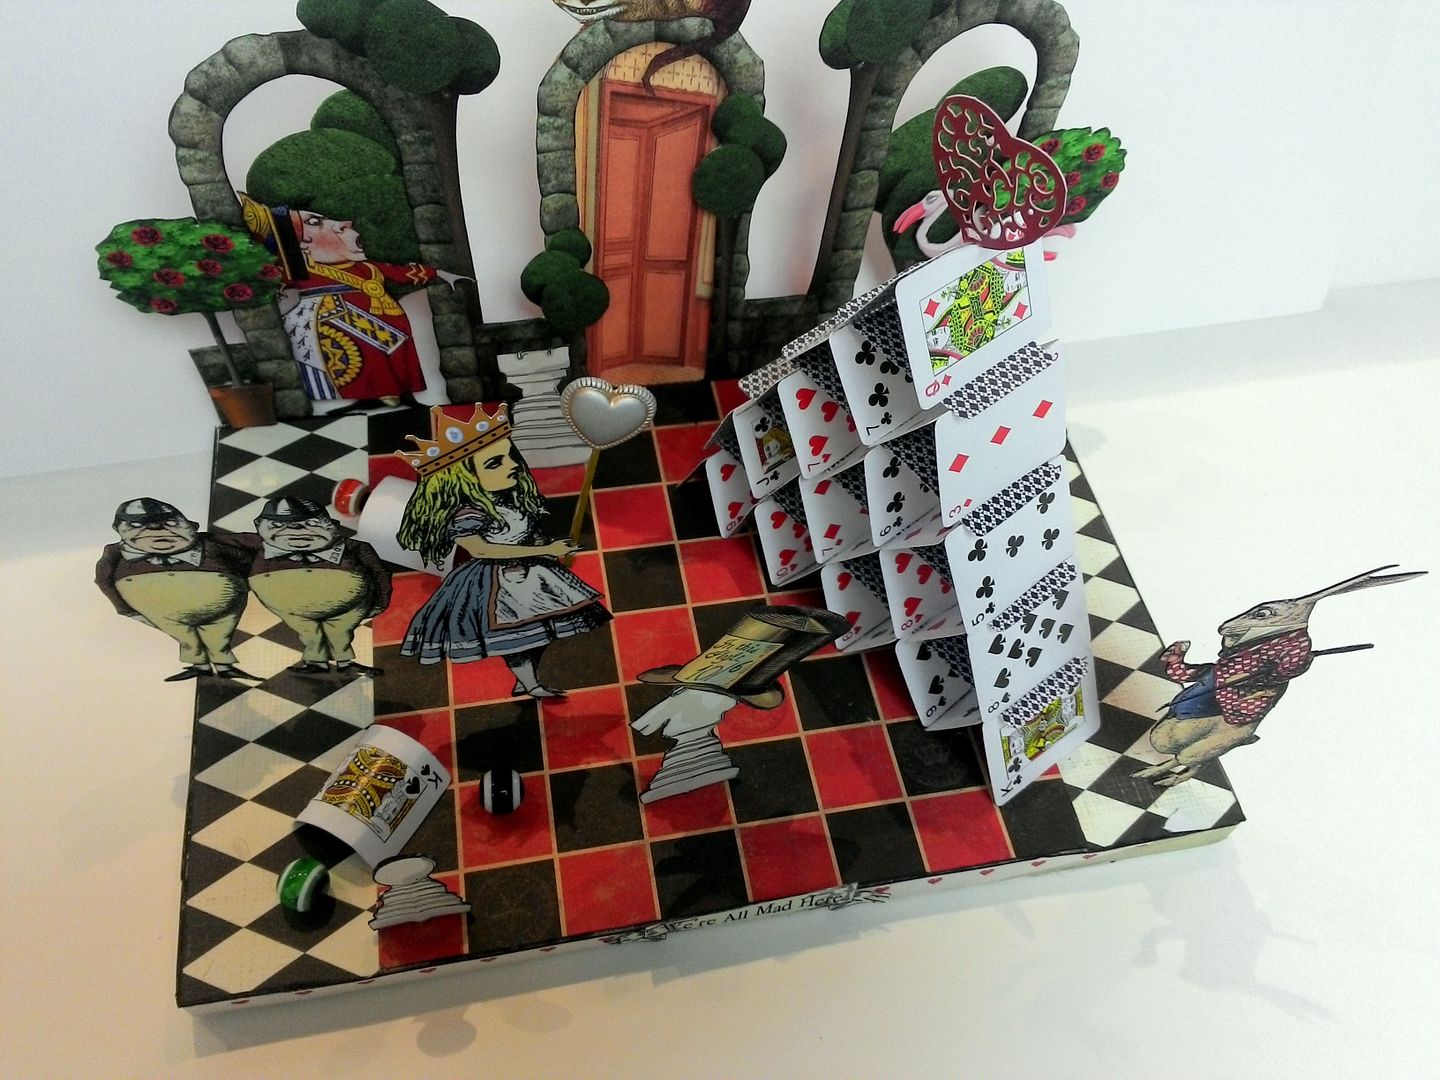
“We’re All Mad Here” Diorama
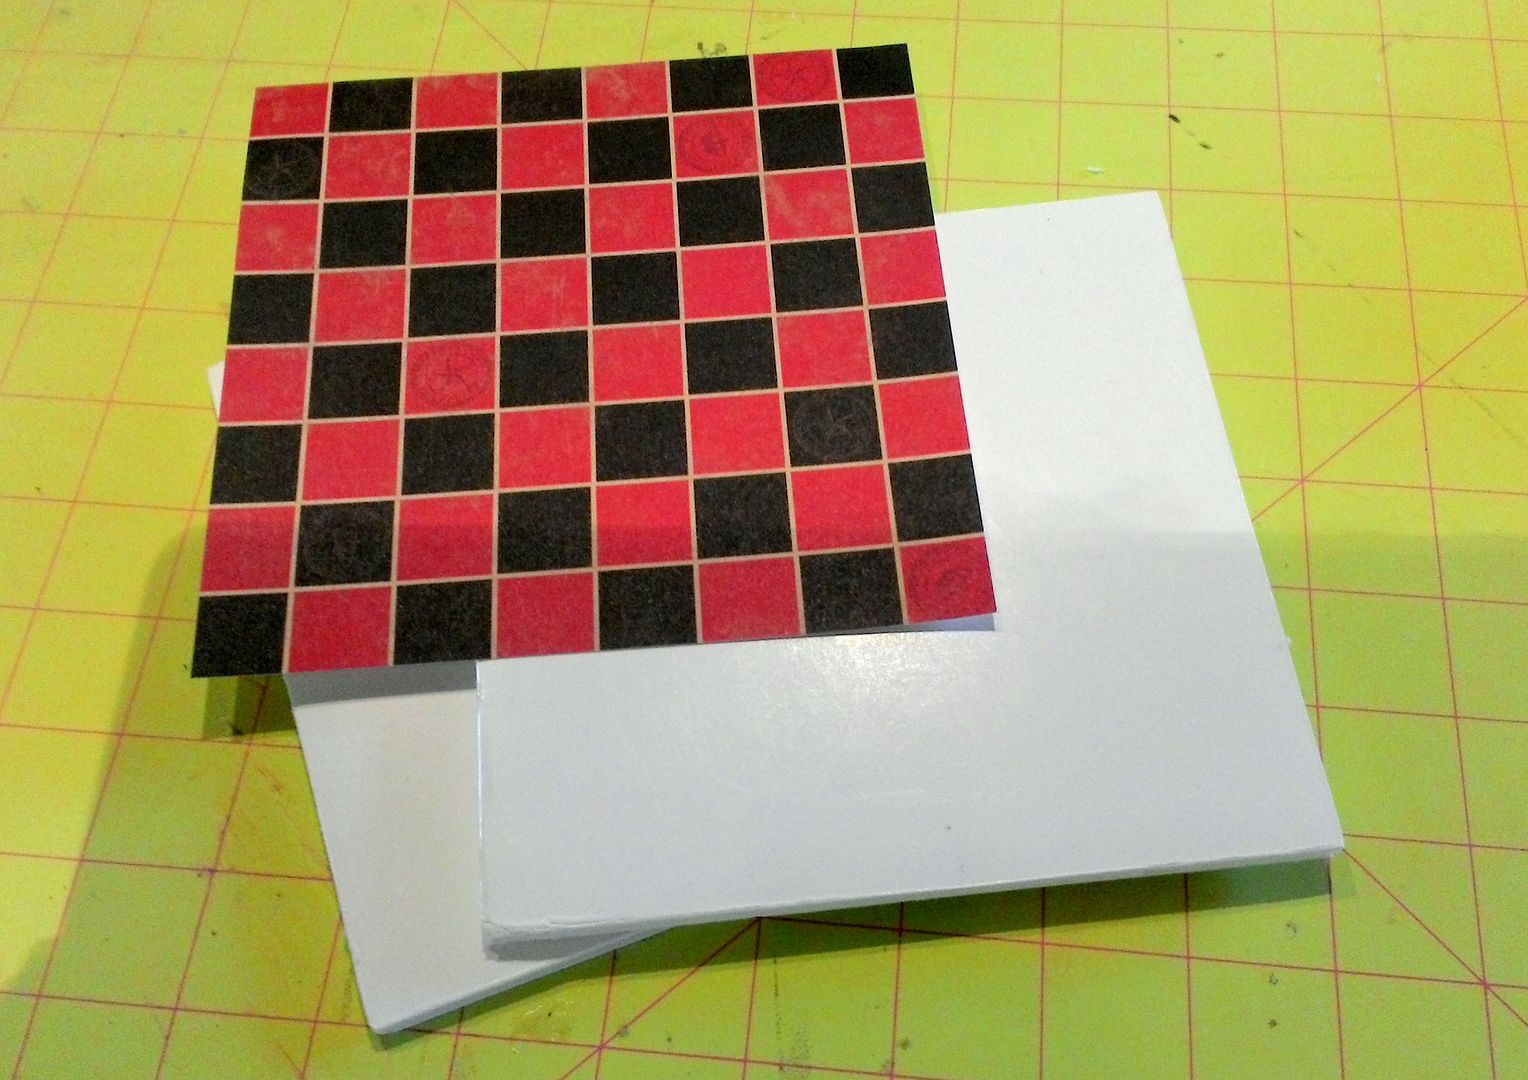
The base of the diorama is made from two layers of foam core board. I cut the centerpieces of foam core 6”x6” and used the checkerboard paper from the Star-Crossed 6x6 Paper Pad to cover the base.
After I decided how large I wanted the stone arches to be, I added two more foam core panels measuring 1 1/2” x 6” each to the sides of the main panel. These panels are covered in the Yesterday Papillion scrapbook paper.
To make the house of cards, I glued the cards together in a v-shape. The v-shaped cards are glued to the base. Next, I glued a row of cards to the top to make the base for the next layer of cards. Each layer of v-shaped cards has one fewer set of cards than the next.
At the top, I attached a red lacy paper heart by gluing it into a hole I punched in the cards before I glued them together.
The stone archway is glued to the back of the base. Tip: I wanted the bottom of the archway to be at the top of the base which means that there is nothing that I could use to glue the arch to the side of the base. When using free-standing images I always back them with paper to give them support. The solution was to have the backing paper to extend past the bottom of the arches and to use the backing paper to glue the arches to the side of the base.
I glued various images from the collage sheets to the back and front of the arches. The free-standing images like Alice and the White Rabbit are attached to the base using a straight pin. I snip off the head of the pin and insert it at the bottom of the image in between the image and the paper backing. I leave just enough of the pin sticking out of the bottom of the image to insert into the foam core base. I coat the pin with a little glue before inserting it in the base.
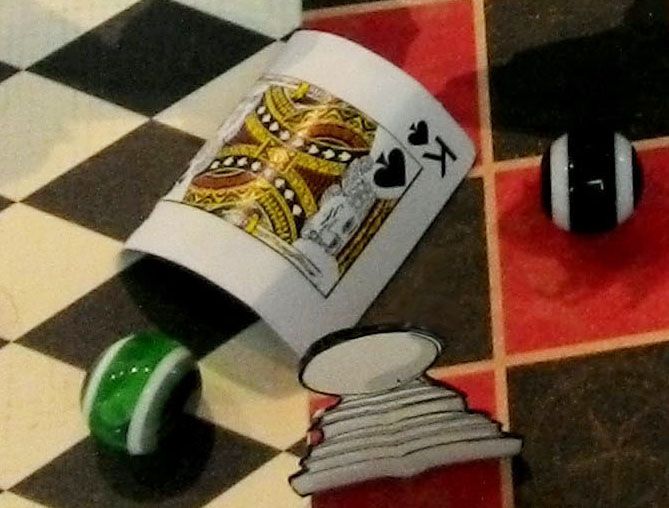
Alice’s scepter is made from a flat toothpick and a puffy heart bead. For the croquette balls, I used eyeball beads - 10mm.








LOVE these Laura-I am going to have to make some for myself. Of course they will not be a nice as yours but I press on. Thanks so much for sharing.
ReplyDeleteLove your diorama. Thanks for sharing your talents.
ReplyDeleteAnother amazing art work piece!
ReplyDeleteVery Inspiring! Love it all! Hugs,Tee
LOVE your Alice In Wonderland tarot cards and diorama Laura, magical! Thanks so much for sharing and for the tarot card labels too <3
ReplyDeleteI am always amazed by your creations. This project is no exception. Wonderful! Thanks for the free digi!
ReplyDeleteOh how wonderful! I have been wanting to put together an Alice project and now it is going to be so easy! Thank you!
ReplyDeleteWhat a fabulous make!! I love all things Alice!!
ReplyDeleteI had to read and then go back- I know how talented and creative you are Laura, but at first glance I did not see that those cards were v's and I was like, "how on earth?!!!" Helps to read through slower! heehee Well done!
Well, I ordered a lot of this stuff from Alpha Stamps yesterday - but now I'm totally intimidated LOL - this is a STUNNING vignette/diarama! How clever - and what a terrific use of materials!
ReplyDeleteYour Alice project is over-the-top GORGEOUS!!! Thumbs up!!
ReplyDeleteExcellent Laura! As always, your talent never ceases to amaze me. I always love it when you offer free collage sheets-many thanks:)
ReplyDeleteTHIS IS WONDERFUL...OF COURSE IT IS ITS WONDERLAND!!!!!!!!!!!! ALICE IN WONDERLAND IS MY FAVORITE...GOTTA MAKE THIS!!!! THANKS SO MUCH FOR SHARING, LAURA
ReplyDeleteWow! This is amazing! Thank you for the tutorial and free Tarot labels.
ReplyDeleteI adore anything Alice in Wonderland! Fantastic!
Come see photos of the Los Angeles Art District Murals of Alice In Wonderland posted on my blog. (one post down from the current one).
: )
Teresa in California
http://amagicalwhimsy.blogspot.com/
Fantastic diorama, beautifully made so much to look at x
ReplyDeleteYour tutorials are the Very Best Ever! Thank you for being so generous to share your amazing talents!
ReplyDelete