Is it
too early for spring projects? I hope
not because in this post I have three handmade books for you that feature
nature and glass. I’ll share the details
of how I made each of the books. I’ve
also been super busy creating 5 new nature themed collage sheets and a digital
image set.
The Land of the
Butterfly Queen
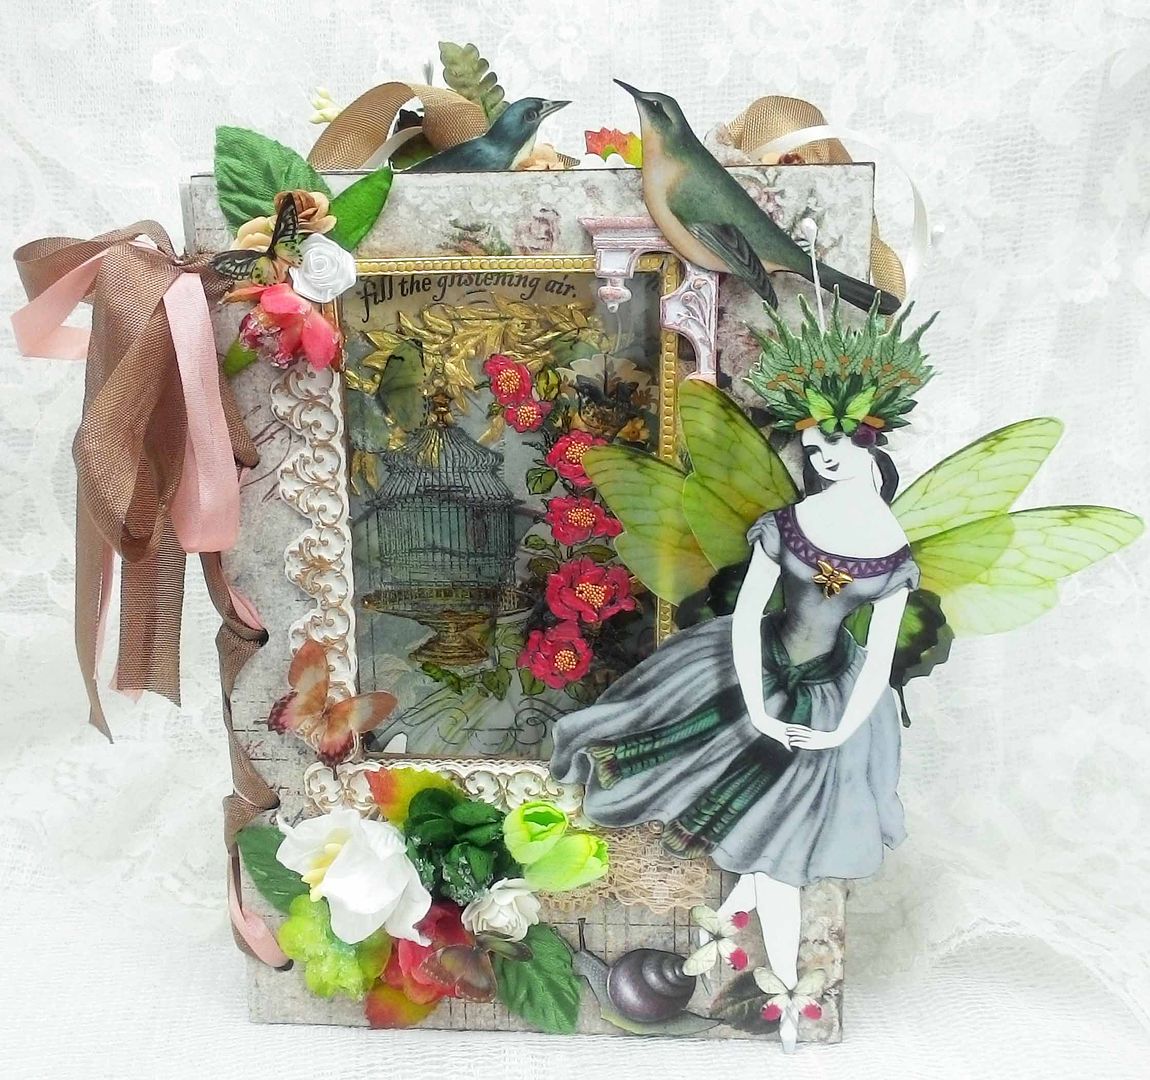
In the land
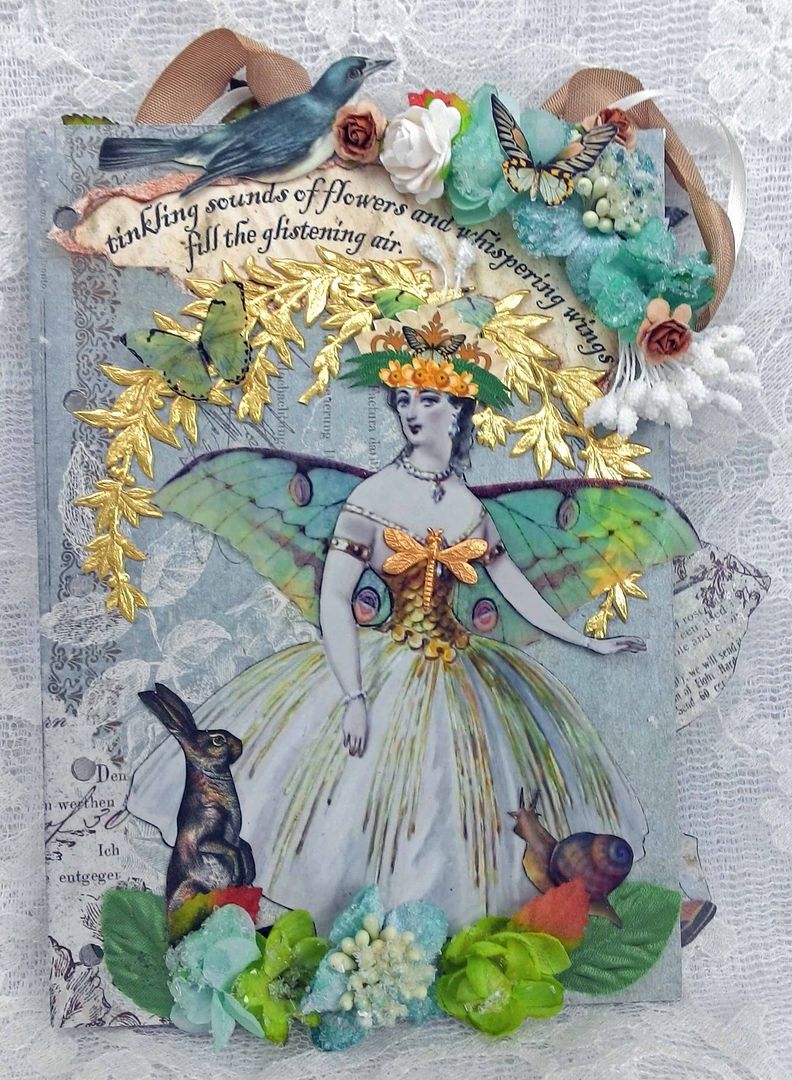
of the Butterfly Queen, where a soft breeze moves through the leaves, tinkling
sounds of flowers and whispering wings fill the glistening air.
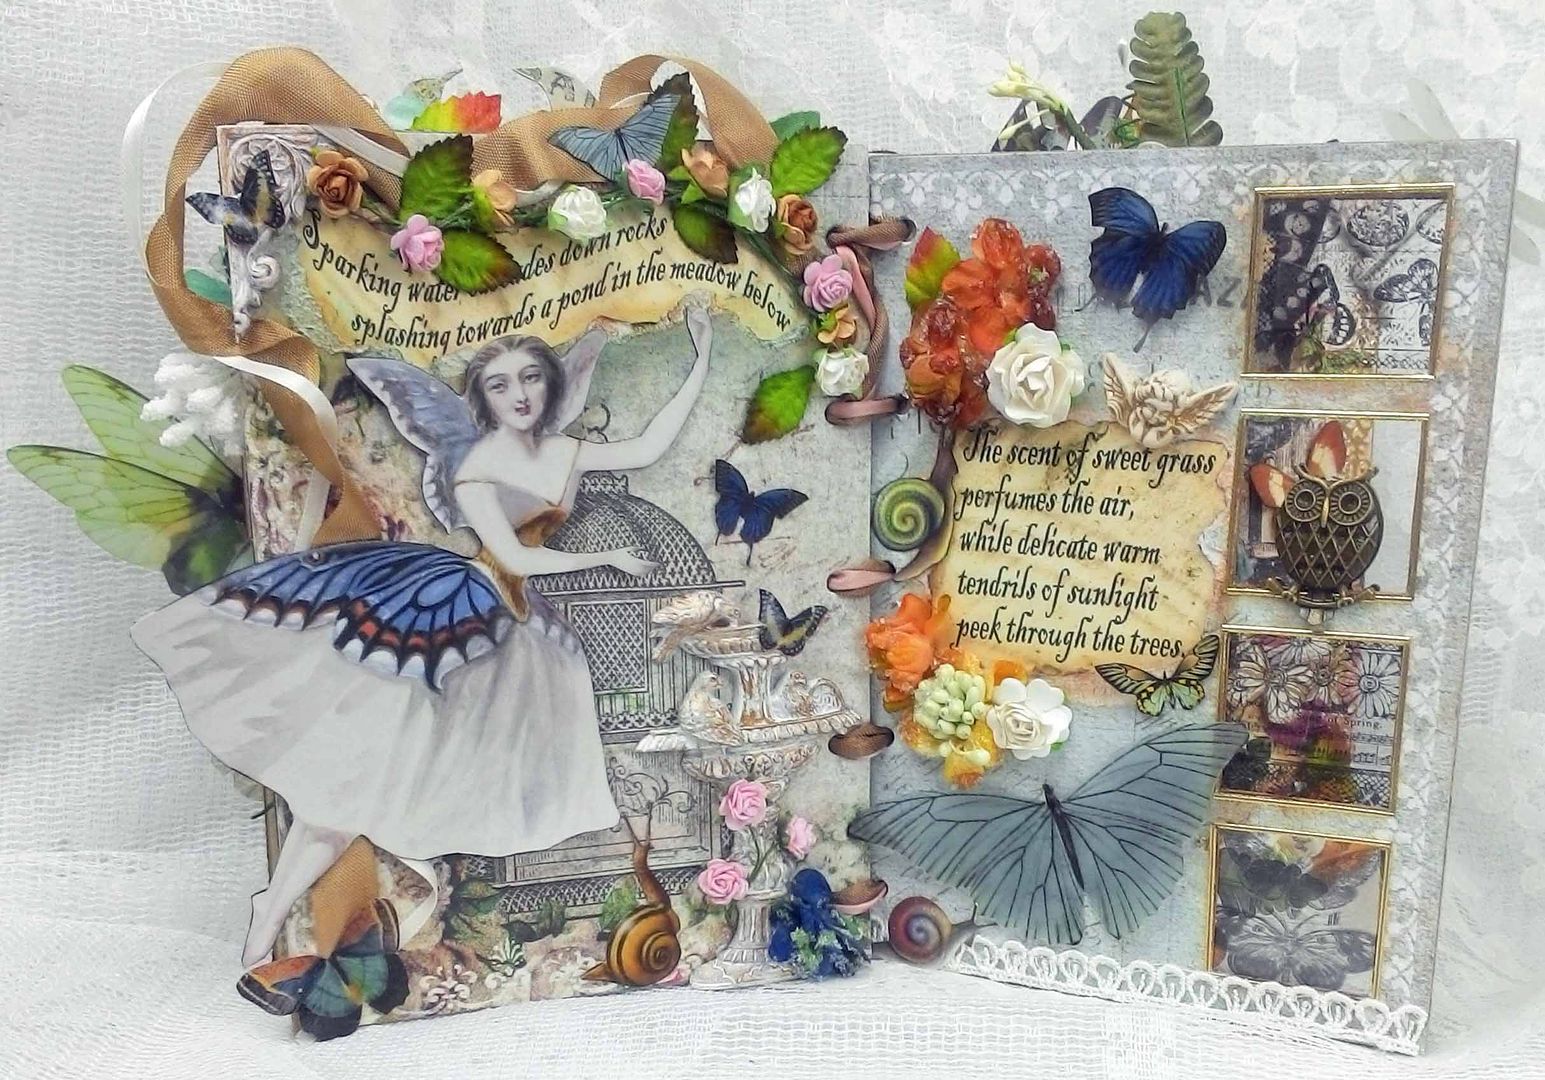
Sparkling
water cascades down rocks, splashing towards a pond in the meadow below.
The
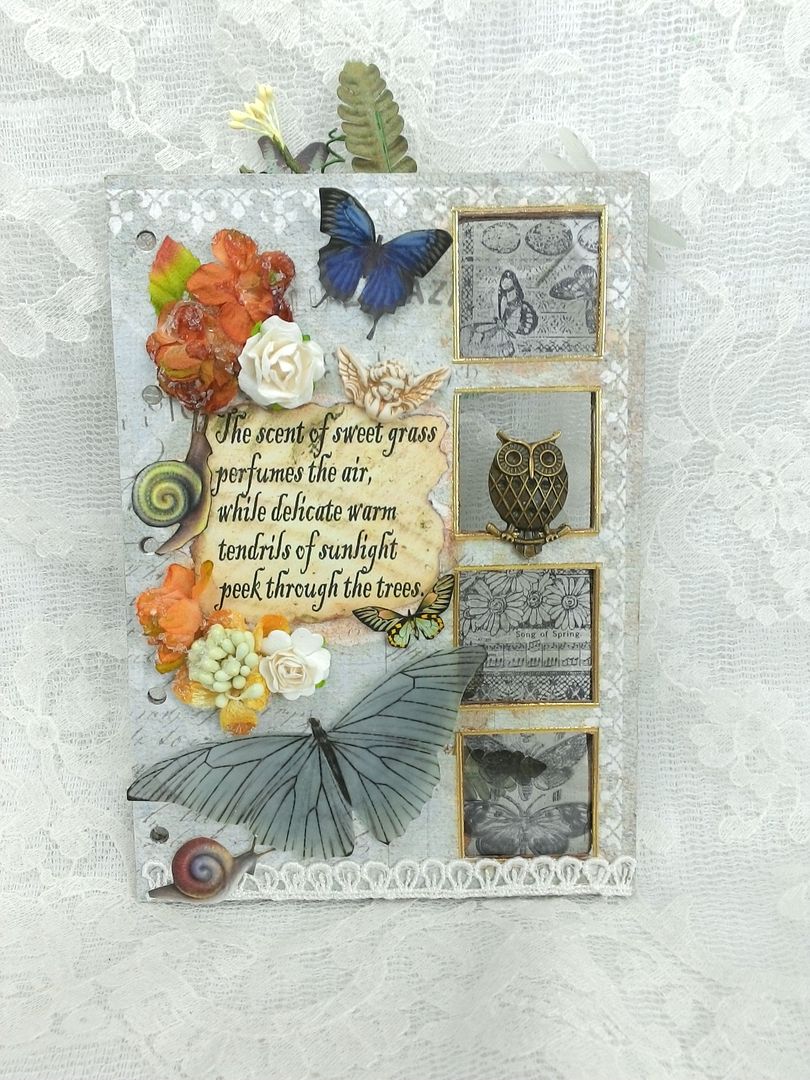
scent of sweet grass perfumes the air, while delicate warm tendrils of sunlight
peek through the trees.
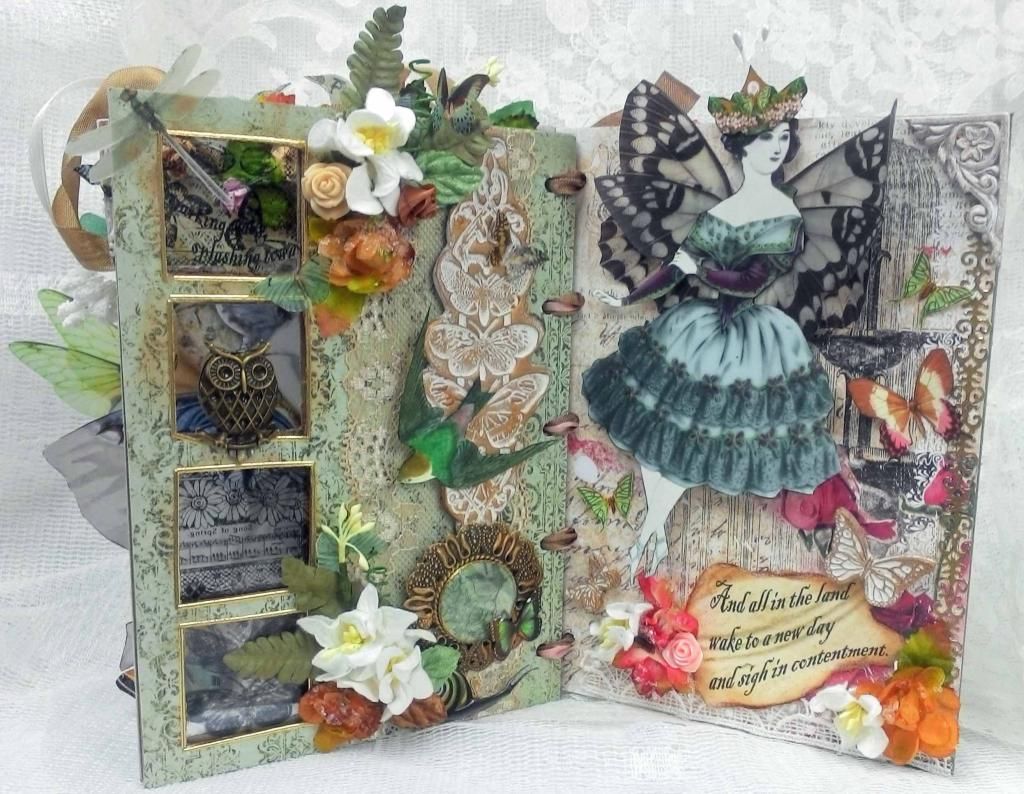
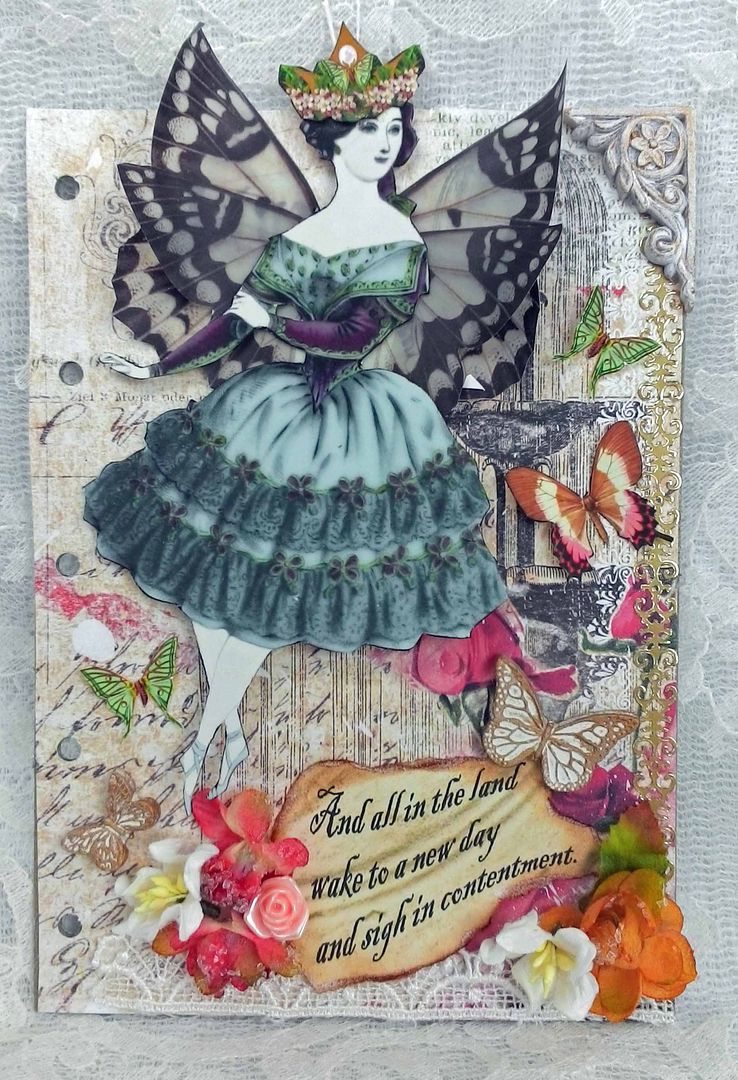
And all
in the land wake to a new day and sigh in contentment.
The
path to the “Land of the Butterfly Queen” has been a twisted one. I’ve been itching to do something danced
themed, which led to creating collage sheets with dancing ladies and the need for stuff to go with them. Then I
started thinking about butterflies dancing around and next thing I knew my
dancing ladies had turned into butterflies.
So now I needed large butterflies for wings and of course I needed crowns and decided that ladies that were butterflies would need fancy
crowns made from natural things around them.
I think I was also channel King Julien from Madagascar with his crazy
crowns. And so here we are in the "Land
of the Butterfly Queen". I looked for
some poems that would fit but no luck, so I just wrote something myself.
In
addition to the large chunky book pictured above, there are two tiny miniature glass books
that feature flowers and butterflies.
NEW COLLAGE SHEETS
& DIGITAL IMAGE SETS
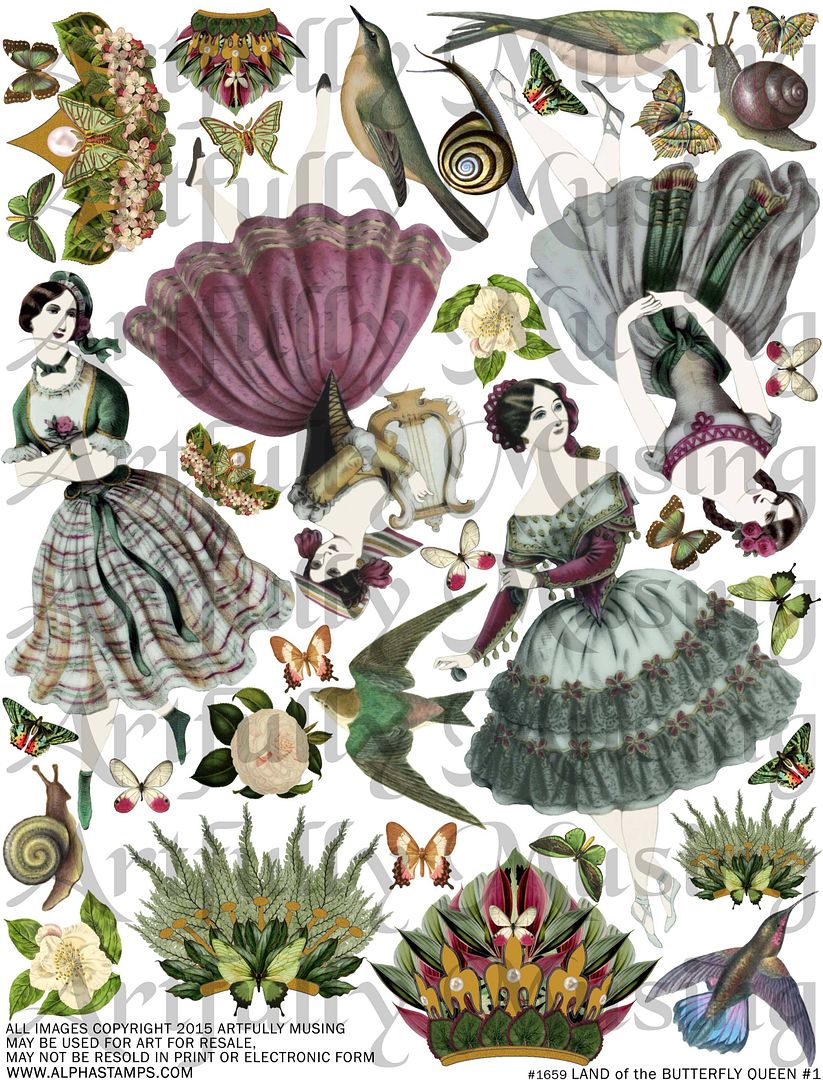
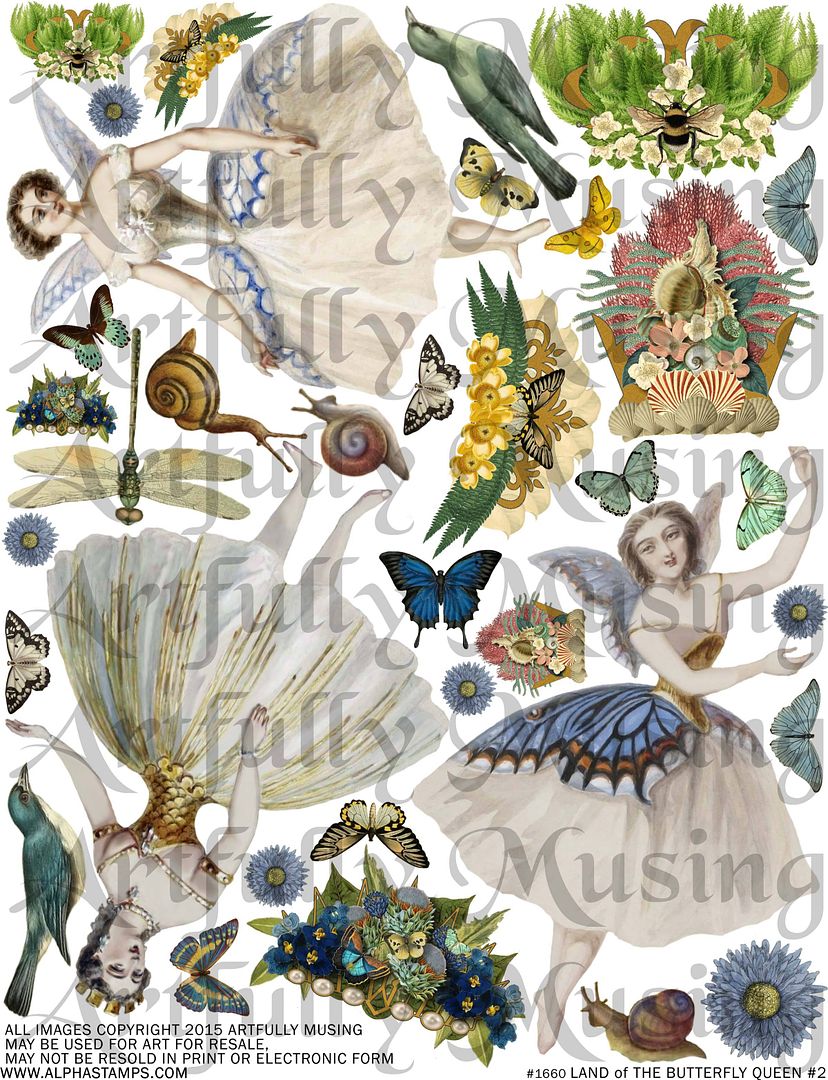
The sheets contain lovely dancing ladies with beautiful
crowns, butterflies, flowers, birds, and snails. In the "Land of the Butterfly Queen" chunky
book, I turned them into butterflies by adding wings and into queens by adding
crowns.
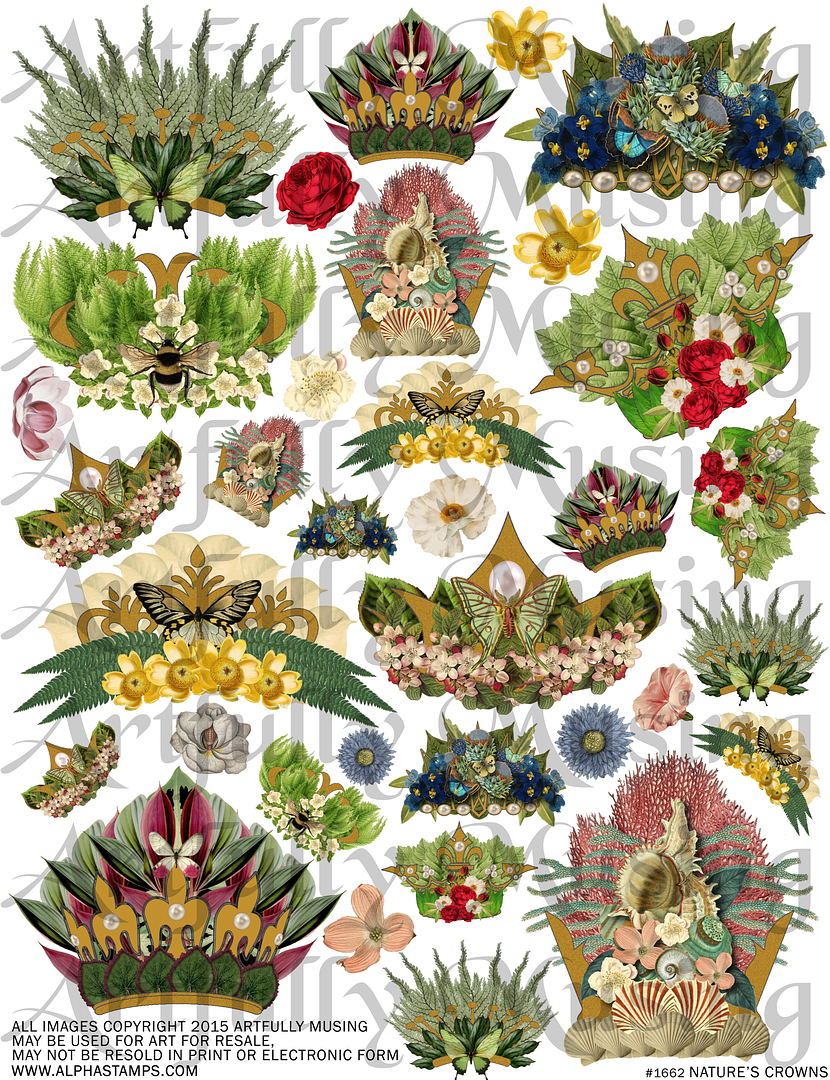
This
sheet features 7 different crowns in three different sizes.
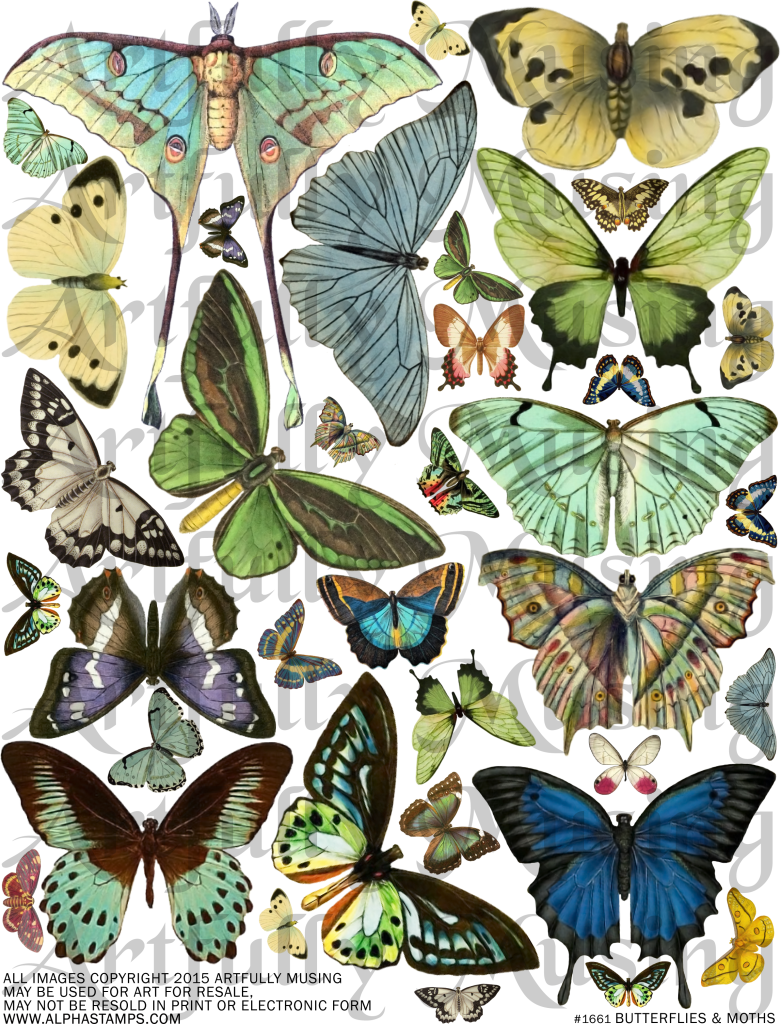
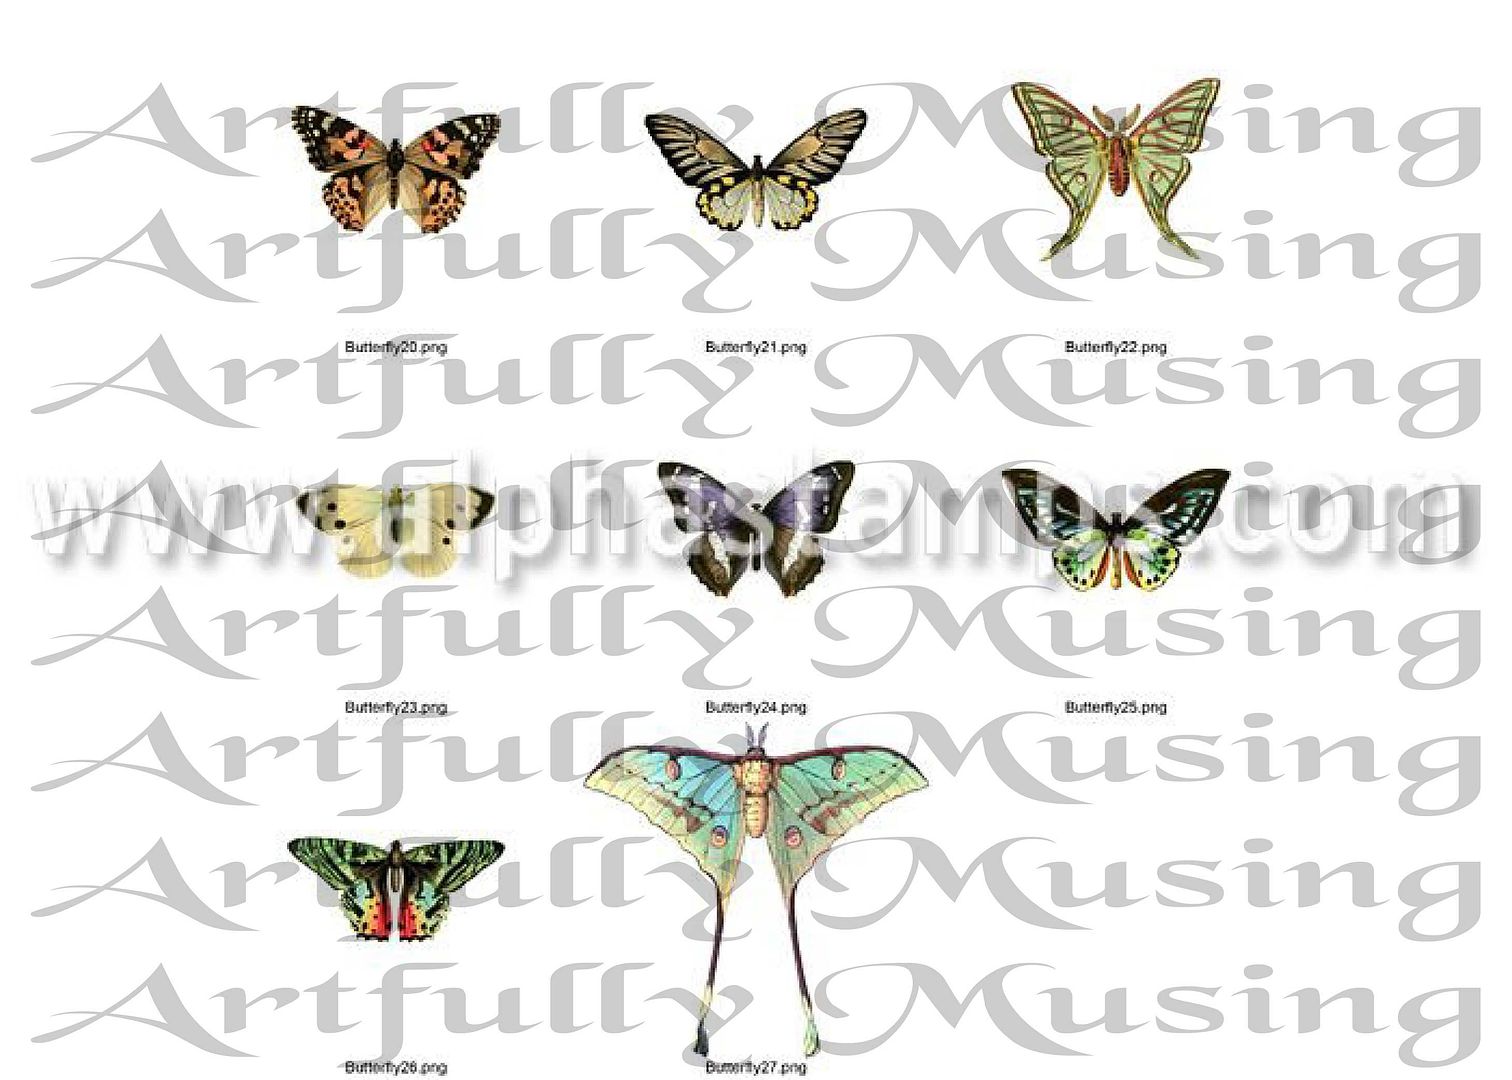
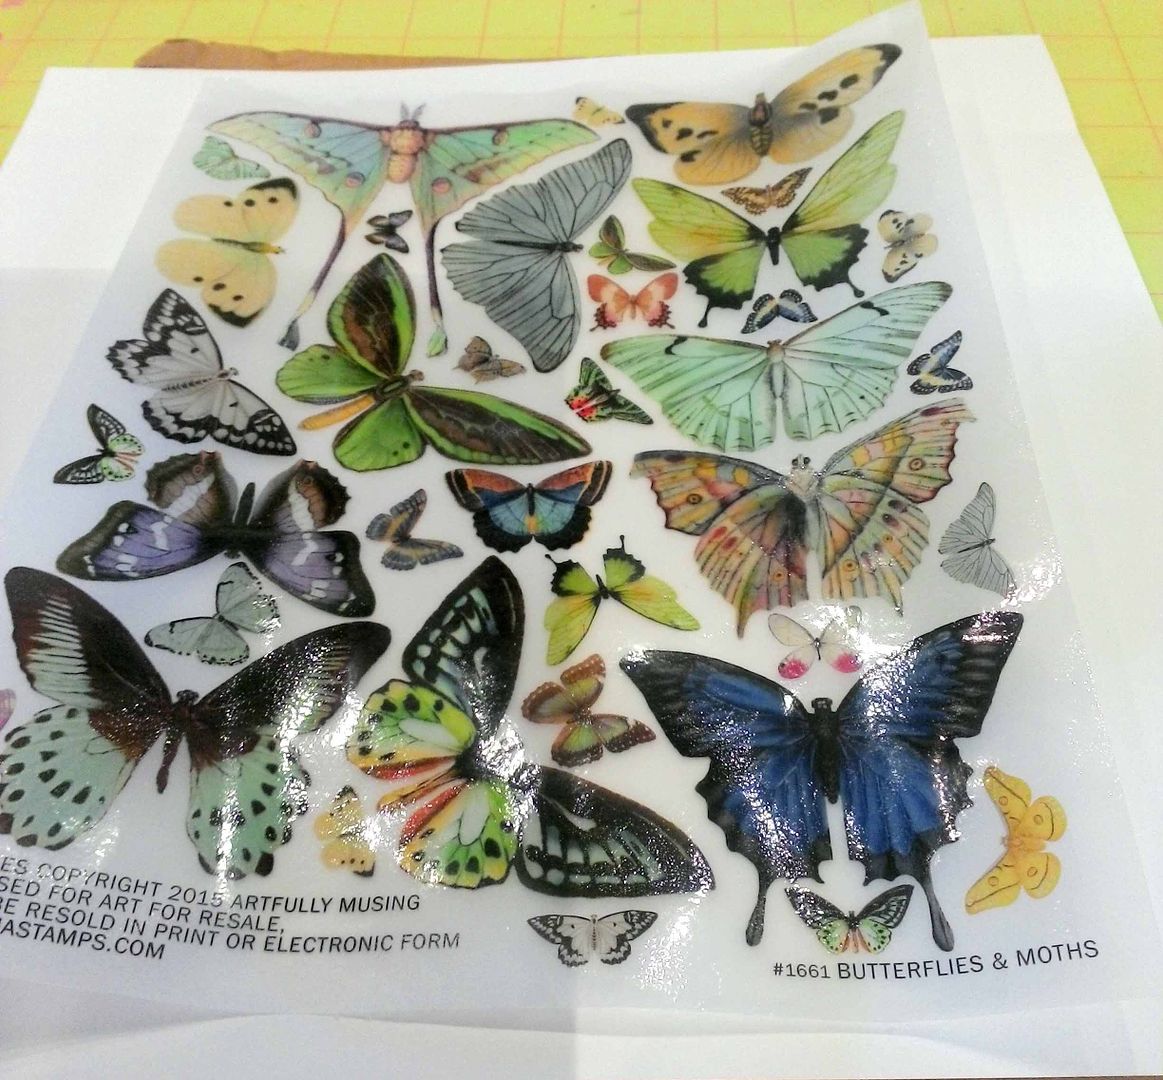
This
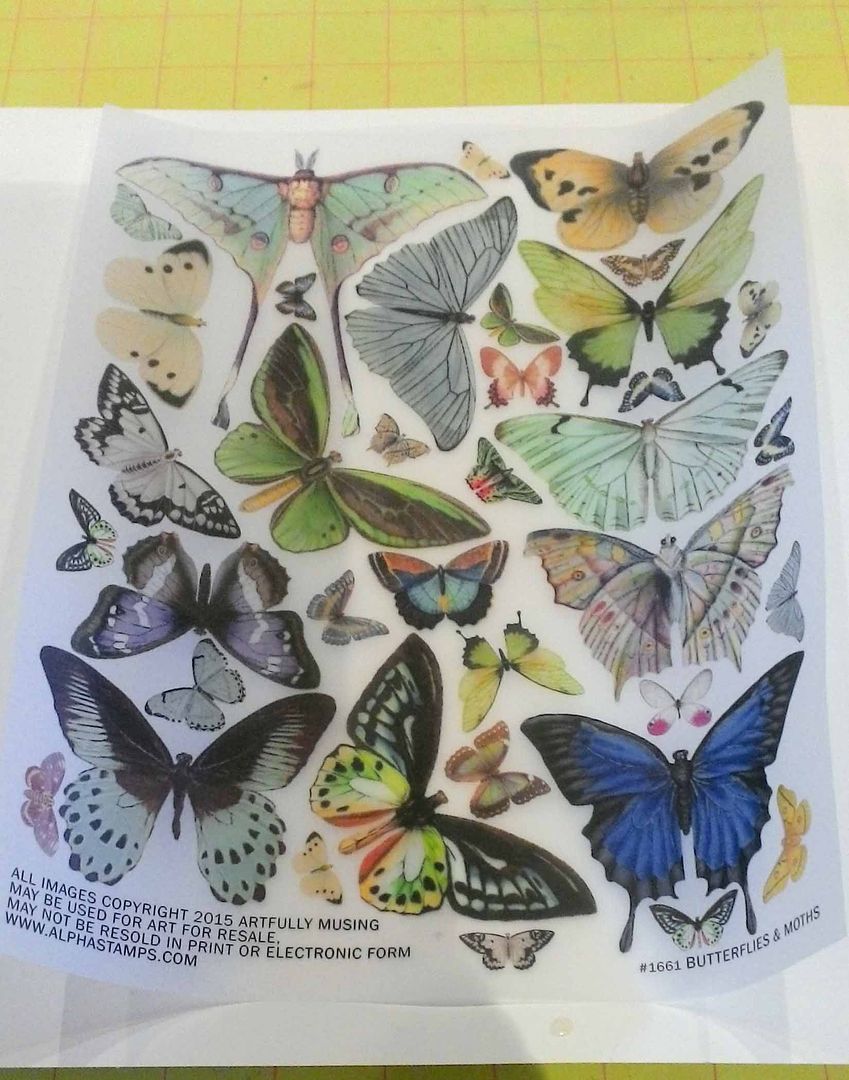
sheet is packed with butterflies and moths.
The larger butterflies make great wings for the dancing ladies.
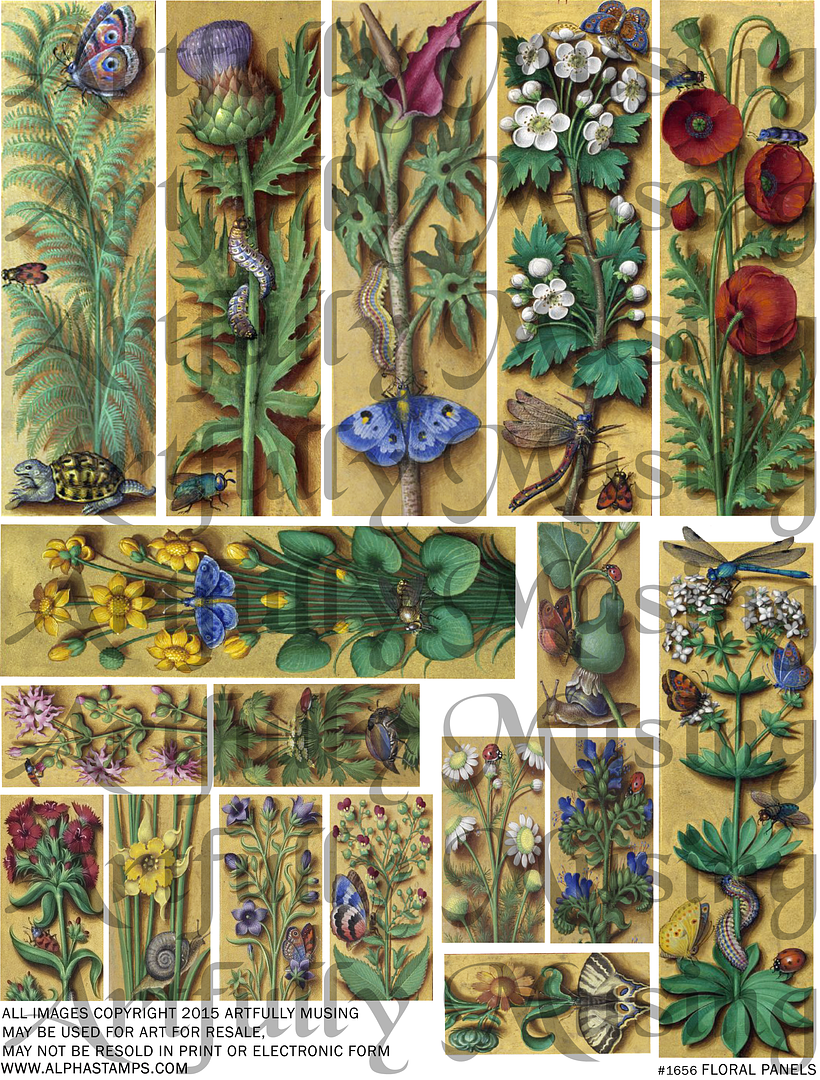
The
smaller panels are sized to fit the 1” x 2” glass slides but are also perfect
for domino books.
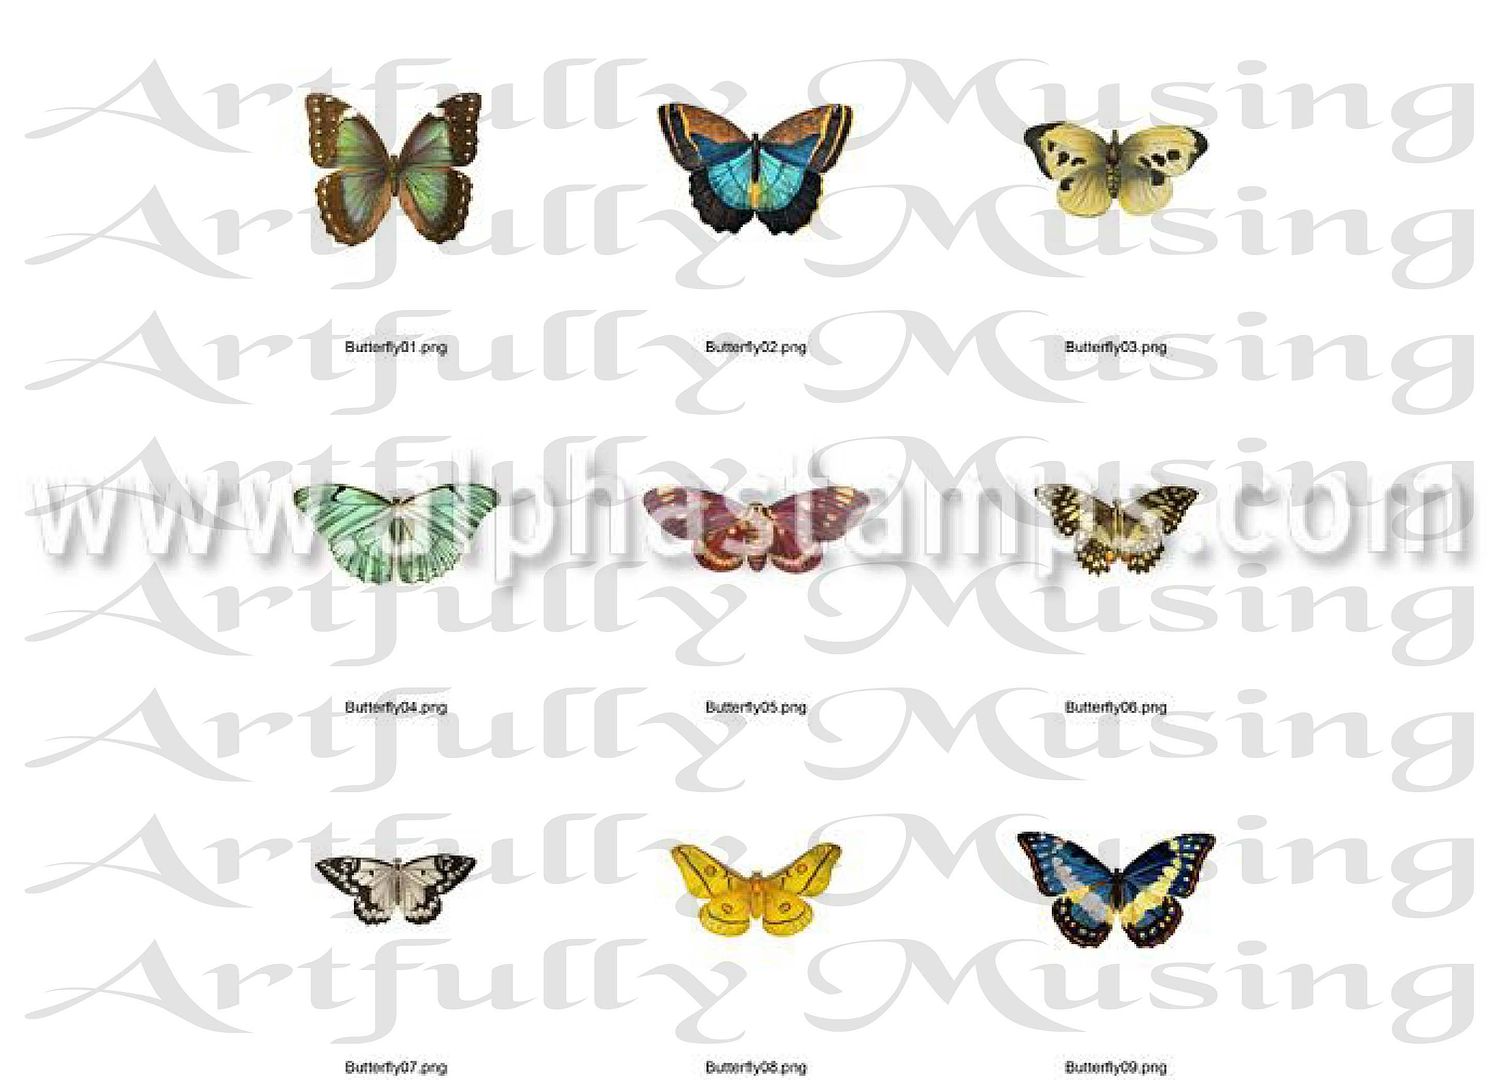
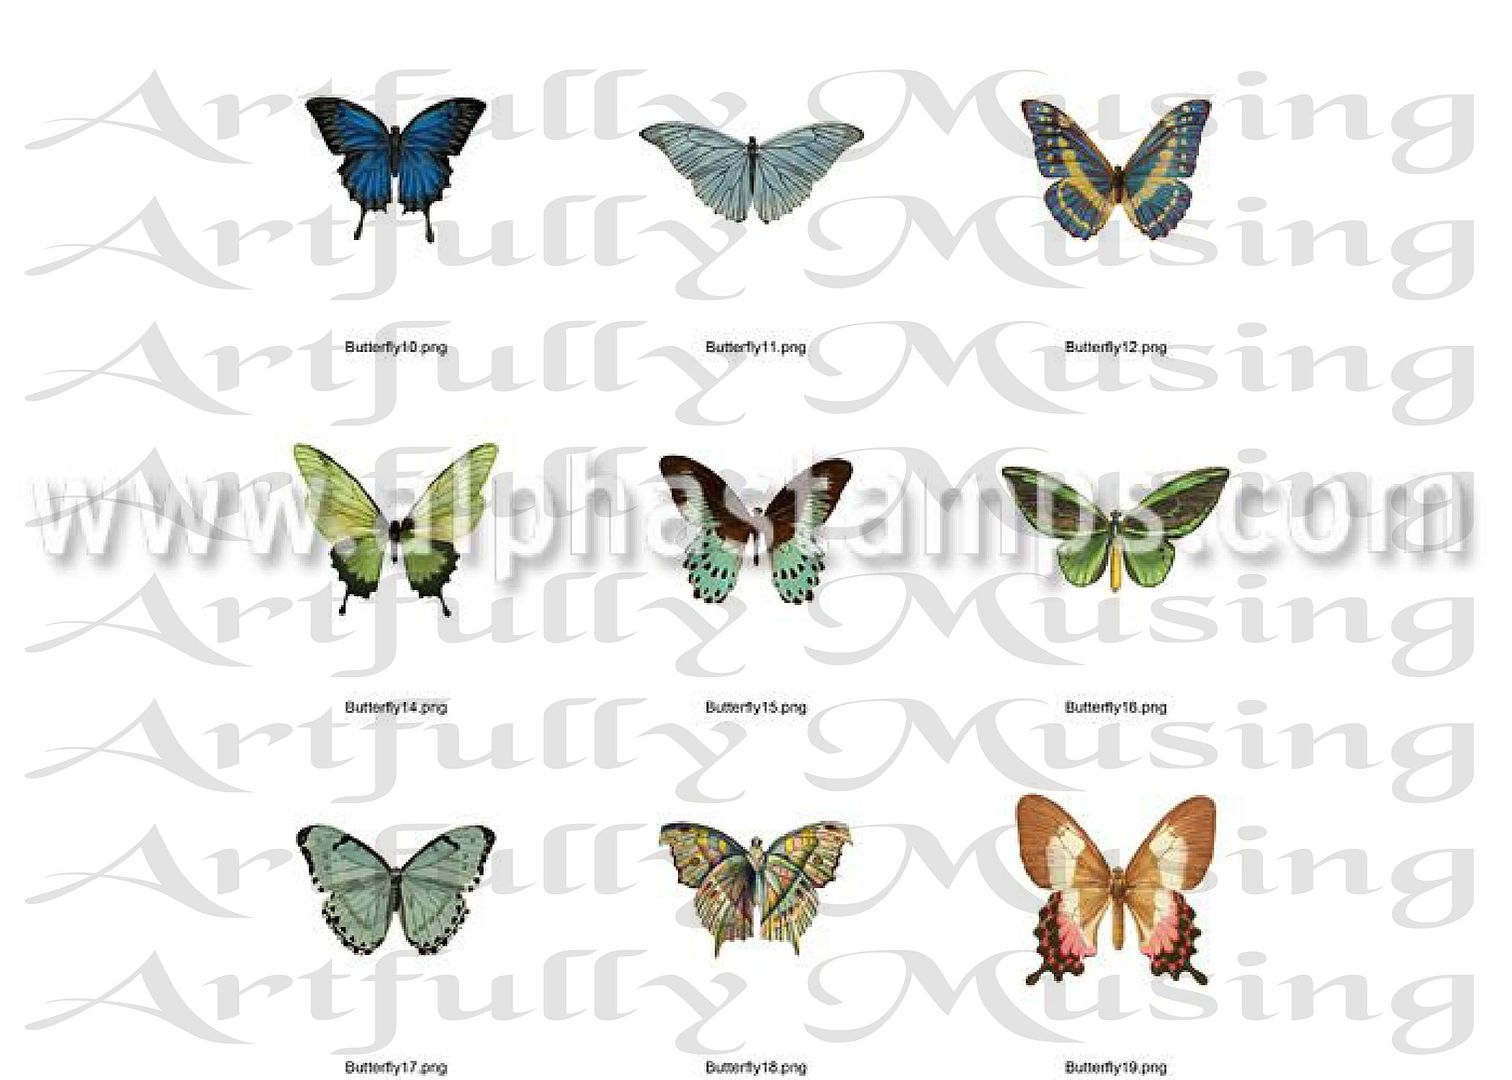
The Butterflies and Moths
digital image set contains 26 colorful butterflies and moths. Digital files can be
resized, rotated or flipped as needed.
The files are in .png
format. PNG format files
have a transparent background
so are easy to layer over other digital images.
You can open .png files using most image management programs like
Photoshop Elements. Digital collage
sheets and digital images can be saved to your computer and printed as many
times as you wish.
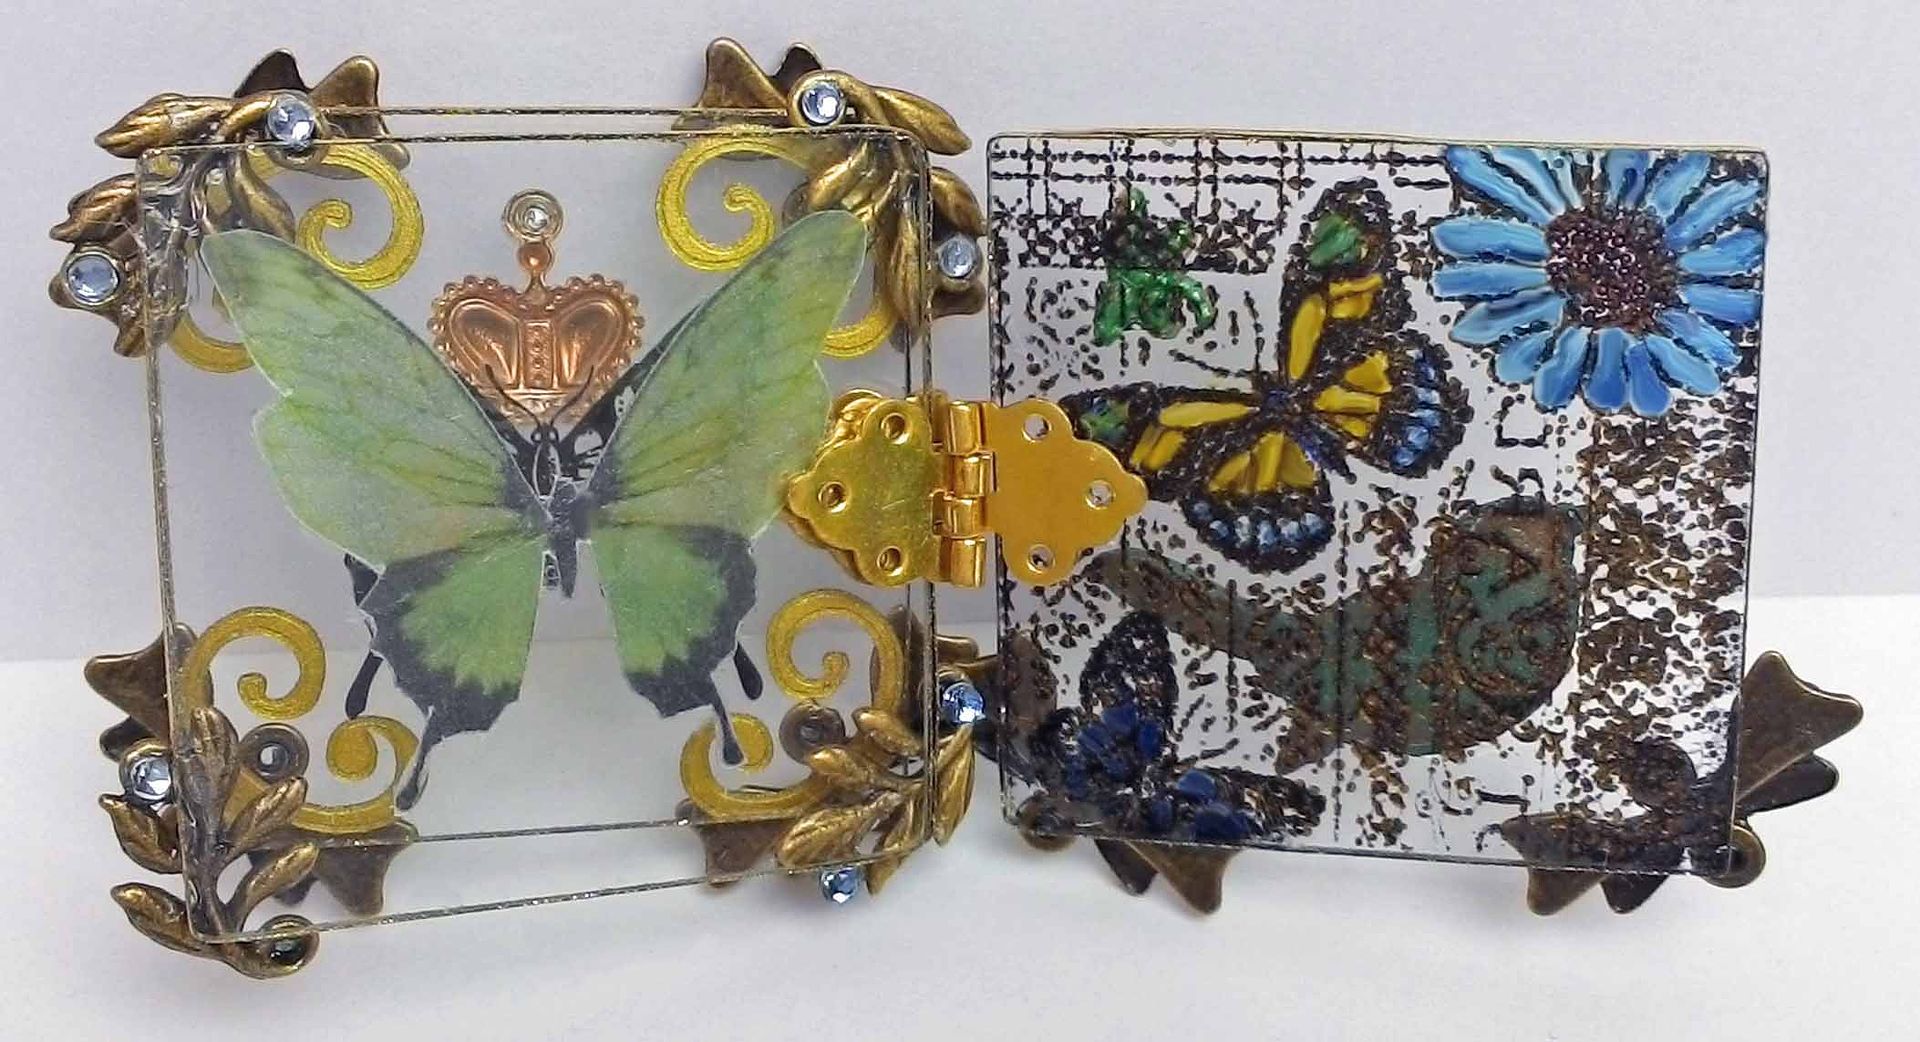
TINY GLASS 1 ½” SQUARE HINGED BOOK
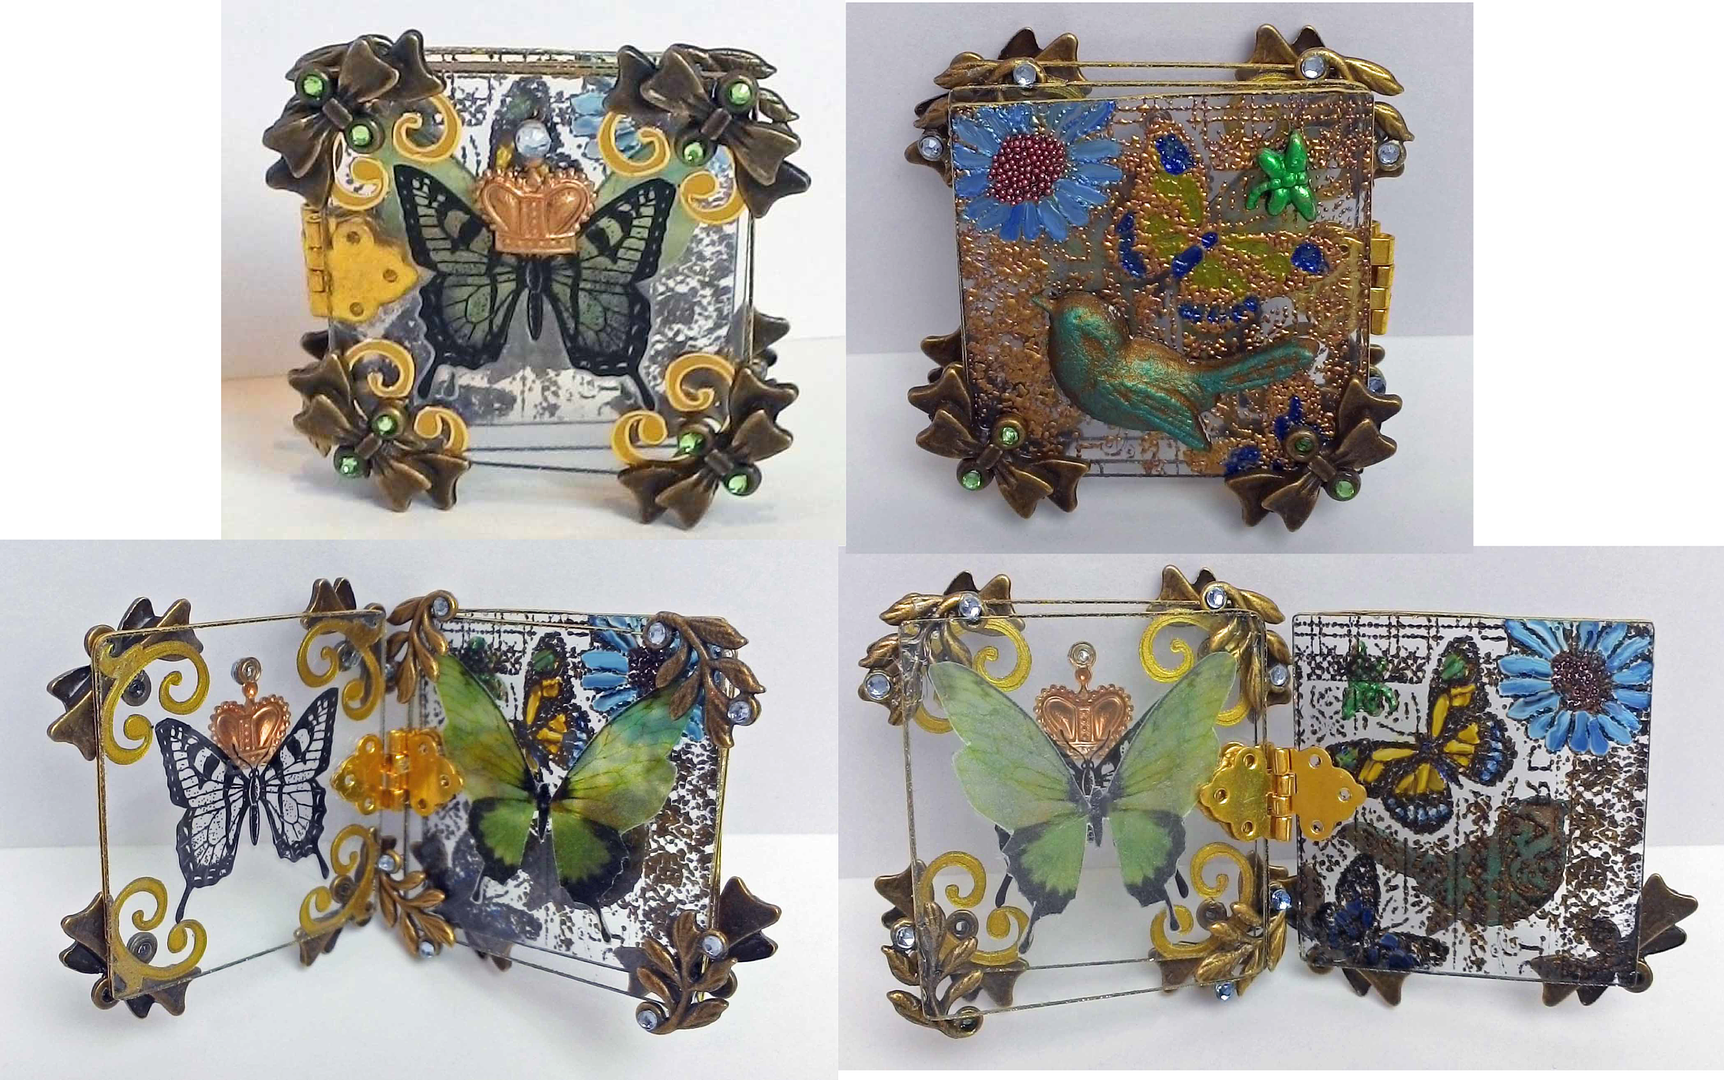
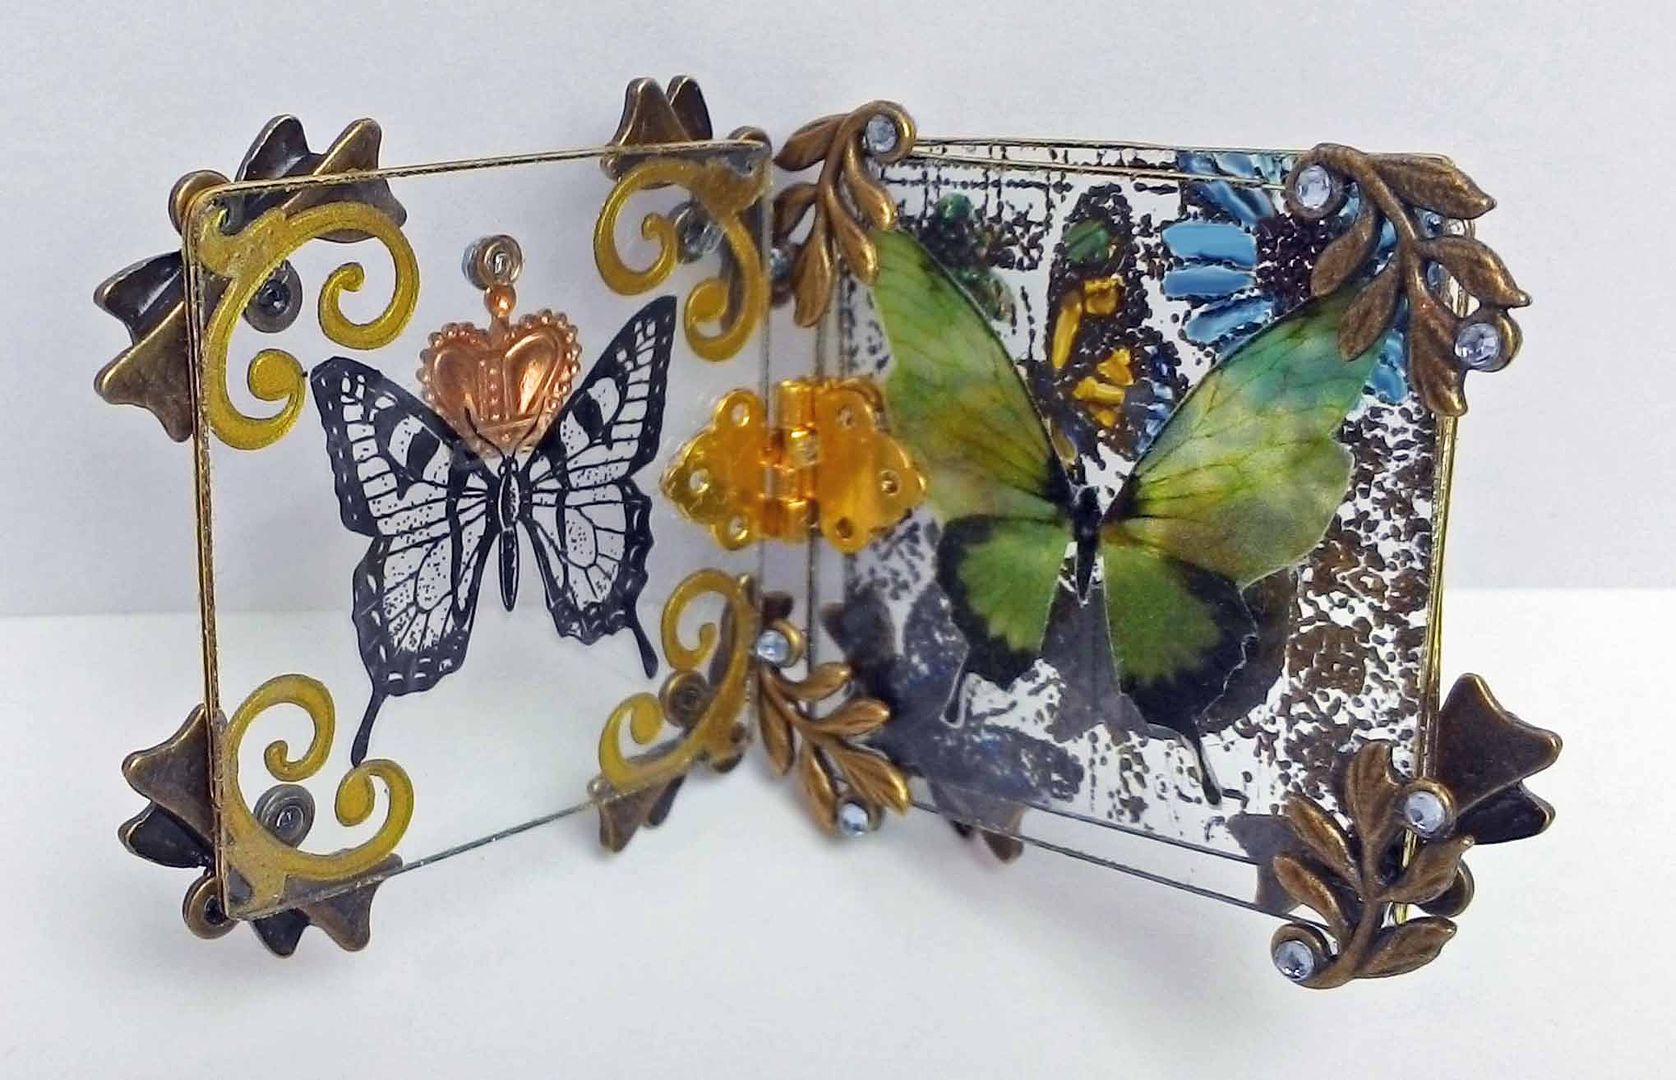
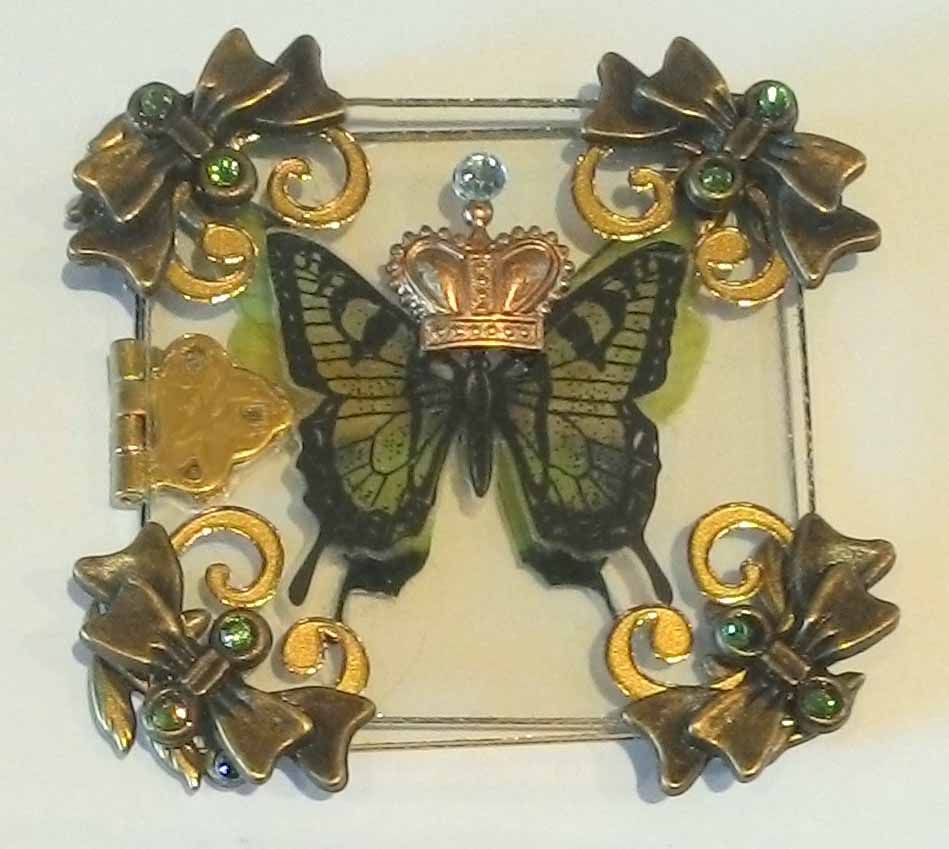
This tiny
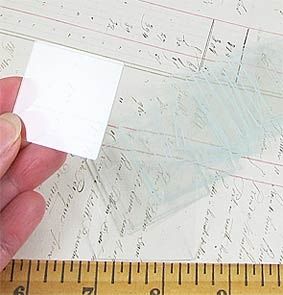
book is made from 3 pieces of glass.
There is no significance in my selection of 3 pieces. You can make your book as large as you like.
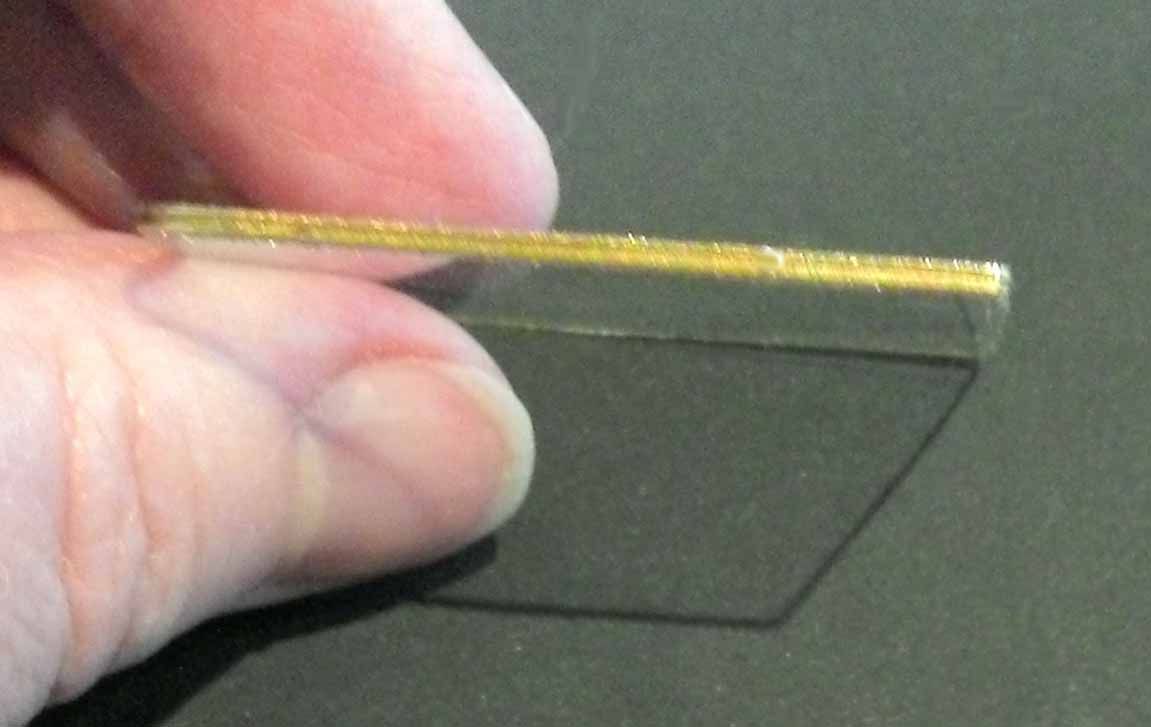
I started by wrapping the edges of the glass
with gold stickers. Start the sticker in
the middle of one side and begin wrapping.
As you wrap pull slightly and then press the sticker in place (I used a
bone folder) to make sure it stays in place.
Overlap the start of the sticker with the end. I used a little glue (Glossy Accents) to keep the end piece in
place over the start. Snip away any extra sticker to use
later.
FRONT COVER
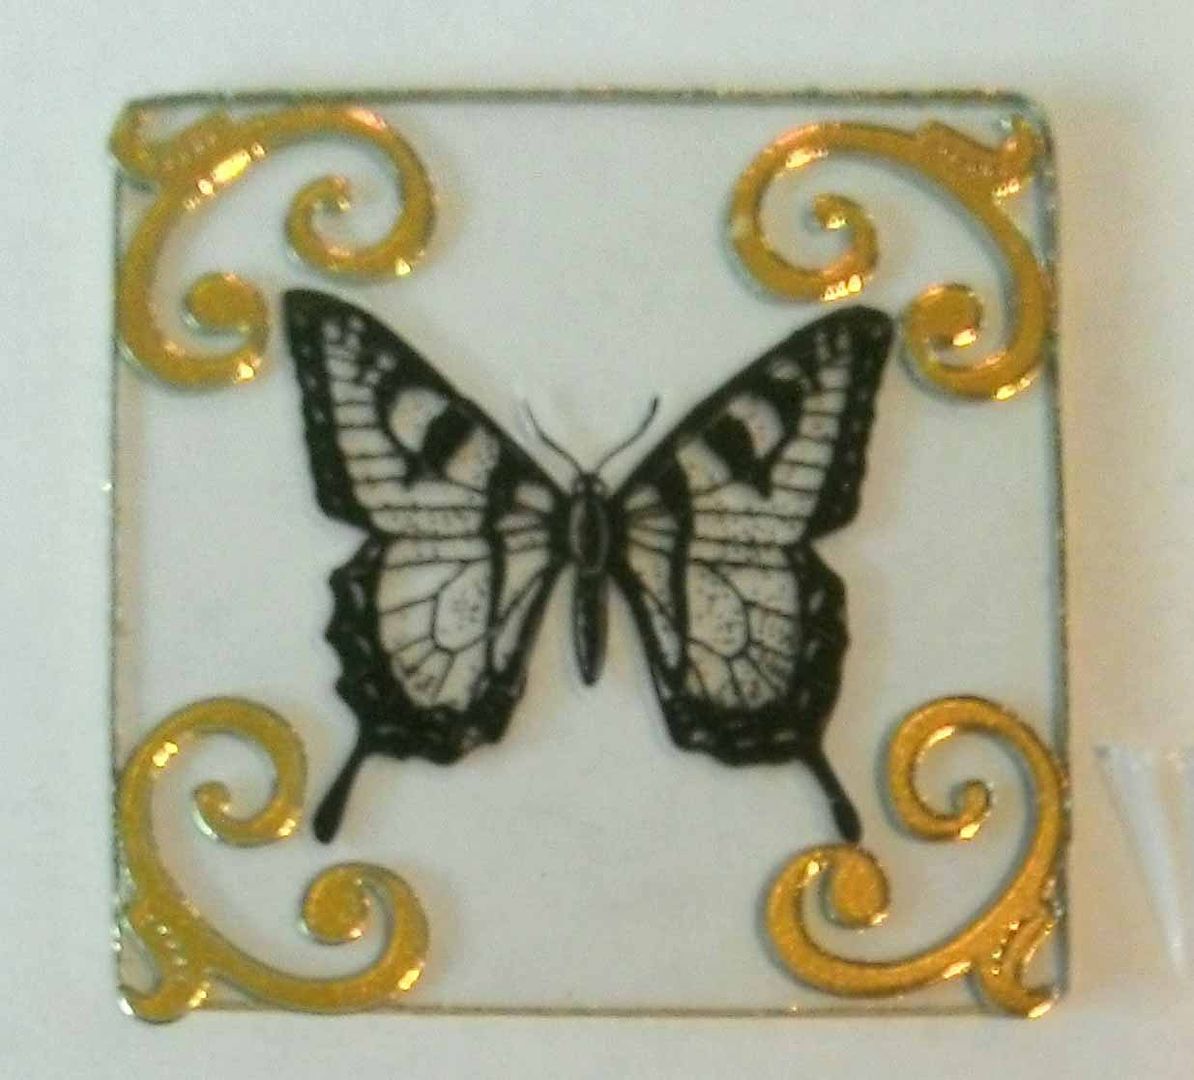
Next, I added the butterfly which is a rub-on transfer. Apply the transfer just like you would to
paper. Make sure the glass is clean
before applying the rub-on. I use a
Q-Tip dipped in Windex to clean the glass.
Be careful not to let the Windex get under the stickered edge or it will
dissolve the adhesive.
I added stickers to the edges of the glass and then using a
tiny bit of E6000 I glued brass bows over the stickers.
Finally I glued a hinge using E6000 to the backside of the glass. In the picture it is hard to see but it is behind the glass not on top - this is important. The placement of the hinges I used gives you the most space for embellishments.
MIDDLE PAGE
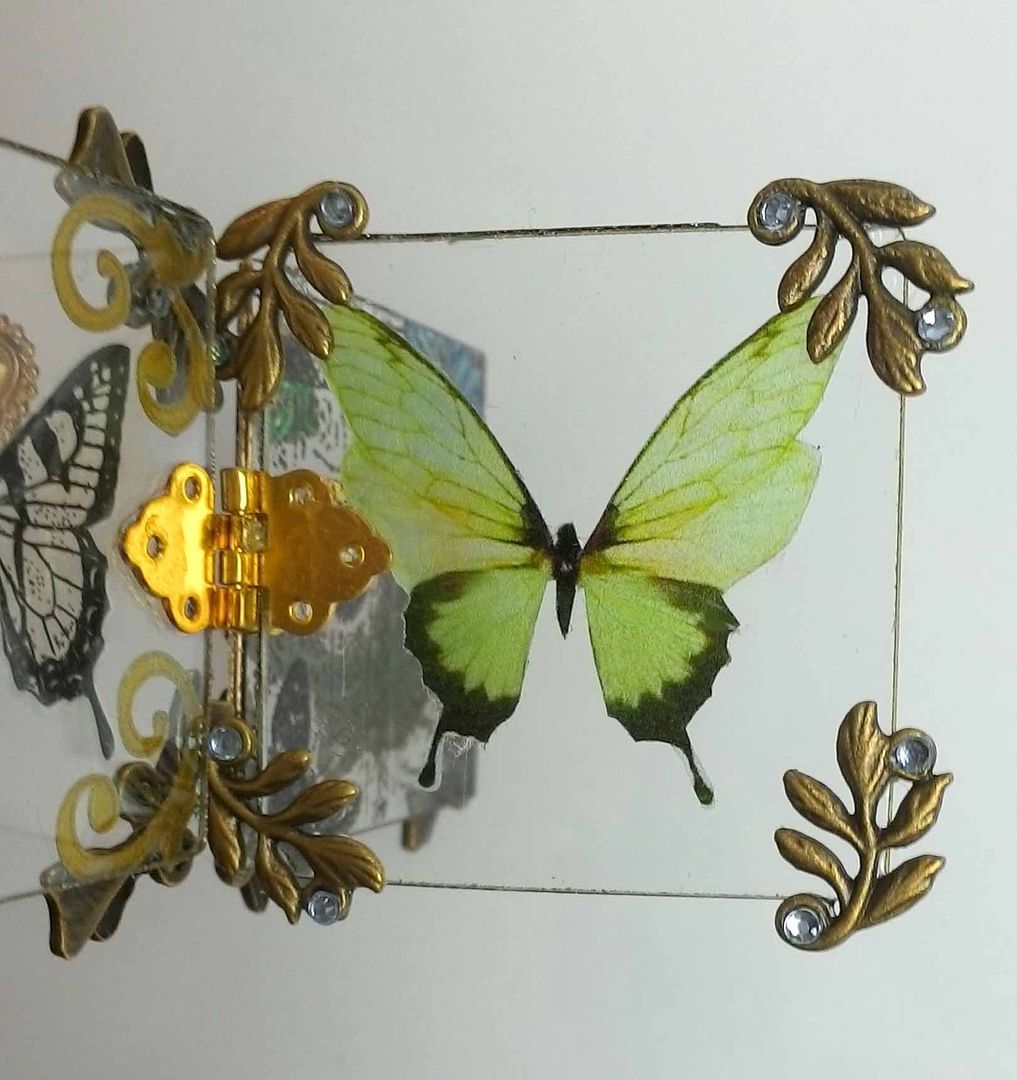
To
decorate the middle page I used a butterfly printed on vellum and embossed. I chose vellum for its translucency.
I
printed the Butterflies & Moths collage sheet on vellum.
Next, I
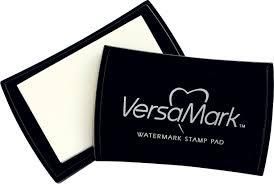
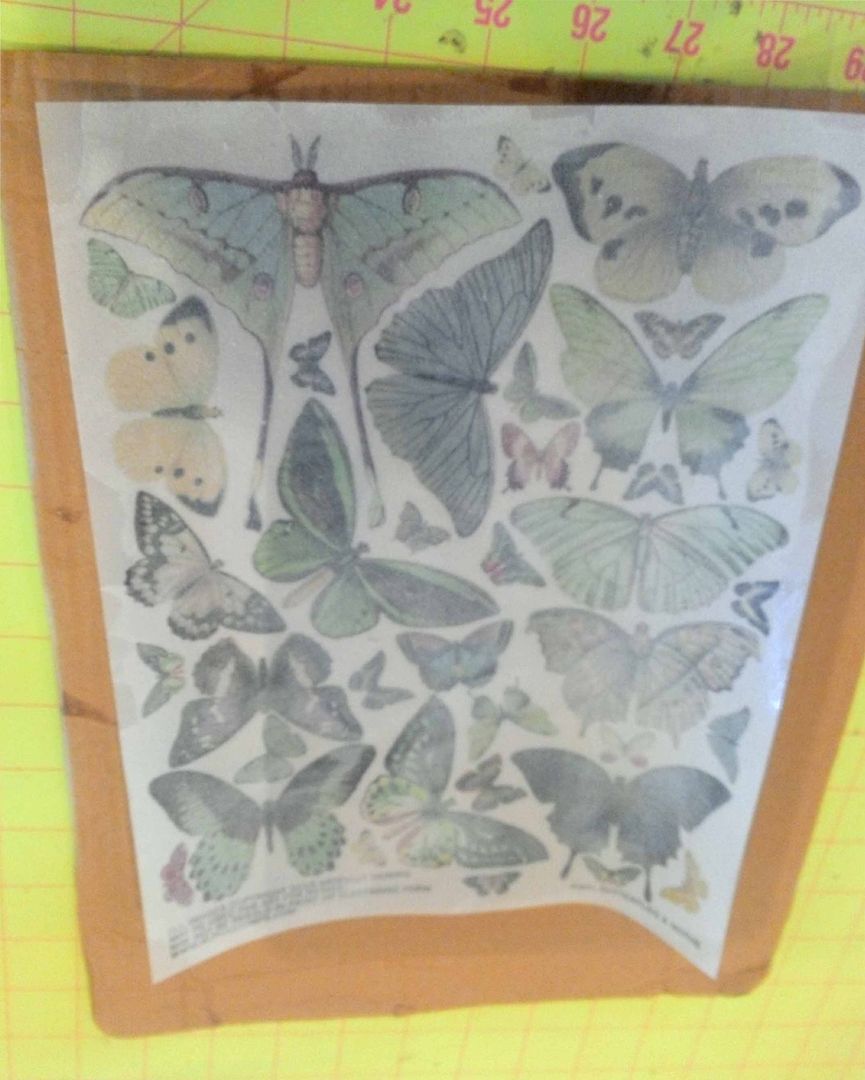
rubbed and tapped the VersaMark pad over all of the images on the collage
sheet. I then sprinkled clear embossing powder
on the sheet. The VersaMark will make
the embossing powder stick to the sheet.
Lastly,
I used a heat gun to melt the embossing powder.
To get the best results, use the gun under the vellum as opposed to on
top. To prevent burning, keep the gun
constantly moving. Once you melt the
powder, if possible, don’t melt it again as it may begin to warp.
The end
result is a shiny translucent image. I
used the small green butterfly on the sheet for the middle page. You’ll see me use most of the remaining butterflies
in the large chunky book.
I used
branch connectors glued to the corners for additional decoration.
NOTE:
As you are making decisions about how to embellish the pages keep in
mind what you want to see as you look through each page, the thickness of the
embellishment based on the size of the hinge, and how embellishments extend
beyond the page.
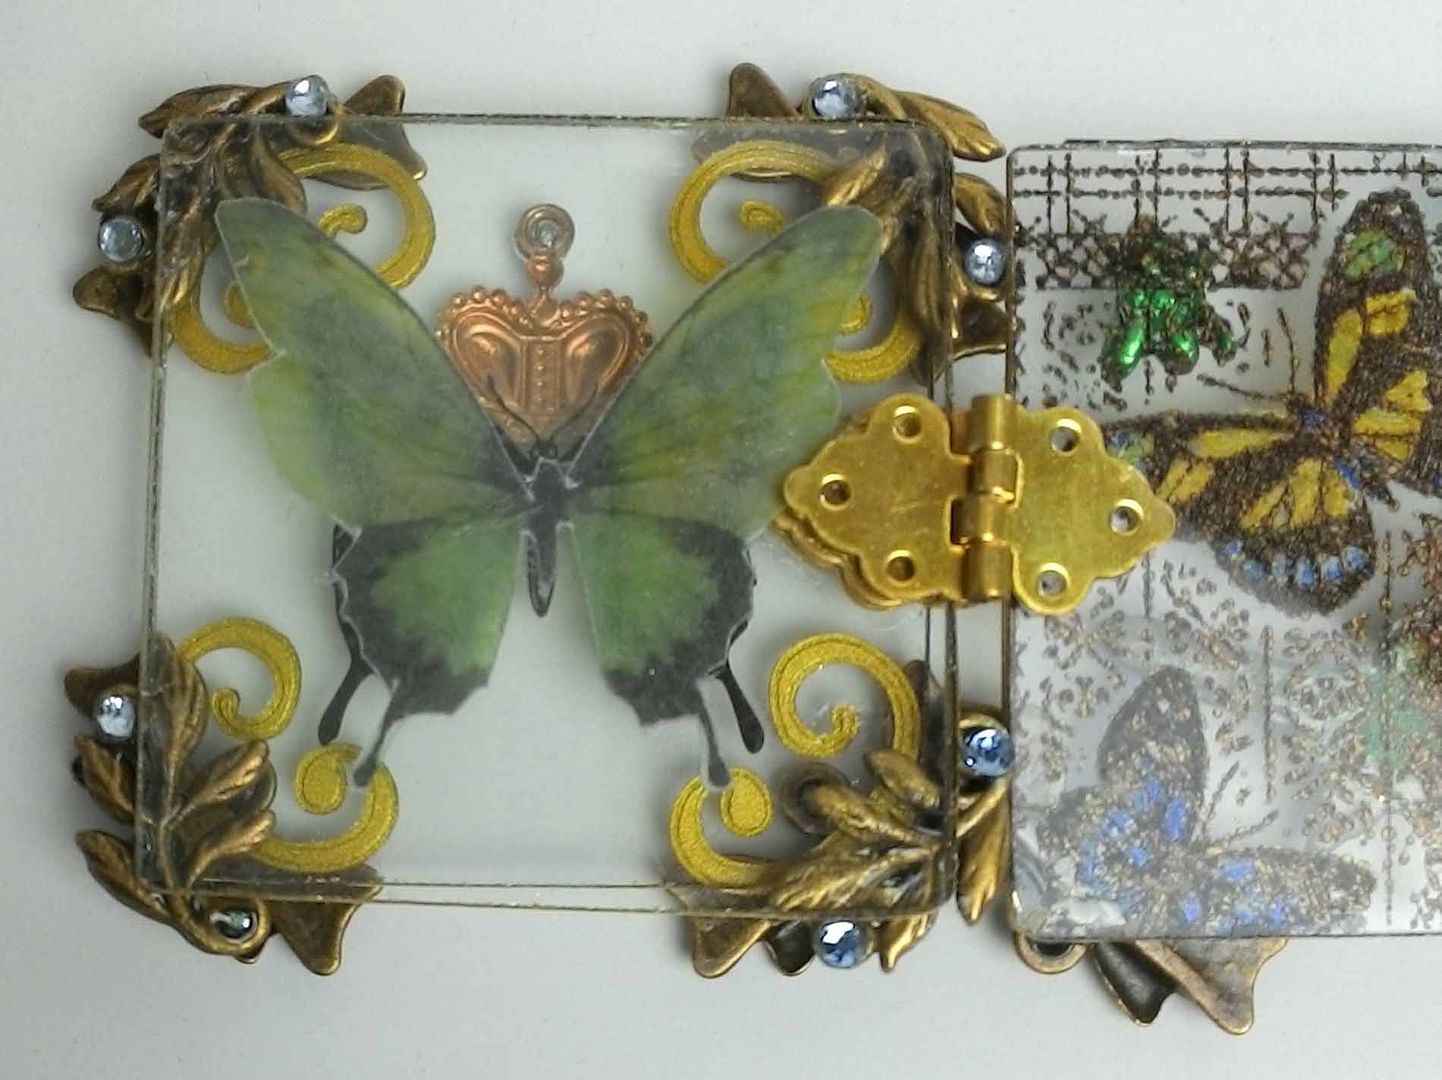
The
last step is to glue the hinge that is attached to the back side of the front
page, to the front side of the middle page.
Make sure that the front and middle glass lines up. In the picture you can also see a hint of the
last page – just ignore it.
Unfortunately I didn’t take a picture before I attached the last page.
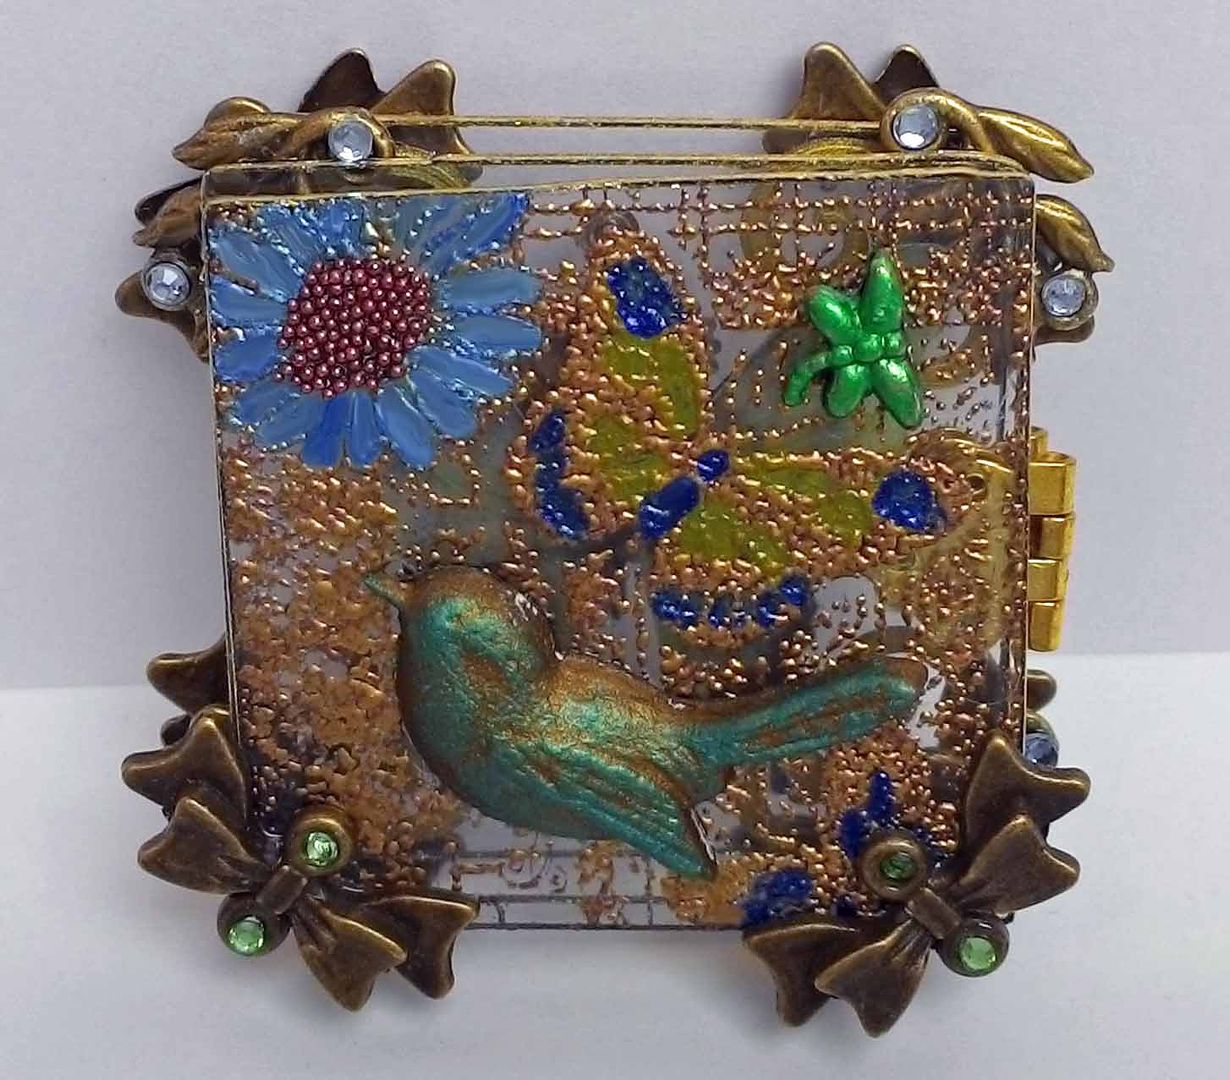
BACK COVER
The
back cover is stamped, embossed and then painted with Liquid Pearls.
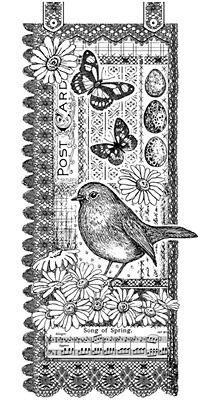
I used
the beautiful Springtime Robin stamp pictured below as it has all kinds of details that look good on small pieces of glass. I’ll be using that again for the large chunky book.
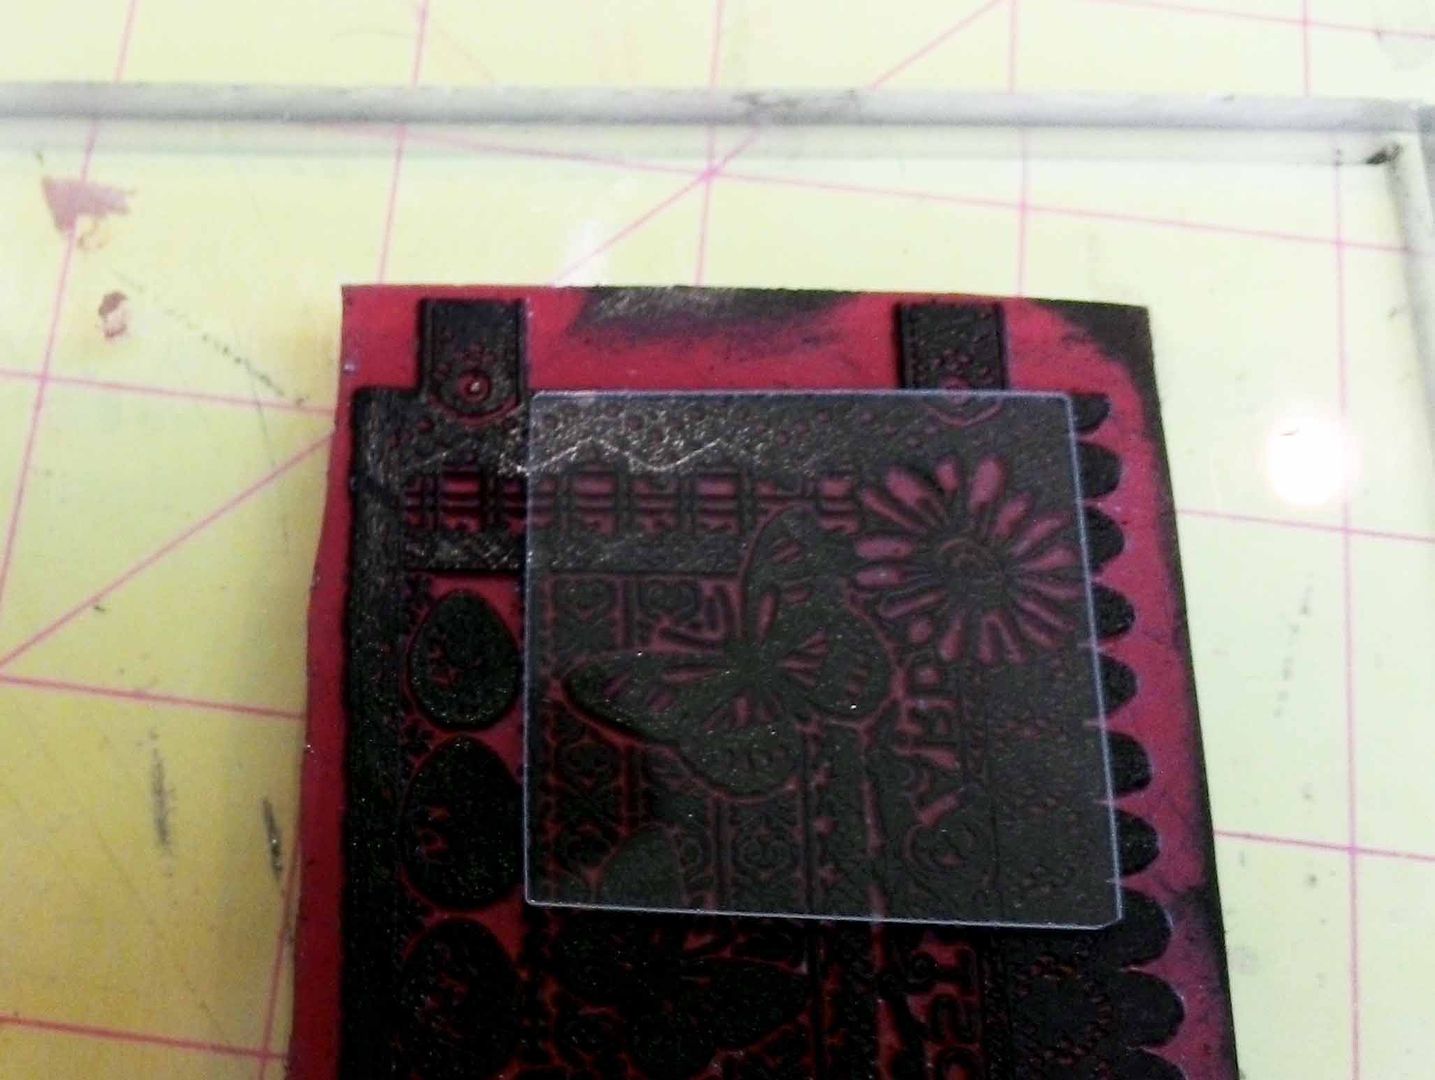
First,
I inked up the stamp with a Black Staz-On ink pad.
Since I’m
working with such a small surface (glass) and I want to choose the part of the stamp to
use, I lay the stamp on it’s back and then place the glass on the stamp. Next, I use a clear stamp handle (you can use anything flat) and my hand, to press the glass to the stamp, to transfer the image. I used the tip of an X-acto knife to gently lift the glass from the stamp.
Tips: Keep the gun moving and once the powder is
melted don’t re-melt it. This will
prevent the glass from getting too hot and cracking. Don’t worry if you make a mistake with
stamping or embossing as you can scrape everything off with liquid (I use Windex) and a razor blade; then start over again.
I used Liquid
Pearls to add color to some of the images.
By embossing the glass the raised areas act as a resist and make it
easier to paint between the lines.
Once
you are happy with how your back page looks, you can attach it to the
middle page. First, glue the hinge to
the backside of the middle page and allow it to dry. Next, glue the hinge to the front side of the
back page.
TIP: You can use Q-tip dipped in Windex to remove any excess glue from the hinges.
TIP: You can use Q-tip dipped in Windex to remove any excess glue from the hinges.
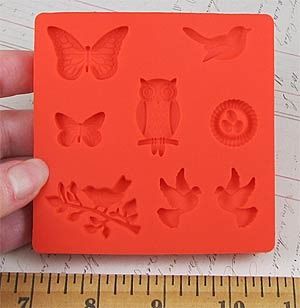
For the
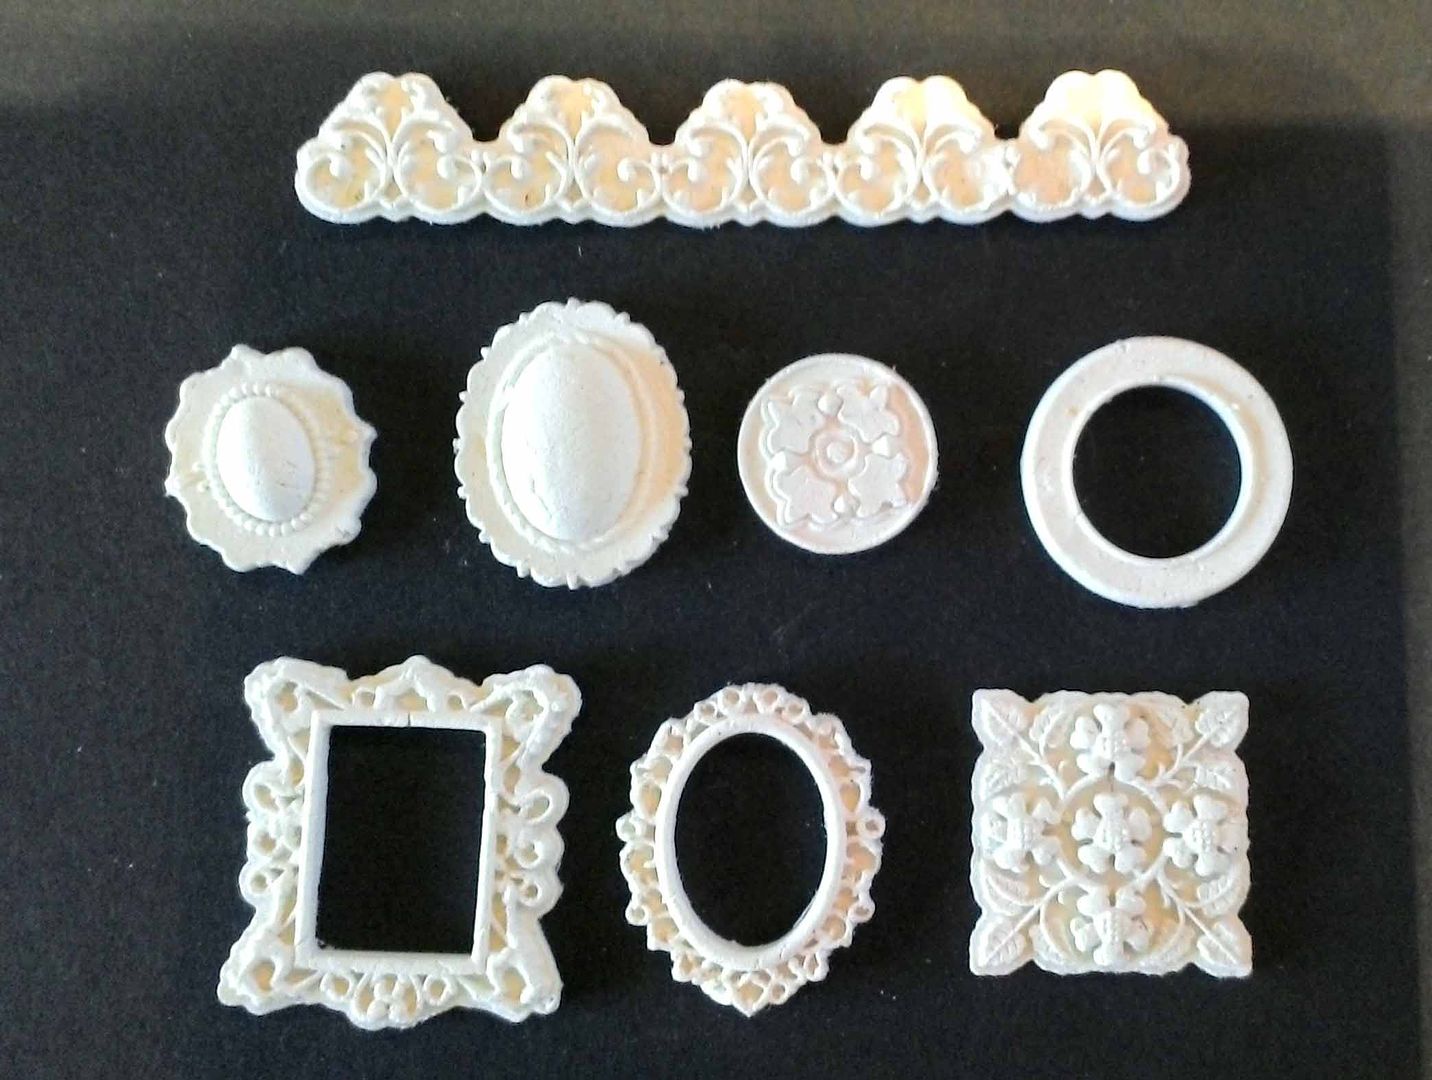
final touches, I used the Birds & Butterflies mold and paper clay to make
embellishments. I used one of the birds
on the back page and I used the other pieces on the other books. Further down, I’ll go into more detail on
making clay embellishments from silicone molds.
I also added the bow connectors to the bottom of the back glass so that they matched the front glass and the book can stand.
In the
picture below you can see how the hinges and glass are lined up.
Alpha Stamps products used for this project:
1-1/2
Inch Square Slide Glass – Used 3
Tiny Curved Hinges – Used 2
15mm Bronze Bow Connector
Charms – Used 6
Bronze
Branch Connectors – Used 4
Tiny
Dragonfly Beads – On back cover
Dazzles Gold Thin Lines Stickers – Used to edge glass
Victoriana Rub-Ons – Butterfly on front cover
Used
on back cover:
Liquid
Pearls – Avocado - Butterfly
Liquid
Pearls Royal Blue - Butterfly
Liquid
Pearls – Ocean Blue - Flower
Liquid
Pearls – Peacock – Paper clay bird
Liquid
Pearls – Ivy Green – Tiny dragonfly
Lumiere
Metallic Acrylic Paint - Old Brass – Paper clay bird
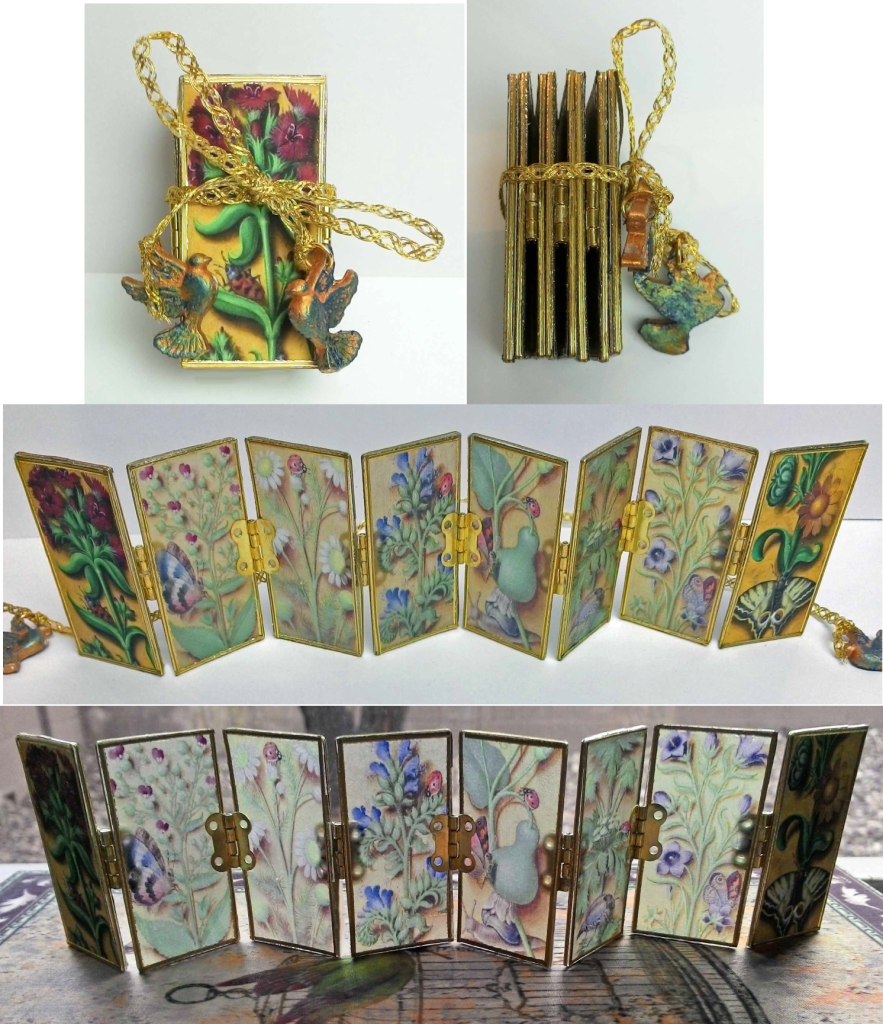
TINY GLASS 1” x 2” RECTANGULAR ACCORDION
FOLDED GLASS BOOK
This book is made by hinging 8 rectangular pieces of glass together to make an accordion folded book. You can use any number of glass pieces that you like, just as long as you use an even number.
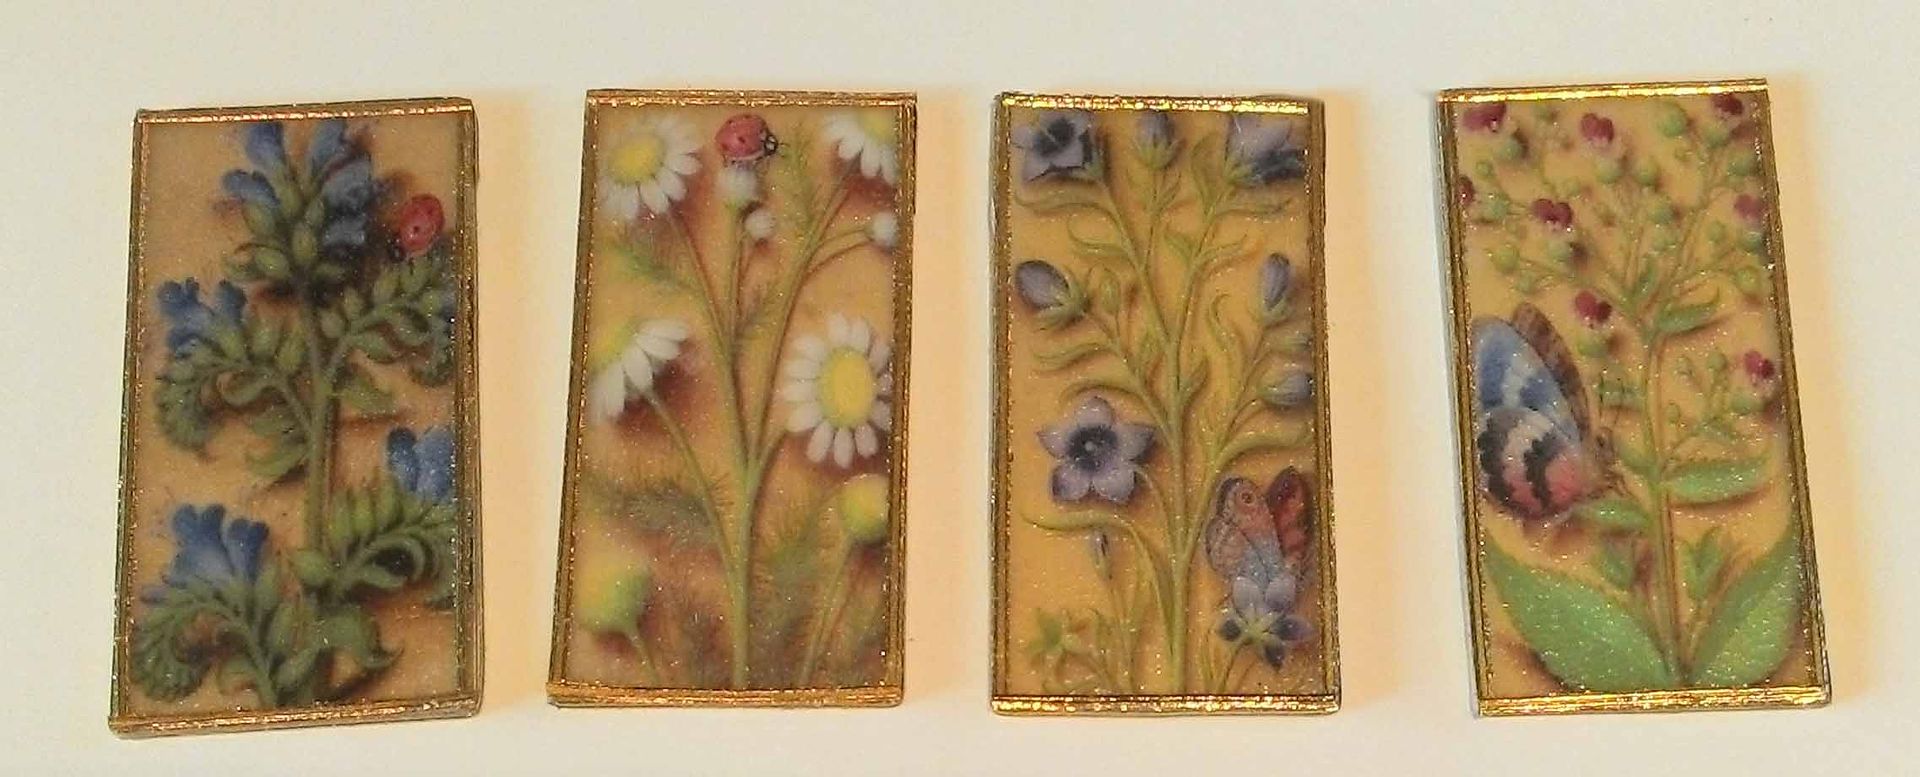
In the
picture below, you can see how pretty the panels are when the light passes
though the vellum embossed images. They
look very much like stained glass.
The
first step was to print 6 of the small panel images from the Floral Panelcollage sheet on vellum. The small panels
are sized to fit the glass.
Next,
just as I did with the Butterflies & Moths sheet, I coated the images with VersaMark,
sprinkled on clear embossing powder and used a heat gun to melt the
powder.
I
attached the images to the glass by painting the entire surface with a light
coating of Glossy Accents. I put a
weight over the glass to make sure the image was flat on the glass while it
dried.
Just as
with the square book, I edged the glass with stickers. In addition to the stickers on the edges I
also add the same stickers to the front to create a frame around the image.
You’ll
notice in the picture below that only the six glass pieces in the middle of the
book have the embossed versions of the floral panels. For the two end pieces used regular paper
versions on the fronts and backs of the glass. You could alternatively cut chipboard for the ends but it was so easy just to use two of the pieces of glass.
Once
your glass pieces are ready, you can start putting them together with hinges.
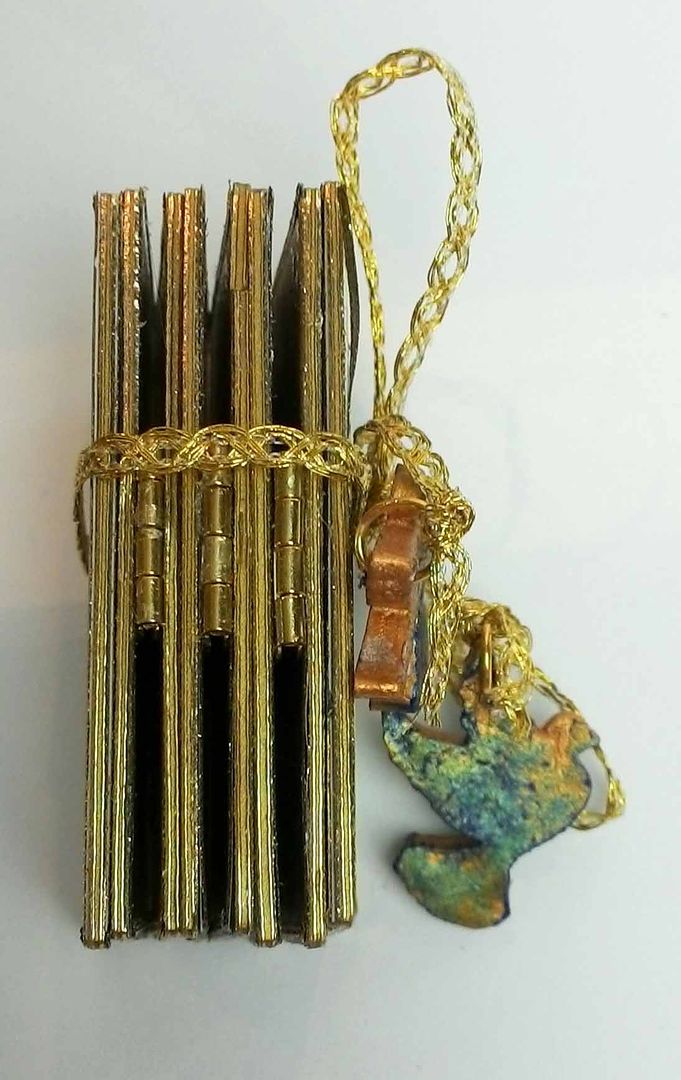
Notice the placement of the hinges. This picture is of the inside of the book (the side with the embossed images). The hinges alternate between the inside of the book and the outside of the book.
In the
picture below notice the placement of the hinges. This picture is of the back of the book. You’ll notice that images look hazy as you
are seeing them through the glass.
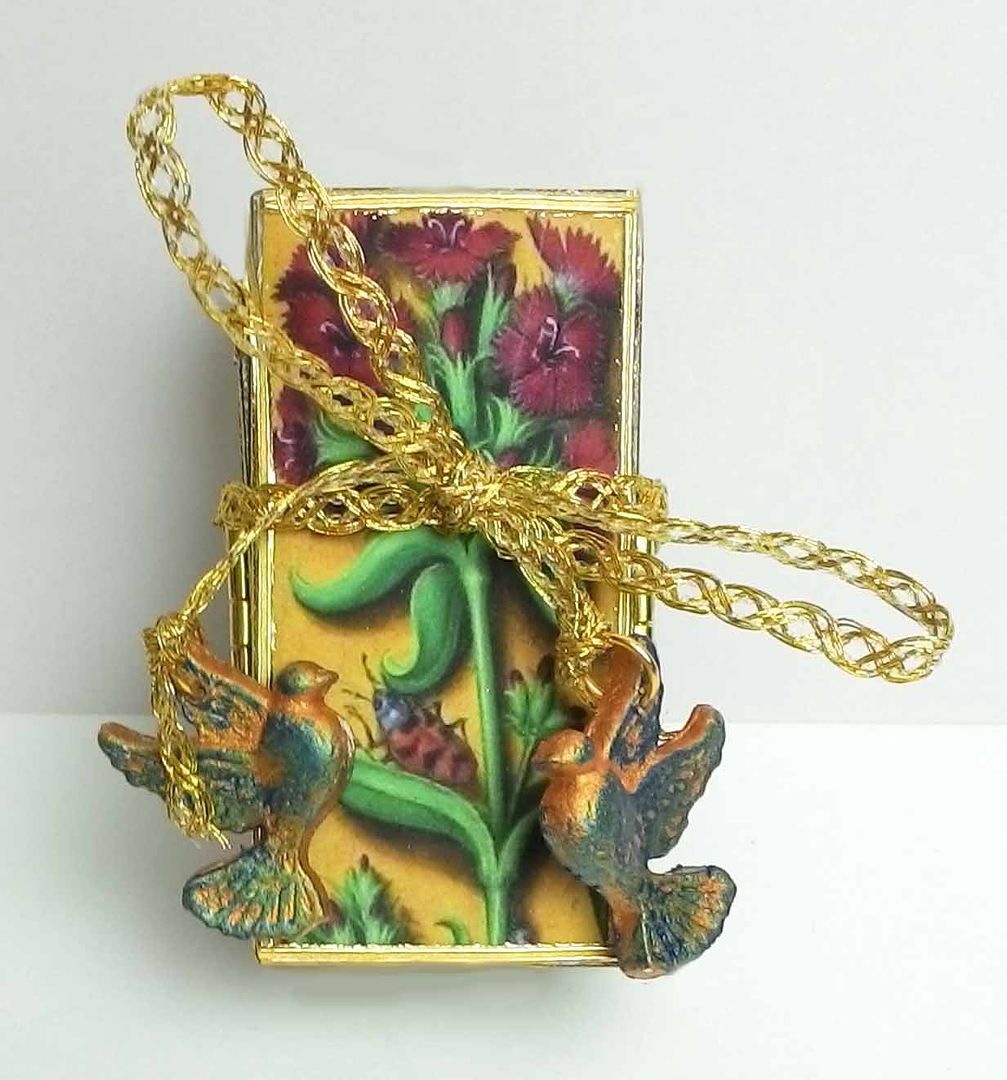
I used
a gold braid to tie the book closed (it’s not attached). On the ends of the braid I added two birds
from the Birds & Butterflies mold attached with a jump ring. You can either careful poke a hole in the
clay after it is dries or put something round in the clay while it is drying to
keep a hole open. The jump ring fits
through the hole and then the braid is tied to the jump ring.
Alpha Stamps products used for this project:
Butterflies
Collage Sheet or the Digital Set
1”
x 2” Inch Square Slide Glass – Used 8 pieces
Small
Gold Hinges – Used 7
Dazzles Gold Thin Lines Stickers – Used to edge glass
Silicone
Mold - Birds & Butterflies – Bird ties
Creative
Paper Clay – Bird ties
LAND of the BUTTERFLY
QUEEN
LARGE 5” x 7” CHUCKY
BOOK WITH EMBEDDED GLASS
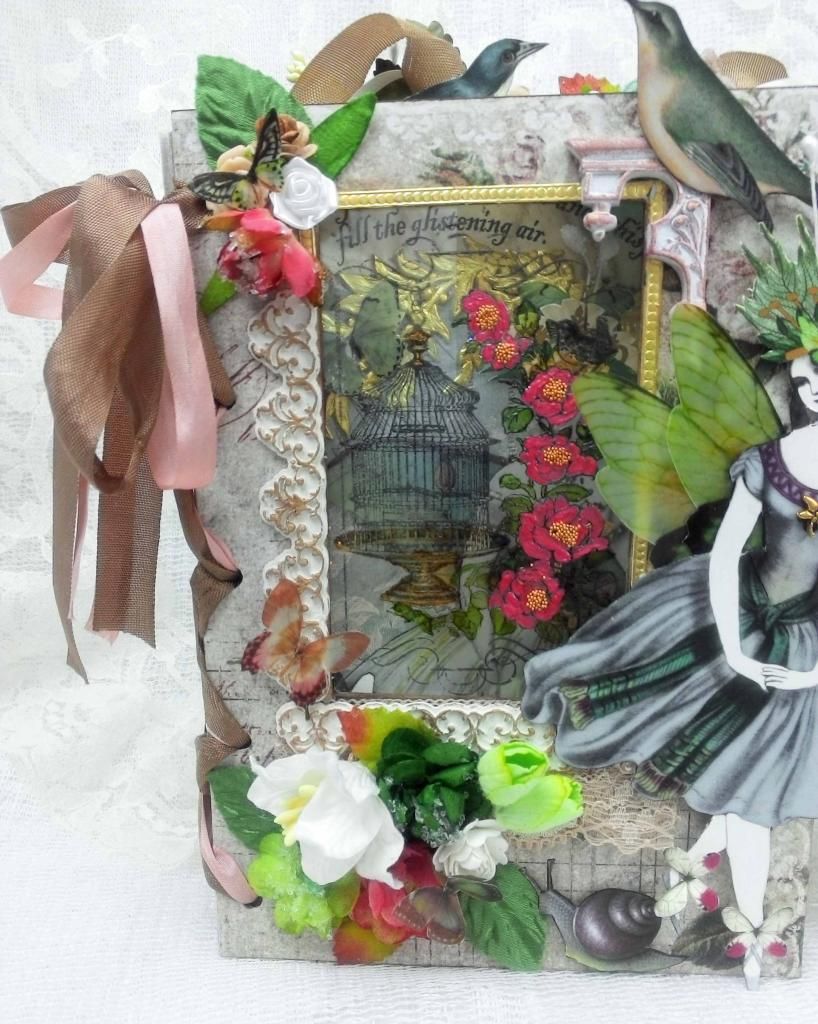
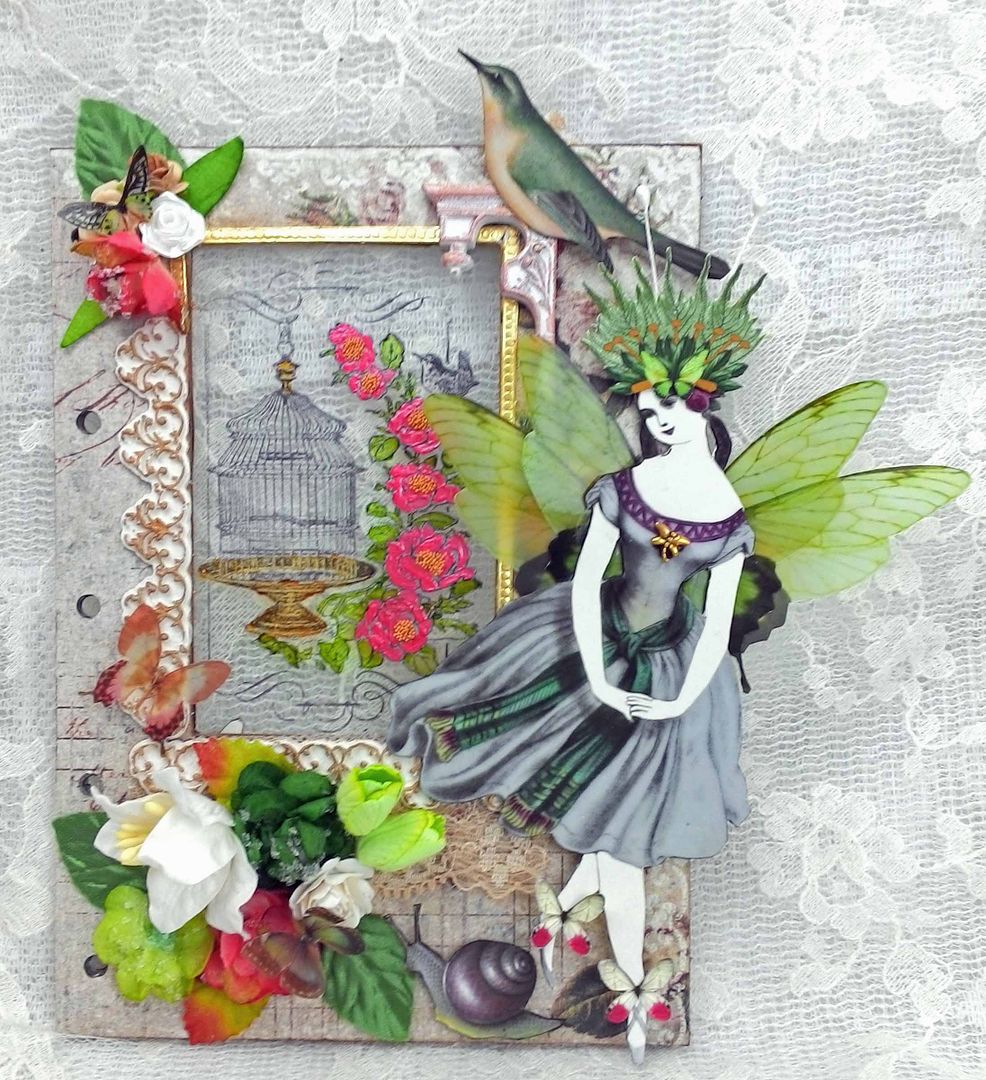
The
centerpiece of the cover of the book is a piece of glass that is stamped,
embossed and painted. The
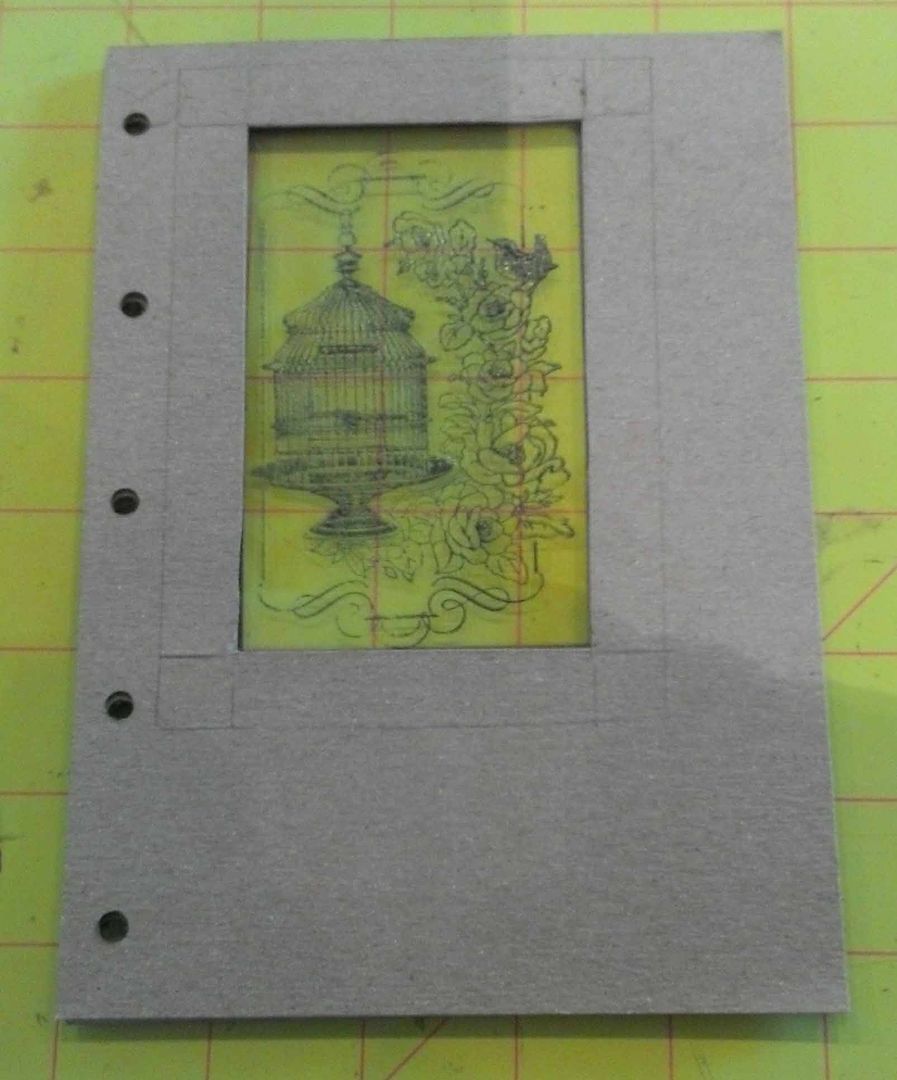
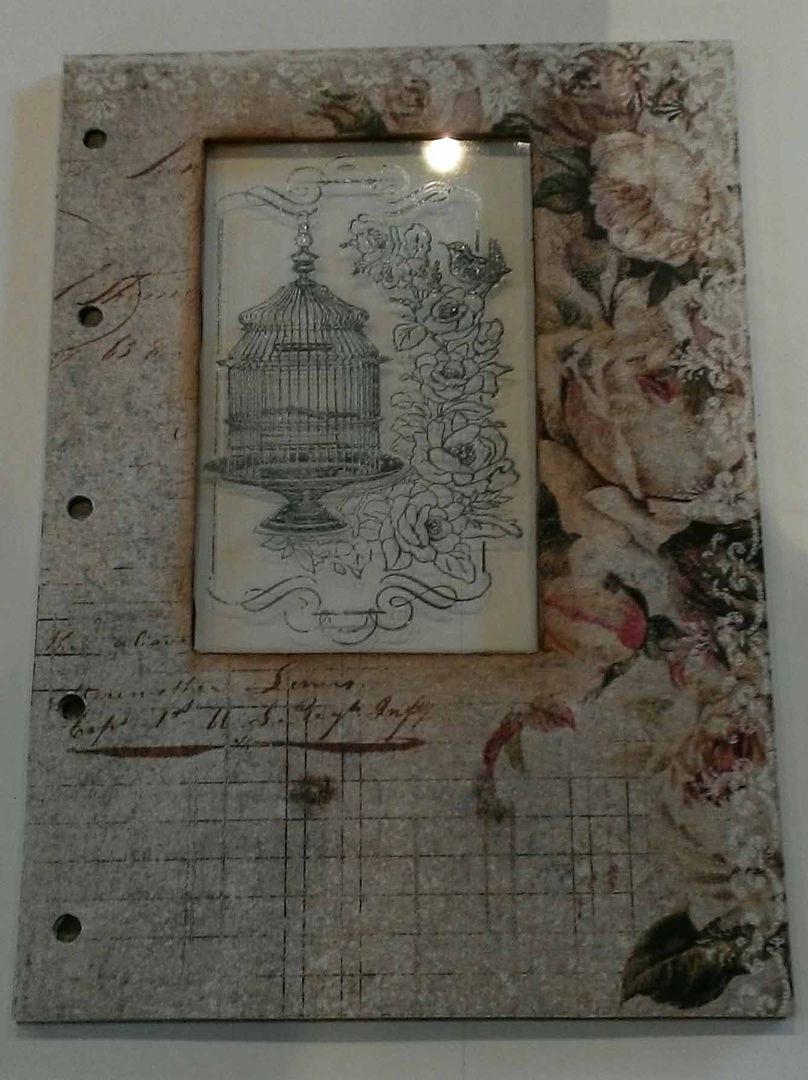
cover of the book is made from three pieces of chipboard. The center piece holds the glass and the
front and back pieces keep the glass in place by creating a sandwich.
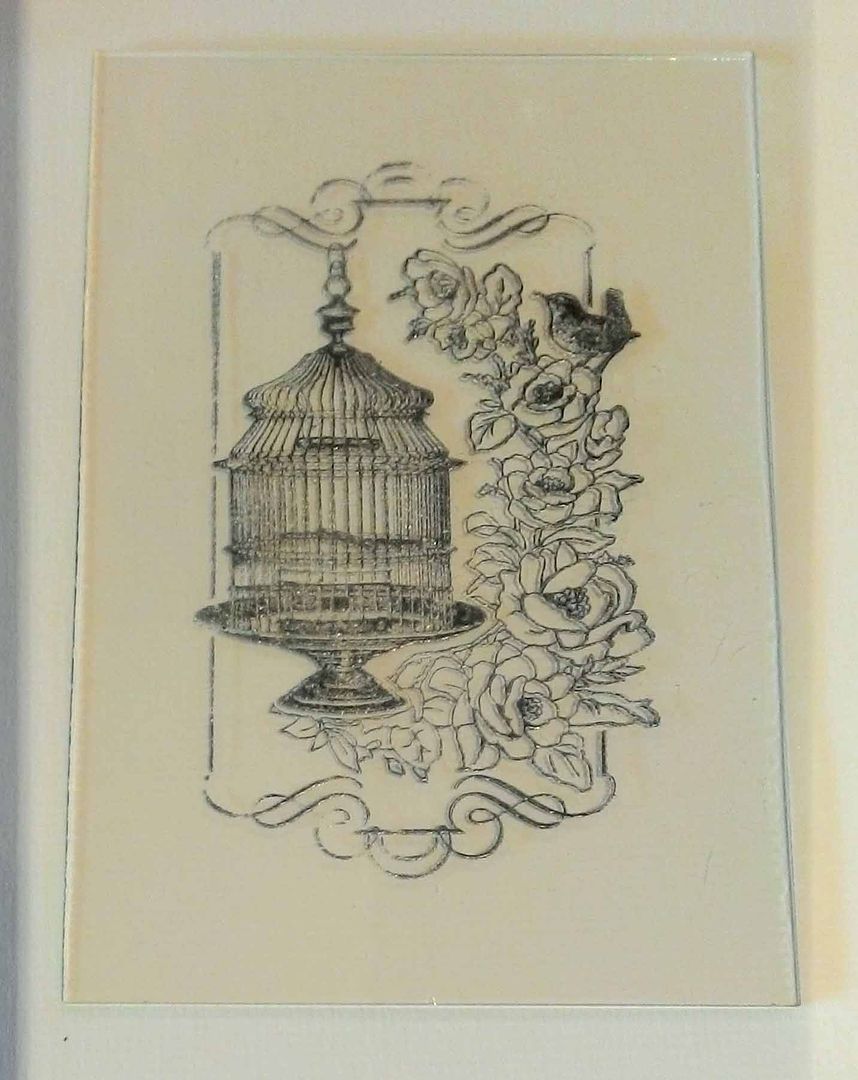
I used
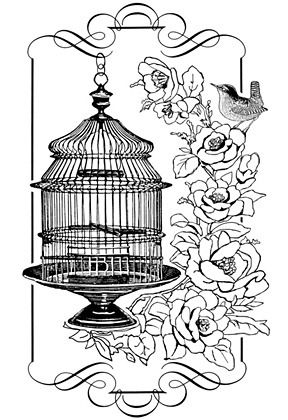
a piece of glass that came from a picture frame. I stamped the glass using the Floral Birdcagestamp (which I think is fabulous) and black Staz-on ink.
I immediately
sprinkled clear embossing powder on the wet stamped image, tapped off the
excess and melted the powder with a heat gun.
The same tips apply (for embossing) that I mention above in the square glass book
tutorial.
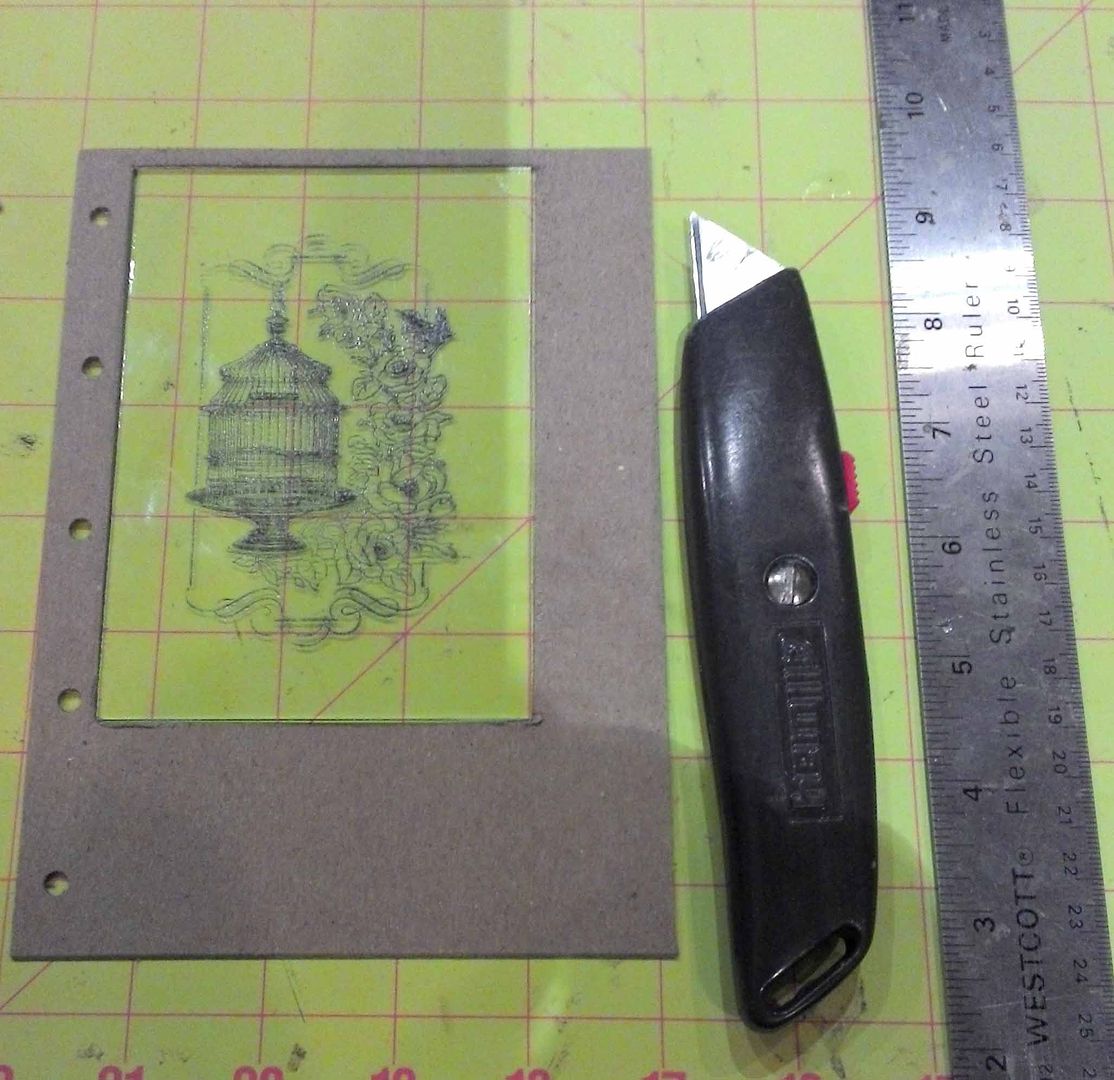
I use
the glass to determine the size of the hole which I cut with a box cutter and
metal ruler. The chipboard should be the
thickness of the glass you use. You can
always glue together multiple pieces of chipboard if you need it to be
thicker. It is ok if the hole is a
little larger than your glass, as the front and back pieces of chipboard will
keep the glass from sliding around.
Notice,
I also mark and punch the holes that I will use for assembling the book.
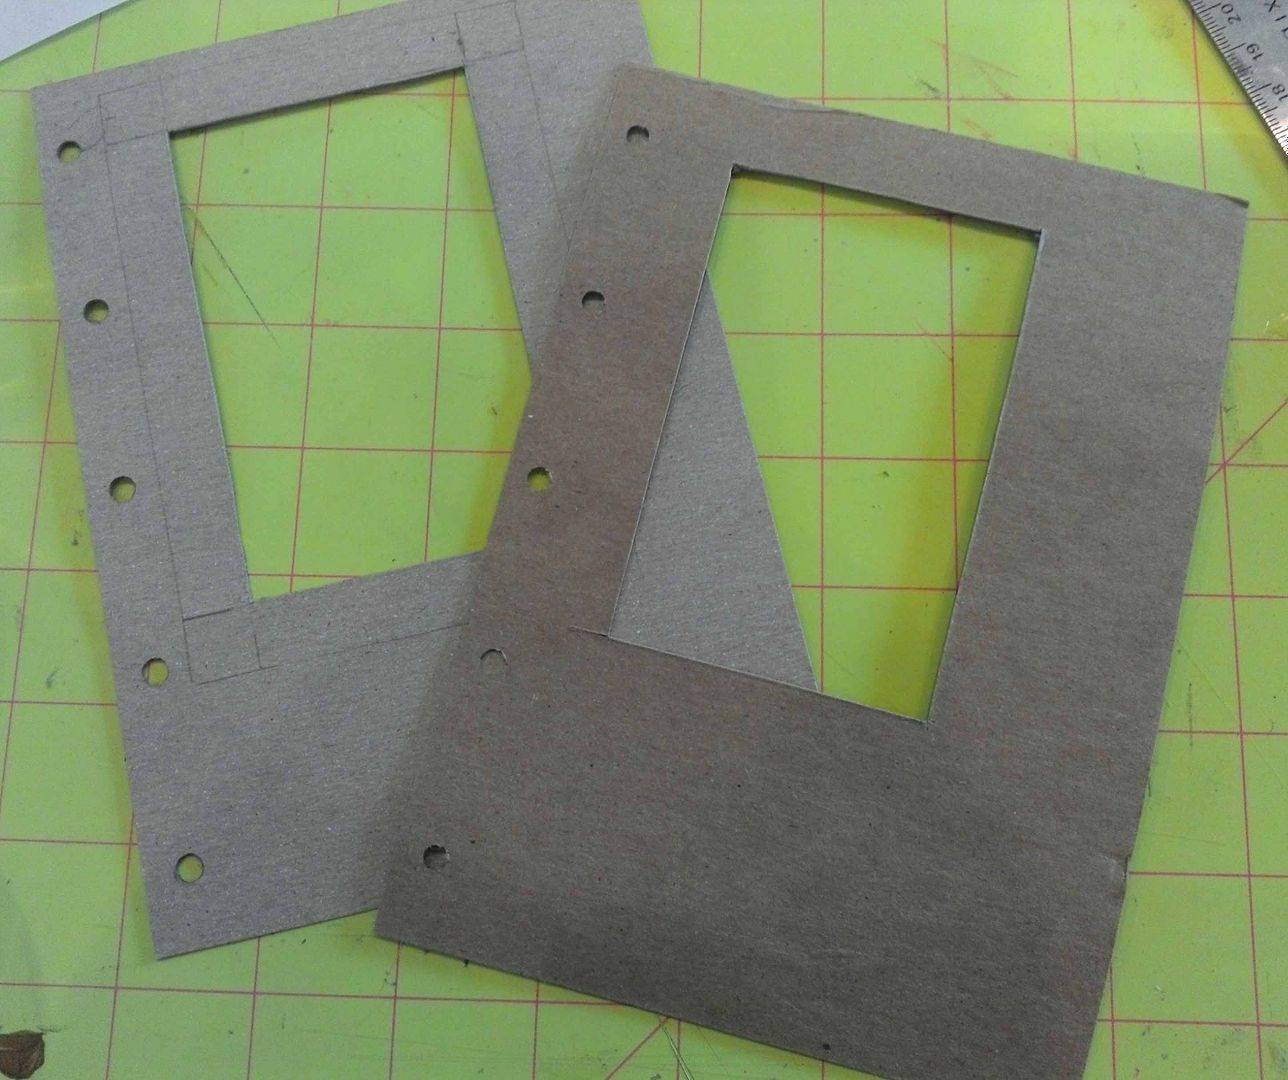
Next, I
cut the front and back pieces out of lightweight chipboard. The hole
in these pieces needs to be smaller than the hole in the center piece. I wanted to cover a lot of the blank space on
the glass so I made my holes ½" inch smaller all the way around.
I
traced the hole from the center piece onto the front and back pieces. I also marked the assembly holes to punch.
Next, I
measure in ½” inch in on all sides to come up with the smaller hole. I cutout the smaller holes and punched the
assembly holes.
Below
you can see the front and back pieces with the smaller holes.
TIP: When deciding the size of the front and back piece holes, make sure that the hole is at least 1/8”
(all the way around) smaller than the center hole. This will insure that your glass will be held
in place in the center piece by the front and back pieces.
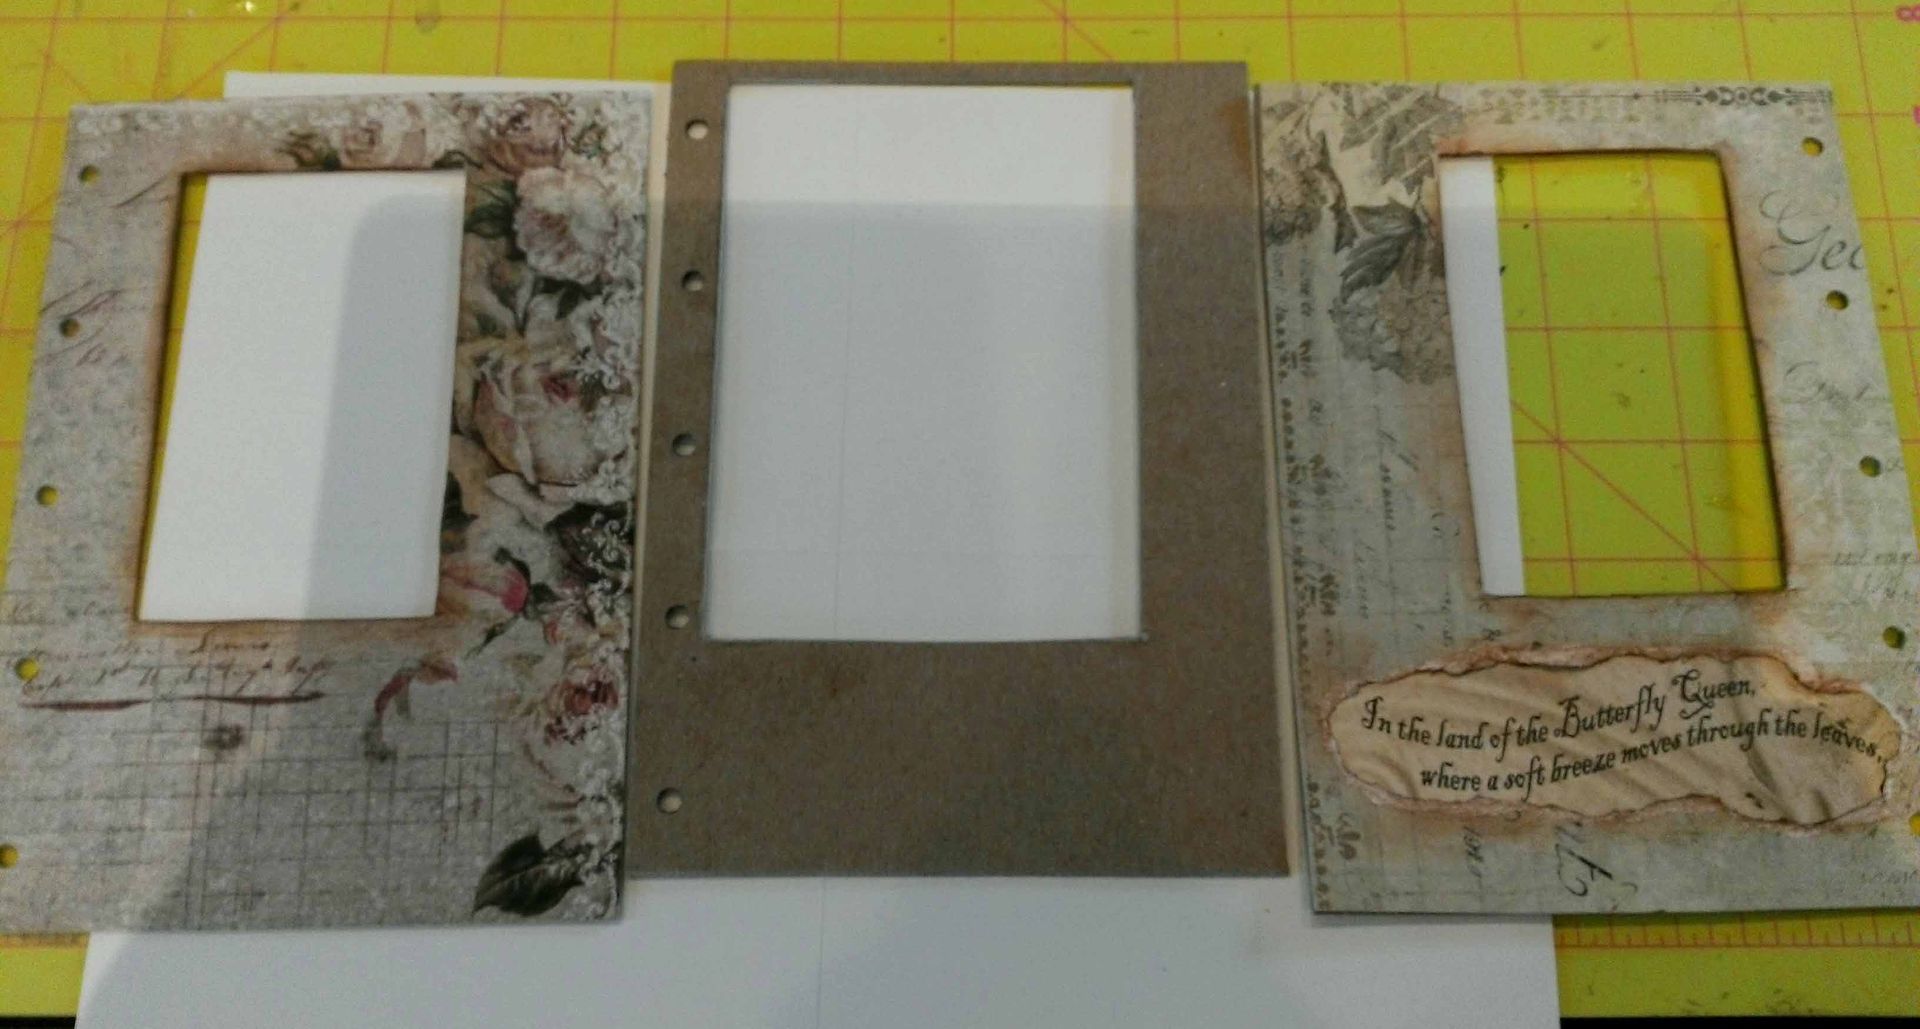
Next, I
covered the front and back pieces with paper (only the side that will show).
Finally,
place the glass in the middle piece and glue the front and back pieces in
place. I used Glossy Accents.
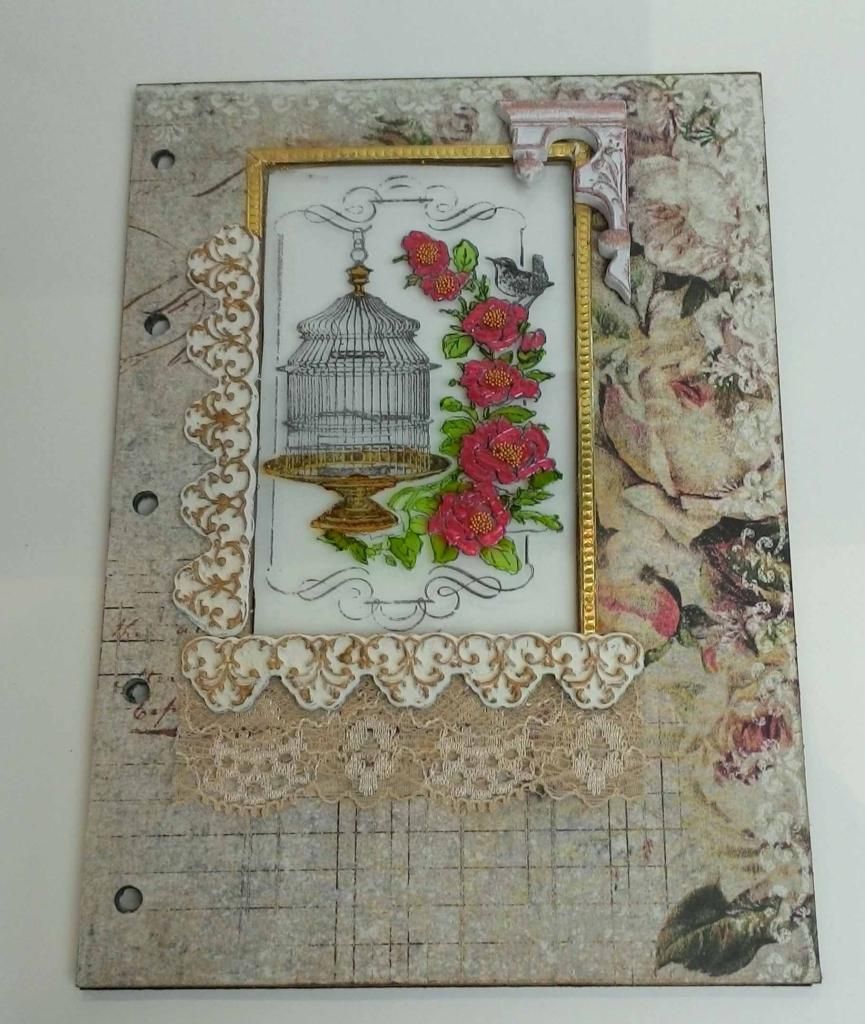
I
painted the glass with a combination of Alcohol Ink and Liquid Pearls. I also added microbeads to the centers of the
roses. It’s your choice to paint the glass before sandwiching it in the chipboard or after.
The
next major thing I added was paper clay embellishments made from Ornaments& Settings mold (look at all the yummy stuff on this one).
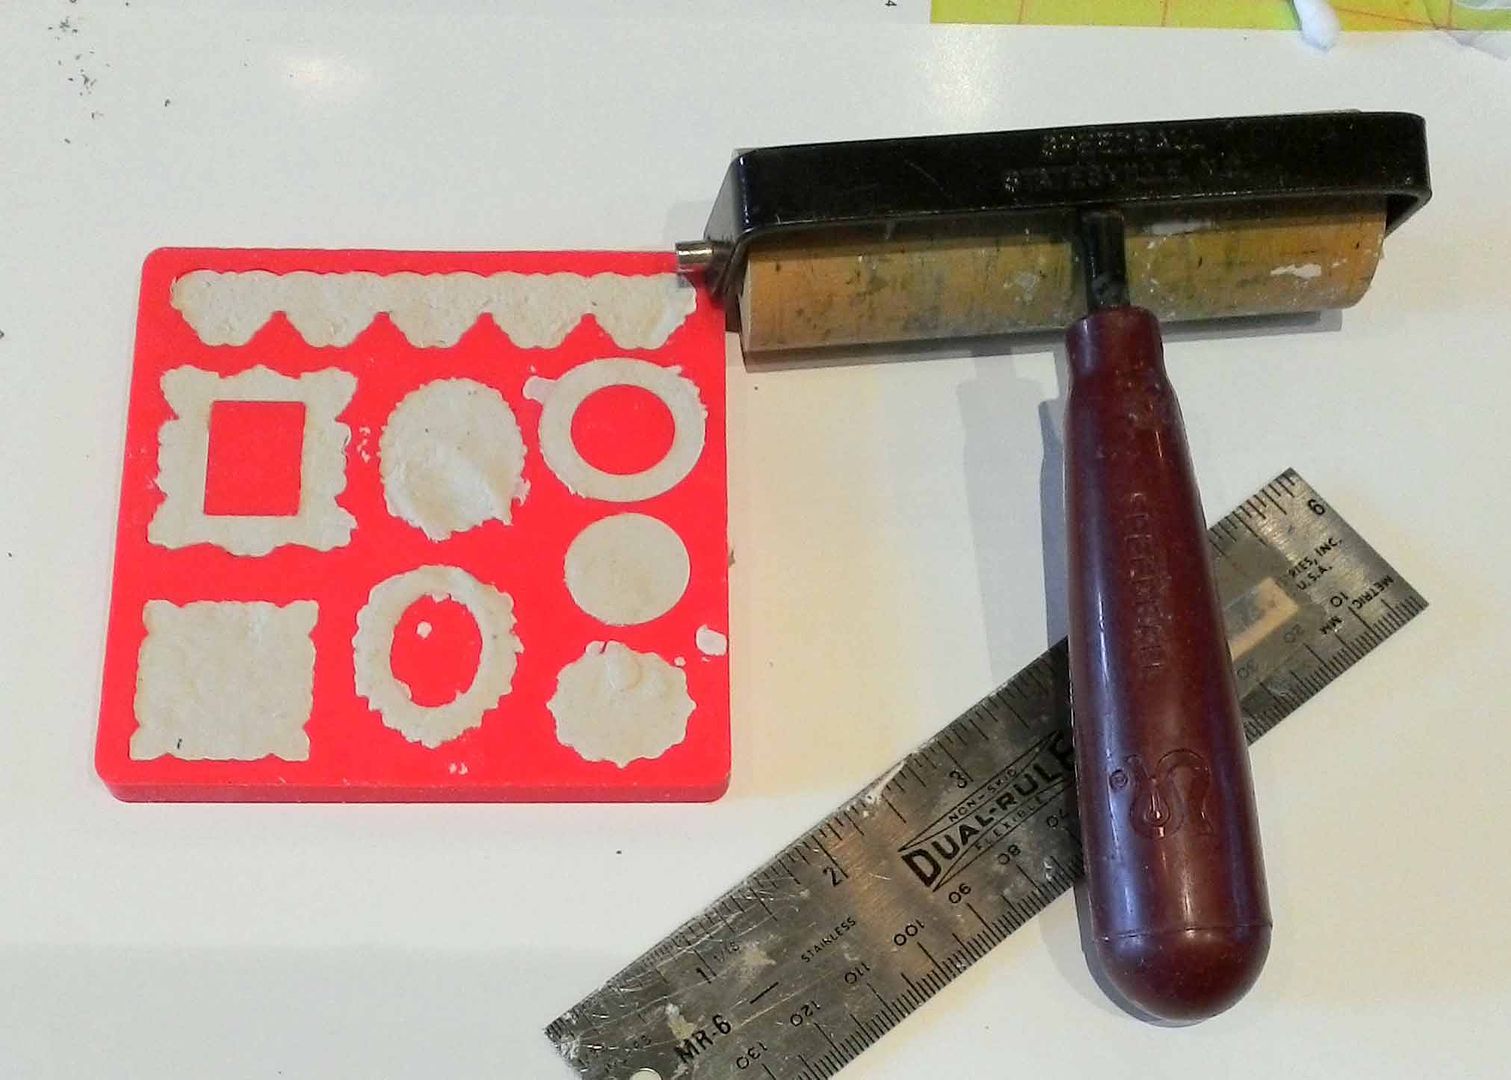
I started by pressing paper clay into the mold. I
used a metal edge ruler to scrape away some of the excess clay. Next, I used a roller to make sure the clay
was flat in the mold.
Since
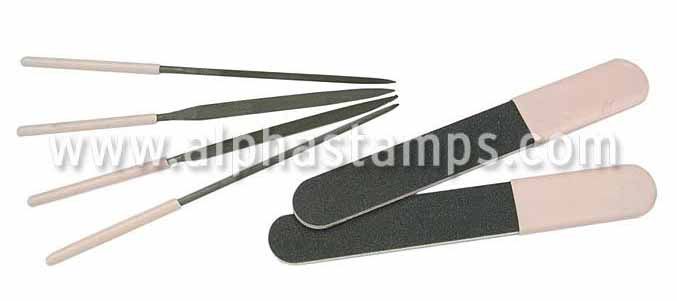
the pieces are so small, I leave them in the mold to dry. Once dry, I file away all of the excess bits
of clay using the Precision
File Set pictured below. I purchased
this set years ago and this is one set of tools I use constantly. I use it to file paper, chipboard and
clay. The skinny files are soooo great
to get into tiny spaces.
Below, you can see the pieces cleaned up and ready for color. I decide to rub the pieces I used in
this book with Inca Gold Gilders Paste as the white of the clay coordinated well with the color scheme.
You are
going to see me do a lot more with molds in the coming months as in addition to
the two molds I’ve used in these projects there are some really beautiful and
useful molds coming up.
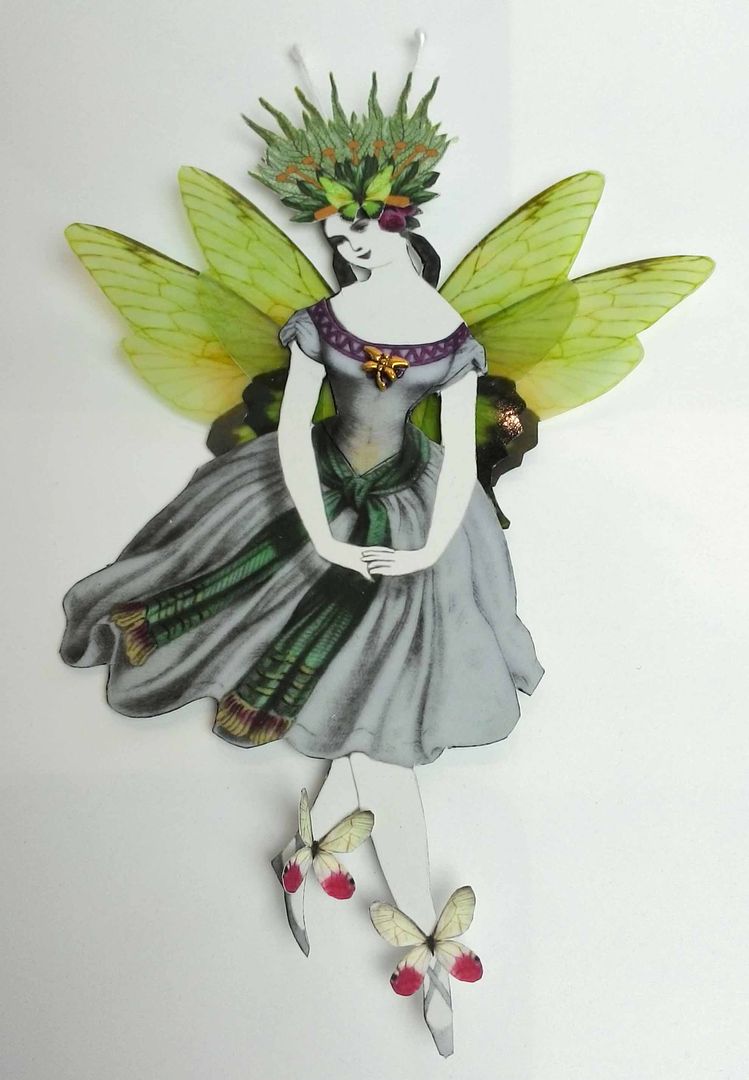
For the
butterfly queens (and I ended up with more than one or maybe some are the queen’s
ladies in waiting) I used wings from the Butterflies & Moths collage sheets
and digital image set. All of the wings
are printed on vellum but not all are embossed.
For the queen on the cover, there are two of the same wing with one
being embossed and one not.
Of
course, I loaded up every page with tons of embellishments and images from the new collage sheets.
On most
pages, some of the embellishments and images go off the edge of the page. As you lay out your pages, be mindful of what
will be seen from other pages. Also,
make sure you don’t cover the punch holes that you'll use to bind the pages
together.
The
pages that do not have embedded glass are made from a piece of chipboard covered
with paper.
Notice, that I put the writing behind the decorative paper and then tore the paper away to expose
the writing.
On the page below, instead of embedding one piece of glass I embedded three. The glass is the same square glass I used in
the tiny square glass book above. I used
the same process to cut holes in three pieces of chipboard as I did for the
glass on the cover page. I stamped images
from Springtime Robin stamp and the Butterfly Trio stamp on to the glass pieces. I decide to leave one hole open and attach an
owl. There is an owl on both sides of
the page.
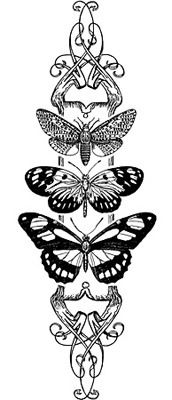
On the
back side of the page I added a clay embellishment that I made from the
Butterfly Trio stamp.
I used
a roller to roll out a piece of clay larger than the stamp. I then pressed the stamp into the clay. Once the clay was dry (make sure to keep it
flat as it dries or it will warp), I used the filing tools and scissors to remove the excess.
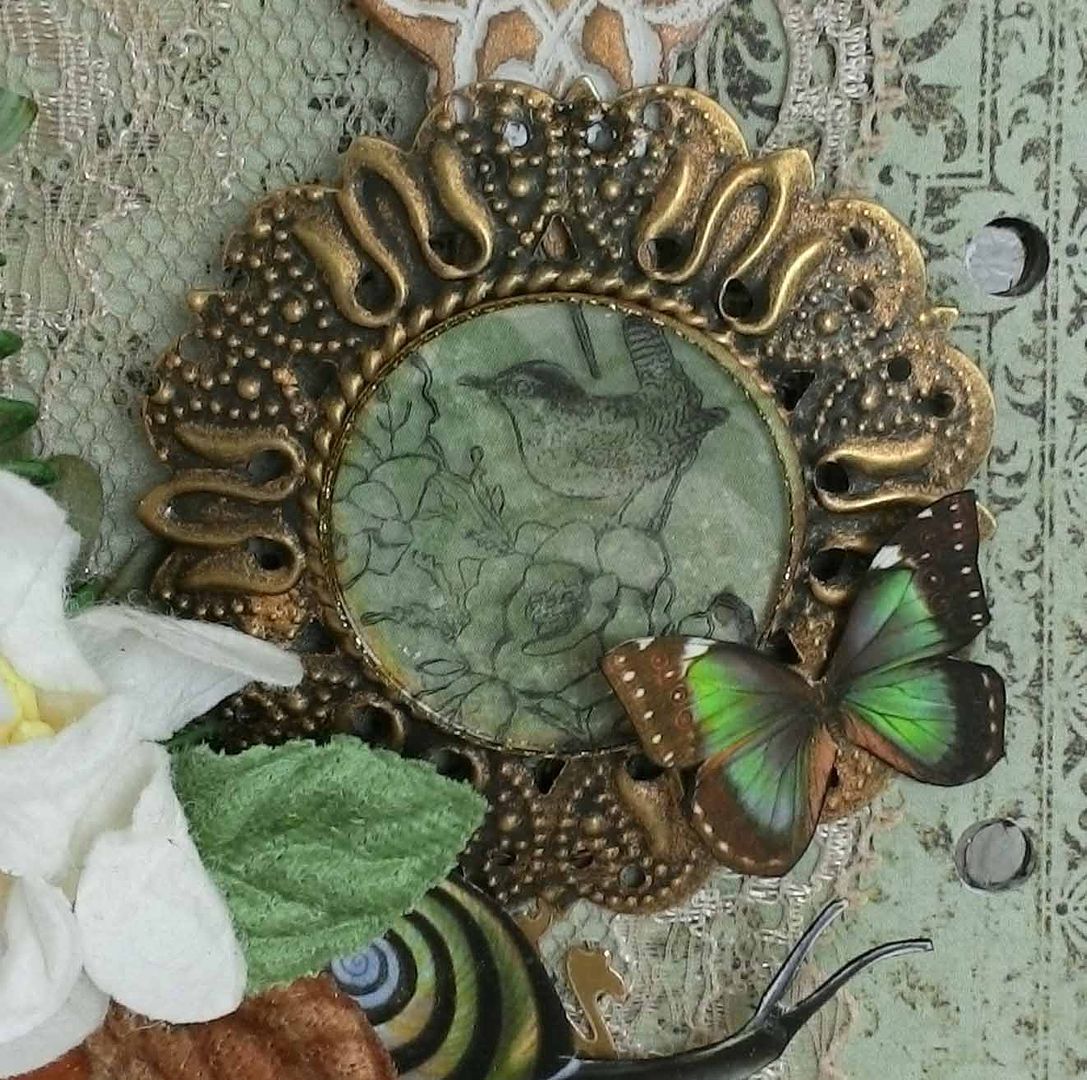
The
round embellishment at the bottom is made by gluing a round piece of decorative
paper to a piece of filigree, stamping a round piece of glass and attaching it
to the filigree with Glossy Accents. The glass is edged with the same sticker as the square glass pieces in the two tiny books.
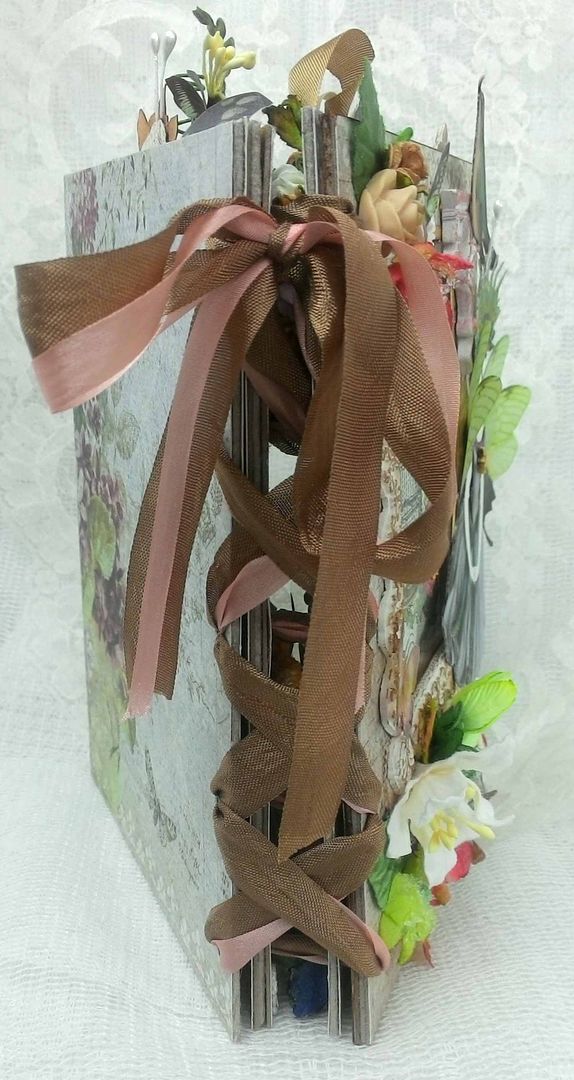
To bind
the book together I used a large needle threaded with two ribbons and stitched
up the book like the laces of a shoe.
Alpha Stamps products used for this project:
IMAGES
PAPERS
GLASS/STAMPS/MOLDS
EMBELLISHMENTS
FLOWERS/LEAVES
RIBBON/LACE/DRESDEN
PAINT/INKS/TOOLS


















I am literally speechless and wordless. All I can think of to say right now is absolutely amazing!!!! Everything is just beautiful.
ReplyDeleteBeautiful, Laura. The glass, the molds, the abundance...it is all inspiring and just plain pretty to look at.
ReplyDeletewow, wow, wow! thanks so much for the detailed instructions...I'm not sure I'm up for it, but I love that I could give this a whirl if I wanted. Absolutely beautiful work!
ReplyDeleteIncredible. I have read through your instructions twice to make sure I did not miss any of the incredible details and wonderment. Just brilliant.
ReplyDeleteLaura, you are the assemblage Queen! These glass "books" are just amazing. You never cease to amaze me with your creative talent:)
ReplyDeleteWhat awesome books! Love the butterfly book...it is exquisite!
ReplyDeleteThanks for sharing your art!
Robin
Oh my gosh Laura, these are all truly wonderful, your creativity never ceases to amaze.Thank you for sharing your incredible projects.
ReplyDeleteThese are beautiful!
ReplyDeleteNow I have to go find my small little glass slides and get busy.
Thanks for sharing, Laura.
Wow...just...wow! All of these projects are so incredibly beautiful, and lots of work involved too. Fantastic embellishments and love the stamps, and the rub on techniques too.
ReplyDeleteYour blog is the best!
warm hugs,
Teresa in California
http://amagicalwhimsy.blogspot.com/
If anyone wanted to know what a creative genius was, you are it! I am blown away by your projects/imagination and great taste for colors/themes etc. I am beyond amazed that you take the time to write detailed instructions for us to learn from your talent. Whether or not I will attempt such elaborate projects, I still can learn so much from these tuts. Thank you so very much for the inspiration and the tuts. I love the mods, my new obsession :) If they are small, and I let them dry in the mold, how do I take them out without bending the back please? I have had to flatten/straighten out some but then I am kinda pressing on the design....I can't wait for that tut from you.
ReplyDeleteOh my! Absolutely beautiful! Truly pieces of art!
ReplyDelete