Thanks so much Sandy!!
Pages
▼
Wednesday, August 29, 2012
Saturday, August 25, 2012
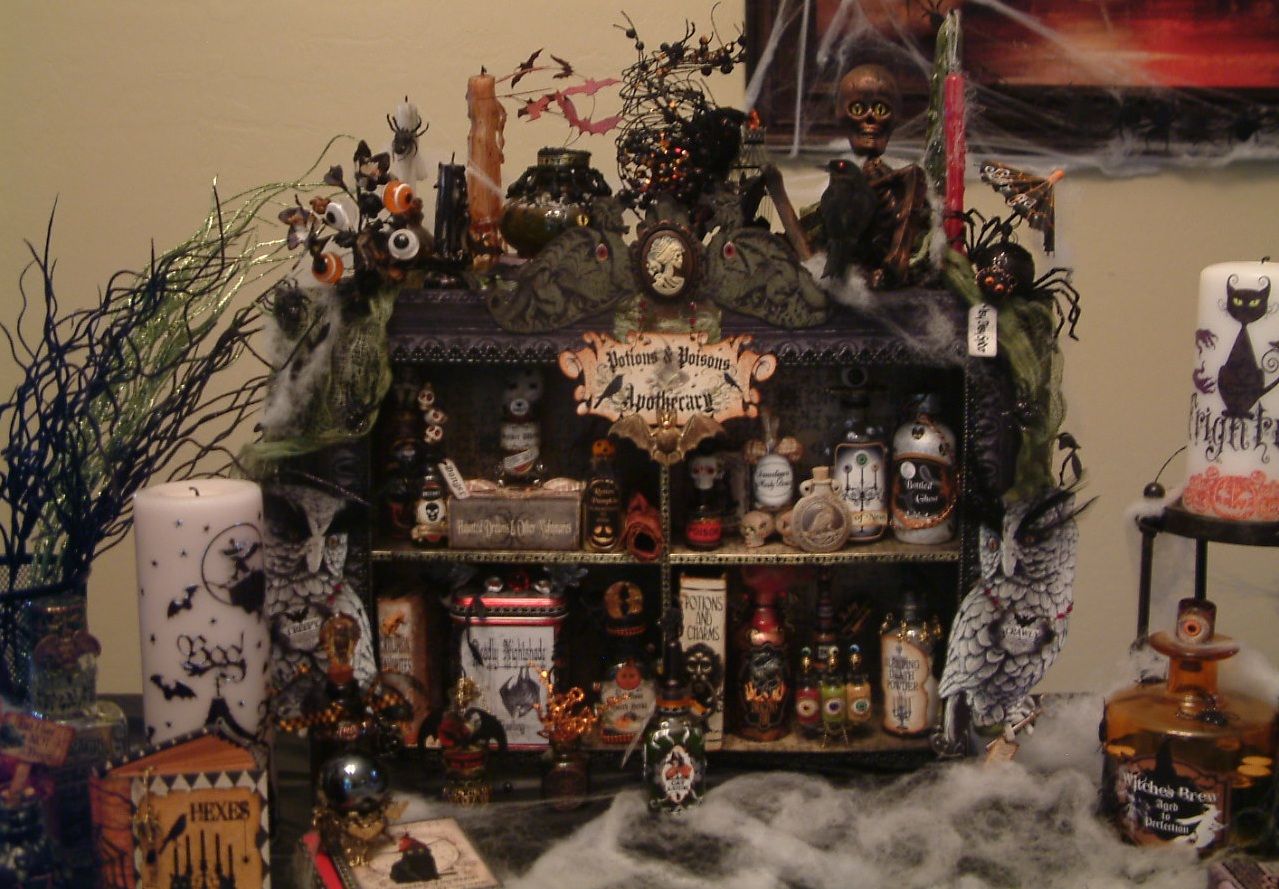
Pretty Potions and Poisons Apothecary - TUTORIAL
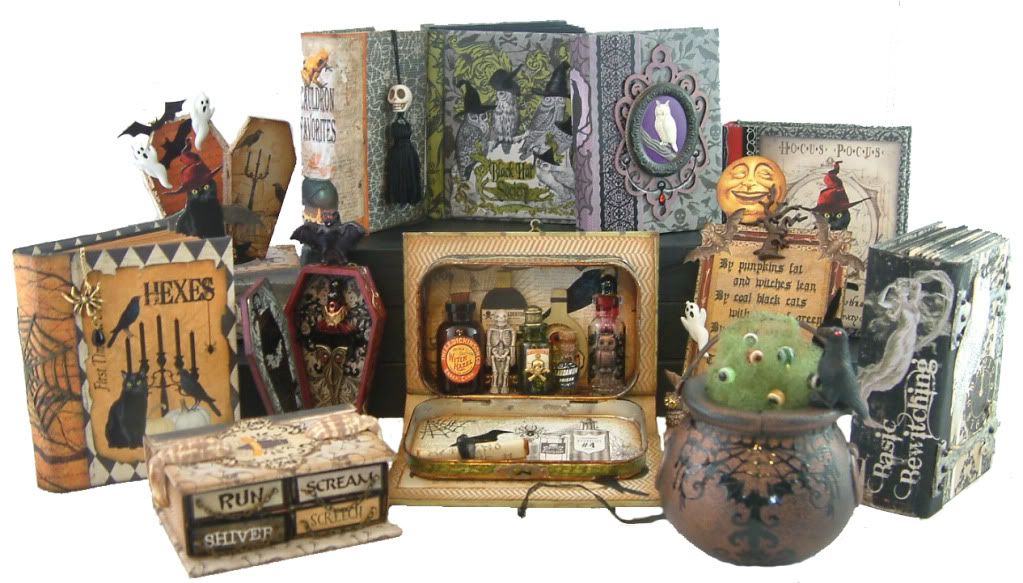
It's time to wave your wands (or glue sticks) and start building your own potions and poisons apothecary. Whether your style is cute, pretty, spooky, gothic, creepy and crawly; all takes on Halloween are welcome here! This event is all about having fun with Halloween and creating something that you will enjoy displaying during this spooktacular season. So turn on your favorite Halloween tunes and get your witchy grove on.
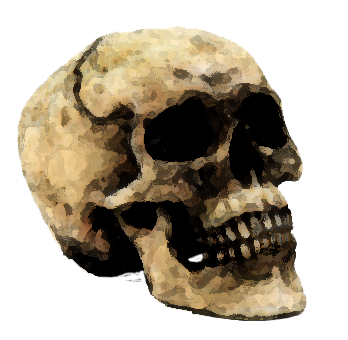

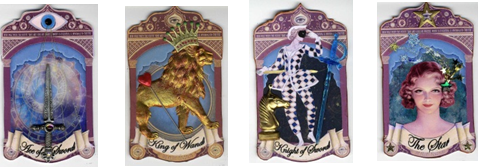
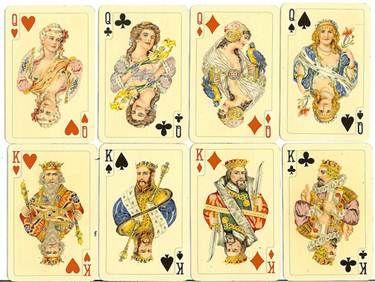
Feel free to download the images below and use them in your art.

I’m
also excited to announce, that as part of this event I’ve created a series of
apothecary collage sheets for purchase.
NOTE
As of 1/13/18 Create for Less online store is carrying a 7 1/2" x 5" x 3" box that would work perfectly for this project. You would need to purchase 4. if you want the link to the product, email me using the "Email Me" button in the right side column of my blog or post a comment on the YouTube video.
ASSEMBLING and DECORATING THE CABINET
This haunted journey starts with viewing the tutorial below which covers assembling and decorating an apothecary cabinet. Once you finish the first video you'll want to continue on to the others which cover altering bottles and tins, making books, decorating coffins and cauldrons.
Video Tutorial #1– Assembling and Decorating the Apothecary Cabinet
Feel free to download the images below and use them in your art.
FREE IMAGES


The haunted journey continues with viewing the second tutorial in the series which covers altering bottles and tins.
Video Tutorial #2– Altering Bottles and Tins
I’ve broken this tutorial into two pieces so be sure to watch them both.
Part One of Two
Part Two of Two
FREE IMAGES


The haunted journey continues with viewing the third tutorial in the series which covers creating books, decorating cauldrons and coffins. You don’t need to be experienced in bookbinding to make the simple and fun books I’ll be demonstrating.
Video Tutorial #3– Books, Coffins, and Cauldrons
Friday, August 24, 2012
Wednesday, August 22, 2012
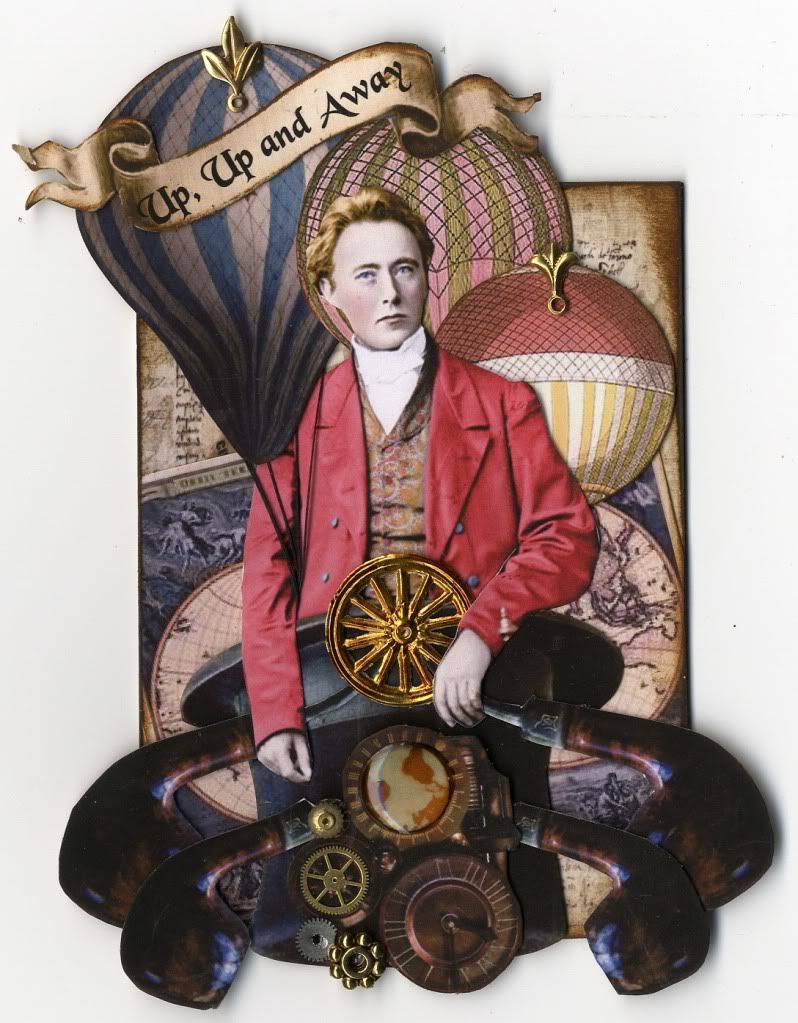
Up, Up and Away Steampunk ATC
This is another piece for a
swap. The theme was balloons so I
decided to go Steampunk. You can see
that the gentleman in the center (from Land
of Nod Studio’s) is the same one I used for the domino book. The basket is a top hat and the smoking pipes
function as the exhaust.
Sunday, August 19, 2012
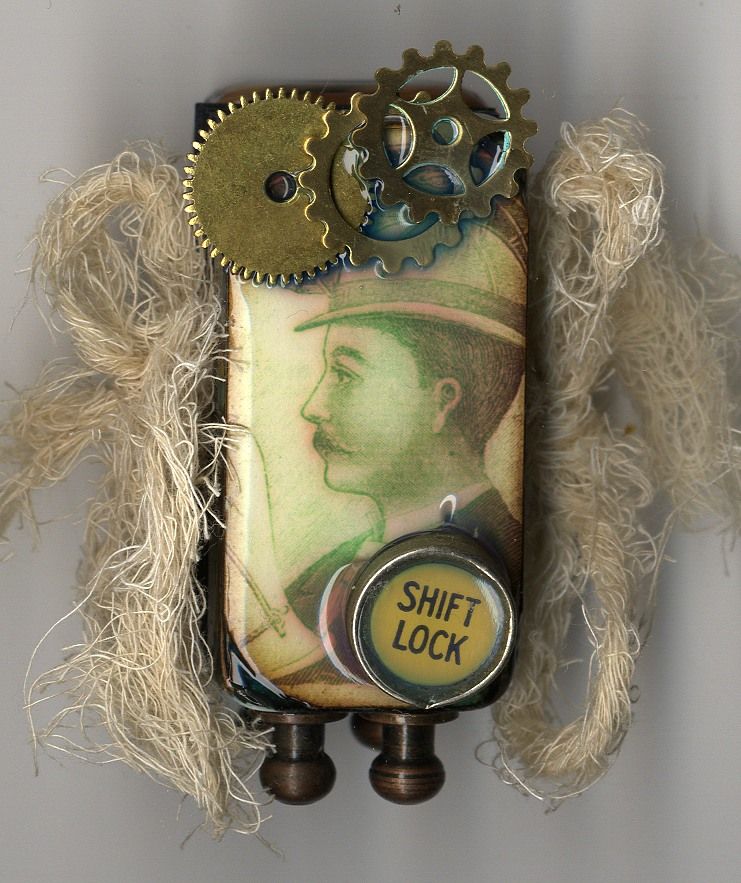
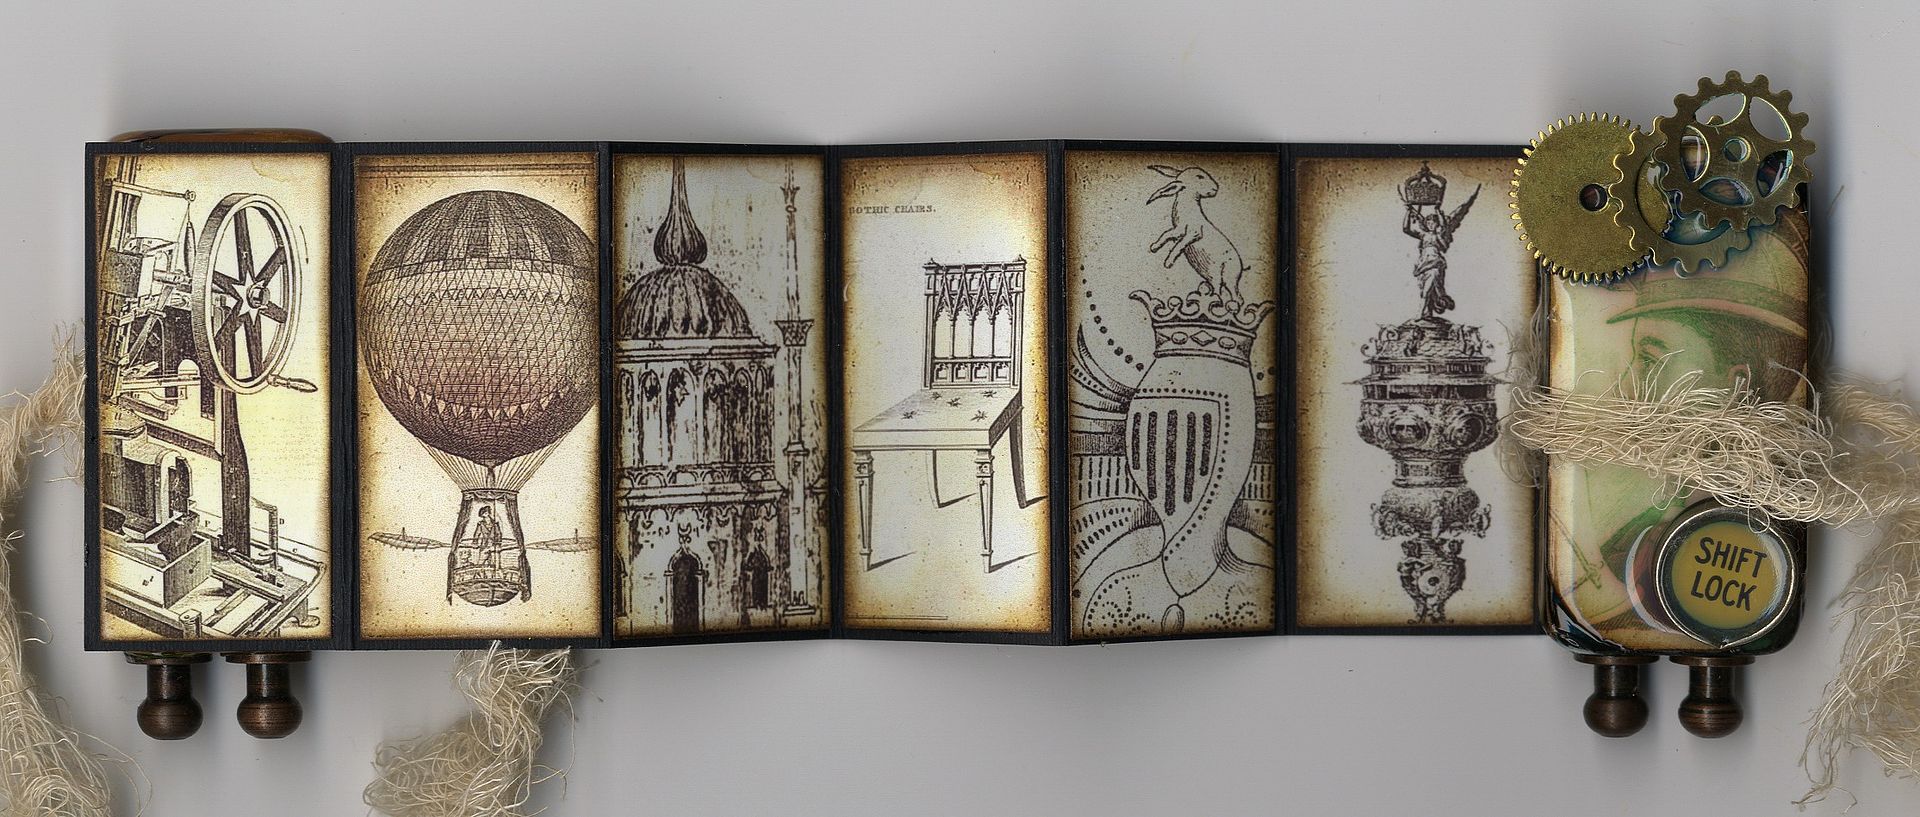
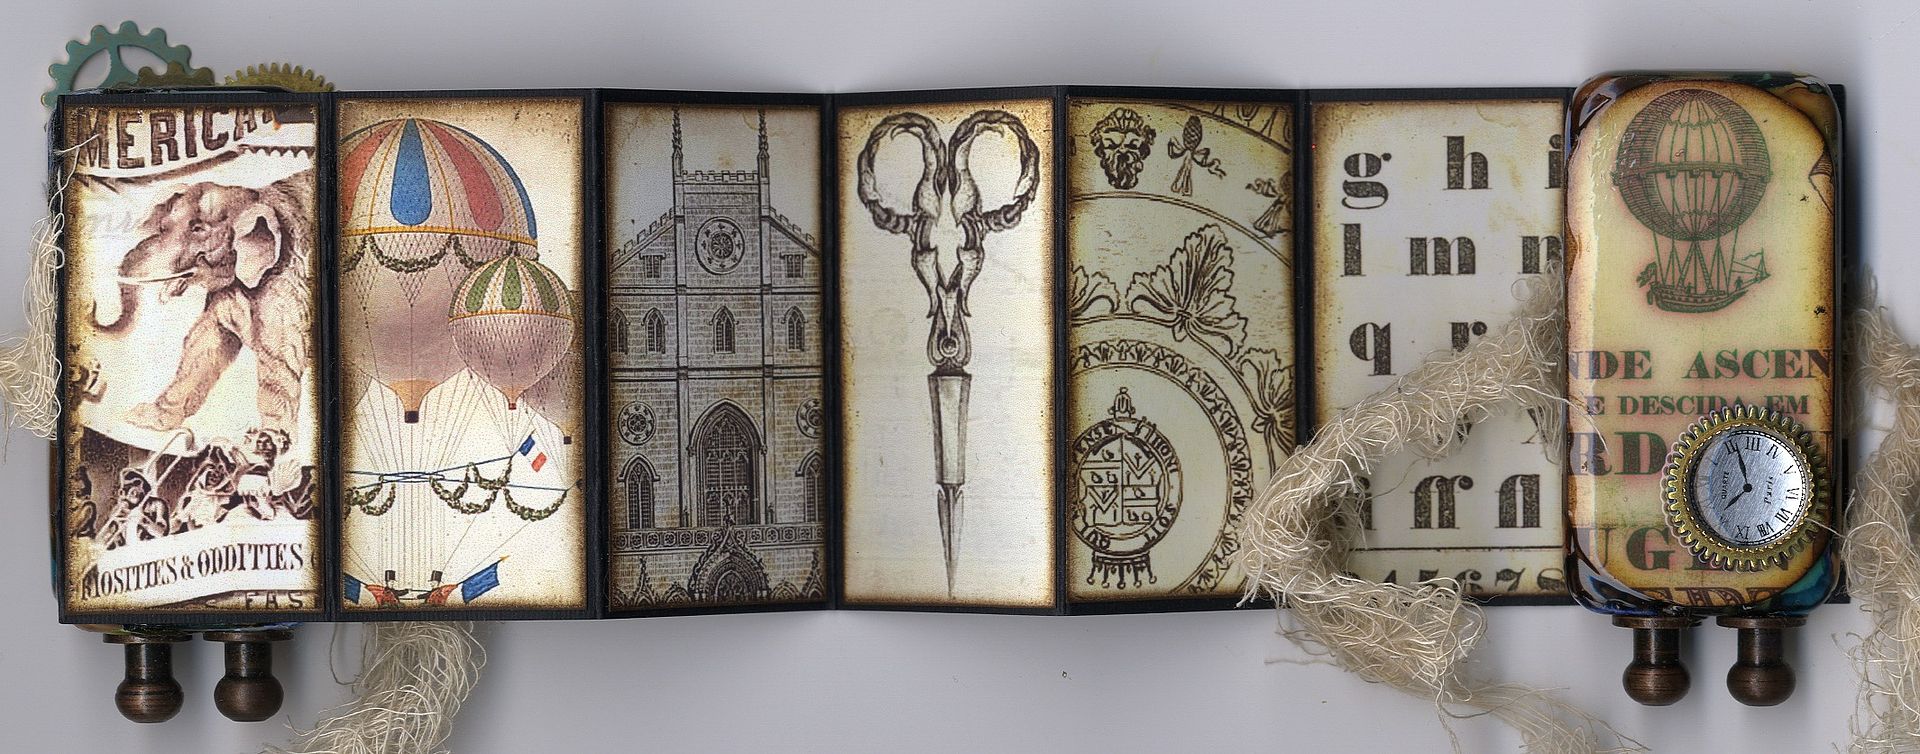
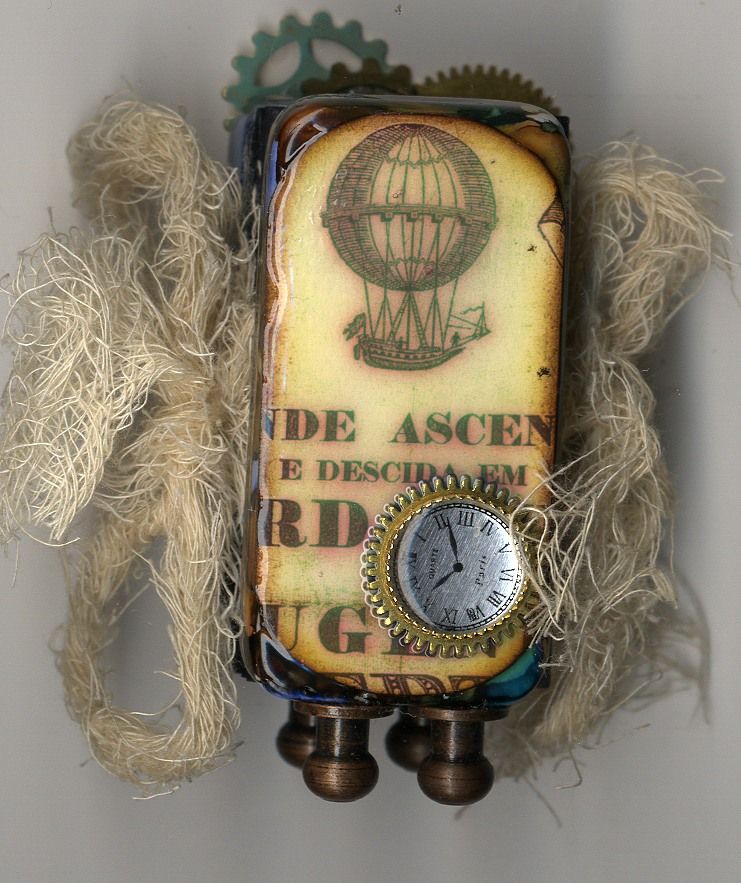
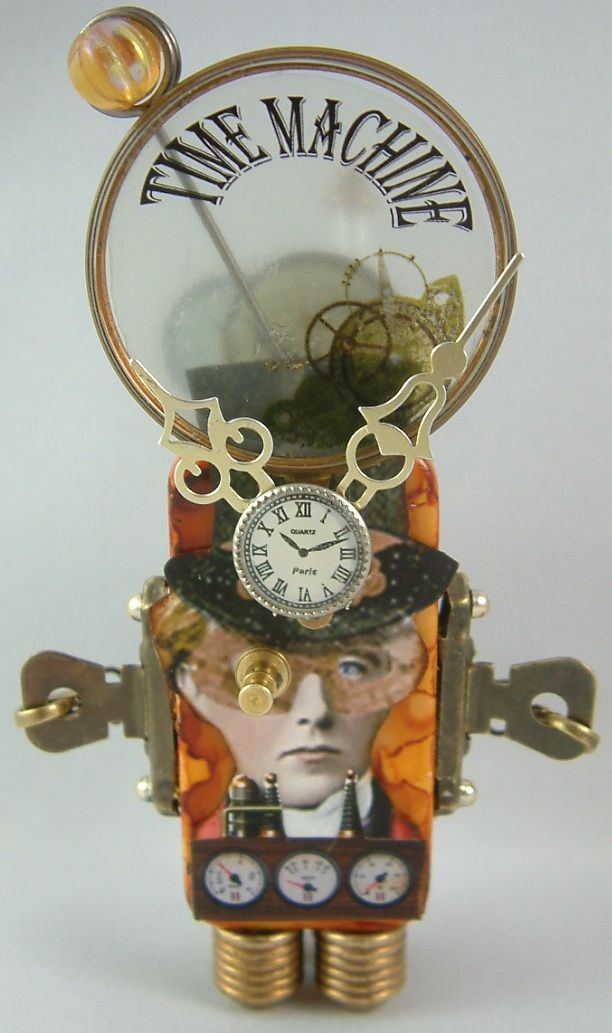
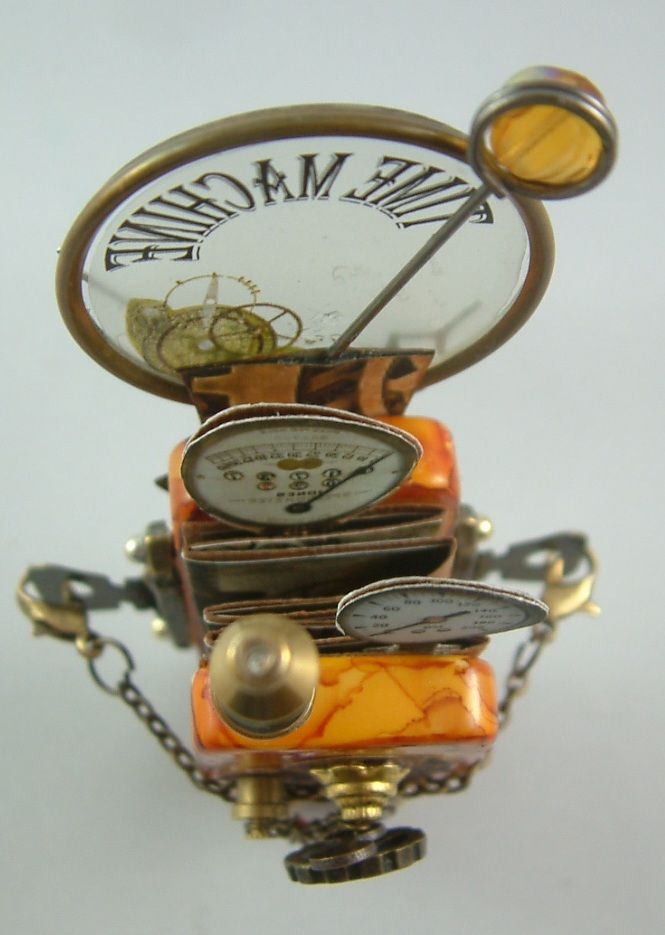
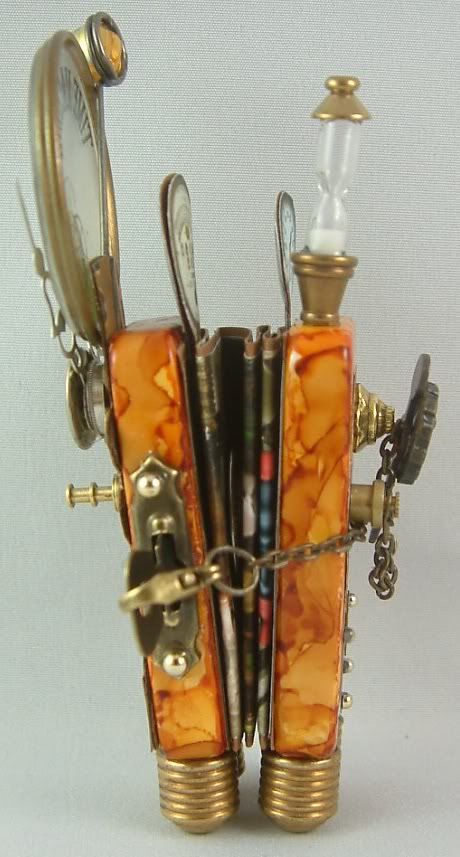
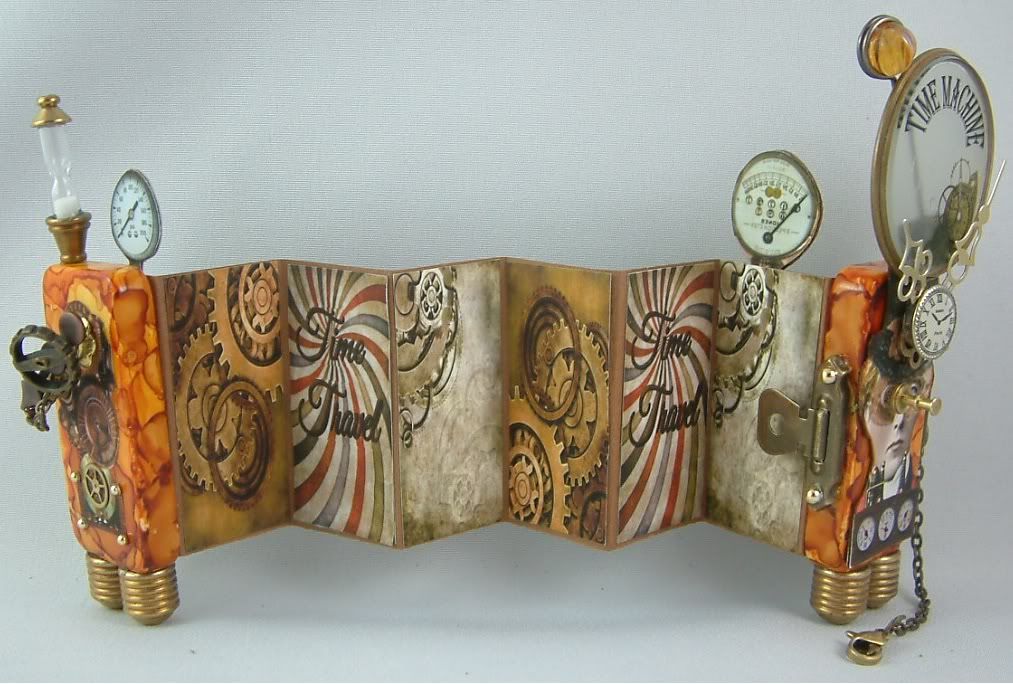
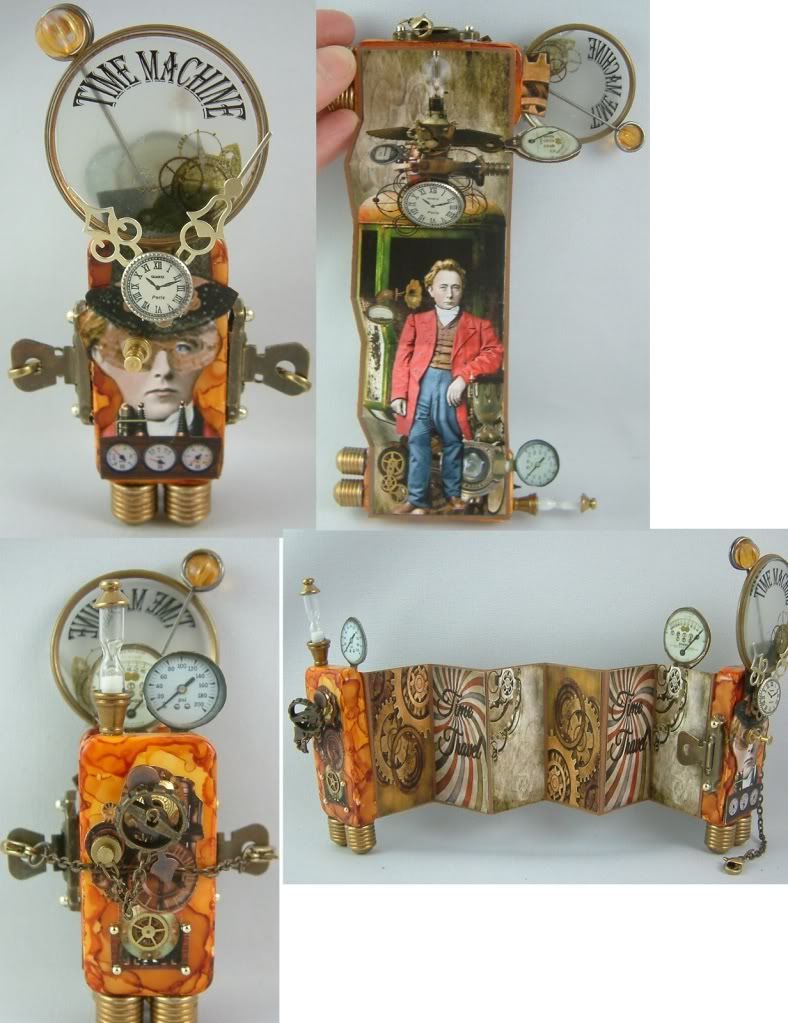
Steampunk Time Machine Domino Book
I made this domino book for a
Steampunk swap last month. I love the
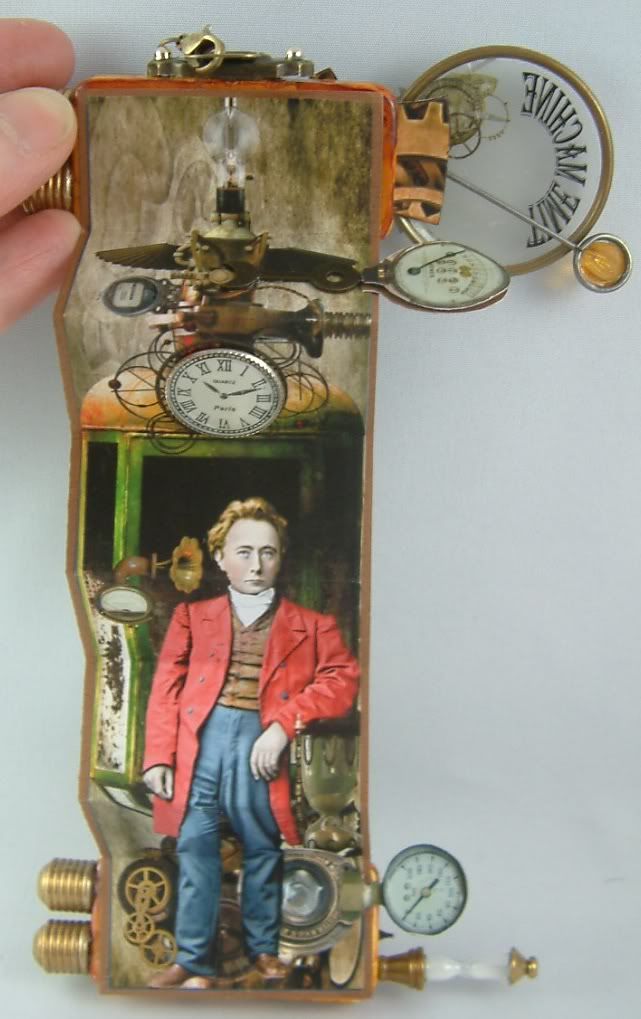
idea of a time machine so I thought I would try to create one in a domino book. The image of the gentleman on the front and
inside is from Land of Nod Studio’s. Deborah is very generous in posting free
vintage images that she has cleaned up and colorized.
I stuck as much mechanical
stuff as I could inside, outside, on top of and under this piece. The round glass is an optician’s glass to
which I applied a rub-on that I made using Grafix Rub-Onz Transfer Film.
The gauges are paper to which
I’ve added Glossy accents to add dimension.
Unlike other domino books I’ve
made, the inside image is horizontal instead of several vertical images on each
fold.
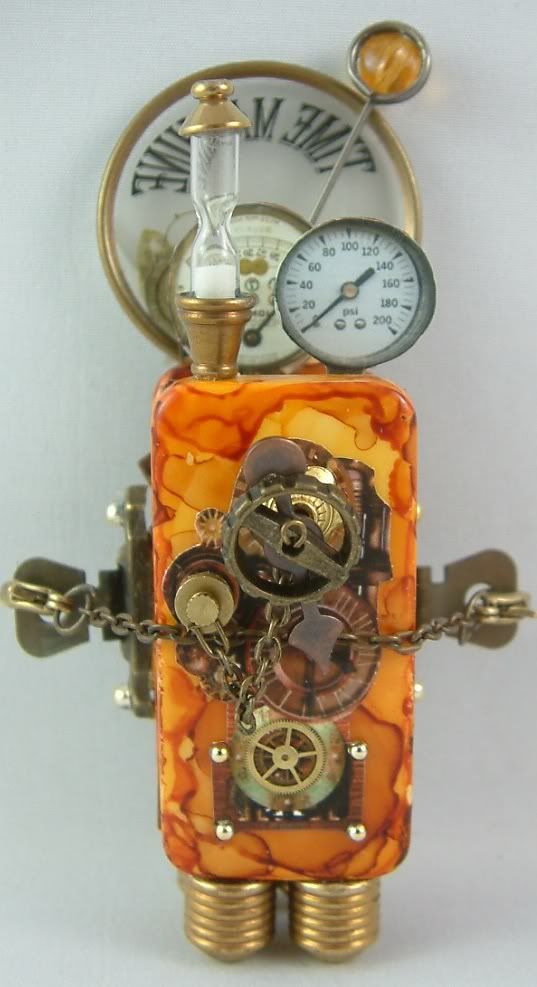
I incorporated lots of watch
parts and gears all over the piece.
The flaps on the side are
latches that when open, hold the book closed.
To open the book you must close the latches, which creates enough slack
to unhook the chain.
The glass cylinder on the
back is mounted between two bead caps and is a tiny working hour glass complete with
sand (I bought some of these years ago, knowing that someday I would find a use
for them).
If you are planning on participating in the “Pretty
Potions & Poisons Apothecary Event” in September be sure to check out
the top left-hand column of the blog were I’ll be posting a new teaser piece every
day until the event starts!
Wednesday, August 15, 2012
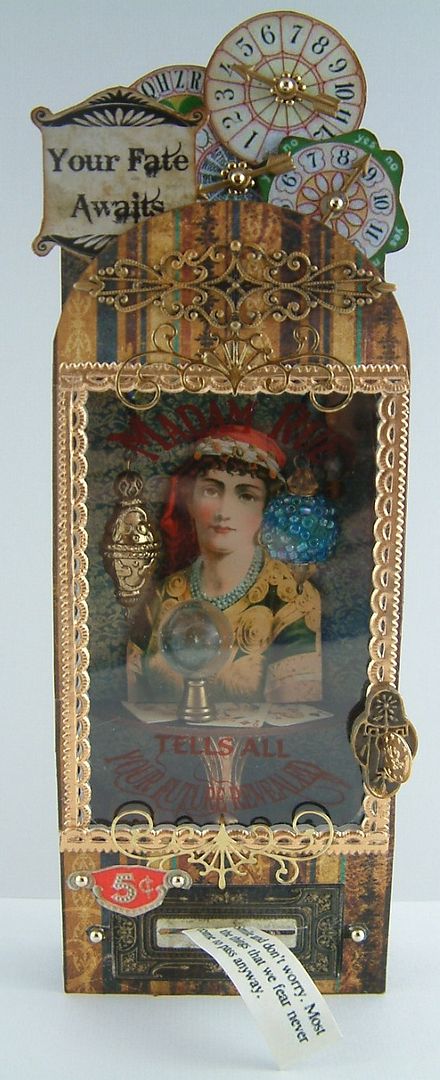
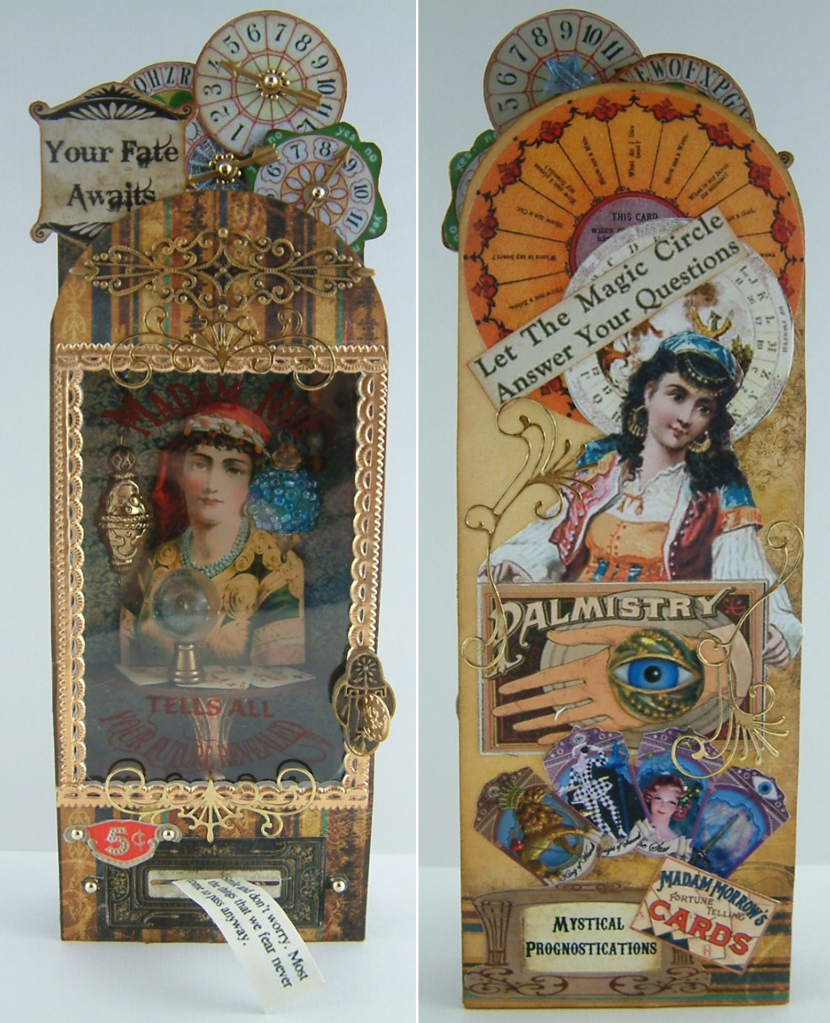
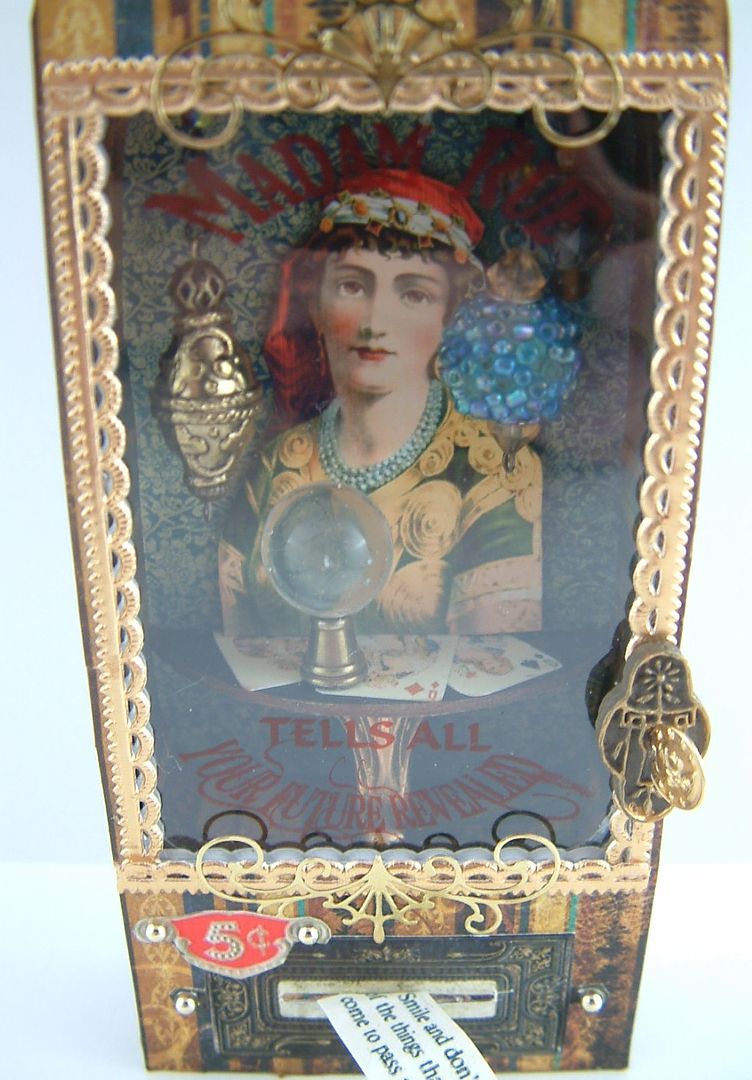
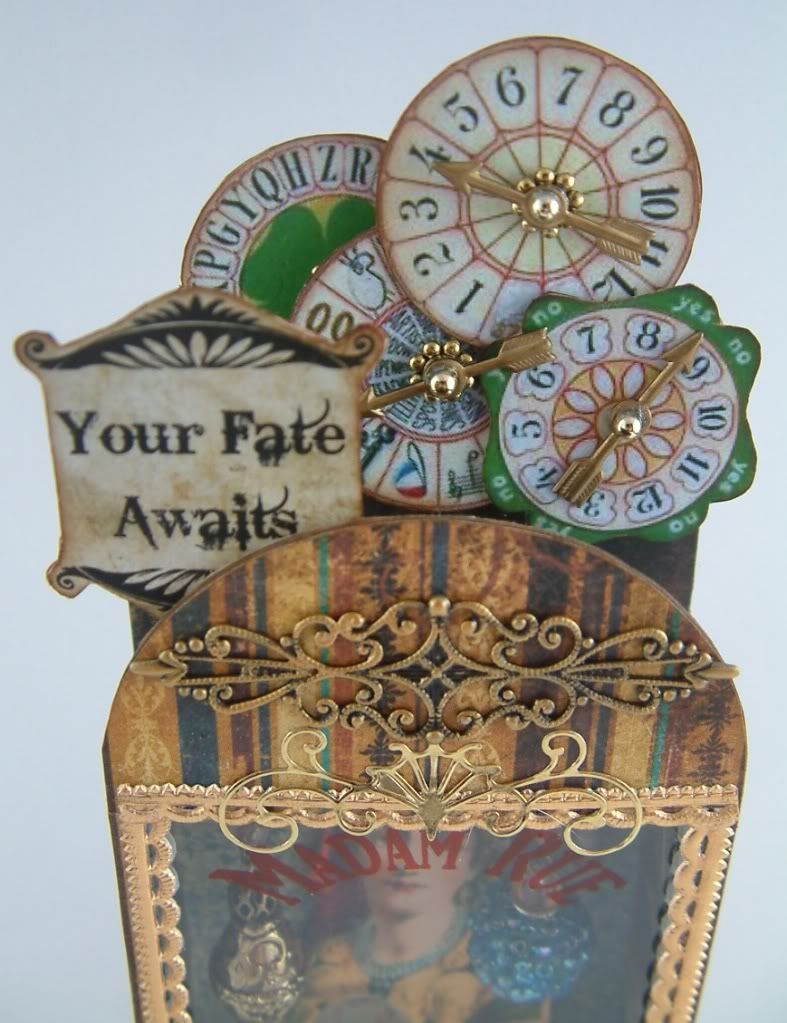
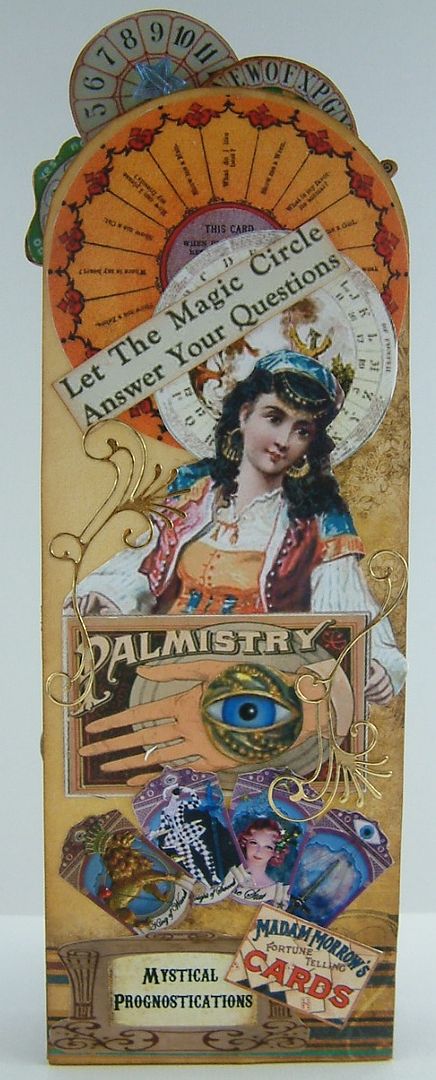
Video Tutorial - Madam Rue’s Fortune Telling Machine Designed for Alpha Stamps
The inspiration for this
piece was the mechanical gypsy fortune telling machines that you might
encounter at fairs, carnivals and amusement parks of the past.
I think this was my favorite gypsy project for Alpha Stamps and I’m hoping you will enjoy making one for yourself. The name “Madam Rue” is another reference to the Madam Rue from the song “Love Potion #9” (I also used her as inspiration for the altered bottle and the gypsy caravan I posted earlier).
The basic construction of
this piece is a blank Altoid’s tin (in the center) and arched chipboard
pennants in the front and back. The
overall size of the piece is 7 ½” tall by 2 ¾” wide.
TOP
BACK
In the tutorial I’ll cover
the tools you’ll need and the Alpha Stamps products I used to create this
piece. As you are watching the video you
don’t need to worry about taking notes as there is a companion PDF document
that you can download and or print that contains the supply lists,
measurements, pictures and the detail instructions from the video.
Alpha Stamps Products Used in This Piece
COLLAGE SHEETS
Here Are Other Images I Used That You Are
Welcome to Download and Use in Your Art
To download an image, click
on the image to expand it, right-click and select Save As.
This is the last of the gypsy
themed pieces for a while. I’ve switched
gears to Halloween and am having lots of fun getting ready for the Pretty
Potions and Poisons Apothecary event.
But before that event starts in September, I’m going to treat you to some
Steampunk themed art and art inspired by Edgar Allen Poe.
Monday, August 13, 2012
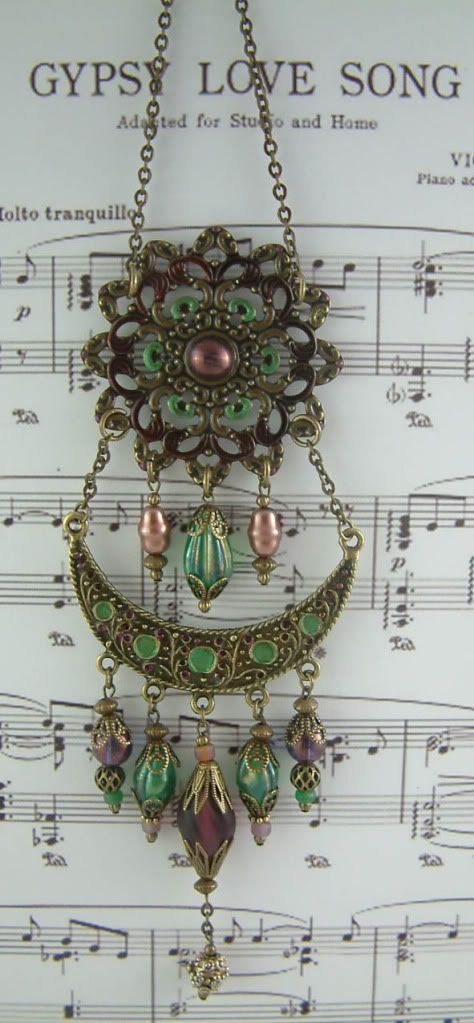
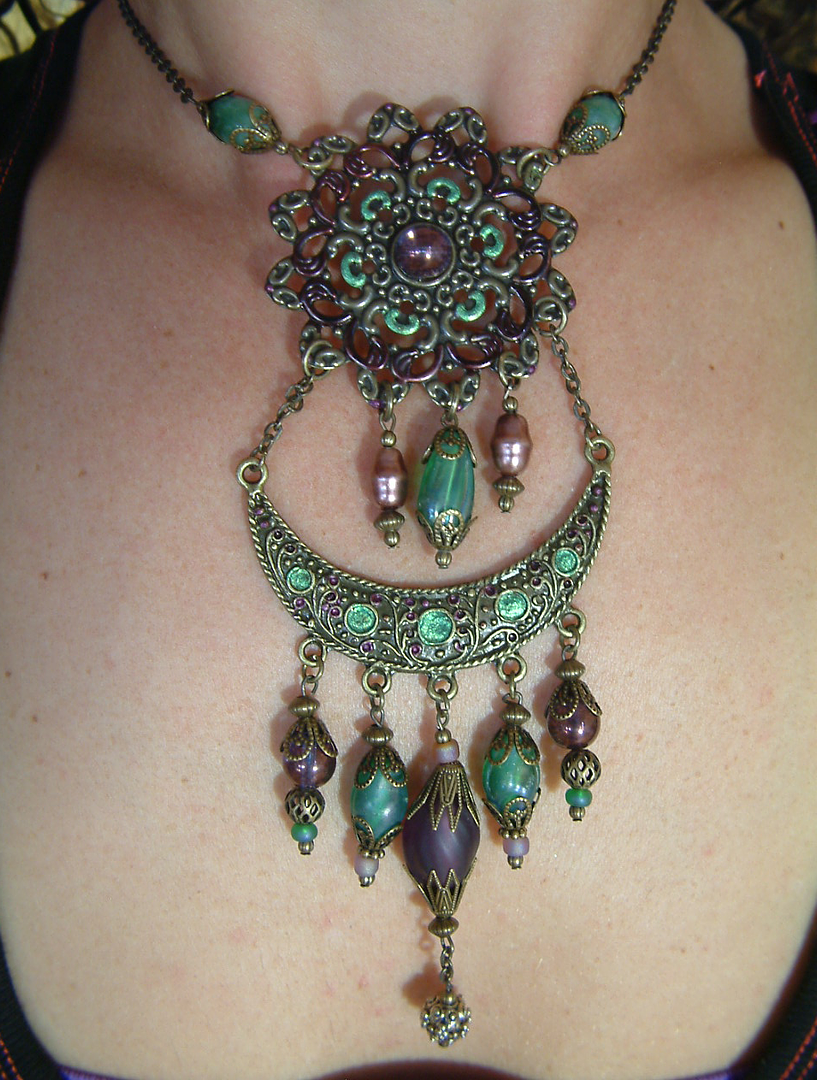
Gypsy Necklace Designed For Alpha Stamps
I don’t often make jewelry
but when I received the crescent moon connector and the round filigree from Alpha Stamps I thought they needed to be
made into a necklace.
My friend Julia loaned me her
pretty neck to model my necklace.
Alpha Stamps Products Used in This Piece
Friday, August 10, 2012
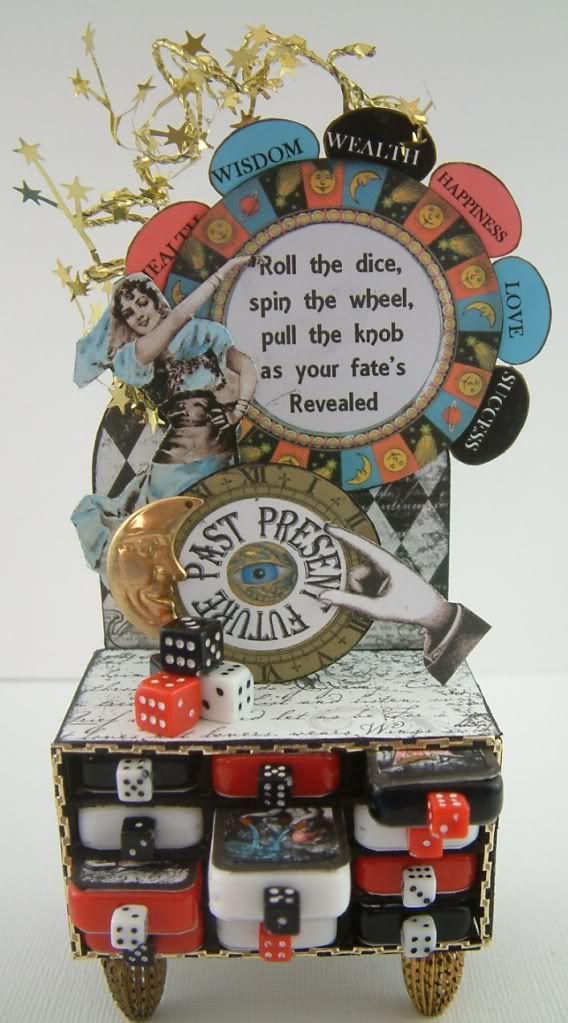
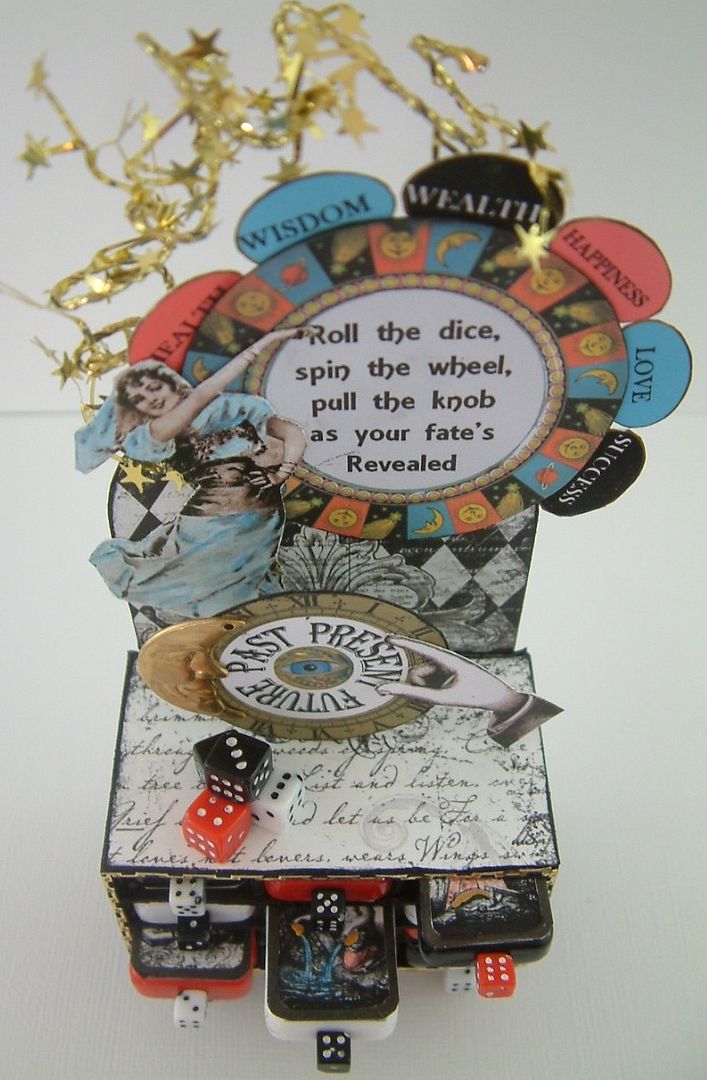
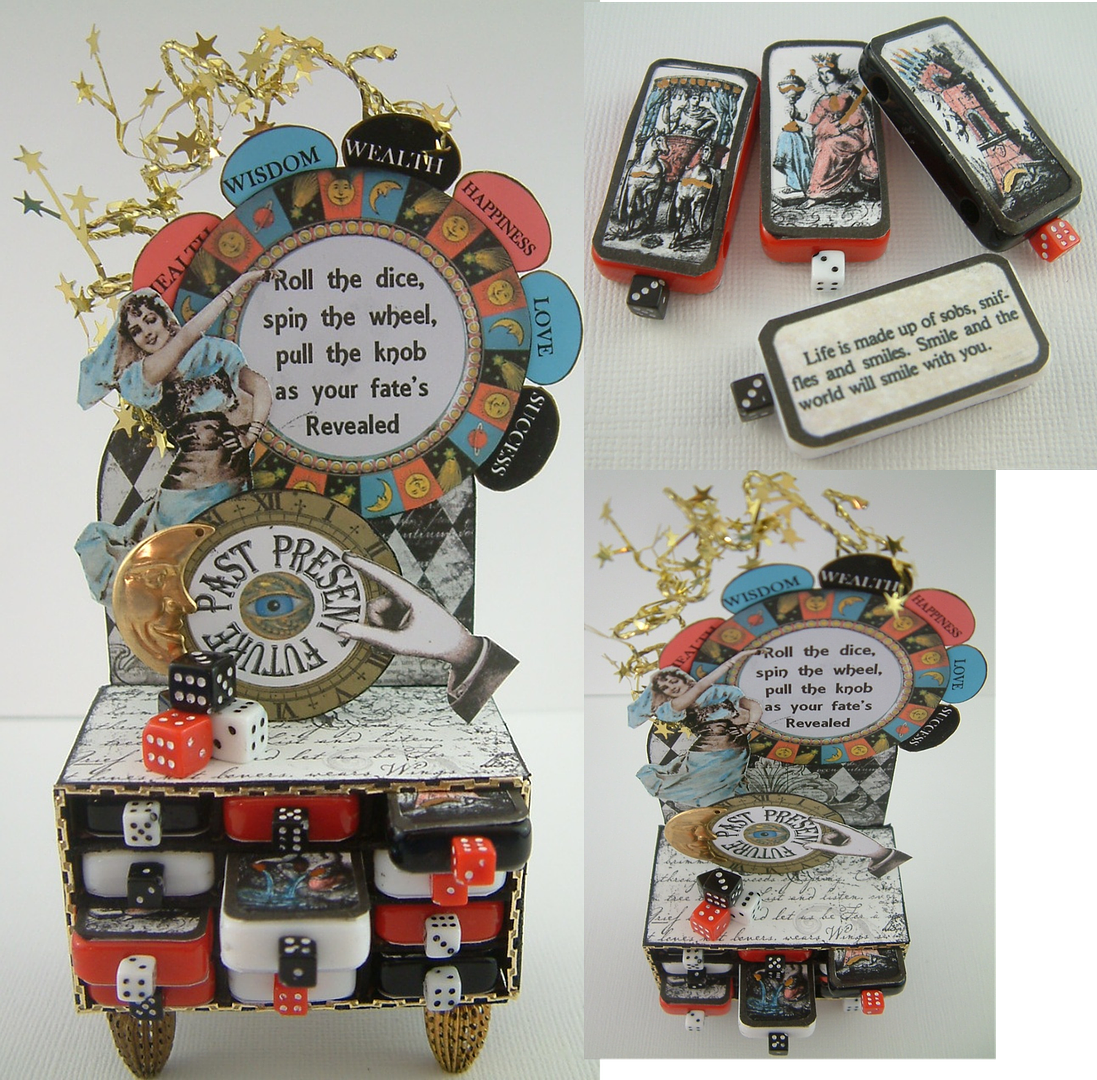
Fortune Telling Game Designed For Alpha Stamps
The challenge from Alpha Stamps for this piece was to come
up with artwork that used dominoes and tiny dice. I thought about doing a domino book or a
piece of jewelry but eventually decided to create a Fortune Telling Game.
The overall height of the piece is 6 ½” high and by 3 ¼” wide. I built the area holding the dominoes from chipboard.
The overall height of the piece is 6 ½” high and by 3 ¼” wide. I built the area holding the dominoes from chipboard.
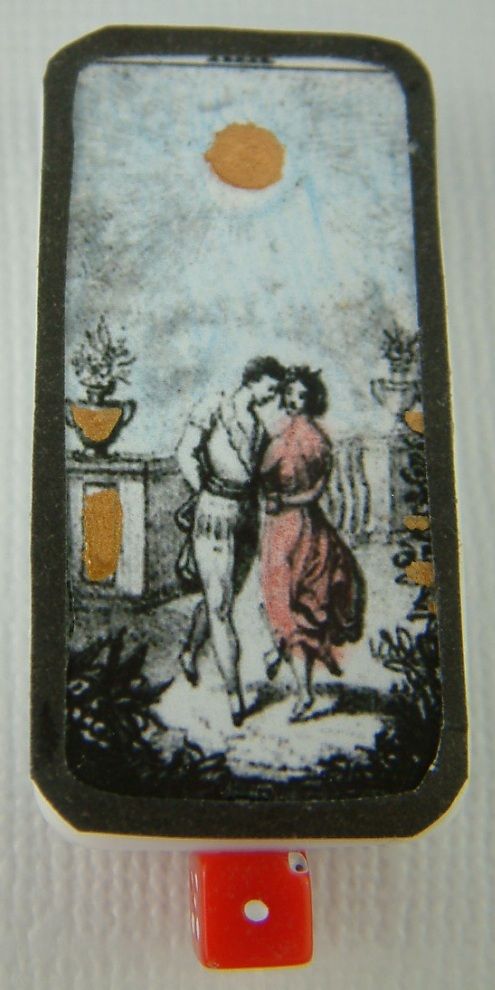
On one side of the domino is
a picture of a tarot card that I colorized using colored pencils and gold
paint. On the opposite side of the
domino is the fortune. The dice acts as
the pull.
Alpha Stamps Products Used in This Piece
Gypsy
Beauty Collage Sheet – The gypsy
Fortunes
Collage Sheet – Used on the dominos
Corrugated Brass Pears – The feet
Sunday, August 5, 2012
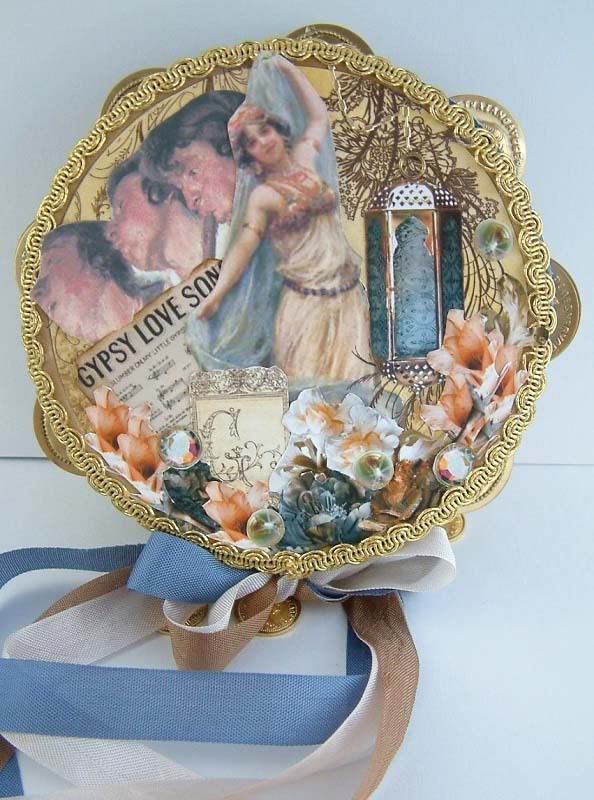
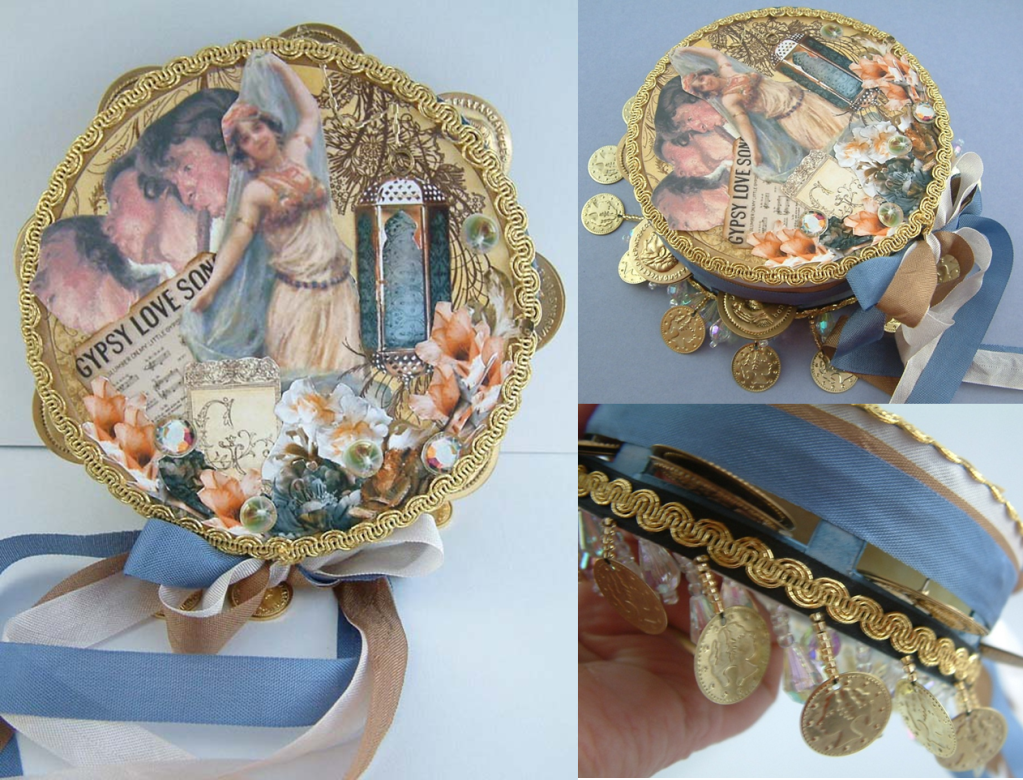
Gypsy Tambourine Designed for Alpha Stamps
The tambourine is 4 ½”
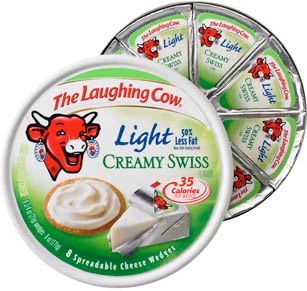
wide. I started with a lid from a
package of Laughing Cow cheese wedges.
I glued a double strip of
cardstock around the edge. To accommodate
the symbols (which are made from brass coins) I cut rectangular openings in the
cardstock. To make the symbols I punched
holes in the brass coins and slid them on needles. I used needles because they are stiff. I glued the needles between the layers of
cardstock.
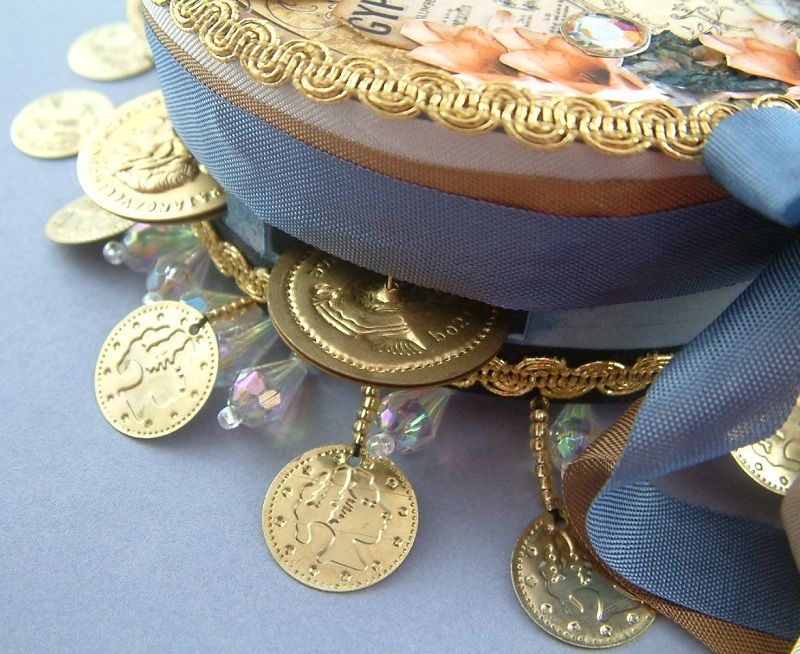
I wrapped the sides with seam
binding tape and glued coin and beaded fringe to the sides.
If you shake the tambourine
it jingles!
Alpha Stamps Products Used in This Piece
Friday, August 3, 2012
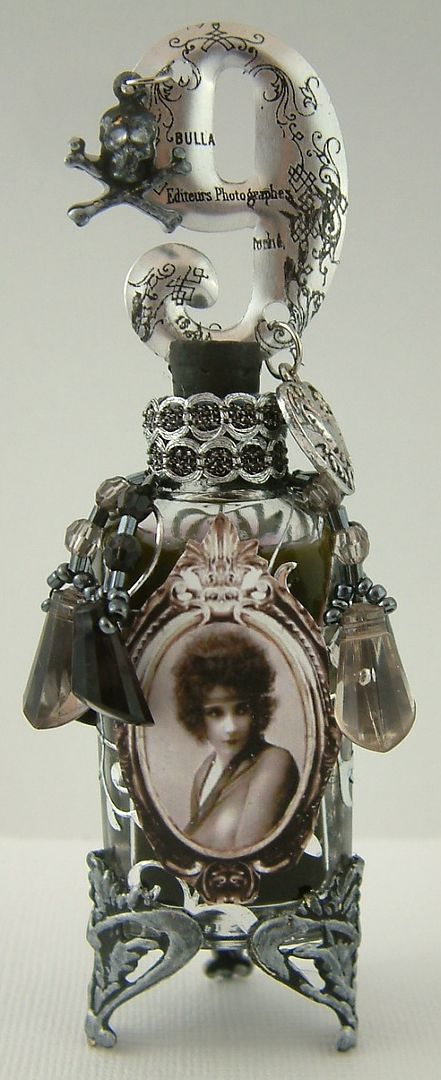
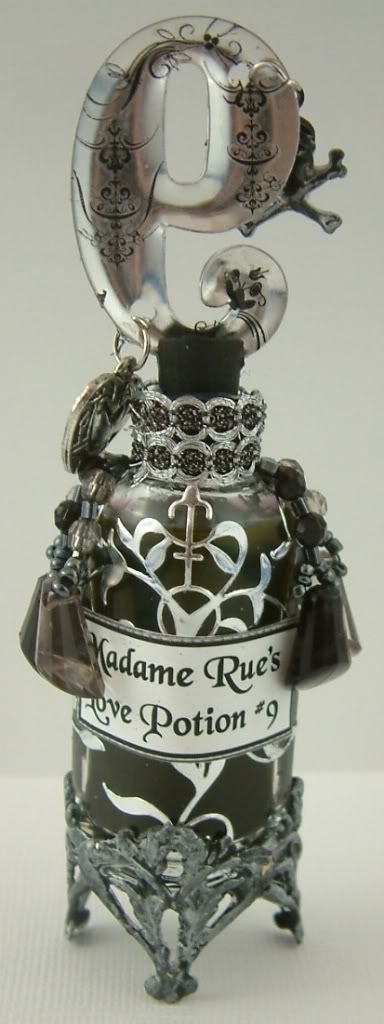
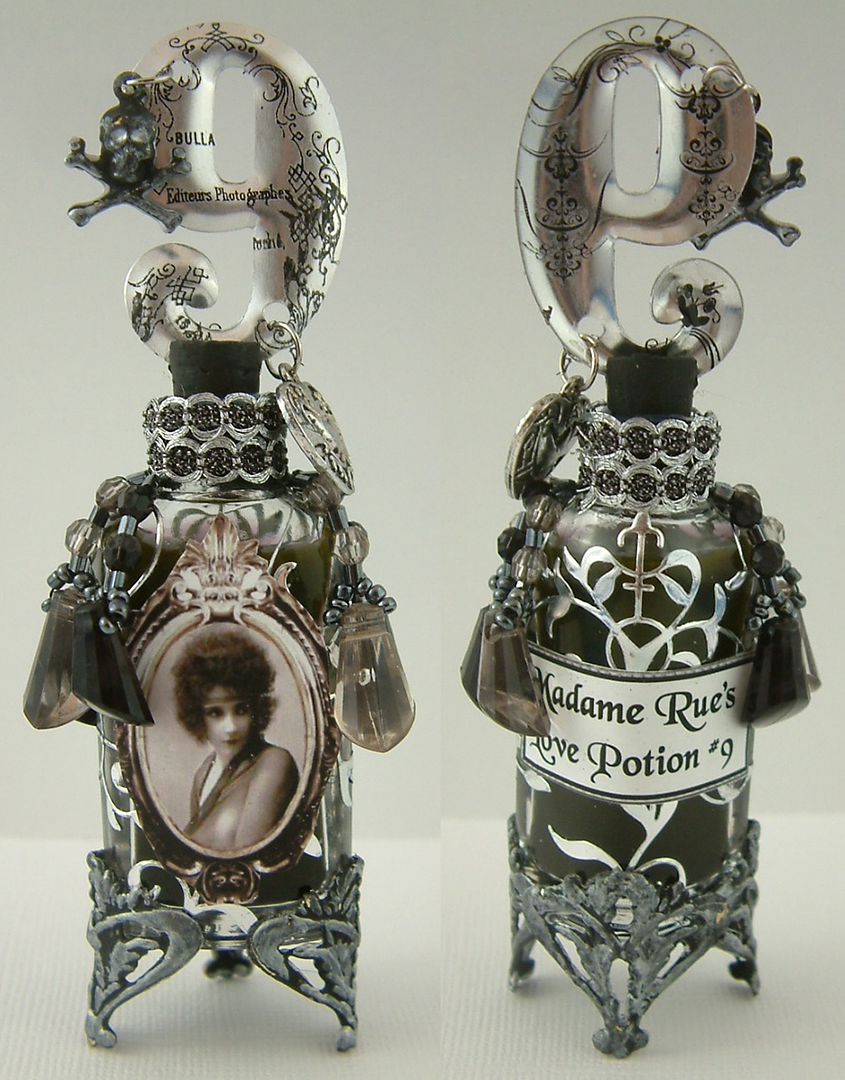
Madam Rue’s Love Potion #9 Altered Bottle
This is another gypsy inspired piece designed for Alpha Stamps. The inspiration came from the song “Love Potion #9” (one of my favorites!). The total height of the piece is 4 ½”.
The bottle is triangular so I used three brass feet for the base.
I applied silver metallic stickers to the glass. I used black rub-ons to decorate the number inserted in the cork at the top.
The bottle is triangular so I used three brass feet for the base.
I applied silver metallic stickers to the glass. I used black rub-ons to decorate the number inserted in the cork at the top.
Alpha Stamps Products Used in This Piece

