Pages

Saturday, August 14, 2021

SEA DREAMS - HANDMADE BOOK WITHIN A BOOK - VIDEO TUTORIAL - NEW COLLAGE SHEET

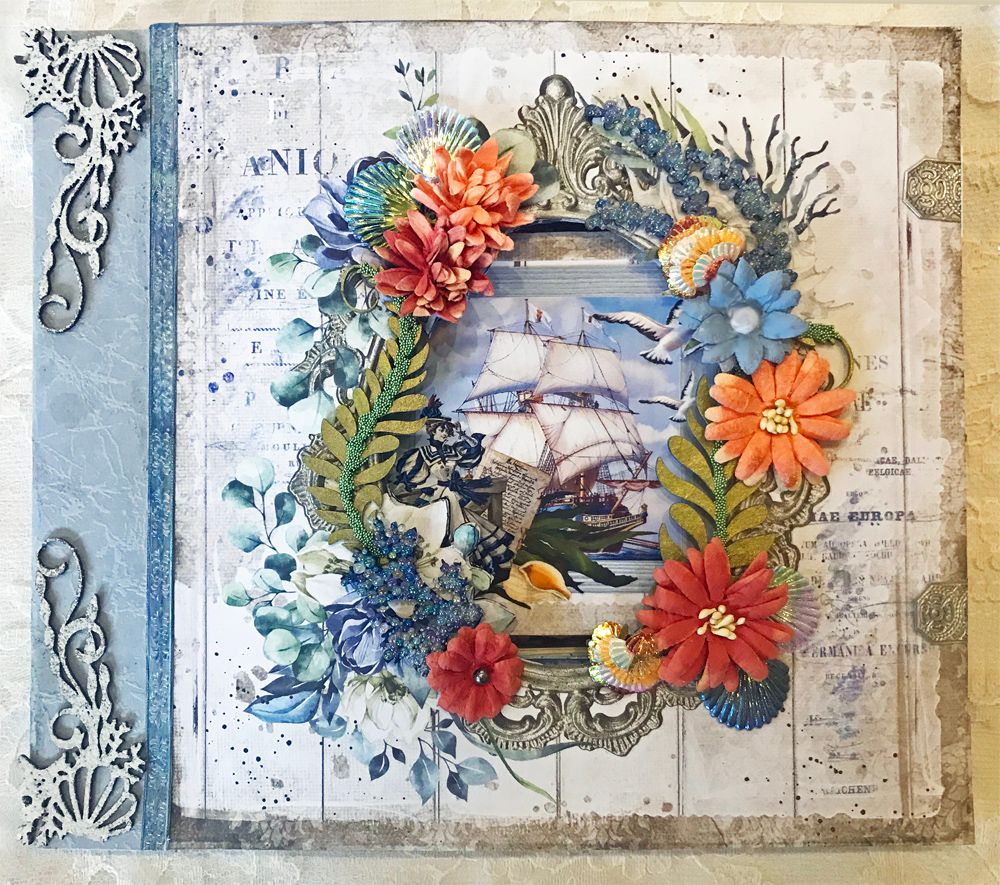
For this project, I demonstrate how to make two books, a large book that contains a mini removable book. 

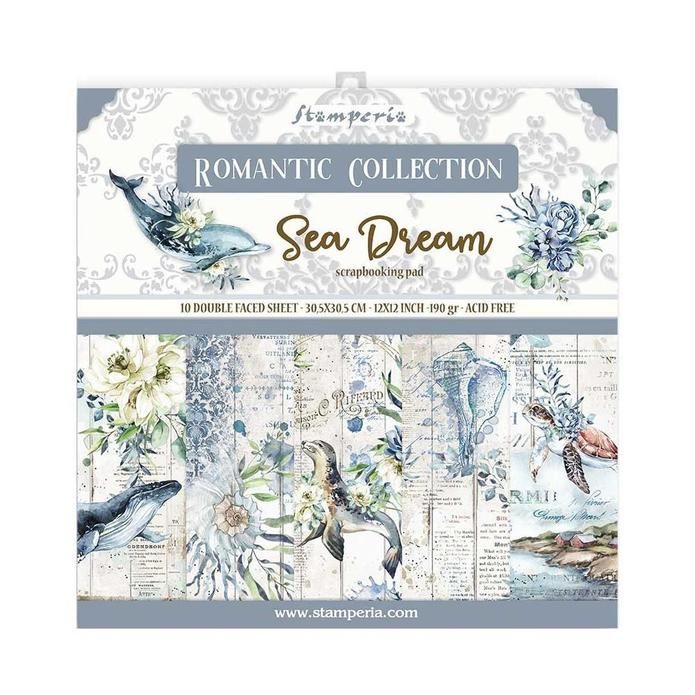
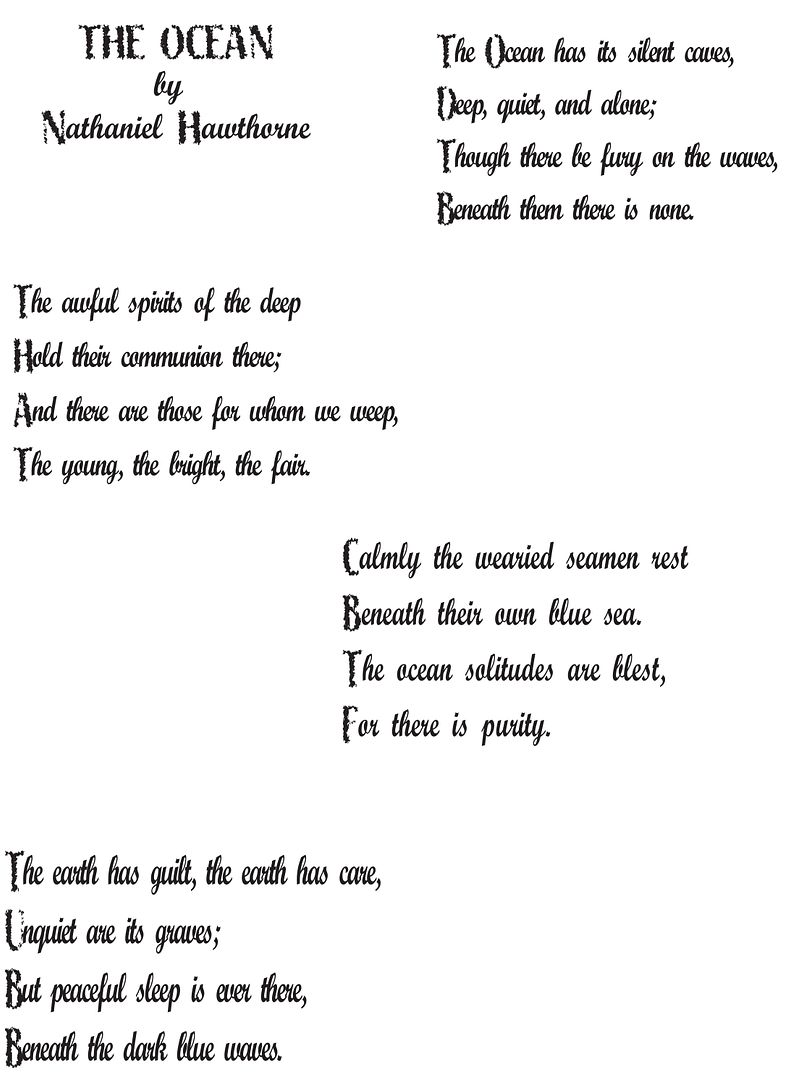
The inspiration for this project comes from the Sea Dream 8x8 paper pad and the Poem by Nathanial Hawthorn titled “The Ocean”.  You'll find a printable version of the poem further down in this post.  I love the paper's design blending sea life with flowers.

I have created a new collage sheet, “SEA DREAMS” for this project and used the sheet to decorate the mini-book.


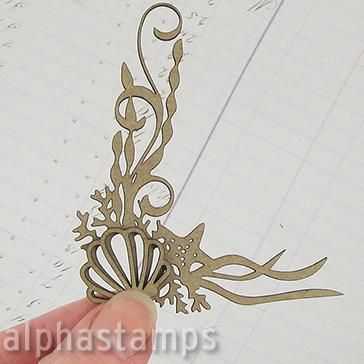
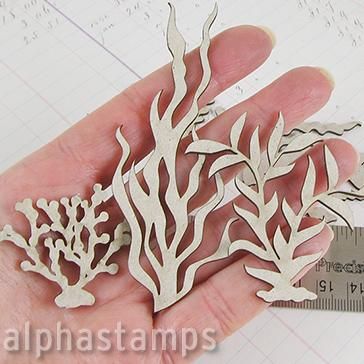
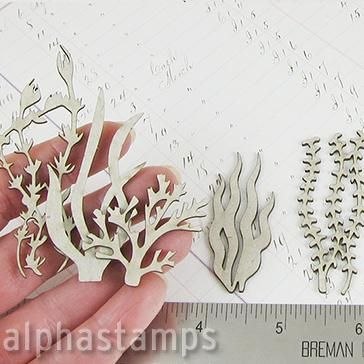
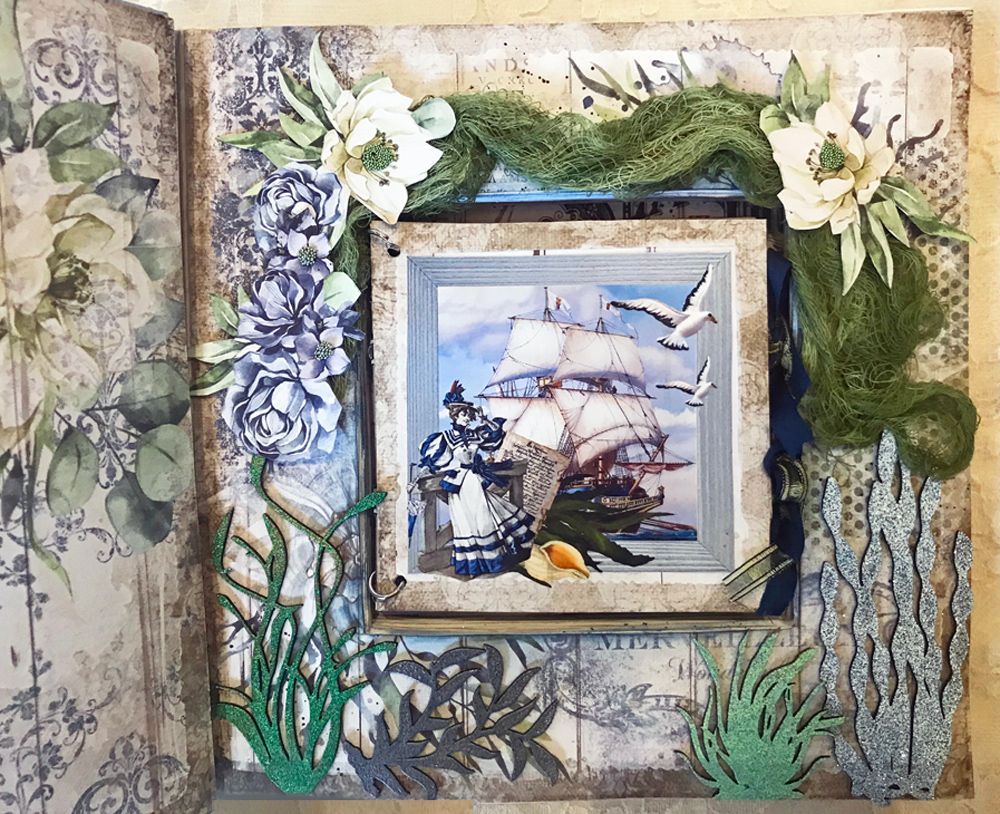
To decorate the large book, I used various fern and seaweed type die-cut chipboard which I colored and made dimensional with the use of paint, microbeads, and embossing powders.


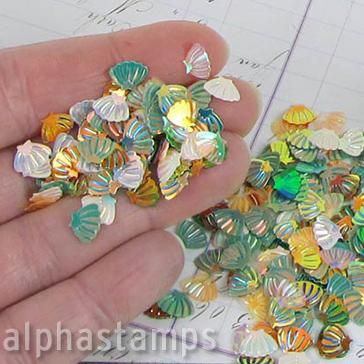
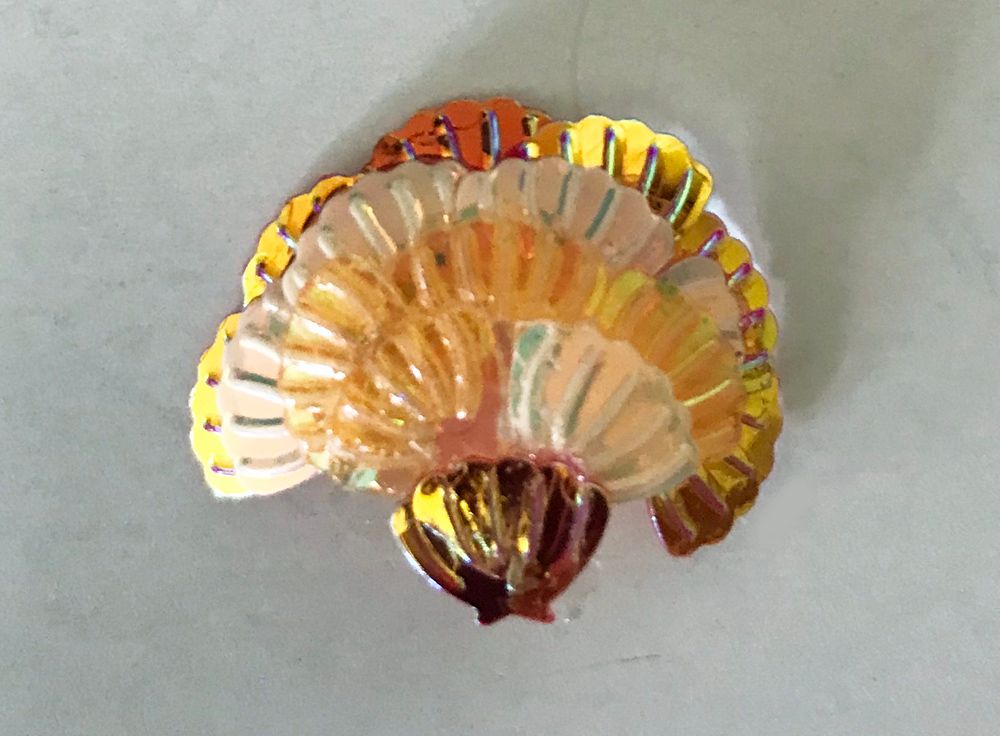
Along with how to construct the book, I’ll share with you other ideas for embellishments, such as taking an embellishment that is too small for the scale of the project and turning it into something that is the right scale.

In the video tutorial below, I’ll walk you through all the steps to create books like this for yourself.

SEA DREAMS COLLAGE SHEET - NEW

These vintage sea-themed images are perfect for collage projects, mini books, handmade cards, labels, and coasters.  Click on the image below to purchase this collage sheet.

VIDEO TUTORIAL

Saturday, June 5, 2021

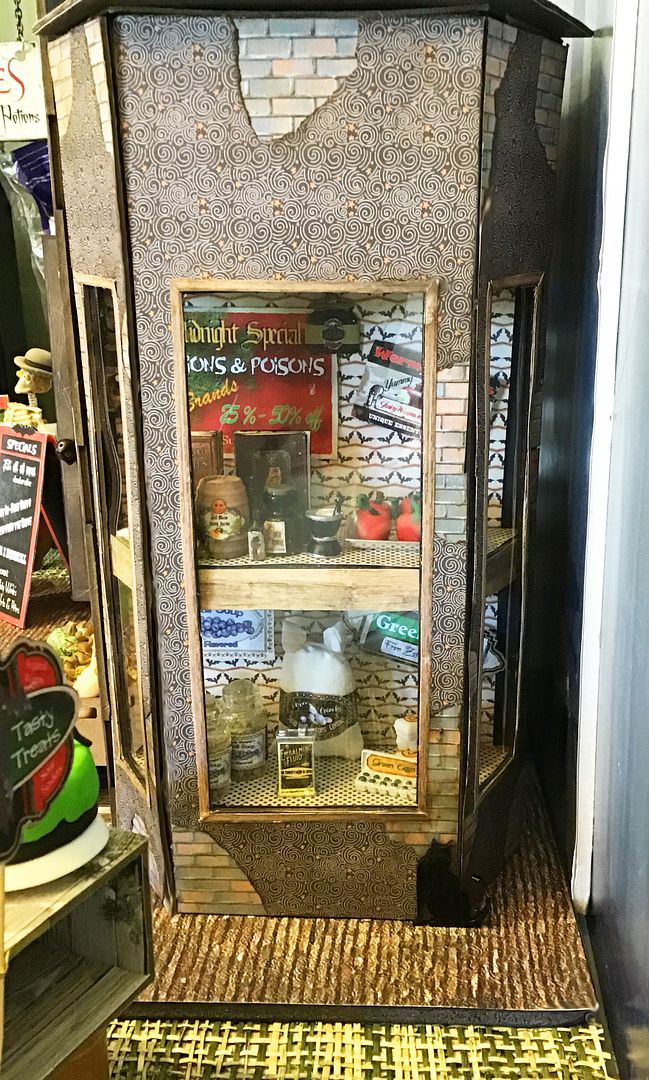
Moldy Morty's Market - Grimsley Village - Video Tutorial - New Image Sets

Not your usual market, the customer's taste runs more to Dried Zombie Brains and  Beatrix Myopia’s Eyeball Soup.  The latest specials look interesting, particularly the 2 for 1 Roadkill. 

The market is well stocked with Blood Coffee, Spicy Vampire Venom, Sour Milk, Scream Cheese, Voodoo Spirits, Anguished Vapors, and Vampire Vodka.

The Potions and Poisons sale starts at midnight so don’t be late.

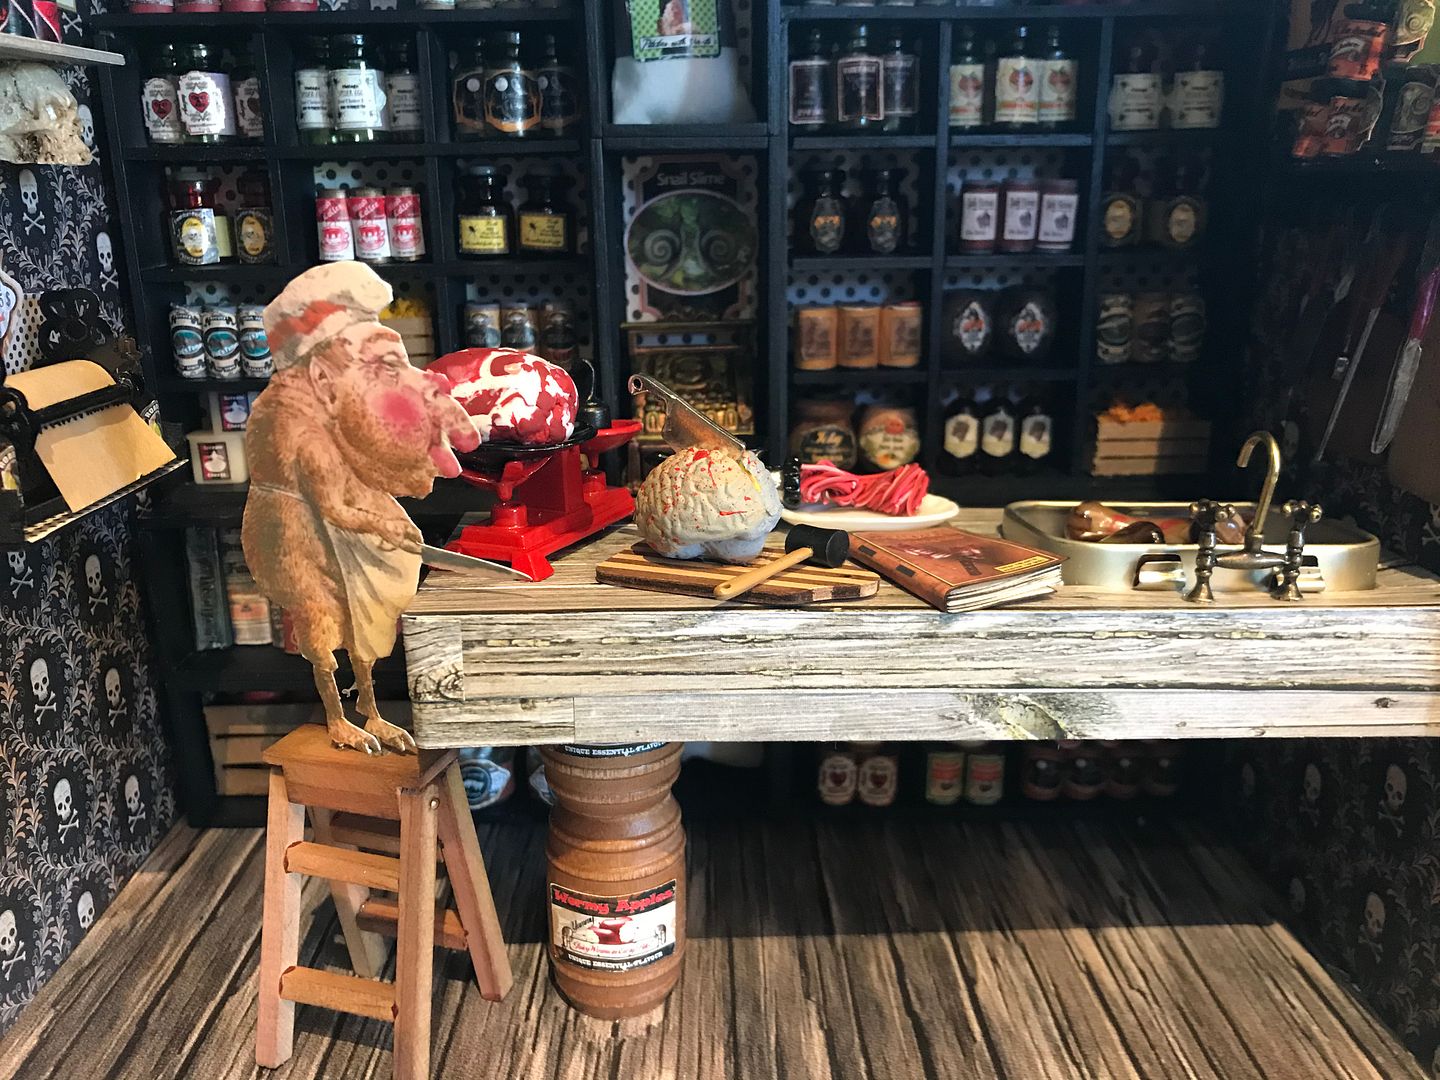
Mr. Cleaver is in his usual place butchering something delightfully disgusting.
Hairy Hagatha has just released her latest cookbook, “The Ghoulish Gourmet.”  Screaming eggs at 59 cents per dozen is a steal.

As usual, the Bones brothers are playing checkers and drinking beer.


Cadaver and Digger have arrived with their delivery of bones from the graveyard.

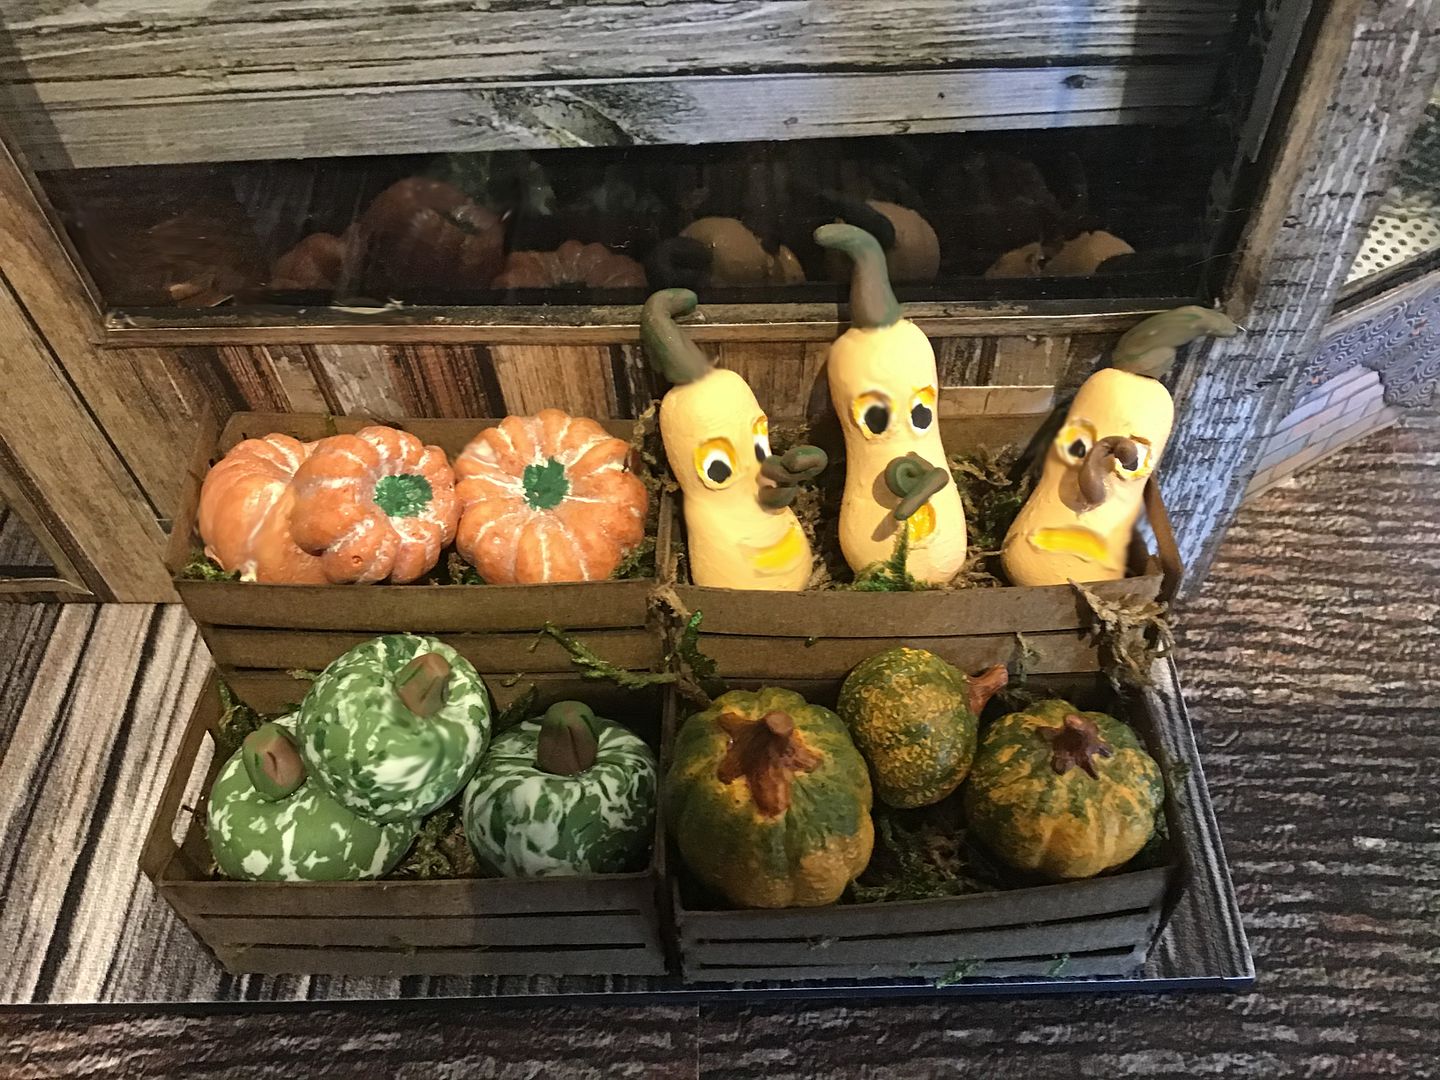
Terrible Tina’s Tasty Treats stand is full of ghoulish goodies.

Mr. Humerus has finished his shopping and sits on a bench reading the Grimsley Village News with his pet Spider.


There he is Mr. Morty himself creeping around the corner.


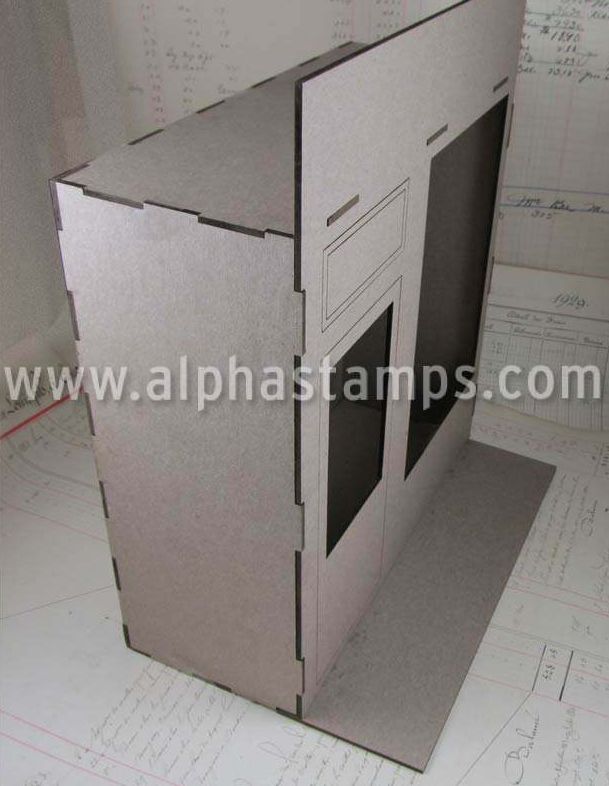
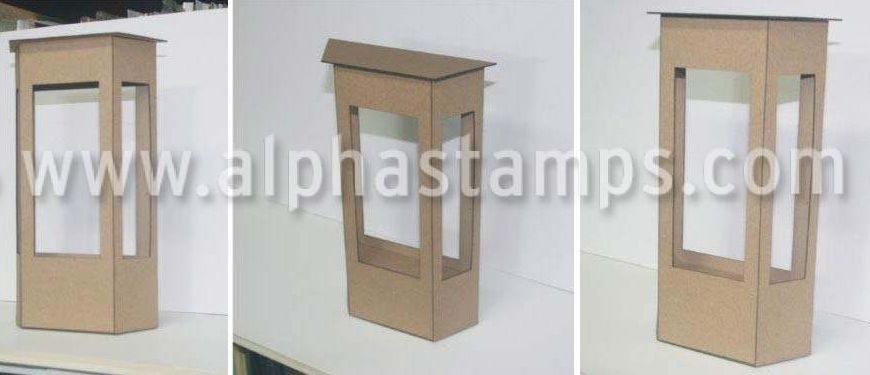
This project is packed with chipboard and paper die-cut kits that make it easy to assemble, starting with the main structure which is a Deep Storefront Box, to 10 inch Bay Windows, Bagatelle Boxes and Storage Hutch (used to construct the inside wall unit), with many more smaller items like the crates, a hanging lantern, and shelving.


Further in the post, there is a link to a video tutorial where I show you how I put the market together.  In addition, I’ve created 3 new collage sheets and a digital image set.  There is a link further down where you can pop over to AlphaStamps to easily see all the products I use as well as a detailed list of products with links.

And last but not least some free images to go with the project.


NEW COLLAGE SHEETS & DIGI IMAGE SET
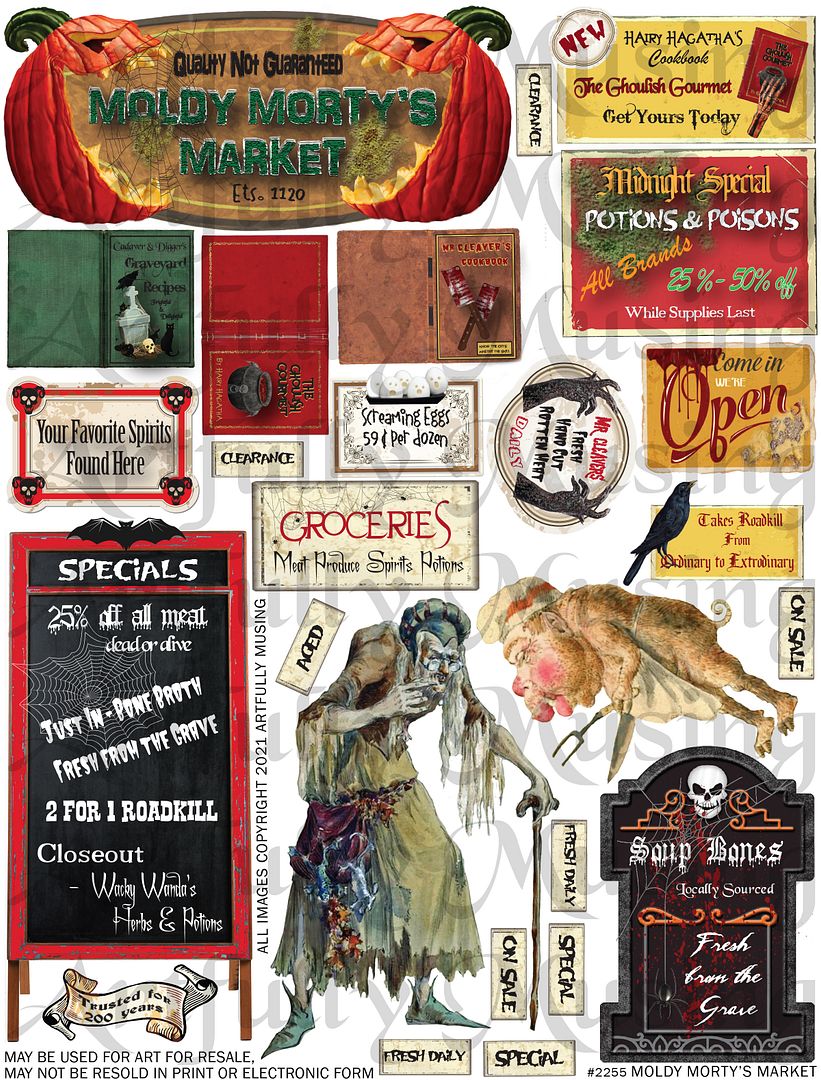
This collage sheet contains images to create a Halloween Market.  On this sheet, you will find Moldy Morty, Mr. Cleaver (the butcher), a sandwich board, three cookbooks, and lots of signage.  To purchase this sheet click on the image below.

Mini Halloween Market Labels Collage Sheet

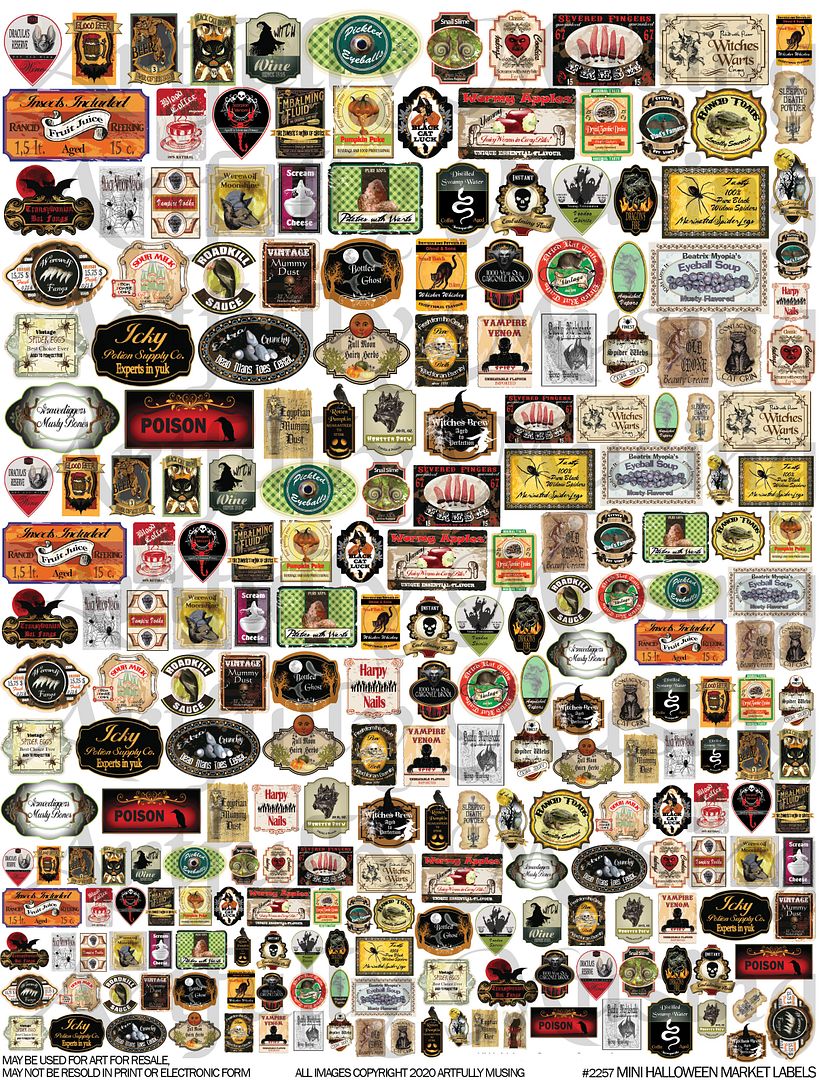
This sheet contains 59 unique food, drink, and potion labels in four different sizes ranging from 3/8” high to ¾” high that should fit a variety of miniature containers. These work well with 1:12 scale miniature projects.  To purchase this sheet, click on the image below.

Mini Halloween Market Labels Collage Sheet

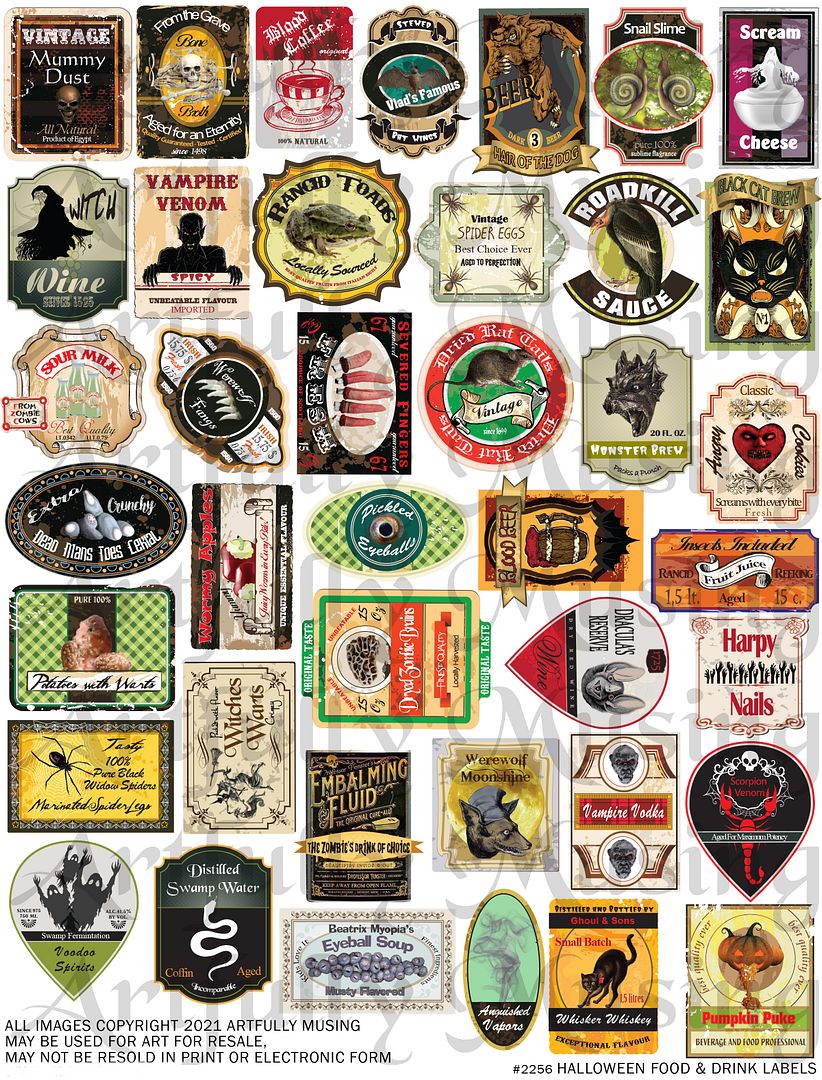
This collage sheet contains 40 unique food and drinks labels that can be used to label containers or as posters for miniature projects.  
Labels include: Vintage Mummy Dust, Bone Broth – Fresh from the grave, Blood Coffee, Vlad’s Famous Stewed Bat Wings, Spicy Vampire Venom, Rancid Toads, Spider Eggs, Road Kill Sauce, Sour Milk, Werewolf Fangs, Dead Man’s Toes Cereal – Extra Crunchy, Scream Cheese, Potatoes with Warts, Dried Rat Tails, Marinated Spider Legs, Beatrix Myopia’s Eyeball Soup, Voodoo Spirits, Werewolf Moonshine, Vampire Vodka, Anguished Vapors, Monster Brew, Scorpion Venom, Embalming Fluid, Pumpkin Puke,  Rancid Fruit Juice, Wormy Apples, Dried Zombie Brains, Crispy Witches Warts, Severed Fingers, Angry Cookies, Snail Slime, Pickled Eyeballs, Witch Wine, Black Cat Brew, Hair of the Dog Beer, Blood Beer, Dracula’s Reserve Wine, Ghoul & Sons Whisker Whiskey, Distilled Swamp Water, Harpy Nails.  Top purchase this sheet click on the picture below.

Moldy Morty’s Market Digital Image Set

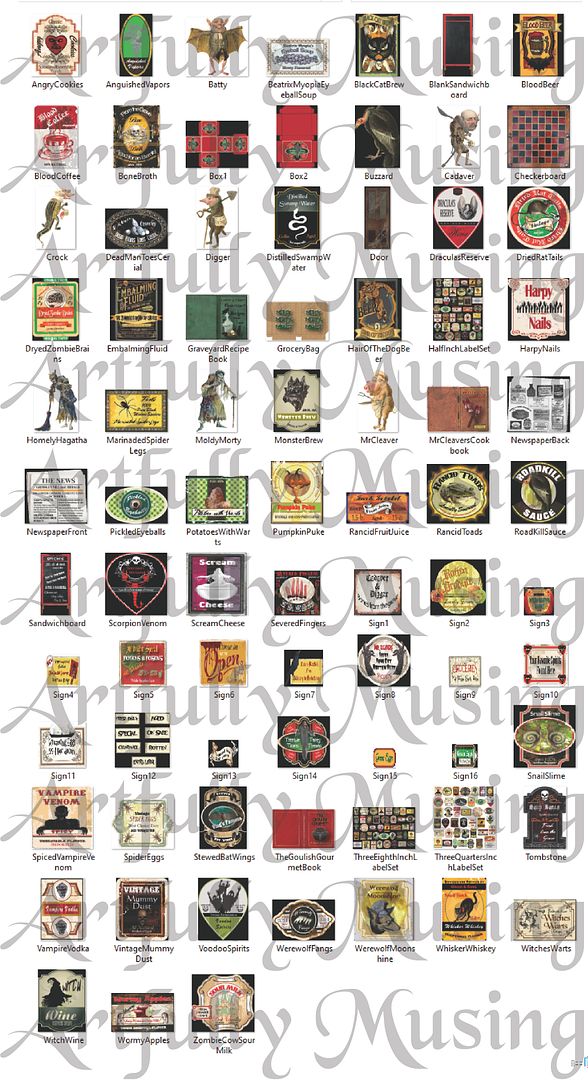
This image set contains 80 images which includes all of the images from the Moldy Morty’s Market Collage Sheet, the Mini Halloween Market Labels Collage Sheet, and the Halloween Market Food & Drink Labels Collage Sheet.  In addition, there are more signs, characters, and other items that work well with the spooky market.  To purchase this image set click on the image below.


VIDEO TUTORIAL


FREE IMAGES
Feel free to download and use the images below for your projects (downloads are actual size).

CABINET DESIGN CHART


Detail Supply List 

COLLAGE SHEETS & DIGI SETS & PAPER

12x12Masquerade Paper Set

6x6Masquerade Paper Pack

Dry Wood Scrapbook Paper

Color Vibe Woods 6x8 Paper Pad

Moldy Morty’s Market Collage Sheet

MoldyMorty’s Market Digital Image Set

Mini Halloween Market Labels Collage Sheet

Halloween Food & Drink Labels

Mini Witchy Library Collage Sheet

 STRUCTURE

10 Inch Bay Window

Deep Storefront Room Box

Storage Hutch

Bagatelle Box 1-1/2 x 3 Inches

Bagatelle Box 1-1/2 x 4 Inches

Small Hexagon Lantern

Clump Foliage – Fall Mix

Old Fashion Faucet

Tiny Spice Rack w/Dowel

Pair of Half Scale Shelf Brackets

Small Spice Rack

Clear Plastic for Windows

 CONTAINERS/DISHES

Round White Serving Dish

Plastic Serving Tray

Even Tinier Chipboard Crates Half Scale

Tiny Chipboard Creates Set of 2

Oval Metal Serving Tray

Mini Wooden Barrel

Miniature Barrel Planter

Mini Egg Carton

Eggs in Open Carton

Old Fashion Flour Sacks

Oval White Serving Tray

Unfinished Wooden Bucket

Silver Cookie Sheet or Oven Tray

Tiny Unfinished Wooden Barrels

Mini Wooden Oil Drum

 EMBELLISHMENTS

Acrylic Black Sitting Cat Cut-Outs

1 Inch Black Acrylic Ravens

Meat Cleaver Charm

Black Stone Skull Beads

Mini Wooden Cutting Board

Meat Cleaver Charm

Miniature Paper Dispenser

Plastic Skeletons

Miniature Flying Bats

Miniature Vintage Cash Register

Mini Meat Grinder

Metal Sickle

Grocery Scale

Metal Mortar & Pestle

Set of Cutting Boards

Perched Owl Embellishments

Miniature Mallet

Butcher Block Tools

Mixed Painted Pumpkins

Pumpkin Pods

Tim Holtz Mini Skulls & Pumpkins

Unfinished Step Ladder

 FOOD/DRINK

Polymer Clay Halloween Slice Mix

Polymer Clay Dark Halloween Slice Mix

Halloween Mini Cookies – Polymer Clay Slice Mix

BOTTLES/JARS

1:12 Resin Brandy Bottle - Red

1:12 Resin Brandy Bottle – Brown

Miniature Green Wine Bottle

Miniature Red Wine Bottle

Mini Clear Resin Whisky Bottle

White Canister Set

Mini Beer Cans

Green Resin Bottles Set of 2

Mini Mason Jars – Set of 3

Old Fashion Grocery Cans

3cm Tall Bottle with Cork

12 Tiny Glass Bottles

Chunky Glass Bottle with Lid

Small Chipboard Apothecary Jar Shapes

1 Inch Plastic Bones

Jelly Jar with Lid

Large Clear Resin Potions Bottle

Small Clear Resin Potions Bottle

Amber Resin Contoured Bottle

Amber Resin Beer Bottle

Green Resin Beer Bottle

Pickle Jar with Lid

Paint Can

Metal Paint Can with Lid

White Resin Quart Bottle

White Resin Cocoa Container

Set of 5 Tiny Amber Bottles

6 or 12 Tiny Glass Bottles

Even Tinier Bottles

Amber Even Tinier Bottles

Red Jam Mini Resin Jars

Milk Jug Buttons

Ghoulish Green Mini Resin Jars

Grape Jelly Mini Resin Jars

Amber Resin Potions Bottle

Miniature Wine Bottle Set

If you are interested in the other Grimsley Village pieces, you can find the video tutorials and supply list by clicking the links below.


Grimsley Village Part 1 (which includes)
Happy Bat Tavern
Grizelda's House of Beauty
The Retching Toad Eatery
Ghoul & Sons Chemists
The Thrifty Witch
Grimsley Village Part 2 (which includes)
Black Cat Emporium
Buzzard Bed & Breakfast
Cadaver & Digger Undertakers
Village Square


Saturday, April 3, 2021

Faberge Style Eggs - New Collage Sheet

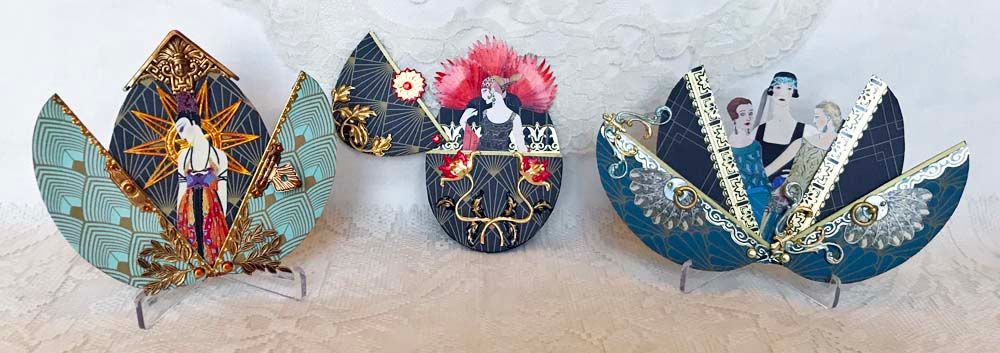
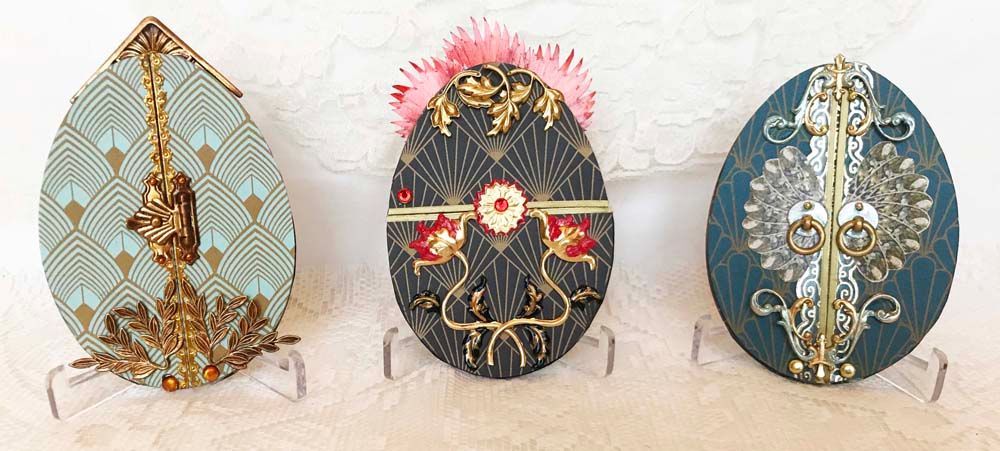
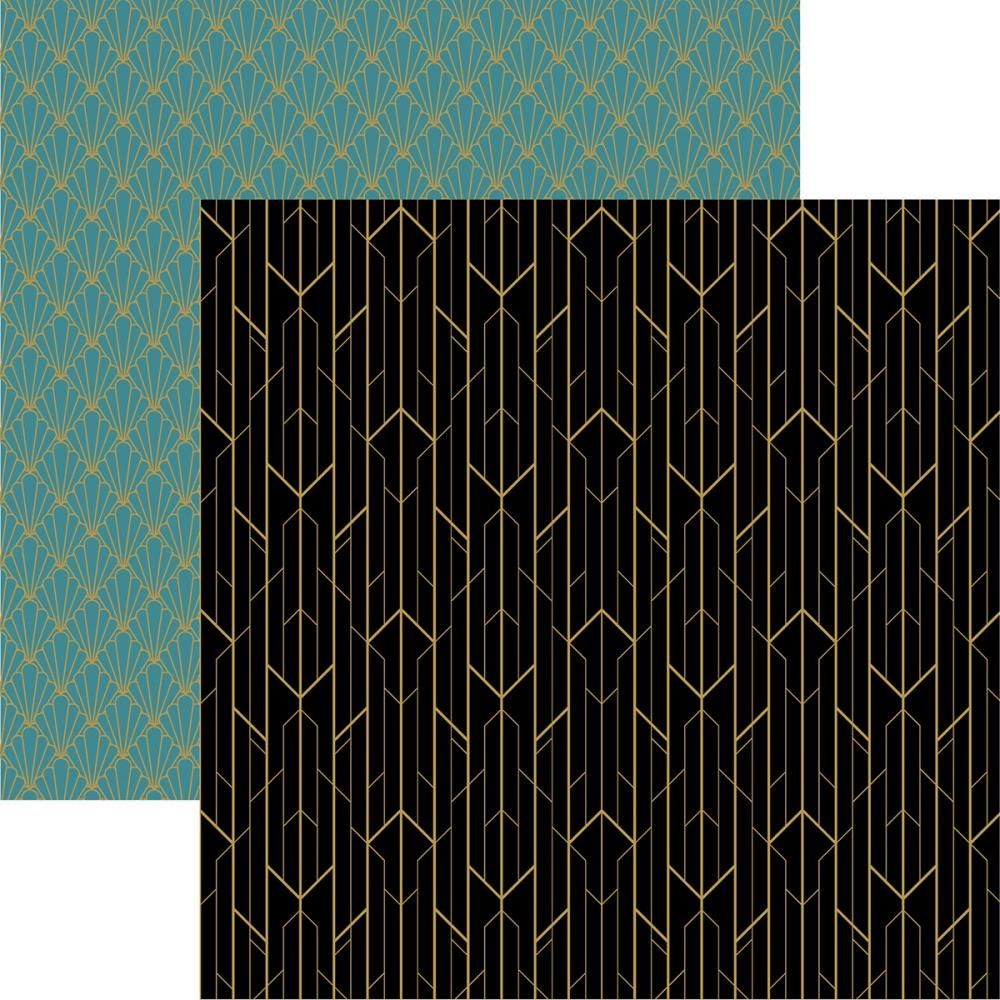
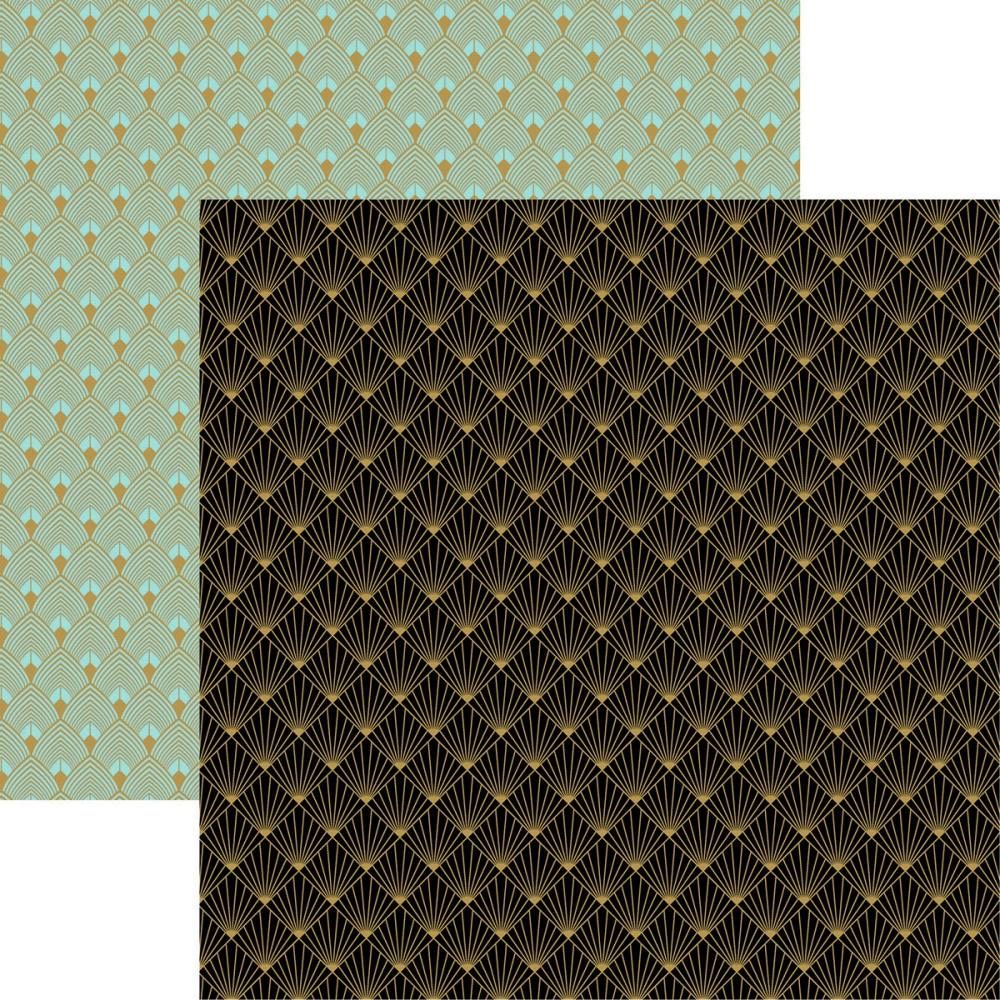
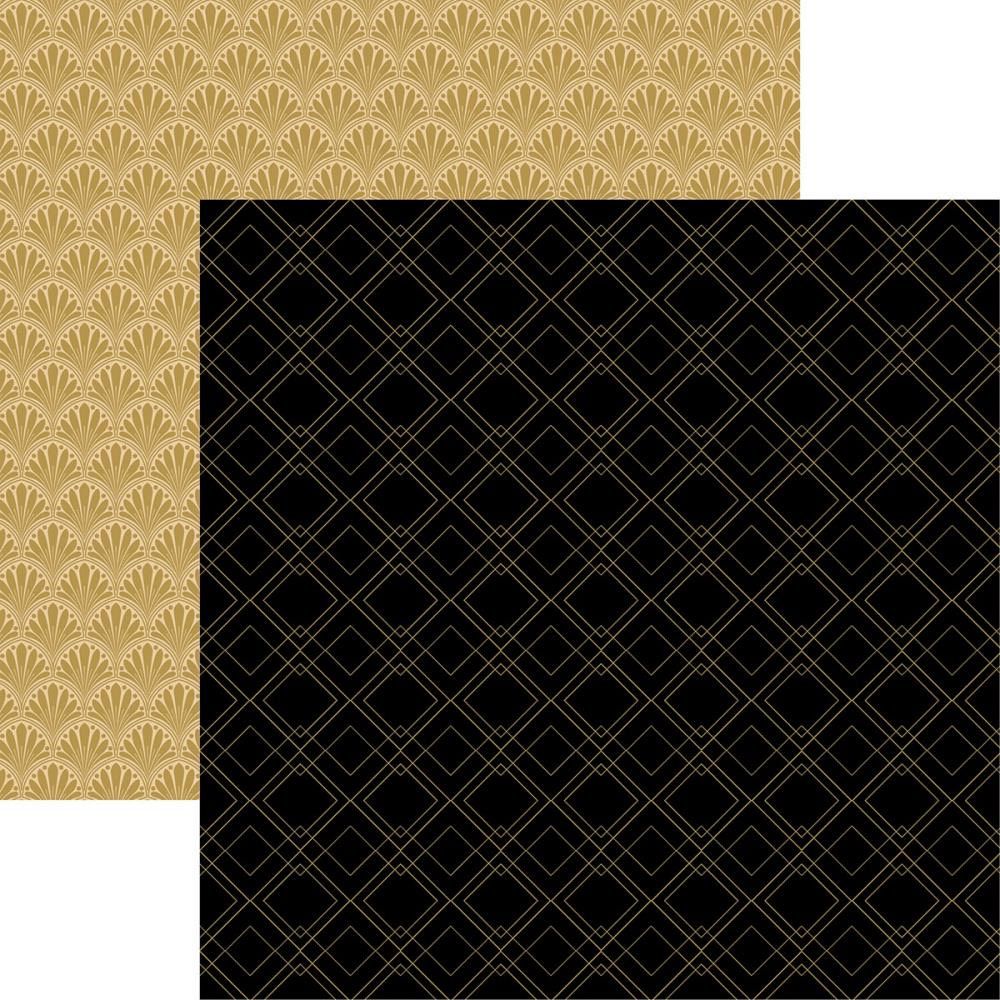
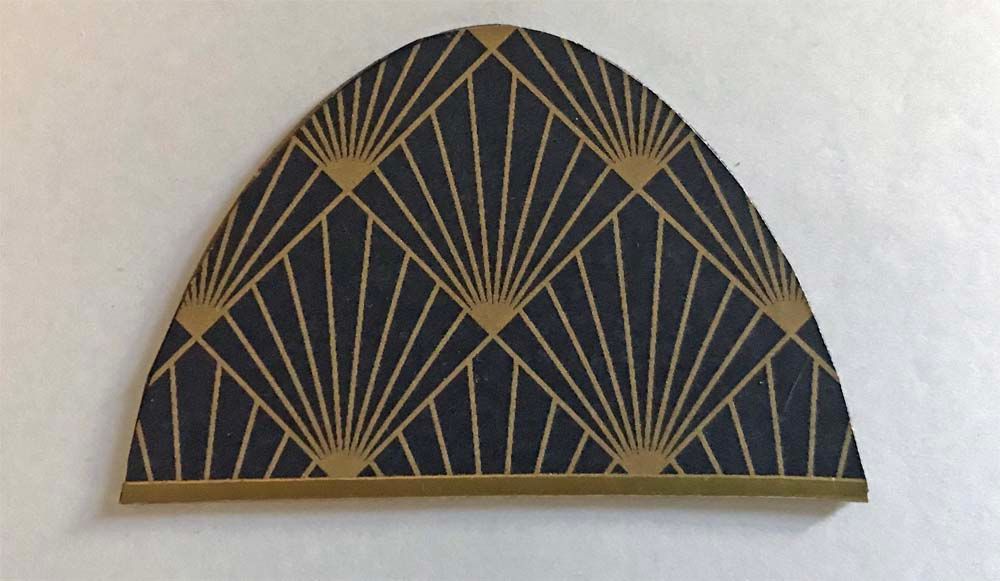
Not the typical eggs you might see at Easter, these ATC sized eggs are inspired by the Art Deco Style paper pictured further below in this post and Faberge Eggs which open to showcase various elements inside.  Several years ago, I made a set of Faberge inspired eggs, and for this set, I decided to use ladies dressed in 1920s style fashions.  


ART DECO THEMED PAPERS


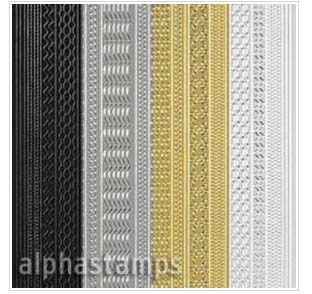
Another major element that I incorporated into these eggs are various metallic stickers, which can be used as is, cut into pieces or painted with Alcohol inks to change their color while preserving the metallic look of the sticker.


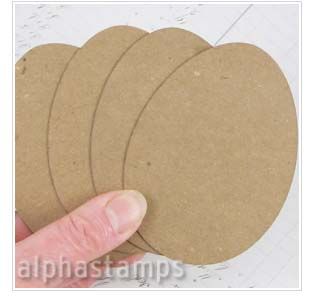
For the base of the eggs, I used a set of precut ATC-sized chipboard egg shapes.

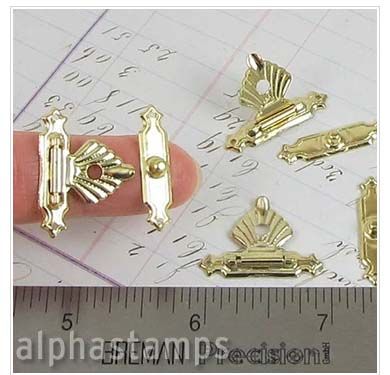
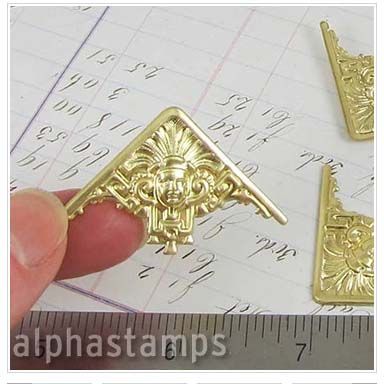
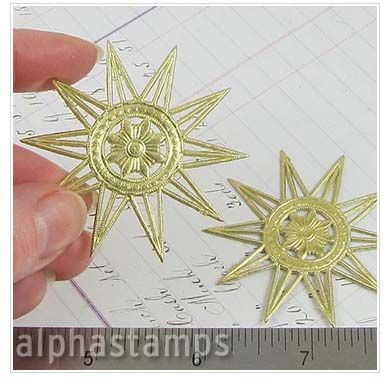
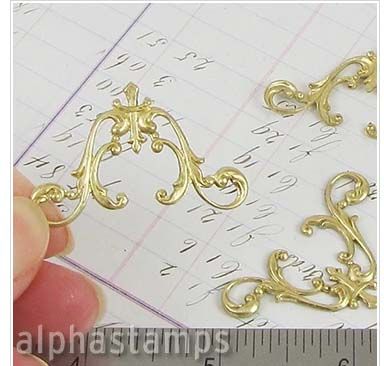
To add lots of bling and interest, I used various brass pieces and gold Dresden which I cover further down below, where I walk you through how I constructed the eggs.


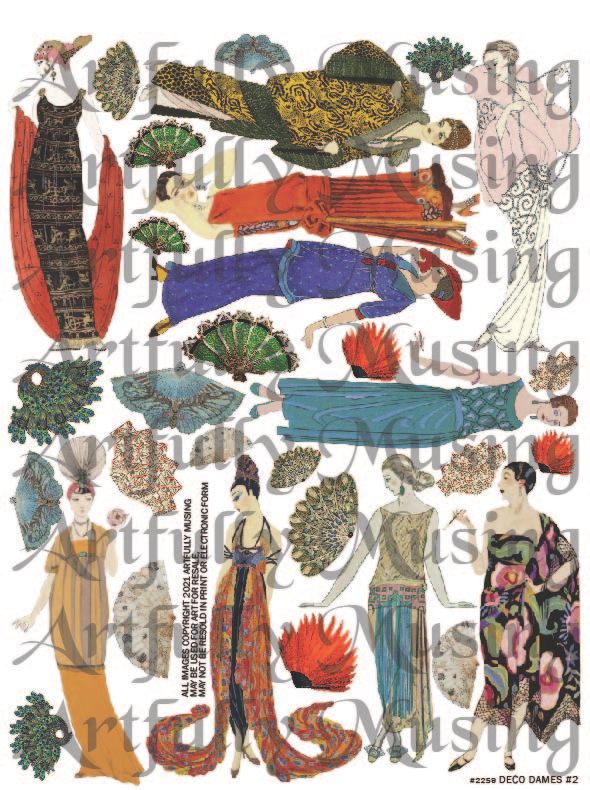
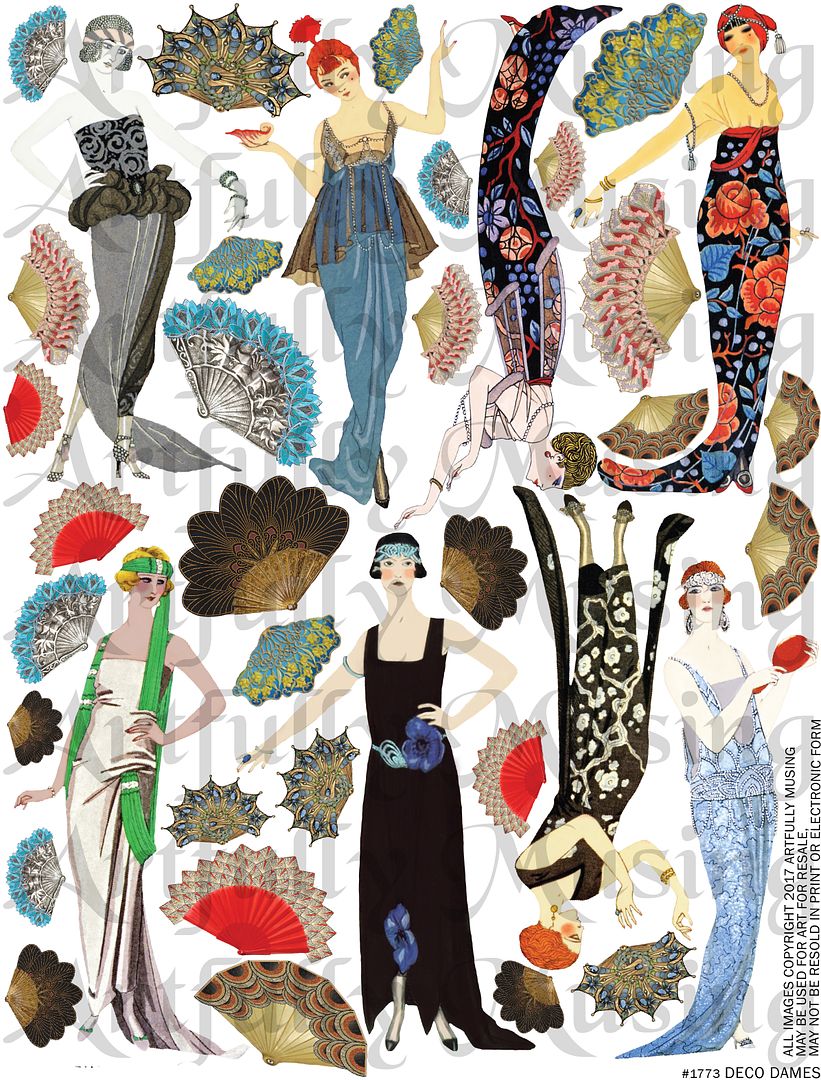
This is a companion sheet to the original Deco Dames collage sheet (also pictured below) and contains 10 ladies in 1920s fashion and 7 unique fan designs with 3 sizes of each fan design.  Click on the image below to purchase this sheet.

Click on the image below to purchase this sheet.

THE DETAILS

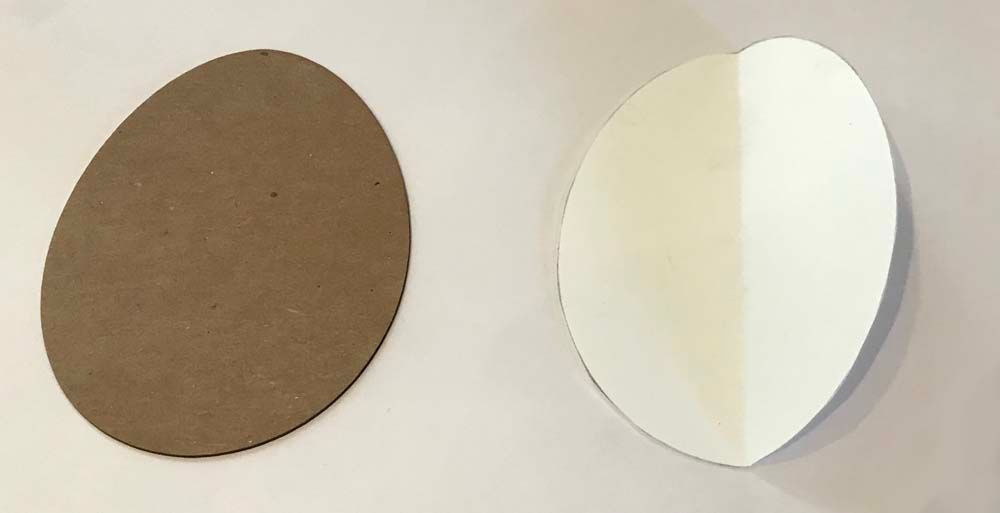
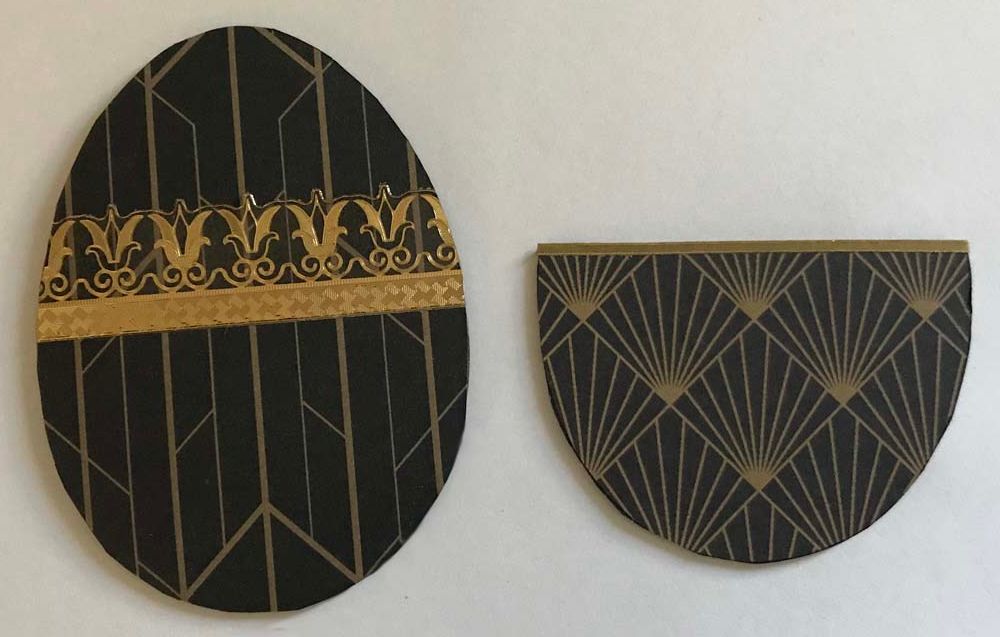
To get the design centered on the egg, I placed the chipboard shape onto the patterned paper and traced the egg's shape; I then cut out the paper and glued it to the chipboard egg.

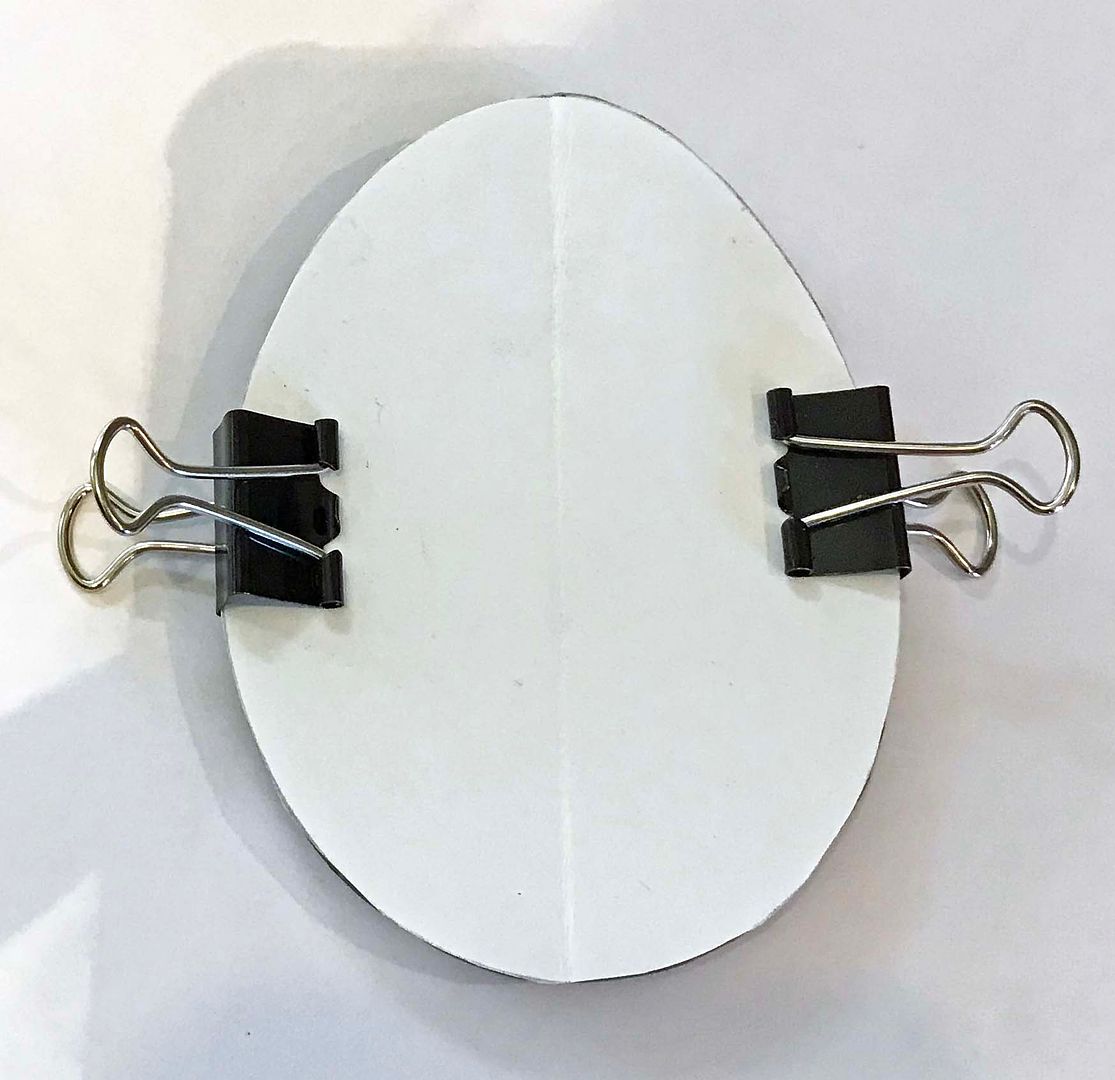
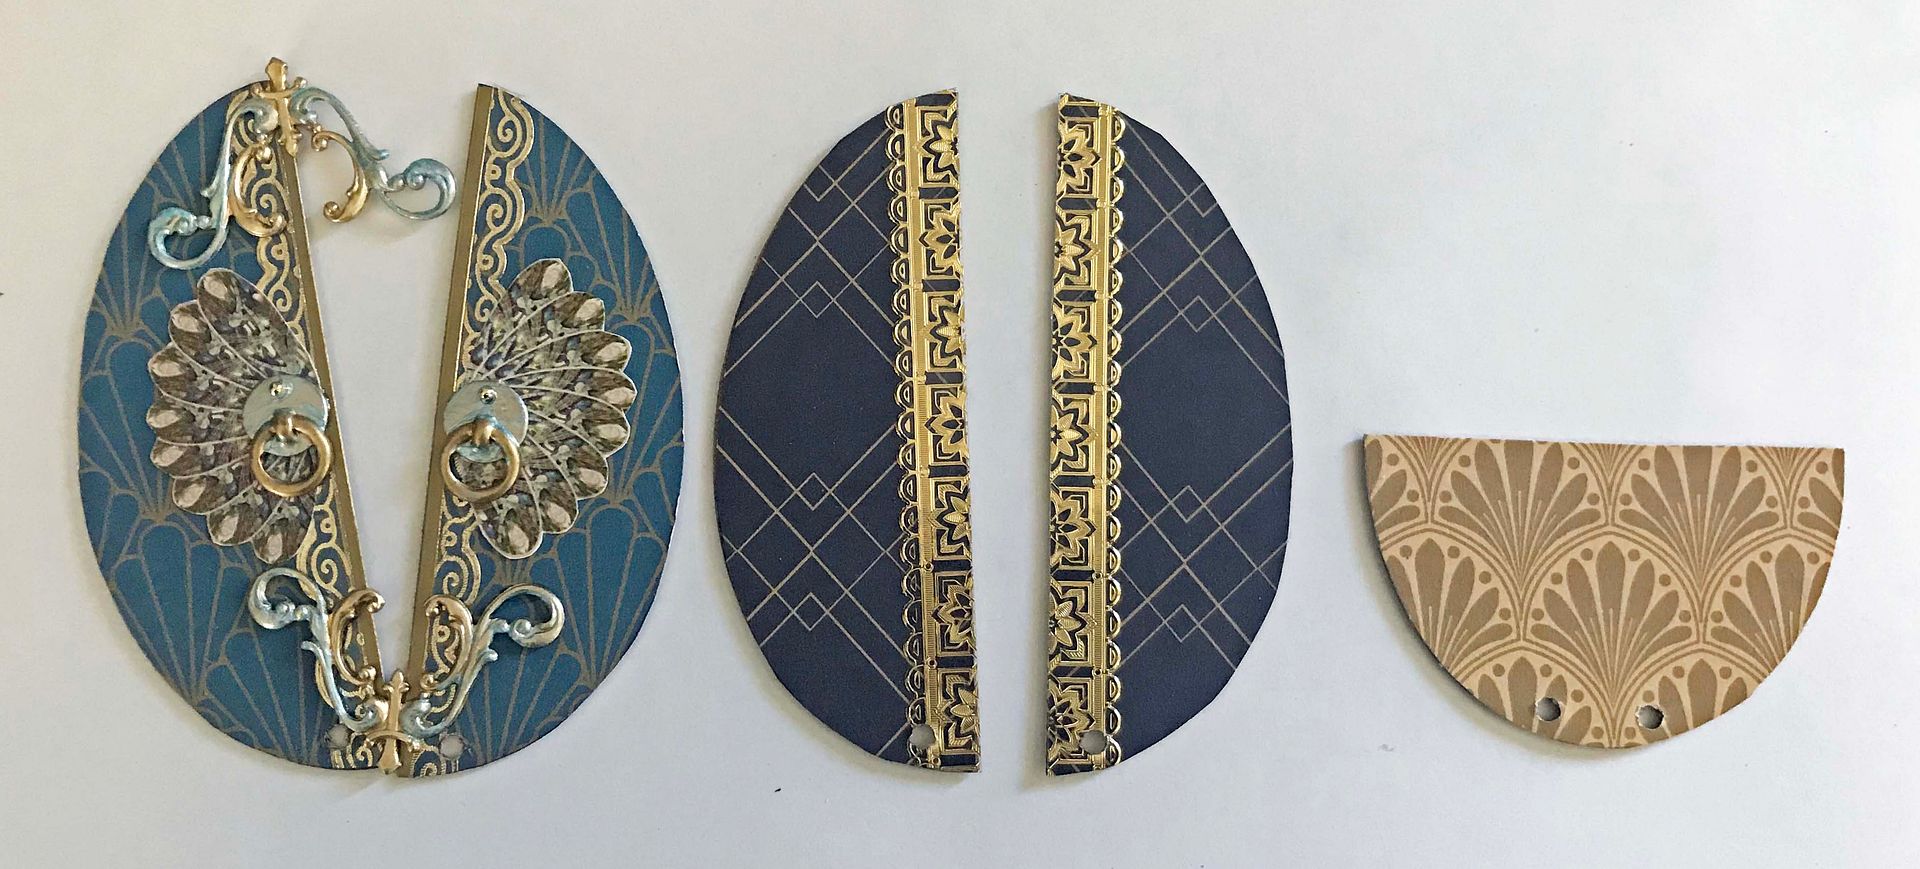
To split the egg into two equal vertical parts, I again used the chipboard egg to trace the shape onto a piece of paper.  Next, I cut out the shape, folded it in half, and then clipped it to the egg.  I then used the crease in the paper as my guide in splitting the egg.


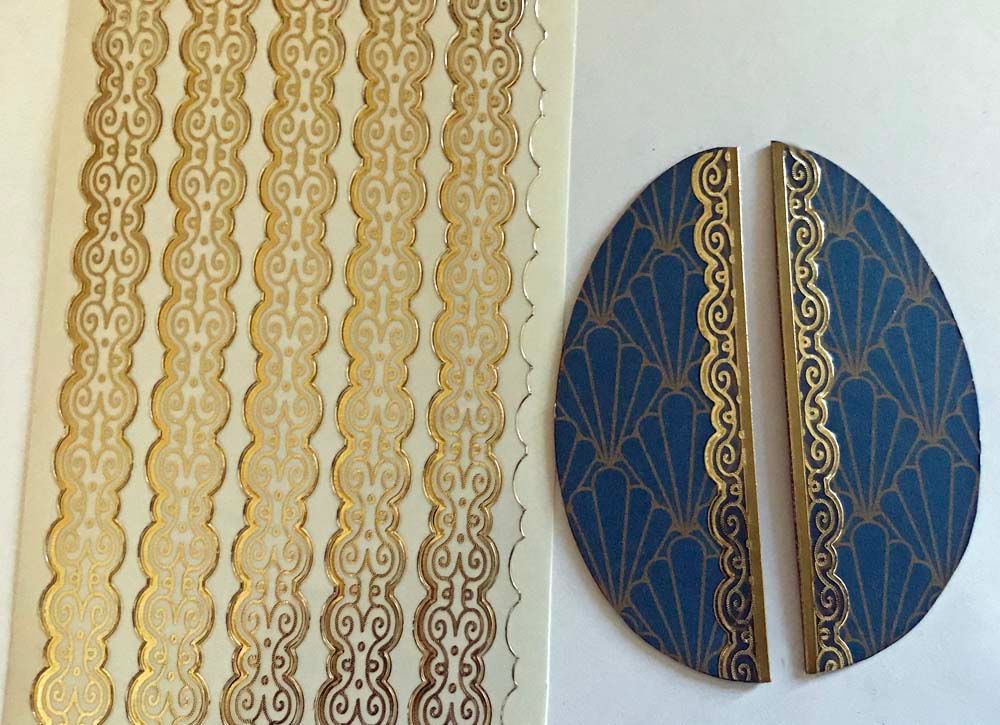
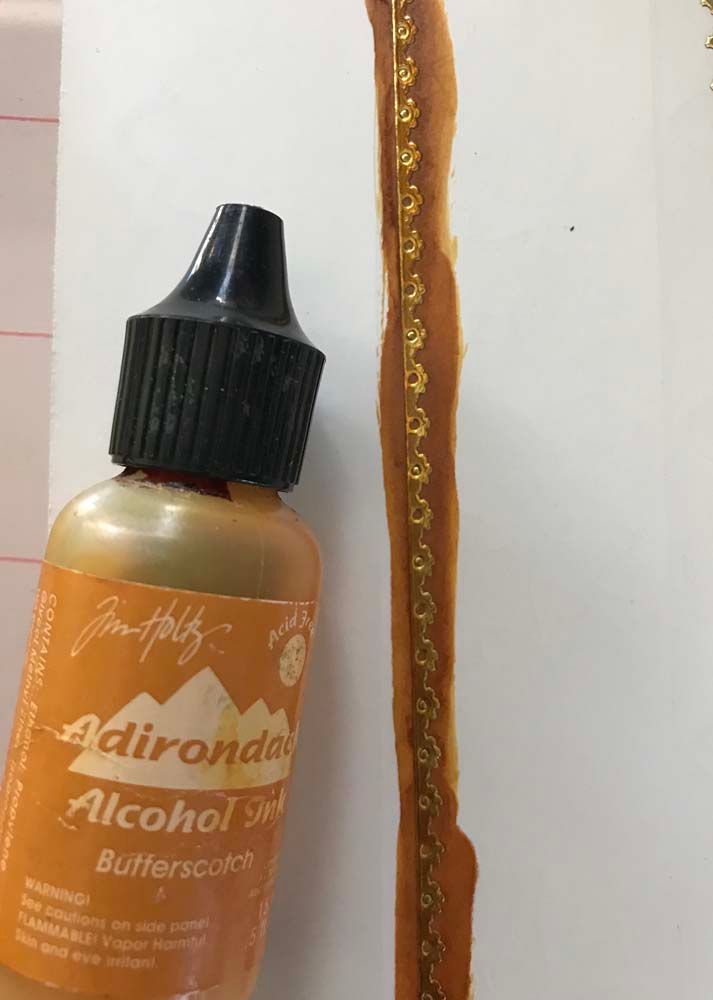
I trimmed the edges of the split egg with stickers.   In one case, I cut a strip of sticker in half and applied each half to the split egg.  In the other case, I first painted the sticker strip with Alcohol ink to get the desired metallic color.  Using Alcohol ink preserves the metallic look.


For two of the eggs, I used two of the chipboard eggs, but for one, I used three chipboard eggs, giving me a double reveal.

Once you have covered the eggs with decorative paper and other flat elements, you need to stack the eggs one on top of the other and then punch the holes used to insert brads that will hold the eggs together and allow you to open the eggs.

For the eggs, which I split vertically down the middle, I punched two holes in the bottom (one on each piece of the egg),

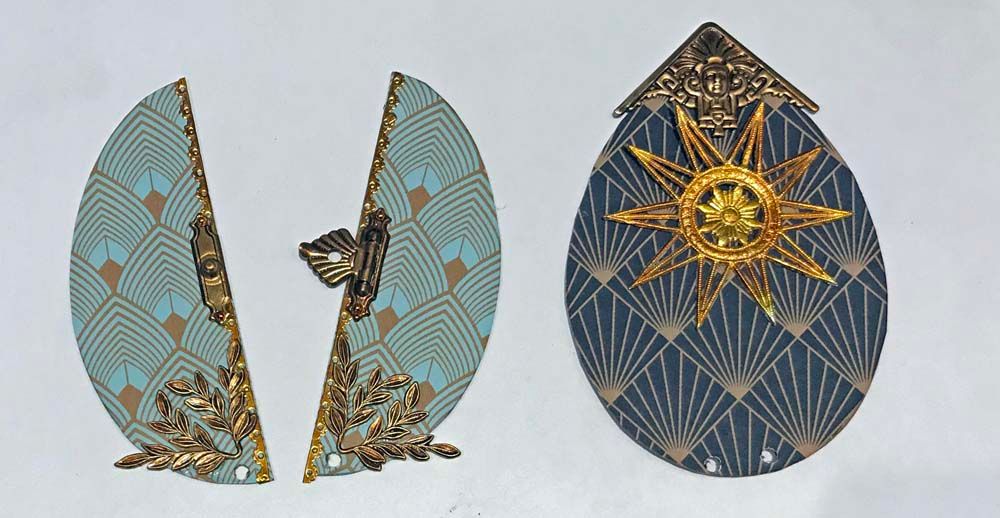
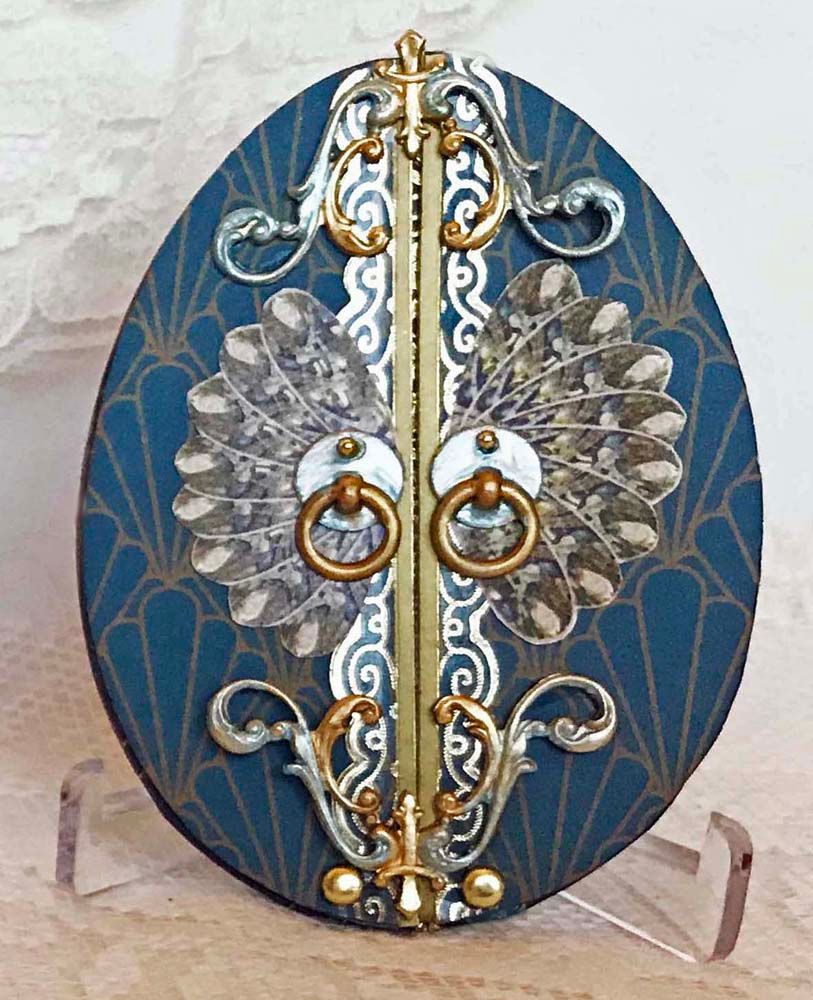
Below you can see the brass pieces I used on the egg above.  I painted these pieces with metallic copper spray paint to match the copper color in the paper.


Below you can see the Dresden I used for the egg above, which I painted with Butterscotch Alcohol ink and is the same ink I used for the metallic stickers on the egg's edge.

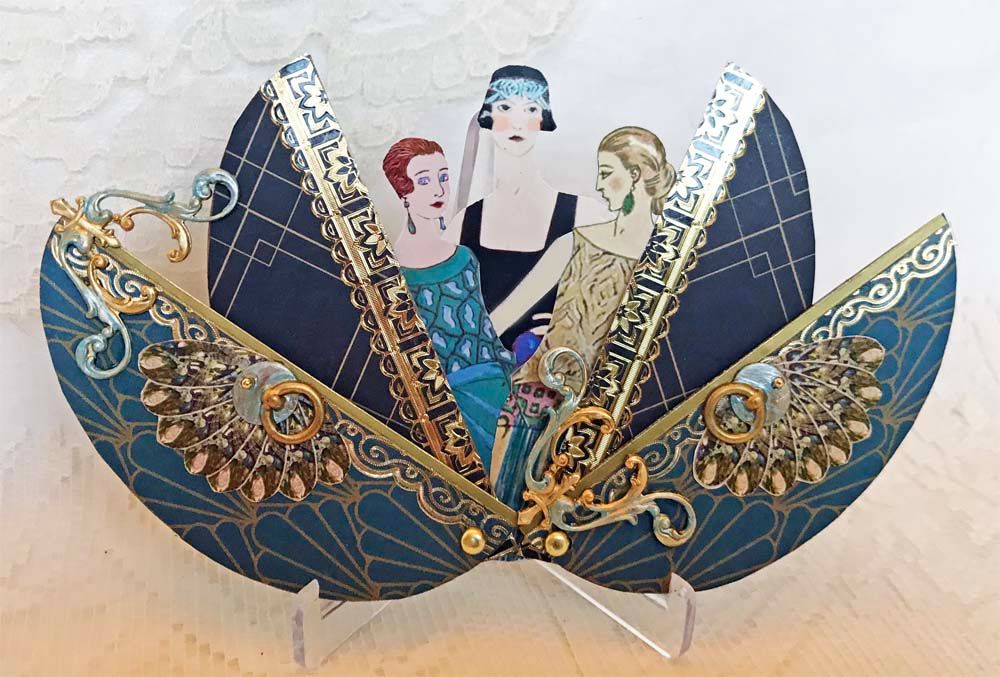
Notice for the egg above, I have used three chipboard eggs, splitting the first two vertically and cutting the last one a little less than in half horizontally.  The ladies' images mount to the last egg and look free-floating when you open the first two eggs.

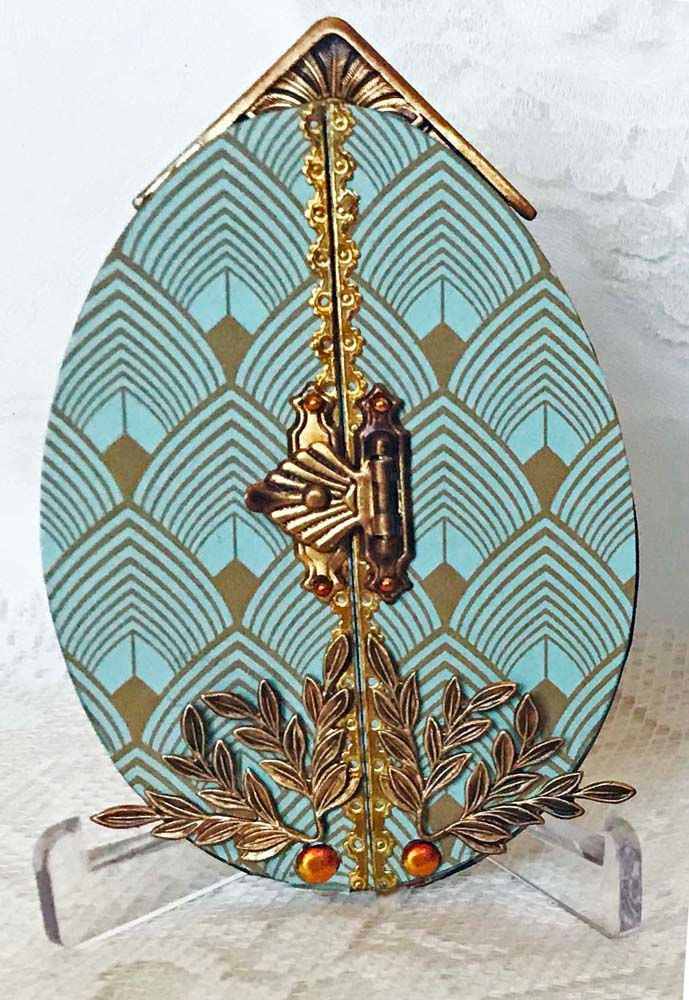
For the egg above, I used fans from the collage sheet to decorate the front and various stickers to dress up the eggs' edges.  Also, I added brass scrollwork and handles painted with teal paint.

NOTE:  Always be mindful of where you attach brass pieces to the front of the egg, so they don’t get in the way of opening the egg.  For this piece, I attached one of the brass pieces to the top left side of the egg and the one to the bottom right side of the egg.


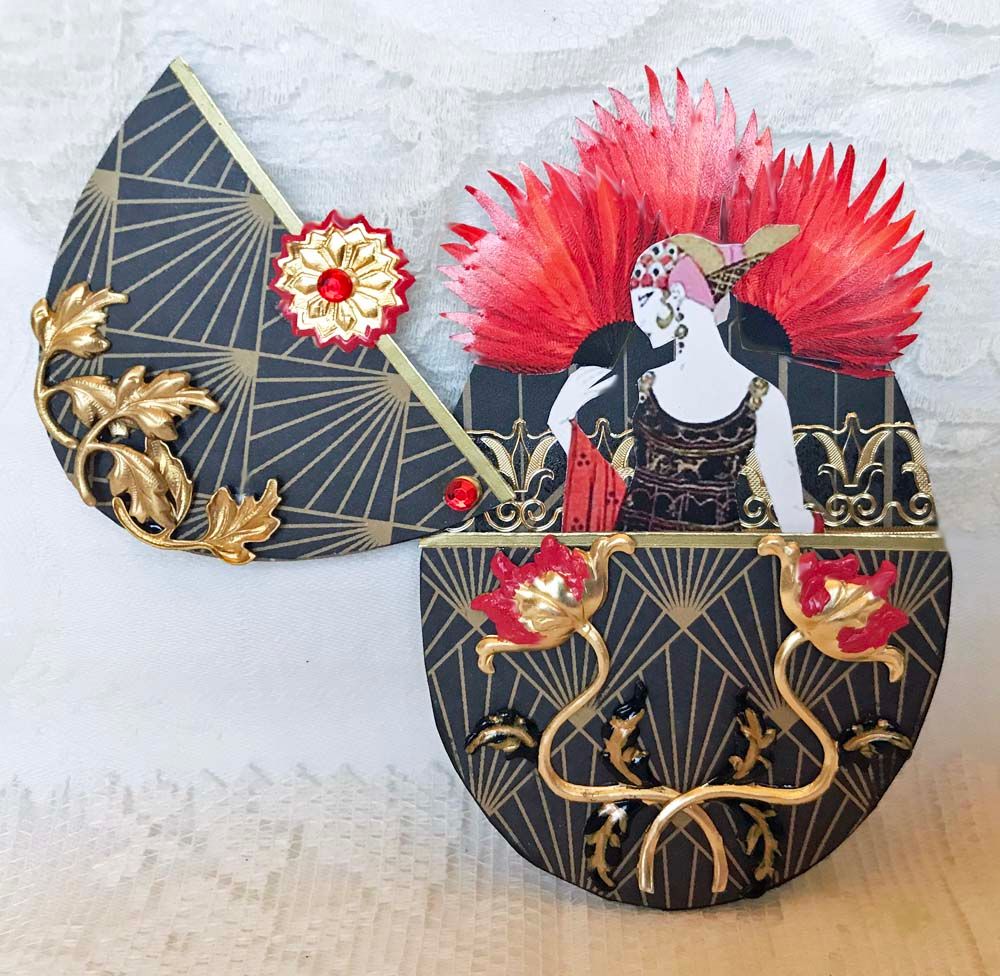
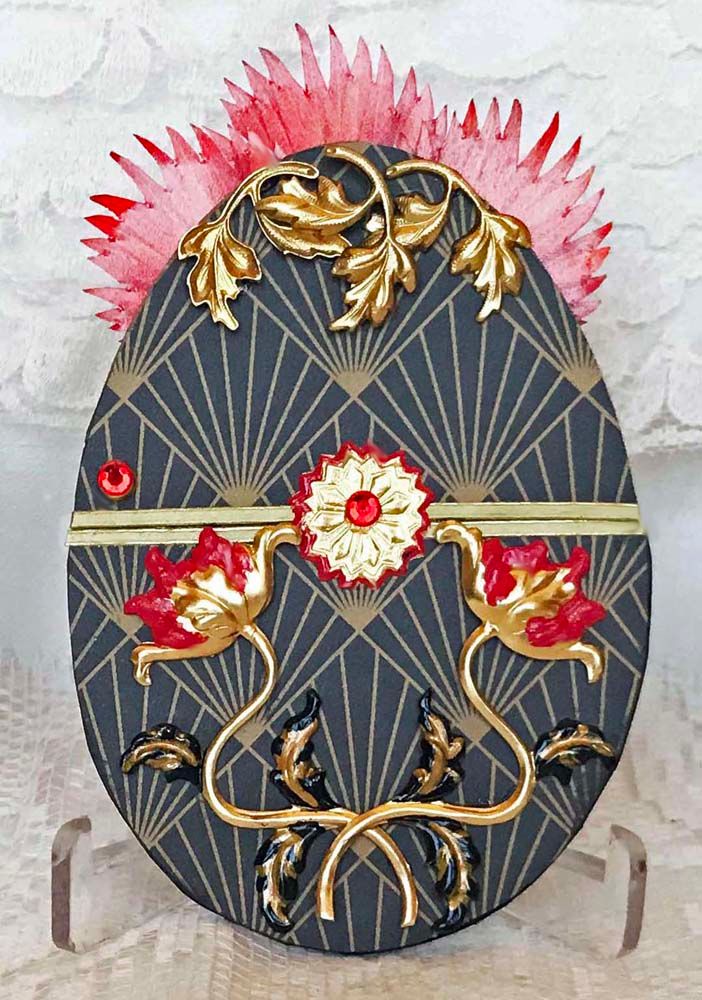
For the egg above, I split the top egg horizontally.  Notice the brad is in the corner left of the top piece.  I added stickers to the split edges of the front egg and to the middle of the back egg.  On the front, I added brass leaves, a Dresden piece to the top of the front piece, and brass flowers.  I used Patina paints to paint the brass and Dresden.

NOTE:  Always be mindful of where you attach brass pieces to the front of the egg, so they don’t get in the way of opening the egg.  For this piece, I attached the Dresden to just the top of the egg.