My
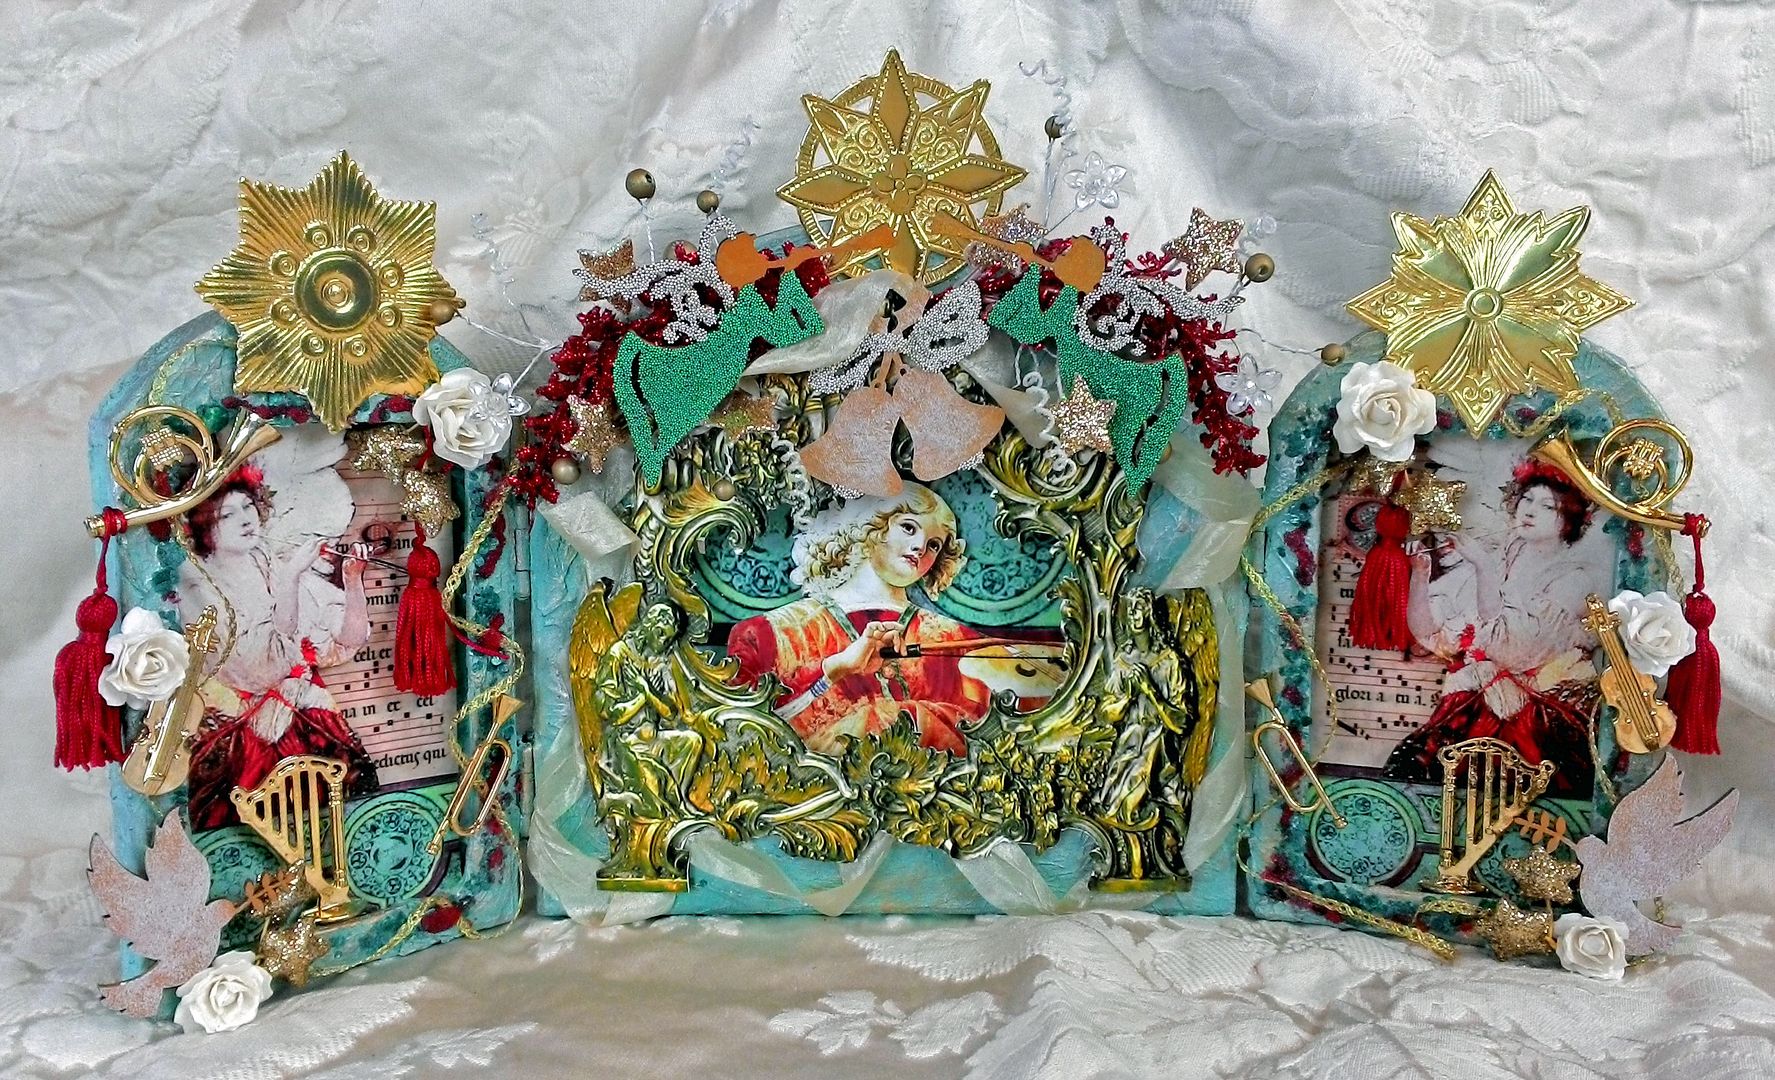
final Christmas project for you is an Angel Shrine. Angels are one of my favorite art subjects. The Paper
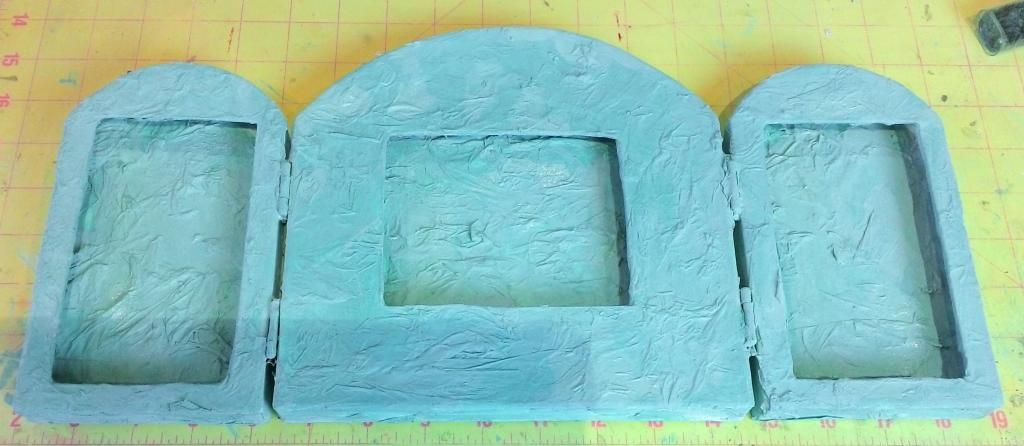
Mache Cathedral I used for the piece is approximately 8” tall by 14 ½” wide. It’s ¾” thick which makes perfect for cutting
niches.
The shrine comes already hinged and the large size means there is lots of room for all kinds of embellishments!
The shrine comes already hinged and the large size means there is lots of room for all kinds of embellishments!
TUTORIAL
I
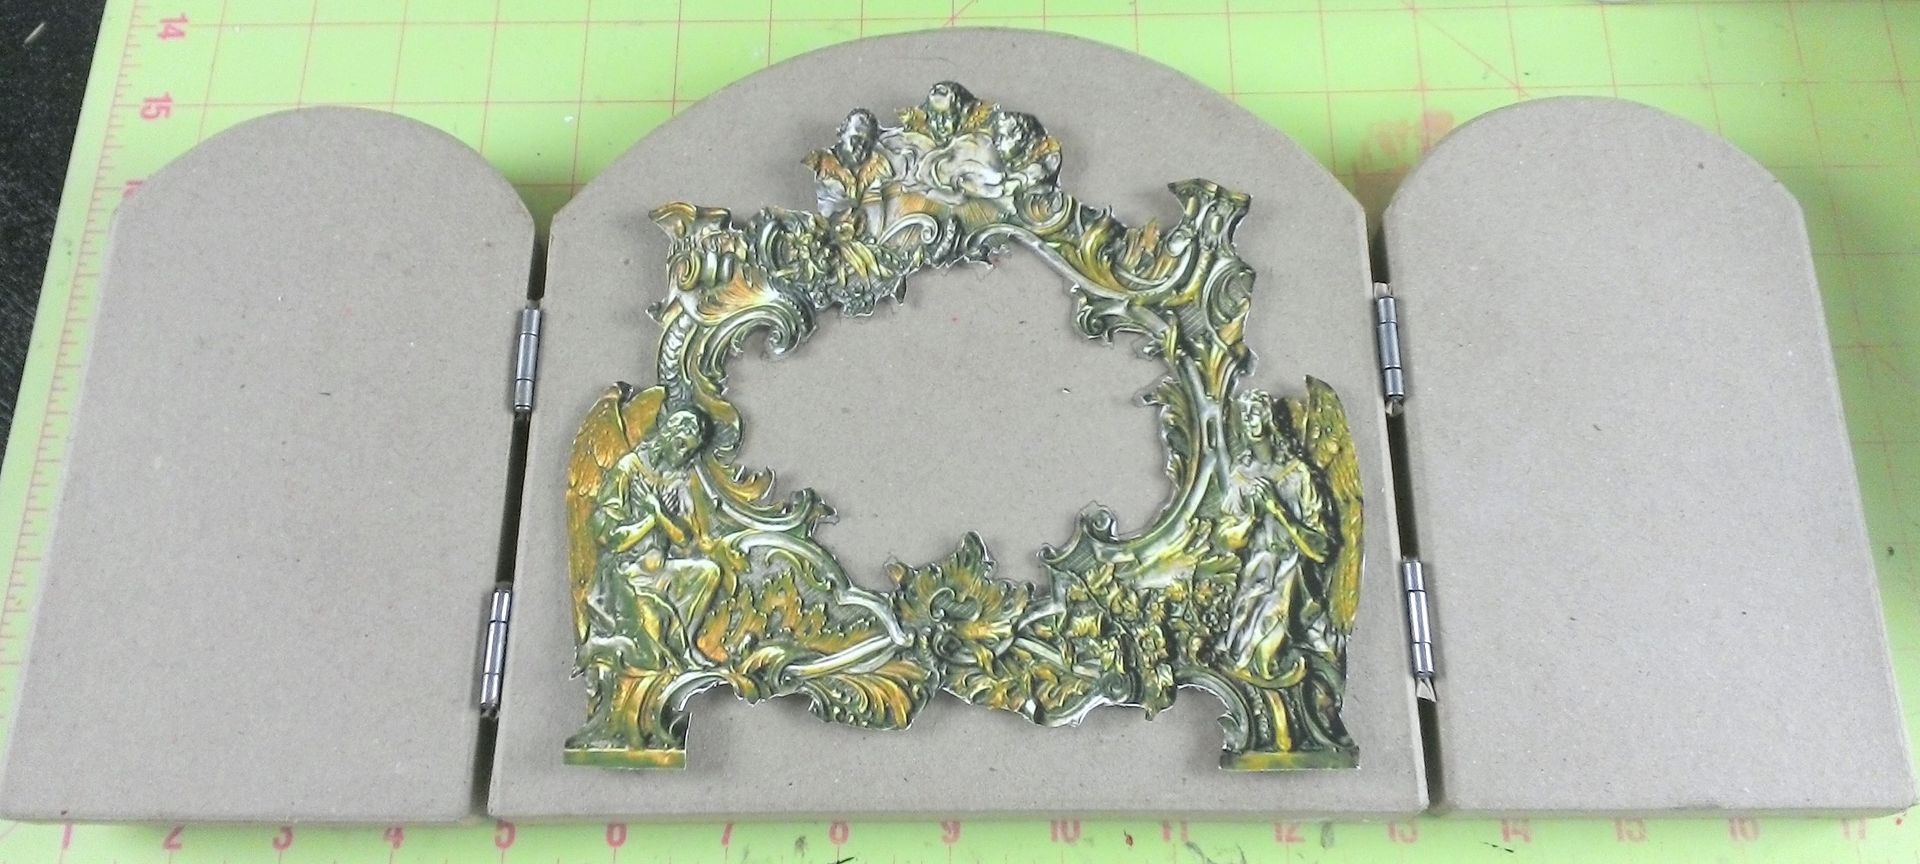
decided to showcase the center section by using one of the frames from my Vintage Frames Digital Image set.
After
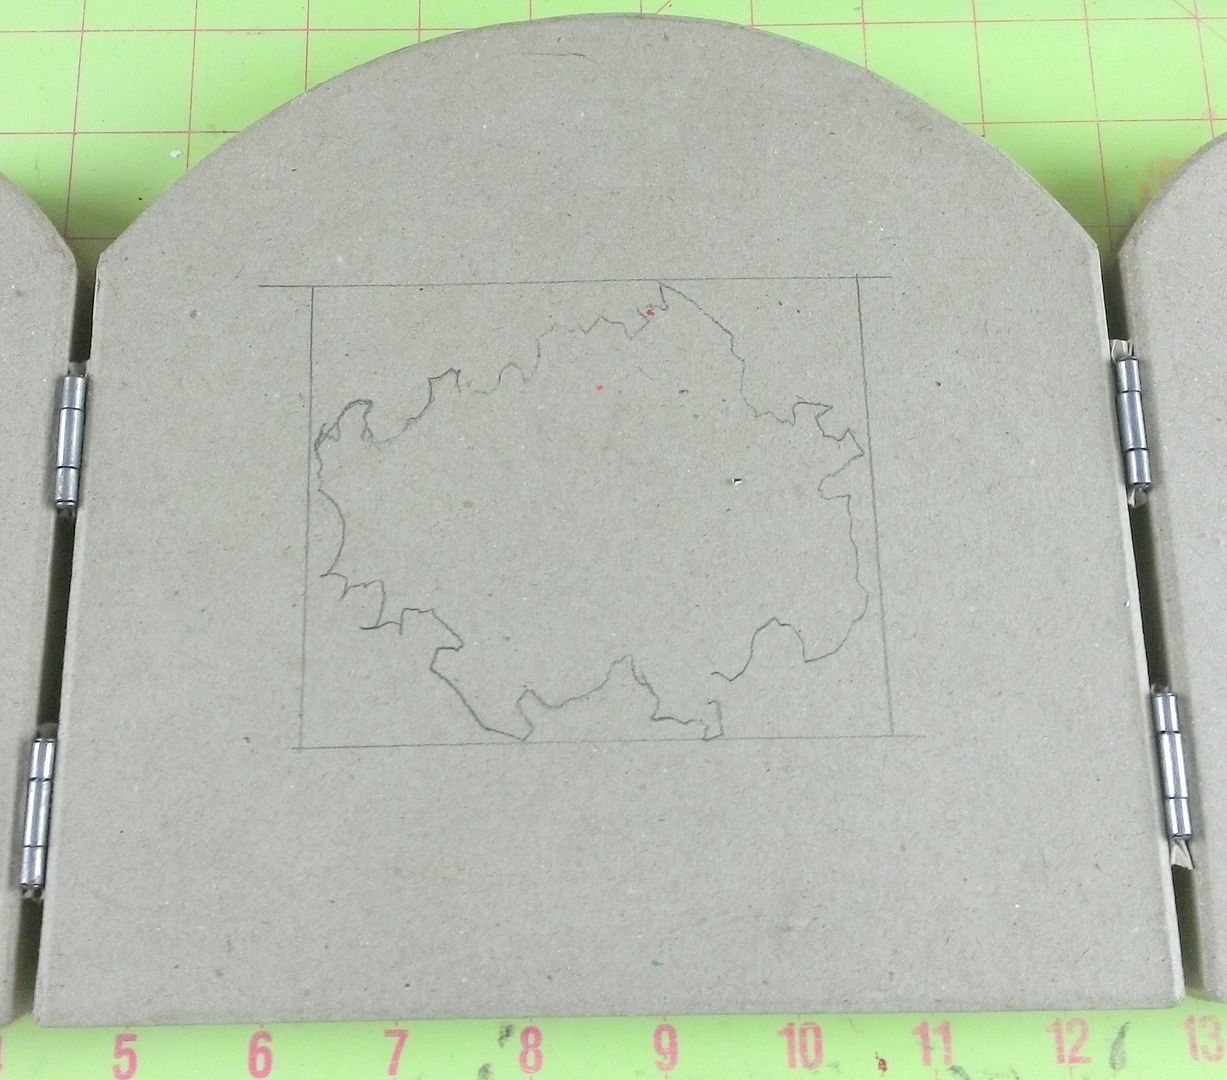
sizing, printing and backing the frame with cardstock I placed it on the shrine
and traced the center section. I used
the trace marks to determine where to cut the hole.
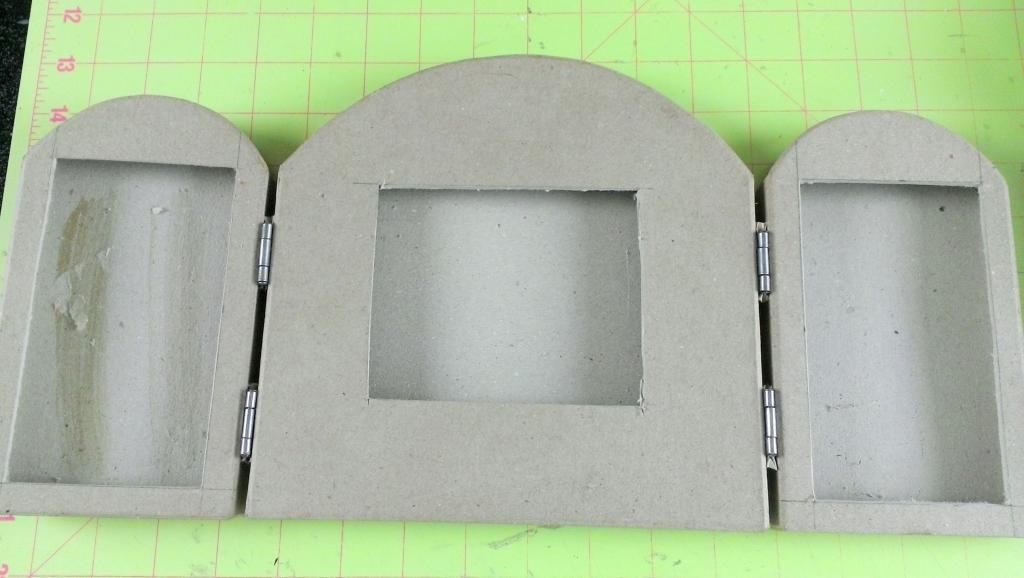
Next, I
cut holes in the sides and the center.
At this
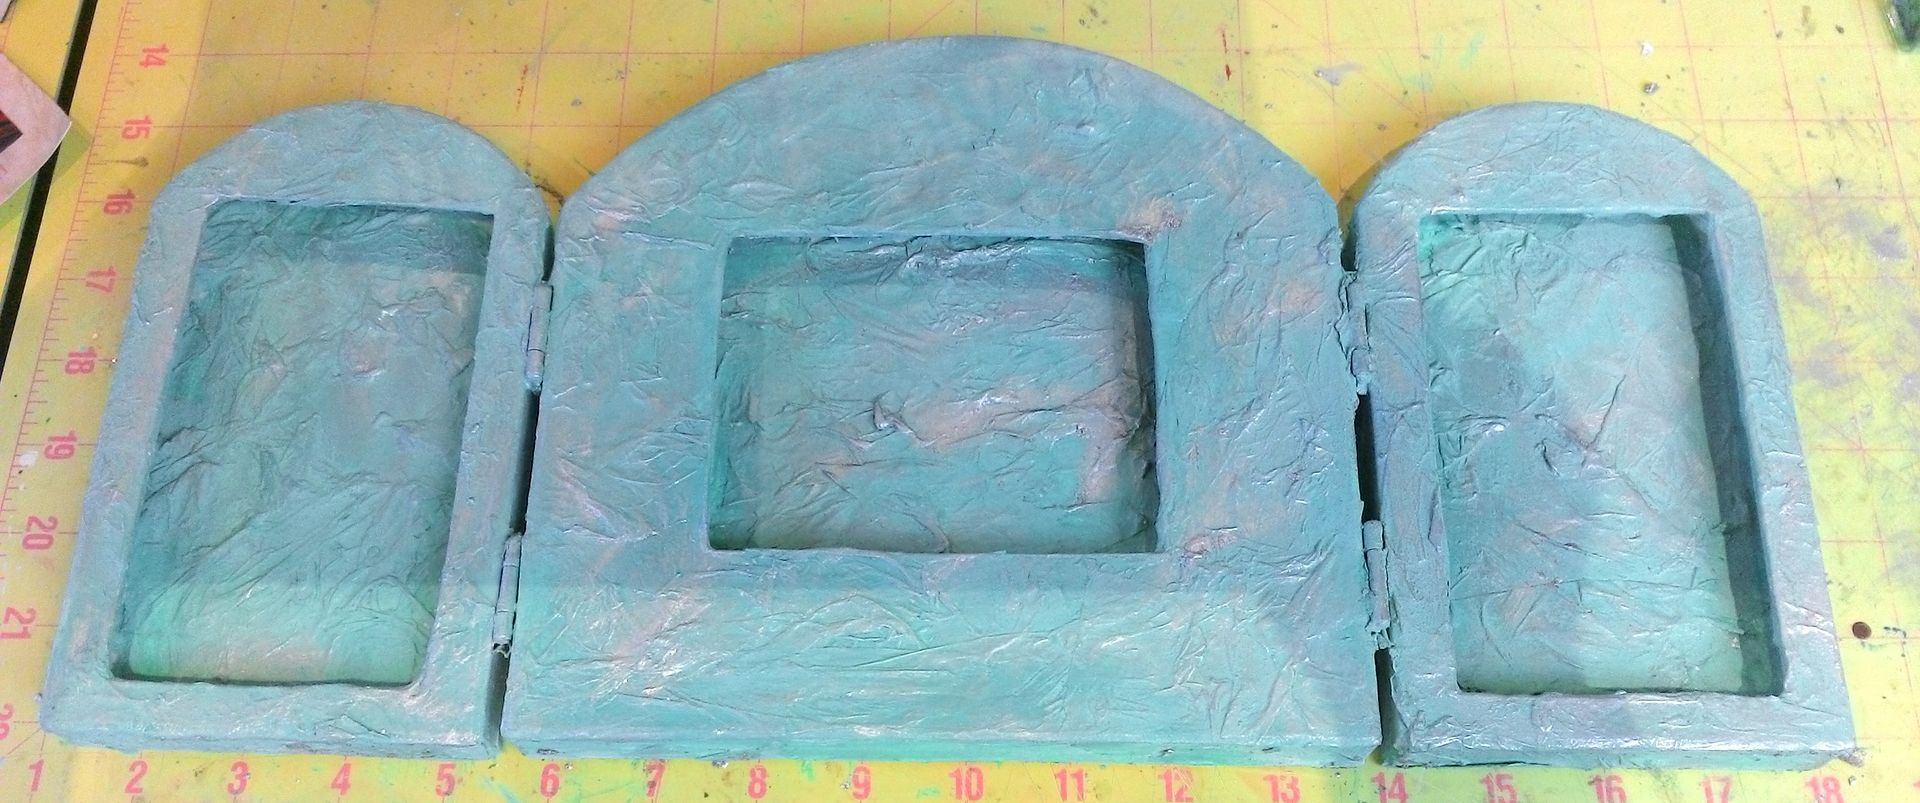
point, I knew I wanted to use a tissue paper technique to add texture to the
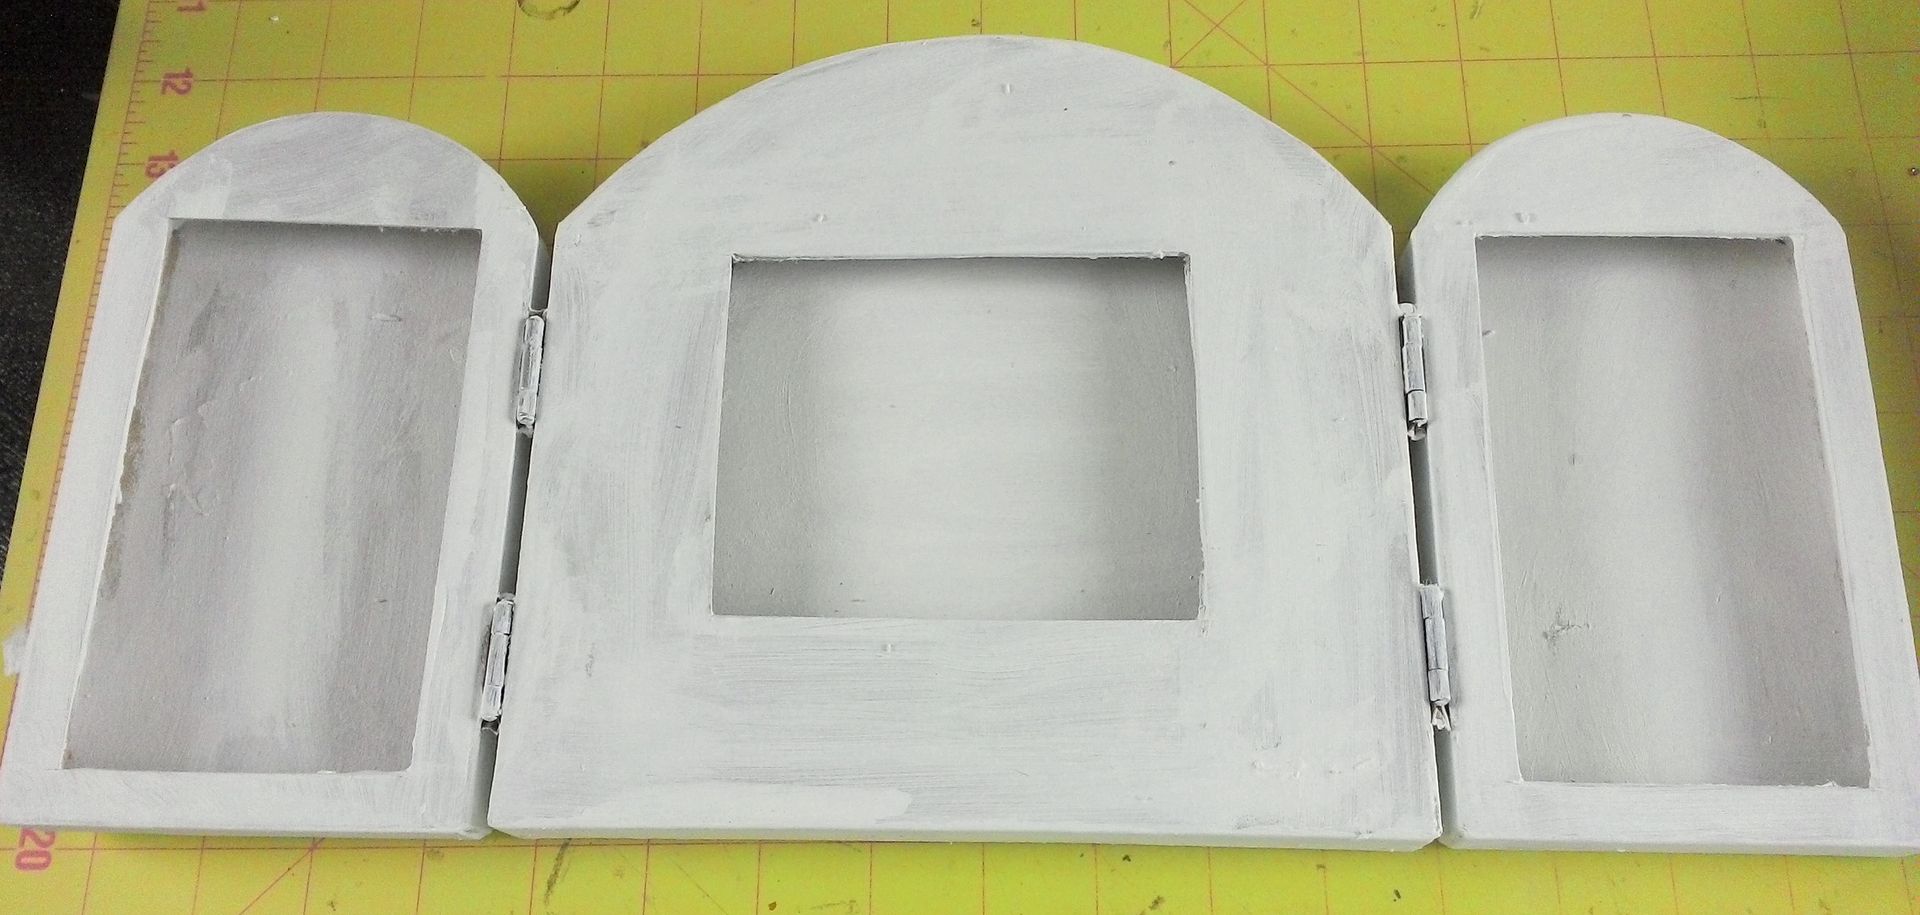
shrine. I had not decided on how to color the shrine so I started by painting
everything white. By painting it white,
I blocked out all of the colors of the paper Mache so that whatever coloring product
I choose, it would not be altered by the color of the paper Mache underneath.
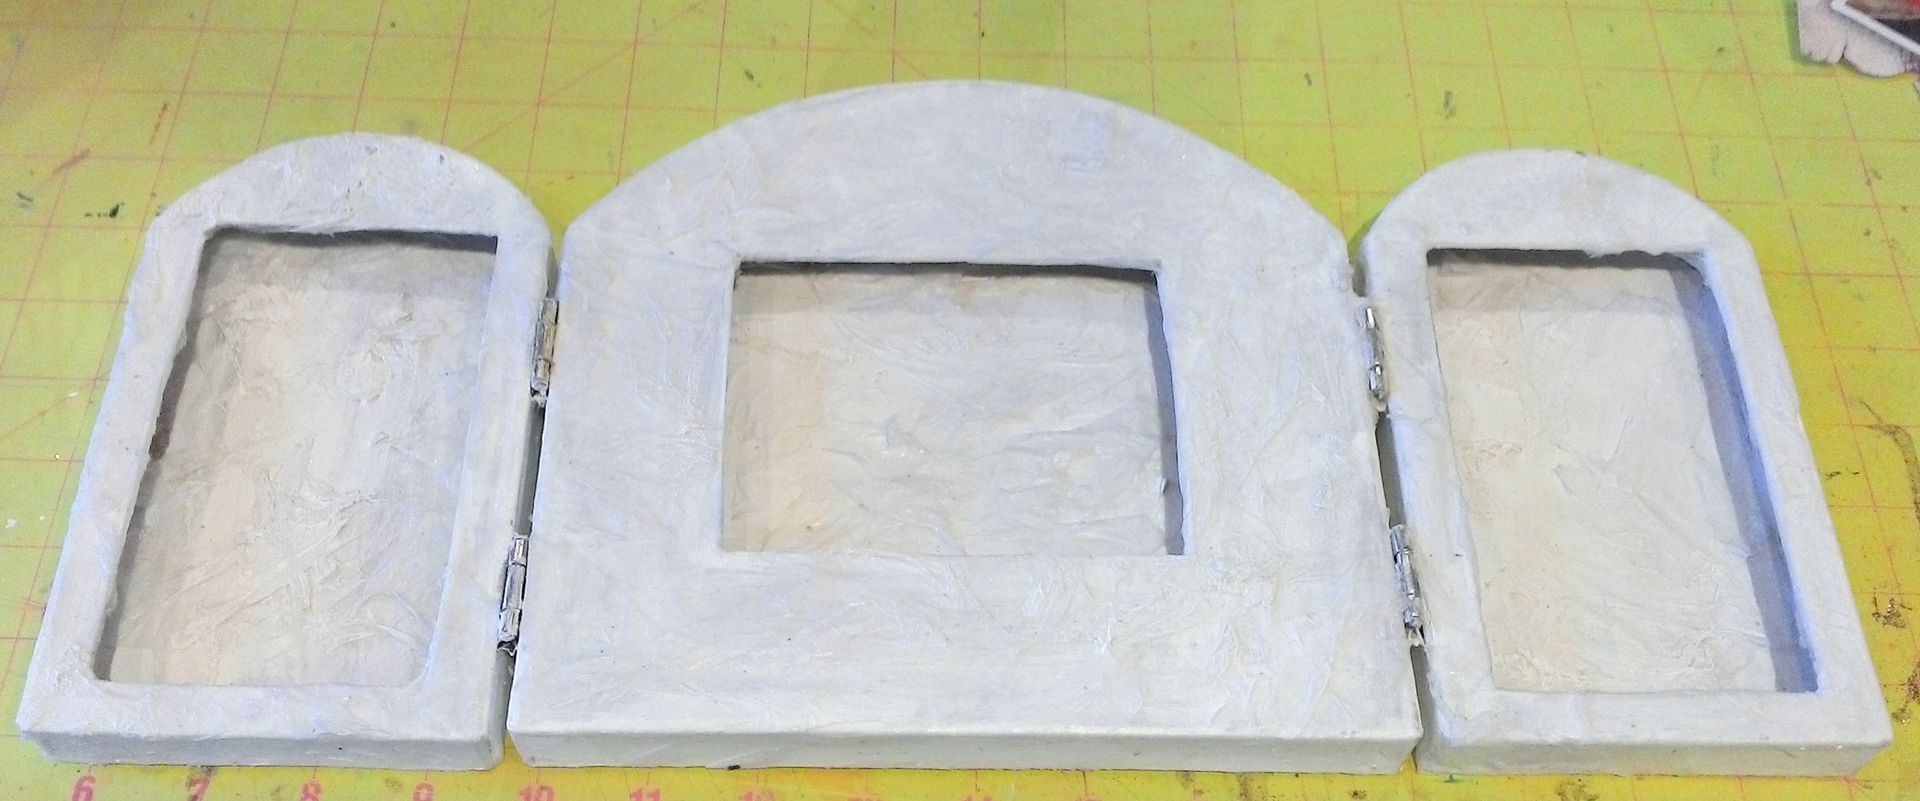
Next, I
applied crumpled and torn tissue paper to all the surfaces of the shrine using
Mod Podge. Just as with the color, I
hadn’t decided what parts of the shrine would be covered with paper and what
parts wouldn't, so I textured all of the areas.
It’s so much harder to go back and texture something later if you change
your mind.
To
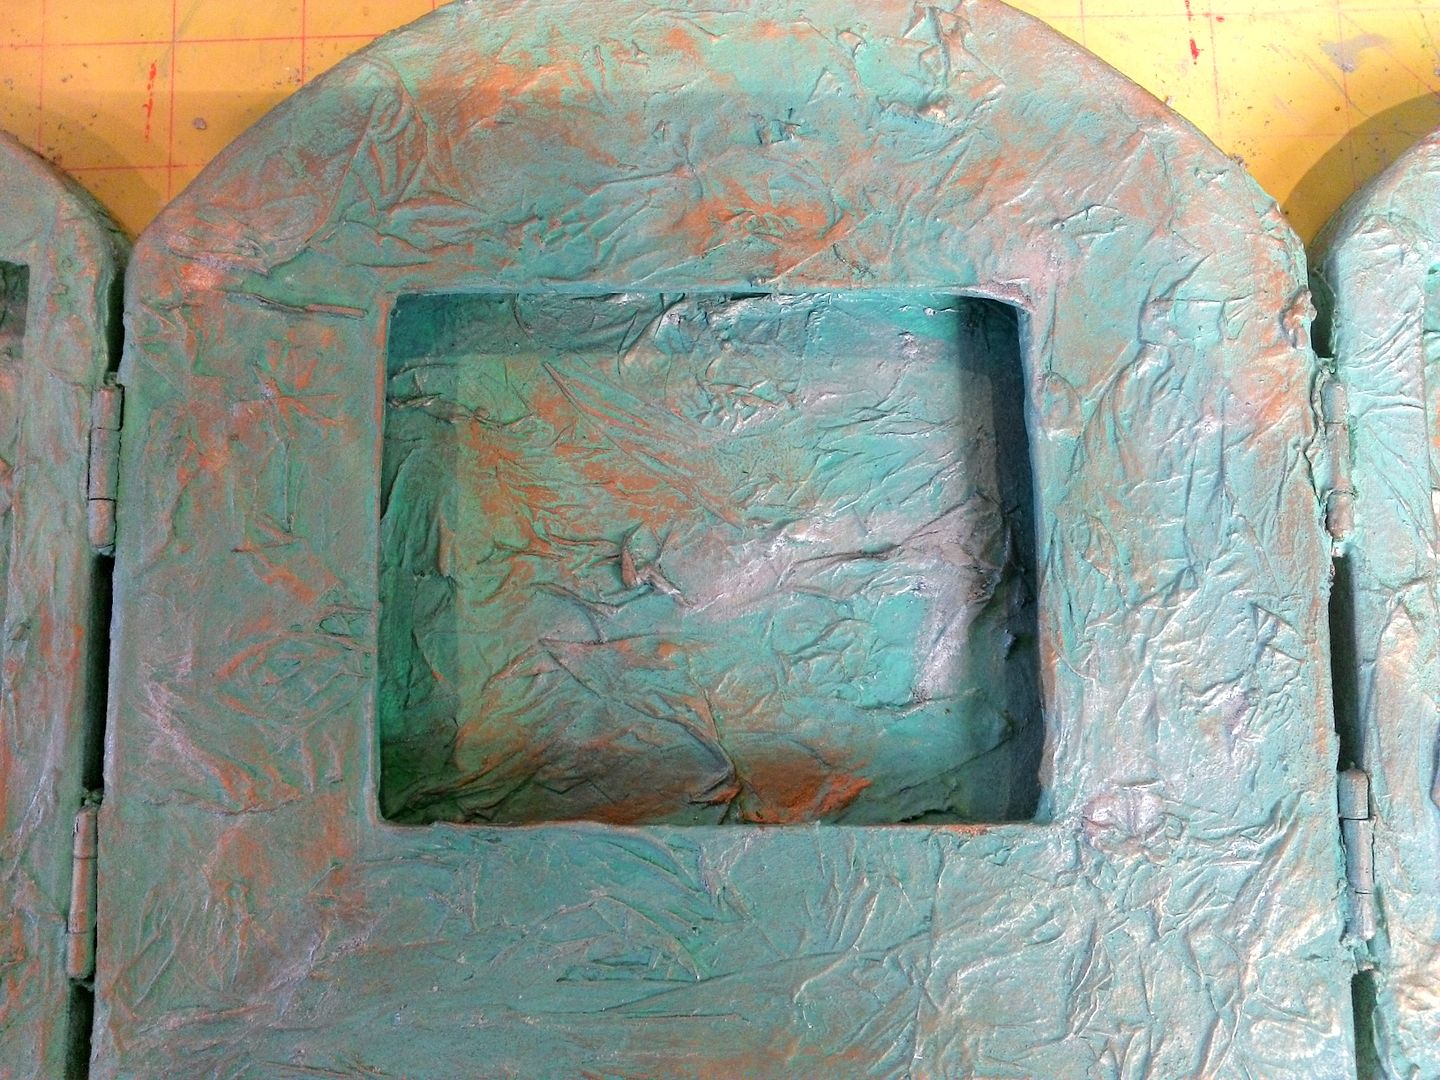
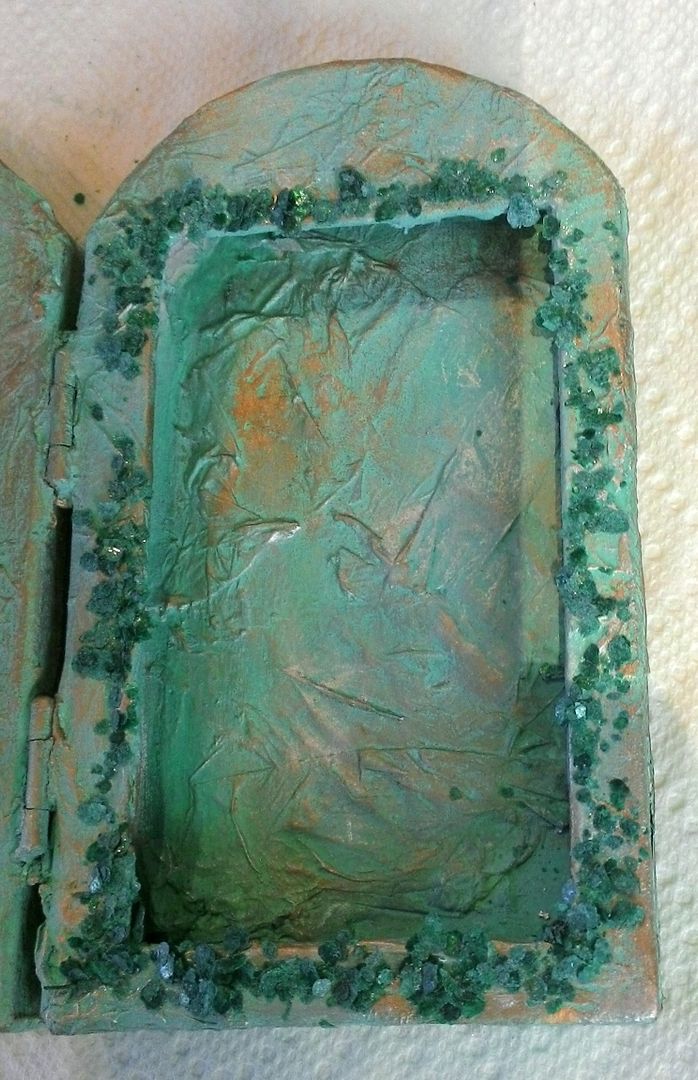
color the shrine, I first started with Patina Gilder’s Paste. Since I was covering such a large area I thinned
the paste with Mineral Spirits and then applied it to the shrine. I chose Patina Gilder’s Paste as opposed to
paint as it was the perfect color to complement the images.
Next,
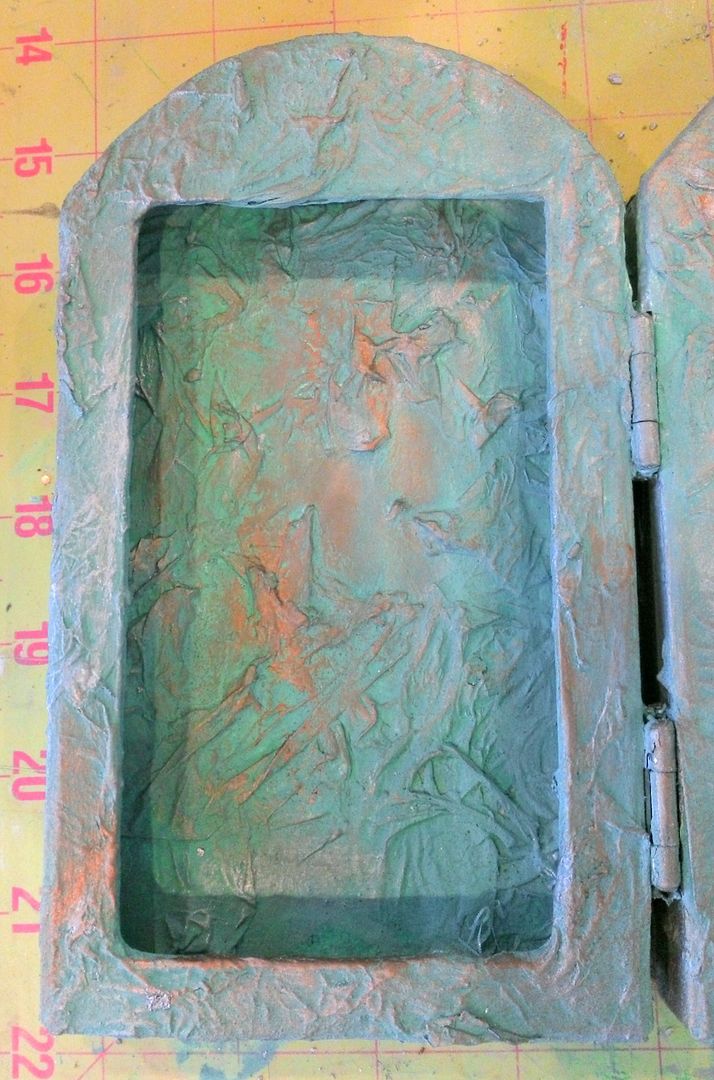
while wearing a plastic glove, I used my fingers to apply Silver Gilder’s Paste
(without thinning) to the raised areas.
This gives the shrine metallic highlights.
Finally,
I repeated the process with Inca Gold Gilder’s Paste.
To add
more texture, color and to create a frame effect, I attached teal mica using Glossy Accents.
To
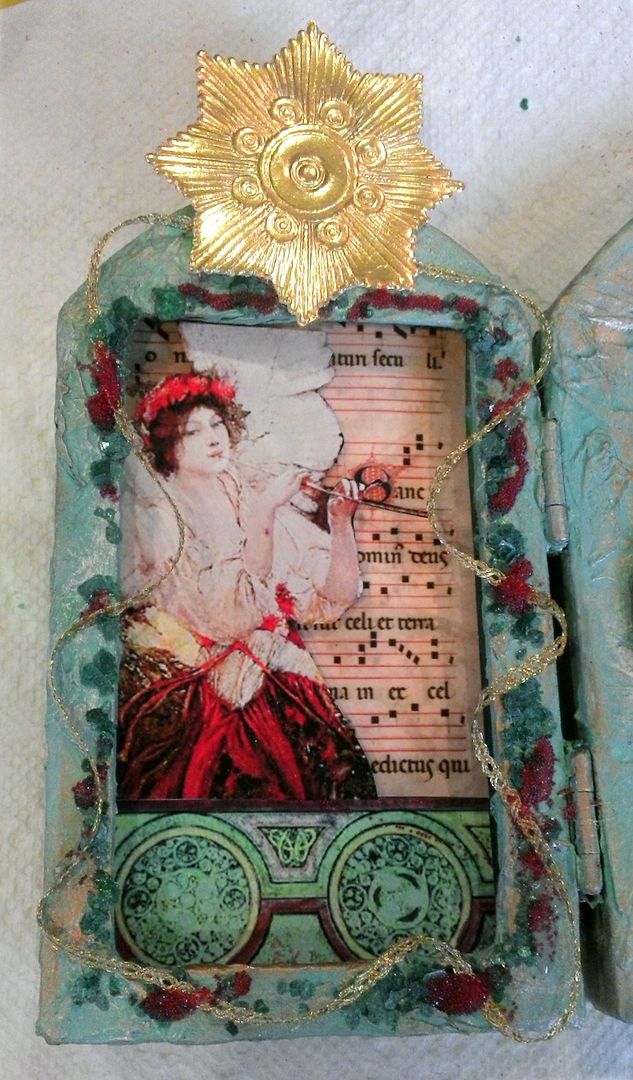
continue the frame effect, I added red microbeads and gold ribbon. I attached the images inside the niches with
foam core tape to pop up each image and create more dimension.
The
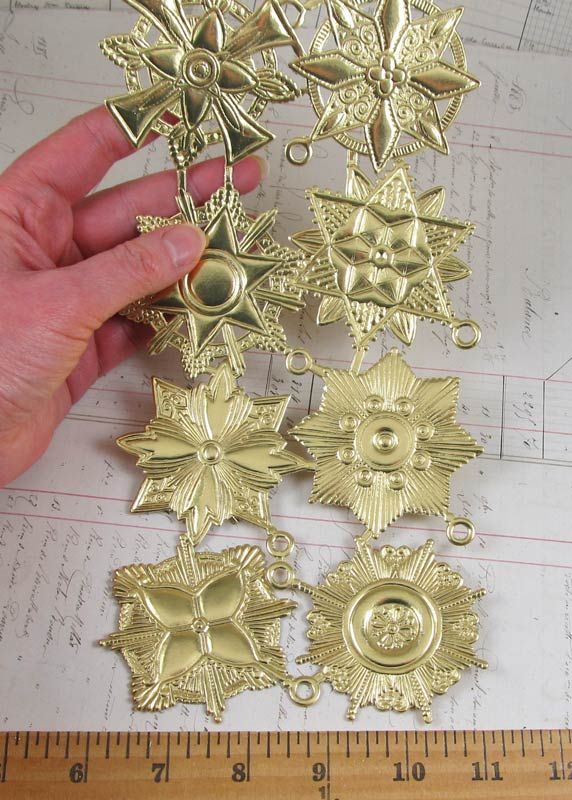
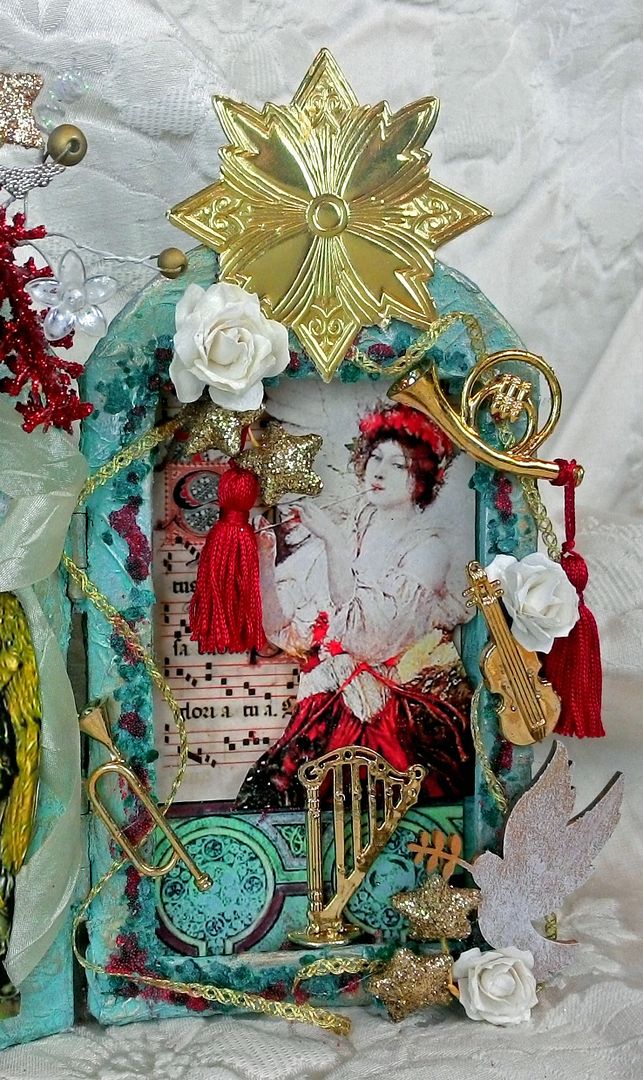
fabulous large gold Dresden
medallions at the top of each shrine section come in a set of 8.
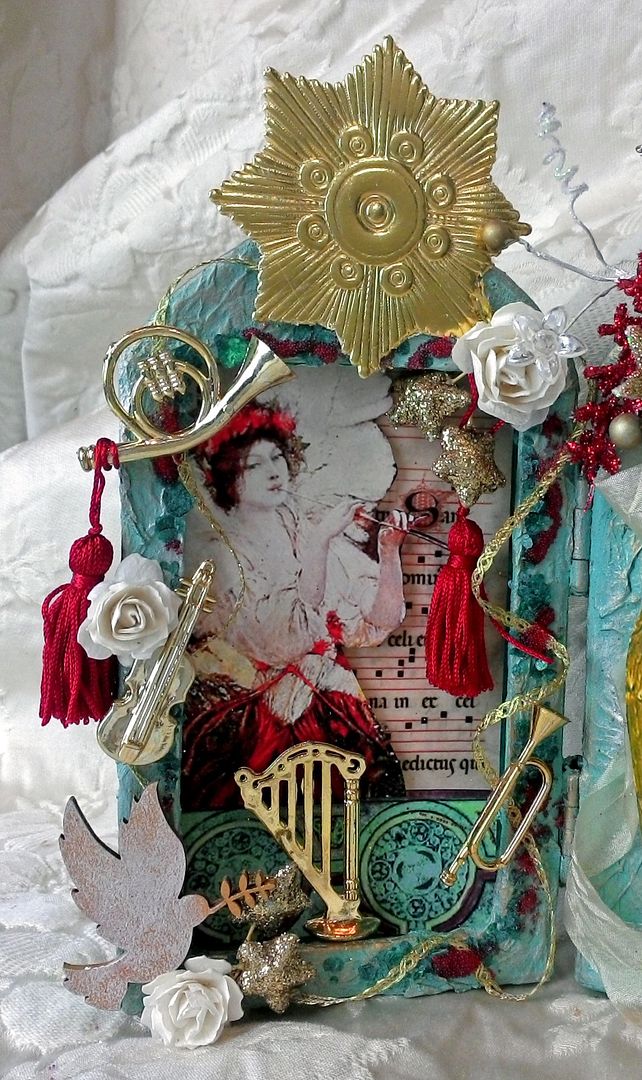
Each of
the side sections are decorated the same with instruments,
roses, tassels,
a die-cut
dove and gold
stars. The die-cut dove is painted
gold and then brushed with white Gilder’s Paste. I attached all of the embellishments using E6000 glue.
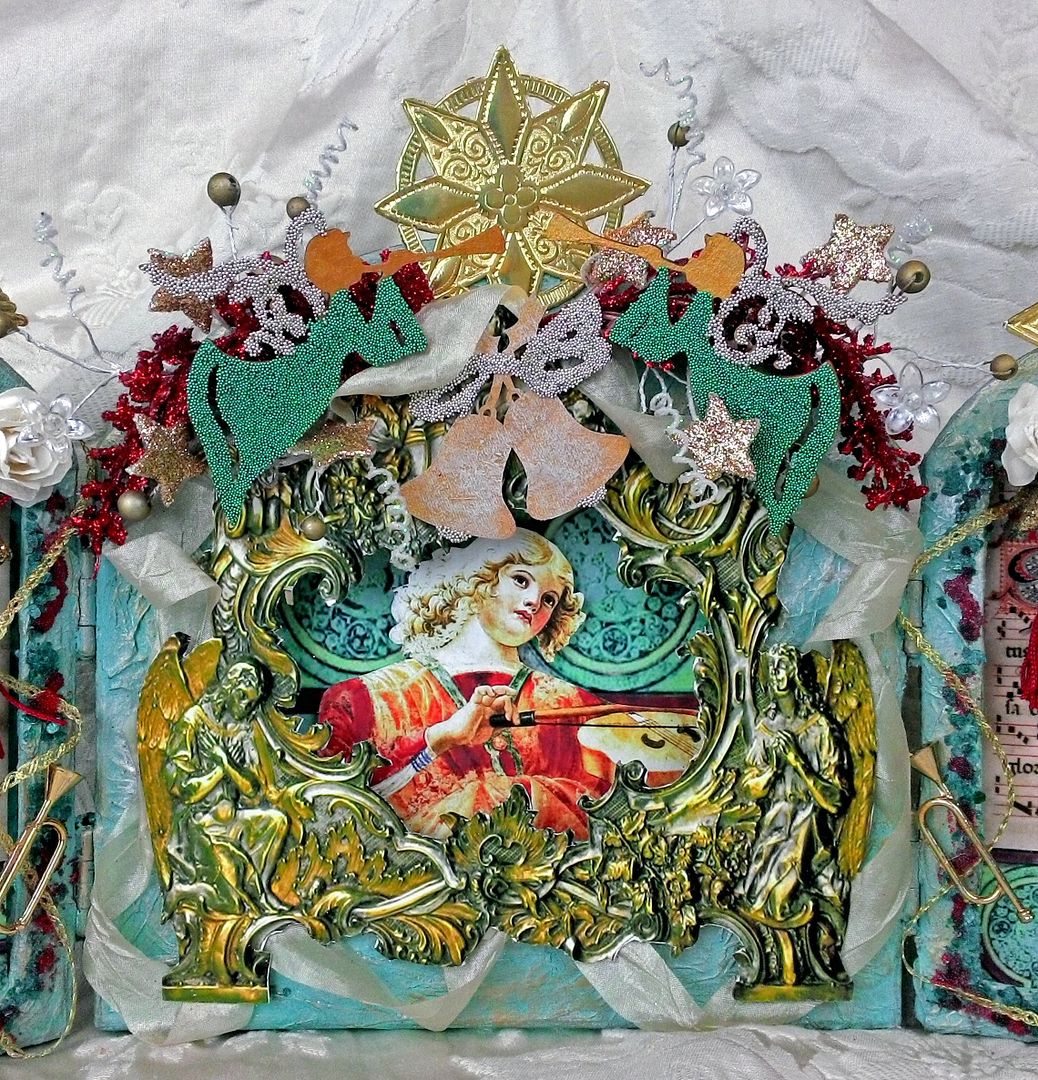
In the
center section, the images inside the niche are attached with foam core tape to
pop them up. I also attached the frame
with foam core tape to give it depth. At
the top are star
wired sprays and red
glittered sprays along with die-cut
angels and a bell. The angels and the bell were first painted
gold then silver microbeads were added.
I also added teal microbeads to the angels. I brushed white Gilders paste onto the bell just
as I did with the doves.


12 comments:
OMGOSH! You are killing me!!! I AM LOVING all of these tutorials and these fabulous Christmas projects!!! HOLY COW! Thanks for sharing! This is just too gorgeous!!! LOVE the shrine.....
This is absolutely stunning! Yet another beautiful project tutorial! If you get a second, please be sure to stop by my blog to enter my $25 Etsy shop giveaway. Thanks so much! :)
thank you for this tuutorial
you're amazing!
thank you.
That's a wonderful project again Laura WOW!!! Hugs, Coco xx
Oh I love this. Thanks so much for sharing the procedure for cutting through the elements; I would not have thought to do it but just love the effect.
Another inspirational project and tutorial!! Really, when do you sleep! LOL
hugs Karen
Another inspirational project and tutorial!! Really, when do you sleep! LOL
hugs Karen
So beautiful, Laura. To make it is a commitment. Then to put together a tutorial?! So generous. Happy December to you. Charlotte
I love your detailed tutorials. Thank you so much for taking the time to write them out and for taking such great photos that show all the super details!
Stunning work as usual!!
I have only just stumbled accross your blog and i love it this tutorial is fantastic xx
Post a Comment