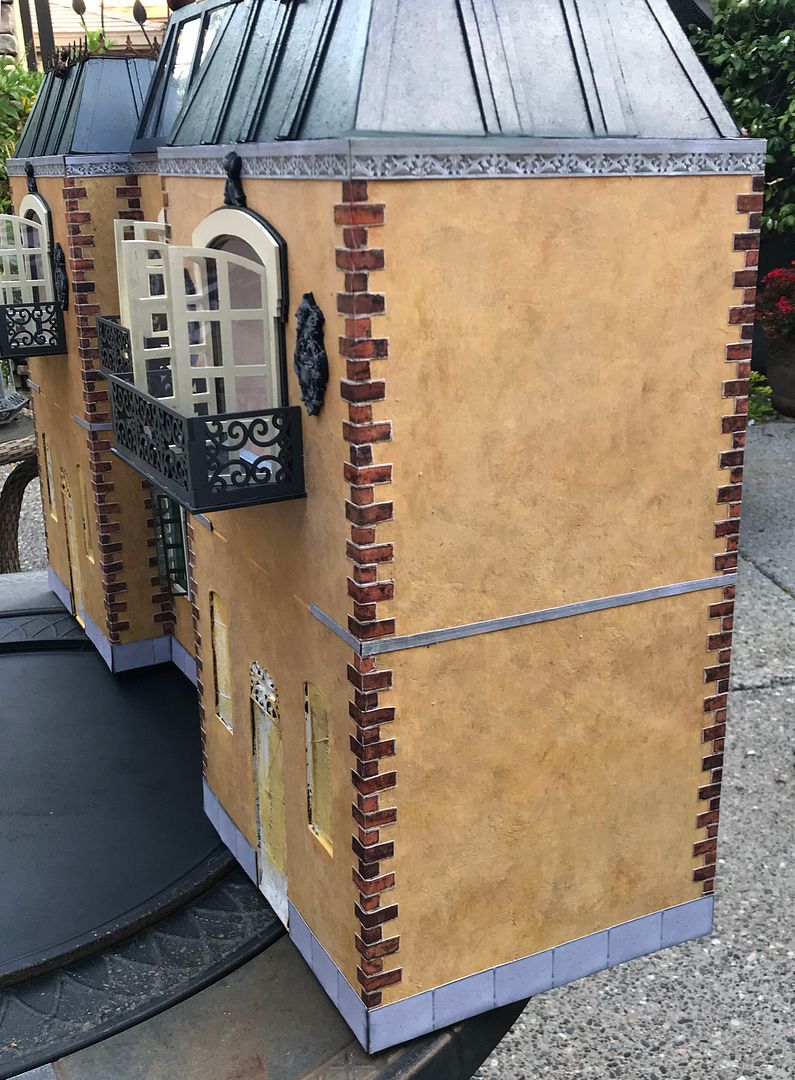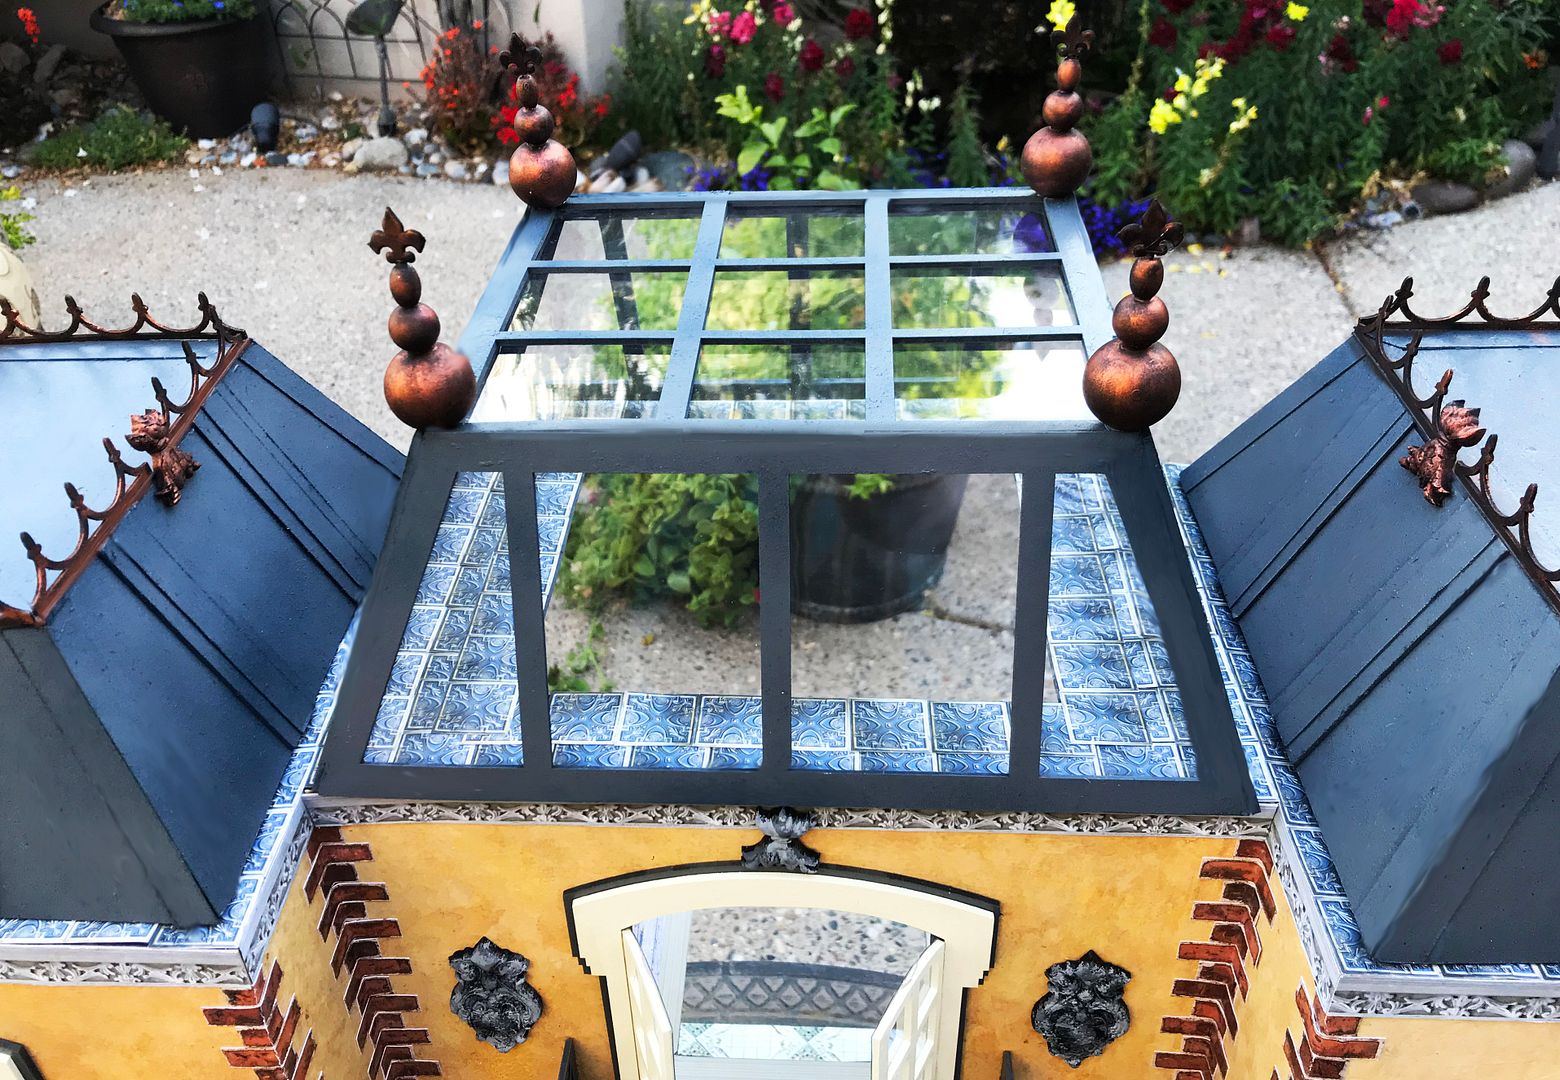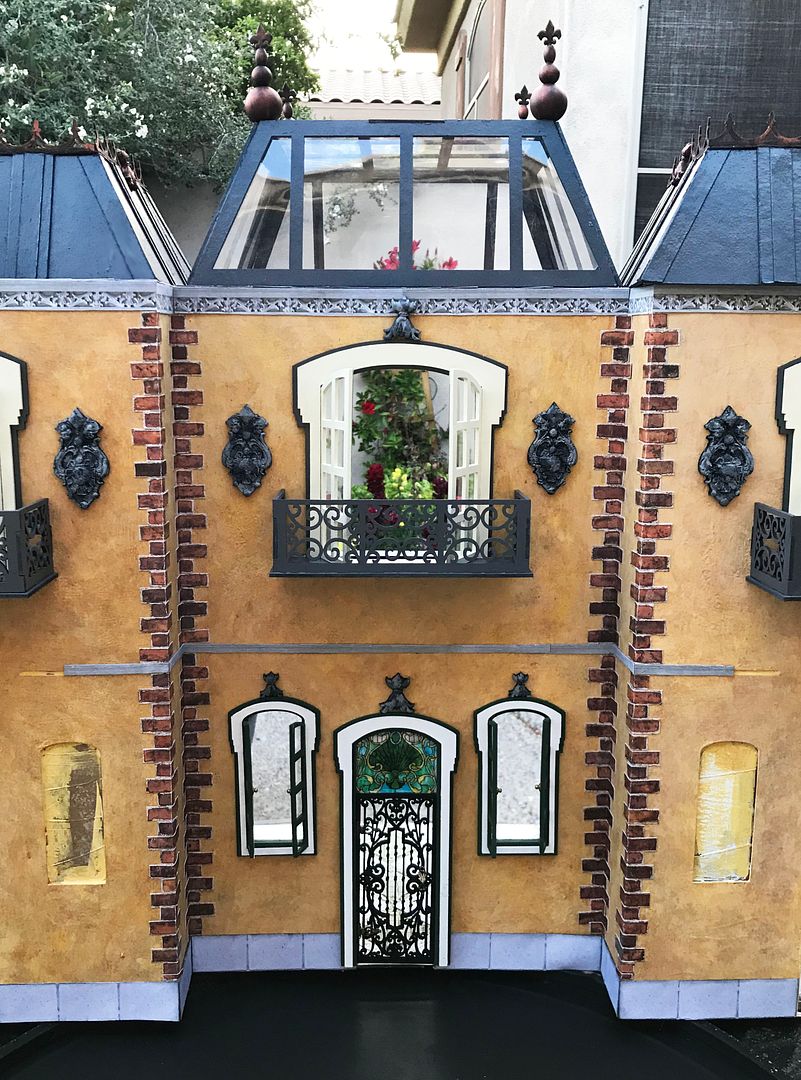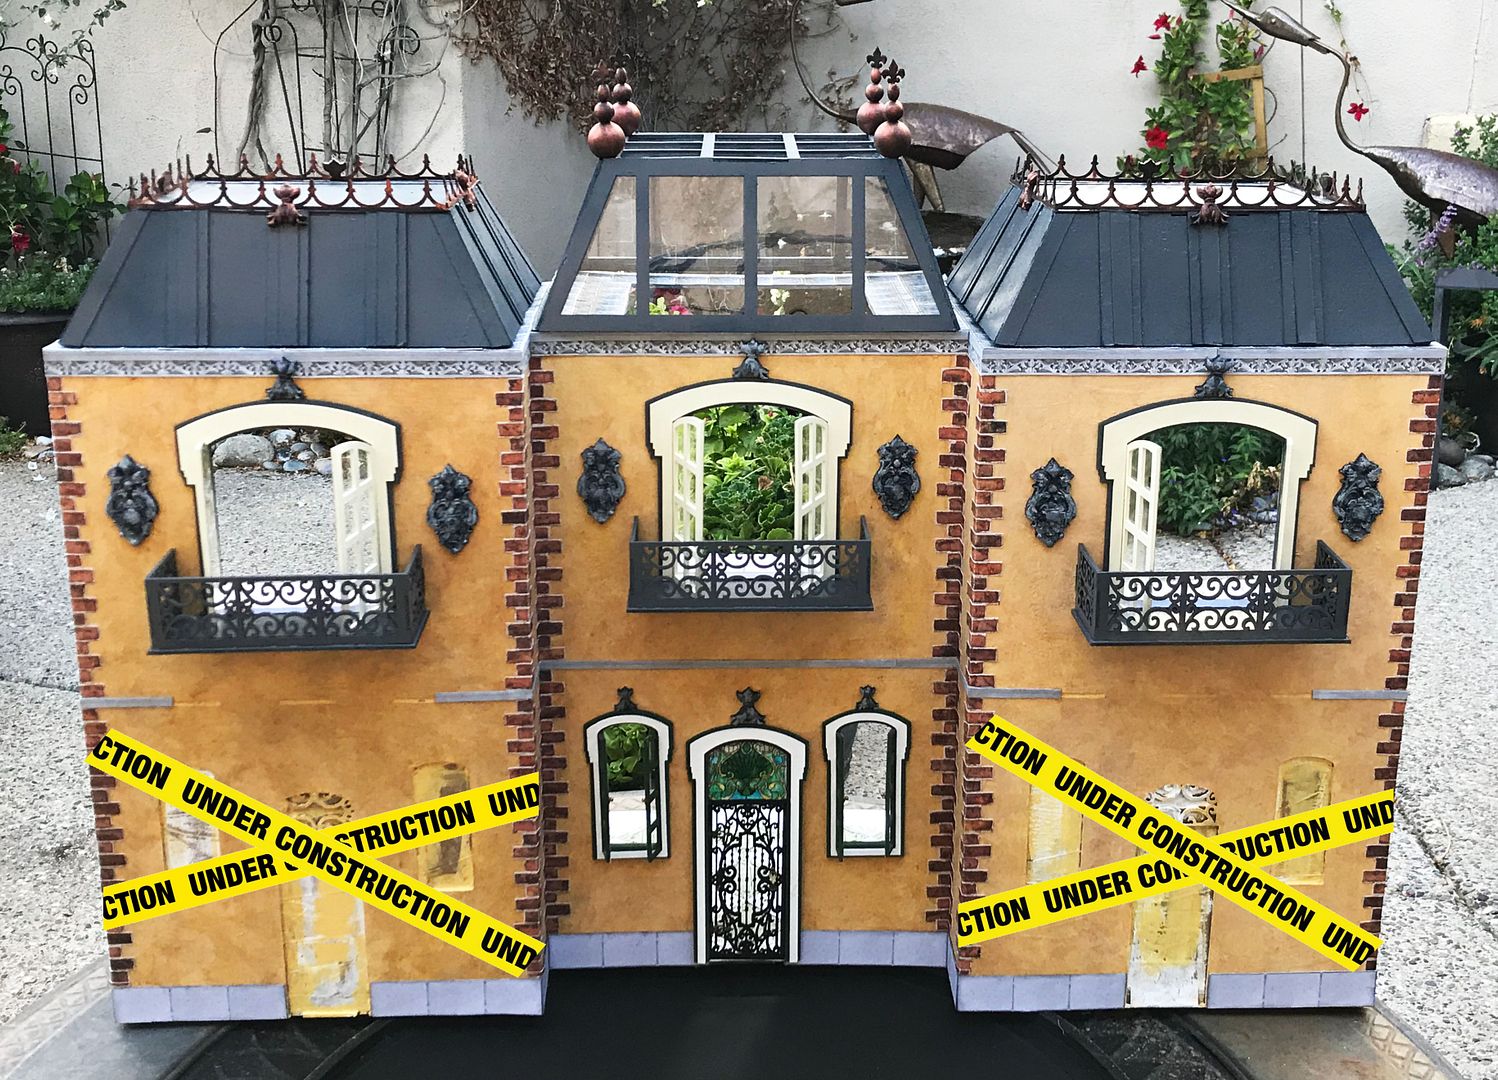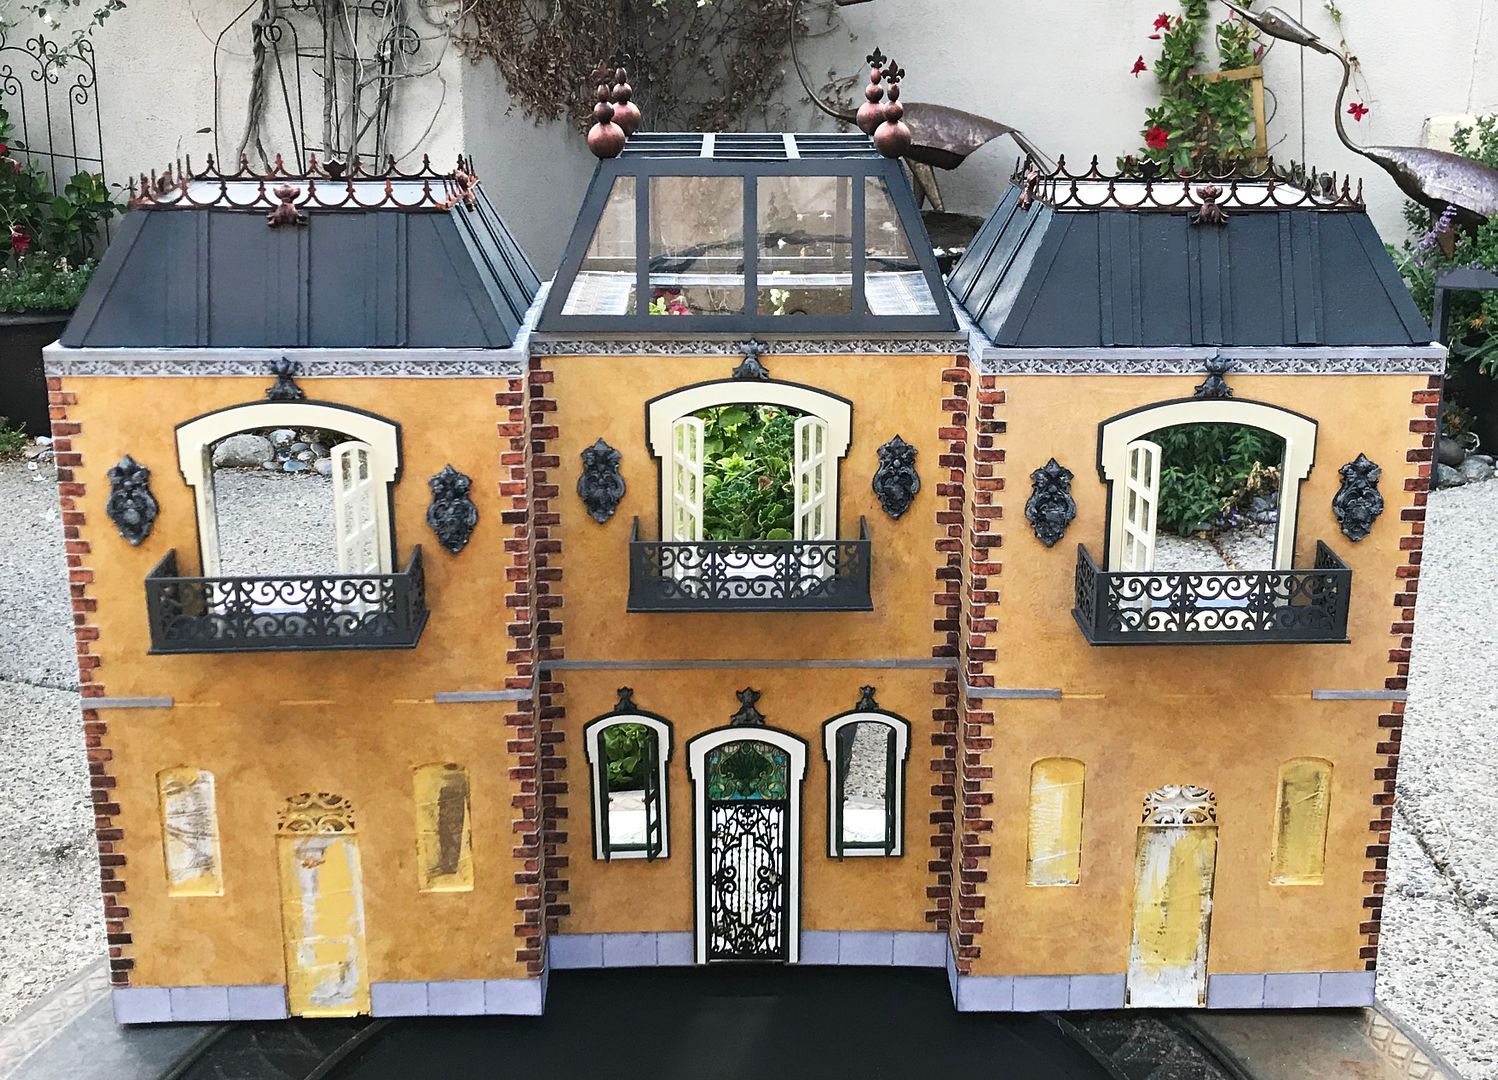
The Streets of Paris project event continues with the construction of the structure that will house the shops. My approach is to connect three 2-Story Room Box French Quarter kits.
I wanted the height and style of each structure to vary, which I accomplished by using the new French Quarter Short Roof on each side of the structure and the new French Quarter Open Roof in the middle.
To further add interest to the row of shops, I am staggering the shops by recessing the middle kit. The video tutorial demonstrates the painting technique I used for the exterior.

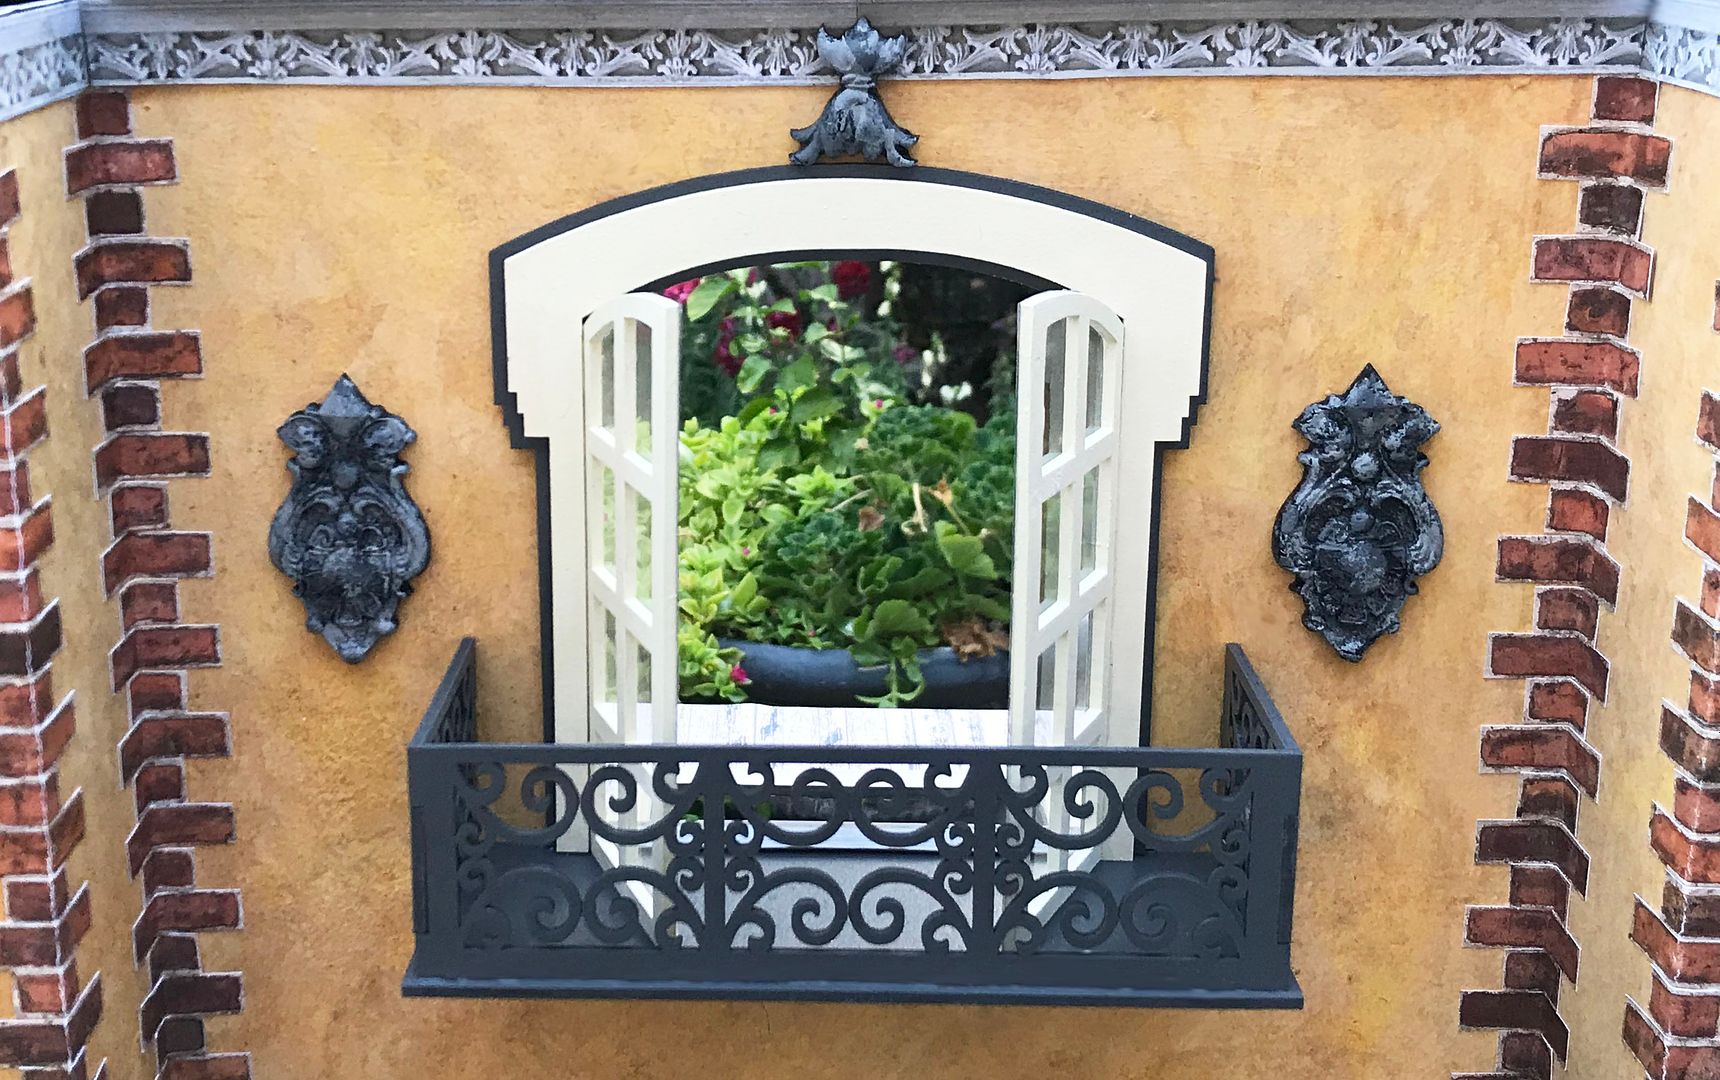
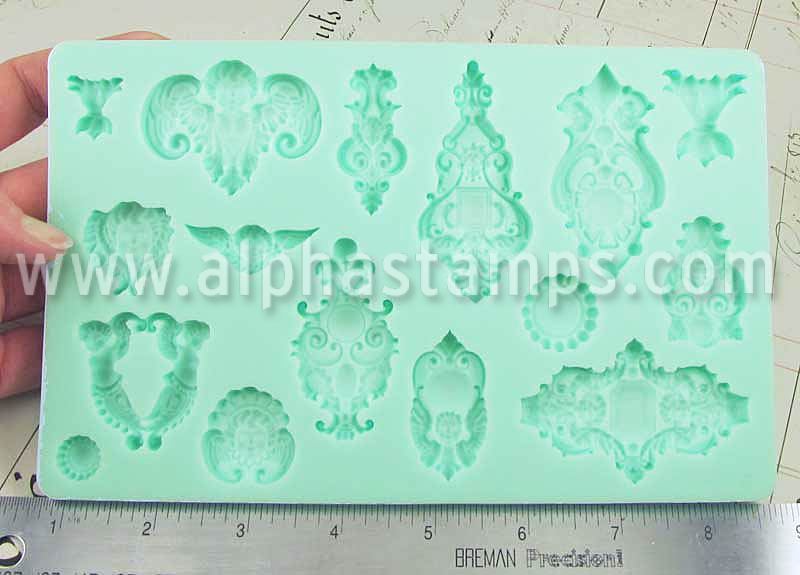
The decorative stonework is made of clay using the Renaissance Art Decor Silicone Mold, which is packed with decorative designs.
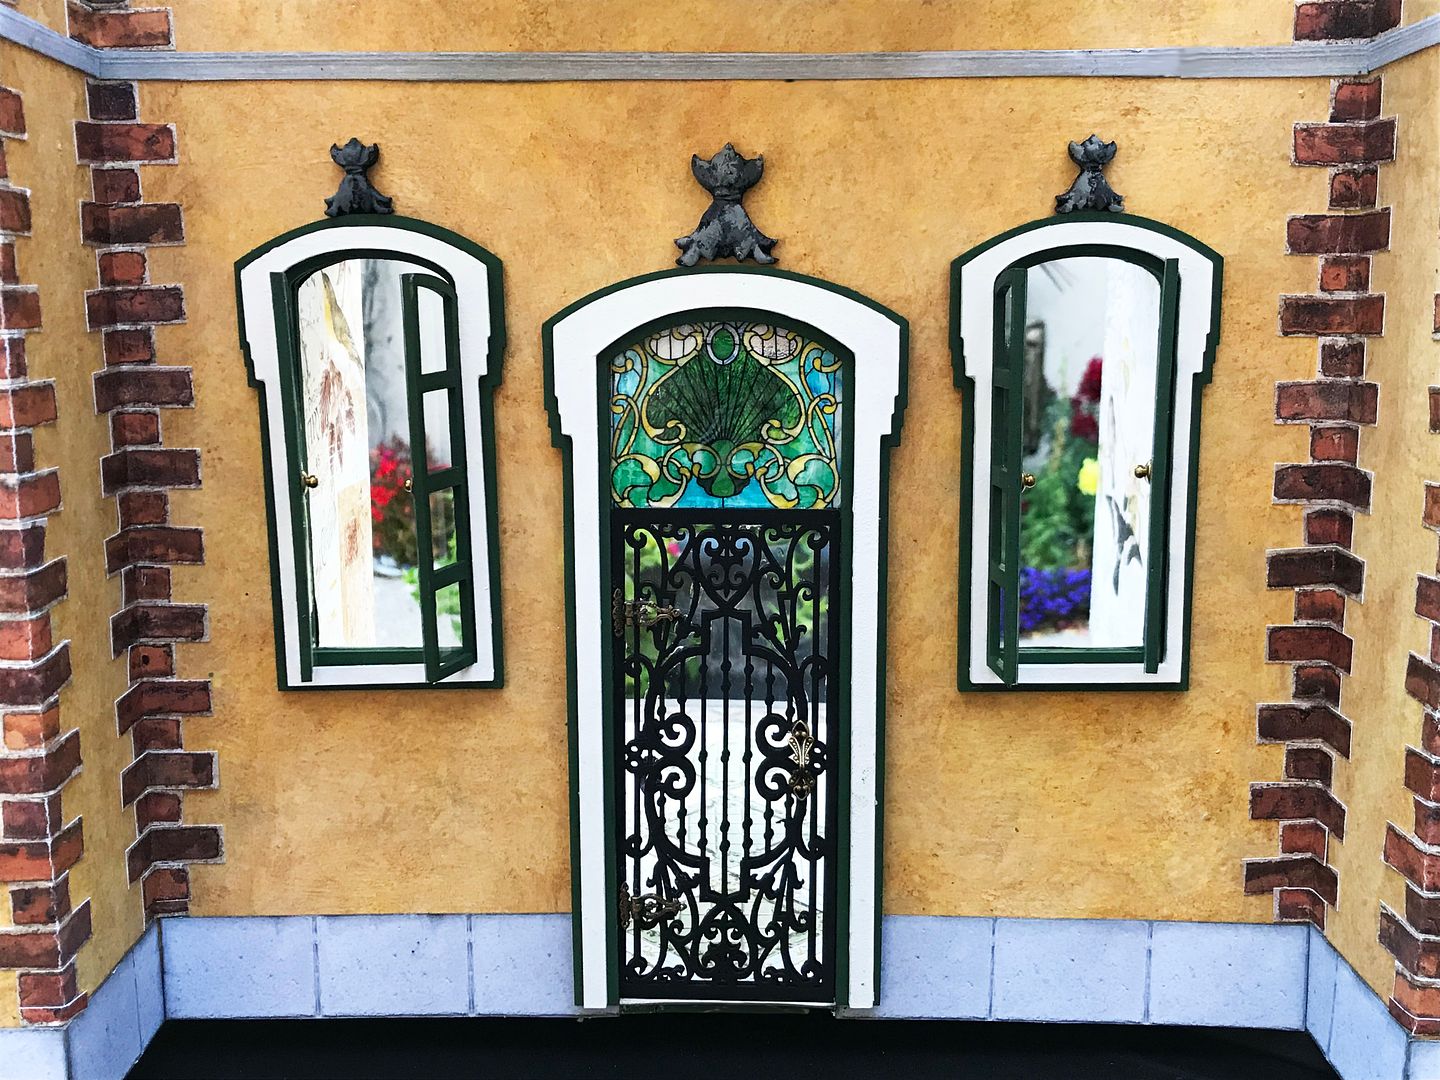
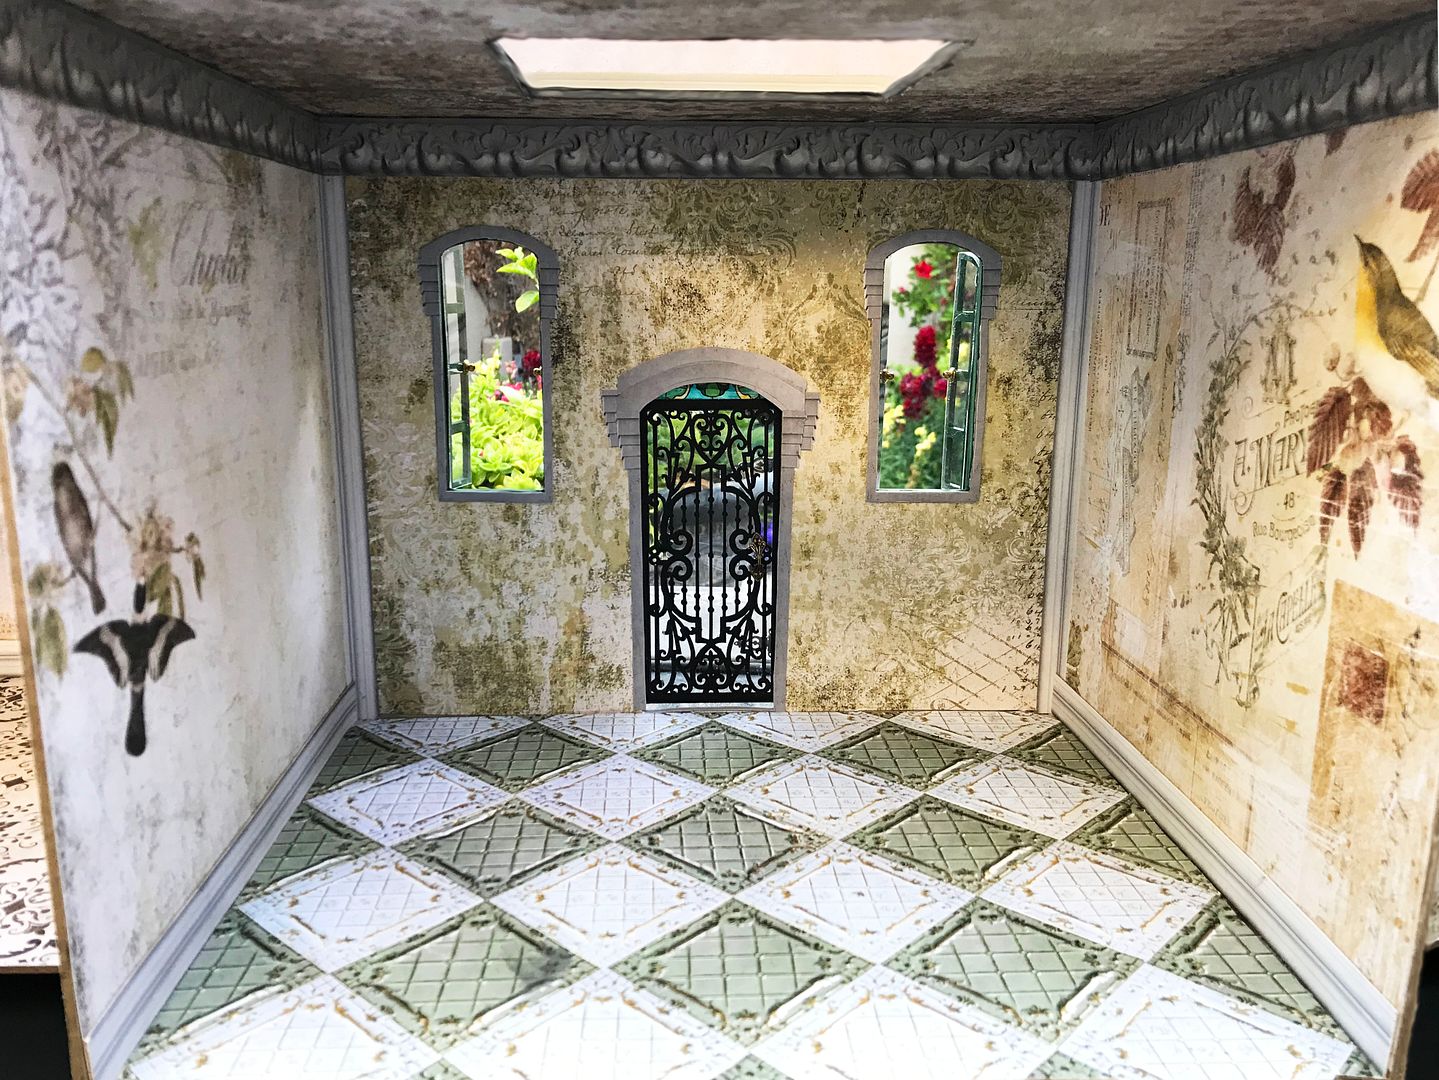
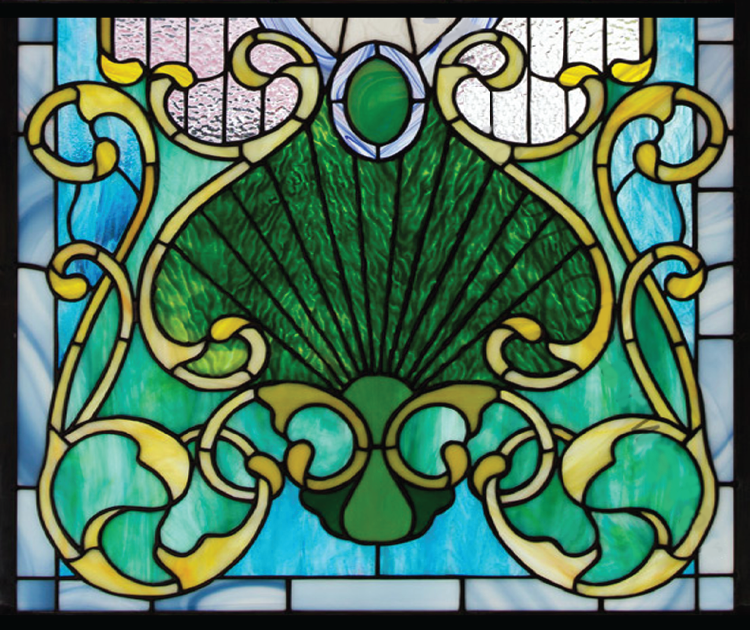
The main entrance door includes beautiful stained glass and an elegant wrought iron and glass door made out of sandwiching faux glass with two Folding Screen Fretwork Inserts. You’ll find the stained glass image further down in the post.
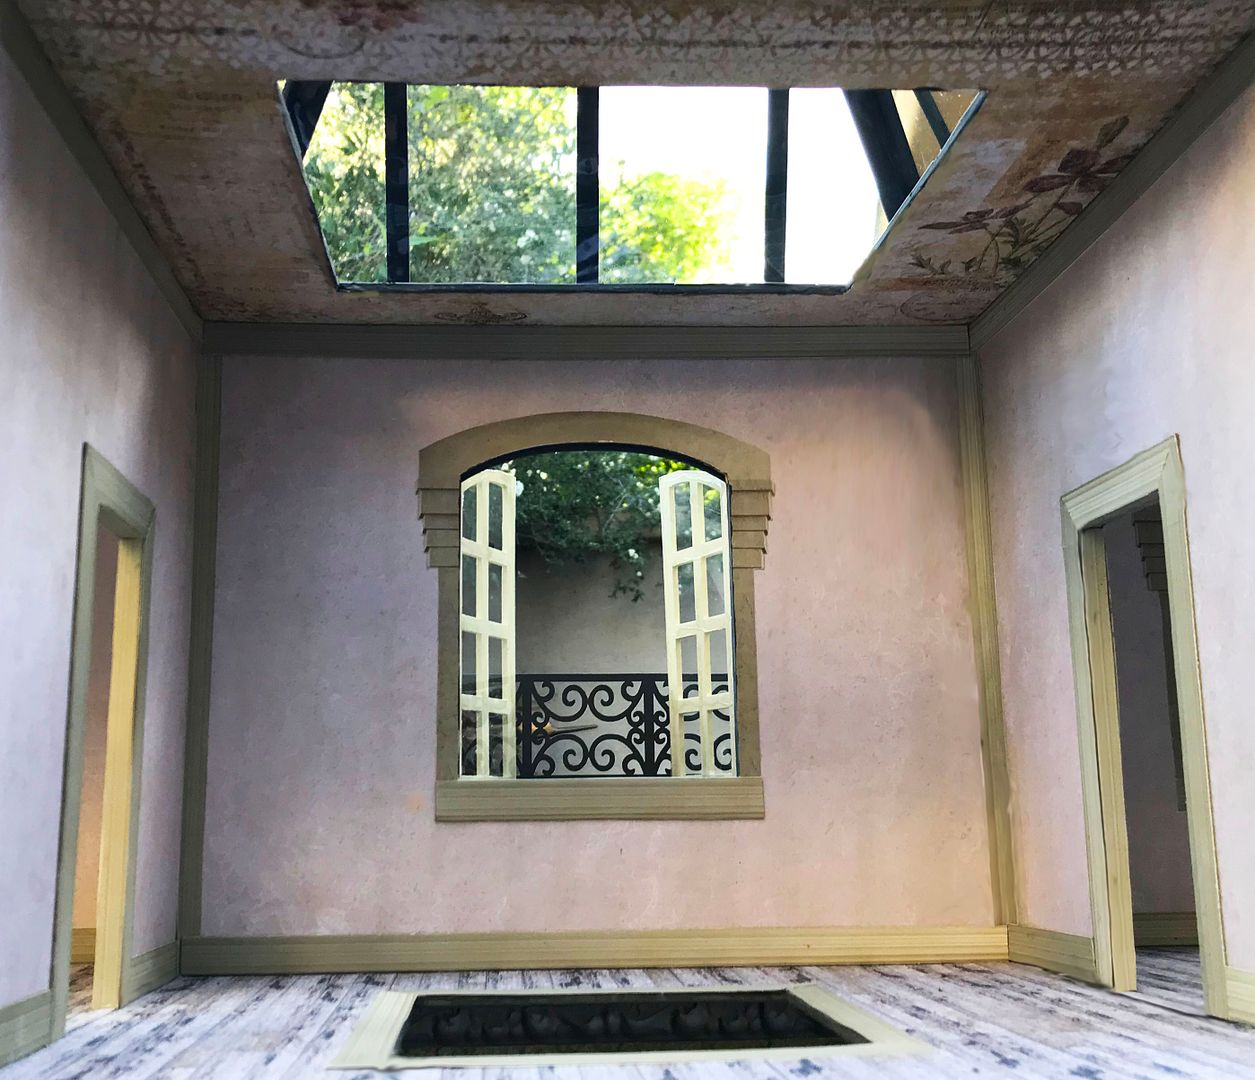
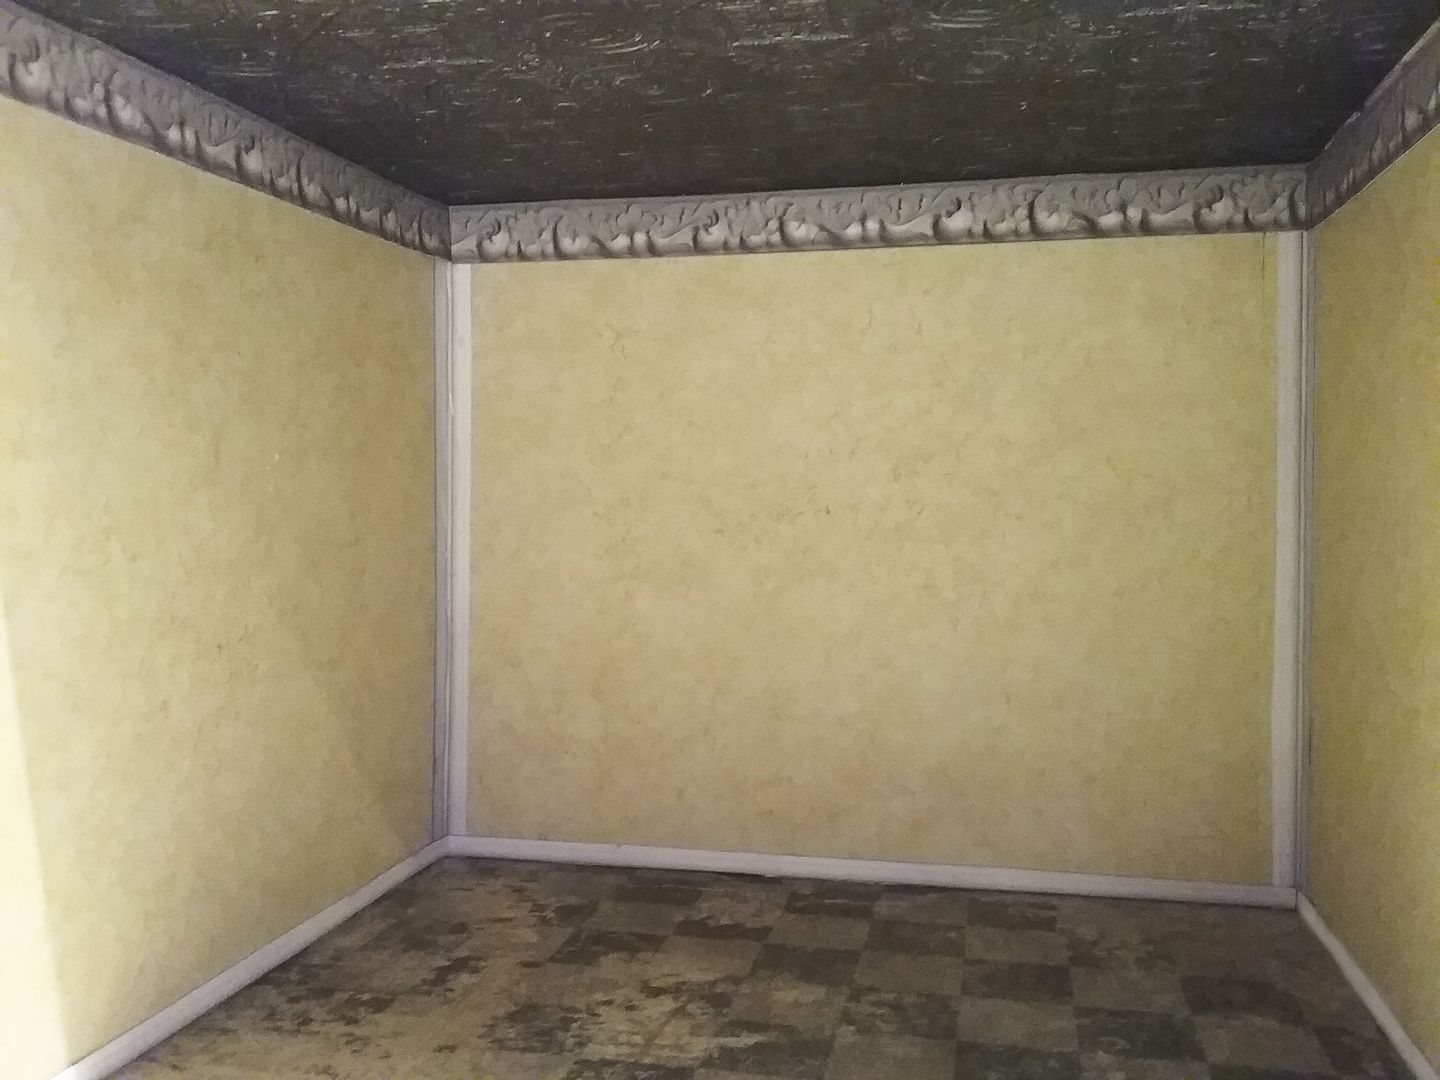
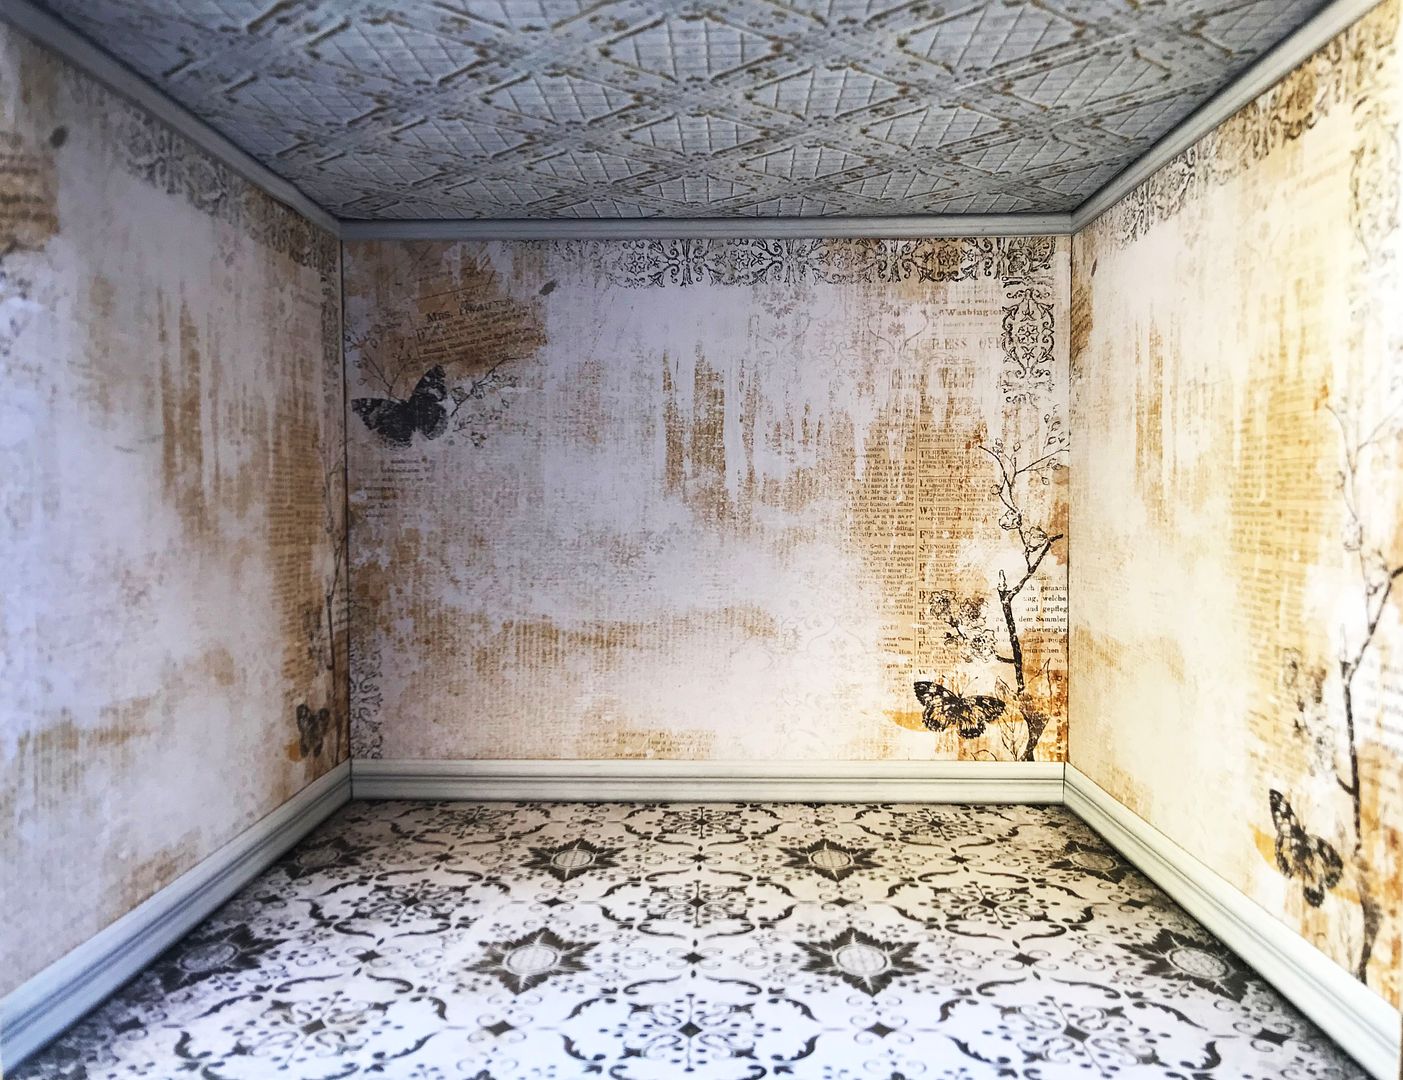
Inside, the rooms are papered and ready for their new occupants. An elevator will be installed to take customers from the first to the second floors.
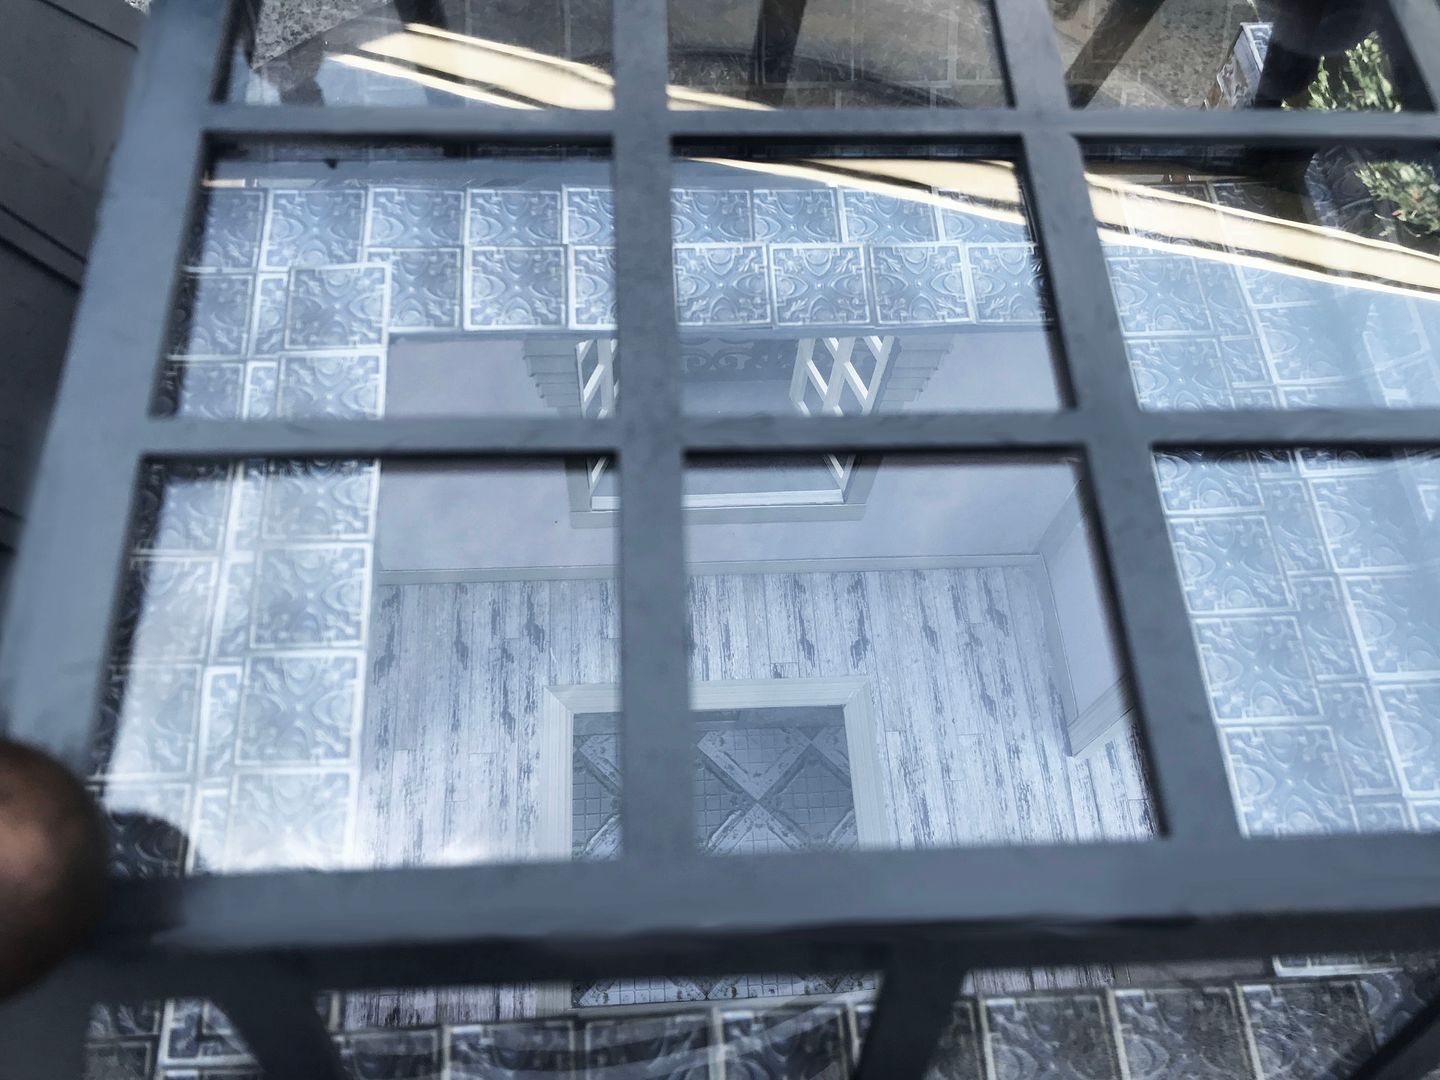
The holes I cut for the future elevator are not only functional but let in lots of light coming through the open roof.
Since the house of fashion will be occupying multiple rooms on the second floor, I’ve cut doorways between the room kits.
Just imagine beautiful gowns showcased on the balconies.
The image below is of what will become the florist shop “L’Amour des Fleurs.”
The room will become the "Cafe Chat Noir."
And the room below will be the Chocolatier, which will be the next tutorial in the series.
You’ll notice that the building looks like it’s still under construction. This is because in future videos, I will be adding lovely external lighted display windows, awnings, doors, signage, and more as I cover the details of each shop.
Not to worry if this is too big of a project to tackle, as I’ll also talk about how you can make individual shops from room kits. Of course, you could also opt to use just one or two house kits.
NOTE: Since I have covered the basic assembly of the house kit in the previous Steamtown video series, in this tutorial, I’m only going to cover construction techniques that are different. If you would like detailed kit assembly information, click here to hop over to the first Steampunk House Video Tutorial.
VIDEO TUTORIAL
FREE DISTRESSED WOOD FLOOR COLLAGE SHEET
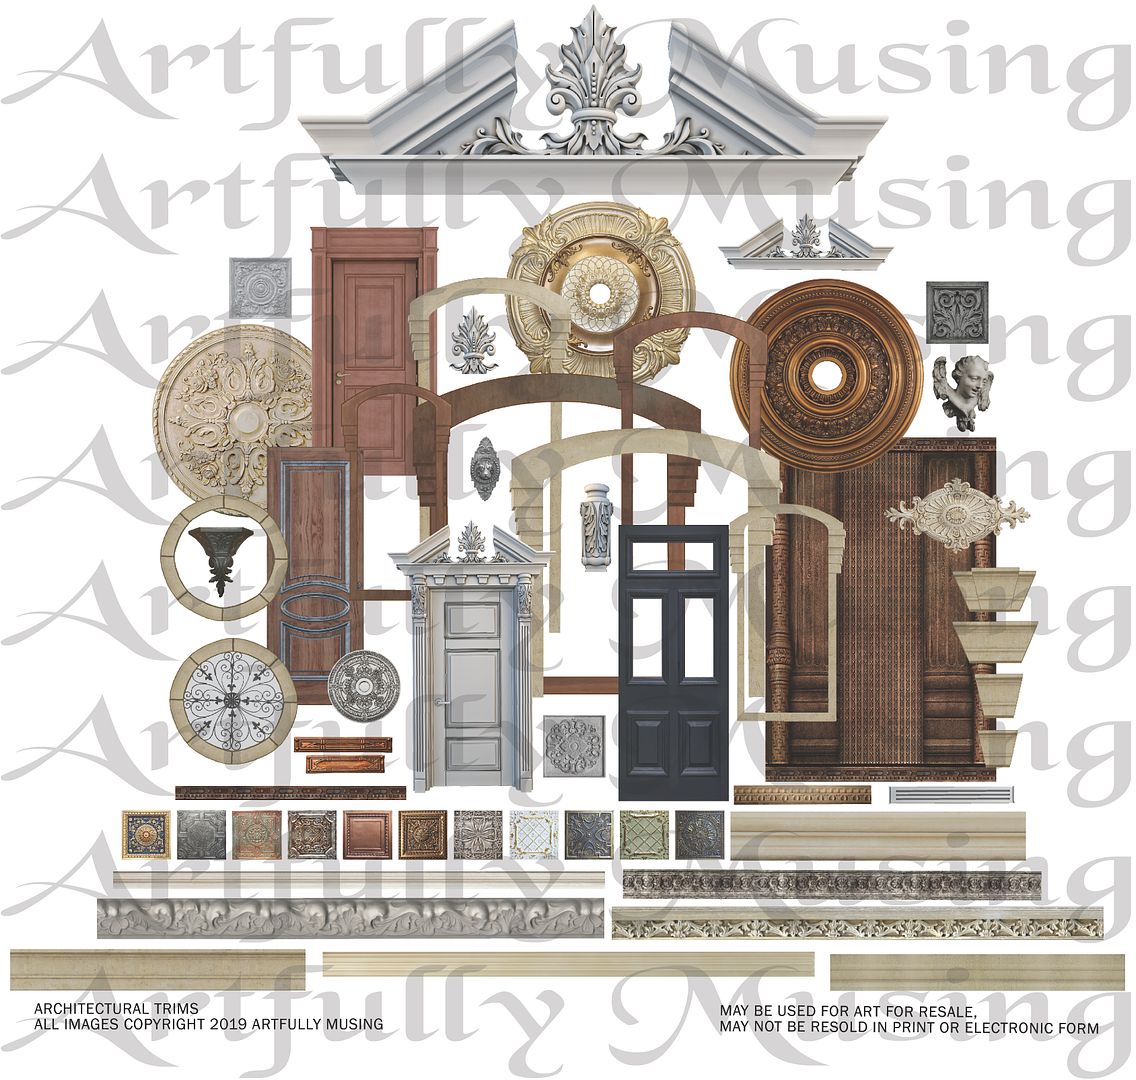
Feel free to download the collage sheet and other images to use in your projects.
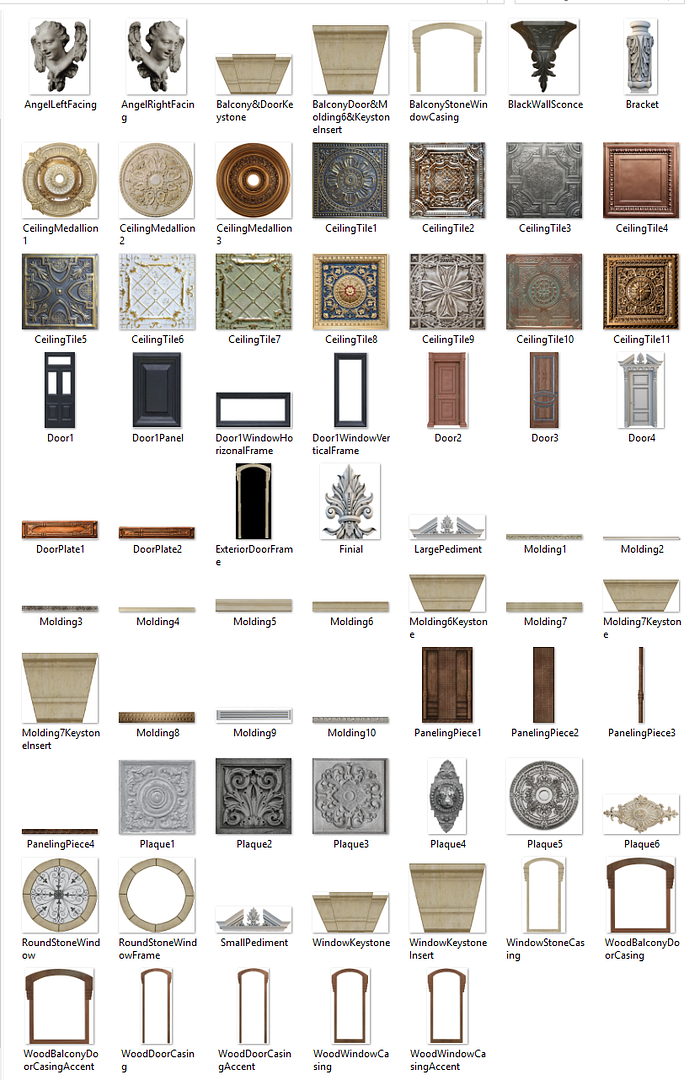
Stonework I used it on the bottom of the exterior.
Stain glass used in the center (Florist Shop) door.
Stonework I used it on the bottom of the exterior.
Stain glass used in the center (Florist Shop) door.
DETAIL SUPPLY LIST
Chesterville Chester Scrapbook Paper - Cafe Floor
Mottled Cream Heavy Paper - Cafe Walls
Faded Cream Wallpaper Scrapbook Paper - Cafe Walls
Remnants Scrapbook Paper - Beaumont - Chocolatier Walls
Remnants Scrapbook Paper - Mini Remnants - Chocolate Floor
Remnants Scrapbook Paper - Mini Remnants - Chocolate Floor
Remnants Scrapbook Paper – Bloomsbury - Florist Ceiling
Remnants Scrapbook Paper - Devonshire - Florist Walls
Remnants Scrapbook Paper - Westfield - Florist Walls
Remnants Scrapbook Paper - Mayfair - Florist Walls
Romantique Grand Scrapbook Paper - Boutique Walls
Barber Shoppe Razor Scrapbook Paper - Boutique Ceiling
Red Brick Wall Scrapbook Paper - Exterior Brick Trim
Red Brick Wall Scrapbook Paper - Exterior Brick Trim
2-Story Room French Quarter
2-Story Room Box French Quarter Open Roof
2-Story Room Box French Quarter Short Roof
12x12 Clear Plastic for Windows
Folding Screen Fretwork Insert
Pair of Fancy Mini Hinges w Pins
6mm Raw Brass Bead Caps or Knobs
Scalloped Gingerbread Trim Strips
Art Décor Silicone Mold – Renaissance
Gilders Paste - Copper

