-->

Welcome

I love answering your questions. If you ask them in the comment section, I have no way to answer you (if you haven't heard from me, that is why). If you use the "EMAIL ME" in the left column of this page, I will be able to respond to you. You can also use it if you want to be added to my newsletter. Laura
Showing posts with label Tarot Cards. Show all posts

Wednesday, April 10, 2019

ALICE IN WONDERLAND TAROT CARDS TWO SIZES IN FAUX BOOK BOXES - NEW IMAGE SETS

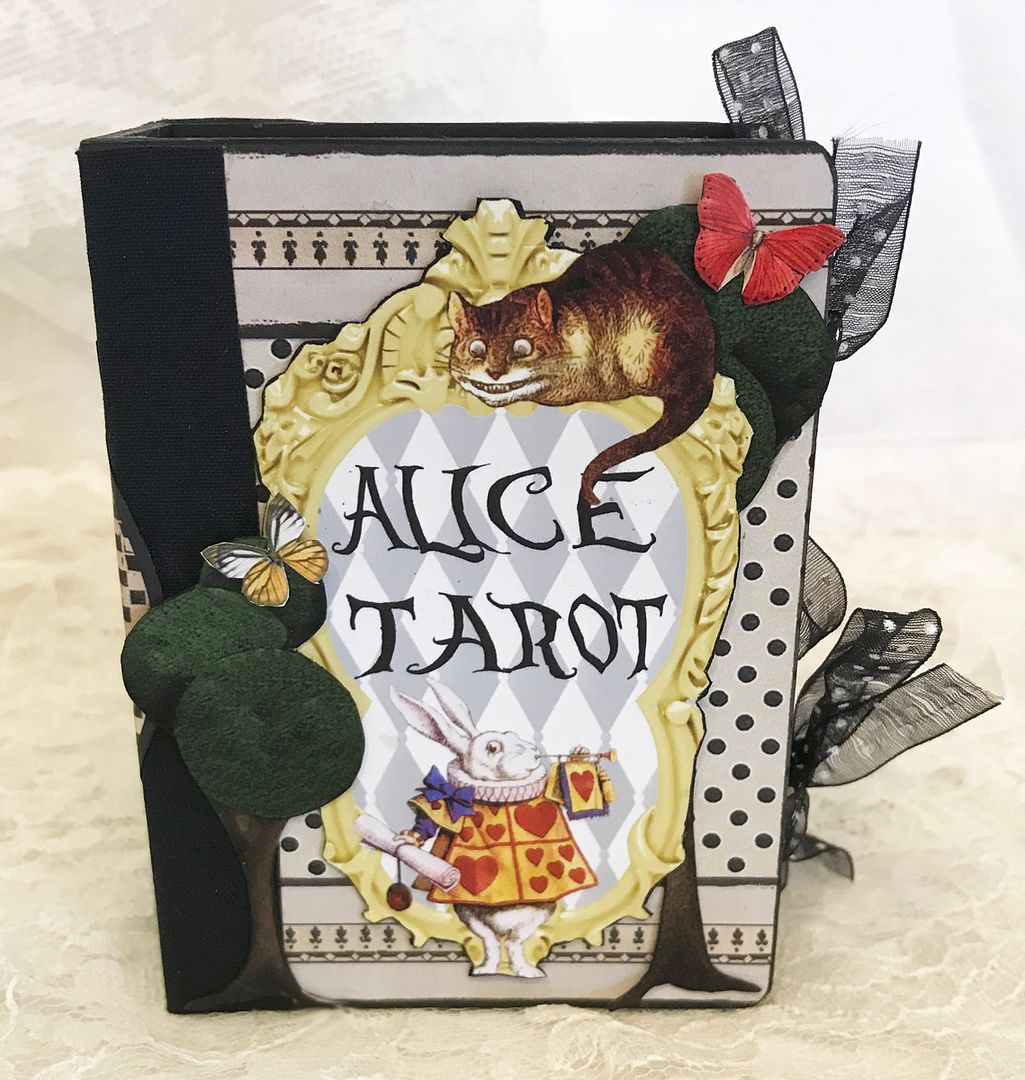
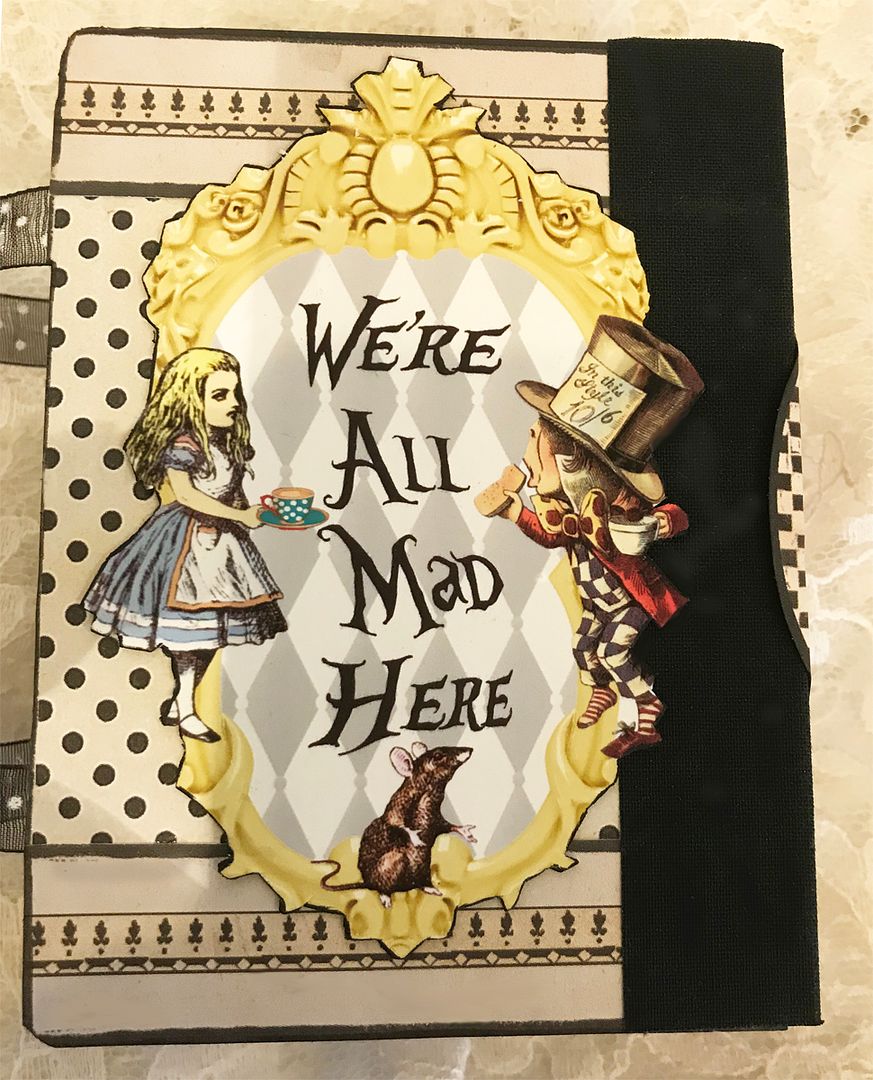
If you love Alice in Wonderland and tarot cards, you will love these projects.  One set of cards is the size of an ATC, and a mini version of cards that are 1 3/8" x 15/16".  To store the cards, I’ve used two different-sized Faux Book Boxes decorated with beautiful themed Alice paper and images from my new image sets.    
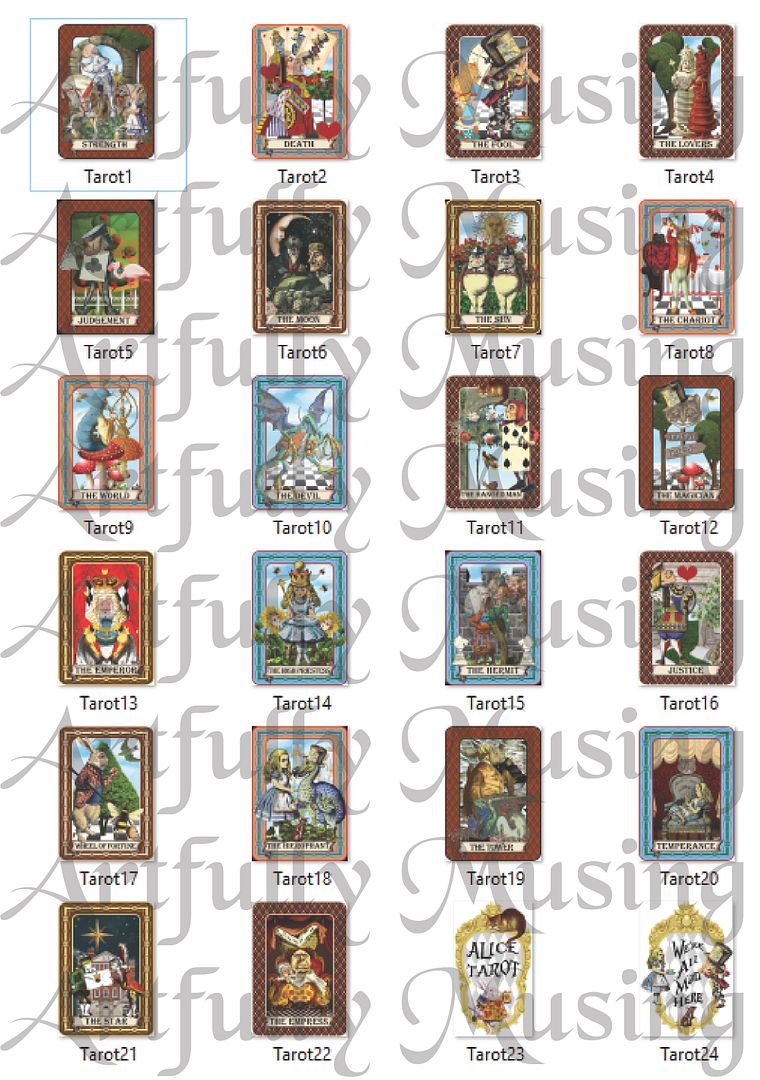
For this project, I have designed a 3 collage sheet Alice-themed Tarot card set of the 22 Major Arcana tarot cards, which are ready to be cut out, backed with decorative paper, and voila, you have a set of cards. The images are available as collage sheets or as digital image sets.
If you love miniature items, I created a half collage sheet mini version of the tarot cards.


NEW COLLAGE SHEETS & DIGI IMAGE SET

This 3 collage sheet set contains 22 ATC-sized Major Arcana tarot cards featuring characters from “Alice in Wonderland” and “Through the Looking Glass” books, plus some images to decorate a card box.  It is so easy to make your own set by merely cutting out the card images and attaching a decorated paper backing.  Click on the image below to purchase this set.
This sheet contains 18 characters from the “Alice in Wonderland” and “Through the Looking Glass” books.  Included are: Executioner, Duchess, Mock Turtle, White Knight, White King, Red Queen, Caterpillar, Humpty Dumpty, King of Hearts, March Hare, Gryphon, Cheshire Cat, Carpenter, Walrus, Unicorn, Lion, Jabberwock, and the Messenger.  This sheet works well with all of my other Alice-themed collage sheets and digital image sets.  Click on the image below to purchase this sheet.
This sheet is a mini version of 3 Alice Tarot Collage Sheet (22 Major Arcana tarot cards) set featuring characters from “Alice in Wonderland” and “Through the Looking Glass” books, plus some images to decorate a card box.  The cards measure 1 3/8" x 15/16".  Click on the image below to purchase this sheet.
This set contains all of the cards found on the Alice Tarot, 3 Collage Sheet set, which includes 22 ATC-sized Major Arcana tarot cards featuring characters from “Alice in Wonderland” and “Through the Looking Glass” books plus some images to decorate a card box for a total of 24 images.  Click on the image below to purchase this set.
THE DETAILS
ATC-SIZED CARDS & BOX
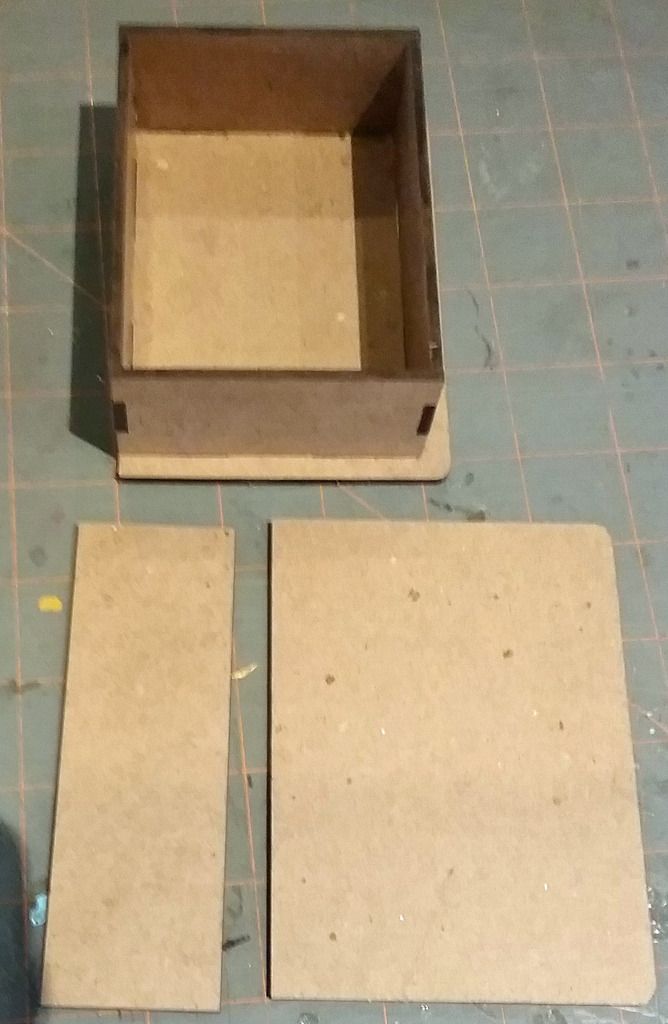
I started by assembling the box part of the book.  Next, I painted all of the edges that will be exposed after papering black.
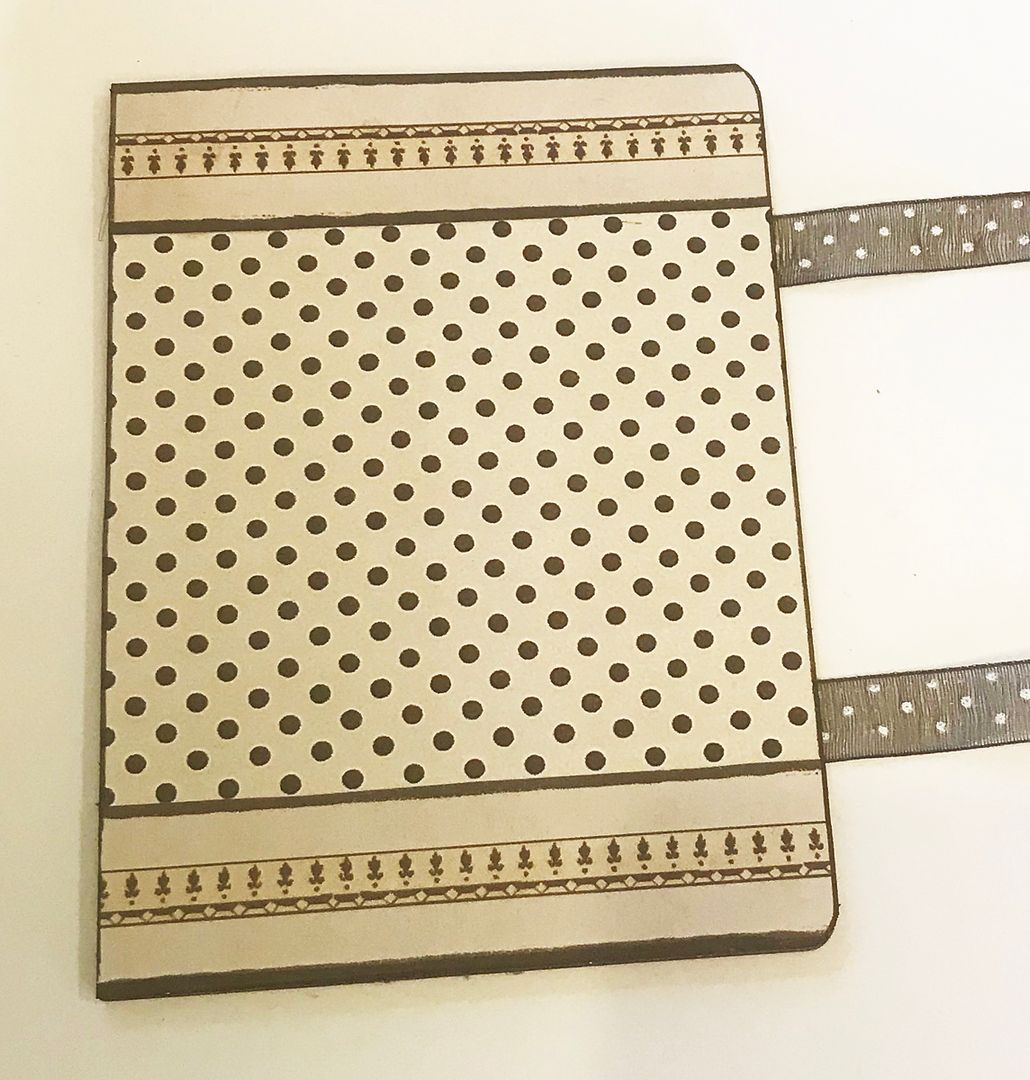
As a closure, I added ribbon to the inside of the lid and the back of the box (before papering).  You could alternately add the ribbon to the front of the cover as opposed to the back. 
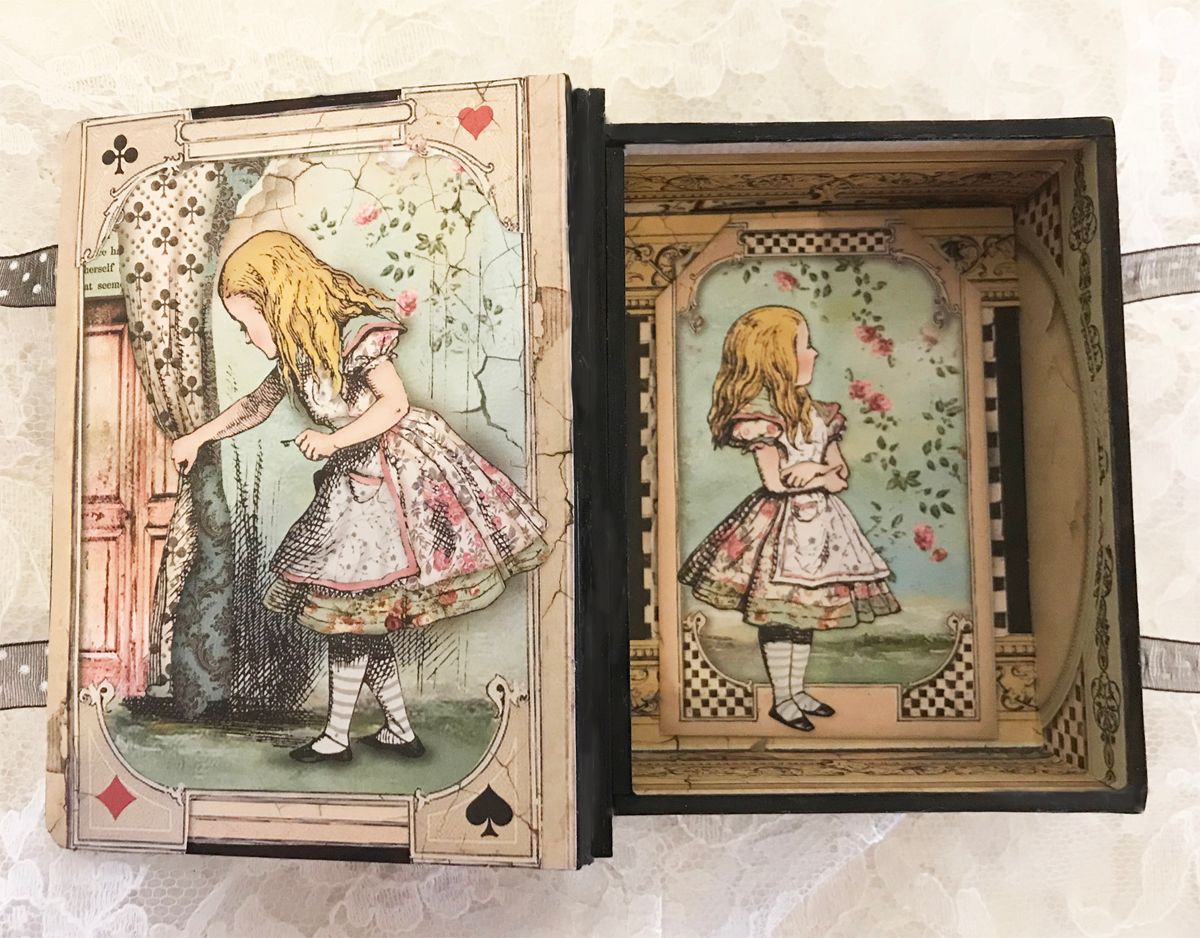
To all of the surfaces inside and out, I added paper from the Alice 12x12 paper pad, which is filled with beautiful designs and images; I had a tough time choosing which ones to use.   Notice how the paper covers the ribbon and helps to hold it in place.
For the spine, I used bookbinders tape or cloth tape.  It is fabric on one side with adhesive on the other.  Other options would be to use paper or to hinge the cover to the spine.  I cut the tape wider than the spine to facilitate attaching it to the lid and back of the box.

I attached the tape to the spine (first picture above) and then glued the spine to the side of the box.  I then folded the tape over the back of the box and then folded it over the lid of the box.
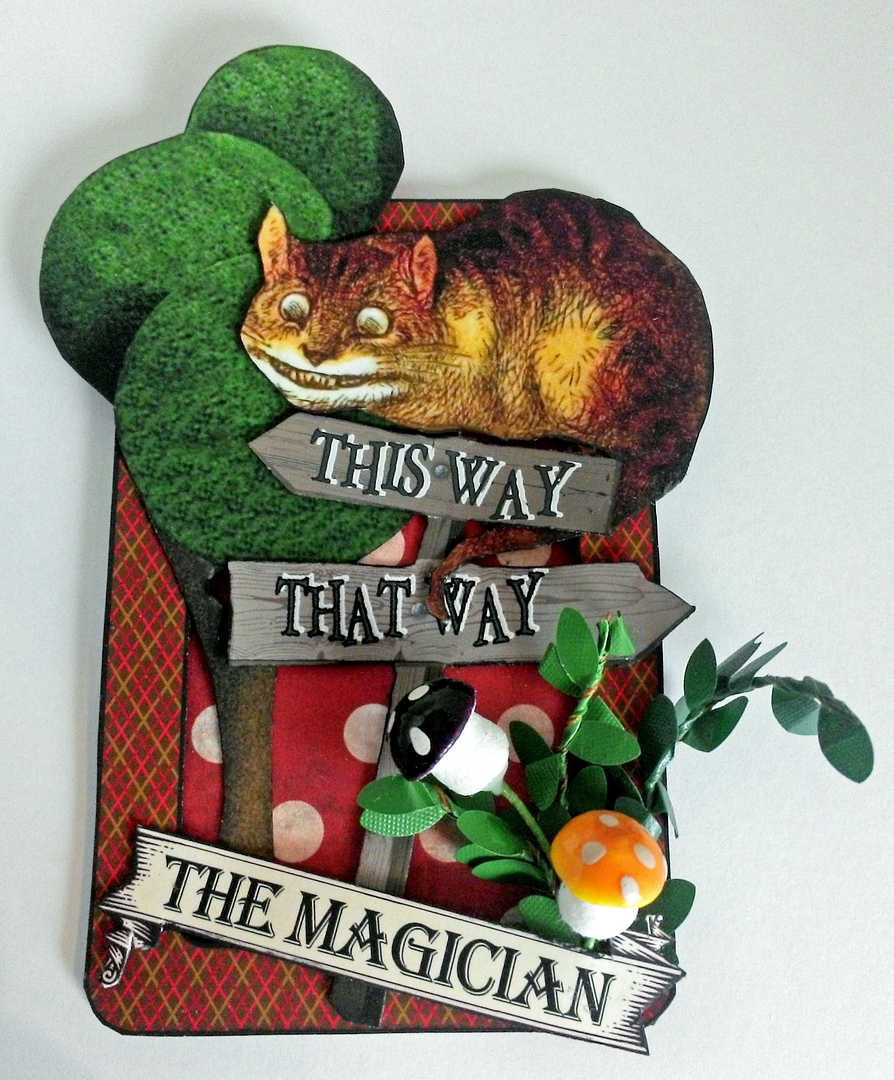
I used images from the Tarot Card collage sheet set, the Alice in Wonderland Characters collage sheet (March Hare on the spine), and my Wonderland digital image set (trees & cat on the front cover) to decorate the outside of the box.
I used three layers for the tarot cards to make them sturdy.
Top – tarot card image
Middle – cardstock (alternatively, you could use thin chipboard)
Back – Alice's decorative paper
After assembling the three layers, I painted them with Glossy Accents to give them a shiny finish.

MINI-SIZED CARDS & BOX
I assembled the mini cards and box in the same manner as the larger box and cards with a few minor differences.
For the small box, I used only one ribbon as a closure.
For the mini cards, I backed the images with the Alice decorative paper but did not use the cardstock in the middle as the cards would have been too thick to fit in the box.

Saturday, January 7, 2017

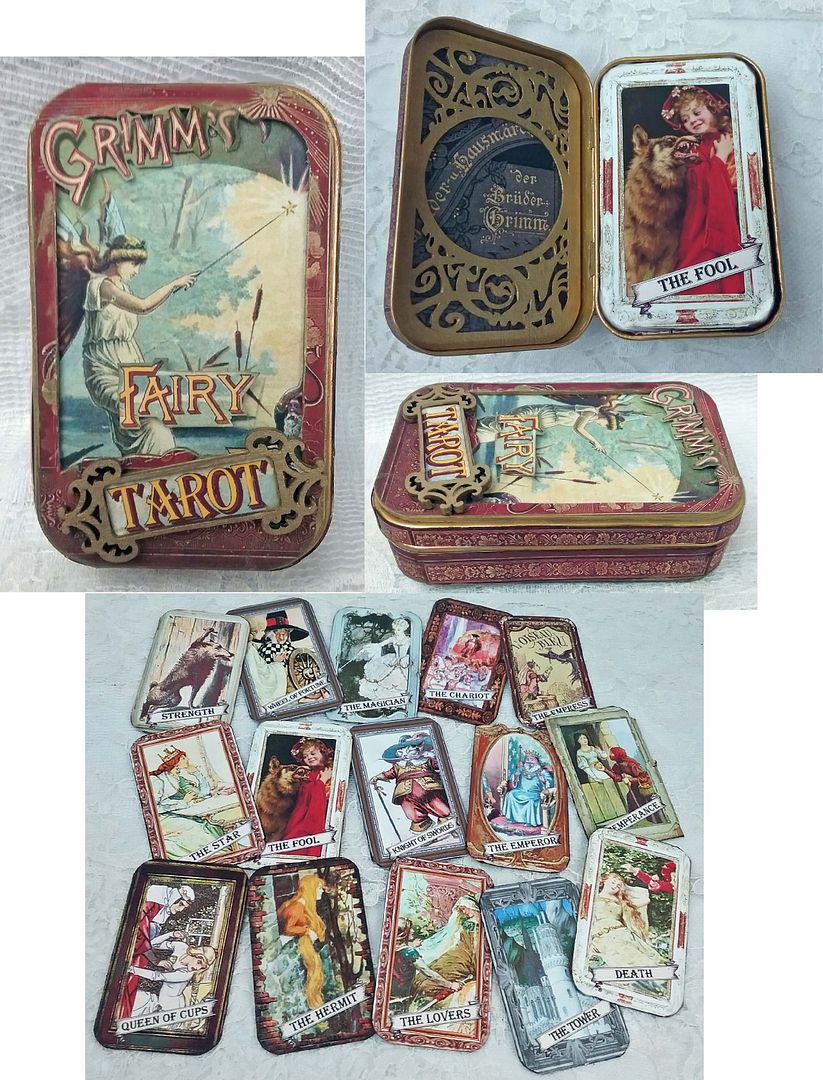
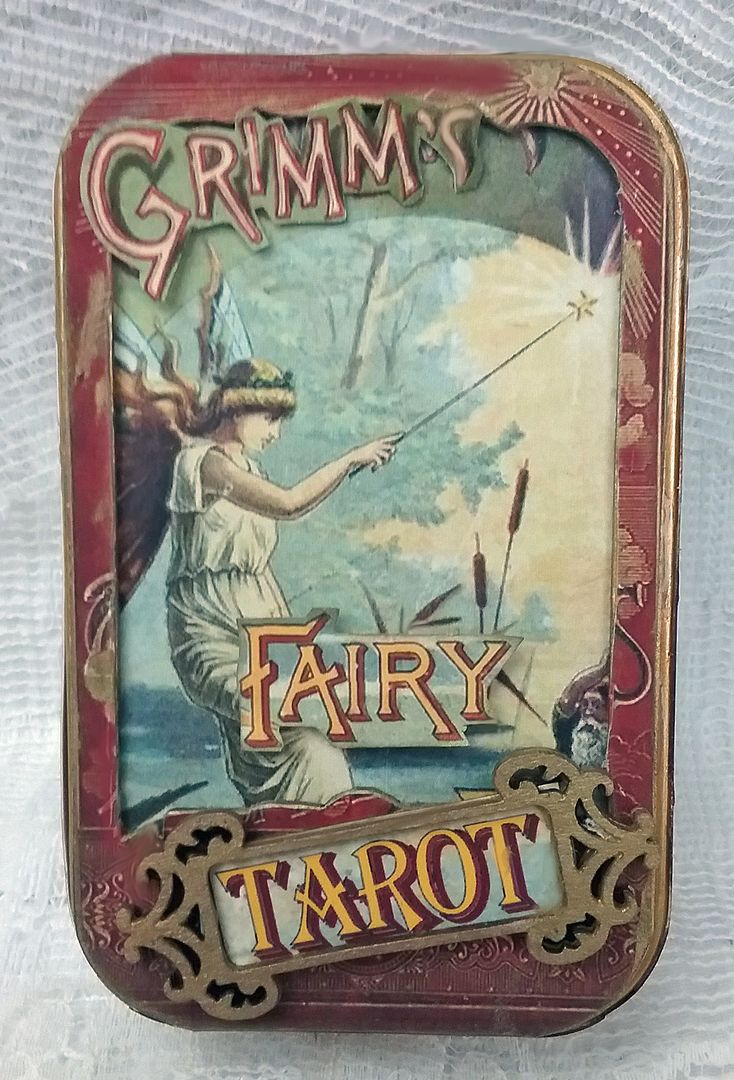
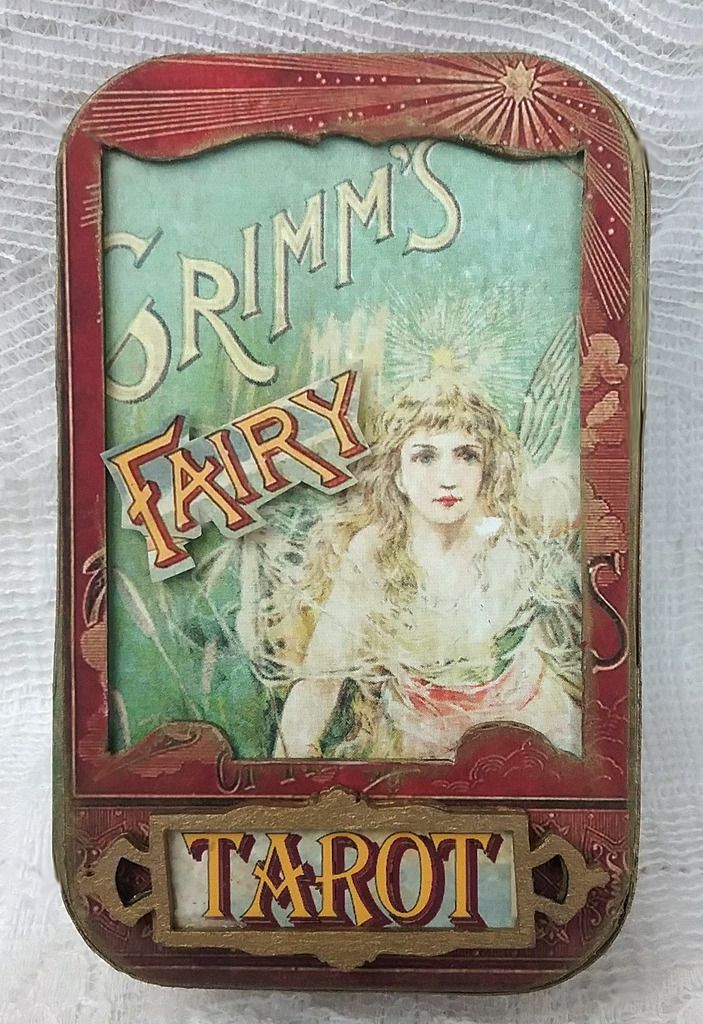
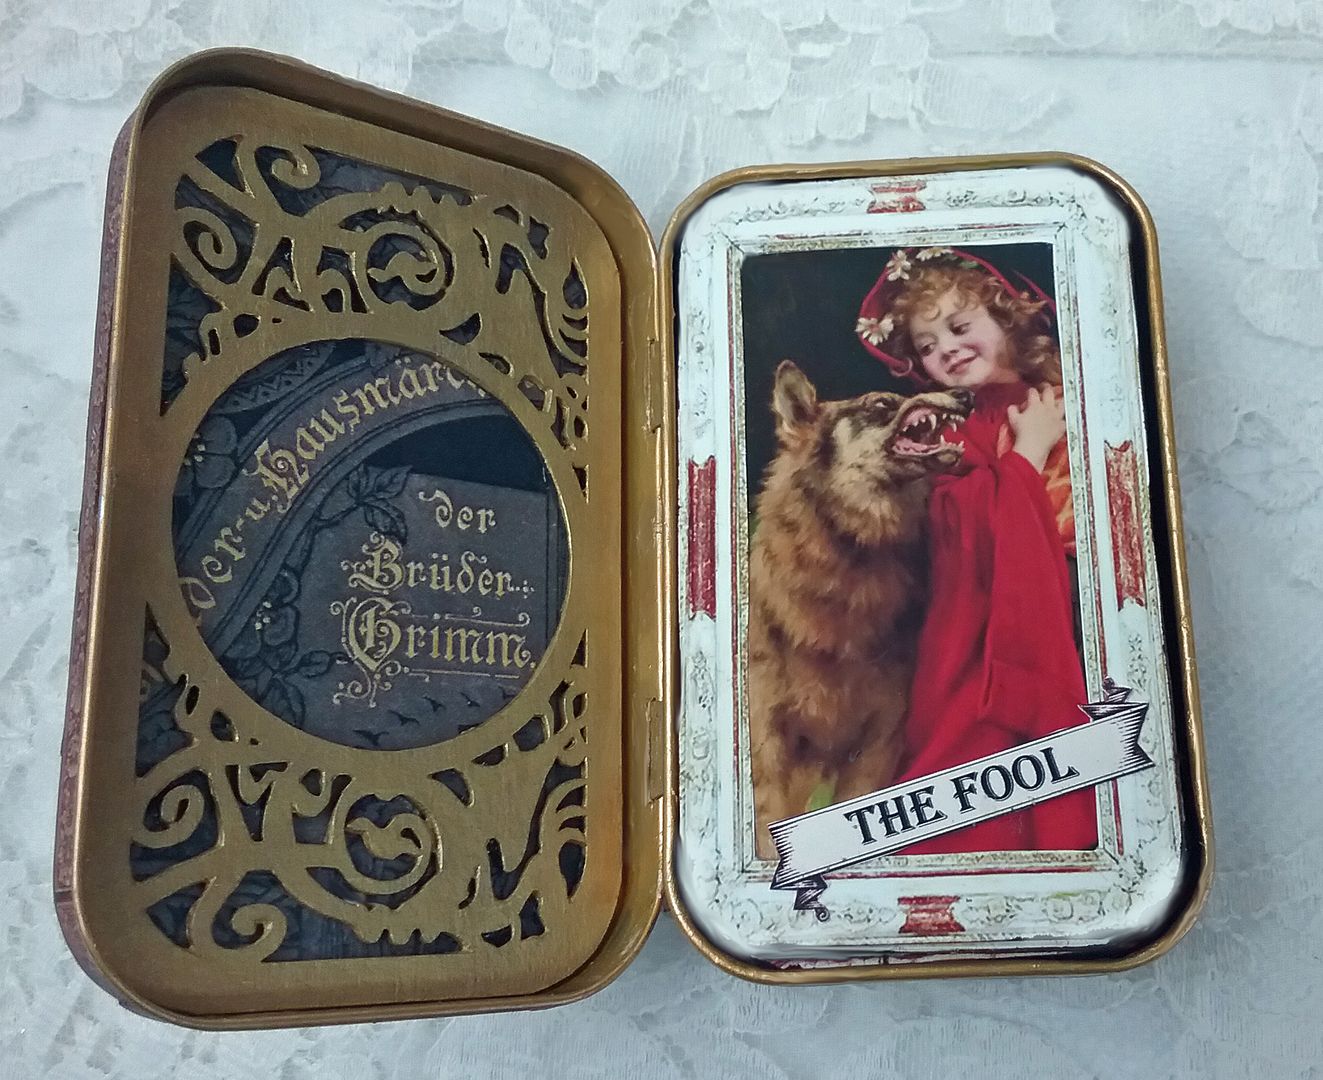
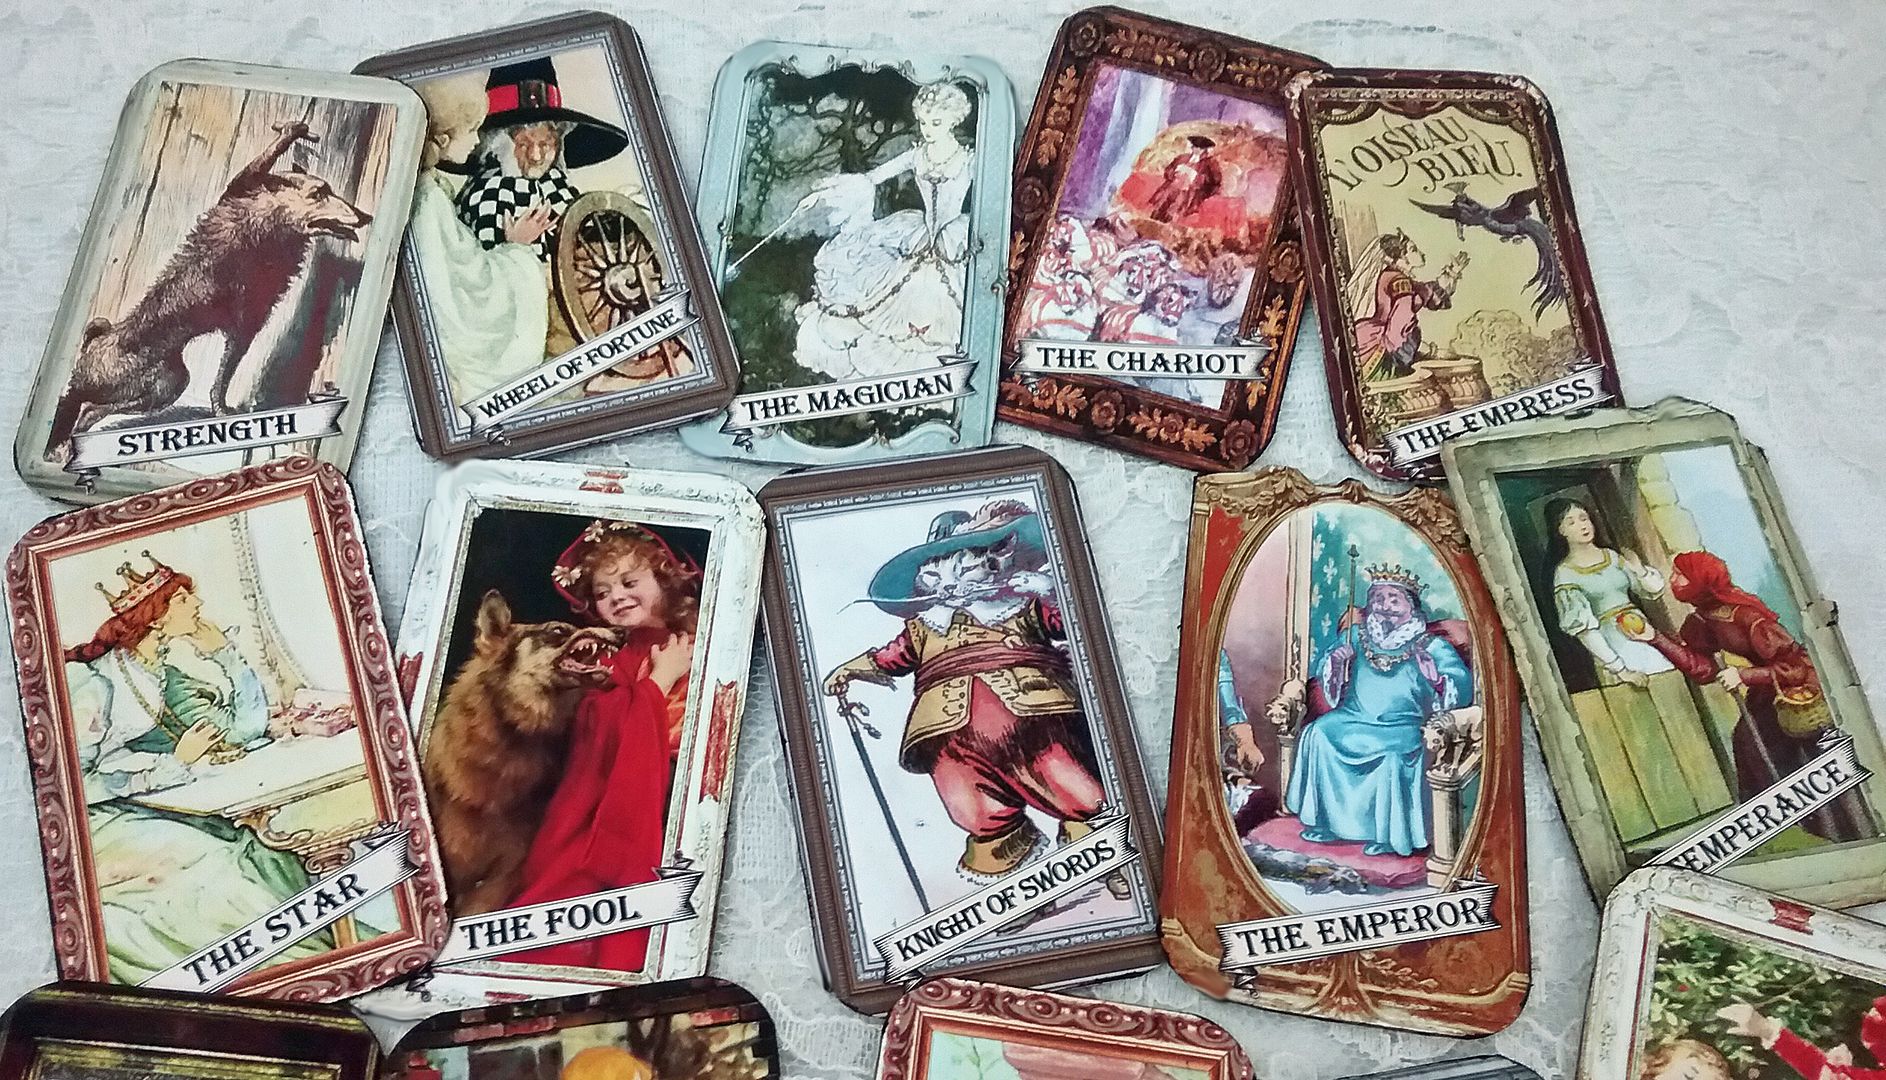
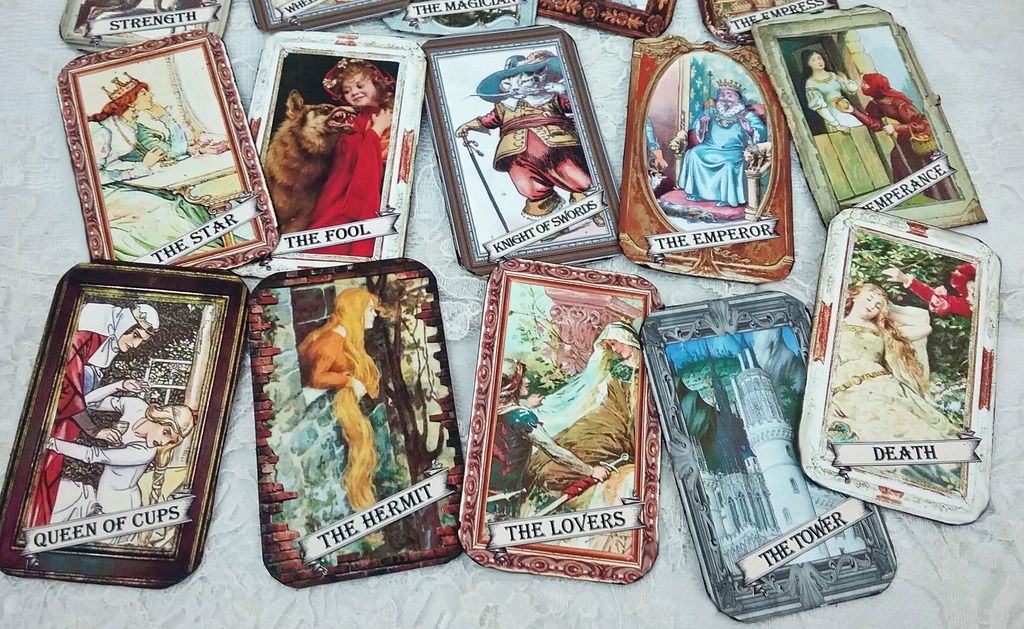
GRIMM'S FAIRY TAROT - FAIRY TALE THEMED TAROT CARDS IN AN ALTOIDS TIN BOX

I was racking my brain trying to think of some kind of interesting twist for tarot cards and the idea of making cards based on the Grimm fairy tales. popped into my mind. 
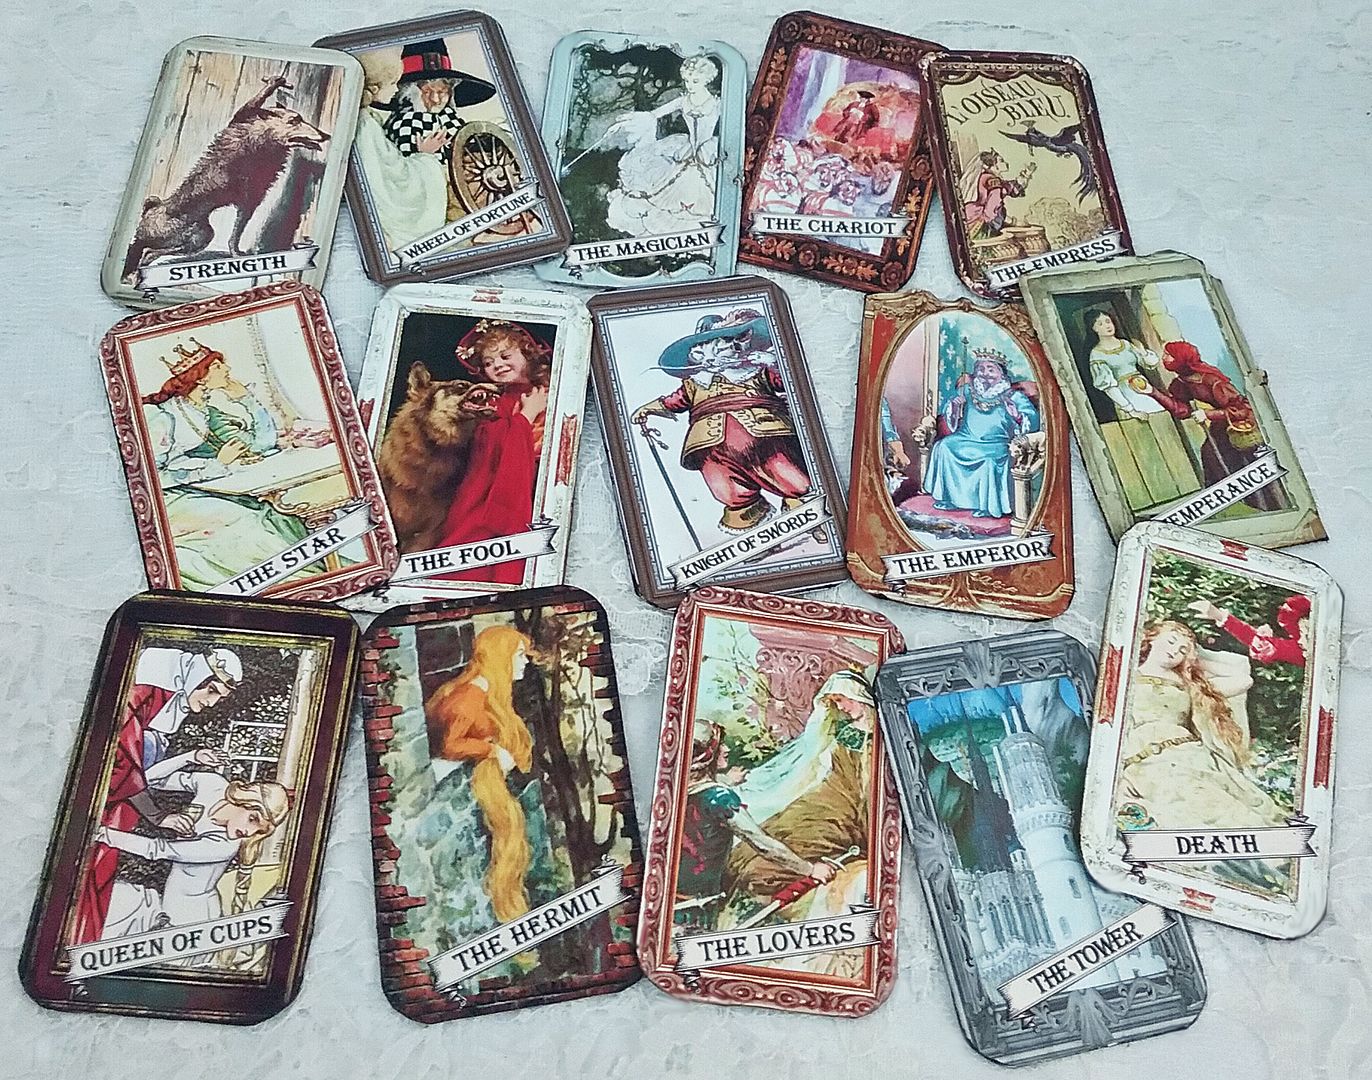
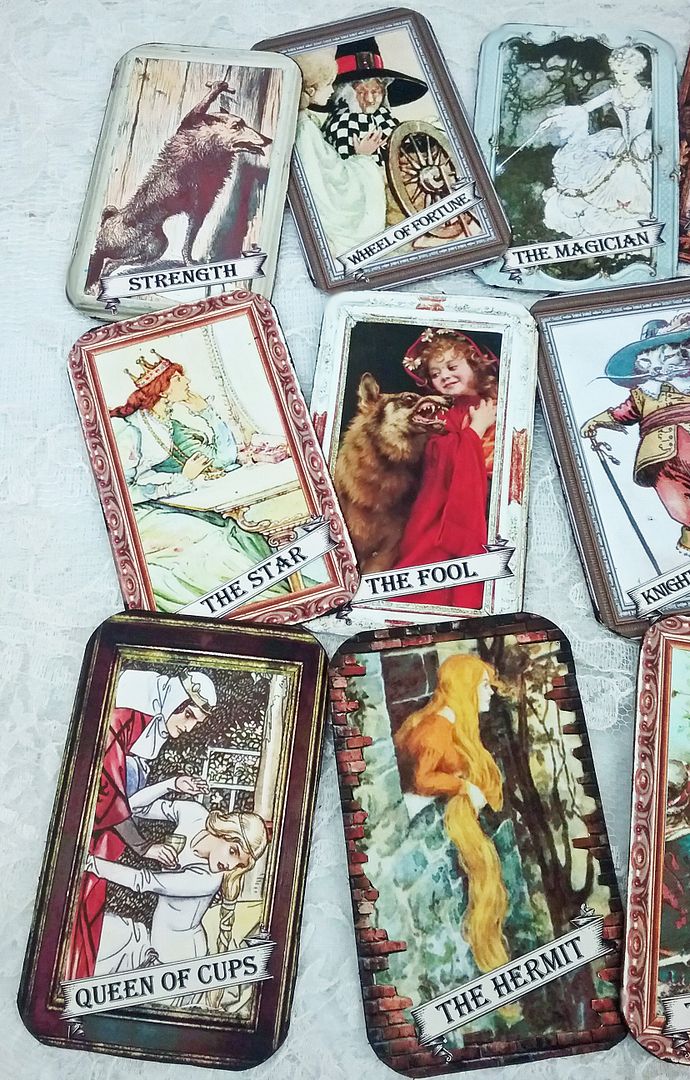
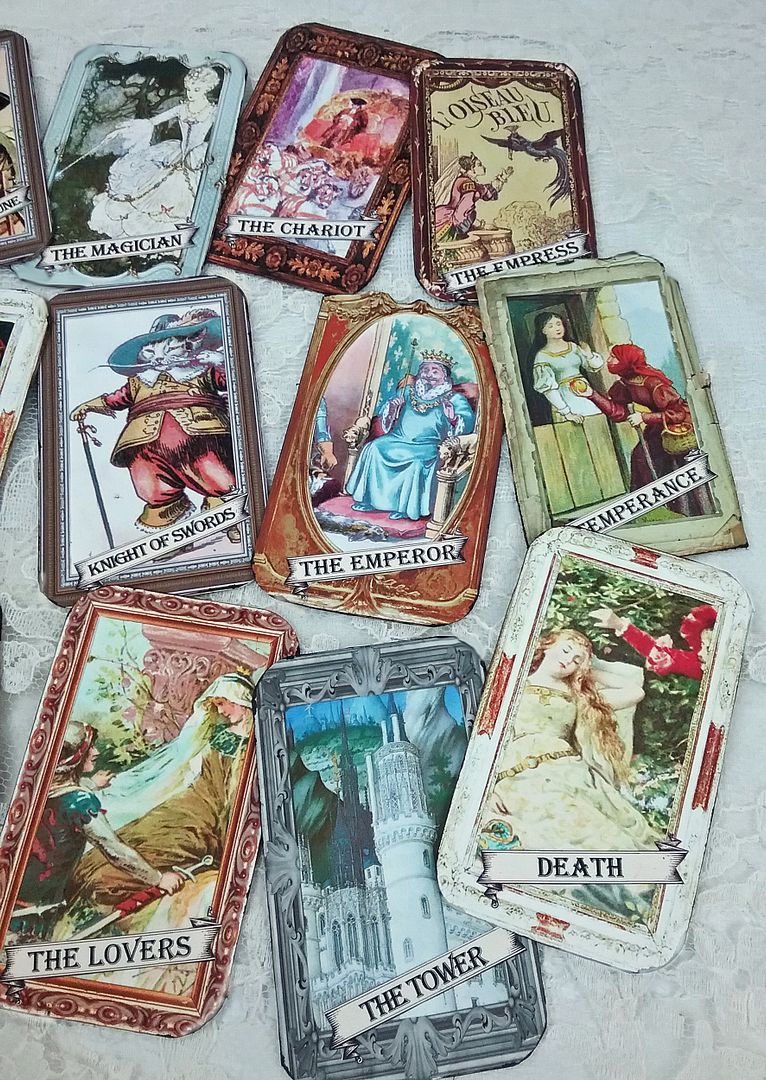
For me, the best part of the project was choosing the images for each card (there were so many to choose from).  My favorites are Red Riding Hood as The Fool, Puss in Boots as the Knight of Swords, and Sleeping Beauty pricking her finger as the Wheel of Fortune.
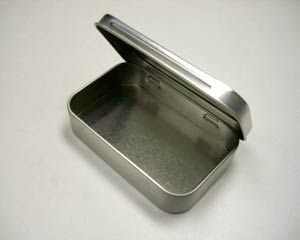
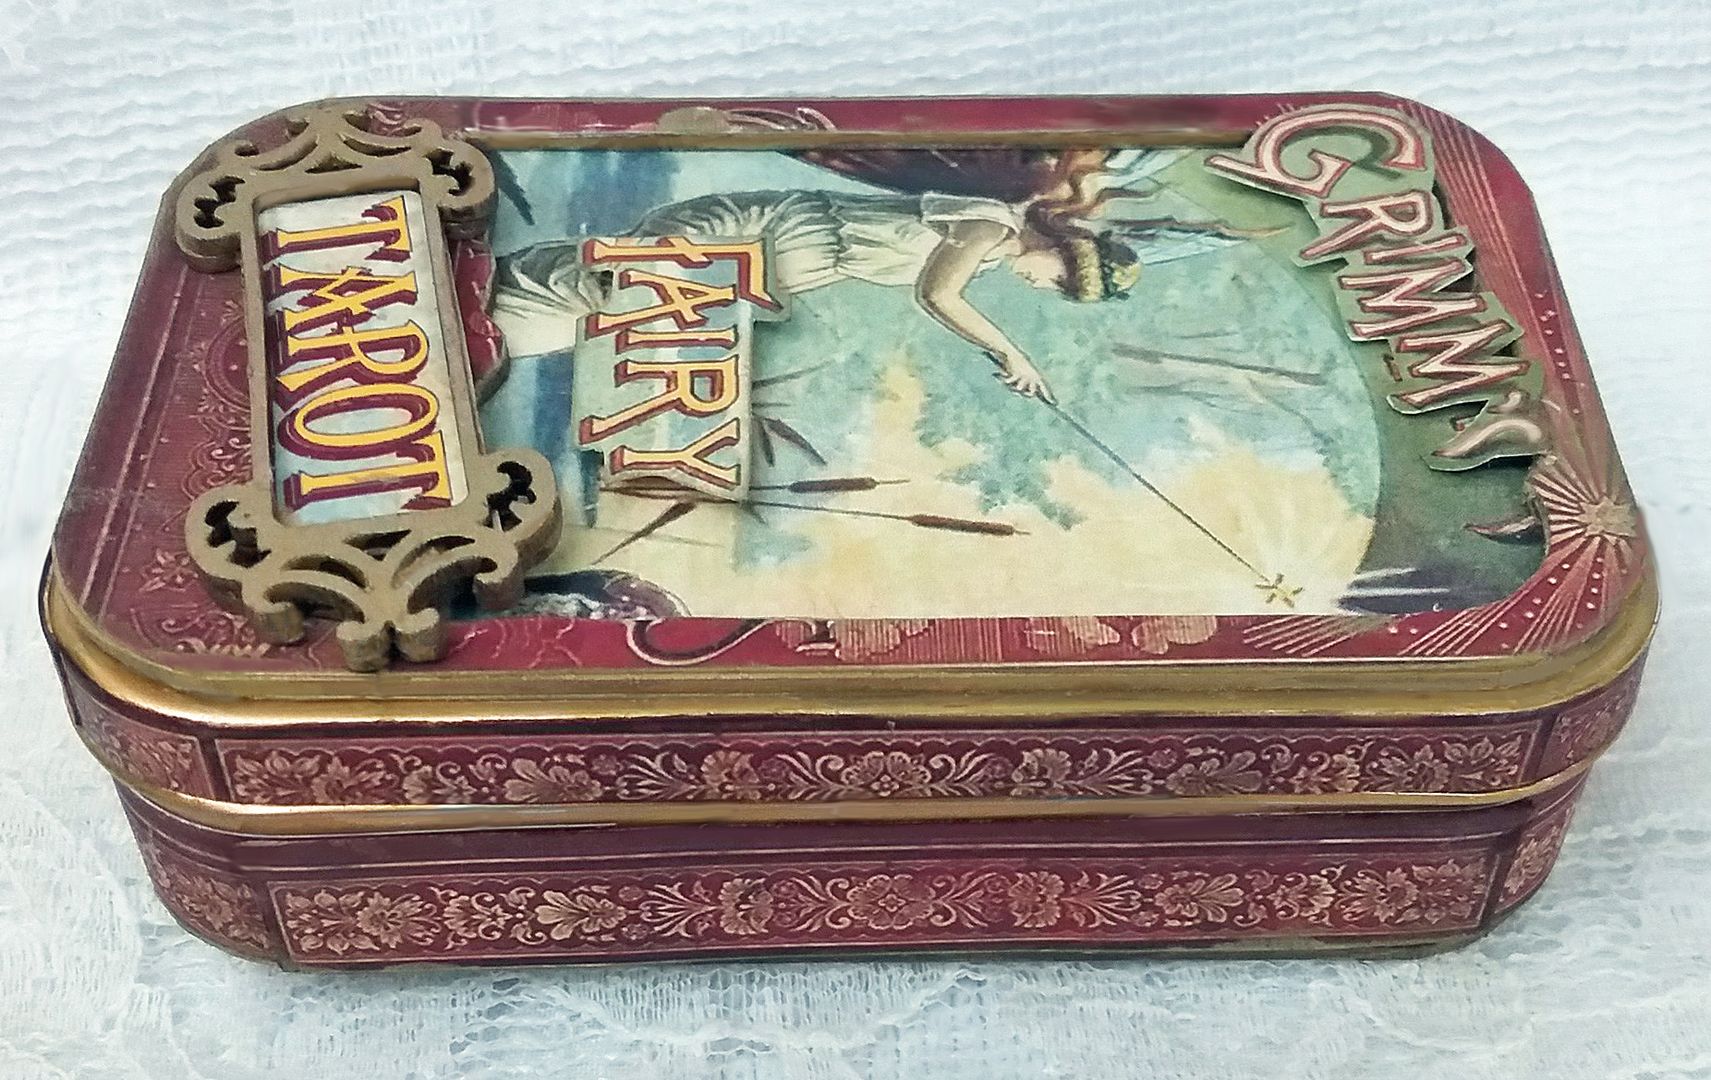
The case is made from a blank Altoids tin.  I would have made a full set of cards but settled on making just enough to fill the tin (15 cards).  You can always hinge two tins together if you want to make more.


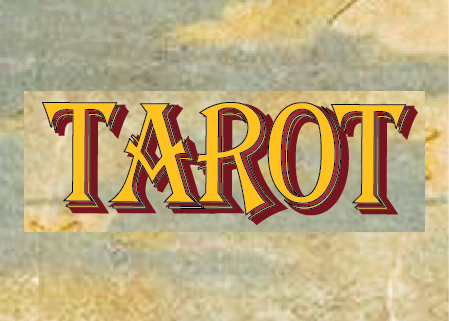
Below is the image I used on the chipboard labels.  Feel free to download and use it in your art.


To dress up the outside of the tins, I used Fairy Tale Altoids Inserts that come in a set of three different designs.  I used the first two on the left for my tin.


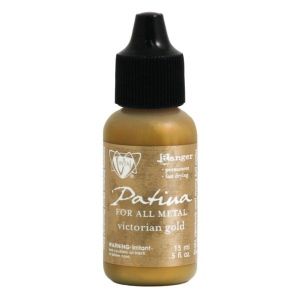
I used Victorian Gold Metal Patinas to paint the parts of the tin that were not going to be covered with paper.  While covering the tin with paper, I made sure that I didn't paper anywhere that would prevent the tin from opening and closing.  I painted areas like the lid's inside lip, and the bottom's outside edges because paper adds too much bulk, and you won’t be able to close the tin.


I used an Altoids Dragons Insert on the inside of the lid.


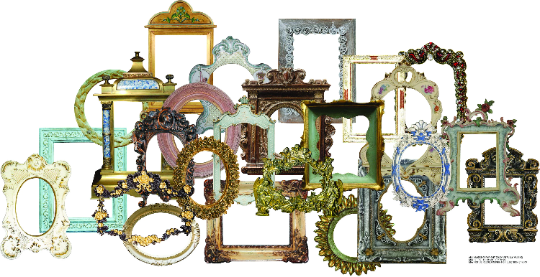
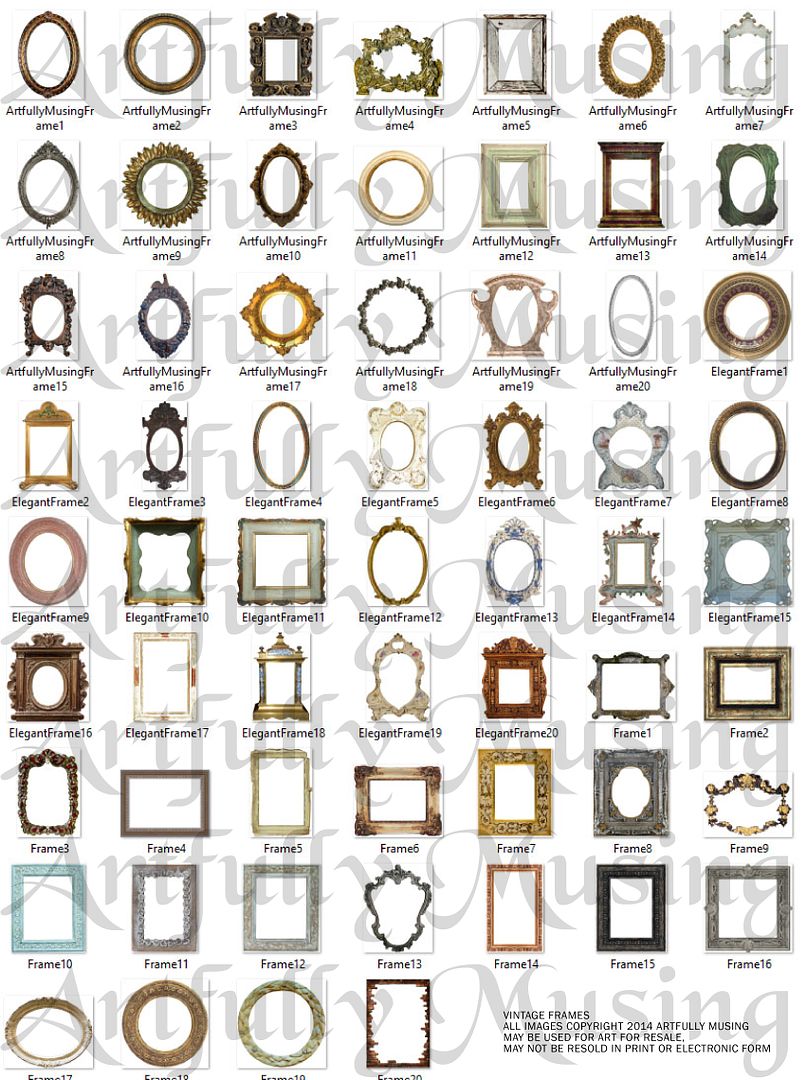
I used various frames from my Large Vintage and Elegant Frames Digital Image Set to frame each card.  To purchase this digital image set, click on the image below.


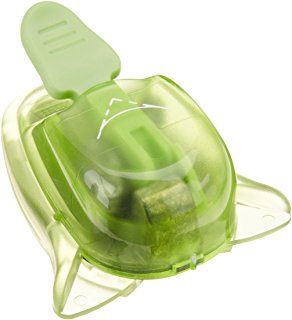
Each card measures 3 1/2" by 2 1/8".  I glued the image behind the frame and then used a corner punch to round the corners.  By rounding the corners I could use a larger card, as square-cornered cards would need to be smaller to fit into the rounded corners of the tin.
I backed the card with a thin piece of chipboard and decorative paper.
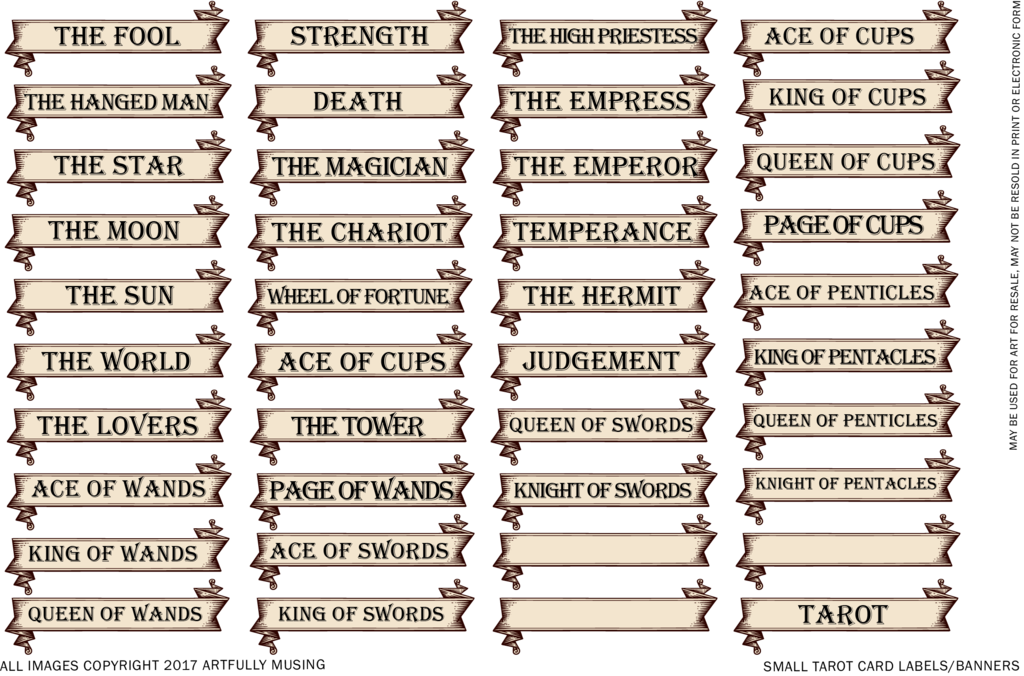
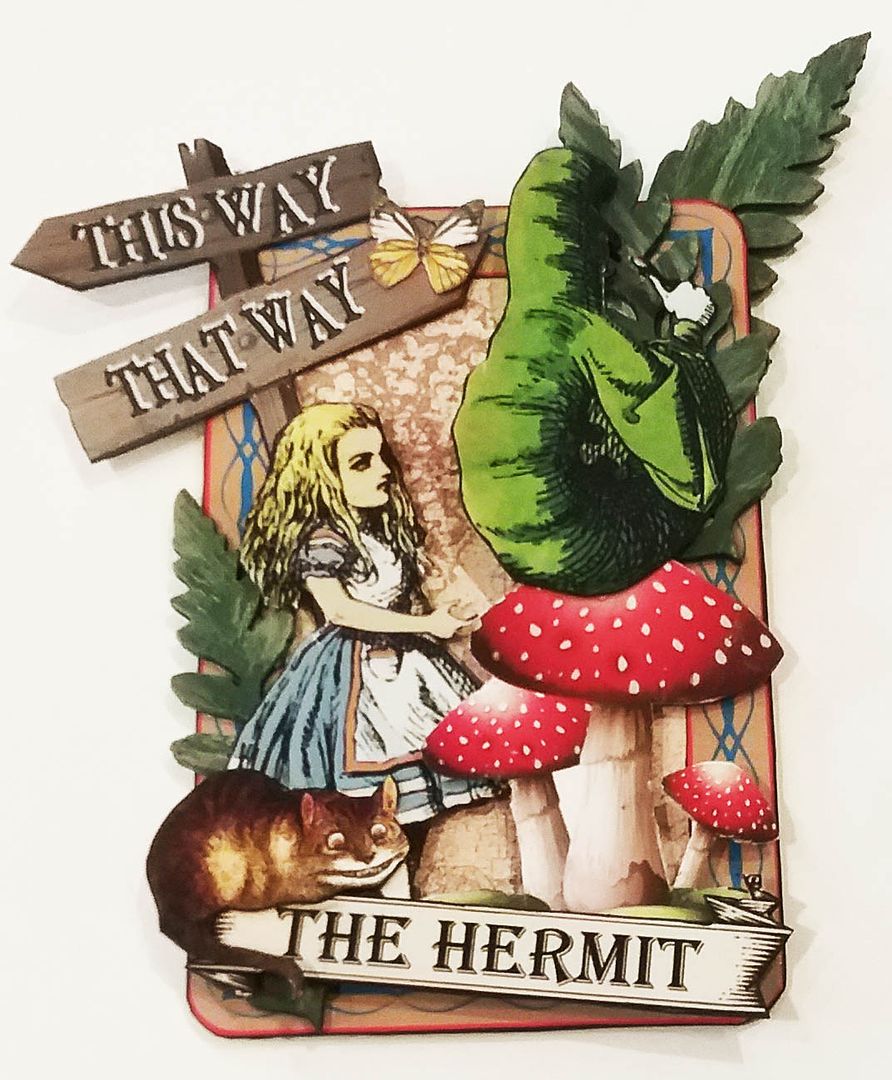
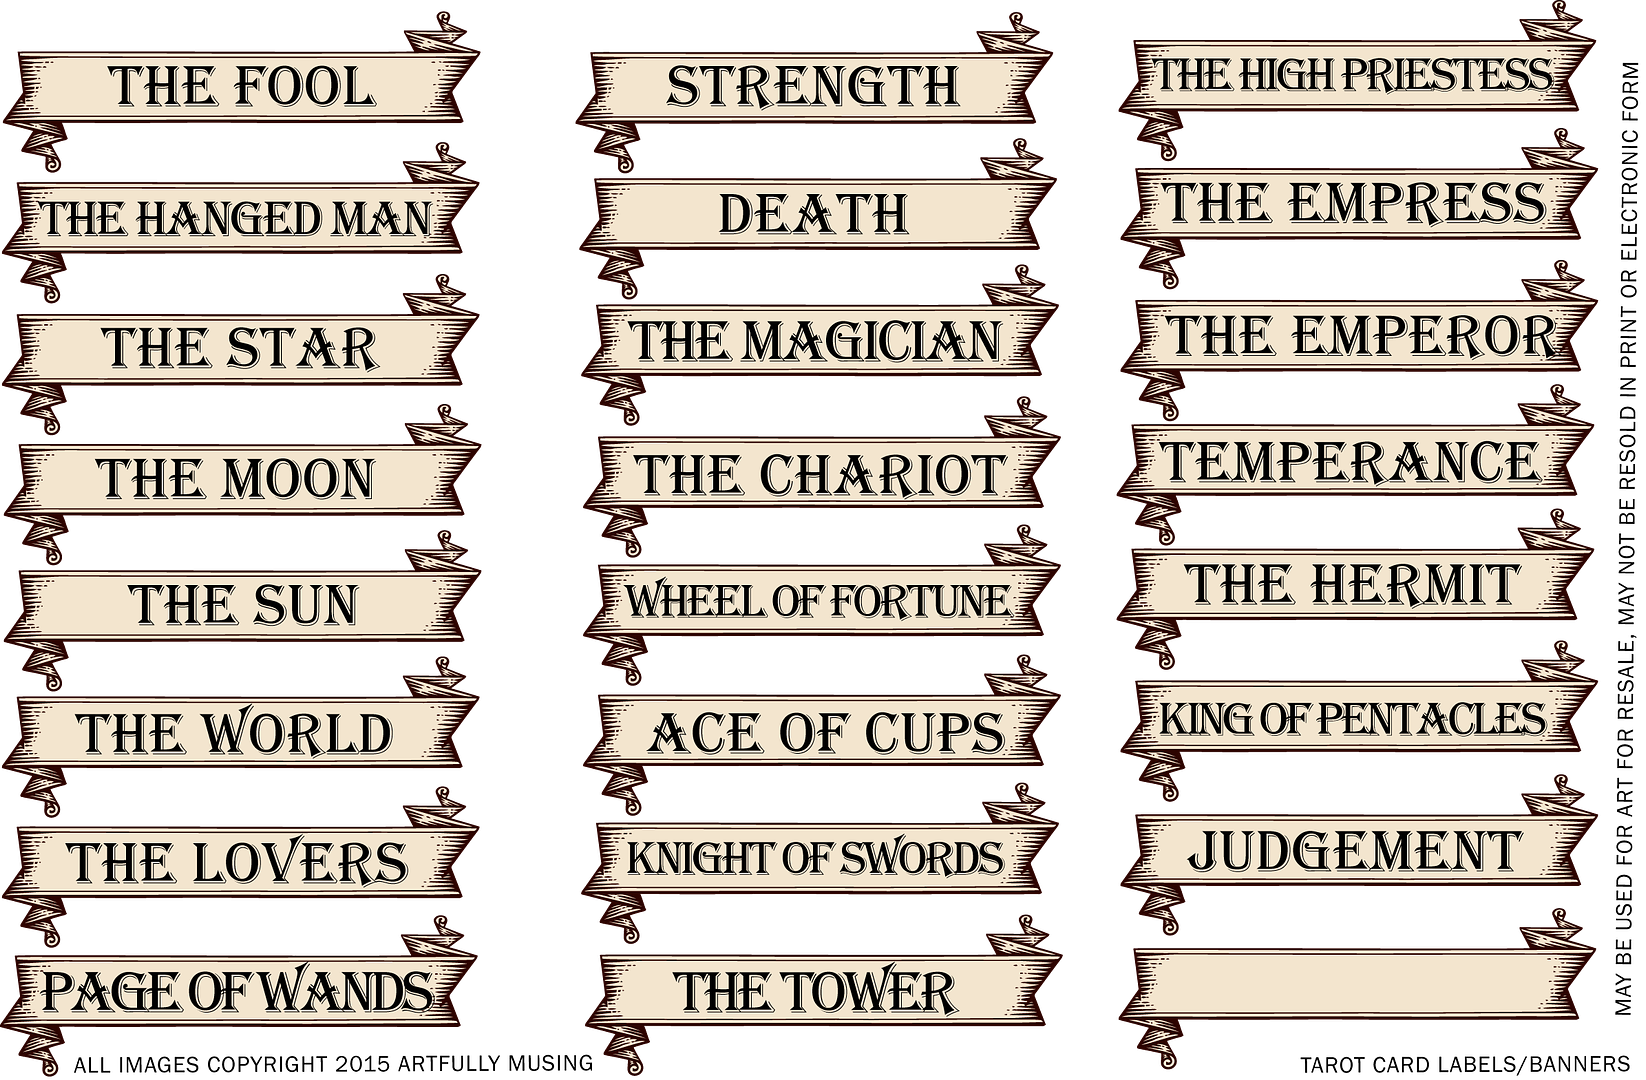
On the front of each card, I added a banner with the name of the card.  Below is a free collage sheet containing the banners I used and more.


FREE COLLAGE SHEET
Feel free to download this collage sheet and use it in your art.

Saturday, January 10, 2015

Alice in Wonderland Tarot Cards, Wonderland Scene, New Collage Sheets and Digital Image Set

I’m kicking off the New Year with a trip to Wonderland where anything is possible. When I saw this month’s kit at Alpha Stamps all I could think of was Alice, and with a set of Alice tarot cards, you can unlock your own future.
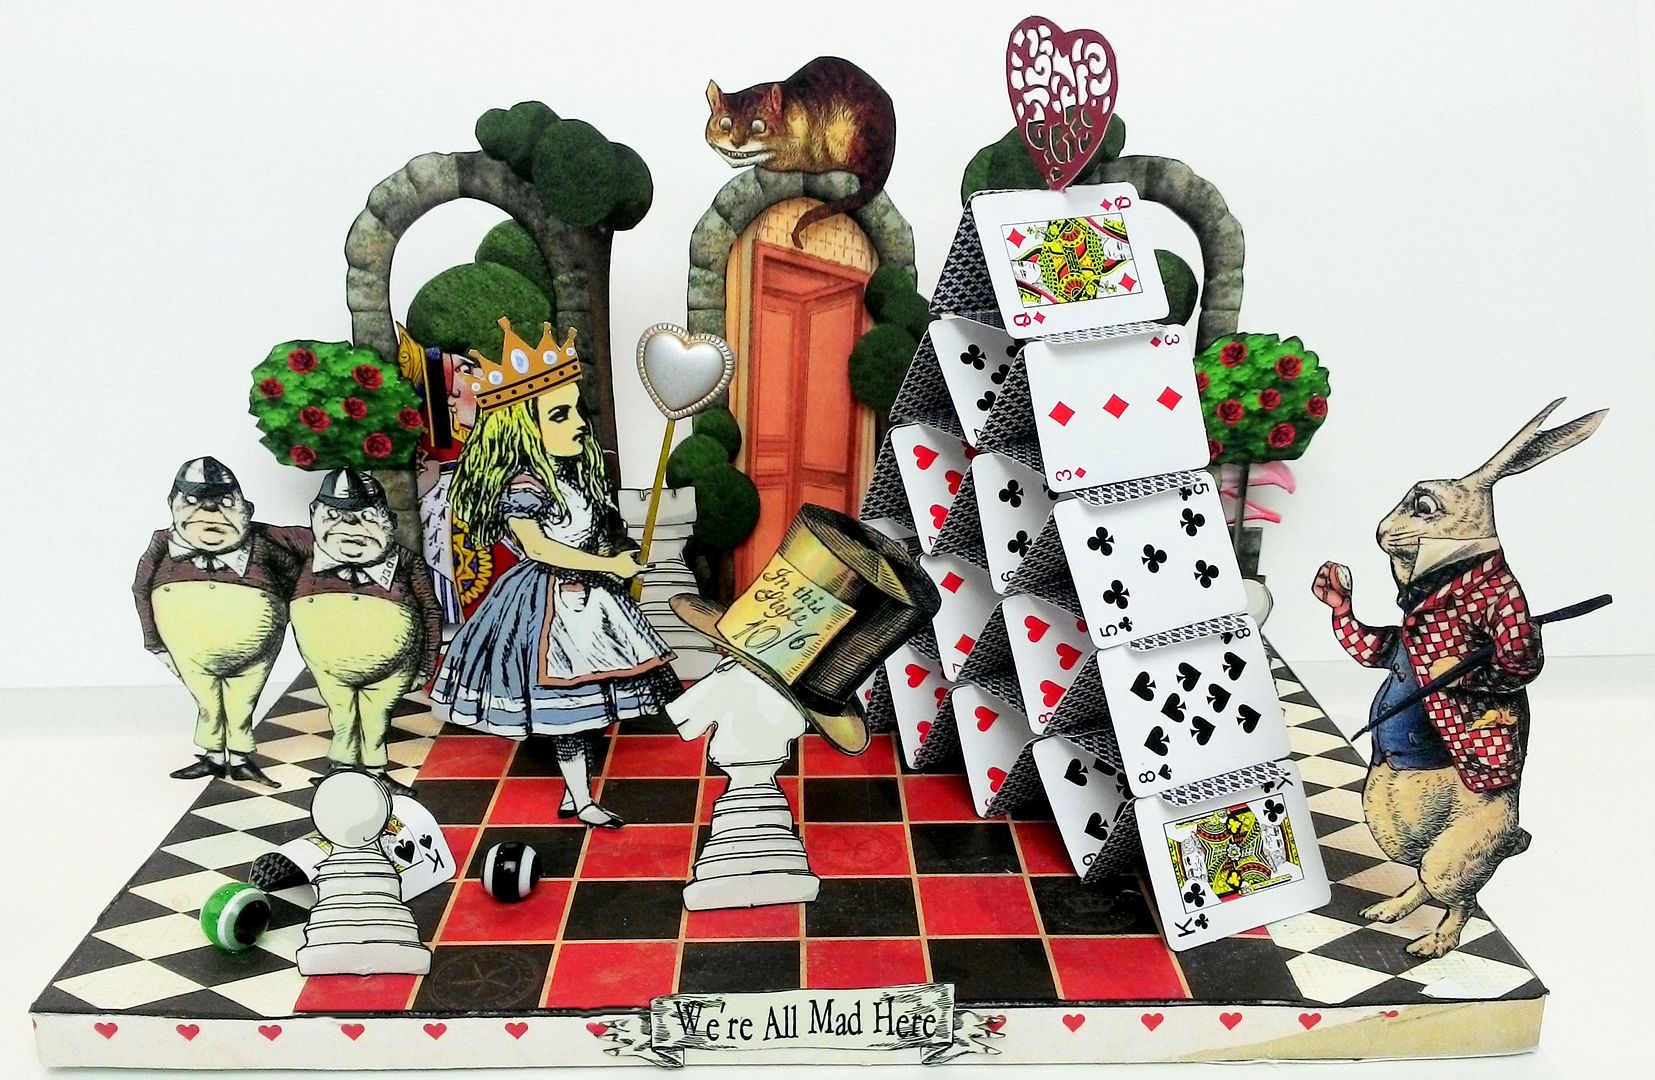
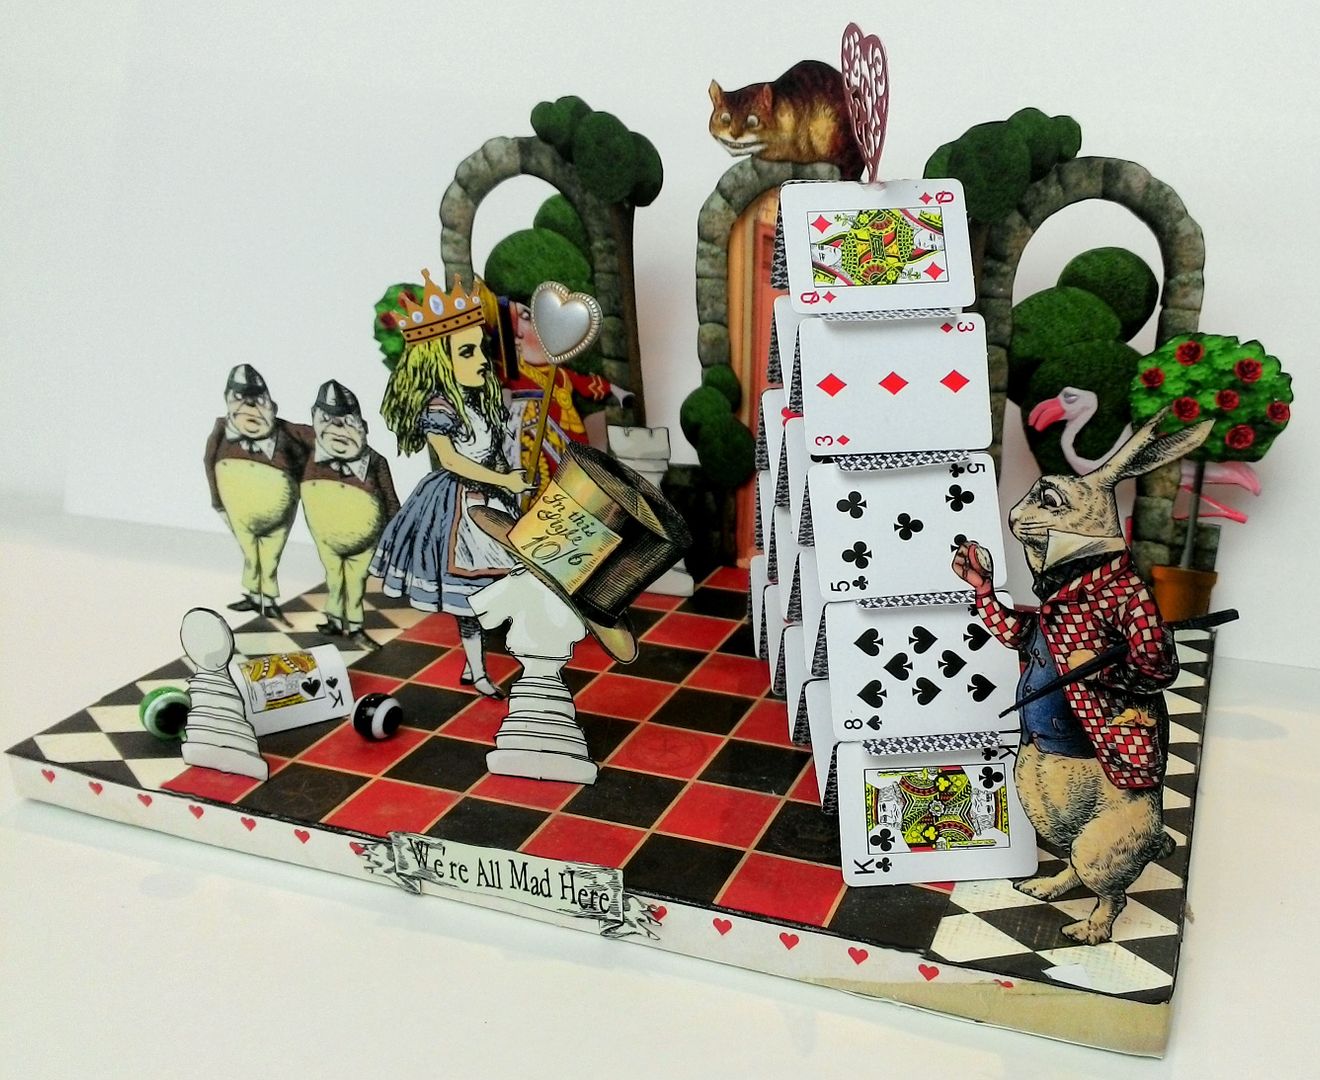
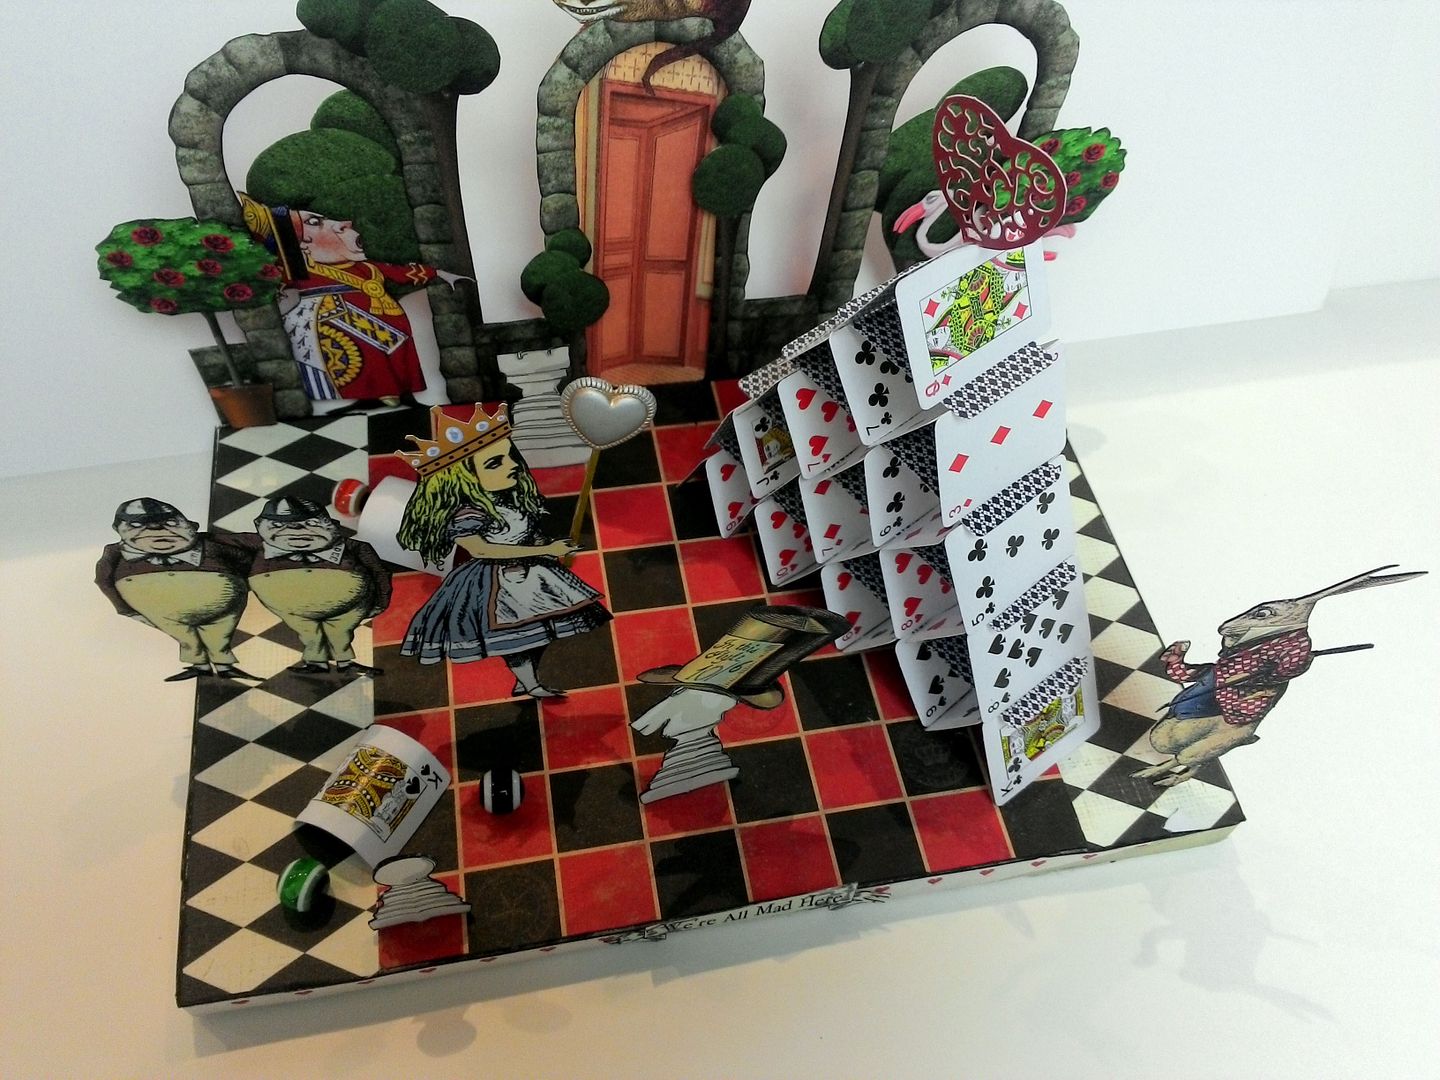
In addition to the tarot cards, I was itching to build a diorama.  The small playing cards were the inspiration as I thought they would make a great house of cards, and if Alice was queen, she might enjoy stacking them.
For the projects, I created two new Alice themed collage sheets and a digital image set.  I've also created a free tarot card label/banner half collage sheet that you can download and use for your own tarot cards.

NEW COLLAGE SHEETS & DIGITAL IMAGE SETS
You can find all of my collage sheets and digital image sets at Alpha Stamps.

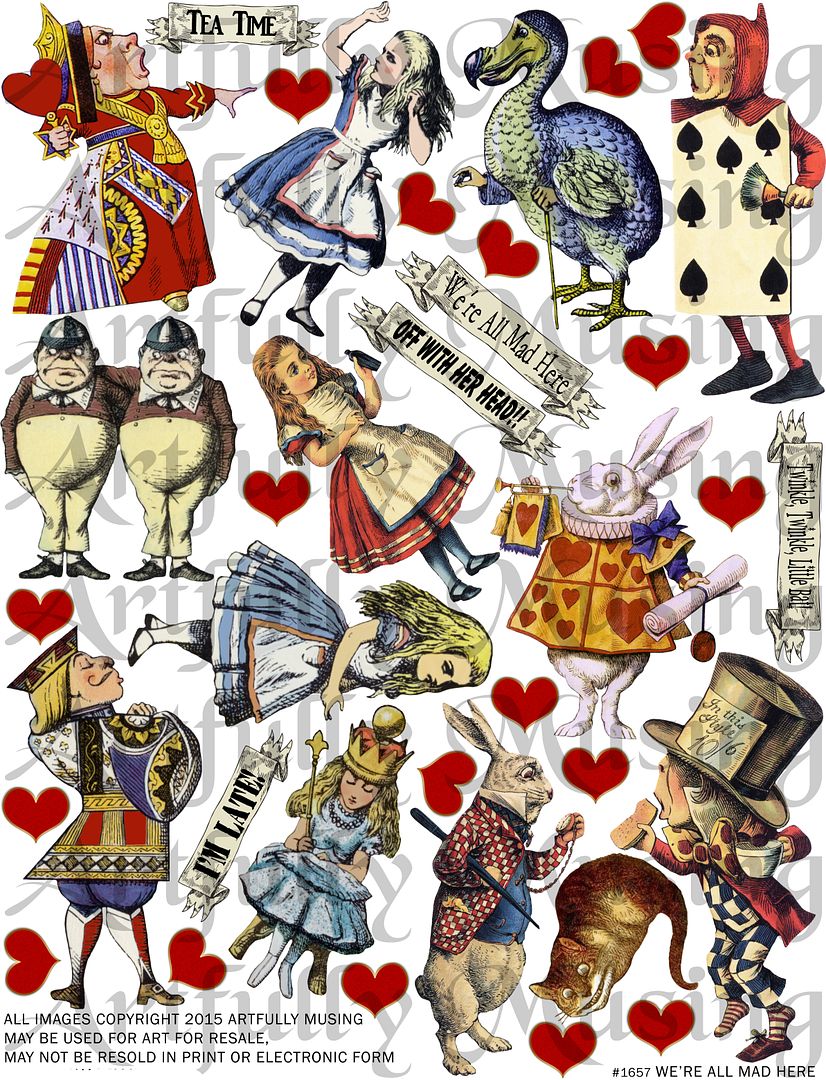
This collage sheet is loaded with my favorite Alice in Wonderland characters.
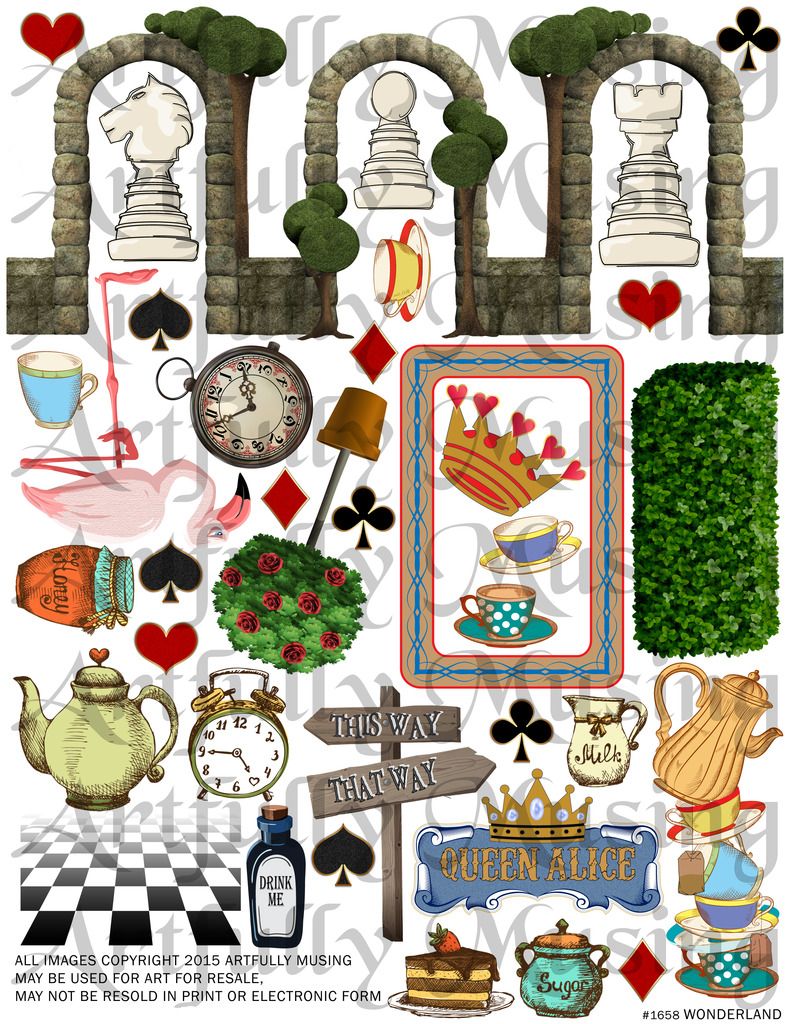
The Wonderland sheet has various elements to create Alice’s Wonderland.

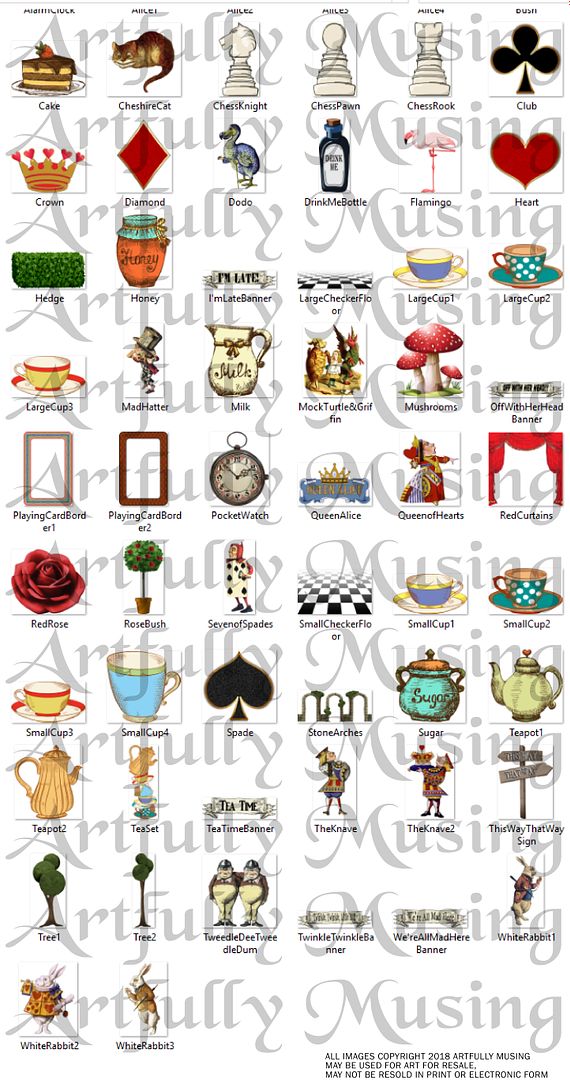
The 62 files are in .png format.  PNG format files have a transparent background so are easy to layer over other digital images.  You can open .png files using most image management programs like Photoshop Elements.  Digital collage sheets and digital images can be saved to your computer and printed as many times as you wish.
The Alice in Wonderland digital image set includes all of the images in both the “We’re All Mad Here” collage sheet and the “Wonderland” collage sheet.  It also includes 14 more images listed below:
  • Large versions of 3 teacups
  • A second teapot
  • Alice in a chair with Dina
  • Bush
  • Large perspective checker floor
  • An additional playing card border
  • The Mock Turtle, Alice and the Griffin
  • Mushrooms
  • Red Curtains
  • Knave with crown
  • 2 Trees
  • Another white rabbit


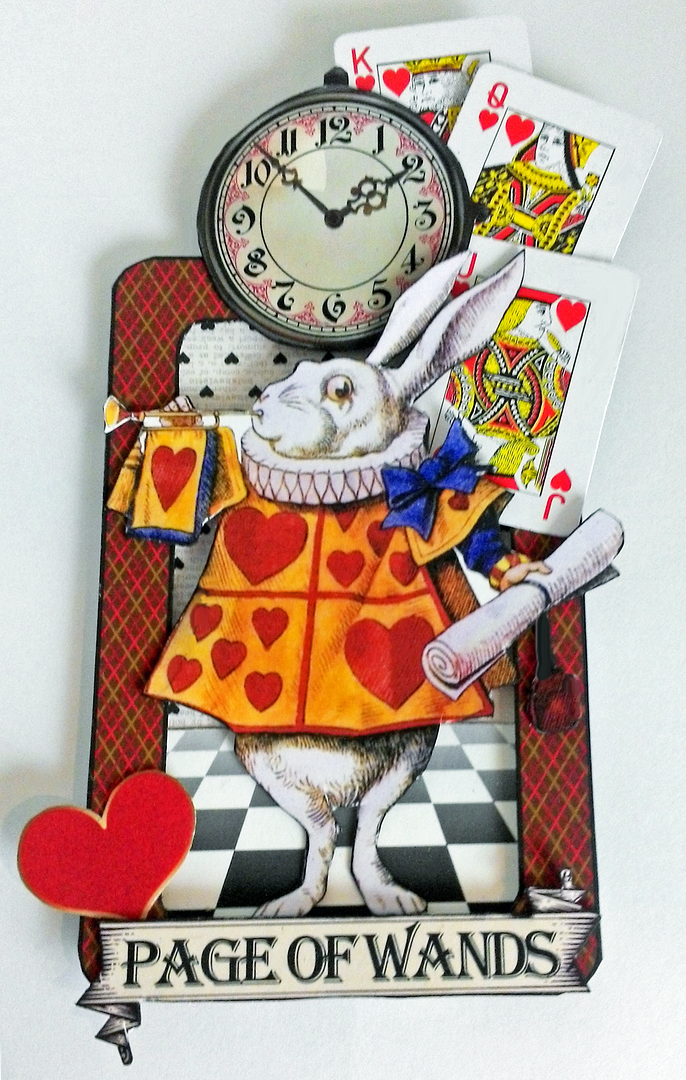
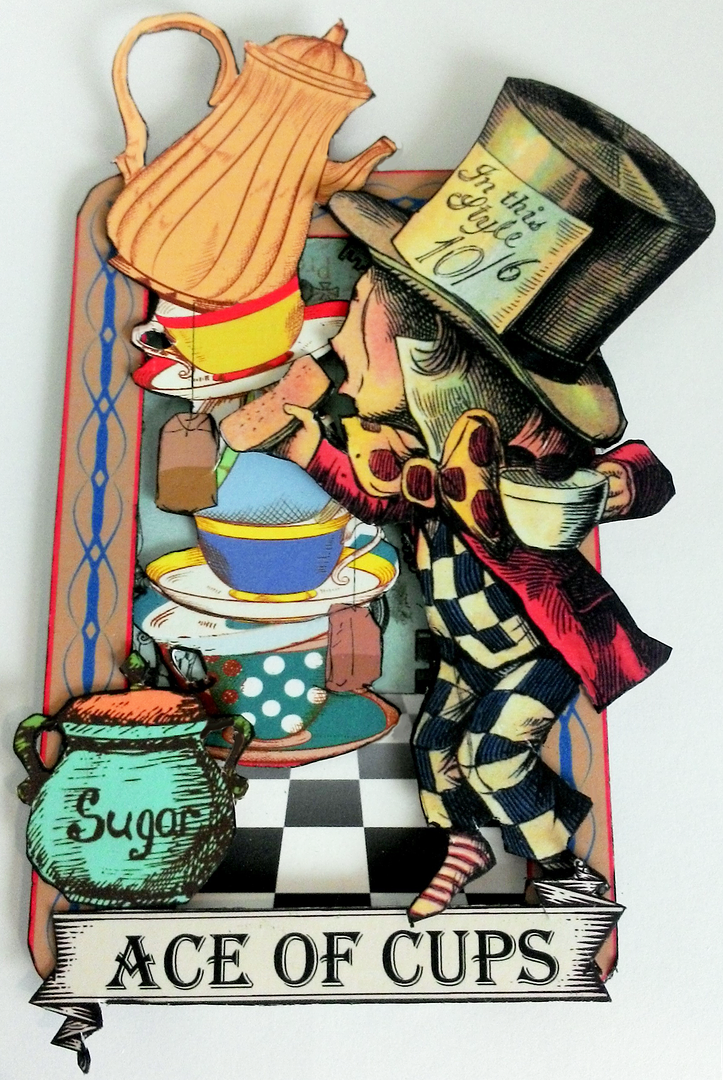
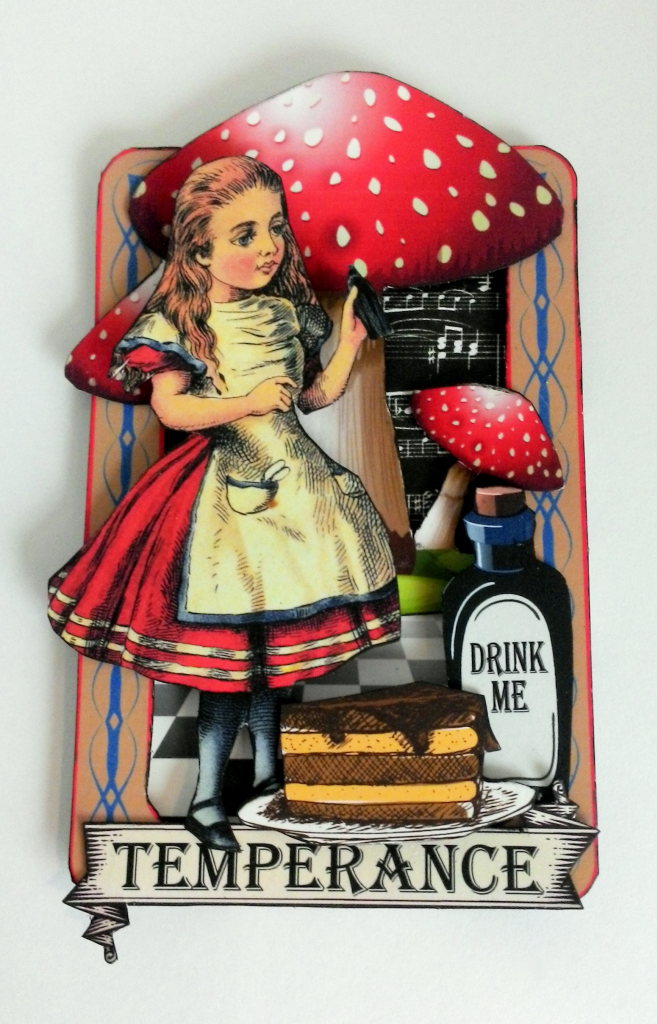
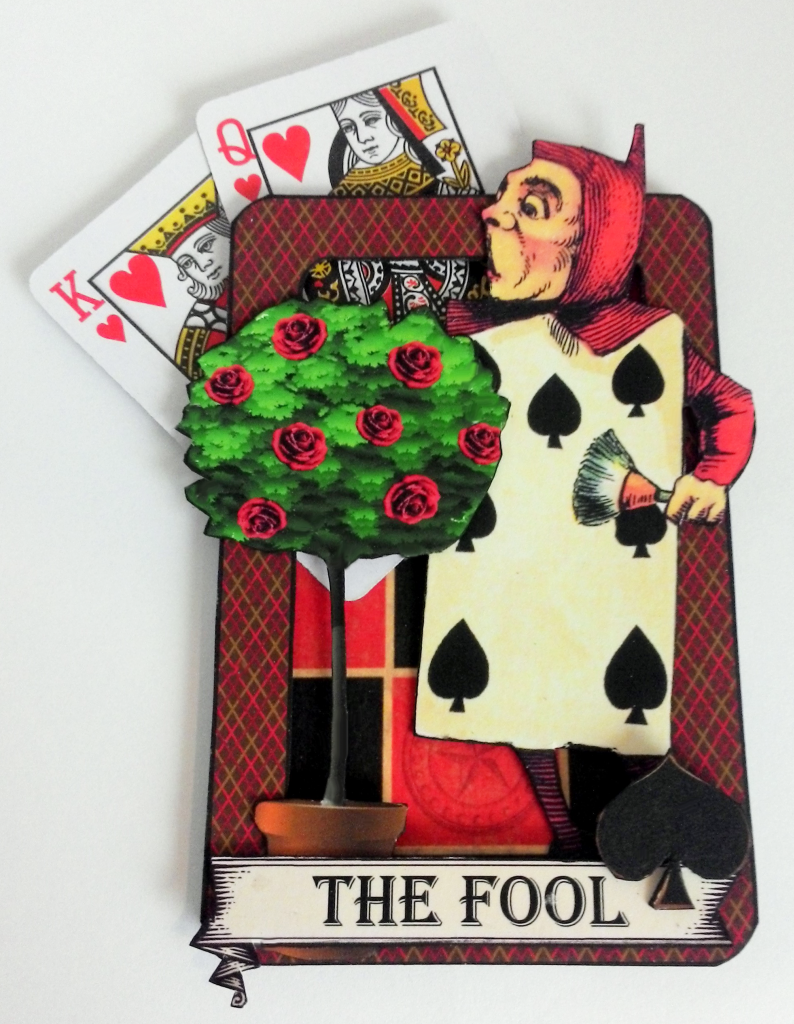
TAROT CARDS
The bases of the cards are made from blank playing cards.  The frames you see on each card are from the Wonderland collage sheet and the Alice in Wonderland digital image set.
I used double stick tape to pop up the frames.  I attached some of the images behind the frames and some on top.

FREE HALF COLLAGE SHEET OF TAROT CARD LABELS/BANNERS
To download the collage sheet, click on the image to expand it, right-click and select Save As.

“We’re All Mad Here” Diorama
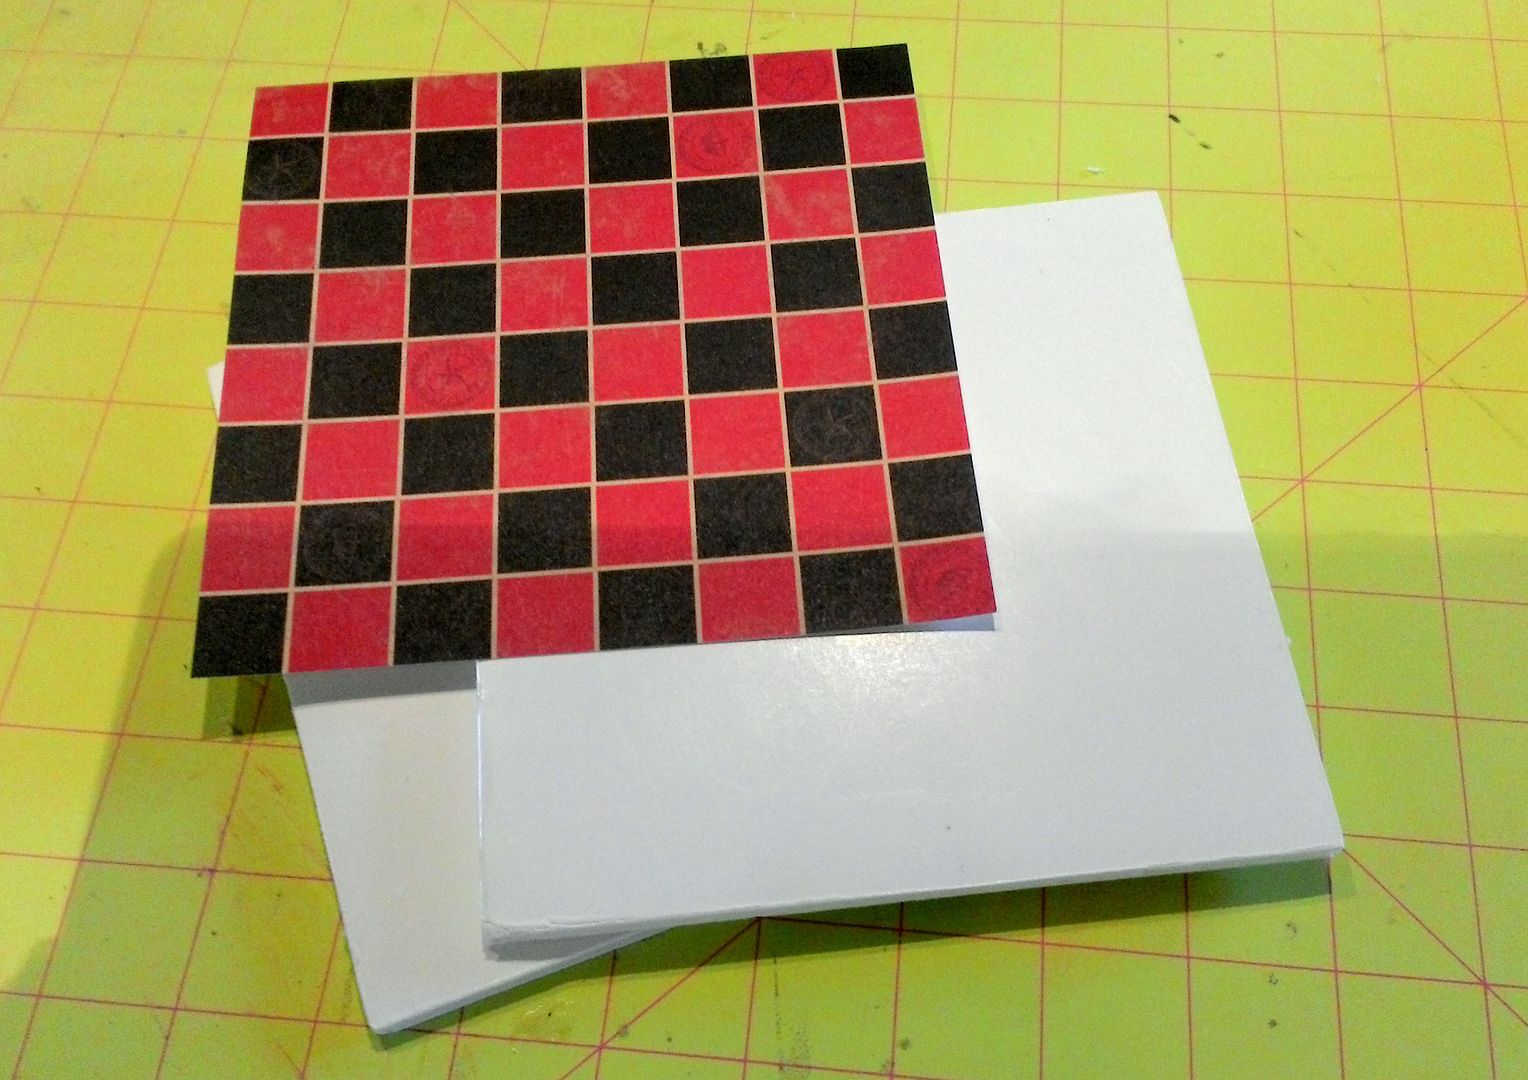
The base of the diorama is made from two layers of foam core board.  I cut the centerpieces of foam core 6”x6” and used the checkerboard paper from the Star-Crossed 6x6 Paper Pad to cover the base.
After I decided how large I wanted the stone arches to be, I added two more foam core panels measuring 1 1/2” x 6” each to the sides of the main panel.  These panels are covered in the Yesterday Papillion scrapbook paper.
To make the house of cards, I glued the cards together in a v-shape.  The v-shaped cards are glued to the base.  Next, I glued a row of cards to the top to make the base for the next layer of cards.  Each layer of v-shaped cards has one fewer set of cards than the next.  
At the top, I attached a red lacy paper heart by gluing it into a hole I punched in the cards before I glued them together.
The stone archway is glued to the back of the base.  Tip:  I wanted the bottom of the archway to be at the top of the base which means that there is nothing that I could use to glue the arch to the side of the base.  When using free-standing images I always back them with paper to give them support.  The solution was to have the backing paper to extend past the bottom of the arches and to use the backing paper to glue the arches to the side of the base.
I glued various images from the collage sheets to the back and front of the arches.  The free-standing images like Alice and the White Rabbit are attached to the base using a straight pin.  I snip off the head of the pin and insert it at the bottom of the image in between the image and the paper backing.  I leave just enough of the pin sticking out of the bottom of the image to insert into the foam core base.  I coat the pin with a little glue before inserting it in the base.
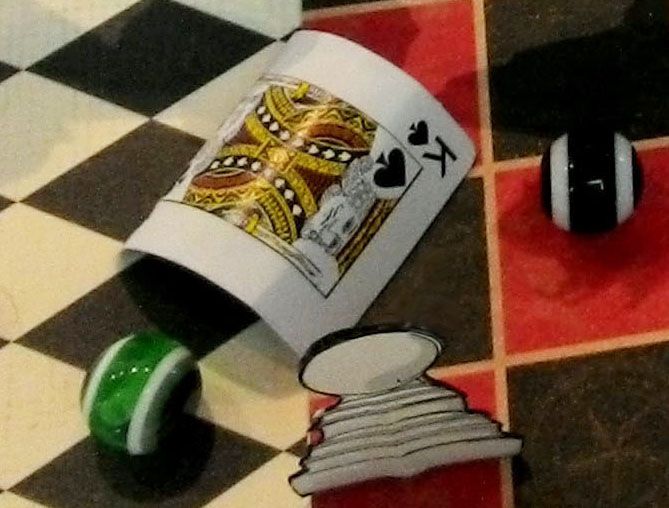
Alice’s scepter is made from a flat toothpick and a  puffy heart bead.   For the croquette balls, I used eyeball beads - 10mm.