-->

Welcome

I love answering your questions. If you ask them in the comment section, I have no way to answer you (if you haven't heard from me, that is why). If you use the "EMAIL ME" in the left column of this page, I will be able to respond to you. You can also use it if you want to be added to my newsletter. Laura
Showing posts with label Theater. Show all posts

Tuesday, December 25, 2018

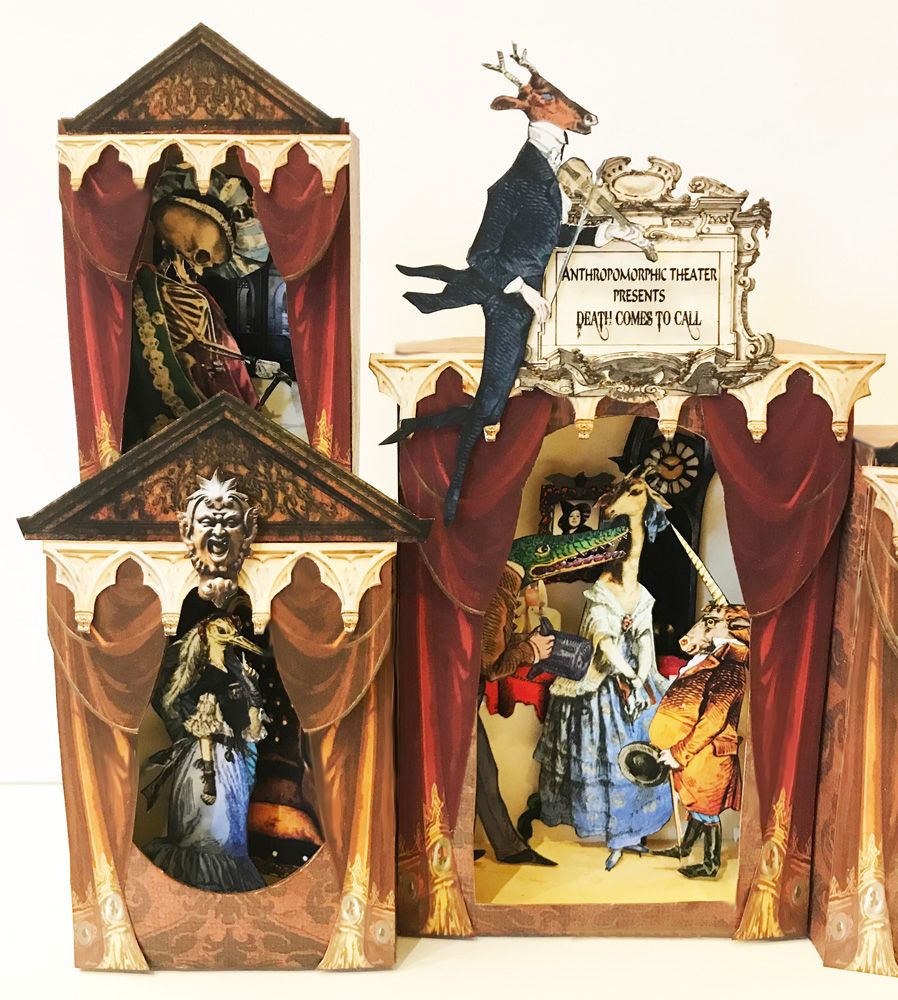
The Anthropomorphic Theater Presents - Death Comes to Call

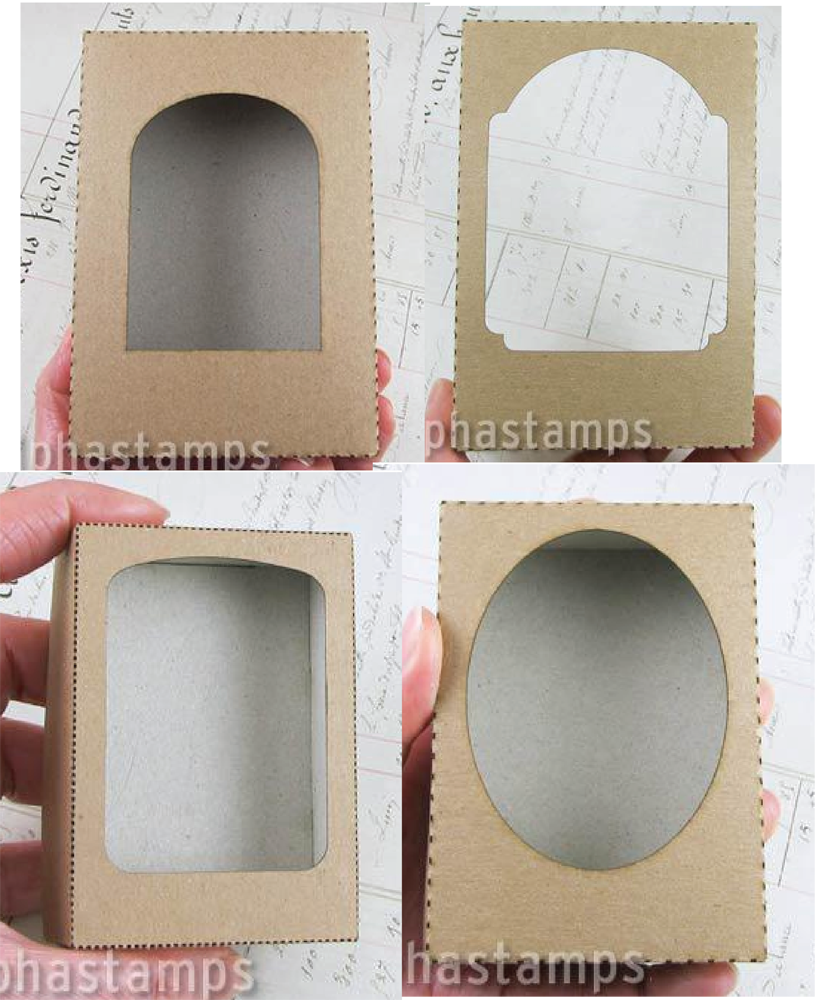
The inspiration for this project came from a series of shadow box lids with cutouts of various shapes and sizes.  I thought it would be fun to put them together to construct a theater.
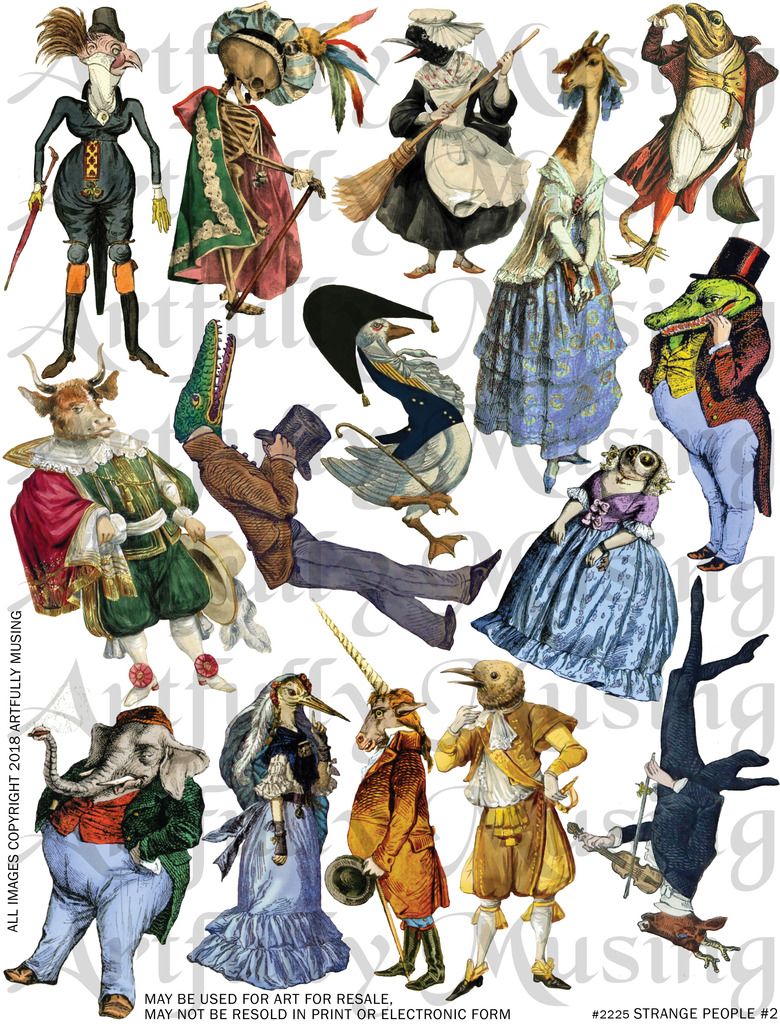
Wanting something unusual, I decided to create a new collage sheet, “Strange People #2” (further below in the post), filled with anthropomorphic characters and decided on the macabre theme “Death Comes to Call.”
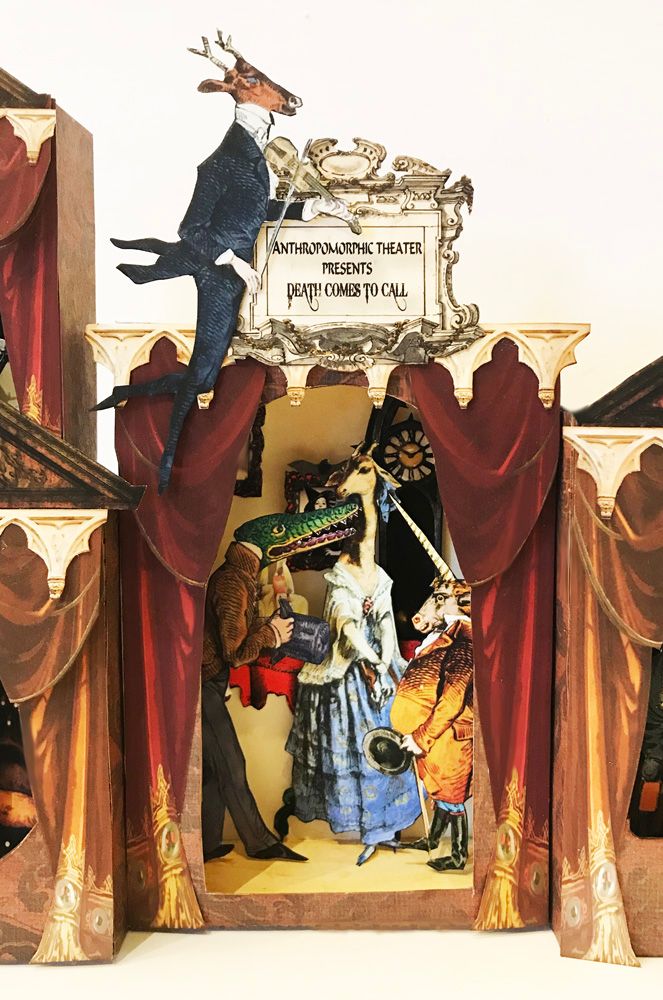
In this theater, multiple scenes are taking place at the same time.  The crocodile and unicorn vie for the attention of the giraffe.
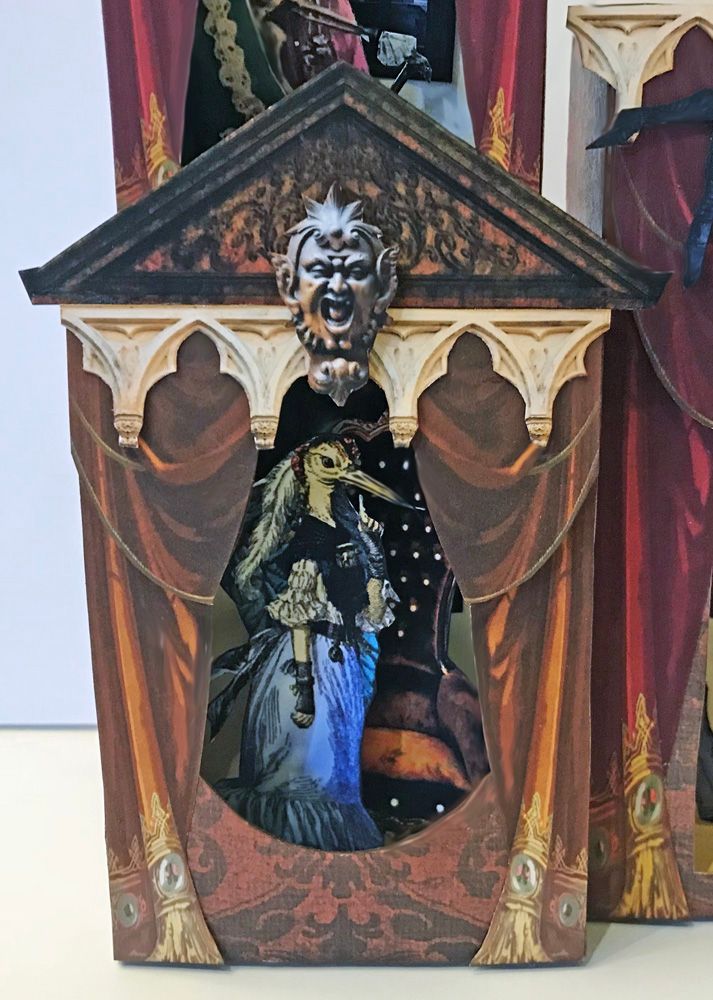
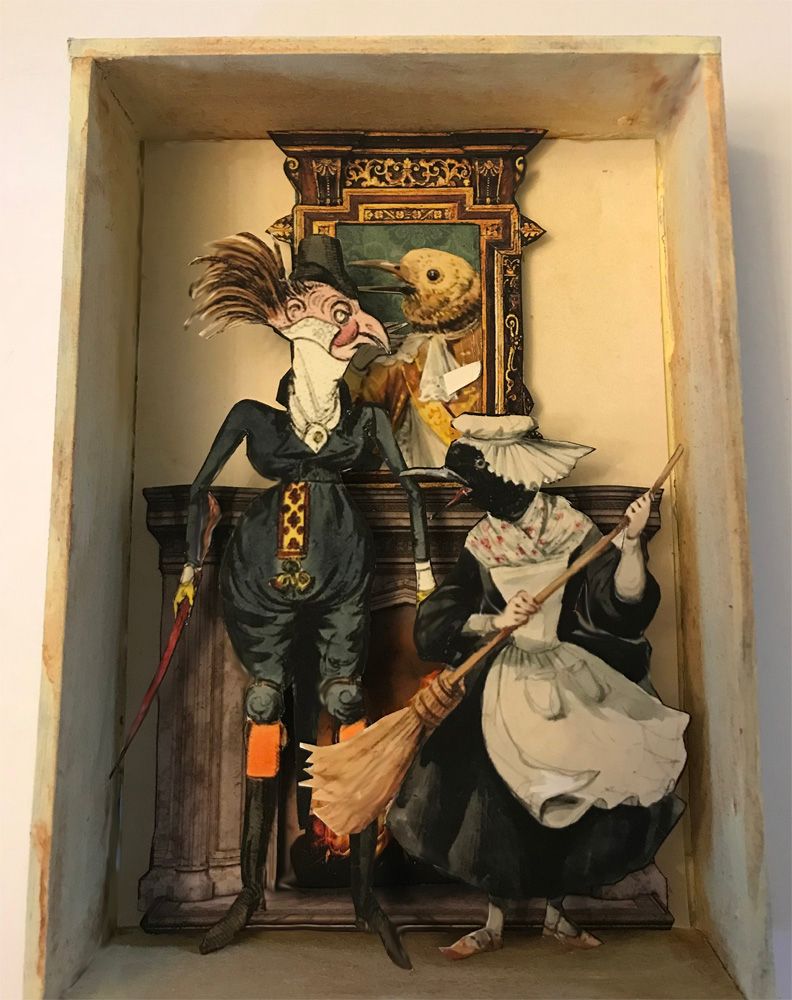
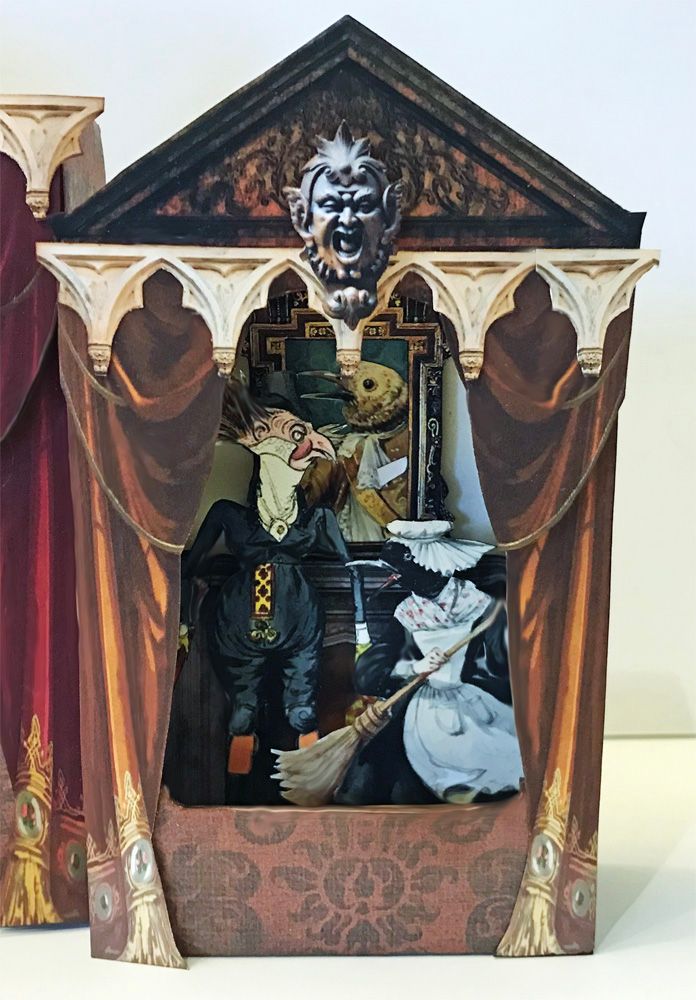
In another room, the stork pines for the crocodile who is fixated on the giraffe. While in another scene, the crow maid quarrels with her fop of a master.
Lurking at the top is Death sensing the tension between the characters while the stag plays his fiddle.
This collage sheet contains 15 anthropomorphic characters.  To purchase this sheet, click on the image below.
THE DETAILS
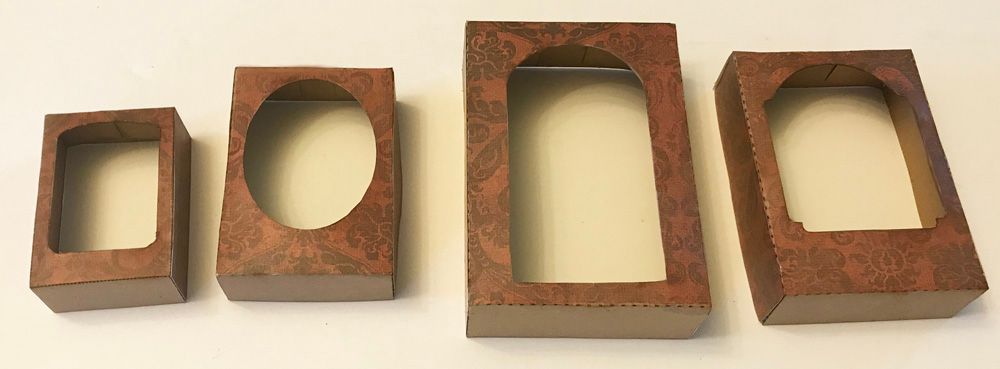
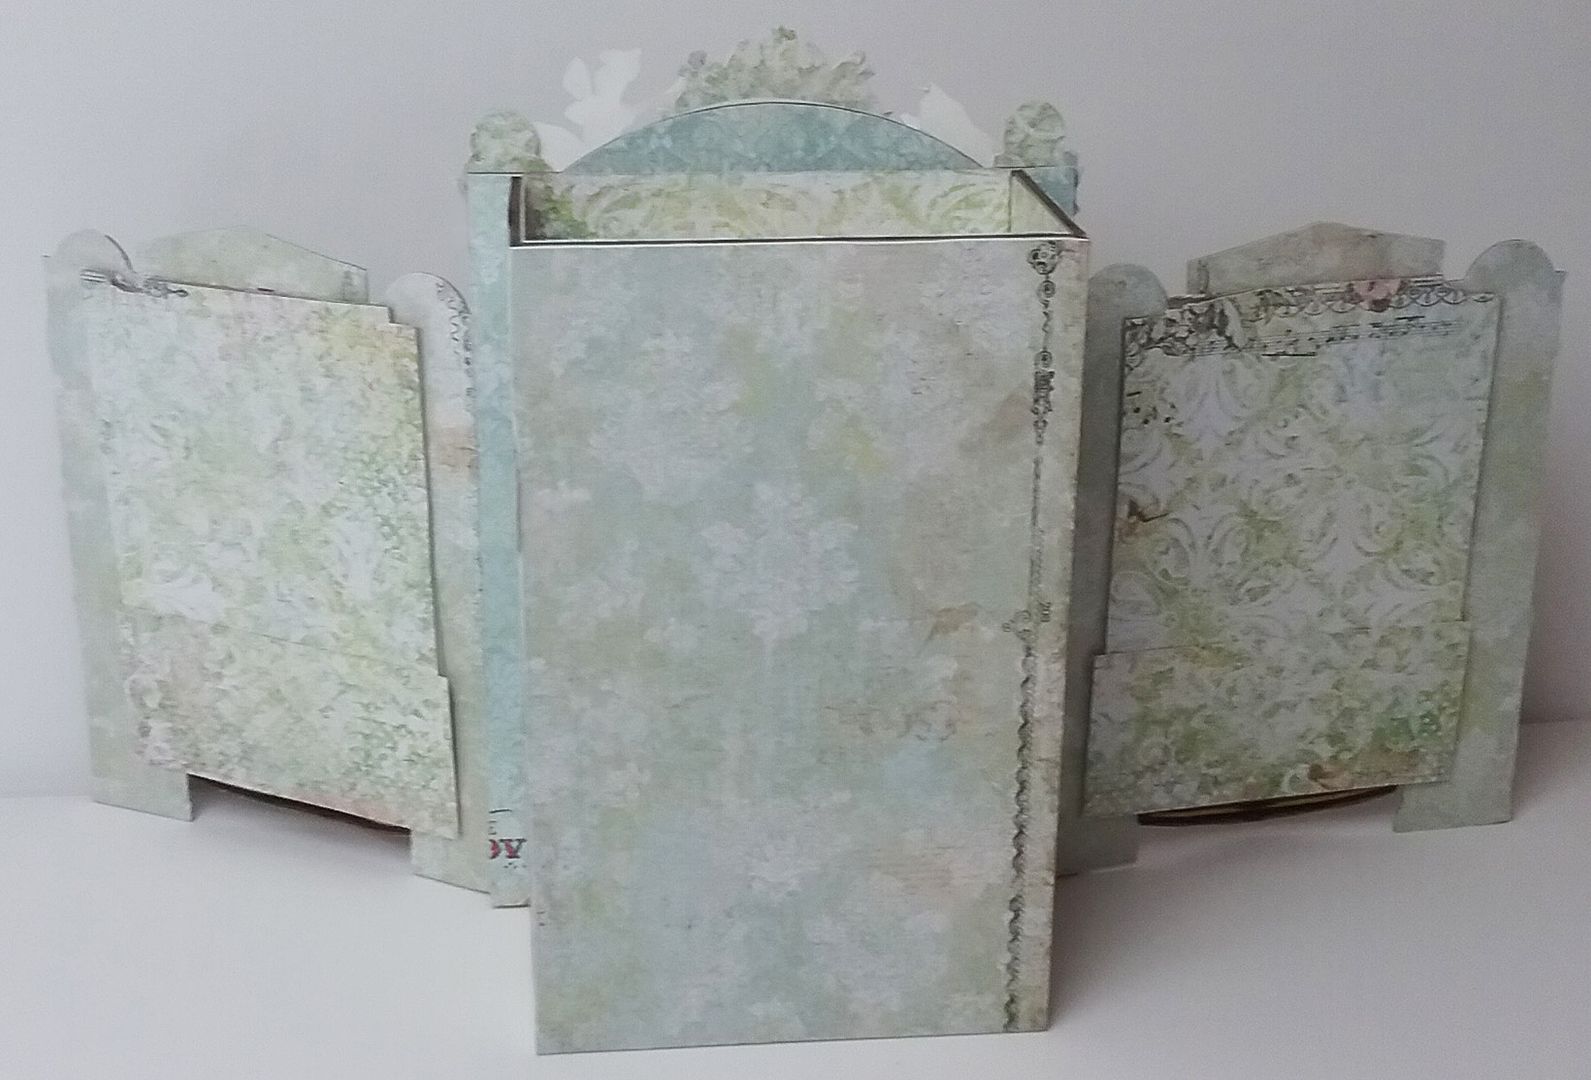
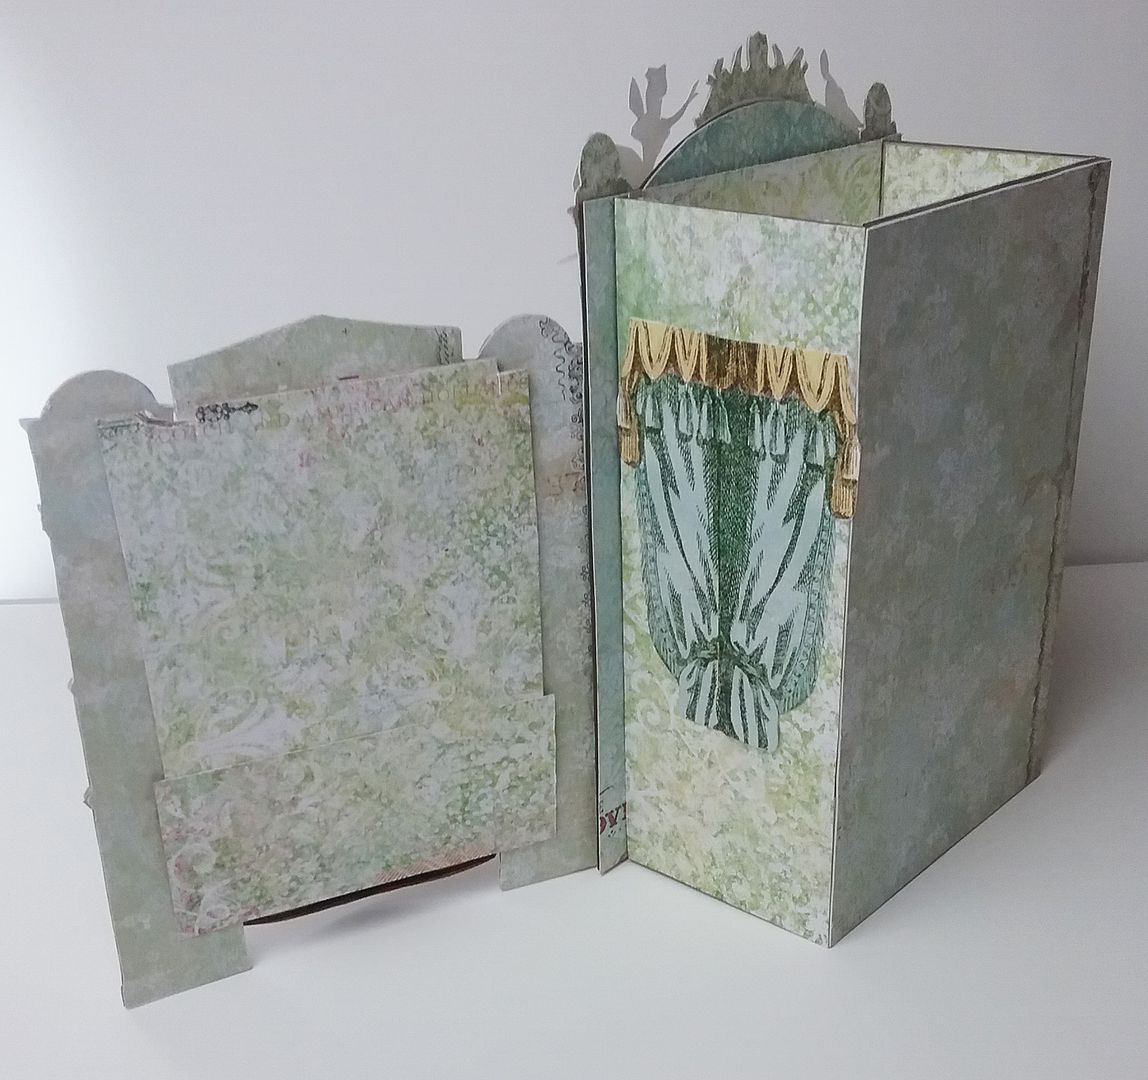
The theater is made from 4 different shadowbox lids and their corresponding shadow box kits.  I decided to make the opening larger (at the top and bottom) on the largest shadowbox lid, which is arched.
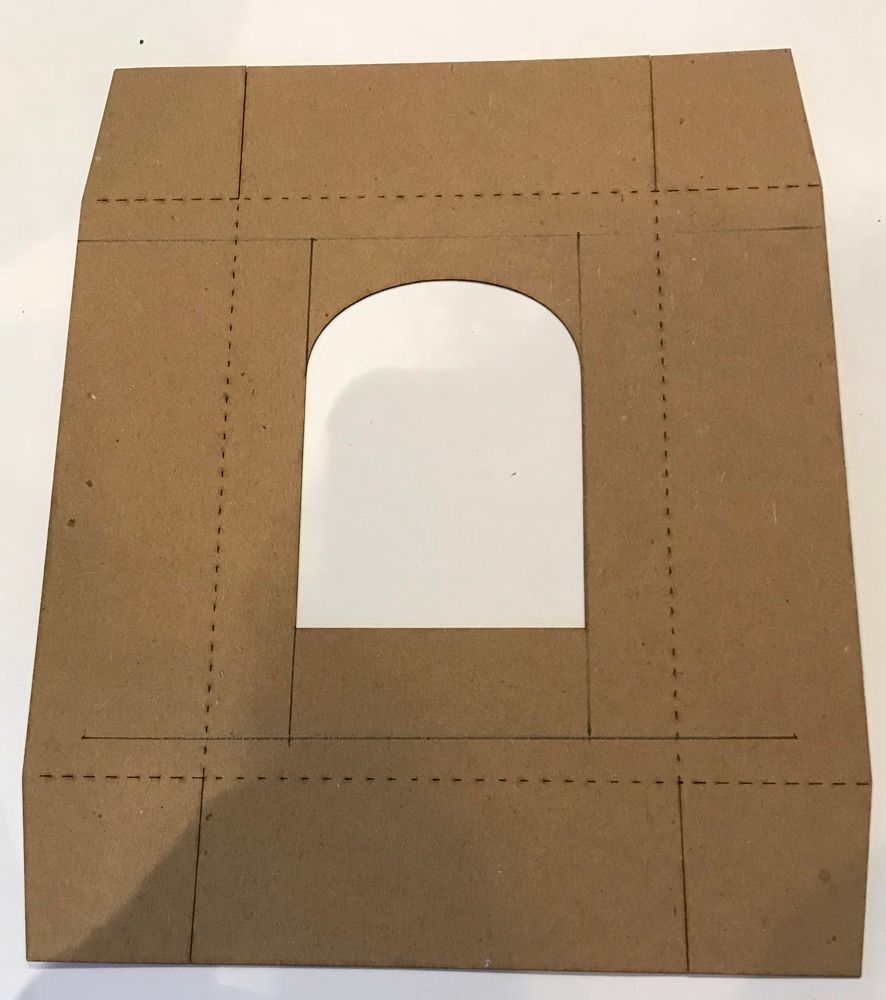
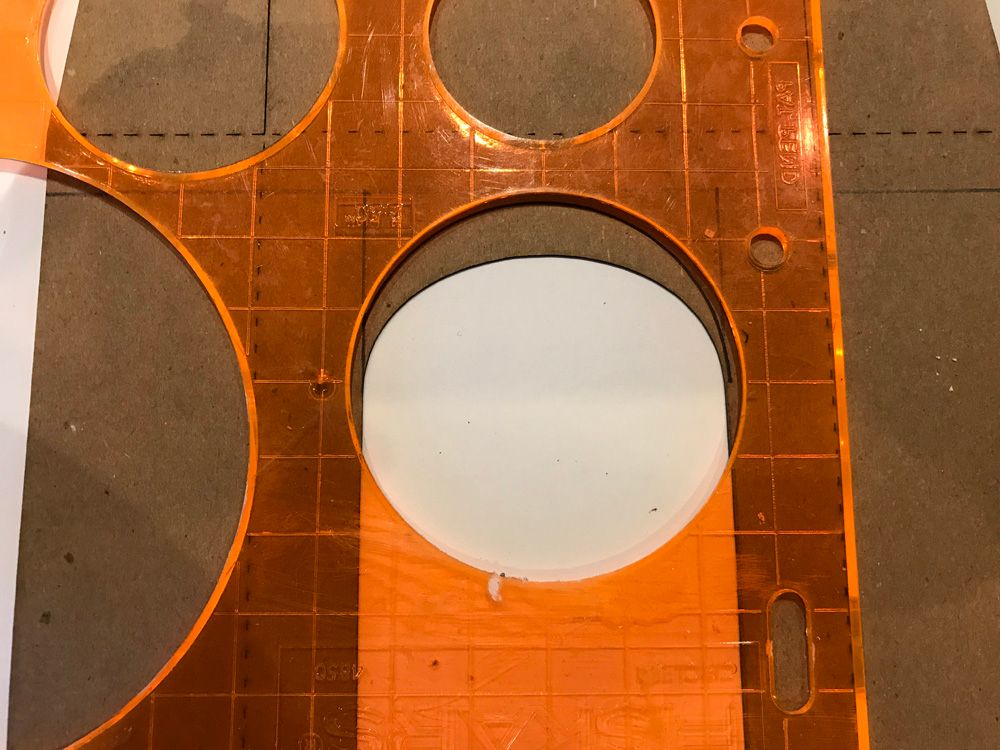
I marked cut lines on the top and bottom of the lid and then drew lines along the arch to help guide where to expand the top of the arch.  I used a stencil to help me mark the new arch line.
I covered the lids with damask style paper.

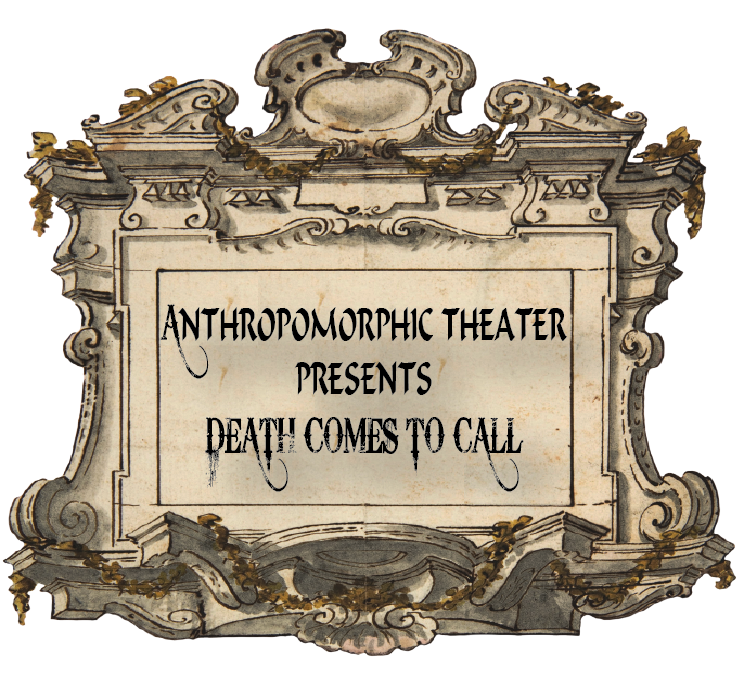
To give the lids the look of a theater, I added curtains with fringe (2 different colors).  These are digital images, so they can be sized to fit the project.  I also used architectural elements from the Mini Gothic Architecture Collage Sheet.  At the top of the large box is the theater sign, which you will find further down in the post and can download for your project.
I painted the shadow boxes on the inside and outside with a combination of yellow shades of paint and added yellow paper to the inside bottom of the box.  I chose this color as it is bright, and whatever I added to the inside would not get lost in the shadows after the lid was in place.
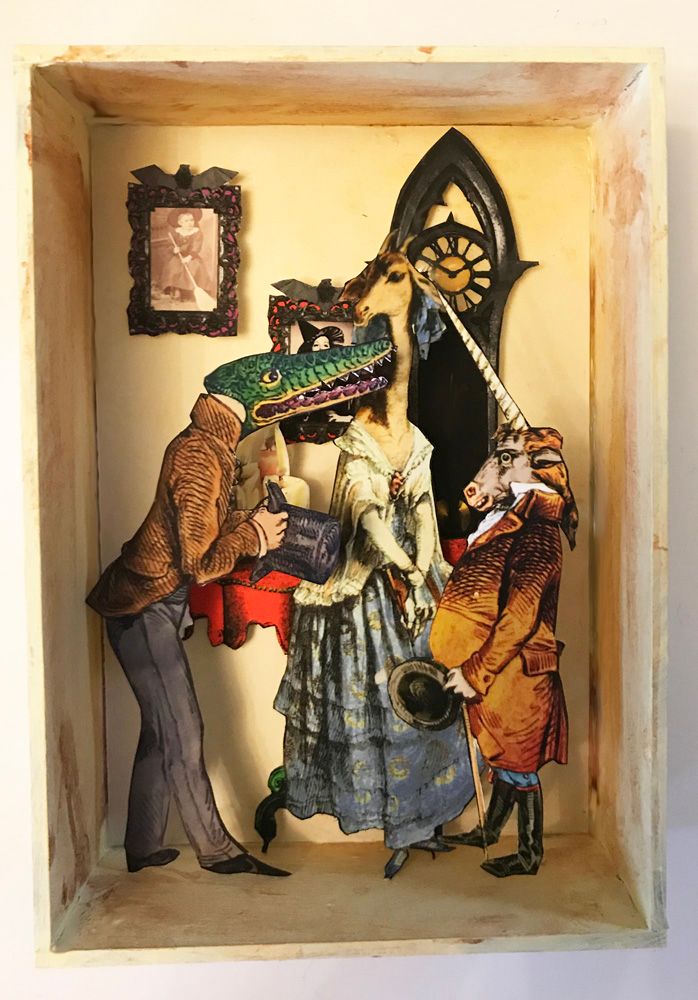
Next, I added furnishings from the Mini Gothic Architecture Collage Sheet and the Step into My Parlor Collage Sheet.  All of the images are popped up from the back (using double-stick foam tape) to give the impression of dimension.  Lastly, I added the characters (also popped up from the back).

Once I was satisfied with each of the scenes, I slid the lids over the boxes and then glued the boxes together, positioning the side boxes slightly in front of the center box.
FREE IMAGE
Feel free to download this image and use it in your artwork.
Saturday, February 24, 2018

The Shakespeare Theater Presents A Midsummer Night's Dream and Giveaway

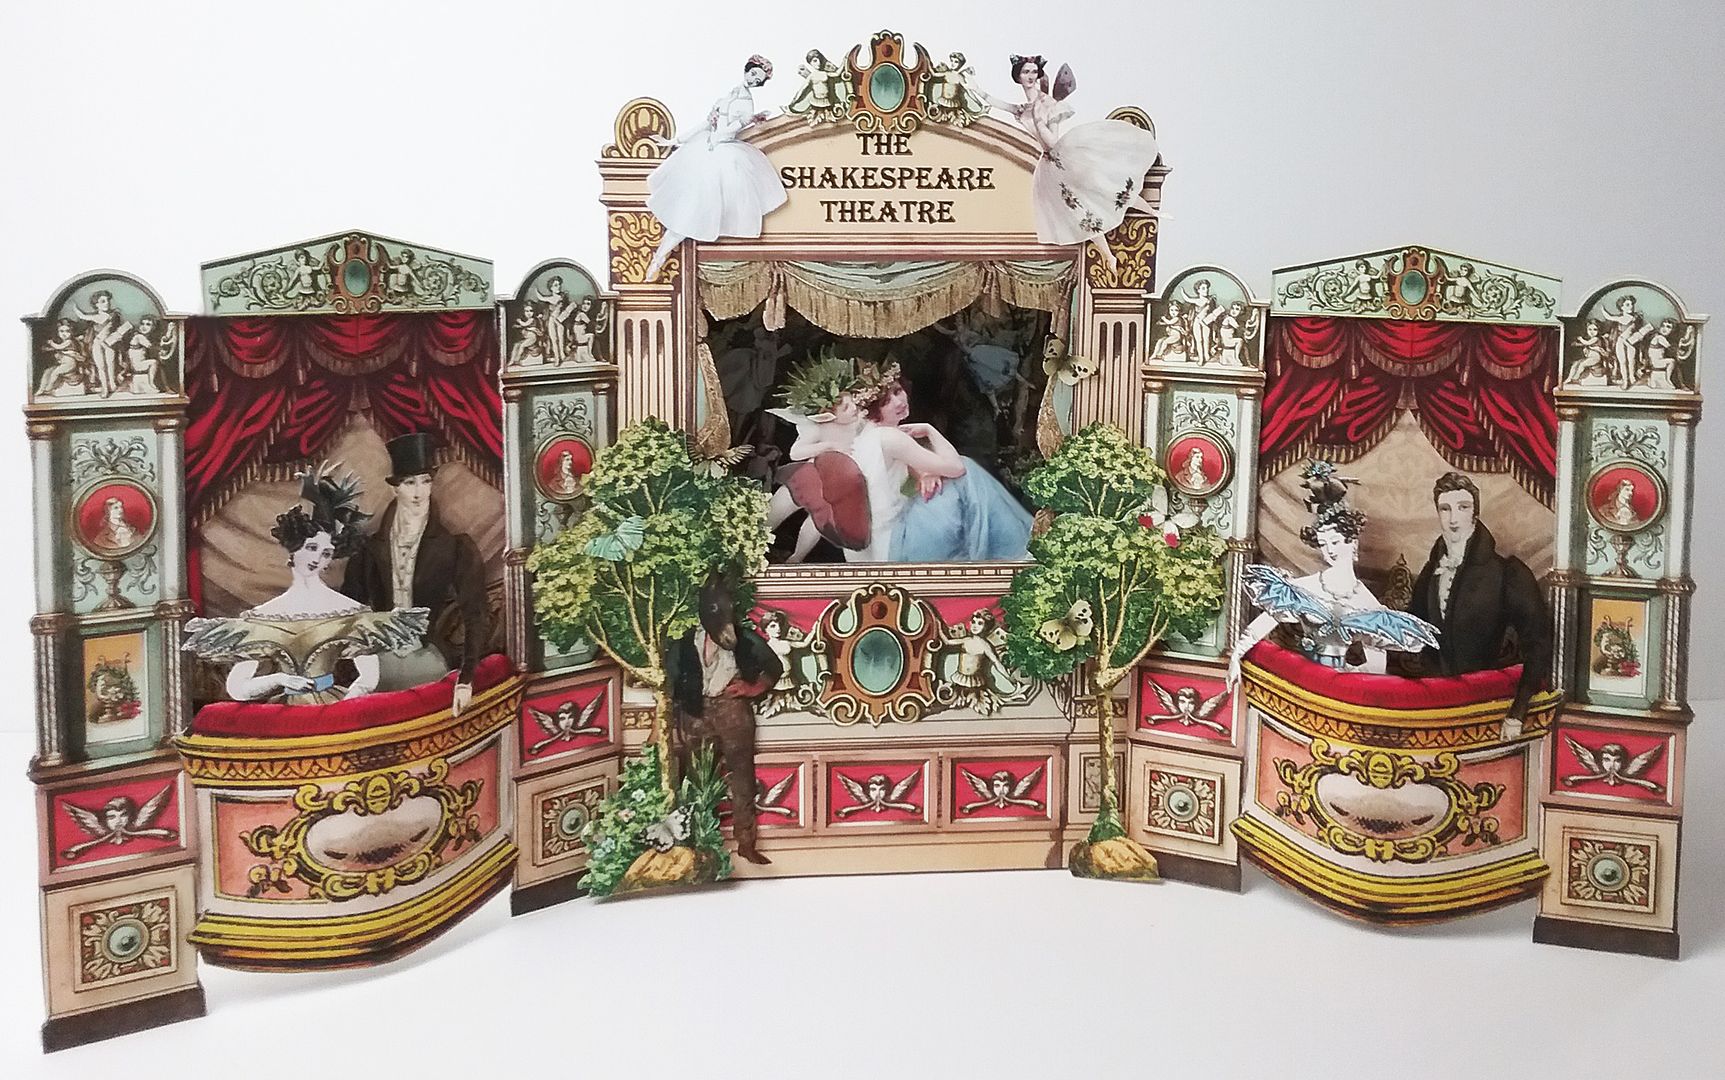
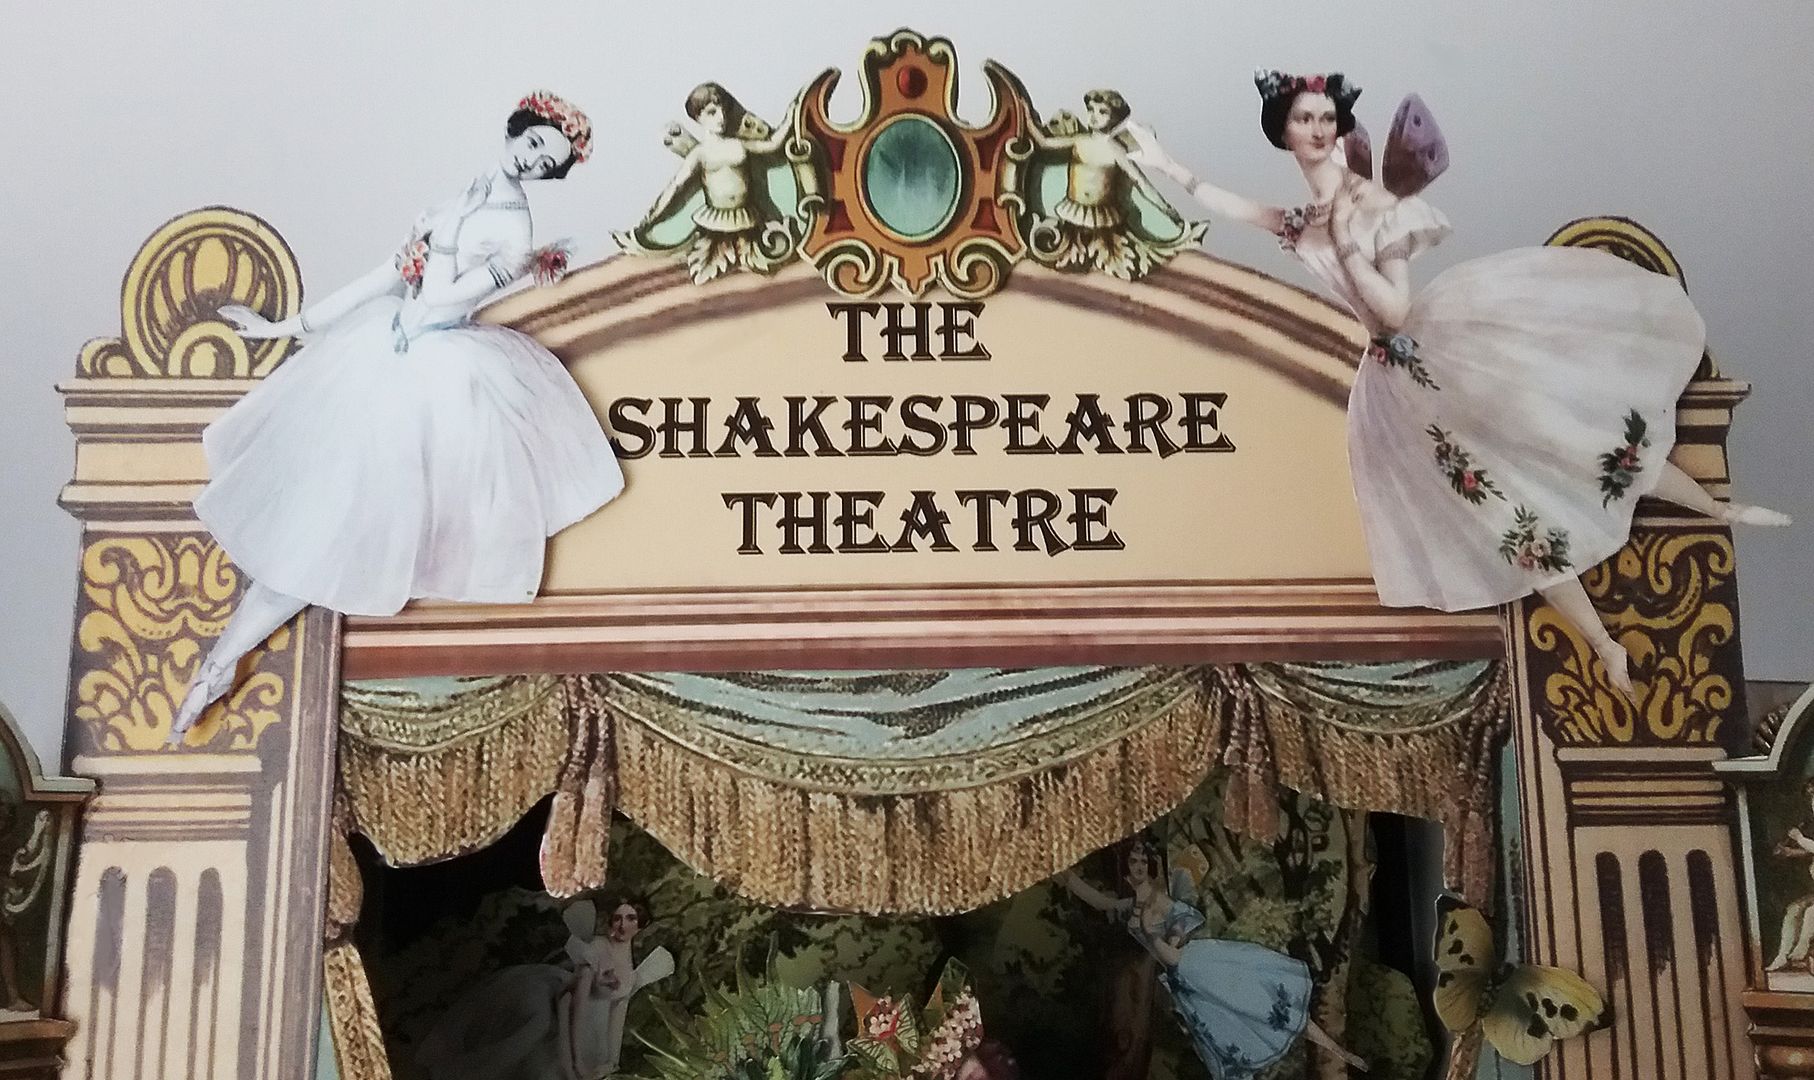
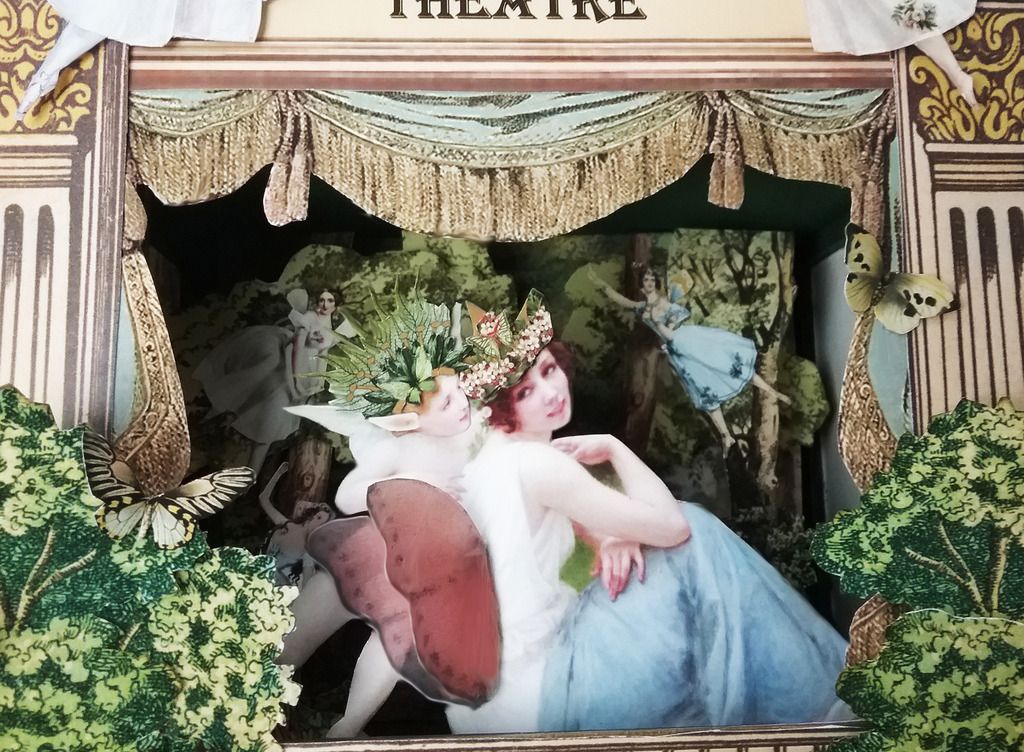
This month’s theme at AlphaStamps is Theaters.  For my theater, I chose to portray a scene from Shakespeare’s A Midsummer Night's Dream.

At center stage, is Titania (Fairy Queen) and Puck (a fairy or sprite) sitting in the woods.
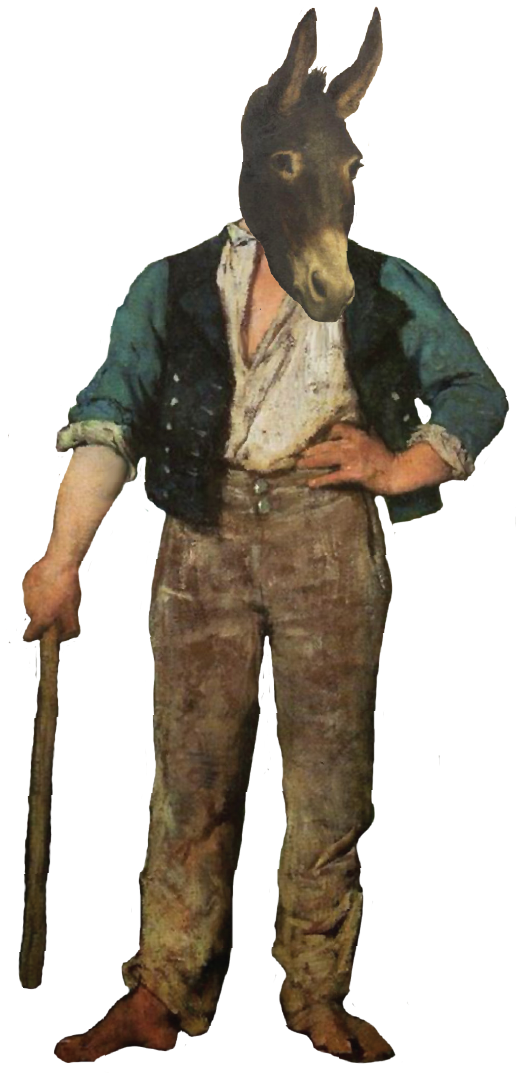
Down below, Bottom (whose head has been turned in to an ass by Puck) is lurking in the trees.
Within and around the center stage, are all kinds of woodland fairies.
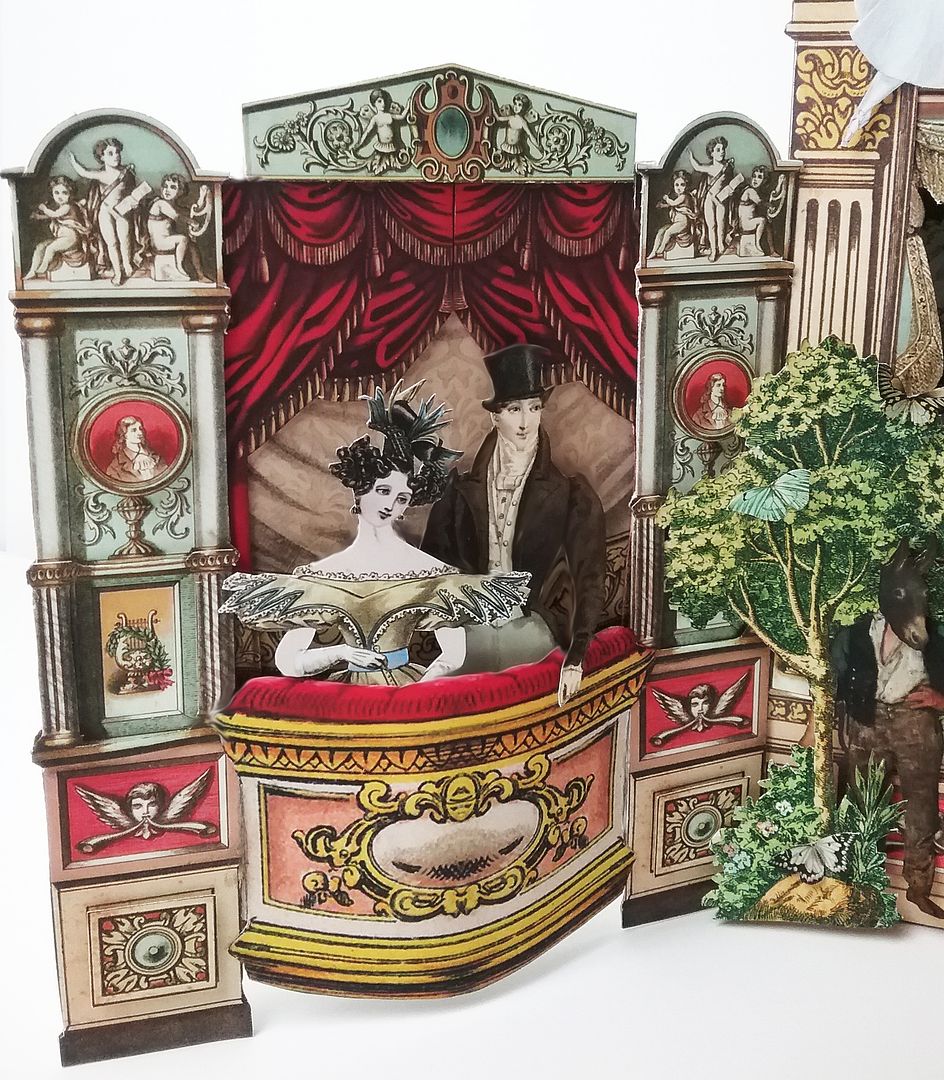
You can see the audience avidly watching the play from their box seats.


THE PROJECT DETAILS
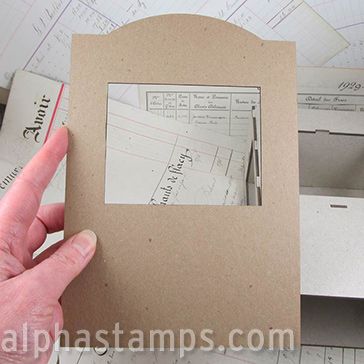
The center of the theatre is made from the Punch & Judy Theatre chipboard kit. 
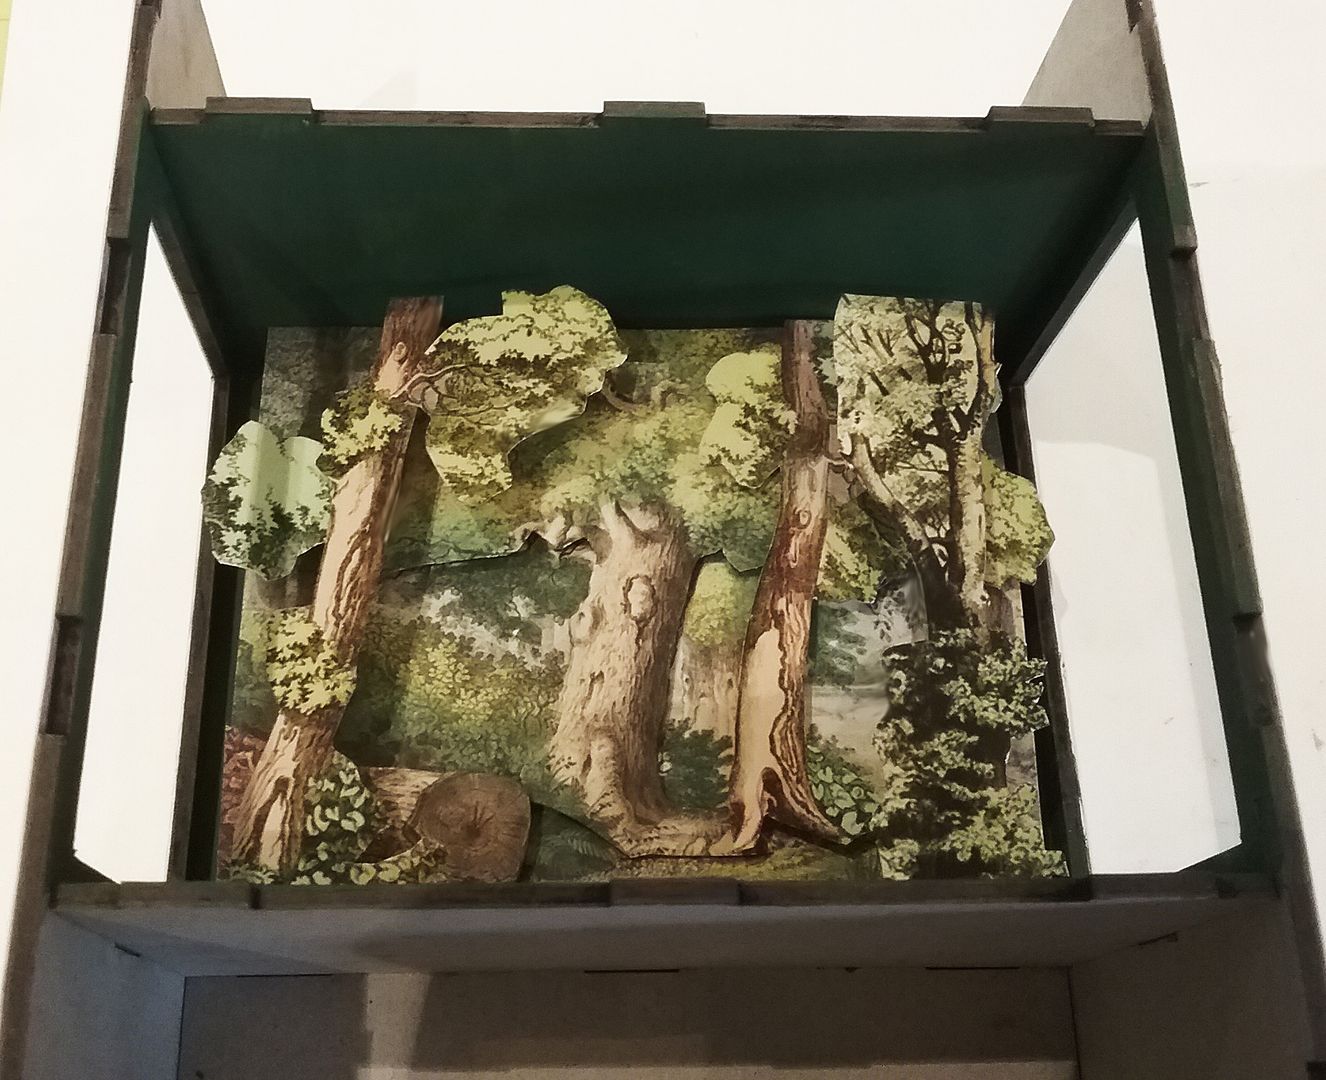
First, I painted the inside of the opening green and then started adding greenery from the Forest Theatre Backdrops Collage Sheet & the Rustic Trees & Foliage Collage Sheet.
To create a 3D effect, I layered the images using double-stick tape and beads.

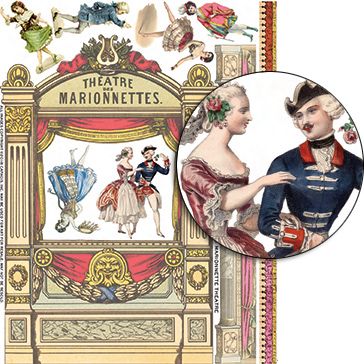
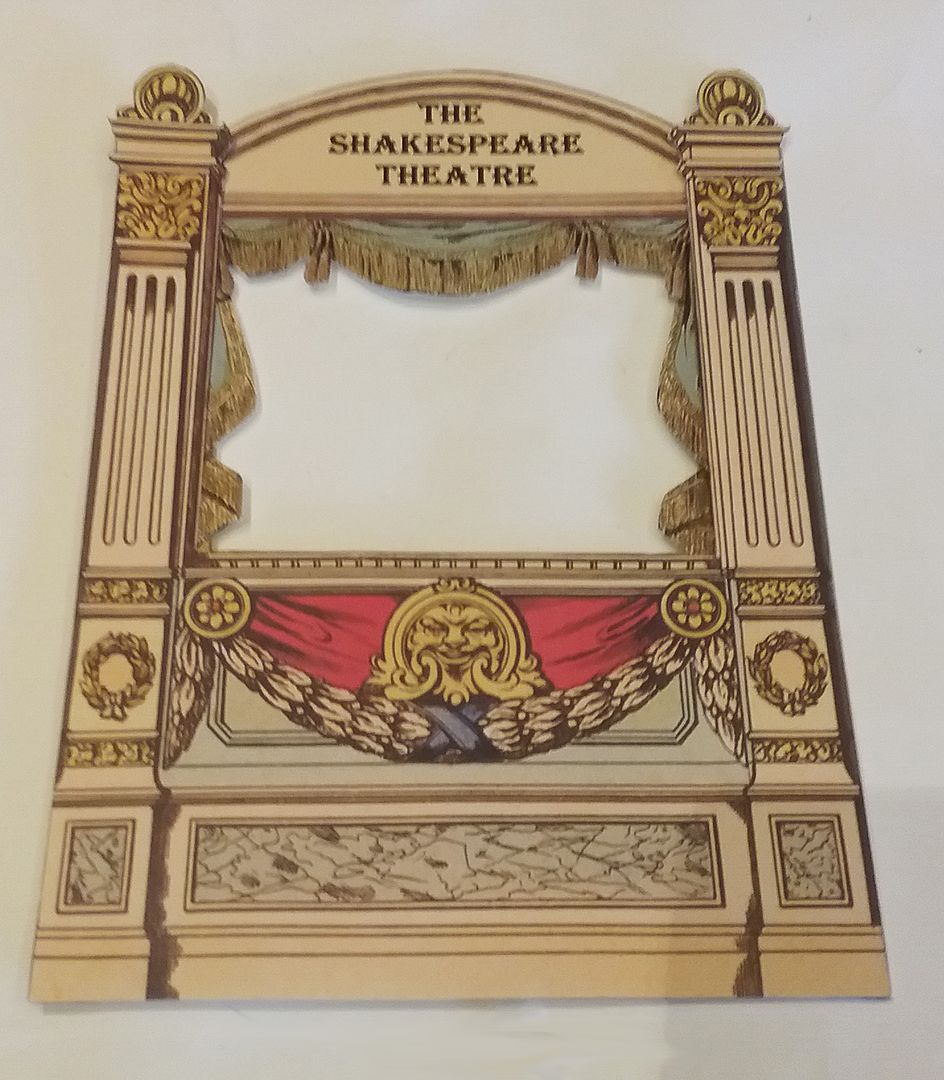
I used The Marionnettes Theatre Collage Sheet for the front and attached it to the Arched Top Theatre Façade.  
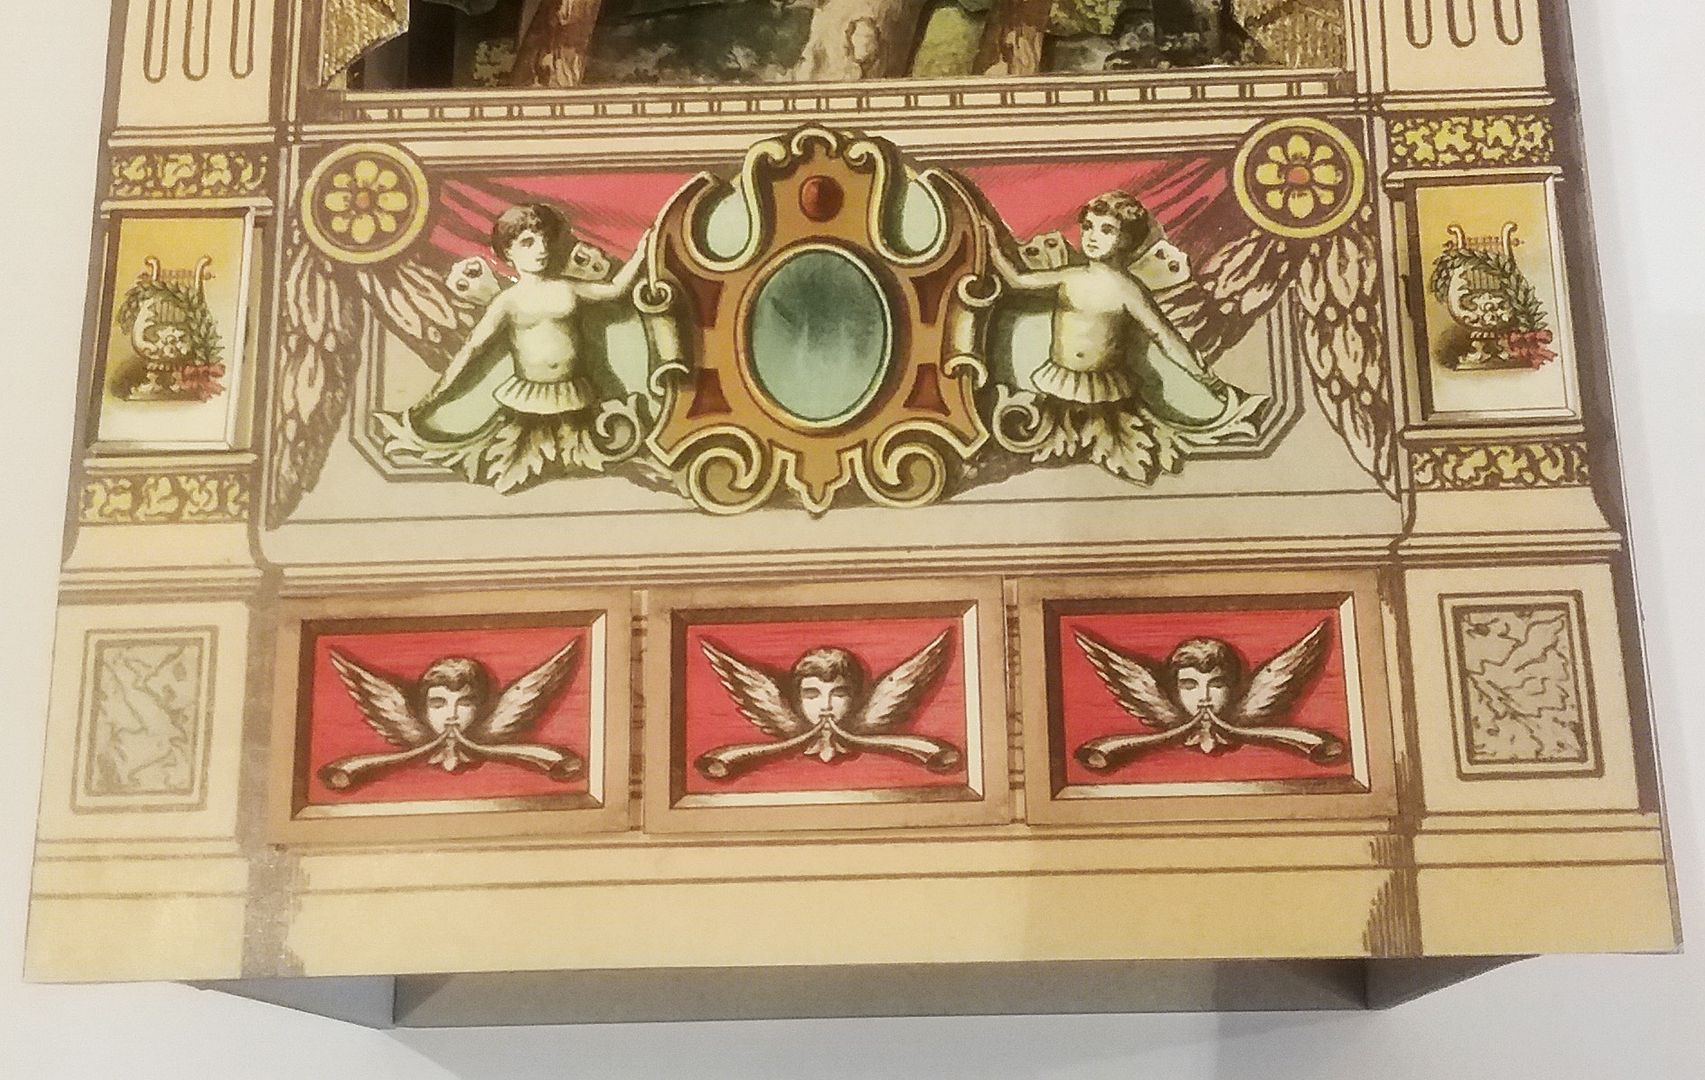
To further embellish the front, I added curtains, and at the top and bottom, bits of the pediment image from the Large Theatre Curtains, Columns & Box Seat Set of digital images.
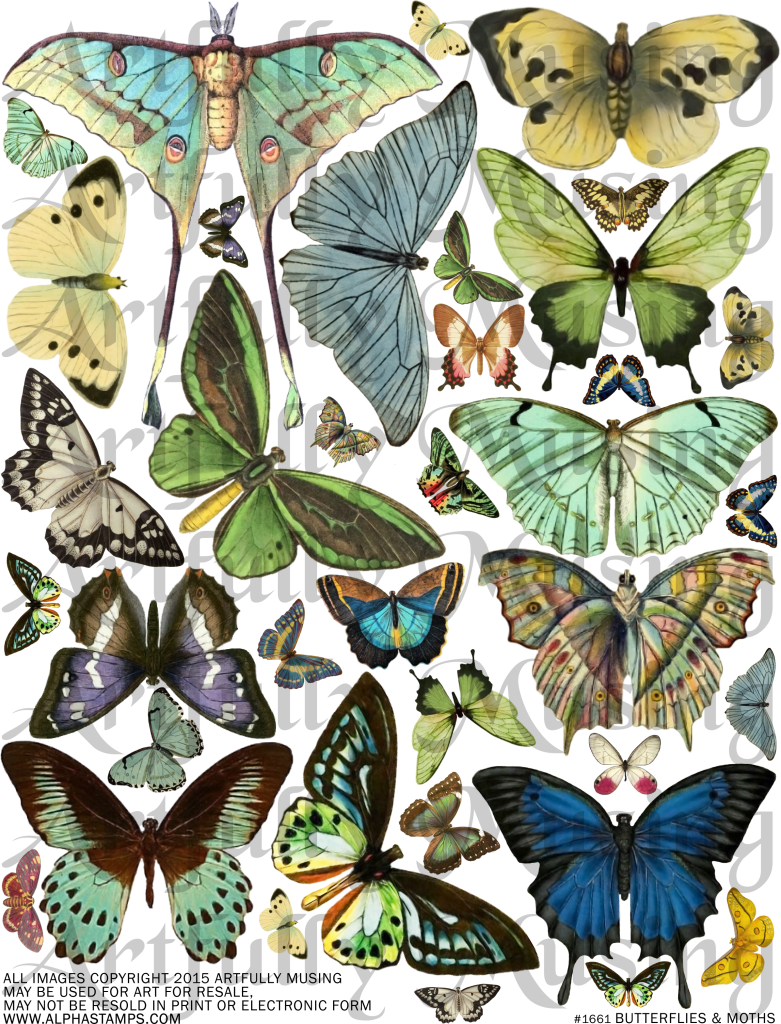
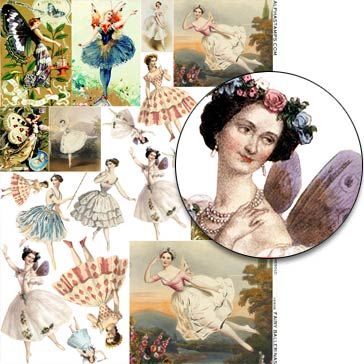
All of the images of fairies you see in the opening of the theatre and around the outside are from the Fairy Ballerinas Collage Sheet.  And the butterflies are from my Butterflies & Moths Collage Sheet; you'll also find them in the digital kit version.
The image of the character “Bottom” peaking out from behind the tree is from my stash.  You’ll find it further down in the post, so feel free to download it and use it for your art.
 
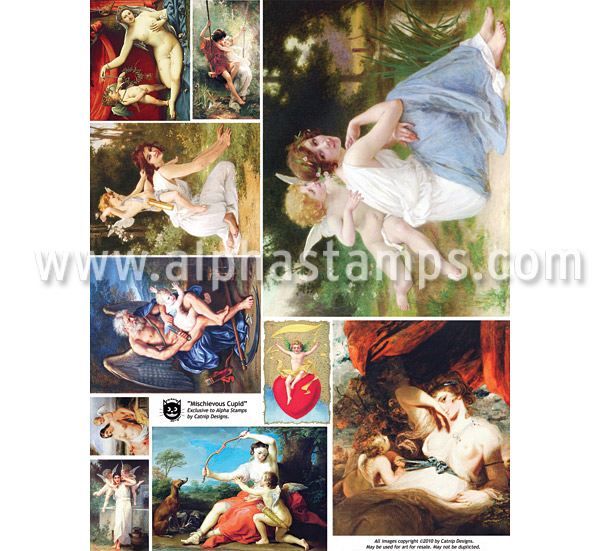
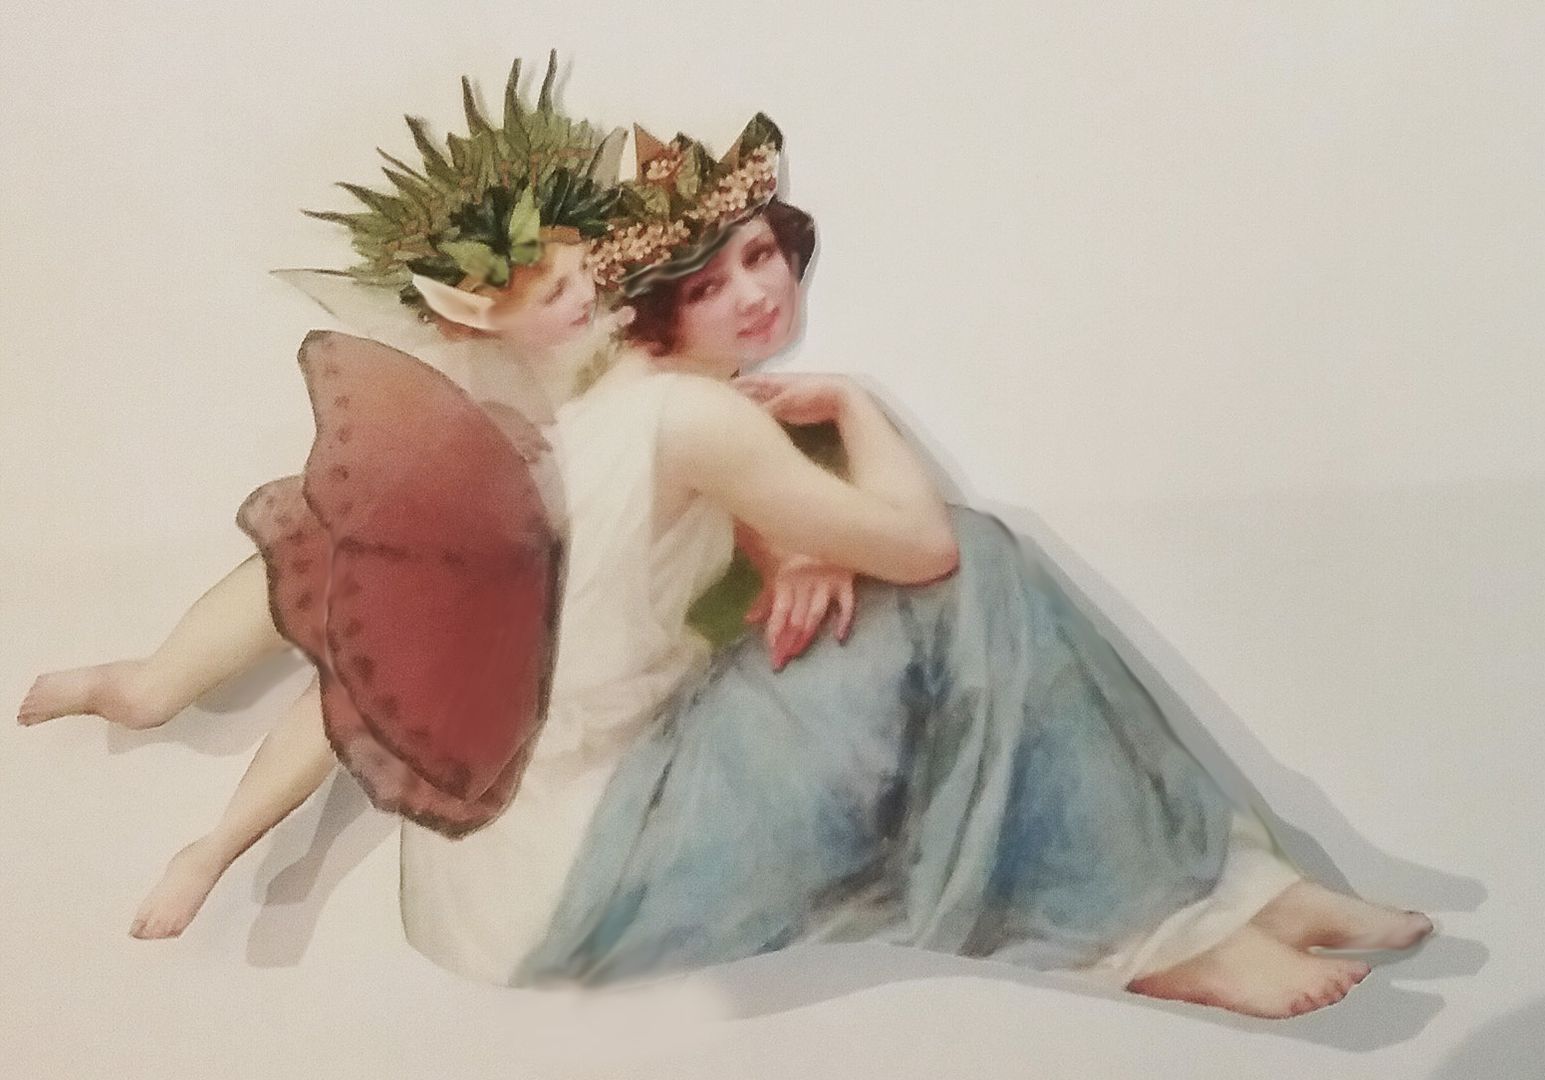
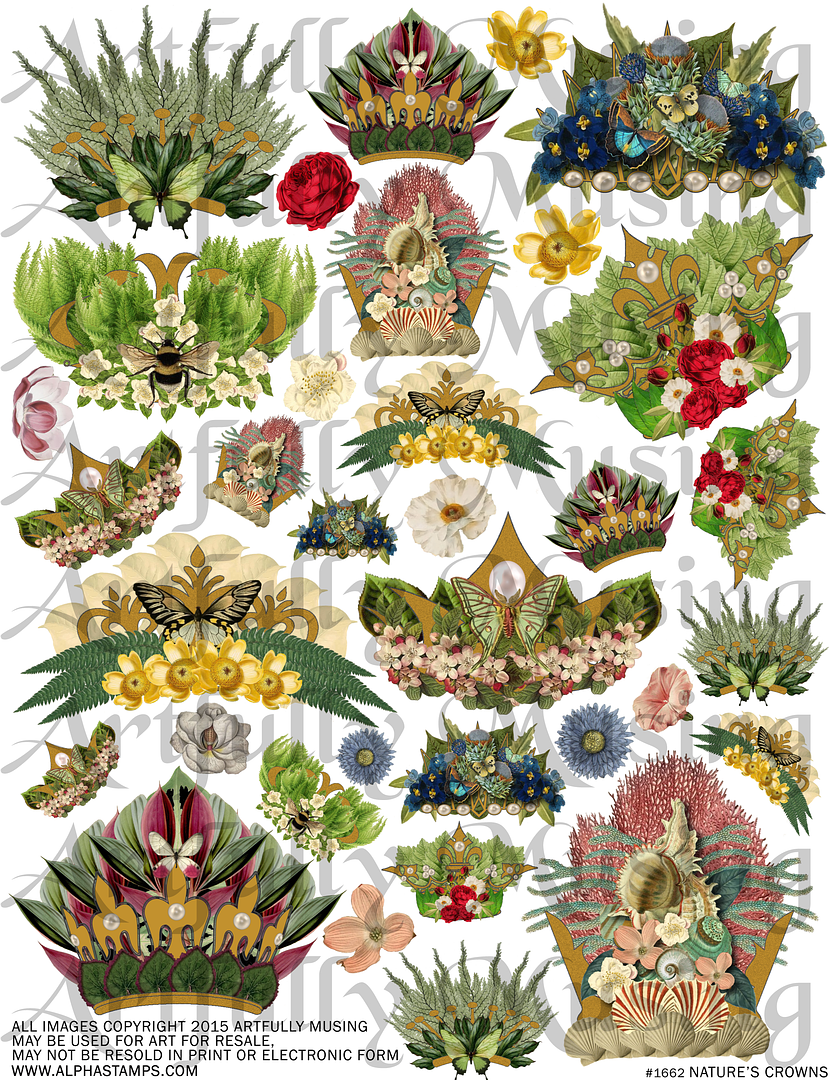
Inside the theatre opening, I added an image from the Mischievious Cupid Collage Sheet and dressed them up with crowns from my Natures Crowns Collage Sheet, then added wings from my stash. I added an ear to Puck to make him look more elvish or sprite-like as opposed to a cherub.
I glued a bead on the bottom back to give me something to attach the image to the floor of the opening.

For the side panels, I used a combination of images from the Large Theatre Curtains, Columns & Box Seat Set of digital images.  
I printed the columns multiples times so that I could cut out bits of the image and layer them on top of the original to create a 3D look.

I had some of the column bits left over, so I added them to the center section to tie the center and the sides together.
I made the column area narrow enough so that I could make the box bow out making it look 3D.
The couples sitting in the box seats are from the 1830s Gents & Ladies Fashion #1 Collage Sheet.
To cover the back and sides of the theater and to hide any exposed areas of the side panels, I used three different scrapbook papers; Red Rose Ball, Devoted & Love Song Serenade.
To cover the opening of the sides of the center section, I used curtains from the Gatefold Square Shrine Curtains Collage Sheet.

Feel free to download the images below and use them in your artwork.


DETAIL SUPPLY LIST
Punch & Judy Theatre
Arched Top Theatre Façade
The Marionettes Theatre Collage Sheet
Large Theatre Curtains, Columns & Box Seat Set Download
Gatefold Square Shrine Curtains Collage Sheet
                           Or
Fairy Ballerinas Collage Sheet
Mischievous Cupid Collage Sheet
Forest Theatre Backdrops Collage Sheet
Rustic Trees & Foliage Collage Sheet
Heartland Scrapbook Paper – Red Rose Ball
Blush Scrapbook Paper – Devoted
Heartland Scrapbook Paper – Love Song Serenade

Wednesday, February 3, 2016

LOVER'S PROMENADE TRAVELING THEATER & NEW MINI REGENCY FASHION COLLAGE SHEET

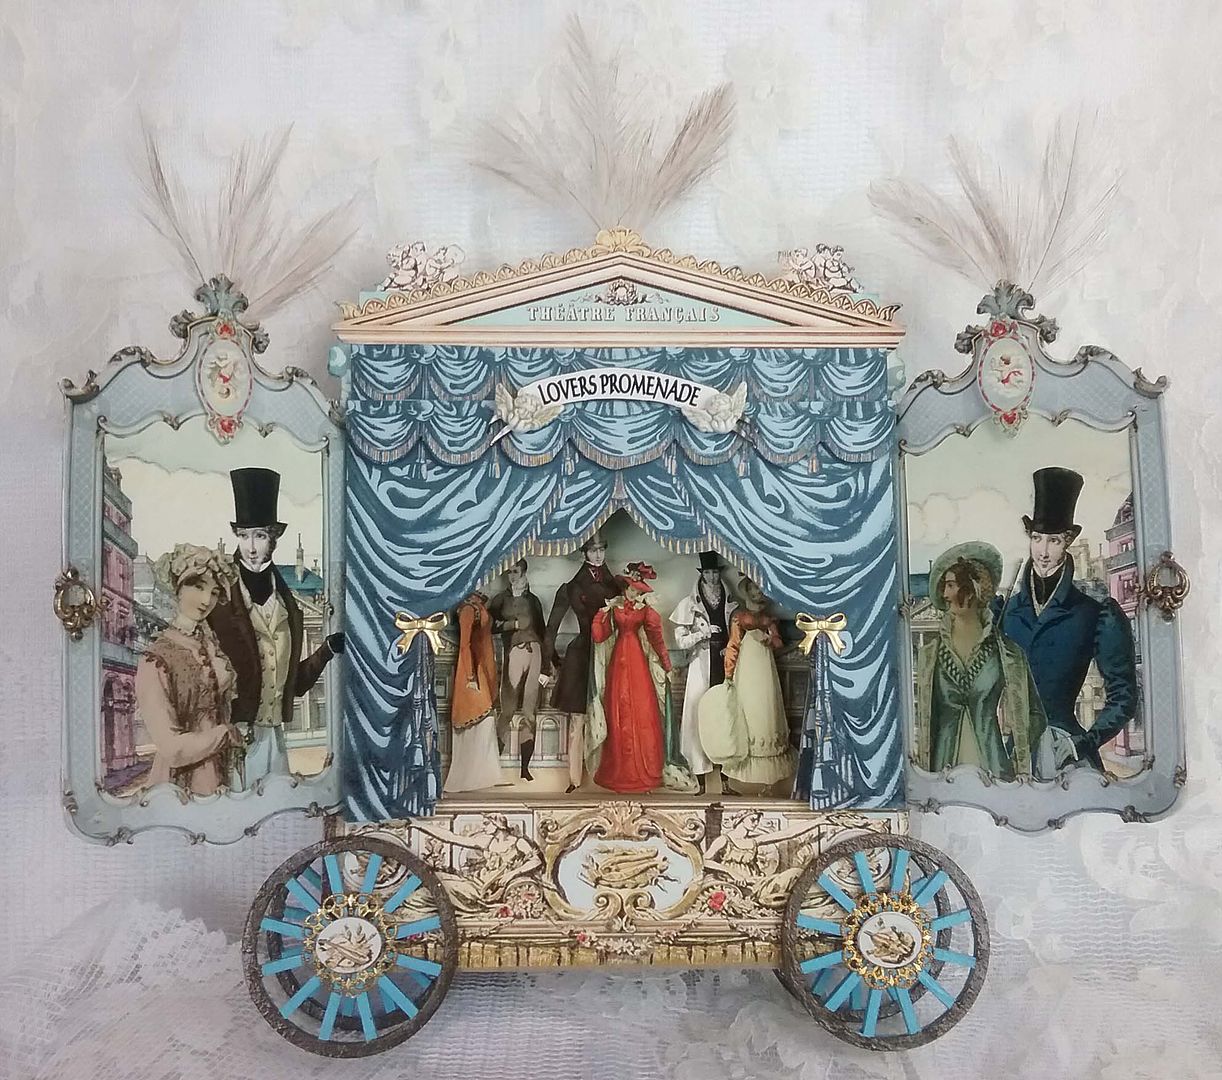
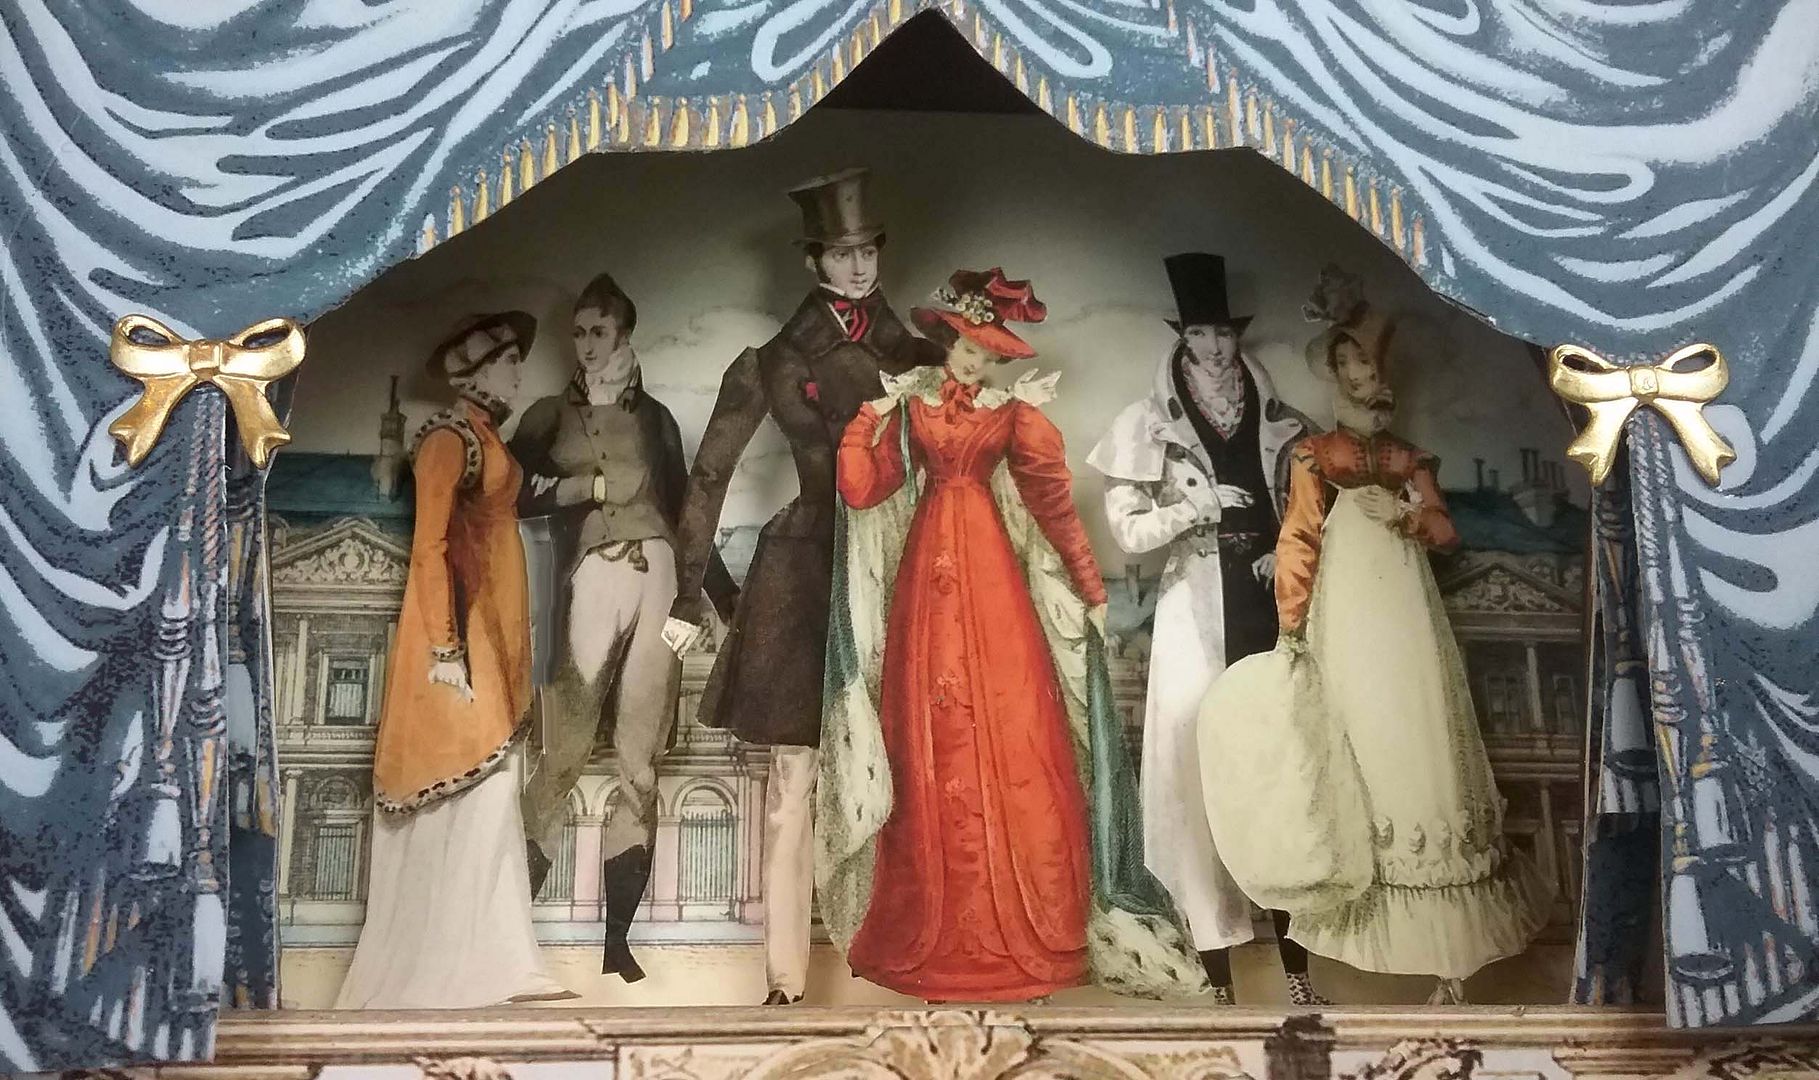
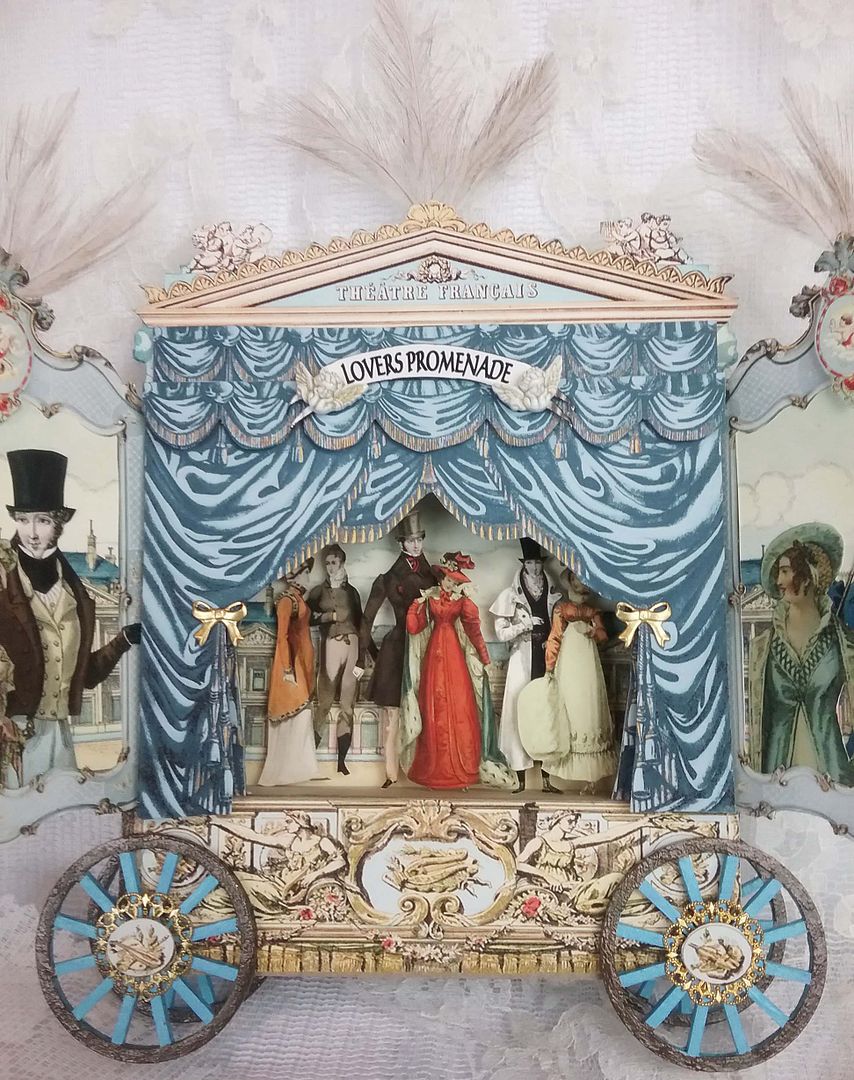
I can't believe it is already February!  With February being the month of love, I have another romantic project to share; the traveling Theatre Francais presents "Lovers Promenade." It's the final scene in which, after many pitfalls, all the lovers are finally united (aka a happy ending).

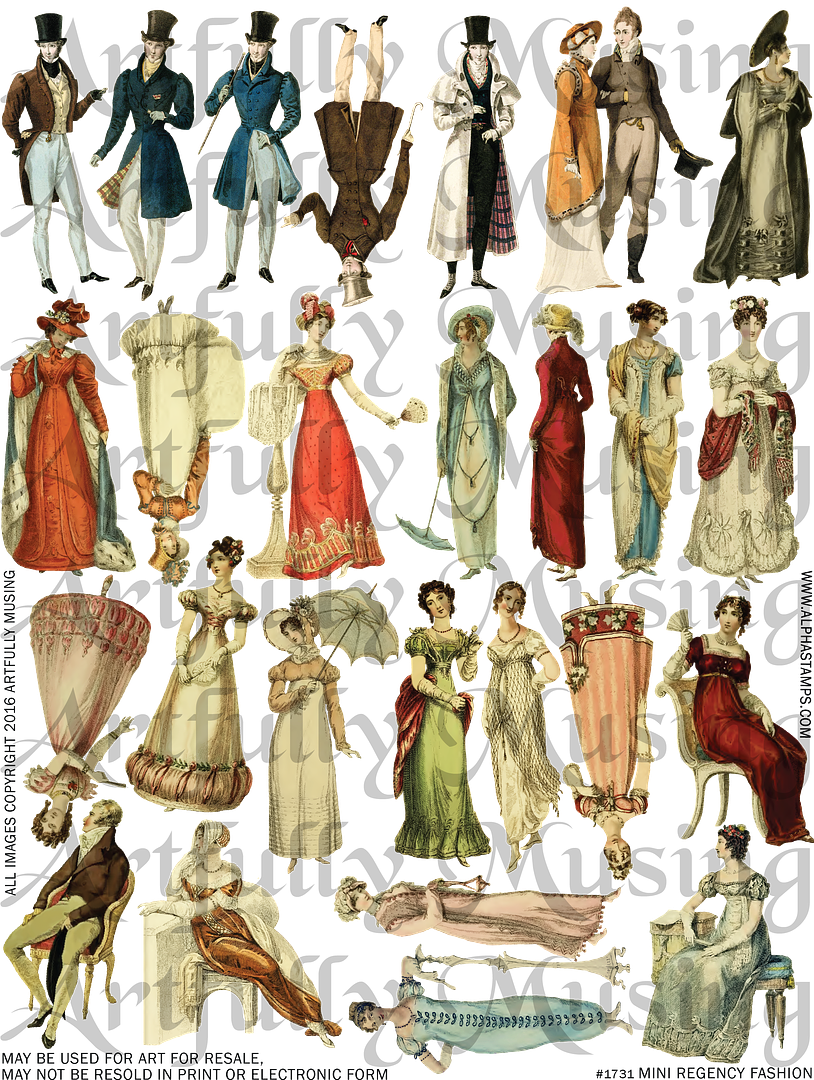
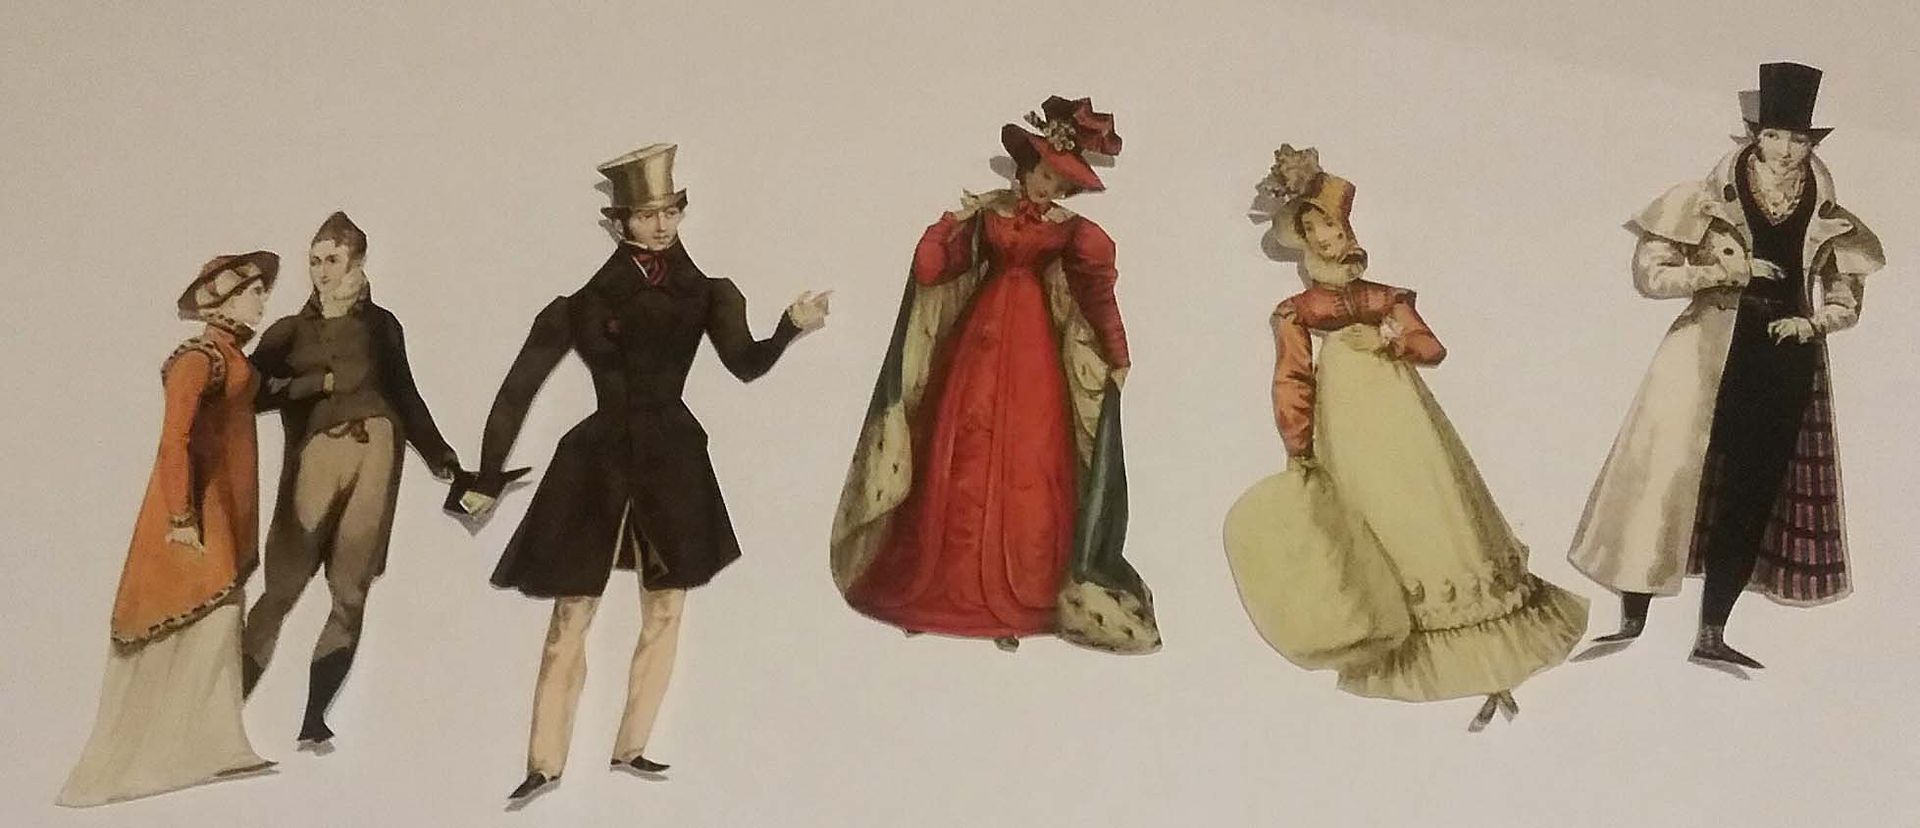
This collage sheet is filled with 26 miniature men and women wearing Regency period fashions (my favorite) and is approximately 2 ½" tall.  The images are sized to fit the theater shadowboxes carried by Alpha Stamps and are great for other small art projects.  Click on the image below to purchase the collage sheet.

I assembled this theatre using a chipboard kit, collage sheet images, and chipboard wheels.  
On either side of the stage are the doors (faux) so that the theater can be secured and moved to the next town for another performance.

TUTORIAL
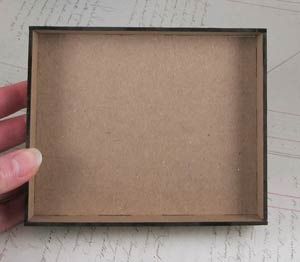
I started with a chipboard shadowbox kit with 5 pieces that lock together with tabs and notches.
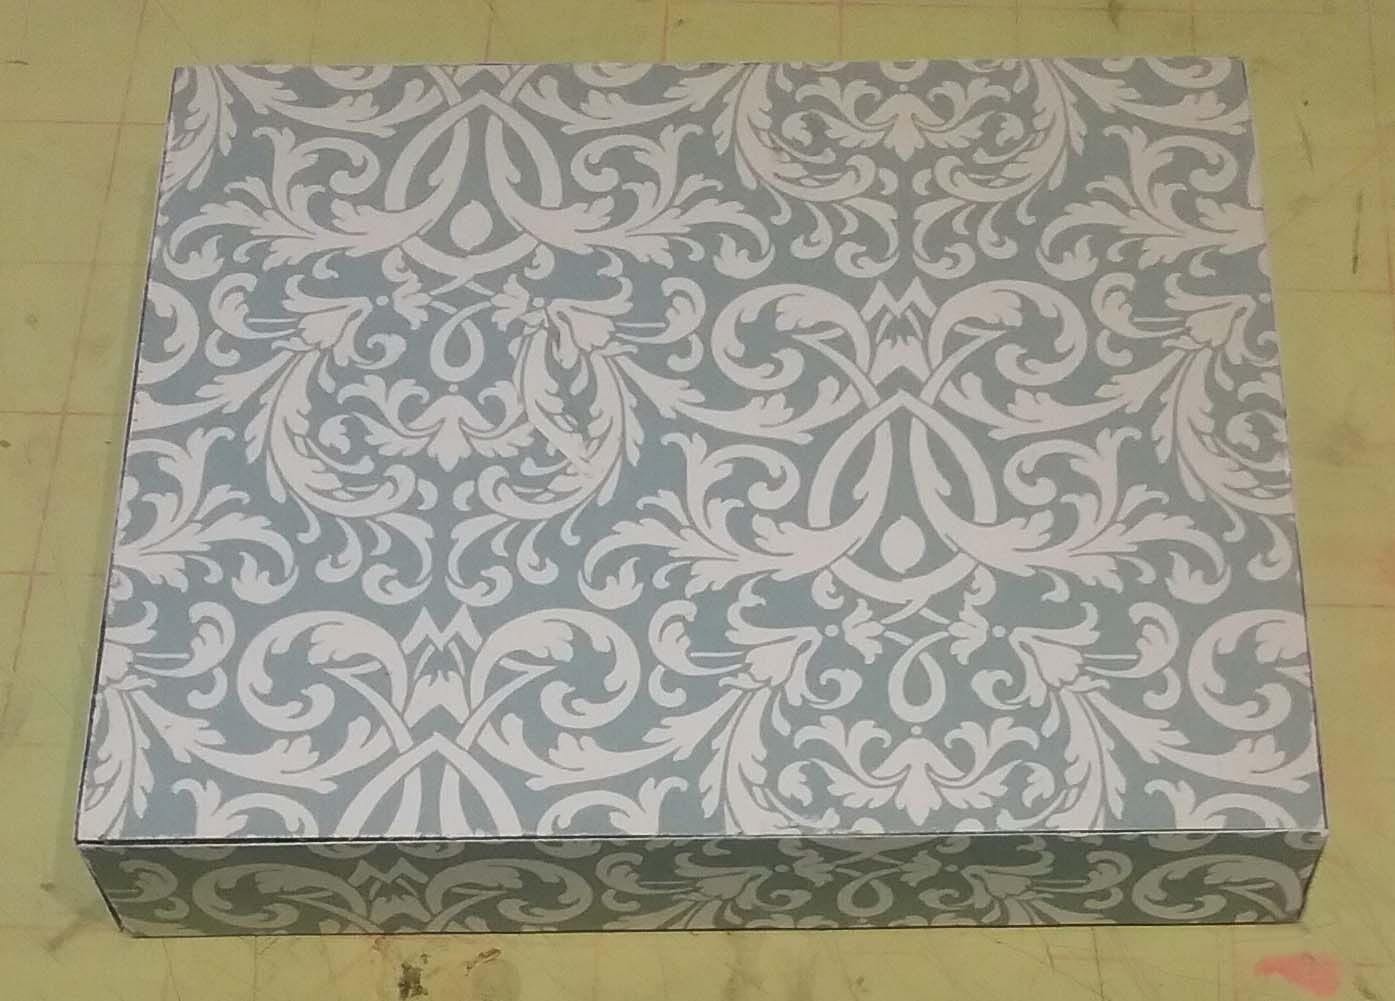
After gluing the pieces together, I used decorative paper to cover the outside of the shadow box.
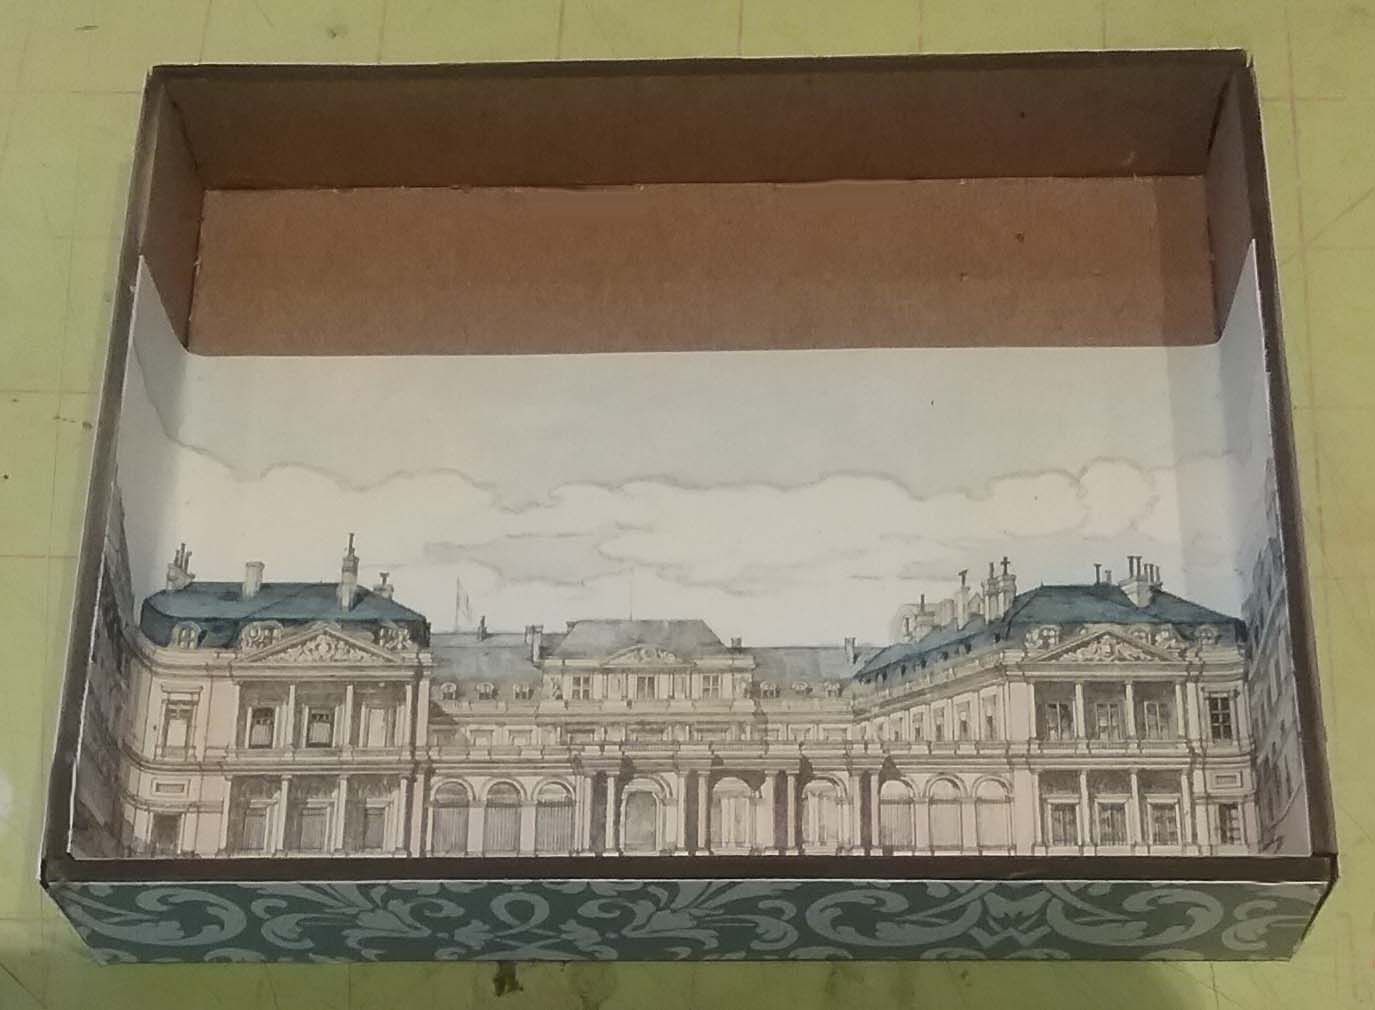
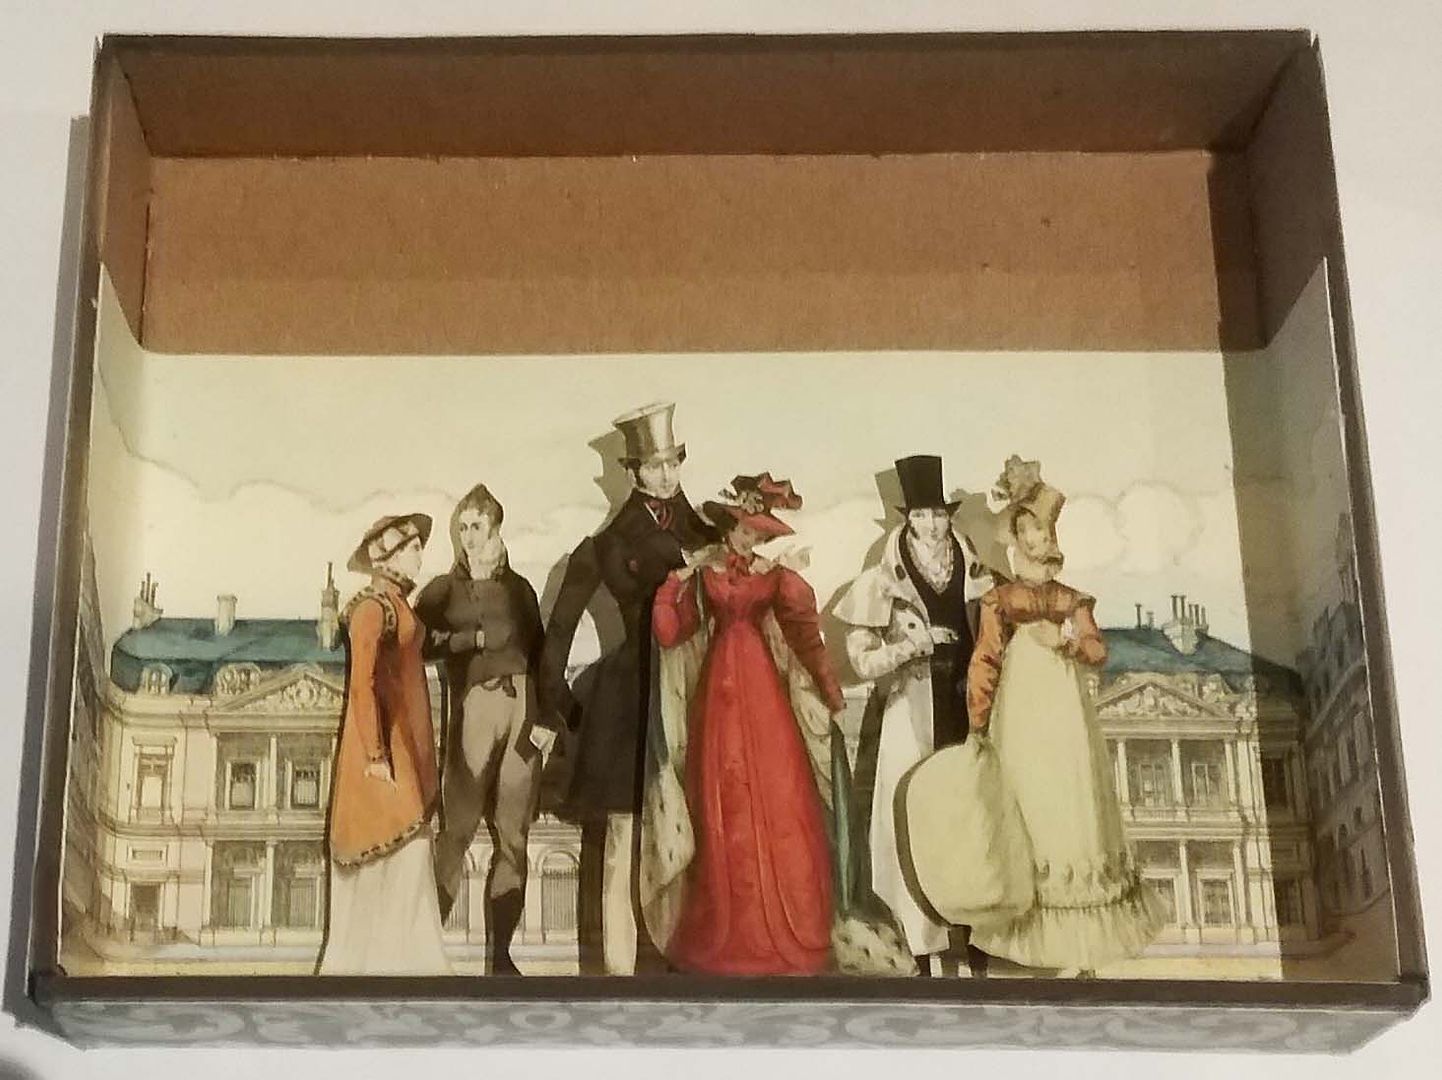
Next, on the inside, I added the background scenery from the French Fairies Shadowbox Façade collage sheet.  You don't need to add anything else to cover the inside of the shadowbox, as you won't see it when the curtains are attached.
I backed the characters from the Mini Regency Fashion collage sheet with heavy cardstock.
I attached the characters to the back of the shadowbox using popup dots.  I used between 1 and 3 dots so that they would pop up at different distances from the background.
To create the theater façade, I started with a chipboard shadowbox facade.
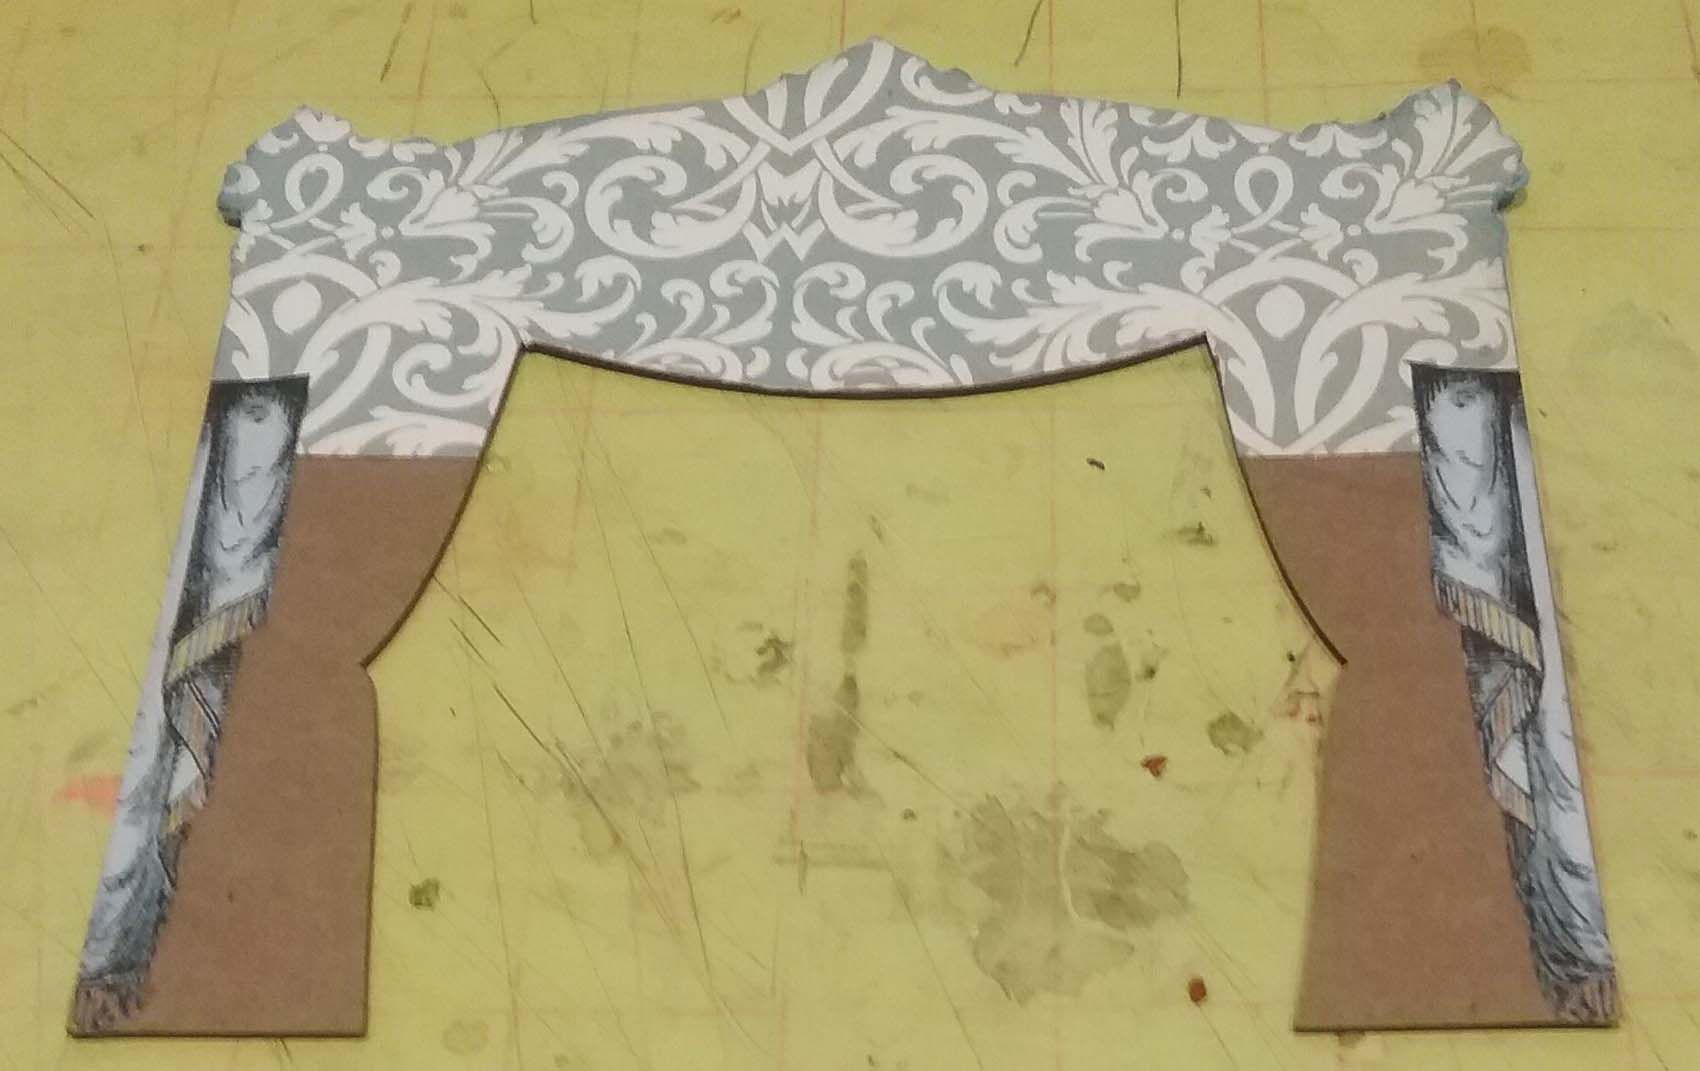
I used decorative paper for the top of the curtain and part of the curtain image from the Square Shadowbox Curtains – Teal Collage Sheet for the lower sides.
I added more of the teal curtain image to the chipboard facade and attached the chipboard to the front of the shadow box.
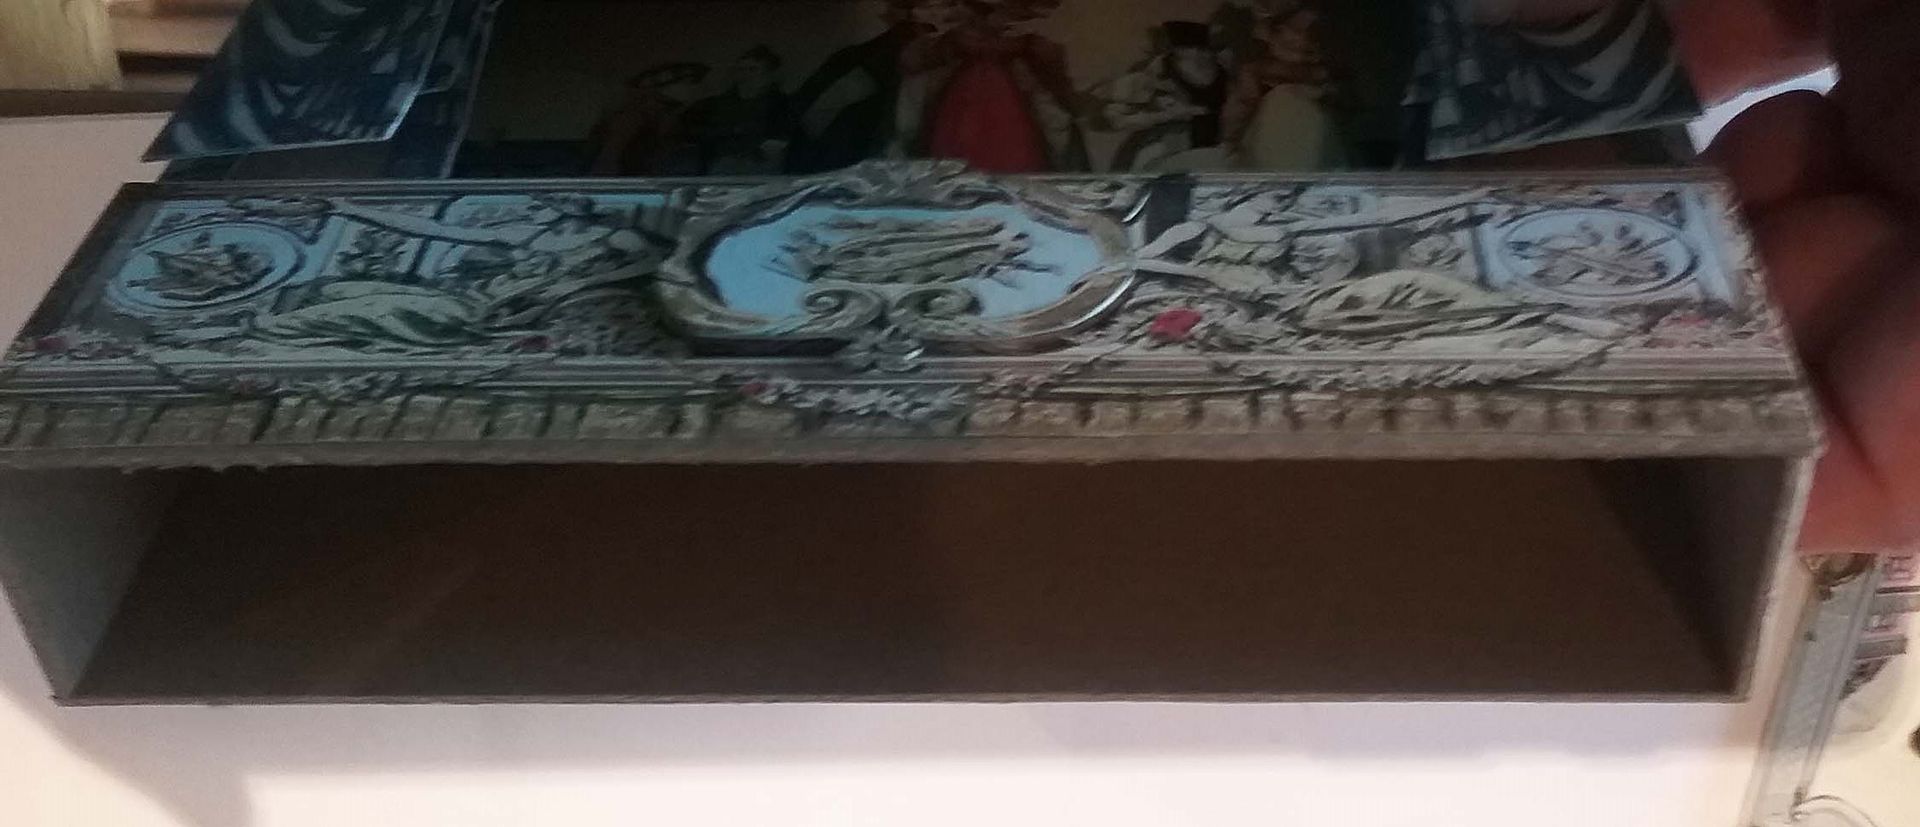
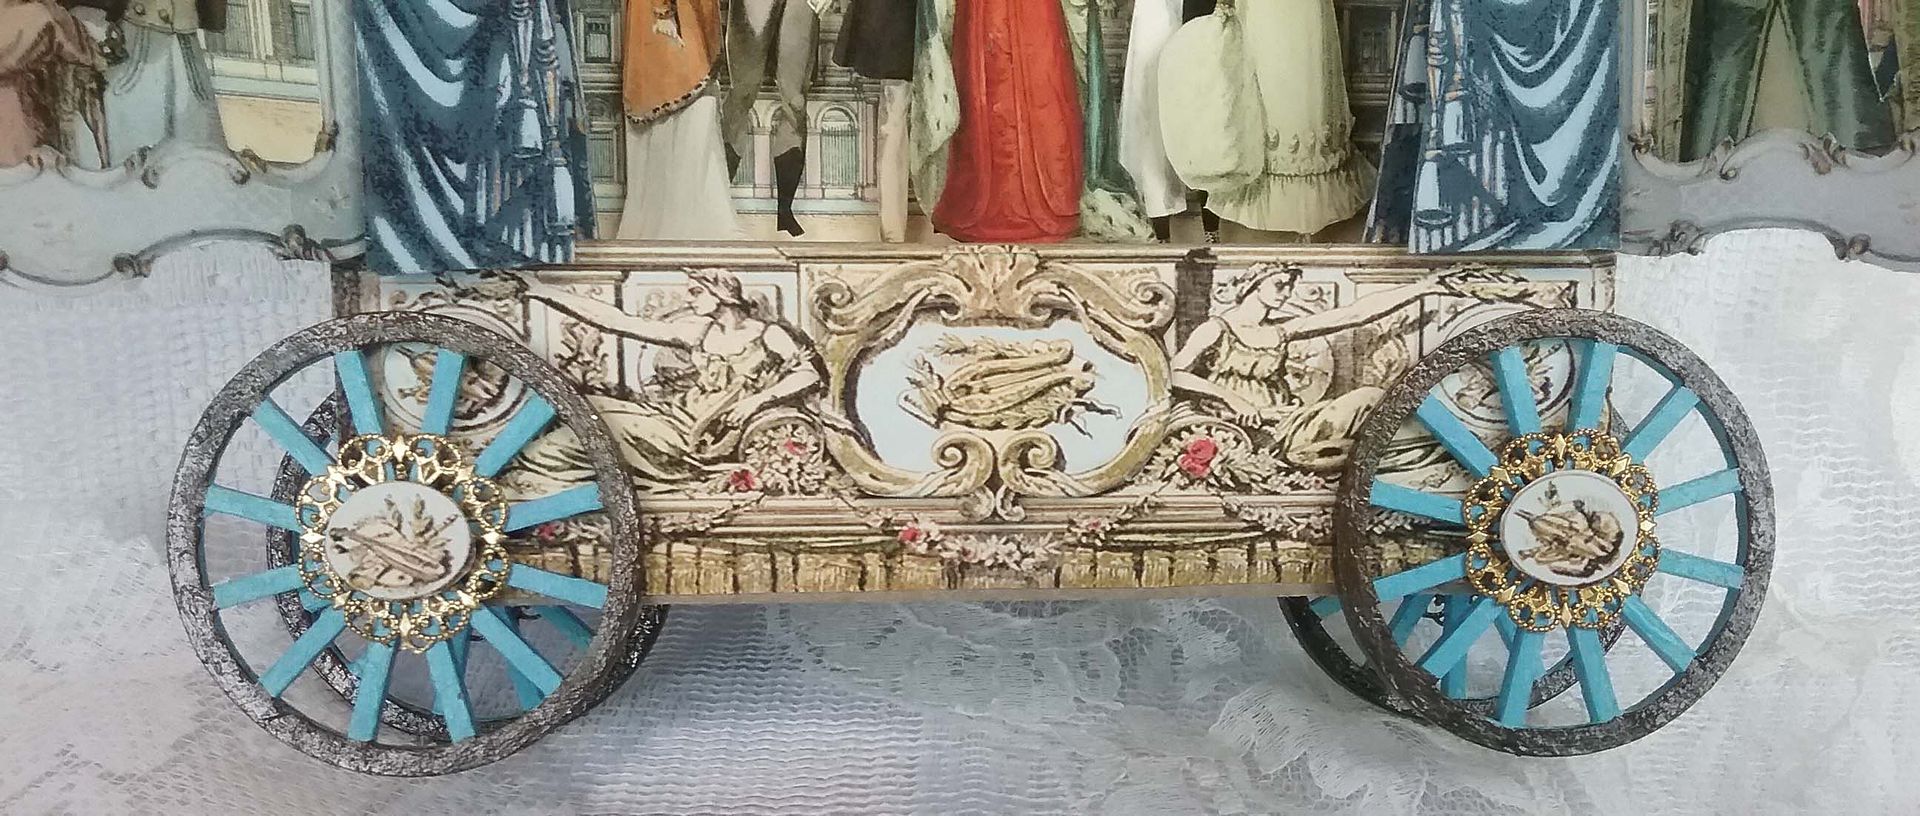
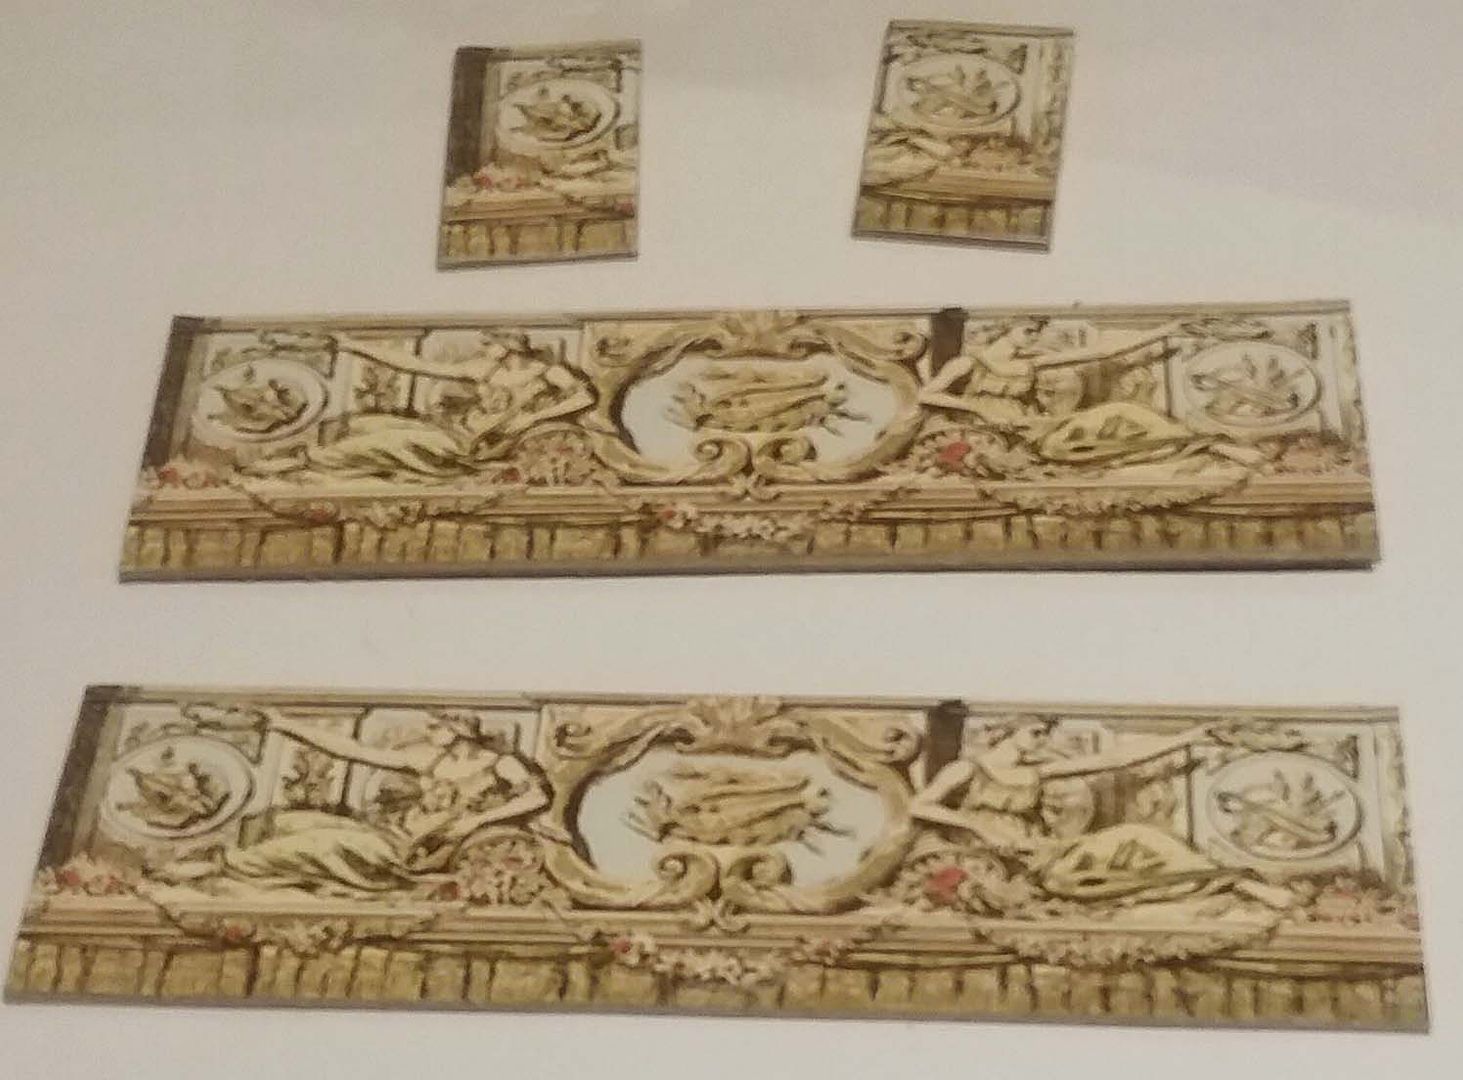
Next, I used images from the Gatefold Shrine Curtains collage sheet to create a skirt for the stage.  I thought the skirt gave the piece more height and provided a place to attach the wheels.  I backed the stage pieces with chipboard to make them sturdy.
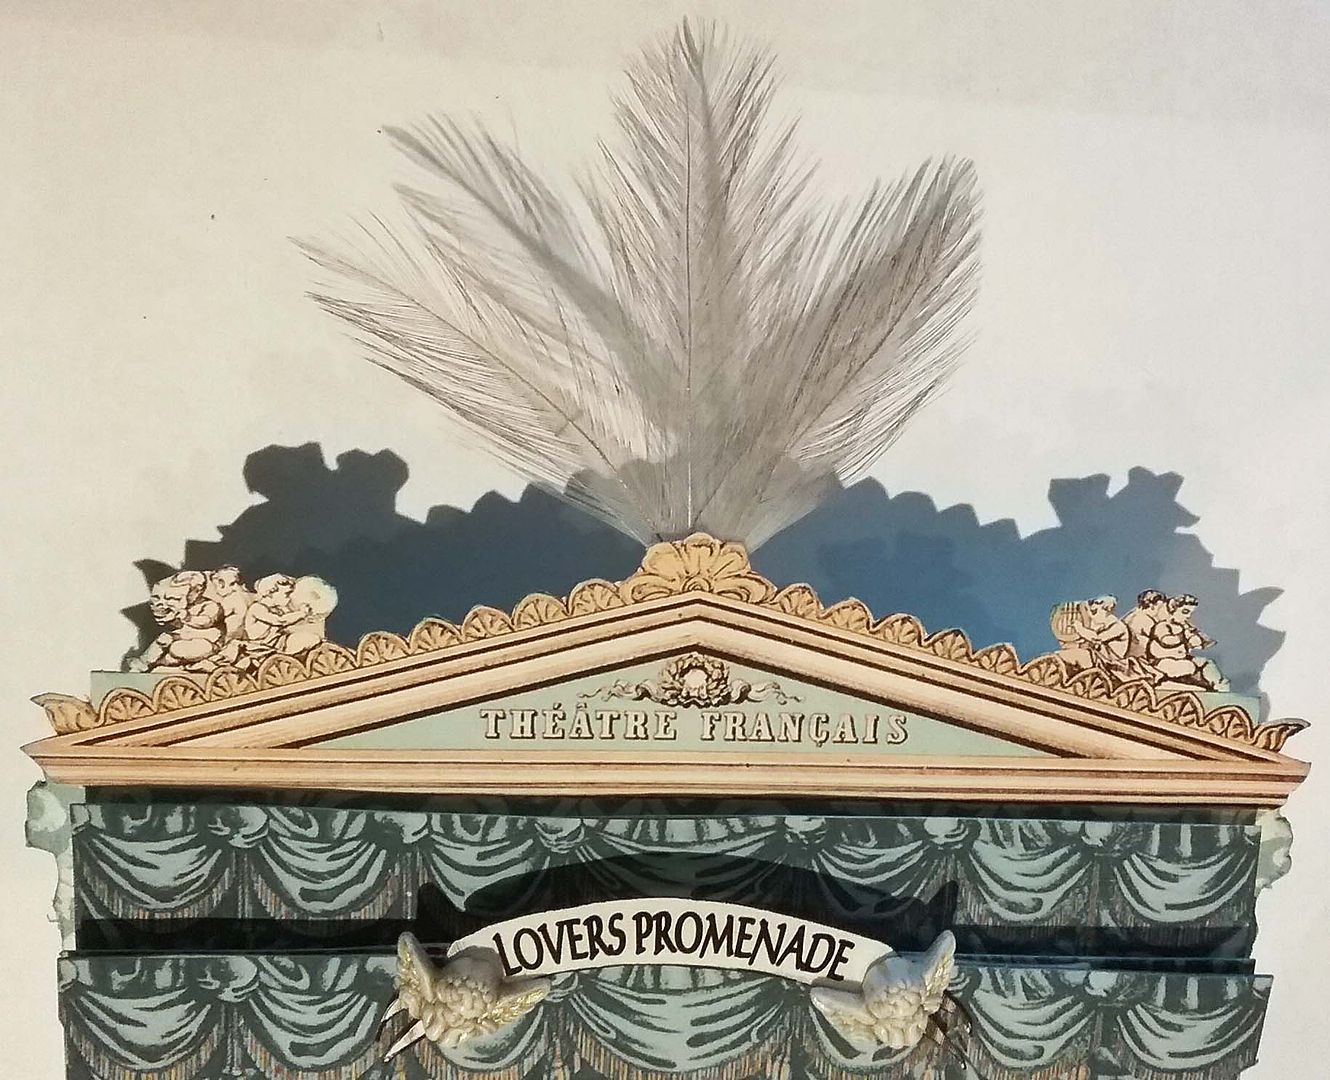
Next, I attached layers of teal curtains, popping up sections of the curtains to create dimension, and added the chipboard skirt.  I added a pediment backed with decorative paper to the top.
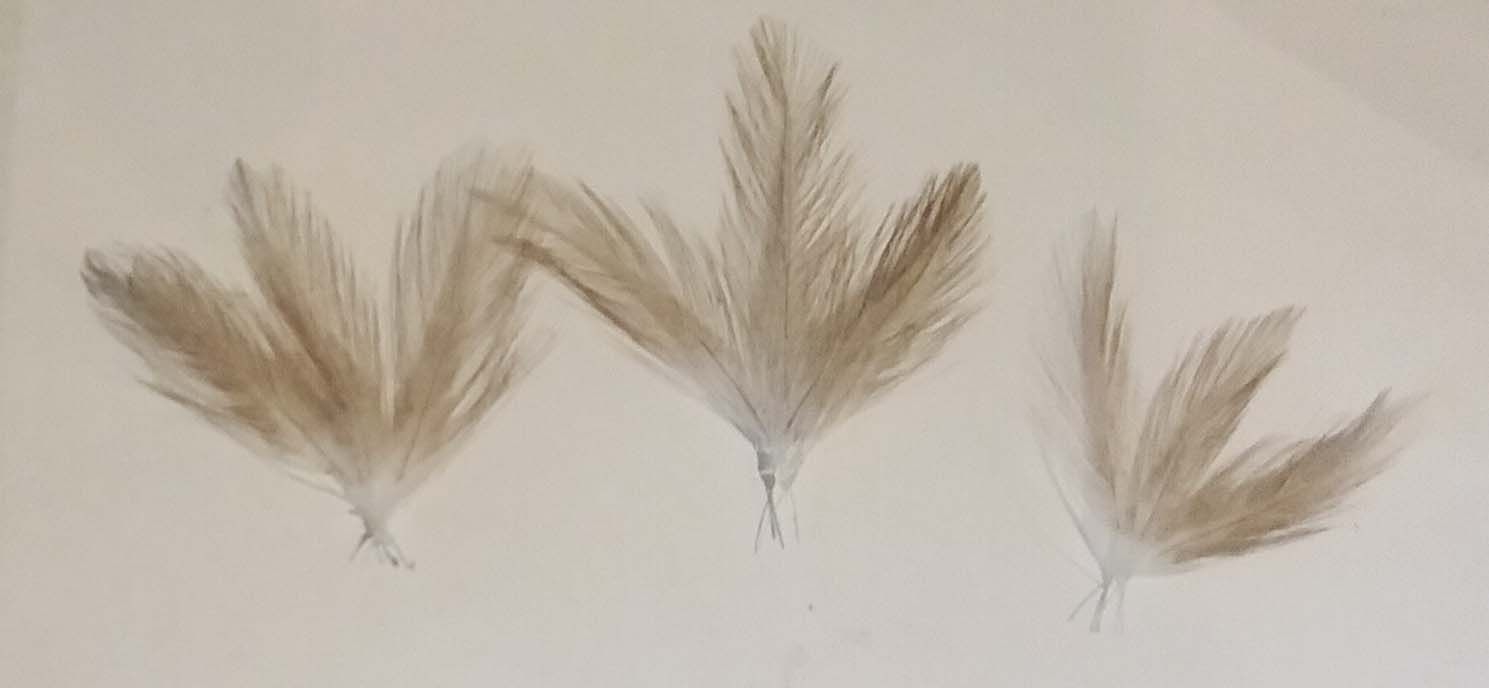
To dress up the theatre, I glued together 3 sets of white feathers colored with Inca Gold Gilders Paste.  I used my fingers to apply the paste to the feathers.
I attached one of the sets of feathers to the back of the pediment and used an image from the Gatefold Shrine Curtains collage sheet to cover the base of the feathers.  The "Lovers Promenade" sign is accented with cherub buttons.
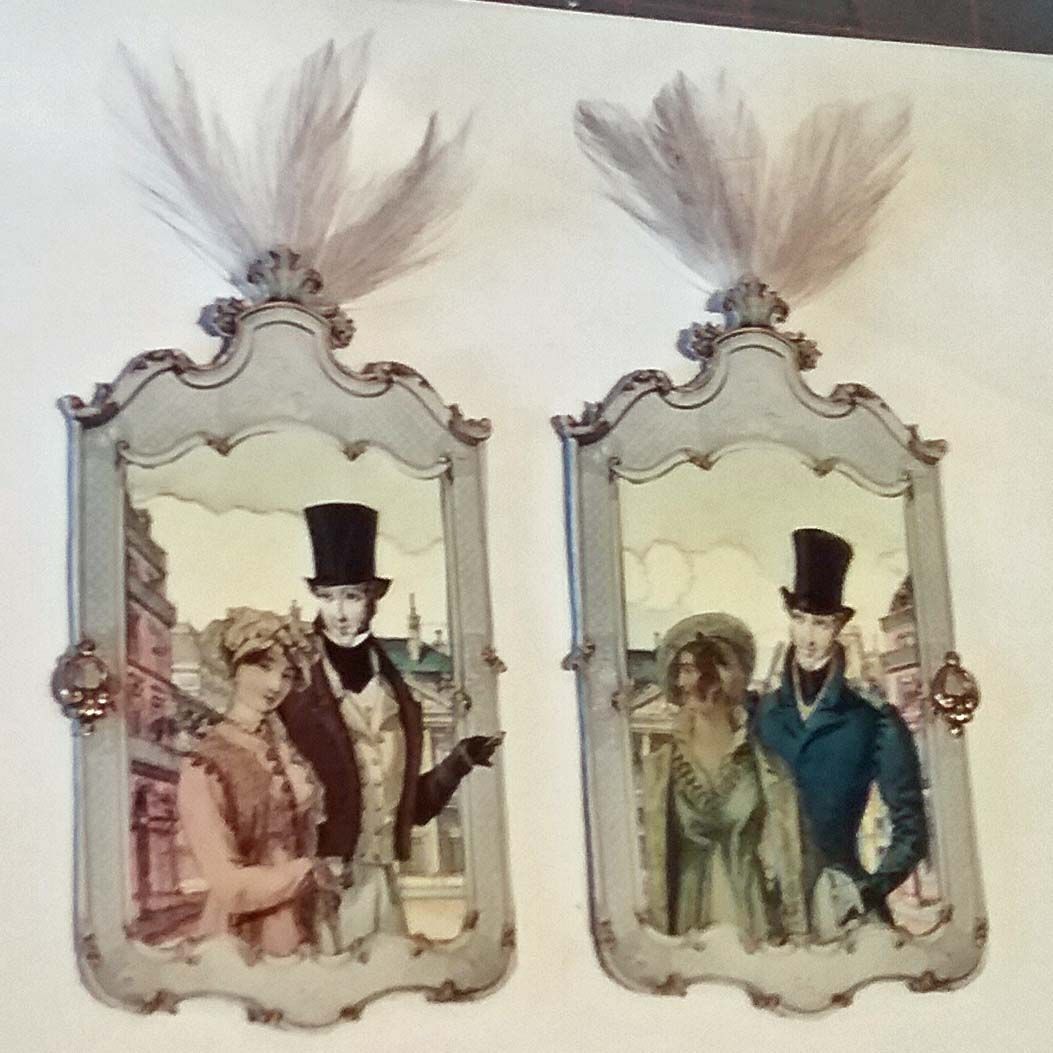
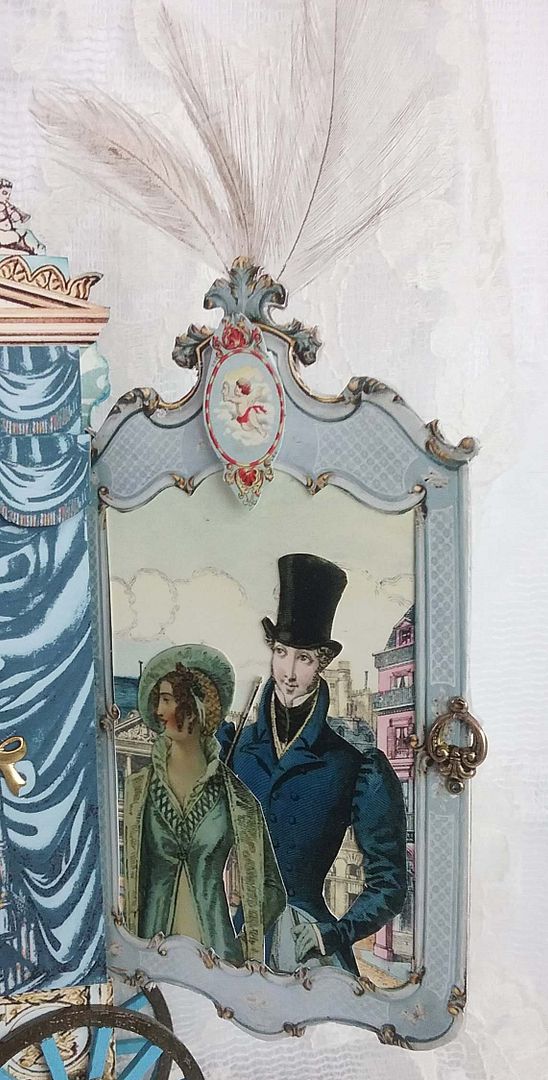
Next, I made the doors for the theater.   The door frame is from the Antique Frames digital image set.  Notice how I used the same image in the background as I used as the background in the shadowbox.  The couples on the doors are from the Days Gone By collage sheet and/or the digital image set.
The door layers starting from the back to the front, are:
  • Decorative Paper
  • Thin Chipboard
  • Collage Sheet Backdrop Image
  • Digital Image Set Frame Image
  • Collage Sheet Couples 
I also attached feathers to the doors and brass connectors to serve as a faux pull (to close the doors).

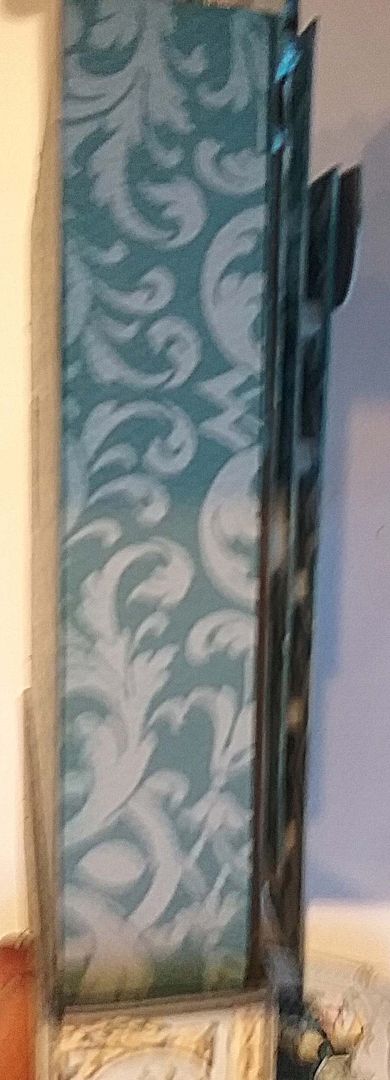
The picture below is a side view of the theater before the doors are attached.  You can see how the pop dots on the curtains are visible.  The doors serve as a structural and decorative element of the theater, but they also hide the pop dots.
Next, I glued the doors to the shadowbox at a slight angle (forward).
The last step was to add the chipboard wheels, which I painted, and then dressed up with a piece of filigree and an image (the same image that is in the skirt).  Lastly, I glued the wheels to the skirt.