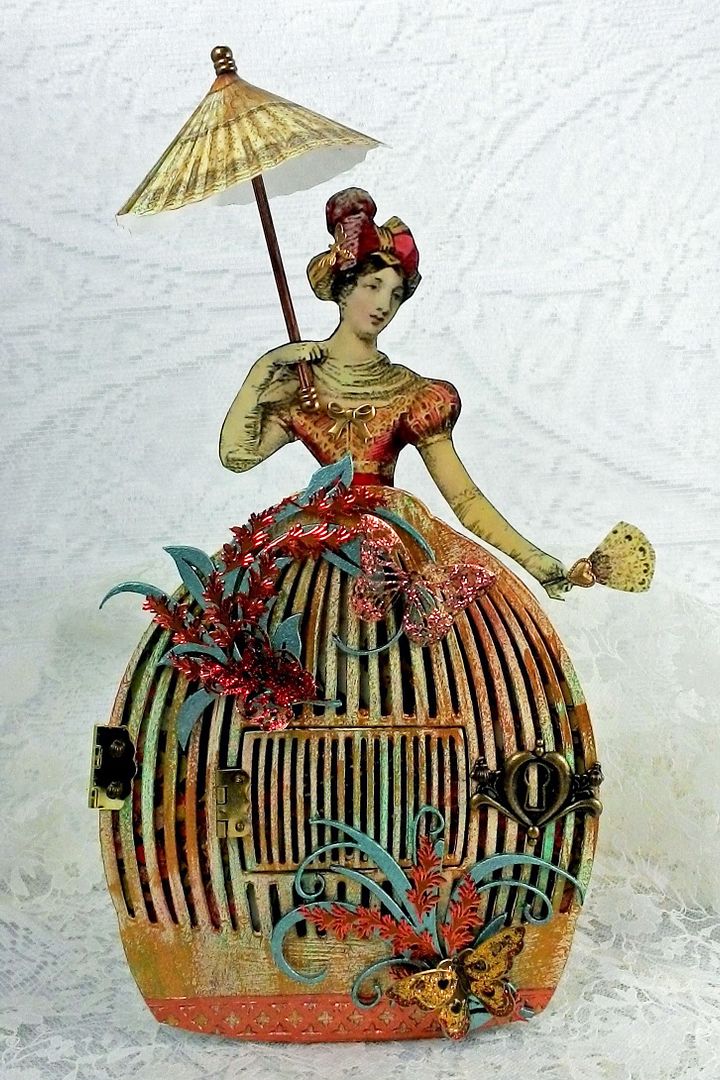
With Valentines just around
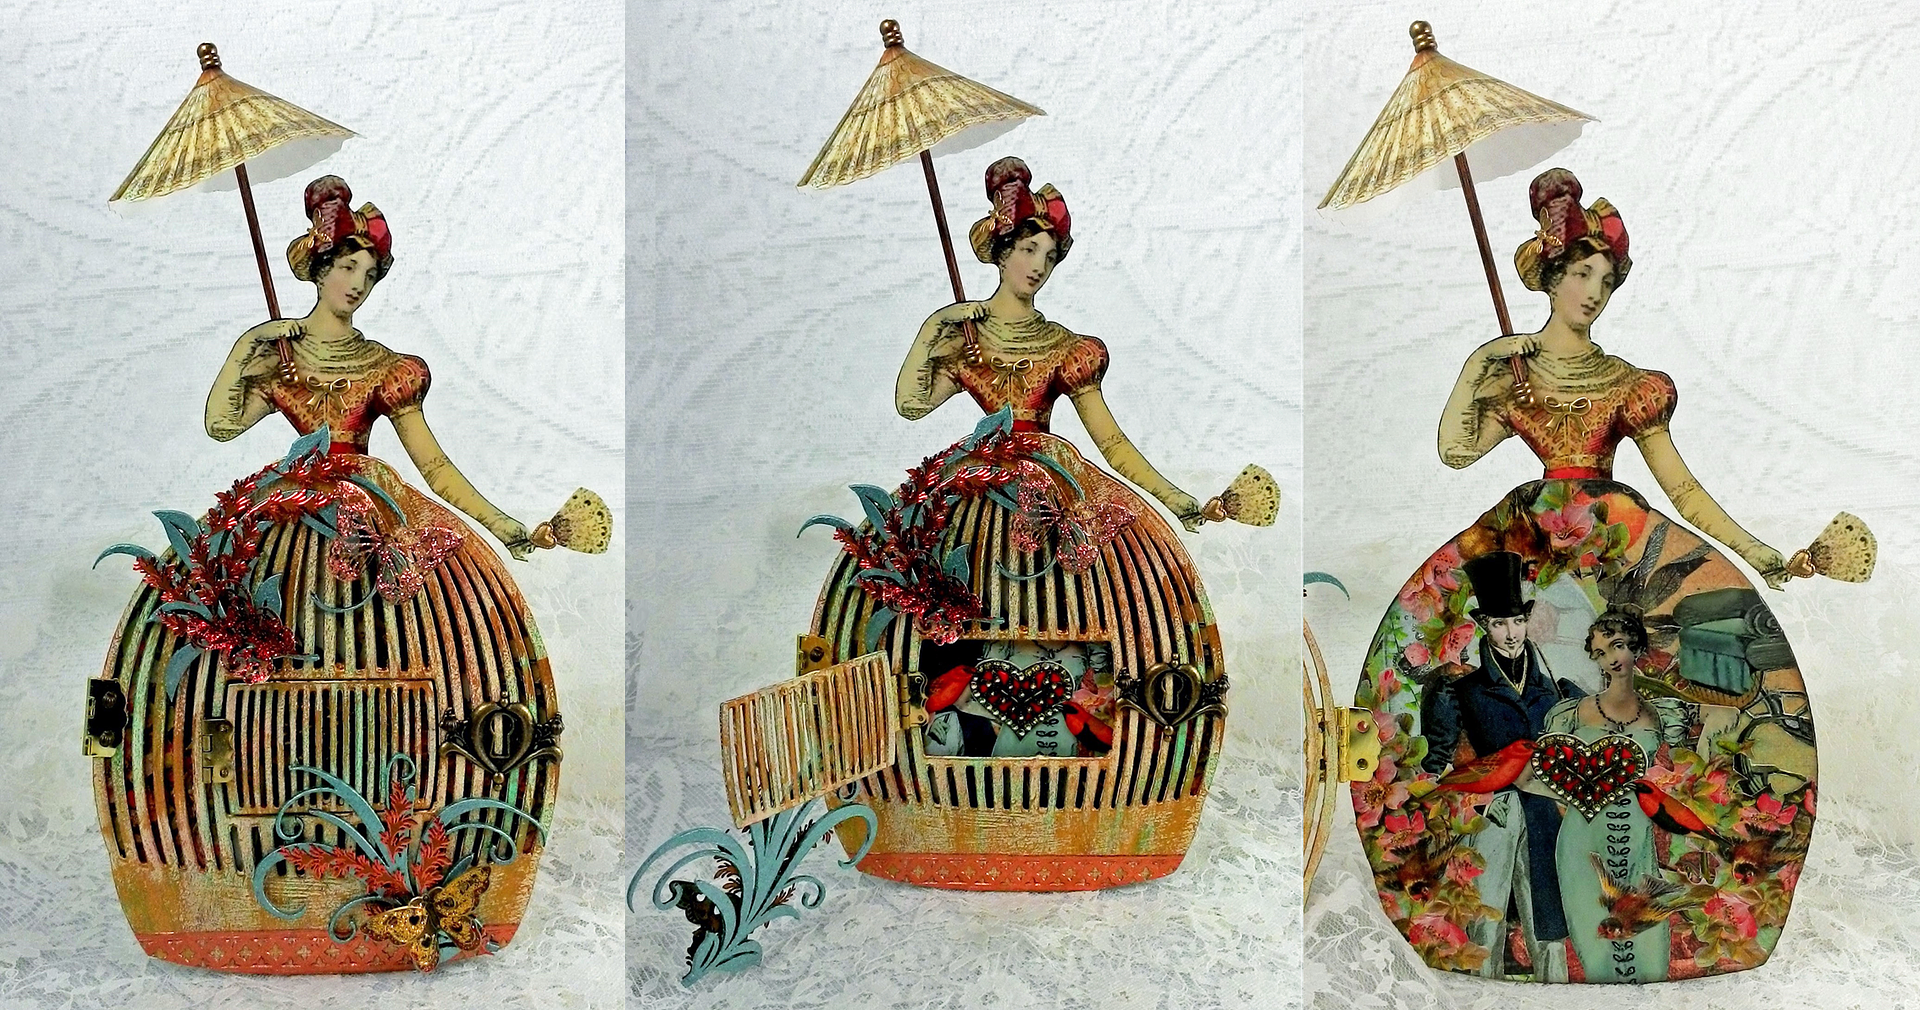
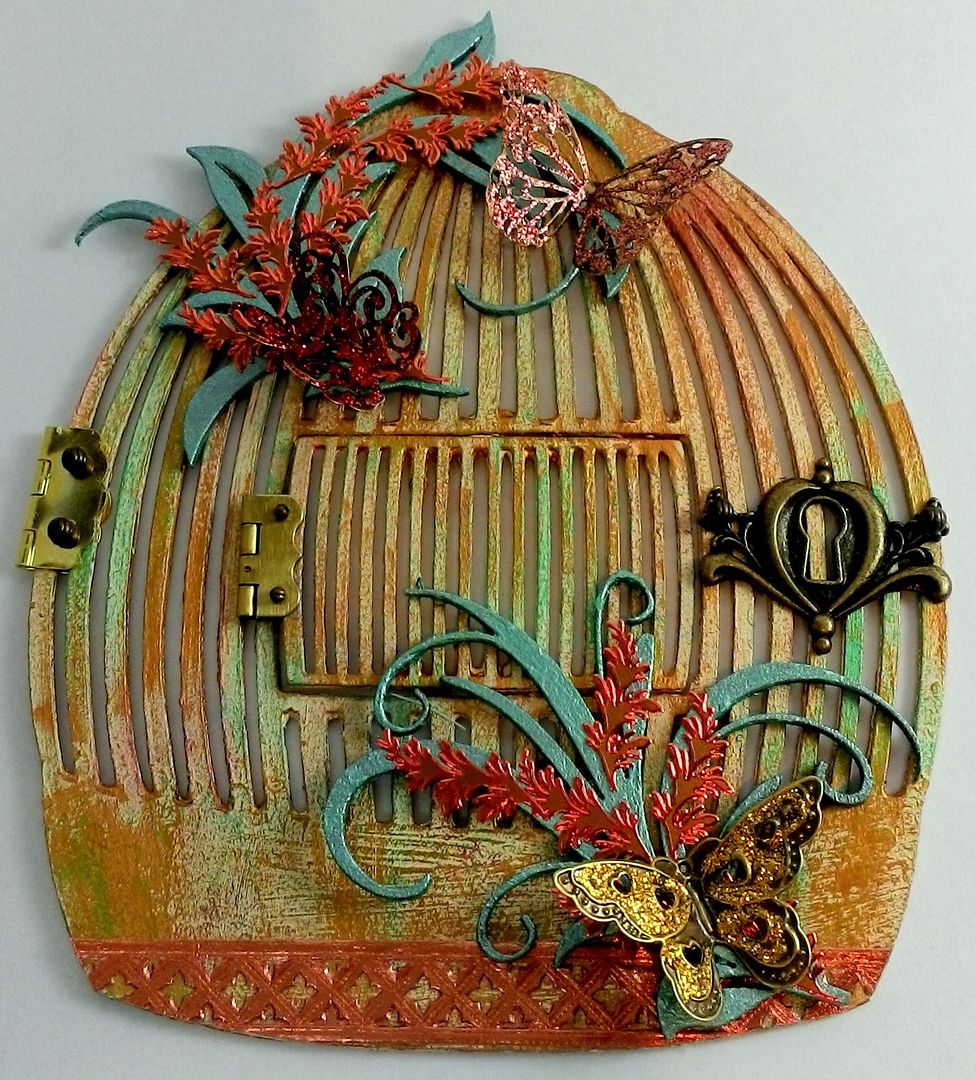
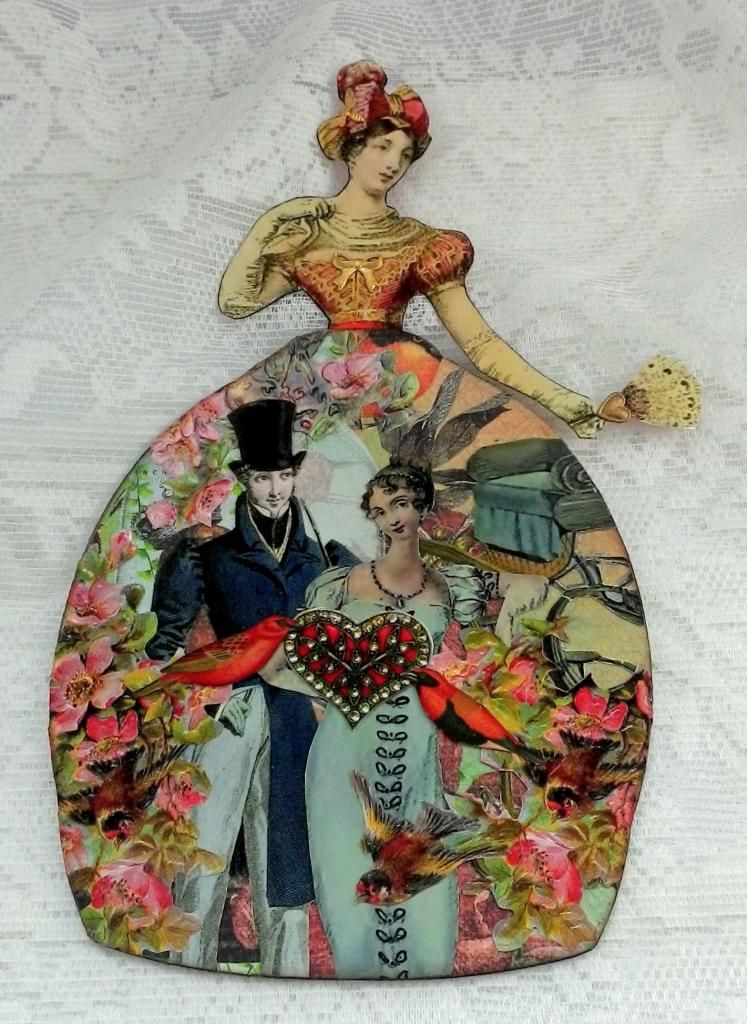
the corner I have been in a romantic mood which is reflected in this birdcage
dress. In this post I’ve included a
tutorial outlining how I assembled and decorated the birdcage dress.
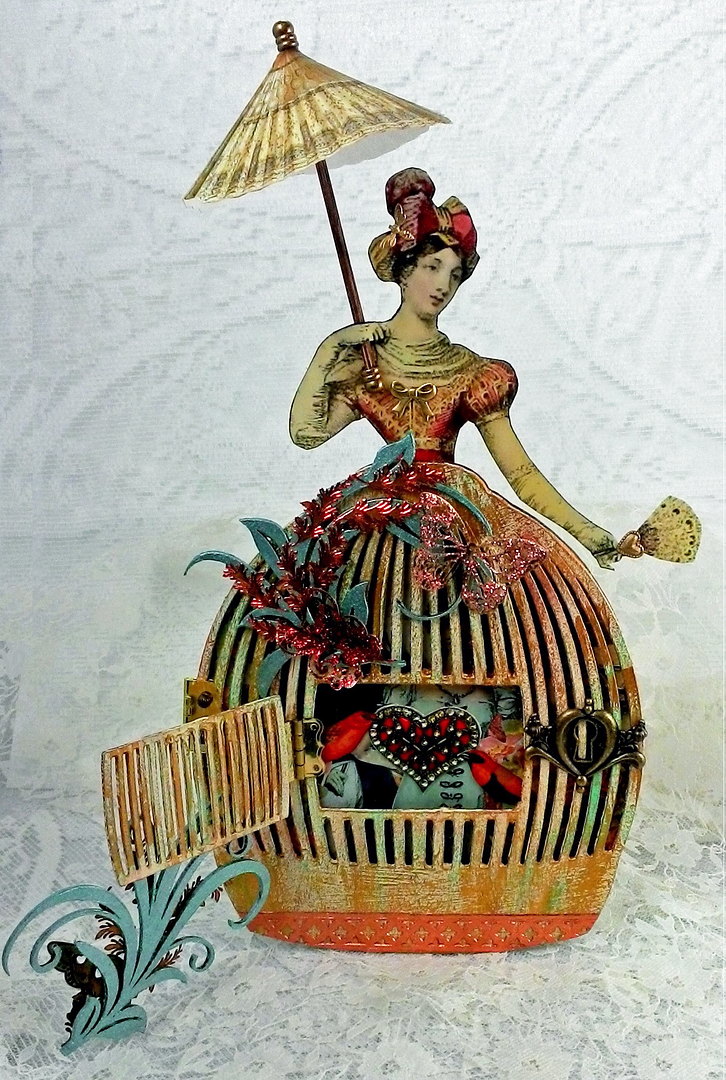
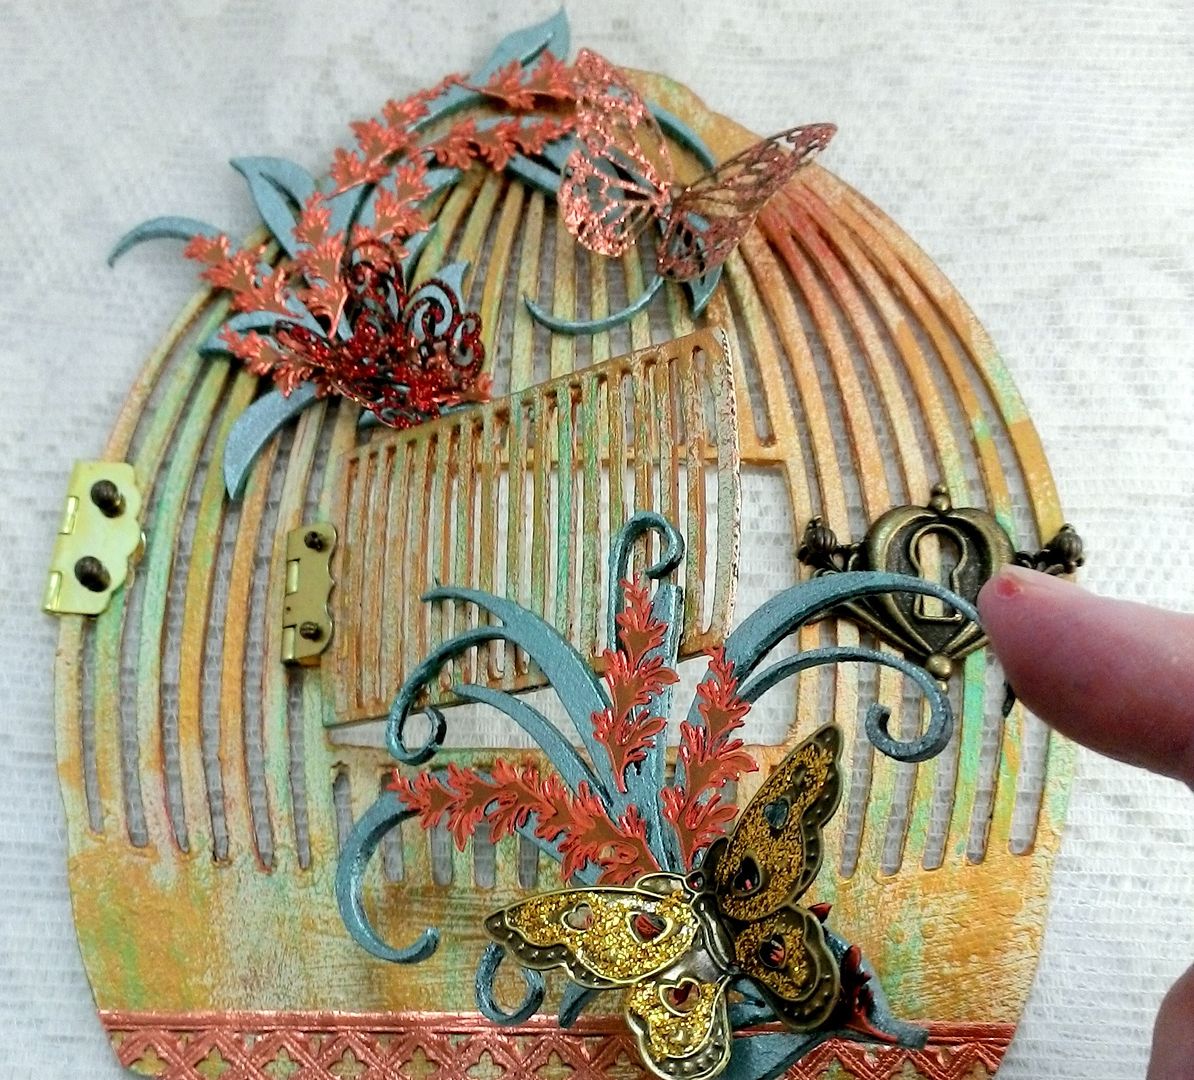
A fun aspect of this piece is
that the middle section opens to reveal birds in love and then the entire
birdcage opens to reveal the romantic couple inside.
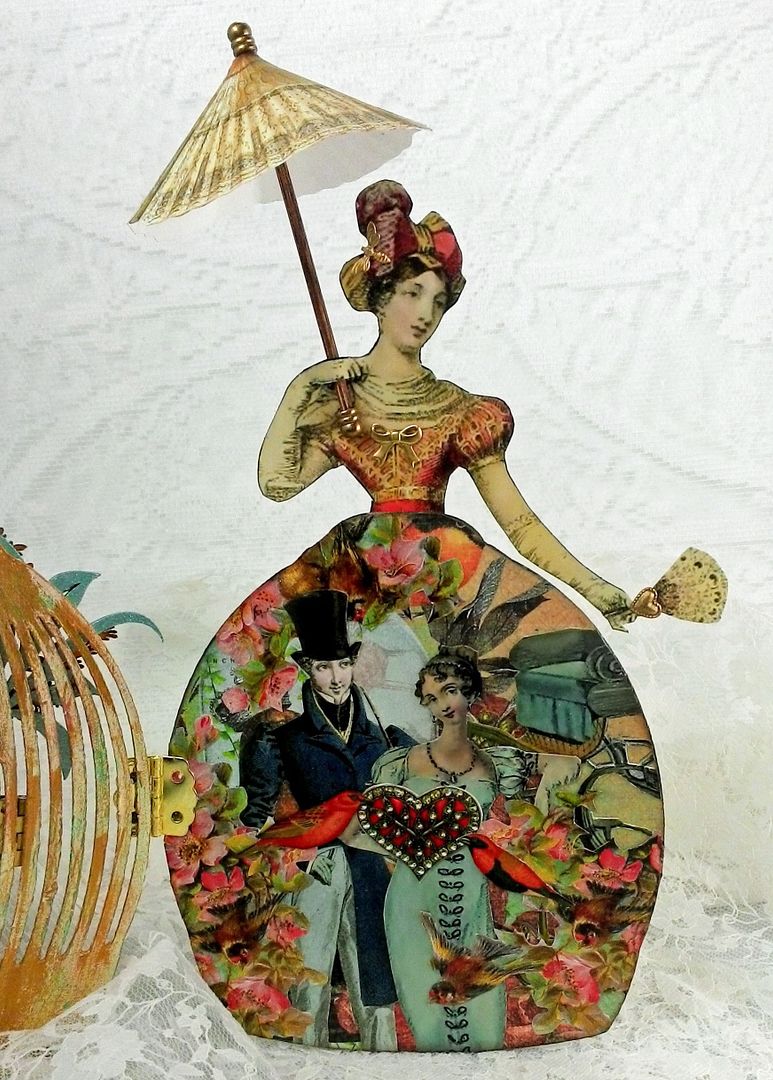
This lovely ladies umbrella
is made from 2 paper fan images. The
piece stands up with the aid of a chipboard stand attached to the back. The images I used are from my new collage sheet and digital image set.
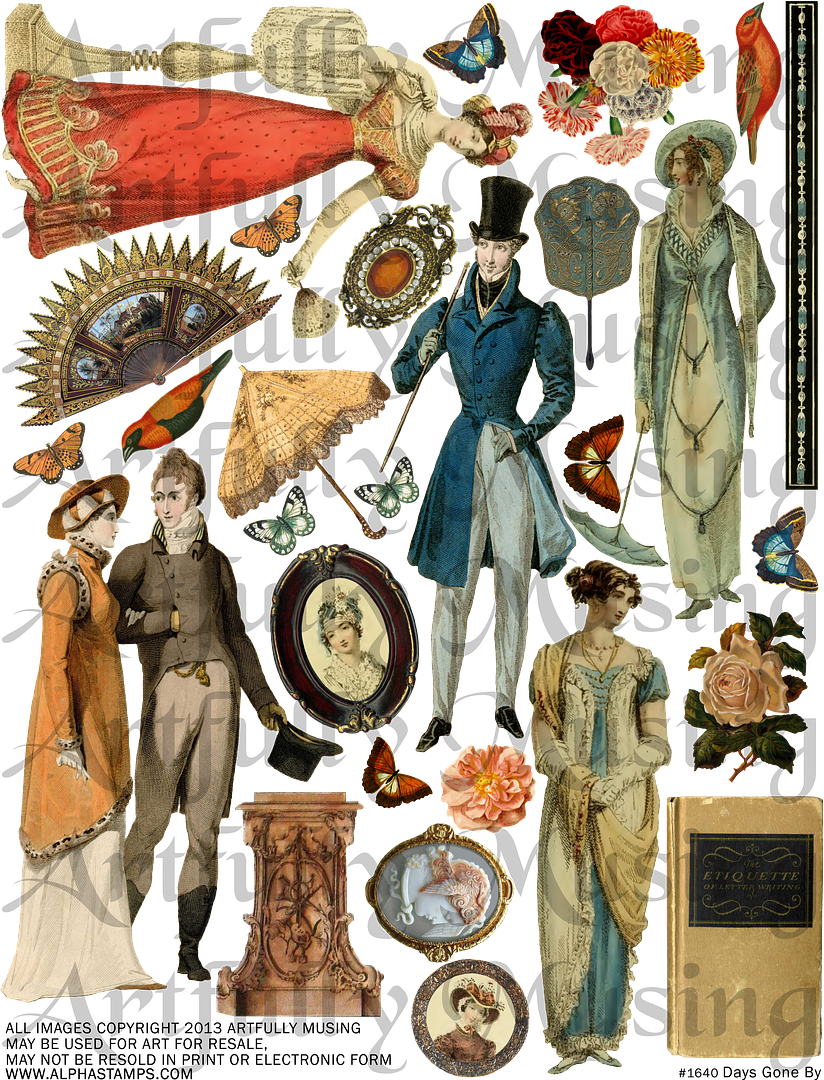
DAYS GONE BY COLLAGE SHEET
I am so excited about my new
collage sheet and digital image set.
The regency period is my favorite and Jane Austen is probably one of my
top 5 favorite authors of all time. I’ve chosen some of my
favorite images for the collage
sheet pictured below.
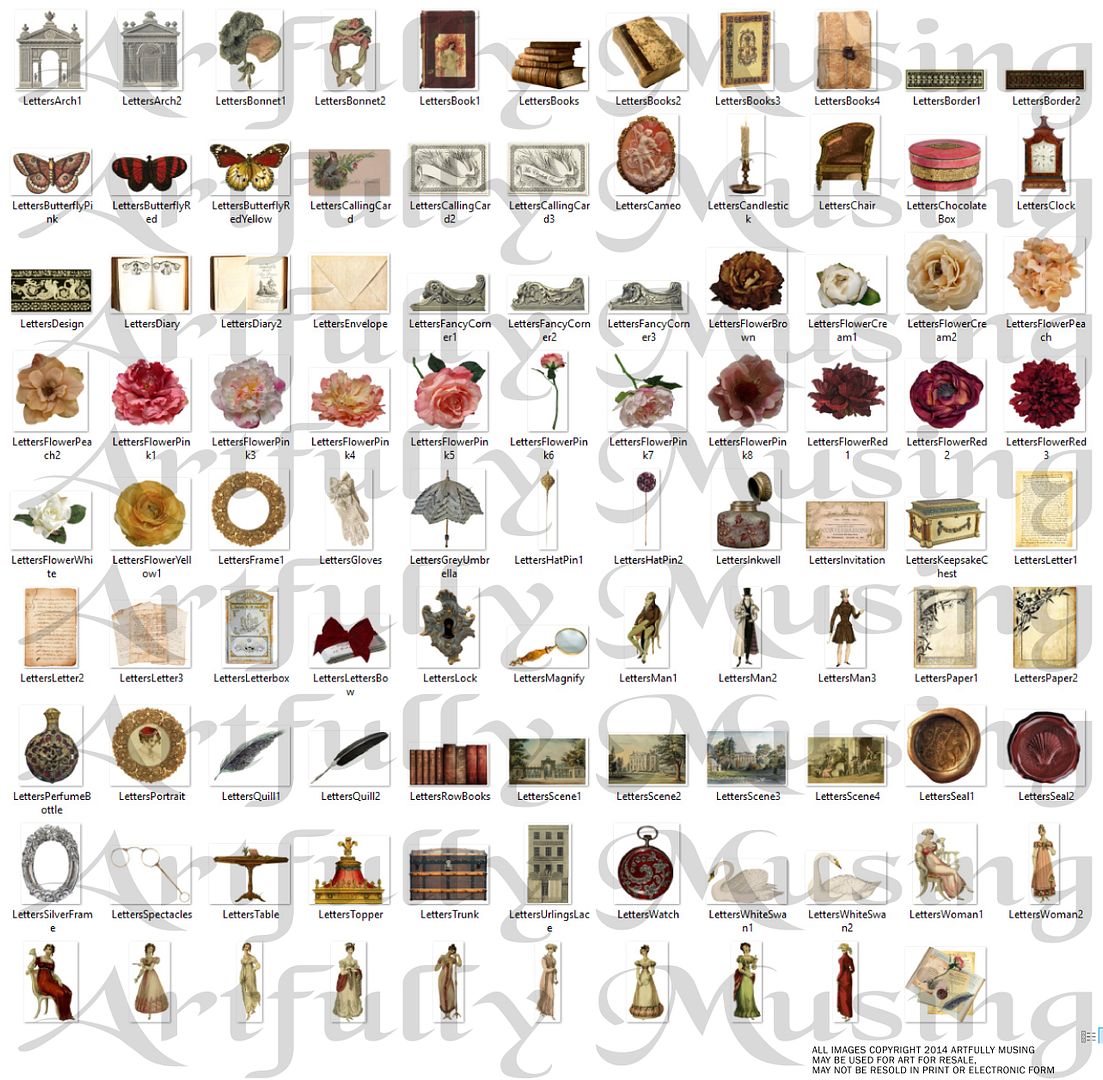
The digital
image set includes all of the images in the collage sheet plus many more
for a total of 80 images (pictured below). Along with
more images, the digital
image set gives you much more flexibility in printing just the images you
want, and in resizing the images to your particular needs. Click on the image below to purchase the image set.
TUTORIAL
The skirt is made from a 2
Part Die-Cut Chipboard Birdcage which measures approximately 5 ½” wide x 6 ½”
tall.
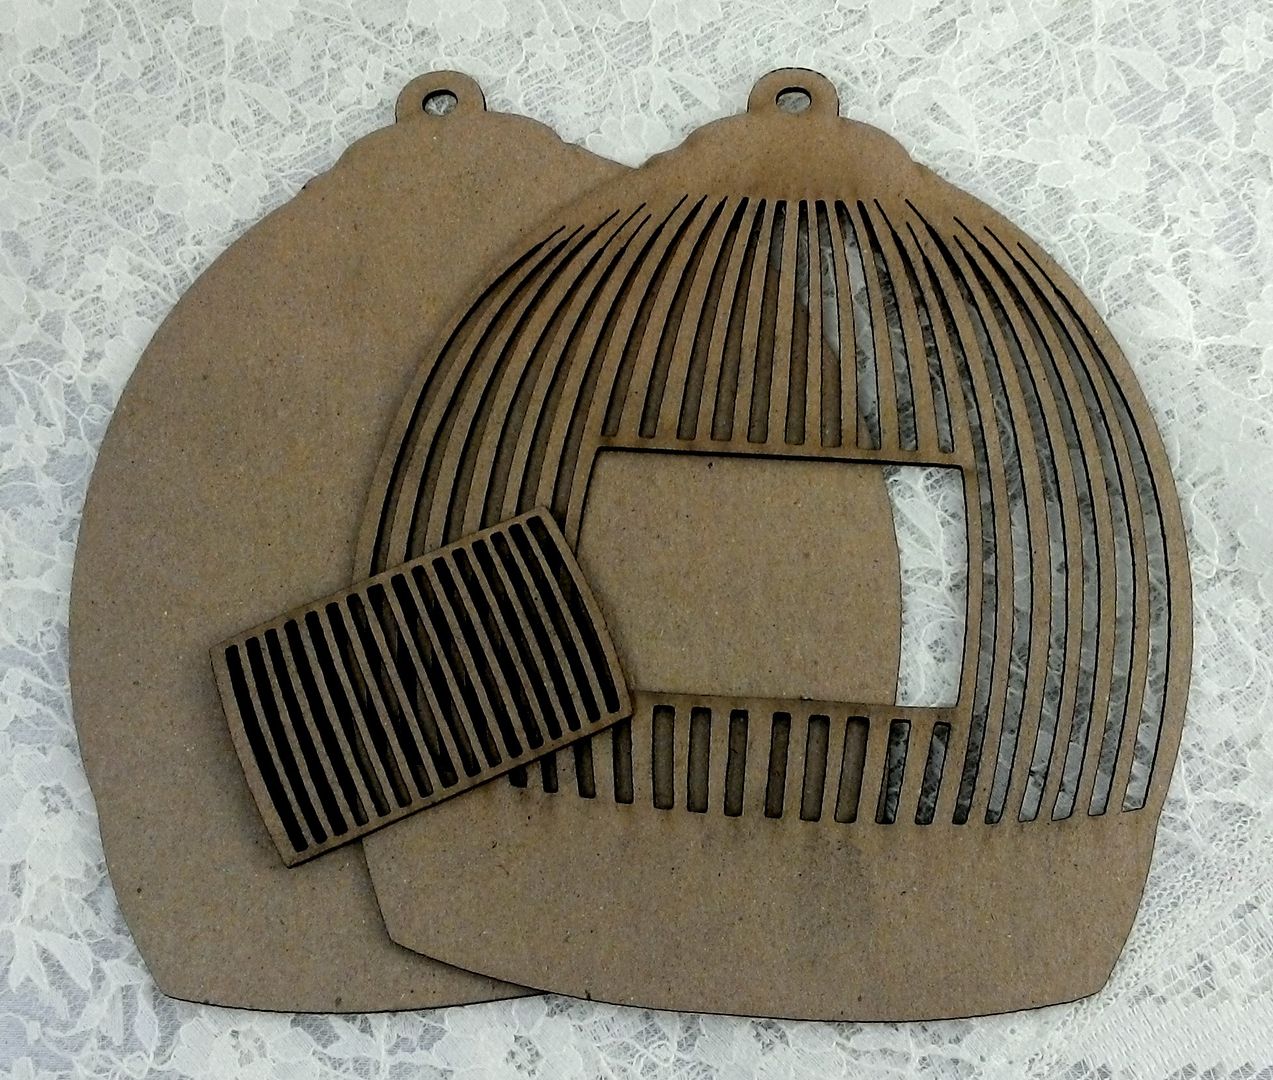
First I painted the front
pieces.
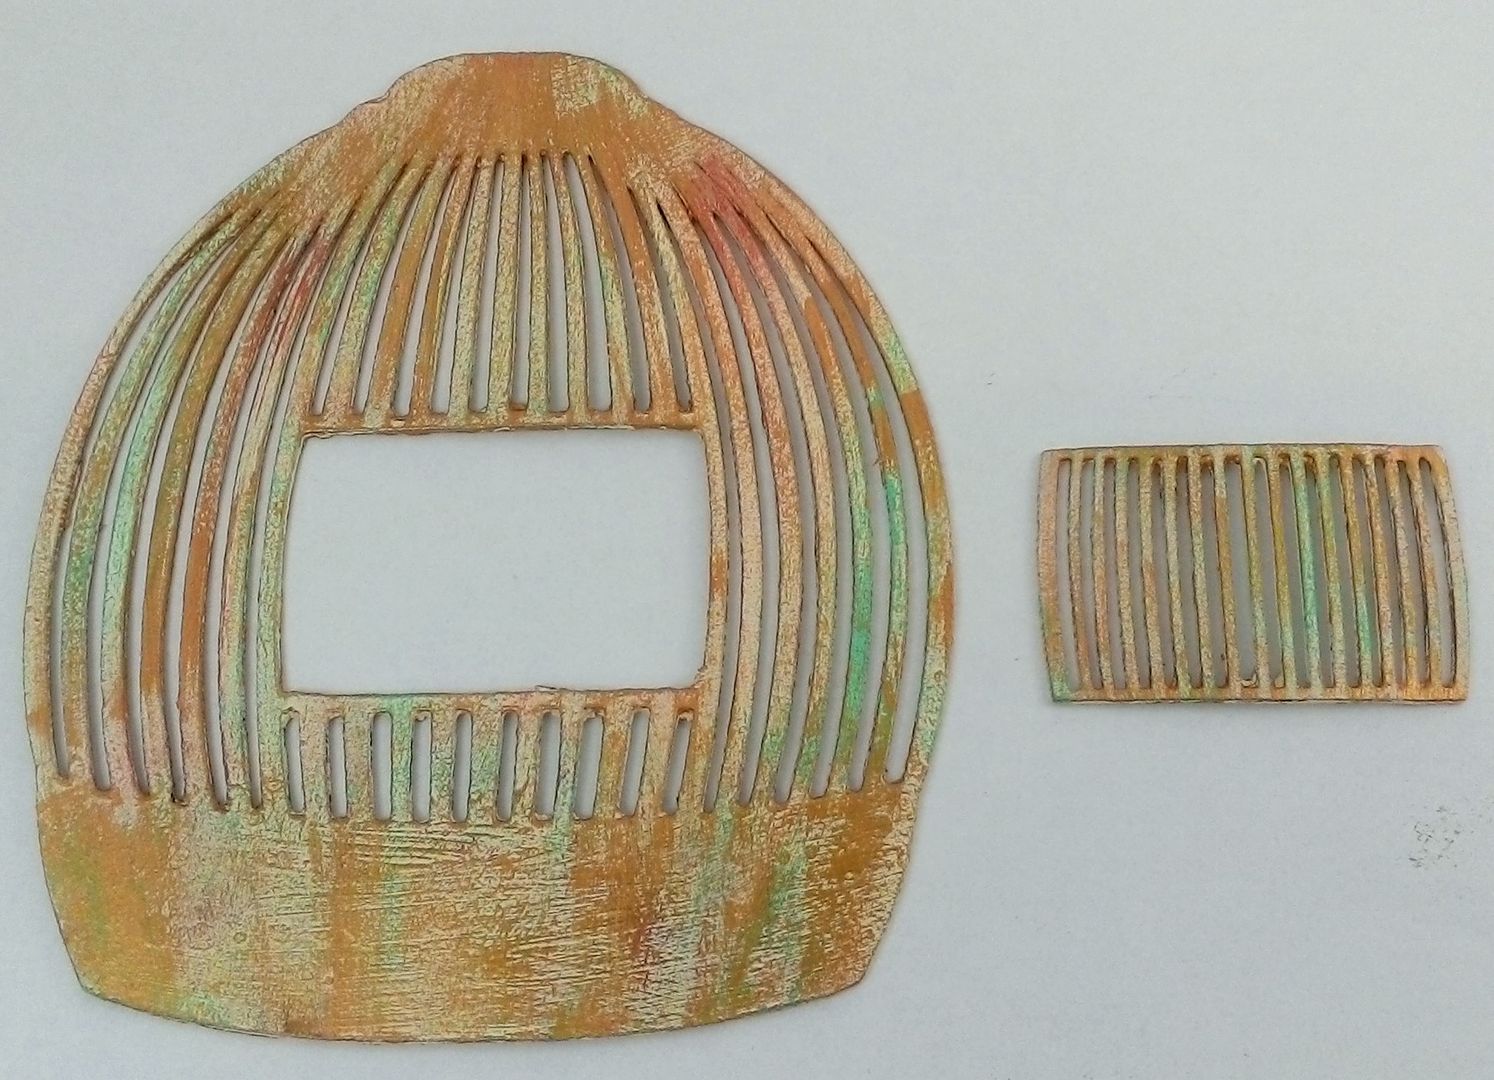
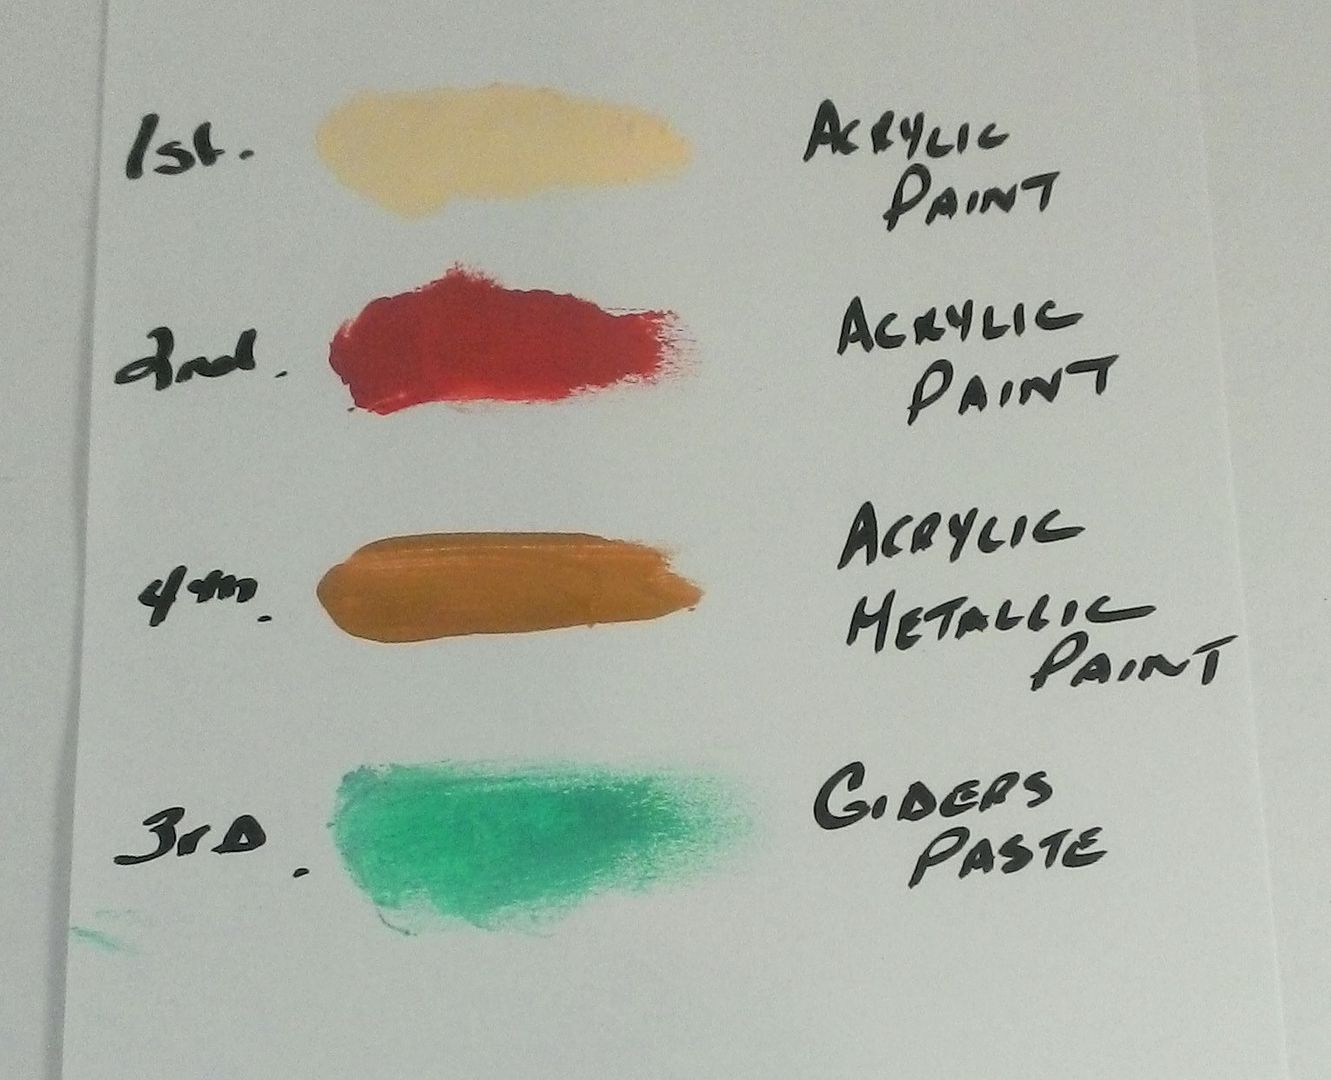
I started by painting the
surface with cream paint. Then I dry
brushed the reddish-orange paint onto the cage.
Next, I added Patina Gilders paste and lastly I dry brushed on gold metallic
paint.
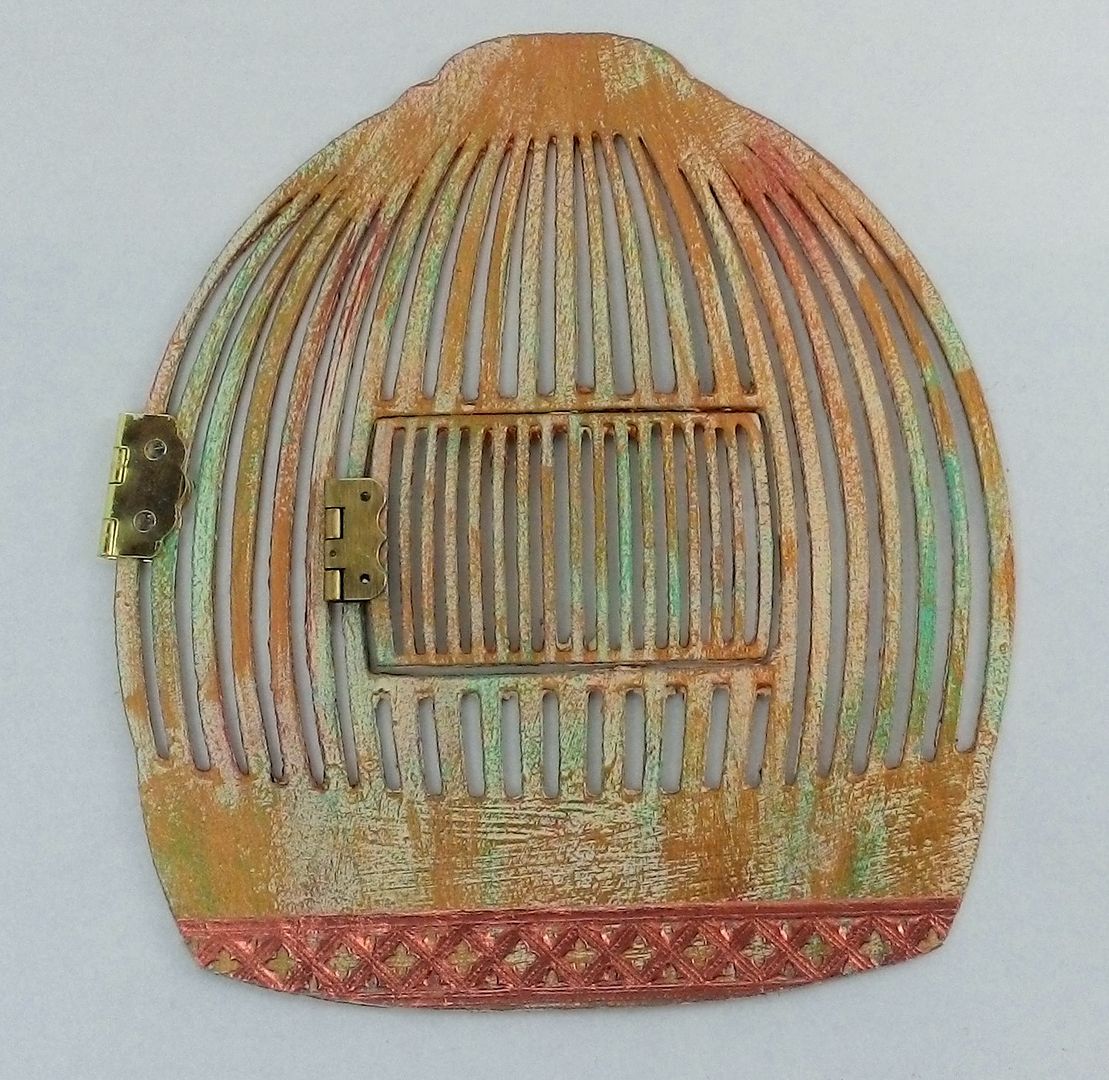
I added copper Dresden to the
bottom. I glued one side of a larger
hinge to the cage and one side of the smaller hinge to the removable door. Lastly, I glued the other side of the small
hinge to the cage. I used E6000 glue.
I used beads to cover the
holes on the hinges. To decorate the
cage I added chipboard
leaf flourishes, metallic stickers (from my stash), a brass keyhole, and brass
butterflies accented with Stickles.
In order for the small door
to open, I attached the leaf flourish to the door rather than to the cage.
I used multiple layers of
paper, Dresden Scraps, paper images from my collage
sheets and digital
image set. I used only paper images to
decorate behind the cage which allowed the cage door to lay flat when closed.
The last step was to glue the
other side of the large hinge to the back piece pictured above.
The Umbrella
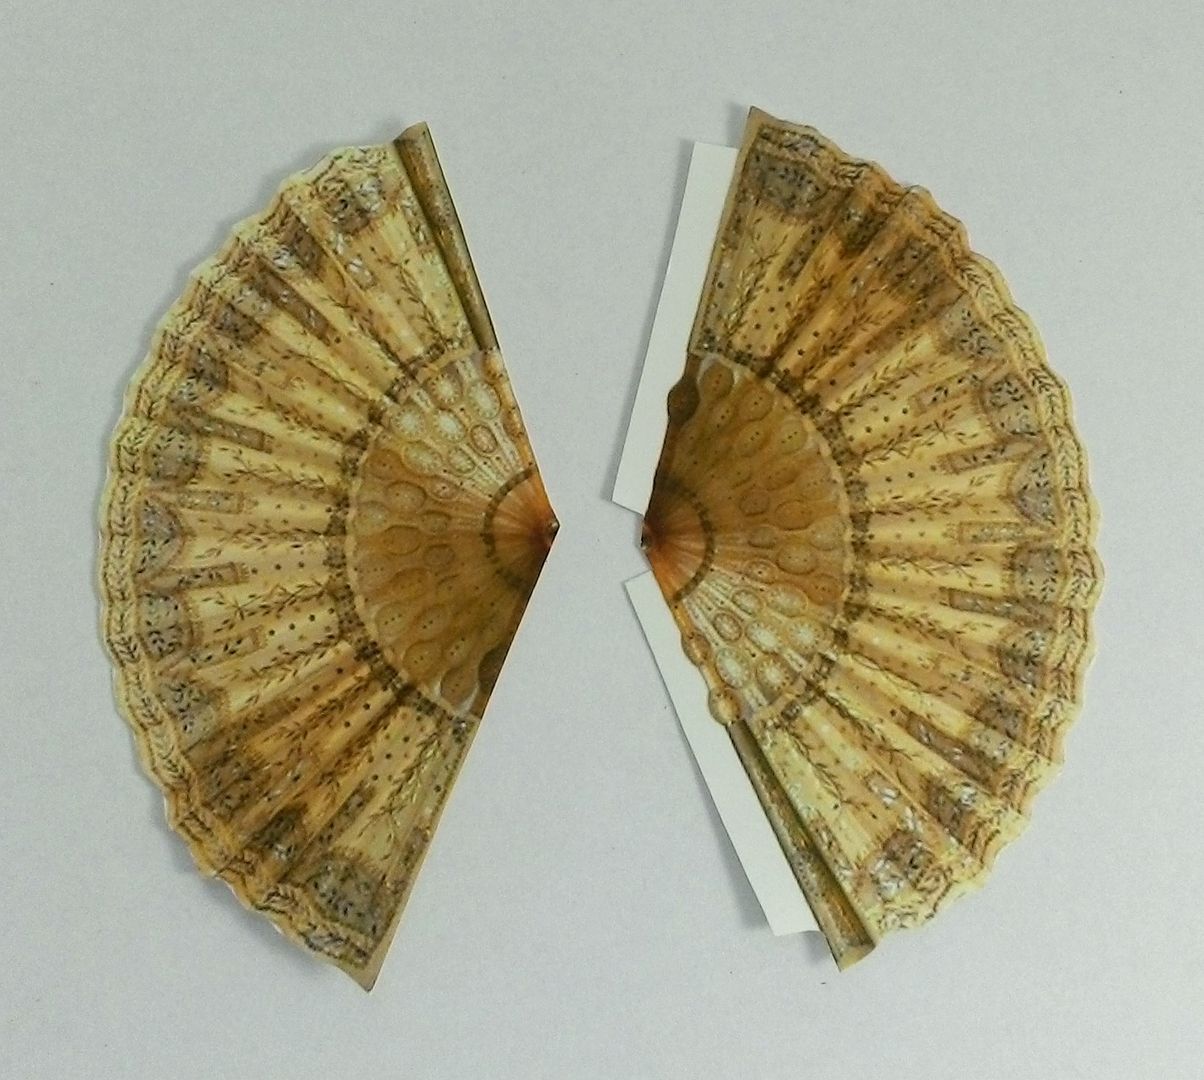
To make the umbrella I used
two images of a fan. When cutting one of
the fan images out, I left tabs on each edge of the image. I used these tabs to glue the one image to
the other. Score and bend the tabs
before gluing.
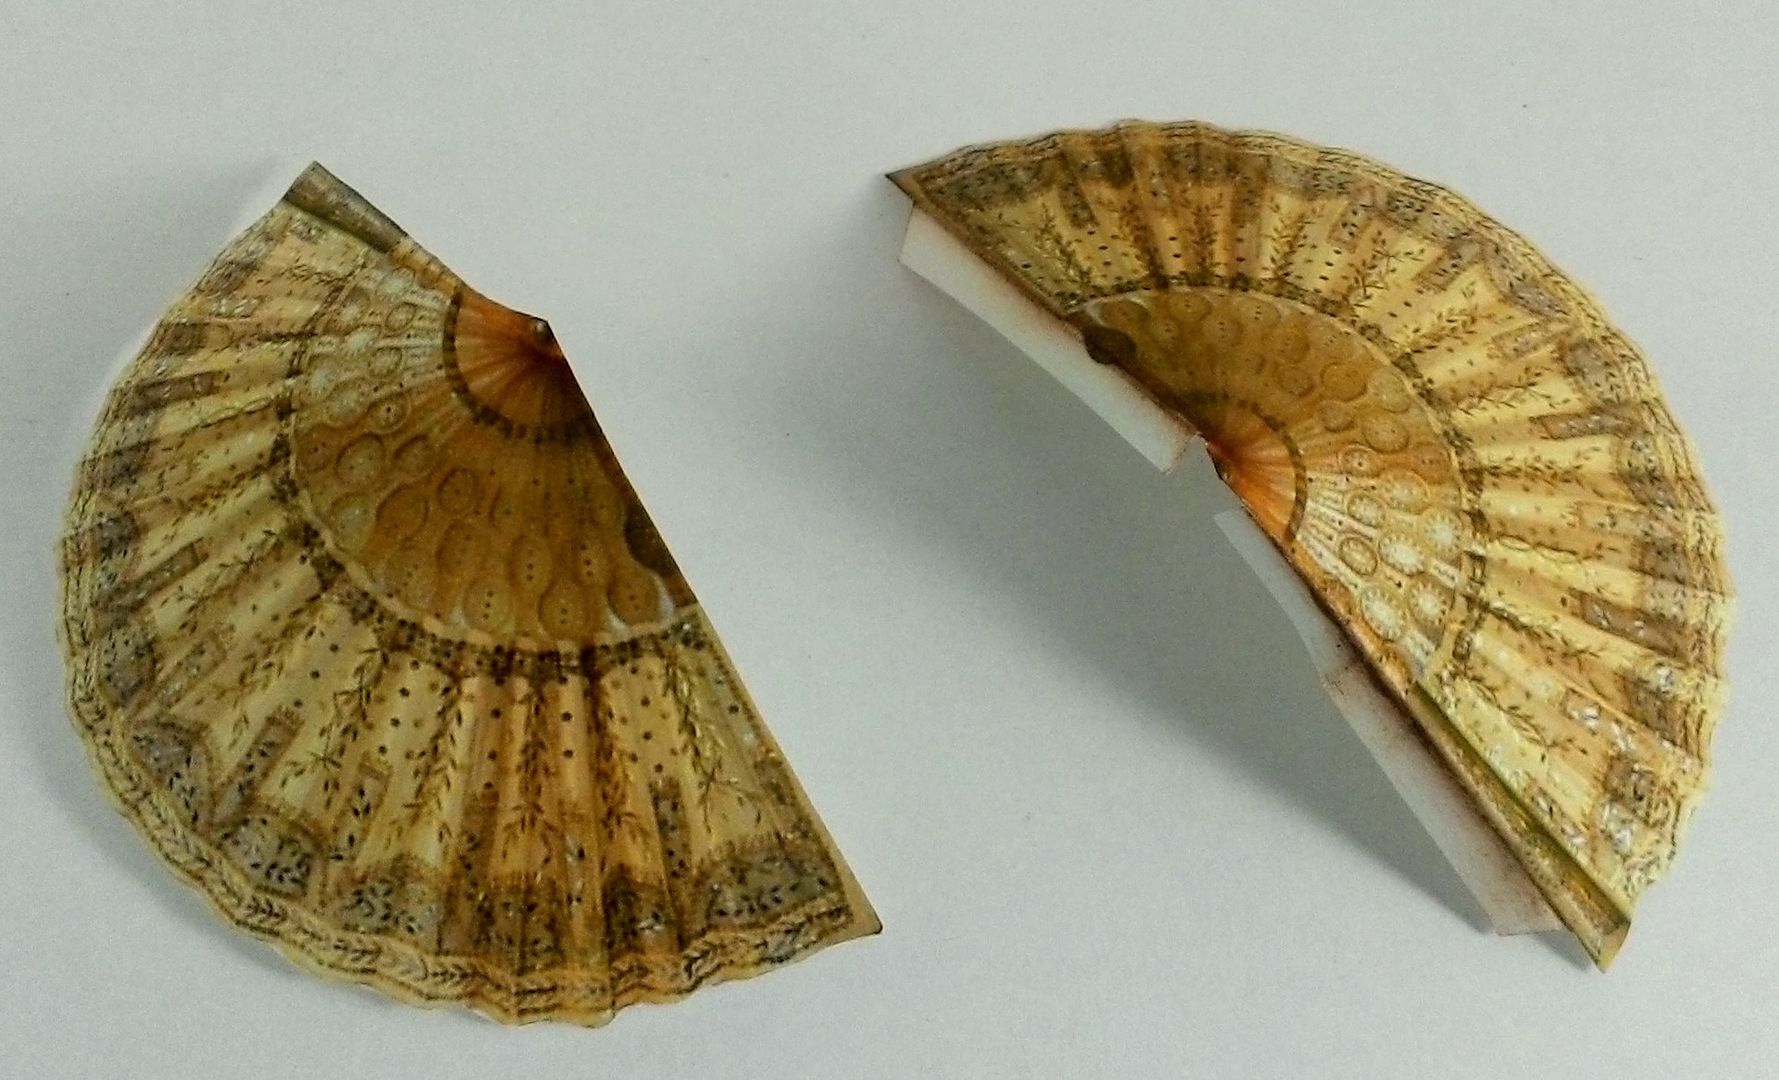
It also helps to pre-bend the
umbrella images before gluing them together.
Inking the edges of the images hides the white of the paper when the
pieces are glued together.
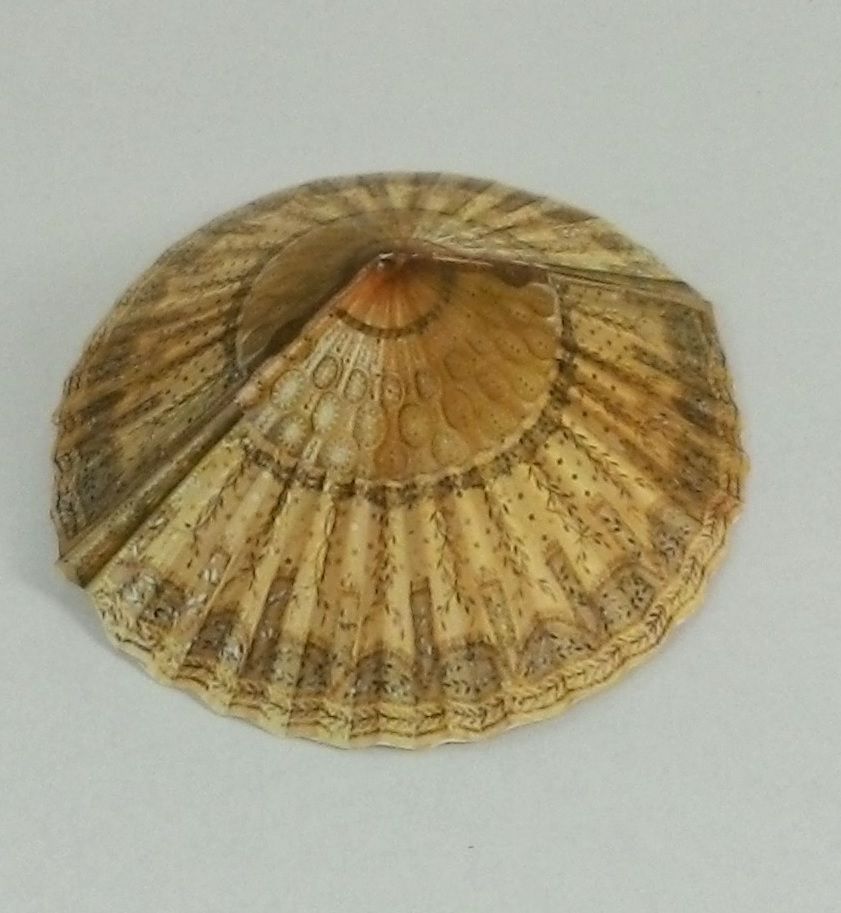
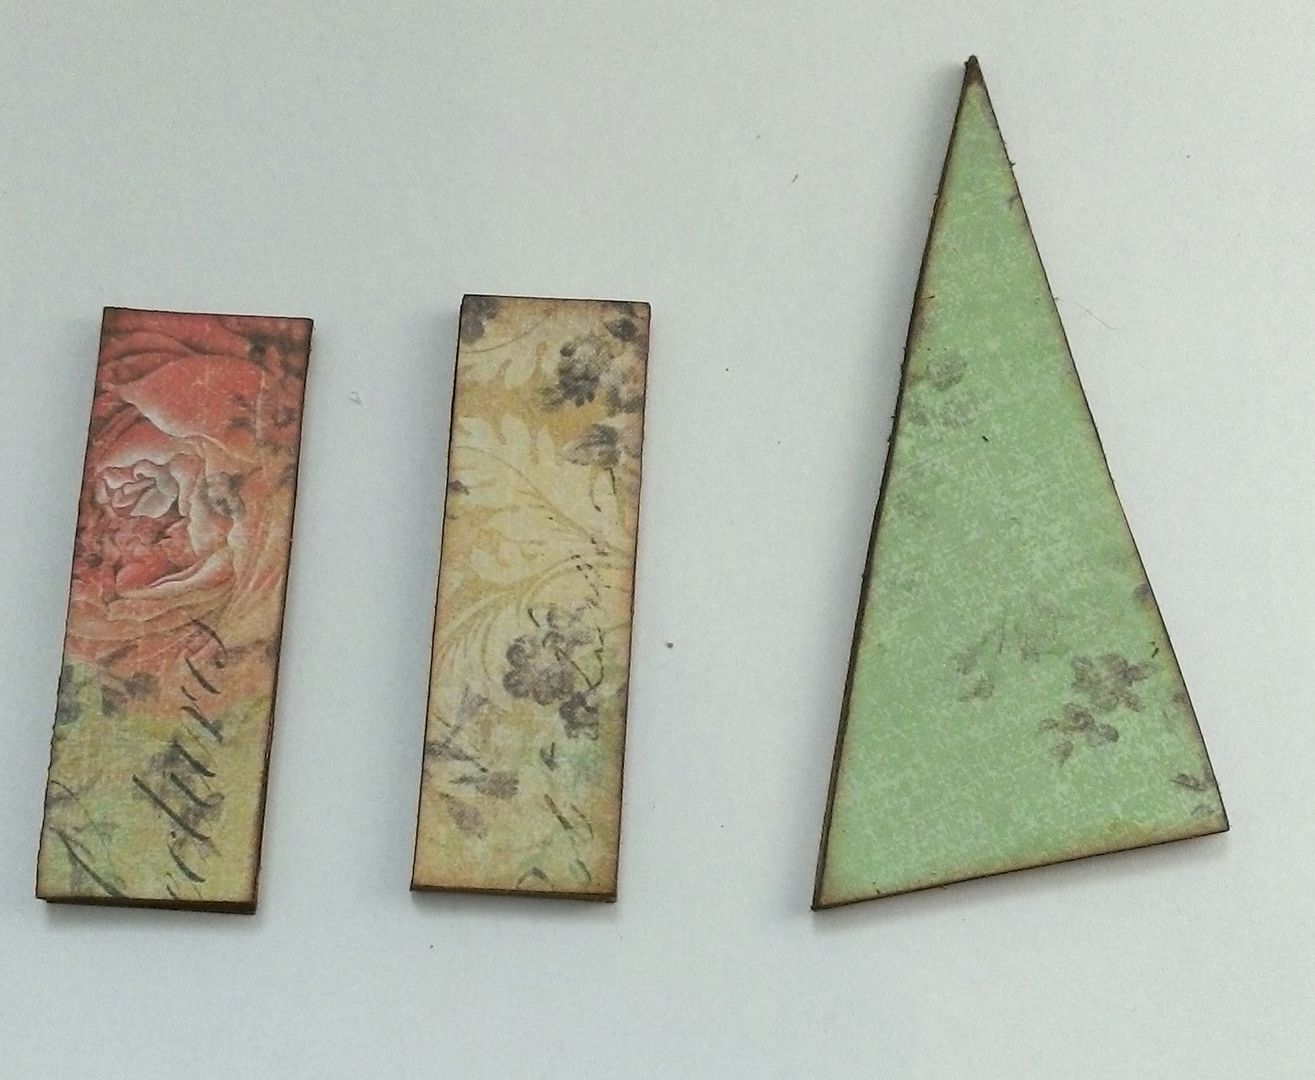
The Stand
To make the stand I used
heavy chipboard.
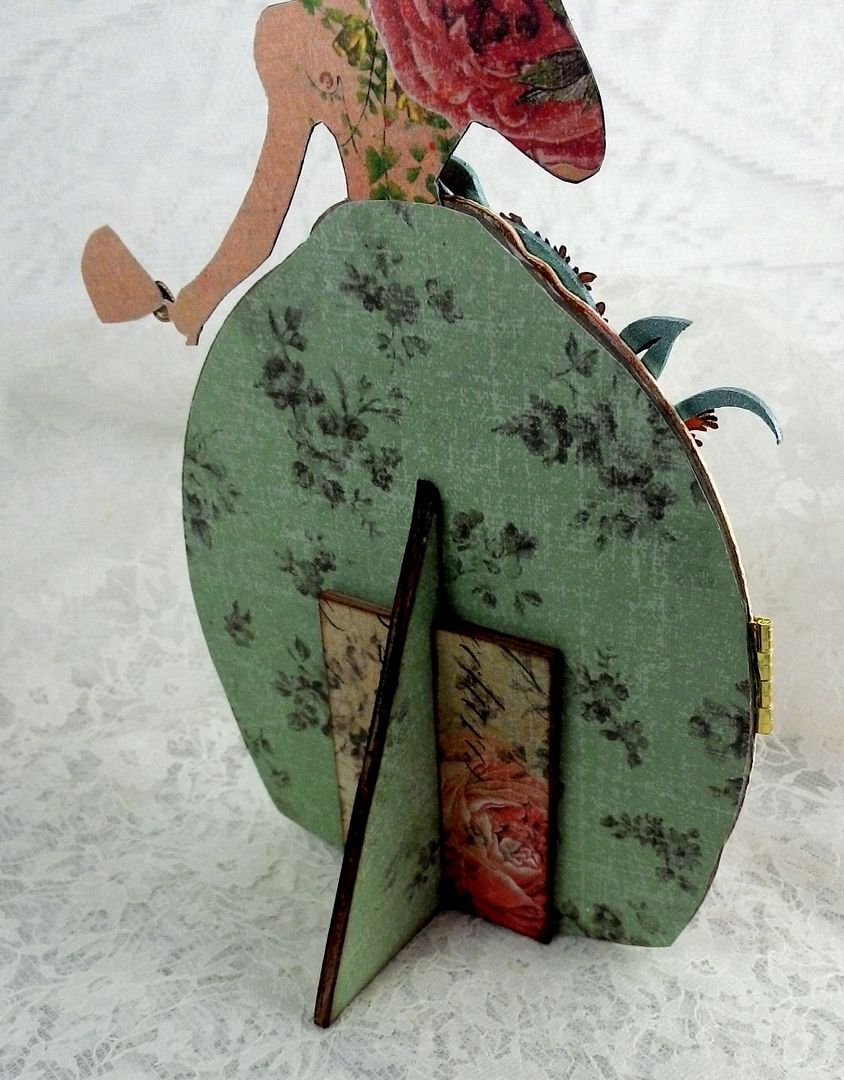
Below you can see the
measurements that I used. The idea is to
create a triangle. Next, cut away part
of one edge to create a slant, that when glued to the back of the piece, causes
the piece to tilt slightly backward. I
cut two pieces of heavy chipboard and glued them together to give the stand
more strength. If you want the piece to
tilt more, cut away a larger piece of the triangle.

I cut two pieces of heavy
chipboard to glue on each side of the triangle giving it more support. All of the pieces are covered with decorative
paper and the edges inked. I glued the
pieces in place using E6000. Be careful
to keep track of the side where you made the cutaway so that you glue that edge
to the piece.