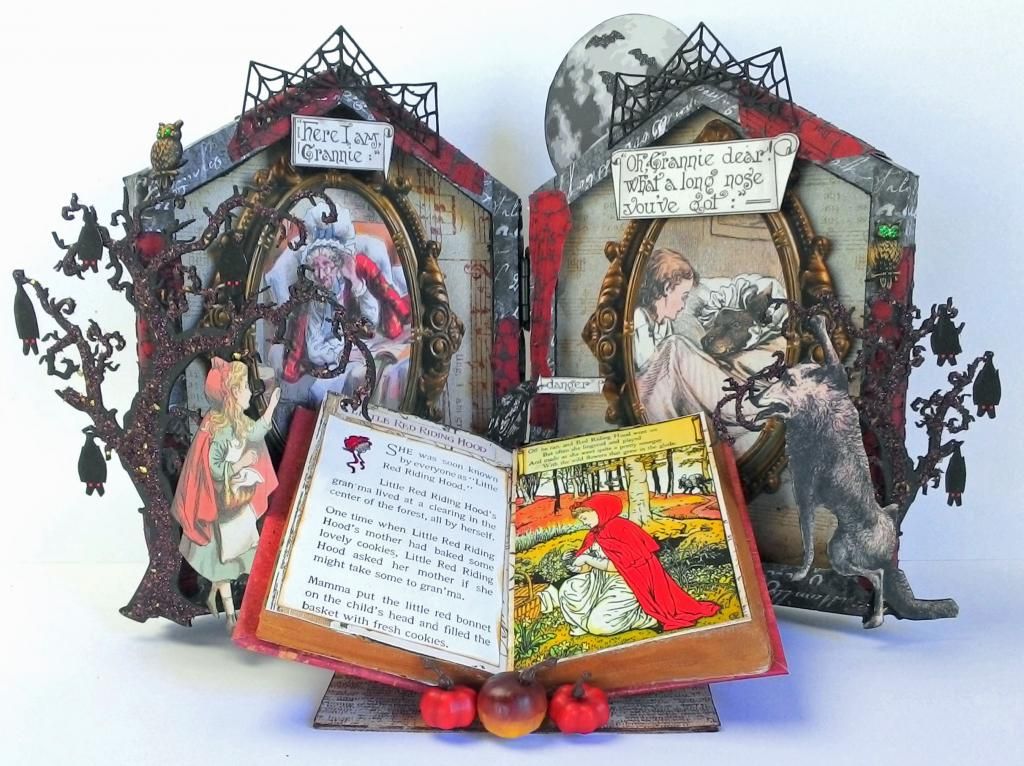
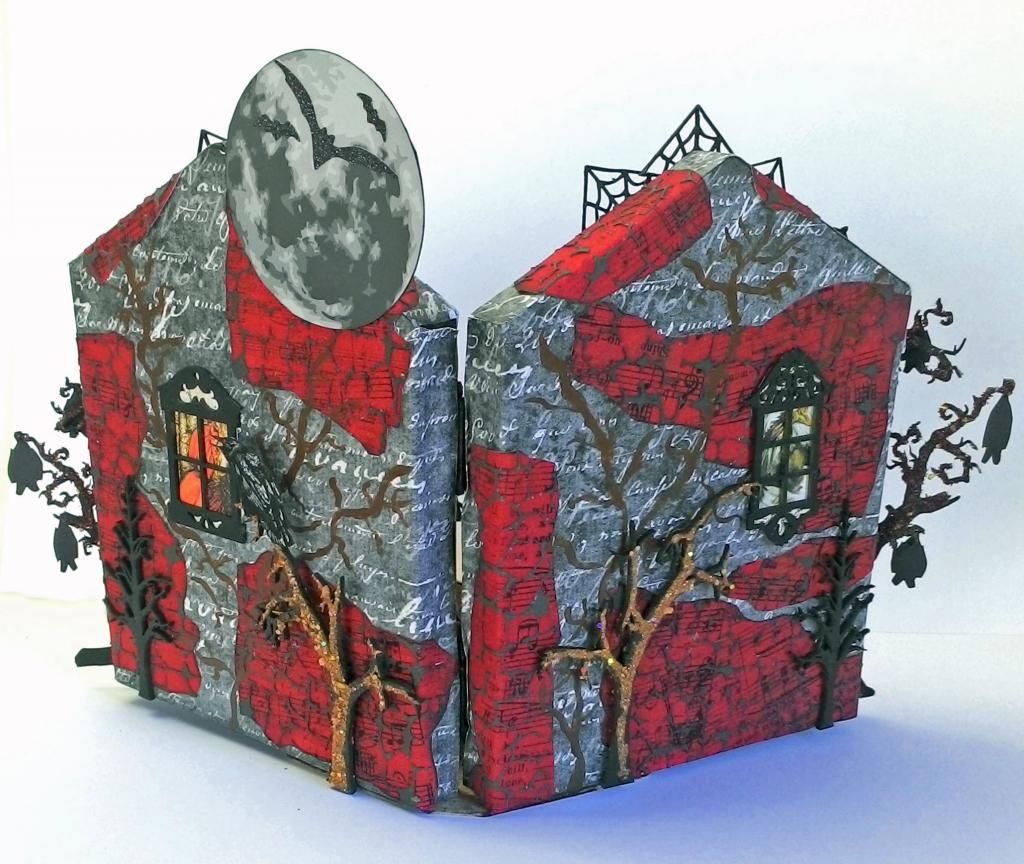
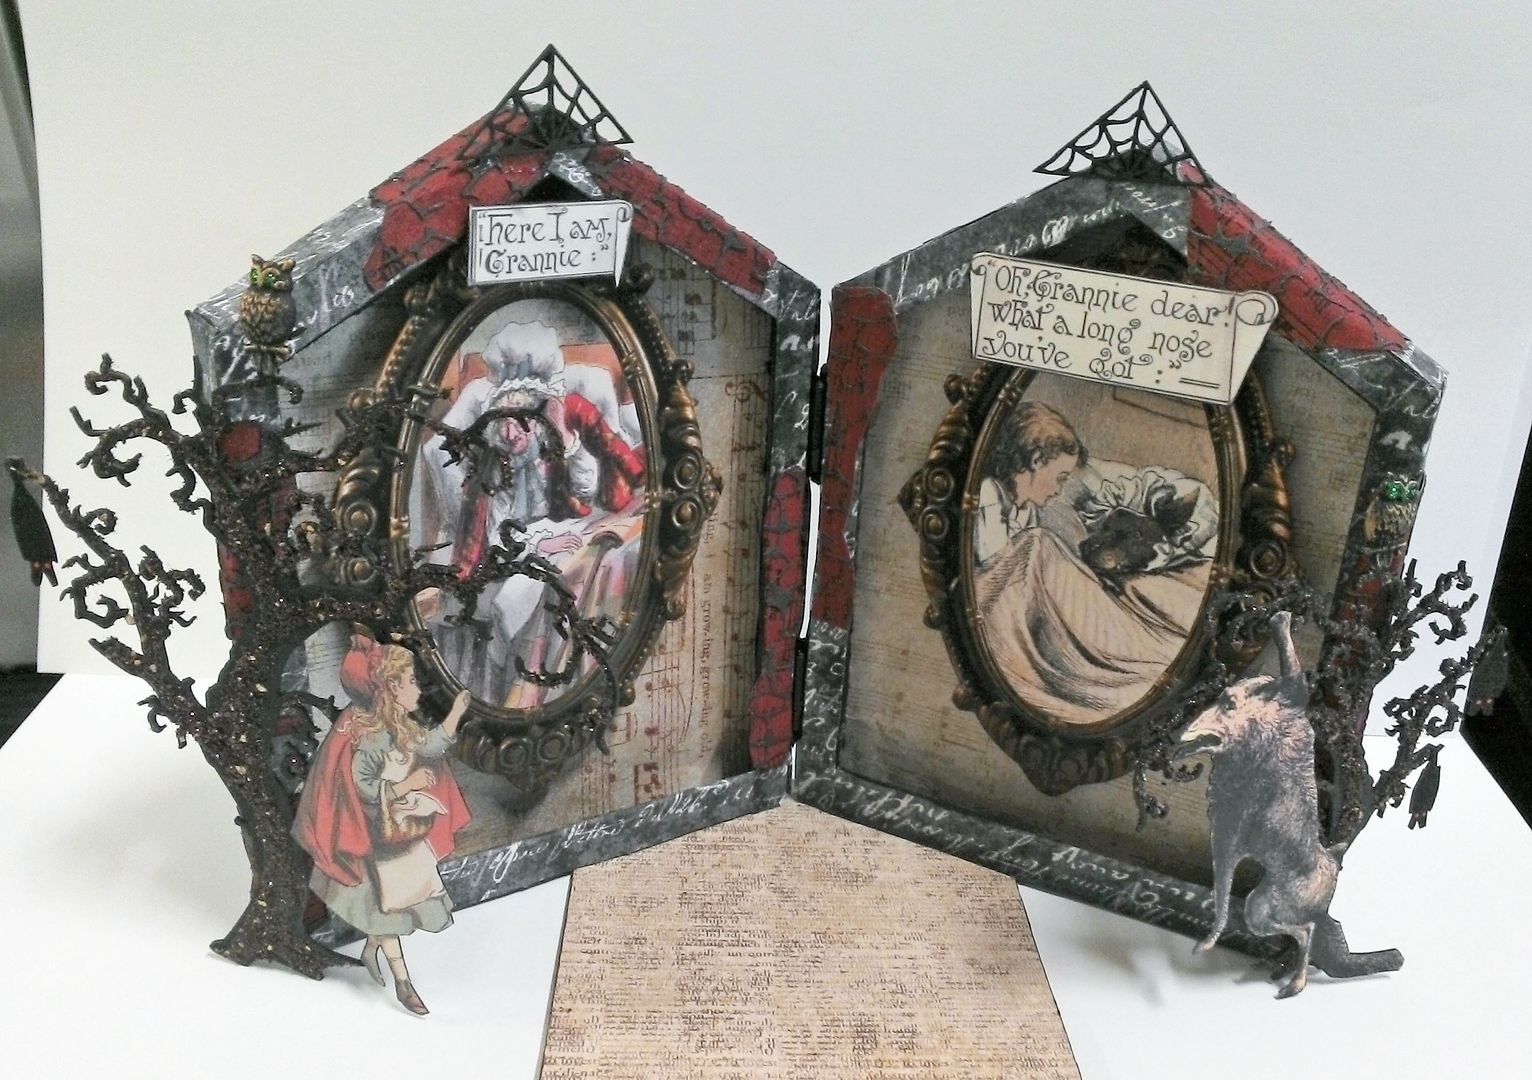
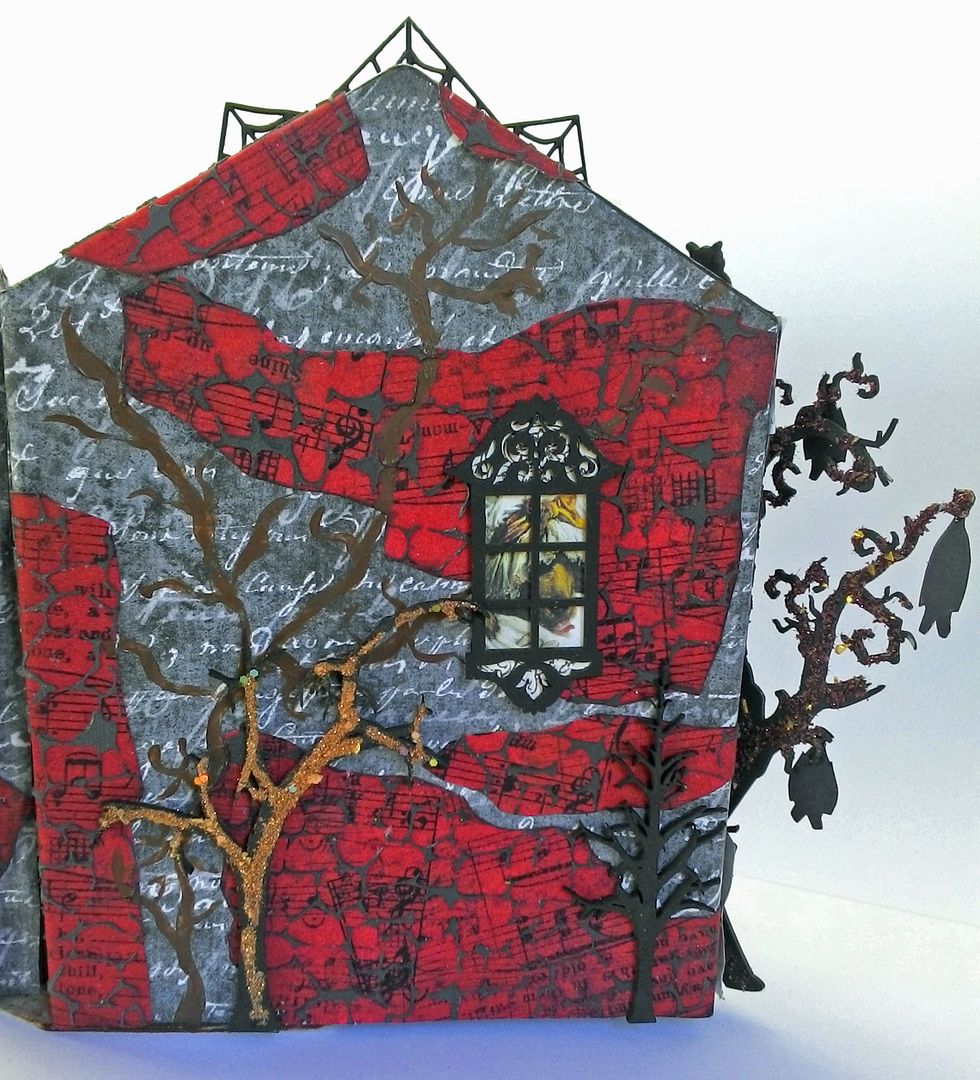
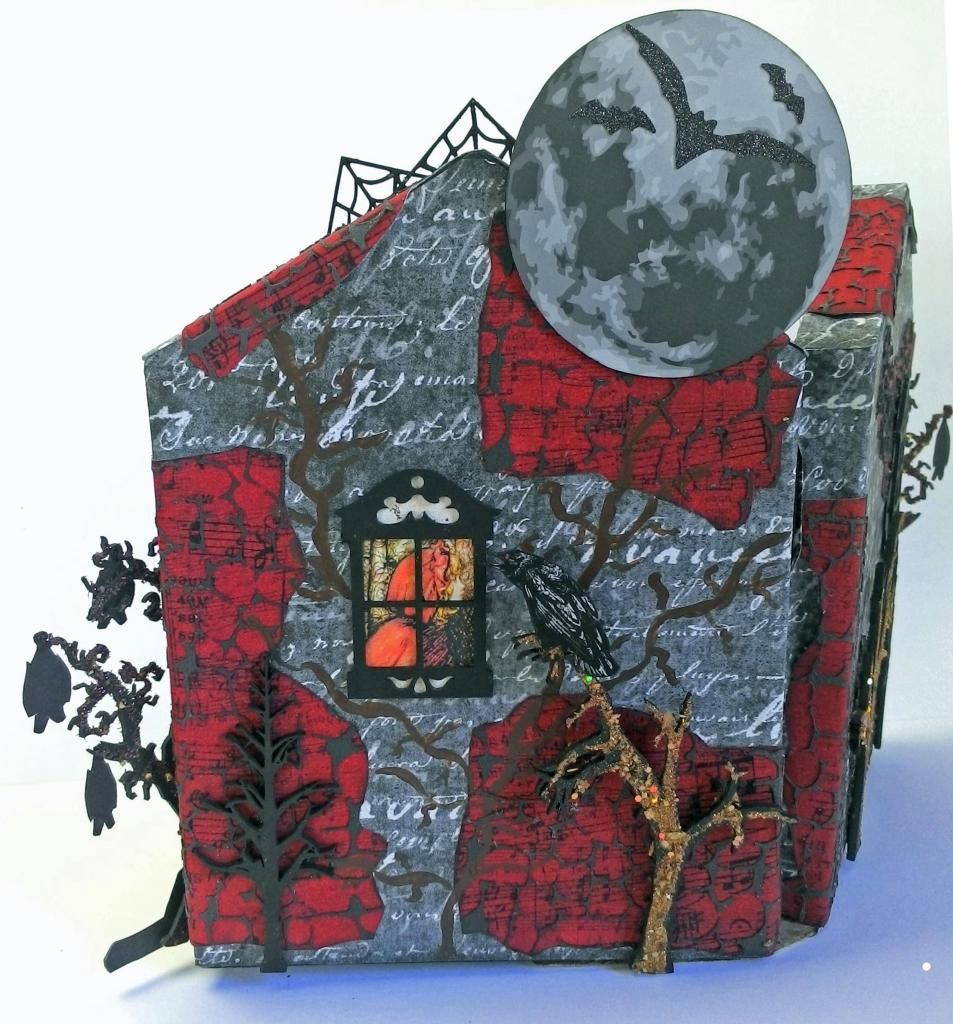
Since Little Red Riding Hood is such a dark story, I thought why not push it a little further with a touch of Halloween. The poor much-aligned wolf in this story gets the short end of the stick.
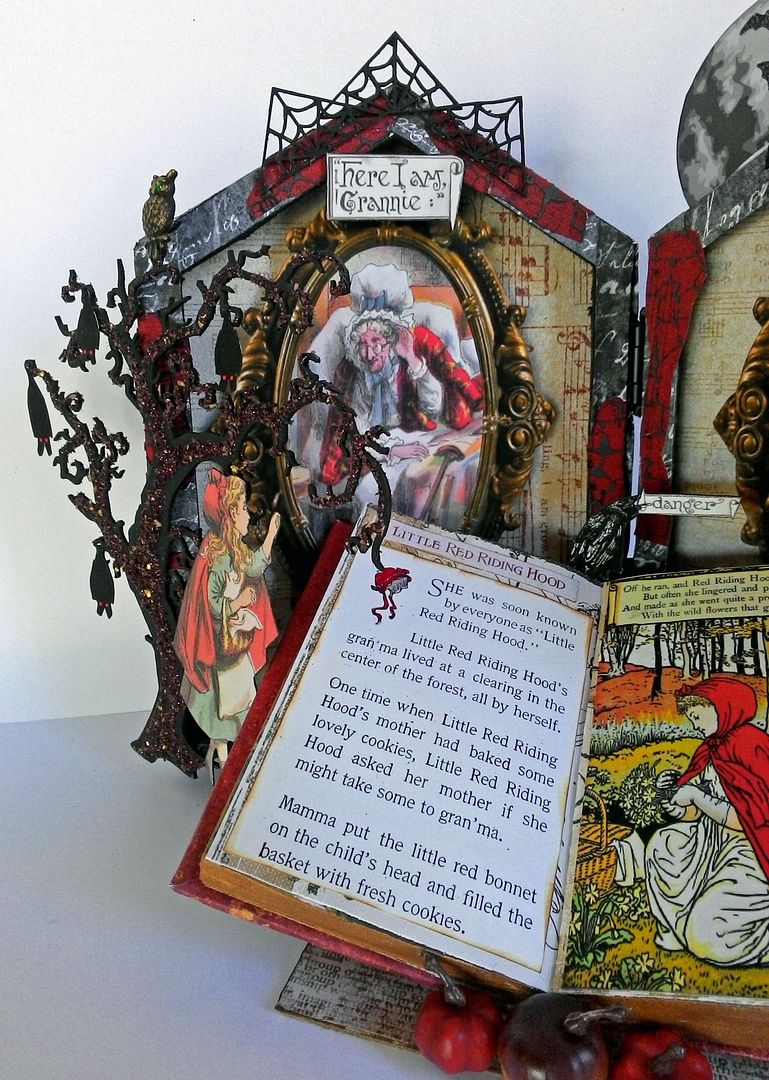
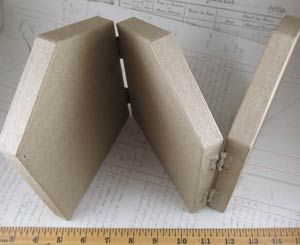
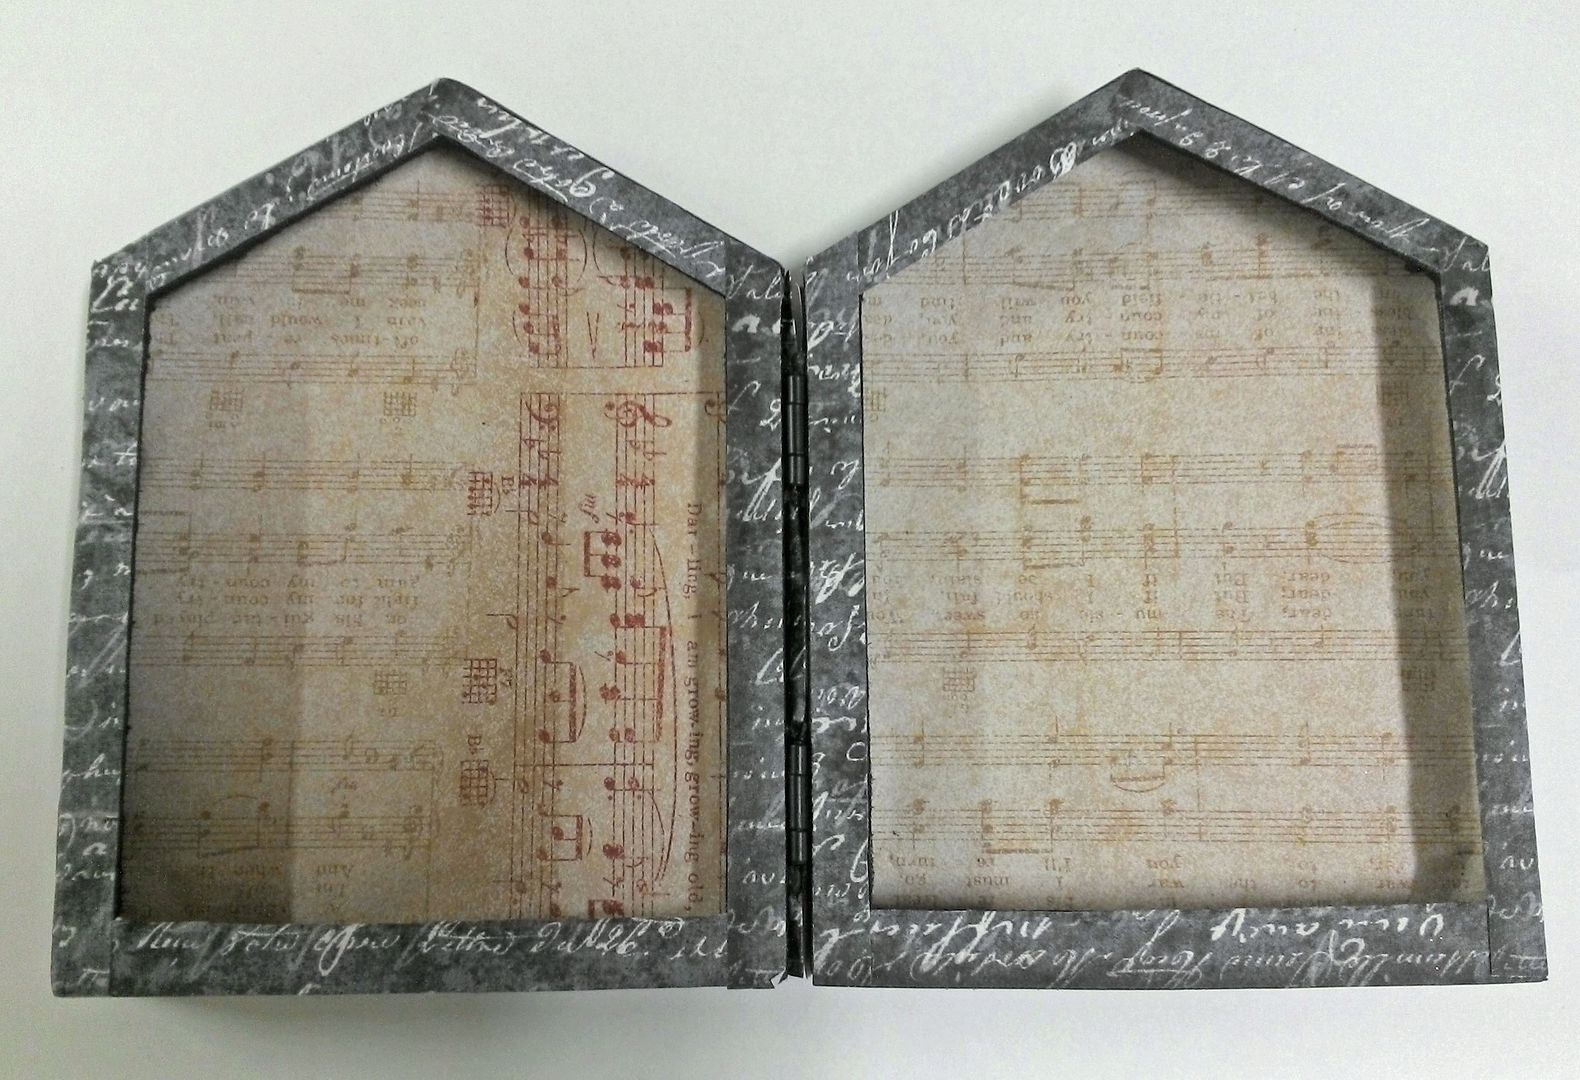
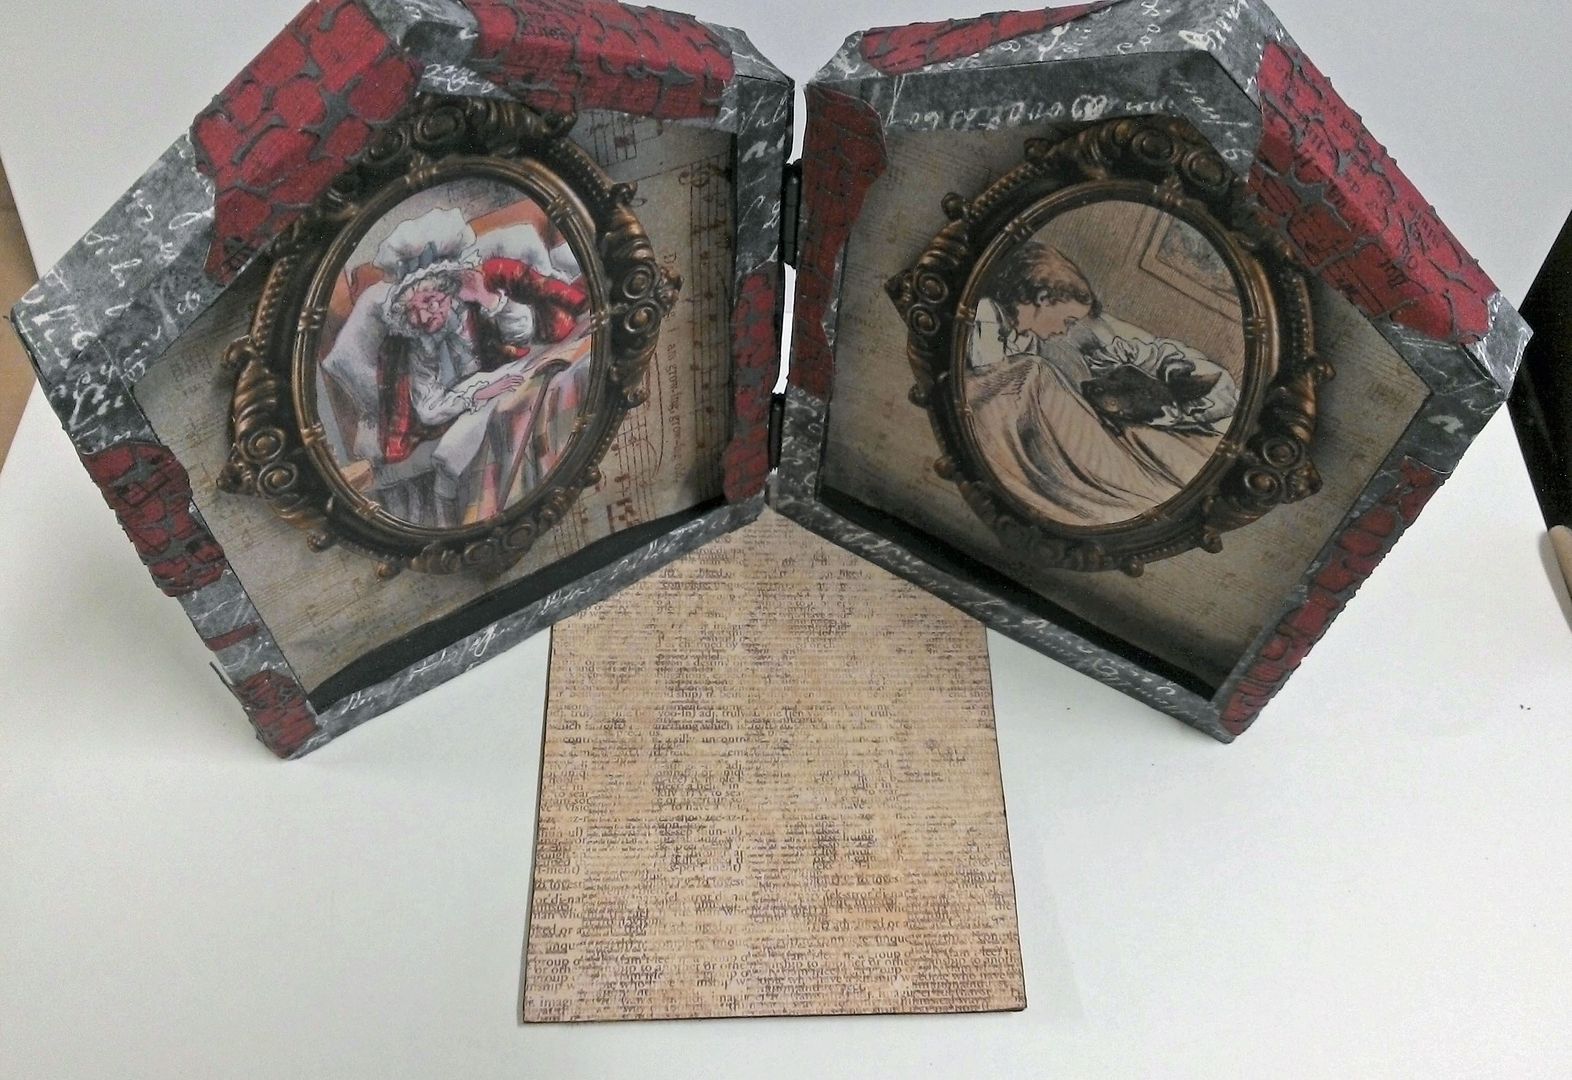
I decided to use a paper mache house accordion shrine as the backdrop and create a faux book with the story. The book rests tilted and open in the niches.
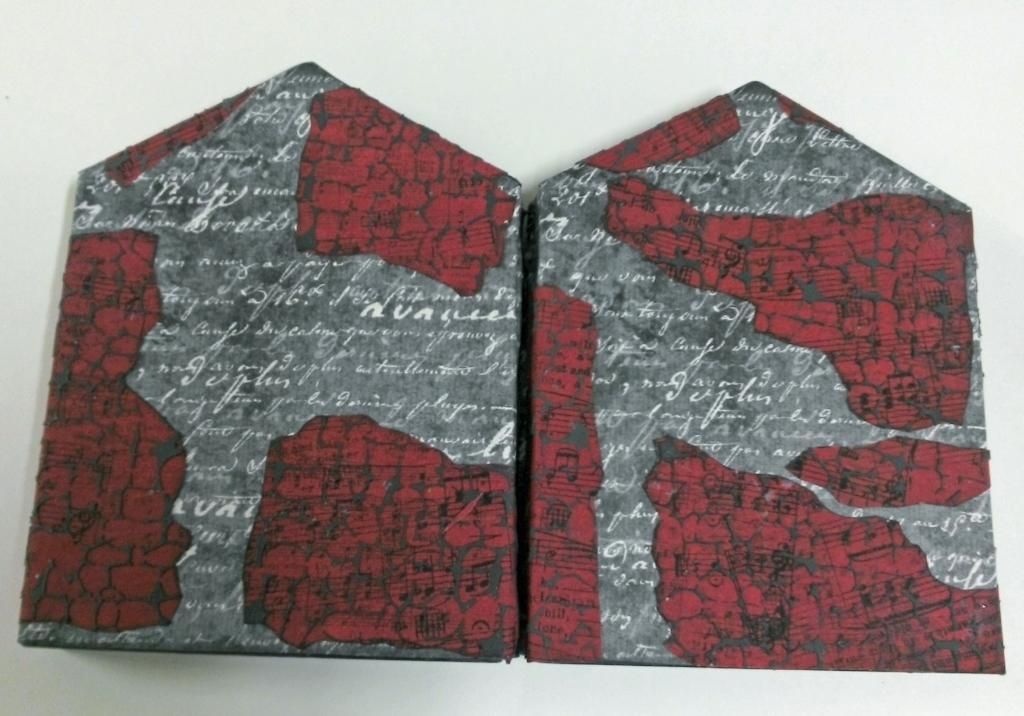
I used a textured sand paste and a stone stencil to create the vintage crumbling look on the house
The touch of Halloween comes from the pumpkins, bats, ravens, spider webs and a large moon.
Prepping the Houses
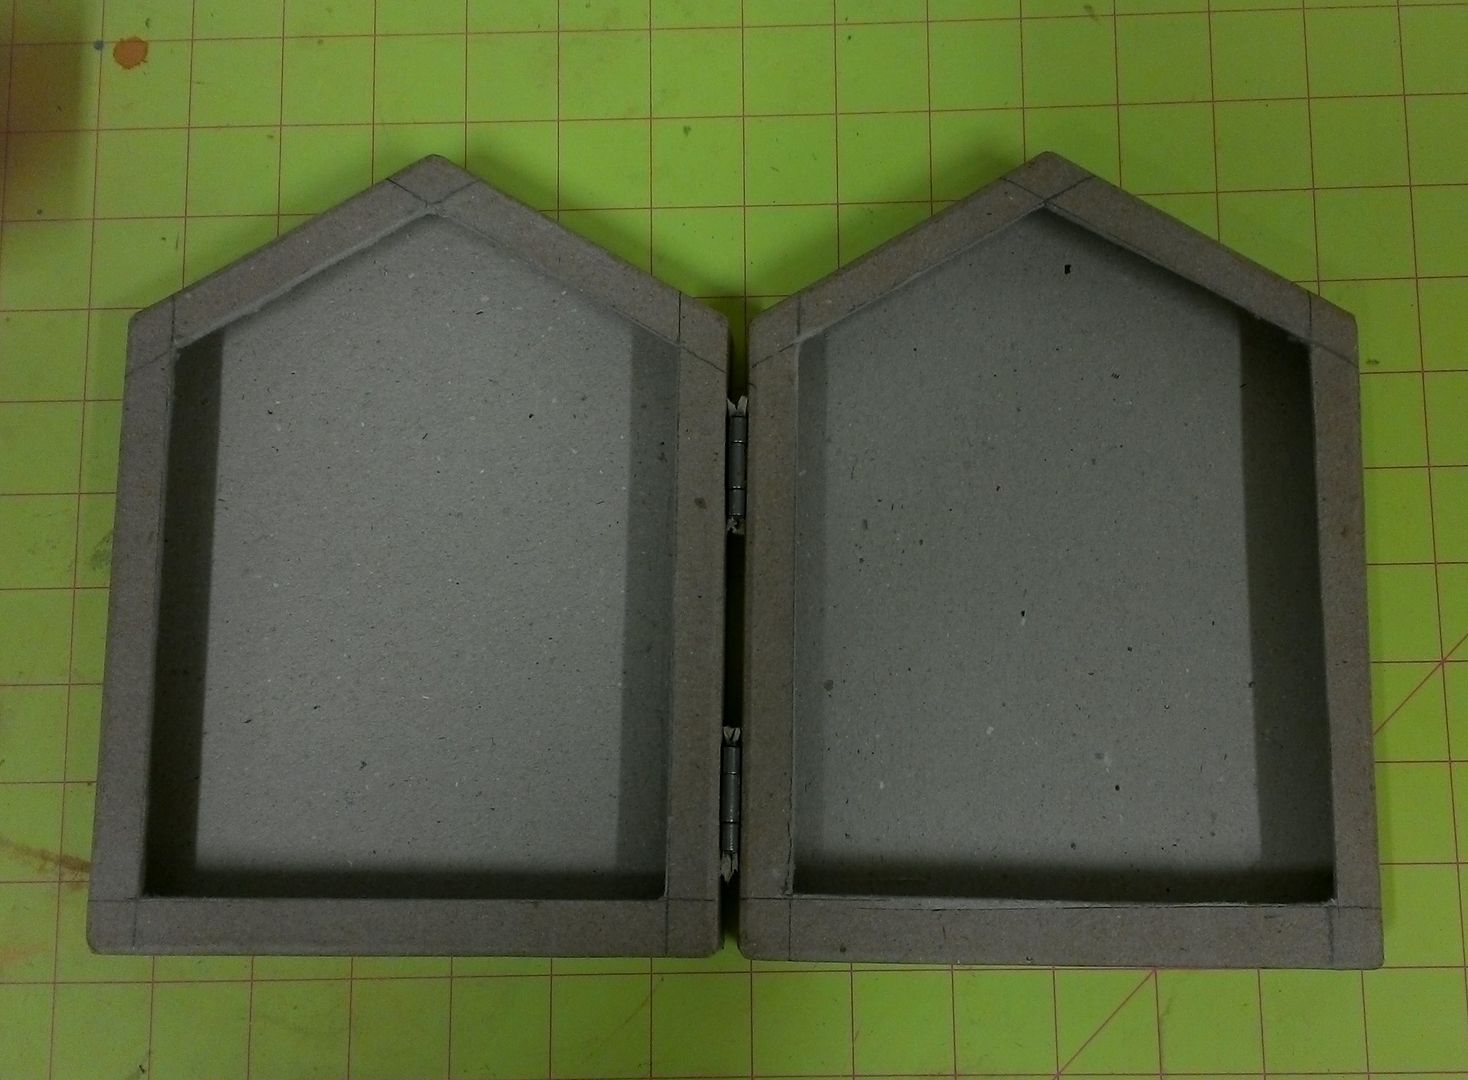
I started by removing one of the house shapes. The shapes are attached with hinges that are screwed into the paper Mache.
Next, I marked the areas for the niches and cut away the marked area using a box cutter and metal ruler (as a guide).
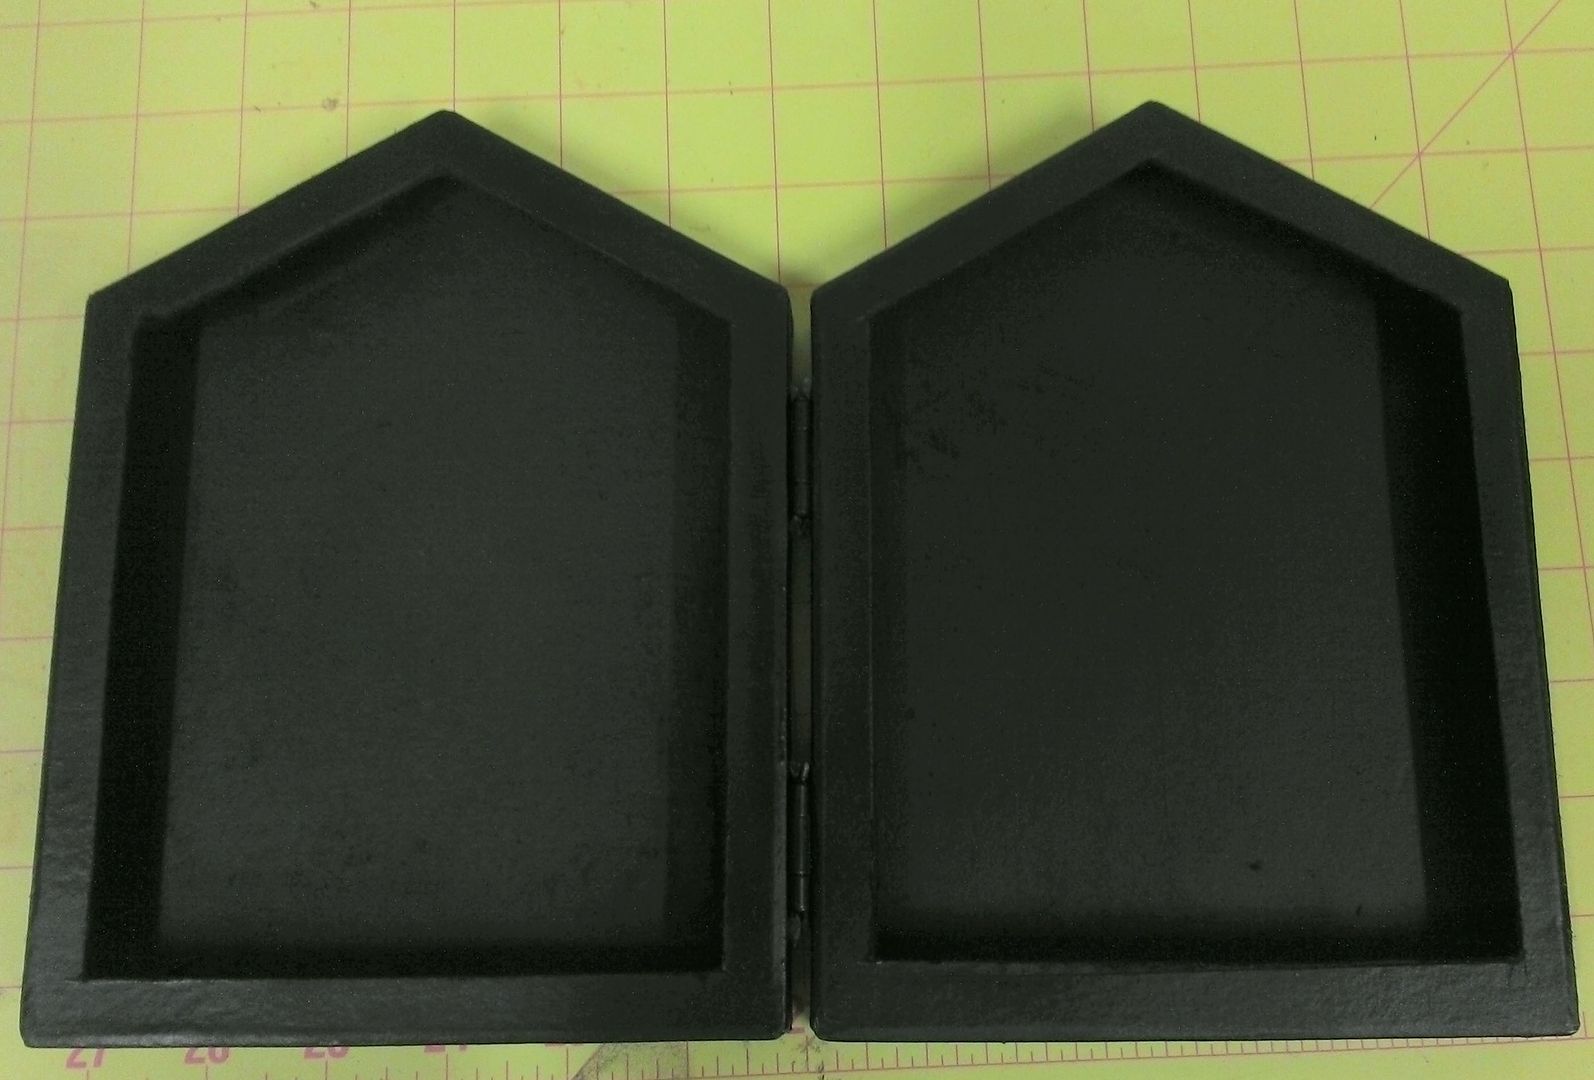
I spray painted the houses black (because it was a fast and easy way to paint both the inside and outside).
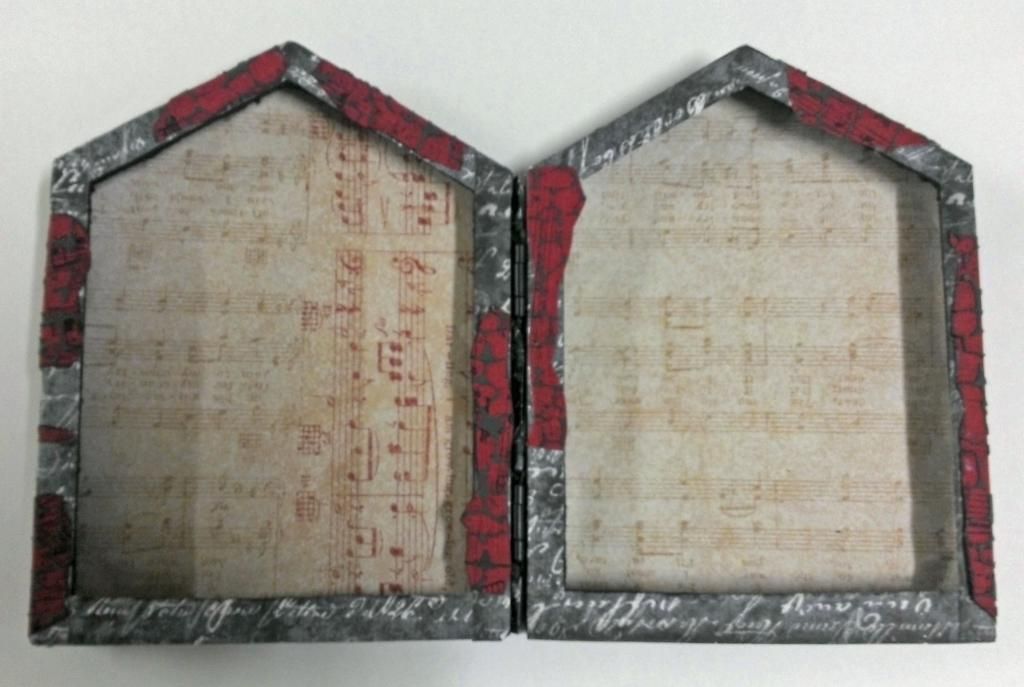
I papered the outside of the houses and the inside back of the niches.
Stone Work
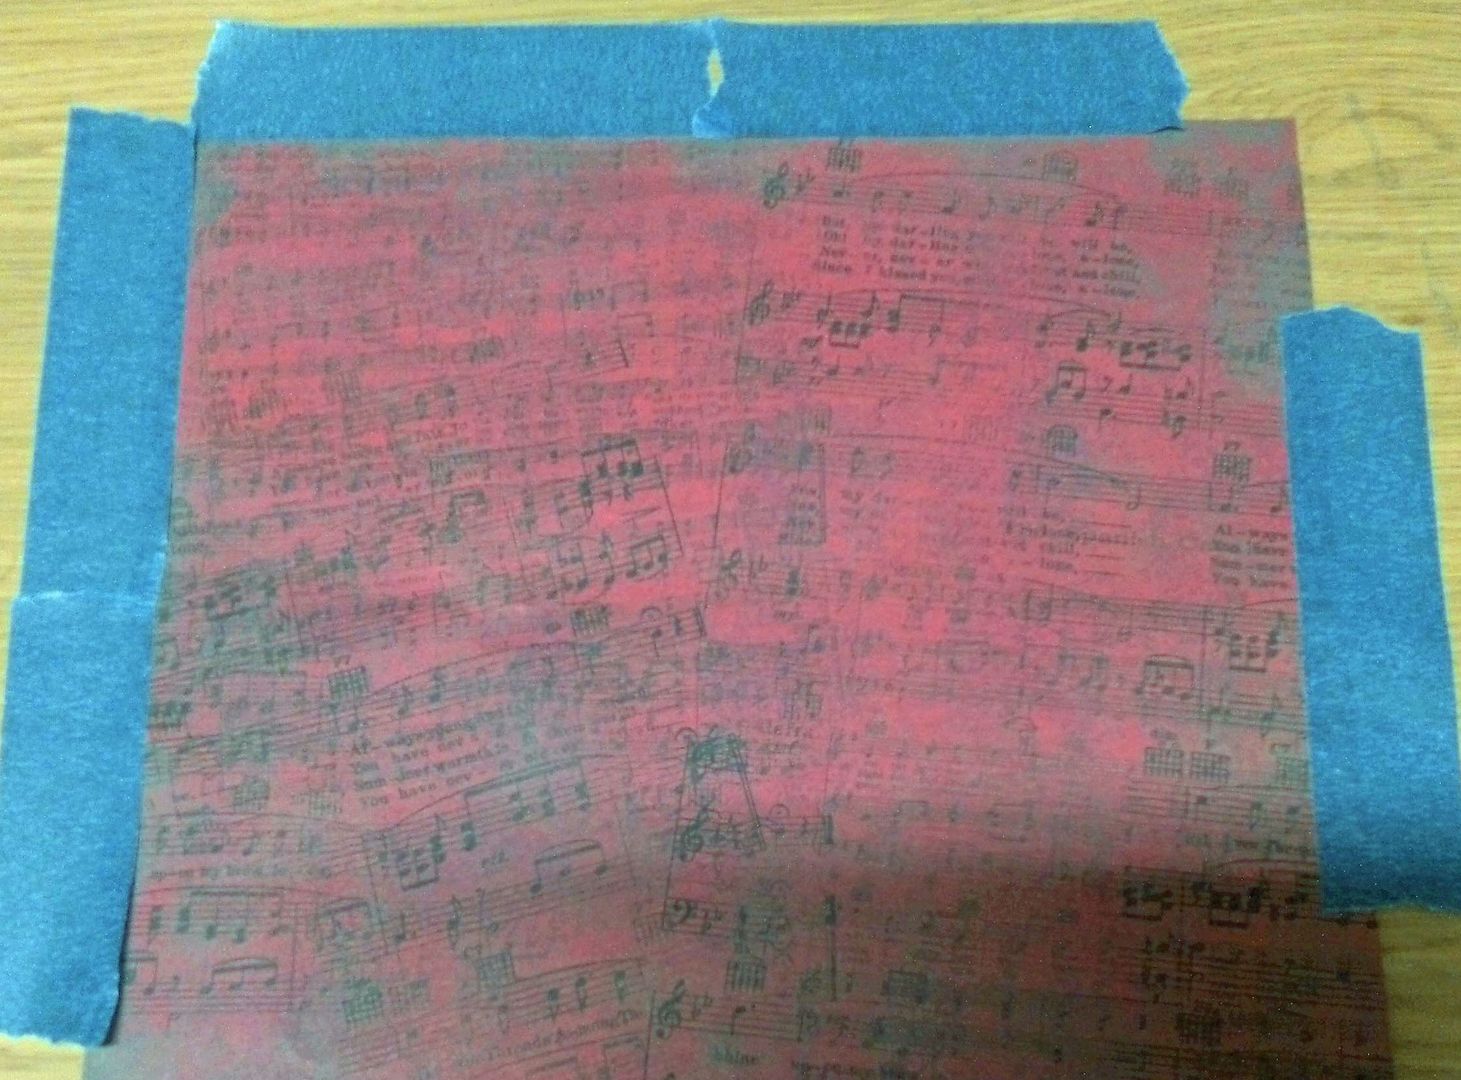
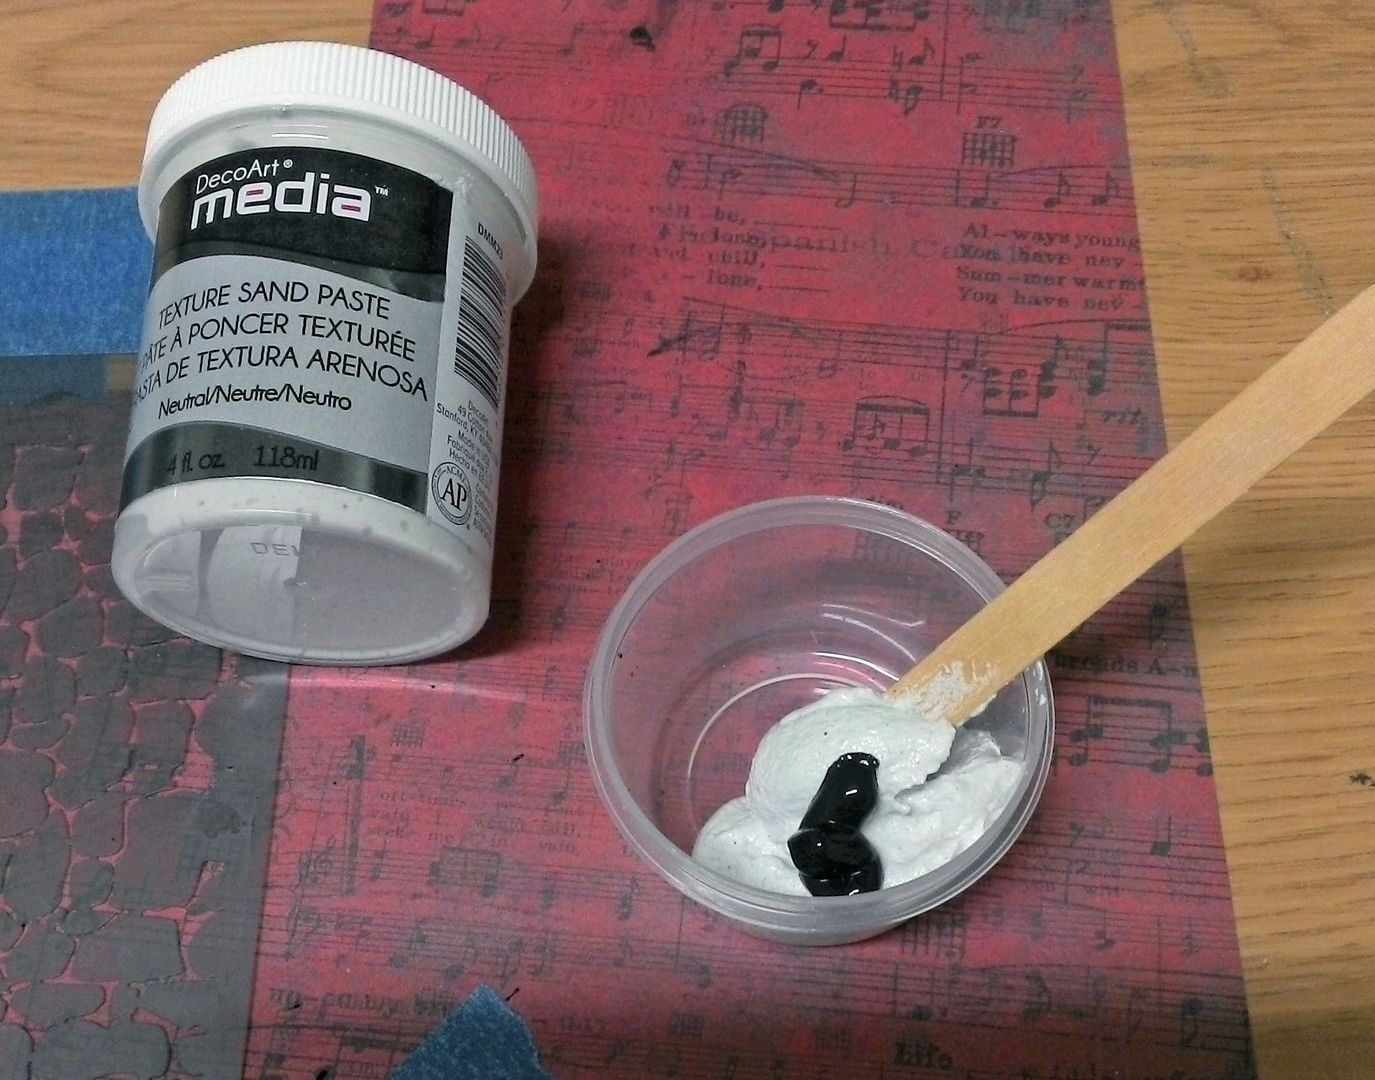
To create the stonework I used a textured sand paste. I started by taping down the decorative paper with low tack painters tape.
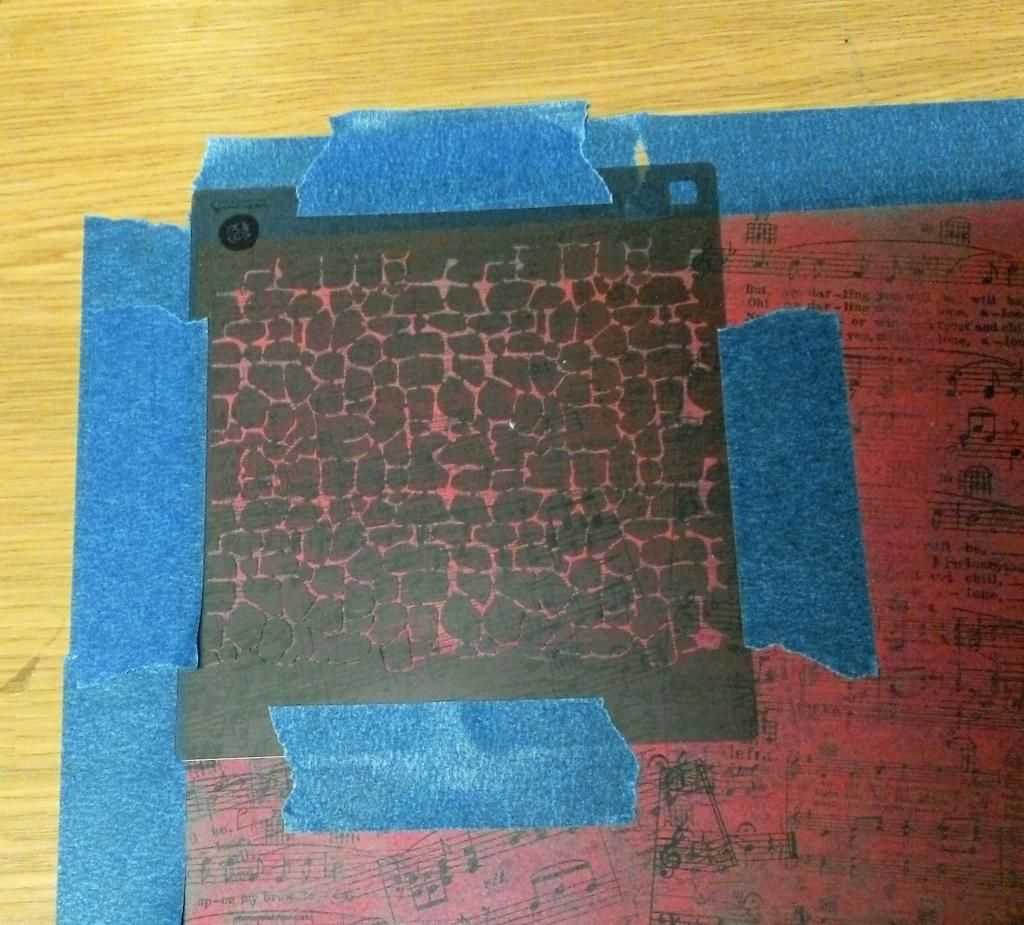
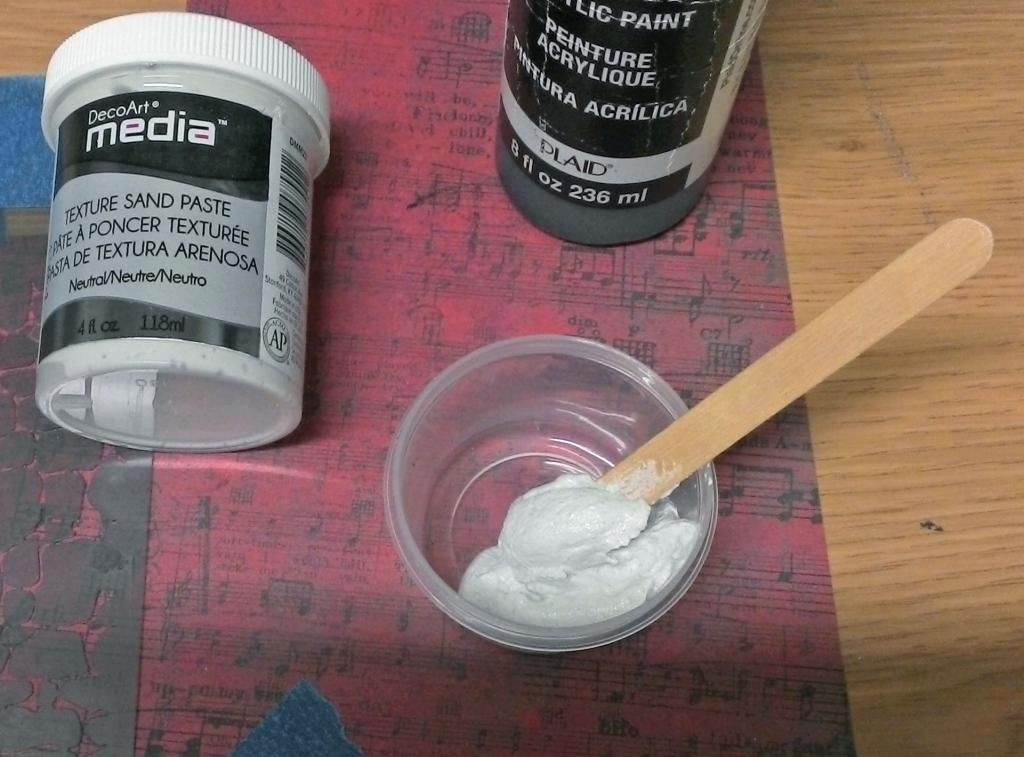
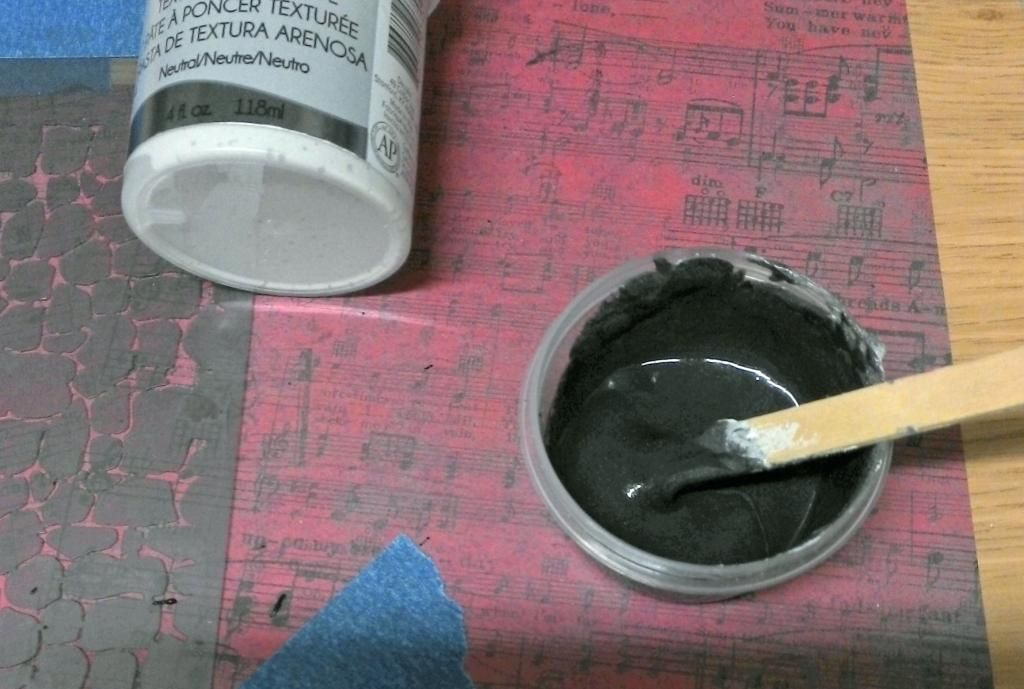
Next, I taped the stonework stencil to the paper.I mixed up a batch of the paste by coloring it with black acrylic paint. You can color this product with ink, paint, or pigment powder. Start by adding your color slowly, stir to blend and then decide if you need more color.
VERY IMPORTANT: The more liquid you add to the paste the thinner it will get. You need to let the paste dry out to the consistency it was before you added liquid color; if you don’t, it will seep under the stencil. As the liquid evaporates, stir the paste occasionally so that the parts exposed to the air don’t dry out and clump.
Next, spread the paste very carefully over the stencil using a light touch (I used a popsicle stick). Be careful not to push the paste under the stencil.
Carefully remove the tape from the stencil while holding the stencil down Next, lift the stencil. You don’t have to immediately lift the stencil but don’t wait too long as the paste will dry and parts of the paste that you want to stay on the paper will be lifted with the stencil.You can reuse any of the excess paste on the stencil.
Carefully cut away the stenciled area and then you can start the process over again with a new section of the paper.
I suggest you wash your stencil between each usage as the paste will build up in the open areas and you won’t get a good result.
To give the house a vintage crumbling look, I cut up the stenciled stone pieces and attached them randomly on the house.
Decorating the Houses & the Chipboard Support
I framed two of the story images with a frame from my Antique Frames Digital Image Set and used double-sided foam tape to pop them out from the back of the niches.
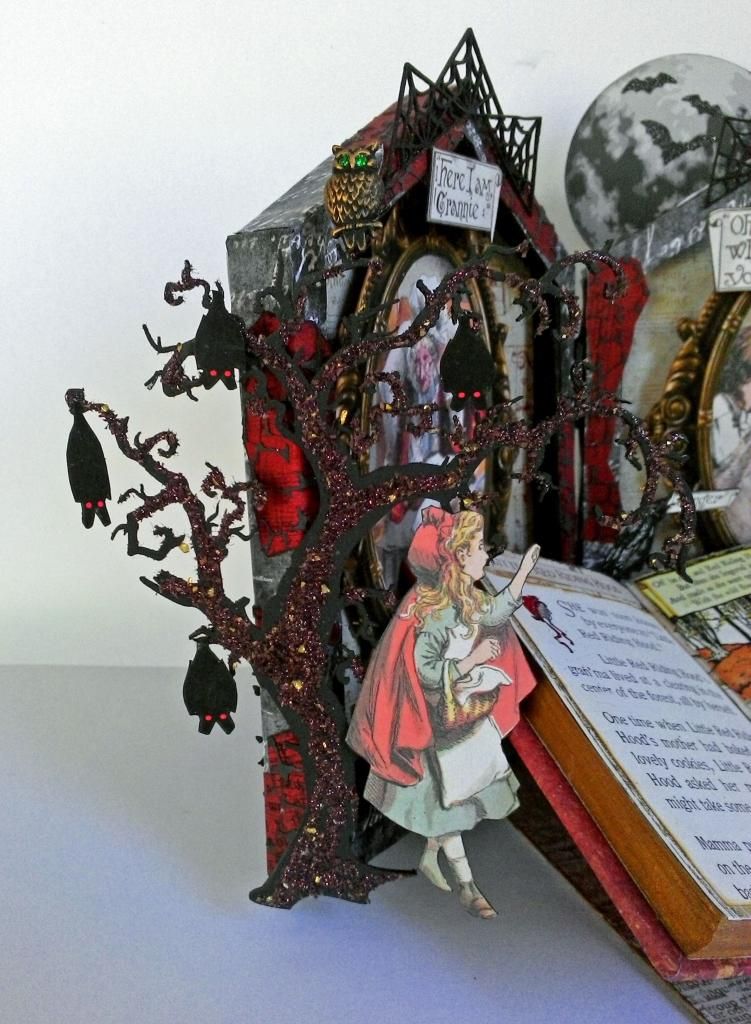
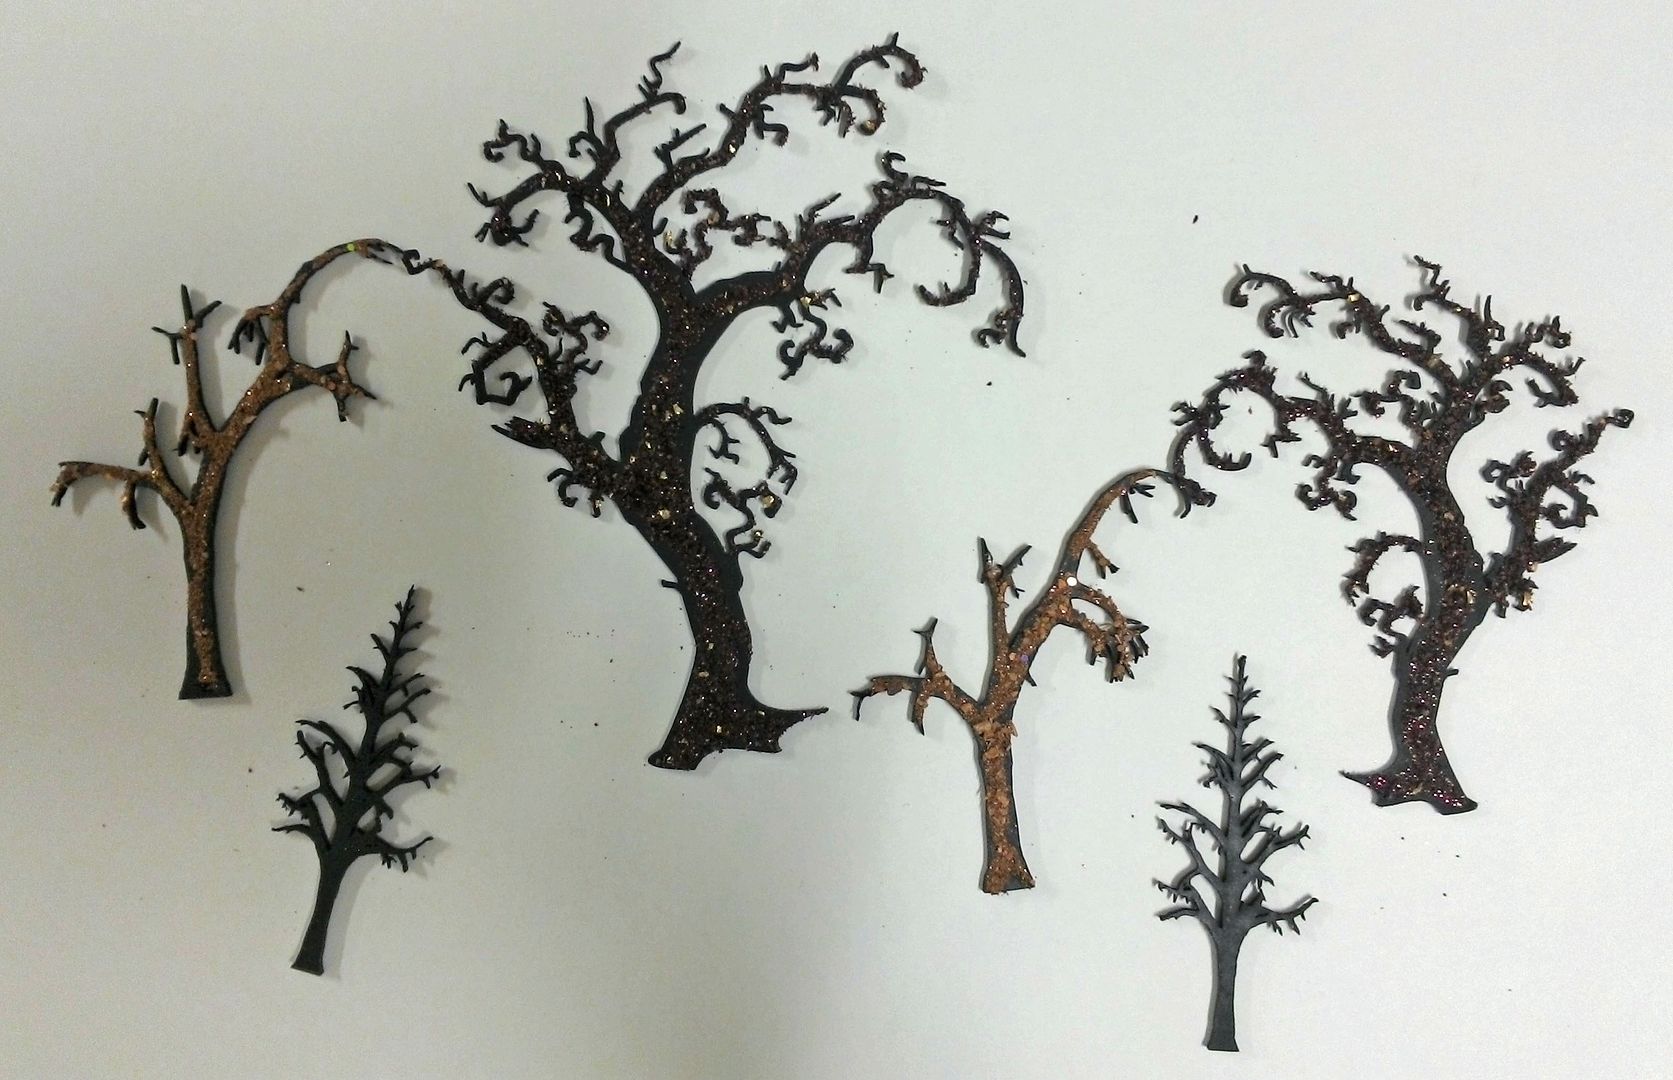
Next, I used one of the pieces I cut out of the houses as support. I covered the support with decorative paper and glued the houses to the support.I spray painted spooky trees black and then added a sparkly textured mix called Elements that I purchase online from the Art Glitter Institute.
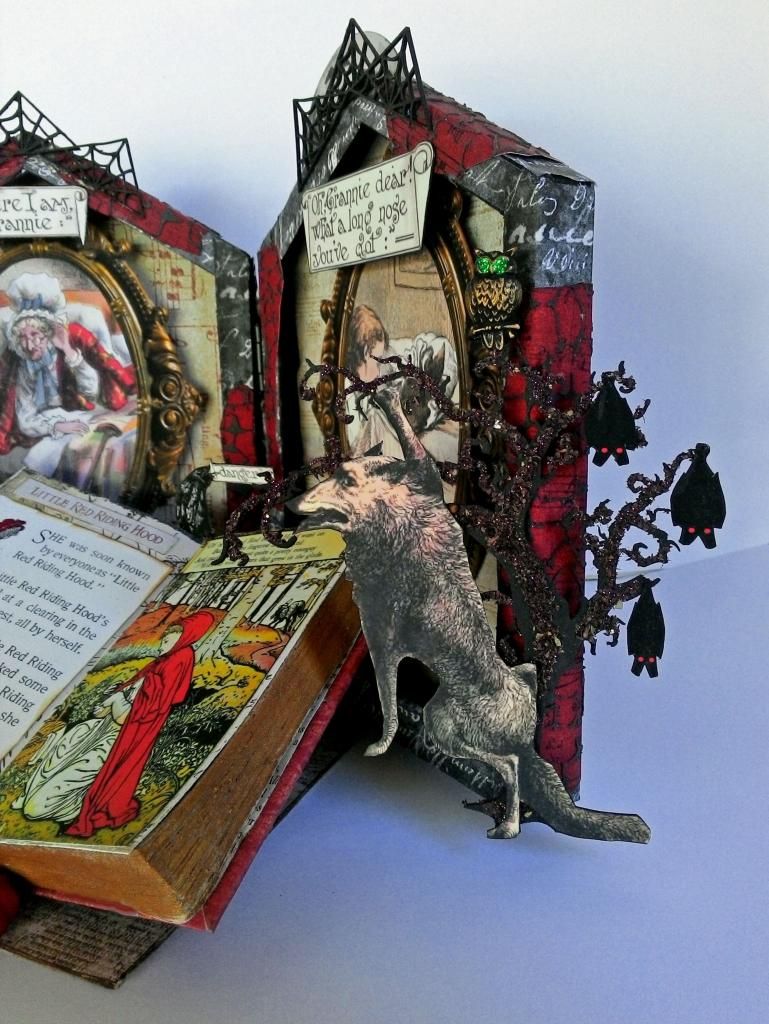
I glued the two larger trees to the front edge at an angle and added bats and owls. To the top, I added spider web pieces and titles. I also attached Little Red Riding Hood and the wolf to the trees.
Making the Faux Book
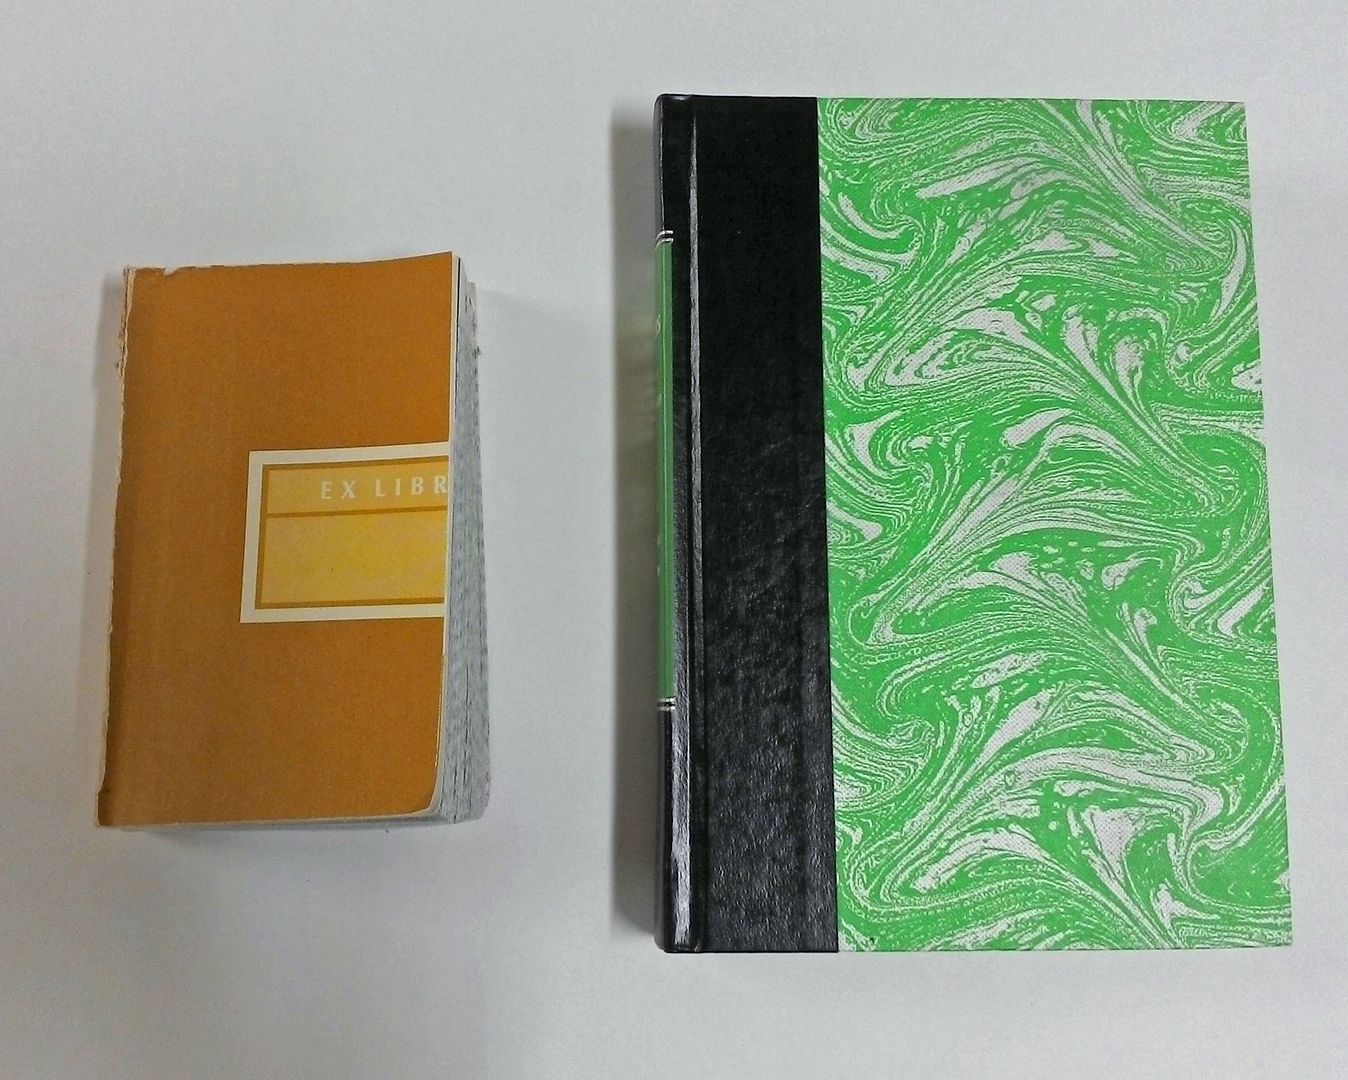
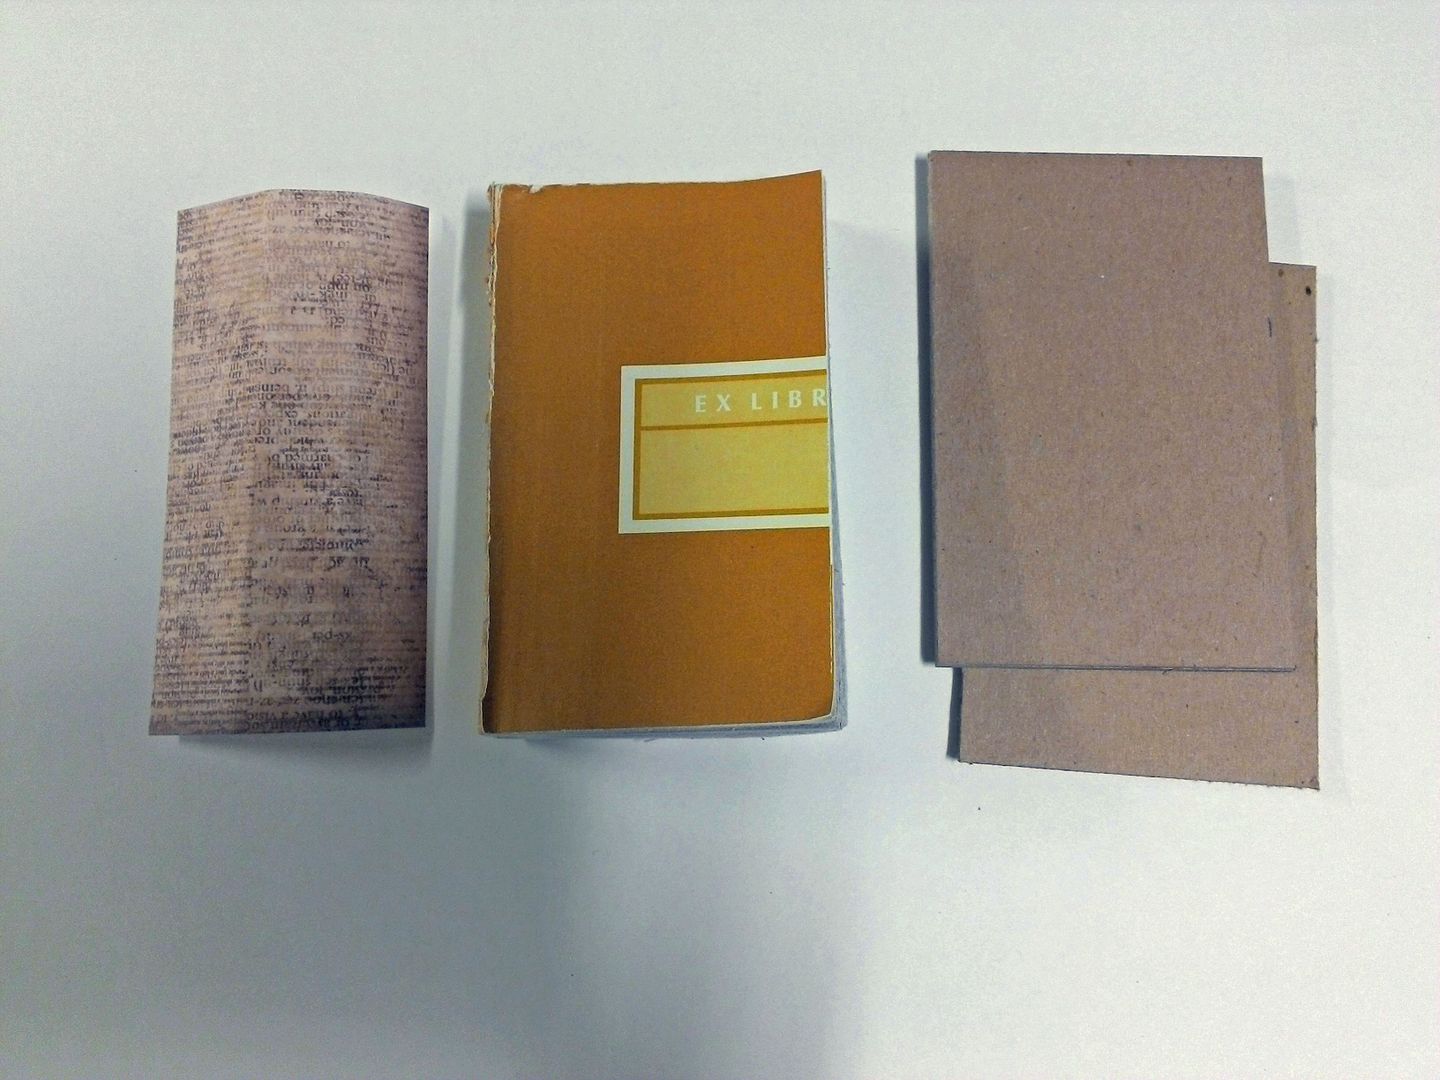
I didn’t have a book that was small enough to use so I cut one. The final size of the cut-down book (pages) is 3” x 5”. I removed the cover and cut away the side and bottom.
Next, I cut a piece of paper for the spine and two pieces of chipboard for a new cover.
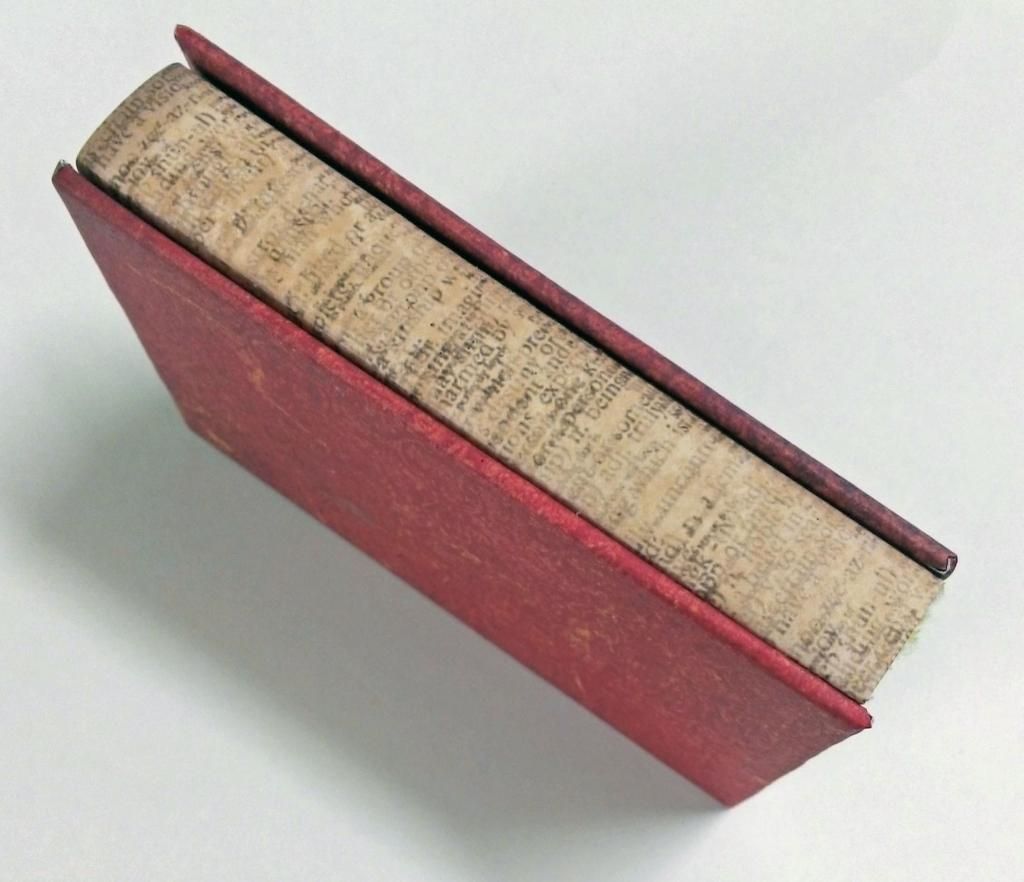
I glued the paper to the front and back of the pages but not to the spine, then glued the chipboard to the pages.
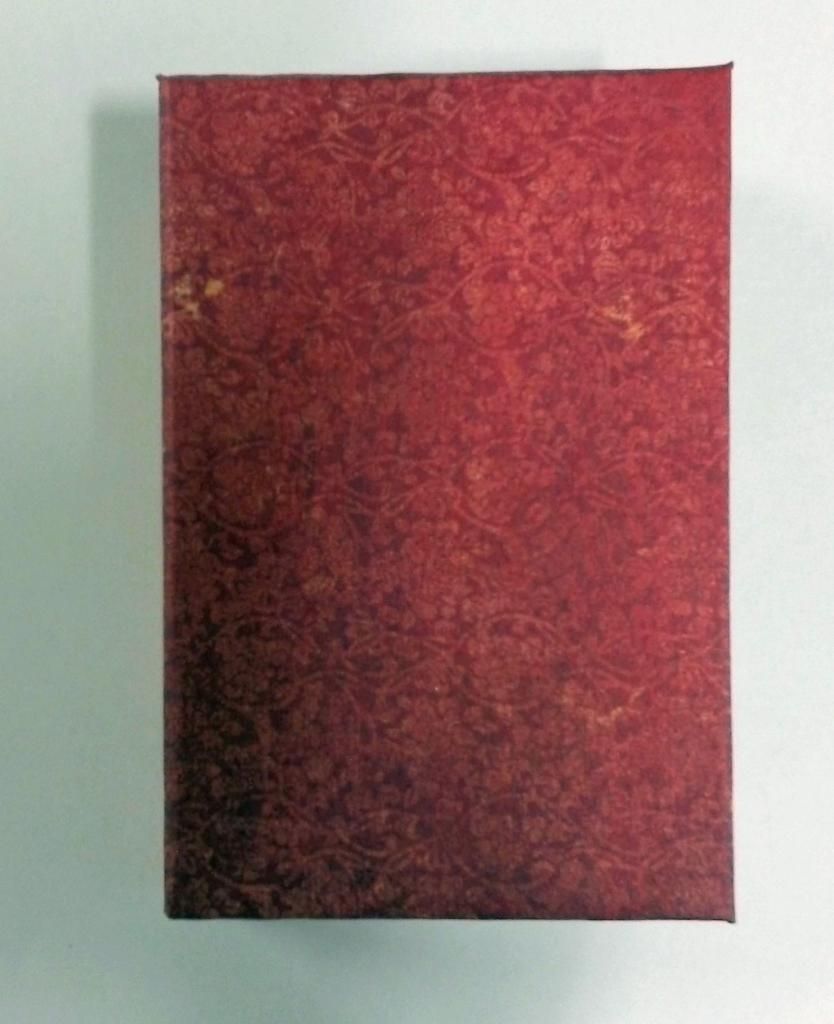
I covered the chipboard with paper.
Next, I glued the covers to the front and back pages.
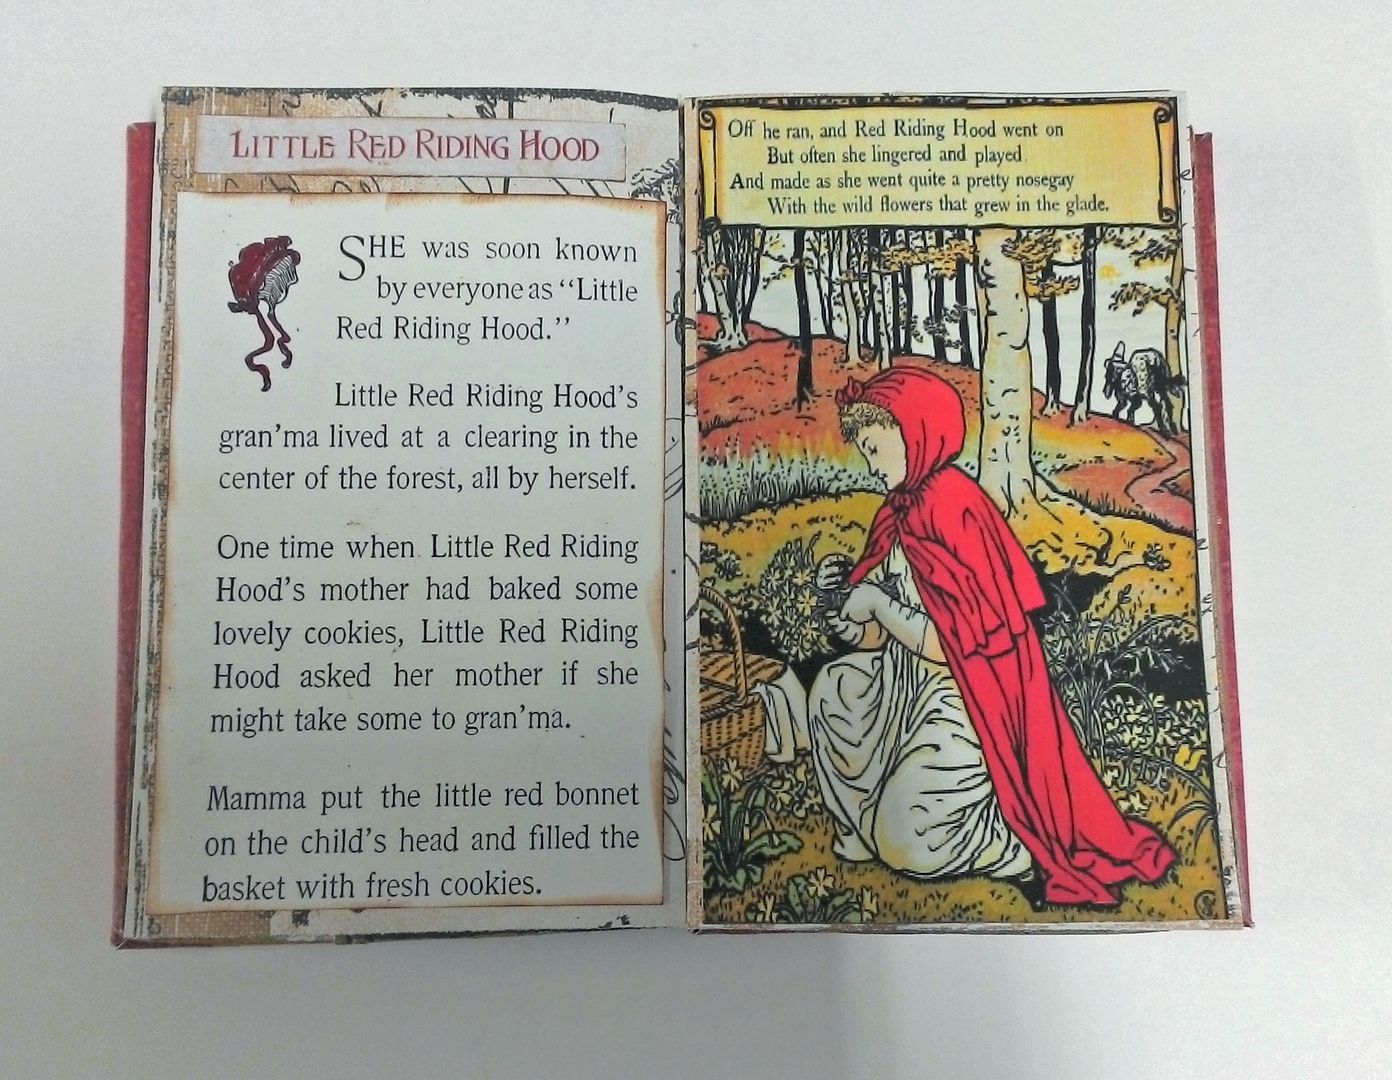
I opened the book to the middle and glued story images to the pages.
The book is glued to the chipboard support and rests on the niches in the houses. Since the houses are glued in place and won’t move, they support the book so you don’t need to glue the book to the niches.
Decorating the Back
On the back, I painted brown vines, attached the remaining trees and two windows with images from the story.
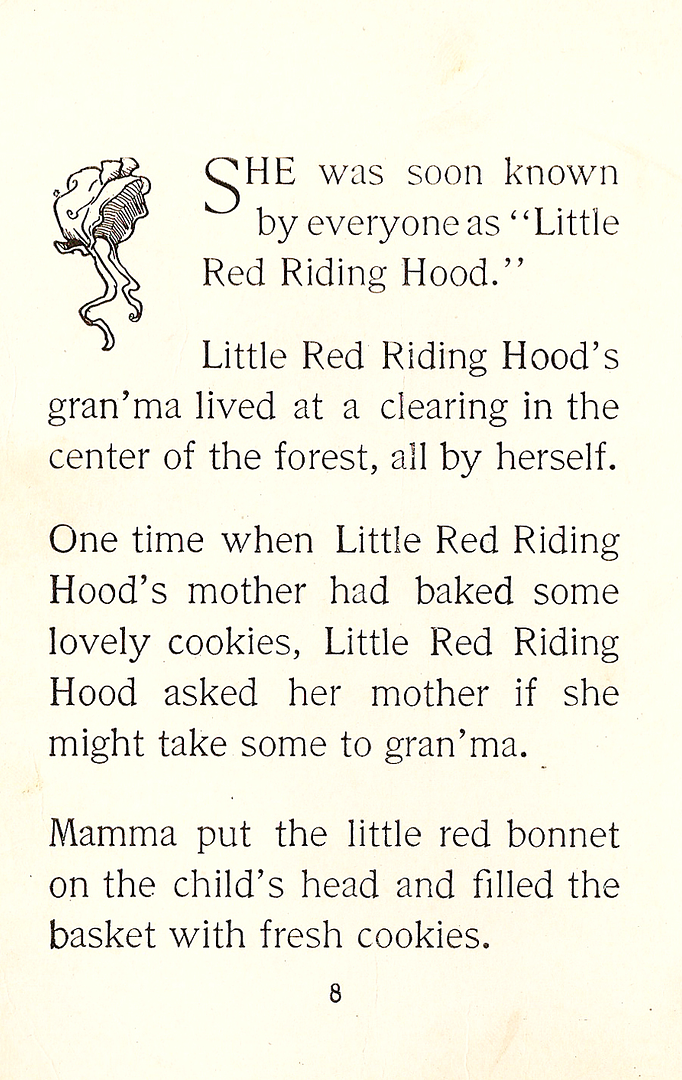
Feel free to download the image below that I used in my book.


