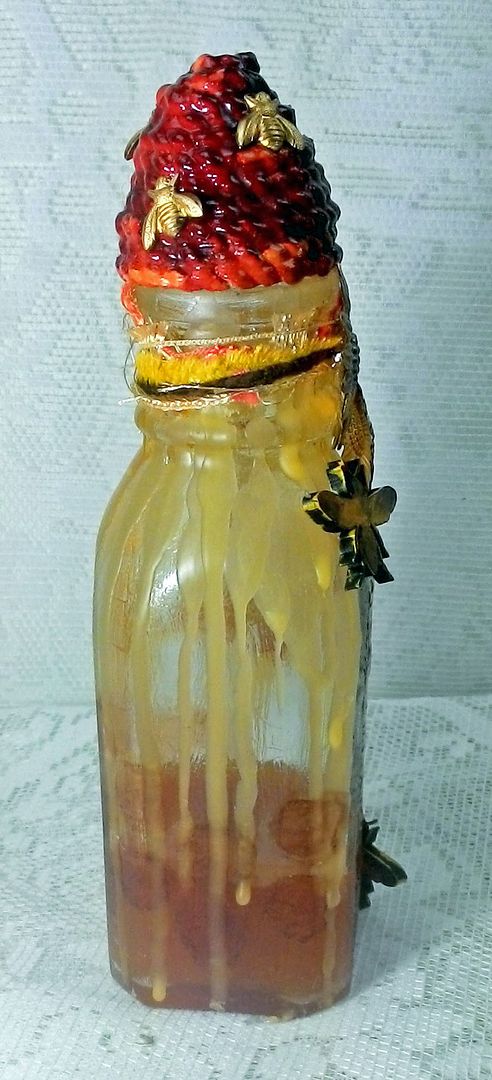
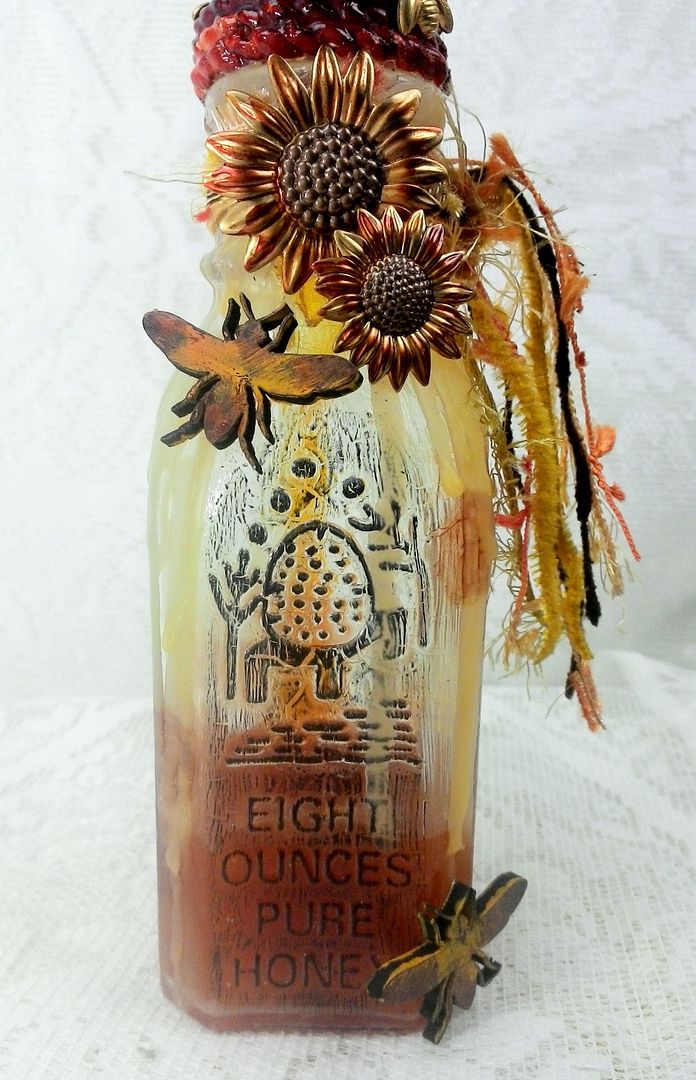
I have a couple more decorative Bee themed projects for you. The first is an altered honey bee bottle covered in real beeswax with faux honey and a bee skep topper that I will show you how to make. I thought this would look cute in my kitchen and maybe yours too.
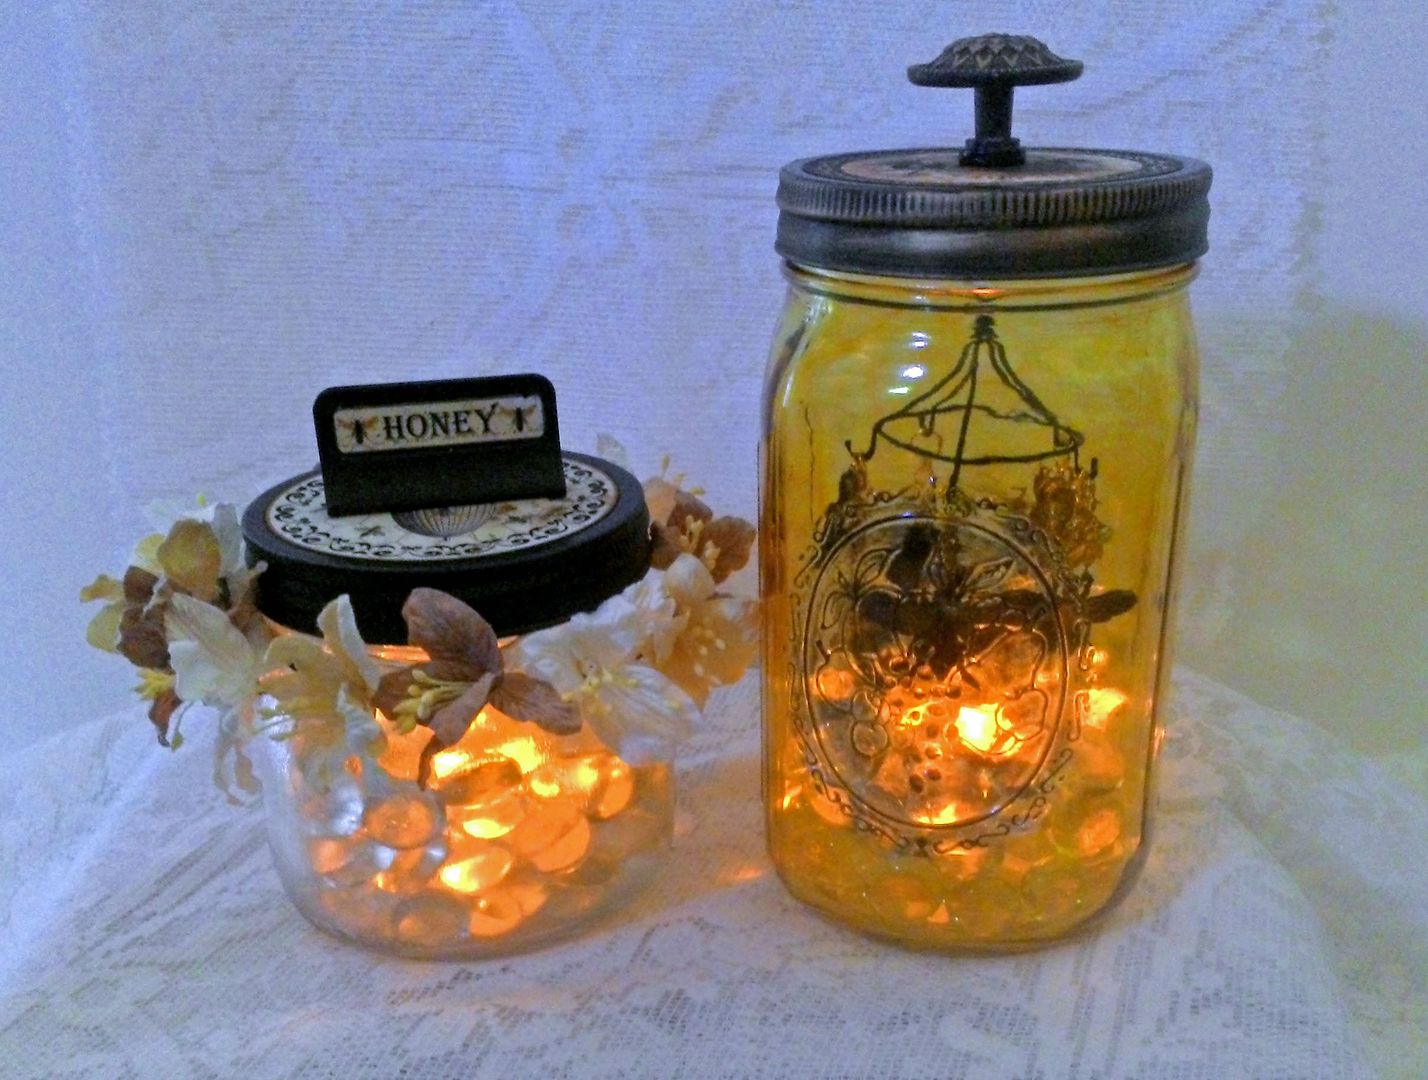
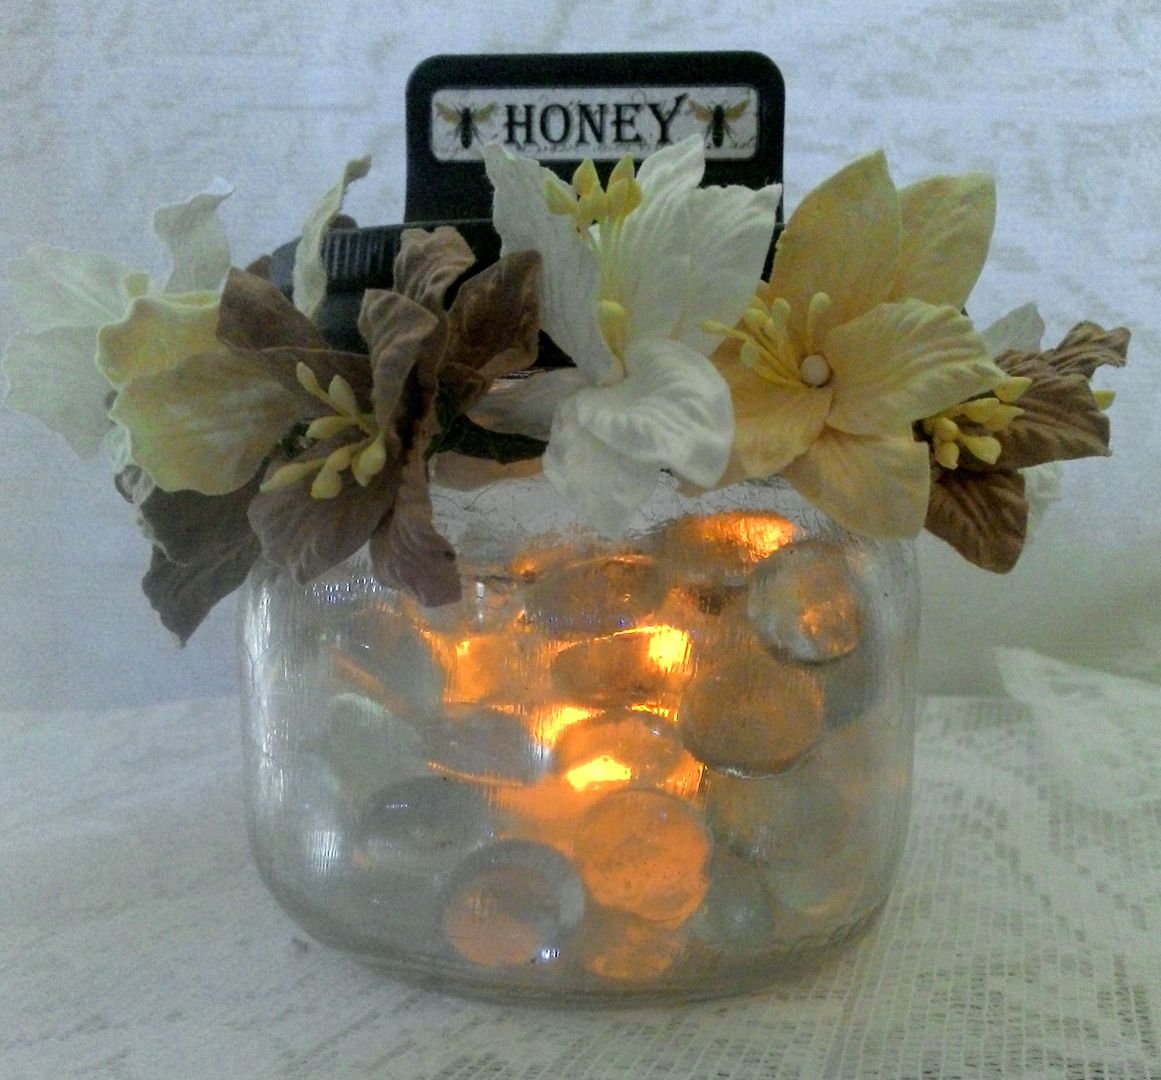
Second, are two altered mason jars with
cute toppers and with a glow supplied by LED lights. I think these jars would look lovely on a
patio table in the evening and would also make a great hostess gift.
Honey Bee Bottle
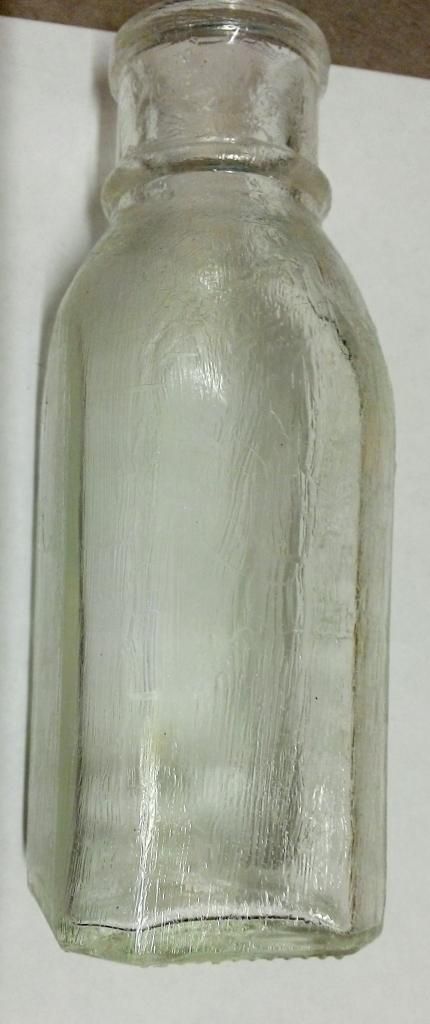
To give the bottle an aged look, I used
Deco
Art Perfect Crackle. The
instructions that come with the product are through and the product is easy to
apply.
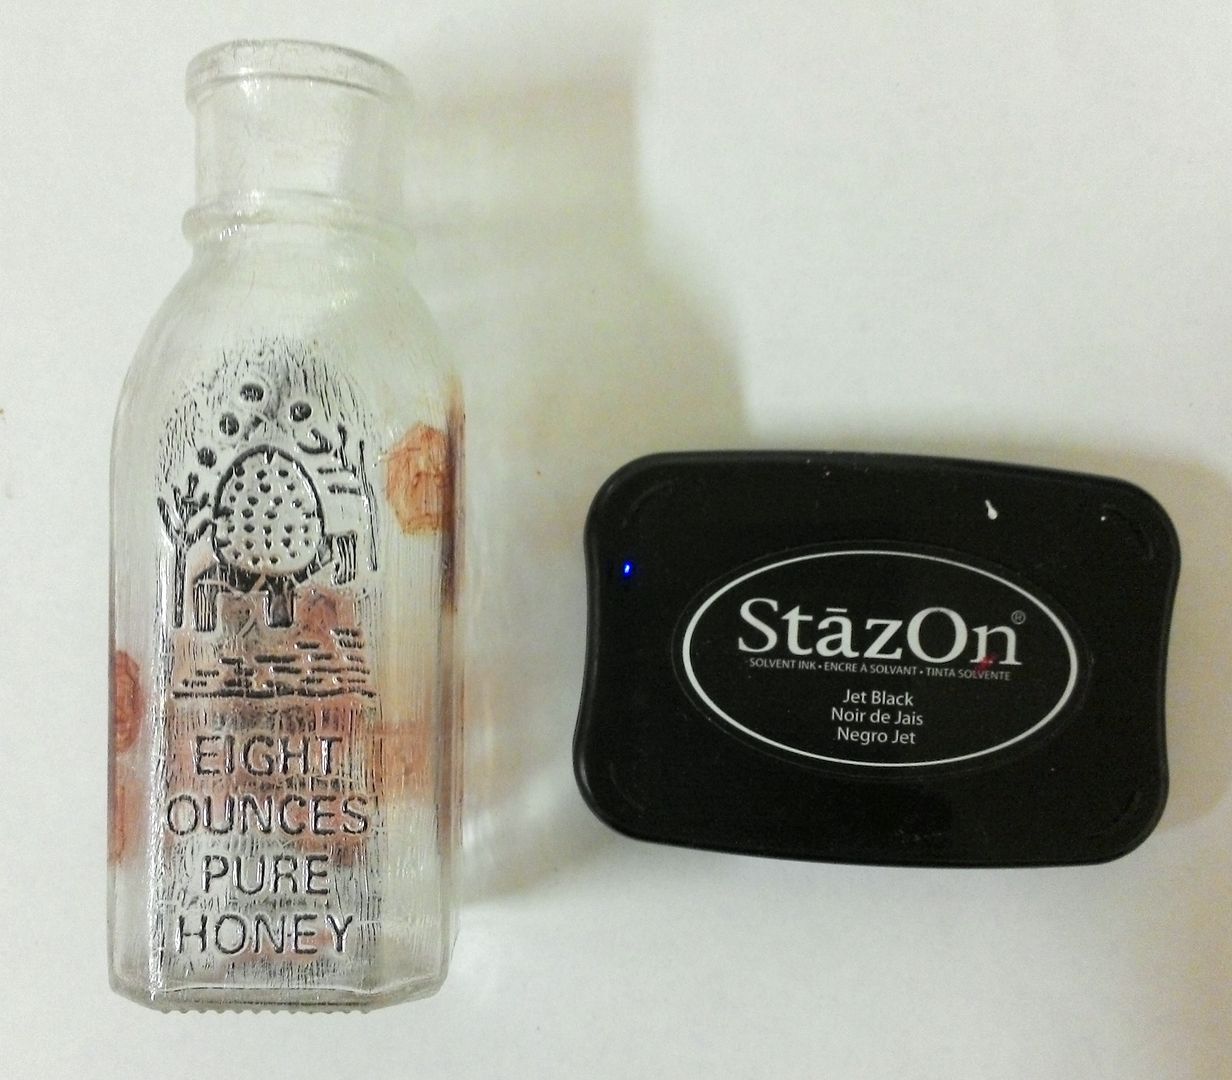
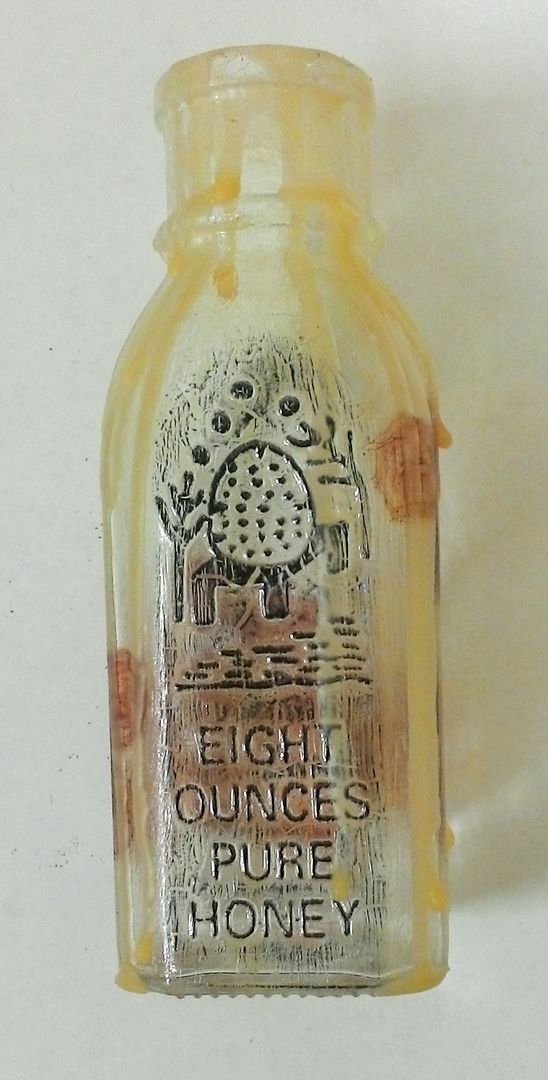
Next, using a sponge, I applied black
StazOn ink to the raised design on the front of the bottle.
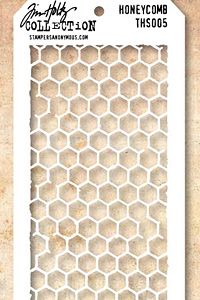
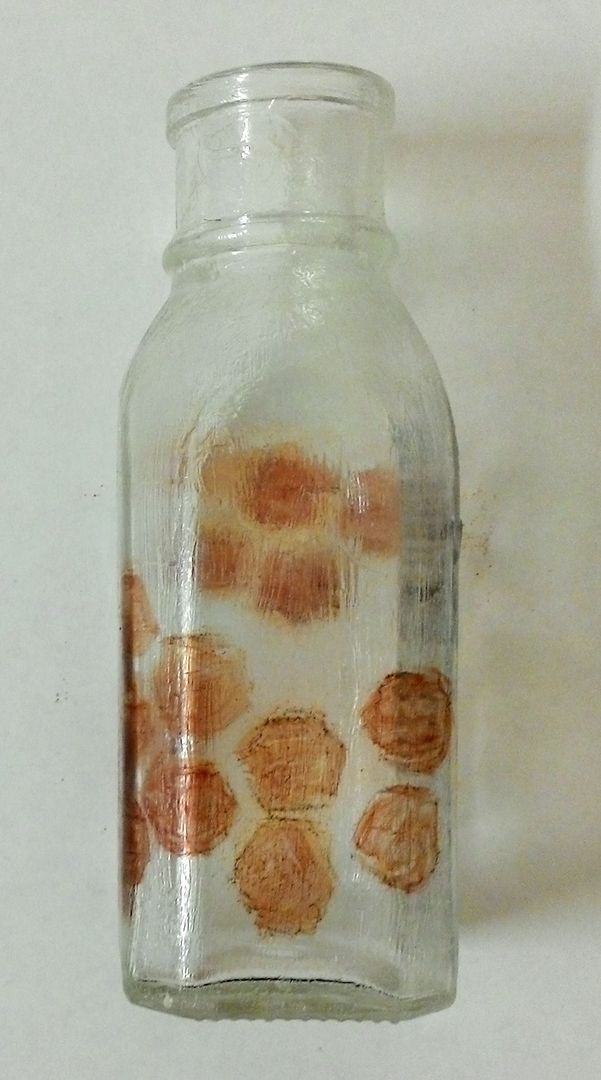
I used a honeycomb stencil and a pencil
to trace a pattern on the bottle. Next,
I filled in the traced areas with Caramel Alcohol ink. I left the pencil marks as I thought it
looked more distressed.
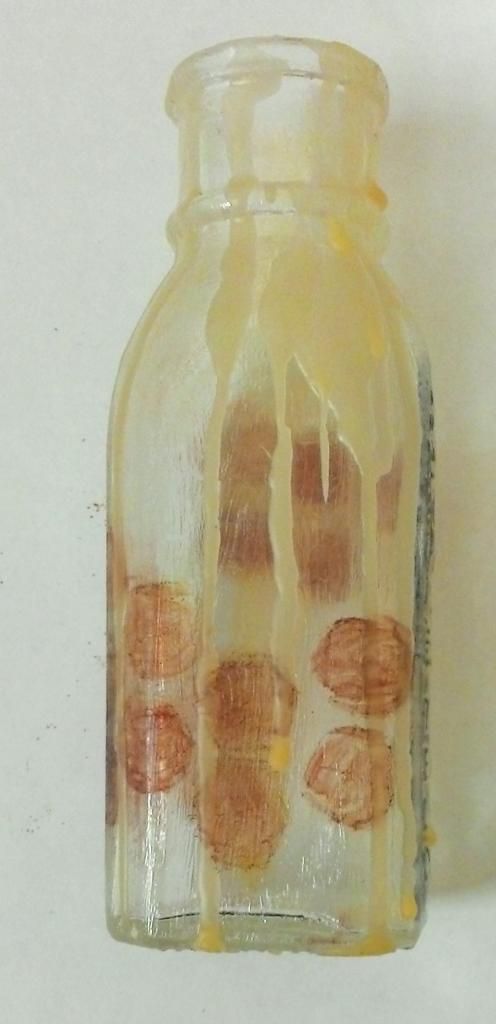
I melted yellow beeswax and used a
small spoon to drizzle the wax down the sides of the bottle.
Now was one of those moments when I
decided to add something else to the bottle that should have been added before
I drizzled on the wax. Looking at the
bottle I thought that it would look better with some faux honey inside.
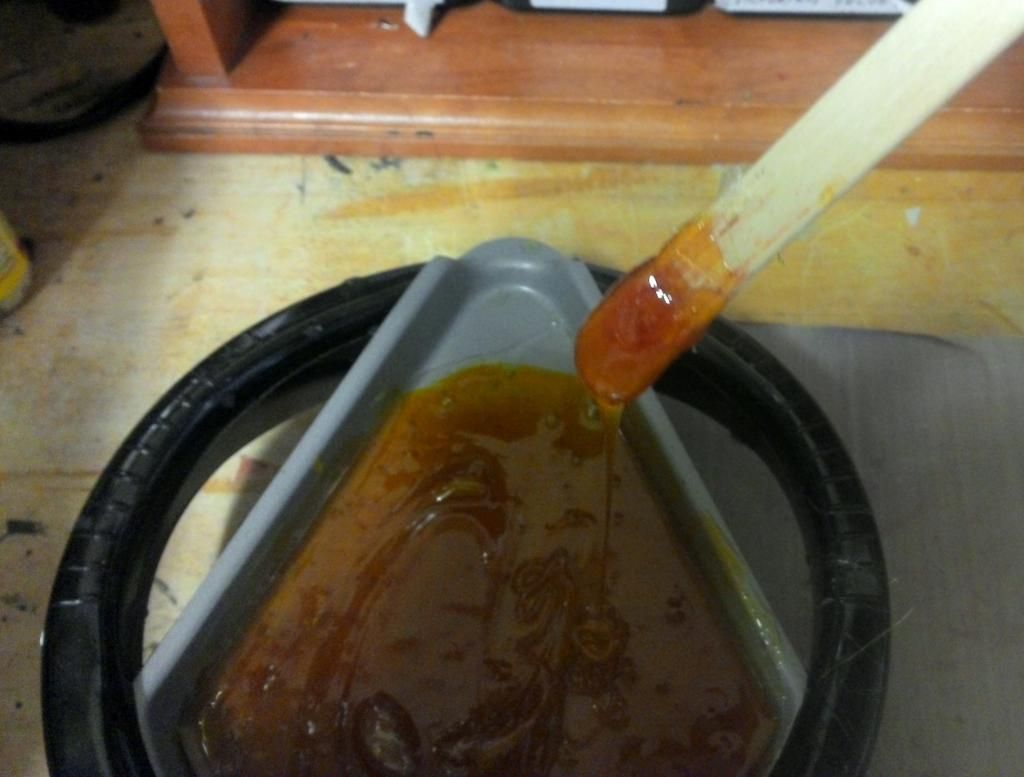
I melted some clear glue sticks and
added Caramel Alcohol ink to create a honey color. Next, I poured the melted glues sticks into
the bottle. The only problem was that
the heat of the glue melted the wax at the bottom of the bottle. After the glue cooled, I added more wax to
fix my mistake.
UTEE (Ultra Thick Embossing Enamel)
would be a better choice for this process and not as much of a mess, but I was
out of it and the glue sticks were a cheap alternative. I will say, that the consistency of the melted
glue was very much like real honey.
In the picture below, you can see the faux honey in
the bottle and the wax back in place.
Making the Bee Skep Topper
I decided that a honey bottle needed
a bee skep top. After much thought, I
settled on using cording to construct the skep.
It doesn’t matter what the cording looks like as you won’t see the original
colors when it is finished.
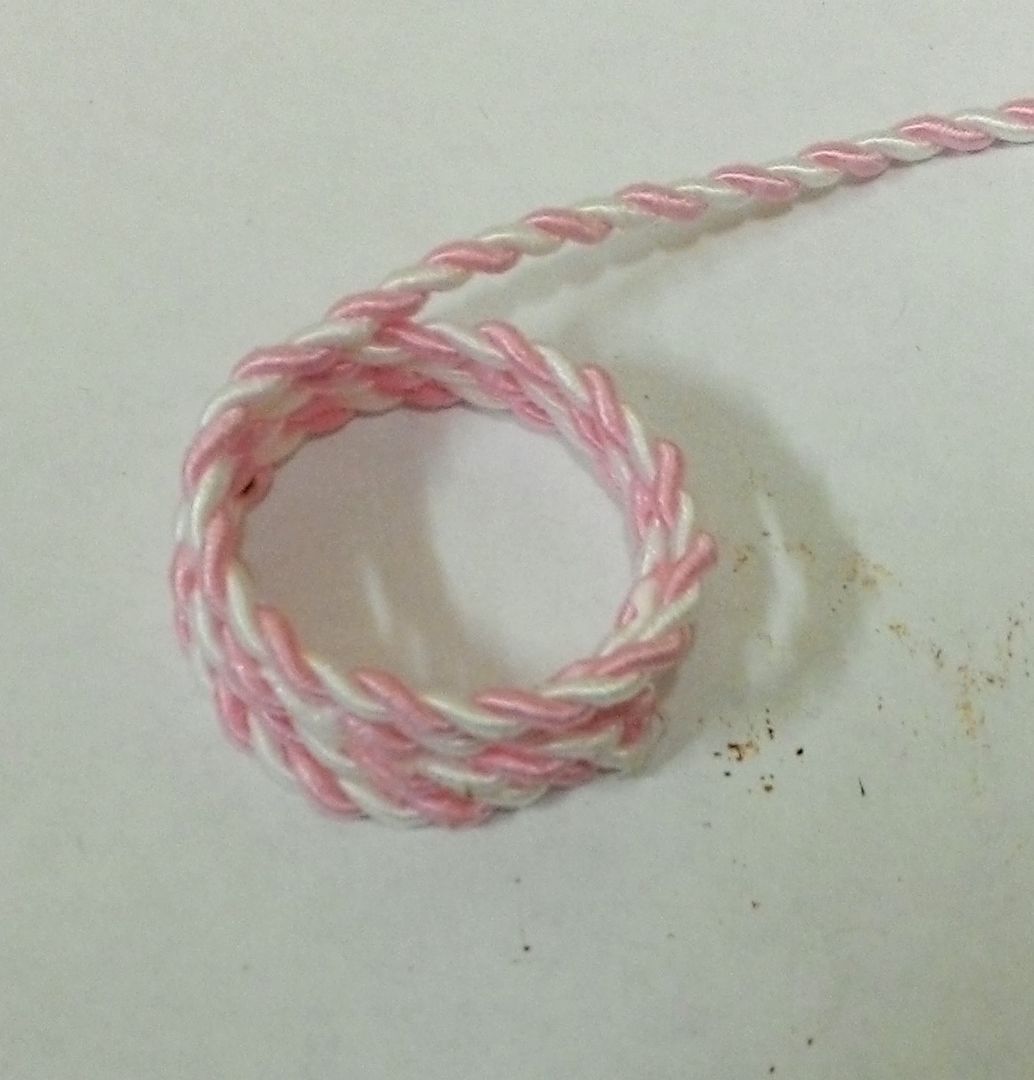
Start by making a circle with the
cording the same size as the top of the bottle.
Begin wrapping the cording in circles gluing each circle on top of the
previous circle. I glued one circle in place, then
waited for it to dry before gluing on the next.
For the first 3 circles keep them the same size.
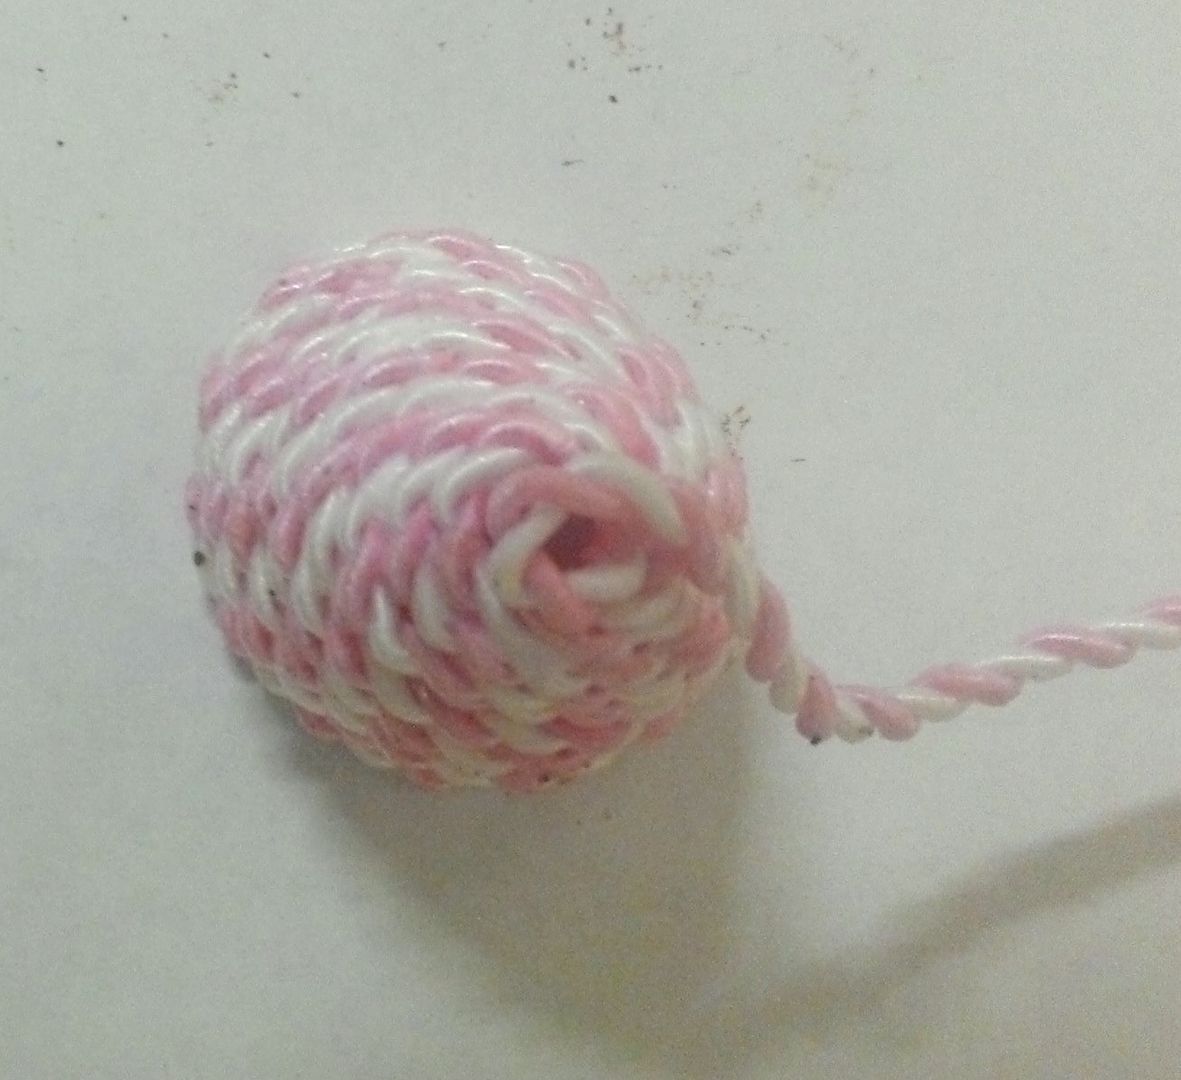
Continue gluing cording in a circle
but begin to make the circles smaller and smaller forming the shape of the bee
skep.
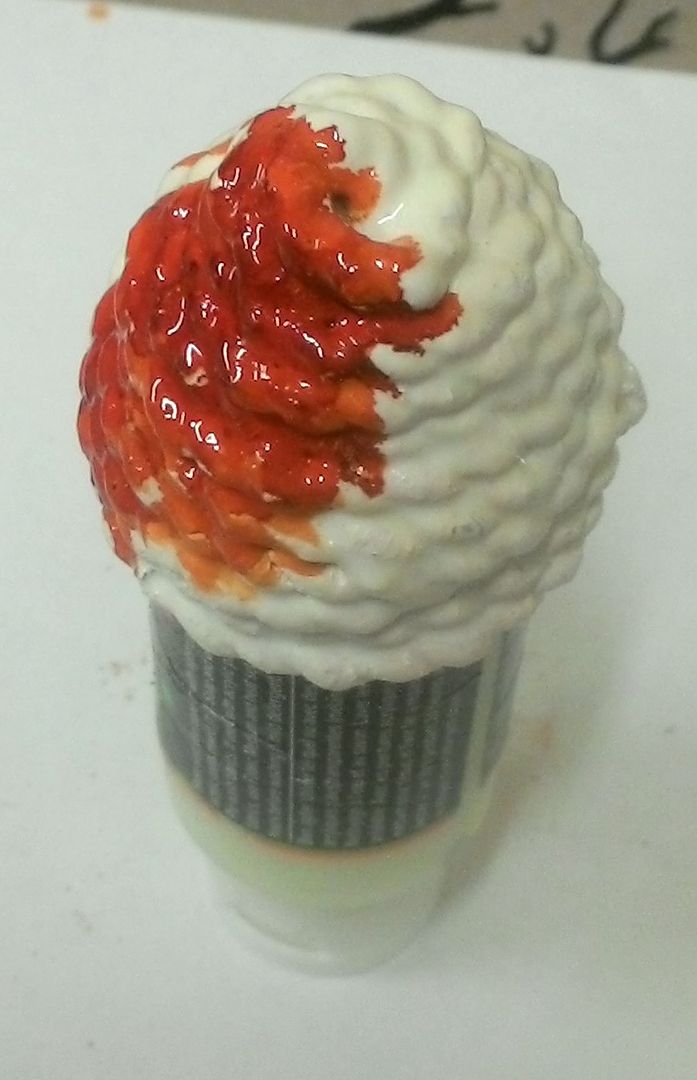
Once you have a tiny hole in the top snip
away most of the extra cording, poke the end through the small hole in the top
and glue it in place.
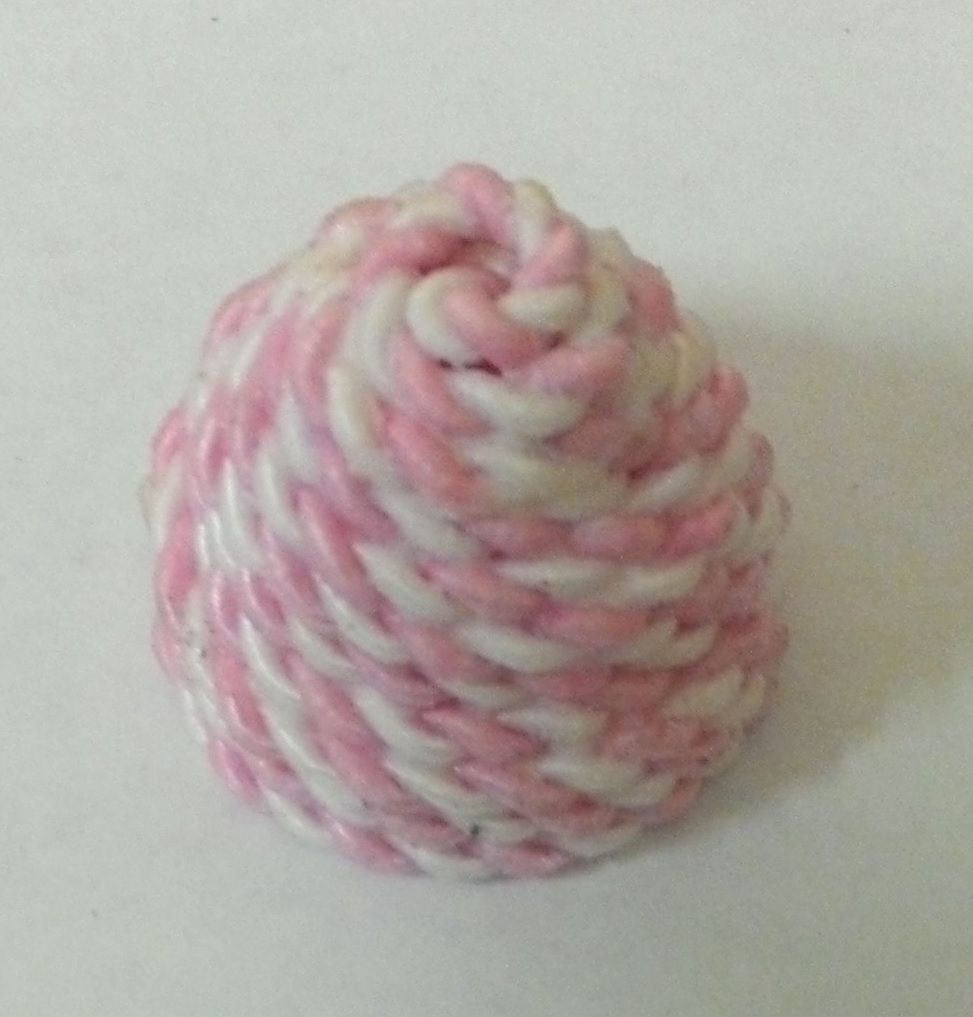
I found it helpful to add glue to the
inside of the beehive to help it keep its shape.
To block out the color of the cording
I painted the outside of the hive with white acrylic paint.
Next, I coated the inside and outside
of the hive with Mod Podge.
The final step was to use the Caramel
Alcohol ink to color the hive. Because I
coated the hive with the Mod Podge first the ink and paint did not mix and
lighten the color of the ink.
Once the hive was dry I glued it on
top of the bottle.
I added other embellishments such as brass
sunflowers, fibers, and Masonite bees.
These are the same bees that I used on the other bee projects (see
the previous bee projects for the tutorial on how to paint the bees).
Small Mason Jar
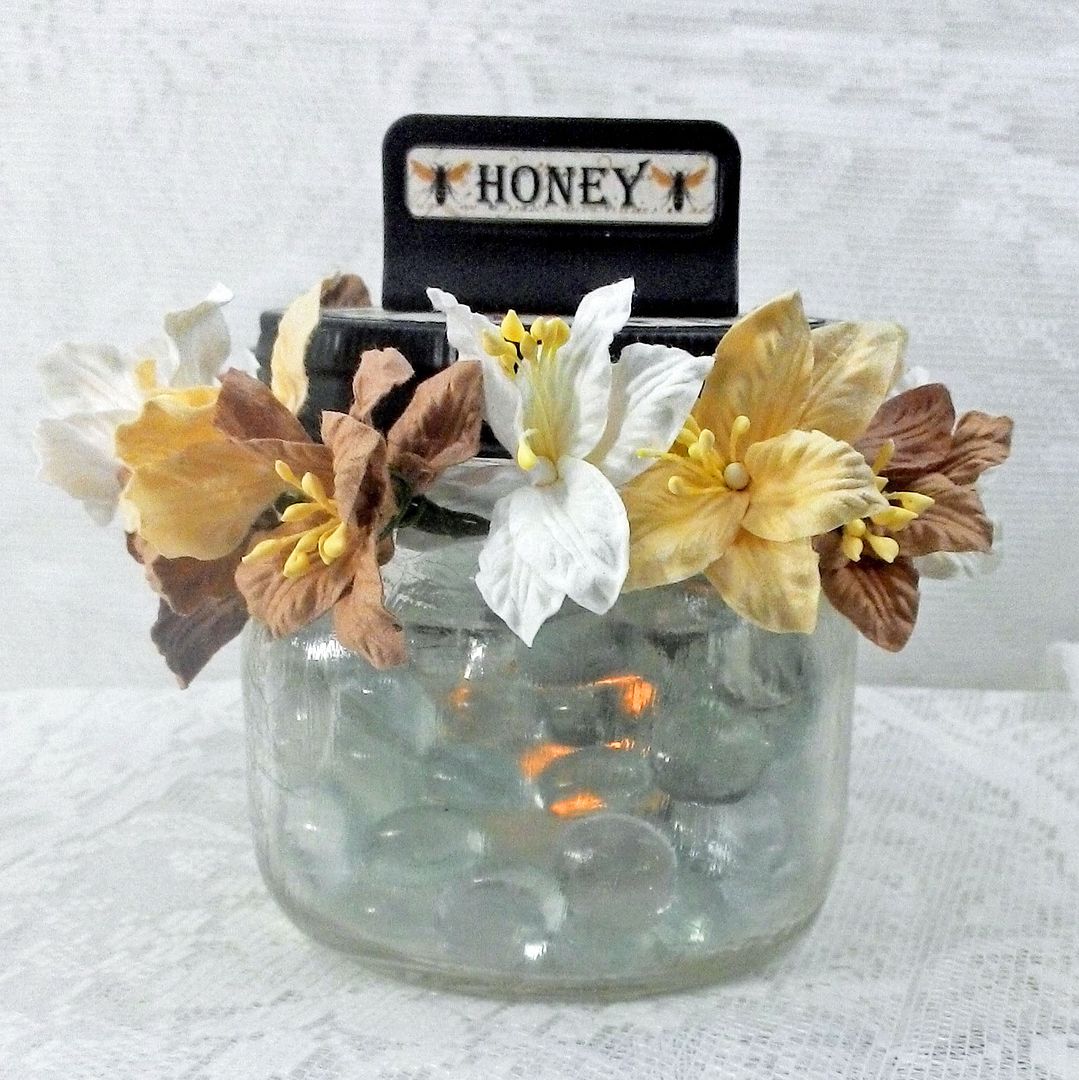
This next project was inspired by Mason
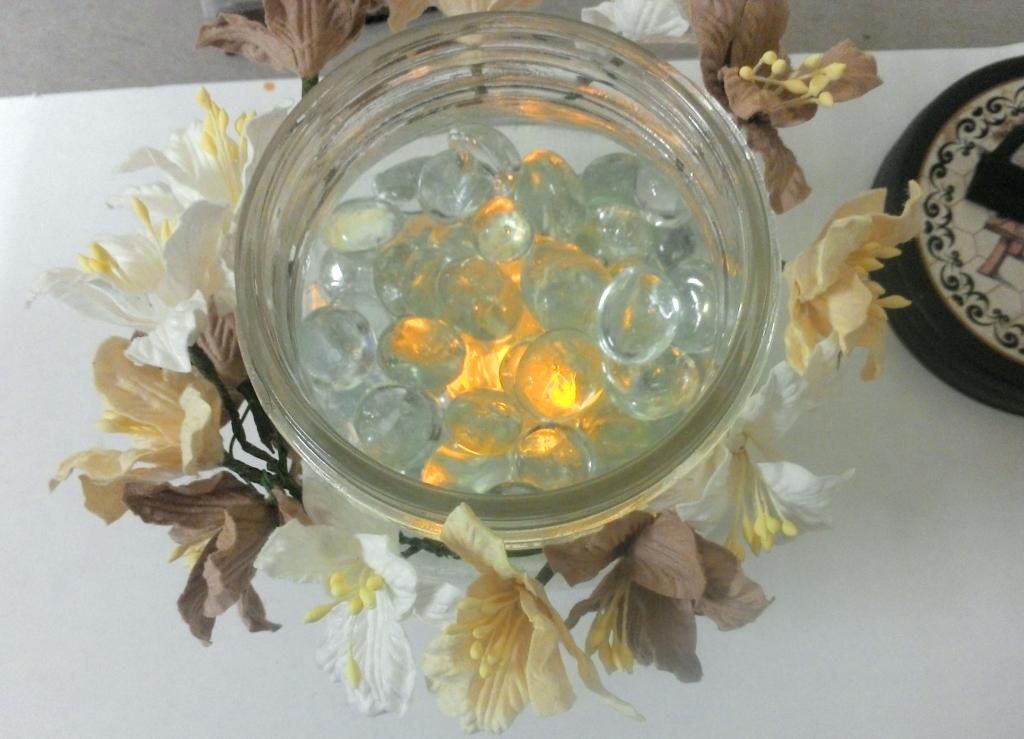
Jar Toppers. These toppers fit wide-mouth Mason jars. The glow in the jar is
from an LED tea light and clear pebbles.
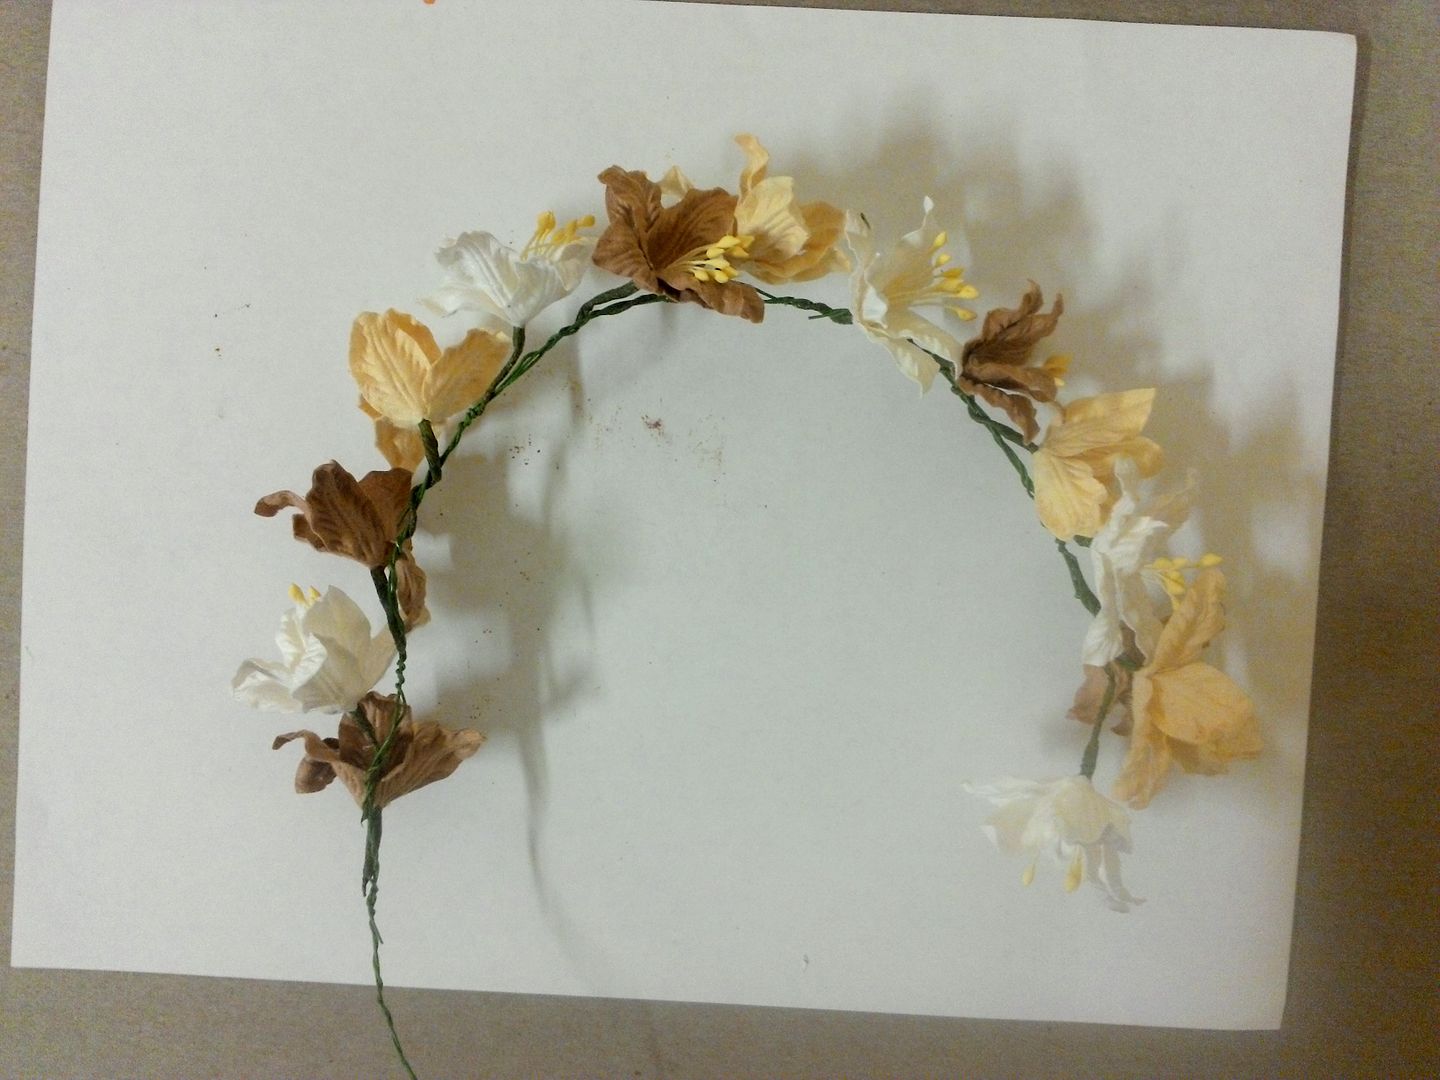
To make the garland, I twisted the stems
of paper flowers together.
Next, I twisted each end of the
garland together to encircle the top of the jar. I placed the light at the bottom of the jar
then added the clear pebbles to cover the light. Nothing is glued in place so it is easy to
unscrew the top and pull out the light to turn it off.
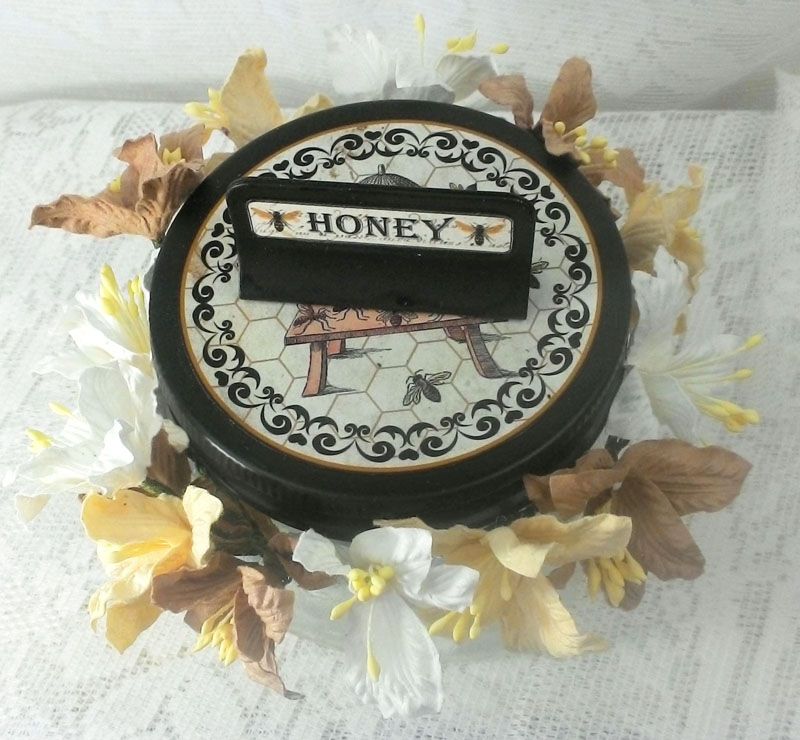
The topper is painted with Onyx Metal
Patina and decorated with one of the round medallions from the Bees
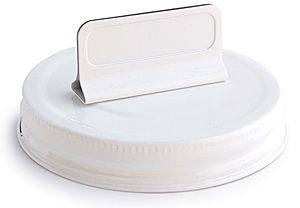
collage sheet. The label holder
comes off making it easy to paint the lid and to add images to the top. On the Bird
& Bees collage sheet is a small honey label that is sized to fit the
holder.
COLLAGE SHEET
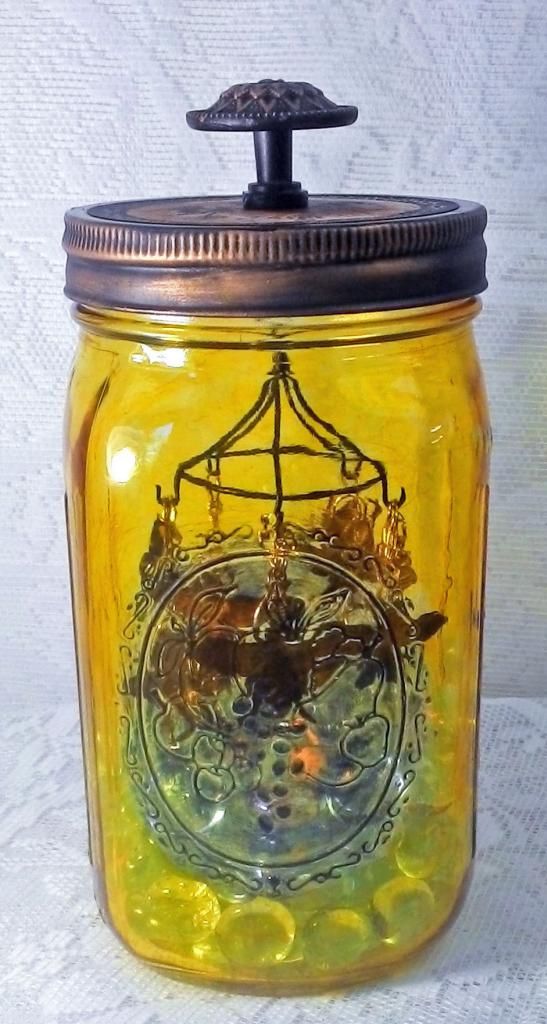
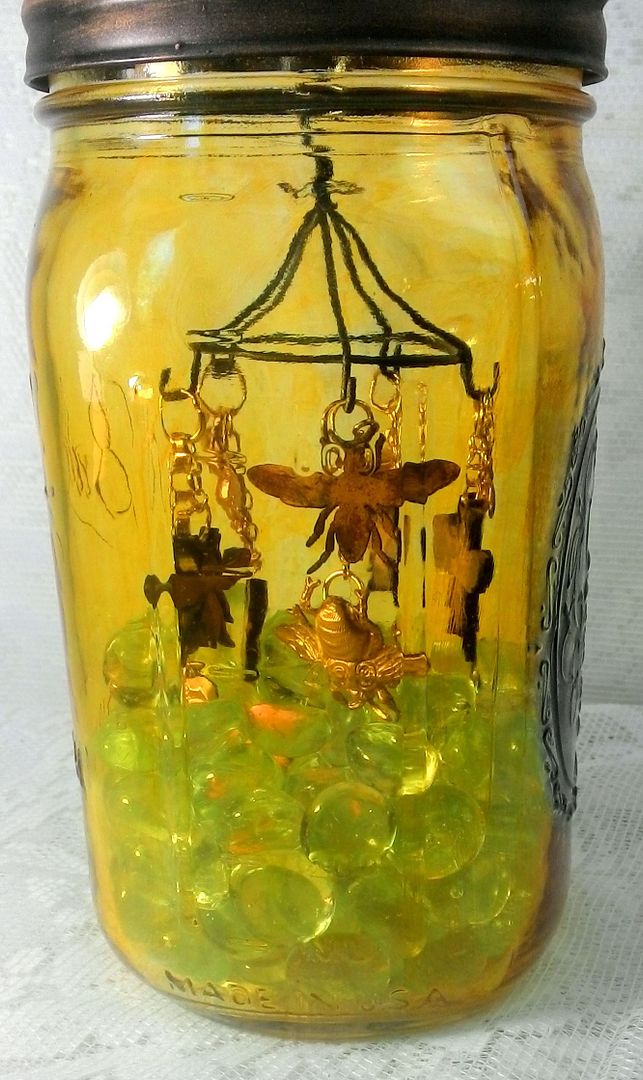
Large Mason Jar
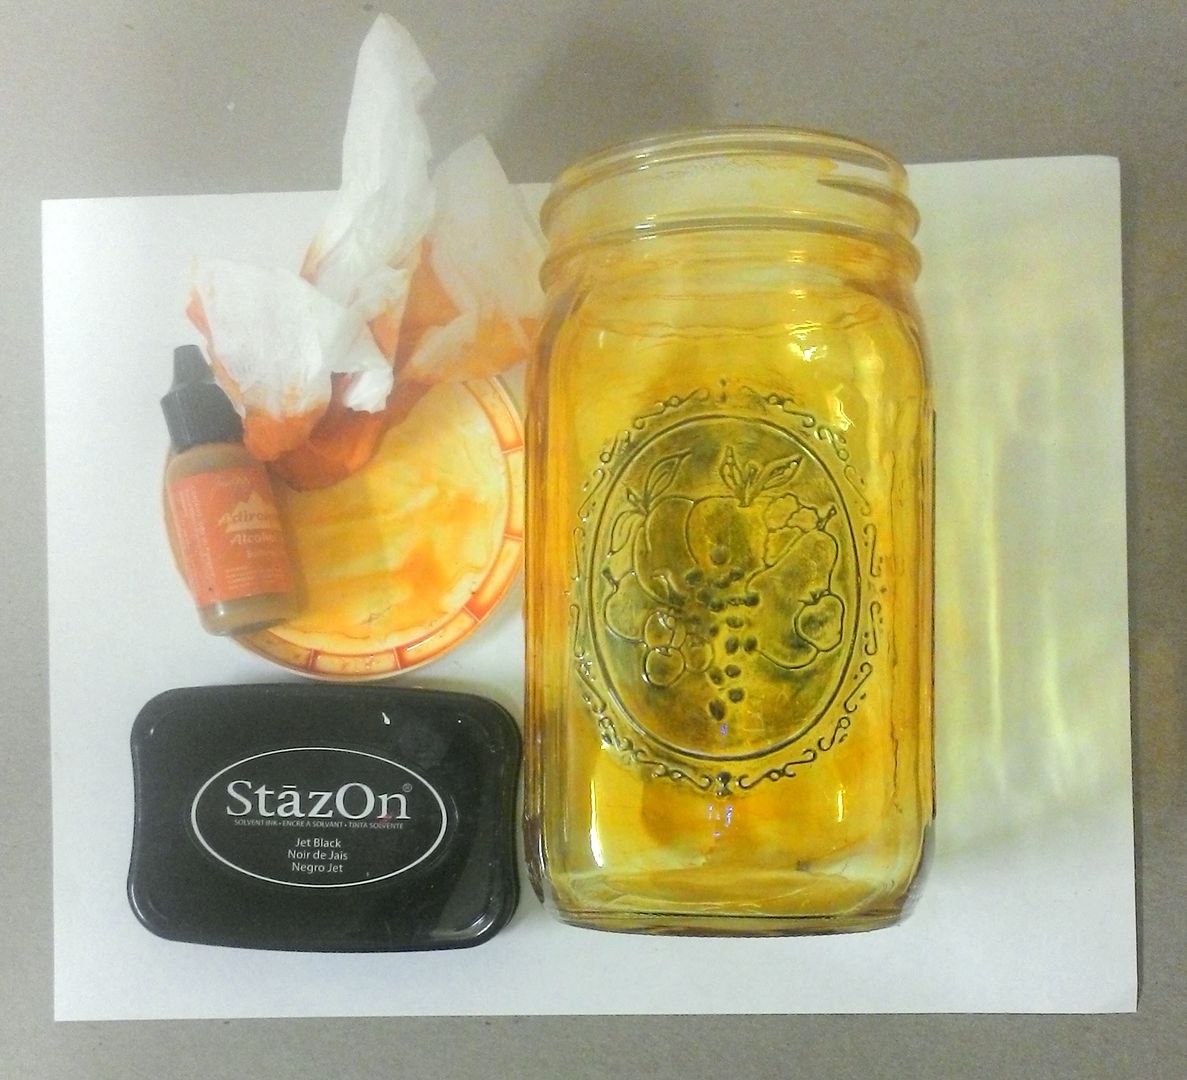
I started by coloring the raised
design on the jar with StazOn ink to make it pop. I found the jar at Wal-Mart in the craft
section. Next, I used a tissue and
alcohol ink to color the jar.
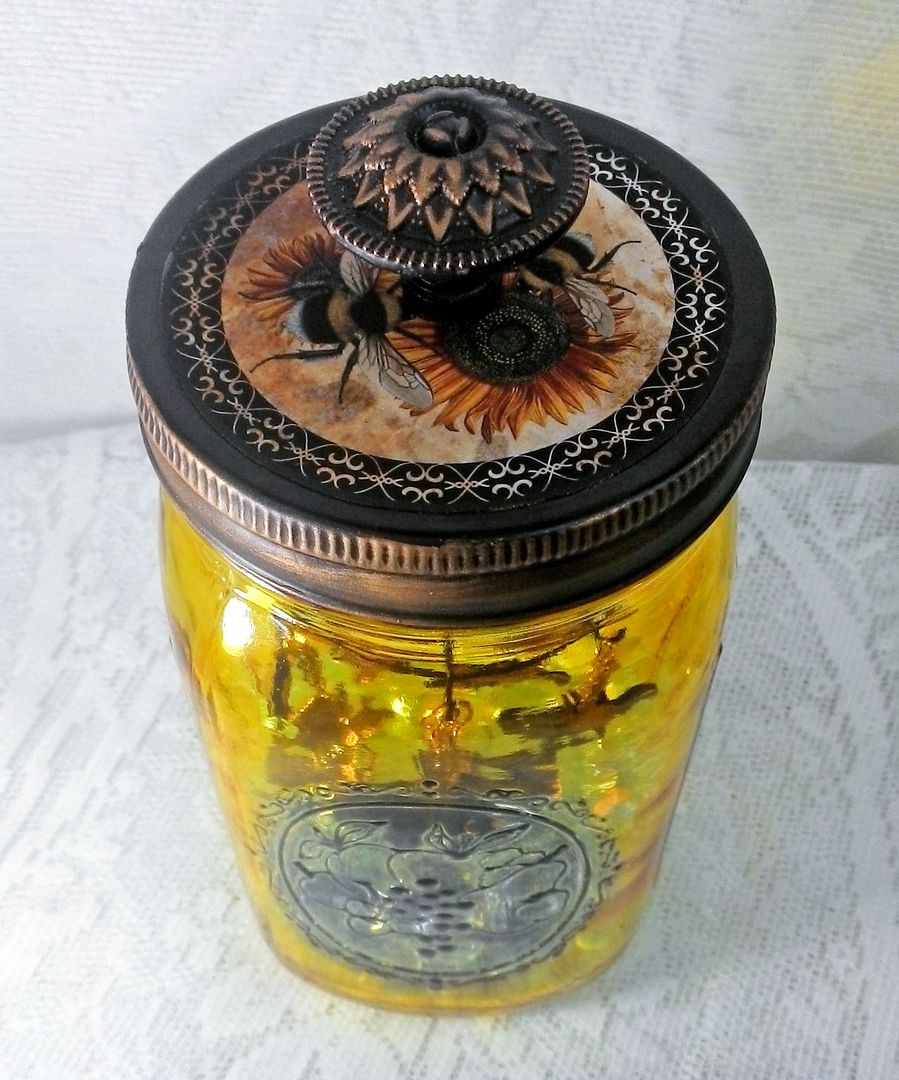
I painted the topper
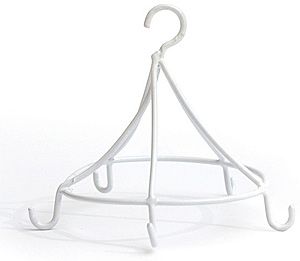
with Onyx Metal Patina paint. Note the
hook on the bottom and the handle on the top.
These are easy to remove for painting and decorating.
Hanging from the mini
mobile are brass bees & Masonite bees.
These are the same bees that I used on the other bee projects (see
the previous bee projects for the tutorial on how to paint the bees). The mobile hangs from the hook under the
topper.
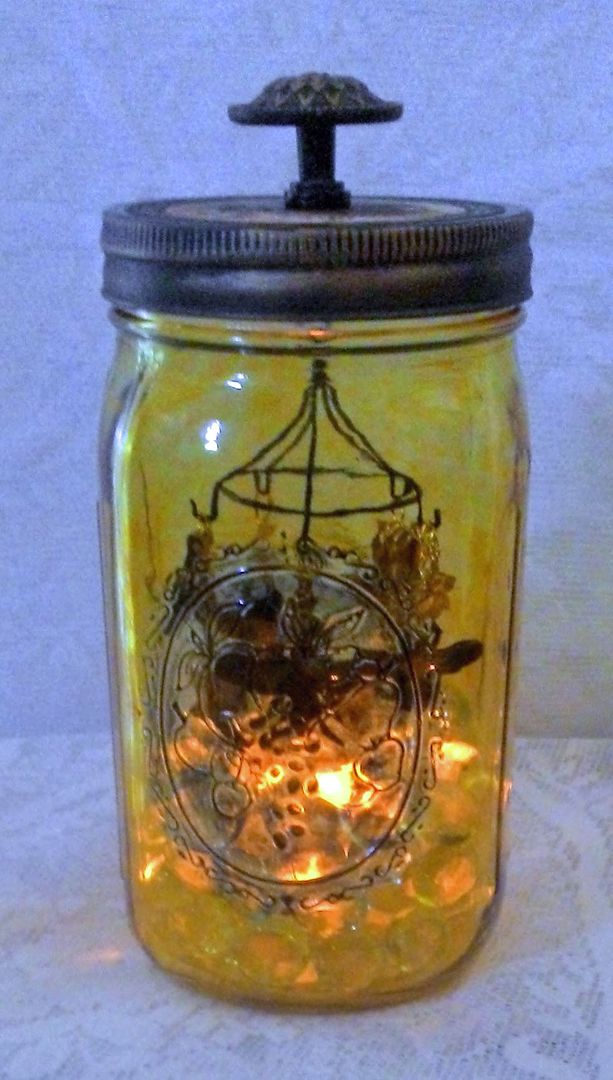
Just like with the smaller jar, I
placed the light at the bottom and added clear pebbles to cover the light. Nothing is glued in place so it is easy to
unscrew the top and pull out the light to turn it off.
To decorate the topper
I rubbed it with Inca Gold Gilders Paste and added a bee themed medallion.








8 comments:
You are brilliant! Love all your 'bee bottles' Laura and thanks so much for sharing your tutorials so generously.
WAAAAAAY COOL!! I especially like the one with the faux beehive! you are SO CREATIVE!! Thank you for sharing!
Wow! Thk U for this! I must. re-read and figure out the products you used. I have wondered how to colour bottles, jars, glass !!! Beautiful Art and thank you again for the info!! xoxoDebi
Hi Laura, I hope this finds you well! I love your bee bottles, you are so creative, I look forward to having the time to visit your beautiful blog now. Hope you are having a wonderful summer. Hugs, Terri
thank you so much for the wonderful tutorials. each creation you've made fully inspires. xo
Wow you have really created a "Honey" of a project. These bottles and jars are amazing. You always deliver uber Creative Bliss...
Hello dear Laura, finally today I found time to get back to my favorite blogs:-)
Your new creations are excellent. I'm totally in love with your bee bottles. Just beautiful!
Have a wonderful weekend.
Hugs MARTINA
Amazingly bee-autiful. I had to make the pun. You are so talented and creative, you see possibilities in everything. Love it!
Post a Comment