-->

Welcome

I love answering your questions. If you ask them in the comment section, I have no way to answer you (if you haven't heard from me, that is why). If you use the "EMAIL ME" in the left column of this page, I will be able to respond to you. You can also use it if you want to be added to my newsletter. Laura
Showing posts with label Altered Clock. Show all posts

Saturday, October 25, 2014

HALLOWEEN BLOG PARTY – 13th HOUR CLOCK GIVEAWAY, FREE TREAT BOX TEMPLATE & HALLOWEEN IMAGES

It’s all treats today and no tricks!  For my contribution to the Halloween Blog Party hosted by Vanessa at A Fanciful Twist, I have all kinds of goodies for you. 

GIVEAWAY DETAILS
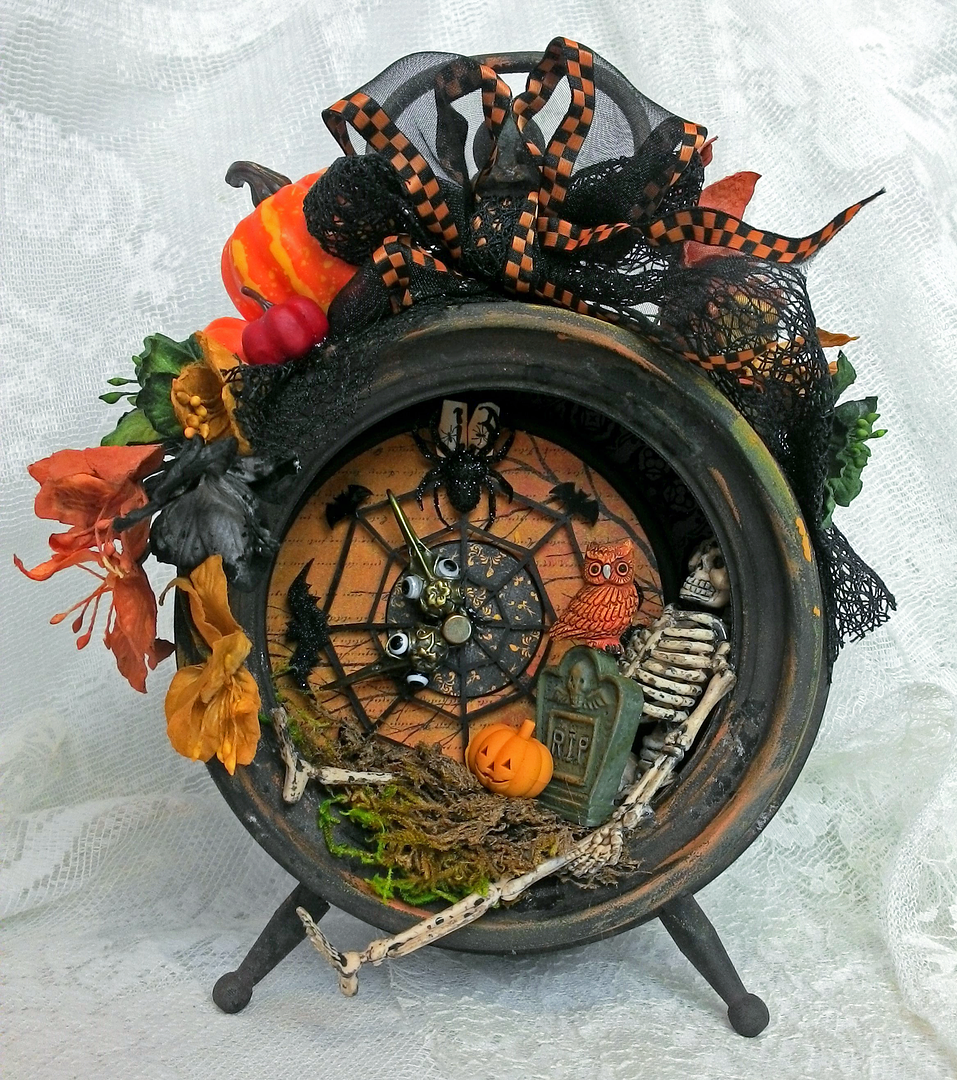
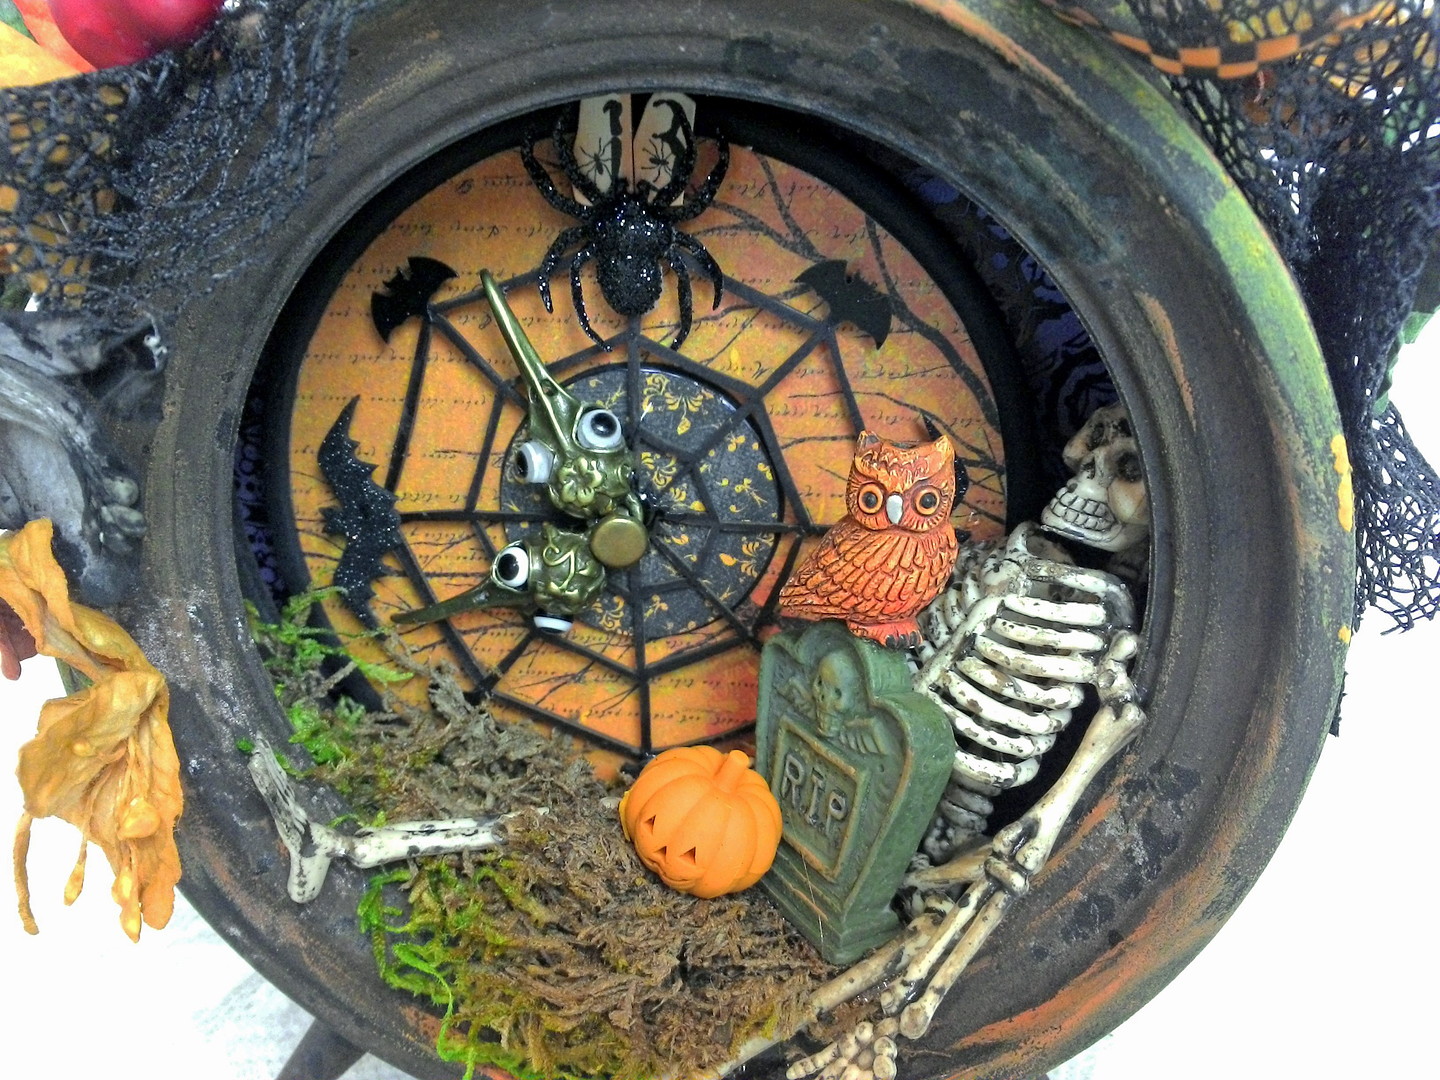
First, is a giveaway of a 13th Hour Halloween altered clock.  To enter in the drawing just leave a comment on this post or email me using the Email Me button in the right-hand column of the blog.  On the morning of Halloween October 31st, I’ll use Random.org to select a winner.

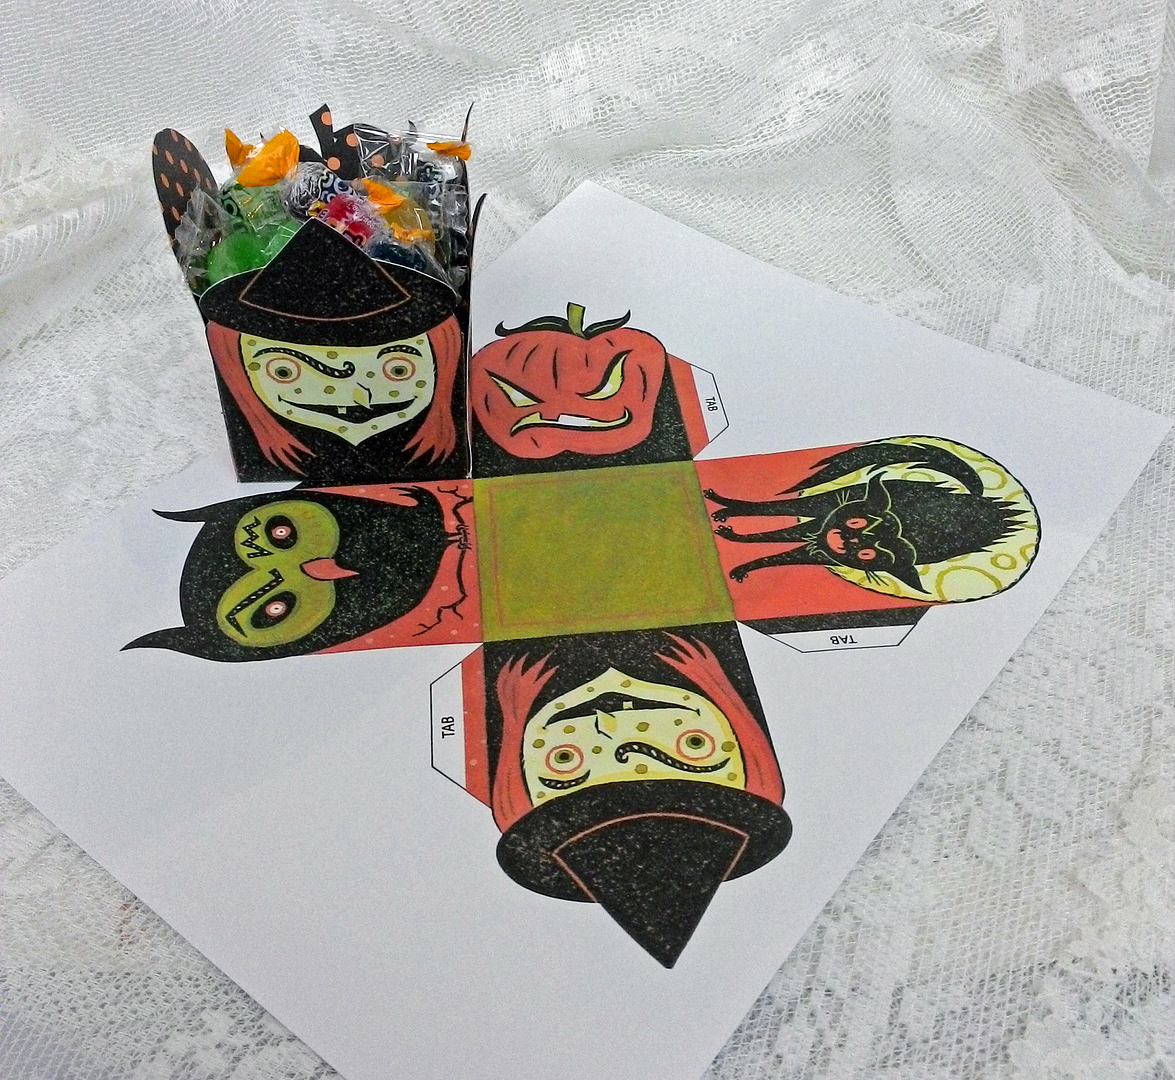
VINTAGE HALLOWEEN TREAT BOX TEMPLATE
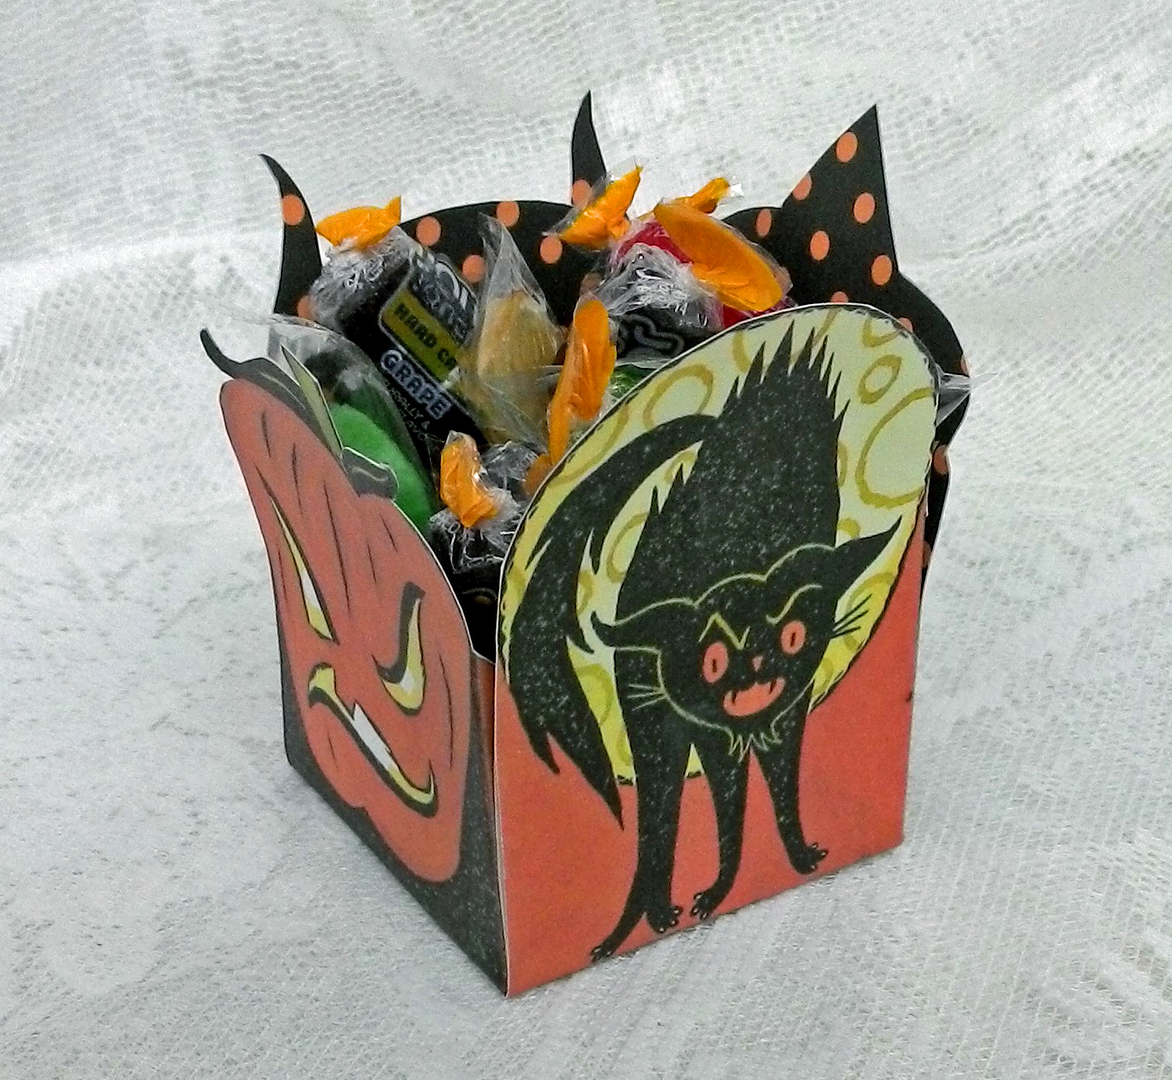
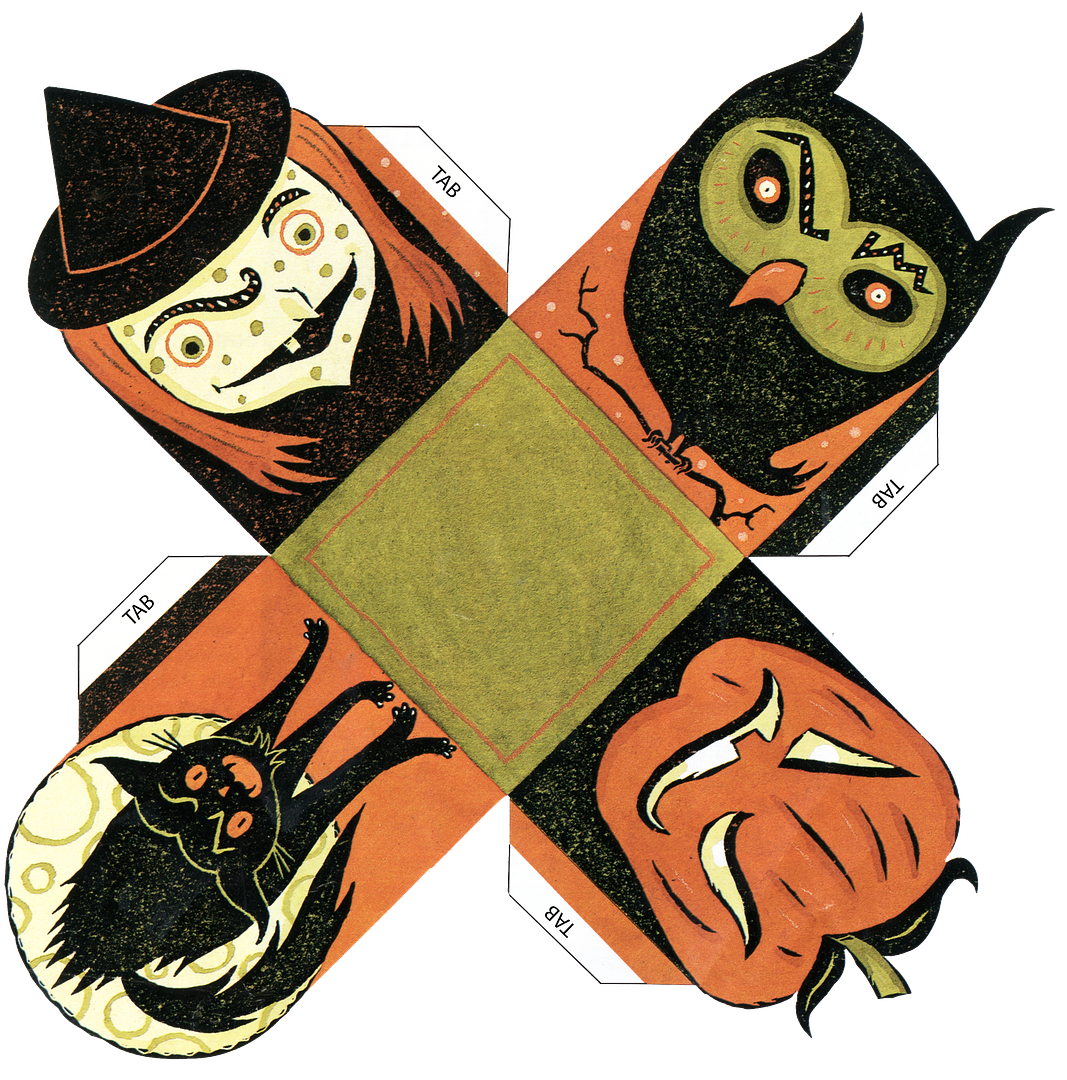
How about making your own vintage treat boxes.  These can be used for a party or for special tricker treaters.  They are super simple to make.  Below is the template.
I glued decorative paper to the back of the template before assembling.
The template fits on on 8 1/2" x 11" paper (of course you can always re-size it).  To download the template, click on the image to expand it, right-click and select Save As.

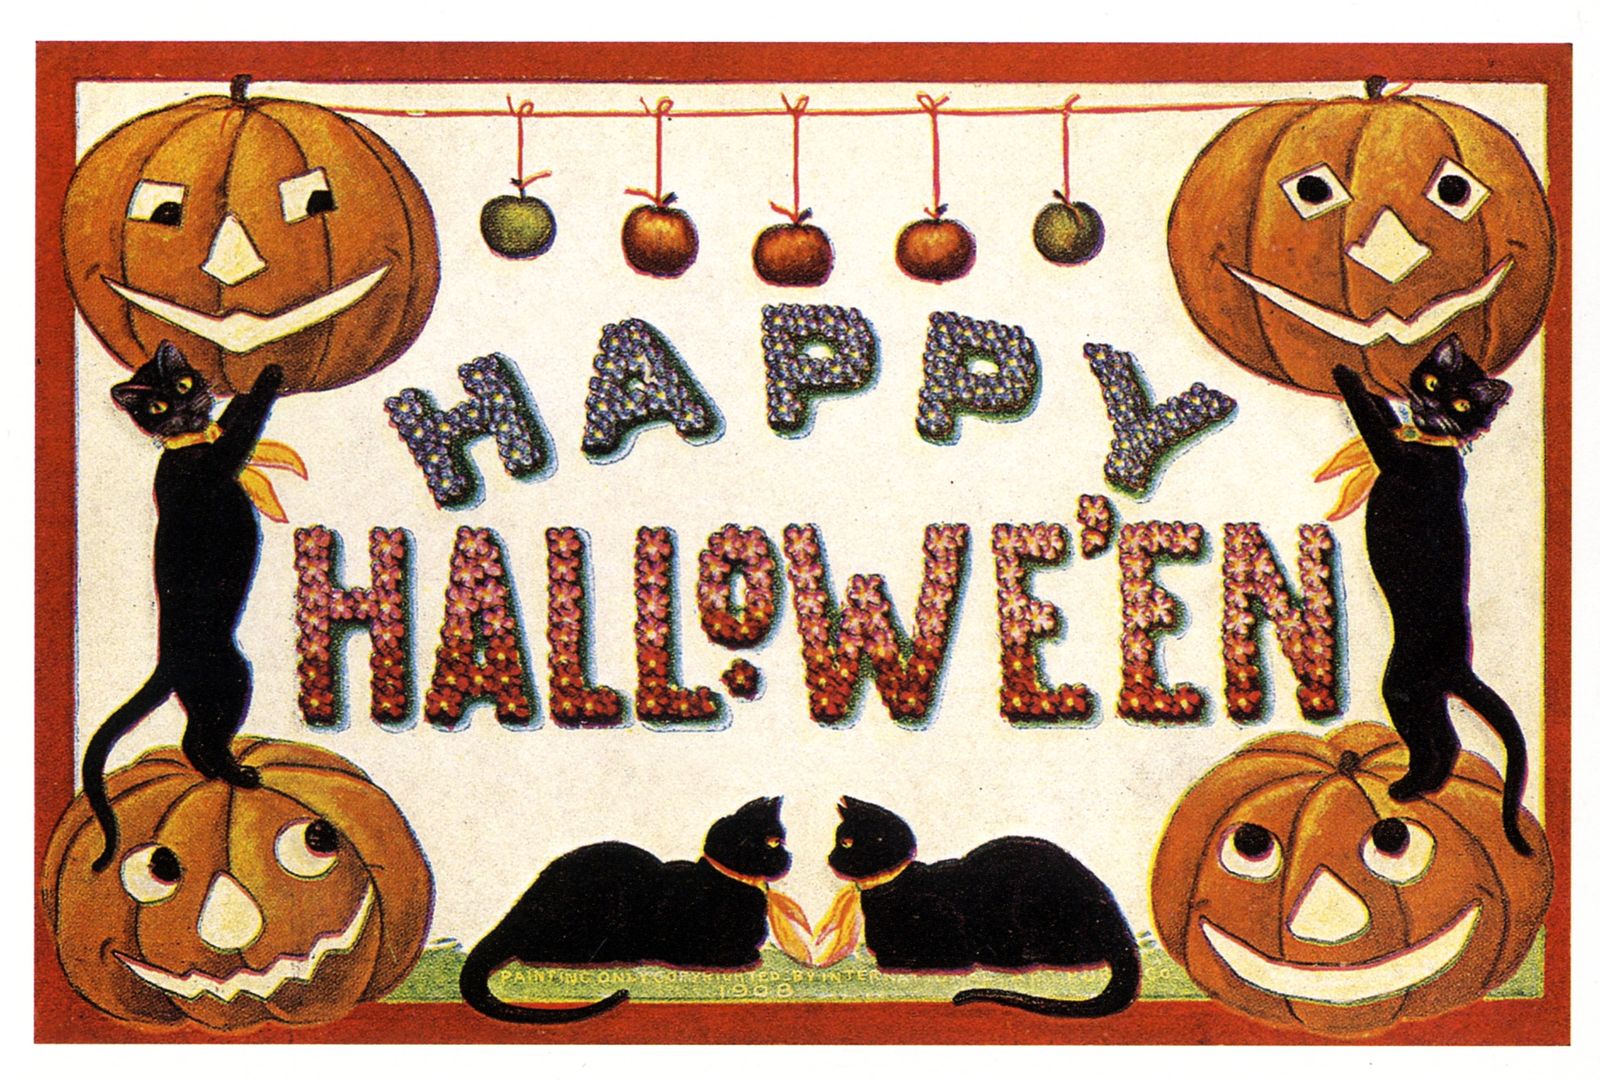
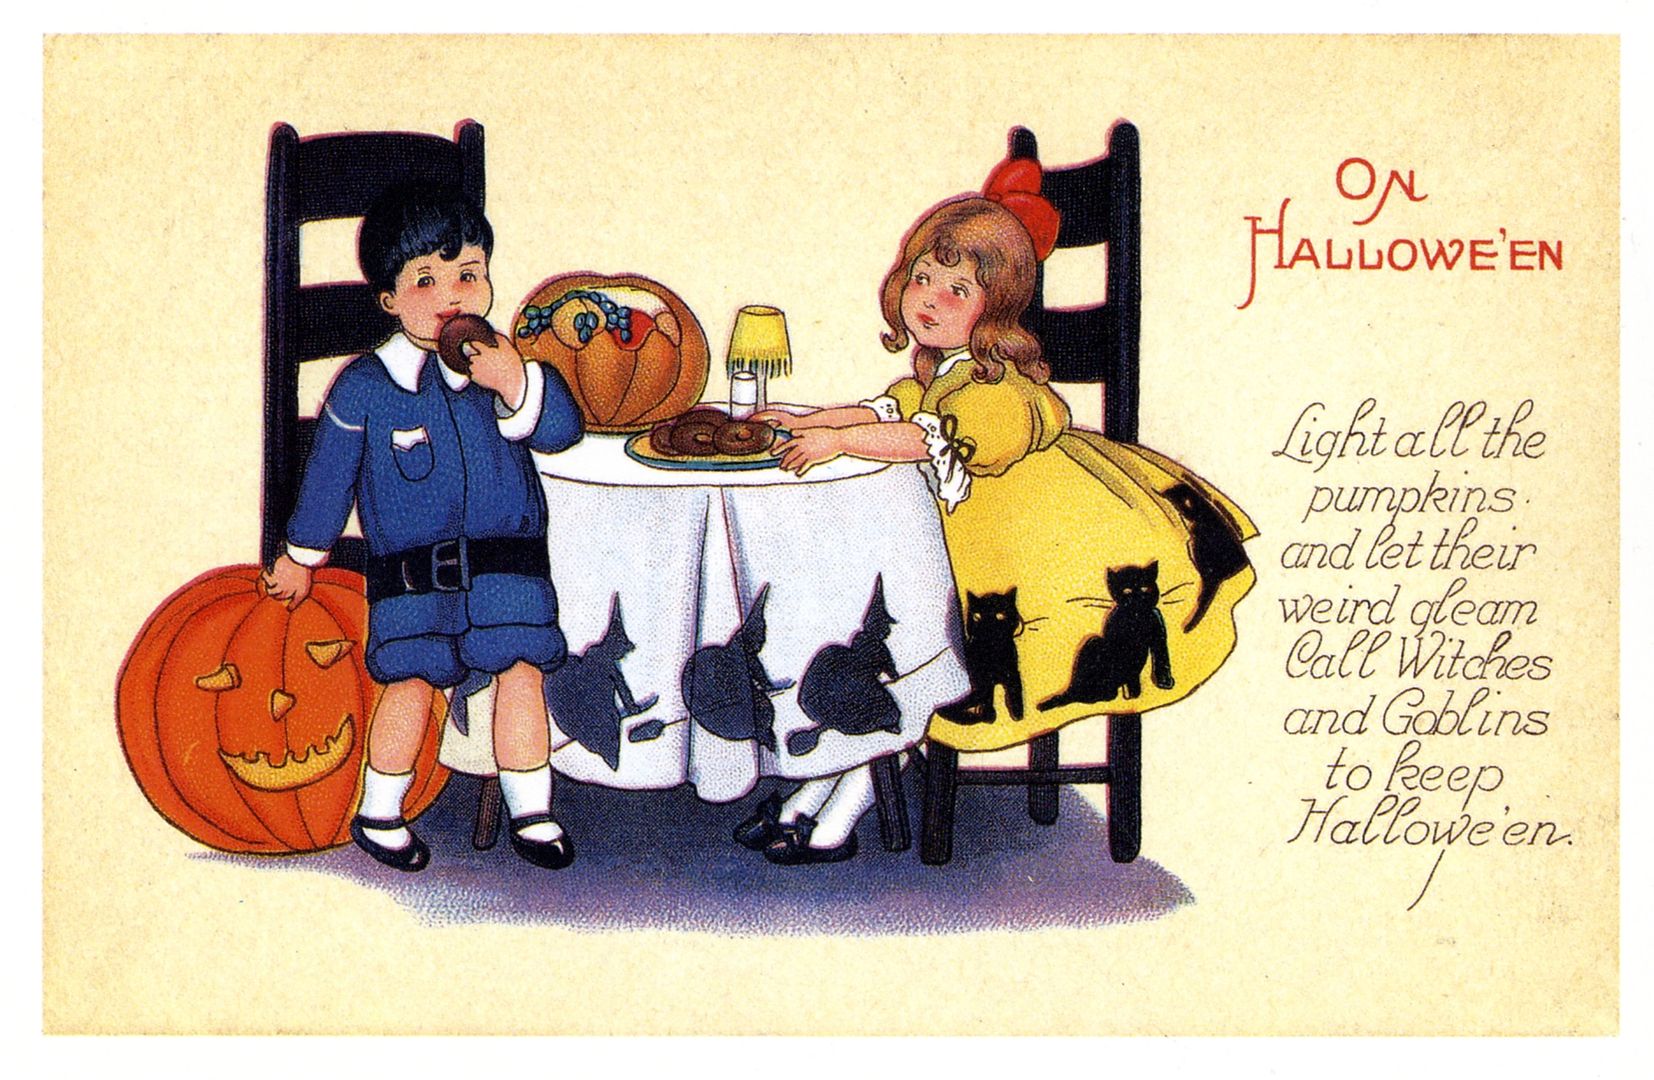
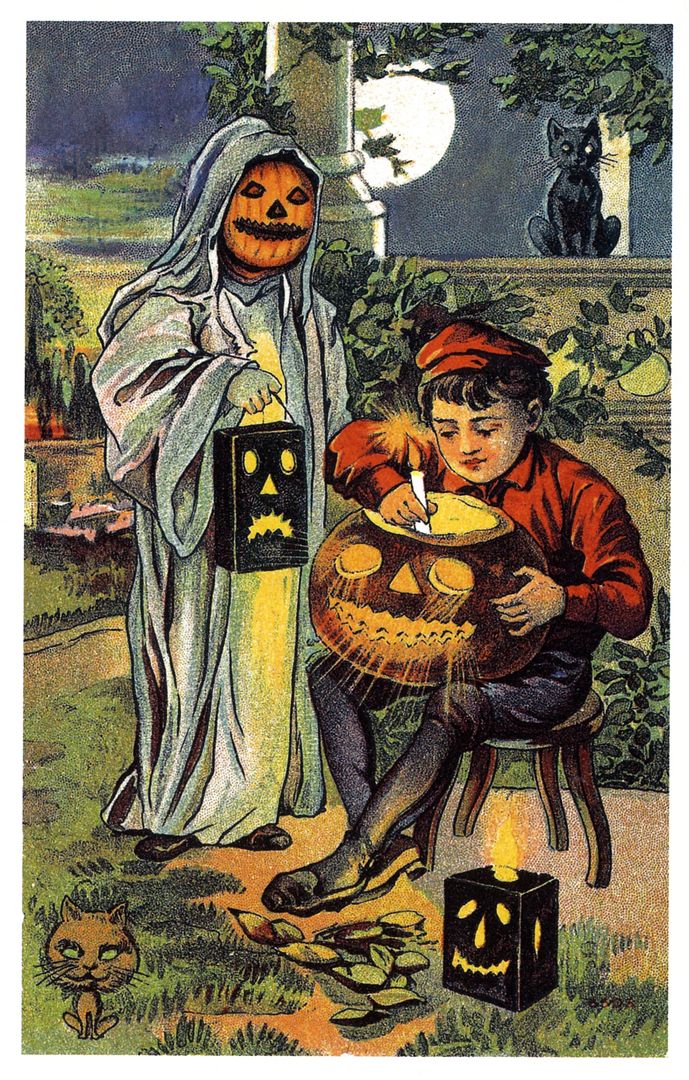
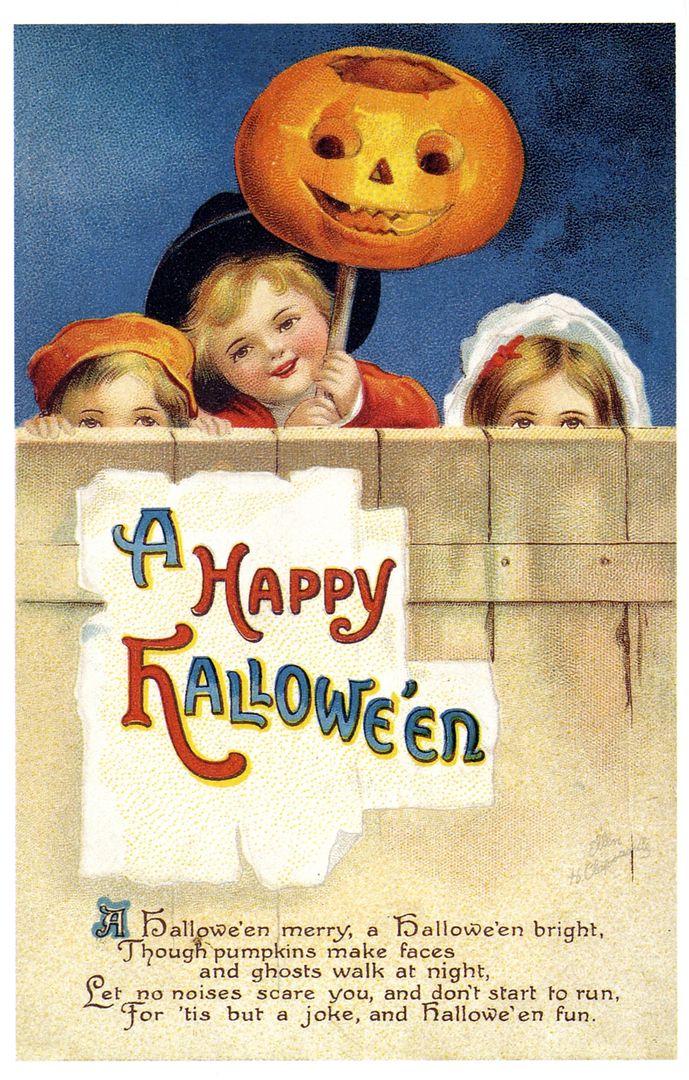
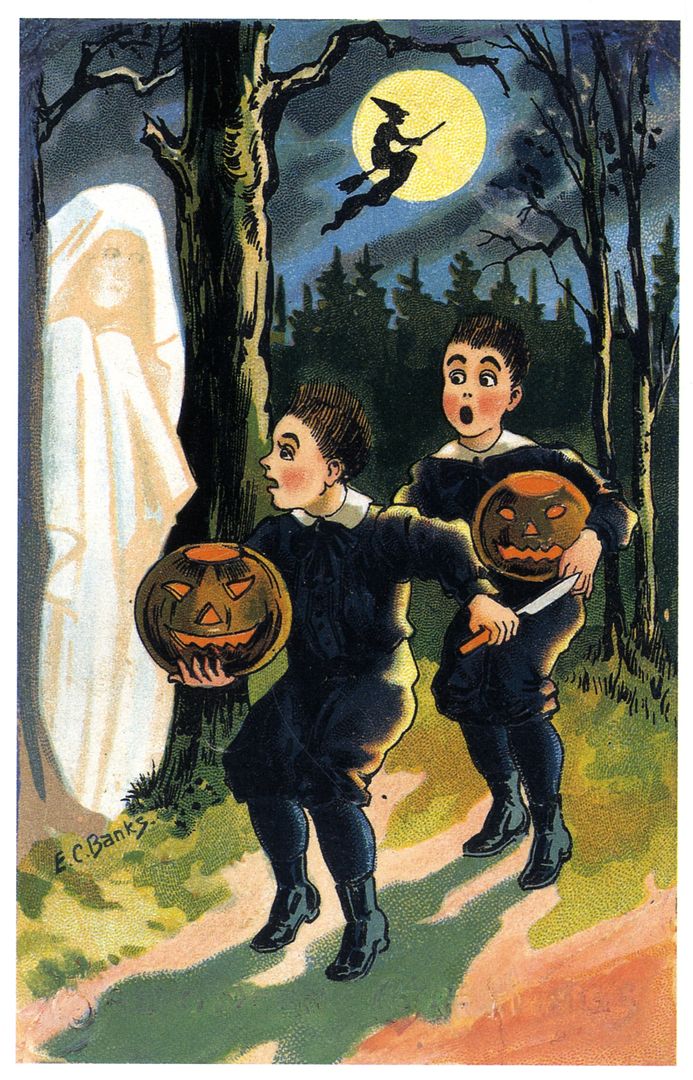
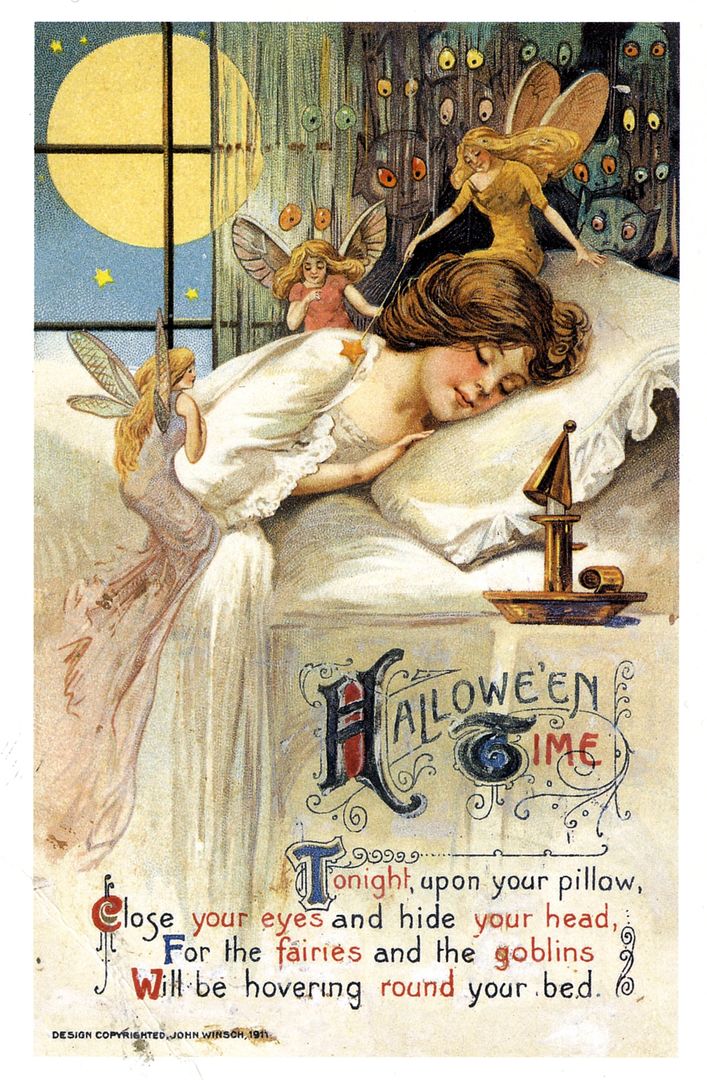
FREE VINTAGE HALLOWEEN IMAGES FOR YOUR ART
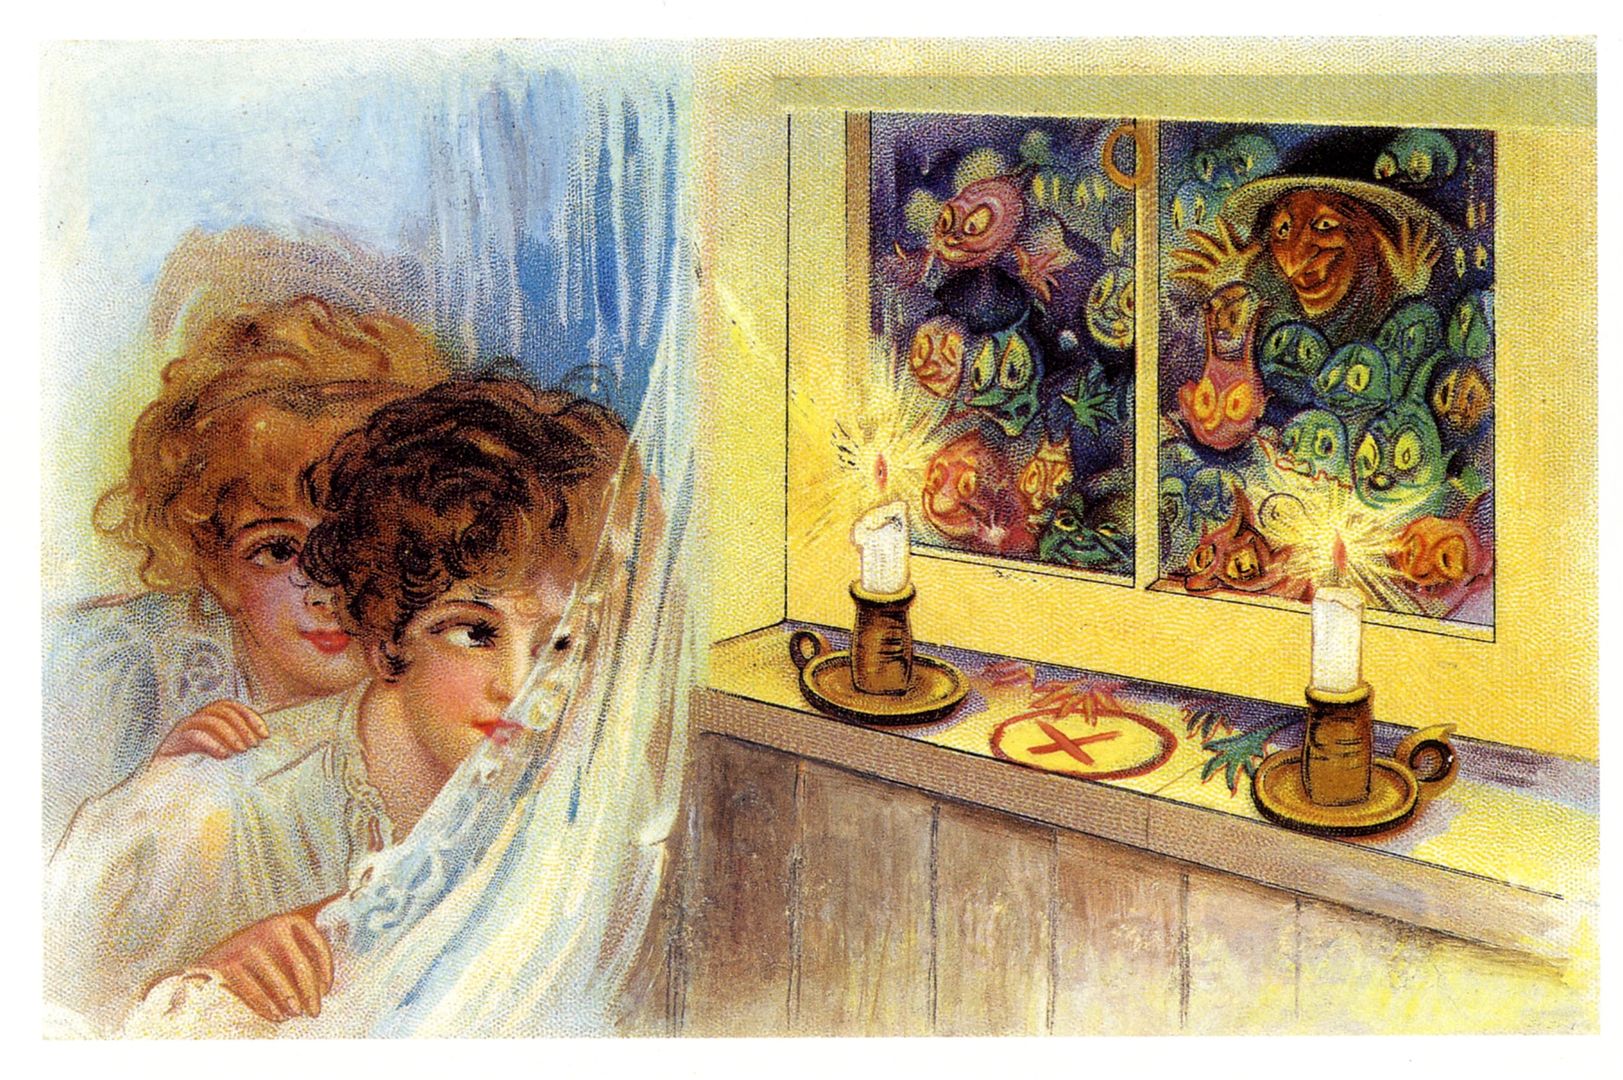
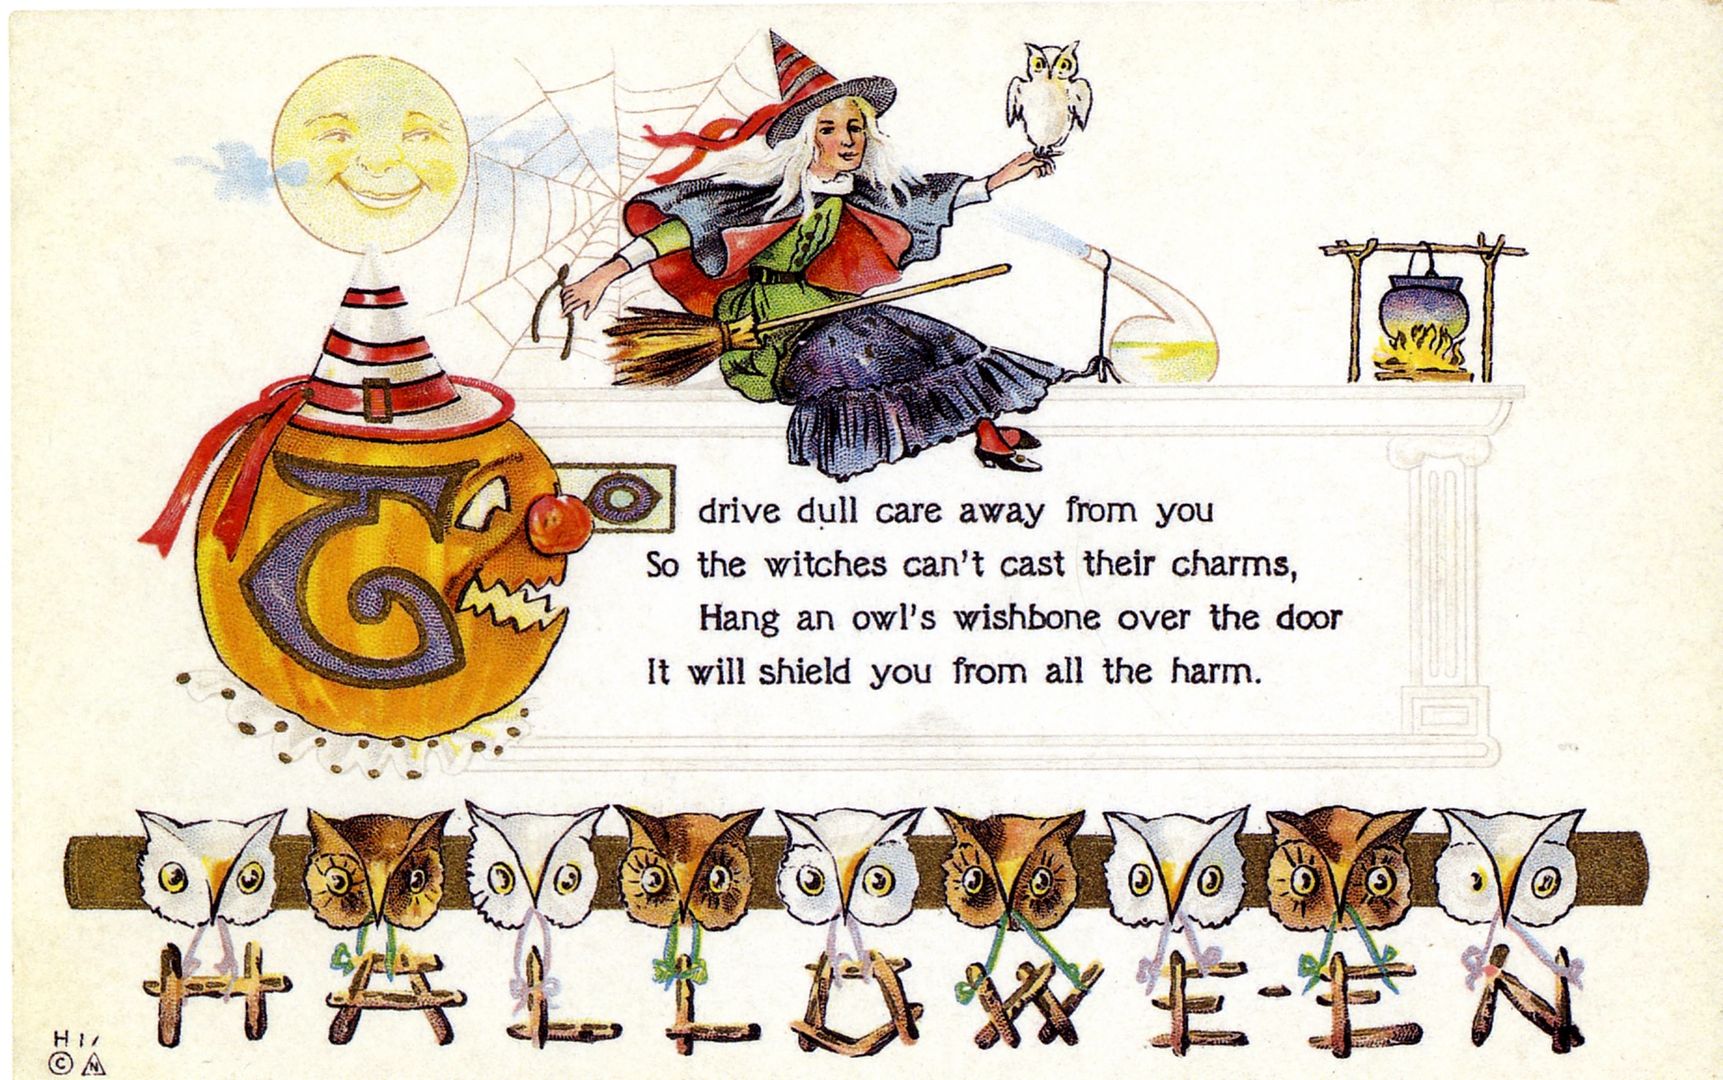
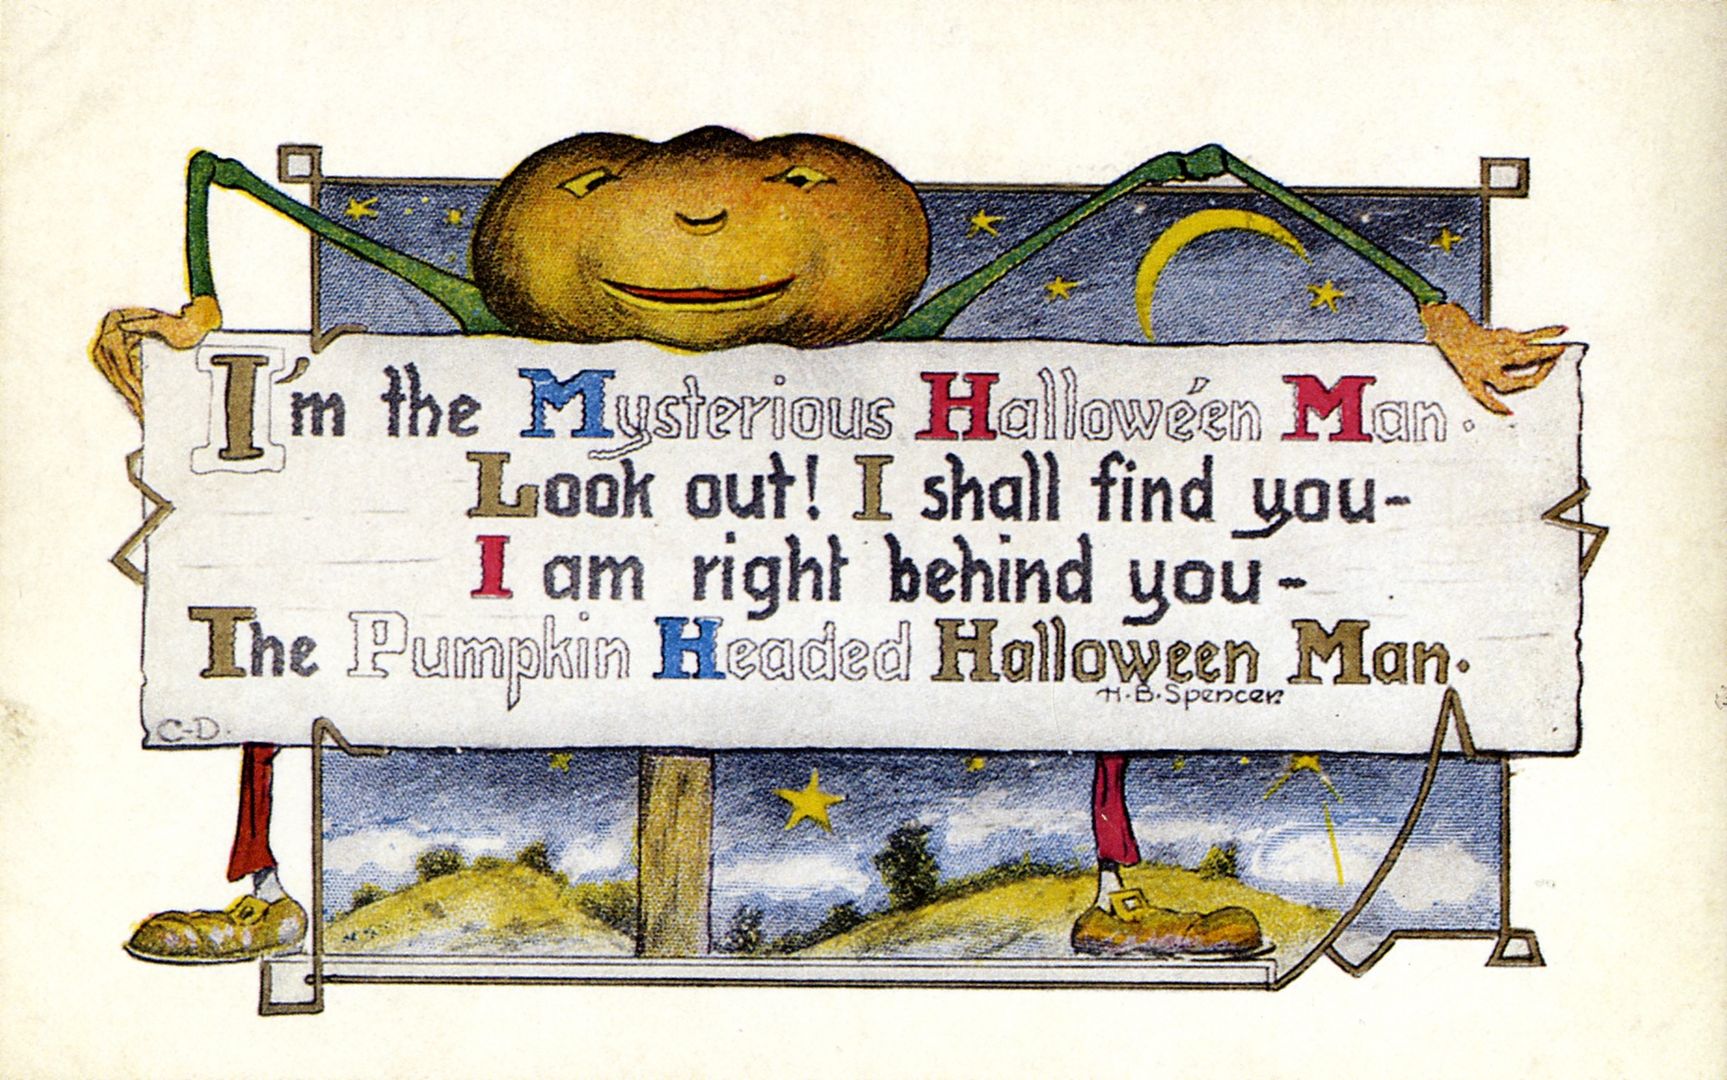
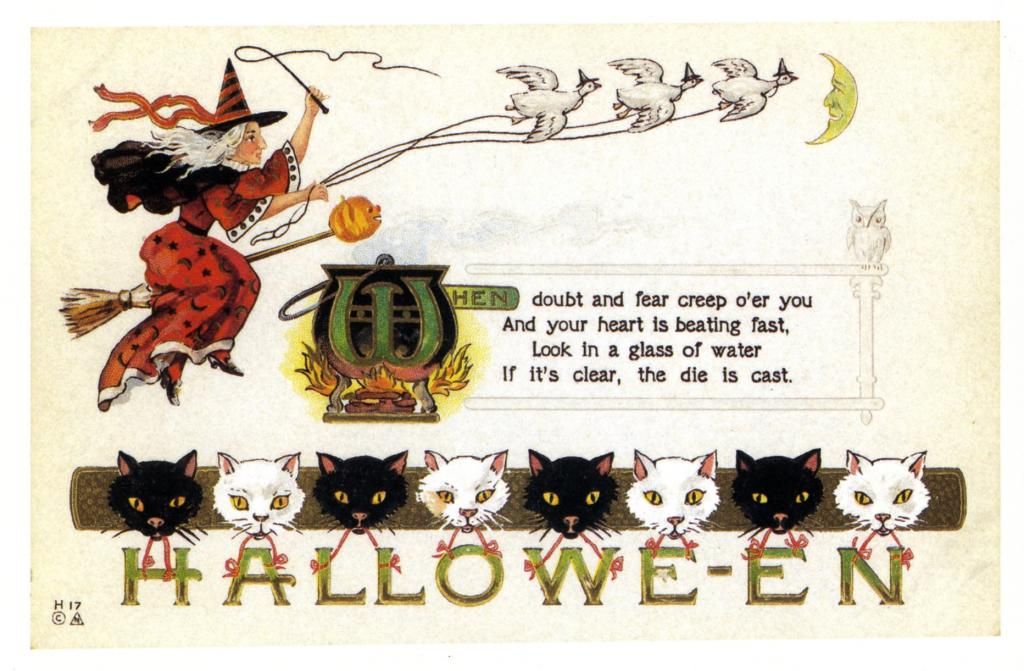
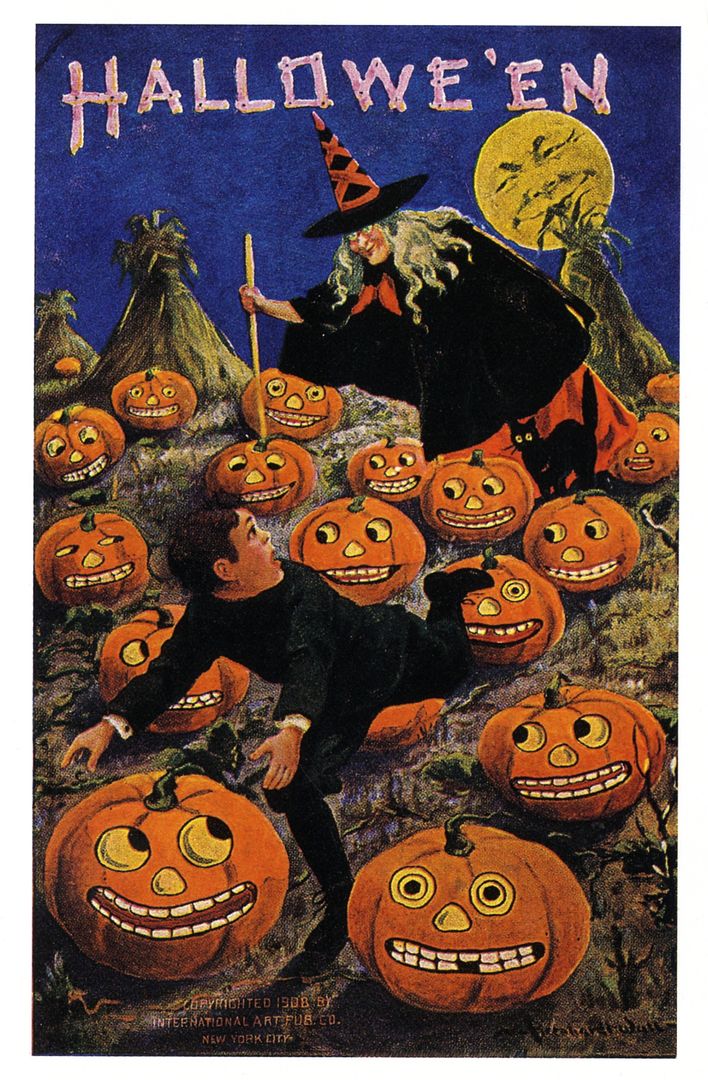
To download an image, click on the image to expand it, right-click and select Save As.

HAPPY HALLOWEEN!

Wednesday, April 2, 2014

Working Clock Made from a Cigar Box

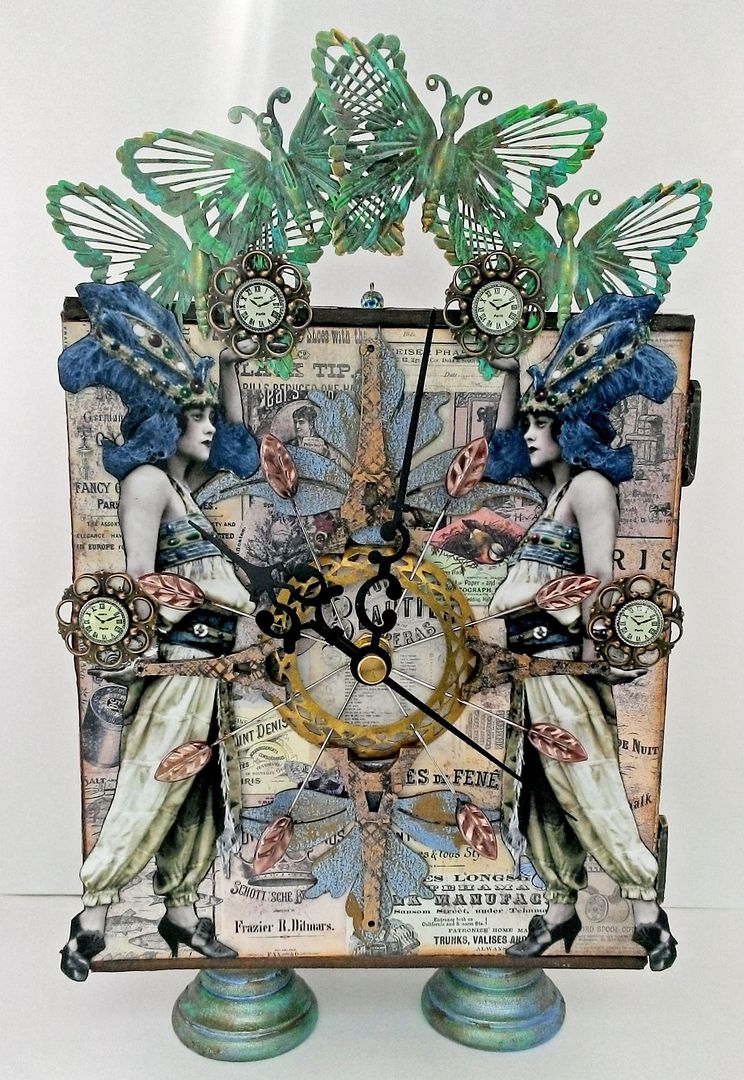
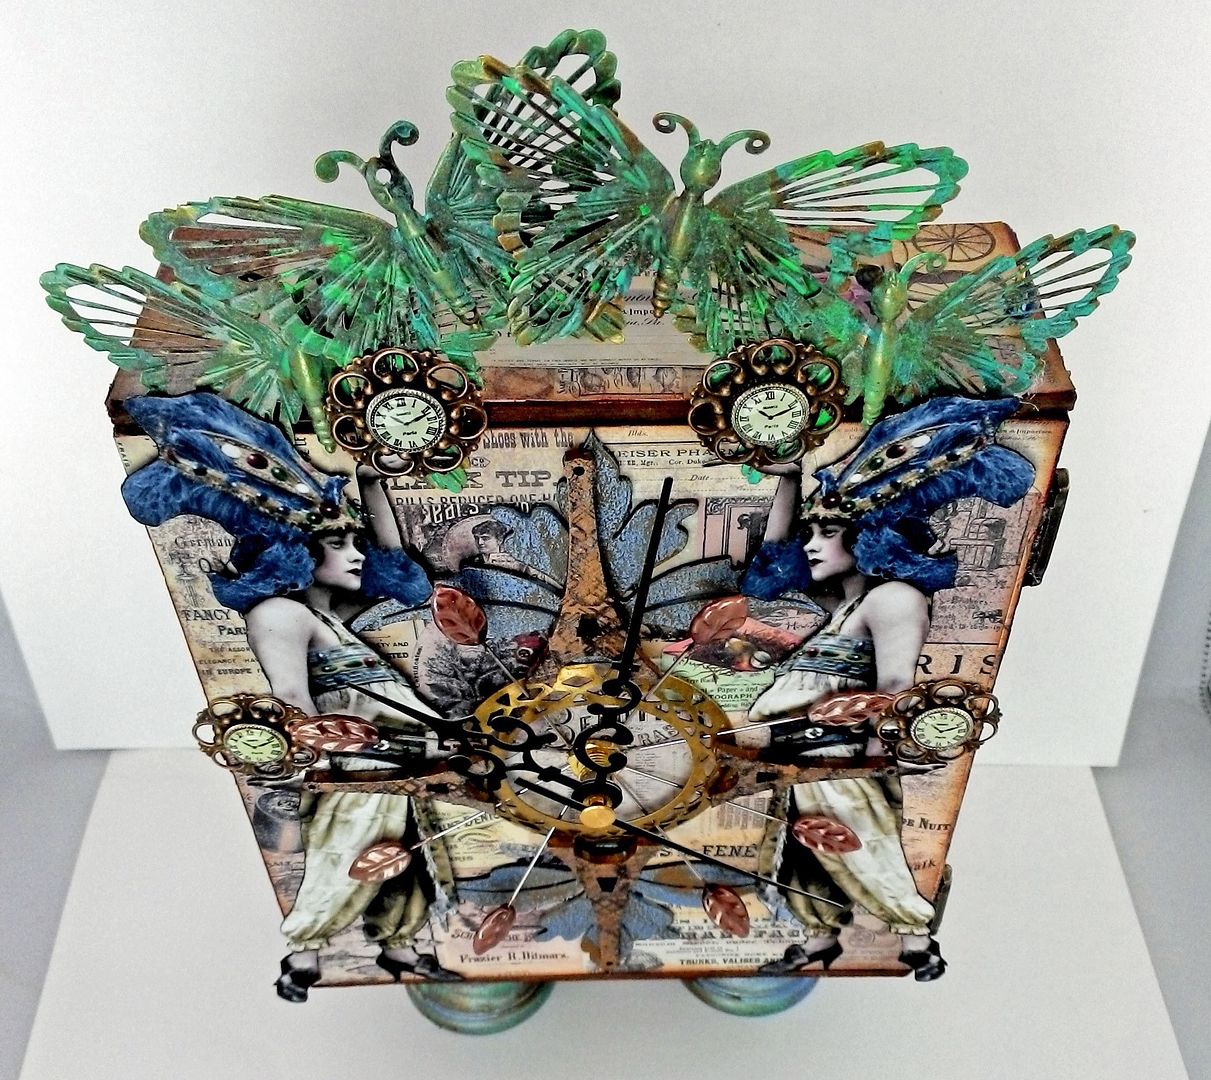
After the great response I got on the cigar box chest project, I thought you might enjoy another cigar box project that is both decorative and functional.  In this tutorial, I’ll show you how to transform a cigar box into a working clock.
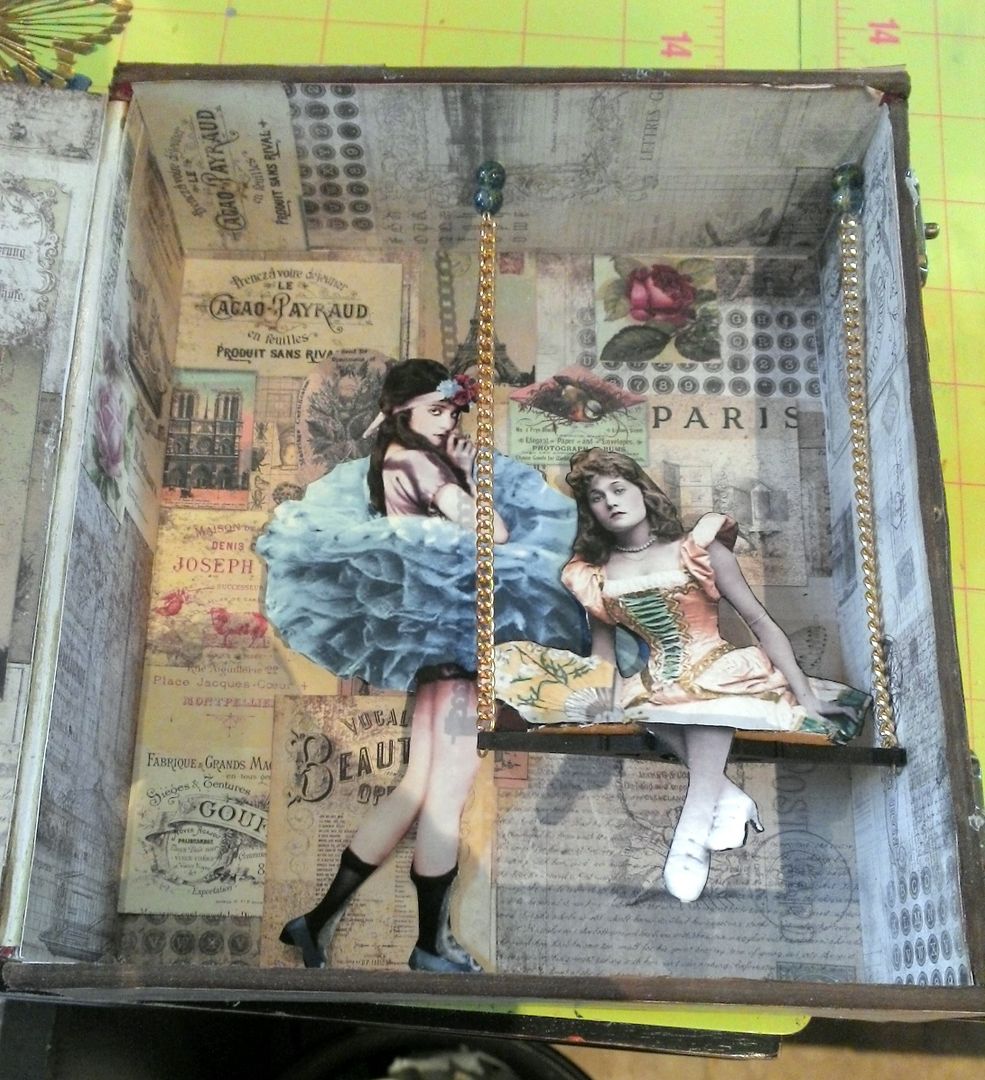
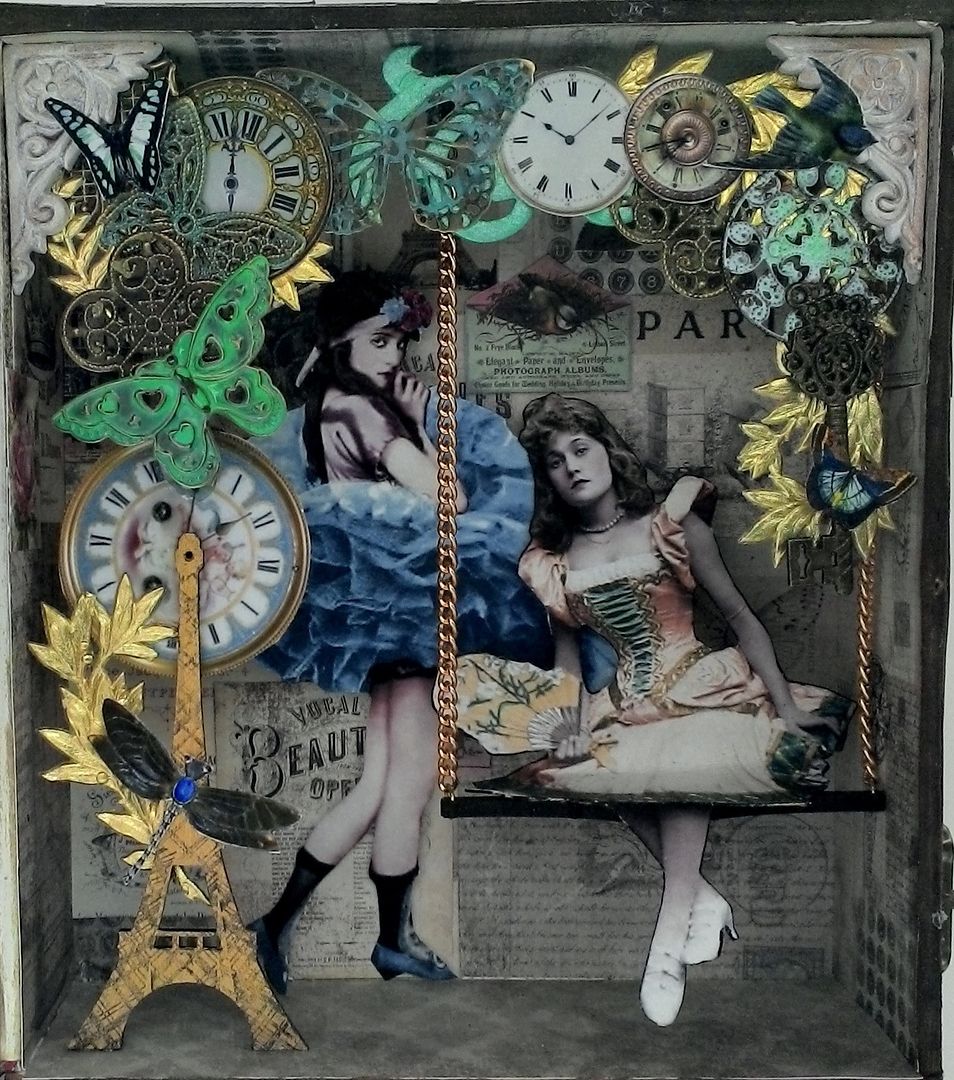
In the project example, I decide to make the lid of the box the clock and the inside a scene.  There are so many options and possible themes for this project.  Instead of having the clock on the front you could have it inside the box.  Instead of creating a scene inside the box you could add matchboxes as drawers and use it to store your treasures.   Last year I posted a tutorial on how to make an ATC Armoire out of a cigar box.  You could combine that project and this so that the lid is the clock and the inside is the ATC storage area.
TUTORIAL
The first thing you need to do is to find a cigar box.  The size of the box is completely up to you.  It just needs to be large enough to accommodate the clock mechanism.  The box I used measures 7” x 6” x 21/4”.

Start by finding the center point of the cigar box lid and drill a hole large enough to accommodate the center piece on the clock mechanism.
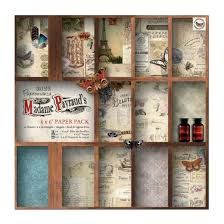
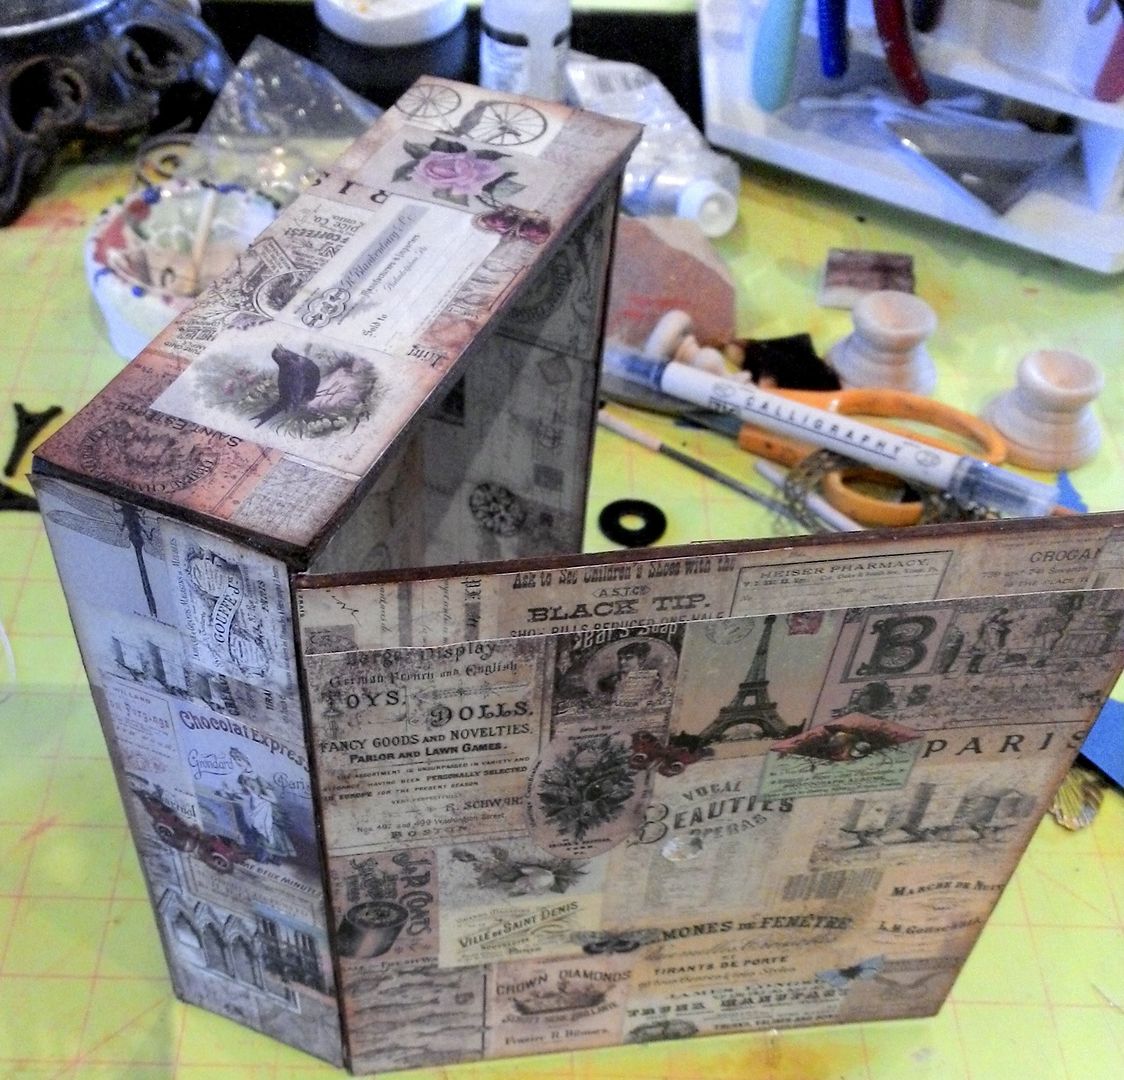
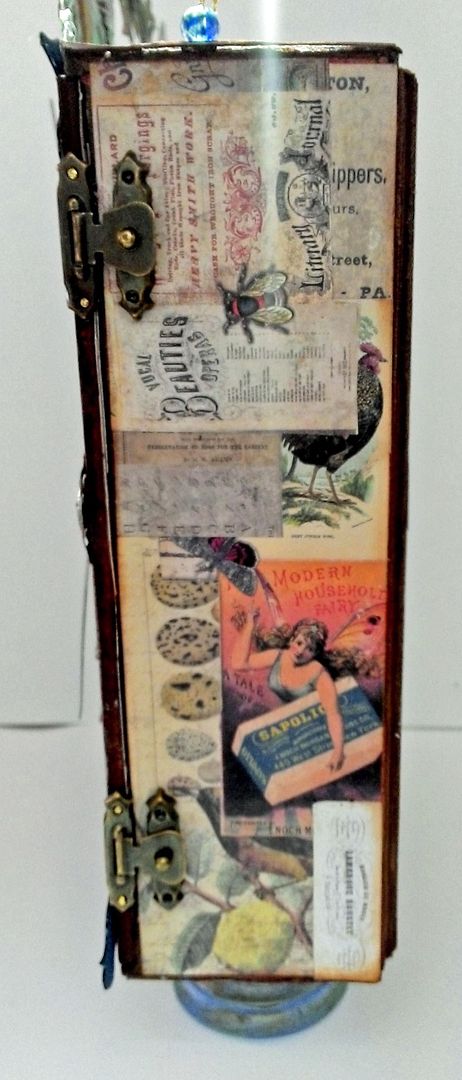
I covered all of the surfaces of the box with the Madame Payroud’s 6x6 paper pack.  I love the color scheme and the collage images on this paper. 
Before gluing the paper to the box, I cut up several sheets of paper so that I could re-collage the images on the box.  Using smaller pieces of paper made it easier to fit the paper to the different sized surfaces and to choose where I wanted the images to be placed.
In the picture below you can see the stained edges and the paper attached to all of the surfaces.  Be sure to re-poke the hole for the clock mechanism.
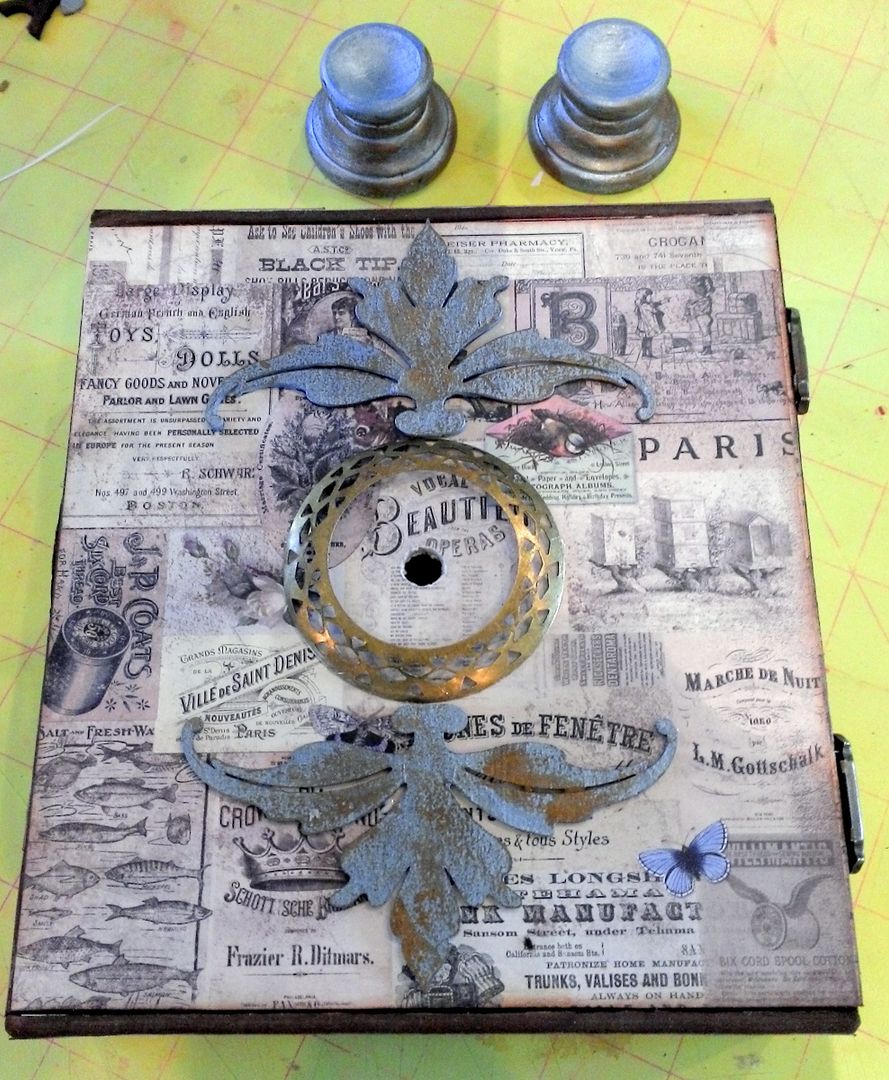
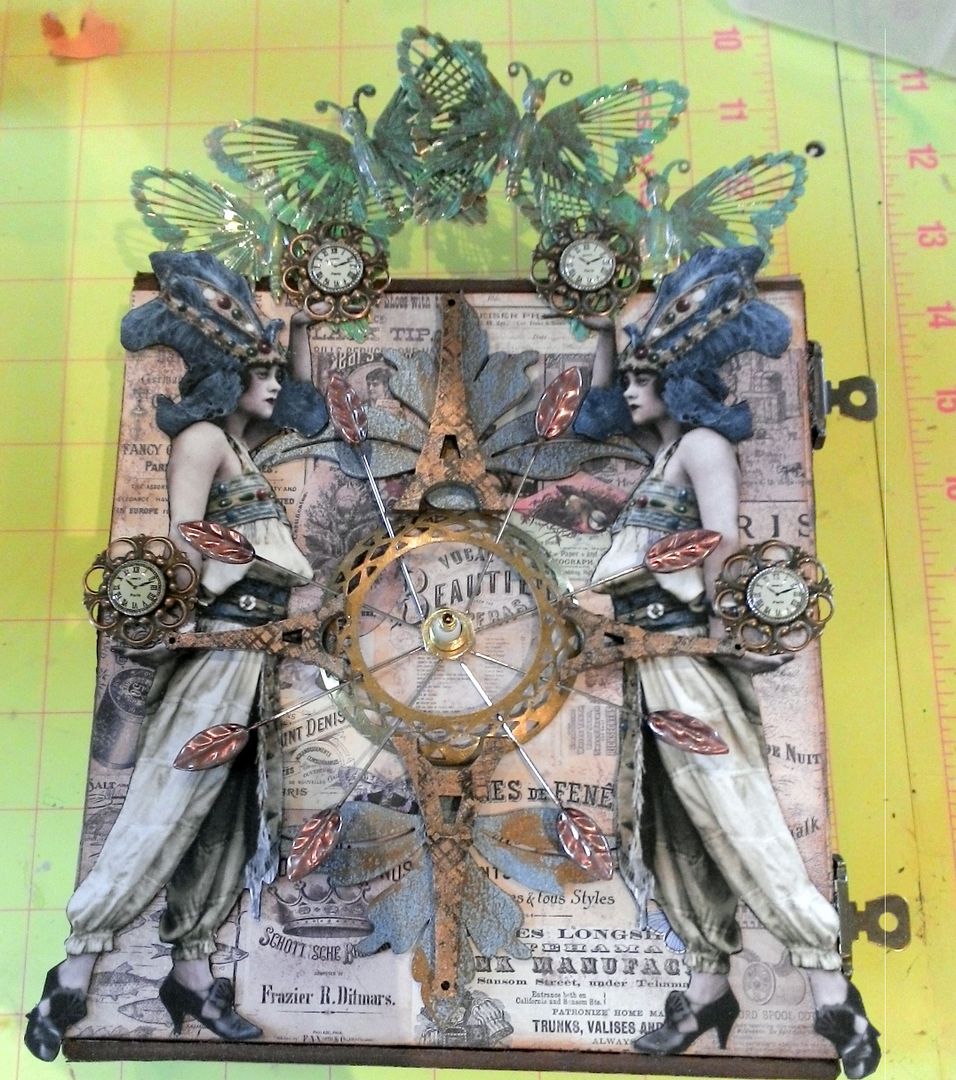
Next, I started work on the front of the box and what will become the face of a clock.  I used a round piece of filigree to frame the center and painted two fancy foliage chipboard embellishments (first with acrylic blue paint then dry brushing Lumiere Old Brass paint).  I painted the egg cup feet with the same paint mixture.
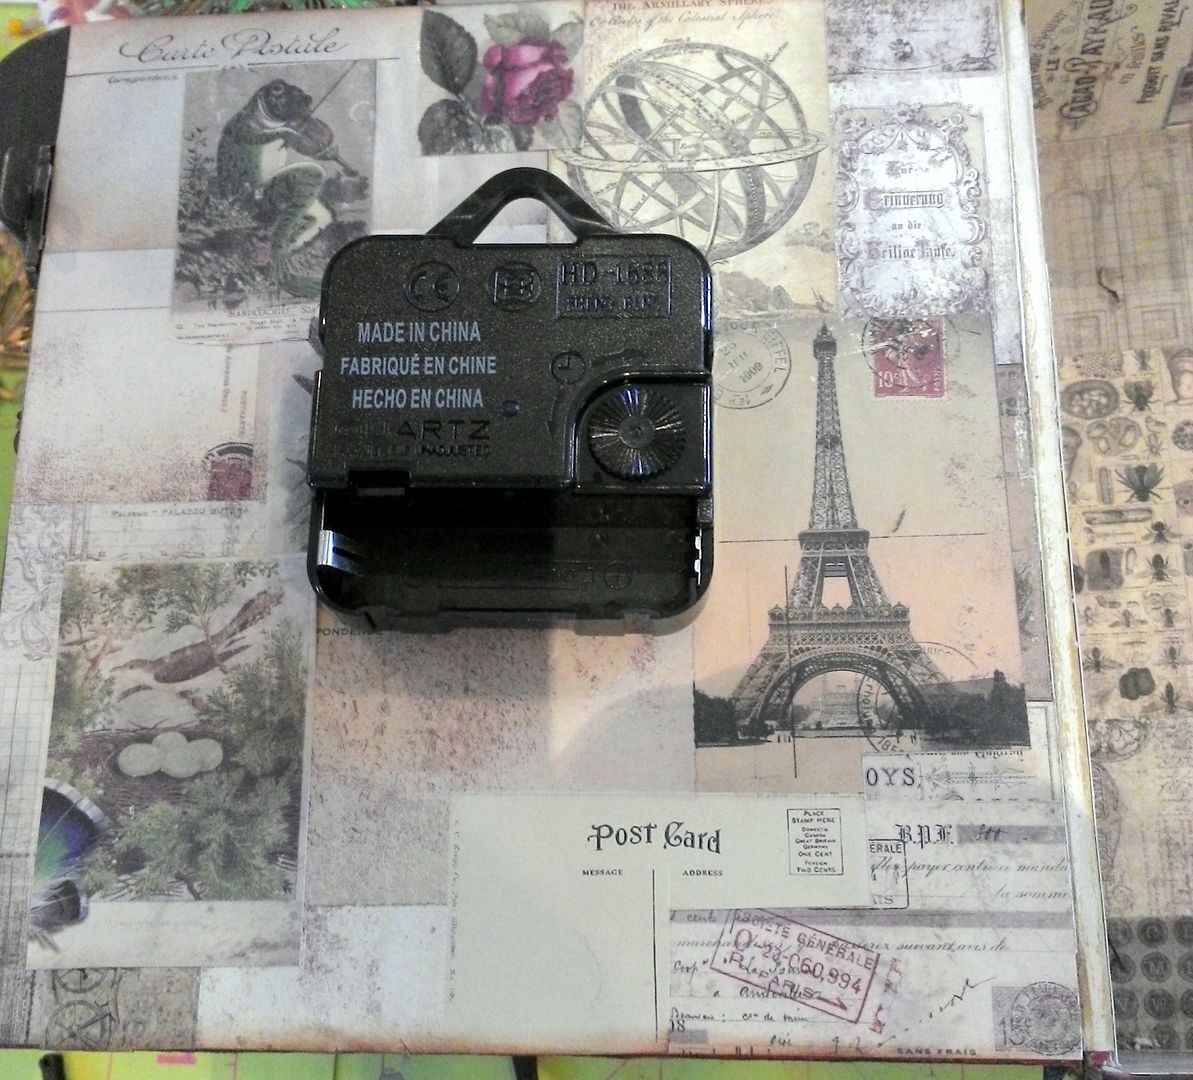
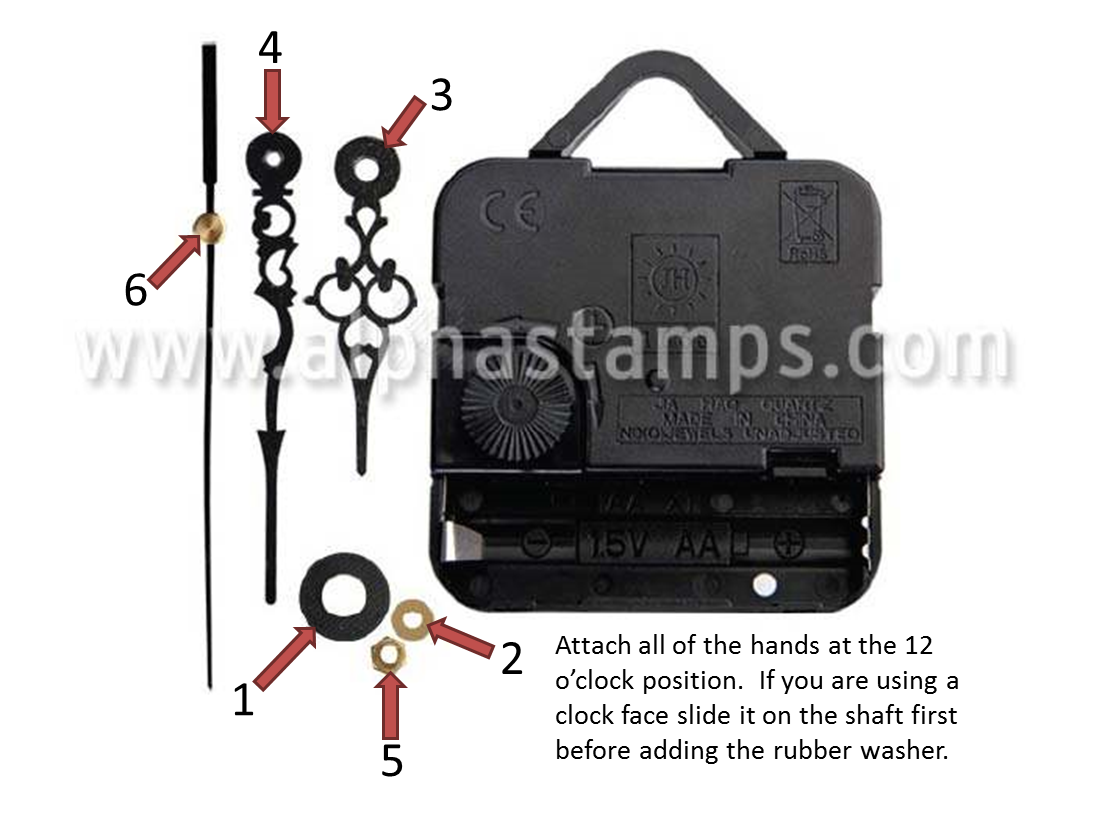
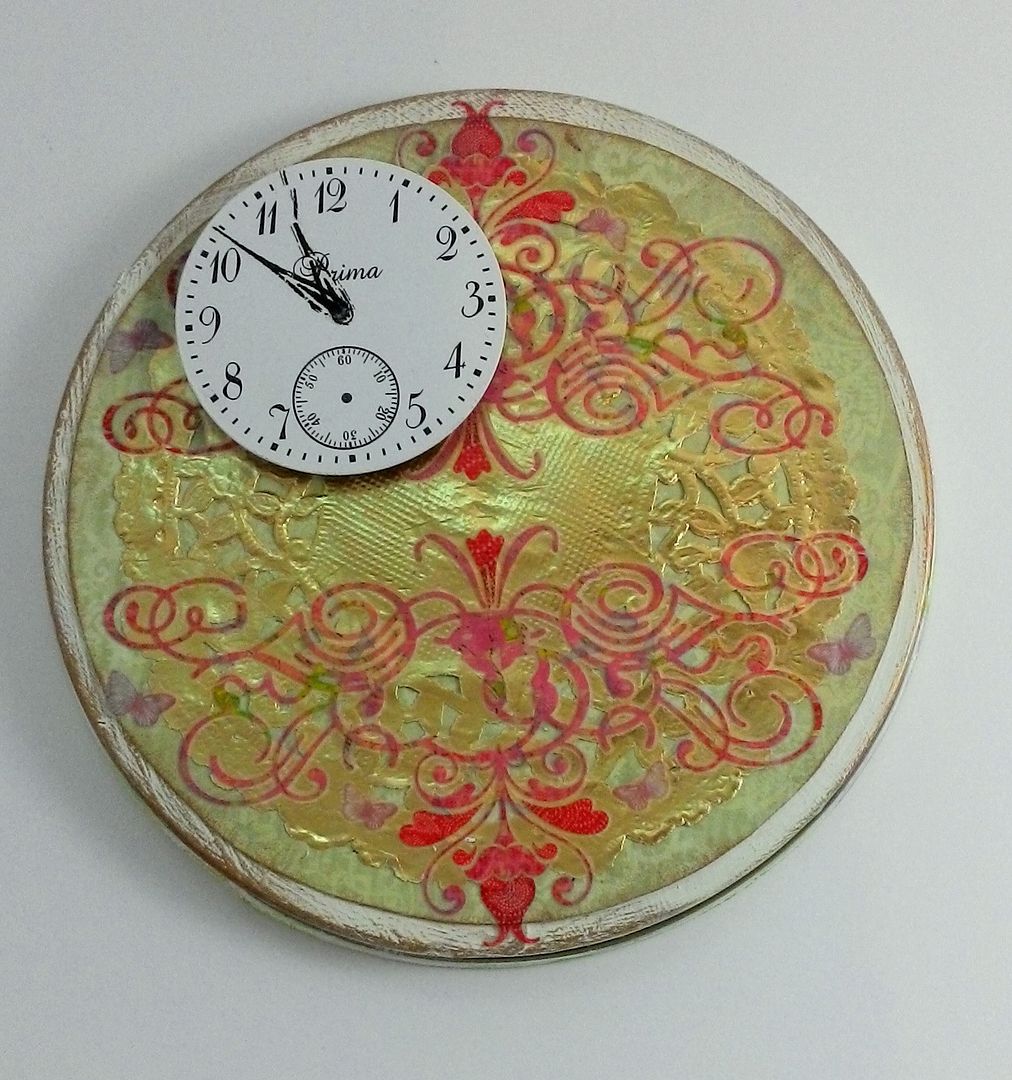
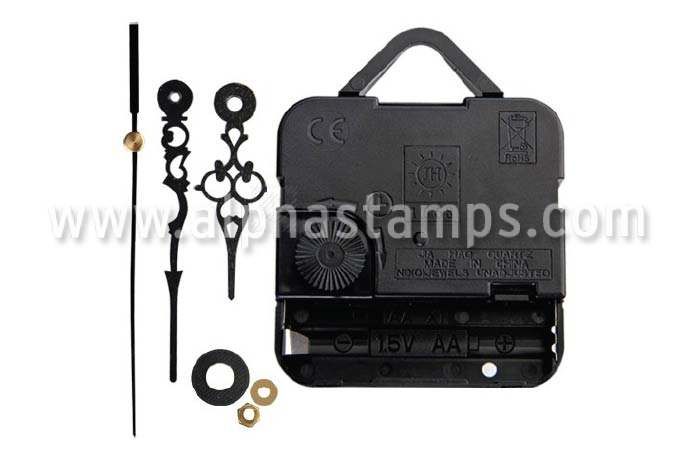
I glued the clock mechanism to the back of the lid.  The clock comes with instructions on how to attach the hands of the clock to the mechanism (it's super simple).
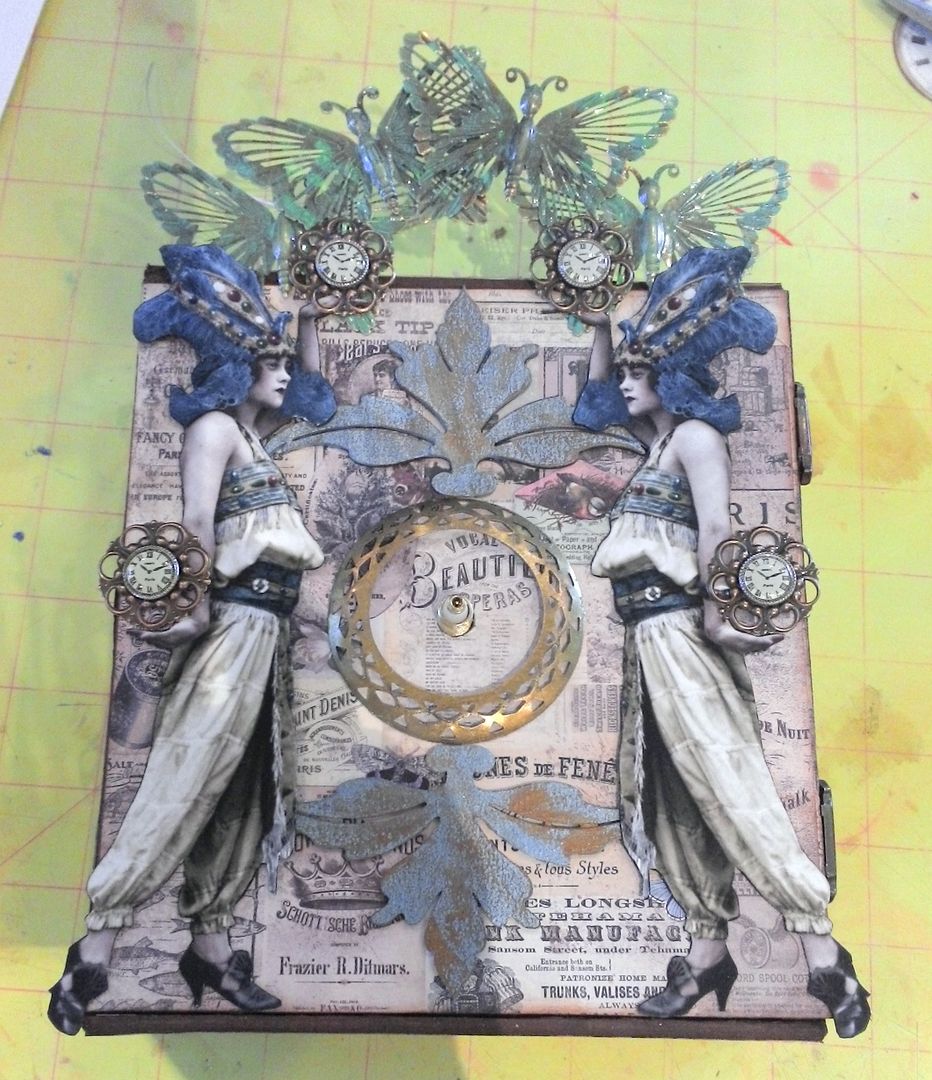
I added the ladies (flipped versions) backed with heavy cardstock for support.  In their hands are filigree pieces with button clocks.  The pediment is made of filigree butterflies.
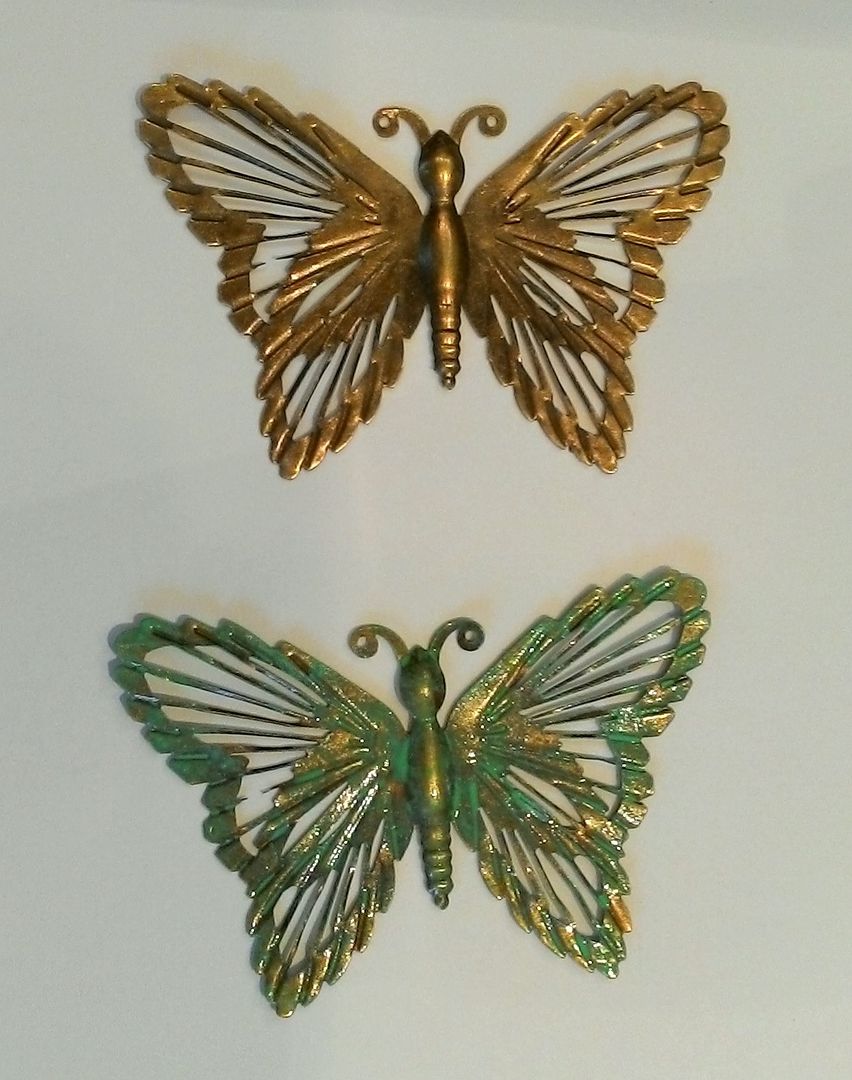
I painted the butterflies with a combination of Verdigris & Jade Metal Patina paint.  
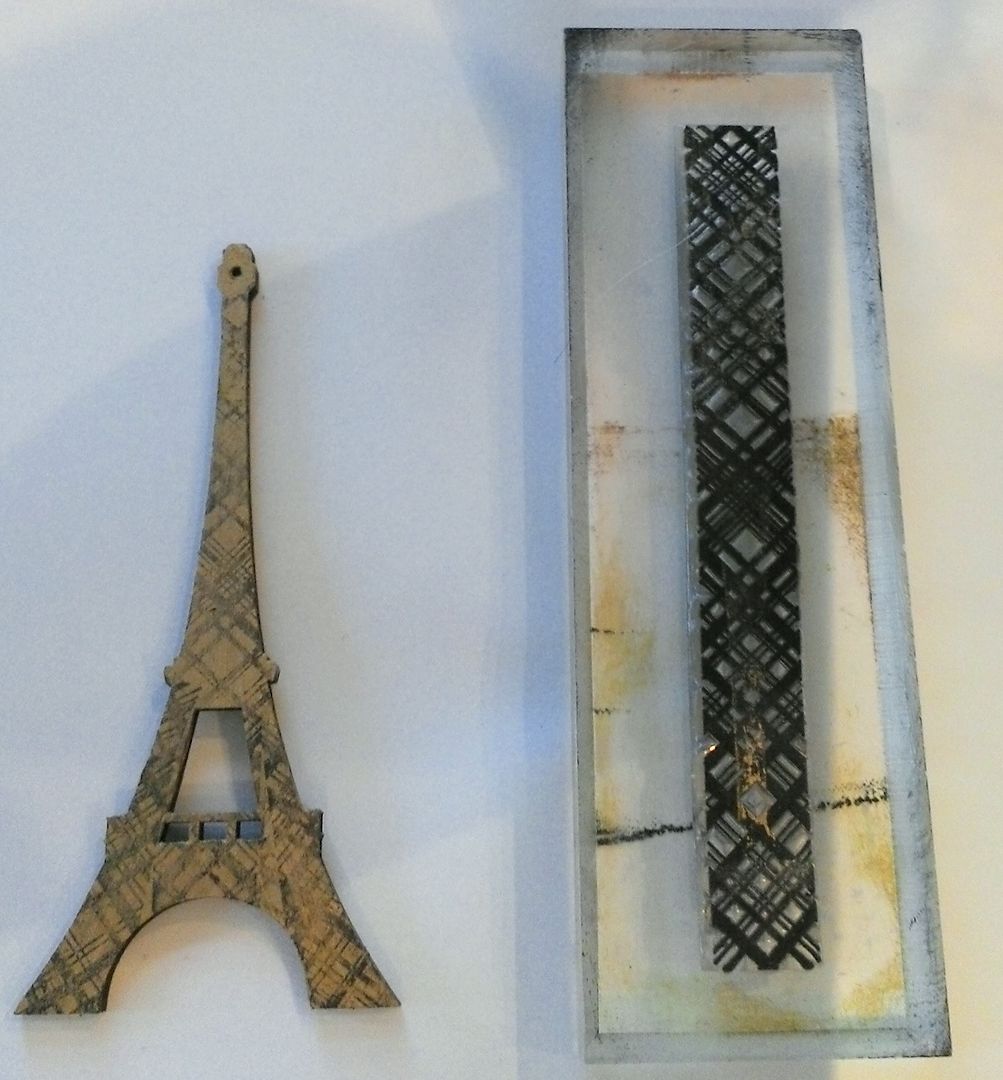
For the 12, 3, 6 & 9 o’clock positions I used Masonite Eiffel towers.
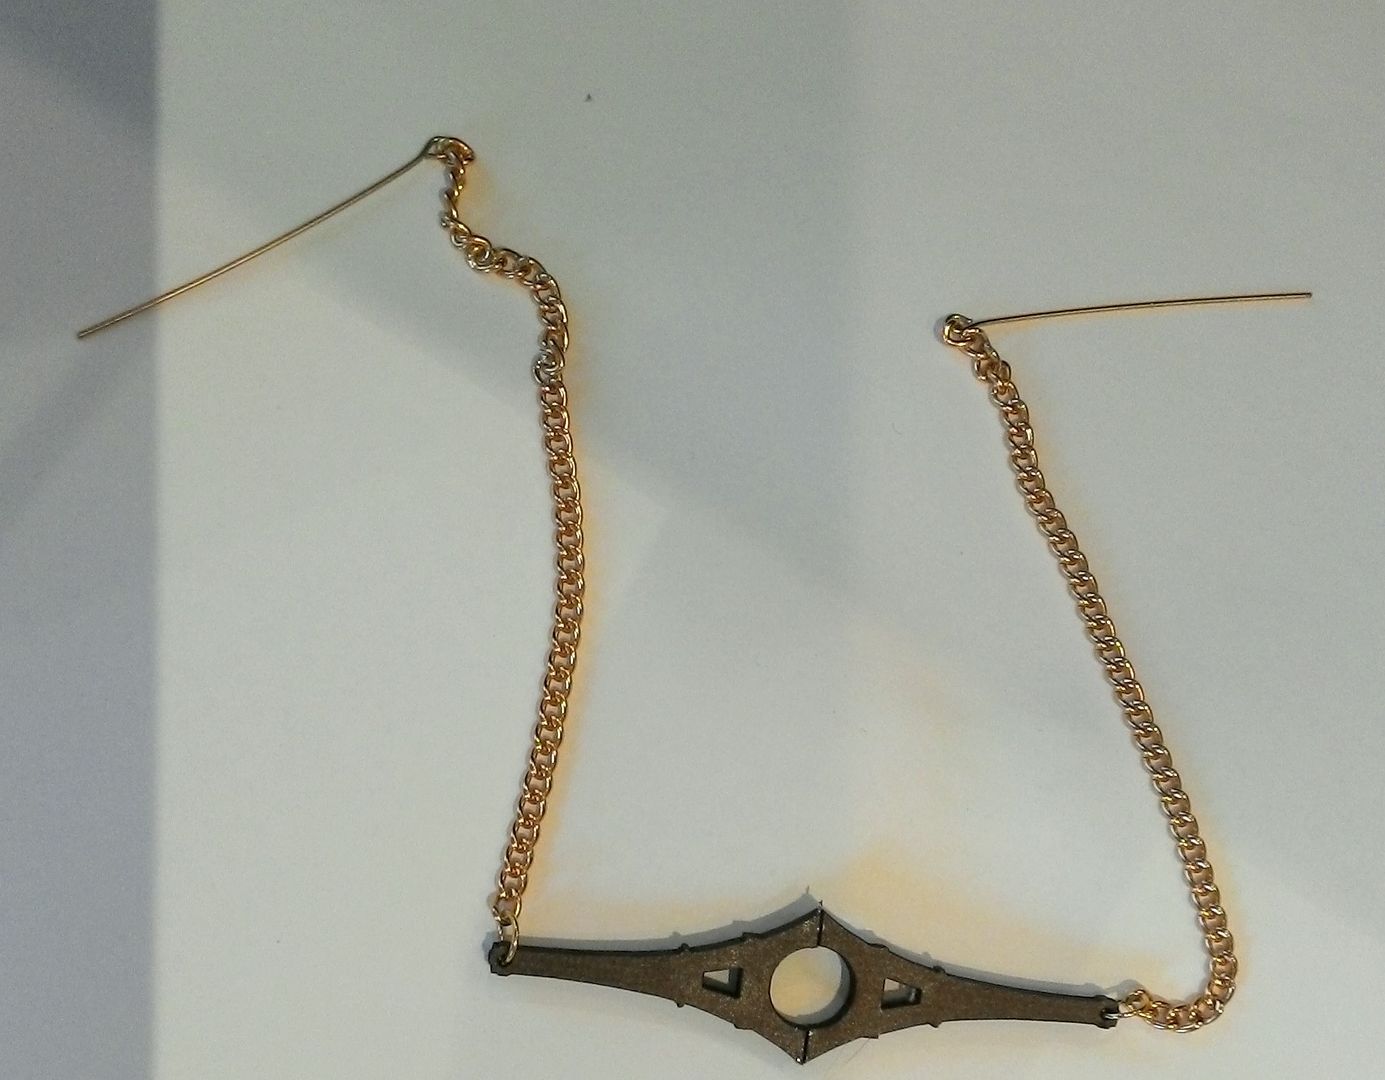
I first painted the towers with Gold Alcohol Ink.  Metallic Alcohol inks work nicely on slick surfaces like the Masonite.  You could also use the Metal Patina paints.  Next, I stamped the tower using Black Staz-On ink with a crisscross patterned stamp (from my stash).
For the other positions on the clock, I used pearlized stick pins.  I inserted them through the holes in the round filigree piece and glued them in place.
The last step is to attach the hands of the clock.
INSIDE THE BOX
One thing you need to consider when planning what you are going to do with the inside of the box is the position of the clock mechanism on the back of the lid.  Make sure the items inside the box don’t prevent the lid from closing.
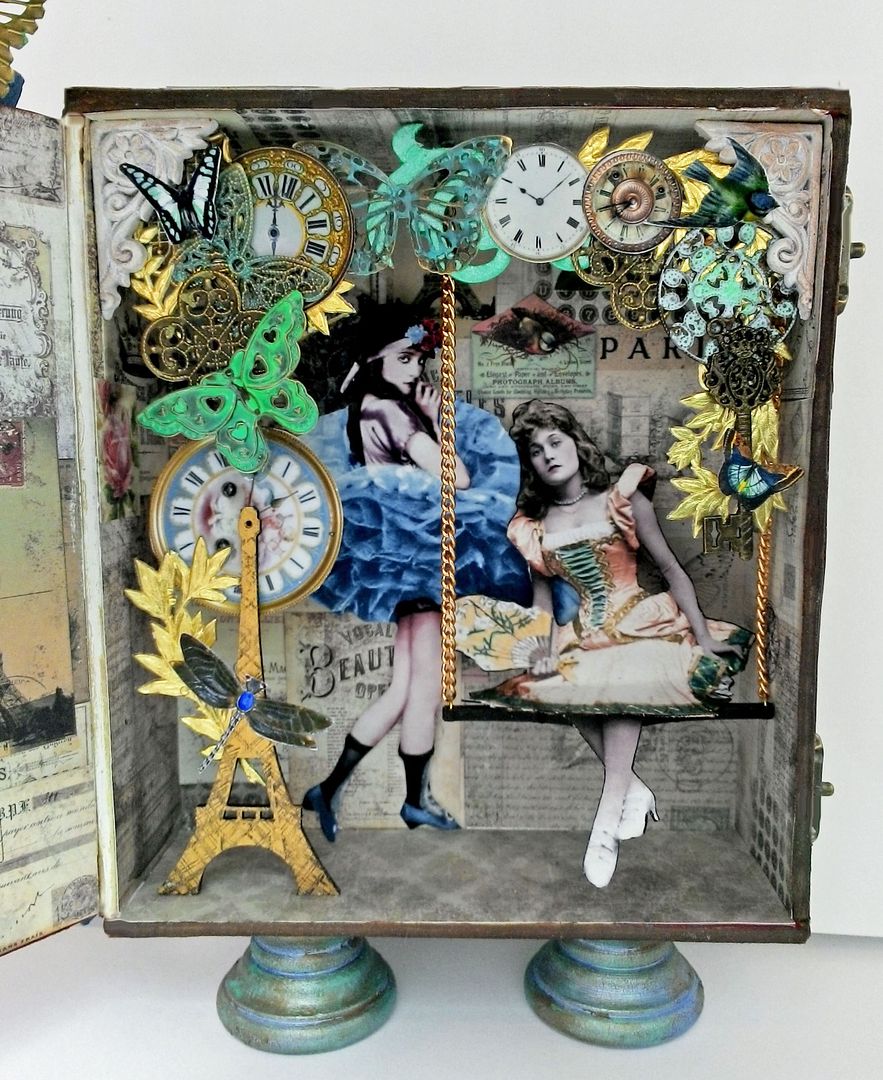
For the swing inside the box I used two Eiffel towers for the seat. 
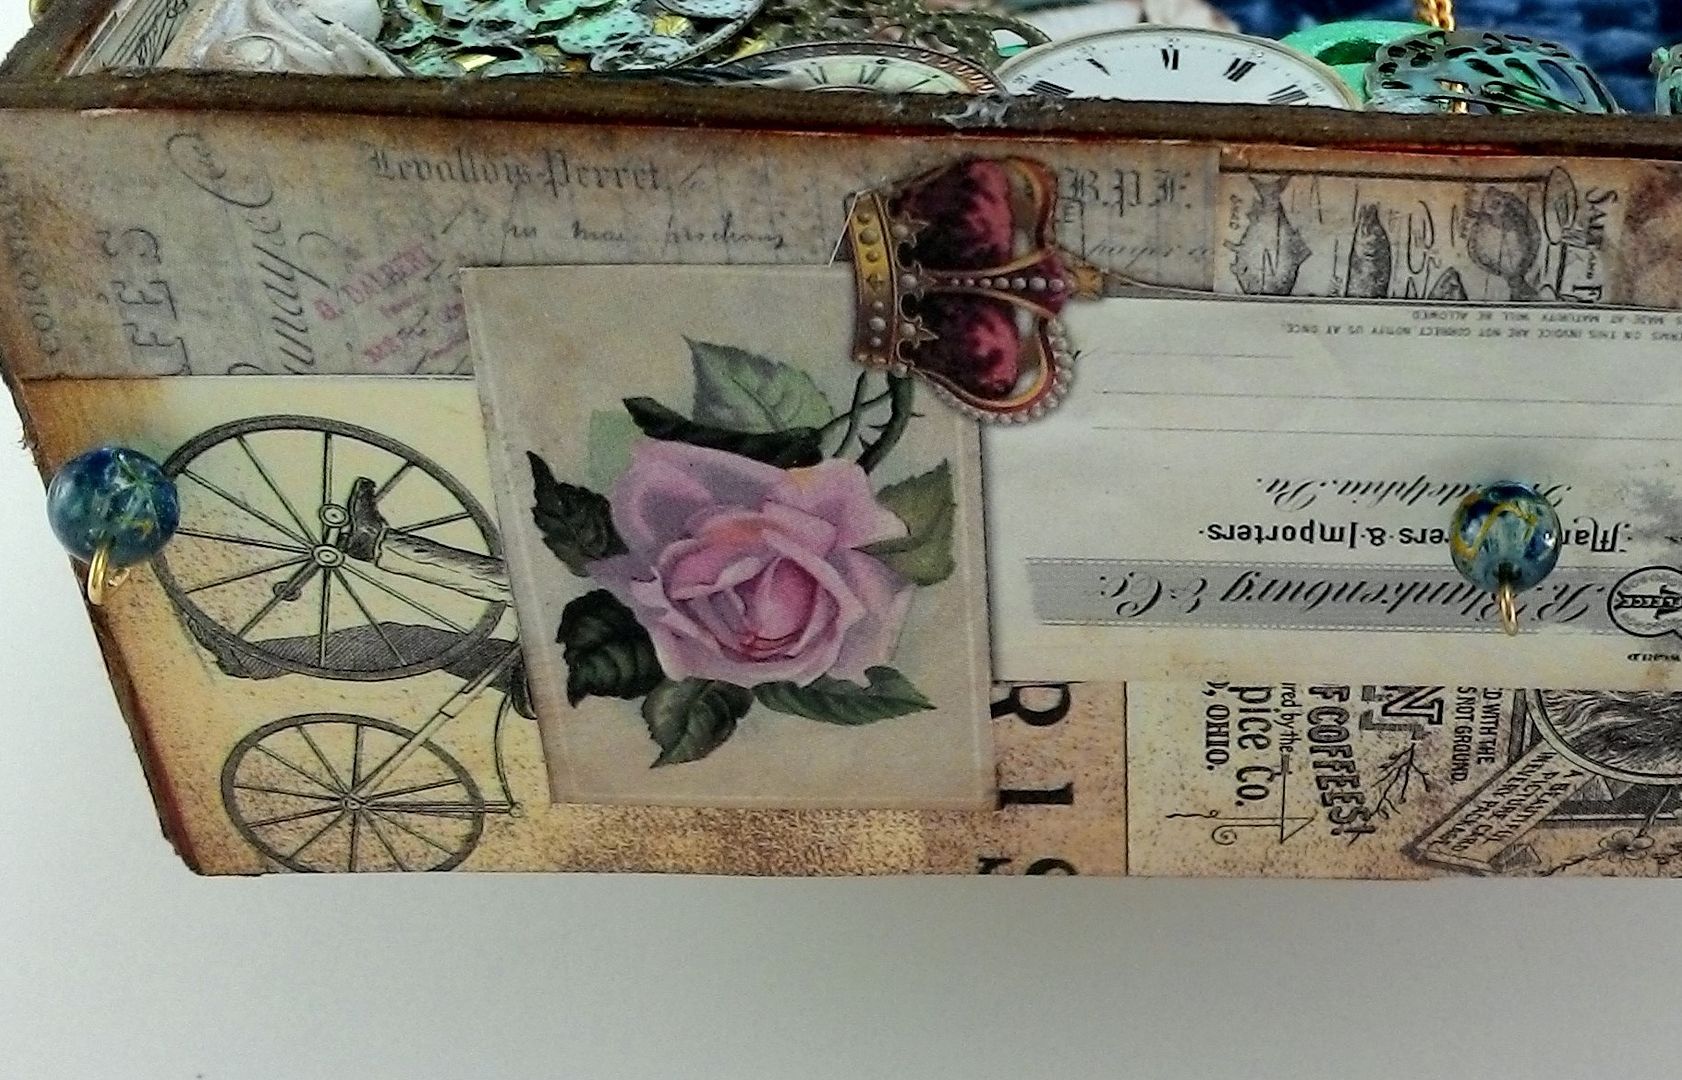
I poked holes in the top of the box to insert the eye pins to hold the swing in place.  I also added some beads to the eye pins.  The image of the girl is bent (as if she is sitting) and glued to the seat.  To keep the seat in place I glued the tip of it to the side of the box on the right.  The girl with the tutu is attached to the back of the box with multiple layers of double-sided foam core tape (to pop her out).
In the picture below you can see the top of the box where the eye pins are ticking through the holes then through a bead and looped to keep the swing in place.
To frame the ladies I collaged together a Masonite Eiffel tower, more pieces of filigree, Dresden myrtle leaves, paper clocks from my Tick Tock collage sheet and other paper images.  The filigree is painted with the same Metal Patina paint that I used on the butterfly pediment.  I built the collage on a flat surface first before attaching it to the box.  To support the collage in the box, I attached the resin gables and then glued the collage to the gables.  The Eiffel tower is glued to the bottom of the box.
On the side of the box I attached two latches to keep the lid closed and attached the egg cup feet to the bottom.
NOTE:  If you attach feet to the bottom of the box, consider the weight of the stuff on the lid of the box versus the weight of the box (without the lid).  If the stuff on the lid weighs a lot more than the stuff in the box, the box will fall forward when you open the lid.  This is only a problem if the box has feet.

Saturday, March 15, 2014

Victorian Corset Shop Altered Alarm Clock Tutorial

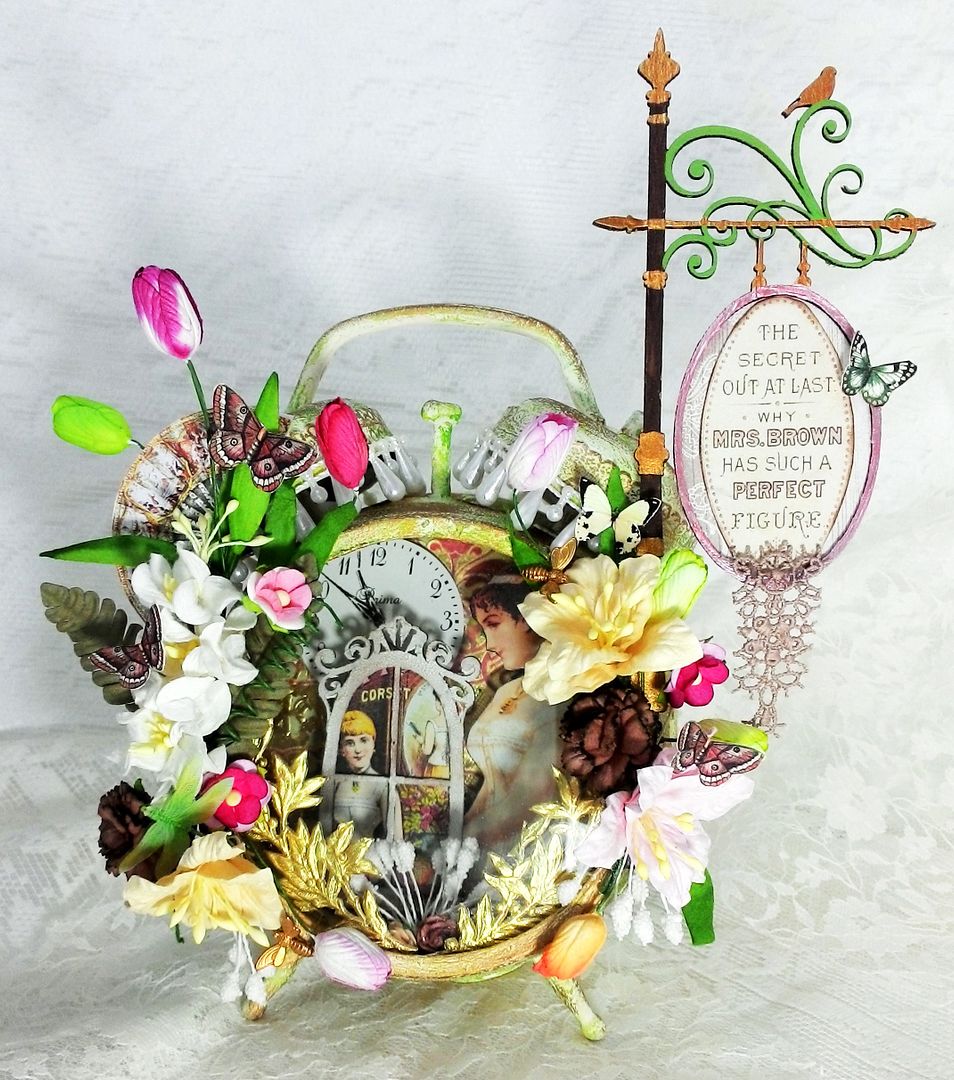
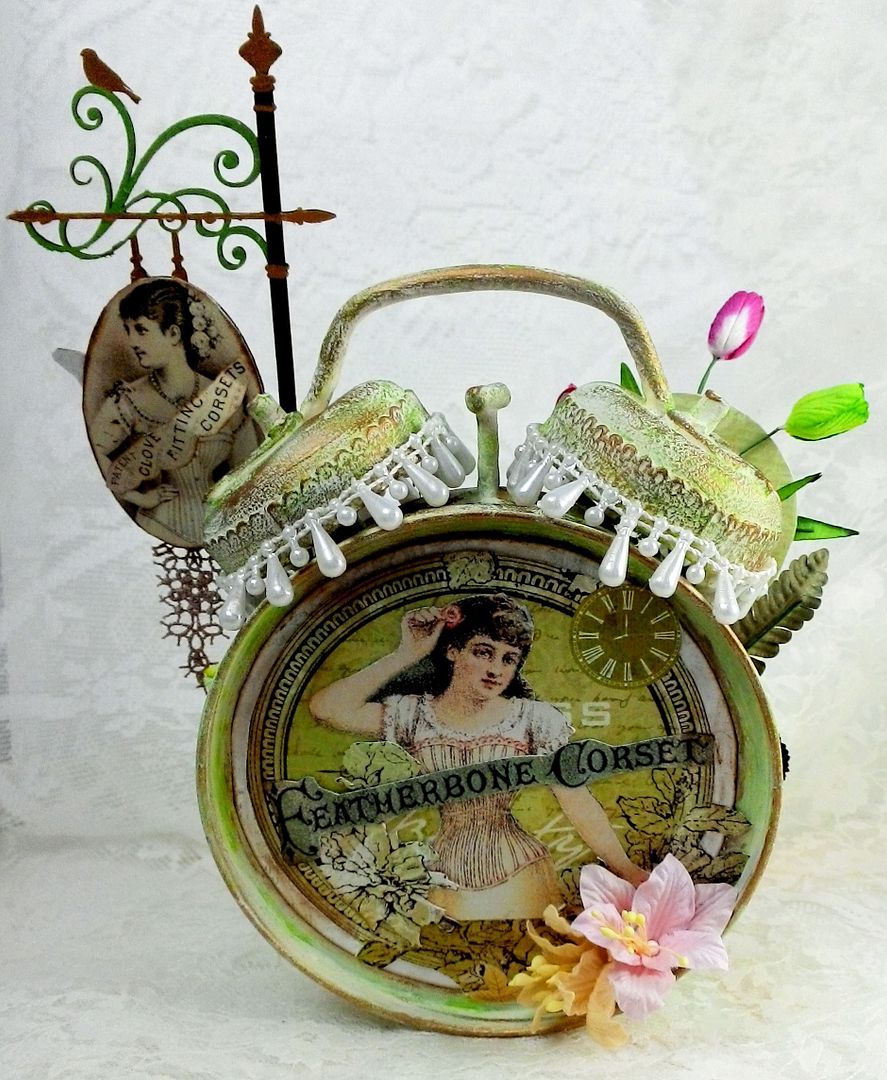
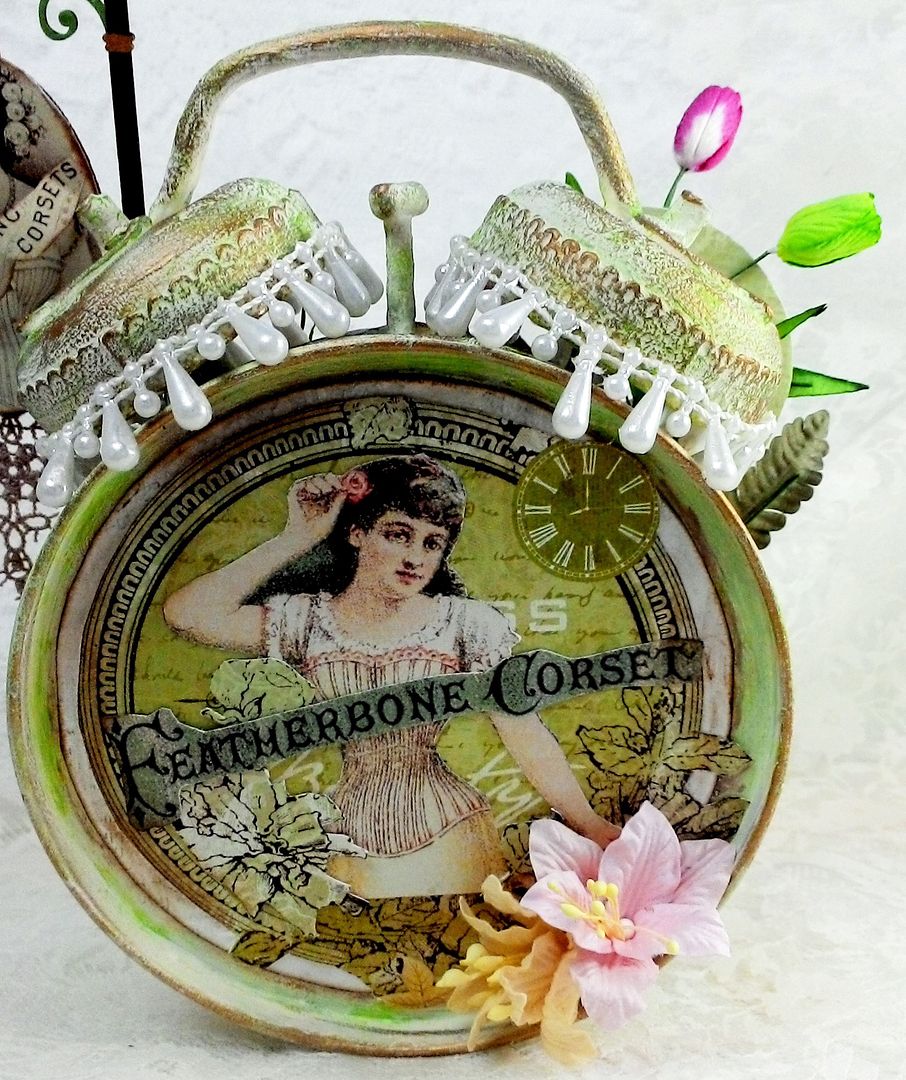
As soon as I saw the raw assemblage alarm clock I knew I would have to do something with it.  This month’s Alpha Stamps corset theme gave me the perfect excuse.  There are two things I love about altering a clock; turning a functional item into a piece of art the many surfaces to junk up!
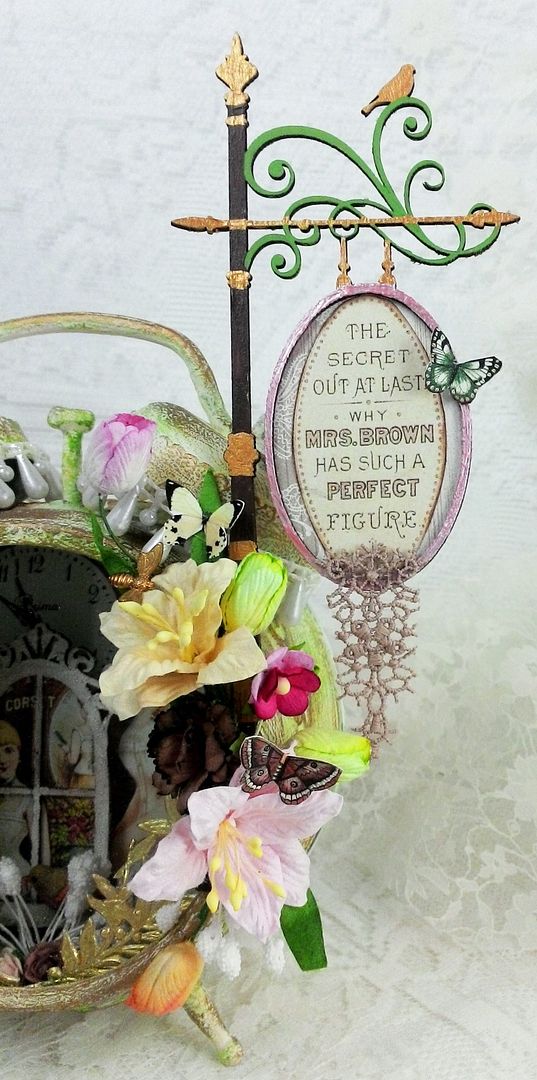
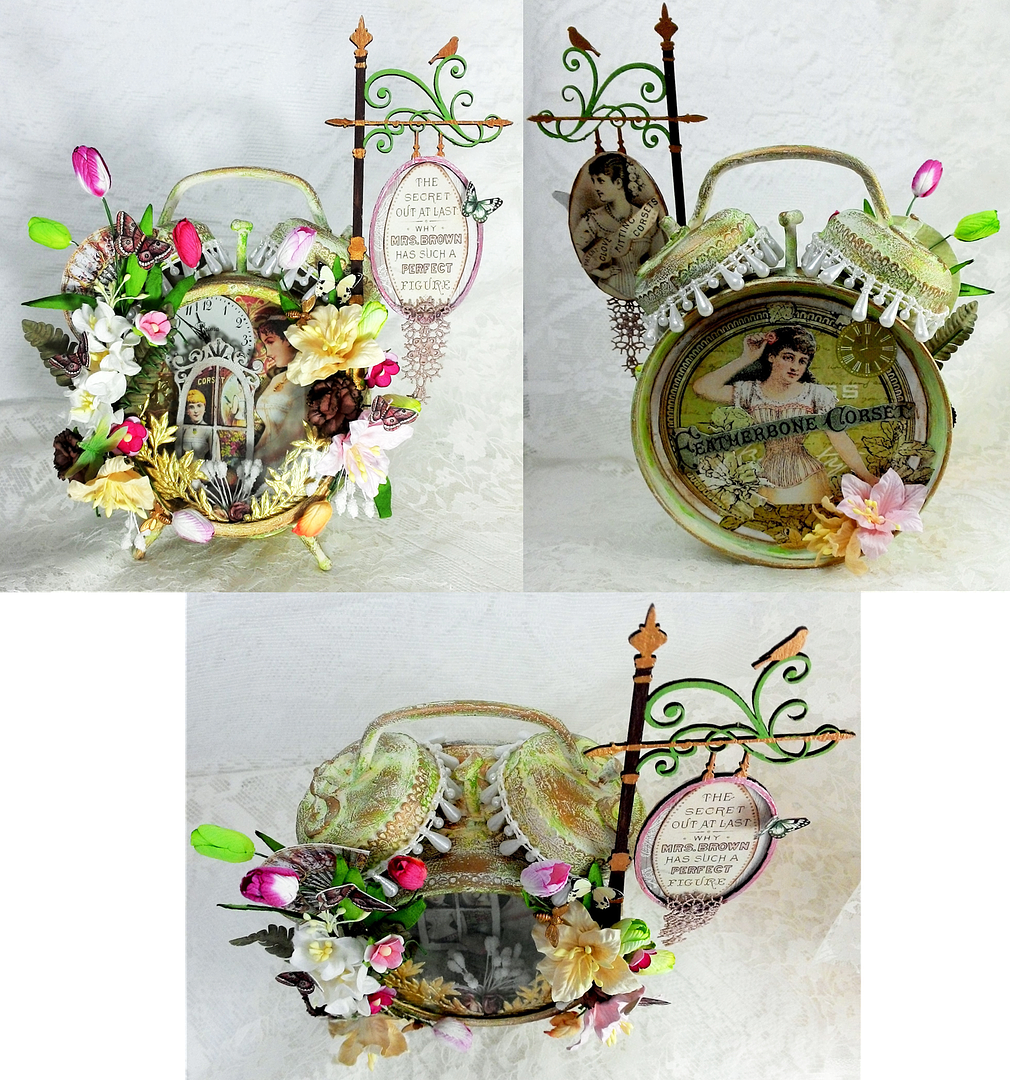
From a theme perspective, I decided on a Victorian corset shop. I didn’t leave a single surface untouched and even added the signpost to stick up beyond the top of the clock.
The clock is accented with gorgeous paper flowers which I chose and Alpha Stamps graciously agreed to carry.  I particularly love the sweet miniature tulips which are perfect for this time of year and for Easter themed projects.
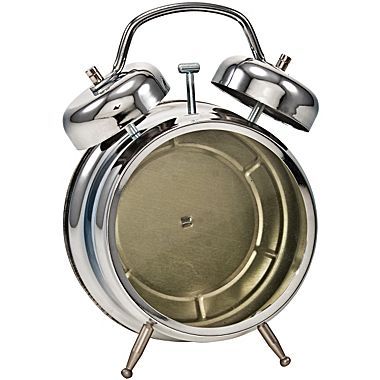
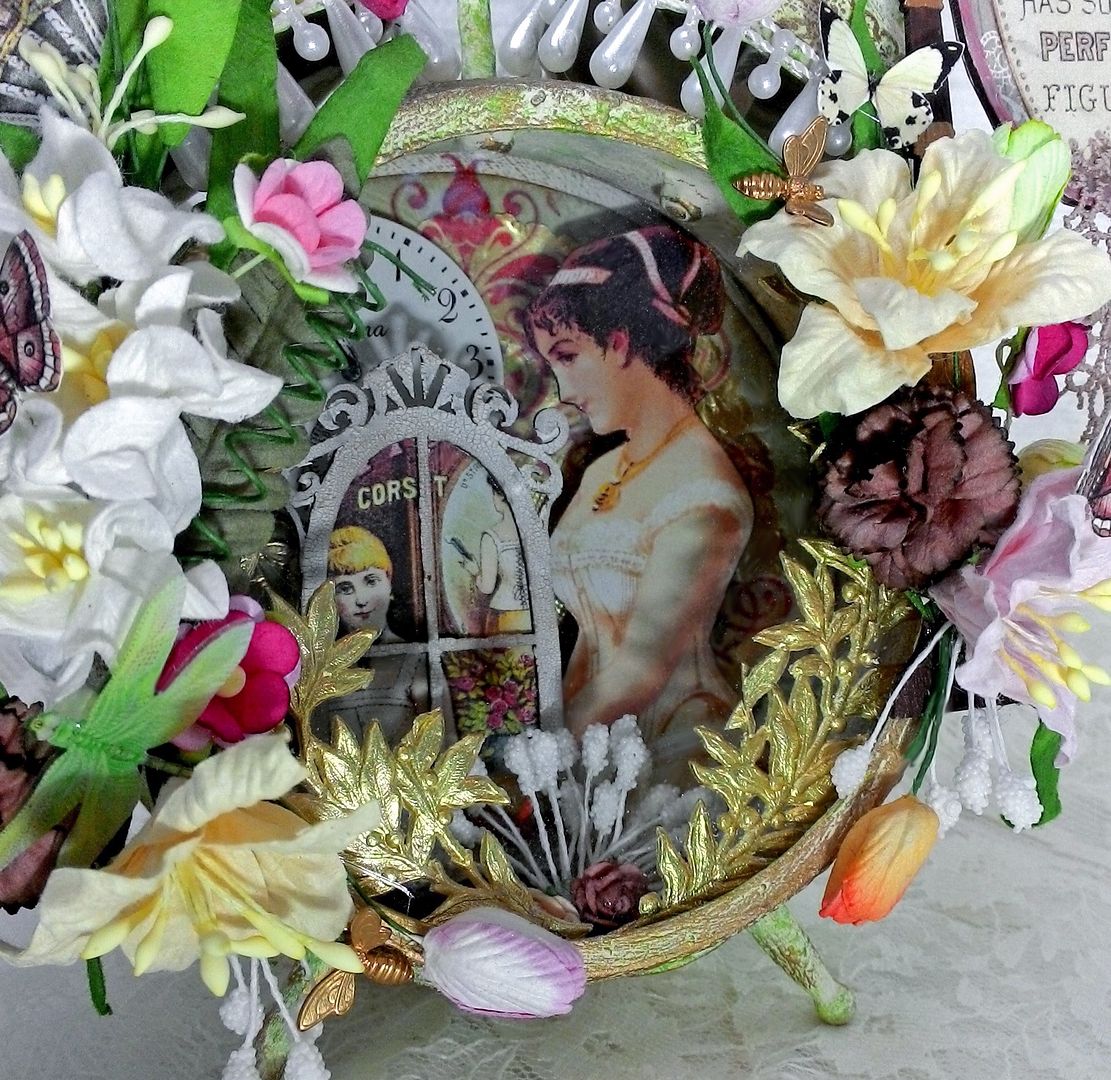
The inside of the clock is super deep so there is lots of room for dimensional embellishments.
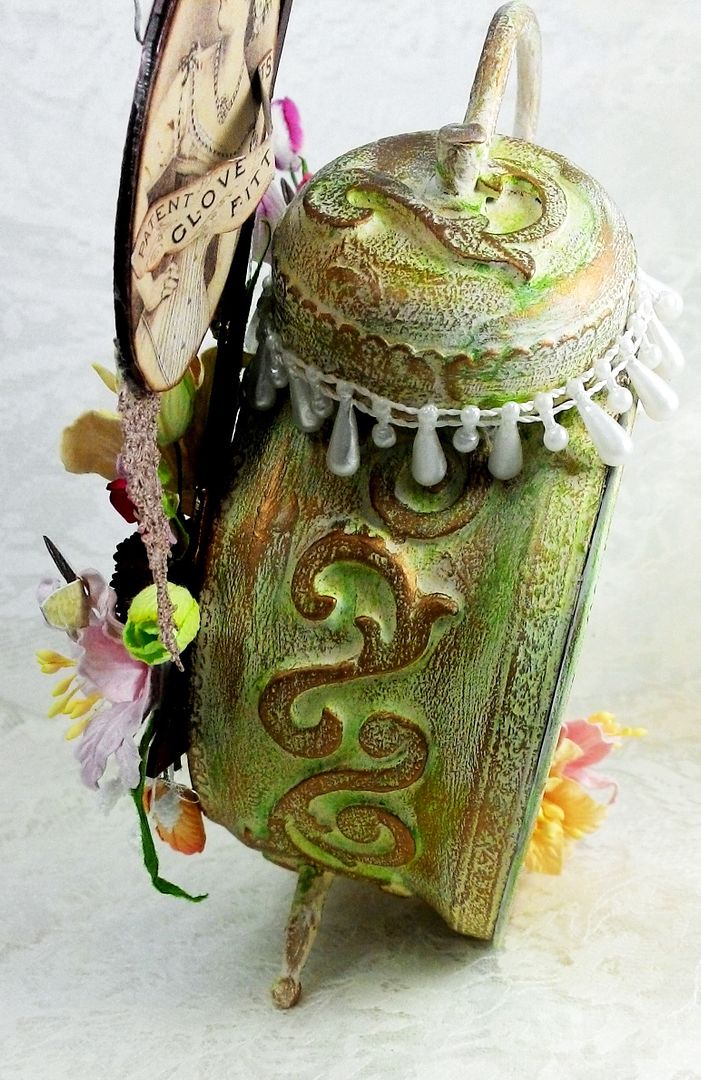
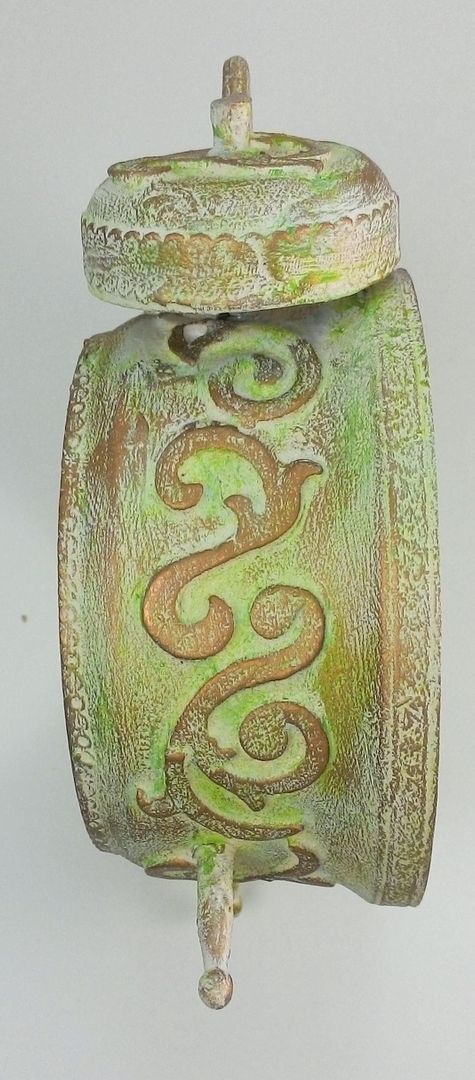
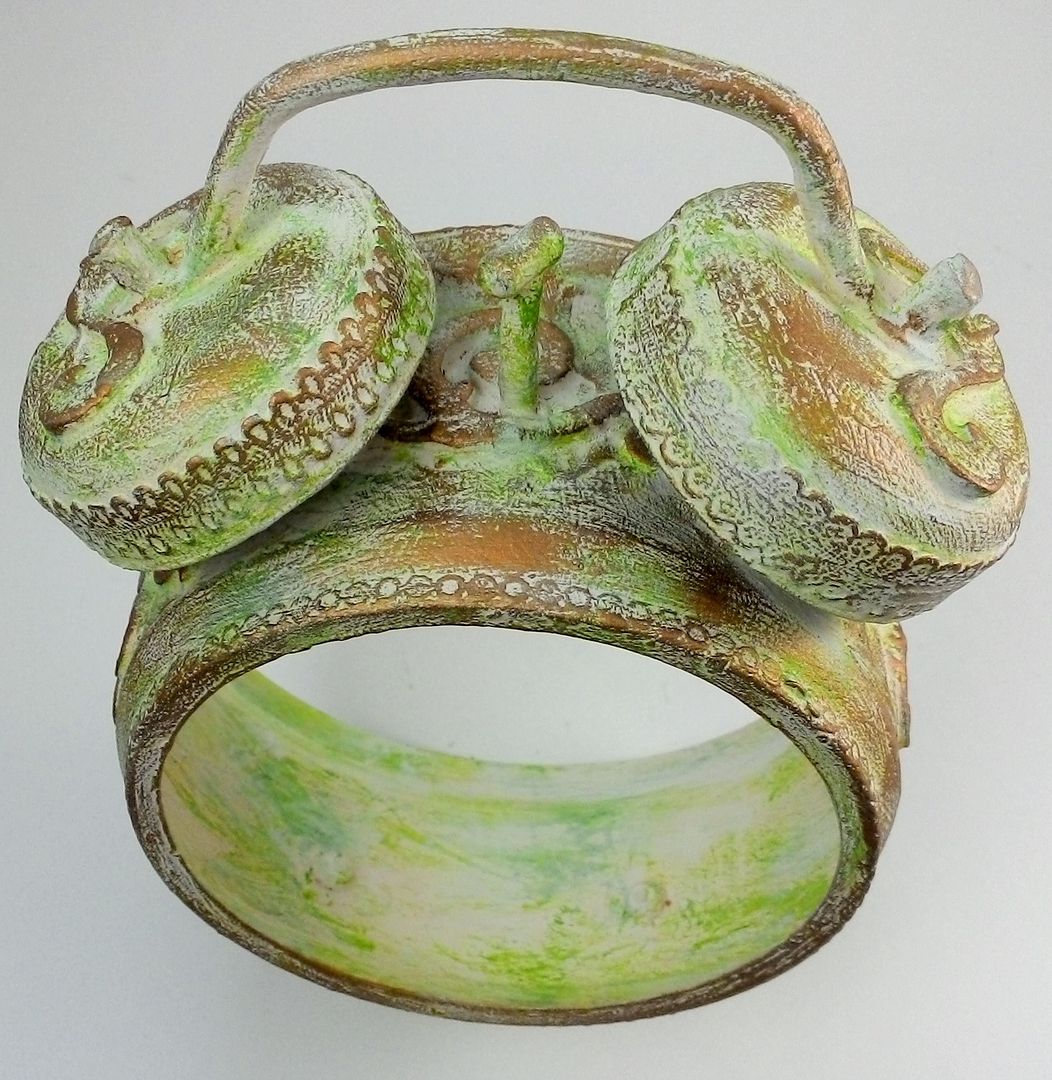
Notice the embossed design on the sides of the clock and on the bells.  The tutorial will cover how I achieved the embossed design, the embellishment and re-assembly of the clock.
TUTORIAL
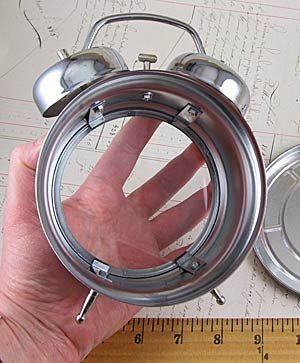
I started by removing the back of the clock and then loosening the screws inside that keep the tabs in place.  The tabs are used to hold the glass against the front of the clock.  I removed the screws and tabs and then removed the glass.  I screwed the screws back in place (as they hold the bells and legs in position) but not the tabs.  Once the clock was altered, I did not intend to open it up again, so I decided I could glue the glass in place rather than using the tabs.  Besides, the tabs are not attractive and get in the way of the embellishments inside of the clock.
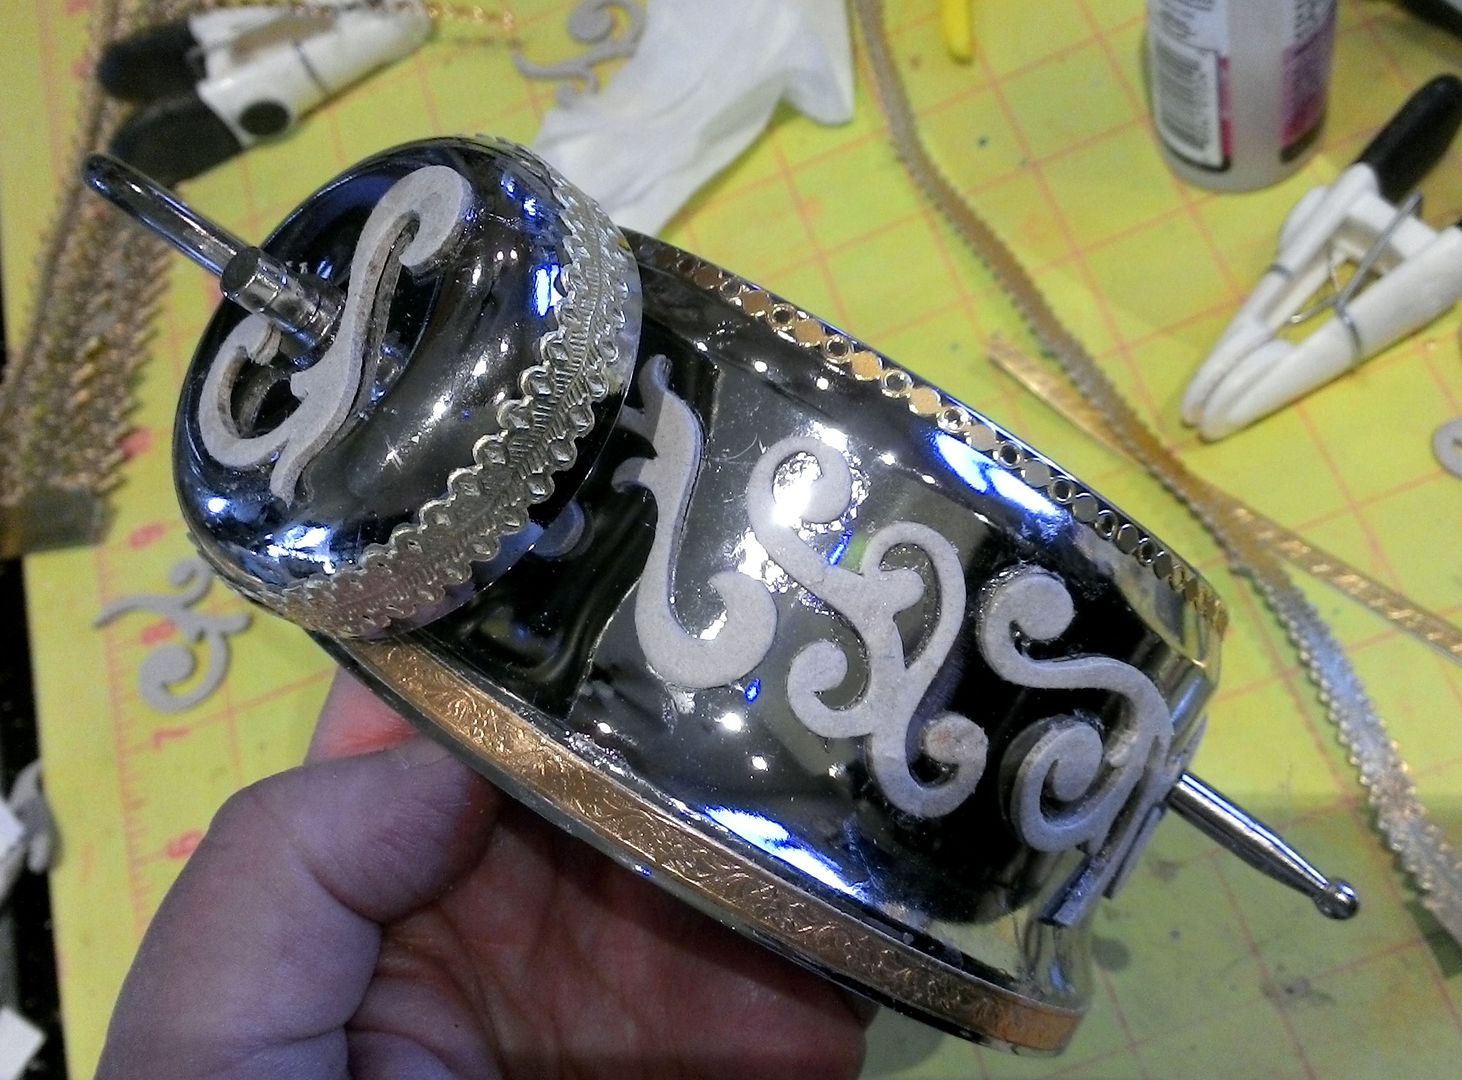
The next step was to create the embossed design on the outside of the clock.  I accomplished this by attaching chipboard scrolls, Dresden and stickers to the clock.  If you are going to attach something like chipboard to a curved surface, I suggested you pre-bend the chipboard making it easier to glue in place.
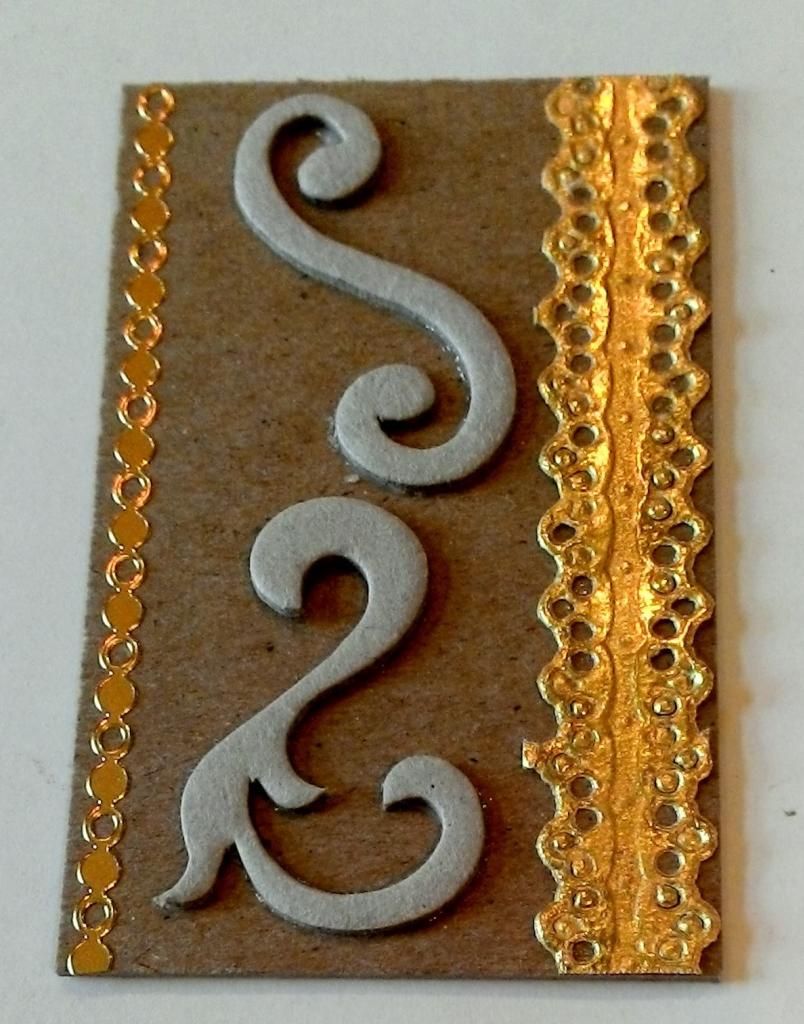
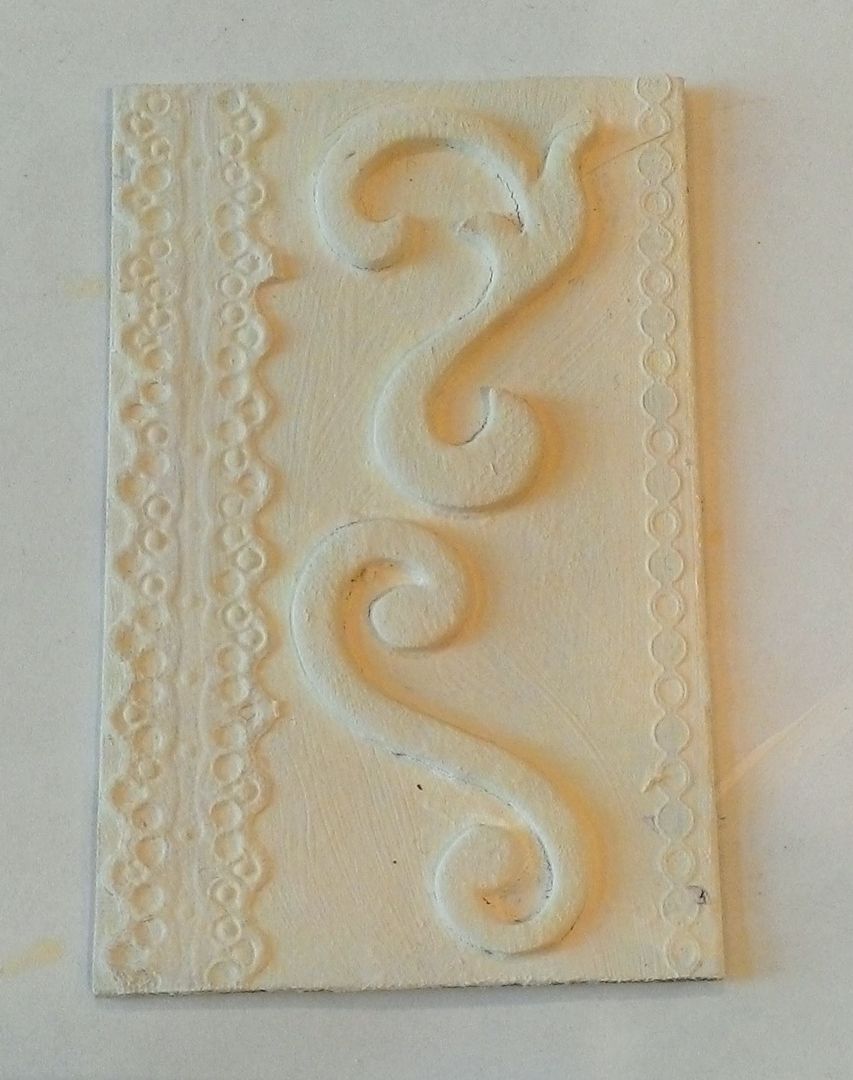
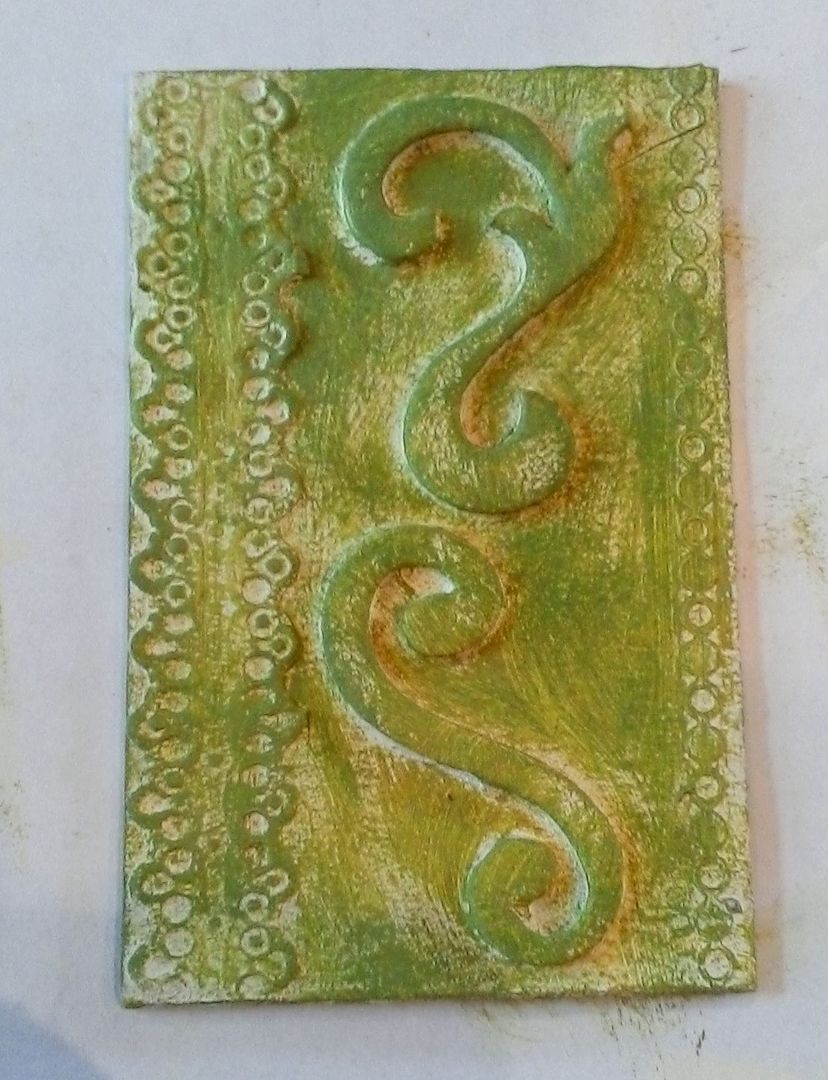
Below, I walk through each step of the embossed design technique using a piece of chipboard, as I thought this would make it easier for you to see how it is done.  This technique can be used on any surface.
First, attach bulky items to your surface.  I used stickers, chipboard scrolls, and Dresden.
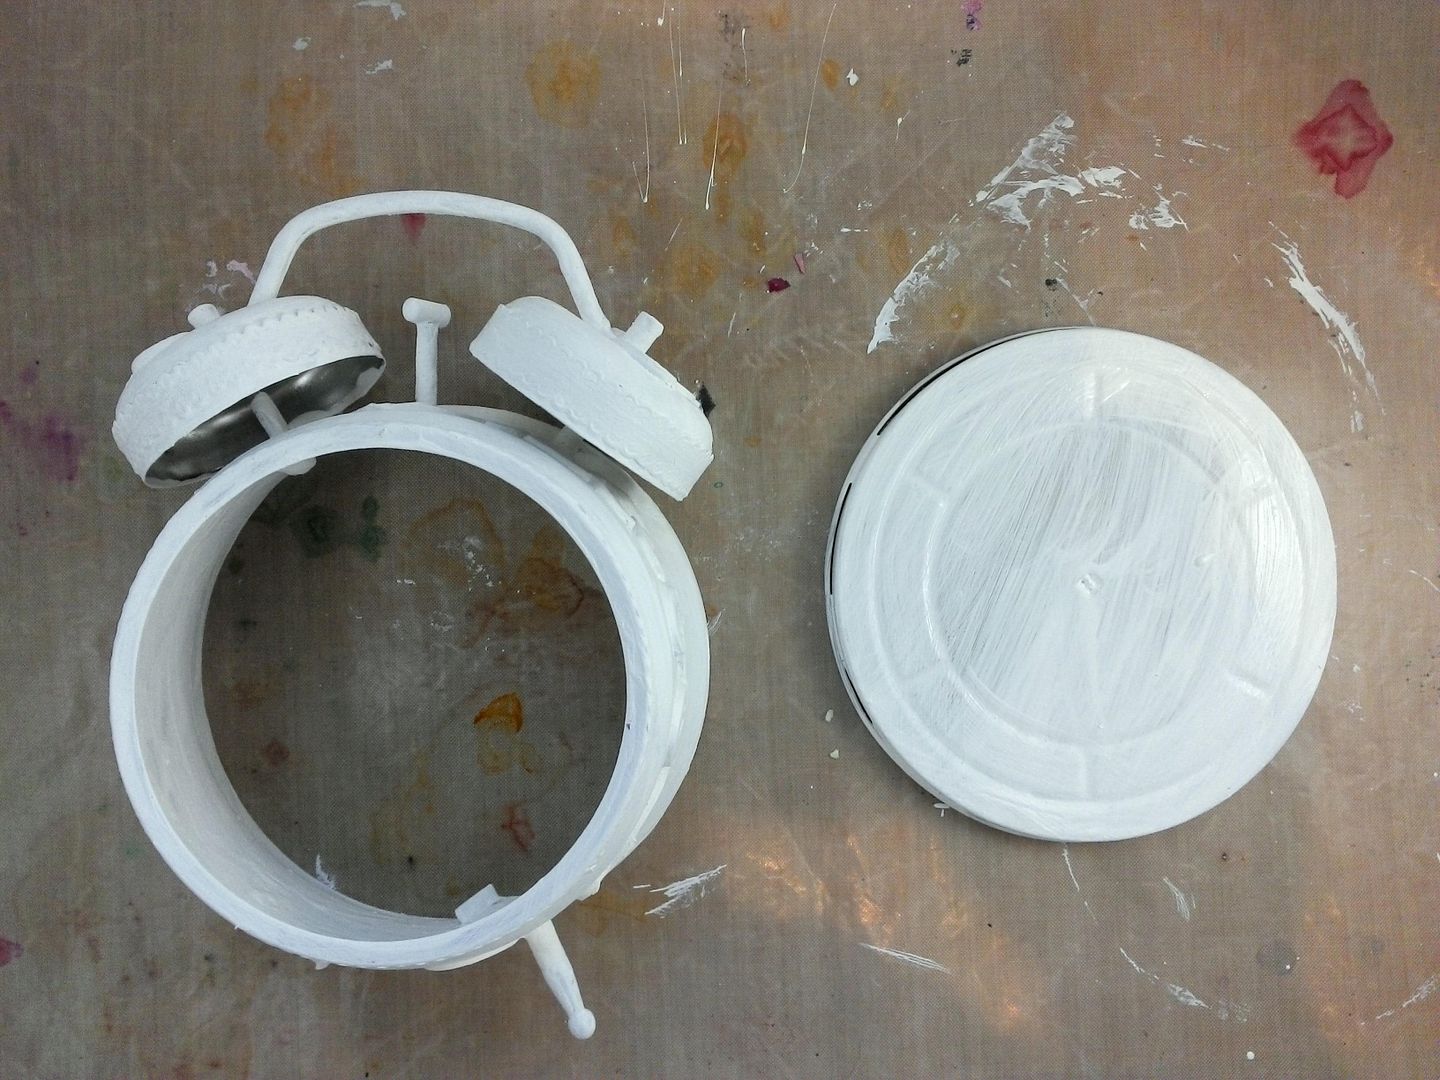
Next, paint your surface.  In the case of the clock, I started with white Gesso, as it seems to stick better to the metal than acrylic paint.  I could have used a metal paint but since there was so much surface area, it would have been much more expensive.  This piece is a decorative one so Gesso or acrylic paint should work fine.  If your piece were going to be handled frequently you might want to use metal paint.  It took me 3 coats to block out the silver metal of the clock. 
Next, I started adding color by painting the surface with an off white acrylic paint.
I added more color by dry brushing the surface with green paint (leaving some of the cream showing).
Lastly, I used my finger to apply Gilders Paste to the raised surfaces.
In the picture below you can see the clock painted with the Gesso.  One thing to note is to be careful not to paint the area where the back fits back into the clock.  The back fits snugly and paint buildup will prevent it from fitting into the clock.  I used a little sandpaper to sand away the paint before inserting the back into the clock.
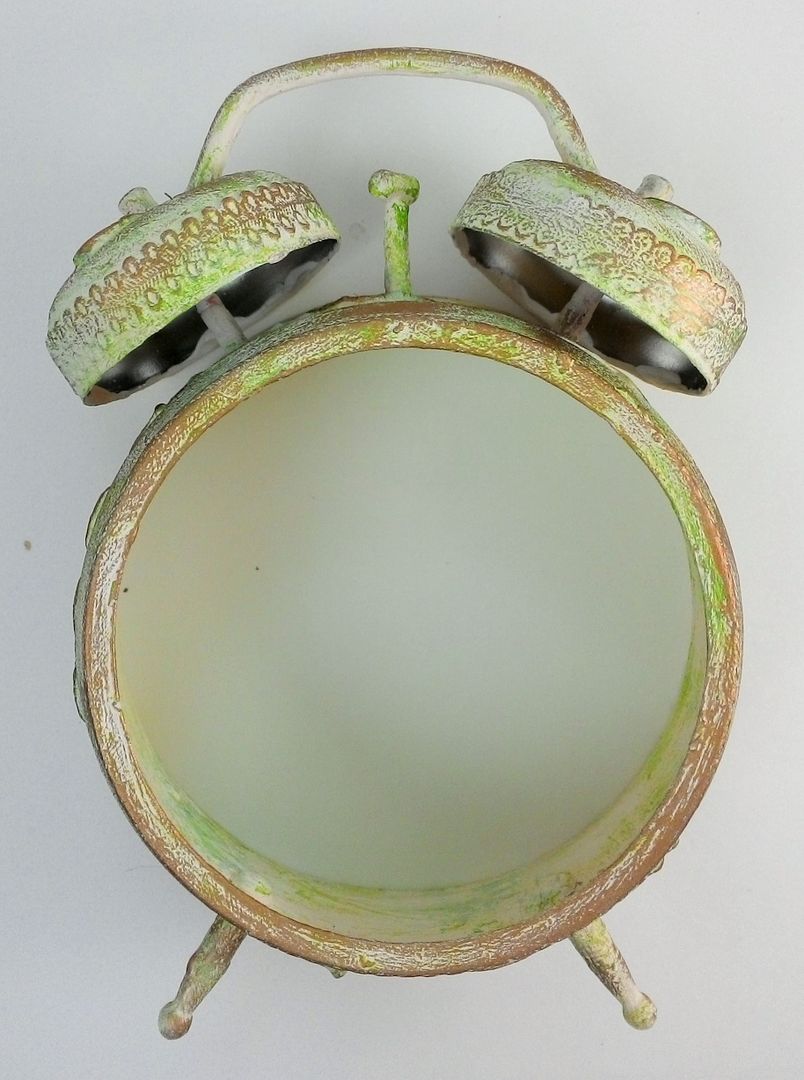
Below are pictures of the finished embossed design technique.  
It now looks like the Dresden, stickers, and chipboard are molded to the clock.  My husband upon see the clock though I had made it from a mold.  I explained that it was a metal shell of a real clock and molding a clock was a little out of my ability.  LOL
I dressed up the bells of the clock with teardrop fused pearls.  The bells made me think of Victorian lamps with hanging beads, which is something I thought a Victorian shop would have.
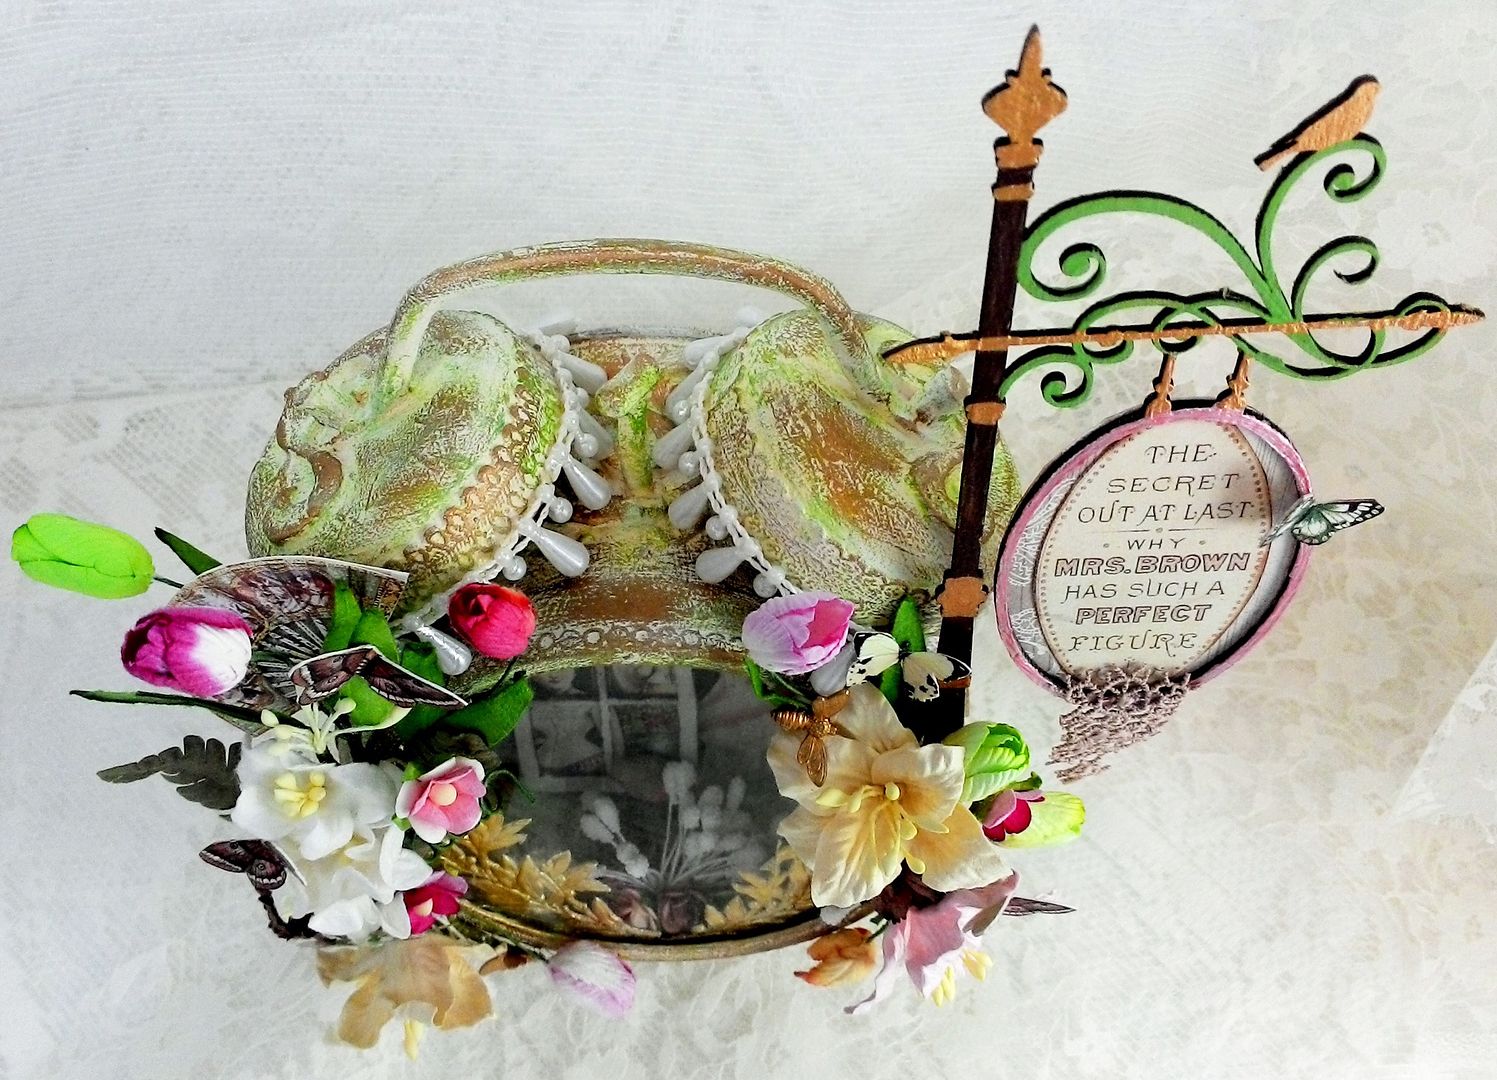
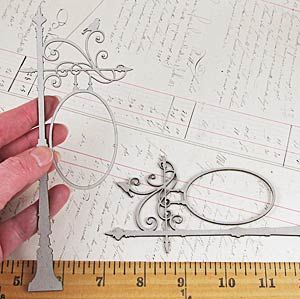
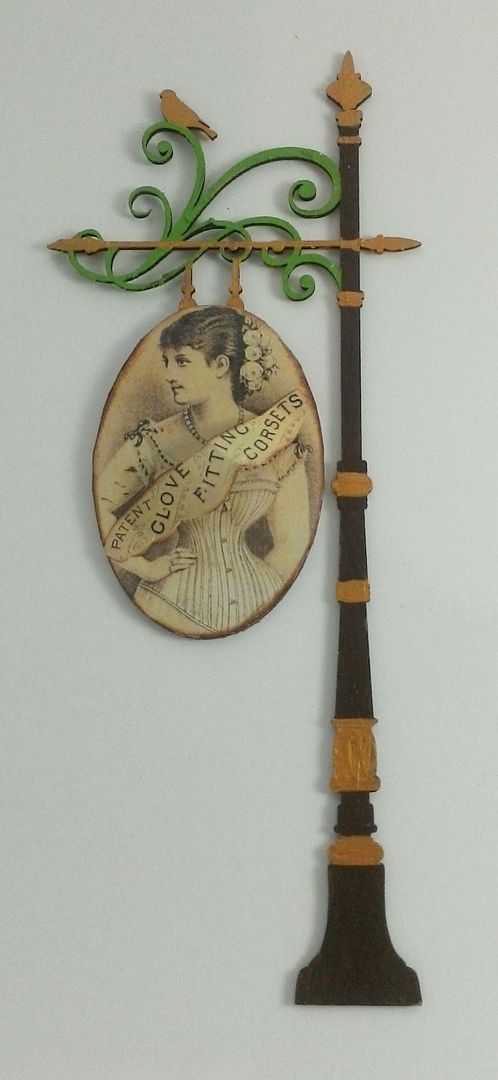
I absolutely love any kind of signs so I thought adding a chipboard sign to the front of the corset shop would add a perfect touch.
For a final touch, I added a piece of lace to the bottom of the sign.  The sign is glued to the rim of the clock, which was done before adding the flowers.
To decorate the inside of the clock, I first added paper than a 4 inch gold doily.  Next, I applied rub-ons from my stash, and then a clockface popped up with a piece of double-stick foam tape.
I added the image of a woman which is popped up further than the clock, and then the window (popped out even further) which is painted with Picket Fence Crackle paint and backed with an image.  There is lots of room to create as much depth and dimension as you like.
I glued Gold Dresden Myrtle Leaves to the inside of the glass and glued flowers to the inside bottom of the clock.  Once all the pieces were decorated, I glued the glass in position and inserted the back of the clock back into place.   The last step was to decorate the front of the clock with flowers.
On the back of the clock I used an image from The Garden Timeless scrapbook paper and more images from collage sheets and finally paper flowers.