-->

Welcome

I love answering your questions. If you ask them in the comment section, I have no way to answer you (if you haven't heard from me, that is why). If you use the "EMAIL ME" in the left column of this page, I will be able to respond to you. You can also use it if you want to be added to my newsletter. Laura
Showing posts with label Altered Box. Show all posts

Saturday, March 8, 2014

Cigar Box Chest – Video Tutorial – New “Letters from the Past” Collage Sheets & Digital Image Set

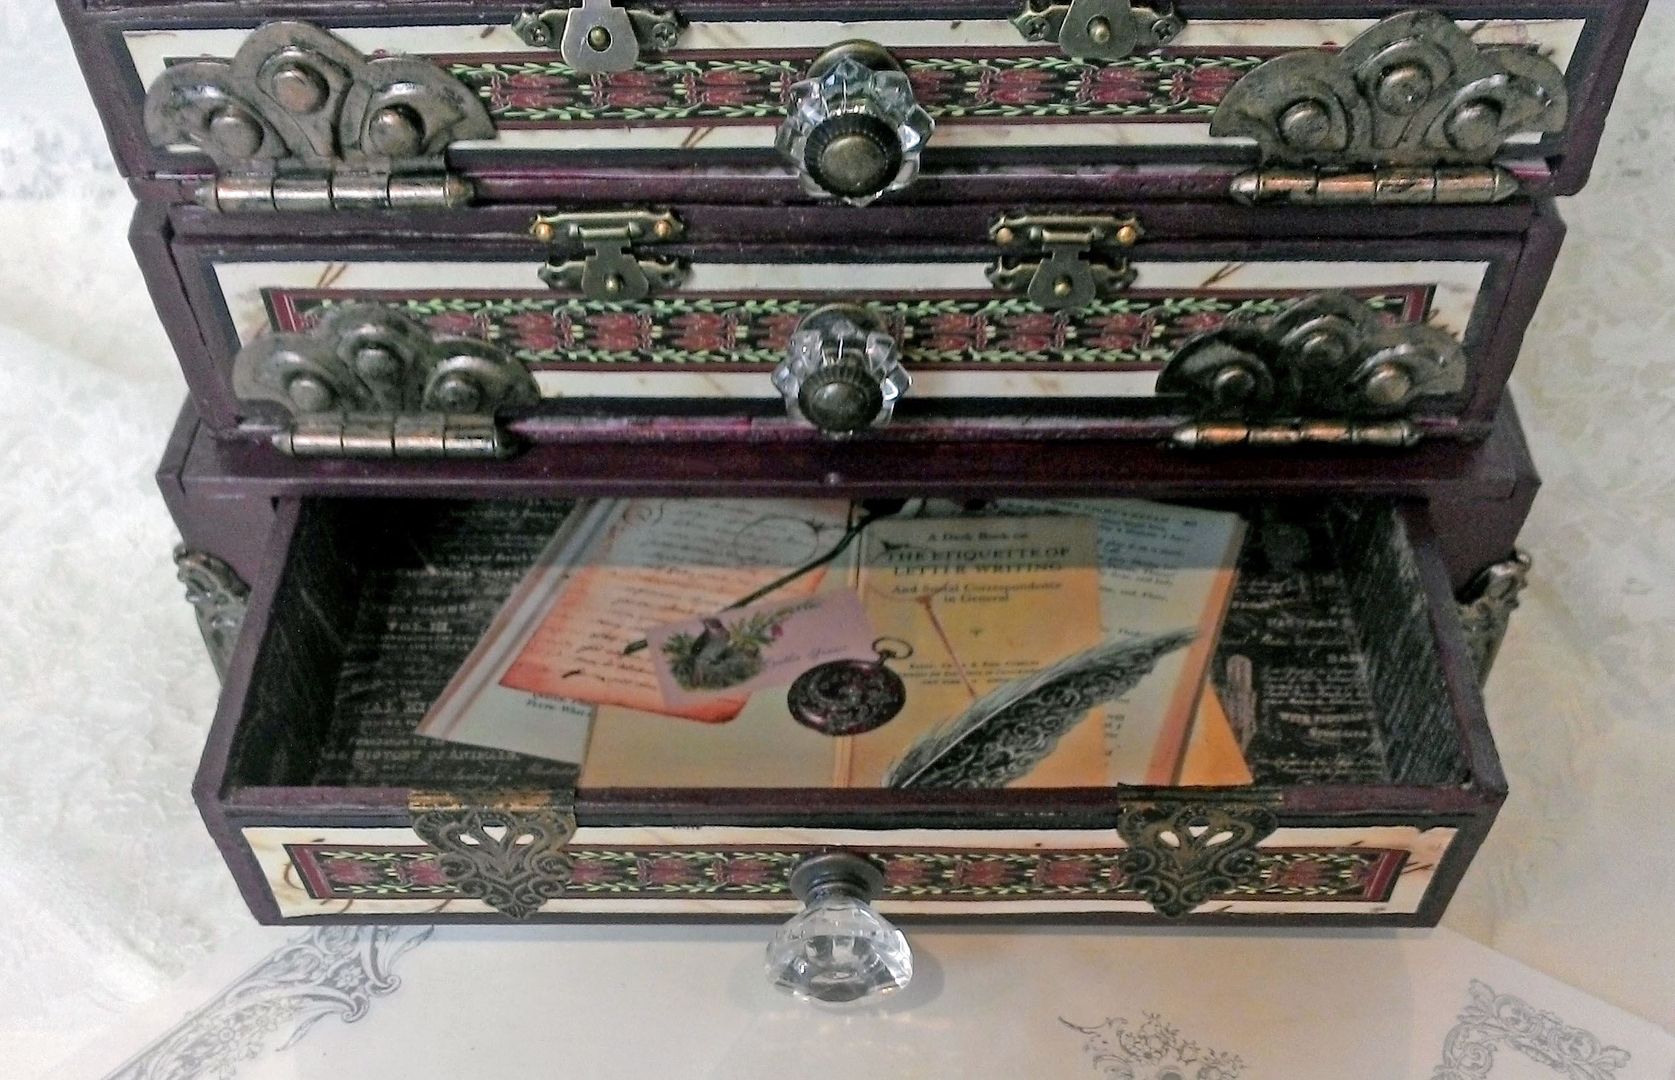
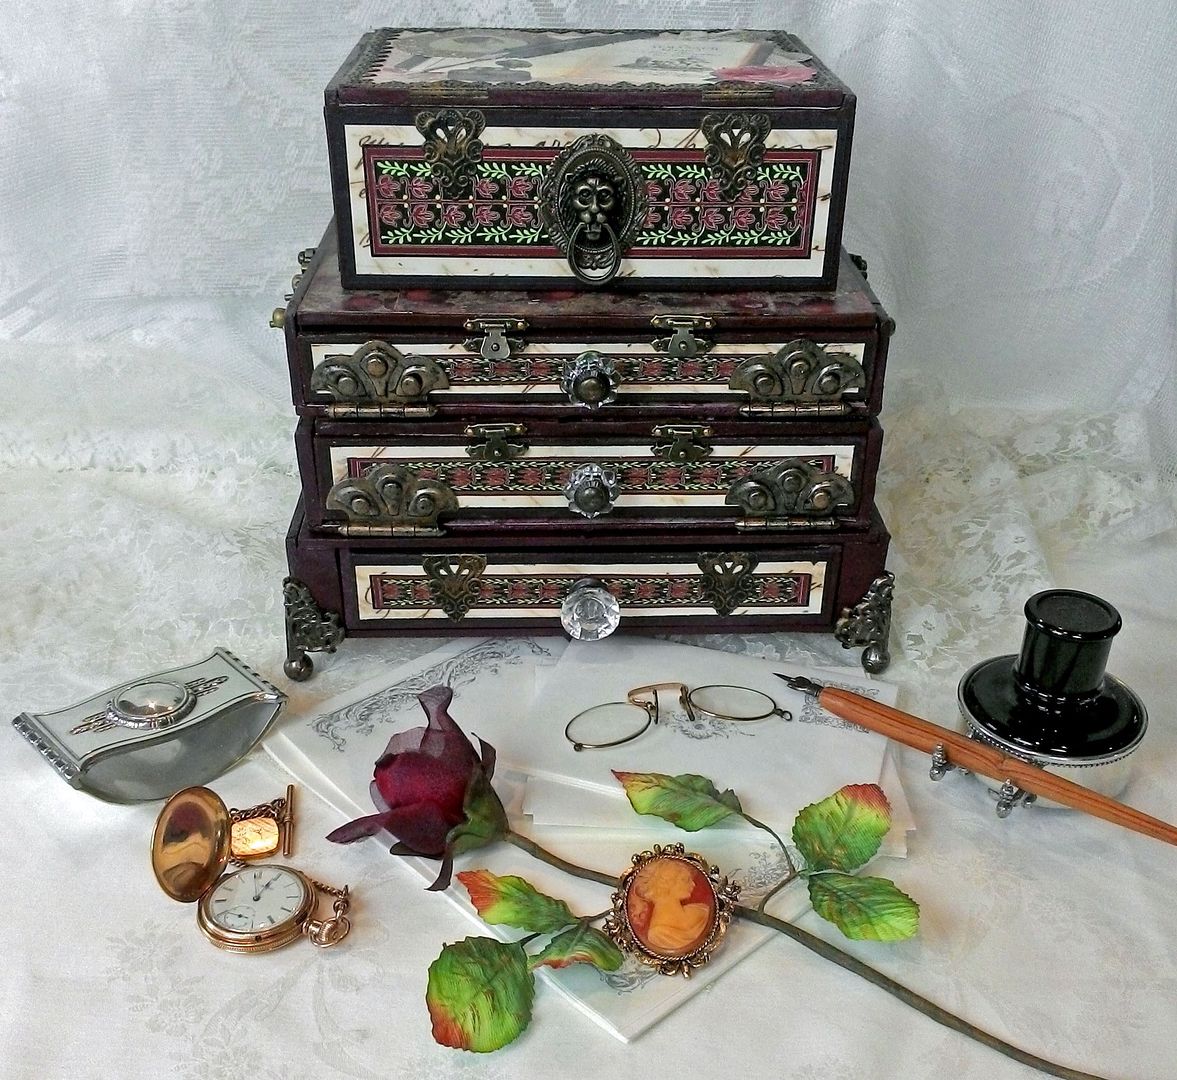
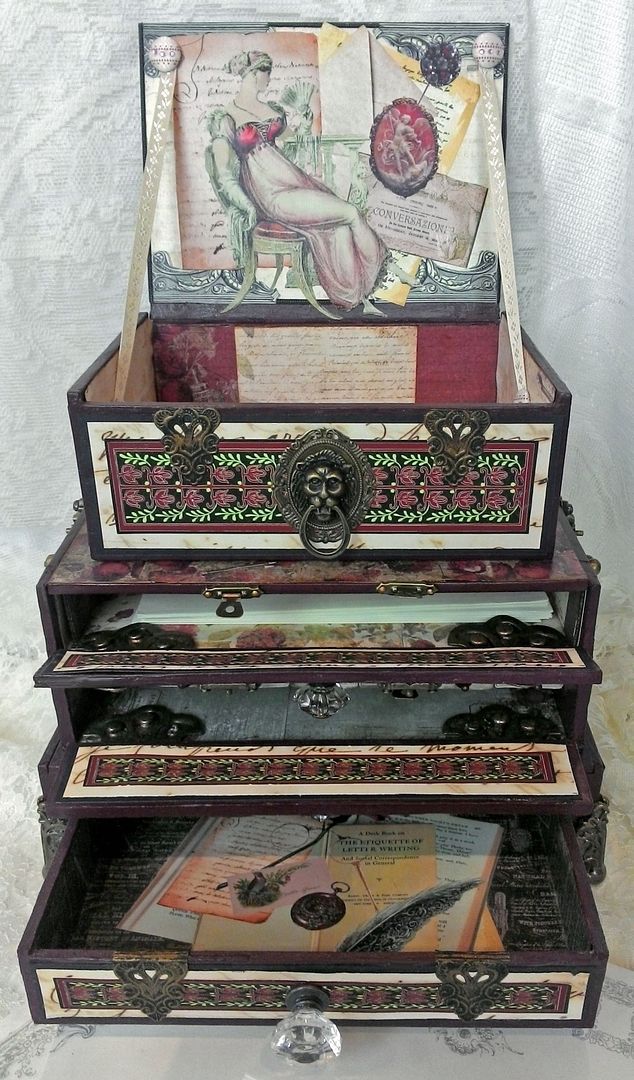
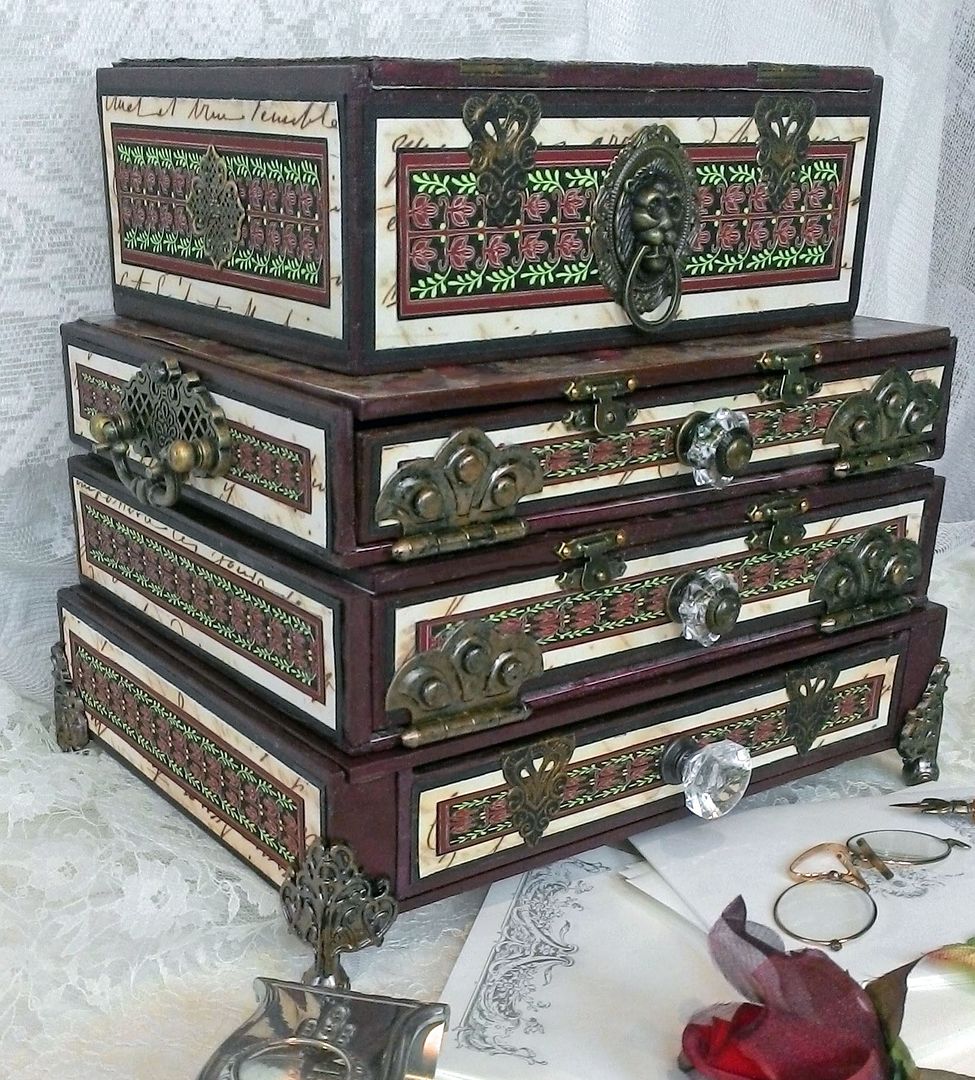
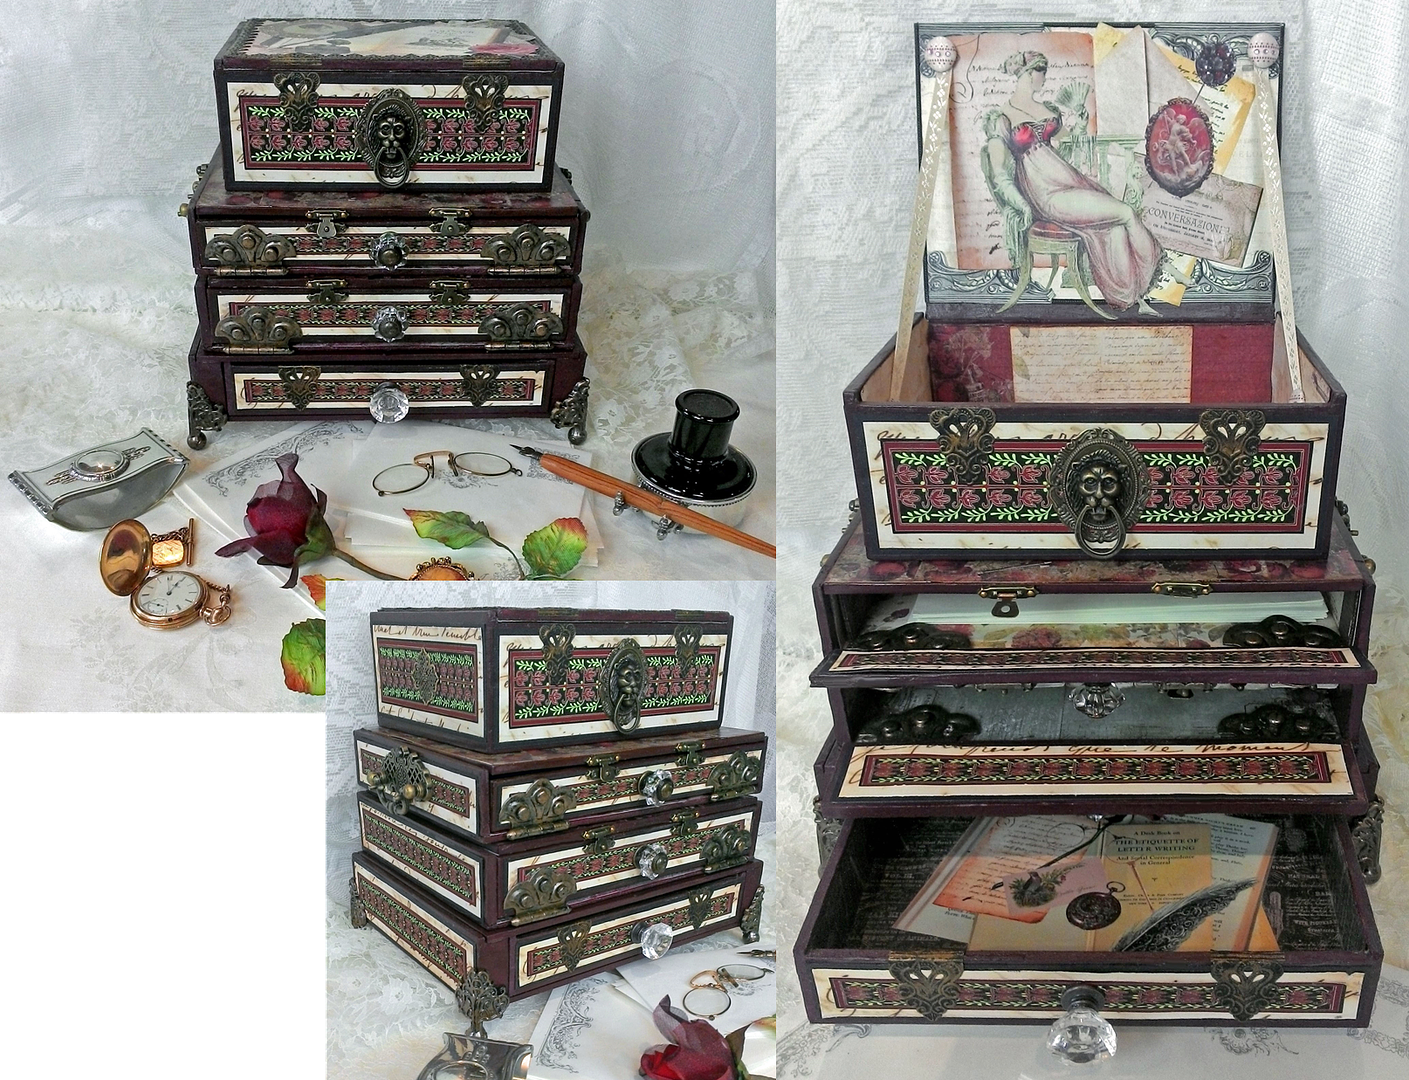
For all you altered cigar box fans I have a project that is right up your alley.  By combining multiple cigar boxes you can create a piece of art that is also functional.  Hunt down some boxes, choose your theme and you’re good to go.
In the sample, I envisioned a vintage writing chest that carried all of the essentials of proper communication, perhaps traveling with an elegant woman during Jane Austen’s time.  
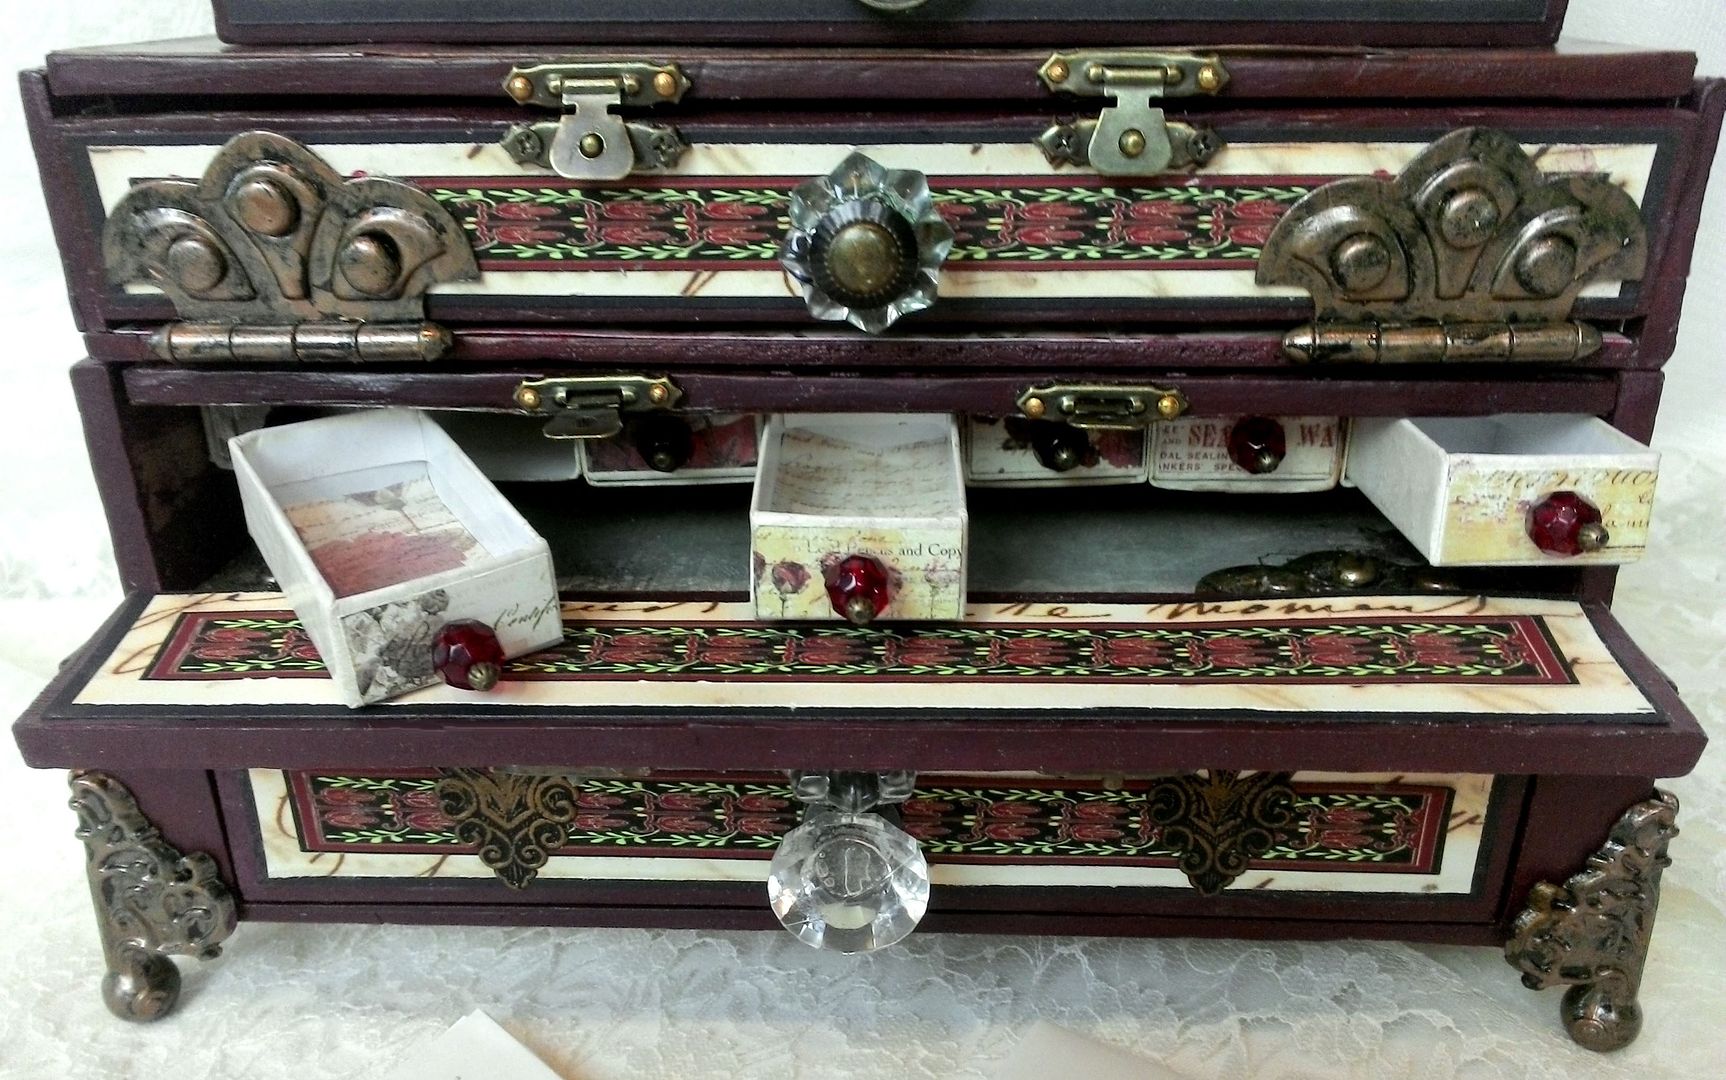
Of course, there are so many uses for a chest like this such as jewelry, keepsakes or maybe a place to store your favorite pieces of art. 
 
To go along with the writing chest I’ve created two new collage sheets.  Click on the image below to purchase the sheet.
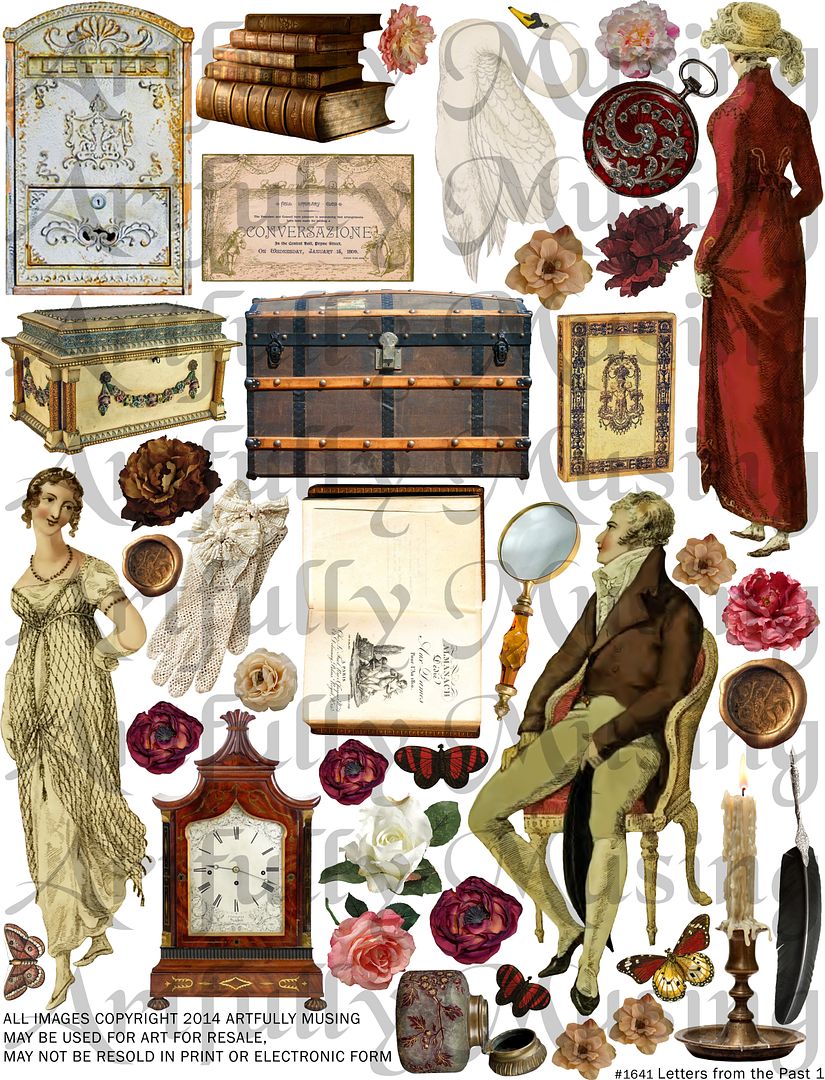
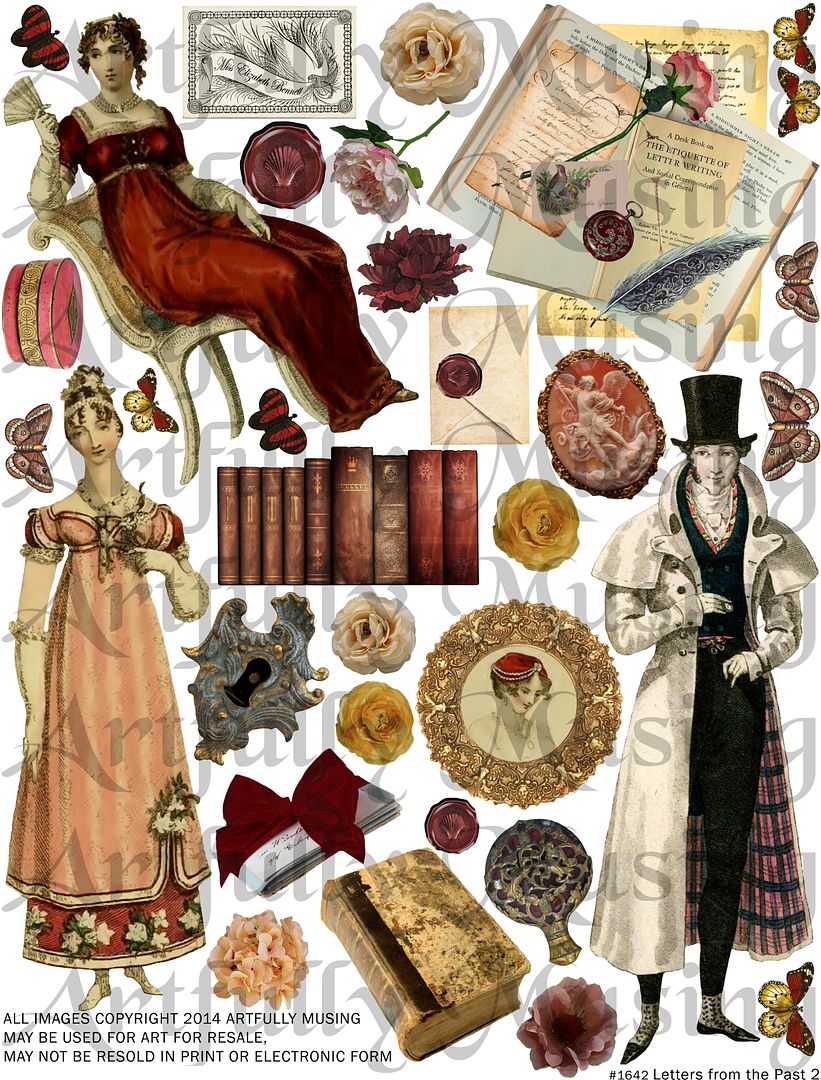
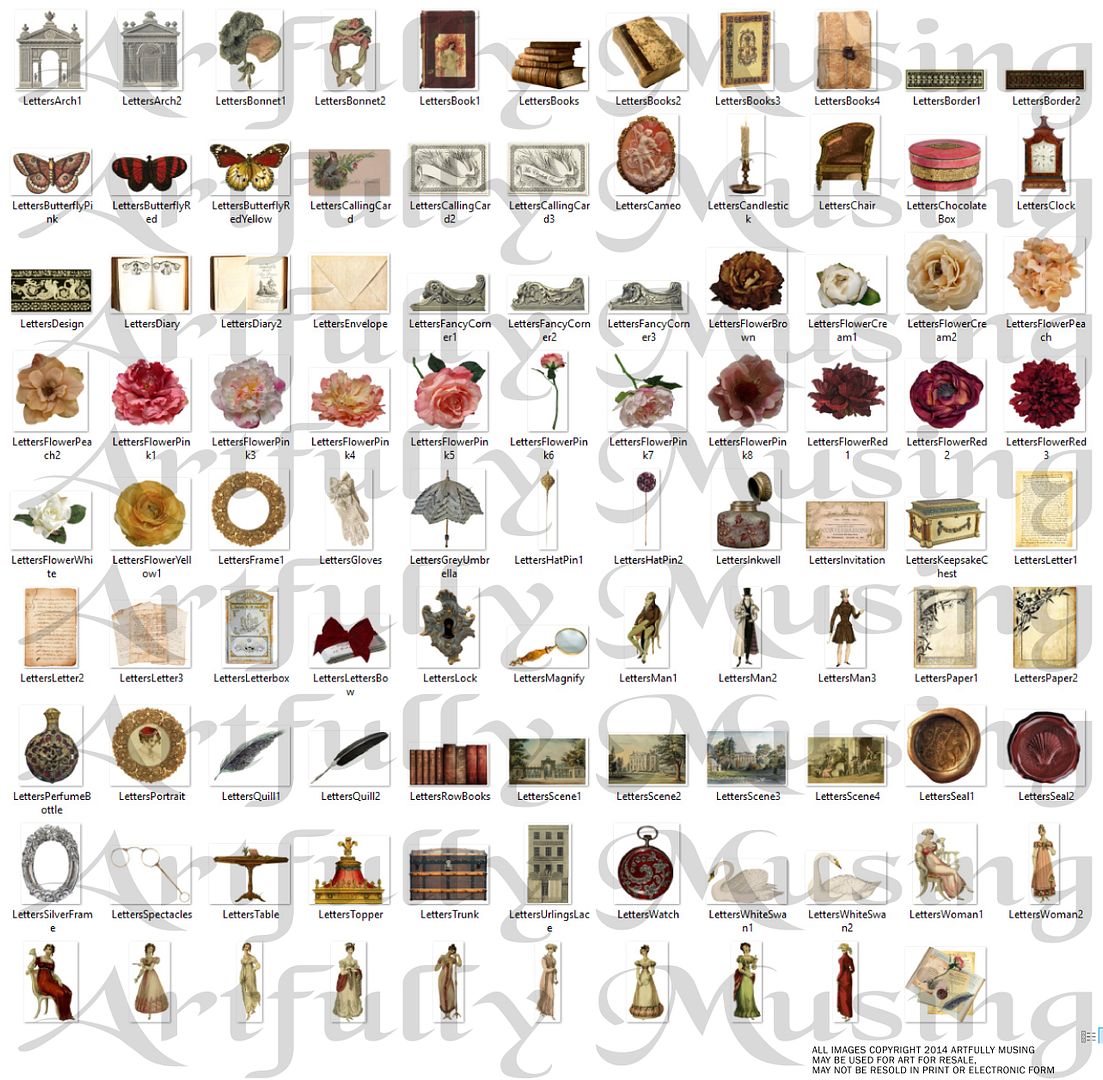
The digital image set includes all of the images in the collage sheet plus many more for a total of 98 images.  Along with more images, the digital image set gives you much more flexibility in printing just the images you want, and in resizing the images to your particular needs.
TUTORIAL
In this tutorial, I’ll cover how to alter, decorate and assemble cigar boxes to create a chest.  There is also a companion downloadable PDF document which includes the information covered in the tutorial.  Further down in this post you will find the complete list of the products I used on the sample chest.
FREE CIGAR BOX IMAGES
If you choose to keep the look of the cigar boxes for your chest you will need to replace the cigar box edging paper.  Below are links to free collage sheets with edgings.  I suggest you print the edgings on thin glossy paper as it will look like the real thing and be thin enough to wrap and glue to the box edges.  I use what is called glossy “presentation” or “brochure” paper made for inkjet printers.  You can find it online and at office supply stores. 
EDGINGS
LABELS
Monday, November 25, 2013

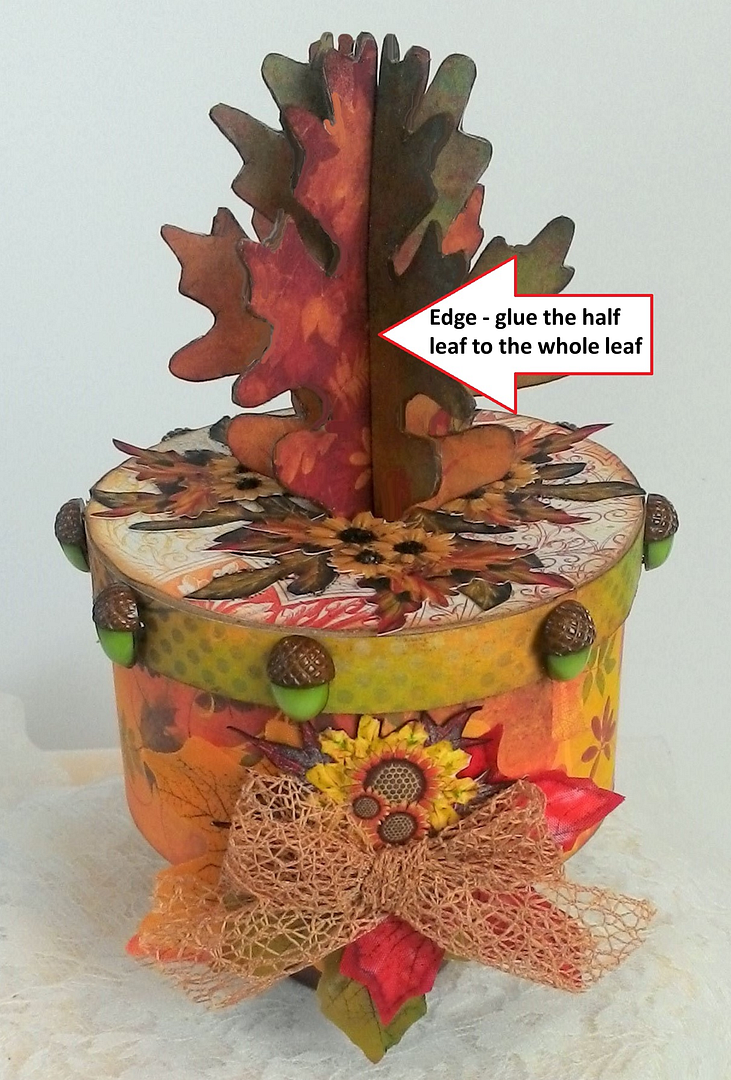
Fall Treasure Box or Centerpiece with Leaf Topper Tutorial

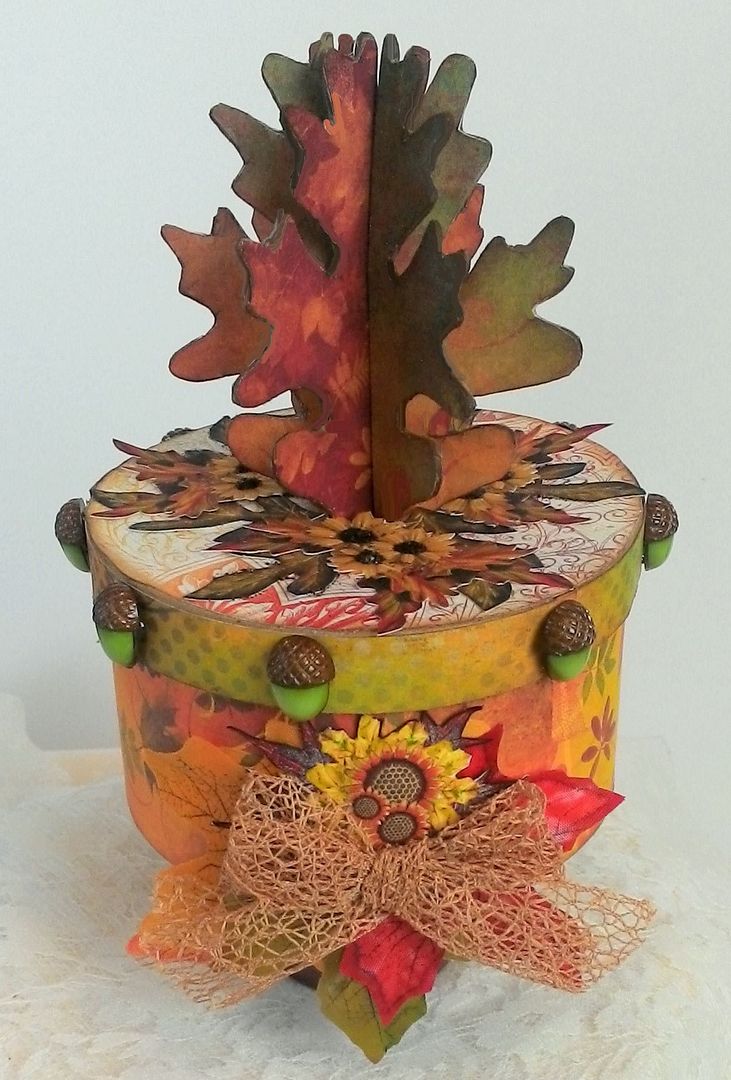
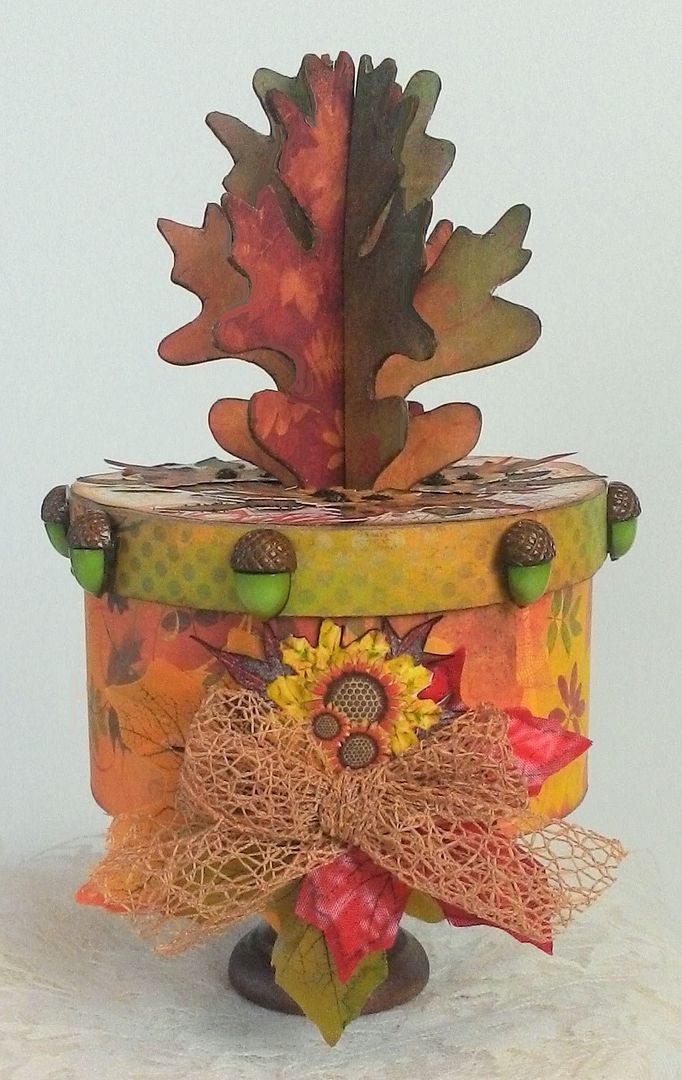
How about decorating a round paper mache box in a fall theme and using it as a treasure box or as part of a centerpiece.
The topper is made from 3 chipboard leaves that serve as decoration and also as a handle to lift the lid from the box.  Although I used leaves, you could use this technique for lots of other chipboard shapes.
How to Make the Leaf Topper
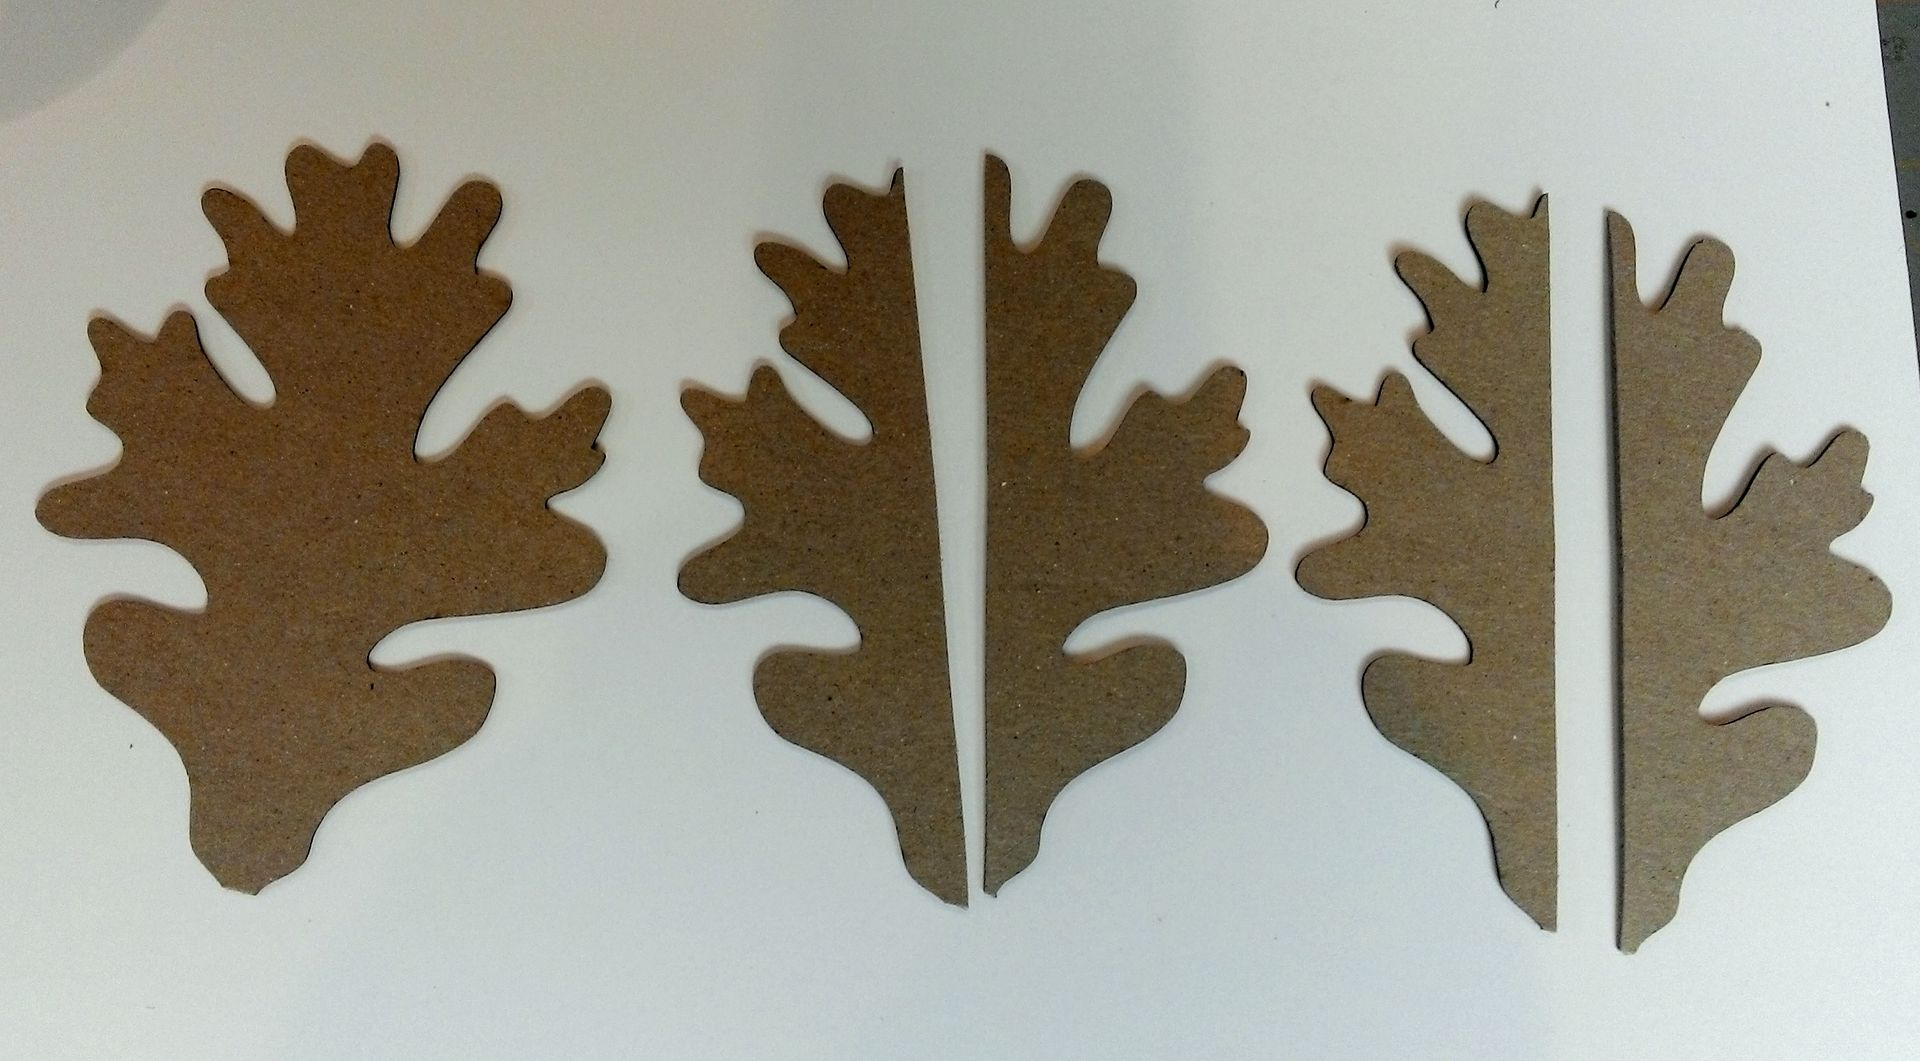
  • First, paper or paint your leaves.  The leaves below are undecorated as they are just for demonstration purposes but you will want to decorate yours first.  When papering items that don’t have straight edges I use sandpaper to help remove the excess paper.
  • Cut two of the leaves in half.  I inked the edges of the chipboard after they were papered and cut.  Because the stems of the leaves are so narrow, I cut them off.  Depending on the shape you are using you might want to cut something off of the bottom of the shape if it is narrow like the stem of the leaves.
  • Paint or paper your box lid. 
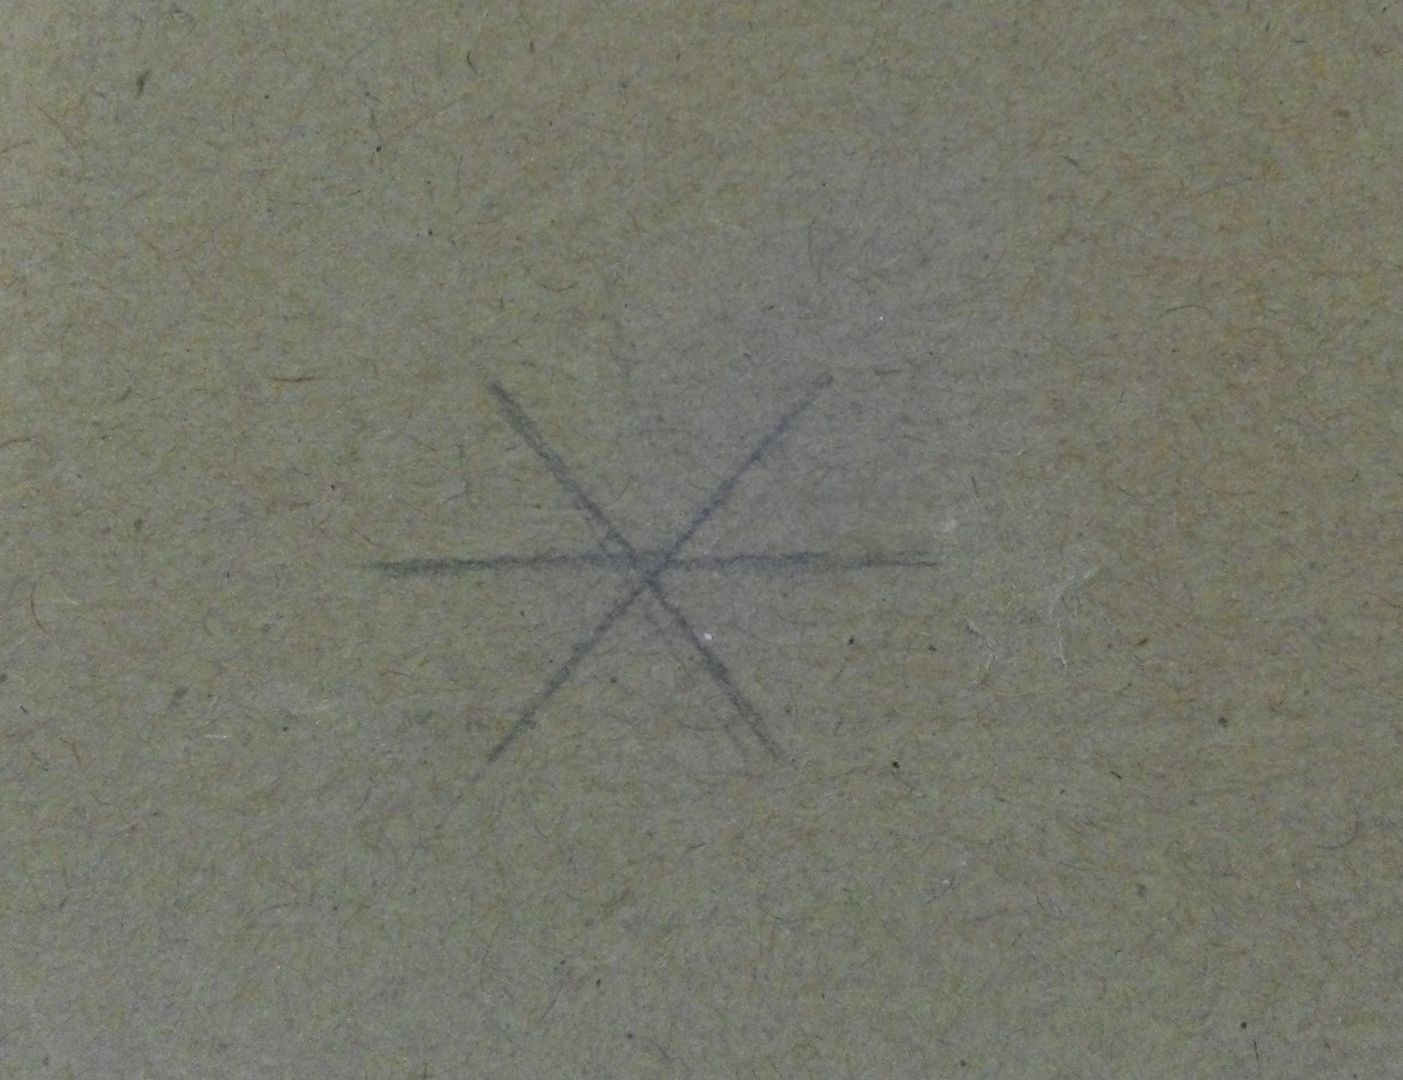
  • Mark three cut lines at the center of your box lid as pictured below (of course yours will be papered and or painted) and use an X-acto knife to cut the lines.  This is where you will be inserting the leaves into the box lid.  The length of your lines depends on the shape you are using and how far you want to insert the shapes into the box lid.  I inserted the leaves I used about 1/2” into the box lid.
  • Insert the full leaf first.  Next, insert a half leaf and glue it the full leaf where the two meet.  Continue inserting and gluing the half leaves.  You are reassembling the cut leaves with each other but with the full in between. Note: when working with a shape like a leaf where each side of the leaf is not exactly the same, make sure that when you glue the half leaves in place you are gluing each side of the same leaf across from each other and in between the full leaf. 
 
  • Once all of the leaves are in place and the glue has dried, you might want to add a little glue to the part of the leaves that are inserted in the box (inside the lid) to keep them from being pulled out when you use them to lift the lid.

Saturday, April 20, 2013

Video Tutorial – Creating an Armoire to Showcase ATCs, Tags, Domino Books and other Small Art Pieces

I hope you've been having fun gathering up your supplies and getting ready to make an Armoire.  Once you make one, I know you’ll want to make more.  These boxes are a great way to store and display your small art pieces like ATCs, tags, domino books, mini books etc.  I have two new samples (Time Machine Steampunk Themed and Peacock Dress Form) to show you in addition to the ones you've seen in previous posts.  I also have a new collage sheet 
In the video tutorial I cover how to create an armoire using either a cigar box or building one out of foam core board.

In addition to the watching the video tutorial you’ll also want to check-out the detailed photos and product supply lists for all four samples, the link to the stained glass transparency tutorial and the free images all listed below.  Per usual, I have a downloadable PDF document that contains all the information in this post as well as the steps covered in the video tutorial.
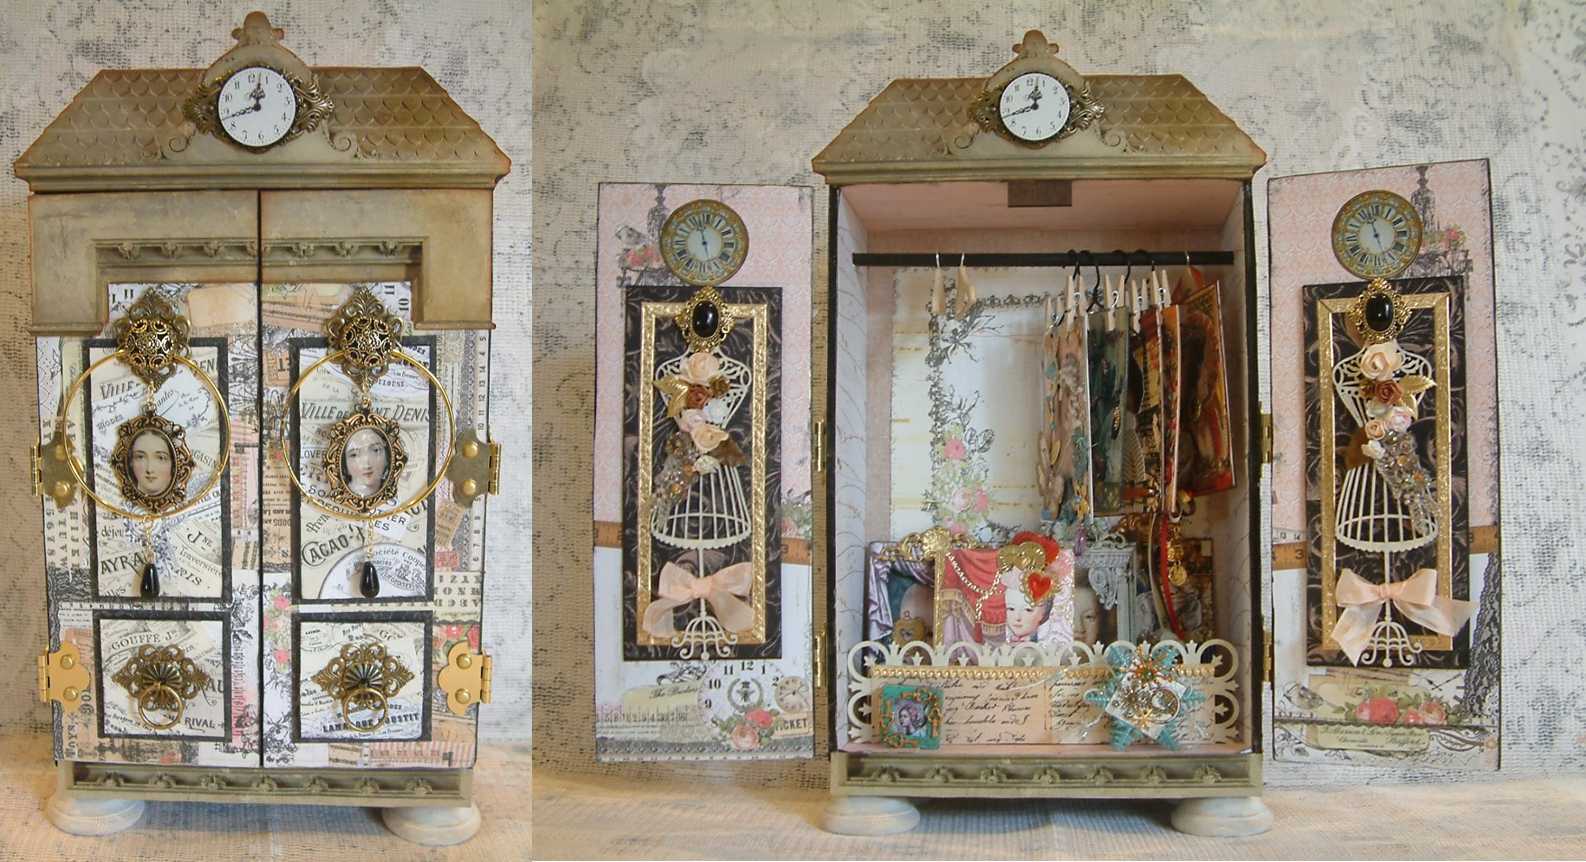
Time Machine – Steampunk Themed Armoire
Made From a Cigar Box
On the fronts and sides of this armoire I used images from the Hardware and Tick Tock collage sheets.  I used a Gold Bangle Bracelet to act as a frame for the collage of gears, clocks, numbers and chains.
The large acrylic Bulb at the top magnifies the image of the man with goggles.  The bulbs come with words on them but it is easy to remove the words with some Windex and your finger nail.
Alpha Stamps Products Used in the Time Machine Armoire
Peacock Dress Form Domino Book Armoire
Made From Foam Core Board

To embellish the dress forms I used real bits of peacock feathers in addition to peacock feather images from my Whimsical Frames collage sheet.
After making the French themed cabinet with an area to stack and display more small pieces of art at the bottom, I decided to make a cabinet just for small pieces like domino books.  The shelves are made of the same foam core board as the cabinet.
The doors are made from two pieces of heavy chipboard with the transparency film sandwiched in between.  To create doors with inserts that look like stained glass I used a technique of printing and embossing on a transparency.  Click here for the tutorial on this technique.
Alpha Stamps Products Used for the Peacock Dress Form Armoire
FRENCH STYLE ARMOIRE
 
I created raised panels on the front of the doors using 2 layers of thick chipboard.  At the bottom I added a decorative chipboard panel where I can display more ATCs.  The area in front of the panel is large enough to display small pieces.
Alpha Stamps Products Used for the French Style Armoire
Tick Tock Collage Sheet (Pediment and clocks)
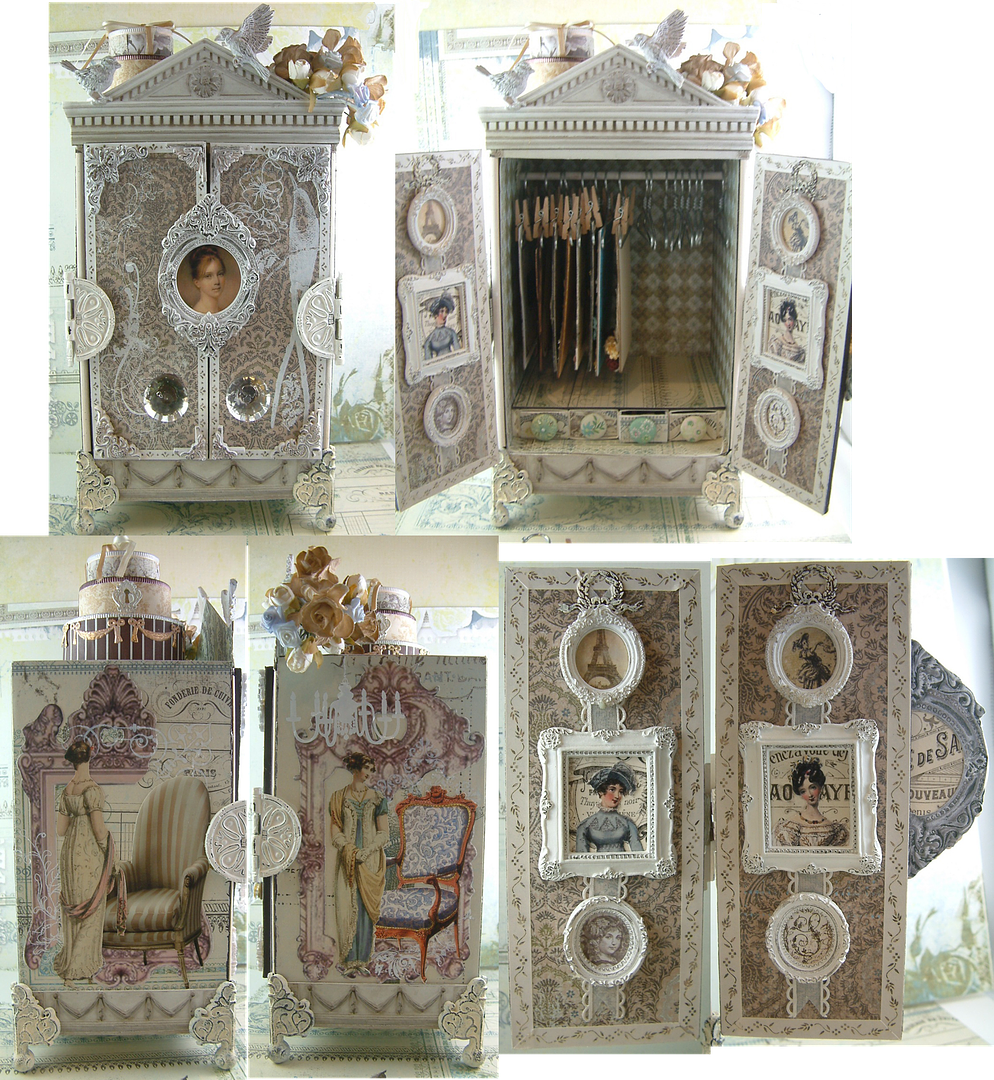
REGENCY STYLE ARMOIRE
Alpha Stamps Products Used for the Regency Period Armoire
Resin Round Frame and Corners Set – On the front
The image below is the one I used on the front of the chest.  Feel free to download the image and use it in your art.
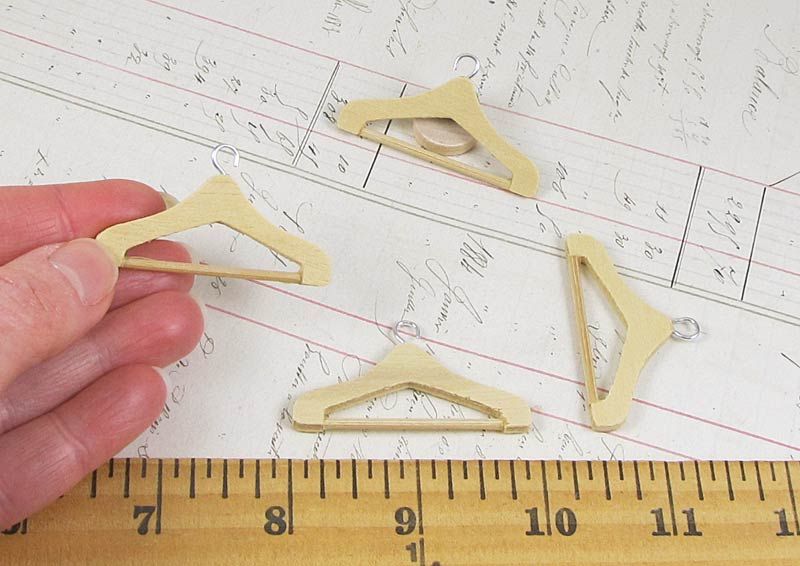
HANGERS & CLOTHES PINS CARRIED BY ALPHA STAMPS:
In addition to the pediments on my collage sheet Tick Tock, below are a few pediments that you can download and use for your armoire.

Sunday, March 24, 2013

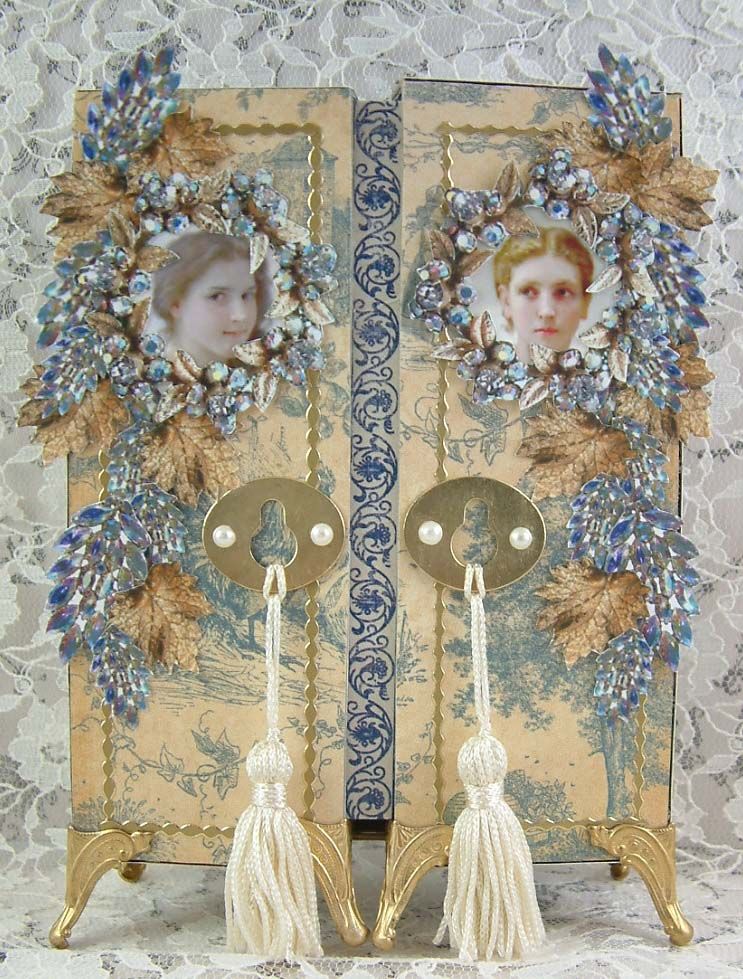
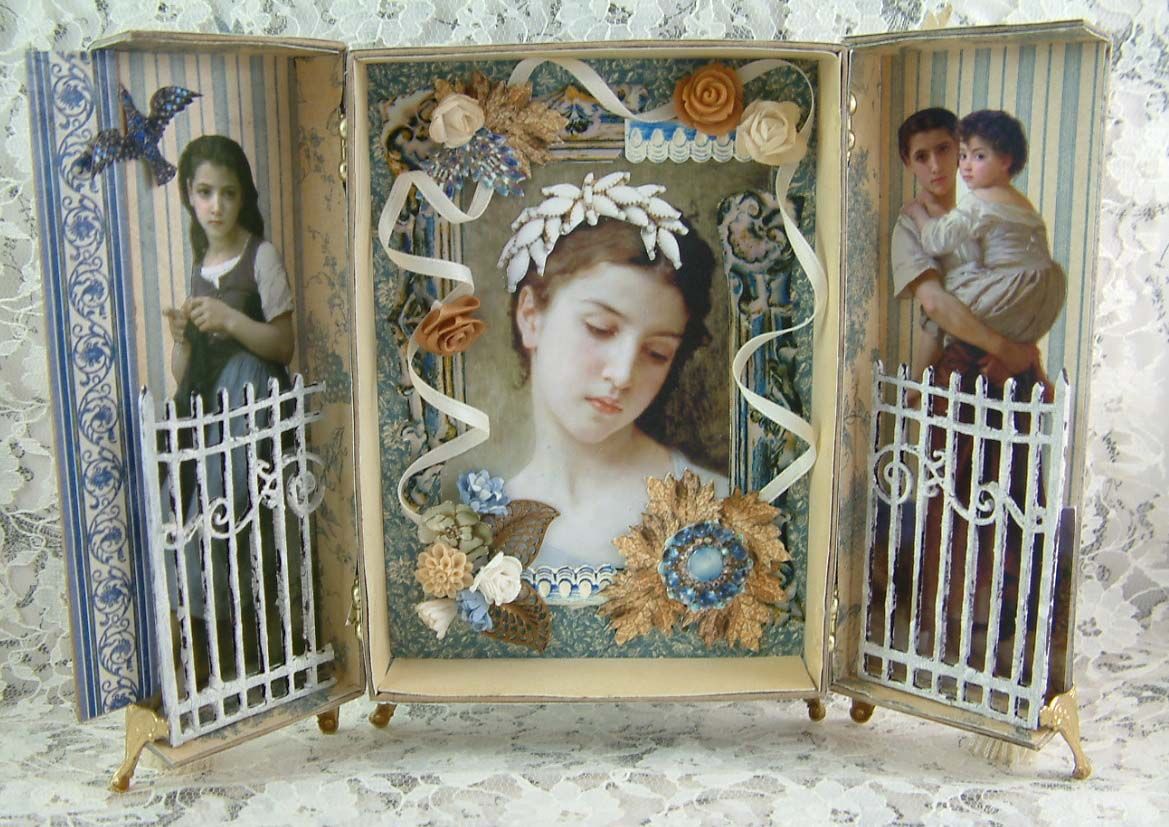
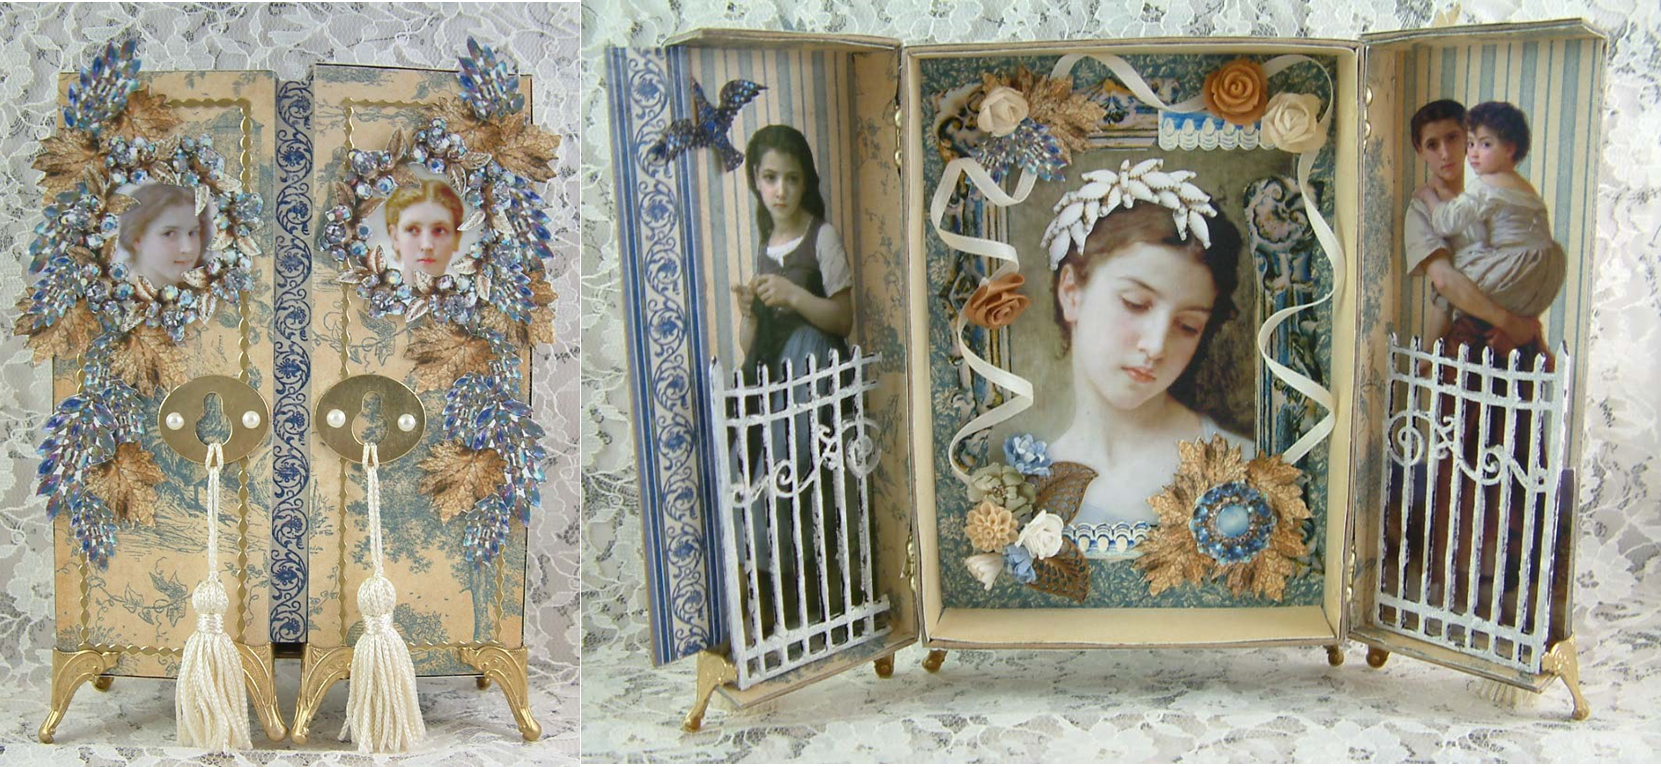
Bouguereau Inspired Hinged Craft Box

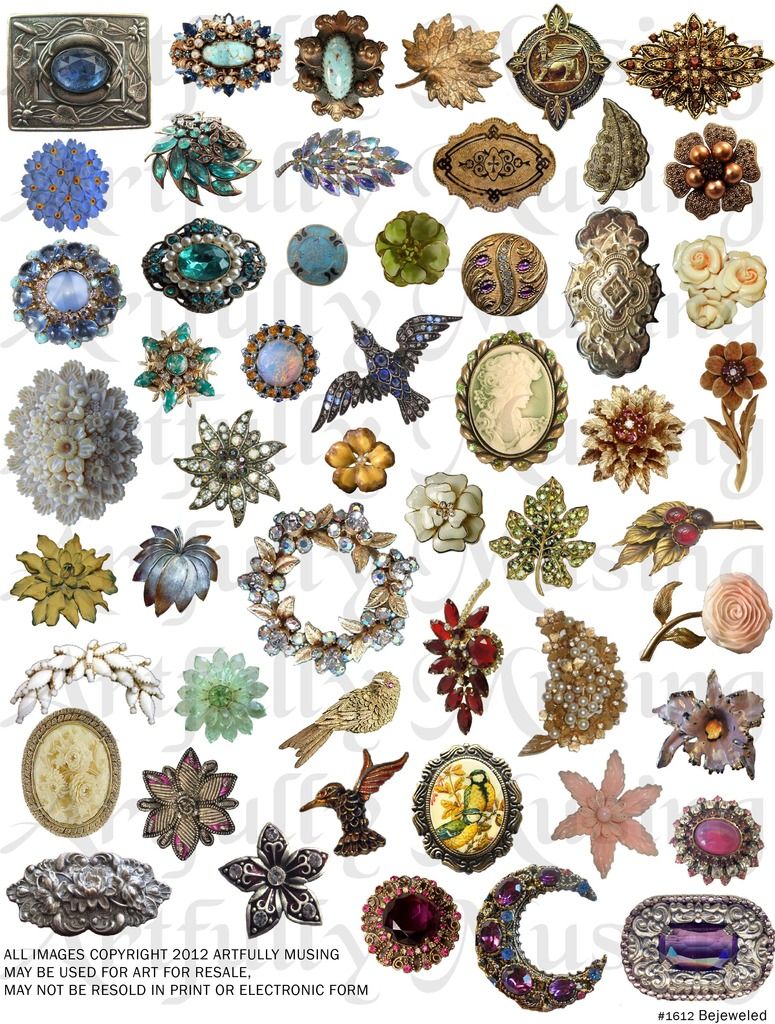
The inspiration for this project is images by the 19th century French painter William-Adolphe Bouguereau.  And once again I have used my new “Bejeweled” Collage Sheet as a source of many of the embellishments.  The images on the front of the cabinet are surrounded by jewelry from the sheet.
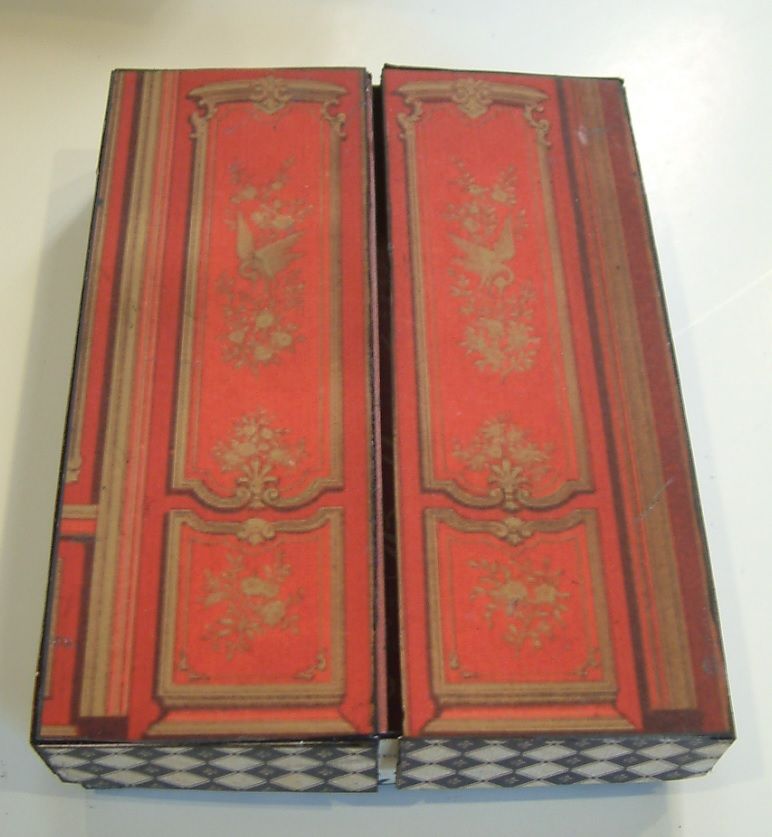
The construction of the cabinet is the same as for the Couture a Bejeweled cabinet with the exception of the placement of the hinges and the strip of chipboard in the center of the doors.  The hinges I used for this cabinet were bulkier than the ones that I used in the Bejeweled cabinet, which meant that the gap between the doors was wider.  I attached a piece of chipboard covered in decorative paper to the inside of one of the doors so that when closed, the gap is filled.
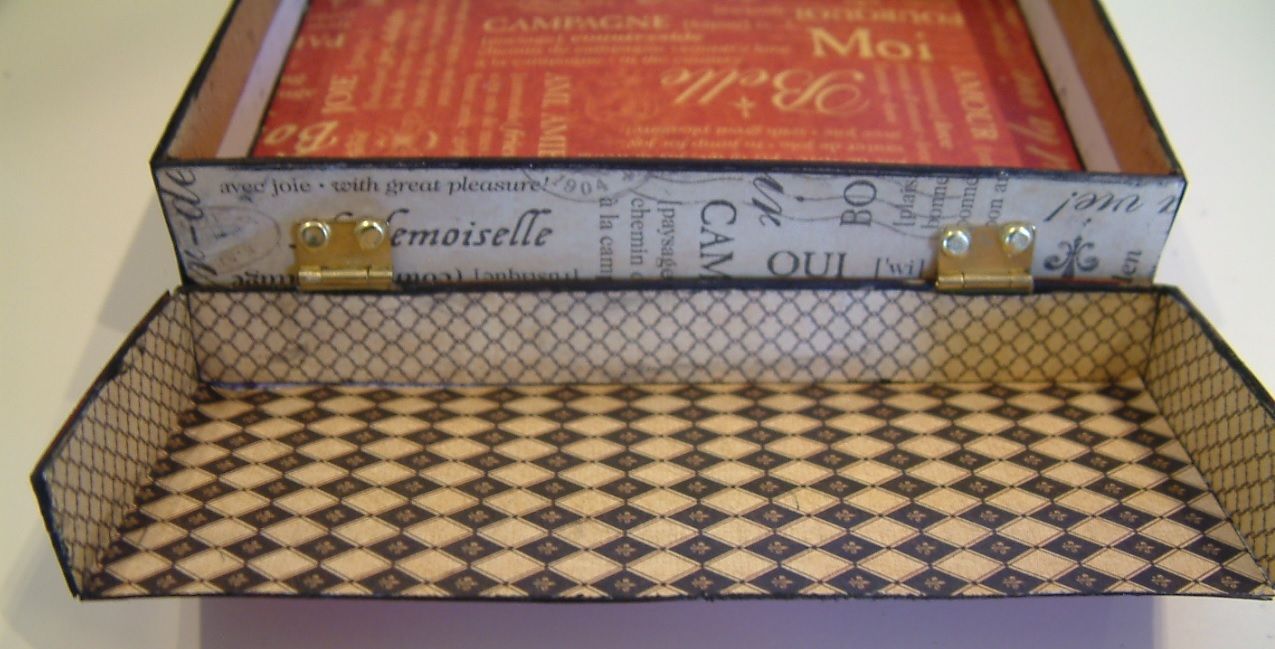
The other difference in this cabinet is in the placement of the hinges.  In order to accommodate bulkier embellishments; like the chipboard fence, I mounted the hinges close to the edge of the box.  For the Bejeweled cabinet I mounted the hinges as far back as possible on the box.  I used the same box for both projects.  You can see in the photos above the difference in where I attached the hinges.
Instead of wooden finials for feet I used brass box feet.  Since the doors hang down further than the box I attached the feet to the box at a different point that on the doors so that the box would be level.
Alpha Stamps Products Used for Cabinet:
Thin Border Stickers-Gold

Wednesday, March 20, 2013

Hinged Craft Box Tutorial & New Bejeweled Collage Sheet

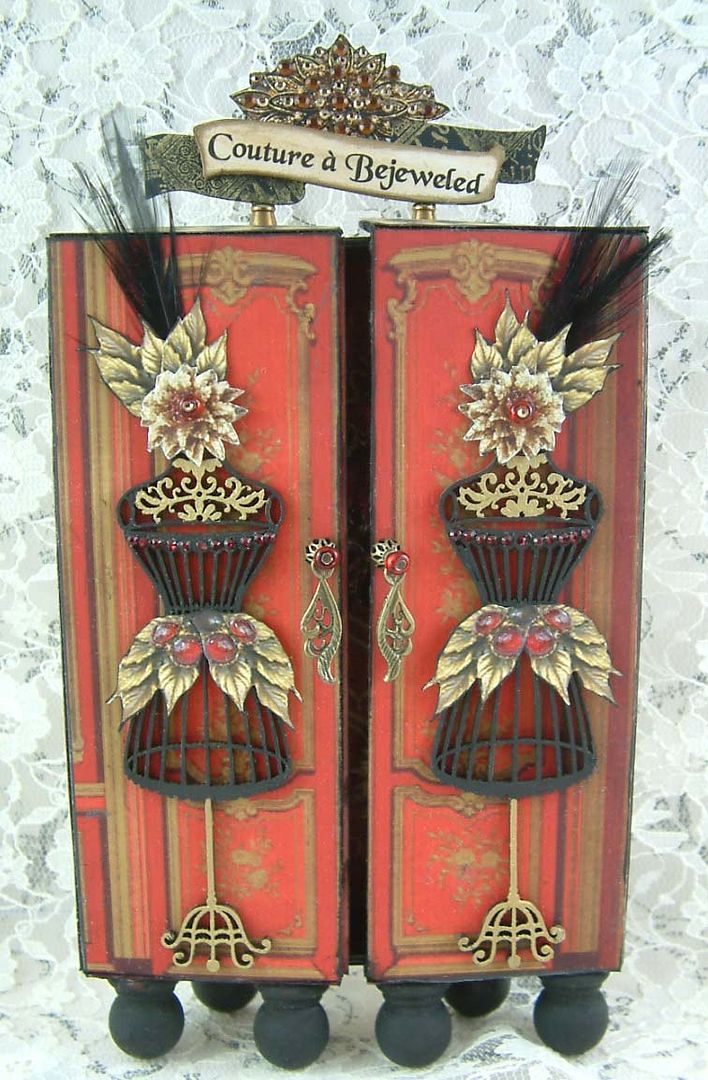
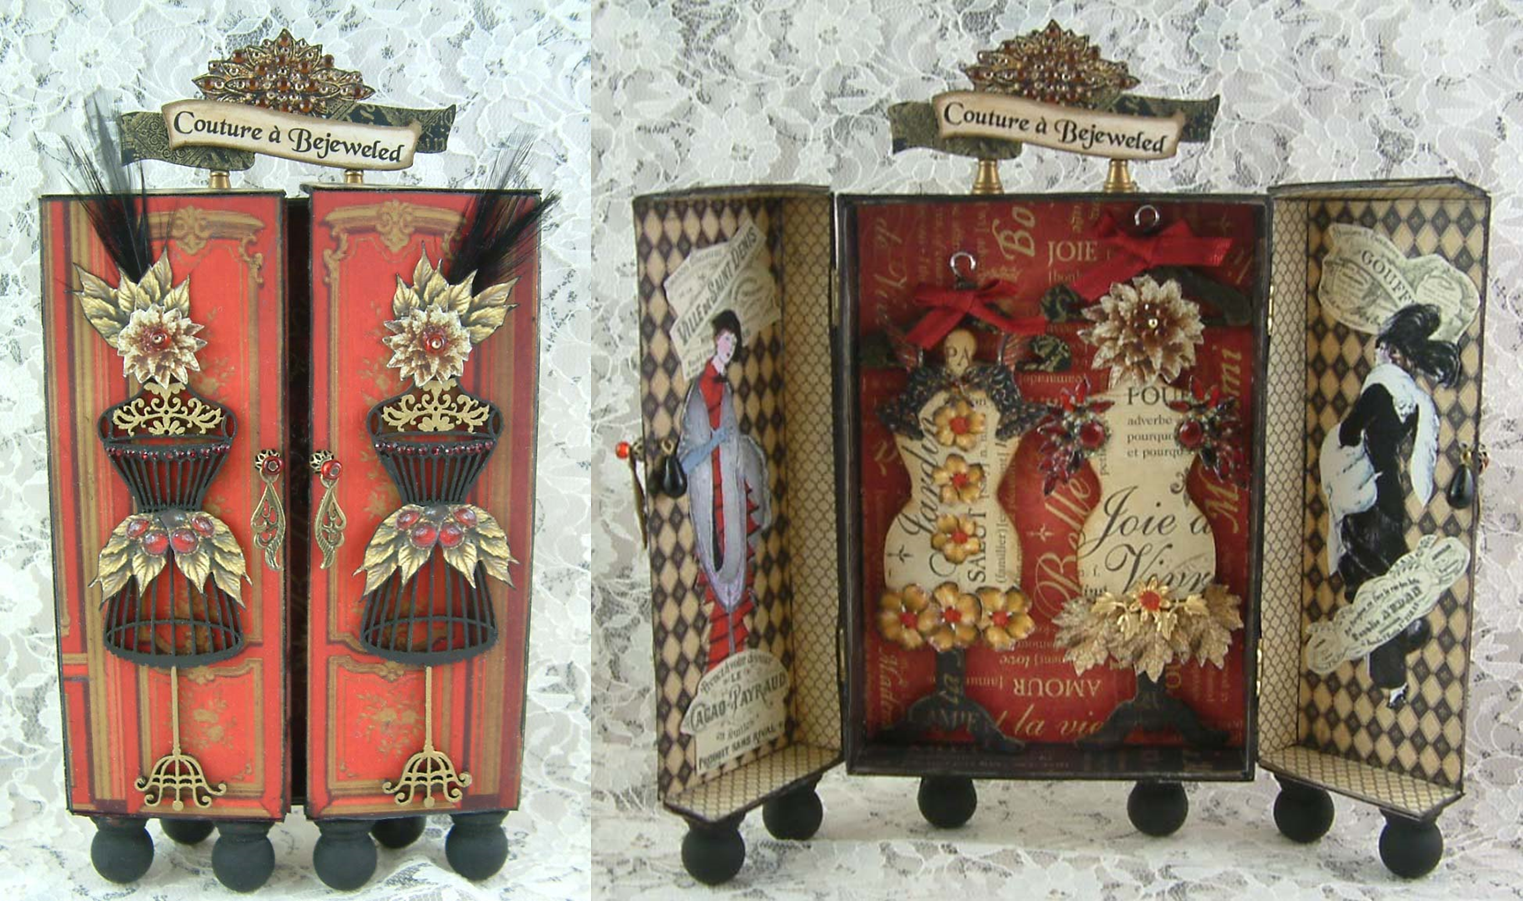
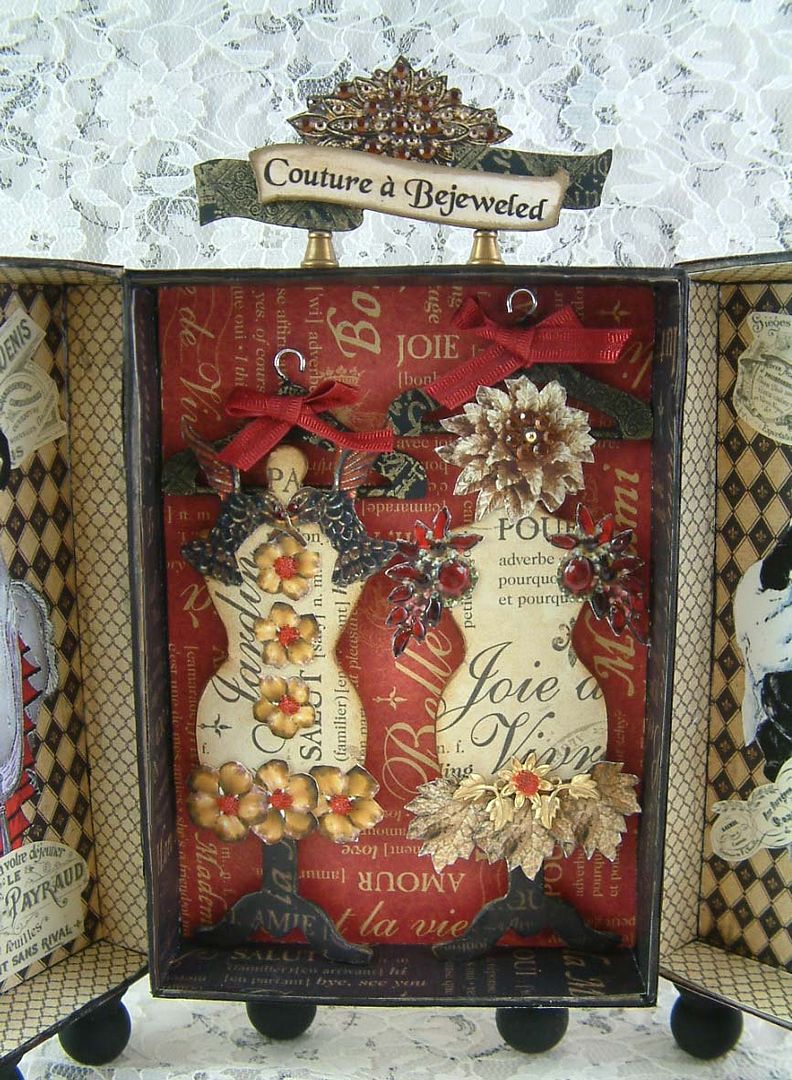
Welcome to “Couture a Bejeweled”, where a simple craft box is transformed into a hinged cabinet! 


Images of vintage jewelry are one of my favorite things to use as an embellishment.  The great thing about using an image (instead of the real thing) is that you can use it over and over in different ways.  An image is easy to “jewel up” by adding rhinestones, Glossy Accents, microbeads, glitter, and Stickles.
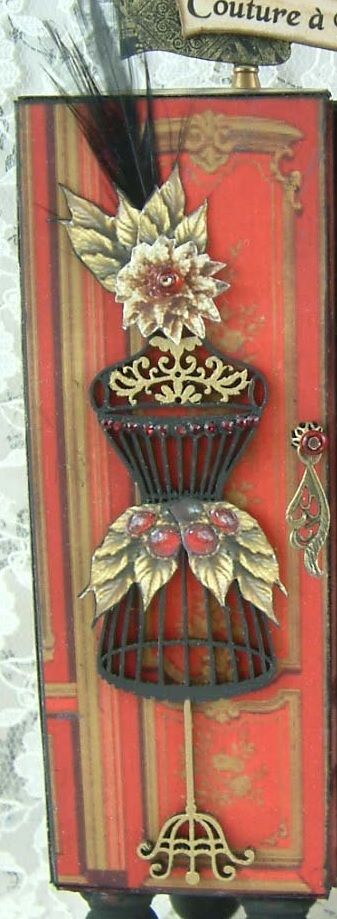
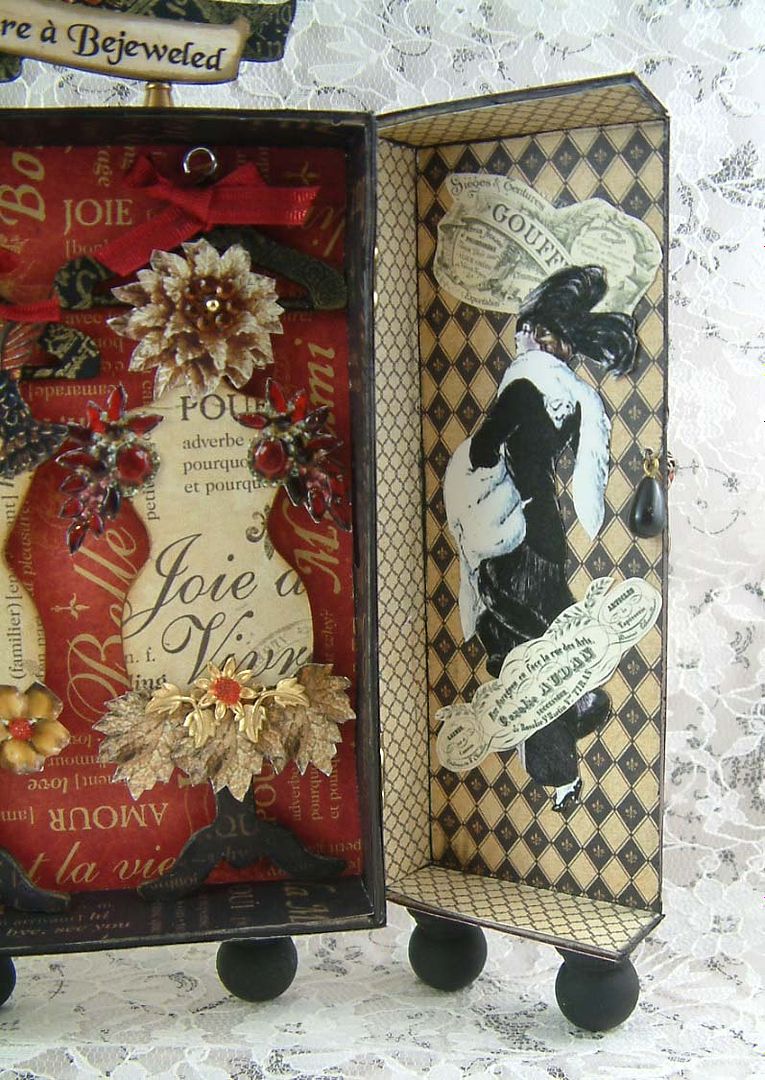
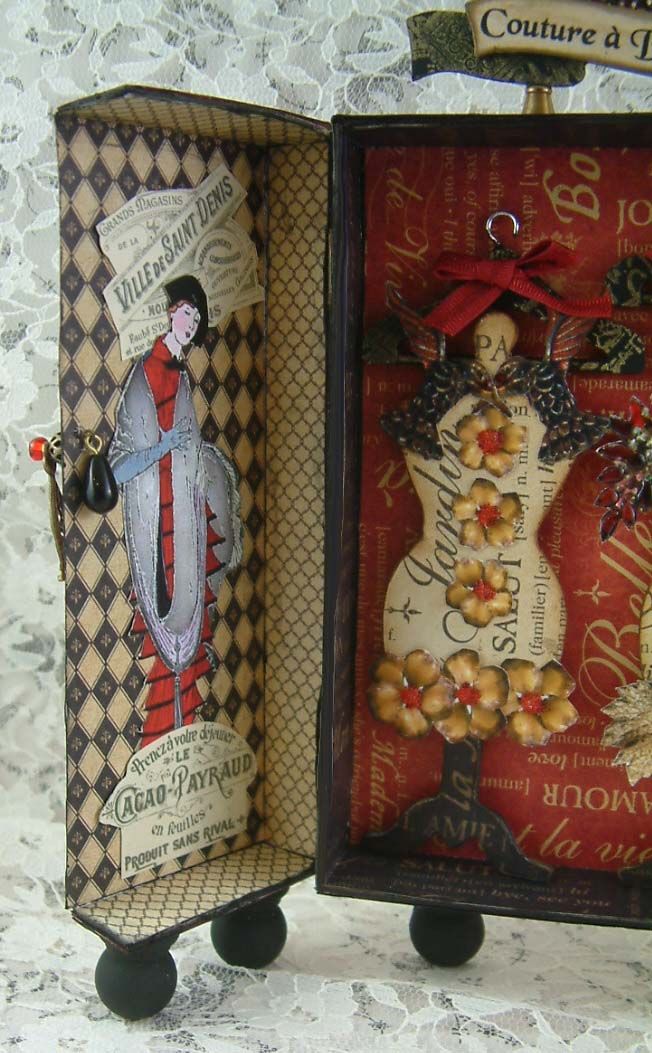
The dress forms on the front of the doors are ornate chipboard mannequins which I painted and then added images from the collage sheet.  The dimensional quality of the red stones comes from applying Glossy Accents which gives them a domed appearance.  To the flower jewel image at the top, I added a bead.
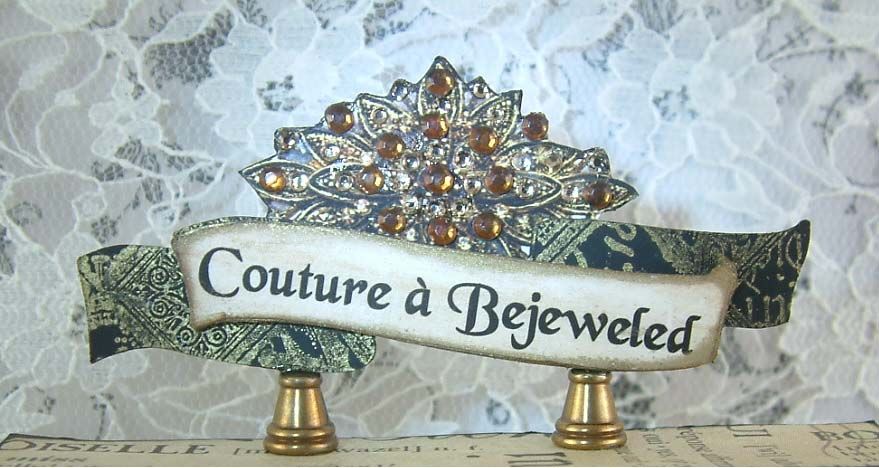
To “jewel up” the sign on the top of the cabinet I added rhinestones.
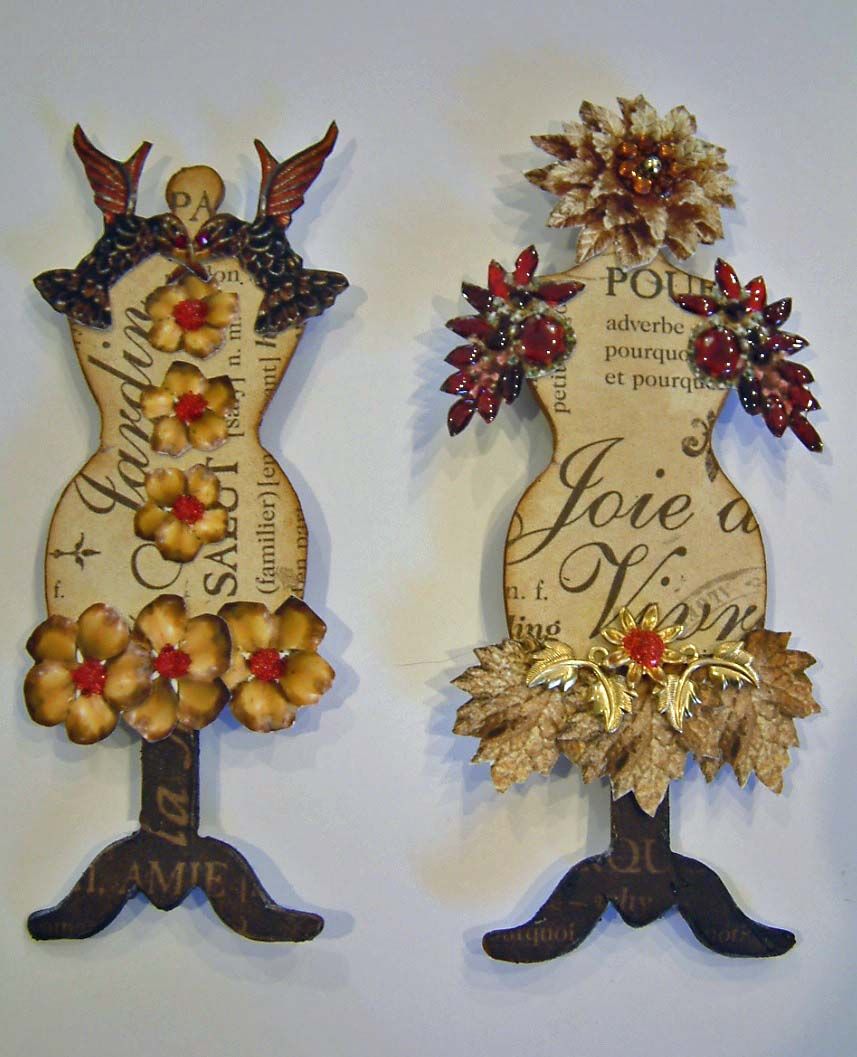
For the mannequins inside I used a chipboard dress form for the base.  I added paper and images from my Bejeweled Collage Sheet.  For the dress on the left, I used hummingbirds as sleeves and added dimension to the flowers with microbeads.  For the dress form on the right, I added rhinestones to the image at the top and Glossy Accents to the red sleeves.  The large leaves at the bottom are also images from the collage sheet.  Stickles and glitter are another options for “jeweling up” these images.
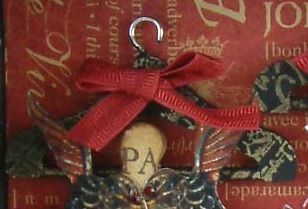
Inside the cabinet, the dress forms are attached to wooden coat hangers.  I painted them black and stamped them with gold ink.
ASSEMBLING THE BOX
The box I used for this project measures 5 ¼” x 3 ¾ and 1” deep.
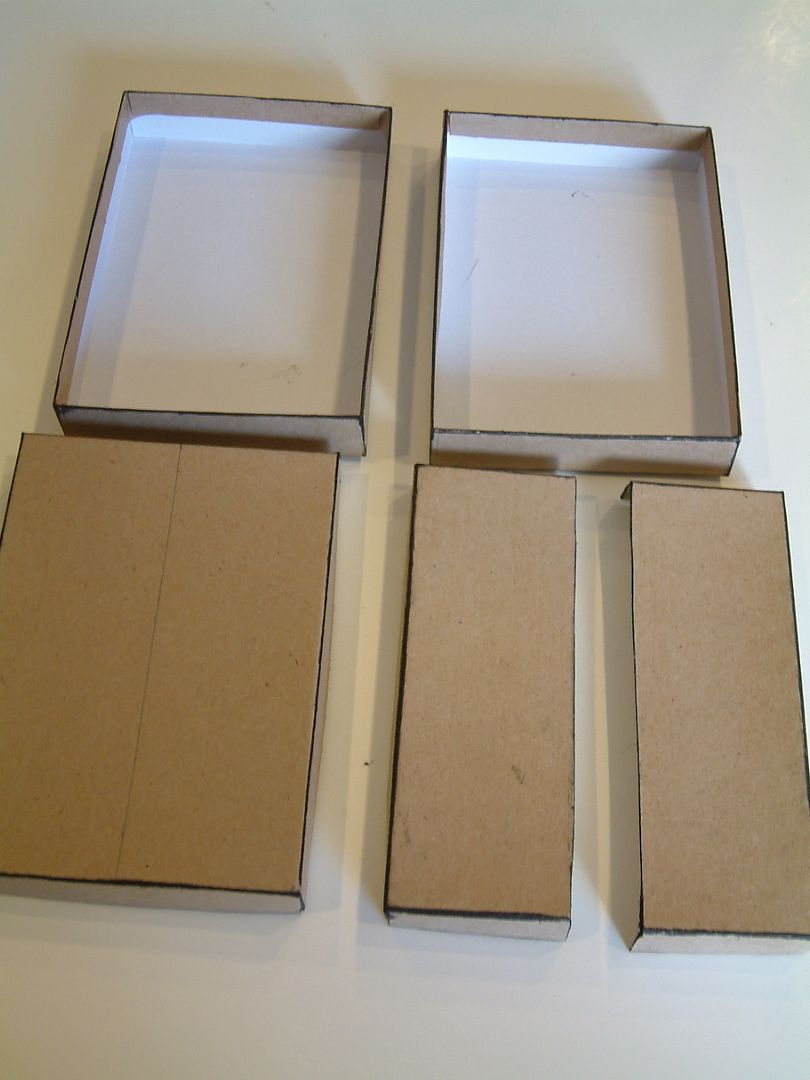
STEP 1: CUTTING THE LID
  • Mark a line down the center of the box lid.
  • Cut along the line (I used a combination of a large box cutter and heavy scissors).
  • Sand the cut edges until smooth.
STEP 2: HINGING THE LID (or doors) TO THE BASE OF THE BOX
  • Since I was covering the box with the paper I first inked all of the edges.
  • If you are covering the box with paper, cover the outside of the lid halves and the outside of the box.
  • Re-ink all edges.
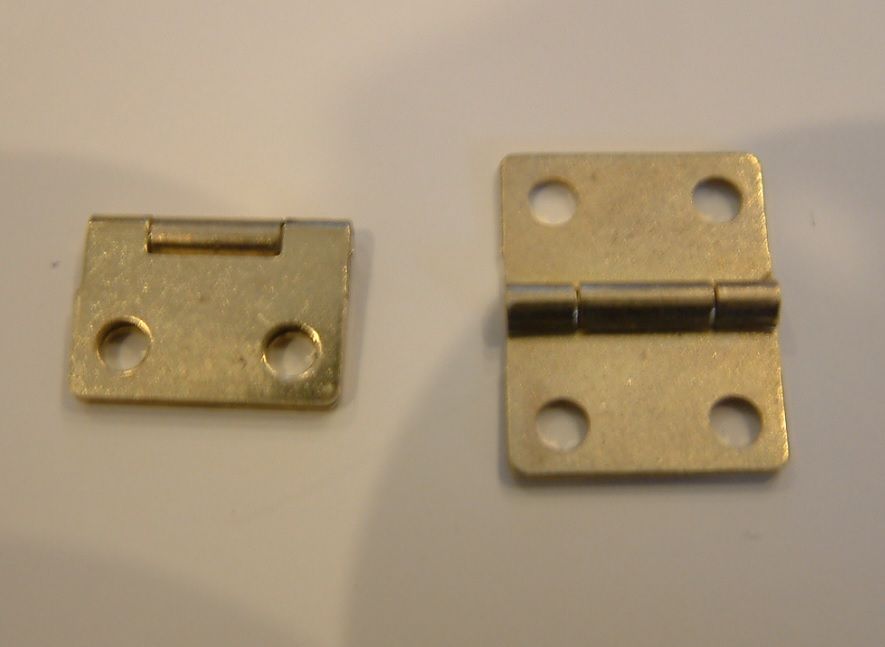
  • You can use either two small hinges for each side or one large hinge for each side.  Fold the hinges in half.  Hinges will fold in half only one way.  If the hinges are stiff oil them before attaching them to the box.
  • Place the hinge on the inside of the lid with the join of the hinge just barely off the edge.
  • Mark the holes.
  • Repeat the placement and marking for all 4 hinges.
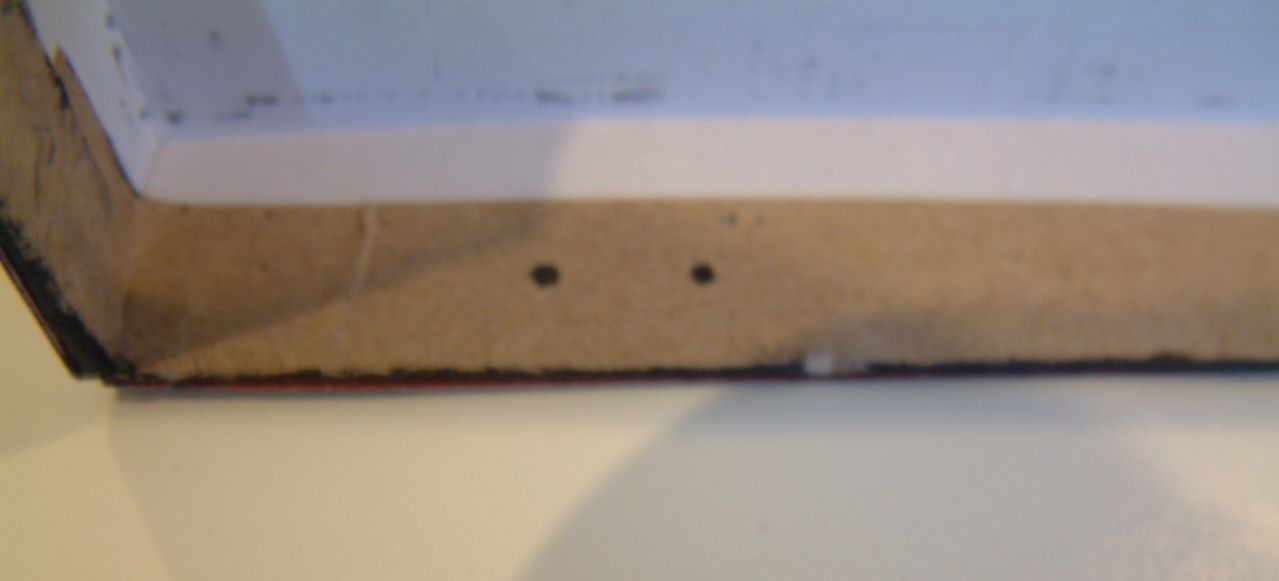
  • Poke the holes where marked on the 2 lid pieces.
  • Put the lids back on the box, and using the holes in the lids, transfer holes onto the base of the box.
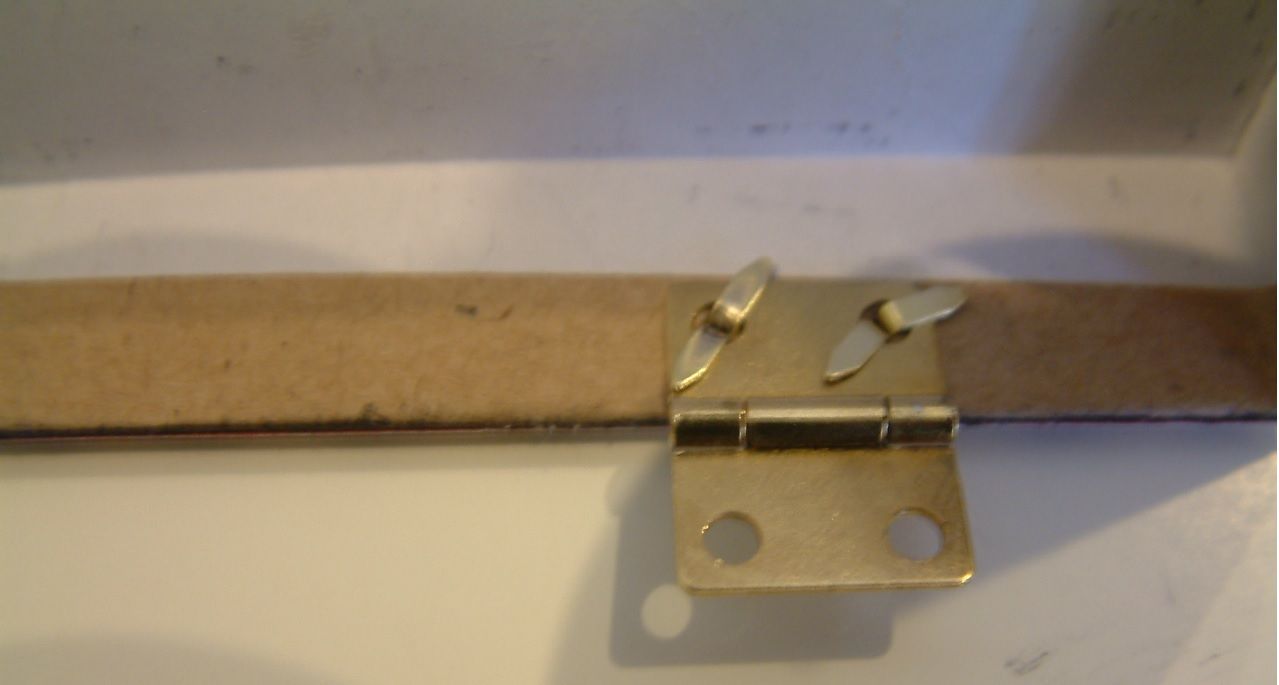
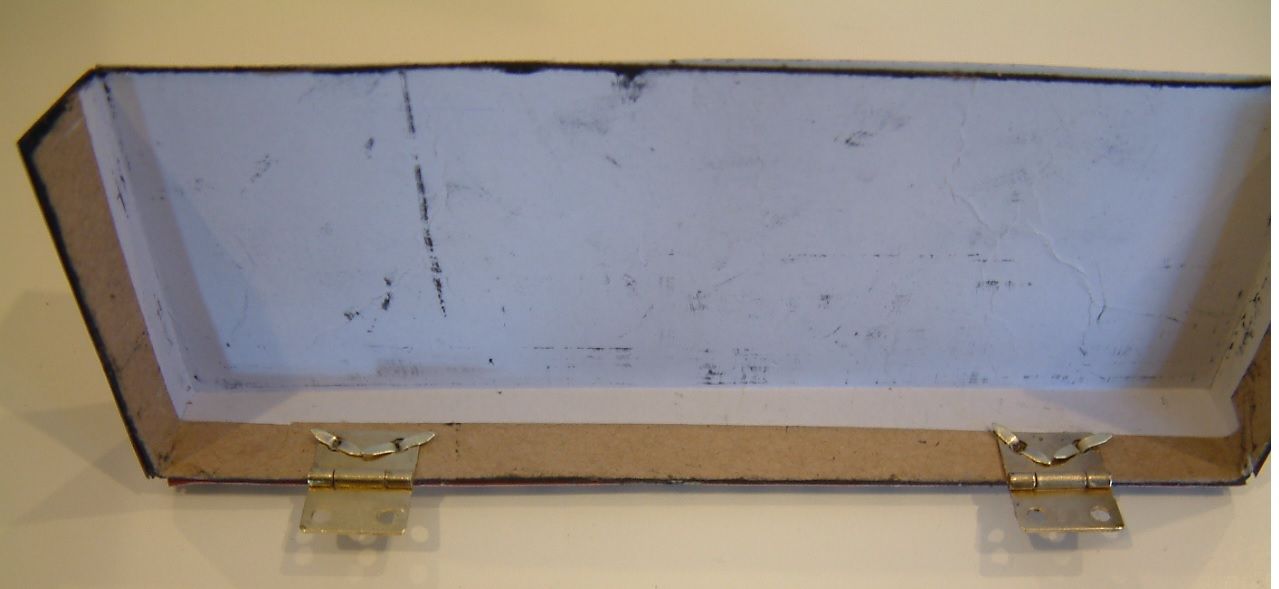
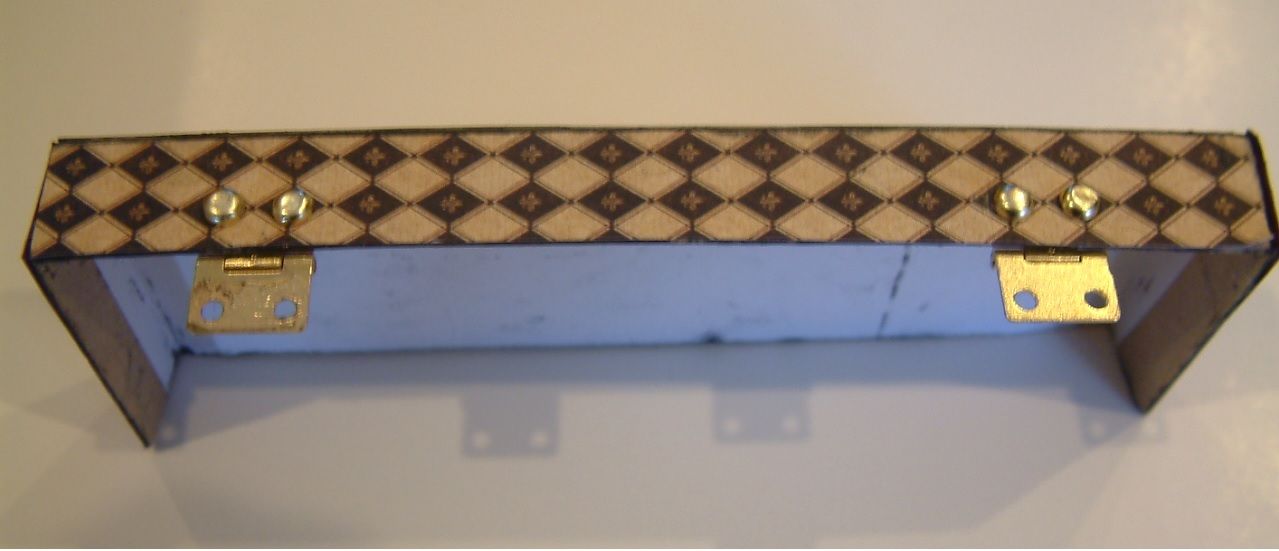
  • Attach hinges to the lid pieces using brads.  Place the hinge inside the lid and insert the brads from the outside of the lid to the inside of the lid.  The direction of the hinge – You should be able to fold the hinge toward the inside of the box or on top of the brads.
  • Paper the inside of the lids.  The paper will cover the brads and hinges.
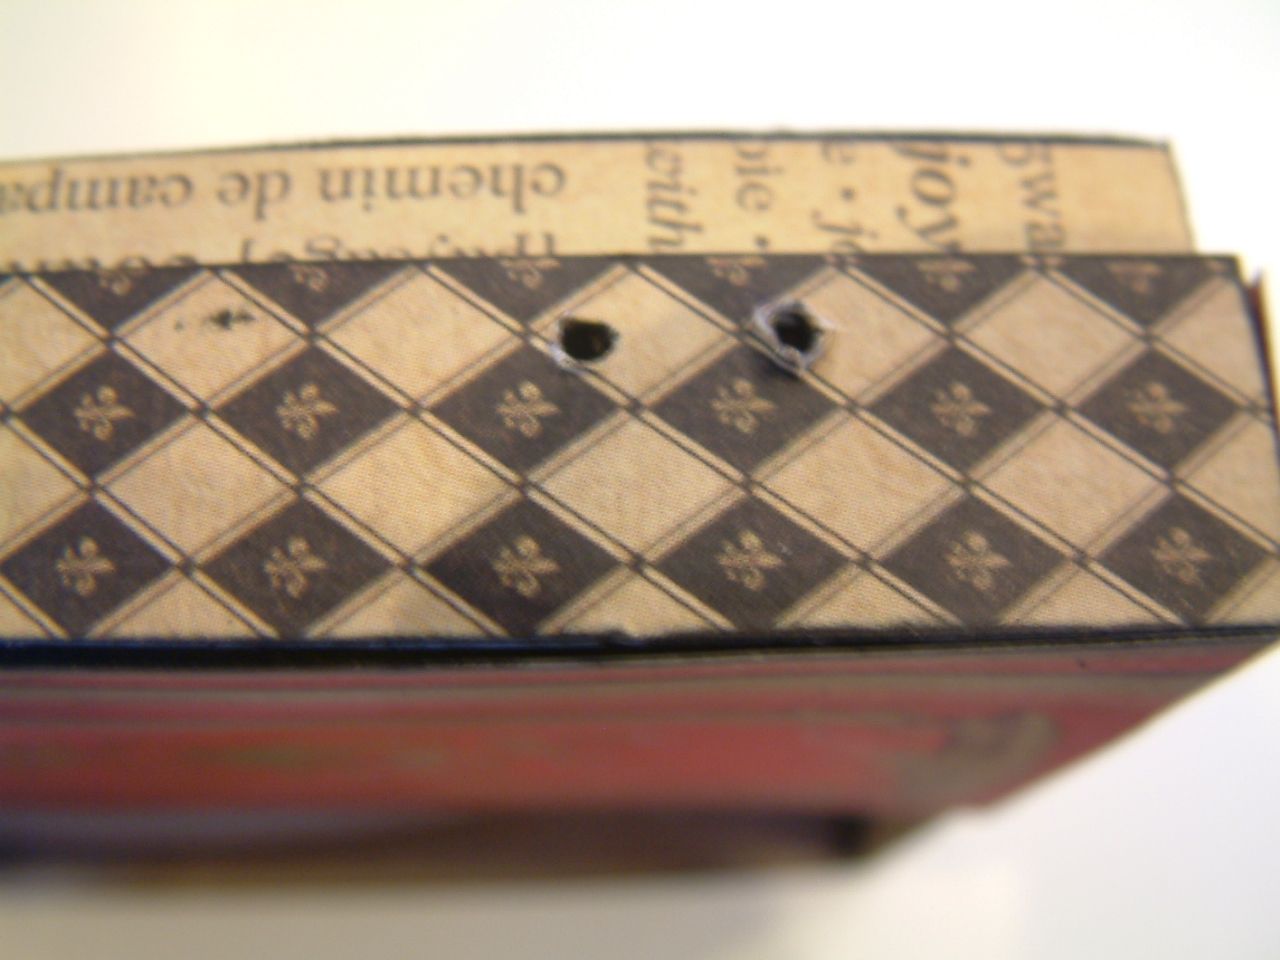
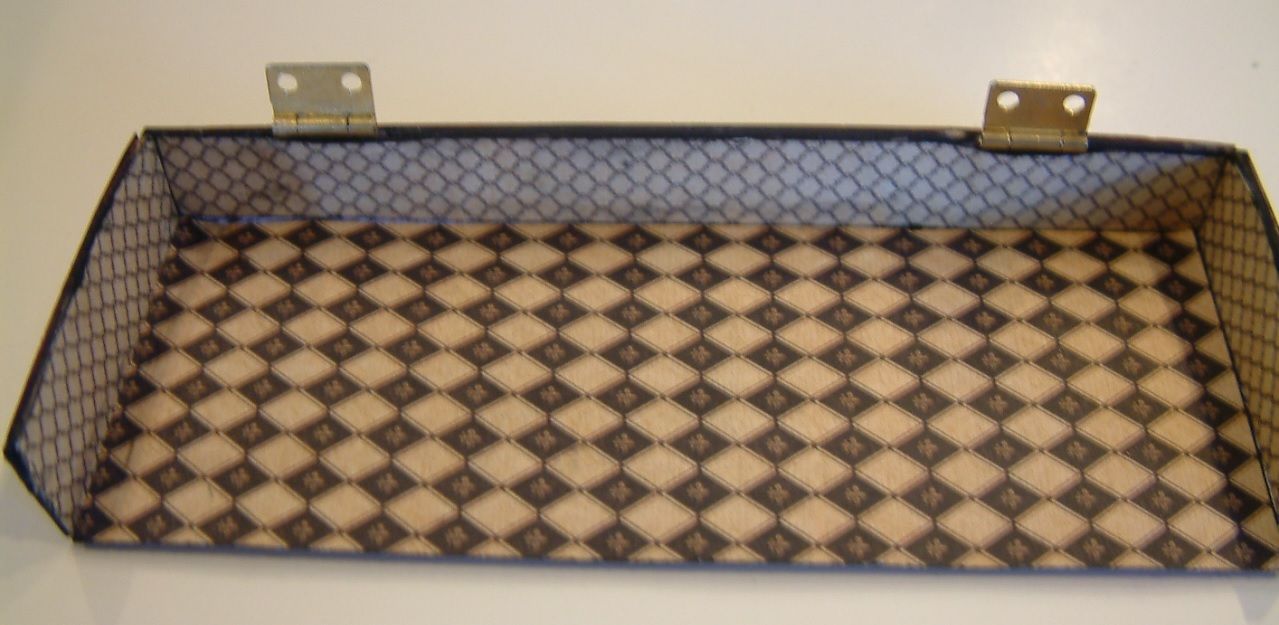
  • Attach the hinges to the base of the box.  You can see in the picture below that you are attaching them to the outside of the box.  Place the hinge against the outside of the box and insert the brad through the hinge and into the box.
  • Paper the inside of the base of the box.  The paper will cover the brads and hinges.  
STEP 3: ADDING FEET
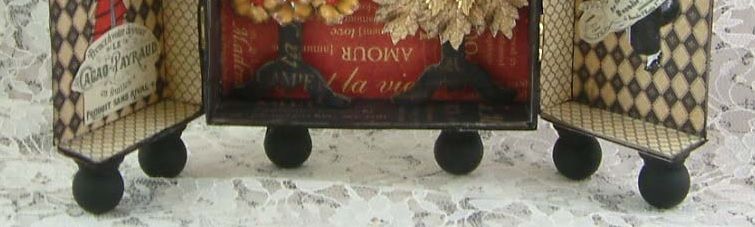
I used wooden finials for feet.  In order for the box to stand when open, I attached 2 feet to the back of the box and two feet to each side of the lids.
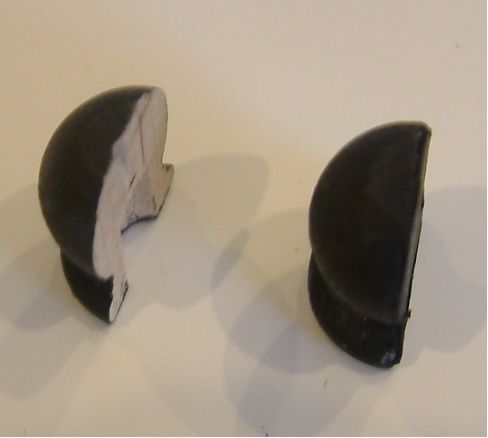
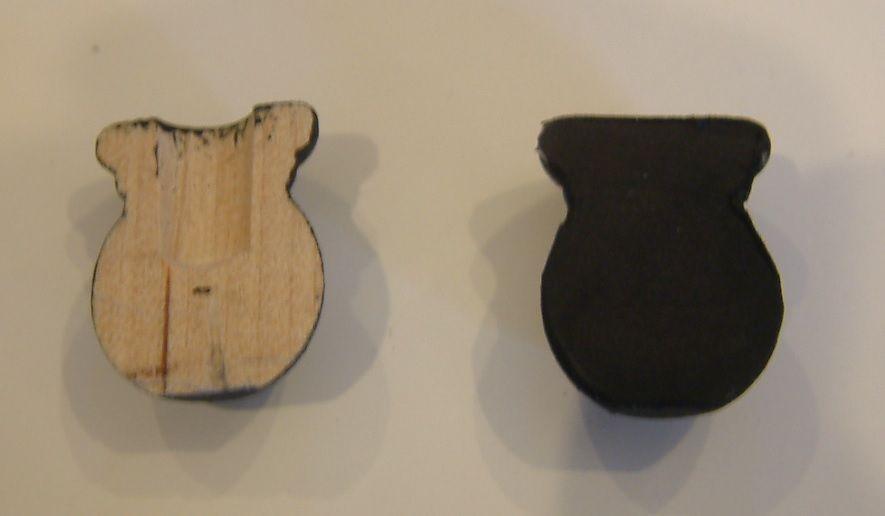
I cut the wooden finials attached in the back in half.  When the lid is closed, there is not enough room to attach the finials without them sticking out past the back of the box.  Cutting the finials in half made them flush with the back of the box.  It’s really up to you if you want them flush or not.
I covered the exposed center part with black cardstock.
Another thing to consider when adding feet is that when standing, the box and the lids are at different heights.  To make the cabinet level I added layers of cardstock to the top of the 2 back feet before I attached them to the box.