-->

Welcome

I love answering your questions. If you ask them in the comment section, I have no way to answer you (if you haven't heard from me, that is why). If you use the "EMAIL ME" in the left column of this page, I will be able to respond to you. You can also use it if you want to be added to my newsletter. Laura
Showing posts with label Altoids Tins. Show all posts

Wednesday, June 27, 2018

REMNANTS OF THE PAST ALTERED ALTOIDS TINS - PLUS VIDEO TUTORIAL OF SIX DIFFERENT ALTERED TINS - NEW COLLAGE SHEETS

I’ve been altering tins for a long time and I just finished a new one so I thought it would be a good opportunity to do a video tutorial that includes the new project as well as some of my older Altoids tin related projects.

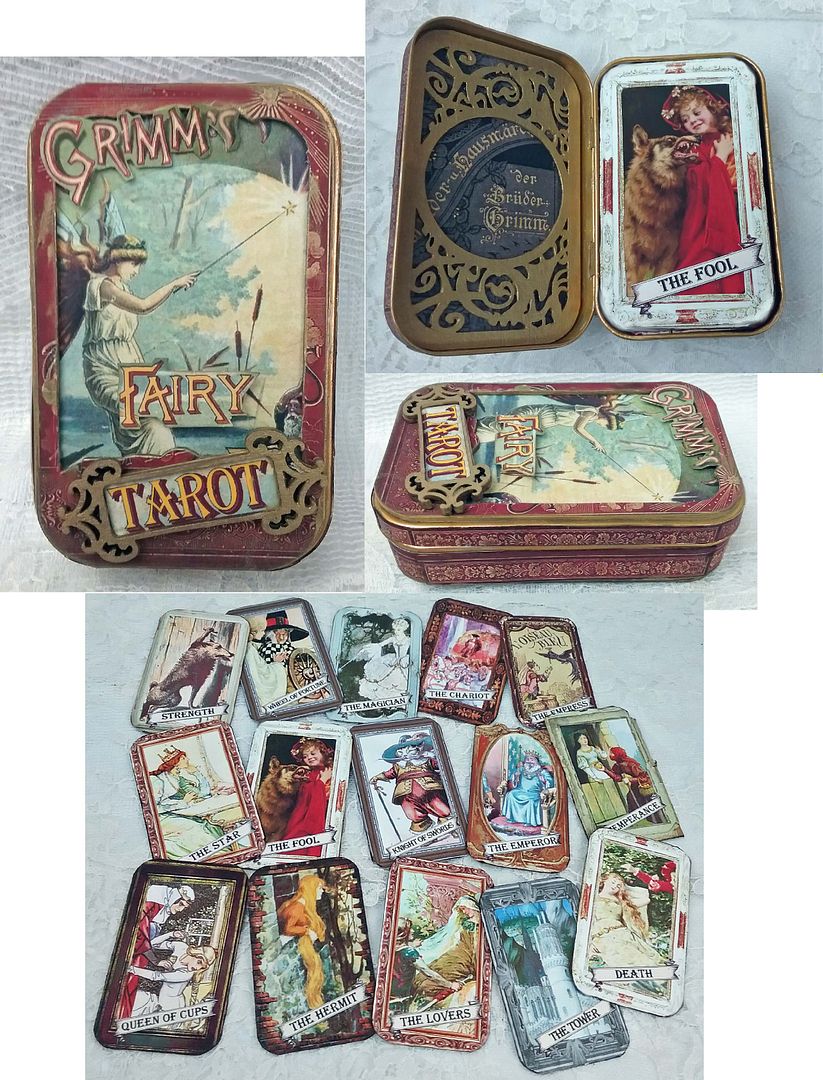
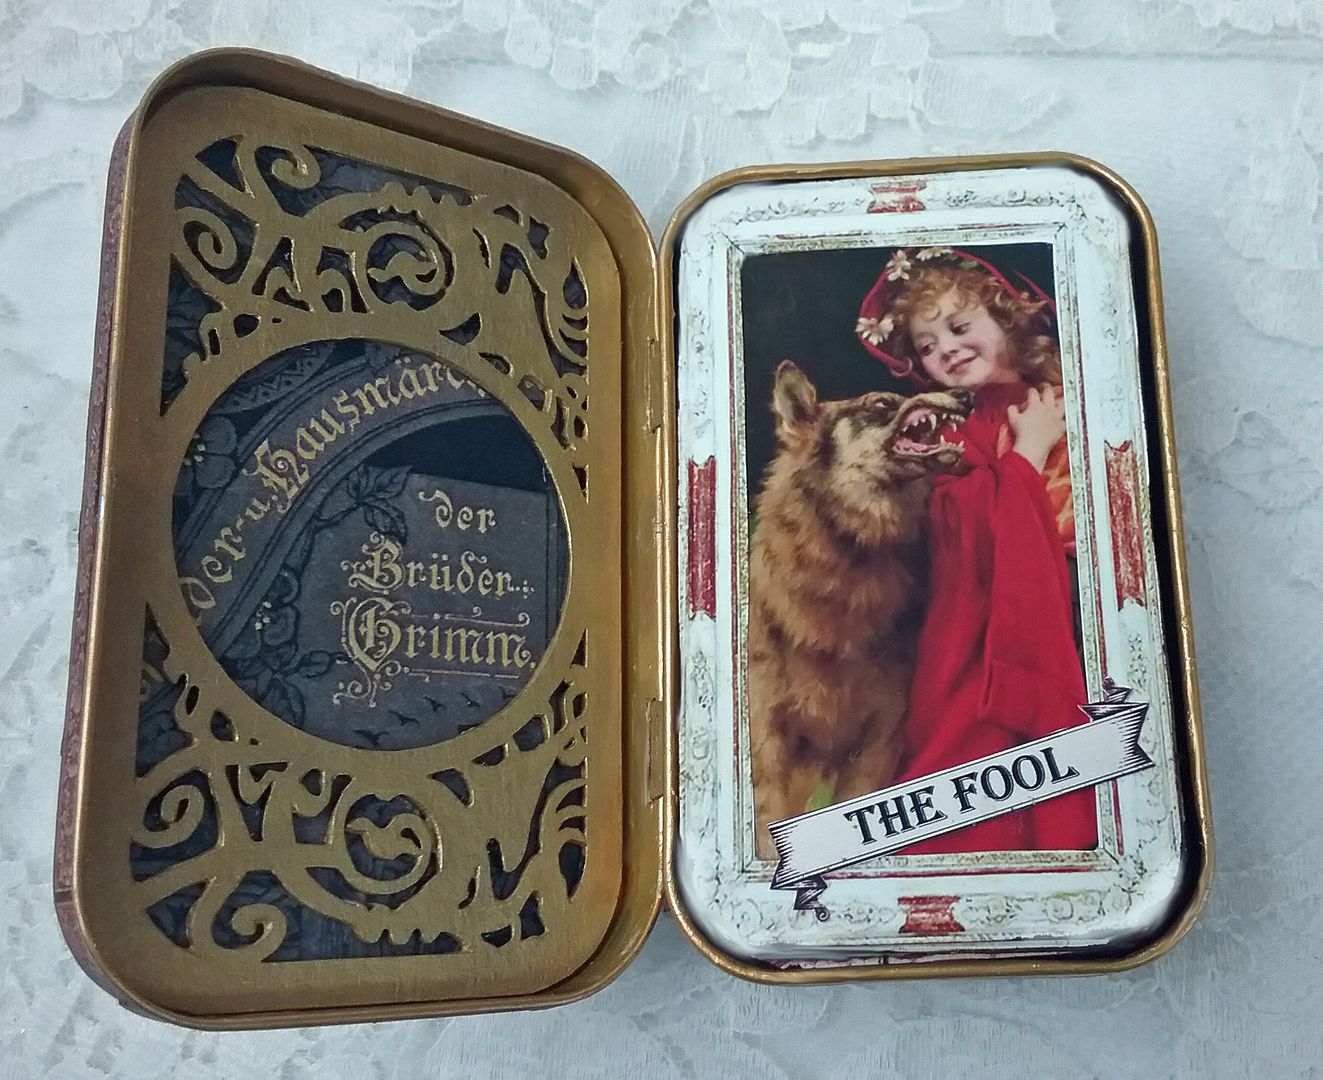
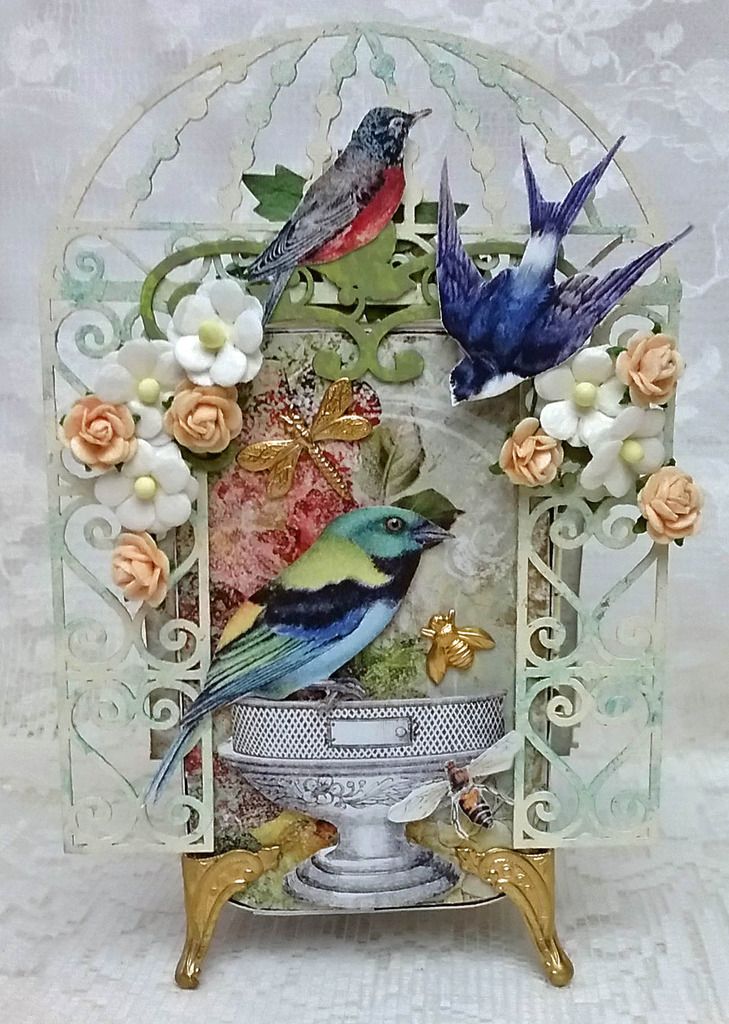
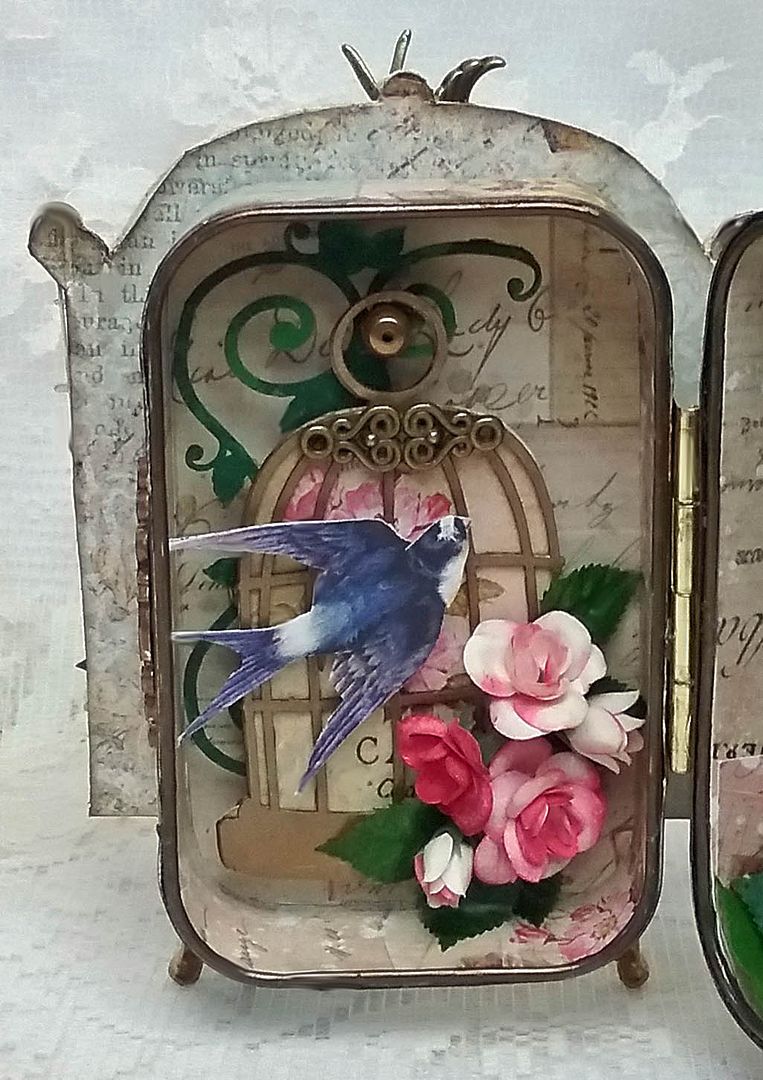
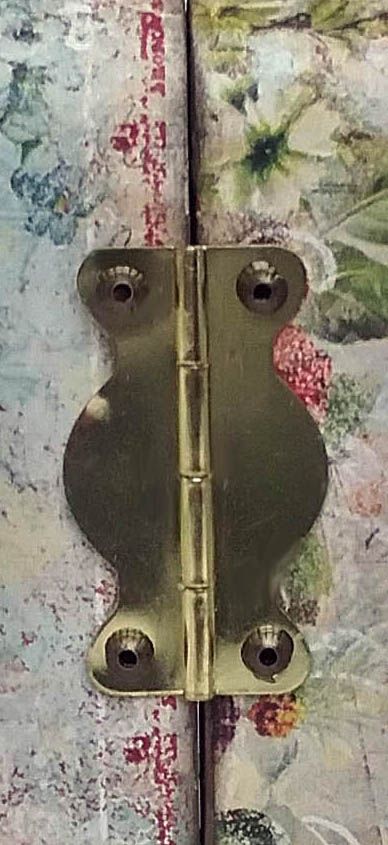
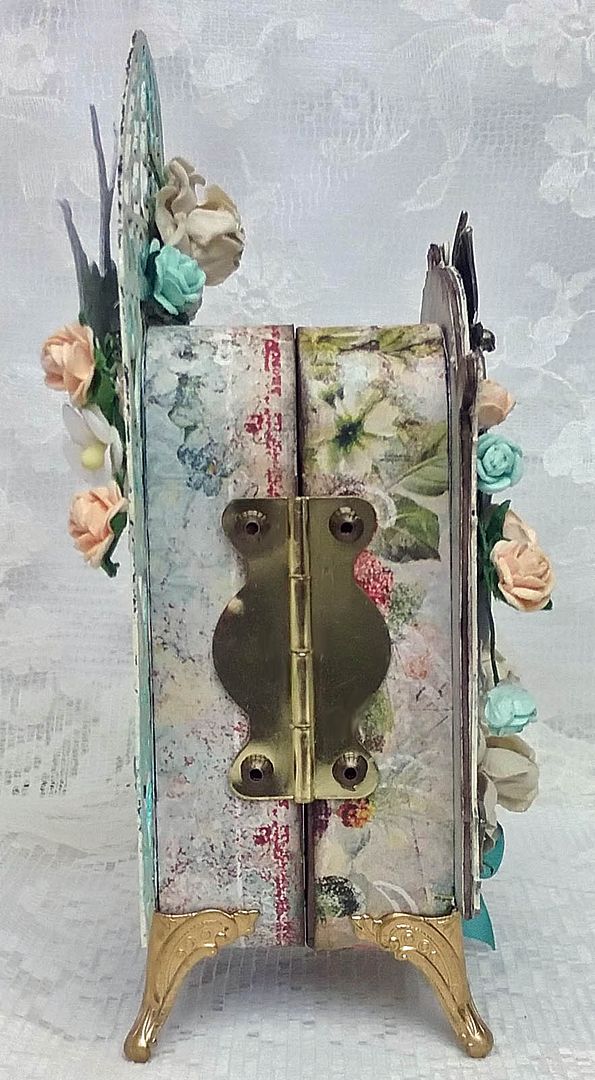
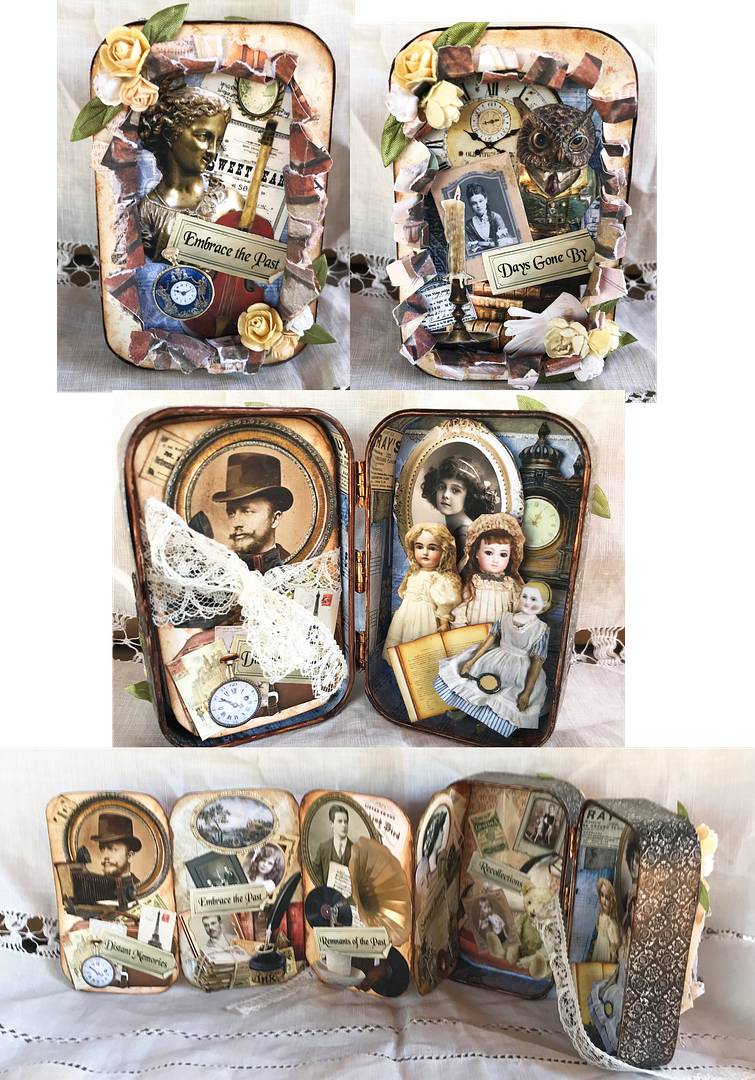
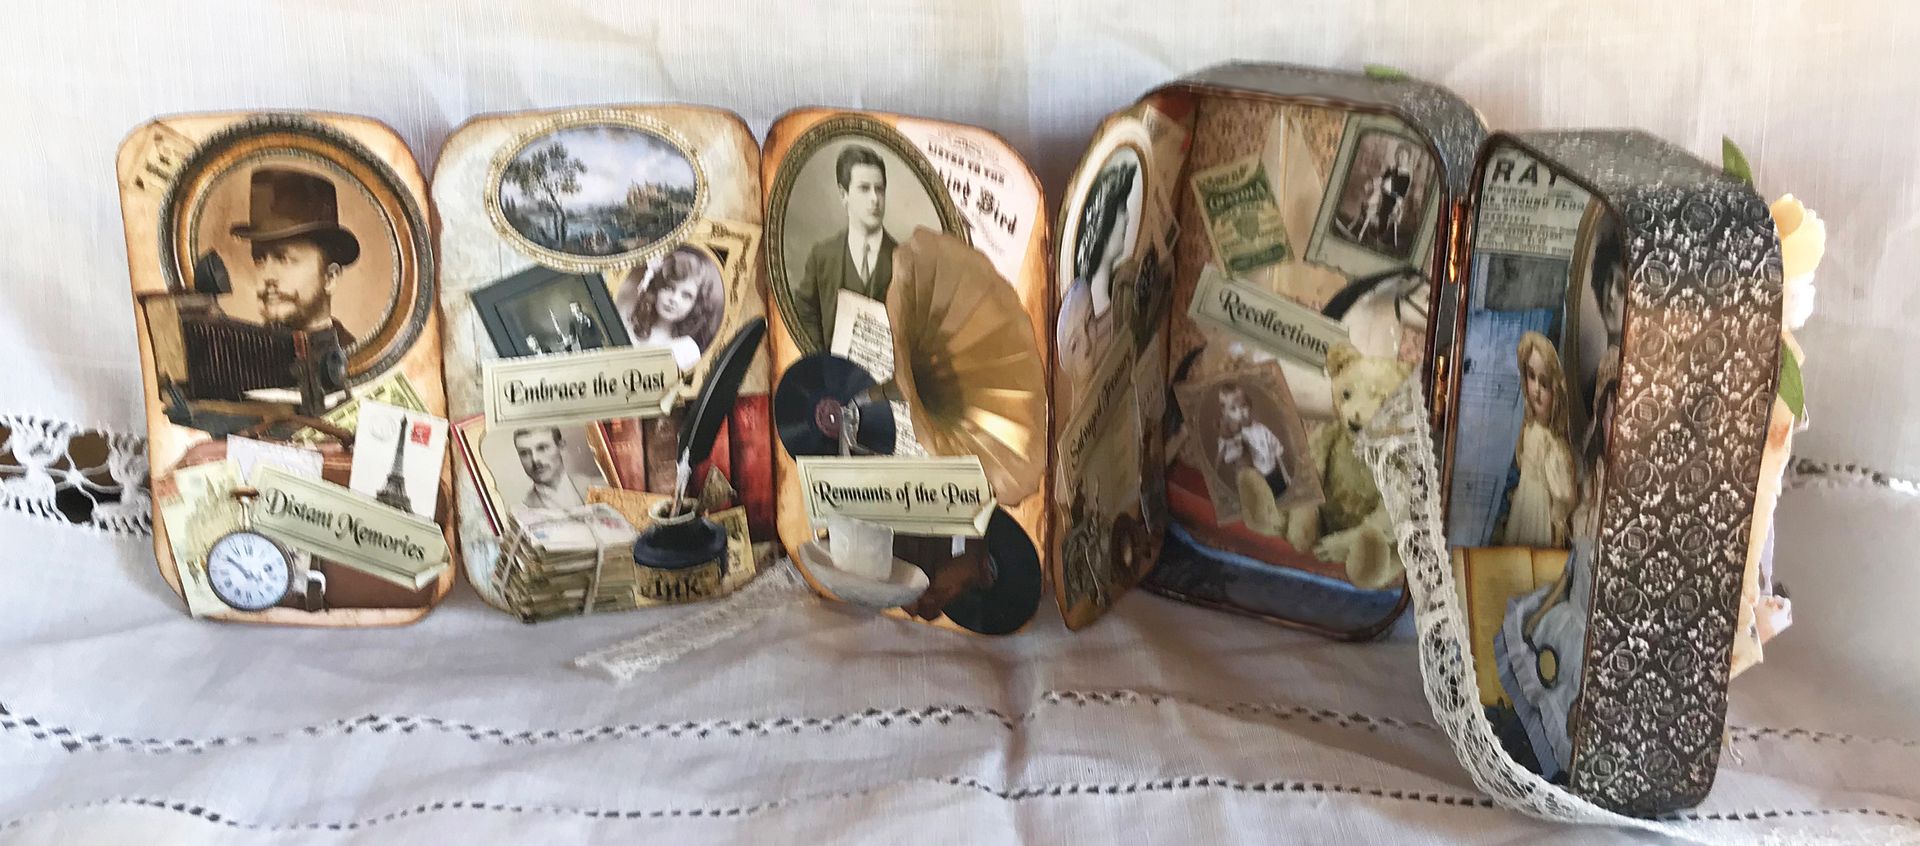
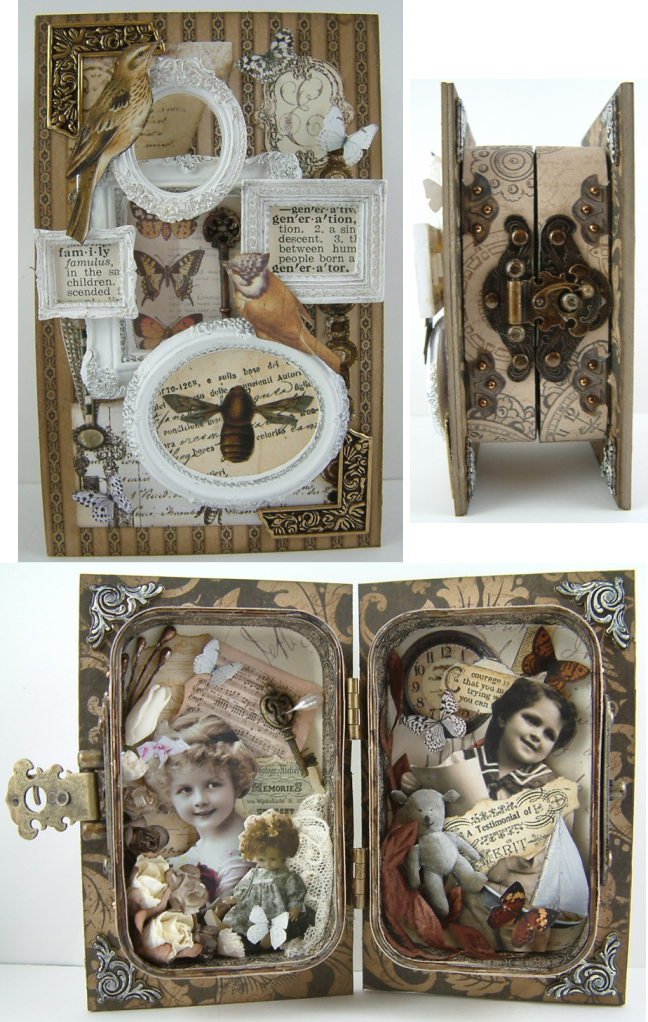
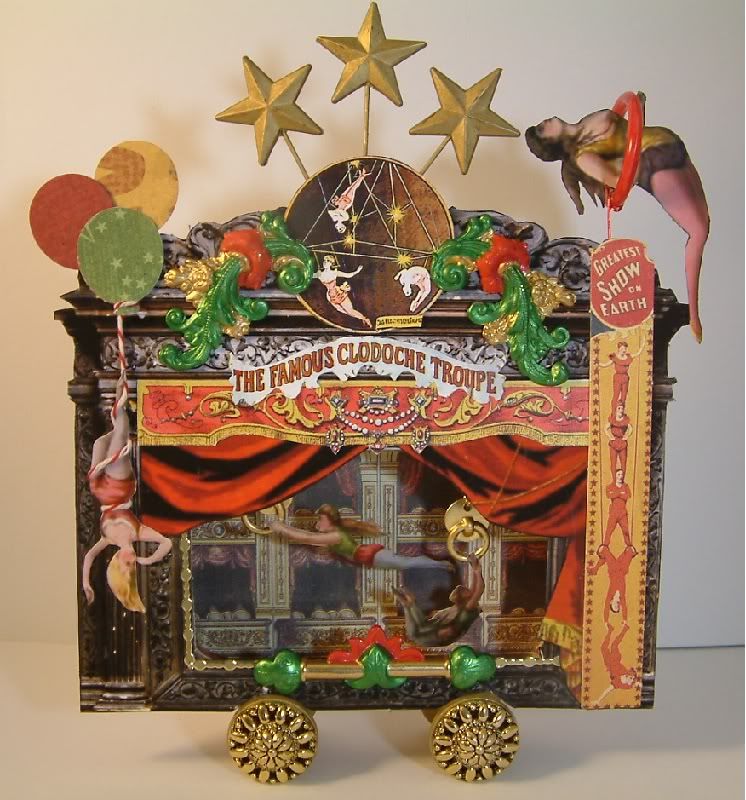
The Remnants of the Past project is vintage themed and involves hinging two tins together (minus the lids), using one tin for a shadow box and the other for an accordion folded book.
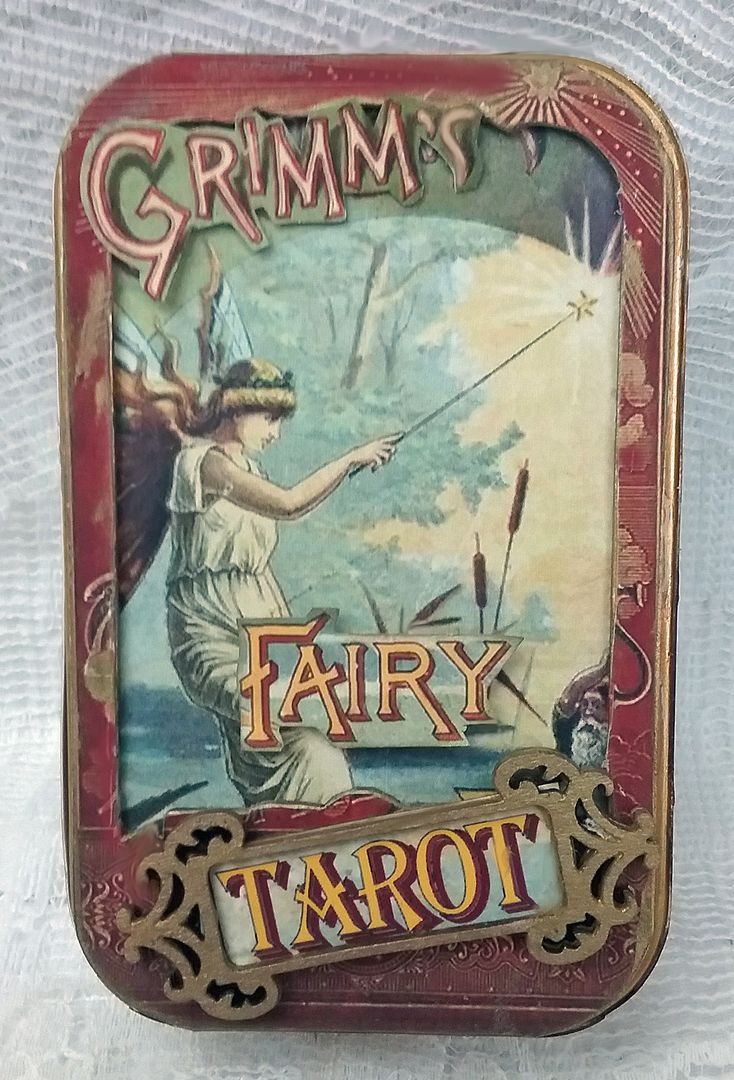
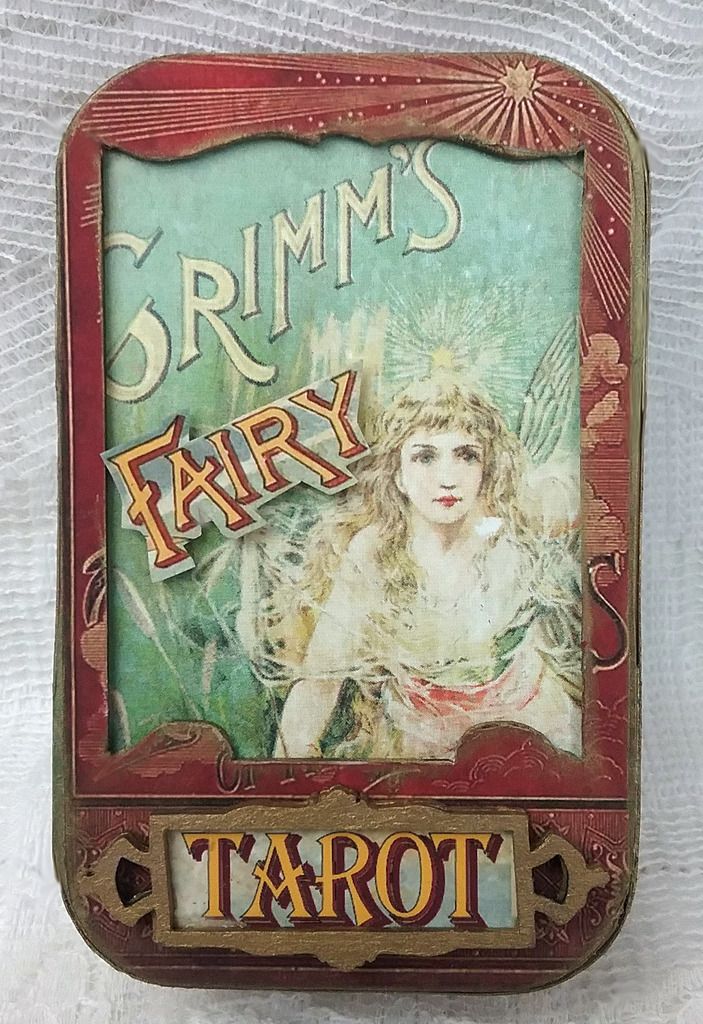
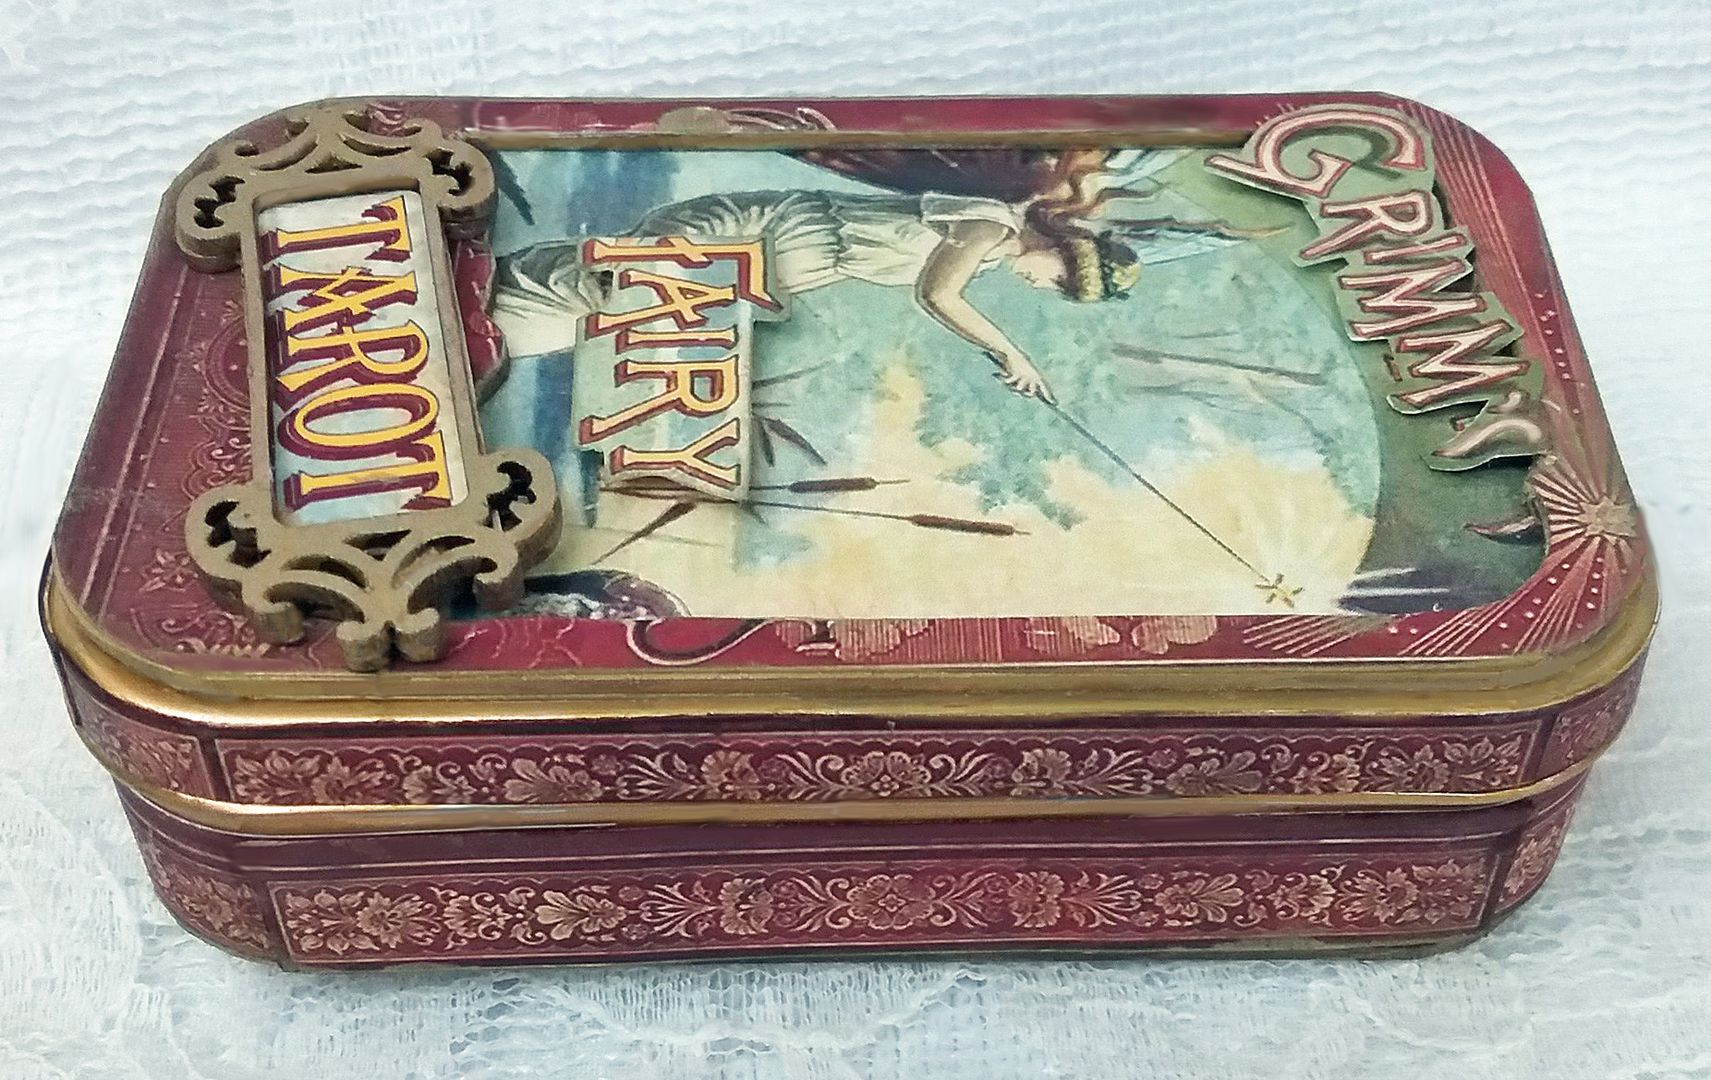
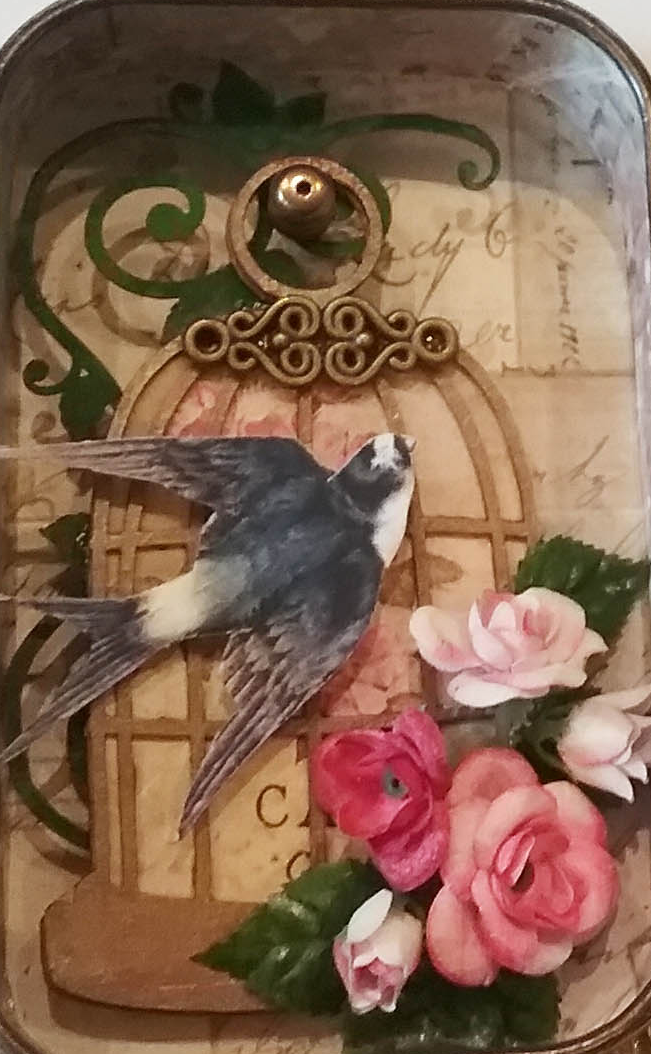
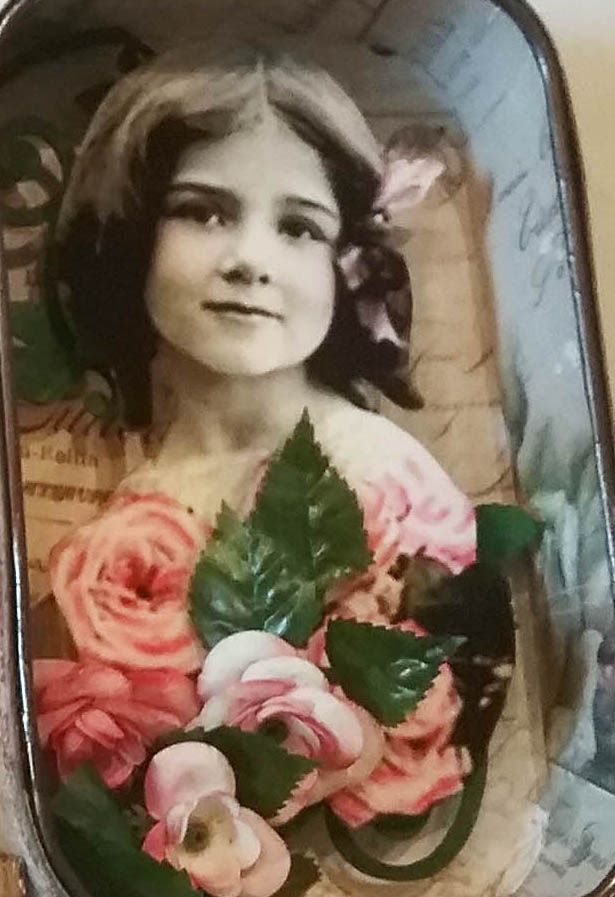
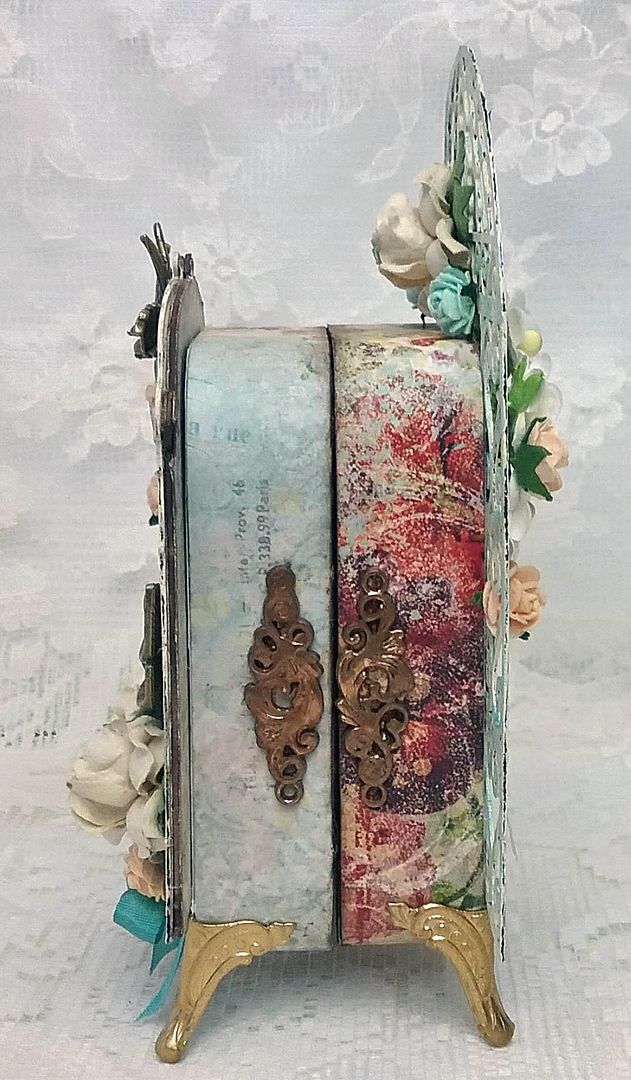
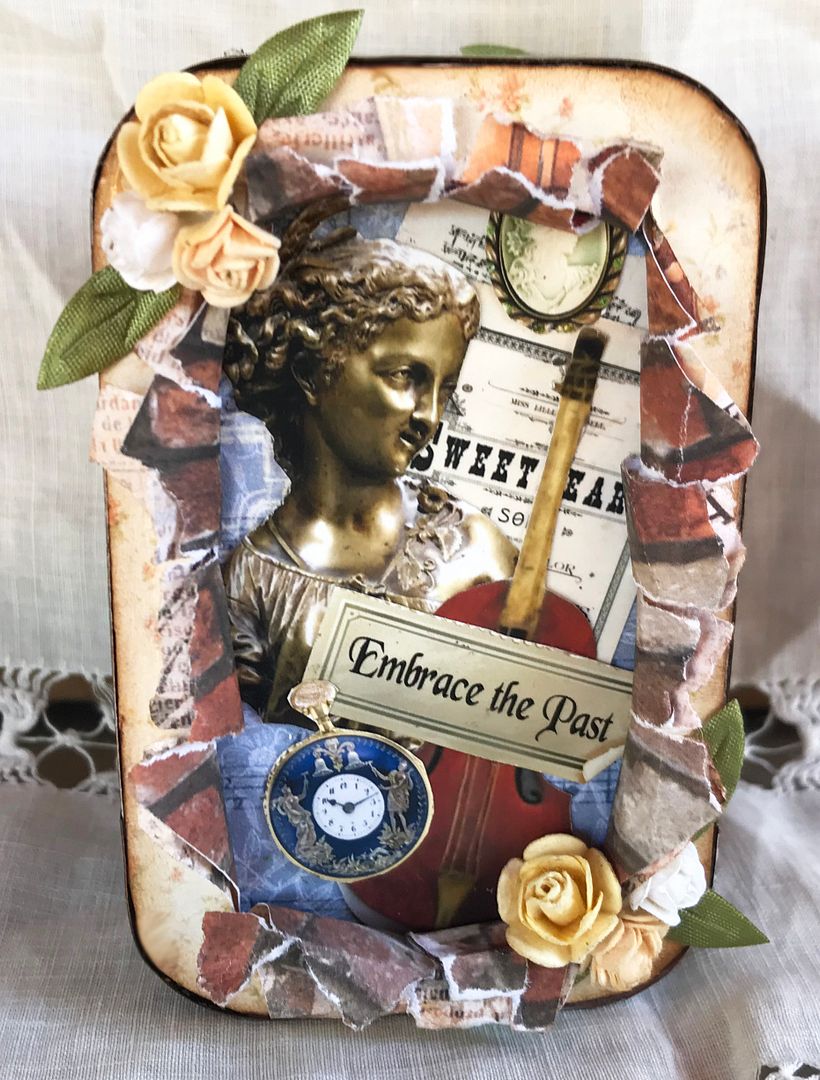
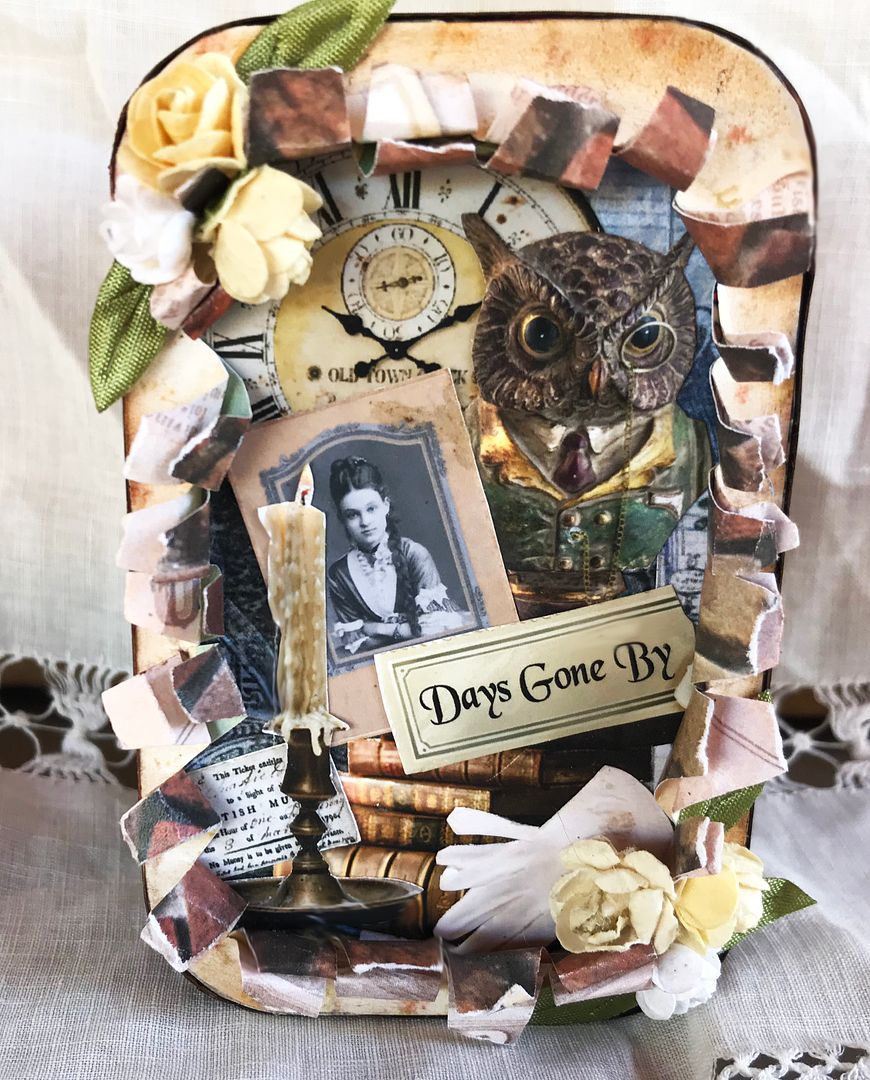
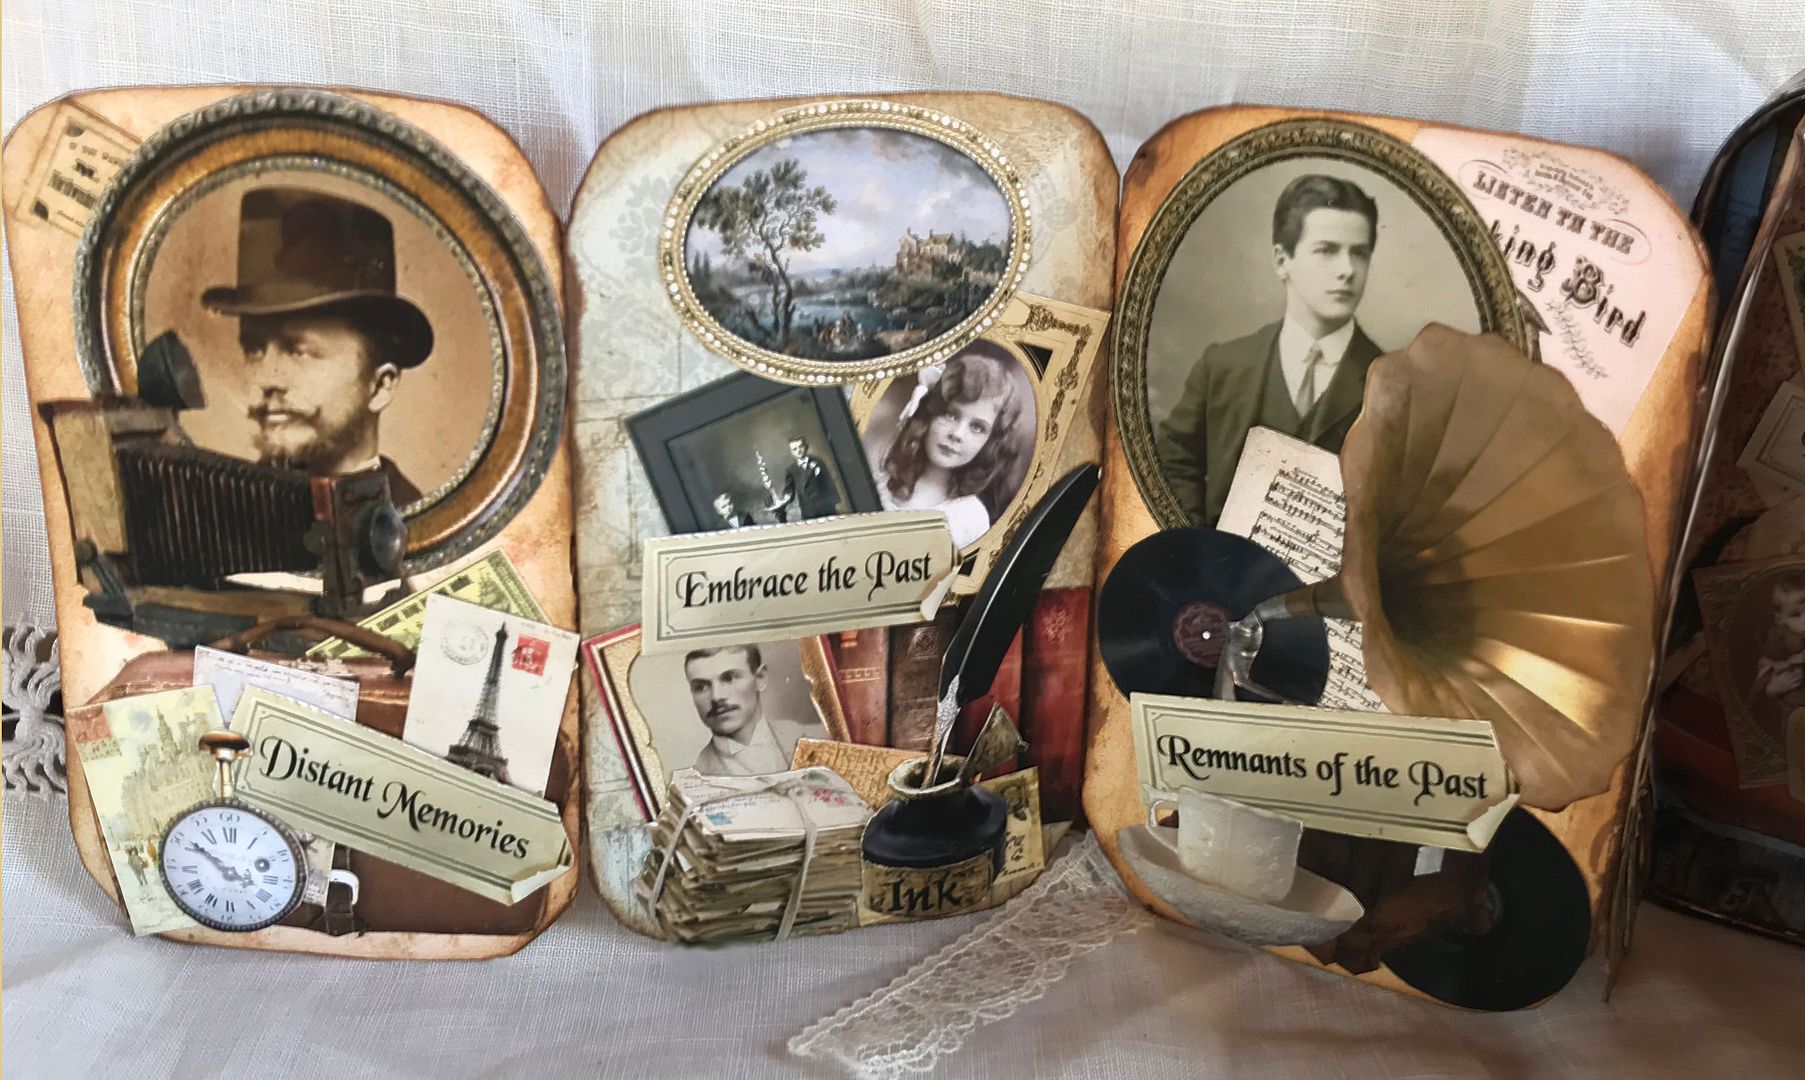
On the outside of the tins, I used a paper tearing technique to frame the vintage ephemera images then accented the torn area with paper roses.
Inside on the left is the book.  The last page is attached to the tin and when folded, tieing the lace holds the book in place. 
The papers I used are from the Architecture  2  8x8 Paper Pack.
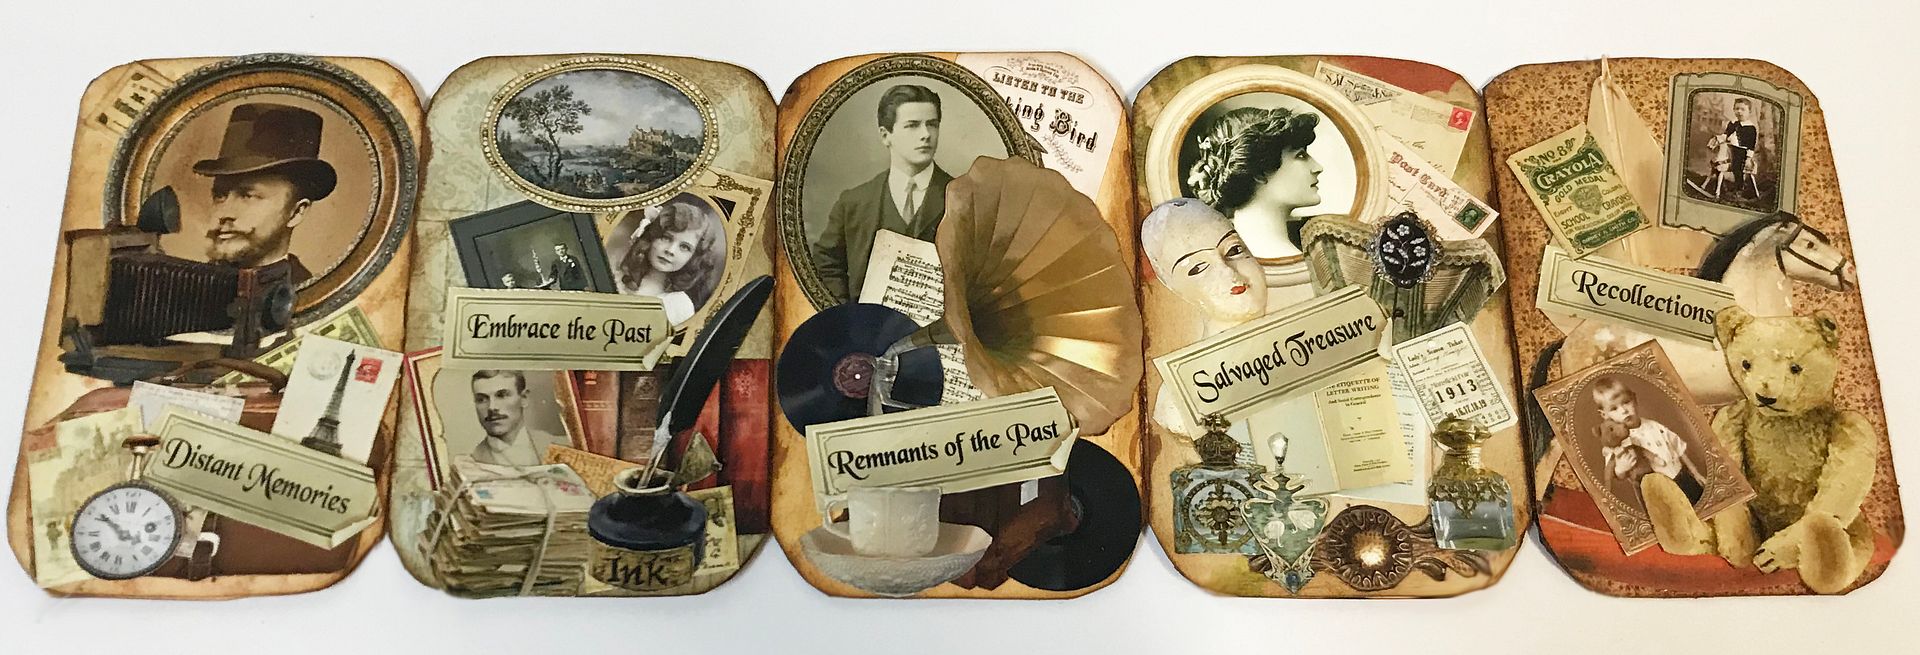
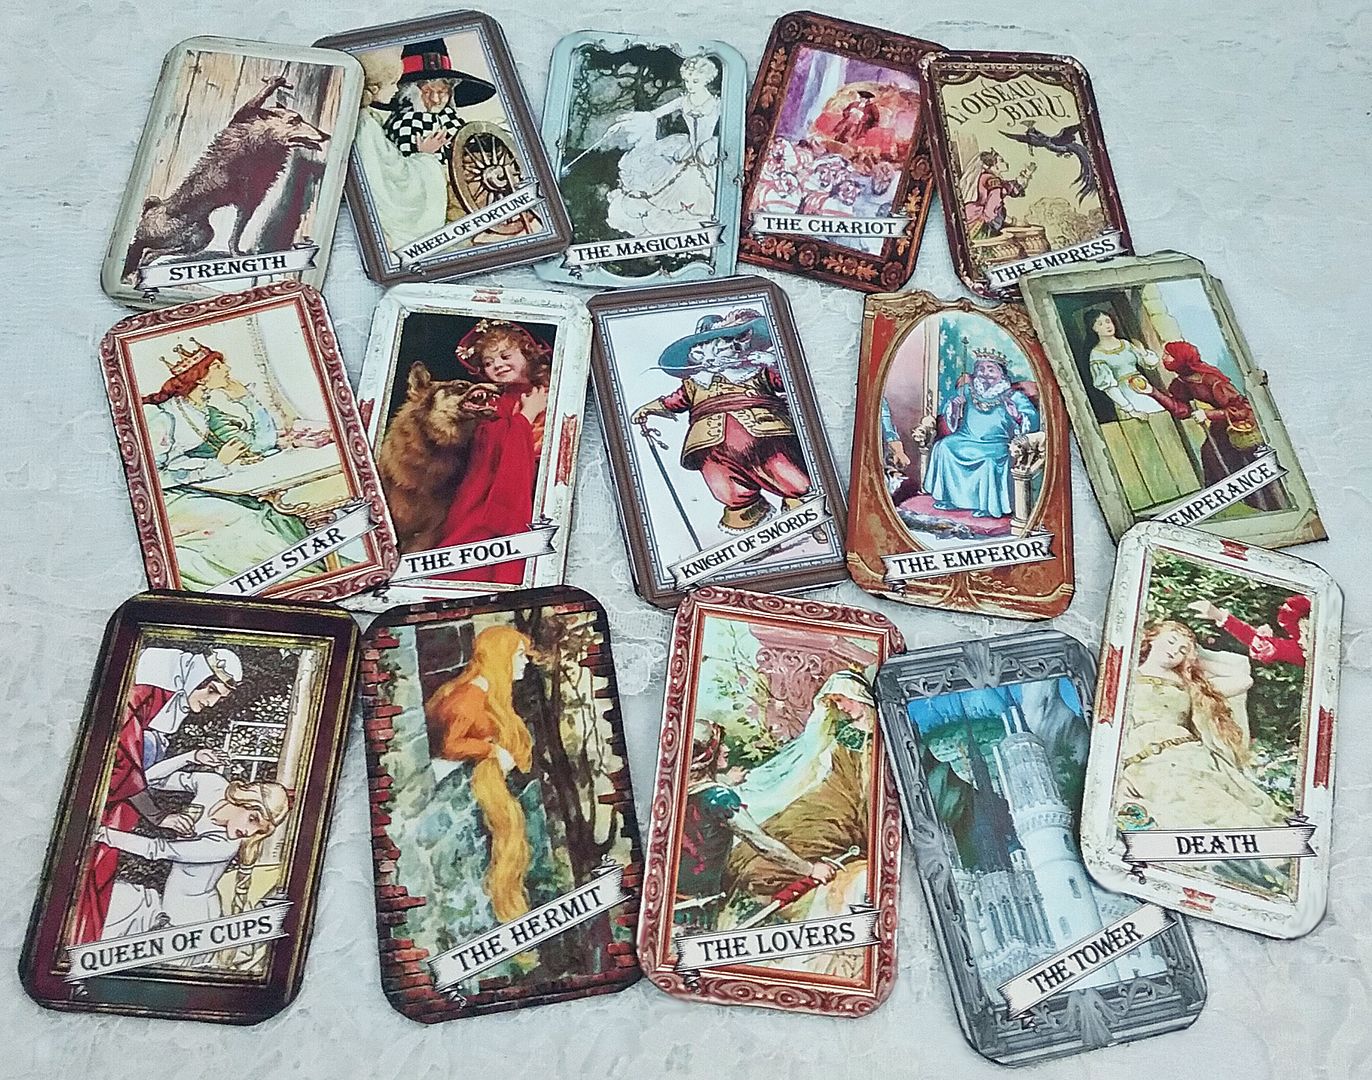
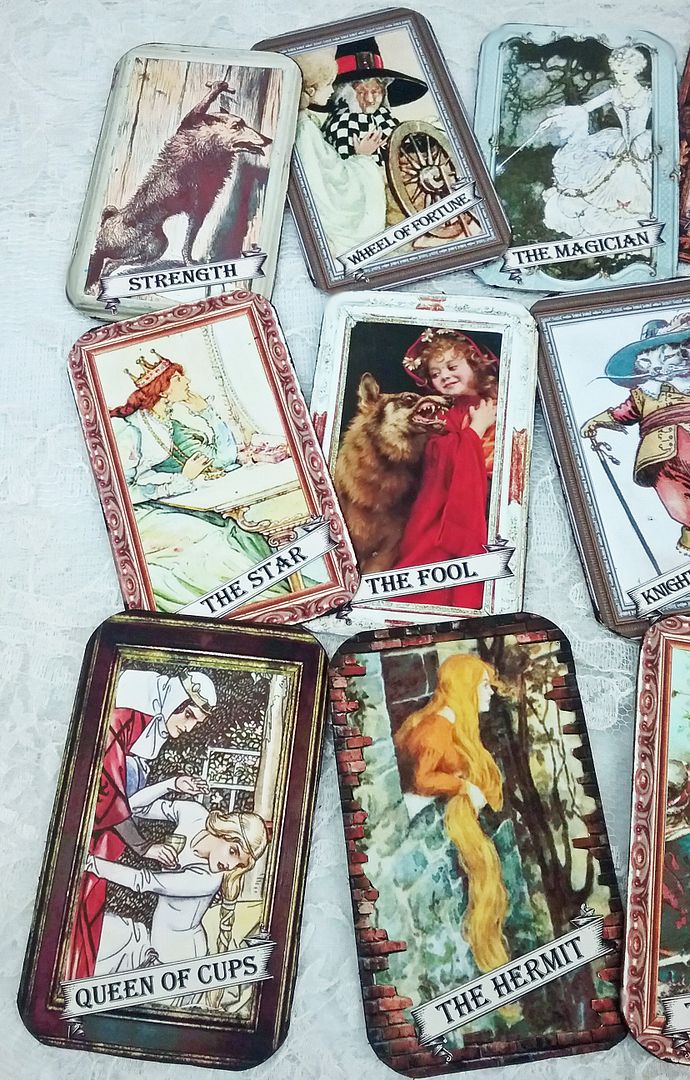
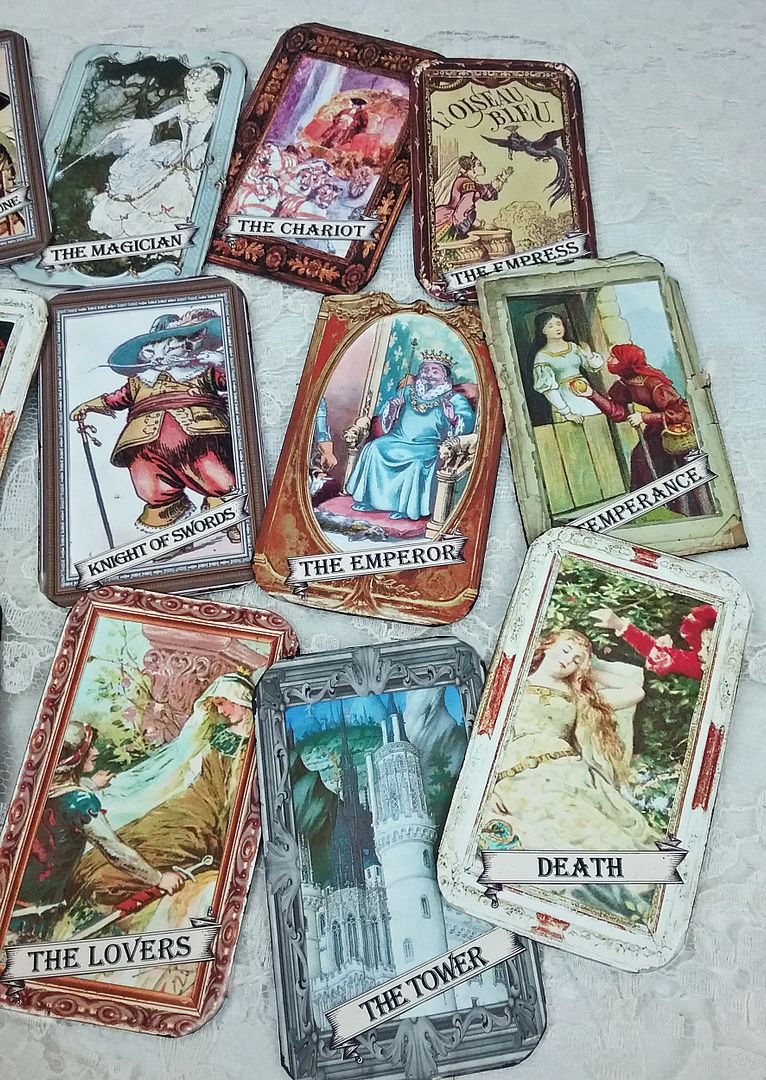
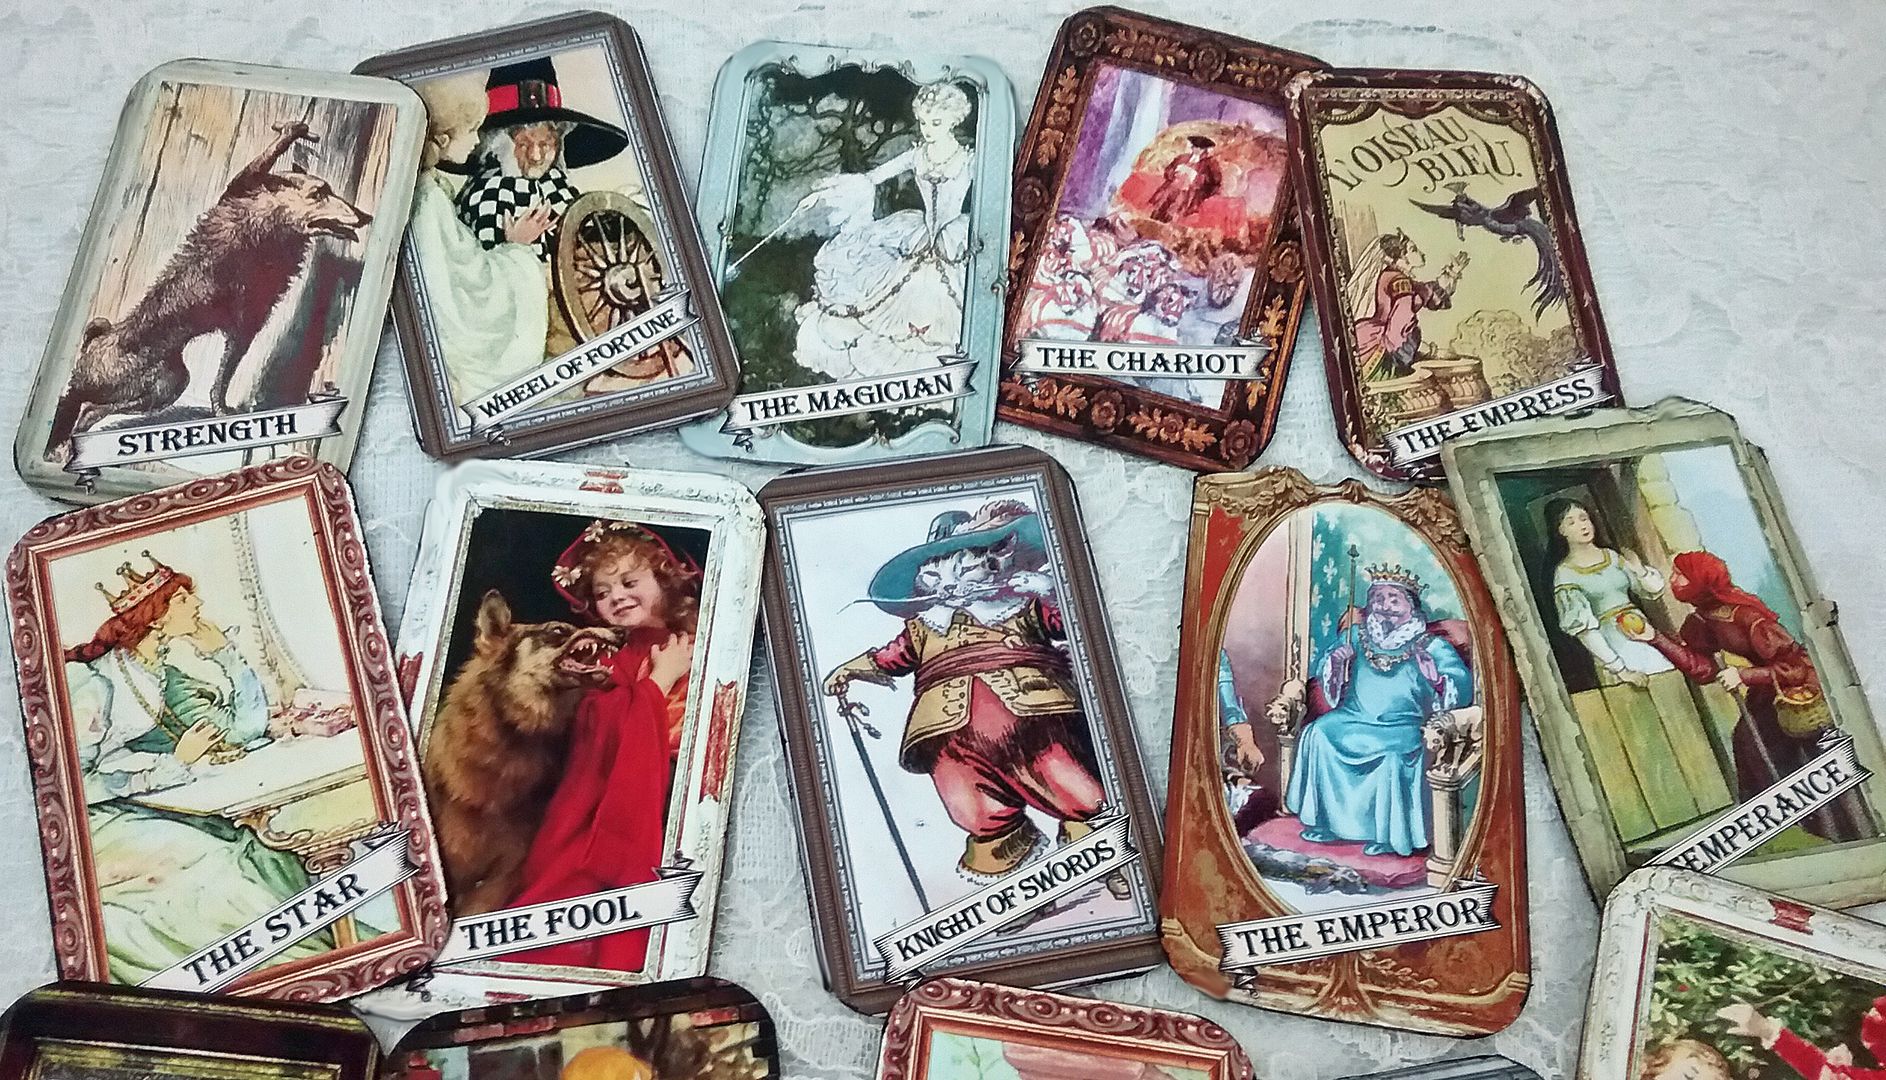
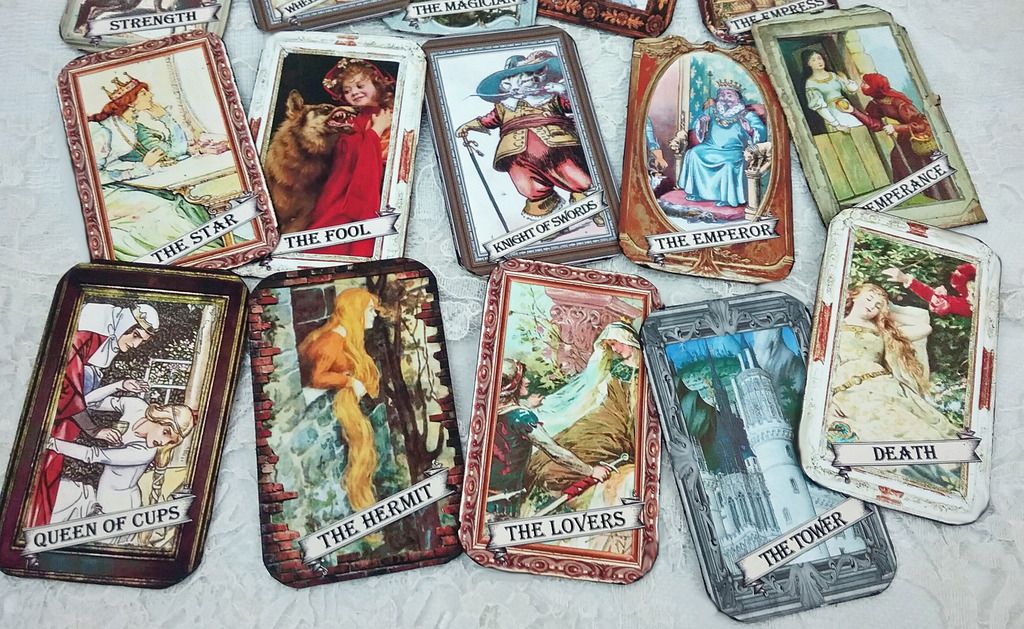
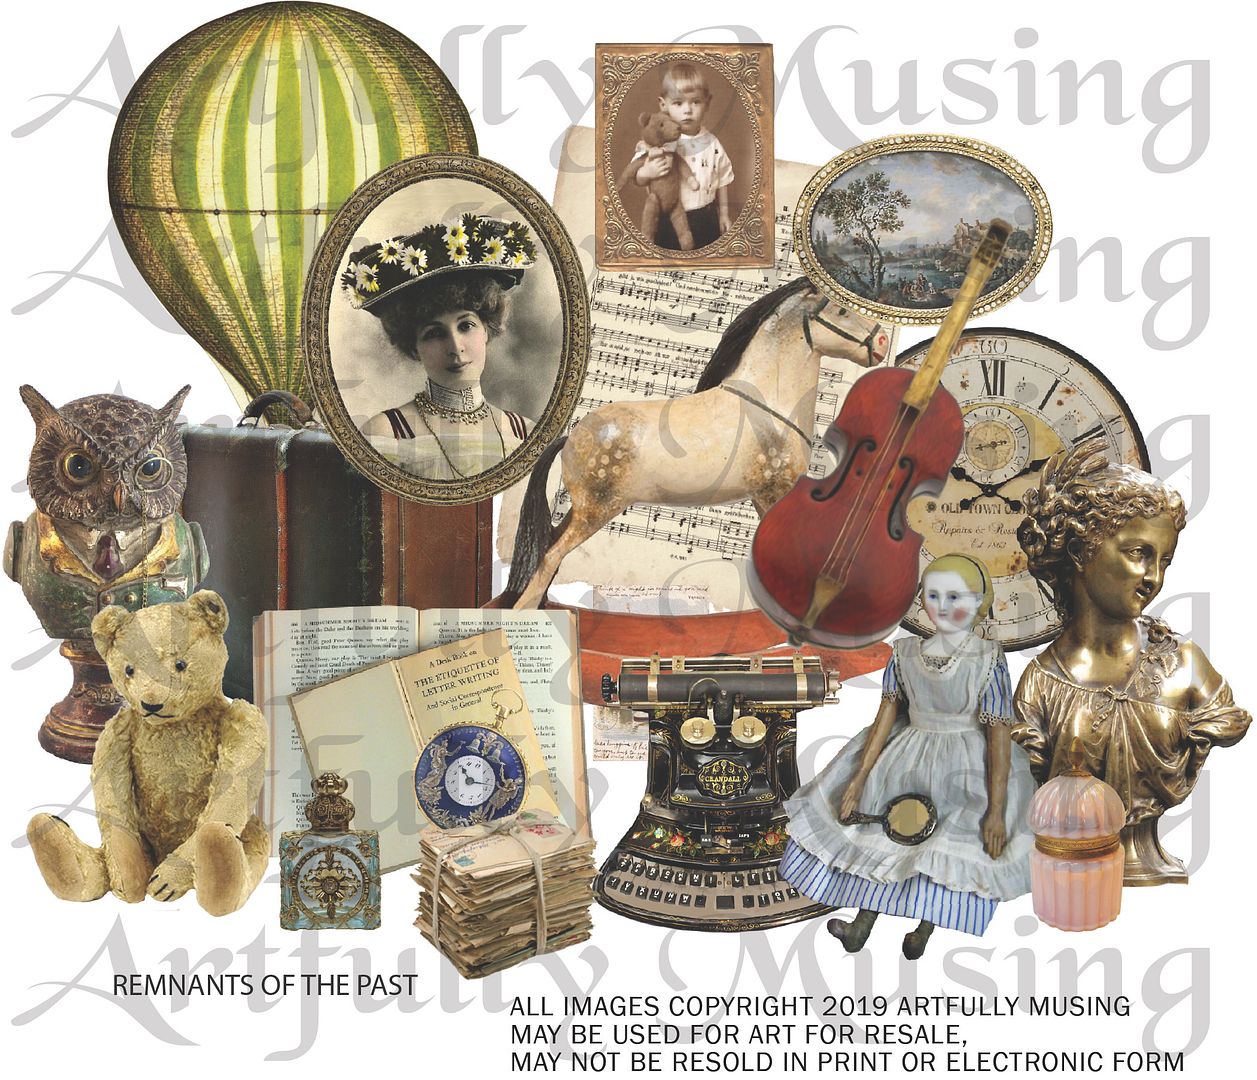
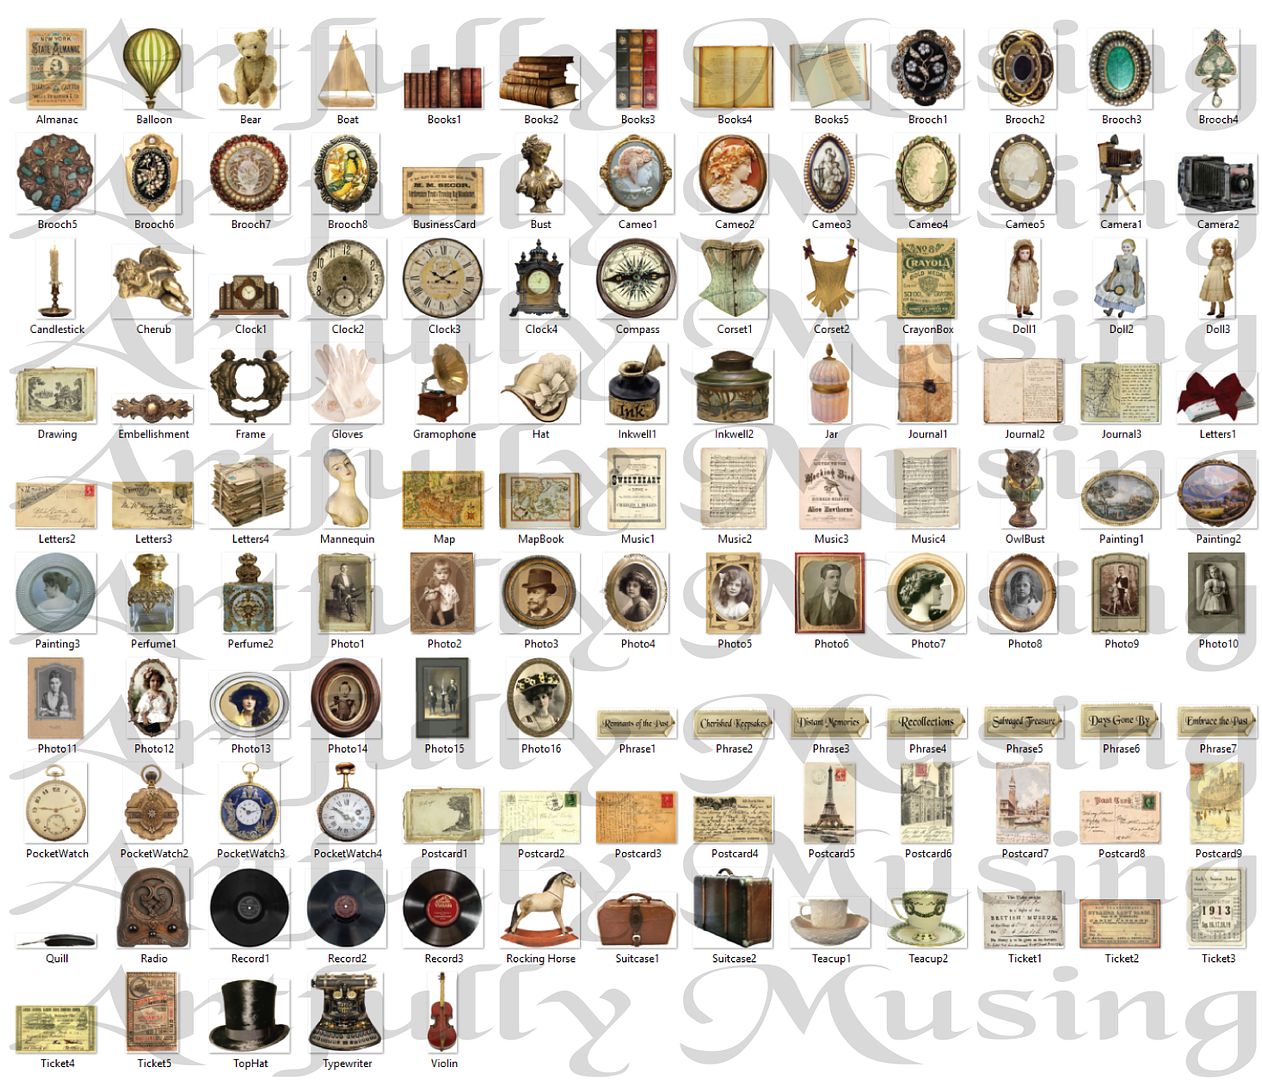
All of the images in the project are from my NEW Remnants of the Past Collage Sheets.

These two sheets are packed with vintage ephemeral all sized to work with smaller projects like altered tins and ATCs.  To purchase these sheets, click on the images below.


If you liked my Remnants of the Past #1 and #2 Collage Sheets, you will live the download set.   This set is packed with vintage ephemeral all sized to work with smaller projects like altered tins, and ATC’ although with a download set, you can adjust the size of the image to fit your project.  It contains all of the images from the Remnants of the Past #1 & #2 Collage Sheets plus 7 more for a total of 122 images.  To purchase the image set, click on the image below.


PROJECTS I’LL BE COVERING IN THE VIDEO TUTORIAL
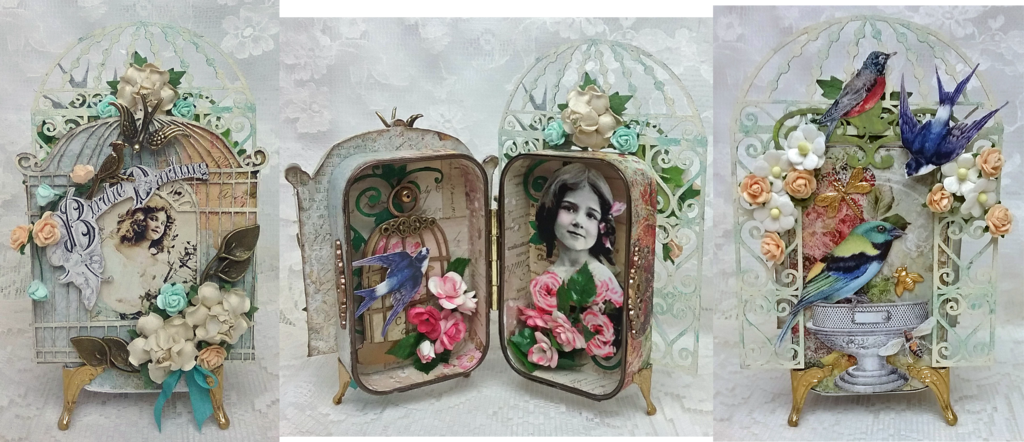
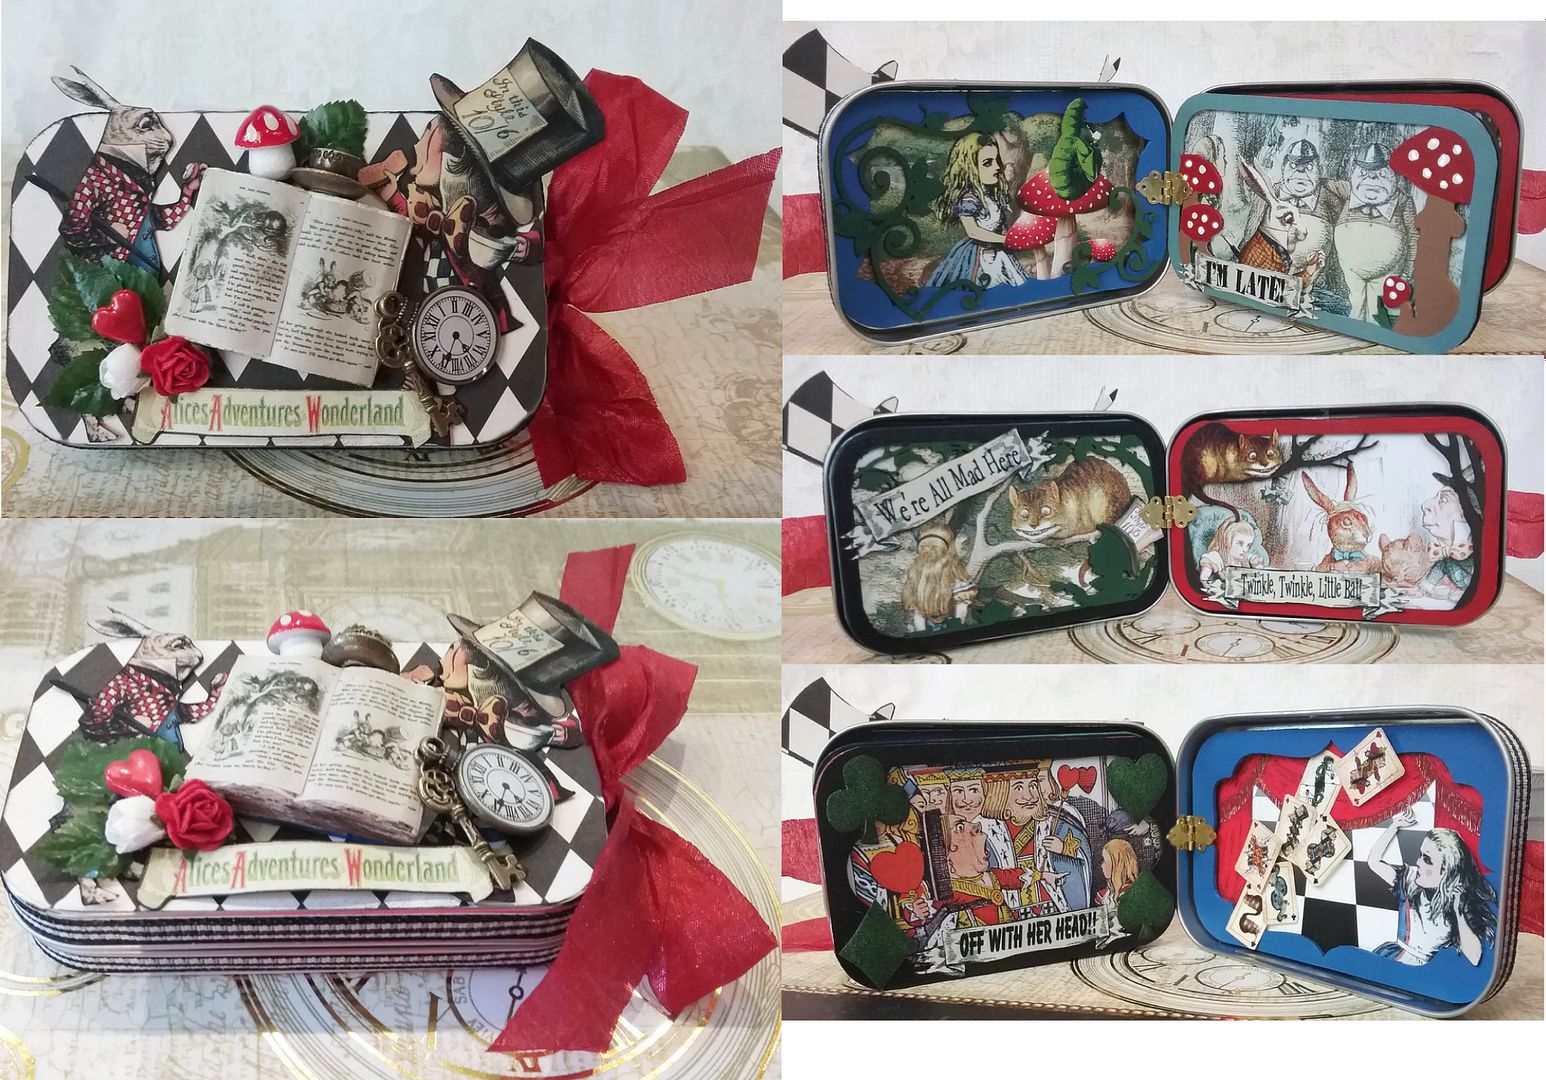
In the video tutorial, I’ll be covering all of the projects pictured below.  Some use two tin bases, some use one, and one uses the leftover lids.  Included are a variety of themes and techniques.  Below the video are the links to the supply list for each project (carried by AlphaStamps) and links to the original project post where applicable.


VIDEO TUTORIAL


REMNANTS OF THE PAST – DETAIL SUPPLY LIST
Architecture  2  8x8 Paper Pack
Blank Altoids Tins – Used 2
Small Square Brass Hinges – Used 3
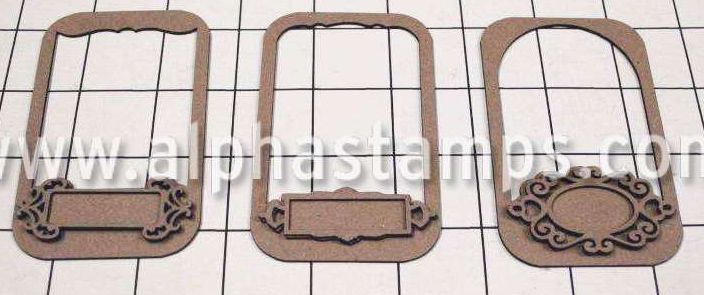
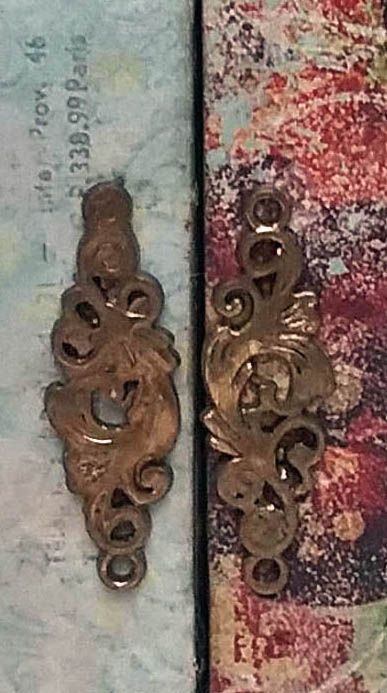
Rectangular Bronze Filigree - Small
Cream Lace from Advent Calendar Kit
½ Inch Pale Peach Paper Roses
Tiny Paper Roses – White
Stitched Leaf Ribbon – Moss Green

Saturday, January 7, 2017

GRIMM'S FAIRY TAROT - FAIRY TALE THEMED TAROT CARDS IN AN ALTOIDS TIN BOX

I was racking my brain trying to think of some kind of interesting twist for tarot cards and the idea of making cards based on the Grimm fairy tales. popped into my mind. 
For me, the best part of the project was choosing the images for each card (there were so many to choose from).  My favorites are Red Riding Hood as The Fool, Puss in Boots as the Knight of Swords, and Sleeping Beauty pricking her finger as the Wheel of Fortune.
The case is made from a blank Altoids tin.  I would have made a full set of cards but settled on making just enough to fill the tin (15 cards).  You can always hinge two tins together if you want to make more.


Below is the image I used on the chipboard labels.  Feel free to download and use it in your art.


To dress up the outside of the tins, I used Fairy Tale Altoids Inserts that come in a set of three different designs.  I used the first two on the left for my tin.


I used Victorian Gold Metal Patinas to paint the parts of the tin that were not going to be covered with paper.  While covering the tin with paper, I made sure that I didn't paper anywhere that would prevent the tin from opening and closing.  I painted areas like the lid's inside lip, and the bottom's outside edges because paper adds too much bulk, and you won’t be able to close the tin.


I used an Altoids Dragons Insert on the inside of the lid.


I used various frames from my Large Vintage and Elegant Frames Digital Image Set to frame each card.  To purchase this digital image set, click on the image below.


Each card measures 3 1/2" by 2 1/8".  I glued the image behind the frame and then used a corner punch to round the corners.  By rounding the corners I could use a larger card, as square-cornered cards would need to be smaller to fit into the rounded corners of the tin.
I backed the card with a thin piece of chipboard and decorative paper.
On the front of each card, I added a banner with the name of the card.  Below is a free collage sheet containing the banners I used and more.


FREE COLLAGE SHEET
Feel free to download this collage sheet and use it in your art.

Saturday, May 7, 2016

"BIRDIE DARLING" - ALTOIDS TIN BOOK

As a follow-up to my previous post about creating a book from two Altoids tin lids, comes another book made from the bottoms of two tins.  This one is just as easy to make as the book using the lids.
The bird theme is inspired by an Alpha Stamps collage sheet;  Bees, Birds & Butterflies.

The advantage of using the bottoms of Altoids tins is that there is a deep area that can hold dimensional items.
The tins are held together by a hinge, and I added feet to give them more height.


VIDEO TUTORIAL – There is now a YouTube video tutorial for this project.  The video also covers 5 other altered tin projects.  You’ll find the segment about this project at minute 19:11 in the video below.


WRITTEN TUTORIAL
Start by removing the lids from 2 Altoids Tins.  Next, bend flat or snip off the hinges.
Paint or ink the edges of the tins.  I used Aged Bronze Patina paint as it sticks to metal.
Paper the inside and the outside of the tins.  I used Serendipity Chronicle paper on the outside and House of Roses Old Letters paper on the inside.
Add the décor to the inside of the tins.
I decorated the left side using chipboard leafy corners, a 3 inch chipboard cage, roses sniped from a rose garland, a connector charm, and a bird from the Birds, Bees and Butterflies collage sheet.  Popping up the items gives the piece more dimension.
On the right side, I used more of the leafy corners and roses, plus the lovely little girl image.
Hold the tins together with the insides facing each other and attach the hinge.  I used E6000 glue for this project to attach the hinge to the tins.  I added a bead to the holes in the hinge.  Alternatively, you could use brads to attach the hinge to the tins.  If you choose this method, punch the holes in the tins before adding the paper.  If you want to hide the prongs of the brads, attach the hinge to the tins before adding the paper to the inside.
Next, attach the swirly connector charms on the opposite side, or you could add a latch. They have been painted with Aged Bronze Patina Paint.
For this project, I used a die-cut chipboard piece for the base of the front and back covers, so I assembled them separately from the tin.  After assembly was complete, I glued them to the front and back of the tins.

On the front cover, I started with a lovely chipboard cage backed with Serendipity Chronicle paper and an image from The Garden collage sheet.    On top of the cage, I used various paper flowers, a bronze swallow charm, a bronze bird on a branch, calla lily leaf charms, and the words “Birdie Darling,” which are from the Birds, Bees & Butterflies collage sheet.
Notice that there are flowers on the top.  Those are glued to the top of the back tin.  You can also see the chipboard wrought iron archway (attached to the back) peaking over the top from the front of the tin.
On the back cover, I started with the chipboard wrought iron archway and added more of the leafy corners, paper flowers, and birds from the Birds, Bees & Butterflies collage sheet, which is also where you’ll find the urn and the paper bee.  The gold dragonfly and bee are from my stash.
The final step is to attach the brass box feet, which makes the piece more interesting and heightens.

SUPPLIES