Accordion books are simple to make and require no sewing. Everything is assembled with glue. You can make them any size you want and can use them to display art, as a journal, for a scrapbook or as a piece of art.
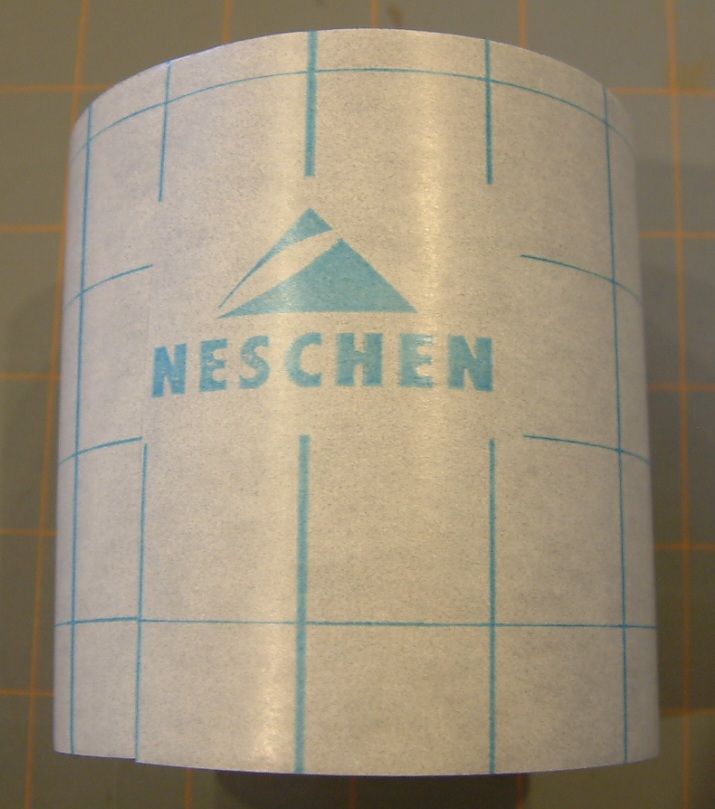
For the example in this tutorial, I used black self-adhesive cloth tape that is 3 1/8” wide. It’s great because it comes with a paper grid that covers the adhesive so it helps with measuring. It is hard to find tape this wide and unfortunately the online supplier I purchased mine from went out of business. One of the advantages of using the cloth sheets, as opposed to the tape, is that you can cut the sheet to the width you desire. All of the measurements in this tutorial are based on a 3 1/8” spine, you can adjust this width for your project.
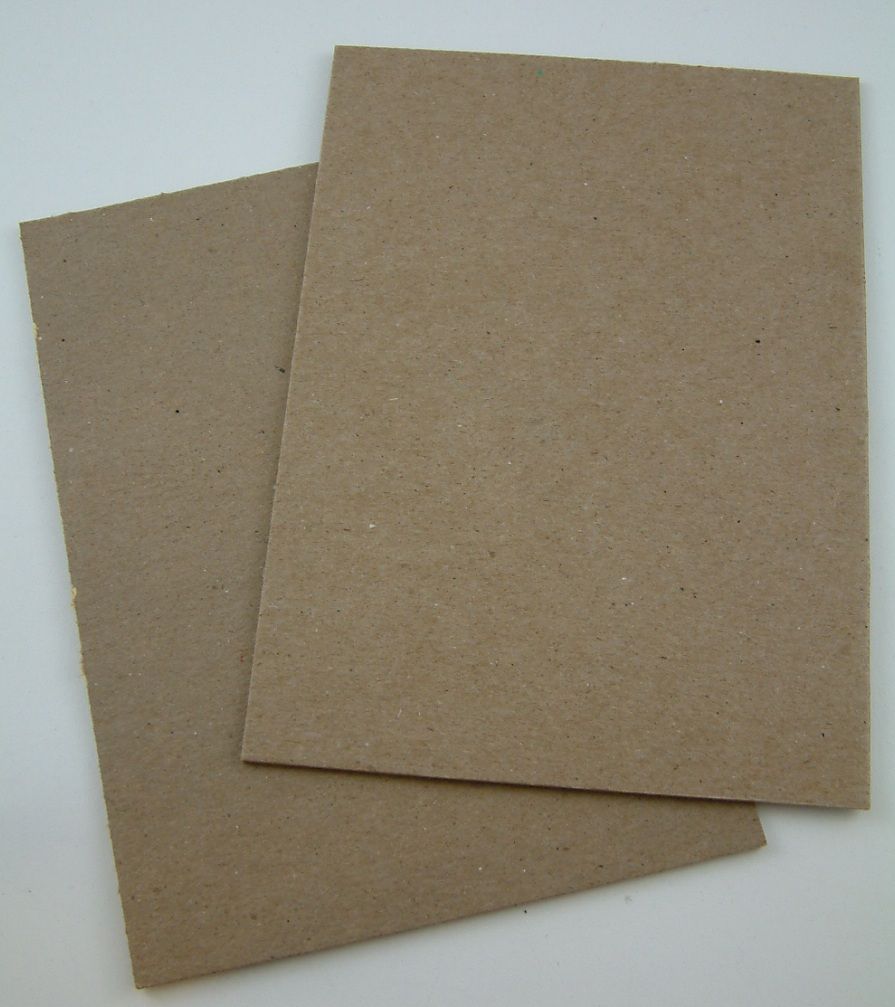
CUT THE CHIPBOARD COVERS
Cut two pieces of medium weight chipboard 5 ¼ x 3 ¾. If you don’t have medium weight chipboard you can glue together multiple pieces of thin chipboard. The book in this tutorial is sized to store ATCs but there is no reason why you couldn’t make your book smaller or larger.
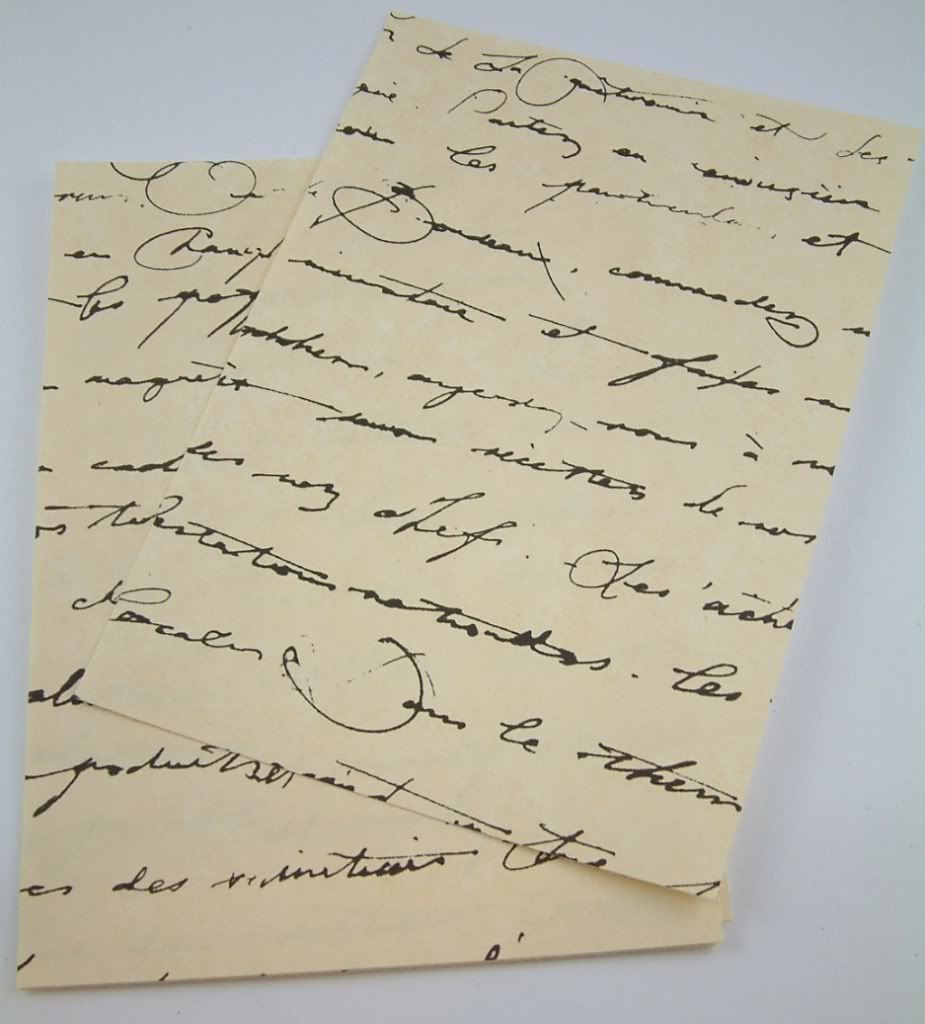
CUT DECORATIVE PAPER FOR THE COVERS
Cut two sheets of decorative paper 6 ¼ x 4 ¾. This measurement is an inch larger on each side than the chipboard.
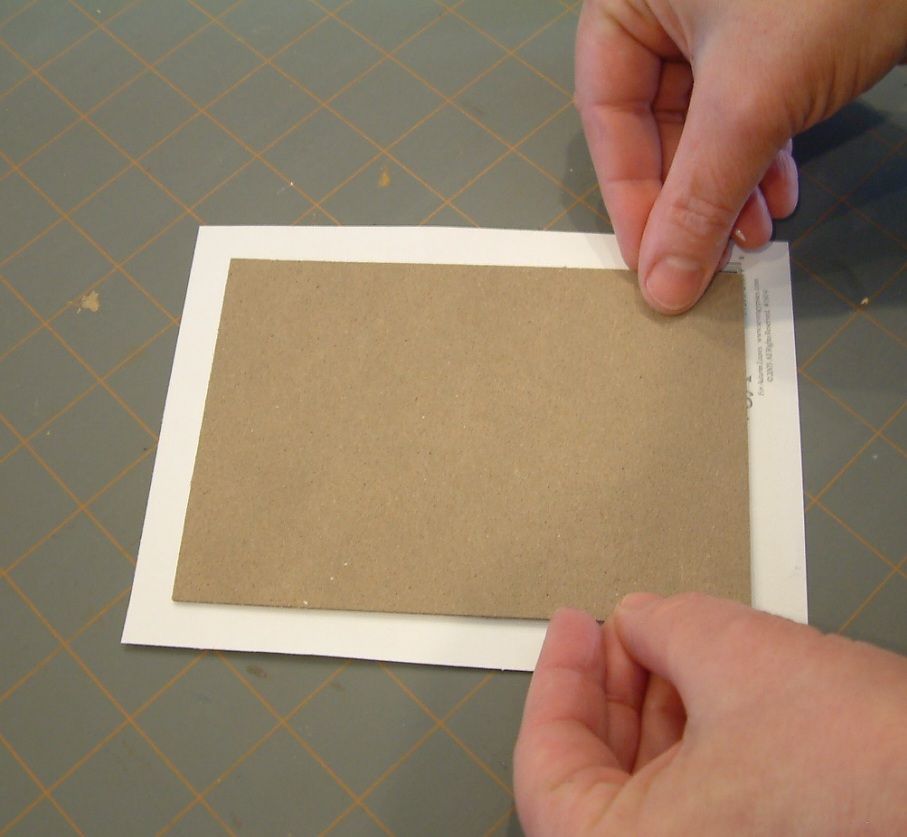
COVERING THE CHIPBOARD WITH PAPER
Apply glue to the chipboard (I use Tombo Multi). Place the glued side to the back of your decorative paper. Press firmly.
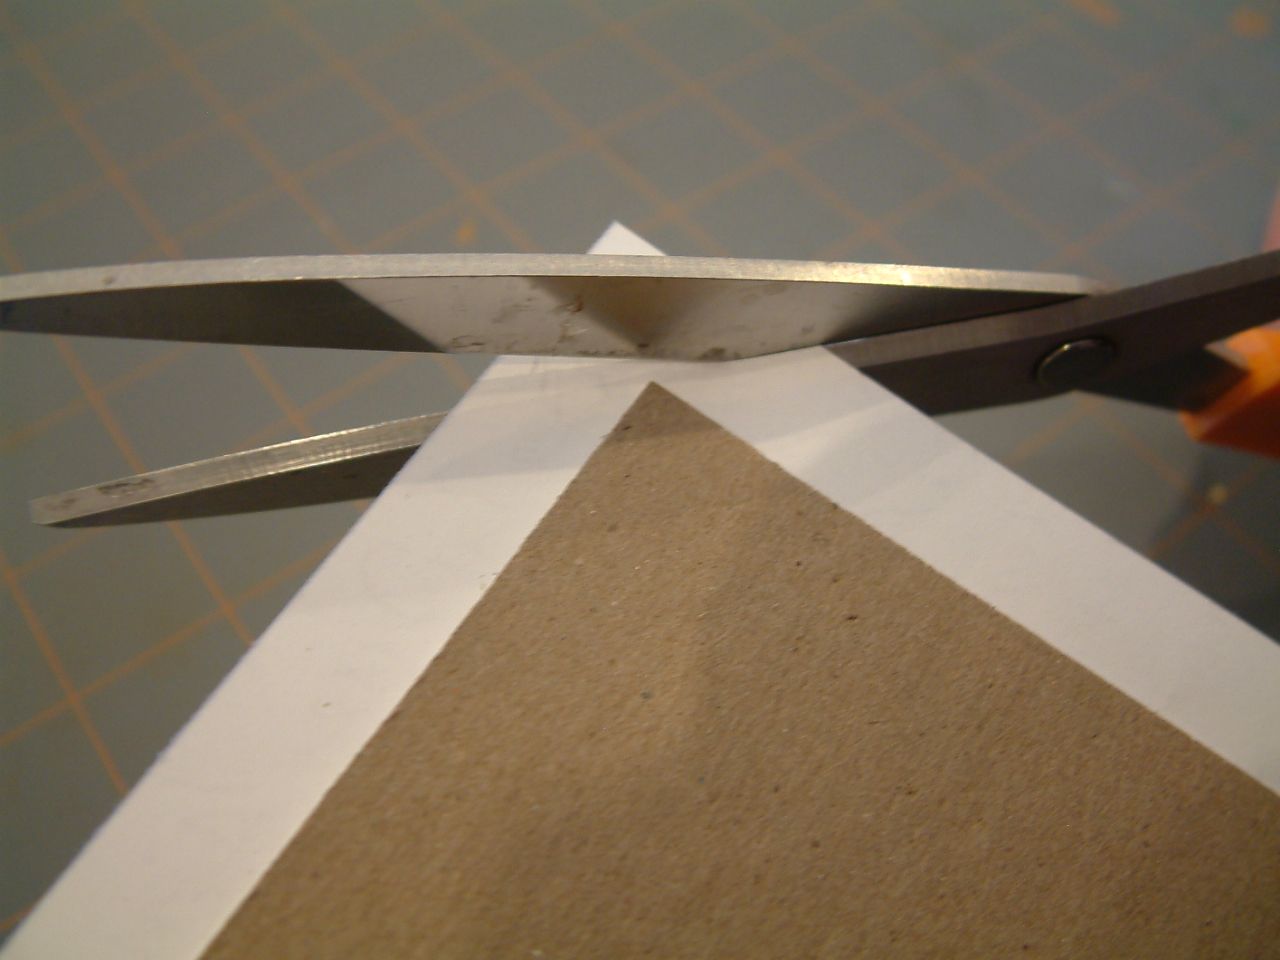
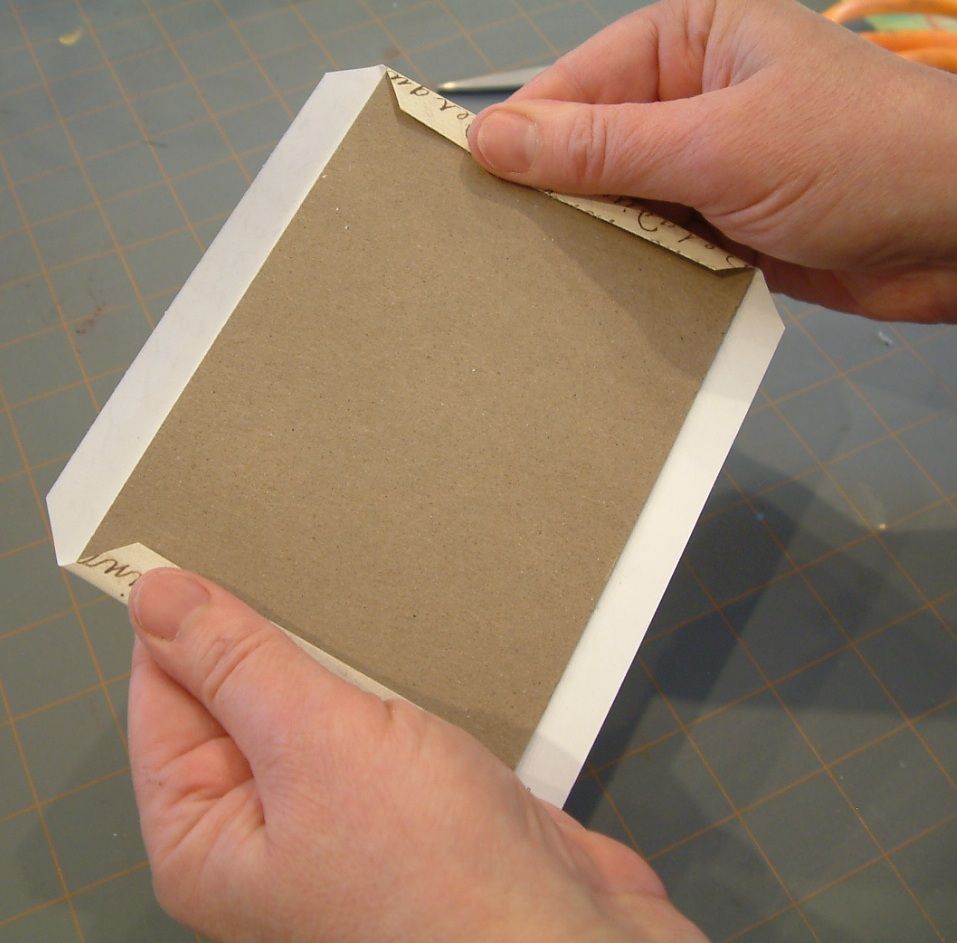
On each corner, make a diagonal cut that is 1/8” from the point of the chipboard.
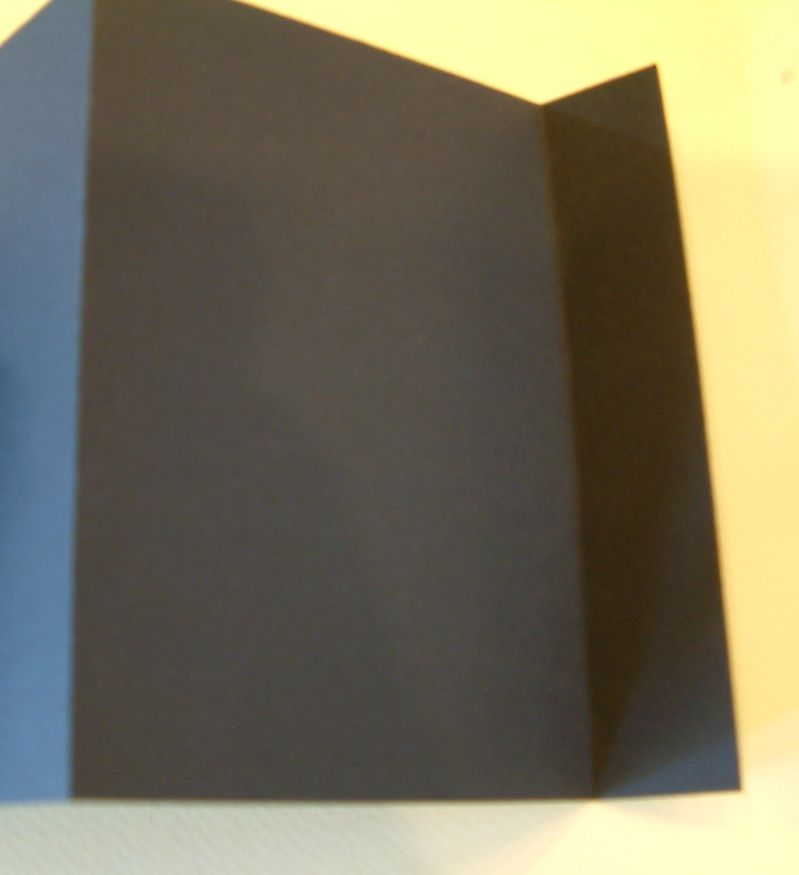
Pre-fold the edges of the paper before you glue them to the chipboard. This makes it easier to glue down the edges.
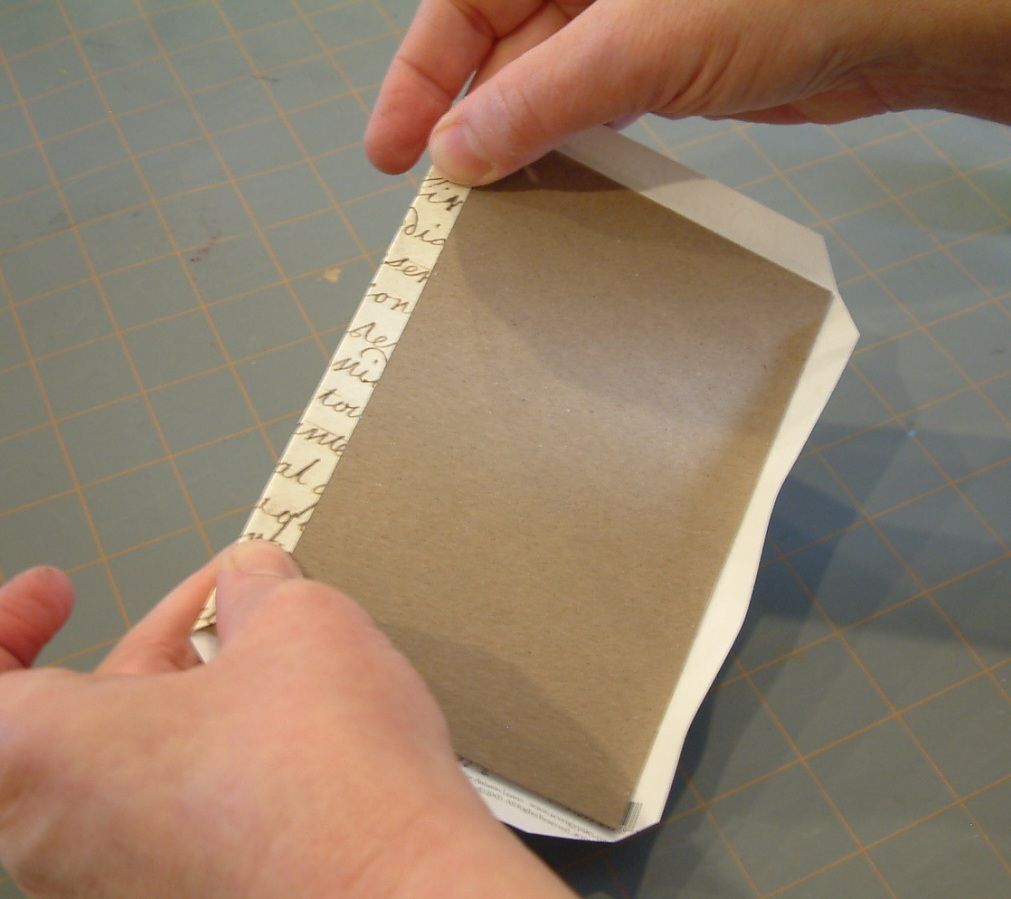
Glue opposite edges of the paper to the chipboard. It doesn’t matter which sides you start with (the longer sides or the shorter sides). Press firmly.
At this point two of the sides should be glued to the chipboard. The next step is what is going to give you nice corner points and miters.
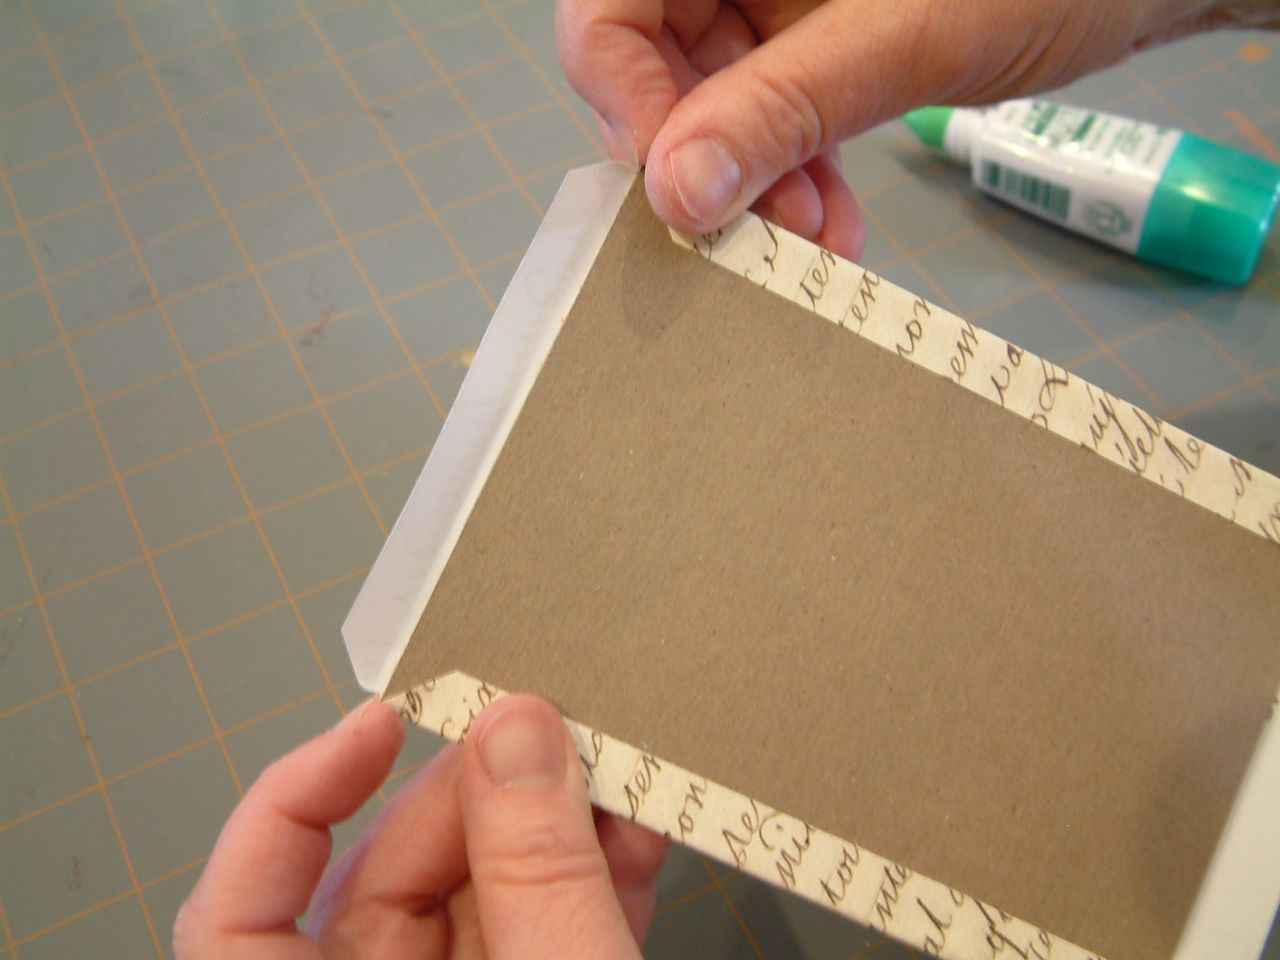
Apply glue to one of the unglued sides and using your tips of your nails press down about a 1/16” of the edge of the paper, and then press the entire edge down to the chipboard. Press firmly. Repeat for the opposite side.
CREATING A PAPER GUIDE
This is a trick I use to make it easier attach the covers to the spine and to make sure that the covers are straight and an equal distance apart. When you are attaching the sticky spine to the covers it is hard to get the covers straight and once the covers touch the adhesive on the spine you can’t move them without making a mess. We will be attaching the covers to the paper guide before attaching the covers to the spine.
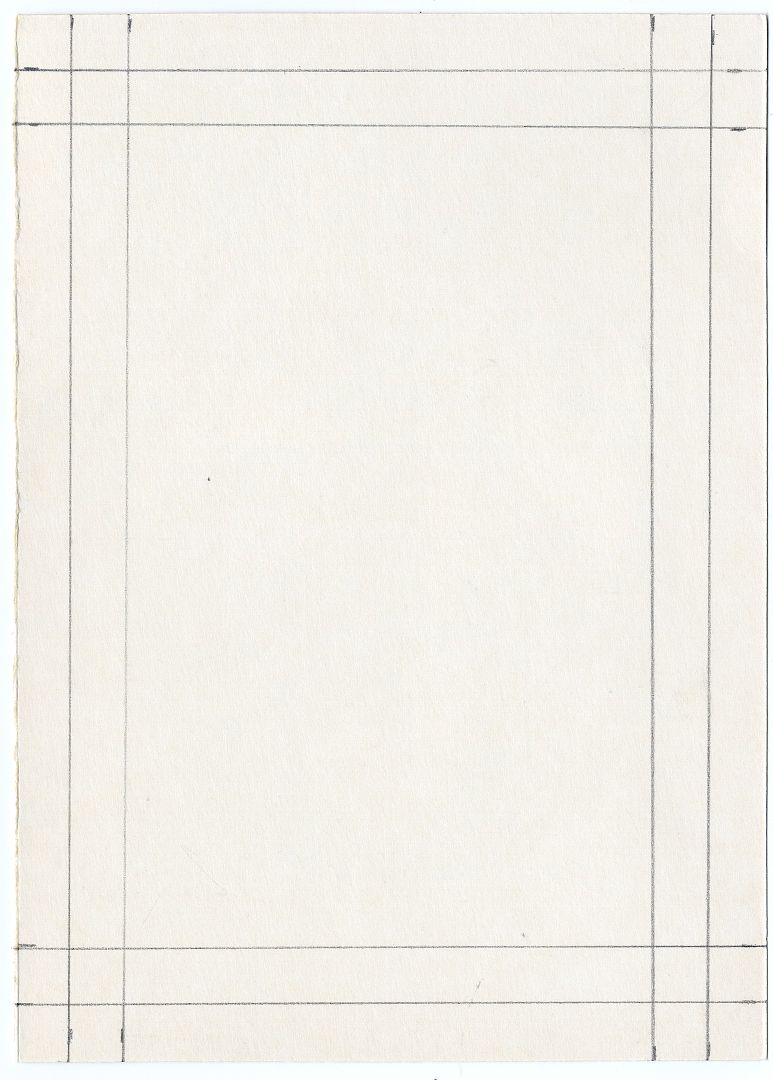
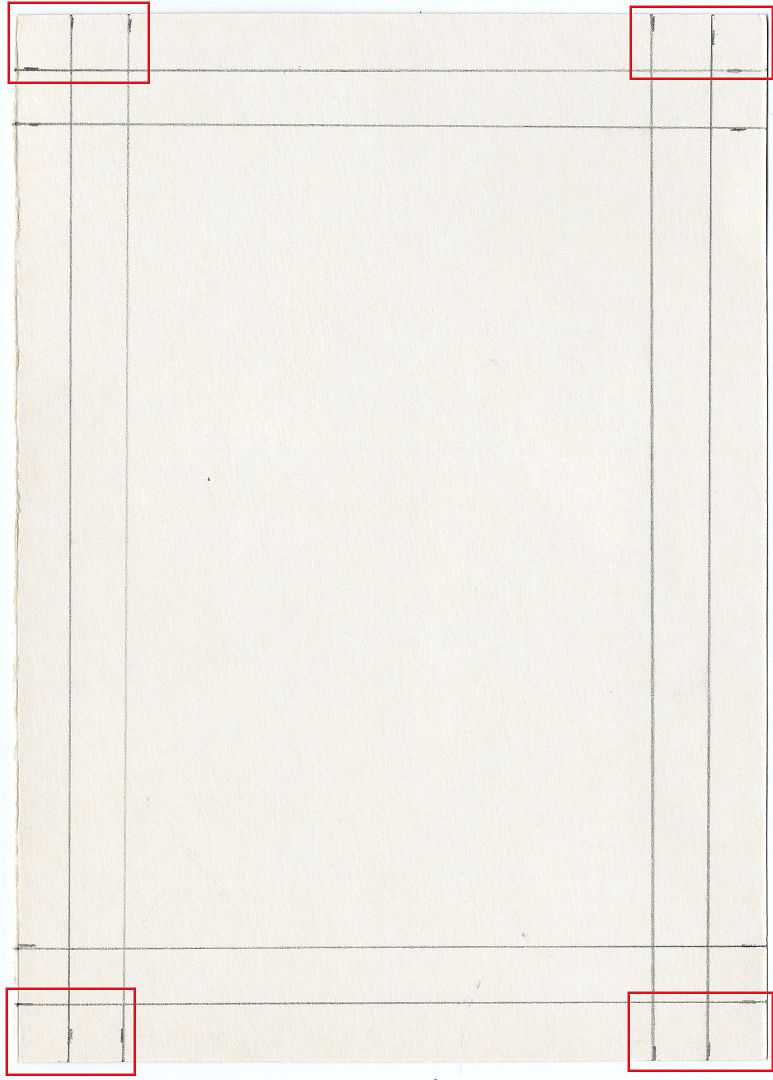
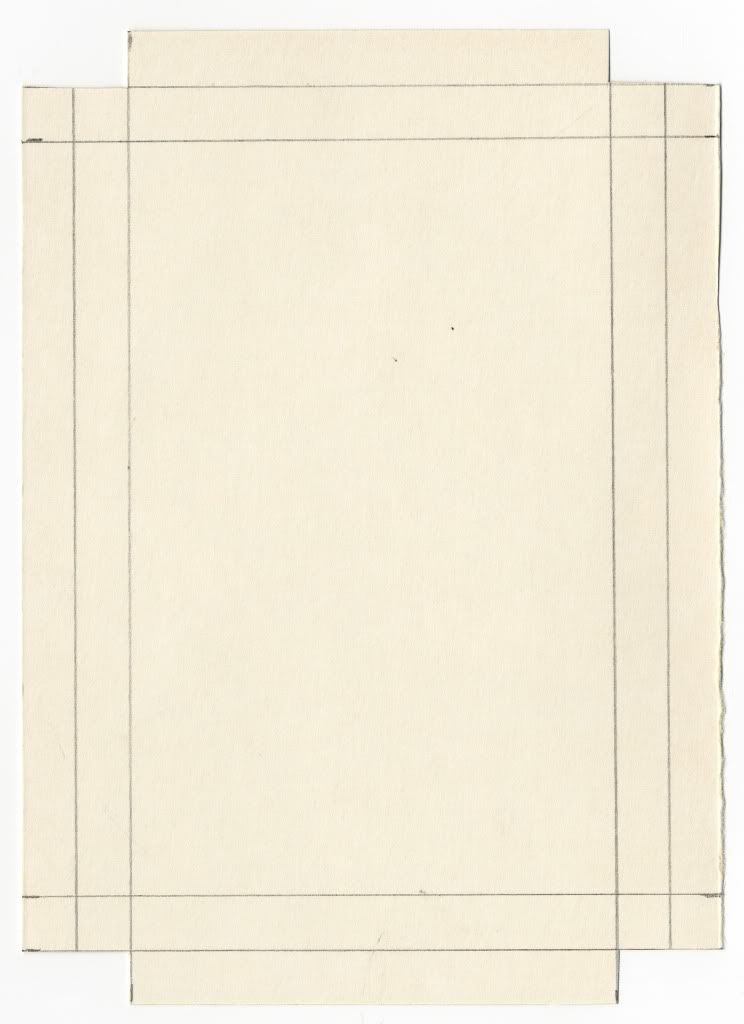
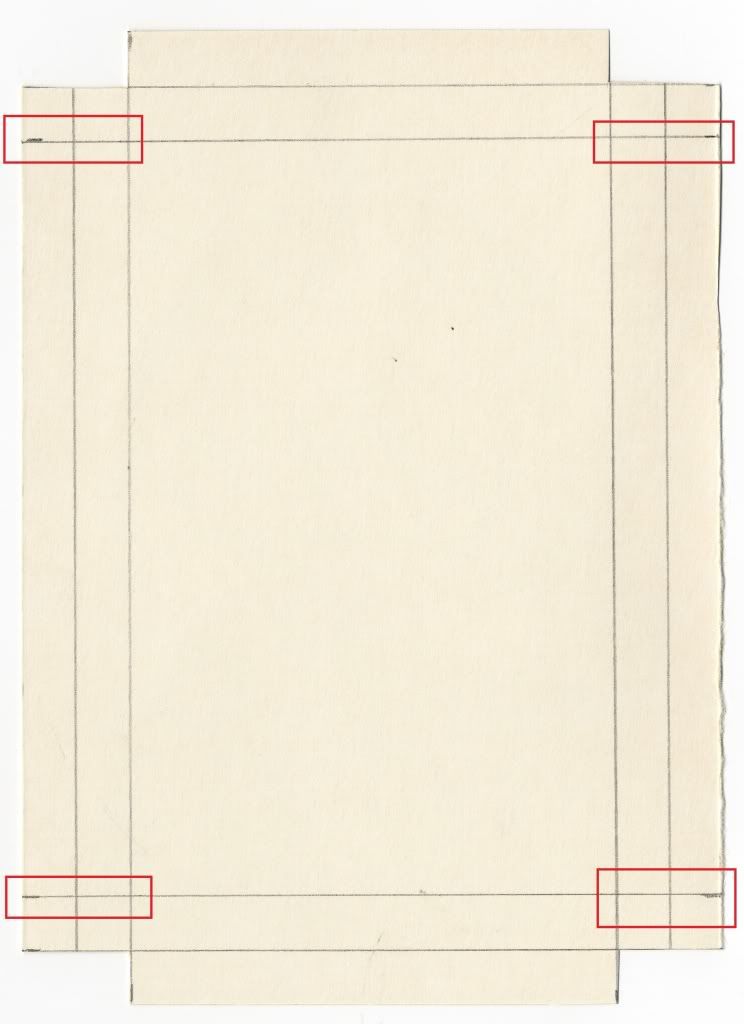
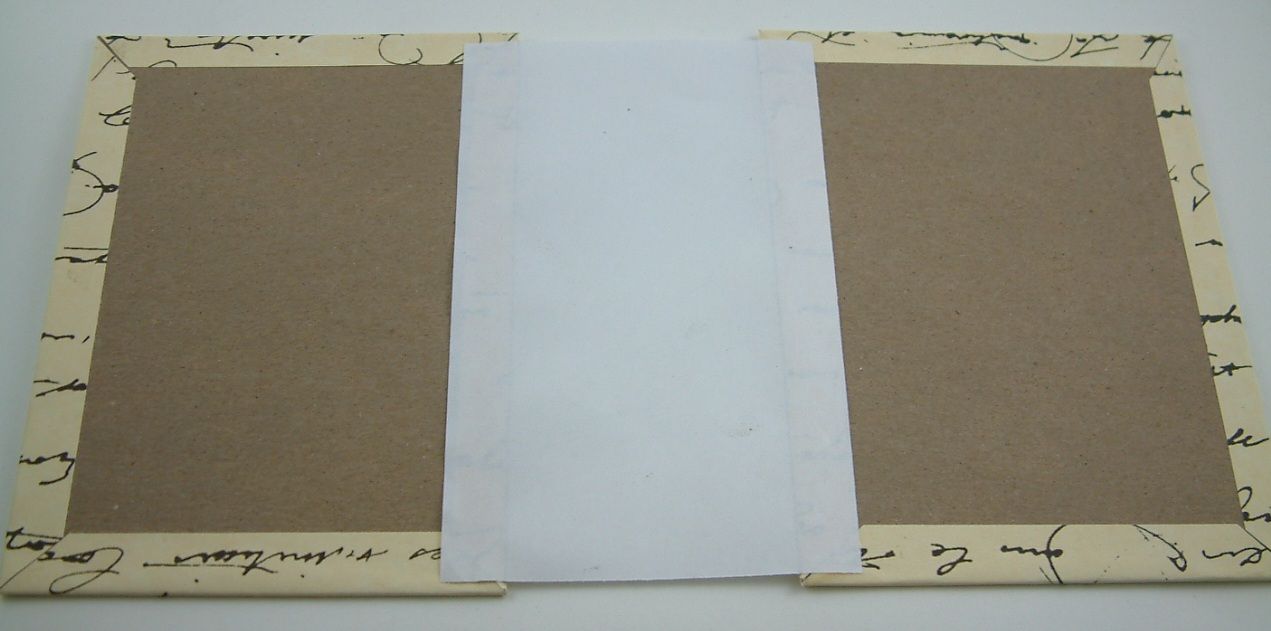
To make the guide, cut a piece of paper (I just use printer paper) 5” long by 3 1/8” wide. The width measurement is based on the width of the bookbinding tape which in the case of this tutorial is 3 1/8” and the length measurement is slightly less than the length of the covers. You will need to adjust these measurements based on the size book you intend to make. Mark a ½” line on each side of the strip. Never make the line less than ½” as you need at least ½” for the spine to stay attached to the covers. You can make it more but never less.
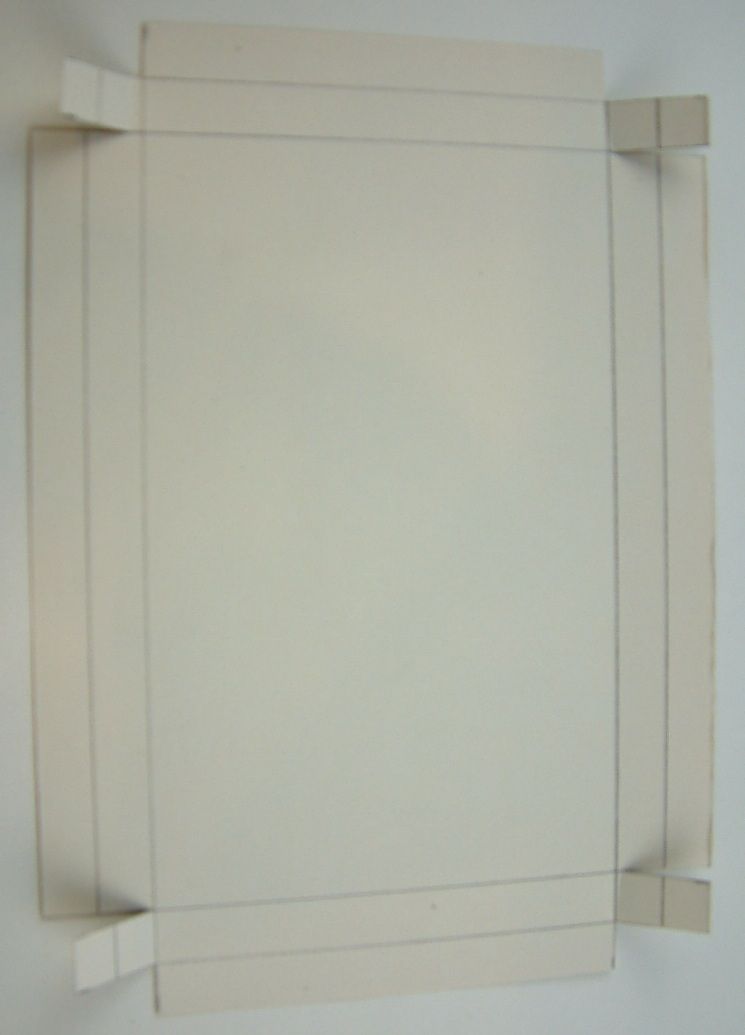
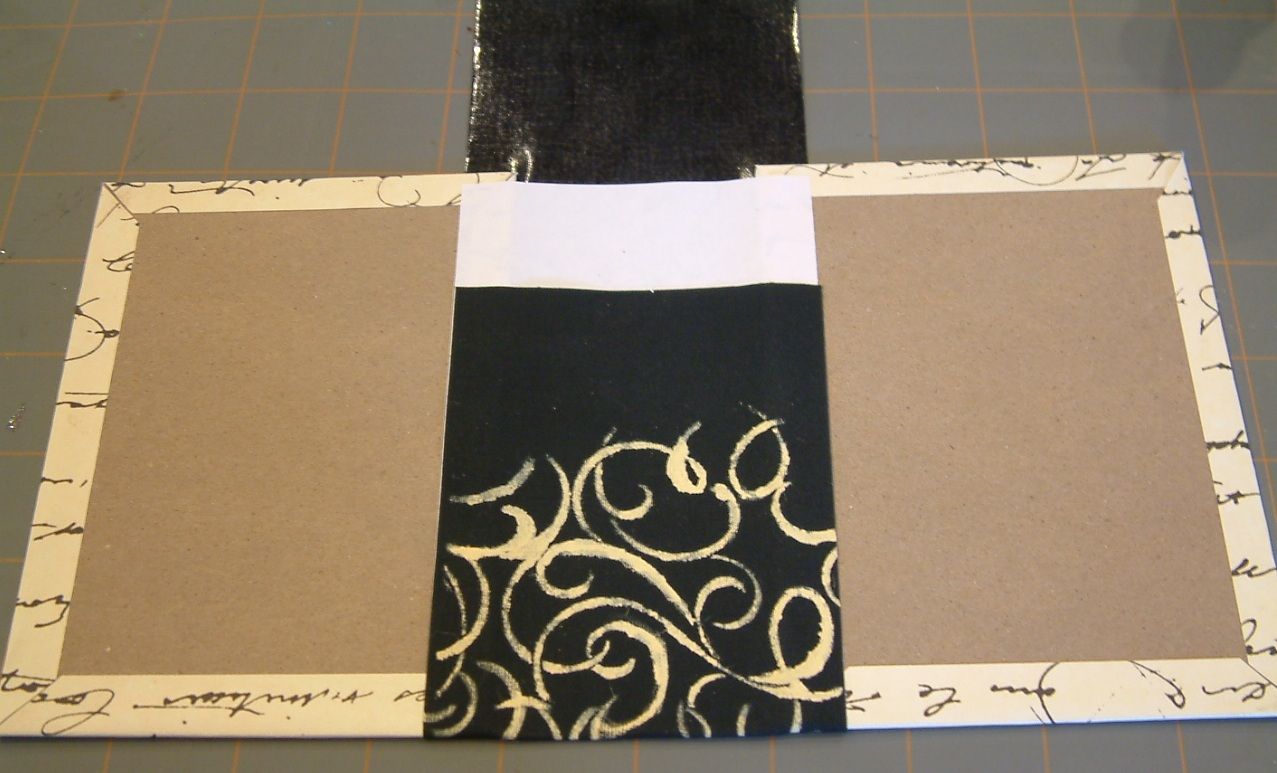
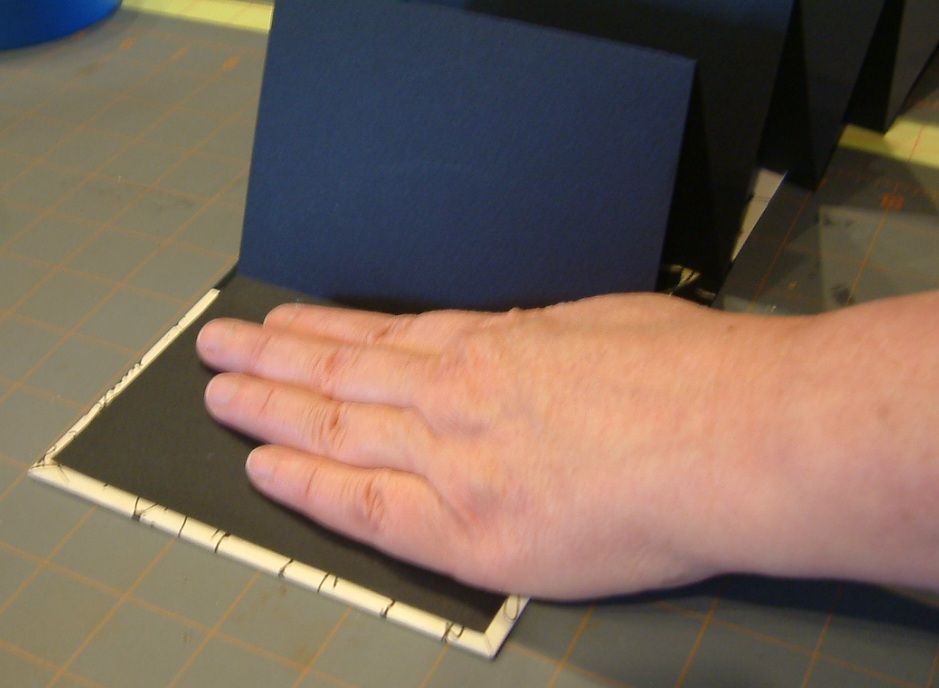
Using the lines marked on the as a guide, glue the covers to the paper. It doesn’t matter whether you glue the paper to the back of the covers or to the front of the covers. I like to glue the covers to the paper with the front of the covers facing up, so I can make sure that if the paper has a pattern that I have both covers facing the same direction. Your covers should now be lined up perfectly and equal distance apart.
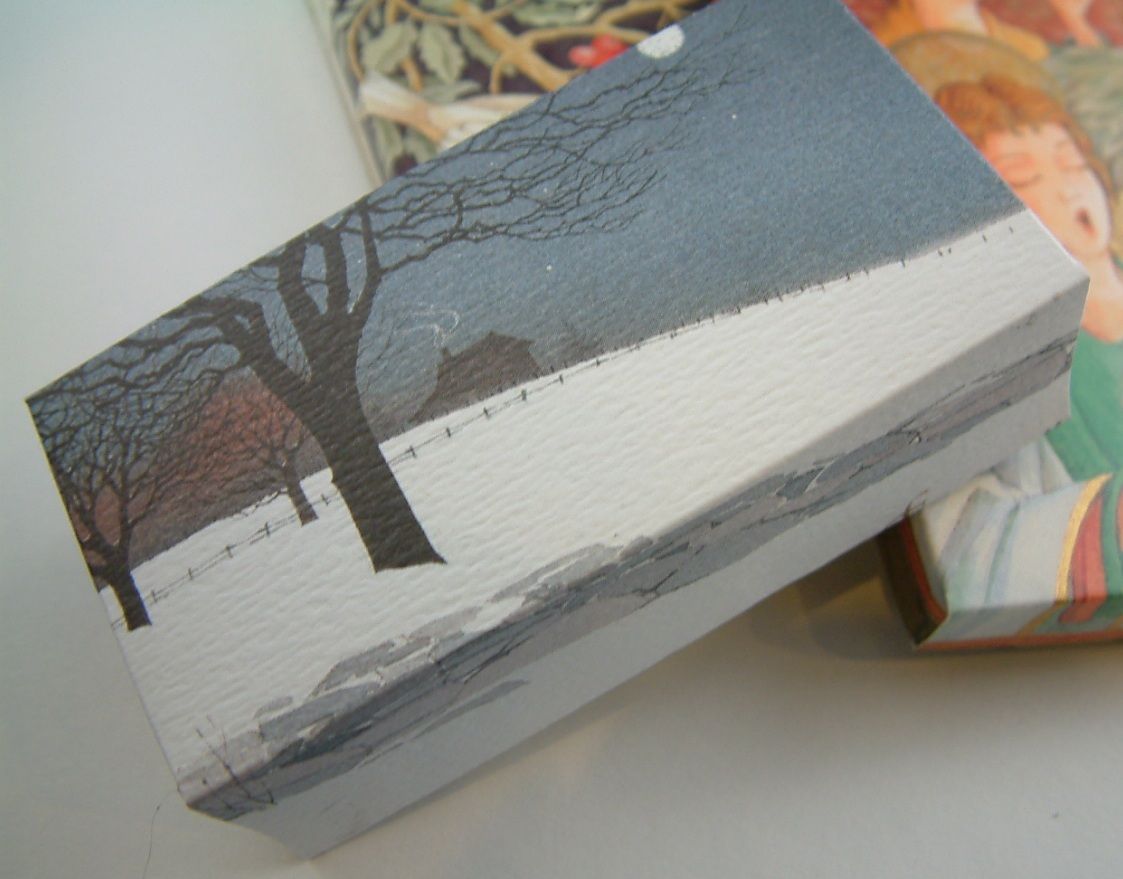
THE SPINE
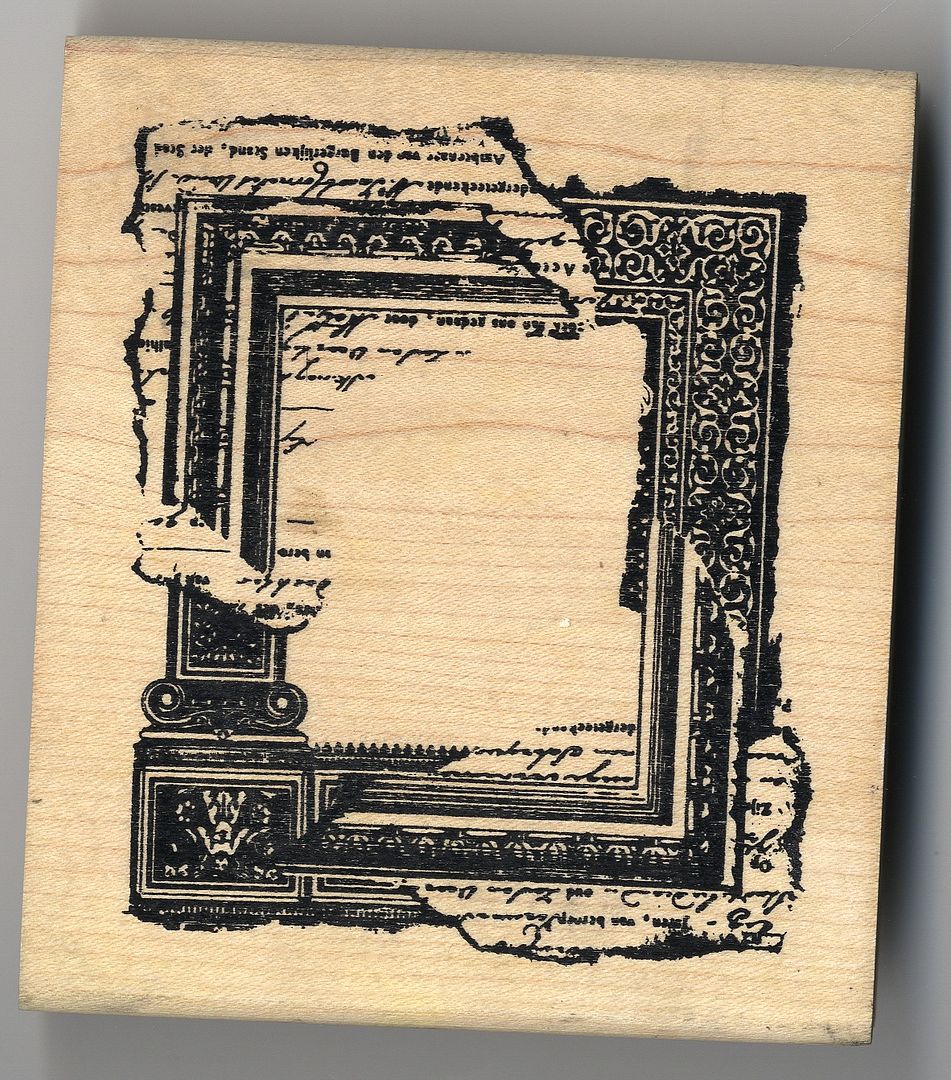
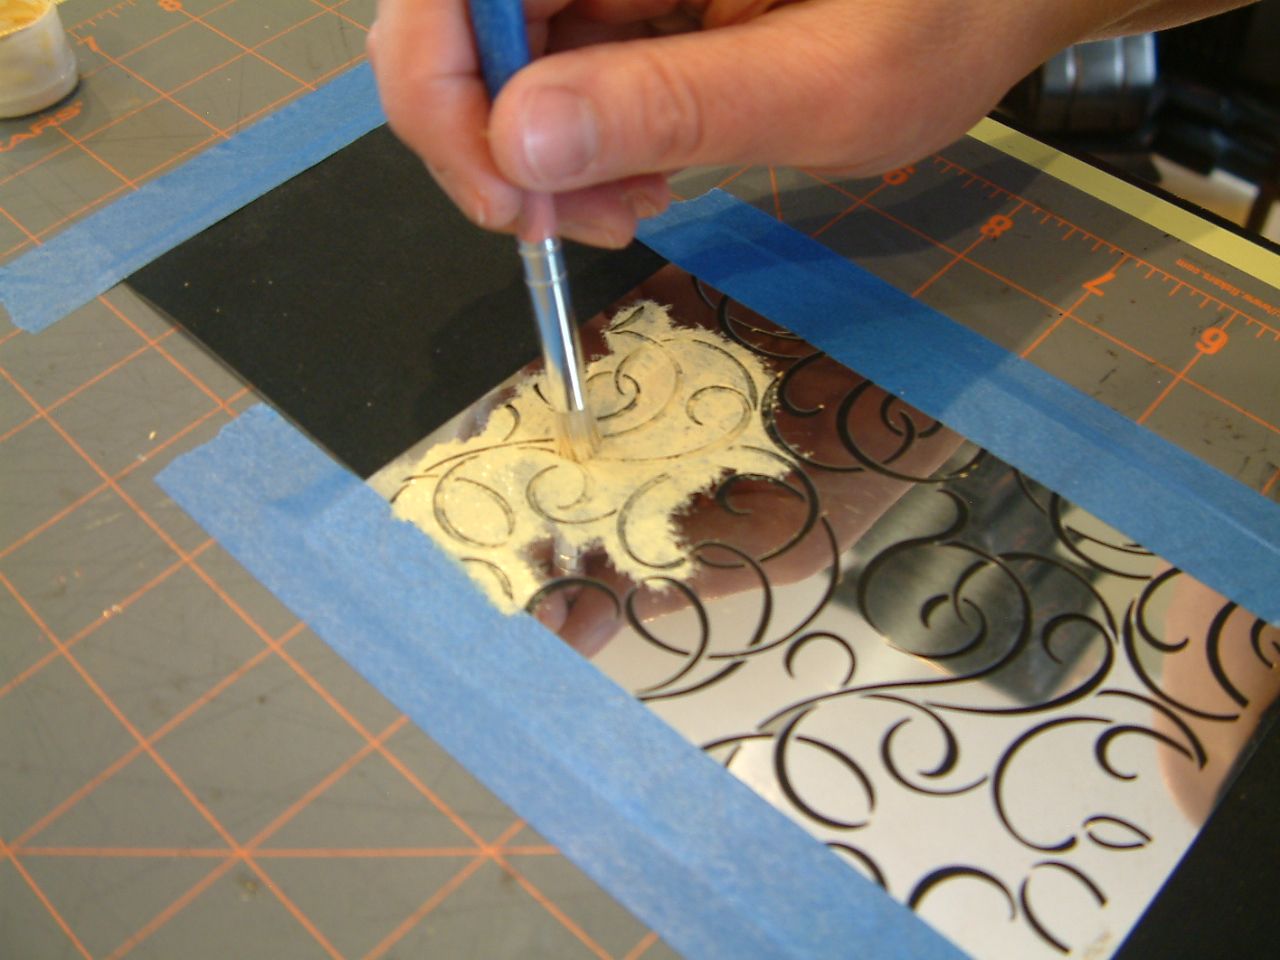
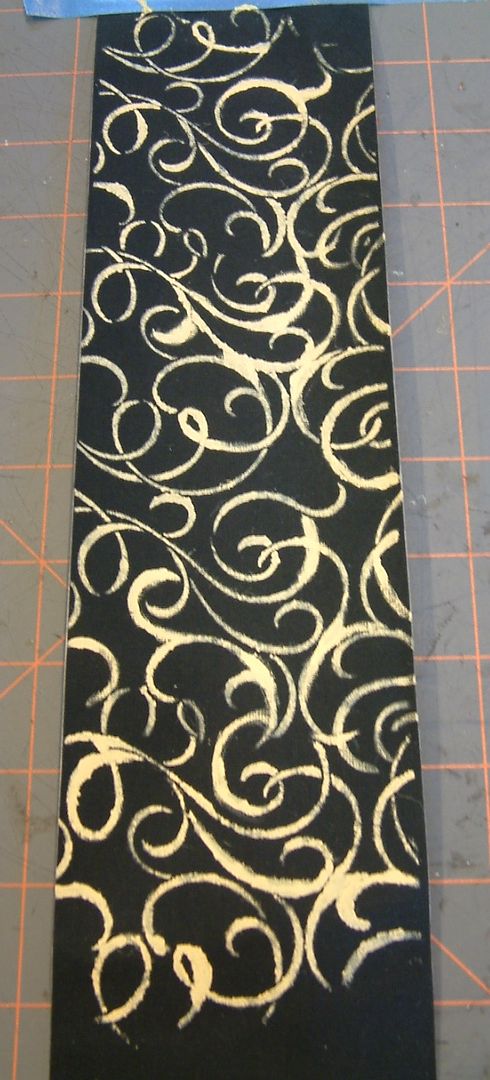
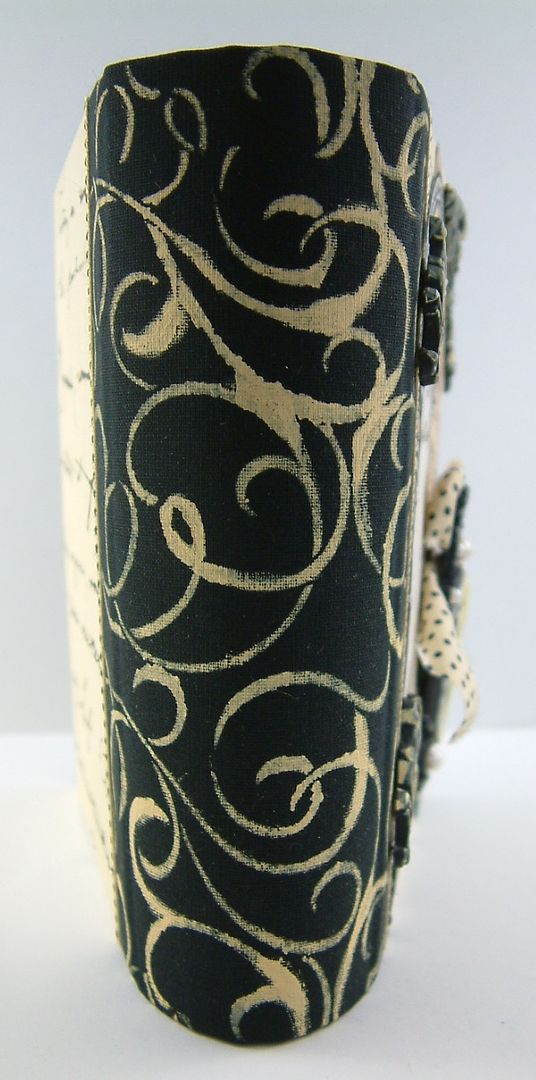
Cut a piece of bookbinding tape or cloth 3 1/8” wide x 11 ½” long. The length is 2 times the length of the covers plus 1”. Next, you can decorate the spine if you choose. In the example I stenciled a design. You can do anything you want as long as what you do sticks to cloth. I have also embossed designs and used rub-ons.
In this example, I didn’t need to emboss all of the tape. You really only need to do about the 2/3 of the center area (which is all you will be able to see when the book is assembled).
ATTACH THE COVERS TO THE SPINE
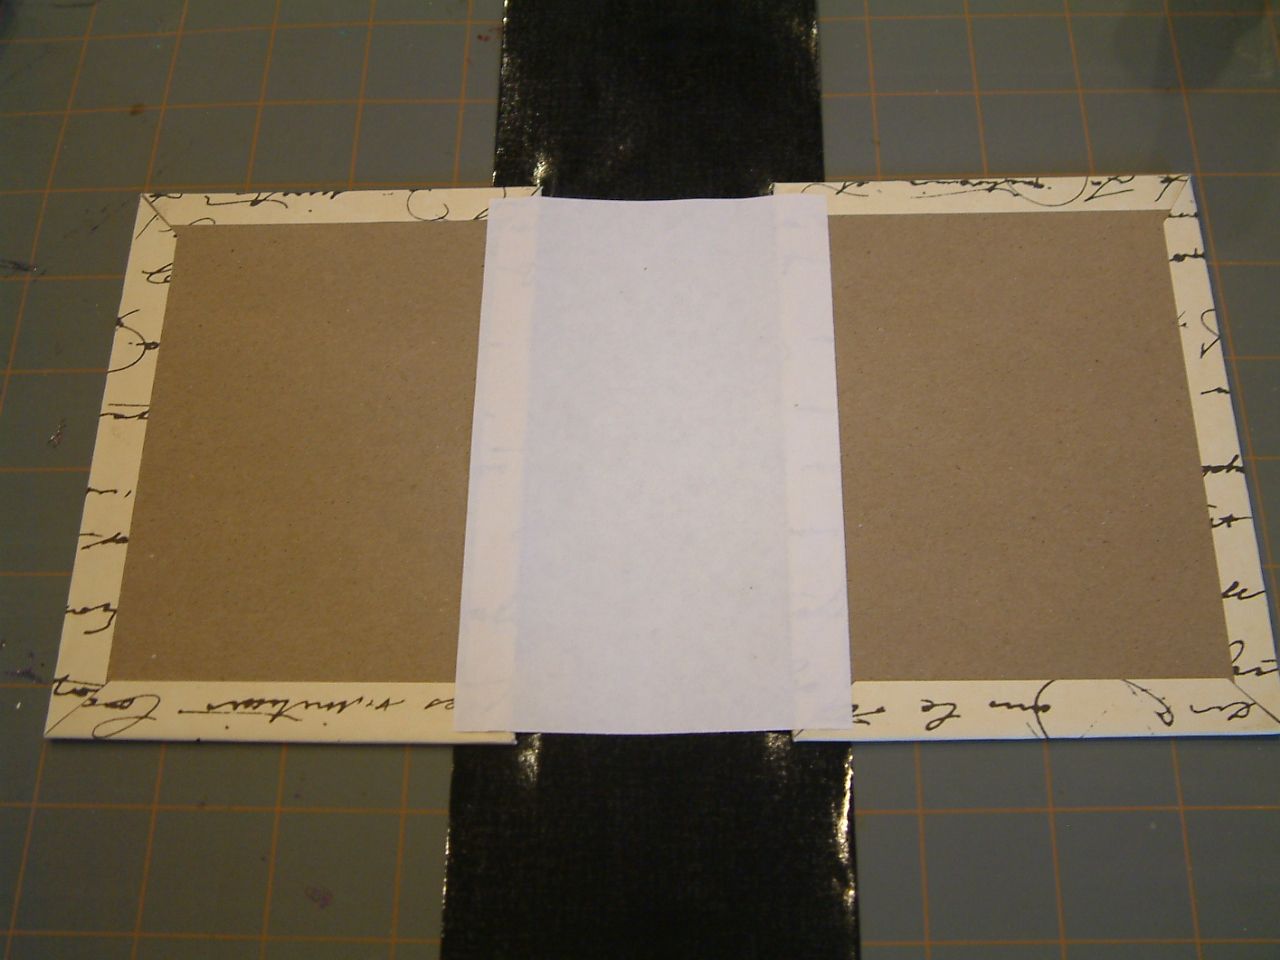
Layout your spine with the adhesive facing side up.
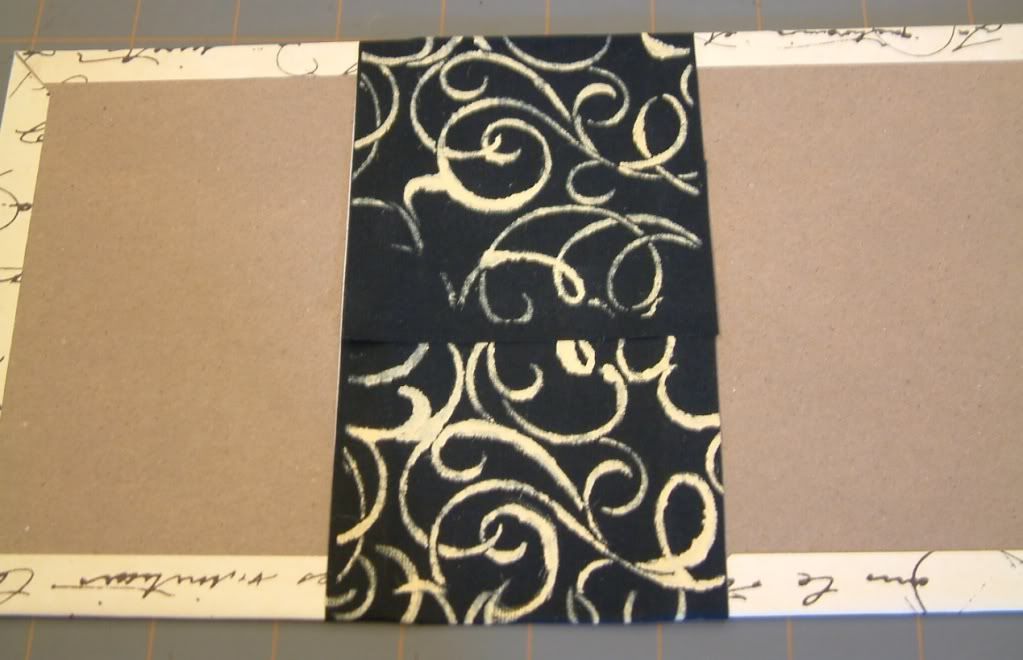
Place the covers in the center of the tape lengthwise and widthwise. Press the paper to the spine along the length of the paper.
Wrap one side of the spine onto the paper and press.
Wrap the other side of the spine onto the paper and press.
CARD STOCK PAGES
You are going to making the pages out of cardstock. I suggest using cardstock rather than heavy decorative paper as most decorative paper has a white center and when it’s folded you can see some of the white and the edge may not turnout as nice but it is your choice. Before cutting the paper, you should consider how many pages you want. If possible, decide in advance how you will be using the book. The example book is going to be used for displaying ATCs. Since I didn’t want the book to be overstuffed I figured out how many ATCs it would hold and then cut the amount of pages that I needed. You might want yours overstuffed; it’s a personal preference. Maybe you are using it for a journal and you need lots of pages.
The process of creating the pages is made easier if you have extra-large sheets of cardstock; it means fewer sheets to cut. The sheets I used are 22” long. You can purchase large sheets from stores online or if you are lucky you might have a bookbinding or art store near you that carries them.
CUT STRIPS OF CARDSTOCK
Cut strips of cardstock 5” wide as long as the length of your paper. The 5” measurement is based on the length of the covers which is 5 ¼”. The length needs to be ¼” shorter than the book so that you don’t see the pages when the book is closed. The number of strips you cut is based on the number of pages you want. For the example I cut 3 strips of 22” paper.
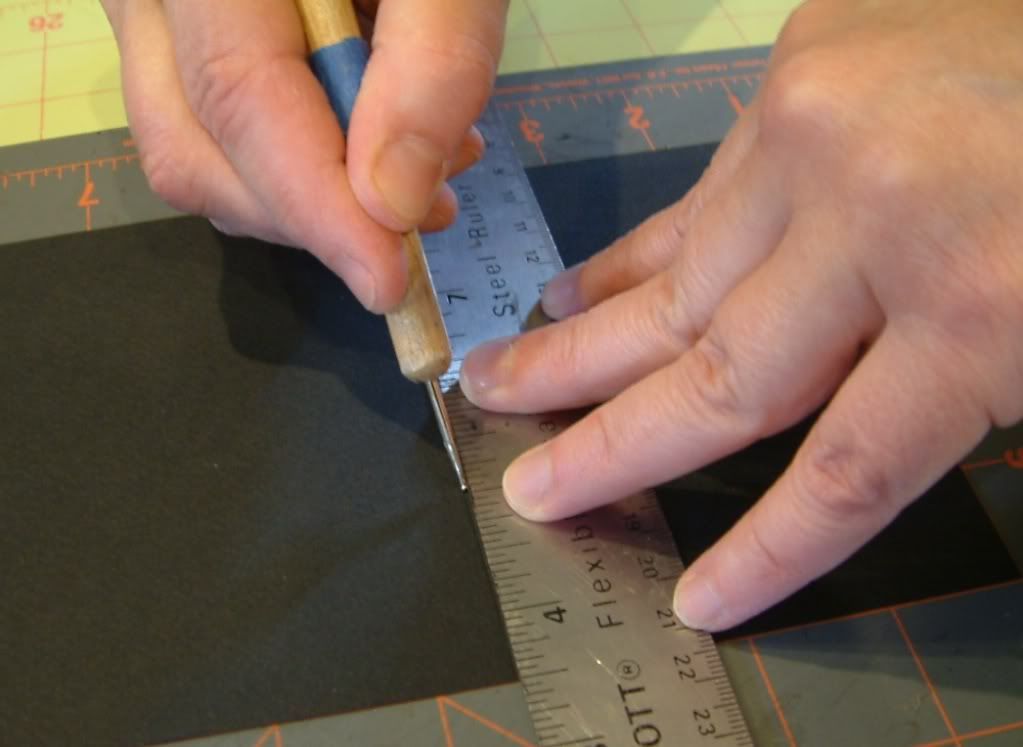
SCORING AND FOLDING THE PAPER
To create the individual pages you are going to score and fold the paper. Score the paper every 3 ½”. This measurement is based on the width of the cover which is 3 ¾”. The width needs to be ¼” shorter than the book so that you don’t see the pages when the book is closed. You may end up with a strip where the last score is less than 3 ½”. That’s ok as the short piece will be used to attach the strips to each other.
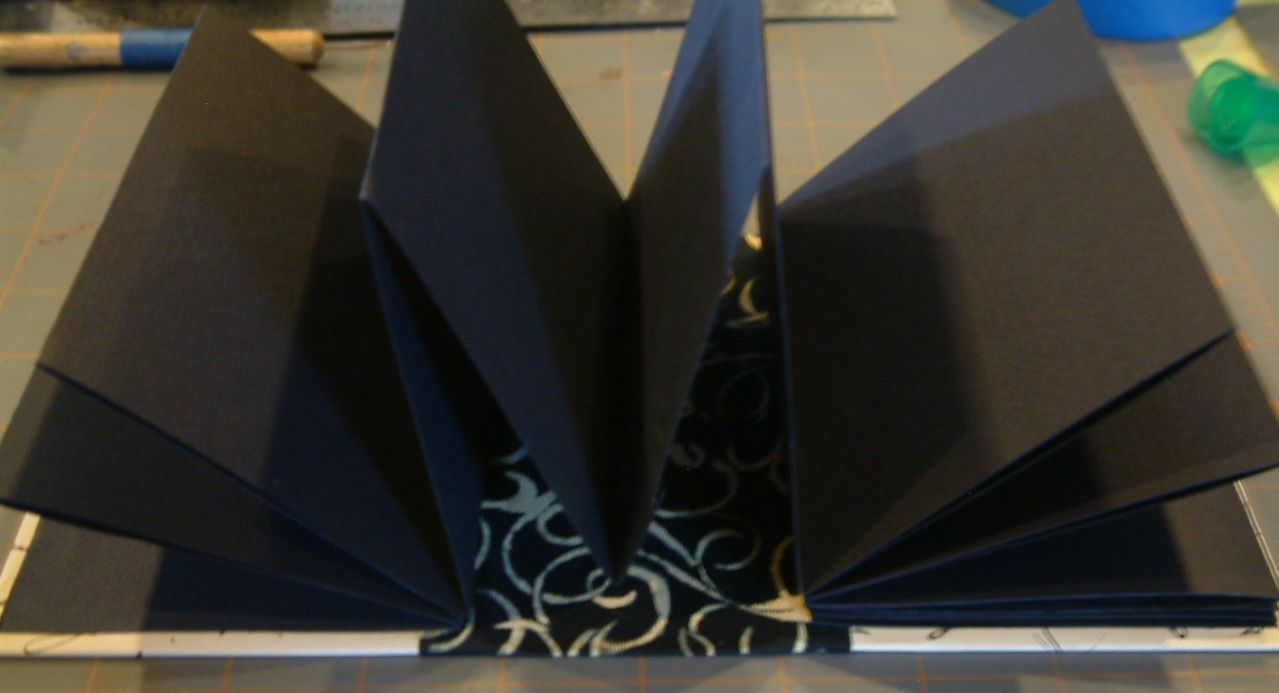
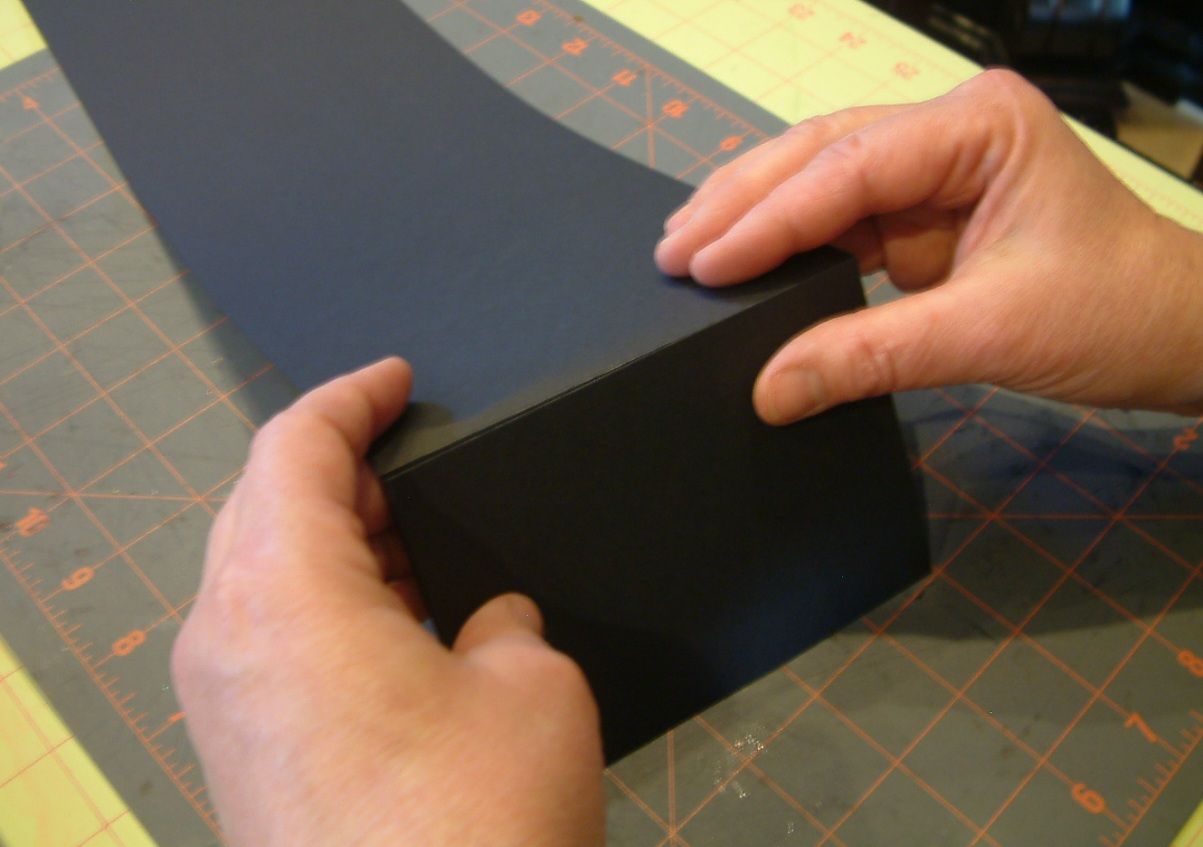
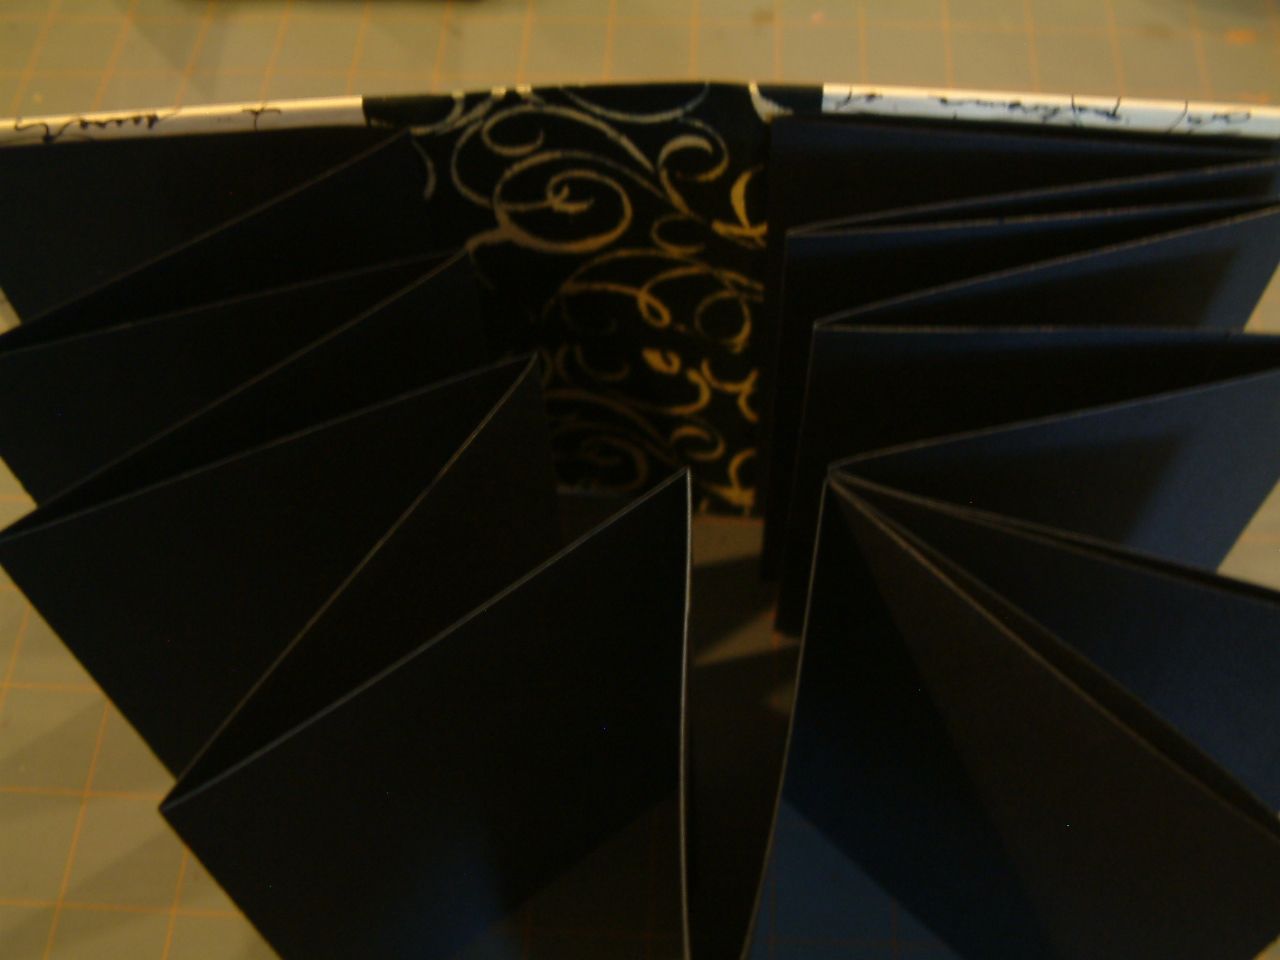
Once the strips are scored, accordion fold the strips.
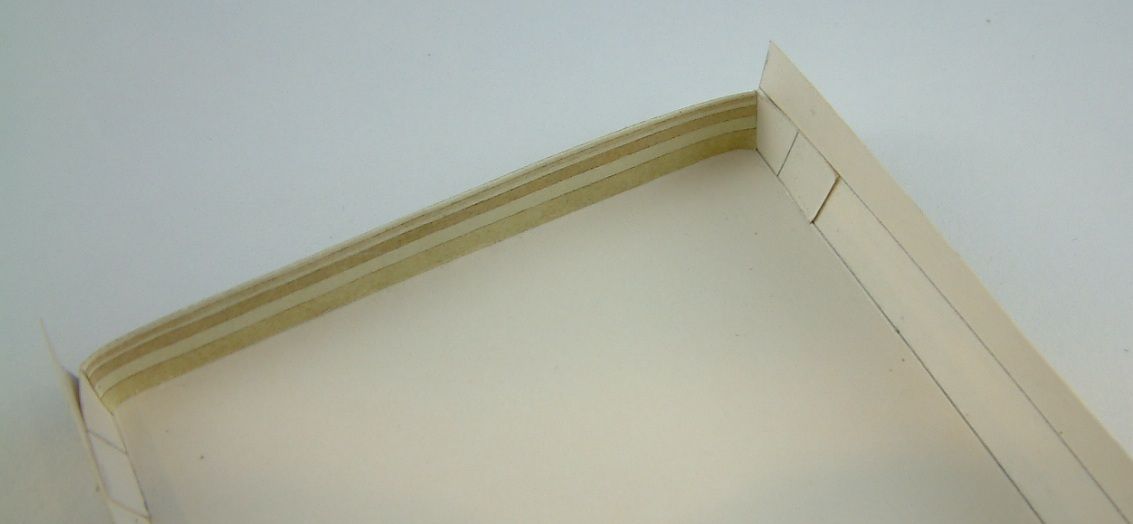
You should end up with strips of cardstock that look like the picture below.
GLUE THE STRIPS OF CARDSTOCK TOGETHER
Now you can begin gluing the strips together. You can use the short peice or short page of one strip to attach it to a full page of another sheet. The only exception is if this short page is less than ½” as this amount is too short and your book may fall apart. If you don’t have at least a ½ “ piece, glue one full page to another full page.
OTHER THINGS TO NOTE:
When you are gluing one strip to another you may need to change the direction of the folds in newly glued strip so that all the strips fold in the same direction.
Regardless of how many strips you glue together, when you are finished attaching all of the strips, you must end up with a full page on each end (cutoff the excess short page).
You must be able to glue the page at each end flat against the inside of each cover. This means you may need to cutoff a full page at one of the ends (see the images in the next step).
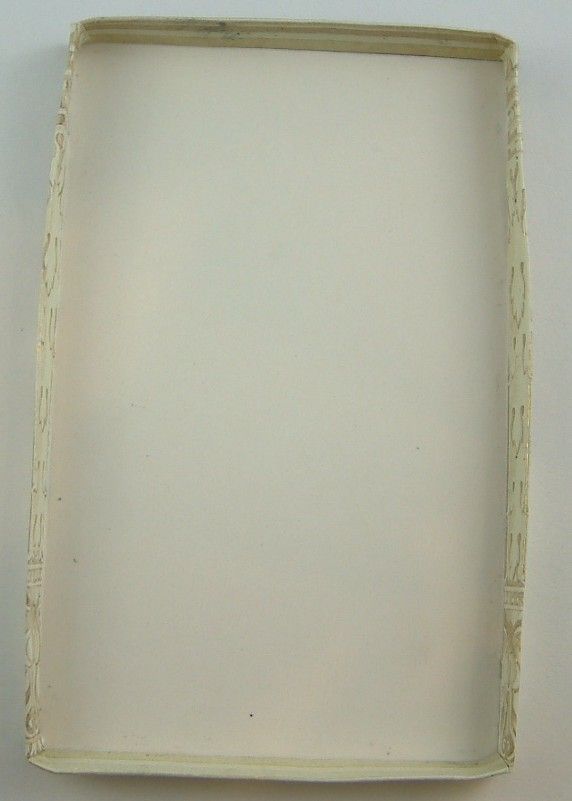
ATTACH THE PAGES TO THE COVERS
Glue one end of the accordion folded pages to the inside front cover of the book. The page should be ¼” smaller than the cover (see the placement in the picture below). Press firmly. Glue the other end of the accordion folded pages to the inside back cover of the book. Press firmly.
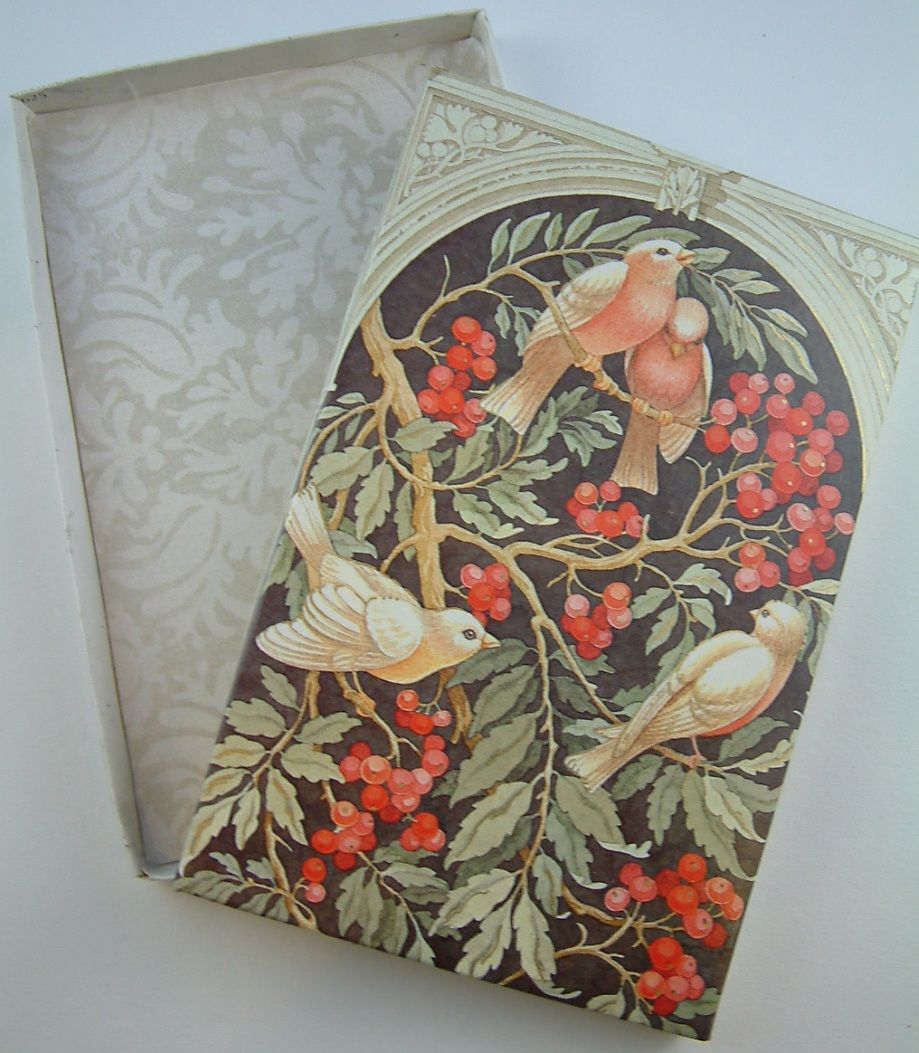
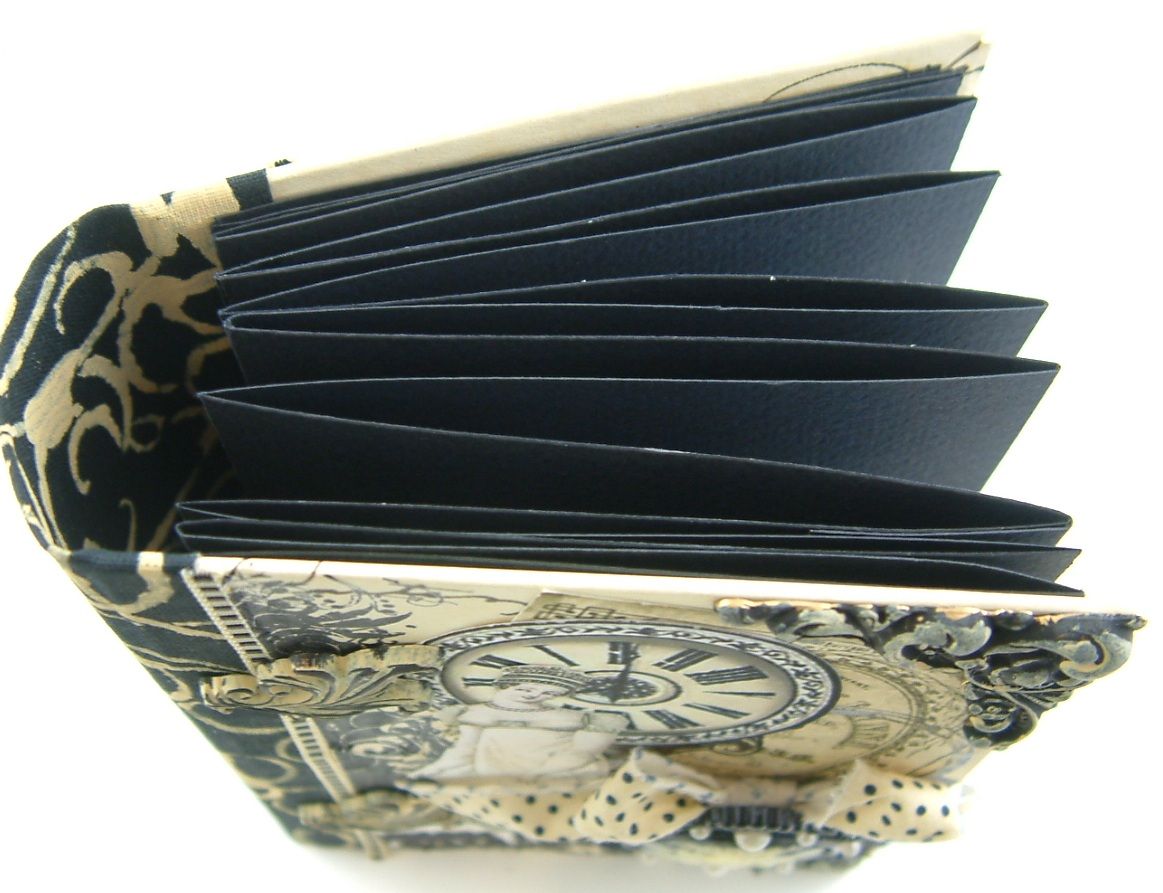
You’re done assembling your book!
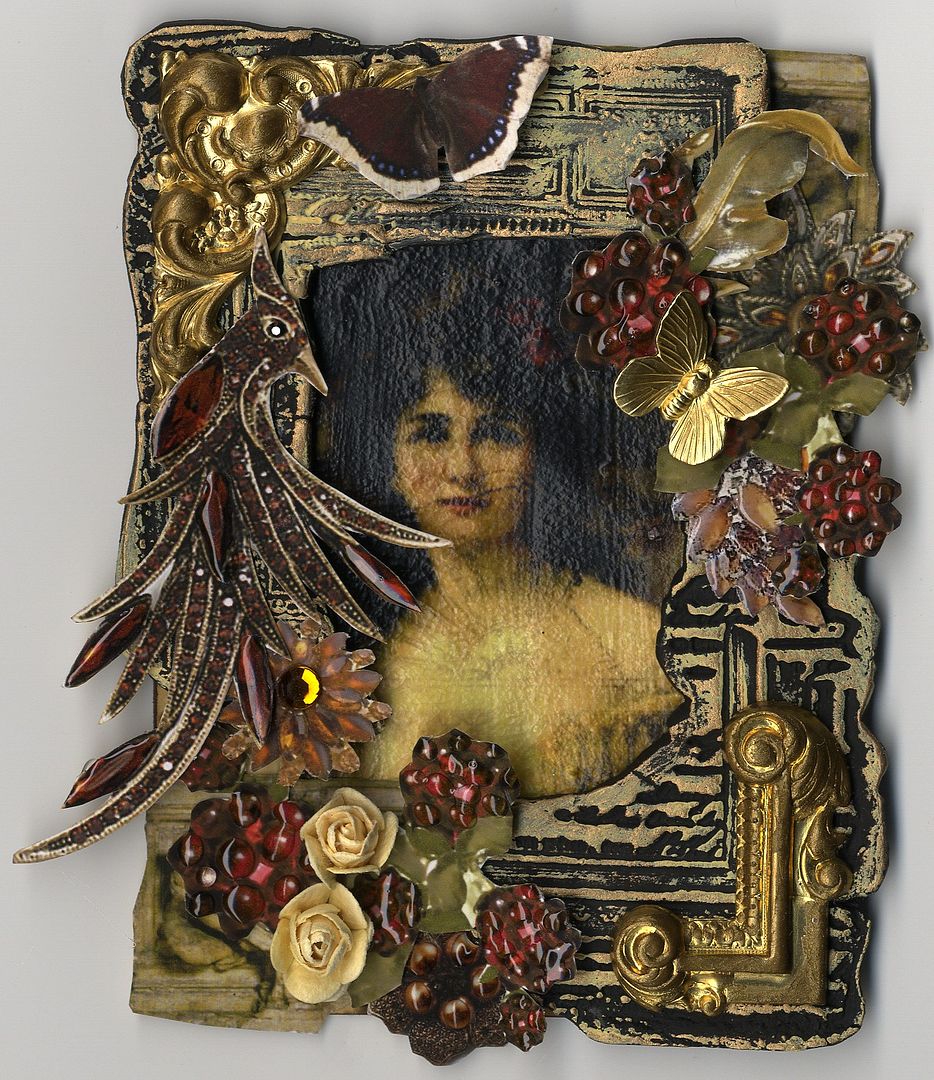
DECORATING THE COVERS
You may wish to decorate your covers. My advice is to collage or decorate the covers with paper, rub-ons, ribbon, and flat embellishments before gluing the pages inside the covers. This way the covers can lay flat and it makes it easy to glue and press. Add dimensional embellishments after the book is completely assembled as they will get in the way of the assembly.
What you will need:
Chipboard – Medium weight or glue together two pieces of light weight chipboard
Decorative paper for the covers
Cardstock
Embellishments (for the covers)
Glue (do not use a glue that dries stiff like Glossy Accents)
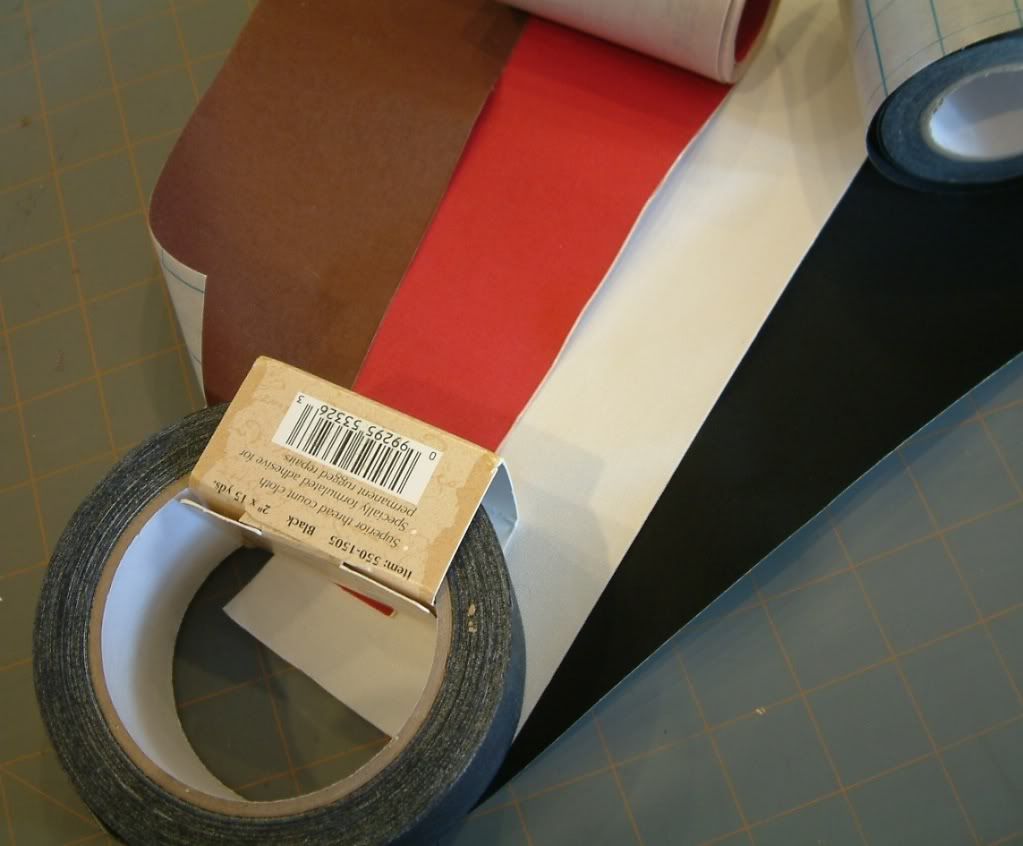
Bookbinding Tape or Cloth (used for the spine) – Bookbinding cloth material is available as a tape or in a sheet. You may also see it referred to as gaffer’s tape, cloth tape, linen tape or book repair tape. The tape cloth is usually self-adhesive. The sheets of cloth can be self-adhesive or they may require you to add glue. If you purchase sheets of cloth that are not self-adhesive, make sure they are paper backed and made for bookbinding. If you use cloth that is not paper backed the glue will soak through the cloth. Both the tape and the sheets come in a variety of colors. The purpose of using cloth is because of its flexibility.