Next to creating art and
playing with art supplies (as in endlessly reorganizing them), I’m
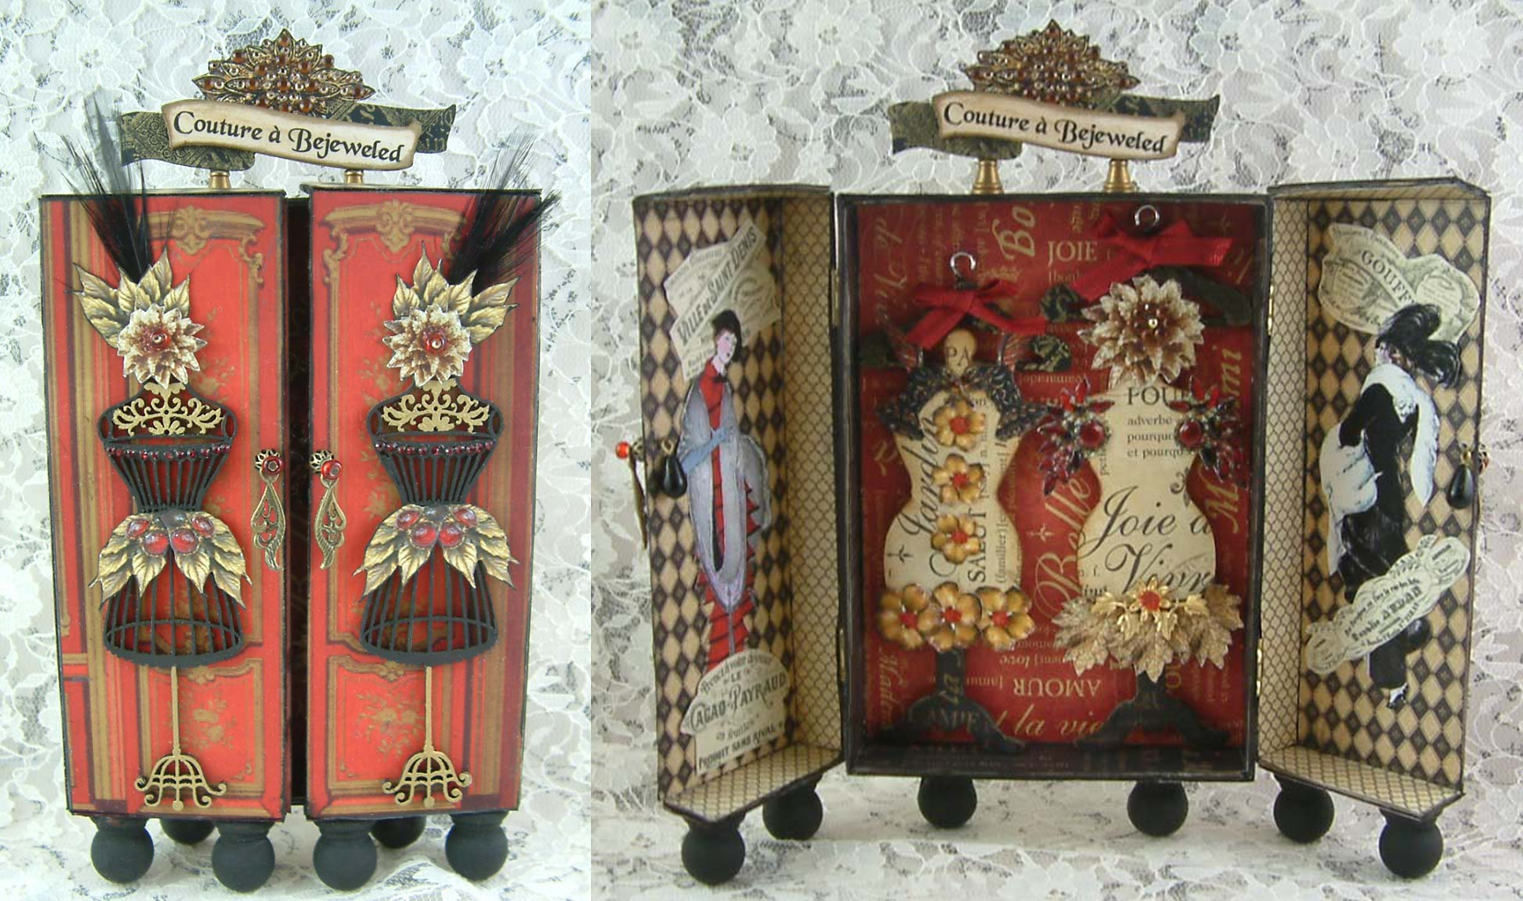
thinking the next best thing is to create something that displays your art. This Armoire made from a cigar box fits the
bill. If tags or postcards are your
thing then there is no reason why you can create an Armoire that accommodates them
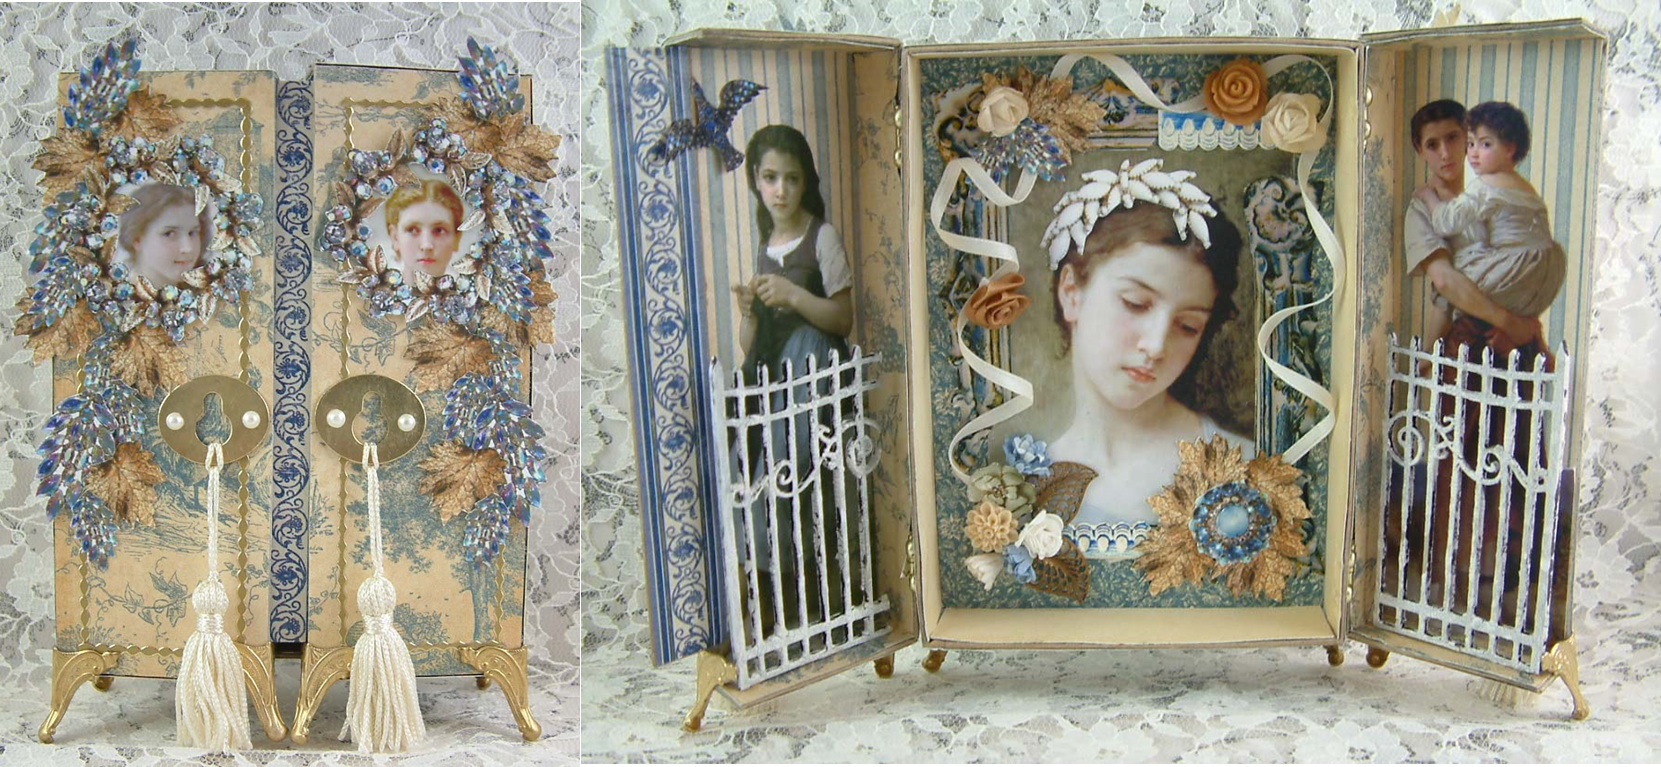
as well. Last month, I posted a regency
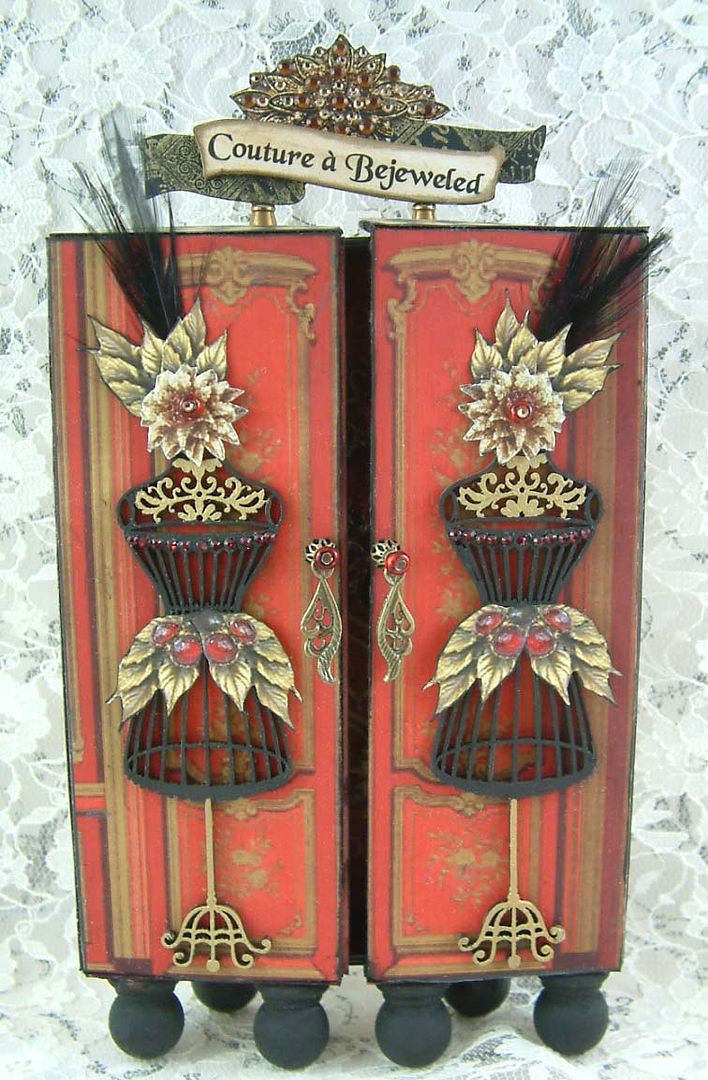
themed Armoire and now I have a new French themed sample for you to checkout.
Below is short video that walks though the
key supplies you’ll need for the project and the options to consider. I’m already busy filming the tutorial for the
project and hope to have it available to you the middle of April. So it’s time to decide on your theme, dig through your
stash, collect your supplies and get ready to create your
own Armoire.
Below are the links to the
various products I discussed in the video and links to products I used on each
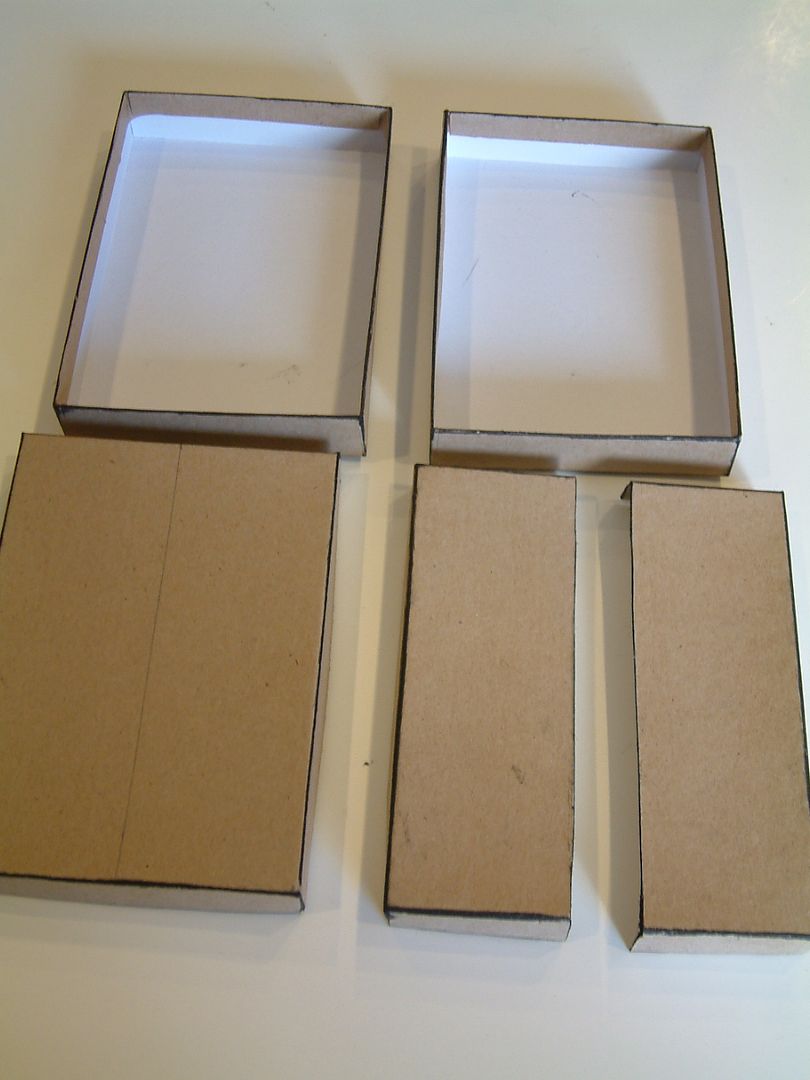
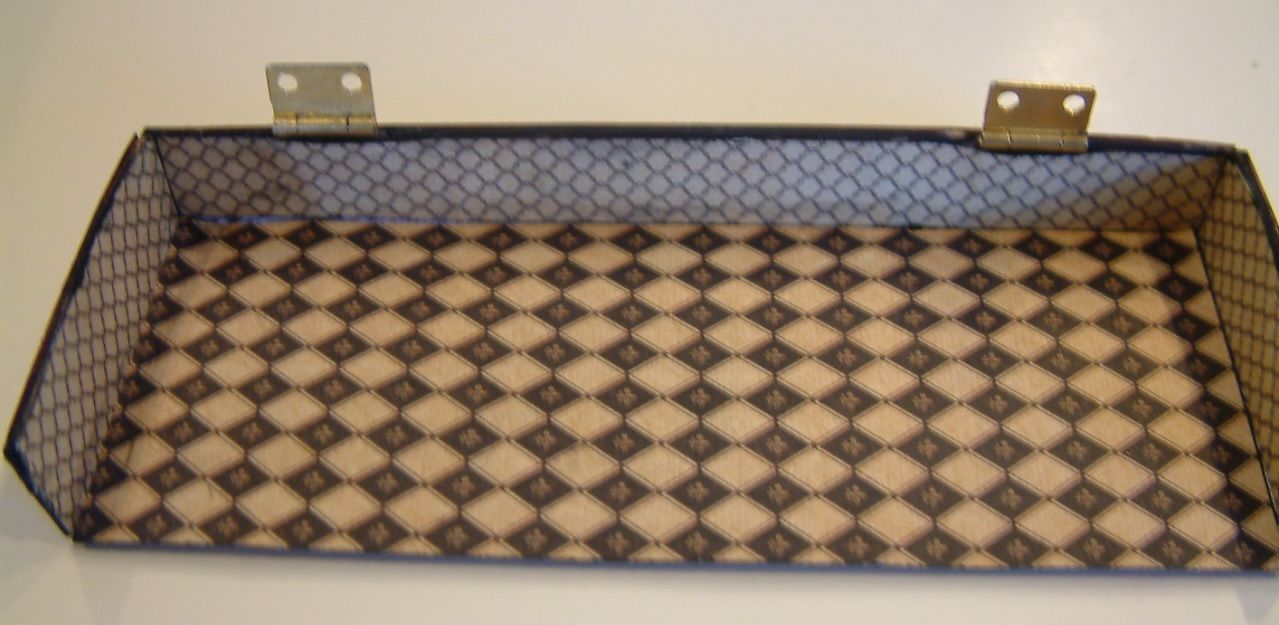
of the Armoires. You’ll note from the
video that based on the size of the box you find or build there are options for
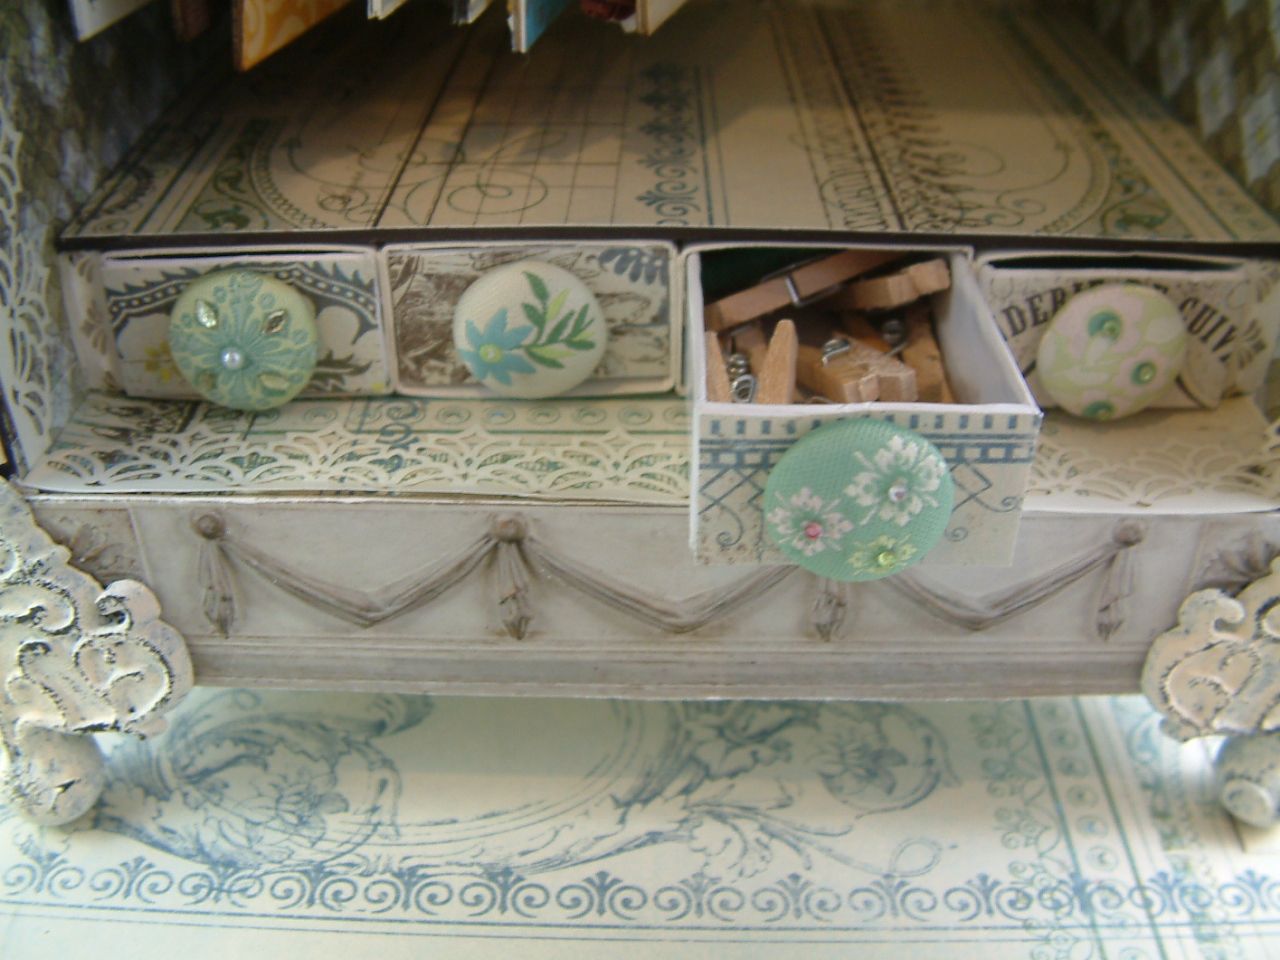
what you can include inside. In addition to
the rod for hanging art you can add matchboxes, shelves or a panel. With this project there are so many surfaces
available to decorate on the inside and out.
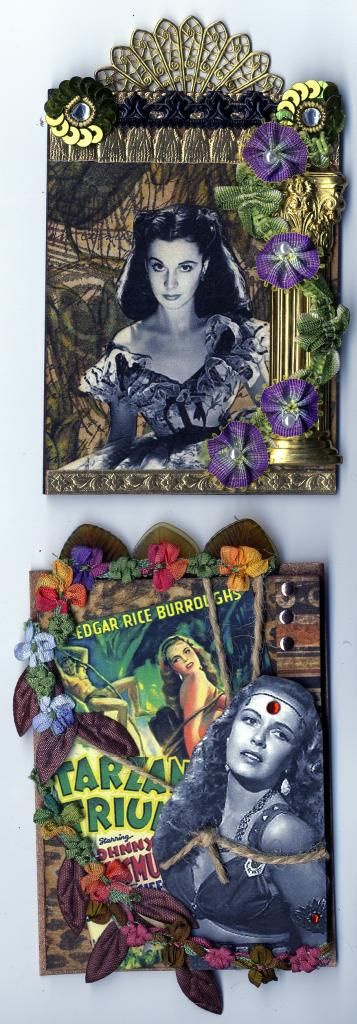
You could even hang your ATCs or Tags on the outside of the Armoire.
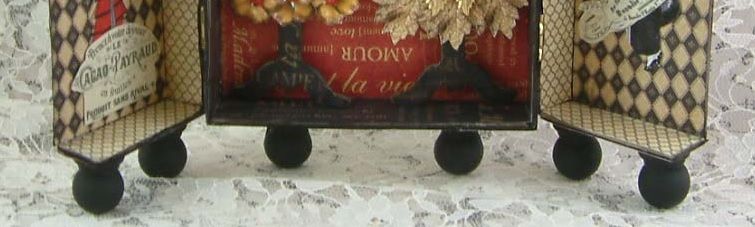
FEET OPTIONS:
Wooden
Knobs (could be used as feet or knobs)
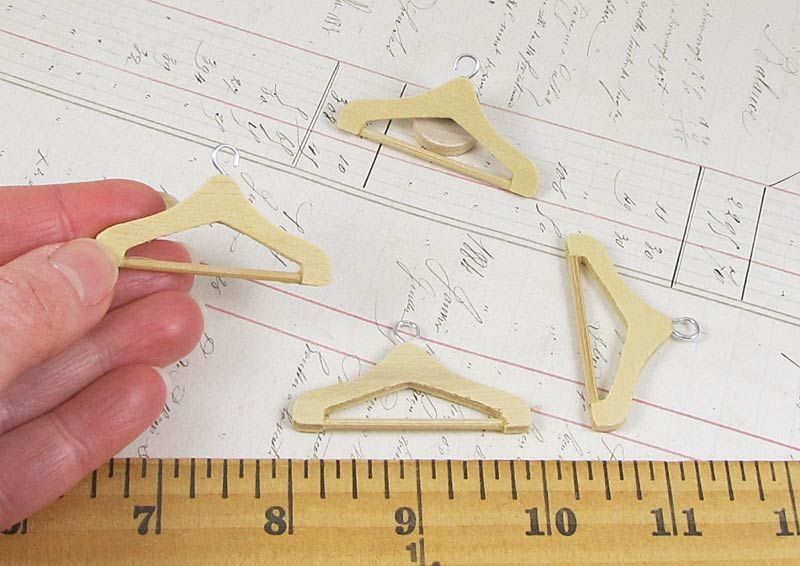
HANGERS & CLOTHES PINS:
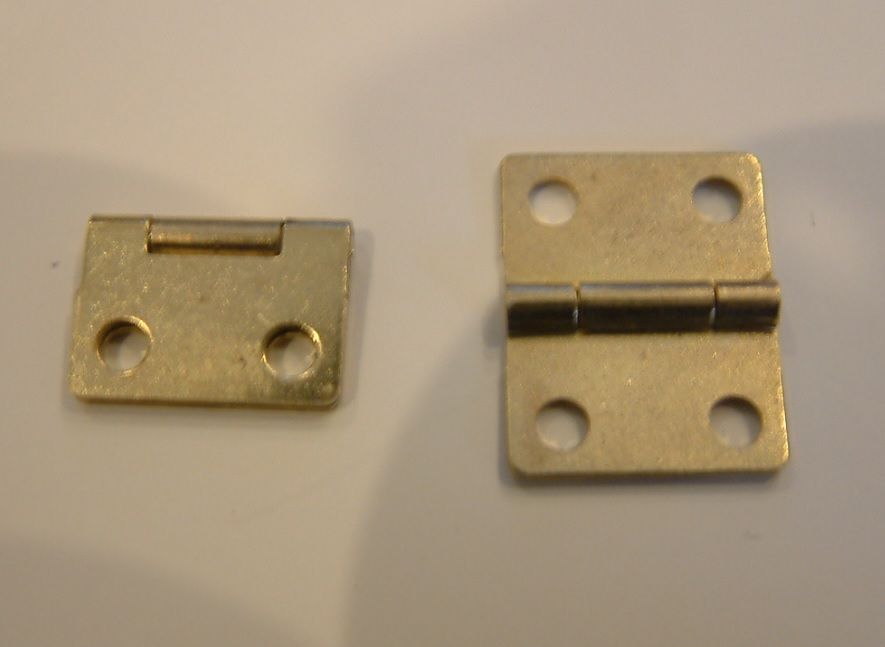
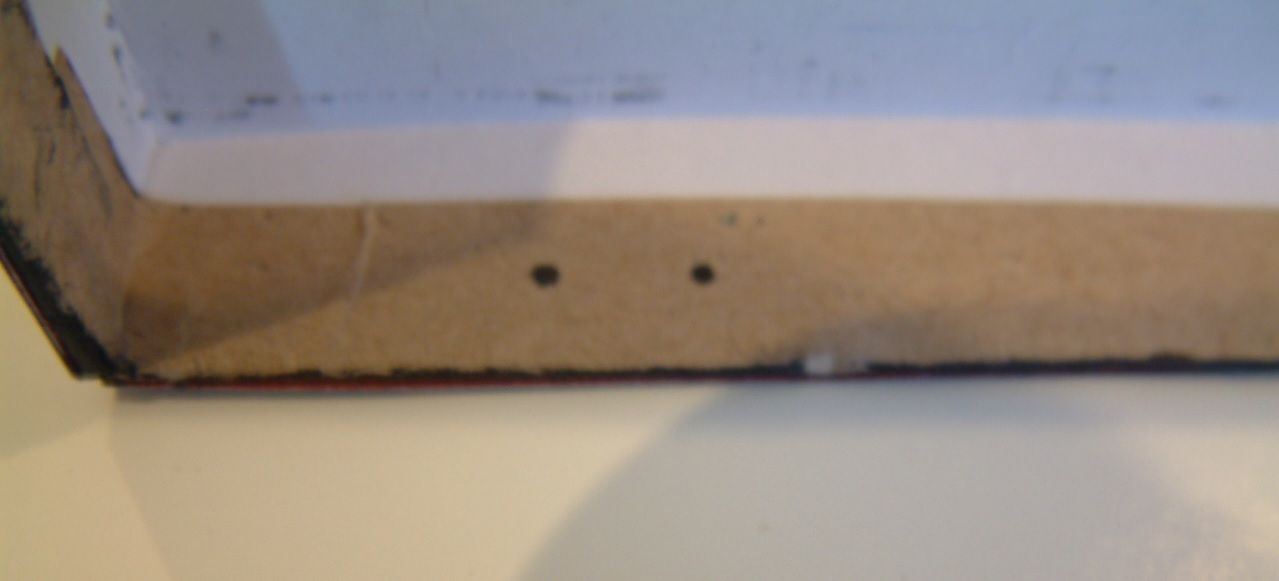
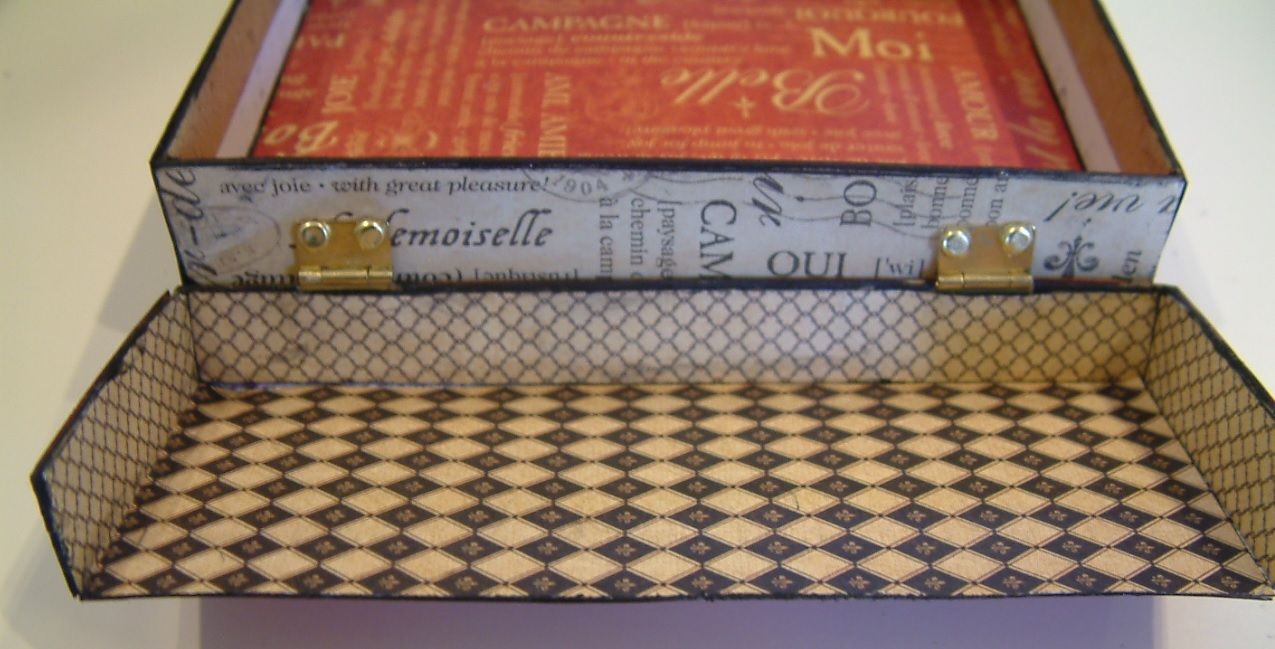
HINGES:
Tim Holtz Hinges – Available in
April
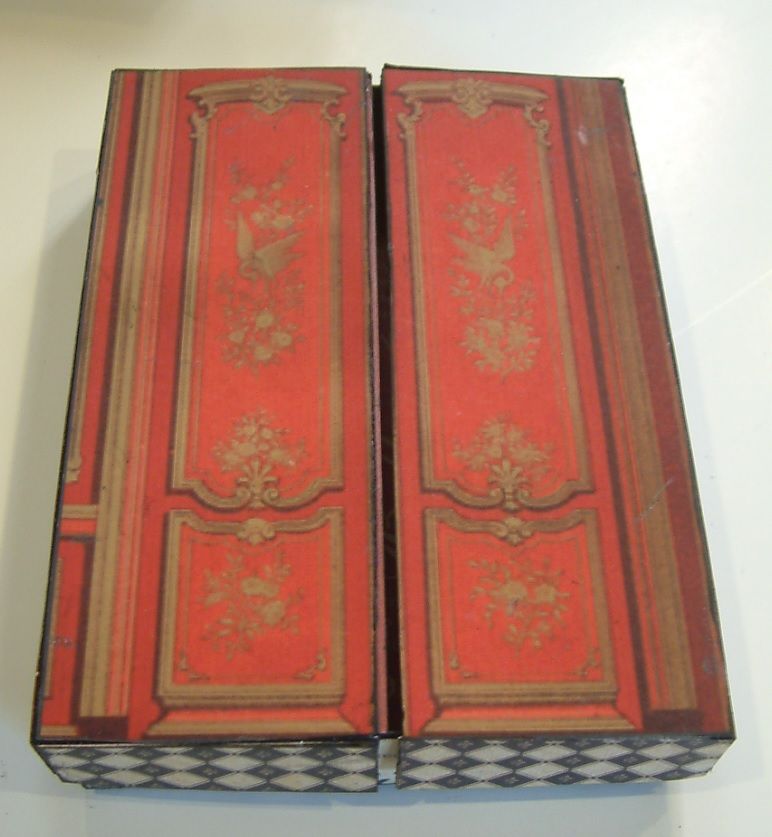
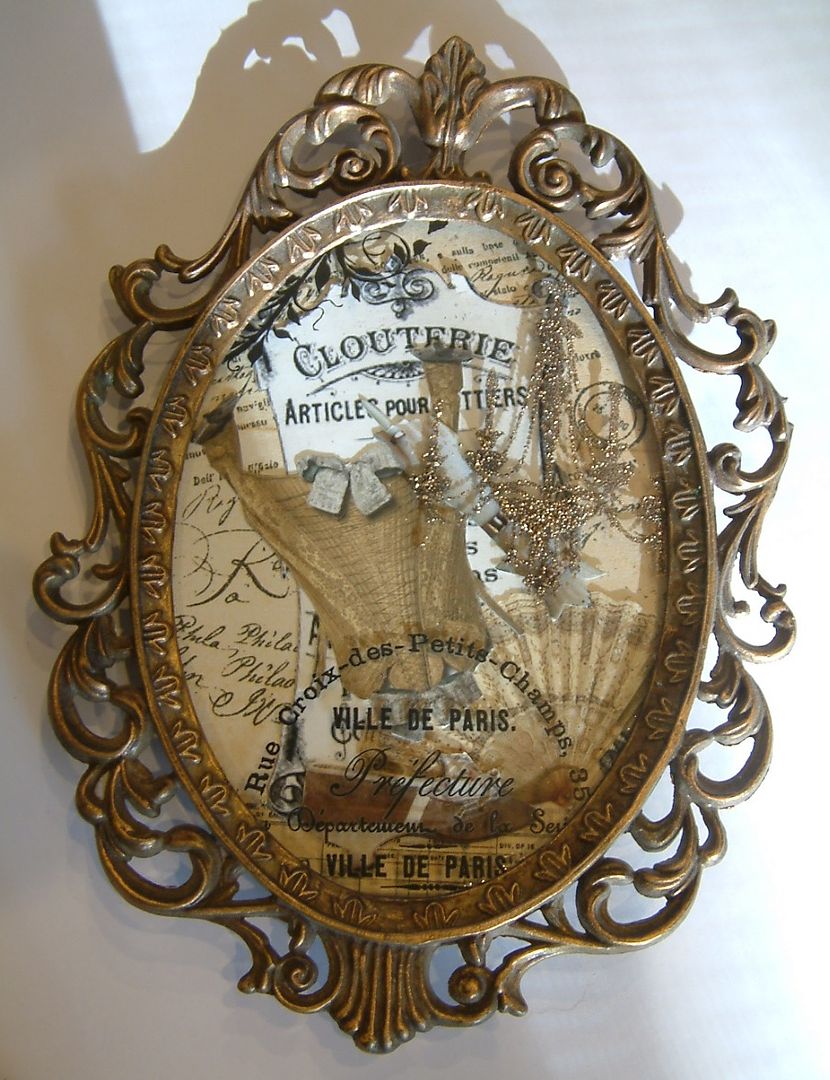
LARGER FRENCH STYLE ARMOIREPaper – Lyric 6x6 Paper Pad
Feet – Egg Cups
Hinges – Butterfly Hinges
Clock – Junkyard Findings Clock Faces
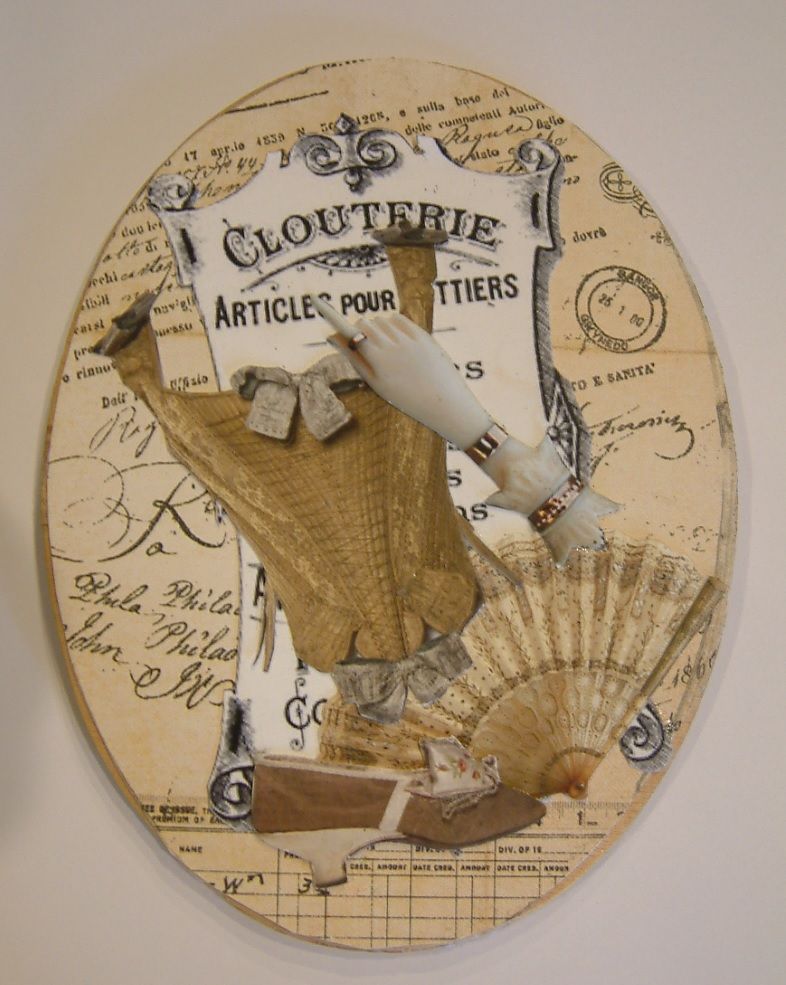
Used On the Door Panels Vintage French Ads Collage Sheet
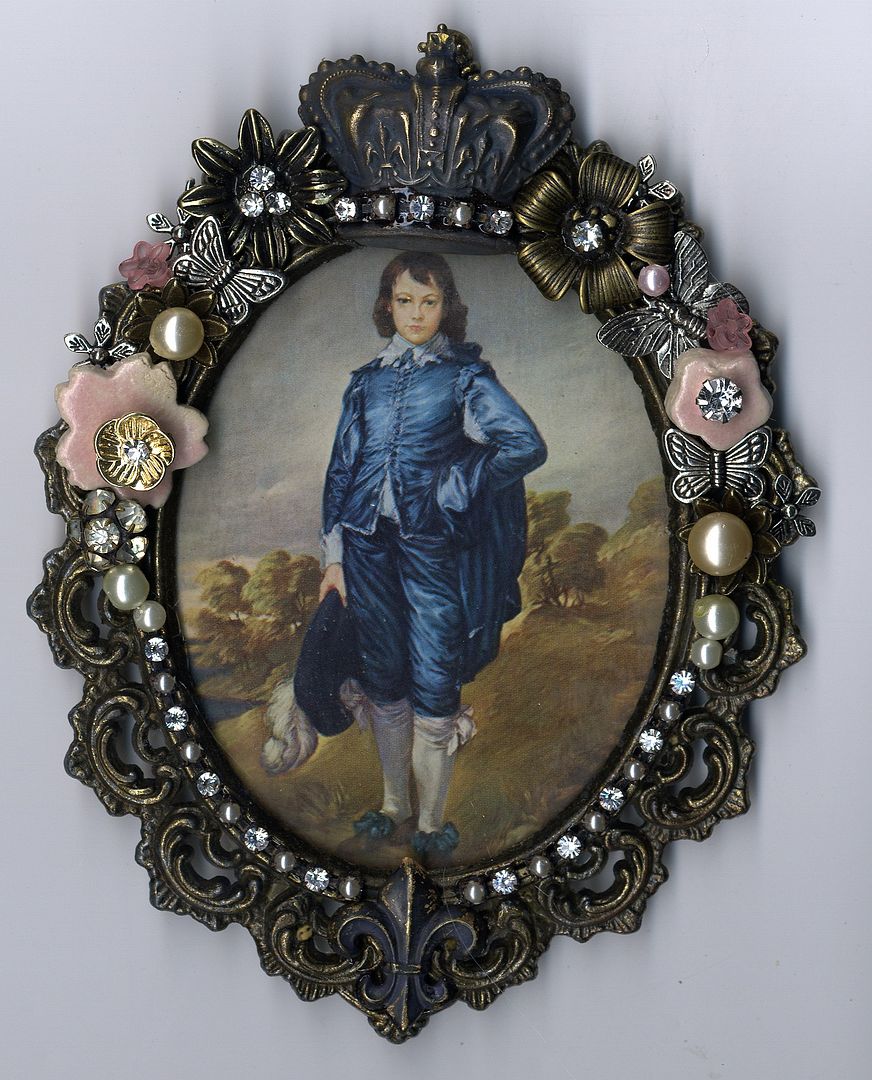
British Queens Collage Sheets
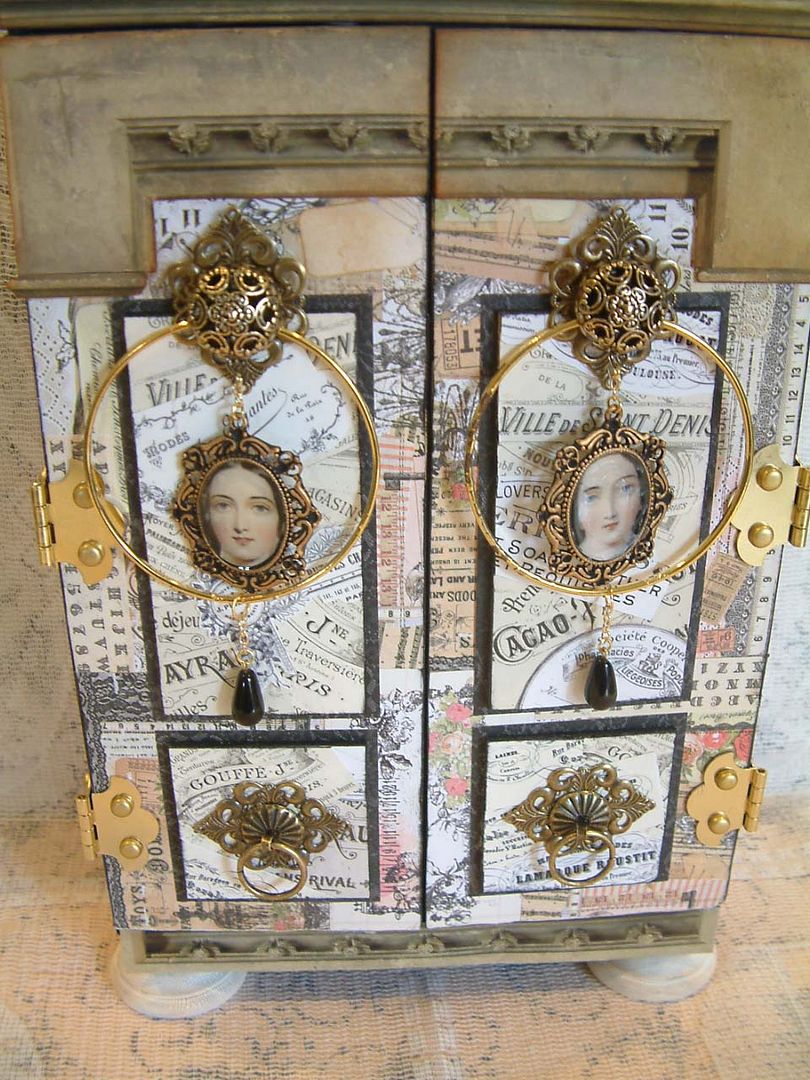
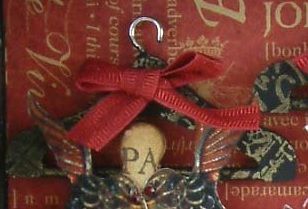
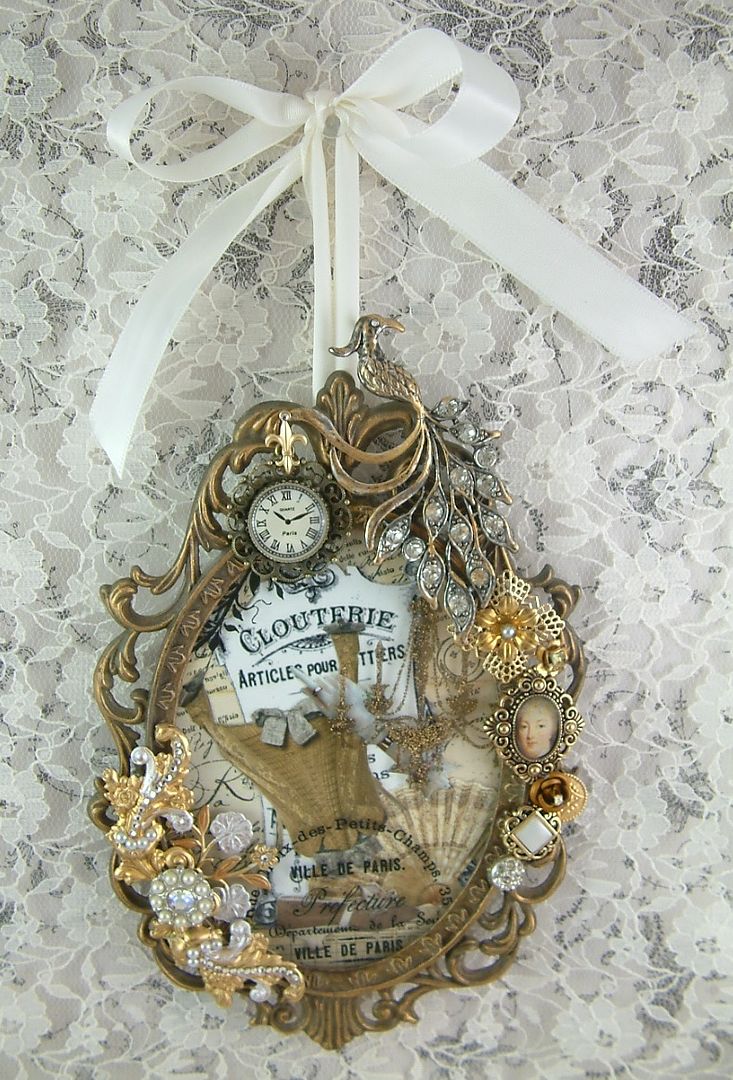
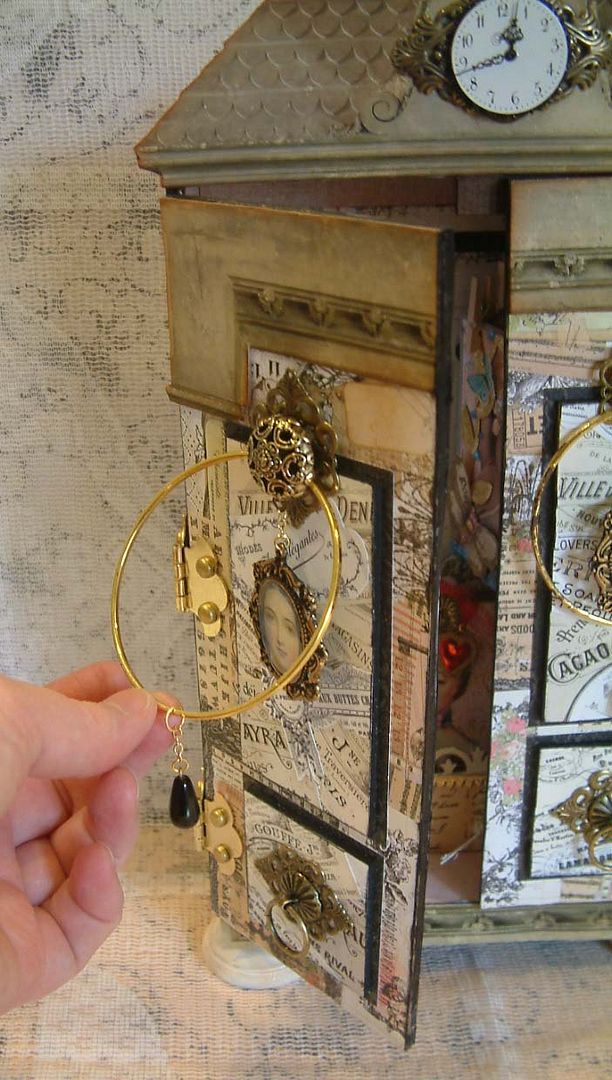
I used a gold bangle bracelet,
buttons, a fold over bail and filigree to create the pull. I demonstrate how to assemble it in the
tutorial.
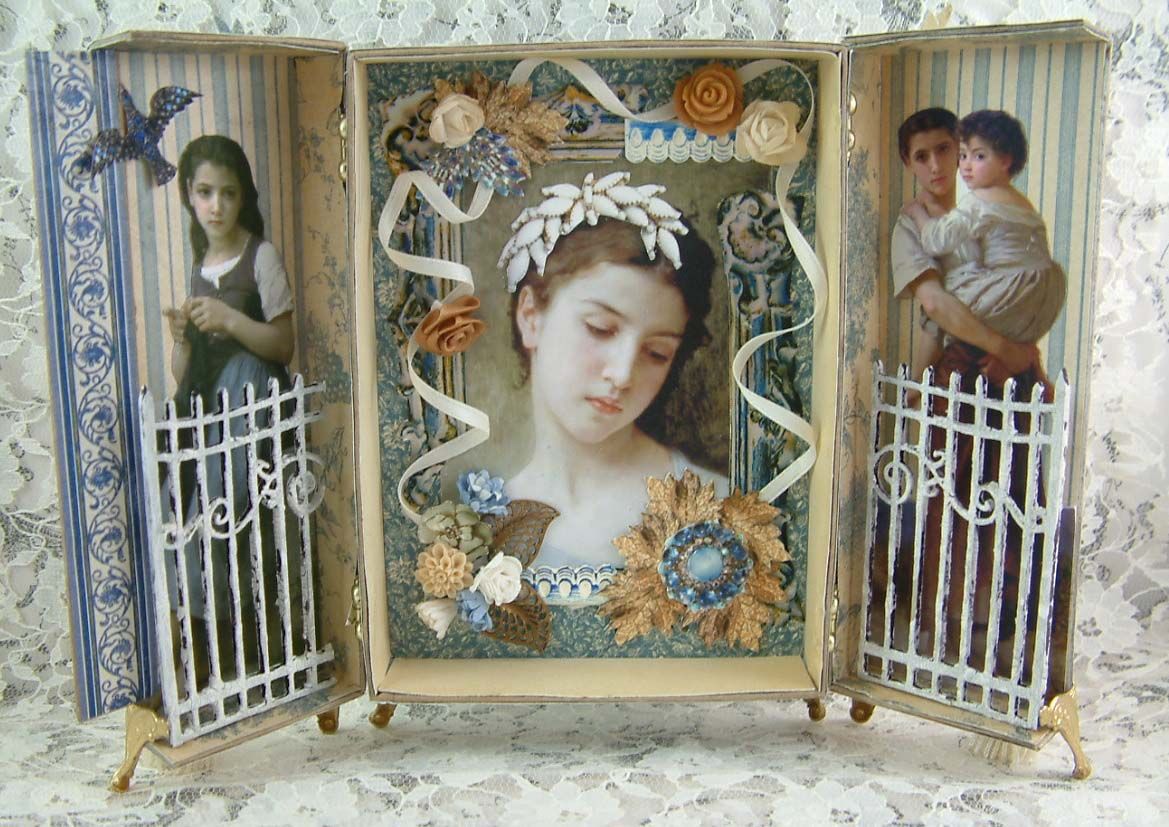
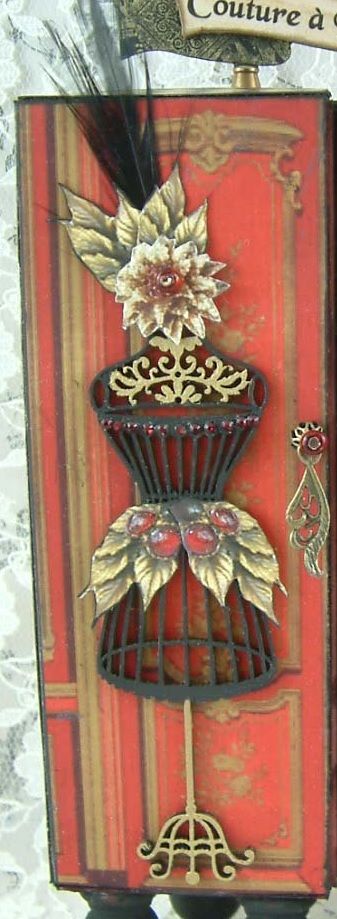
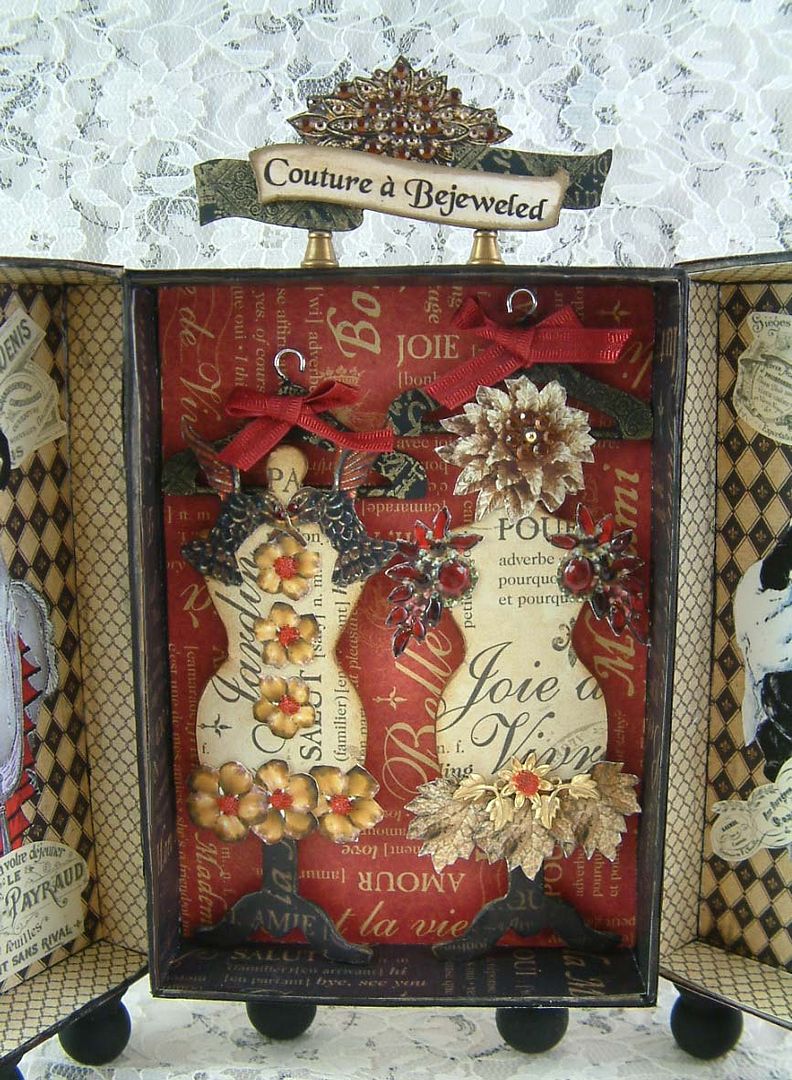
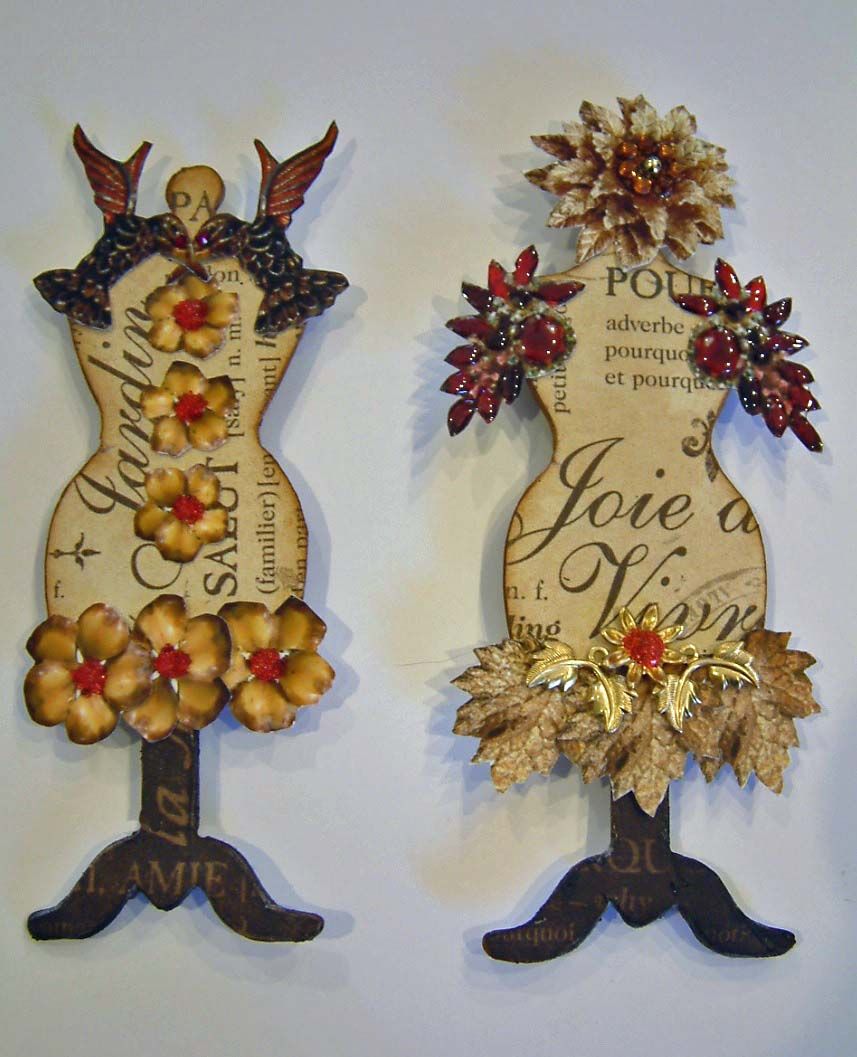
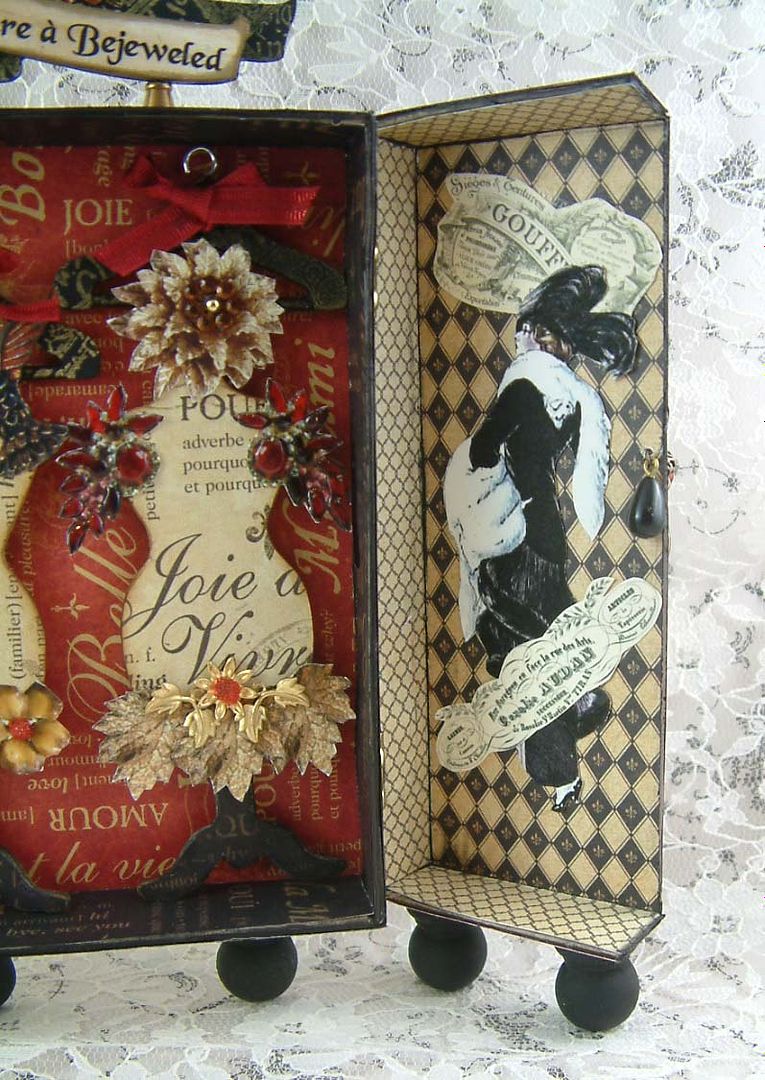
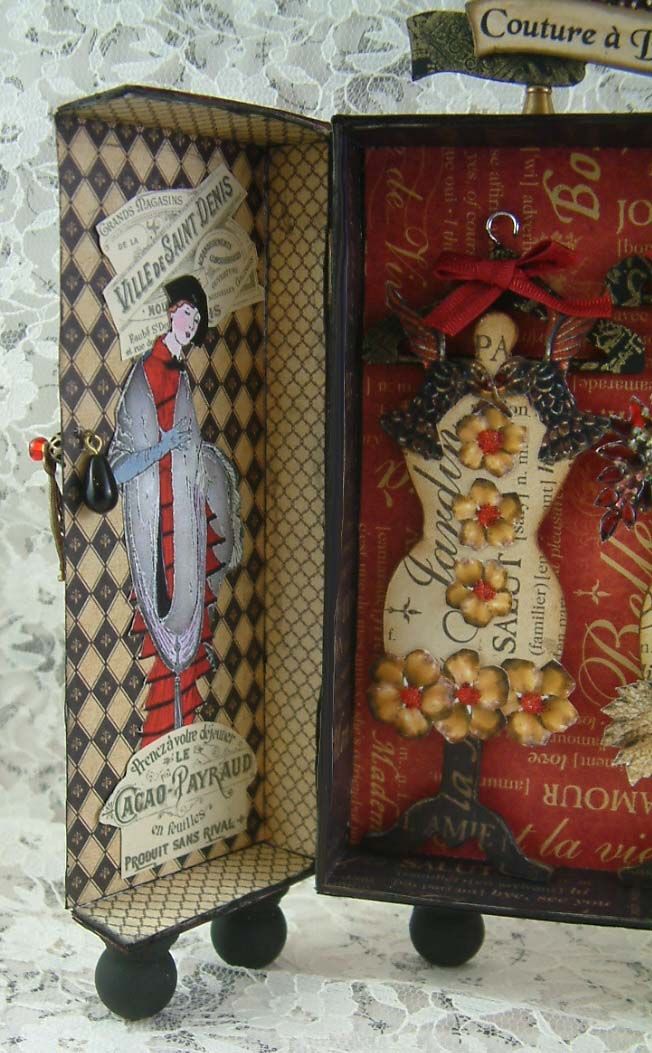
INSIDE
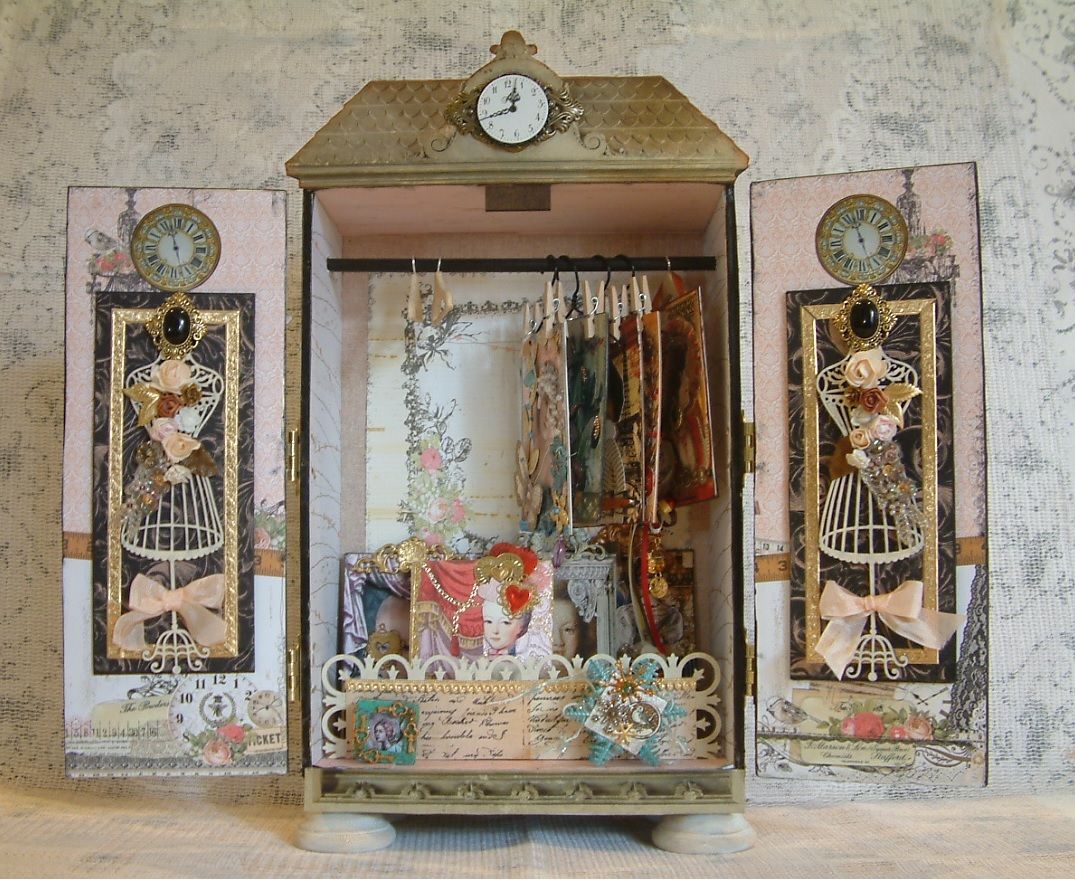
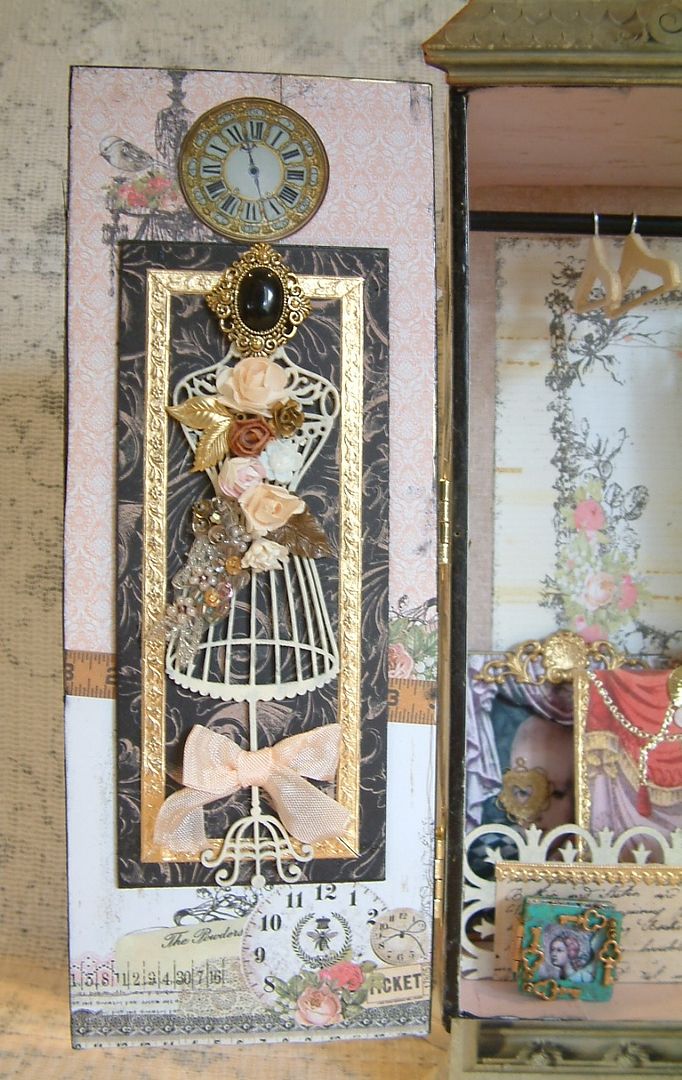

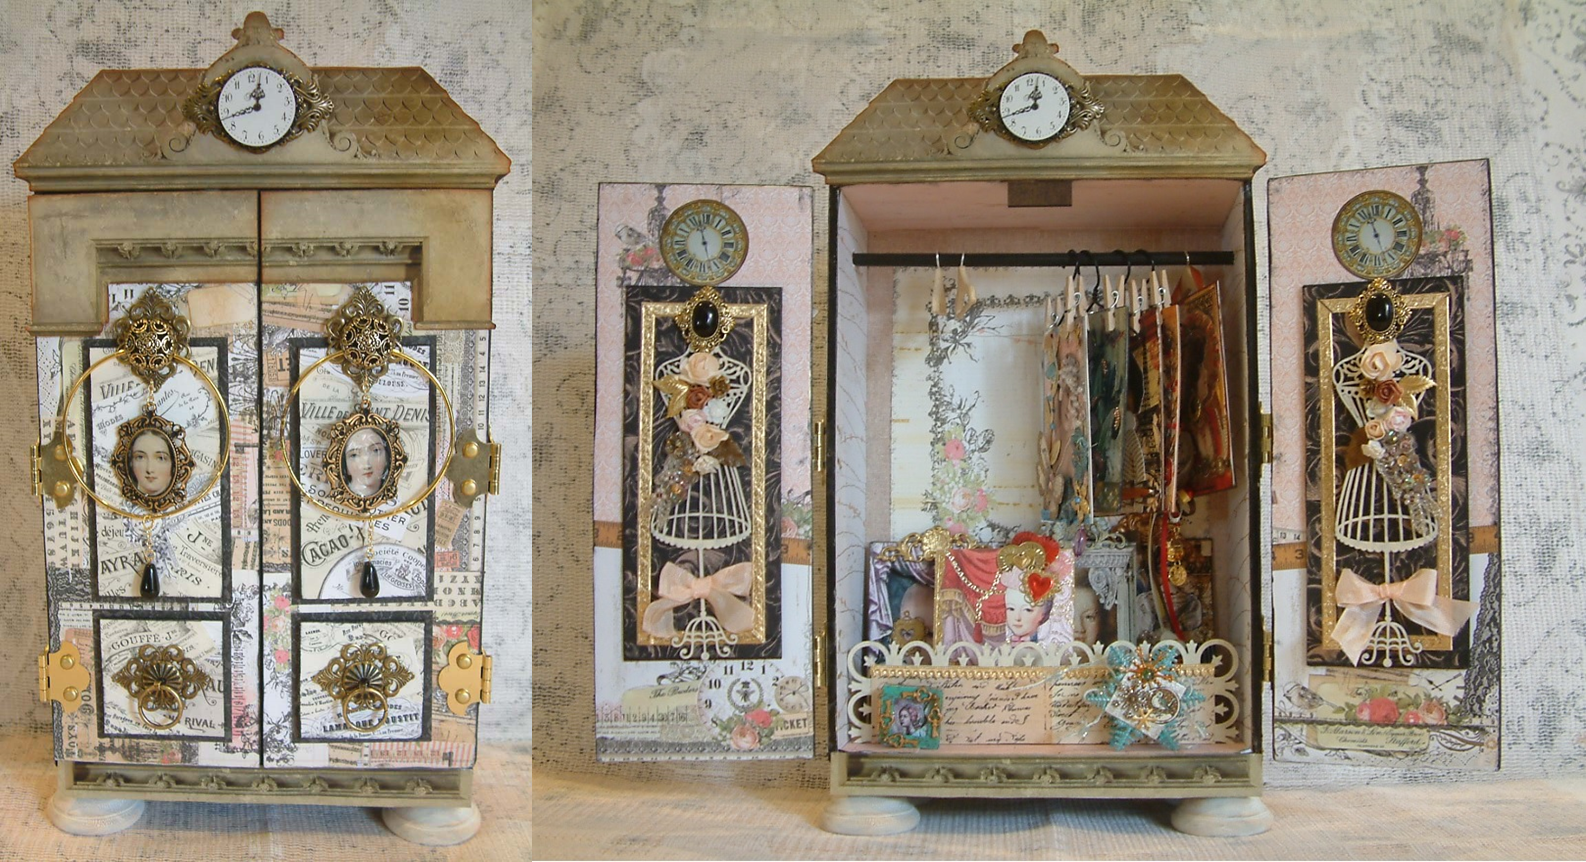
On the inside of the doors I’ve
decorated chipboard mannequins.
At the bottom I added a
decorative chipboard panel where I can display more ATCs. The area in front of the panel is large
enough to display small pieces.
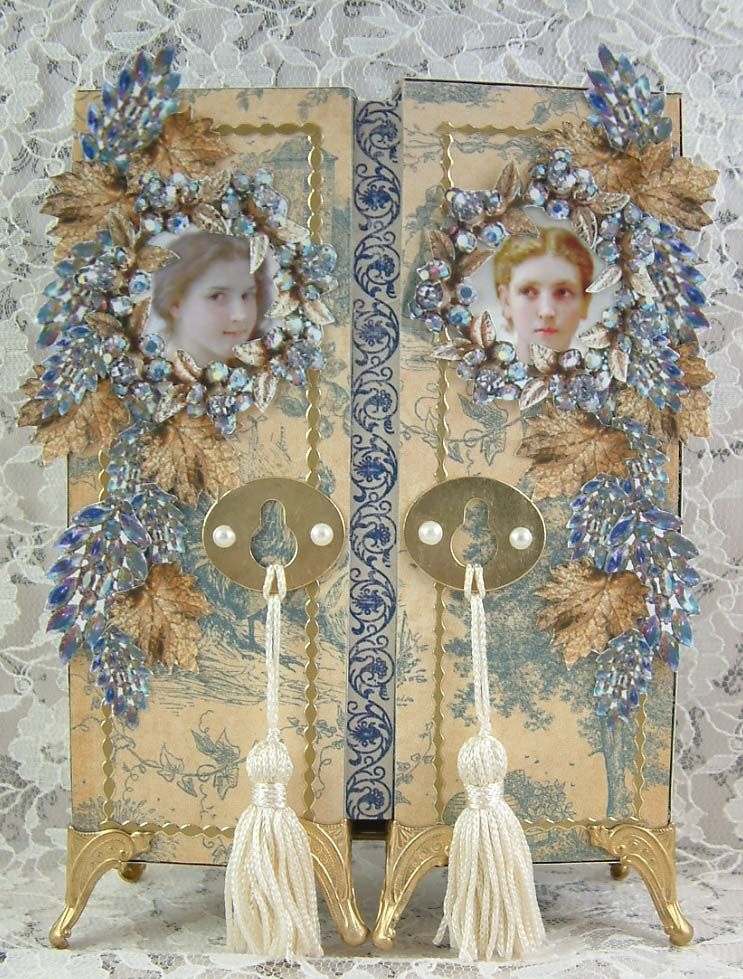
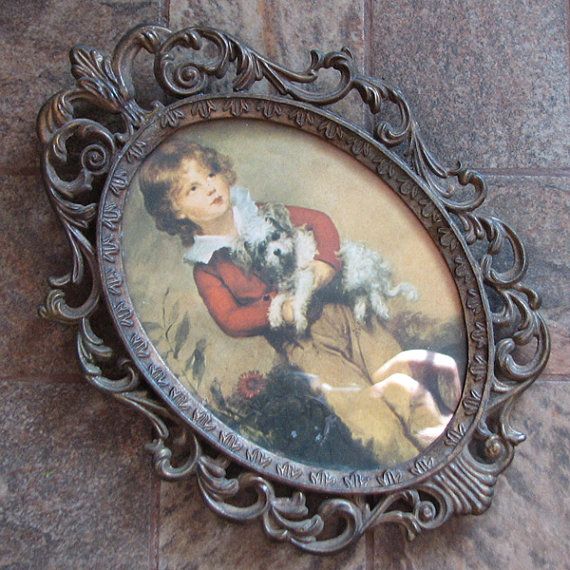
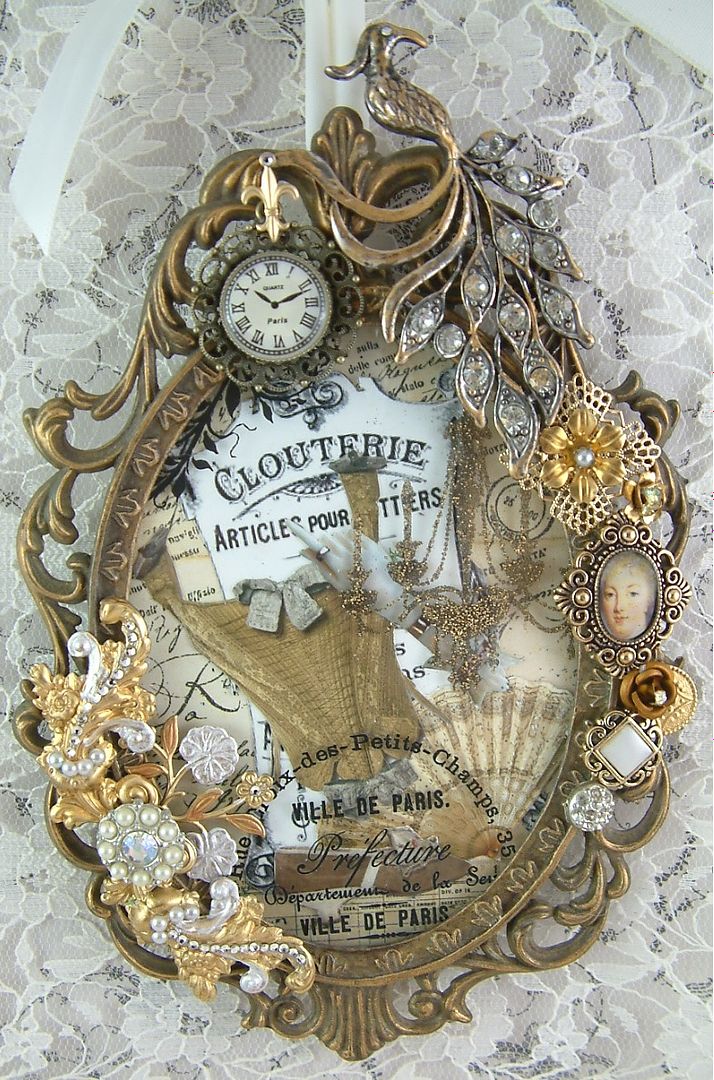
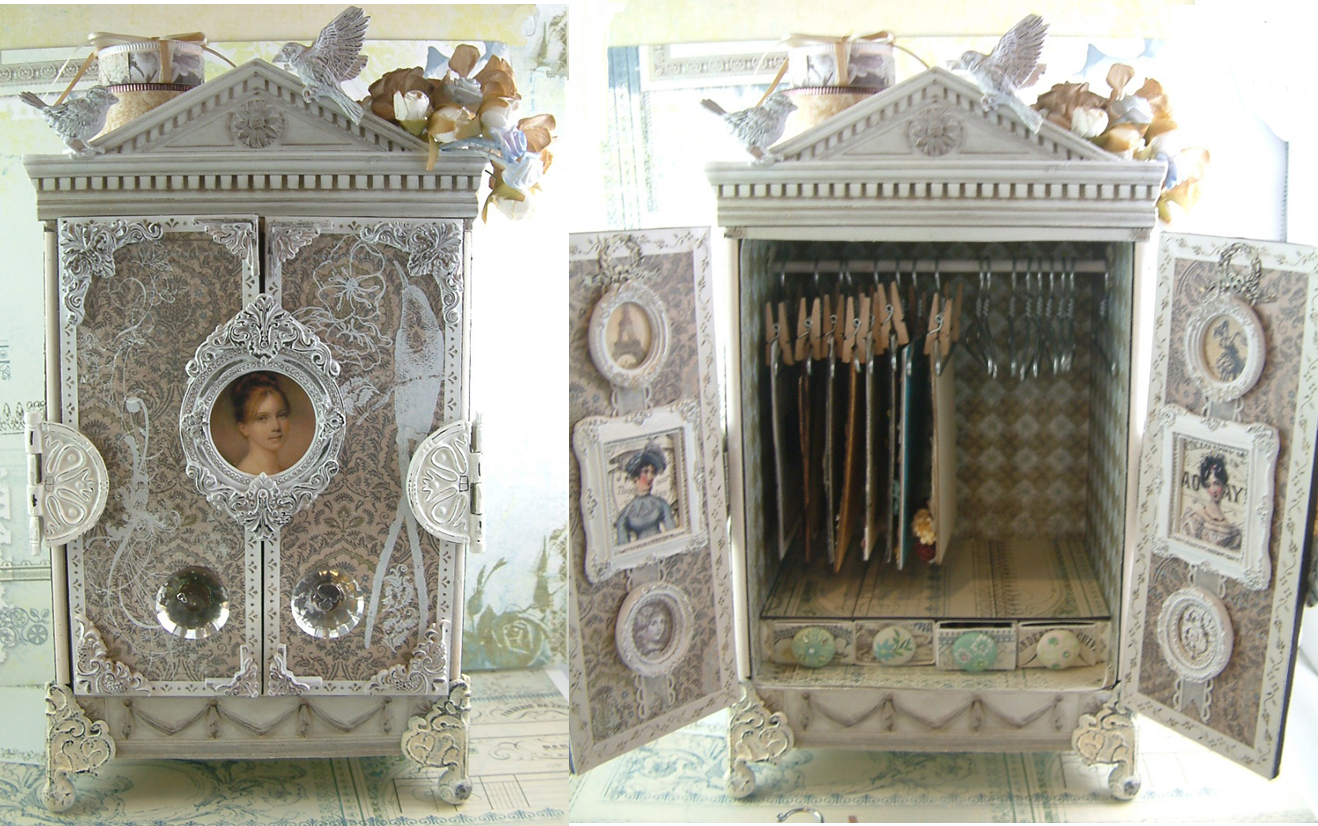
REGENCY STYLE ARMOIRE
Resin
Round Frame and Corners Set – On the front
Have
fun gathering your supplies!!!