-->

Welcome

I love answering your questions. If you ask them in the comment section, I have no way to answer you (if you haven't heard from me, that is why). If you use the "EMAIL ME" in the left column of this page, I will be able to respond to you. You can also use it if you want to be added to my newsletter. Laura
Showing posts with label At the Beach. Show all posts

Wednesday, August 3, 2016

SUMMER FUN - VINTAGE BATHING MACHINE

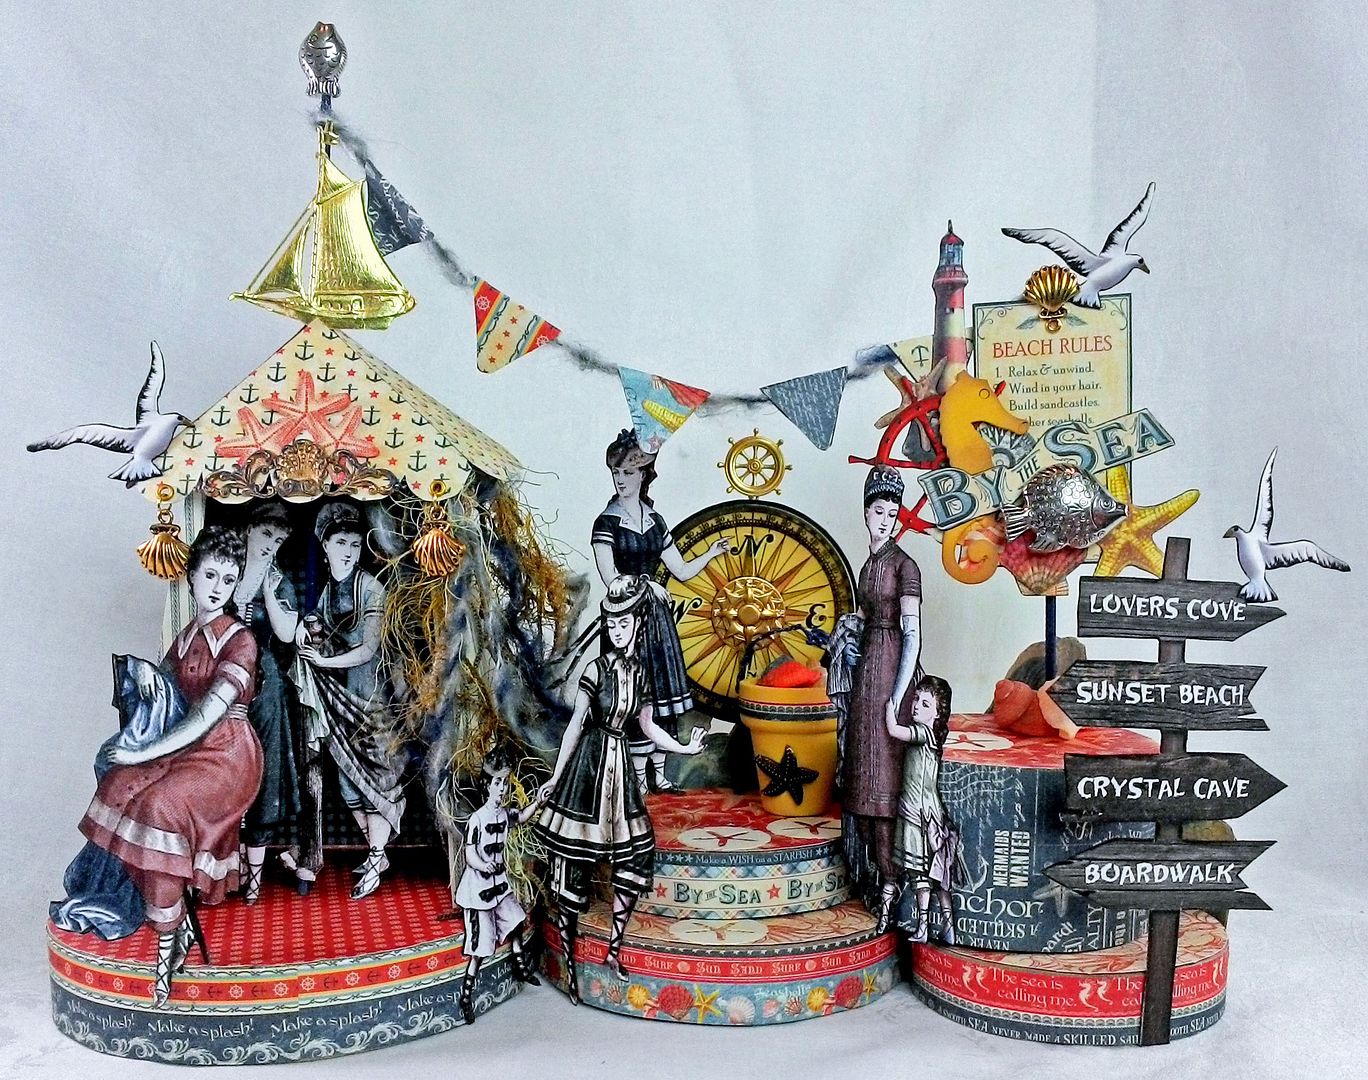
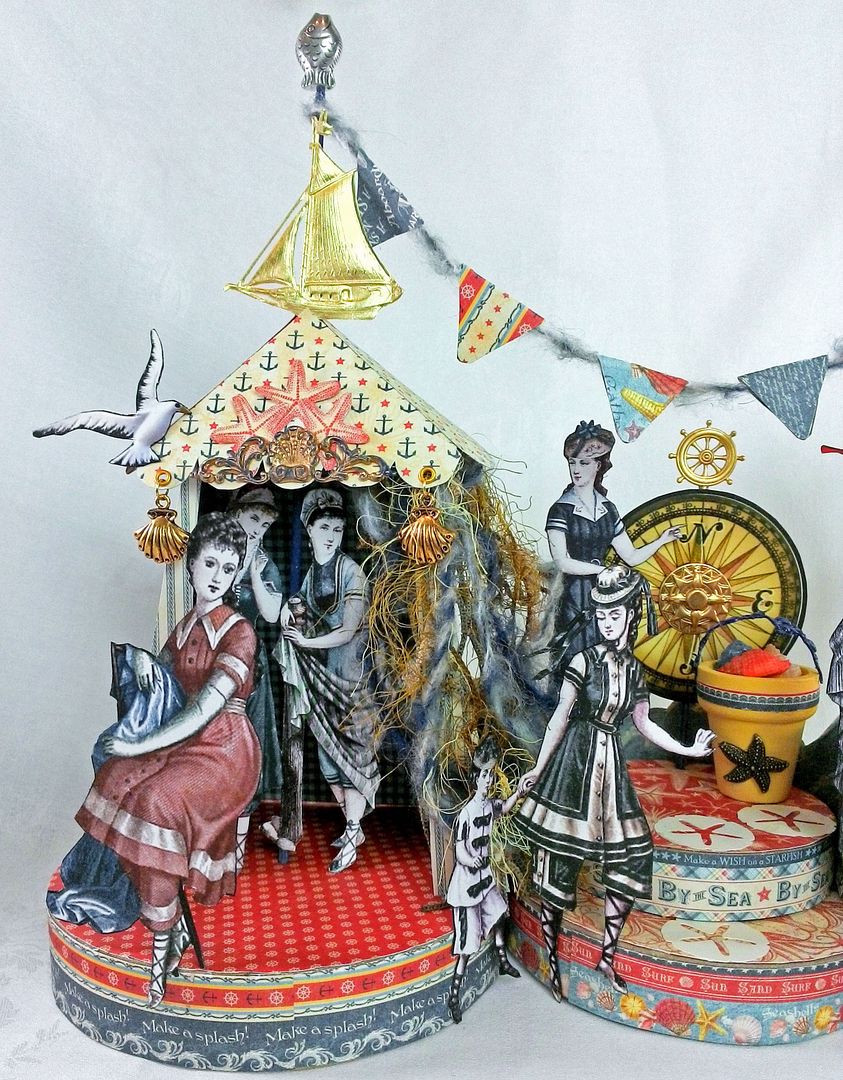
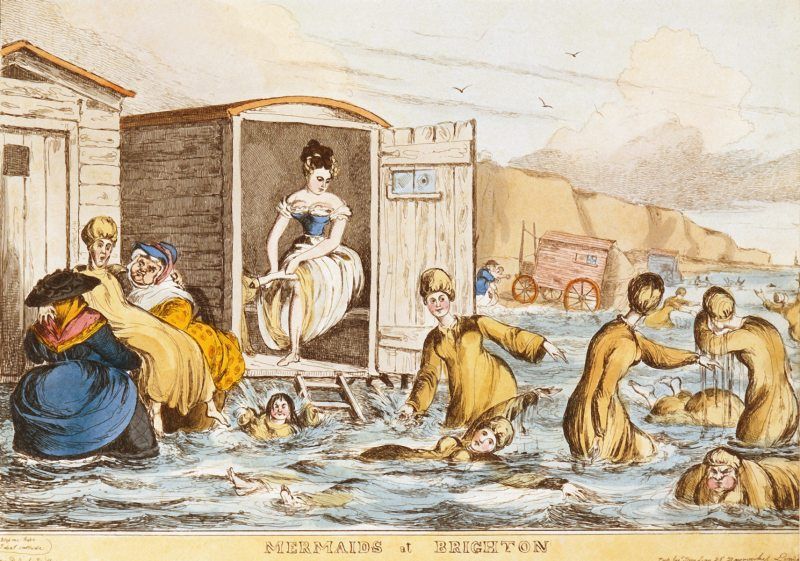
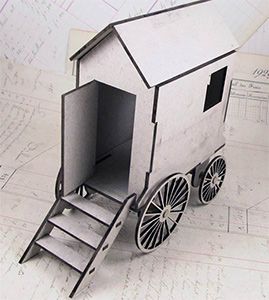
The bathing machine was a device popular in the 18th and 19th centuries that allowed people to change out of their usual clothes, change into swimwear, and wade in the ocean at beaches. They were roofed and walled wooden carts that were rolled into the sea, usually using horses. Some had solid wooden walls, while others had canvas walls over a wooden frame.
Women were segregated from men as it was quite scandalous for men to see women in their bathing suits.
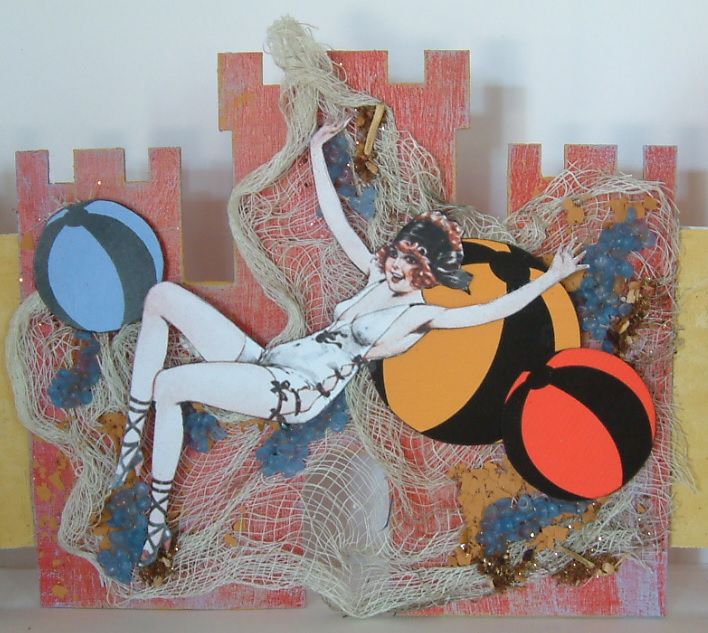
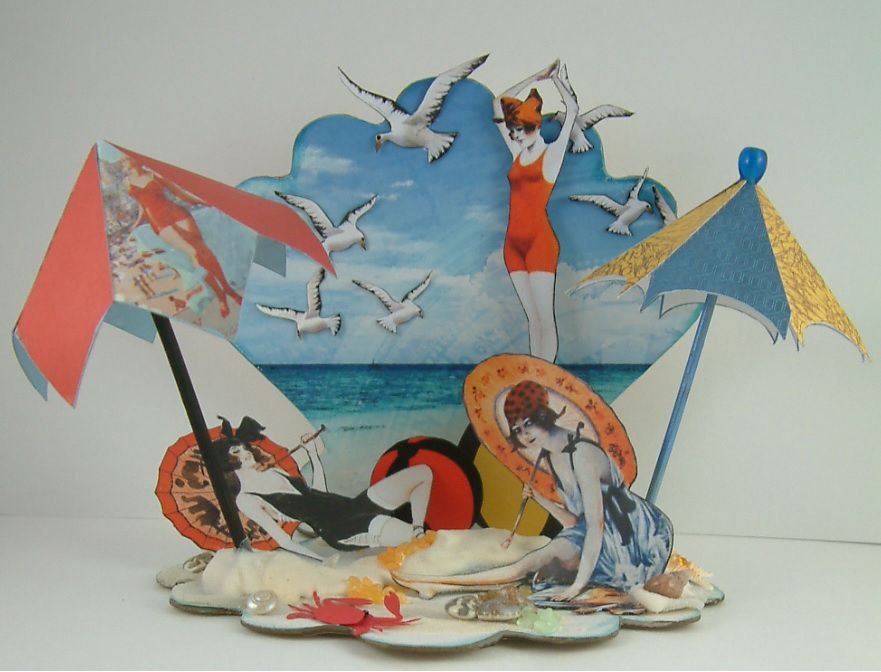
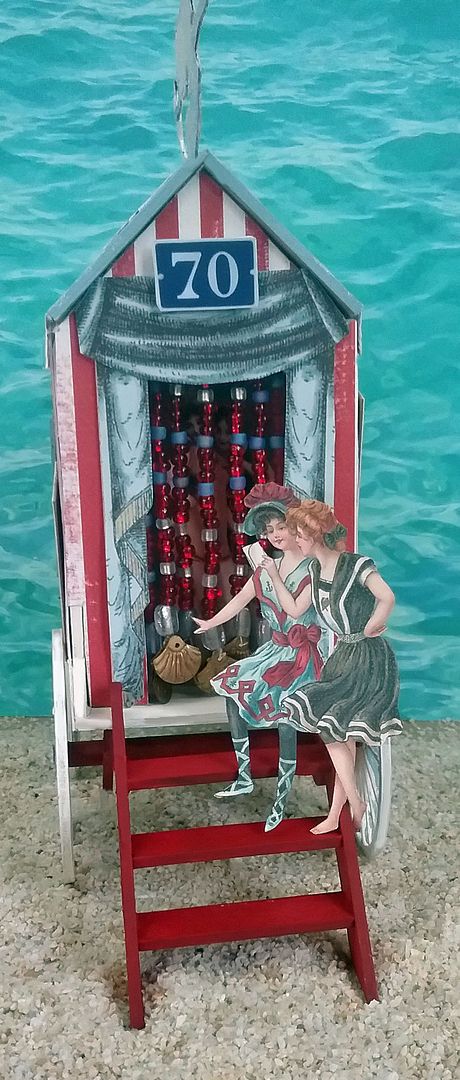
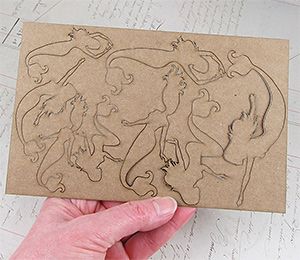
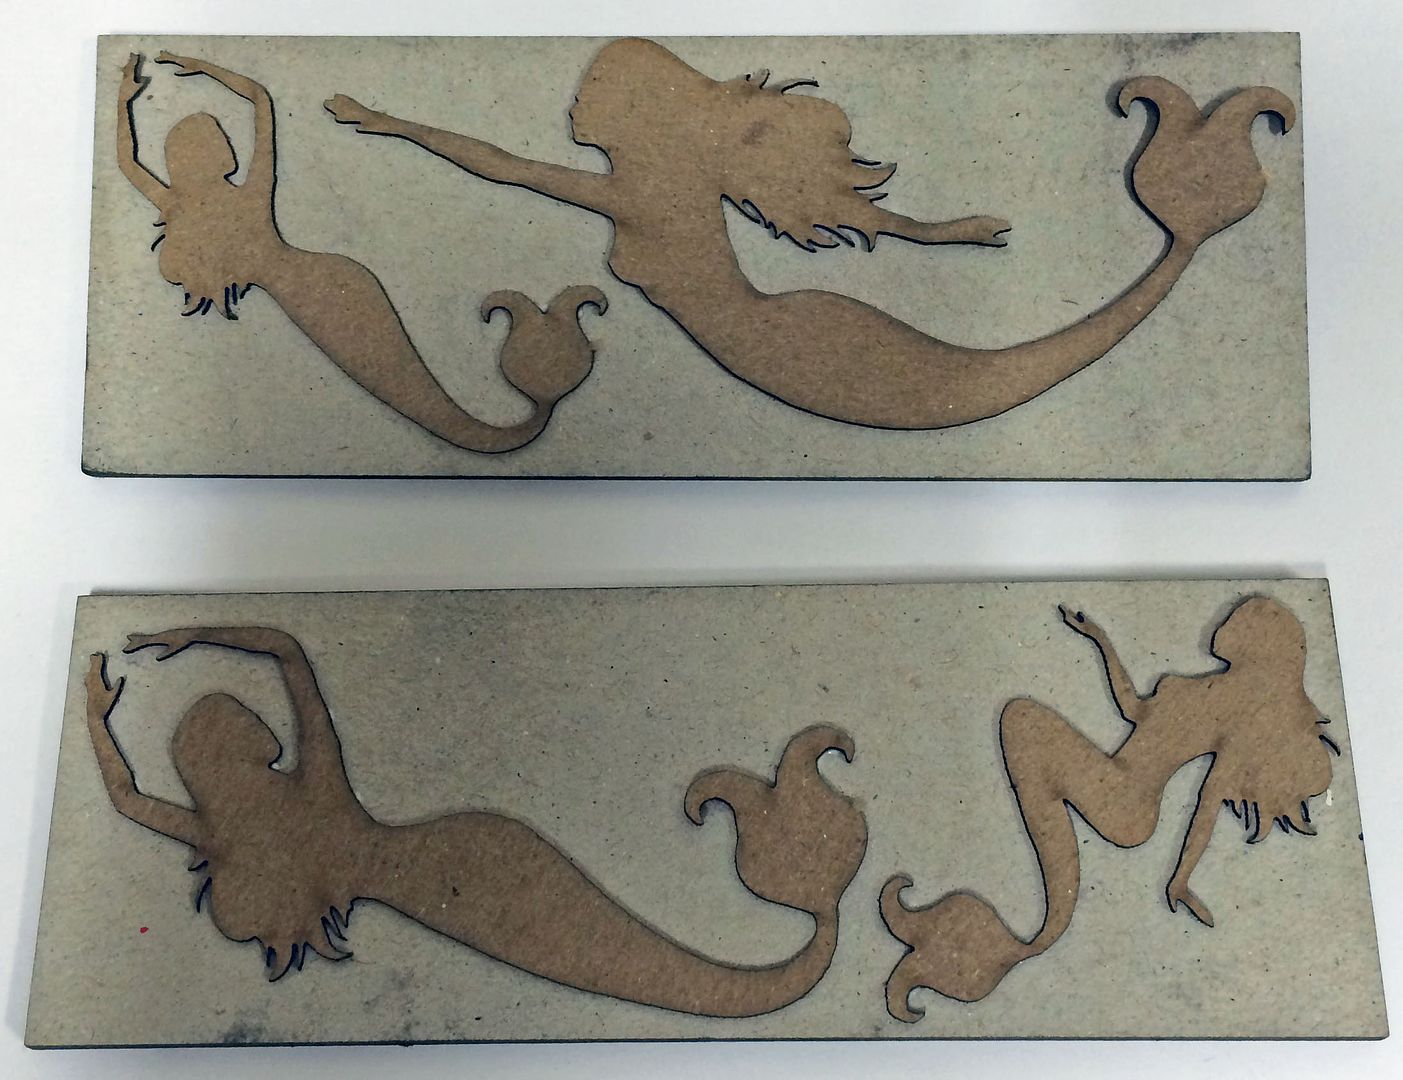
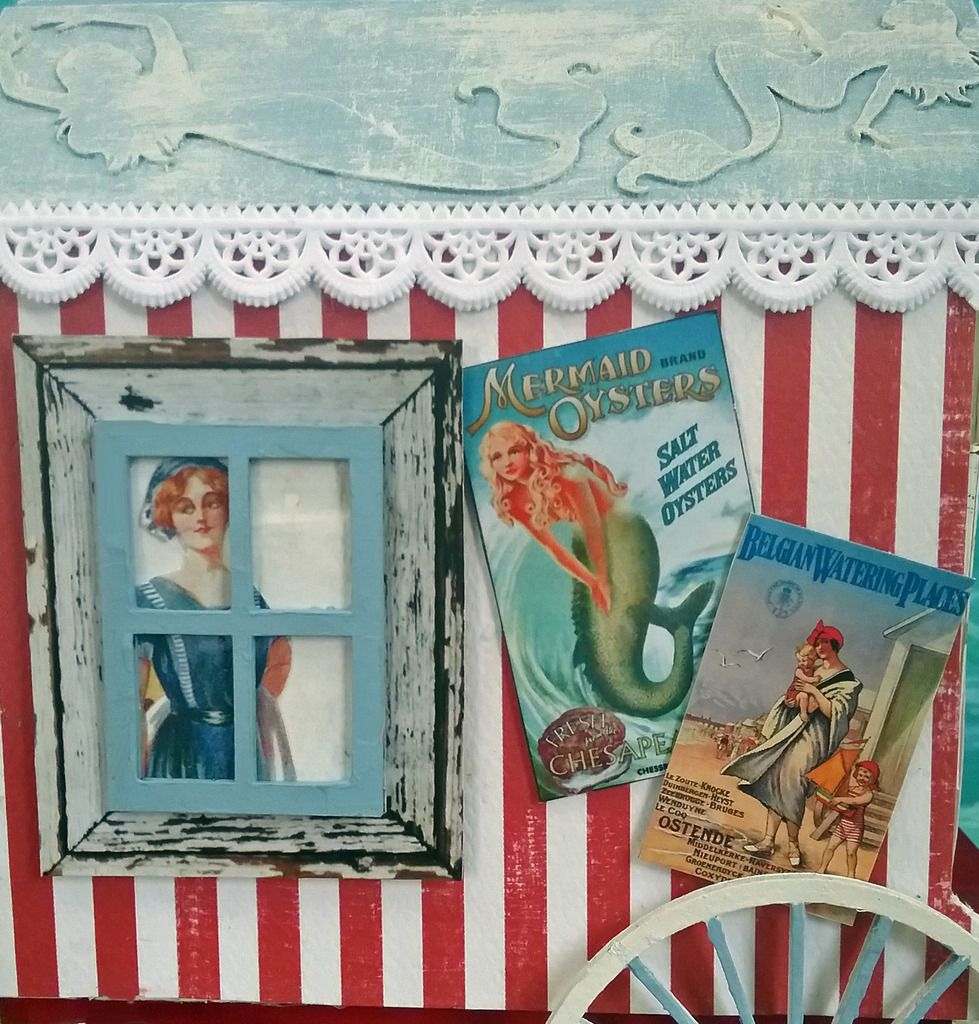
This project was so easy to put together and decorate as it is made from the NEW Alpha Stamps Bathing Machine Kit. 


MINI VINTAGE BEACH POSTER COLLAGE SHEET
The sheet contains 19 vintage beach-themed posters.

I used chipboard mermaids to jazz up the roof.  First, I glued the chipboard to the two roof pieces and then painted the roof with blue acrylic paint.
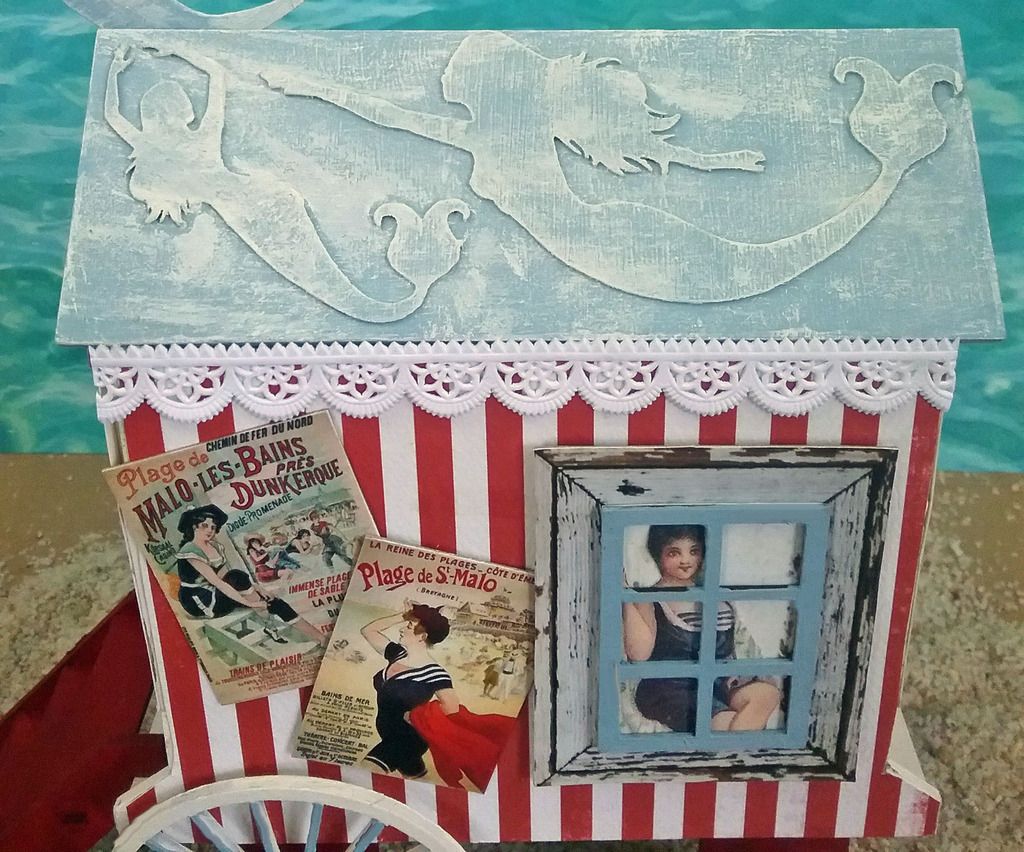
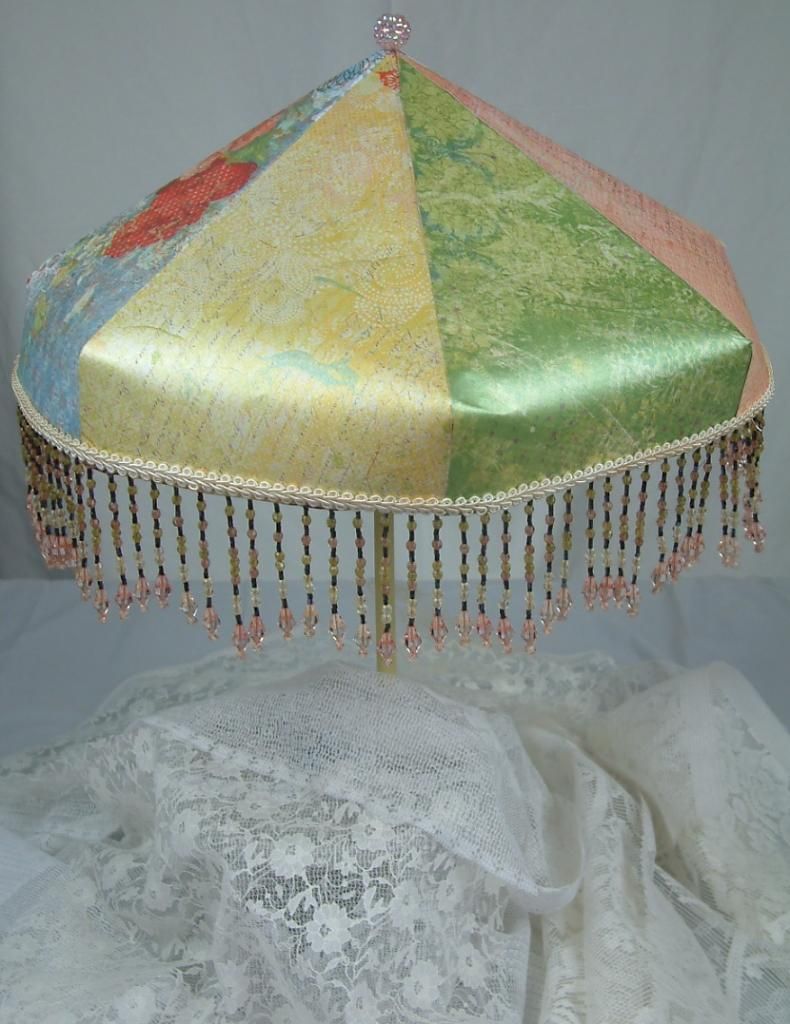
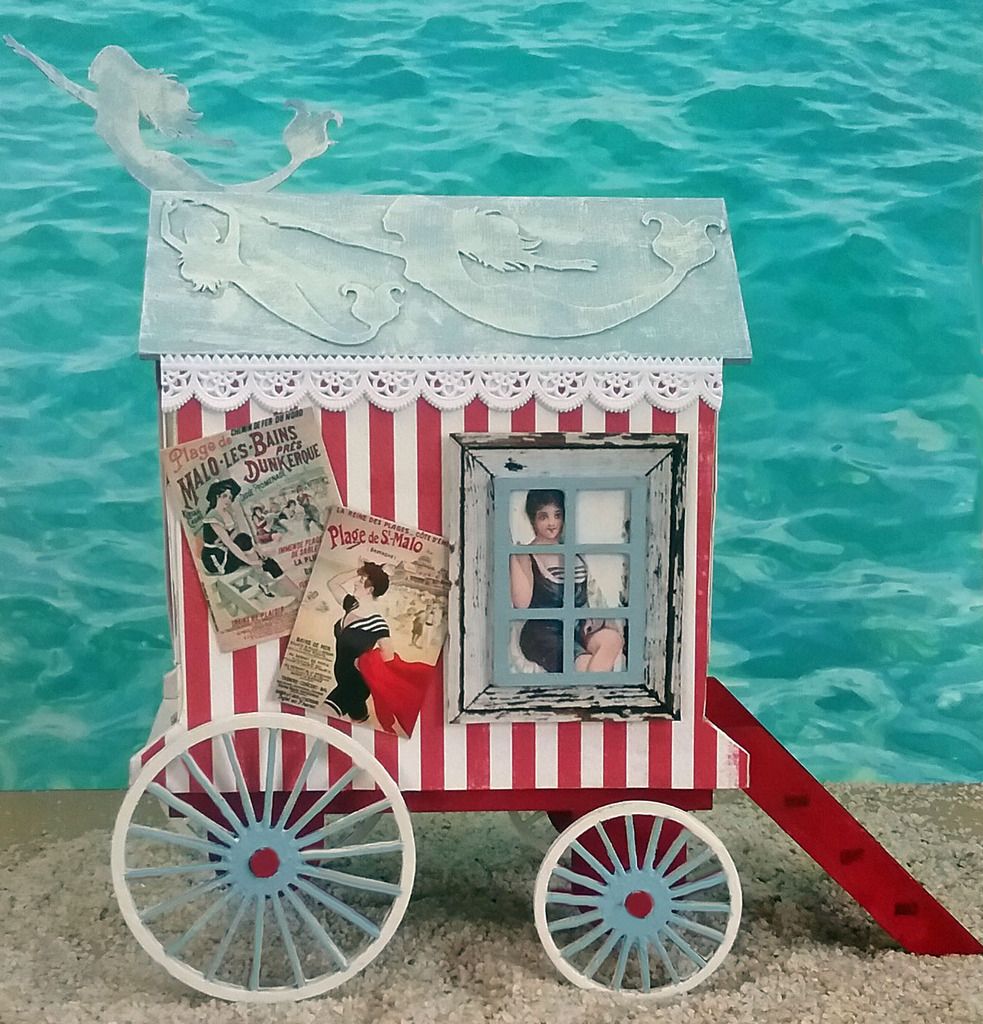
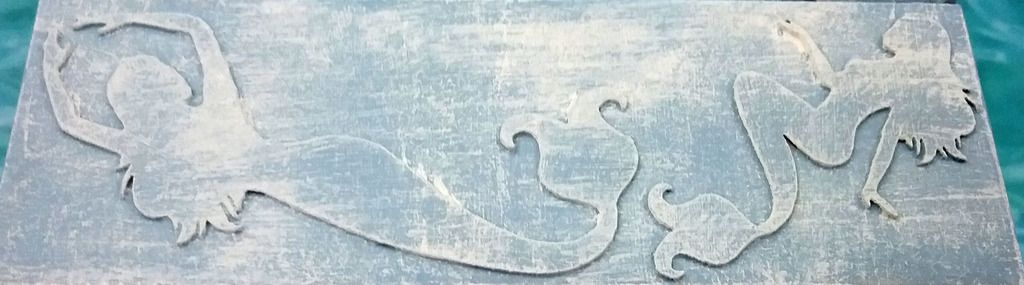
Finally, I used a bristle paint brush to lightly brush on white acrylic paint.  I used one of the mermaids (painted the same way) for the center front of the roof.
The curtains on the sides and top of the doorway are from the Teal Square Shadowbox Curtains Collage Sheet.
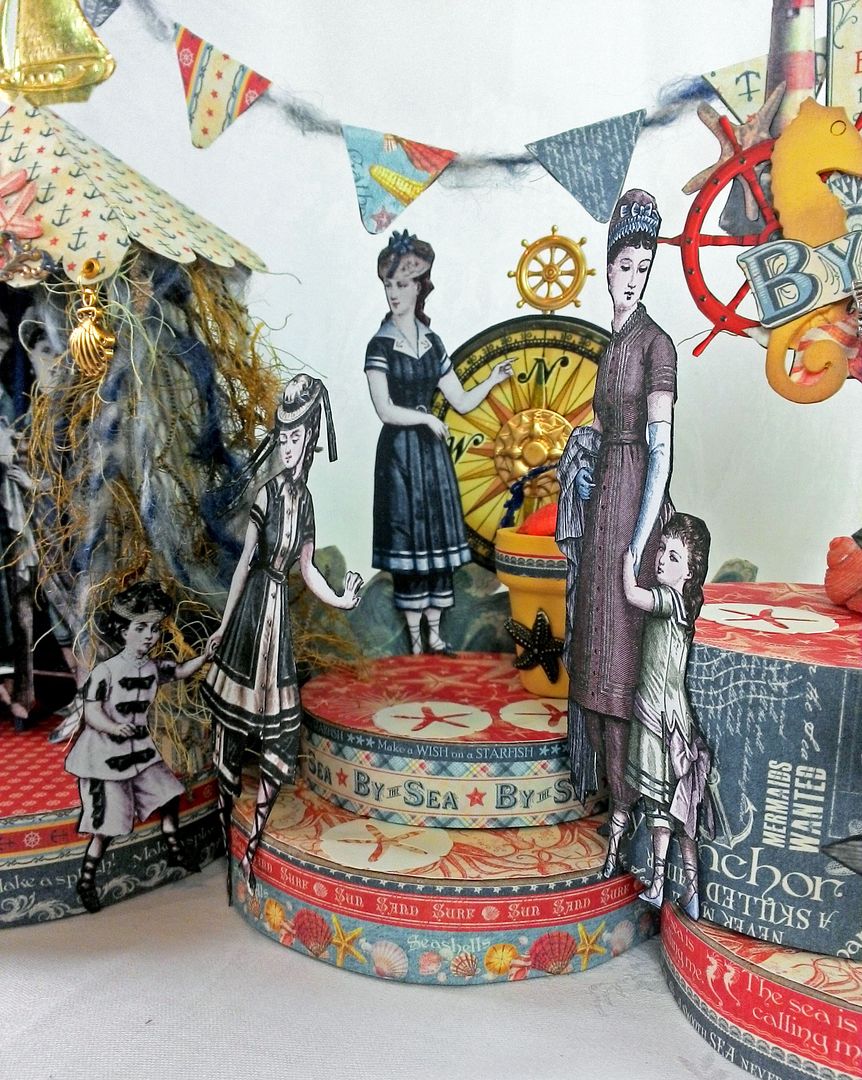
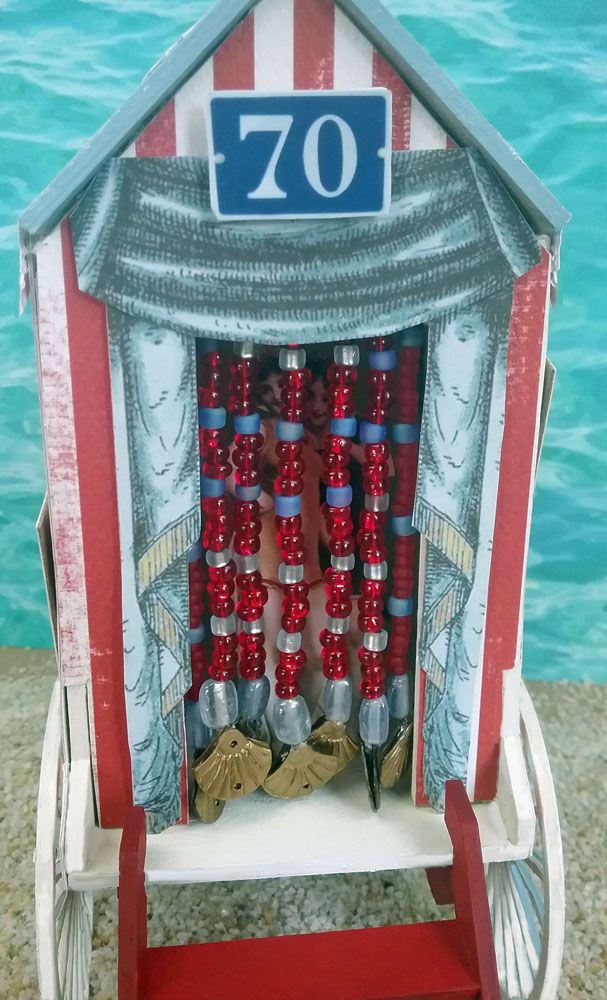
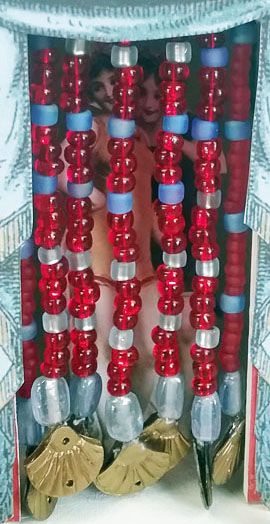
I used thread to make the beaded curtains.  I started by making a knot in the thread (as you would if you were going to hem clothing) and threaded the thread through the hole in a sequin seashell.  I then glued another seashell on the side where the knot is, which hides the knot and helps to keep the knot from sliding through the hole.  Next, I added beads from my stash.  I attached each string of beads to the inside of the opening using glue and tape.
If you peek through the curtain, you can see women in their bathing suits.  The images of women in the windows, on the steps, and inside the bathing machine are from the Vintage Beach Babes collage sheet.

If you look at vintage pictures of bathing machines, you’ll notice that many of them have numbers above the door.  Typically the bathing machines were rented, so each had a unique number.  Below is the number image I used.  Feel free to download and use it in your project.
I used the Amour I Love You red and white striped scrapbook paper to cover the sides and back and trimmed it with White Dresden Borders.

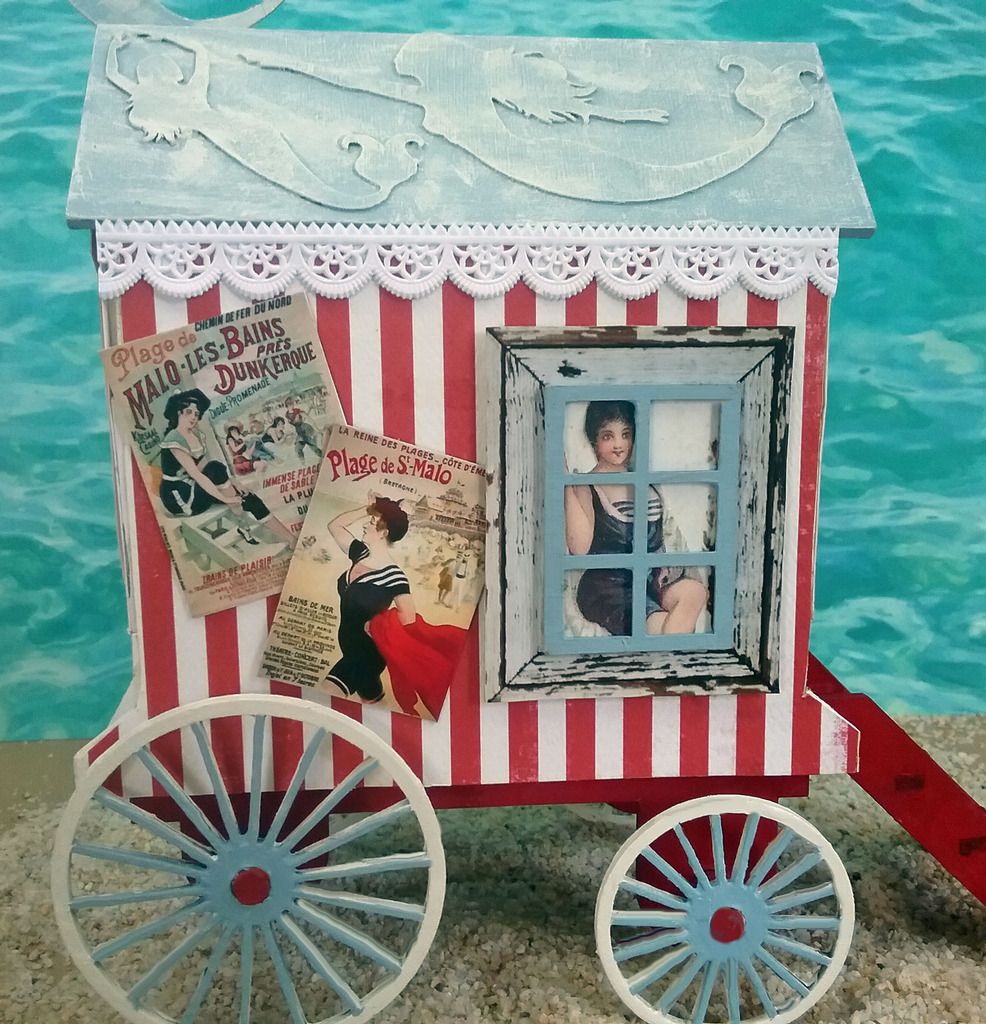
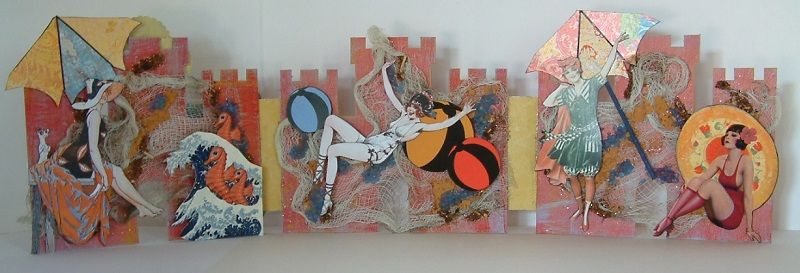
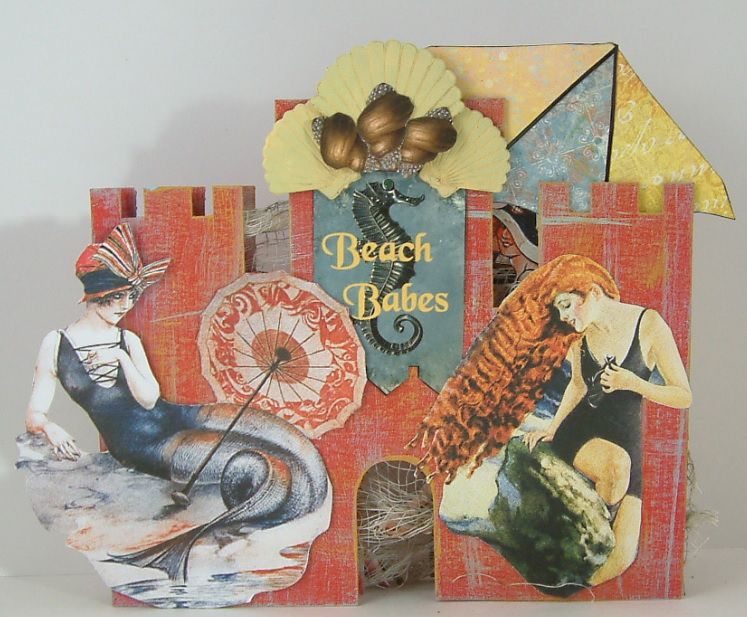
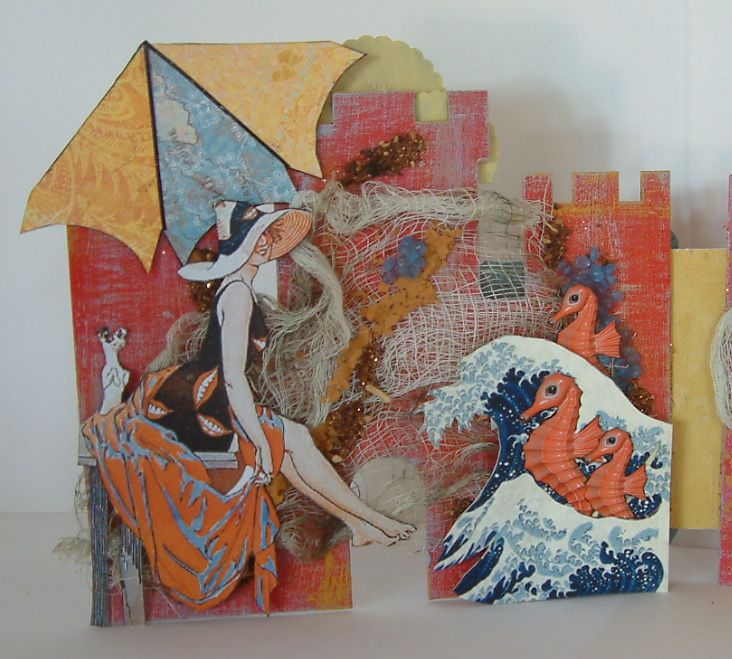
Bathing beauties on the sides and back are framed in 6-panel rectangular windows. To give the windows more weight, I mounted them on rustic frames from the Antique Frames Digital Image Set.

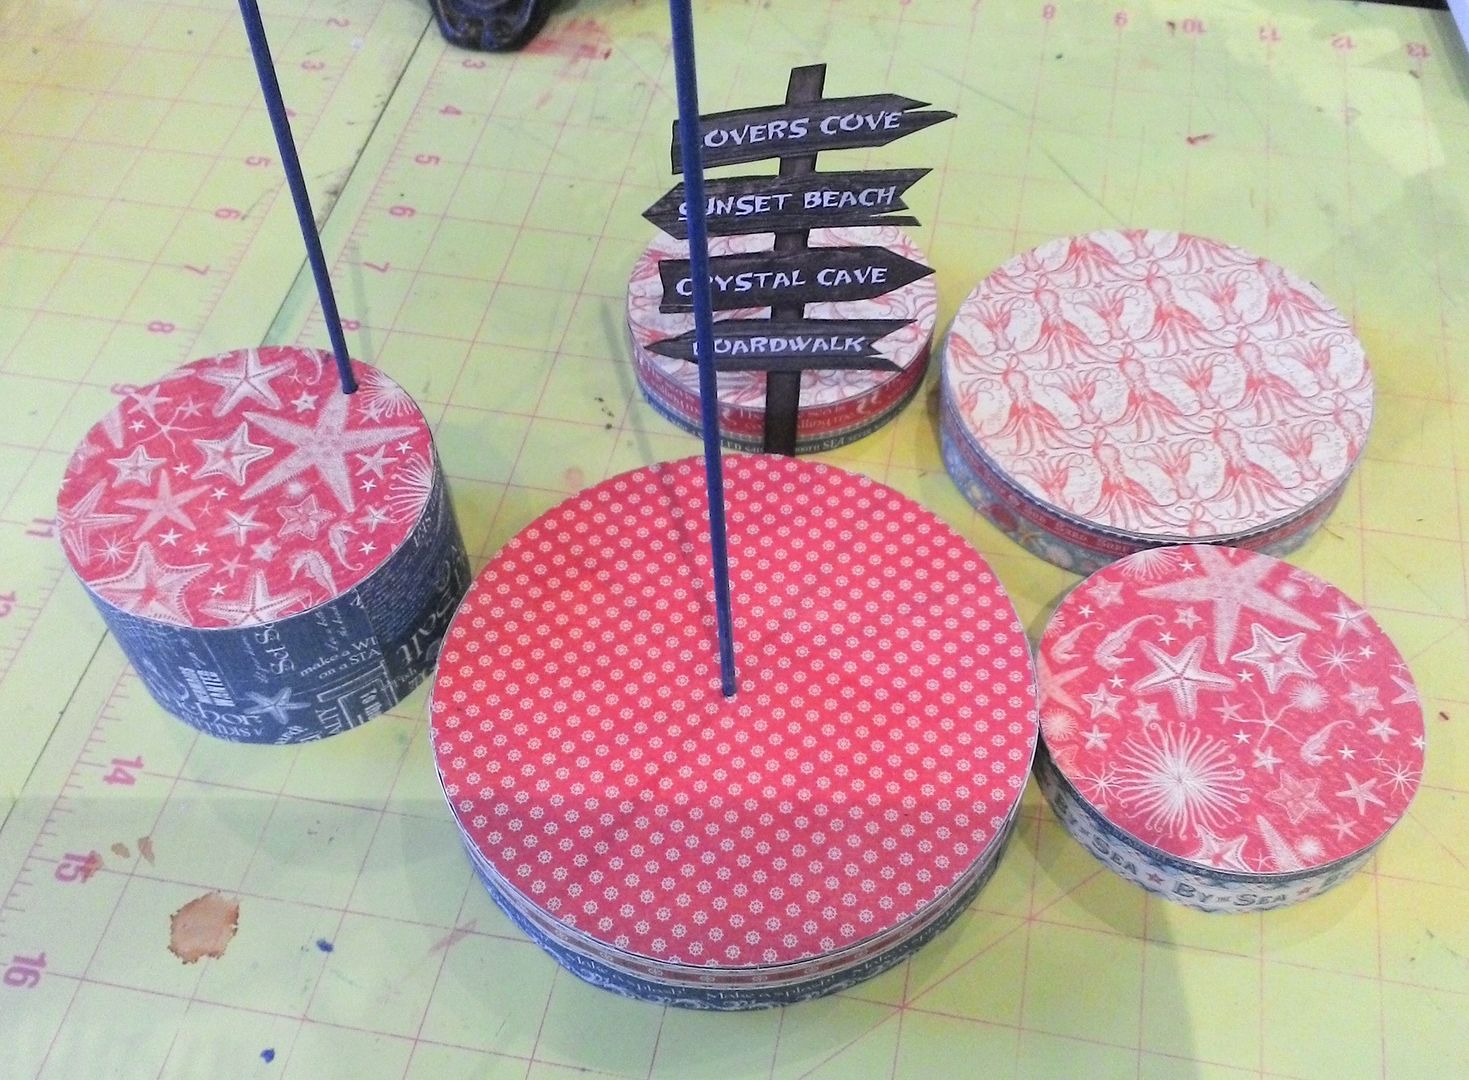
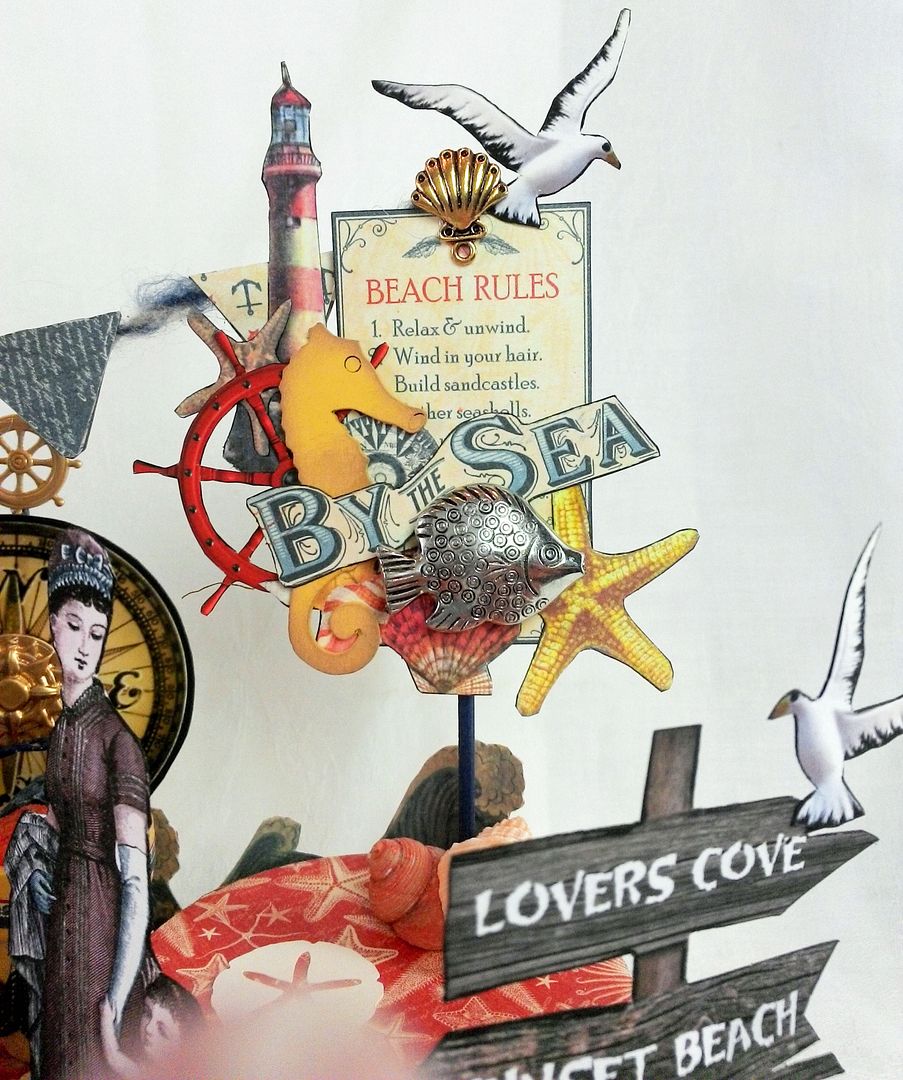
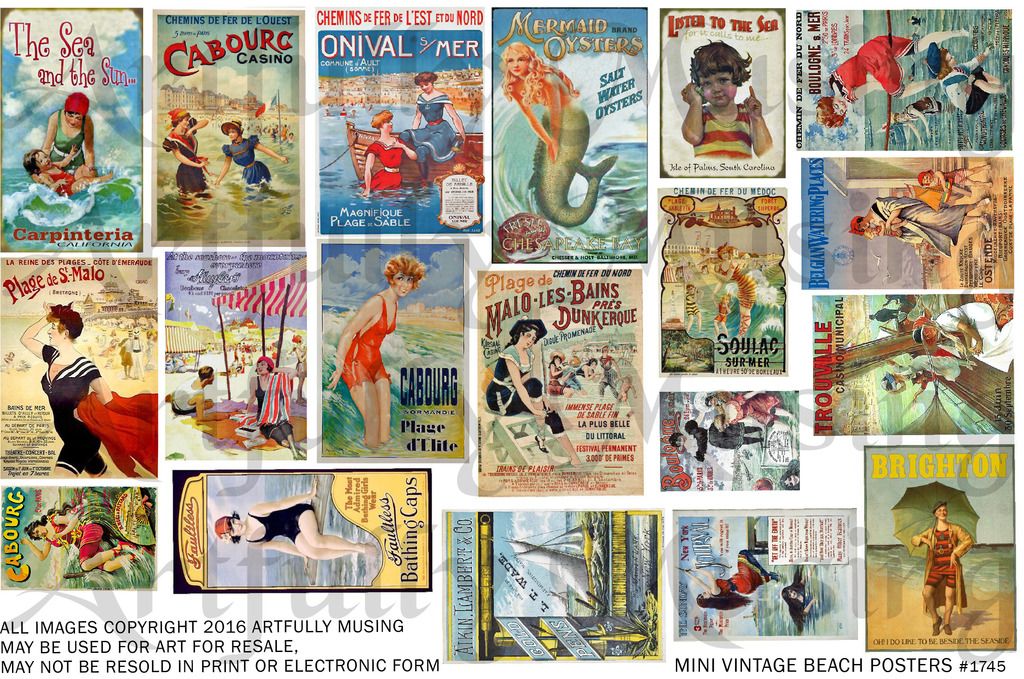
The posters on each side are from the Mini Vintage Beach Posters Collage Sheet. 


Saturday, April 12, 2014

On the Boardwalk by the Sea Diorama

It’s summertime on the boardwalk by the sea in this vintage diorama.  My inspiration came from the new Graphics 45 By the Sea papers.
 
The base for the diorama is round paper mache boxes which have become a staple in my stash.  I think using round shapes makes it more interesting. You’ve seen me use these boxes many times in my projects
I used a combination of one bottom and several lids to create the stair-step effect.  The paper mache is covered with a combination of By the Sea papers.  In some, I inserted wooden skewers into the lids and glued them in place.  The skewers act as support for some of the elements.
On the left side of the diorama, the beach cabana is the focal point.  I used one of the Tent Digital Image sets as a pattern.  One of the great things about the set is if none of the color schemes work for your project you can just print and use them as a pattern to create a tent with any color/design scheme.  In this case, I used them to make a tent from the By the Sea papers.
Notice that one of the wooden skewers is the support for the tent as well as a place to attach some of the bathers inside the tent.  At the top of the skewer, I attached a Dresden boat, flags attached to fibers and a fish bead.  On the side of the tent, I attached netting and wove fibers through the holes.  
In the center of the diorama is a compass and ship’s wheel attached to another one of the skewers.
I used a mini wooden pot (purchased at the craft store) and a piece of brass from my stash to create a bucket for seashells.  I glued on paper die-cut sand dollars to give the sense of steps and a path up the box lids.
On the right side of the diorama is a collaged “Beach Rules” sign from the papers attached to another of the skewers and a wooden direction sign in front.
Note the ocean waves lapping up against the back of the diorama.  
The ocean waves on the back of the diorama serve two purposes; one decorative and the other to help attach the base pieces to each other (which are also glued to each other).

Friday, August 2, 2013

Beach Babes Sand Castle Book


Filled with 1920's women frolicking in the sun.

I started by first painting the castles red.
Next, I dry brushed the castles with blue and yellow paint.
I added cheese cloth died with alcohol inks.
Lastly before adding the images I added different colored mini pebbles and flakes.

Monday, July 15, 2013

Beach Scene, New Collage Sheet & Paper Umbrella Video Tutorial

I’ve had umbrellas on my brain lately.  It all started when I was thinking about the upcoming Halloween Carnival Event and the umbrellas I used for some of the games.  Unfortunately (as it seems is always the case) the manufacturer is no longer making them.  After searching for a replacement, I decided to figure out how to make them and come up with a pattern.  Next, I thought, how fun umbrellas would be for summer art, and that lead to the beach scene you see above.  Well you know me; I couldn’t stop at just one pattern.  By the time I was done I had come up with 4 different patterns that create 4 different umbrella designs.

Before I jump into the umbrella video tutorial let me tell you a little bit about the beach scene.  The construction is pretty much the same as the Mermaid Tail Scene in one of my recent posts.  I used 2 chipboard shells to create the base.  In the case of the shells, I cut off some of the end of the top shell and  I cut a slot in the bottom shell.  Next, I glued the top shell into the slot on the bottom shellt.
I cutout the beach babes and balls and using 2 layers of double-stick foam core tape I glued them to the base.
I attached the umbrellas to the base using Styrofoam and E6000 glue.
Next, I drizzled lots of glue onto the base to cover the foam core and Styrofoam.  I also added glue in other spots to make it look like they are sitting on the beach.
I continue to layer glue and sand allowing the glue to dry between coats until I have the result I desired.


UMBRELLA VIDEO TUTORIAL
In this tutorial I’ll show you how to make paper umbrellas.  These umbrellas are made from decorative paper and a wooden skewer.  Paper umbrellas are very easy to make and can be used for your dimensional art projects or as décor for a party.  You can make them as large or small as you like.  The only limitation is the size of the paper.  In the video tutorial below I’ll show you how to use the four patterns I have created to make different styles and sizes of umbrellas.
You can make them as large or small as you like.  The umbrella below is 15” in diameter.  The only limitation is the size of the paper.  In the video tutorial below I’ll show you how to use the four patterns I have created to make different styles and sizes of umbrellas.
Supplies Needed:
Umbrella Pattern
Decorative Paper
Glue
Scoring Tool
Wooden Skewer
Scissors
Optional: Bead, trim or other embellishments
Here are the 4 styles of umbrella patterns.  To download each pattern, click on the image to expand it, right-click and select Save As.