


As a follow-up to my previous post about creating a book from two Altoids tin lids, comes another book made from the bottoms of two tins. This one is just as easy to make as the book using the lids.
The bird theme is inspired by an Alpha Stamps collage sheet; Bees, Birds & Butterflies.

VIDEO TUTORIAL – There is now a YouTube video tutorial for this project. The video also covers 5 other altered tin projects. You’ll find the segment about this project at minute 19:11 in the video below.
WRITTEN TUTORIAL
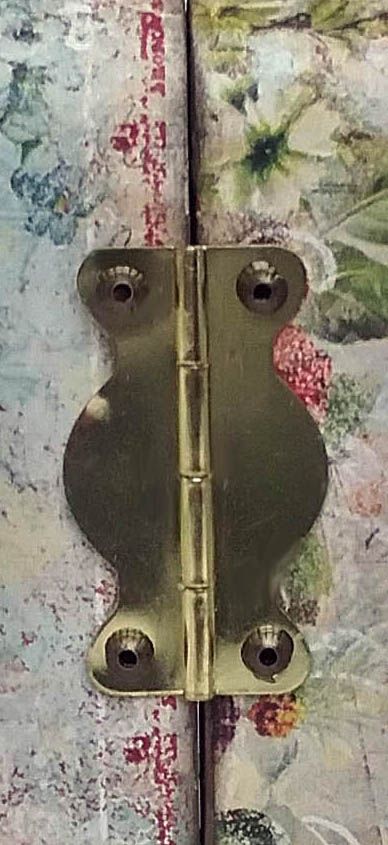
Start by removing the lids from 2 Altoids Tins. Next, bend flat or snip off the hinges.

Paint or ink the edges of the tins. I used Aged Bronze Patina paint as it sticks to metal.
Paper the inside and the outside of the tins. I used Serendipity Chronicle paper on the outside and House of Roses Old Letters paper on the inside.

Add the décor to the inside of the tins.
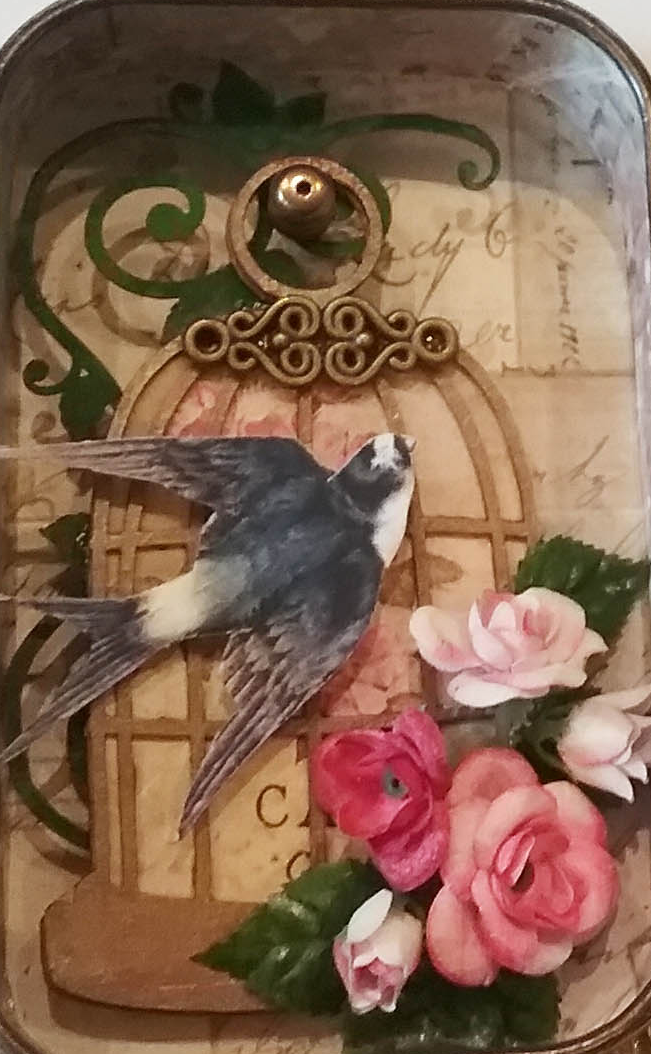
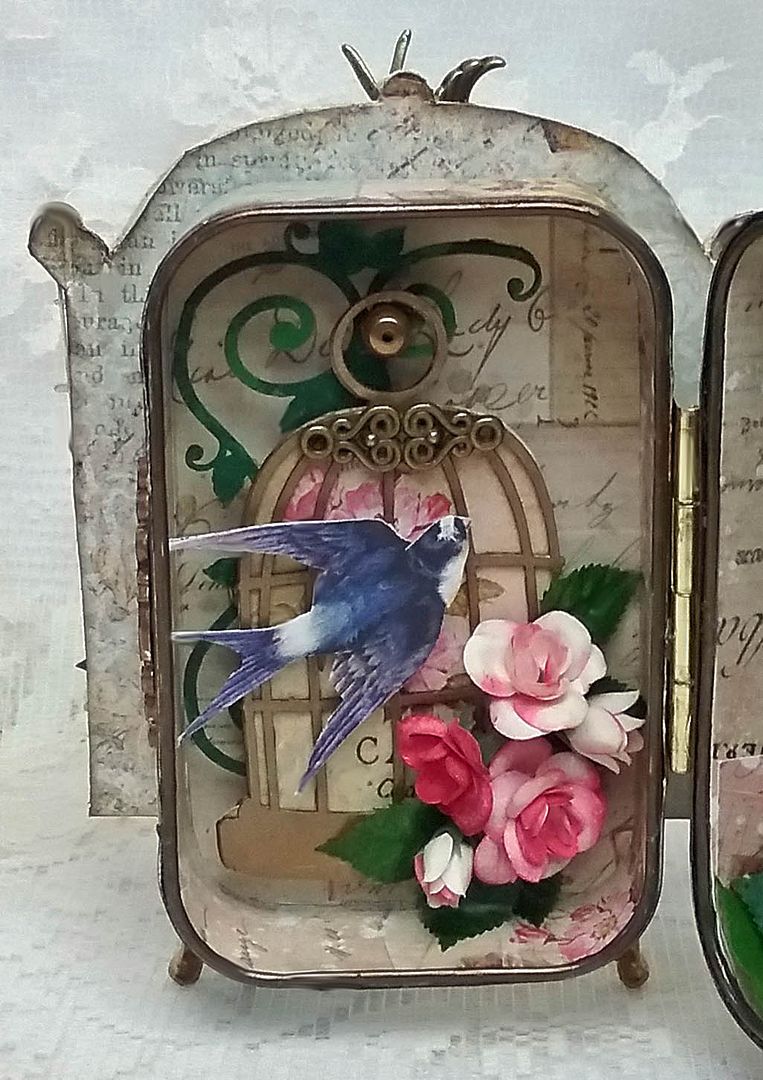
I decorated the left side using chipboard leafy corners, a 3 inch chipboard cage, roses sniped from a rose garland, a connector charm, and a bird from the Birds, Bees and Butterflies collage sheet. Popping up the items gives the piece more dimension.
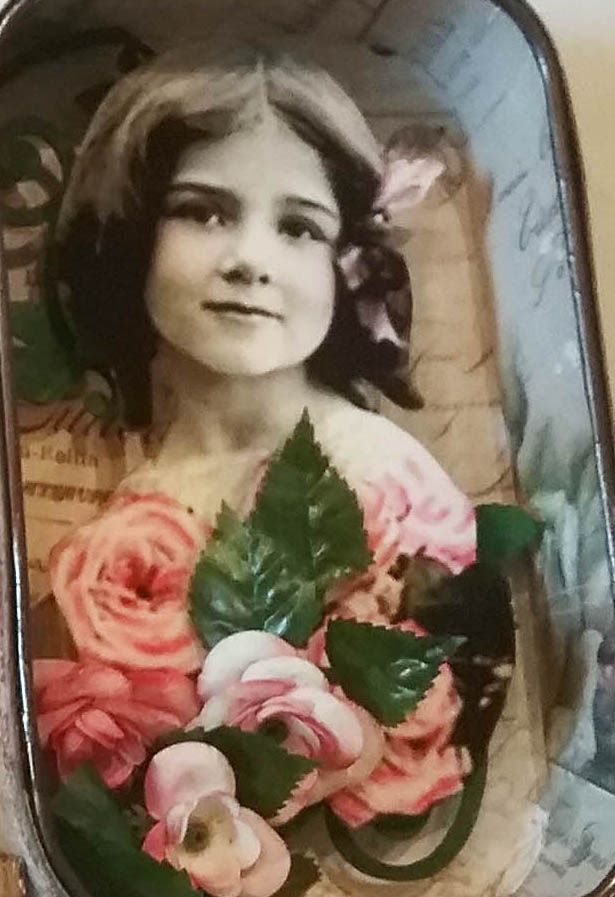
On the right side, I used more of the leafy corners and roses, plus the lovely little girl image.

Hold the tins together with the insides facing each other and attach the hinge. I used E6000 glue for this project to attach the hinge to the tins. I added a bead to the holes in the hinge. Alternatively, you could use brads to attach the hinge to the tins. If you choose this method, punch the holes in the tins before adding the paper. If you want to hide the prongs of the brads, attach the hinge to the tins before adding the paper to the inside.
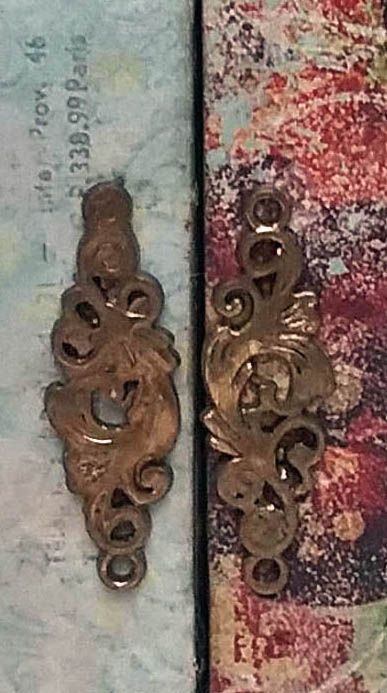
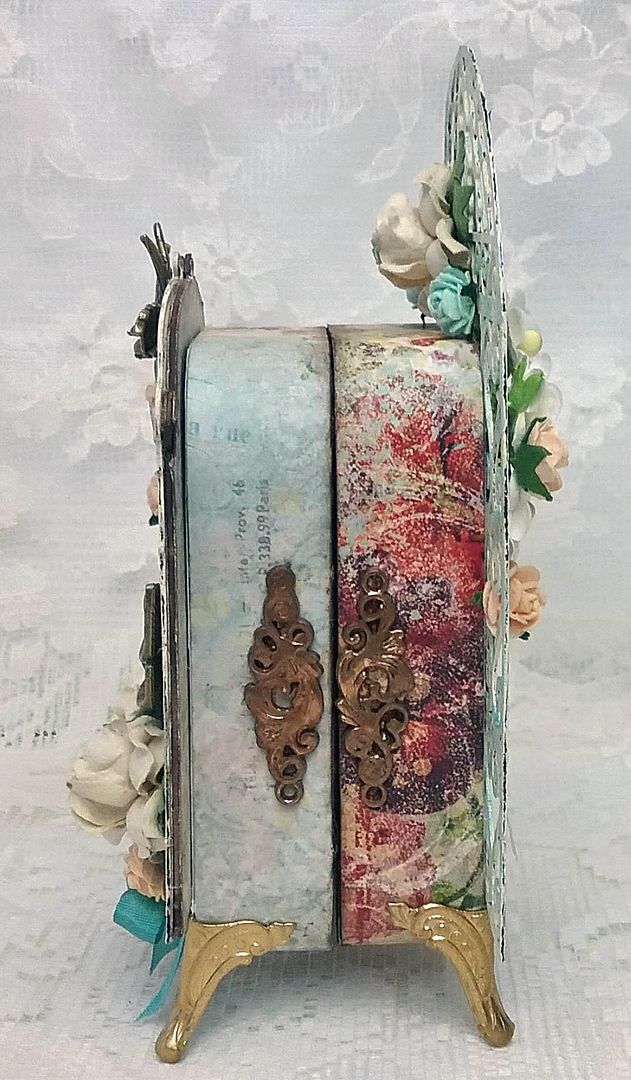
Next, attach the swirly connector charms on the opposite side, or you could add a latch. They have been painted with Aged Bronze Patina Paint.
For this project, I used a die-cut chipboard piece for the base of the front and back covers, so I assembled them separately from the tin. After assembly was complete, I glued them to the front and back of the tins.
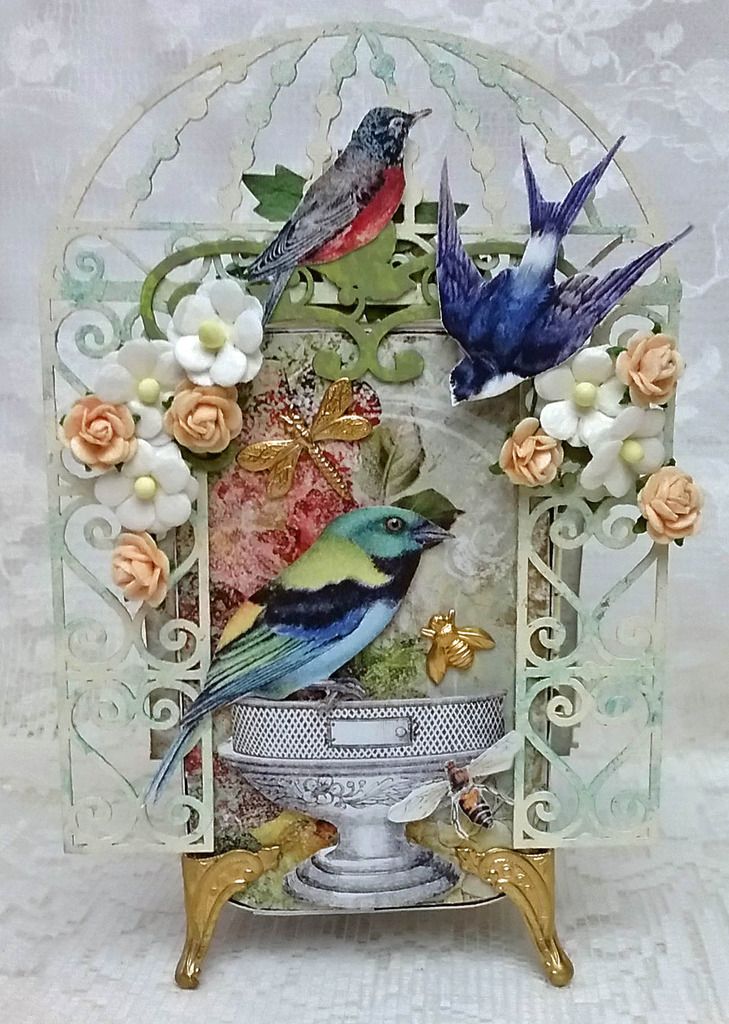
On the front cover, I started with a lovely chipboard cage backed with Serendipity Chronicle paper and an image from The Garden collage sheet. On top of the cage, I used various paper flowers, a bronze swallow charm, a bronze bird on a branch, calla lily leaf charms, and the words “Birdie Darling,” which are from the Birds, Bees & Butterflies collage sheet.
Notice that there are flowers on the top. Those are glued to the top of the back tin. You can also see the chipboard wrought iron archway (attached to the back) peaking over the top from the front of the tin.
On the back cover, I started with the chipboard wrought iron archway and added more of the leafy corners, paper flowers, and birds from the Birds, Bees & Butterflies collage sheet, which is also where you’ll find the urn and the paper bee. The gold dragonfly and bee are from my stash.
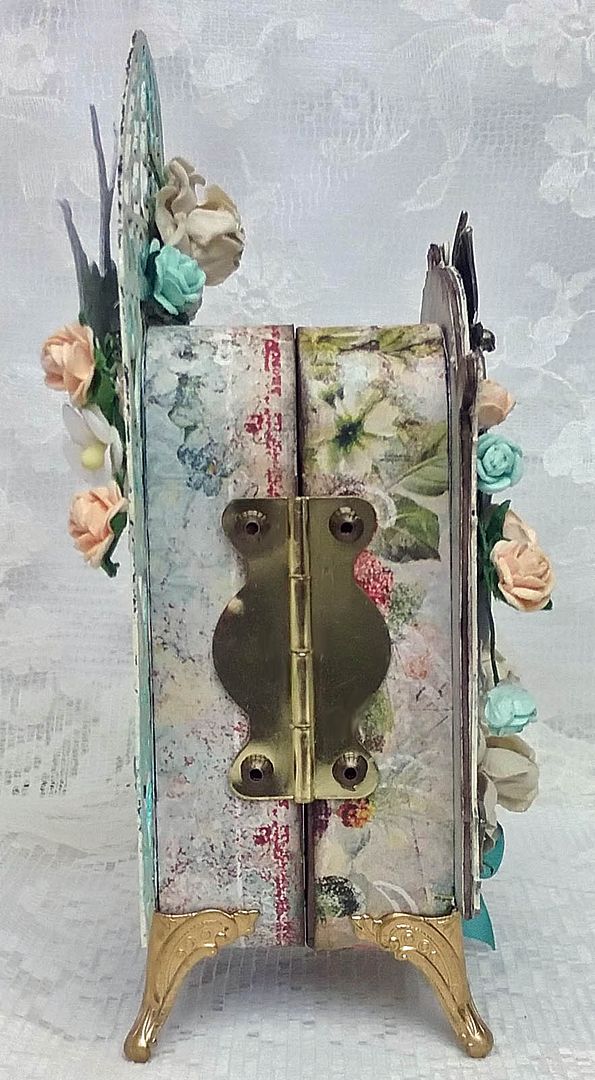
The final step is to attach the brass box feet, which makes the piece more interesting and heightens.
SUPPLIES

5 comments:
what a beautiful idea, thank you for the explanations
It's beautiful, Laura! I really love the color pallet you used, so serene.
Hello
I prefer the side with birds, very lovely!
Hugs and kisses
Umwerfend schön, da kann ich mich nur vor verneigen...
Herzlichst Sophie xx
Gorgeous Laura!!xo
Post a Comment