


I’ll walk you through how I created each tree and give you a supply list of products I used that are carried by the folks at Alpha Stamps. As per usual, I’ve included a downloadable PDF file of the entire tutorial.
PREPPING THE TREE
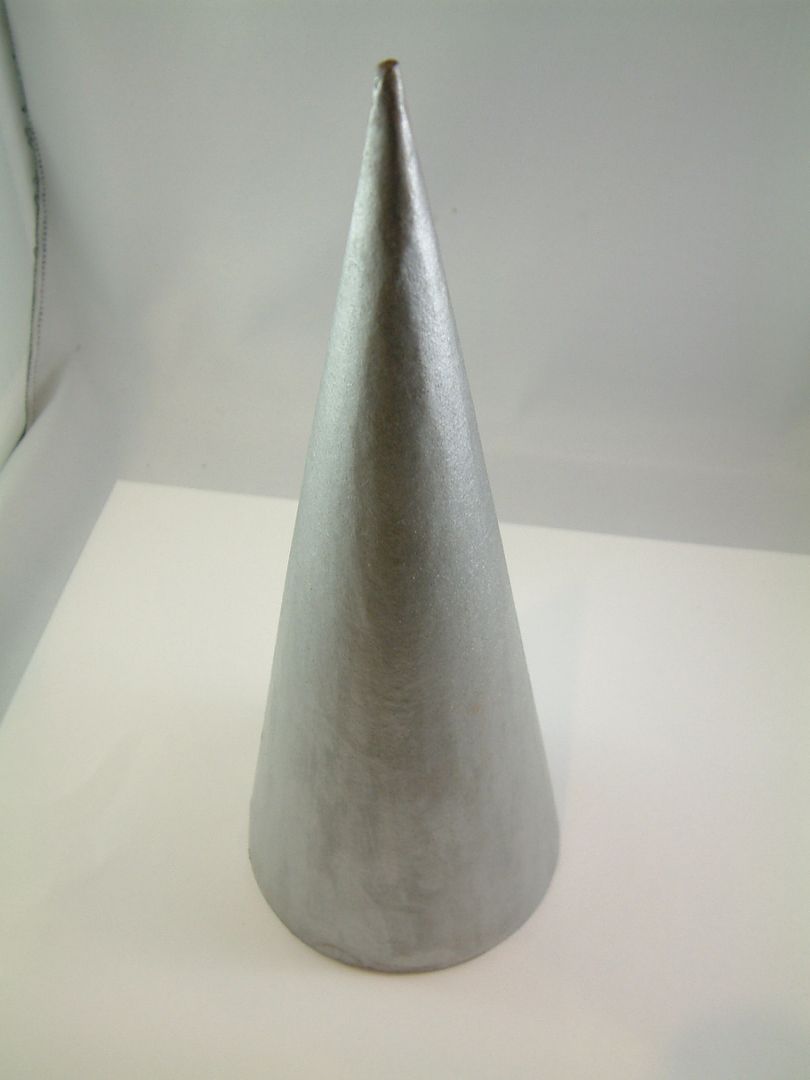
The bases of the trees are made from paper mache cones that are from left to right 7”, 10” and 12” tall. The prep steps below apply to all three of the example trees.
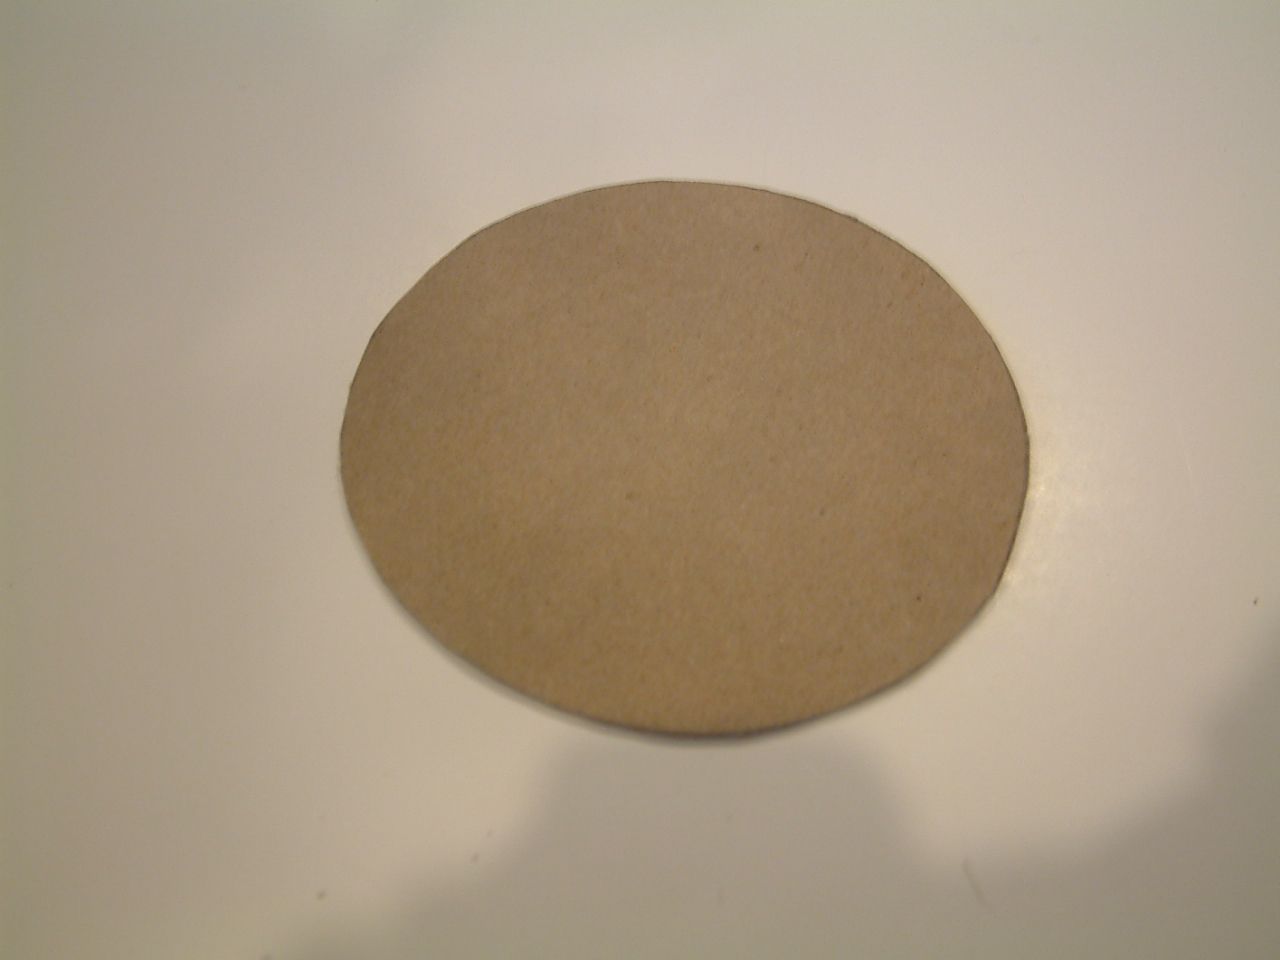
 Start by placing the bottom of the cone on a piece of chipboard. Use a pencil to trace around the cone.


Cut out the traced circle along the penciled line. If all you have is very thin chipboard, cut out two or three circles and glue them together to make one firmer piece.
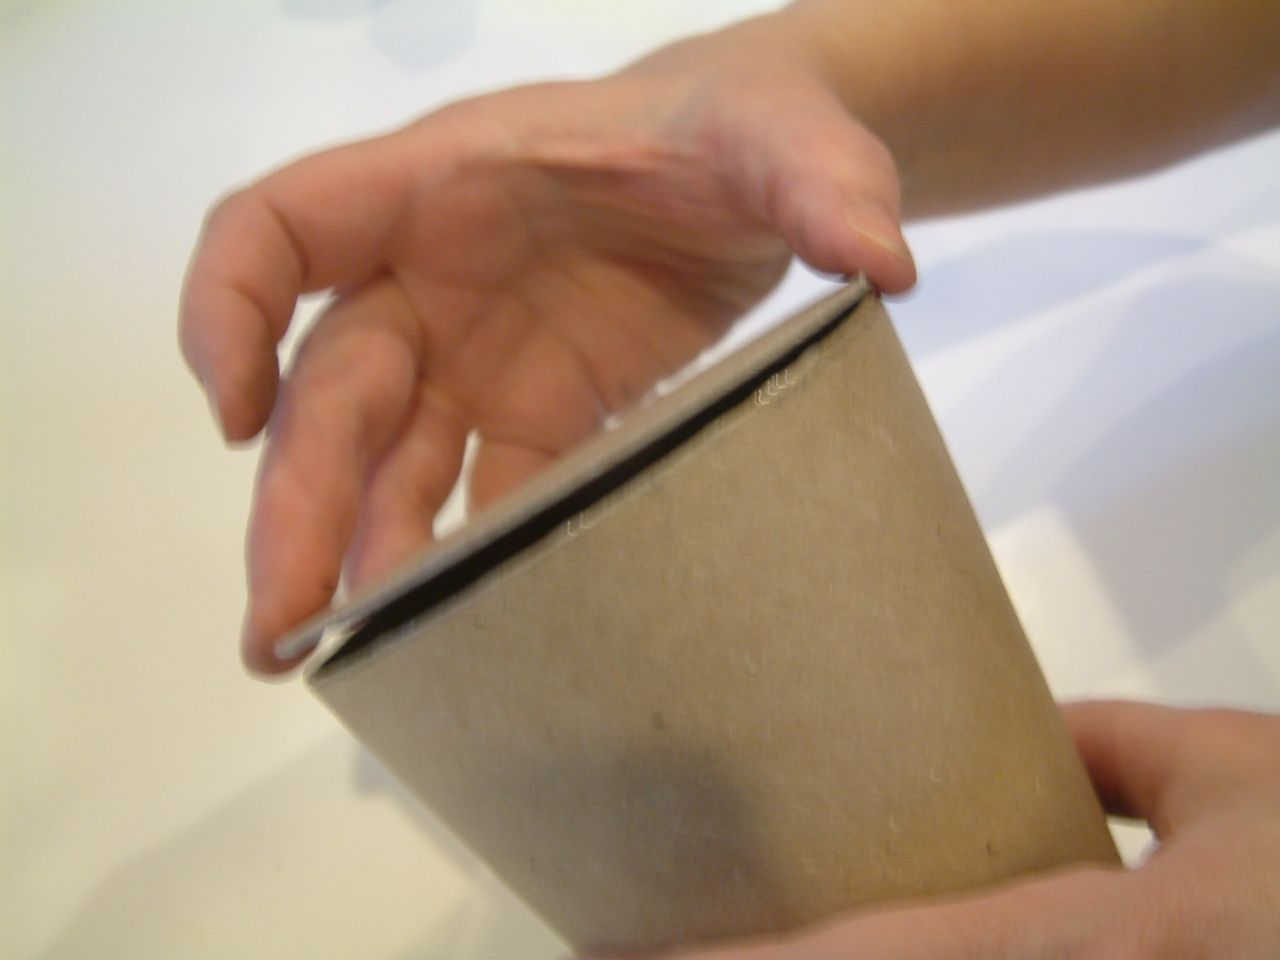
Glue the chipboard circle to the bottom of the cone.
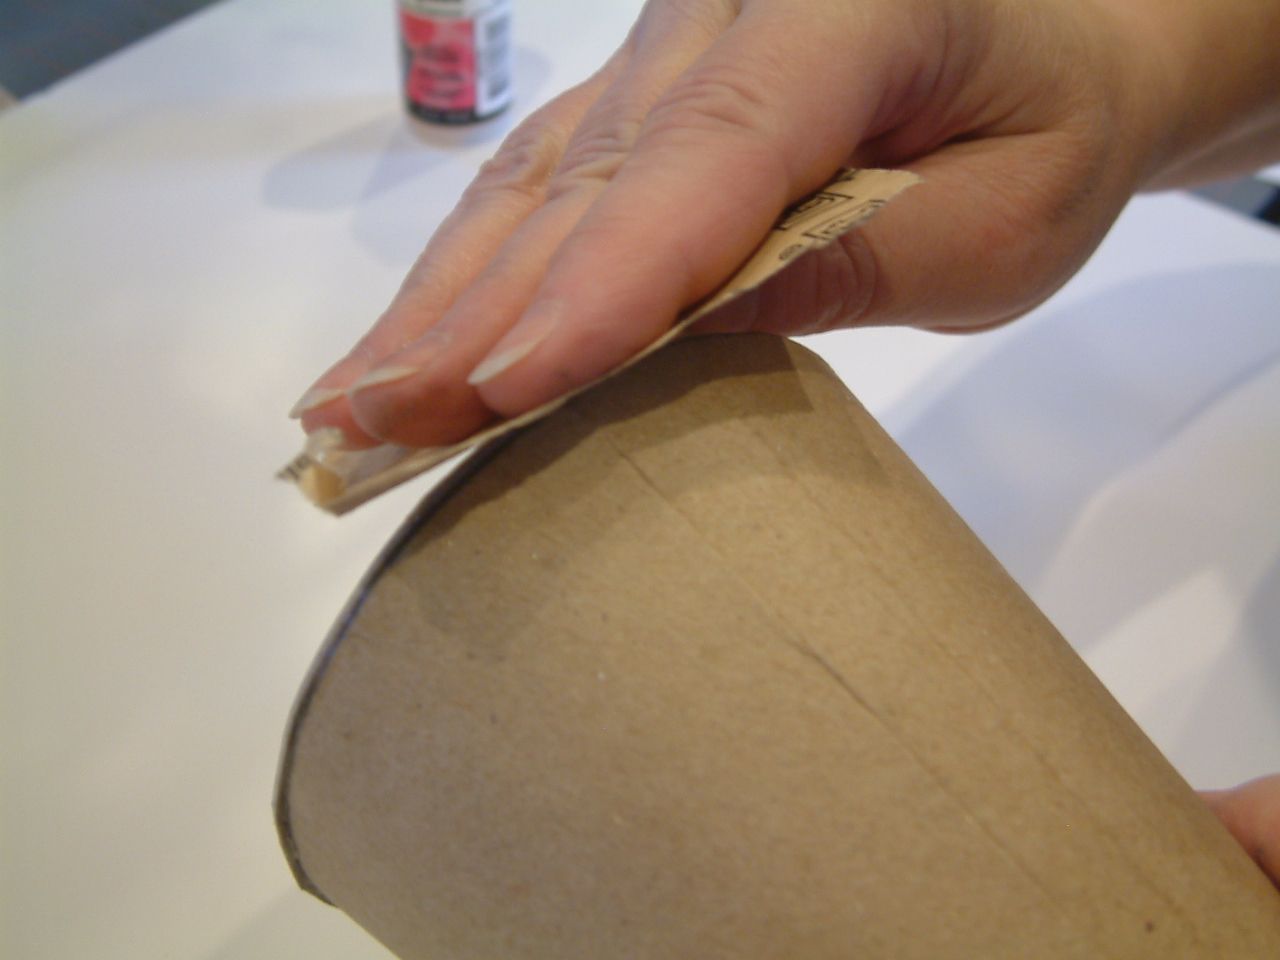
Using sandpaper, sand the edges of the circle until it is flush with the cone. Now your cone has a bottom that can support a base and you are ready to start decorating the tree.
USING PAPER CLAY AND MOLDS TO MAKE EMBELLISHMENTS
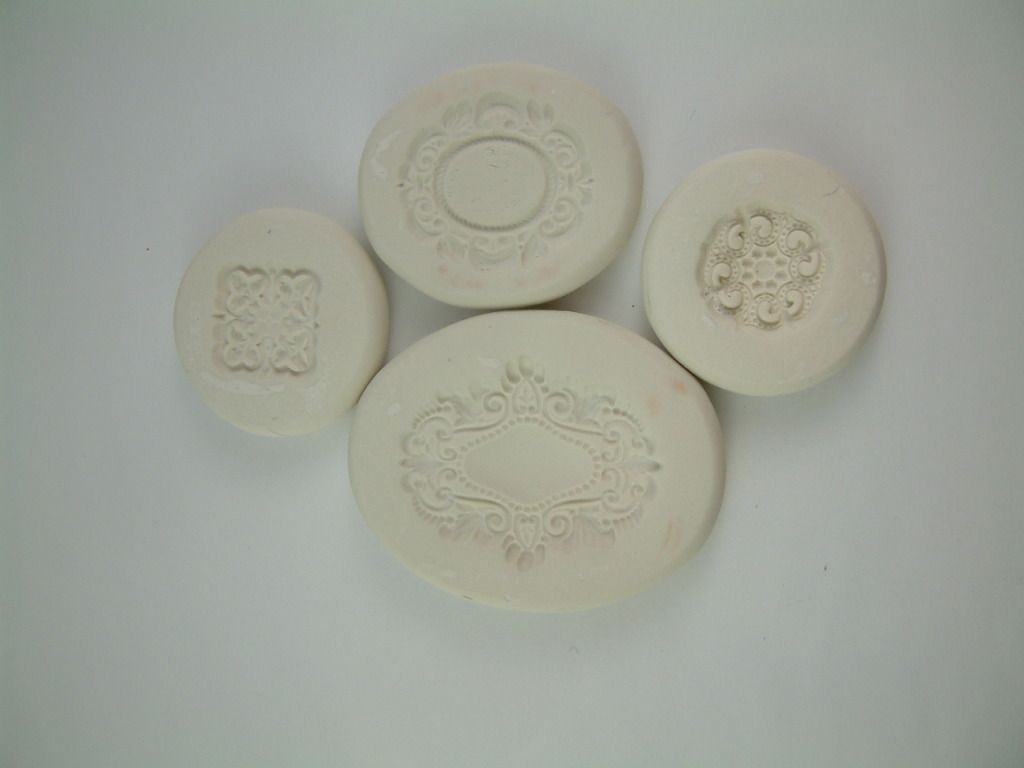
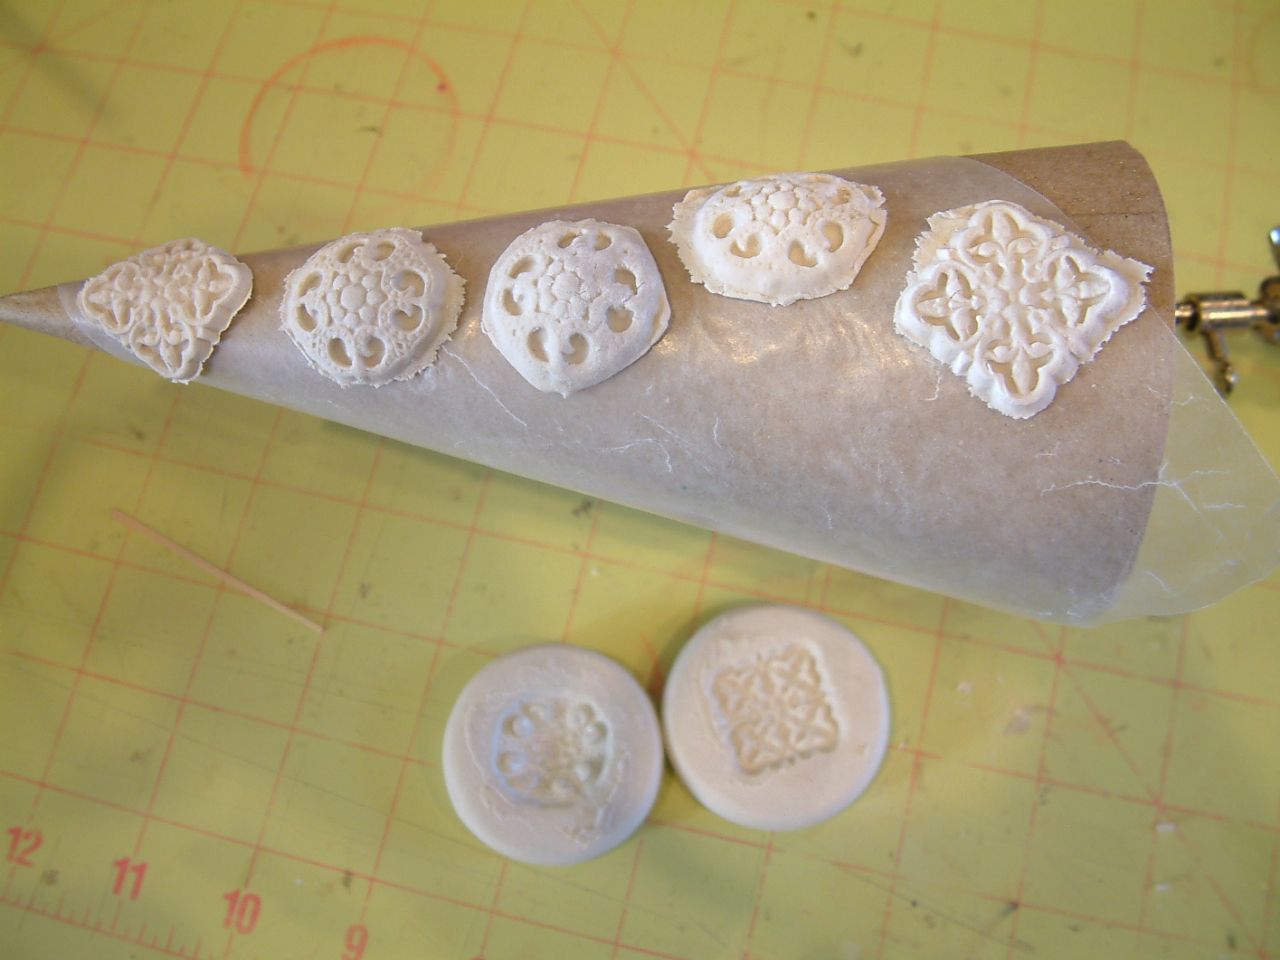
One option for decorating your tree is to use embellishments made from paper clay. The advantage is that you can make as many pieces as you want. In two of the examples (Copper/Patina & Silver/White trees) I used some paper clay embellishments to decorate the trees. The molds I used are for the two trees are available at Alpha Stamps and pictured below.
Since you are working with a curved surface you’ll need to shape the clay embellishments to fit the curve of the cone. Before decorating your cone, cover the cone in wax paper. You can hold the wax paper temporally in place with tape. Once you remove the paper clay from the mold, place it on the wax paper covered cone and shape it to the curve of the cone. Allow the clay to dry on the cone. You may need to check the clay as it dries and make sure it is shaped to the cone (paper clay likes to warp in strange directions). Once the clay is dry you can clean up any rough edges with sandpaper. Be sure to remove the wax paper before decorating the cone.
Note: as the curve of the tree is sharper at the top than at the bottom of the cone, attach your finished clay piece to the same section of the tree that you used to shape and dry the wet clay piece.
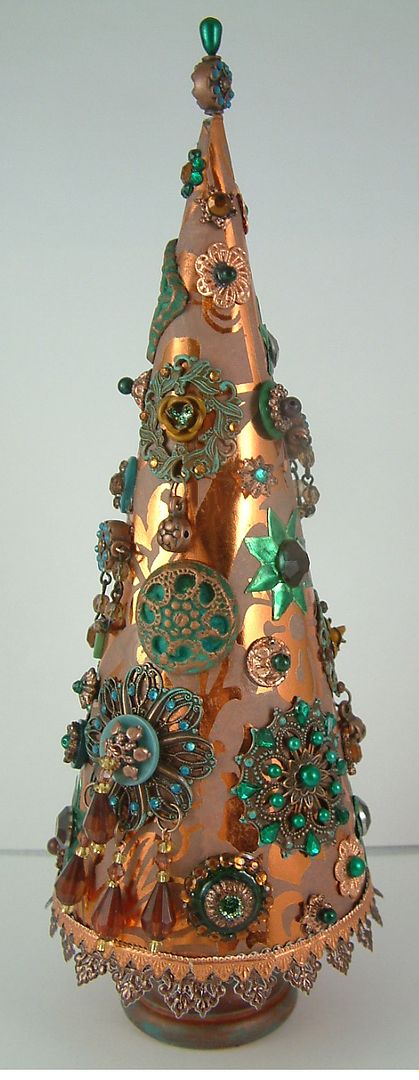
THE COPPER and PATINA TREE
For the first example, I choose a copper and patina color scheme. The cone used for this tree is 7” tall. The finished height is 9 ¼”.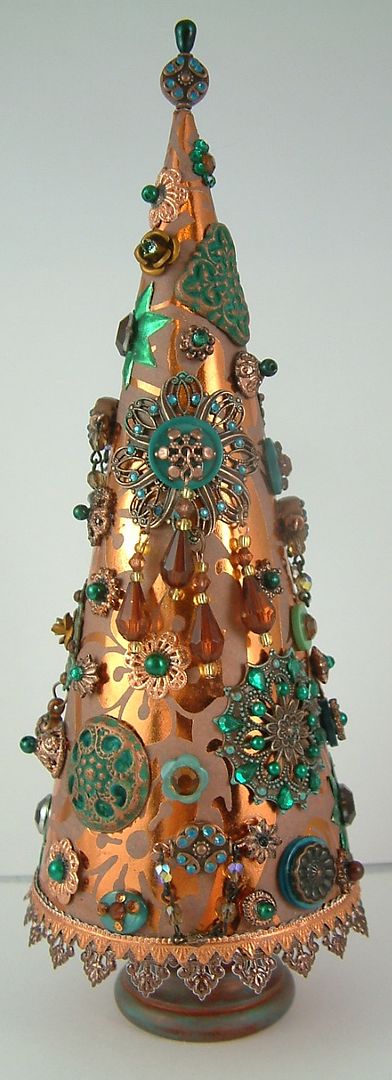
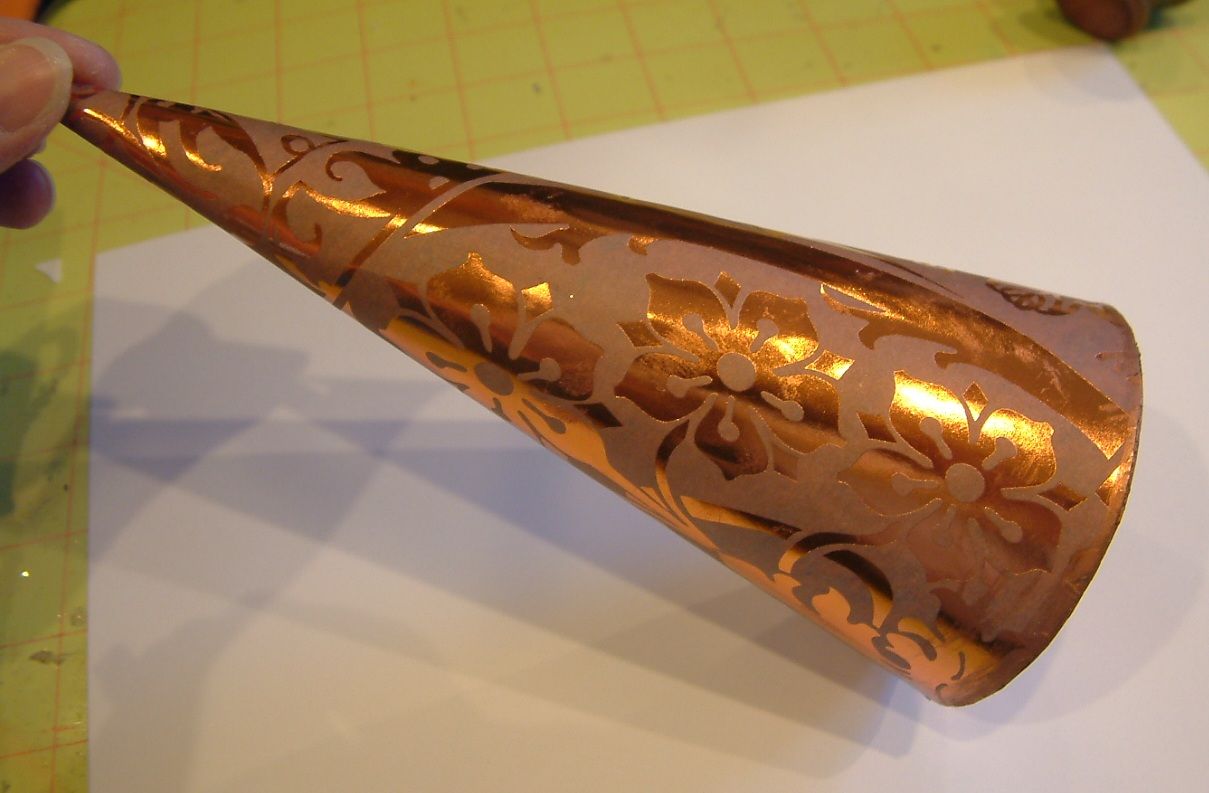
For this tree, I decided not to cover the entire cone with embellishments. Since I still wanted a metallic look, I first covered the tree with copper foil paper.
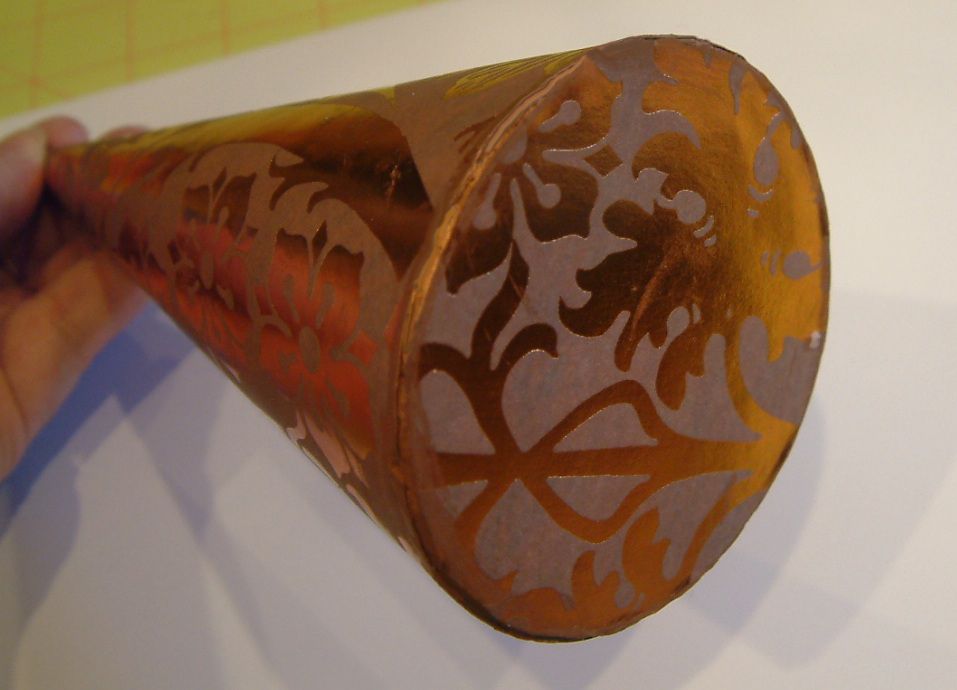
Even though you won’t see the bottom of the cone I still like to cover it with paper.
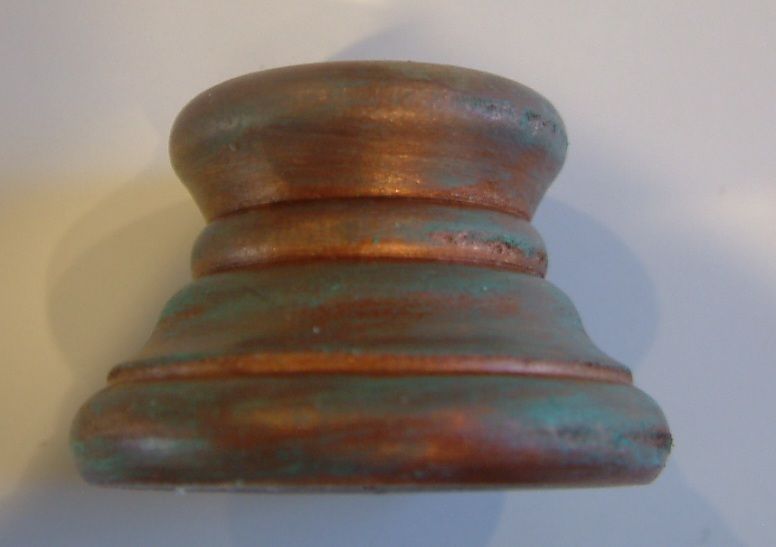
For the base of the tree, I used a wooden egg cup. I first painted it with copper metallic paint. Another alternative is to use Copper Gilders Paste.
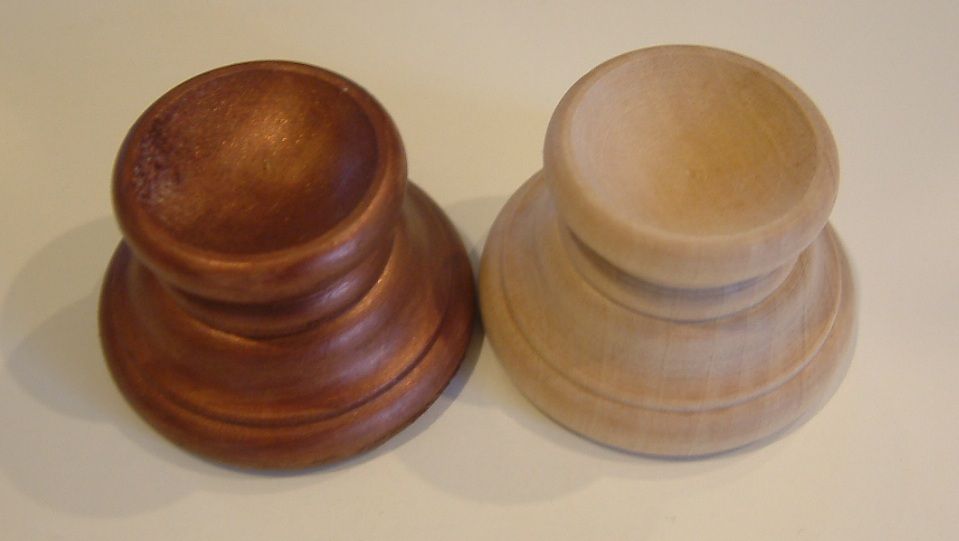
Next, using my finger I applied Patina Gilders Paste to parts of the egg cup.
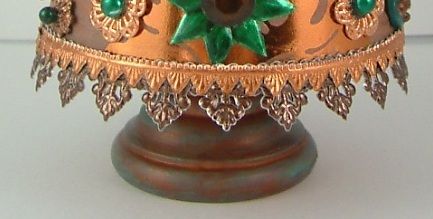
I trimmed the bottom of the tree with copper-colored Dresden scrap. If you don’t have copper colored scrap you can use Copper Mixative Alcohol ink to color silver or gold scrap.
Alpha Stamps Products Used for the Basic Copper/Patina Cone:
THE EMBELLISHMENTS
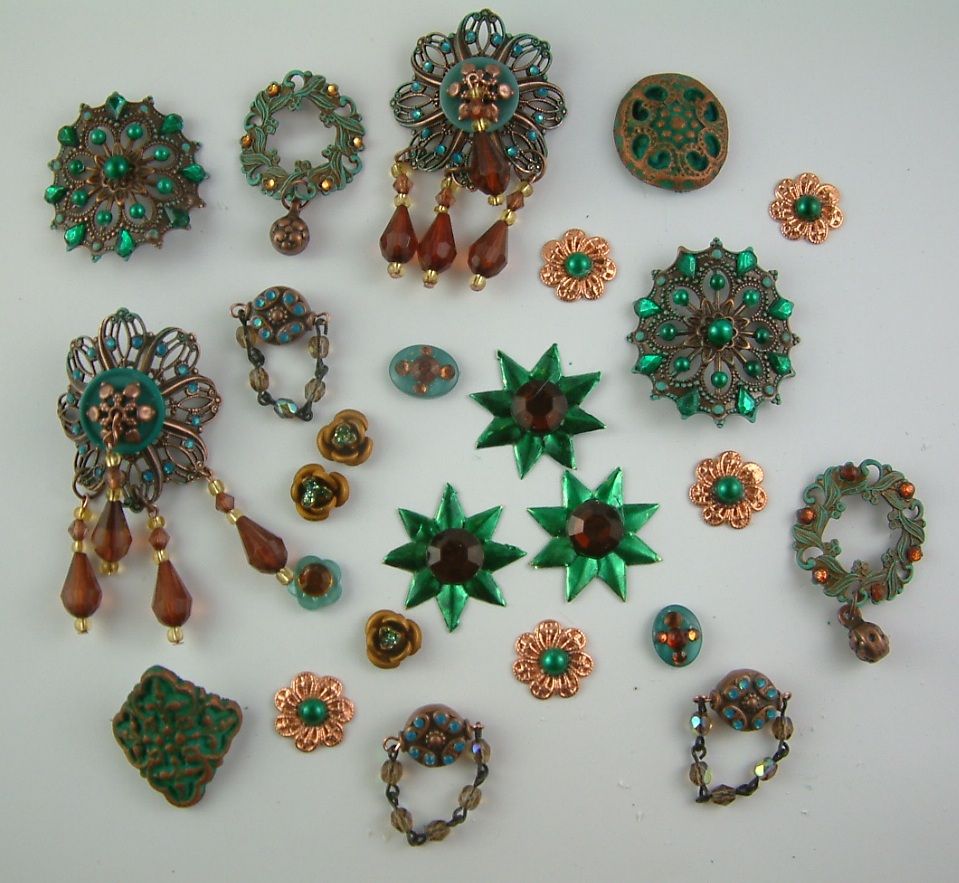
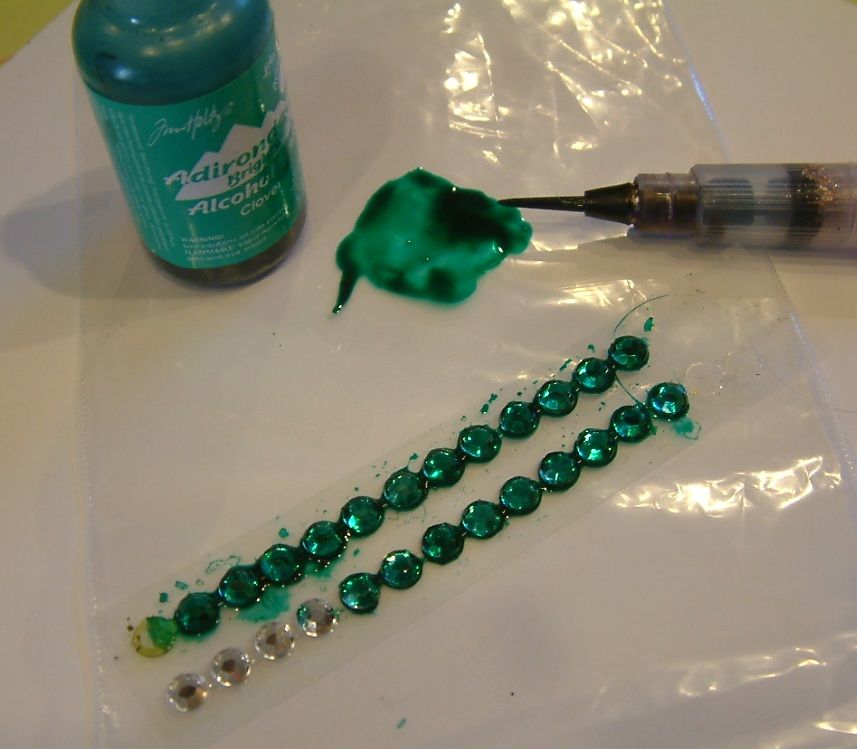
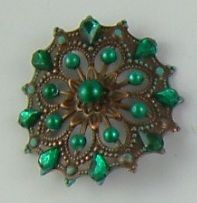
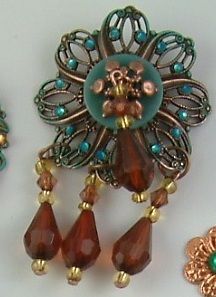
I wanted all of the embellishments to coordinate with my copper/patina color scheme. One of my favorite tricks to get the color I want is to paint or ink the pieces. For the piece pictured below, I started with a copper colored piece of filigree. I painted the cream adhesive pearls with Clover Alcohol Ink. Since the ink is translucent it changed the cream pearls to green without losing the luster. I also used the Clover Ink to paint the clear jewels. Again, it changes the color but the sparkle remains.
I used needle nose pliers to bend the edges of the filigree to fit the shape of the cone. I recommend doing this before adding jewels and beads as the process of bending the metal may damage or cause them to pop off the metal.
I used needle nose pliers to bend the edges of the filigree to fit the shape of the cone. I recommend doing this before adding jewels and beads as the process of bending the metal may damage or cause them to pop off the metal.
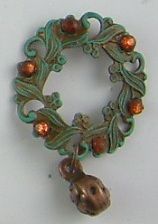
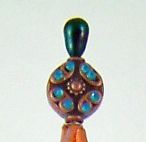
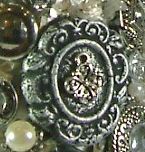
The piece pictured below was originally copper colored. Using my finger, I applied Patina Gilders Paste to the raised parts. I used Caramel Alcohol Ink to change the clear jewels to a coordinating copper color.
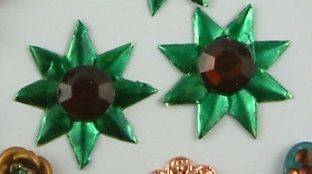
These Dresden stars were originally gold. I used the Clover Alcohol Ink to change their color.
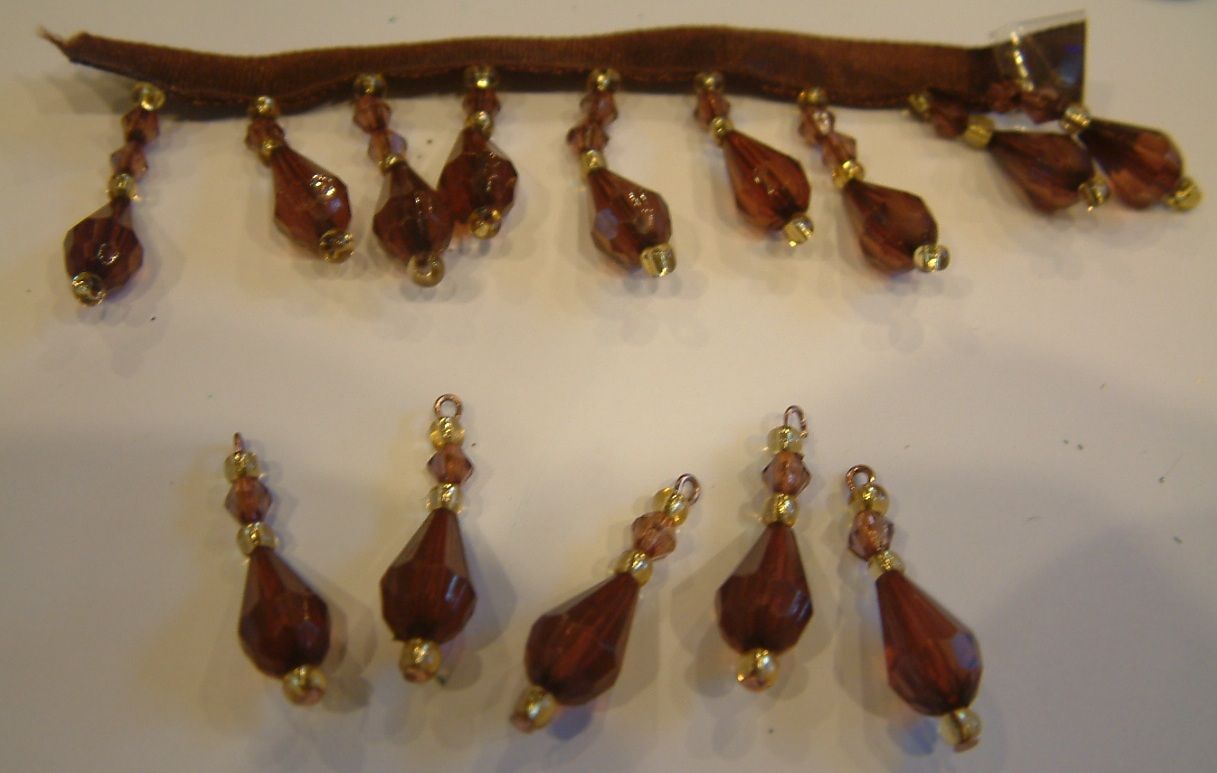
To the copper filigree below, I added a button. Just as with the pearls and jewels, you can use alcohol inks to change the color of buttons. To create the dangling beads, I removed the beads from the beaded fringe and then restrung them on eye pins so I could attach them to the filigree.
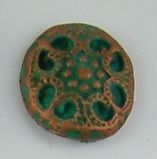
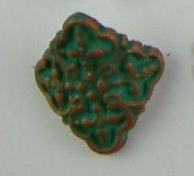
Below are some of the paper clay pieces I made for the tree. I first painted them with green acrylic paint and then using my finger, brushed on Copper Gilders Paste.
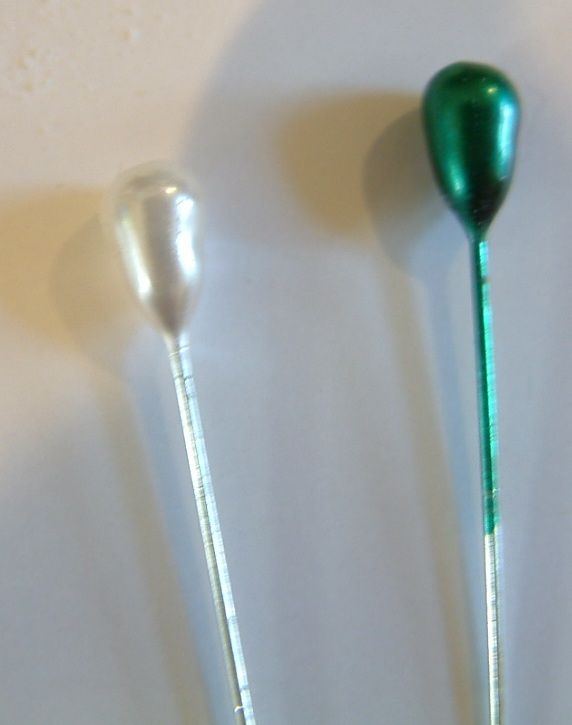
For the tree topper, I used a copper bead and a pear-shaped stickpin that I painted with Clover Alcohol Ink.
Products Used to for the Copper/Patina Tree Embellishments:
- Gold Dresden Stars – Colored with Clover Alcohol Ink
- Rootbeer Beaded Fringe – Restrung on copper eye pins
- Crocus Filigree – Antique Copper
- Ornate Filigree – Copper
- Copper Filigree Bead
- Bumpy Bead with Loop
- Floral Wreath – Vintage Patina
- Baroque Dresden Borders Bronze
- Pear-Shaped Stick Pins – Dyed with alcohol ink
- Cream Pearl Mix in Tin – Dyed with alcohol ink
- Cream Adhesive Pearls – Painted with alcohol ink
- Clear Adhesive Acrylic Round Jewels
- Clear Adhesive Acrylic Teardrop Jewels
- Creative Paper Clay
- Polymer Clay Mold – Small Round Button
- Polymer Clay Mold – Small Square Button
- Copper Gilders Paste
- Patina Gilders Paste
- Alcohol Inks – Caramel
- Alcohol Ink Mixative Copper
- Alcohol Ink - Clover
- E-6000 Adhesive –Mini Tube
Views of the Tree from Different Angles

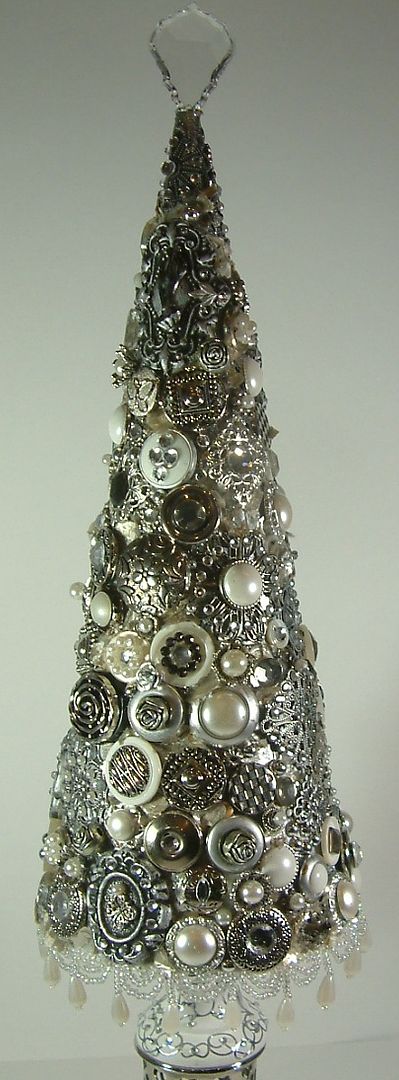
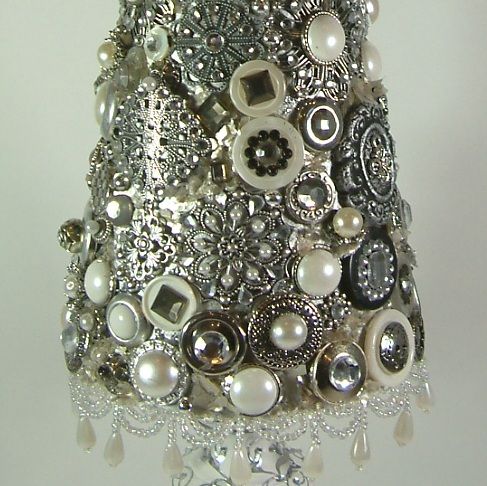
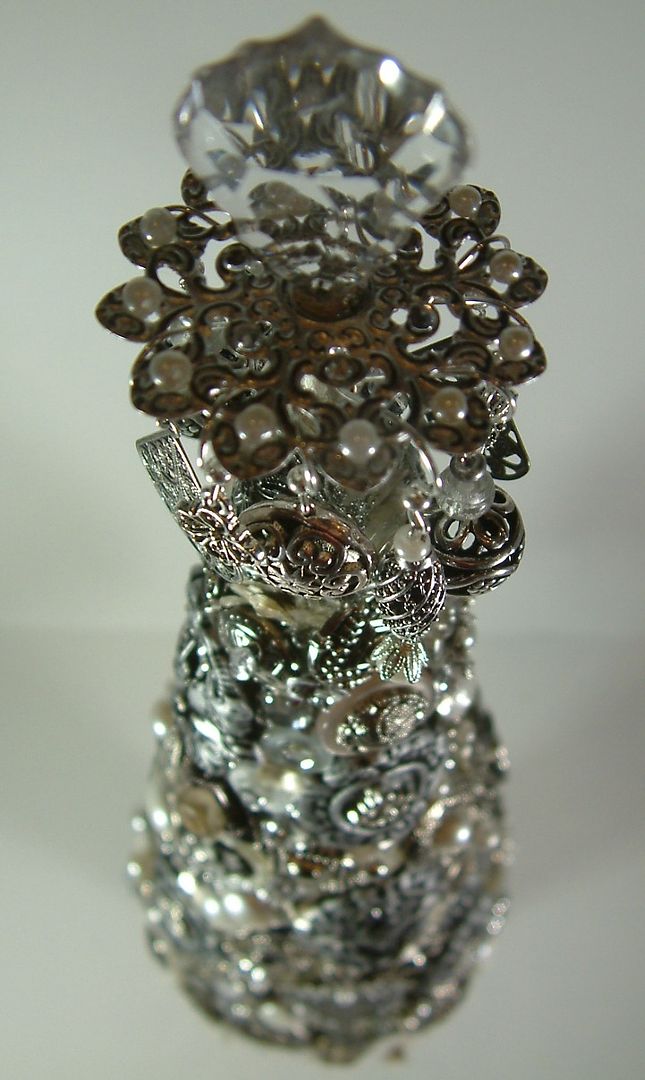
THE SILVER and WHITE TREE
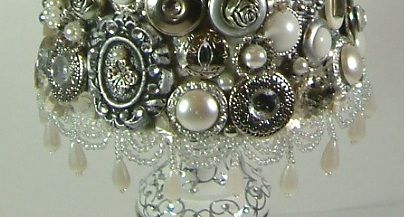
The silver tree is all about the bling! The cone used for this tree is 10” tall. The finished height is 13 ½”. On the top is a piece of filigree from which earrings are hung. Below are pictures of the tree with the filigree for the jewelry and without.

The base is made from a wooden candlestick holder. I first painted it white and then added silver stickers, silver flat-backed beads, and clear jewels. If you don’t have silver beads you can paint beads silver using Silver Mixative Alcohol Ink.

At the bottom of the cone, I attached pearl beaded fringe. Do this before decorating the tree.
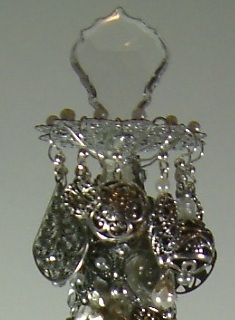
To accommodate the chandelier crystal at the top, I snipped off the top of the cone and glued the crystal in the hole. If you are going to add the filigree to the top of cone do this first before snipping the top and gluing the crystal in place.
Products Used for the Basic Silver Tree:
THE EMBELLISHMENTS
Just as with the copper tree, I used filigree, buttons, beads, jewels, and embellishments made from paper clay to decorate the silver tree.
I used lots of buttons on this tree. To prep the buttons I removed the shanks. Since I needed silver buttons instead of gold (which I had lots of) I painted them with Silver Alcohol Mixative Ink. In the example below, once the shank is removed it is easy to pop out the pearl center and paint just the gold area.

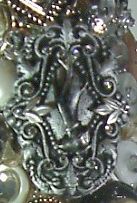
Below are examples of the paper clay pieces I used. I first painted them black and then using my finger applied Silver Gilders Paste to the raised areas. I further embellished them with silver bits and bobs and clear jewels.
I layered filigree, buttons, jewels, and pearls. In between the embellishments I used Pearlized Mica Flakes to fill in the gaps.
I used several Alpha Stamps Products (see the list below) to change the color of the pearls, jewels, buttons, filigree, and clay. I also added Silver Stickles to some of the pieces.
- Pearlized Mica Flakes
- Antique Silver Ornate Square Filigree
- Ornate Filigree - Silver
- Antique Silver Square Filigree
- Crocus Filigree – Antique Silver
- Lightweight Round Filigree
- Cream Pearl Mix In Tin
- 3 Tiny Brass Leaves – Used on clay piece and painted silver with silver alcohol ink
- Mixed Ornate Gold Beads in a Tin – Colored with Silver Alcohol Inks and Silver and White Gilders Paste
- Fancy Gold Buttons in a Tin – Colored with Silver Alcohol Inks
- Metal Flowers (Roses) - Silver
- 5mm Metal Rondelles Pewter
- Small Cone Bead Caps - Silver
- Clear Adhesive Acrylic Round Jewels
- Clear Adhesive Acrylic Teardrop Jewels
- Cream Adhesive Pearls
- Polymer Clay Mold – Cameo
- Polymer Clay Mold – Victorian Plate
- Creative Paper Clay
- E-6000 Adhesive –Mini Tube
Views of the Tree from Different Angles


THE SILVER and WHITE TREE JEWELRY
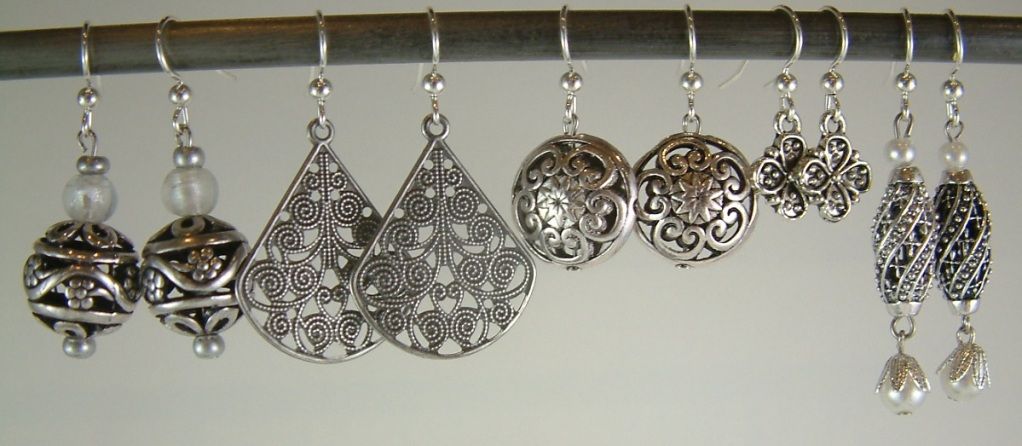
I attached a piece of filigree at the top of the tree to hang 5 sets of earrings. The filigree has enough holes to accommodate more earrings than the five I made. Originally the filigree was gold. I used Silver Alcohol Ink to change the color and jazzed it up with flat backed pearls and clear jewels. I hung the earrings from the holes in the filigree.
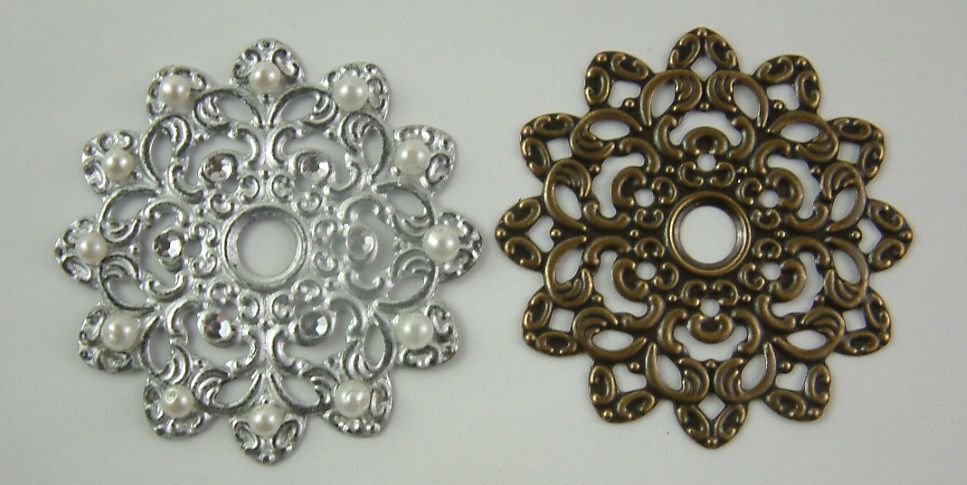
The hole in the center of the filigree fits over the top of the tree. I used E-6000 glue to attach the filigree to the tree.
- 47mm Antique Gold Filigree – Used to hold the earrings
- Alcohol Inks Mixative Silver – Used to color the filigree
- Clear Adhesive Acrylic Round Jewels
- Clear Adhesive Acrylic Teardrop Jewels
- Cream Pearl Mix In Tin
- Antique Silver Filigree Teardrop
- Antique Silver Puffy Round Beads
- Antique Silver Swirl Oval Ornament – Small
- Antique Silver Ornament Bead- Large
- Small Cone Bead Caps - Silver
- Antique Silver Swirl Oval Ornament – Small
- Antique Silver Ornament Bead- Large
- E-6000 Adhesive – Mini Tube
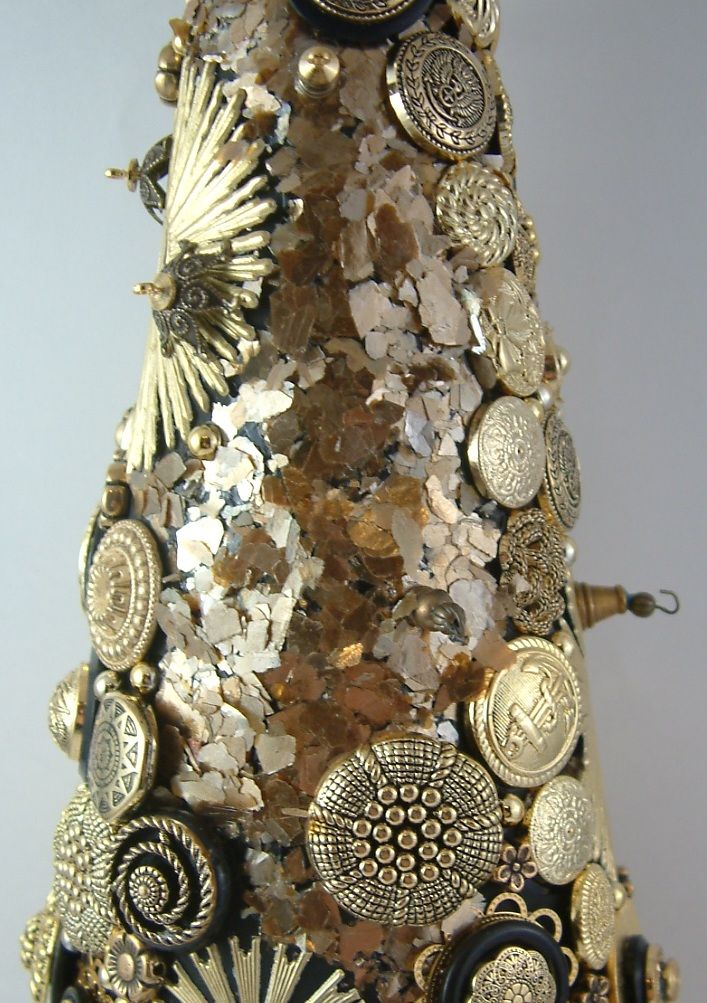
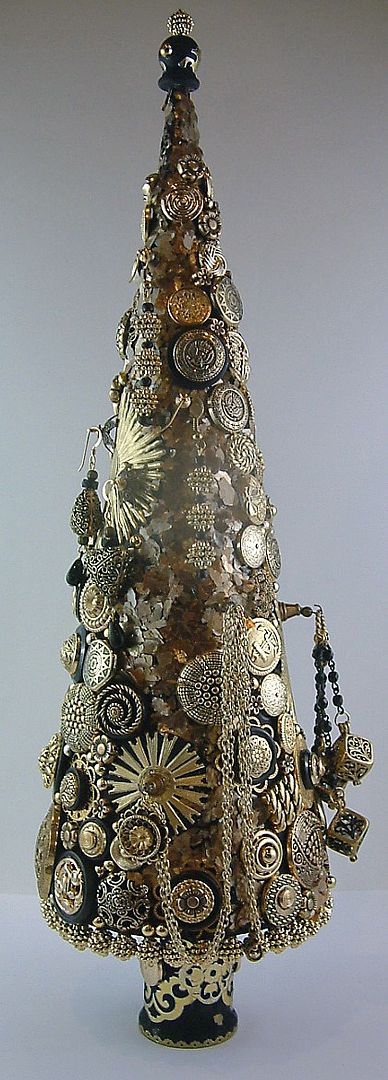
The gold/black tree is made using a 12” paper mache cone. The finished size is 15 ½”. To accommodate hanging earrings and necklaces I added various hooks and loops to the tree. I started the process by painting the cone black.

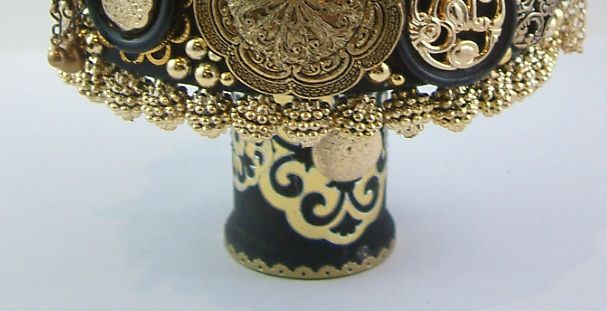
To the bottom of the cone, I glued round gold bumpy gold beads.
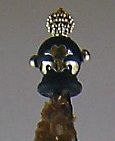
On the top of the tree, I added a wooden finial, painted black, decorated with stickers, fold adhesive pearls and a round bumpy bead like the ones I used on the bottom of the tree.
Products Used for the Basic Gold and Black Cone:
- Paper Mache Cone – 12 Inch
- Gilded Mica Fragments
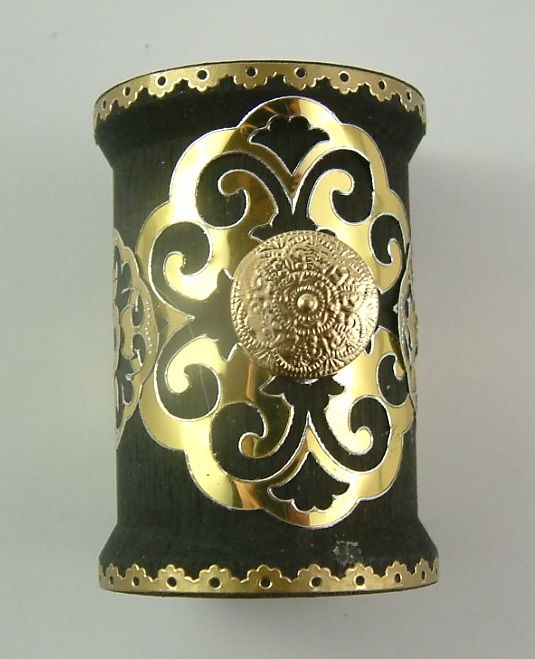
- 2” Wooden Spool
- Small Wooden Finial – Used for the base
- Dazzles Medallions Sticker Set – Used to decorate the base
- Fancy Gold Buttons in a Tin– Used to decorate the base
- MixedOrnate Gold Beads in Tin – Used to decorate the spool
- Small Wooden Finial – Used for the top
- Gold Adhesive Pearls
THE EMBELLISHMENTS
In addition to the layers of gold and black buttons, filigree and flat backed gold beads; I also used two different designs of gold Dresden.
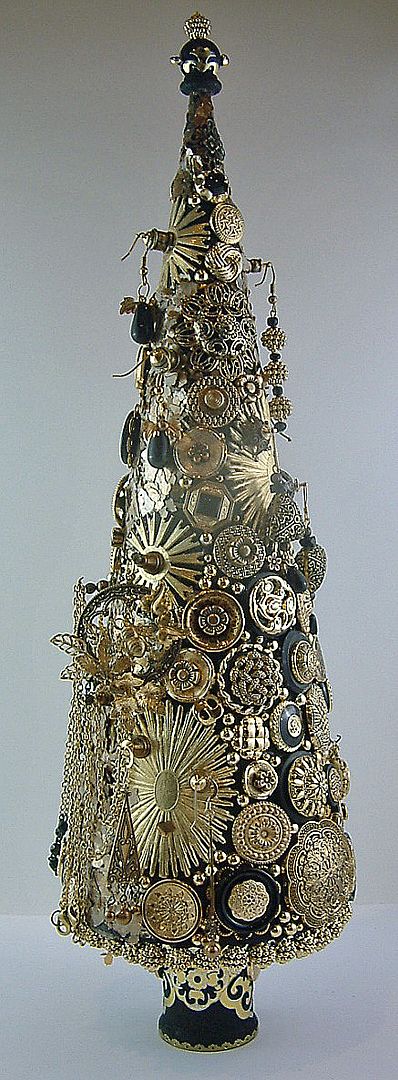
I attached many gold buttons (some backed by black buttons) to the cone. The buttons came from mixed tins of buttons shown below. Each tin contained different buttons. These are also the buttons I also on the silver tree which I painted silver with Alcohol Ink.

After all of the embellishments were attached, I filled in the gaps with Gilded Mica Fragments.
To change the color of various pieces to match the color scheme I used the following Alpha Stamp products:
Products Used to for the Gold Tree Embellishments:
- Paper Mache Cone – 12 Inch
- Gilded Mica Fragments
- 2” Wooden Spool
- Small Wooden Finial – Used for the base
- Dazzles Medallions Sticker Set – Used to decorate the base
- Fancy Gold Buttons in a Tin– Used to decorate the base
- Mixed Ornate Gold Beads in Tin – Used to decorate the spool
- Small Wooden Finial – Used for the top
- Gold Adhesive Pearls
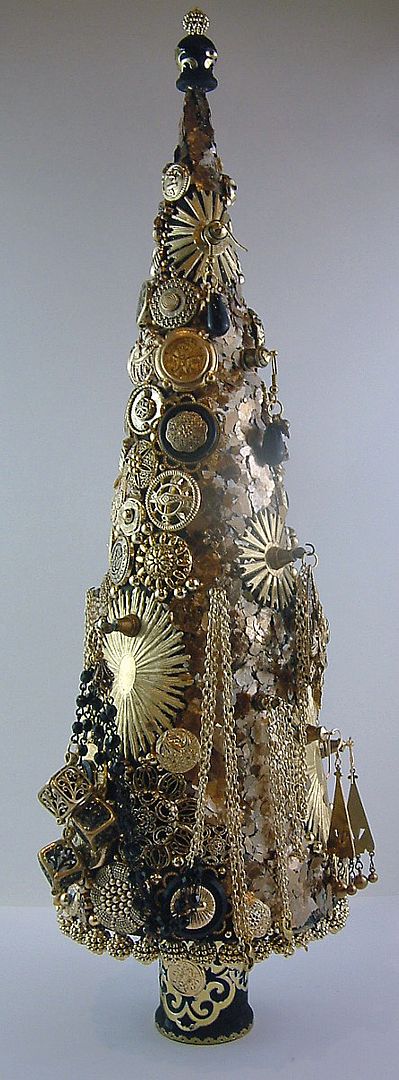
THE GOLD and BLACK TREE JEWELRY
In order to hang the jewelry from various areas on the tree I needed to add some hooks and loops.


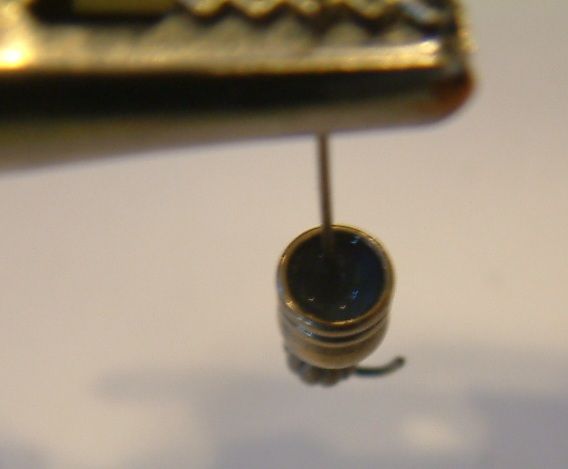
To hang the necklaces, I added hooks to the tree. I used an eye pin which I opened up to create a hook. I glued a bead to the hook and then glued the eye pin into a bead cap. The bead is to keep the hook from sliding into the bead cap. I filled the bead cap with more glue. When dry, I clipped away the excess eye pin. I then glued the bead cap to the tree.
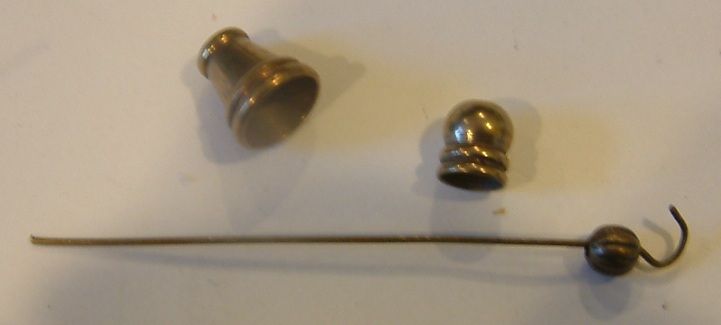
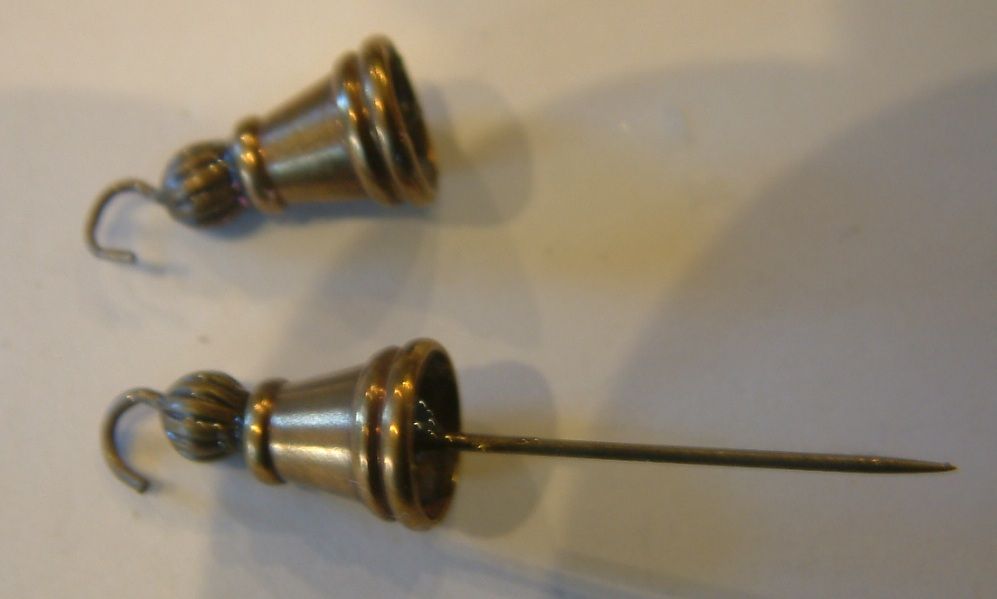
For the necklaces I used two bead caps/hooks; one for the necklace and one for the chain.
Products Used to Make the Hooks and Loops to Hang Jewelry:
- Fancy Swirl Bead Caps
- Raw Brass Box Feet – Cones – Used as a bead cap
- Raw Brass Box Feet – Rounded – Used as a bead cap
- Brass Eye Pin
- Tiny Non-Threaded Screw Eyes
- Round Corrugated Metal Beads
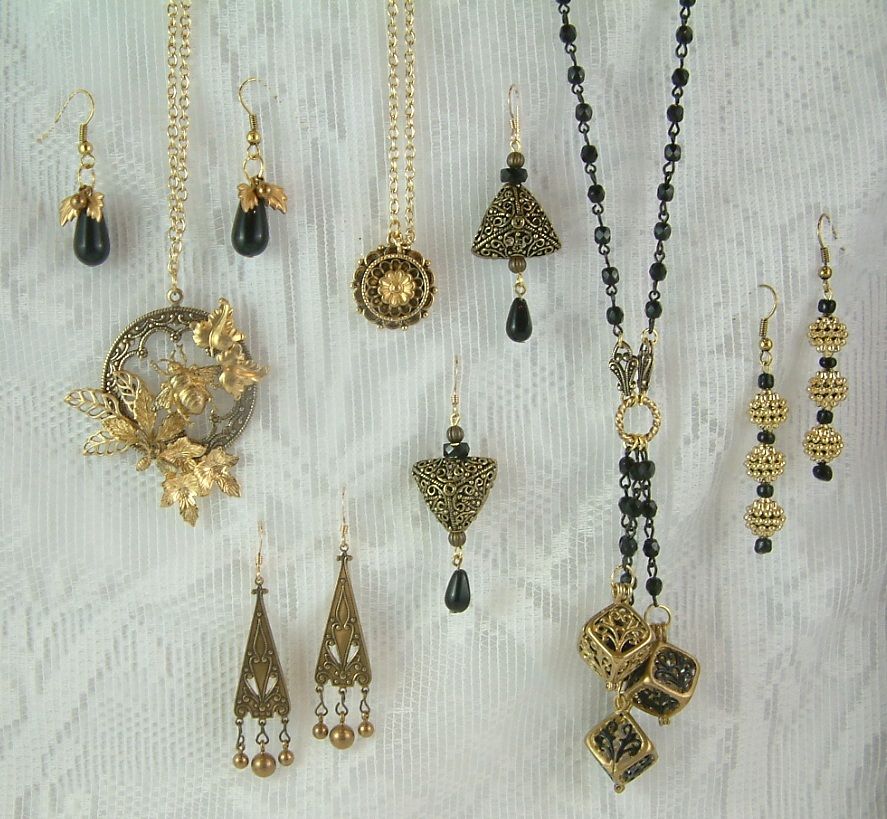
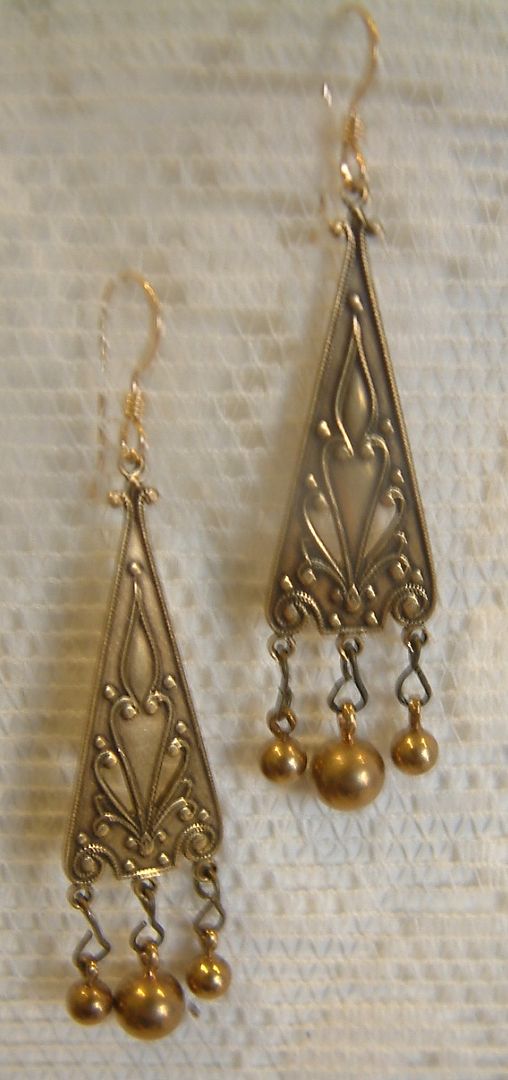
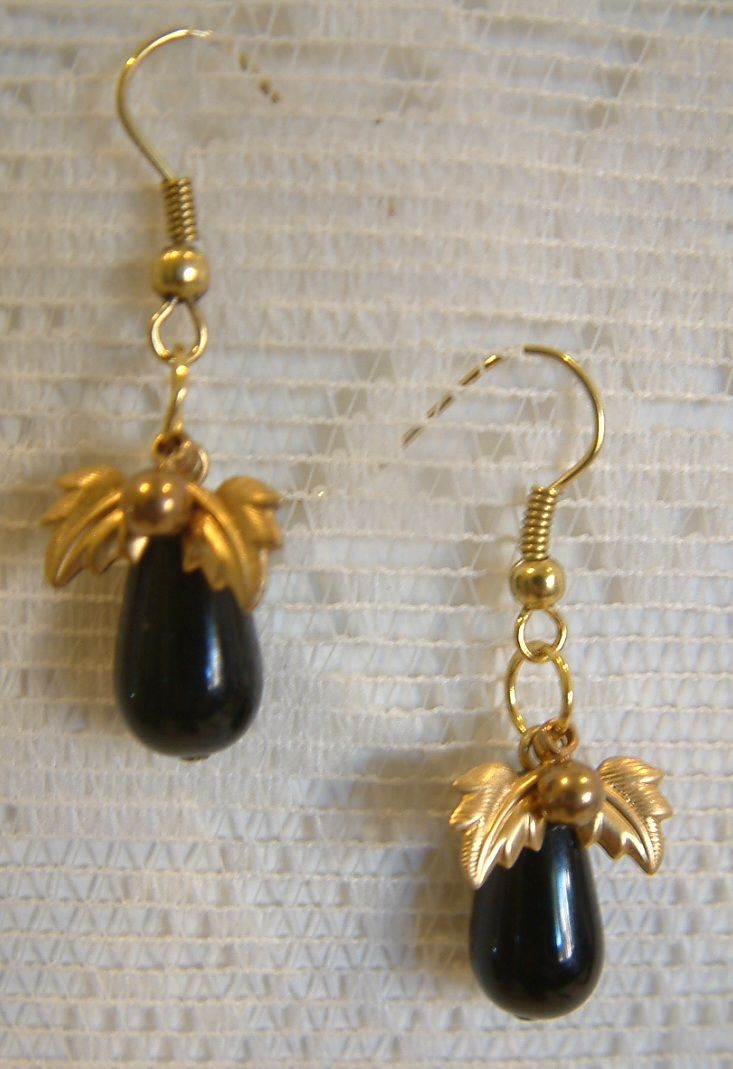
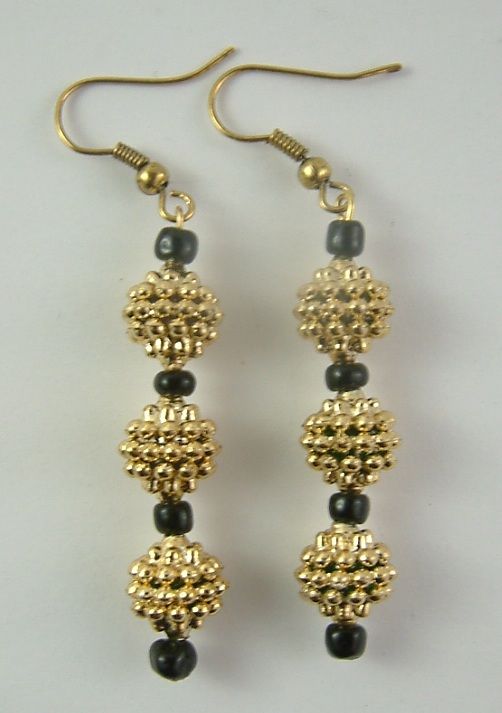
I made various pieces of jewelry to hang on the tree.
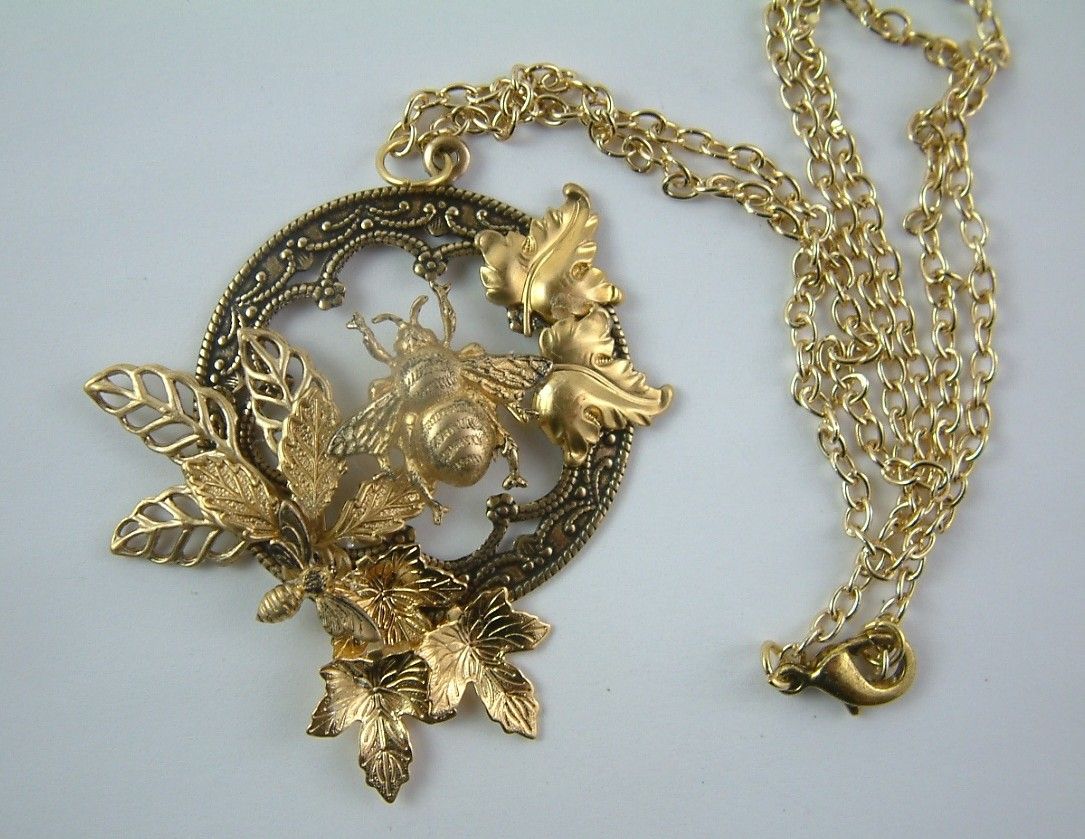
Products Used:

Products Used:
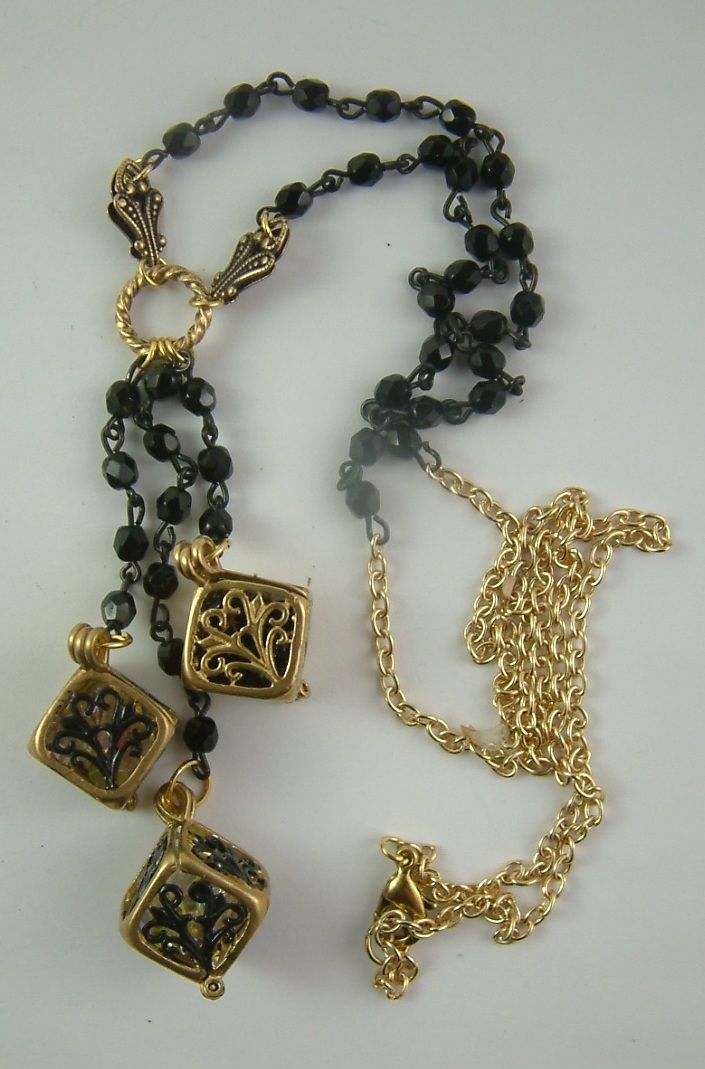
Square Brass Bead Cages – these cages open up. I filled mine with clear sparkly beads and painted some of the filigree black.
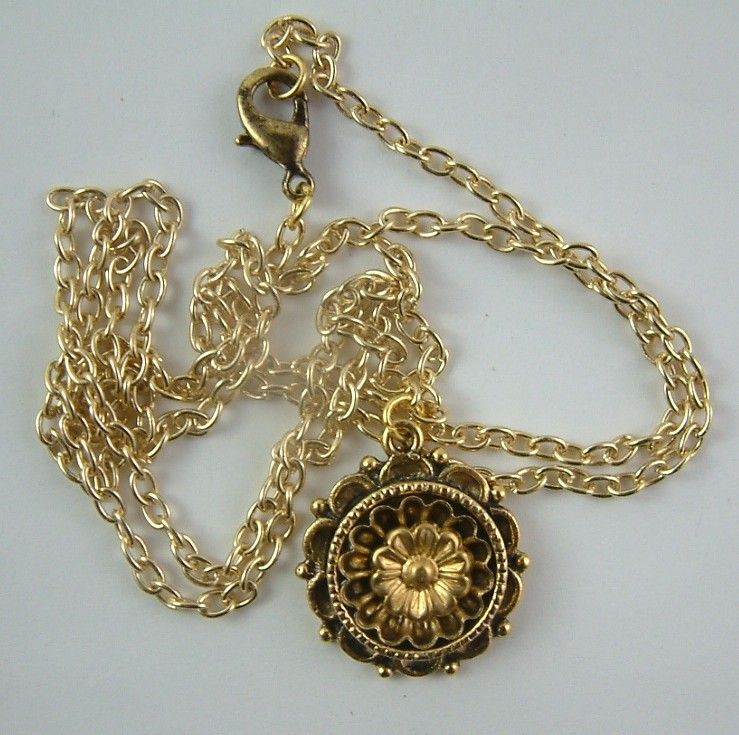
Products Used:
Products Used:
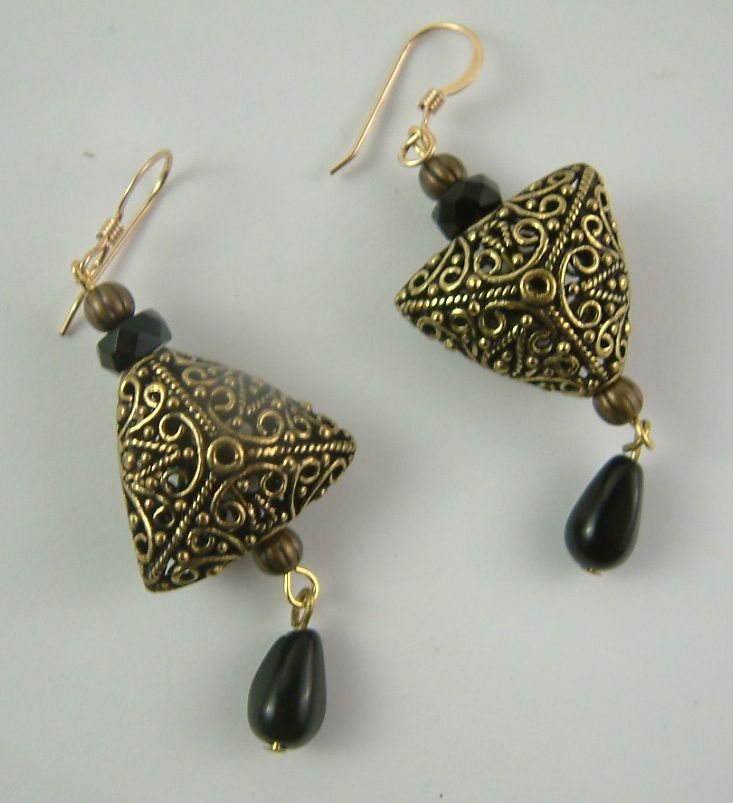
Products Used:
Products Used:
Products Used: