.JPG)
Spring has sprung and I have a new
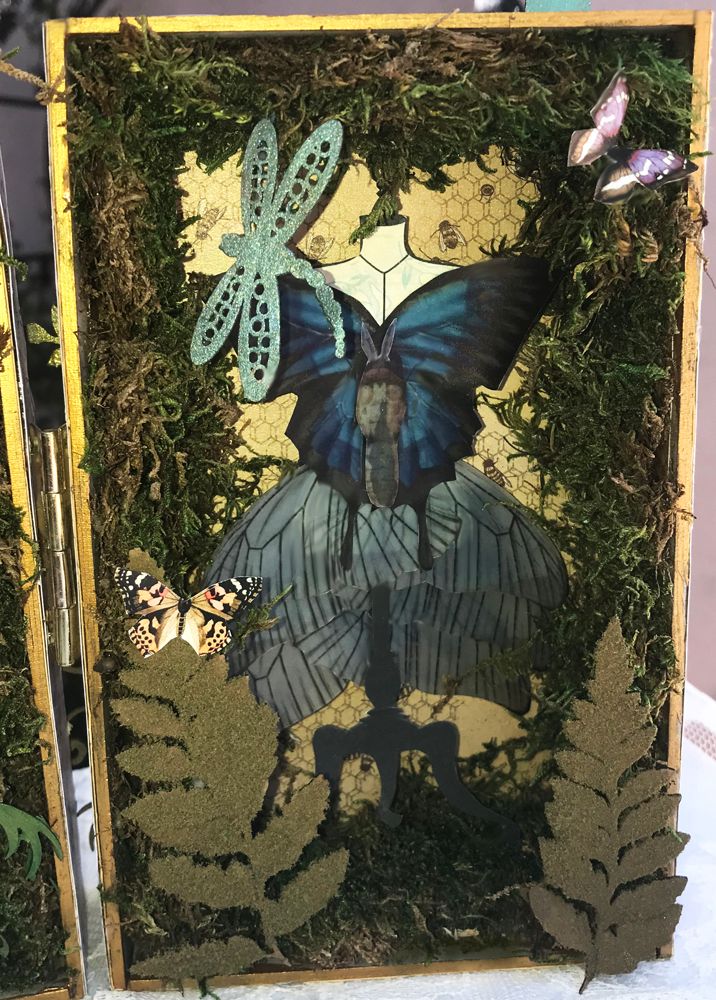
project for you; Buzzy Bee’s Butterfly Boutique. I’ve used a 7” tall 3” deep theatre box (made
from a kit) to create Buzzy’s shop.
.JPG)
.JPG)
.JPG)

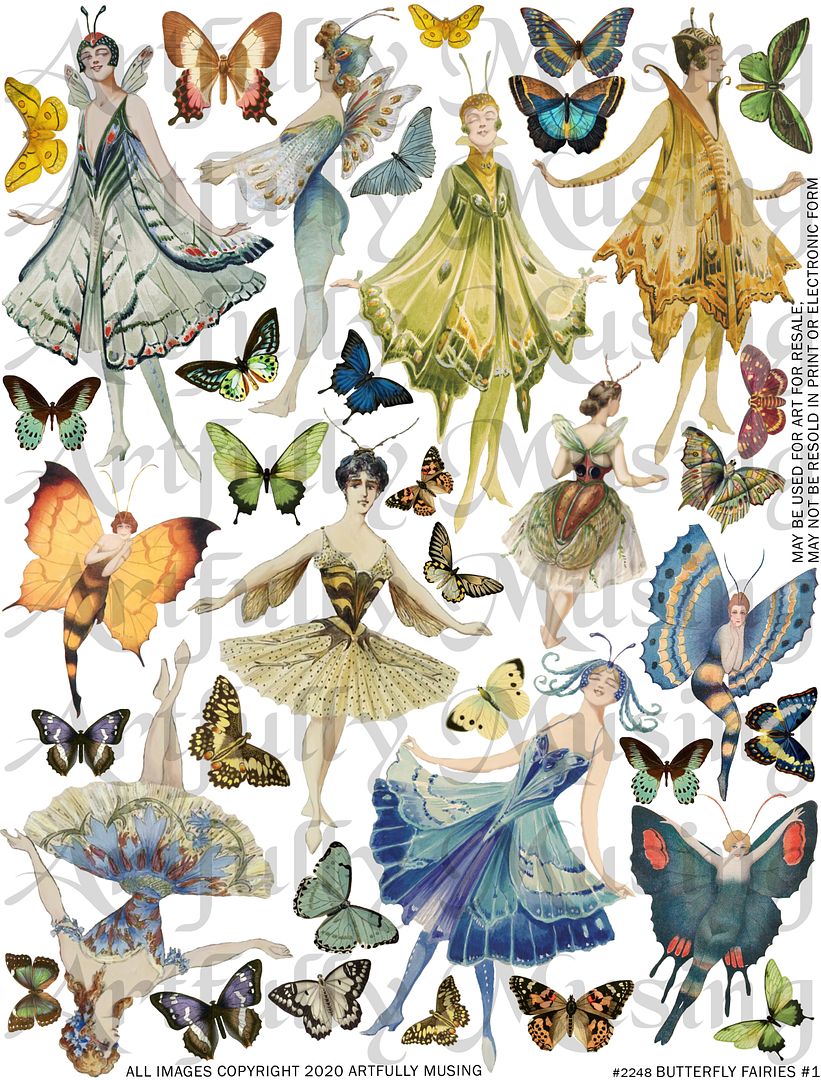
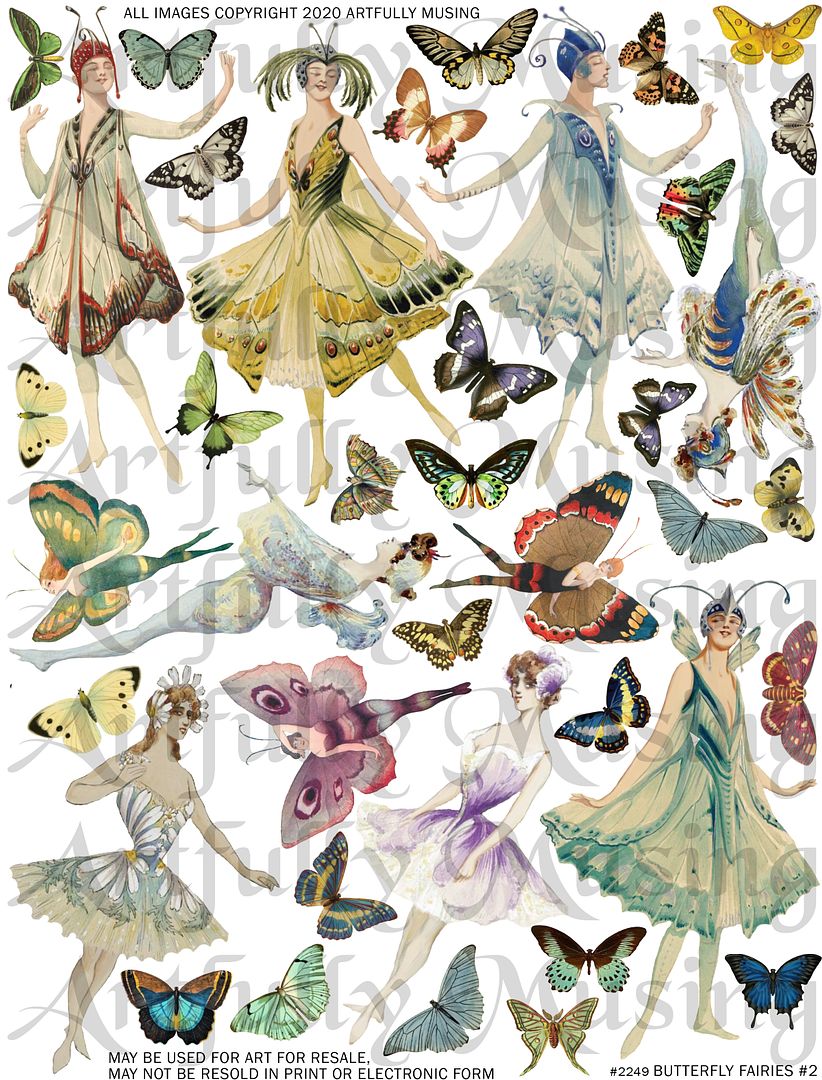
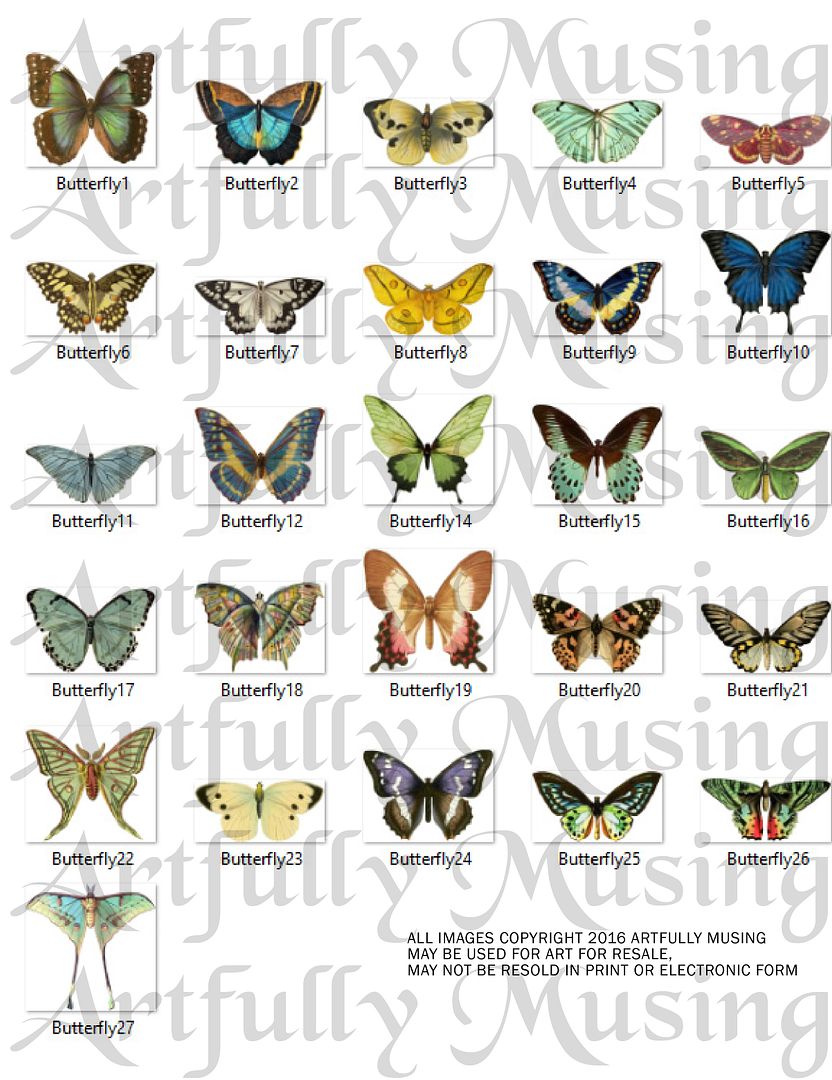
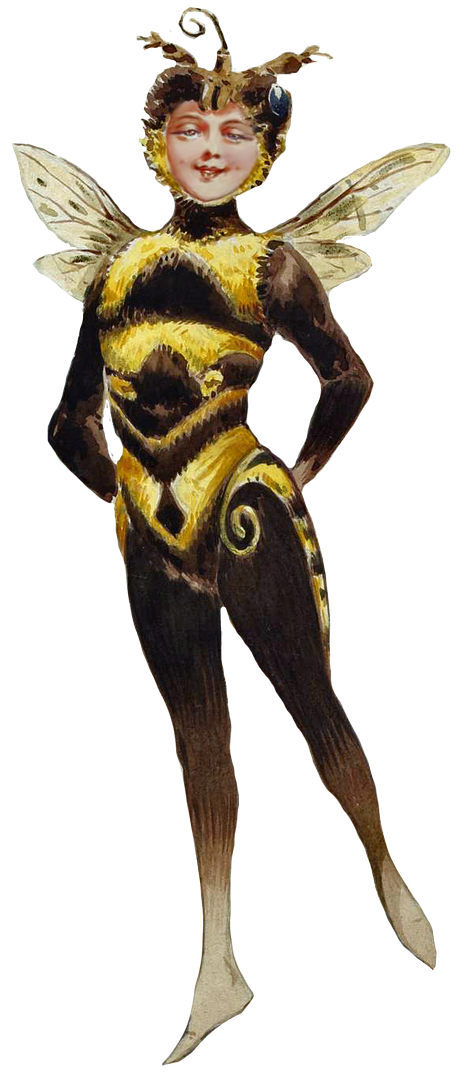
All of the butterfly fairies come from
my two new collage sheets, Butterfly Fairies 1 & 2. I’ve also
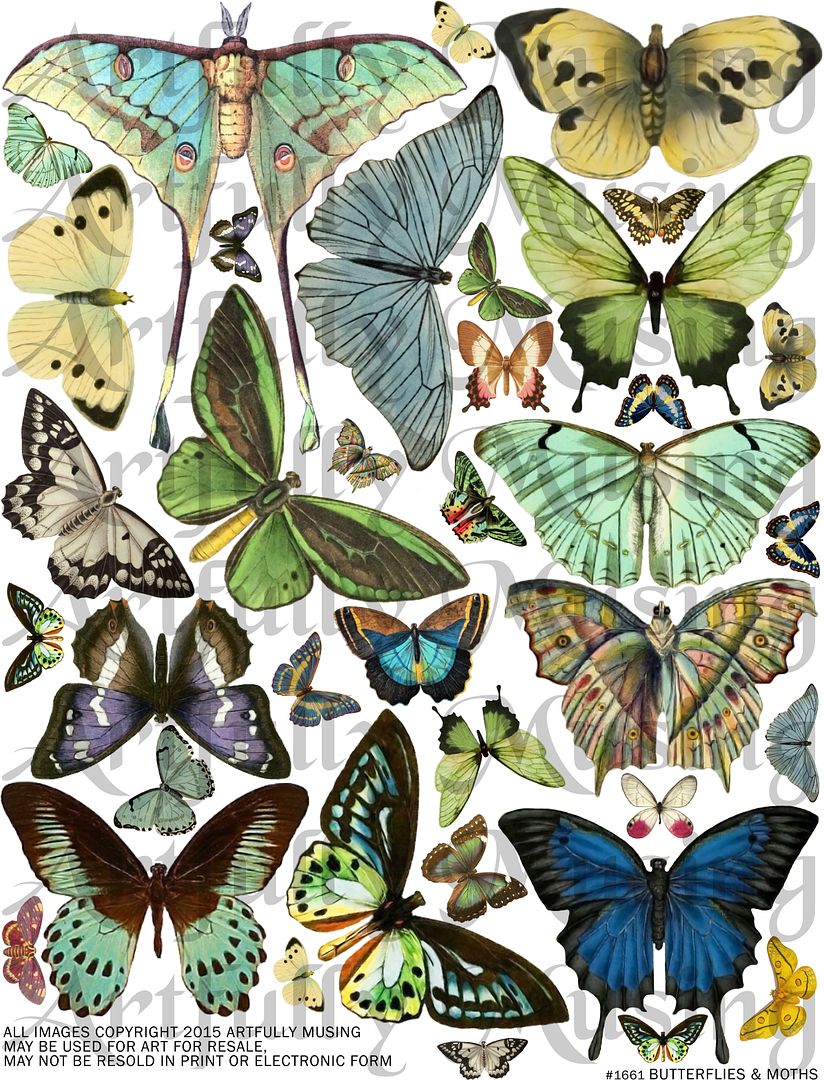
used some older ones; Butterfly & Moths Collage Sheet (or you can use the digital
Butterflies & Moths Set Download) and the Dress Forms Collage Sheet.
.JPG)
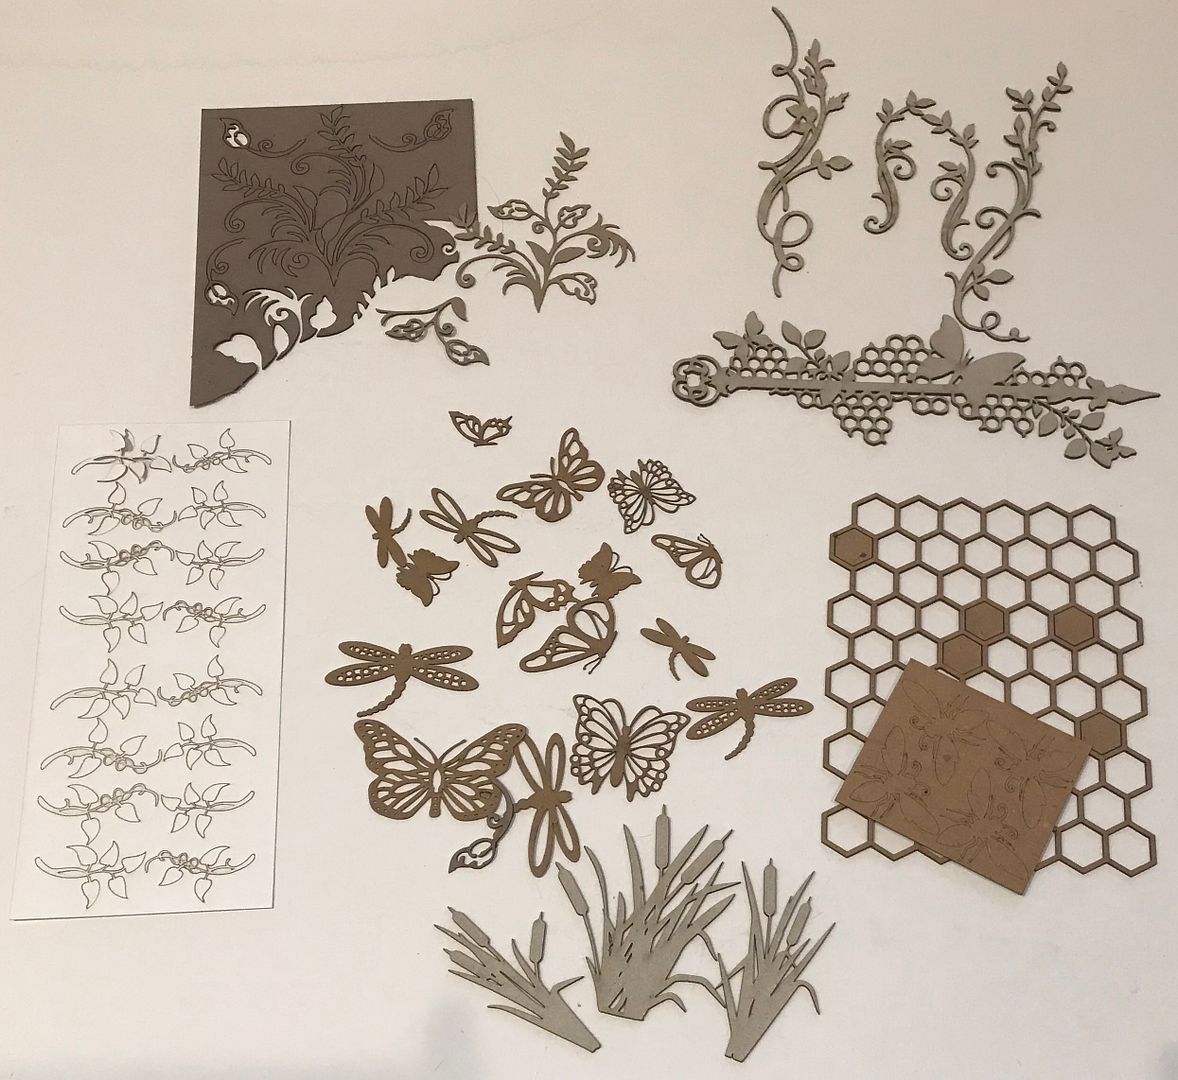
I’ve used more chipboard leaves, swirls
and cattails to frame the rooms and trimmed the inside with moss.
The inspiration from the project came
from this sweet 6x6 paper pad titled “Tell
the Bees”.

NEW COLLAGE SHEETS
Butterfly Fairies #1 and #2
These two sheets are filled with whimsical
butterfly fairies in various sizes. To
complement the fairies I’ve included lots of colorful butterflies. You can make them even more magical by adding
larger wings from the Butterflies and Moths collage sheet or digital image set pictured further down in the post.
THE DETAILS

After I assembled the theater cabinet I
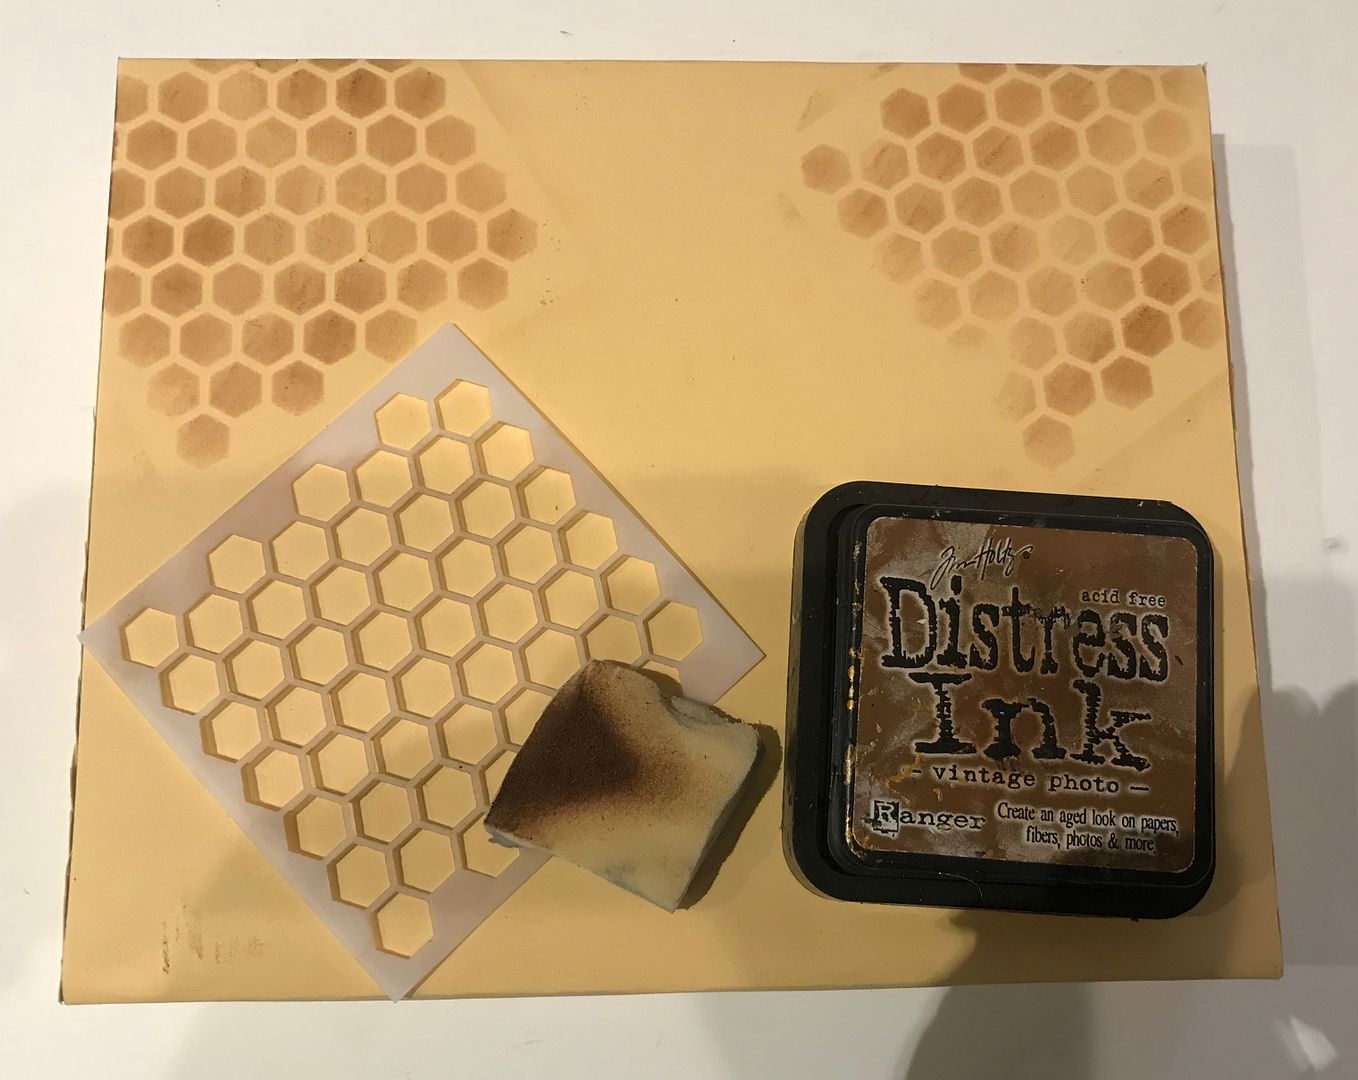
covered it with yellow cardstock. I then
used a mini honeycomb stencil and Vintage Photo Distress ink to add the
honeycomb pattern to the paper.
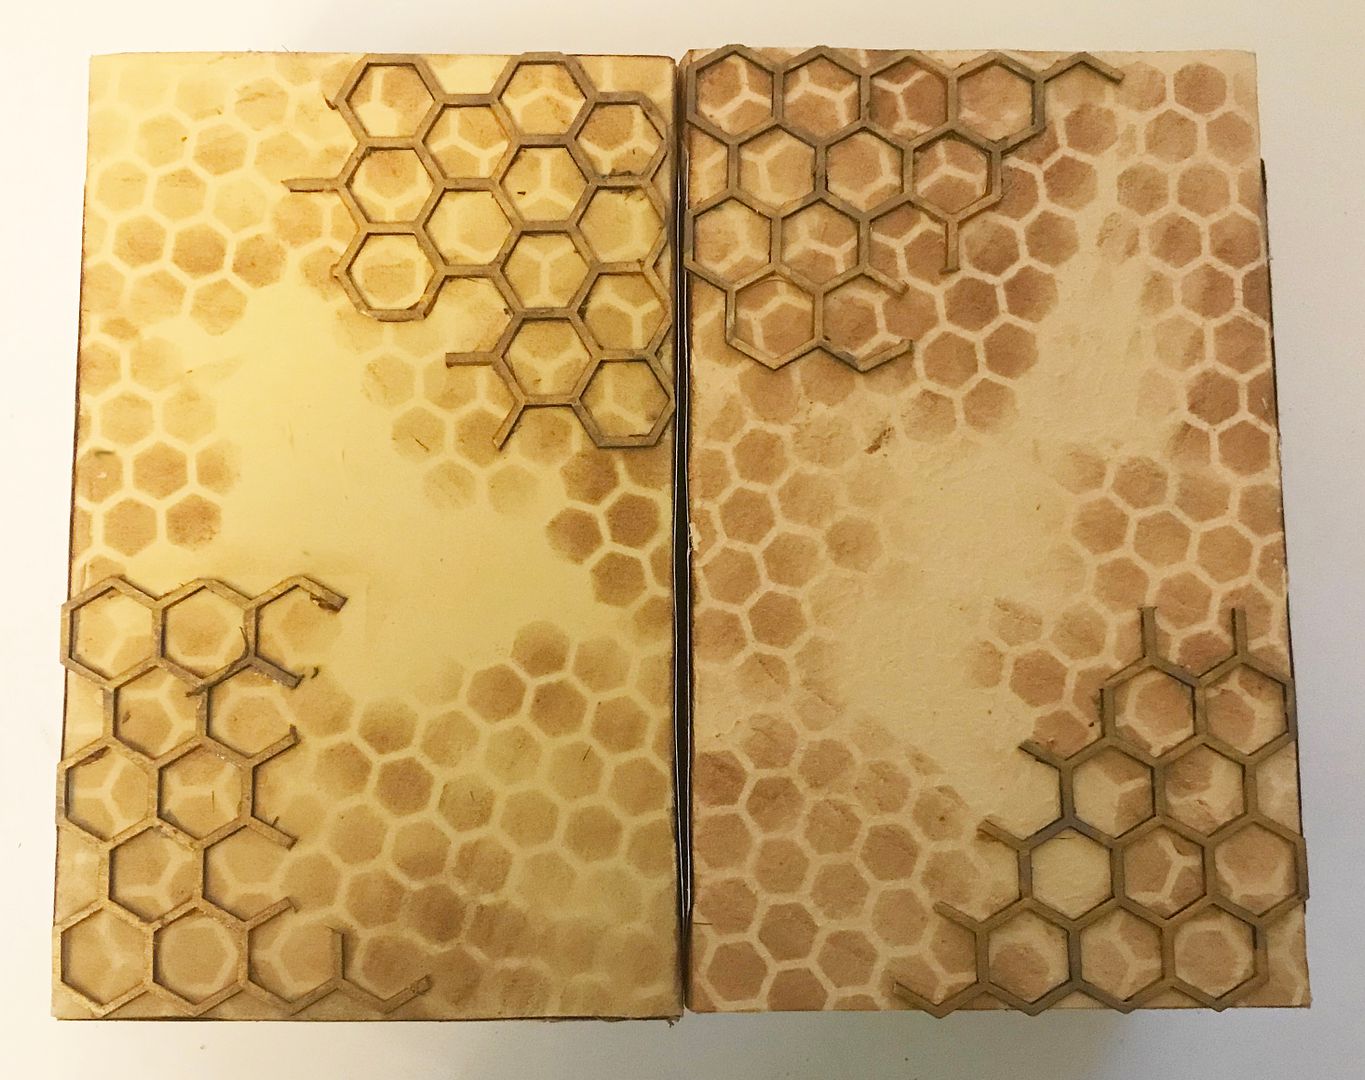
Next, I painted a sheet of honeycomb
chipboard gold which I then cut into pieces and used to decorate the front of
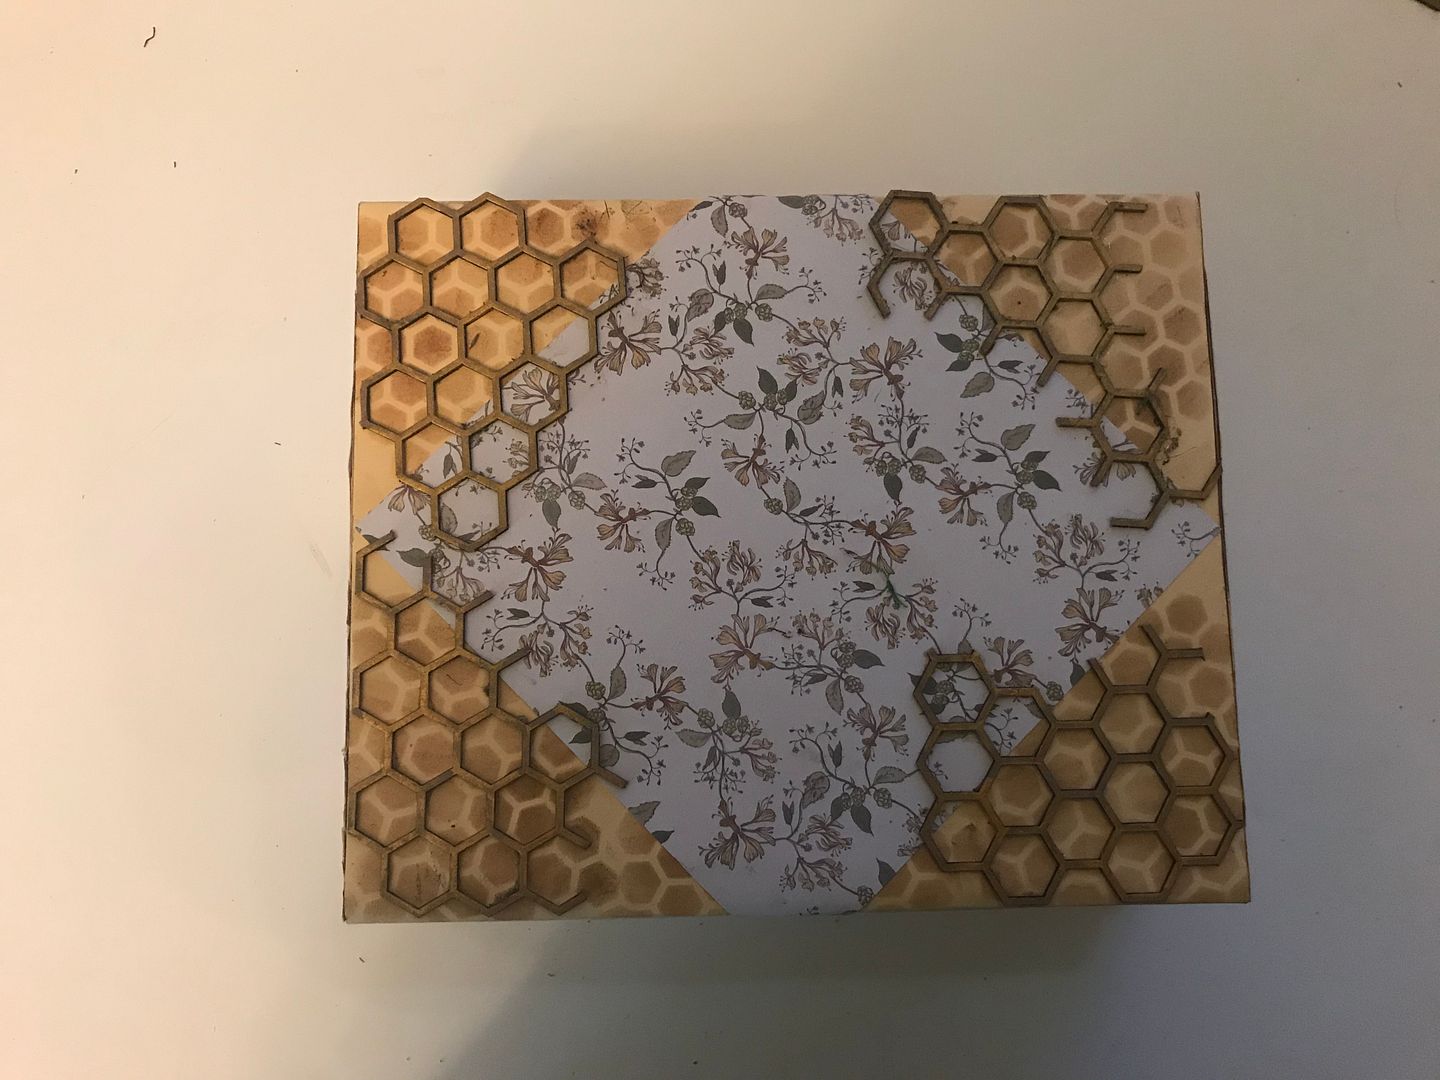
the theatre and also the back. On the
back and sides, I added a piece of decorative paper from the Tell the Bees paper pad.
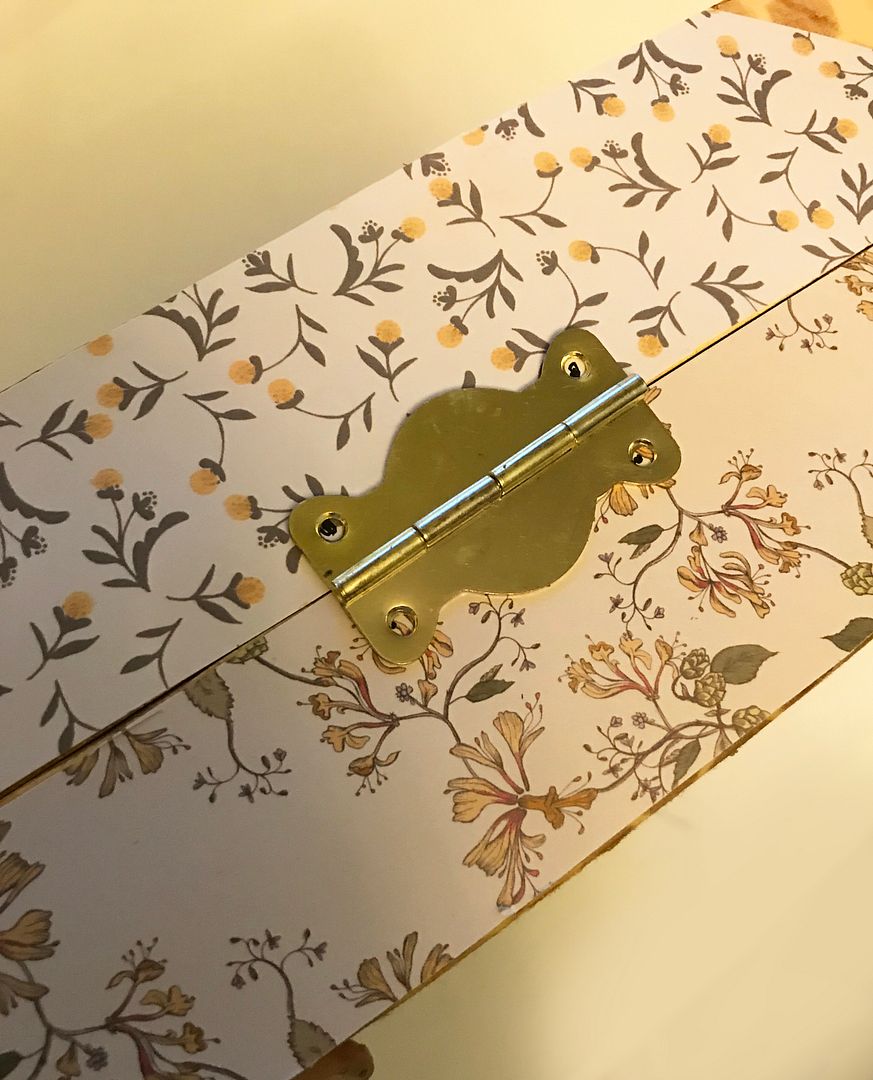
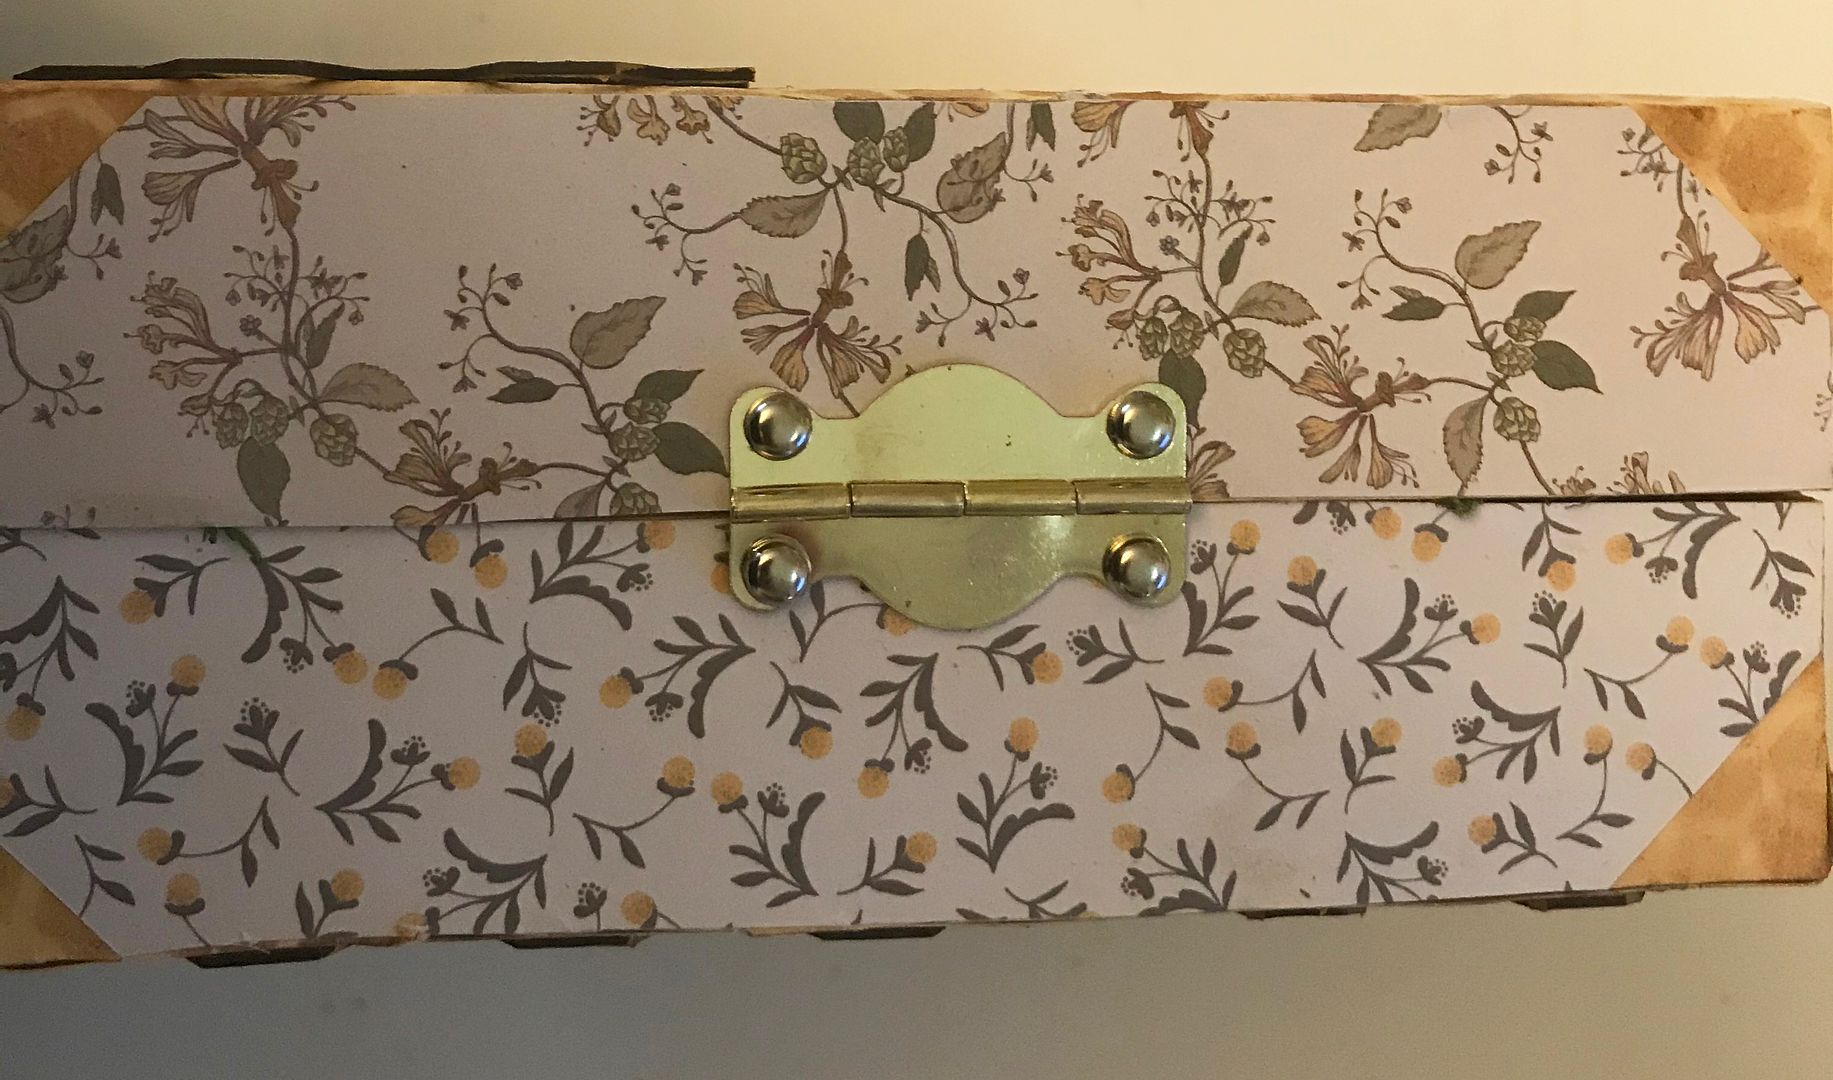
I then used hinges to attach the doors
to the back. You want to make sure your
hinges are wide enough that brads that are used to attach the hinges clear the
edge of the box. To make the attachment marks, be sure to
hold the door and back together, then punch the holes and then attach them with
brads (I used glue as well).
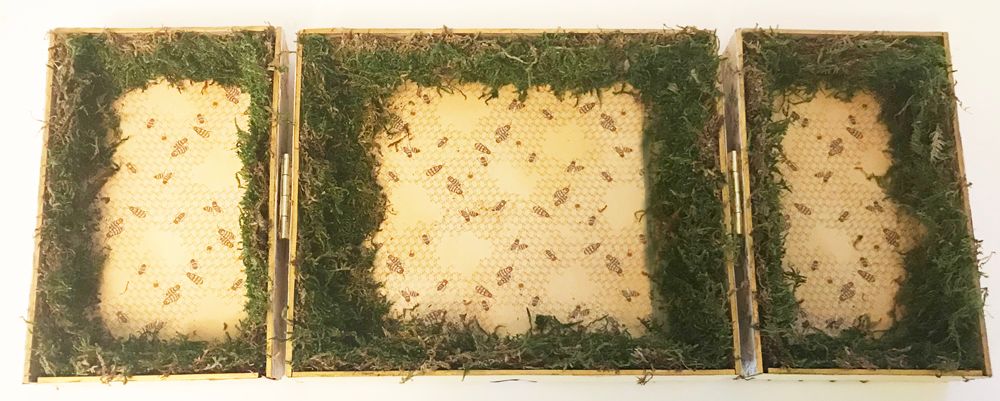
On the inside, I added more of the paper
and then moss around the inside edges.
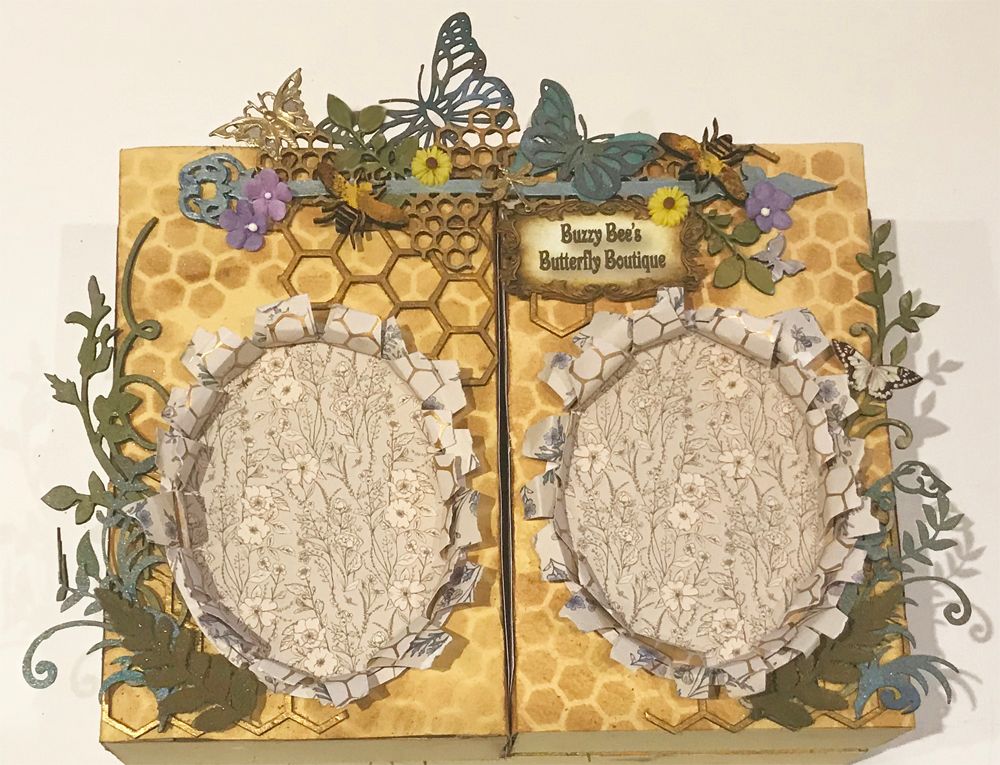
To decorate the front, I used a variety
of chipboard and die-cut vines, leaves, cattails and butterflies which on which
I used paint, watercolor pencils, and iridescent powders.

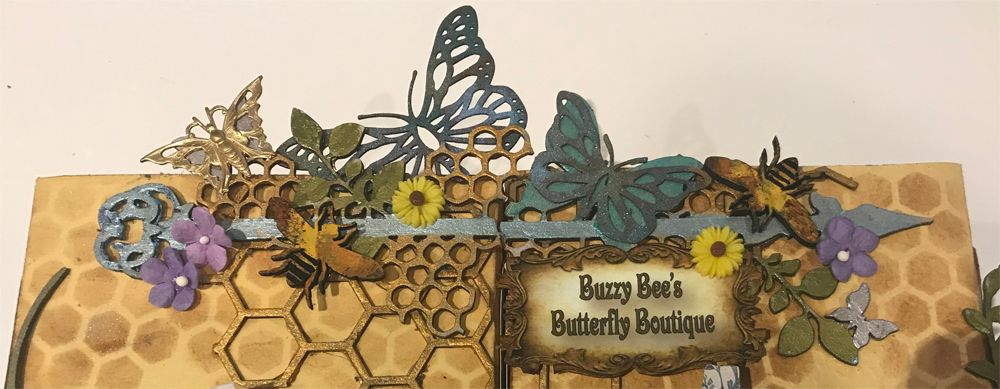
For the topper, I used a chipboard
honeycomb and medley piece which I painted and then added bees, butterflies, and
flowers. To open the door you
need to cut the topper in half.
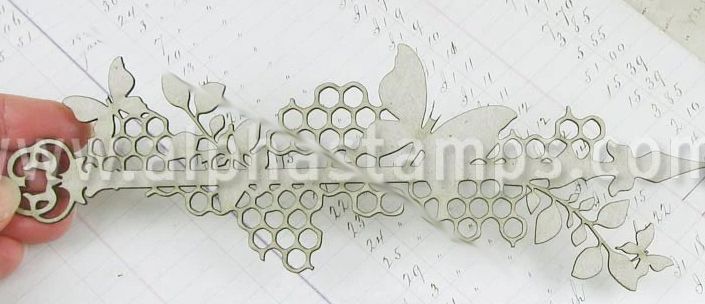
To cover the cut, I used a dragonfly
charm which I glued to only one side of the topper.

To make the paper frames I used three
pieces of the paper and drew an oval on two of the pieces.

Next, within the oval, I cut slits into the paper.
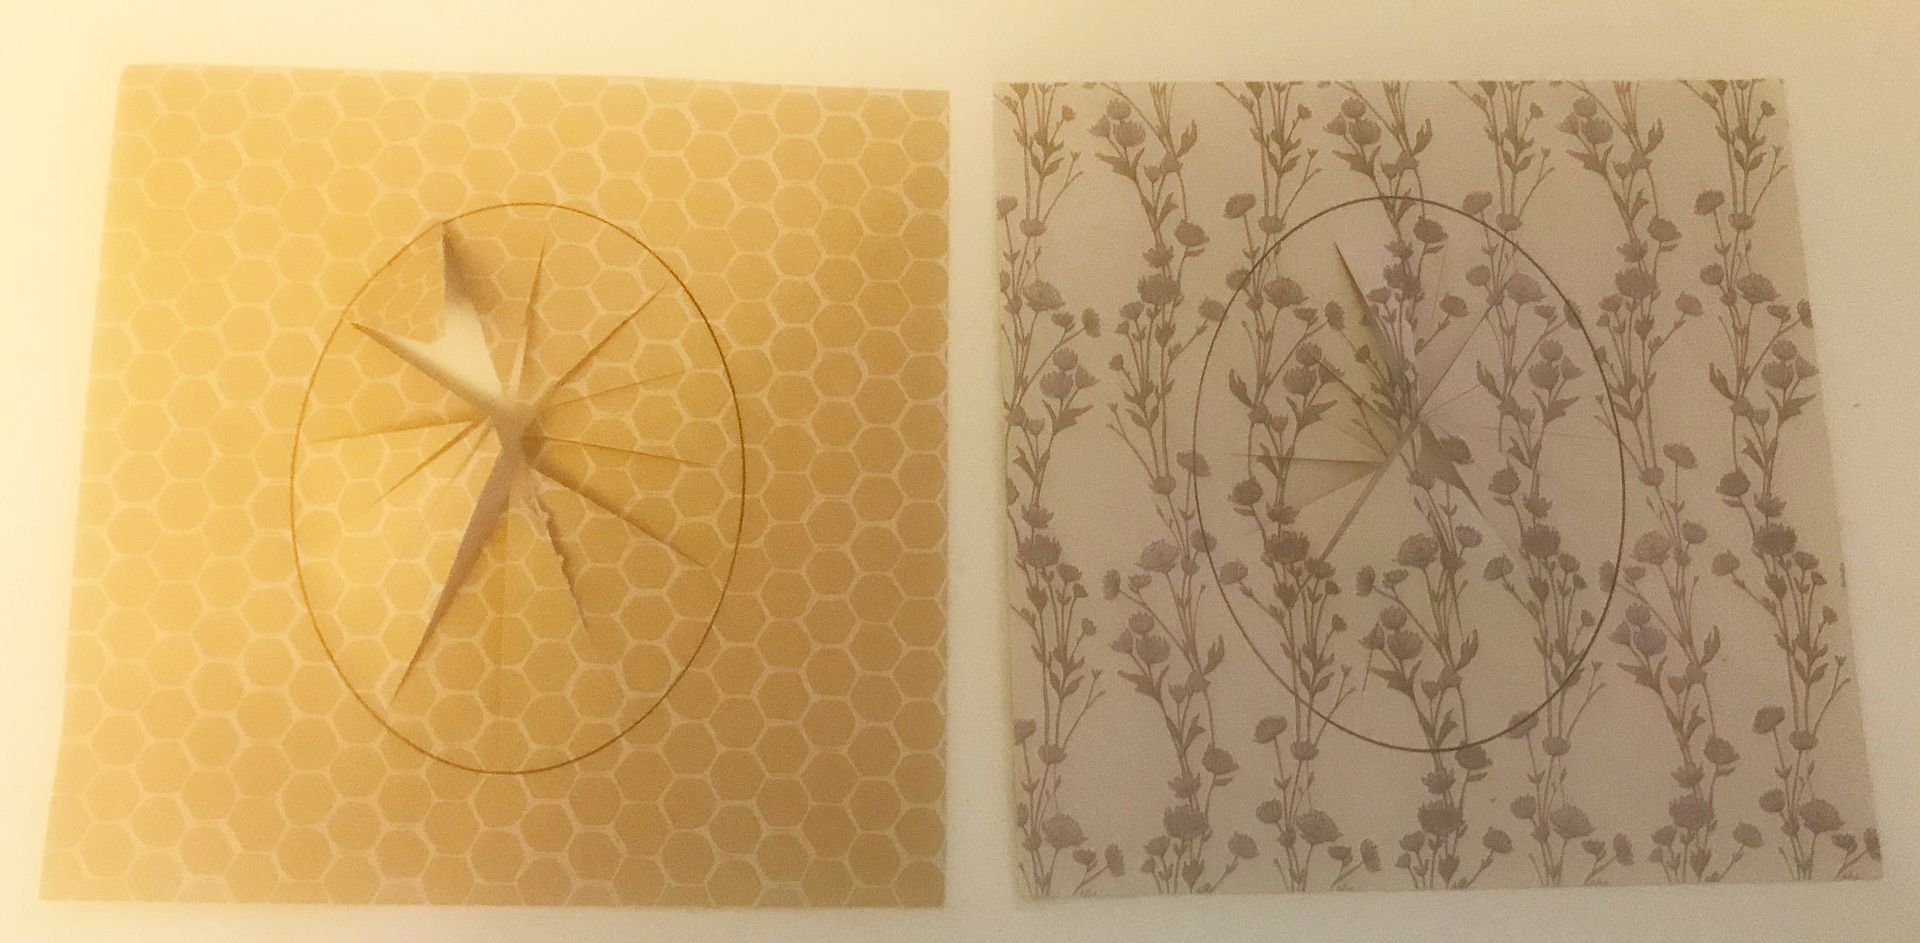
I then pulled back the cut paper and
tore off the edges of the paper.

Lastly, I stacked the two cut pieces
together and mounted them on the solid sheet.
I then curled the torn edges back. Before attaching the frames to the shop, I
trim away much of the excess back paper.

NOTE: Decide which side of the paper you want to show when
the curling is finished as it is the opposite side of the paper where you draw
the circle that way you won’t see it when you are finished. You can use more than two torn pieces of paper
if you like.
I embellished the butterflies fairies
with butterflies printed on vellum. I
also printed the fairies multiple times, cut out bits of the dress, and attached
them to the main image tape with foam double-stick tape which gave them more dimension. For the antenna, I used flower stamen.

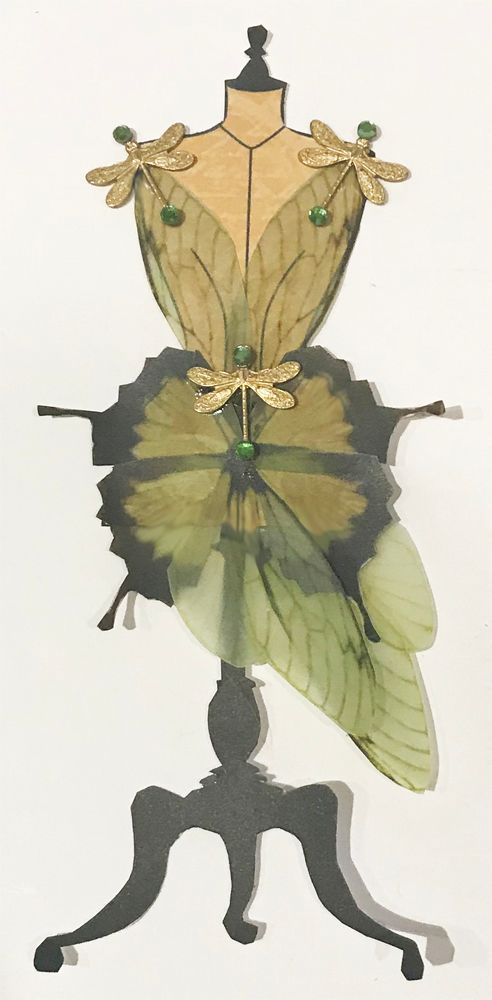
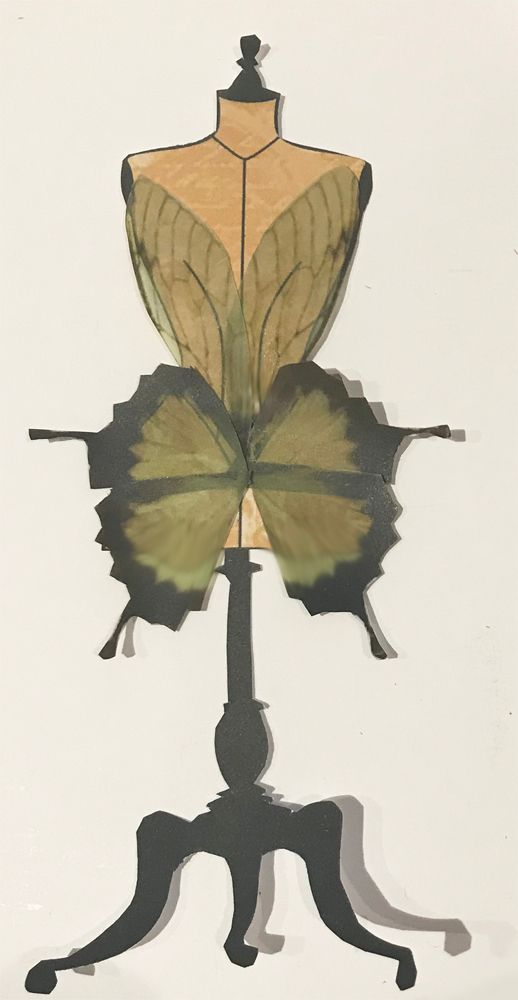
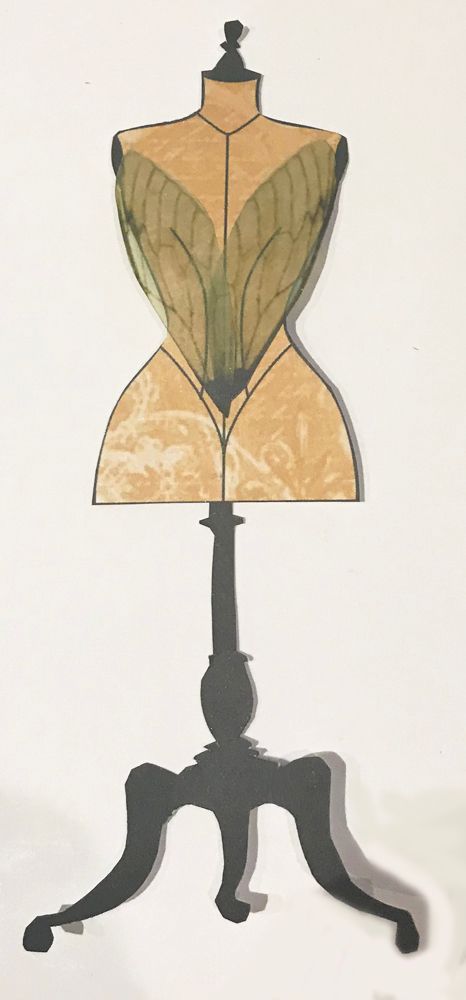
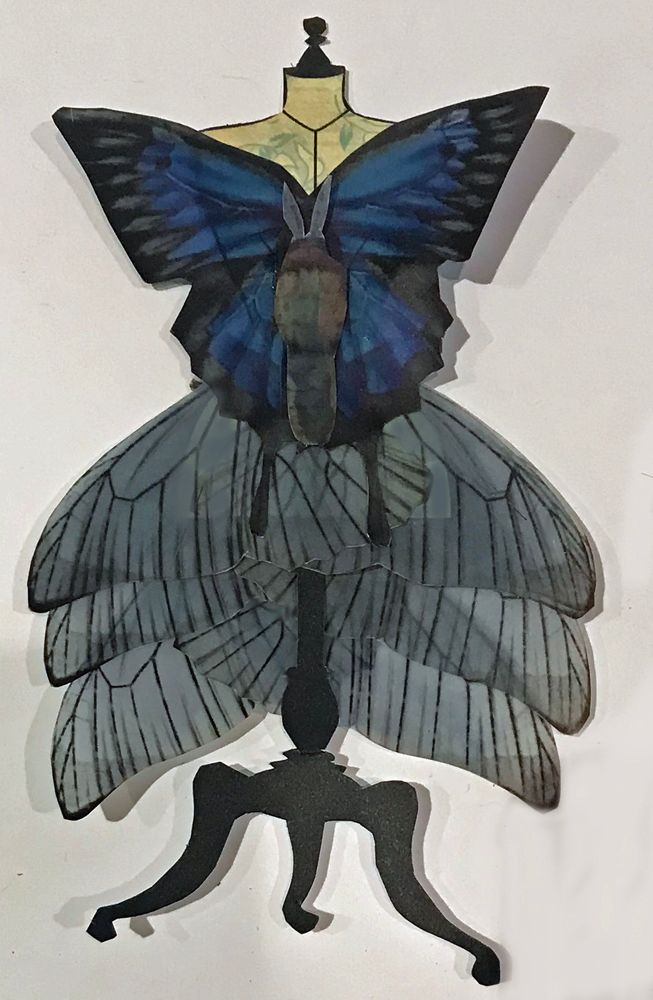
For the dress forms on the inside, I cut up multiple butterfly images (printed on vellum) glued them to a dress form
(you can find the stand further down to download for free). In the pictures below, you can see the
progression of how I added the pieces of wings.
Additionally I accented the dress with dragonfly charms.
FREE IMAGES
Feel free to download the images below and use them in your artwork.