-->

Welcome

I love answering your questions. If you ask them in the comment section, I have no way to answer you (if you haven't heard from me, that is why). If you use the "EMAIL ME" in the left column of this page, I will be able to respond to you. You can also use it if you want to be added to my newsletter. Laura
Showing posts with label seashells. Show all posts

Saturday, August 14, 2021

SEA DREAMS - HANDMADE BOOK WITHIN A BOOK - VIDEO TUTORIAL - NEW COLLAGE SHEET

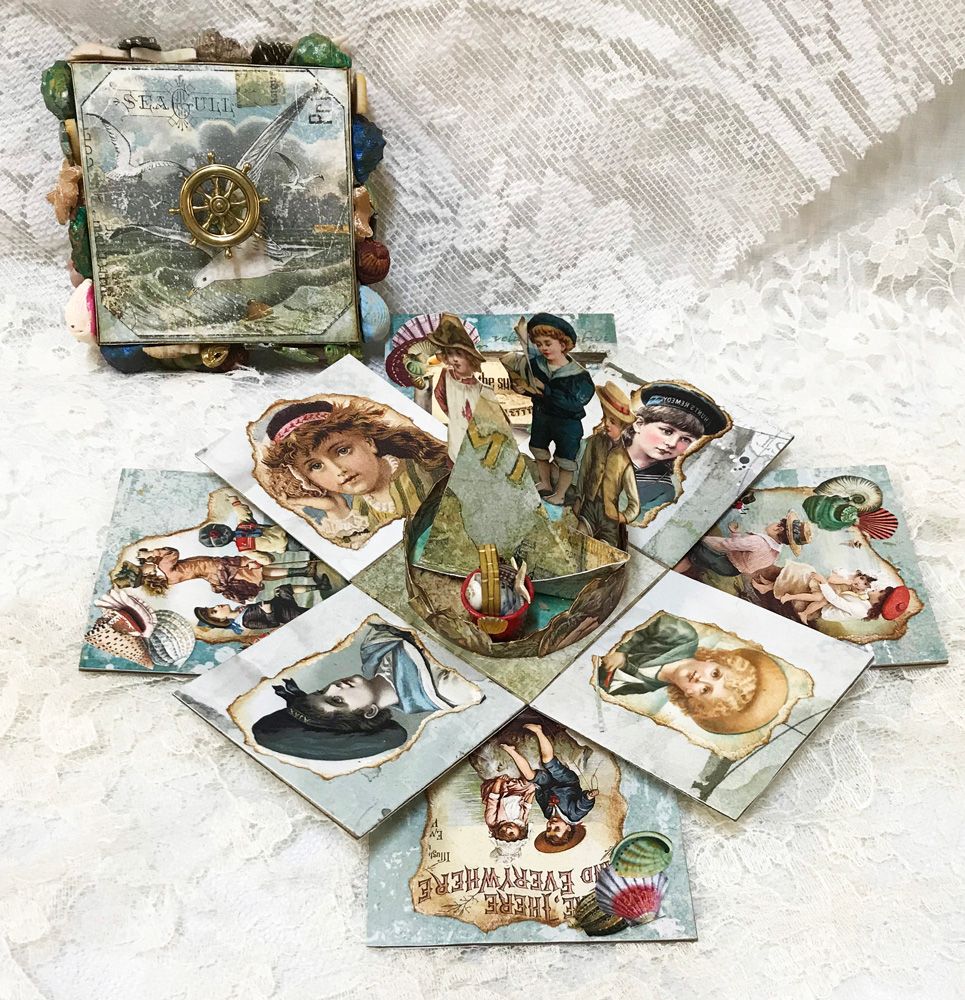
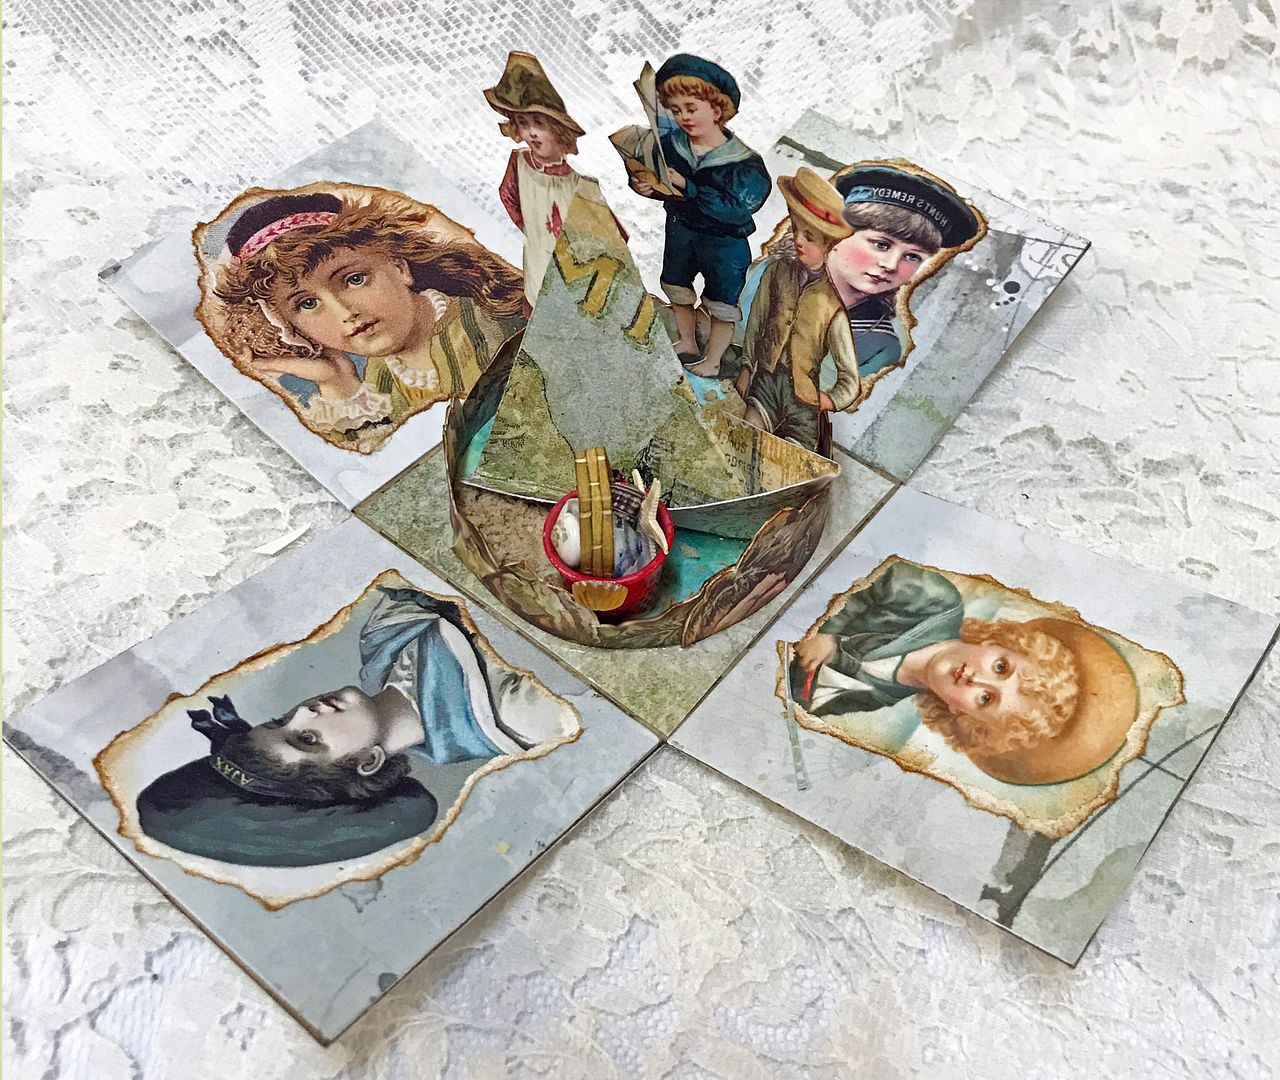
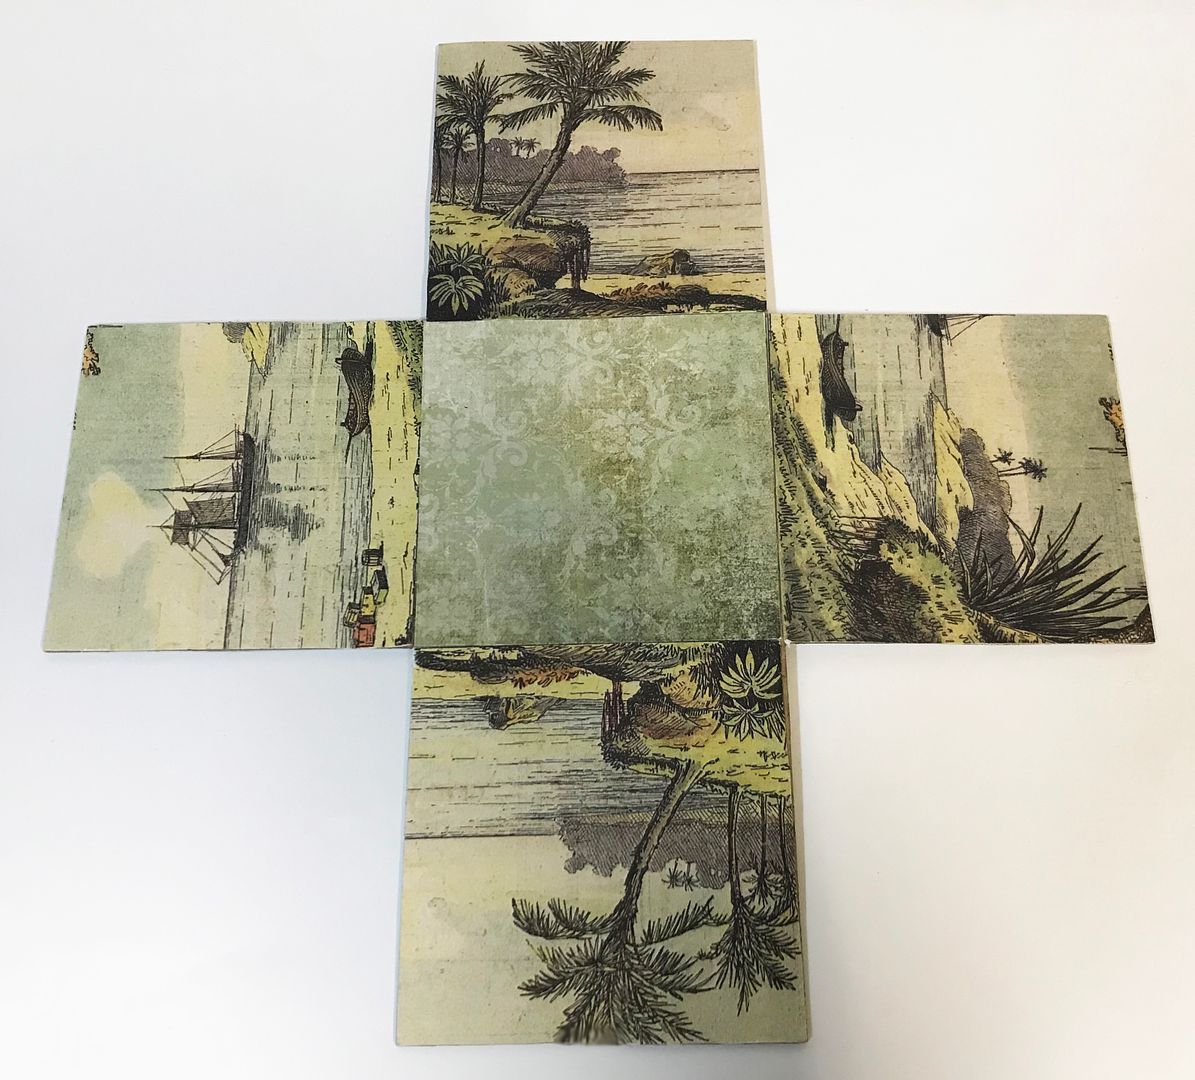
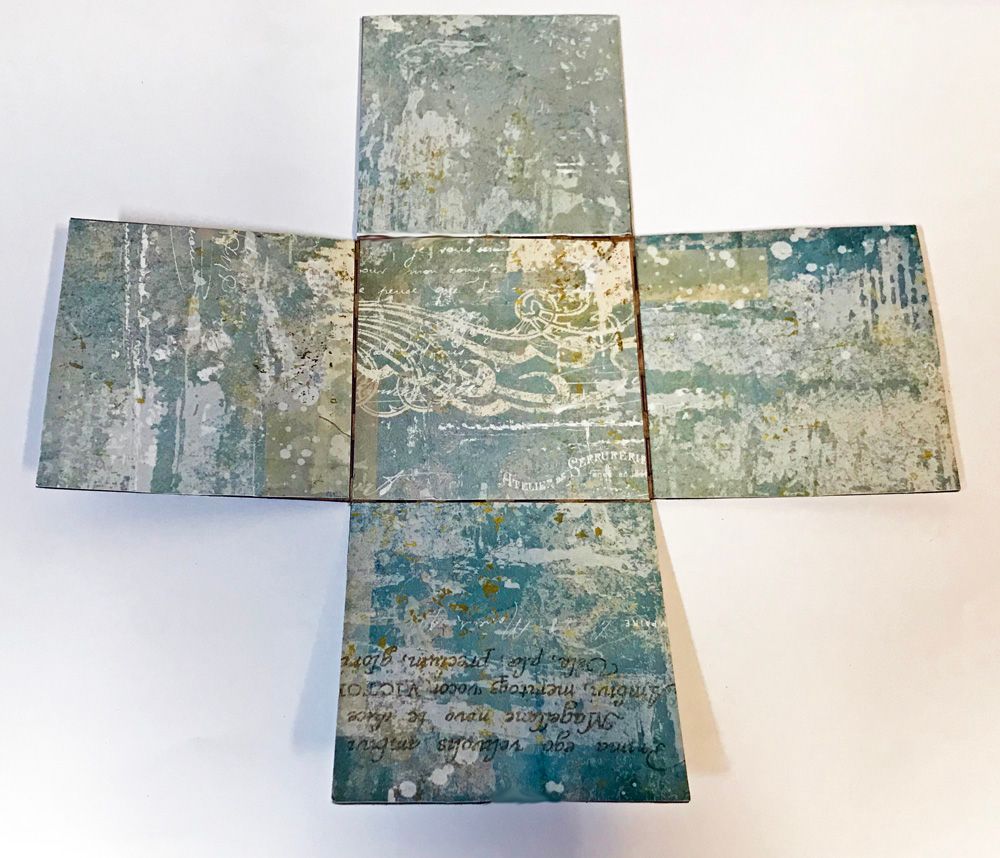
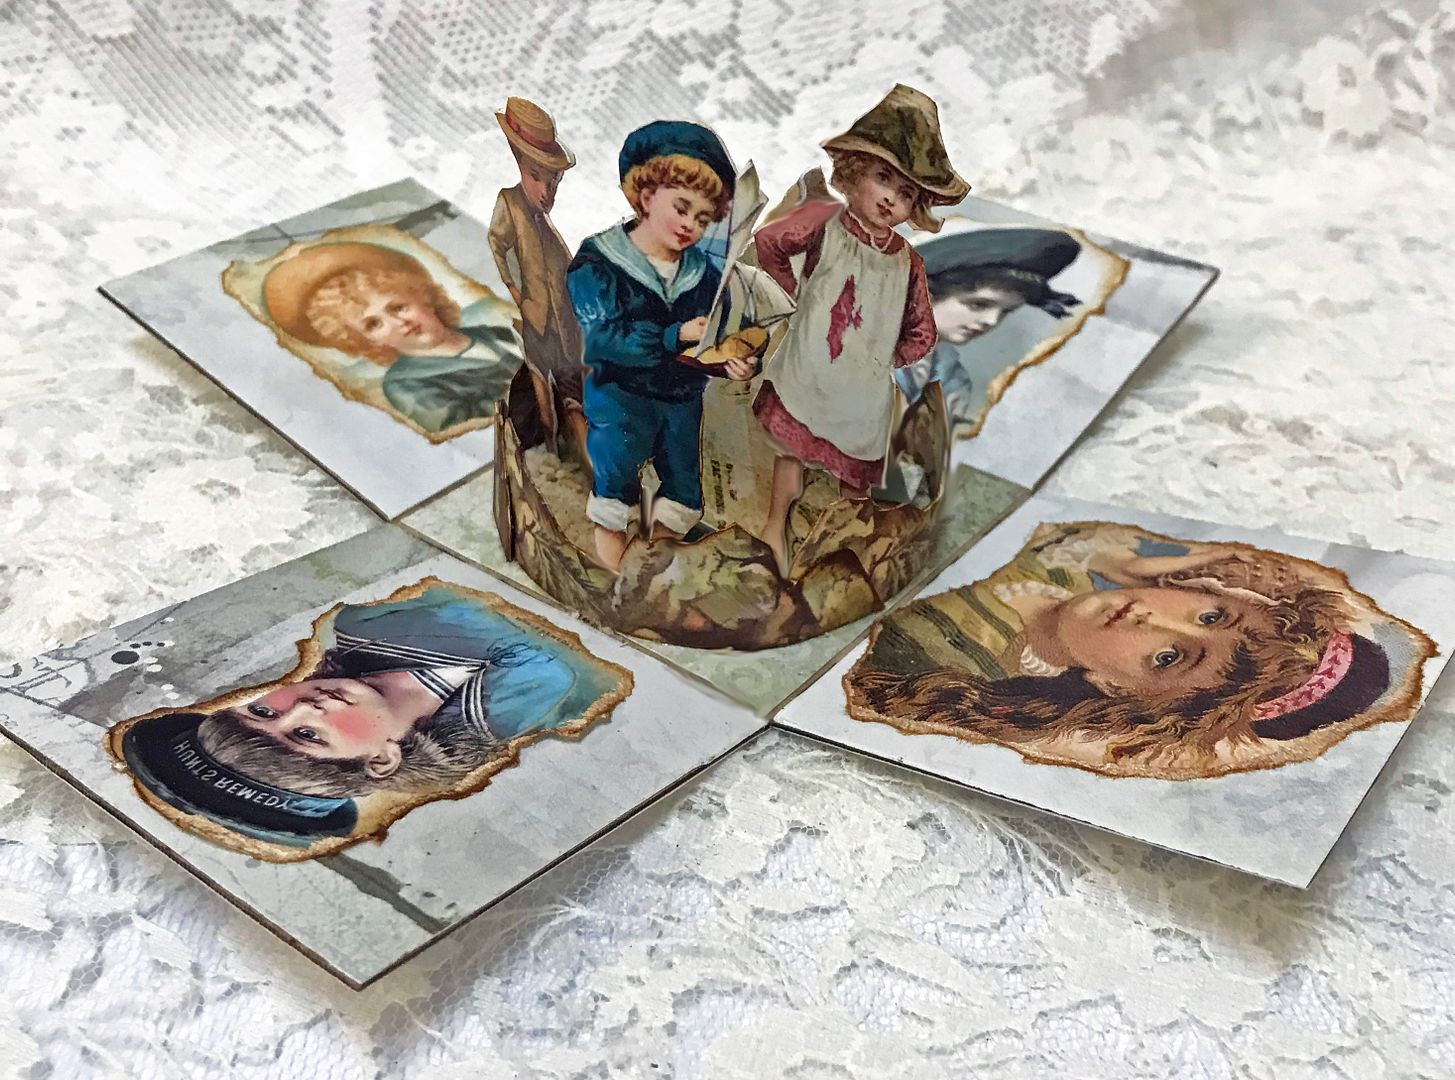
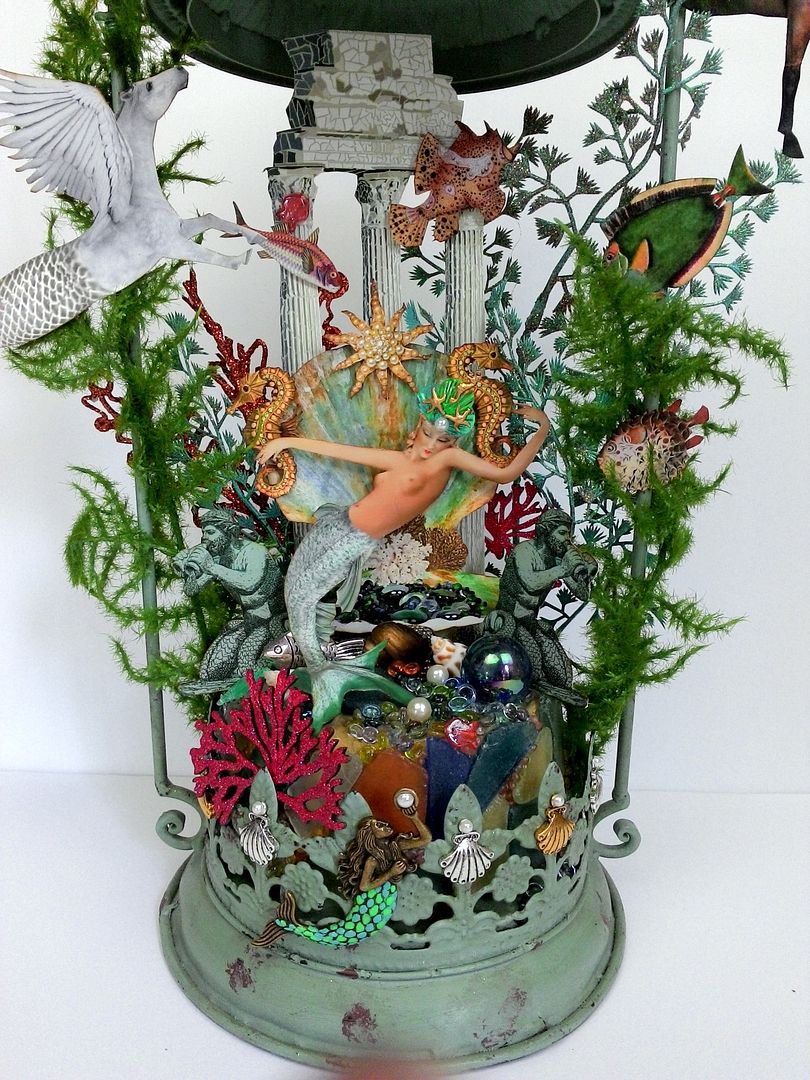
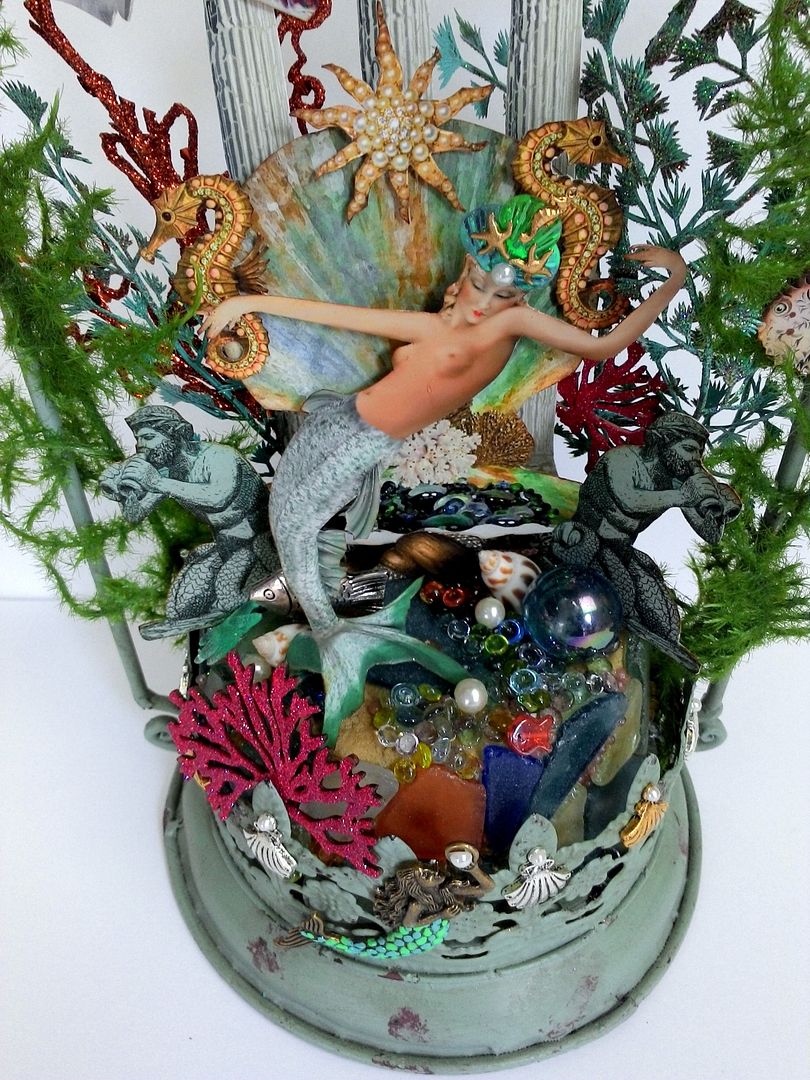
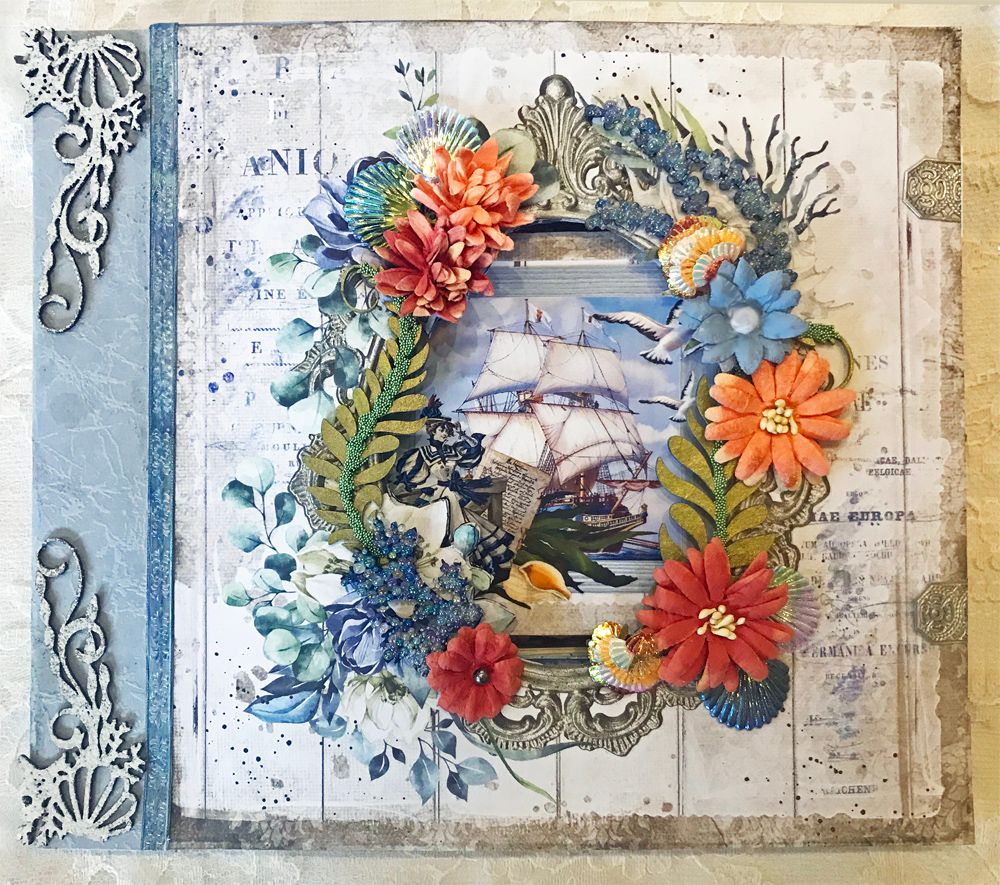
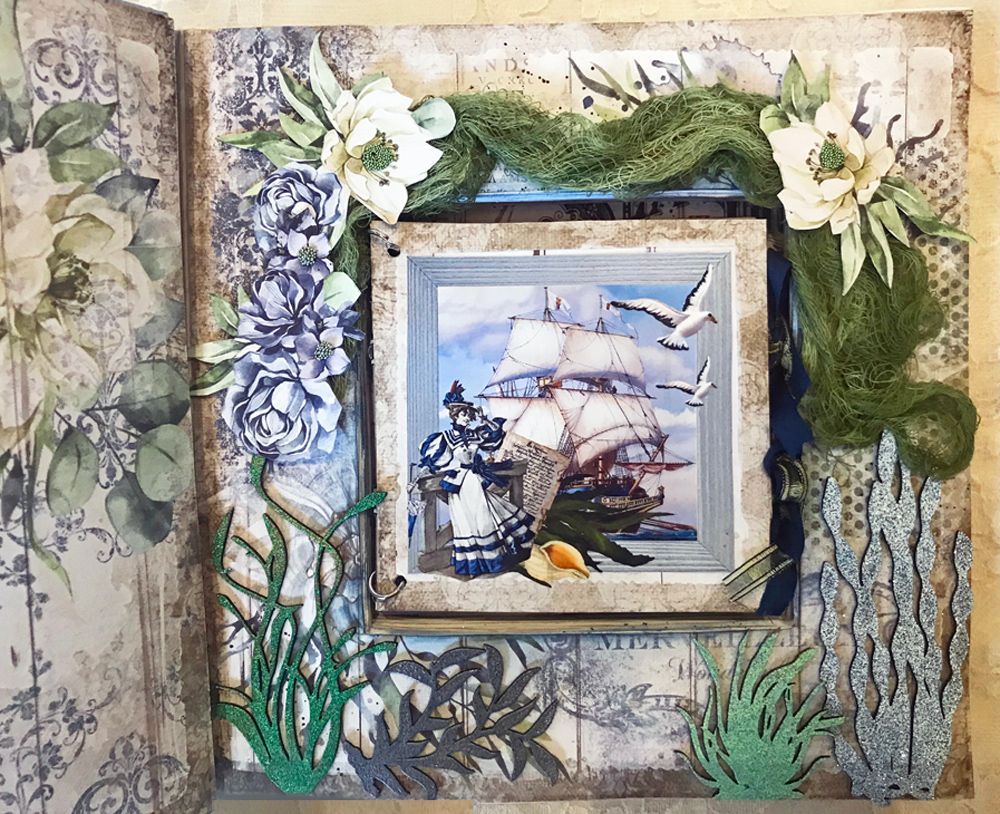
For this project, I demonstrate how to make two books, a large book that contains a mini removable book. 

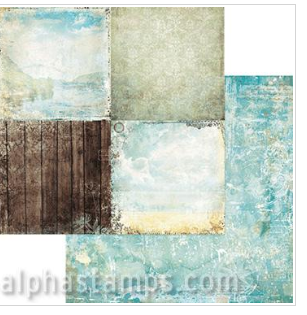
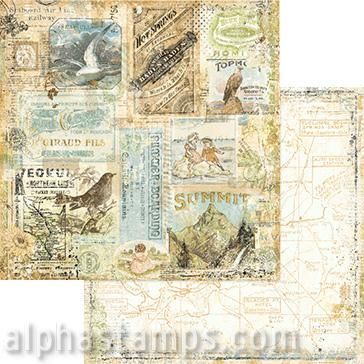
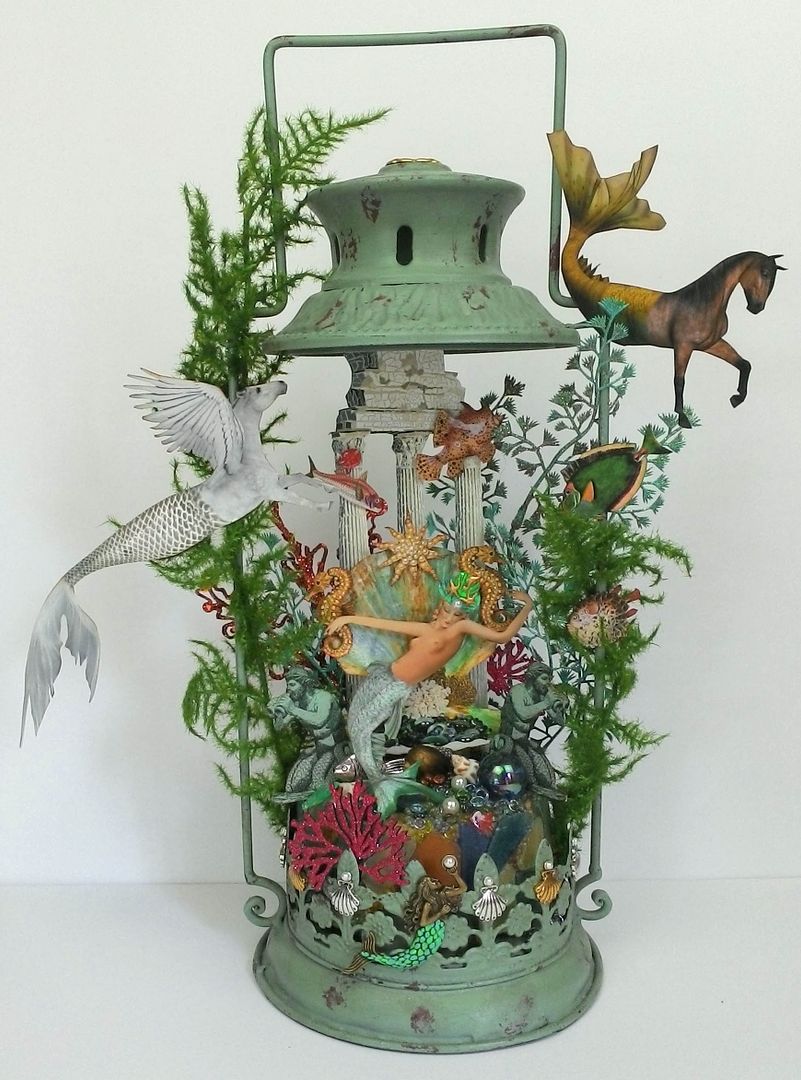
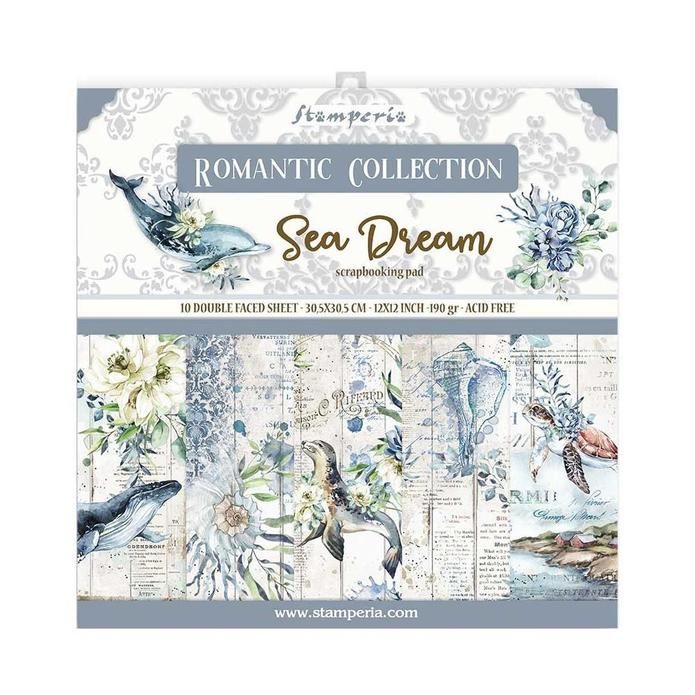
The inspiration for this project comes 
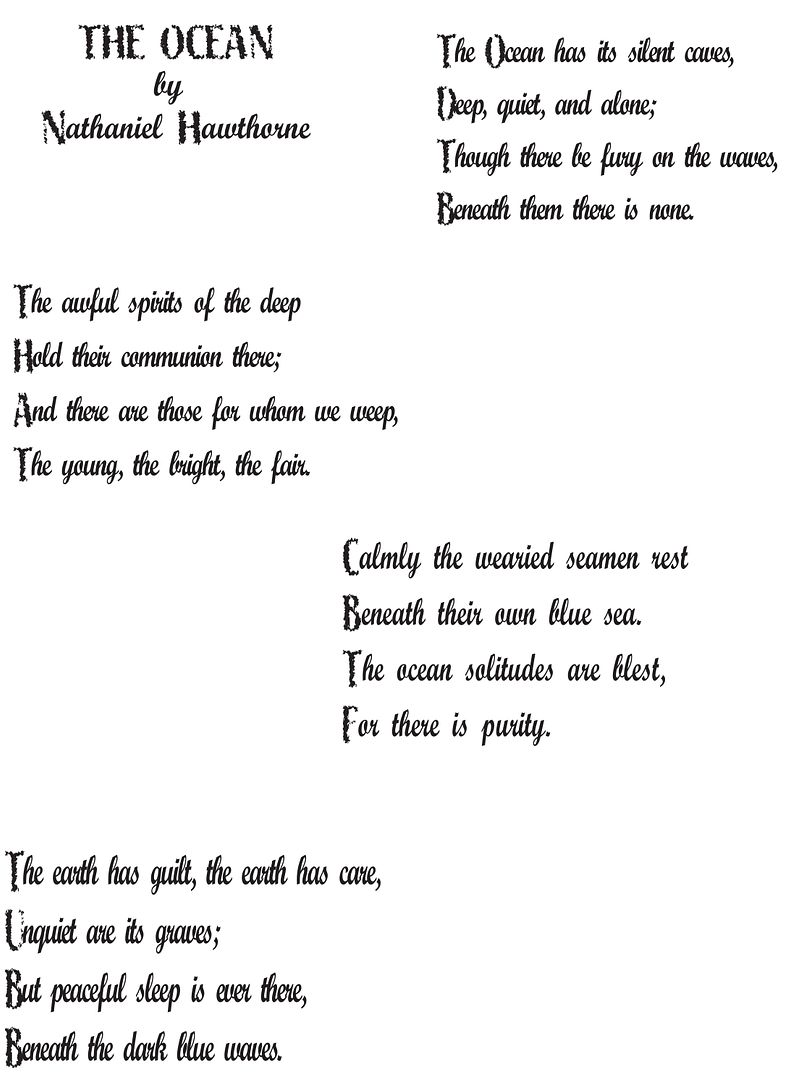
from the Sea Dream 8x8 paper pad and the Poem by Nathanial Hawthorn titled “The Ocean”.  You'll find a printable version of the poem further down in this post.  I love the paper's design blending sea life with flowers.

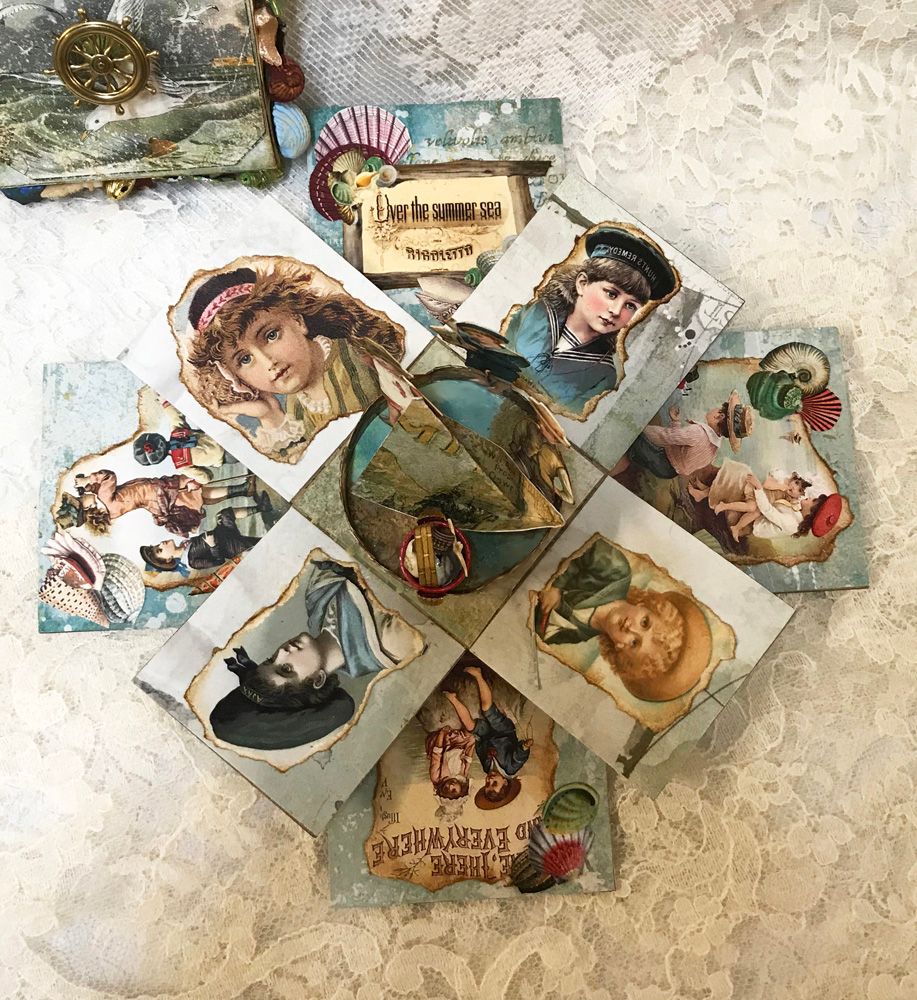
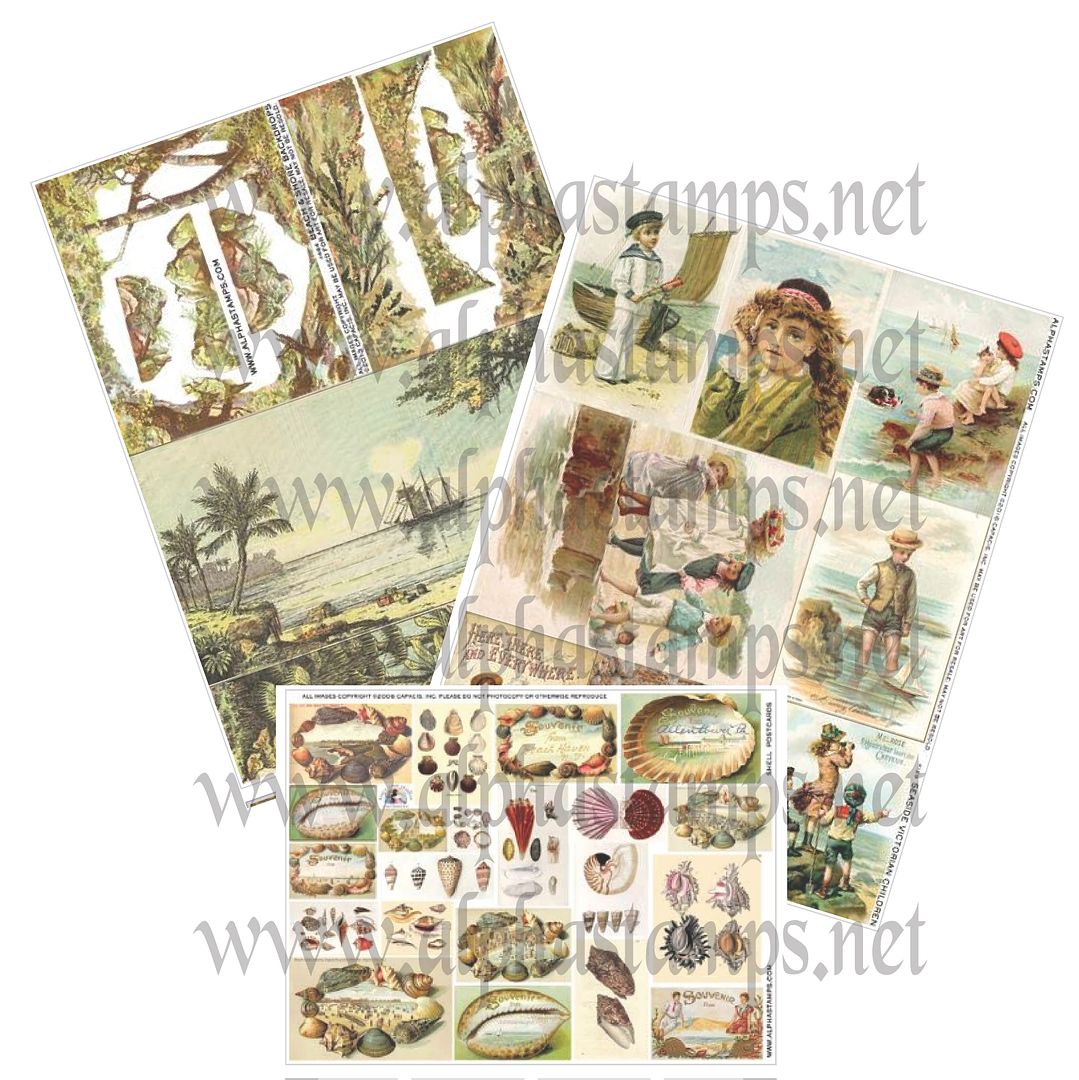
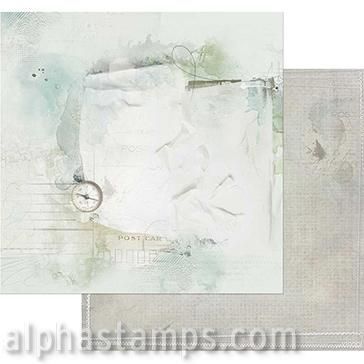
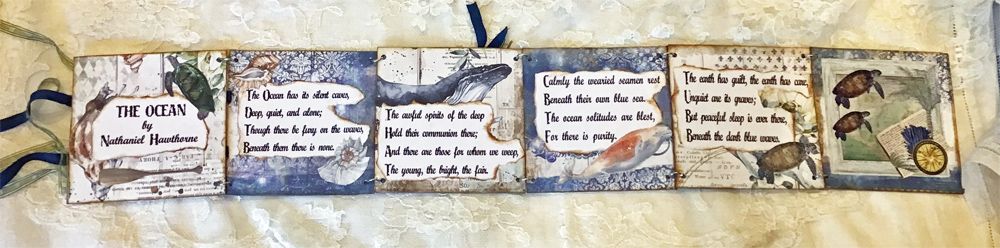
I have created a new collage sheet, “SEA DREAMS” for this project and used the sheet to decorate the mini-book.


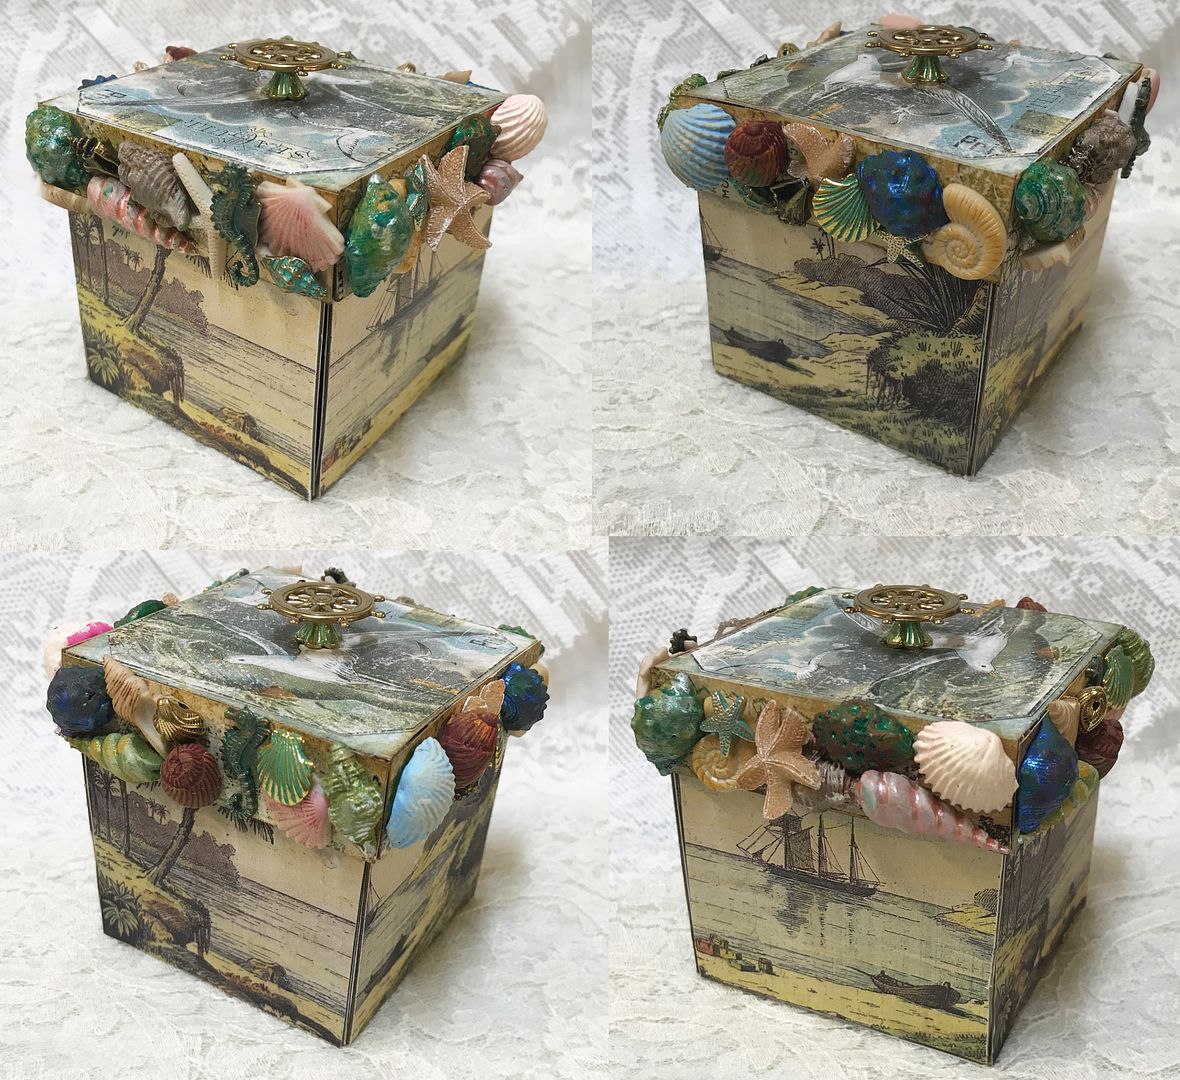
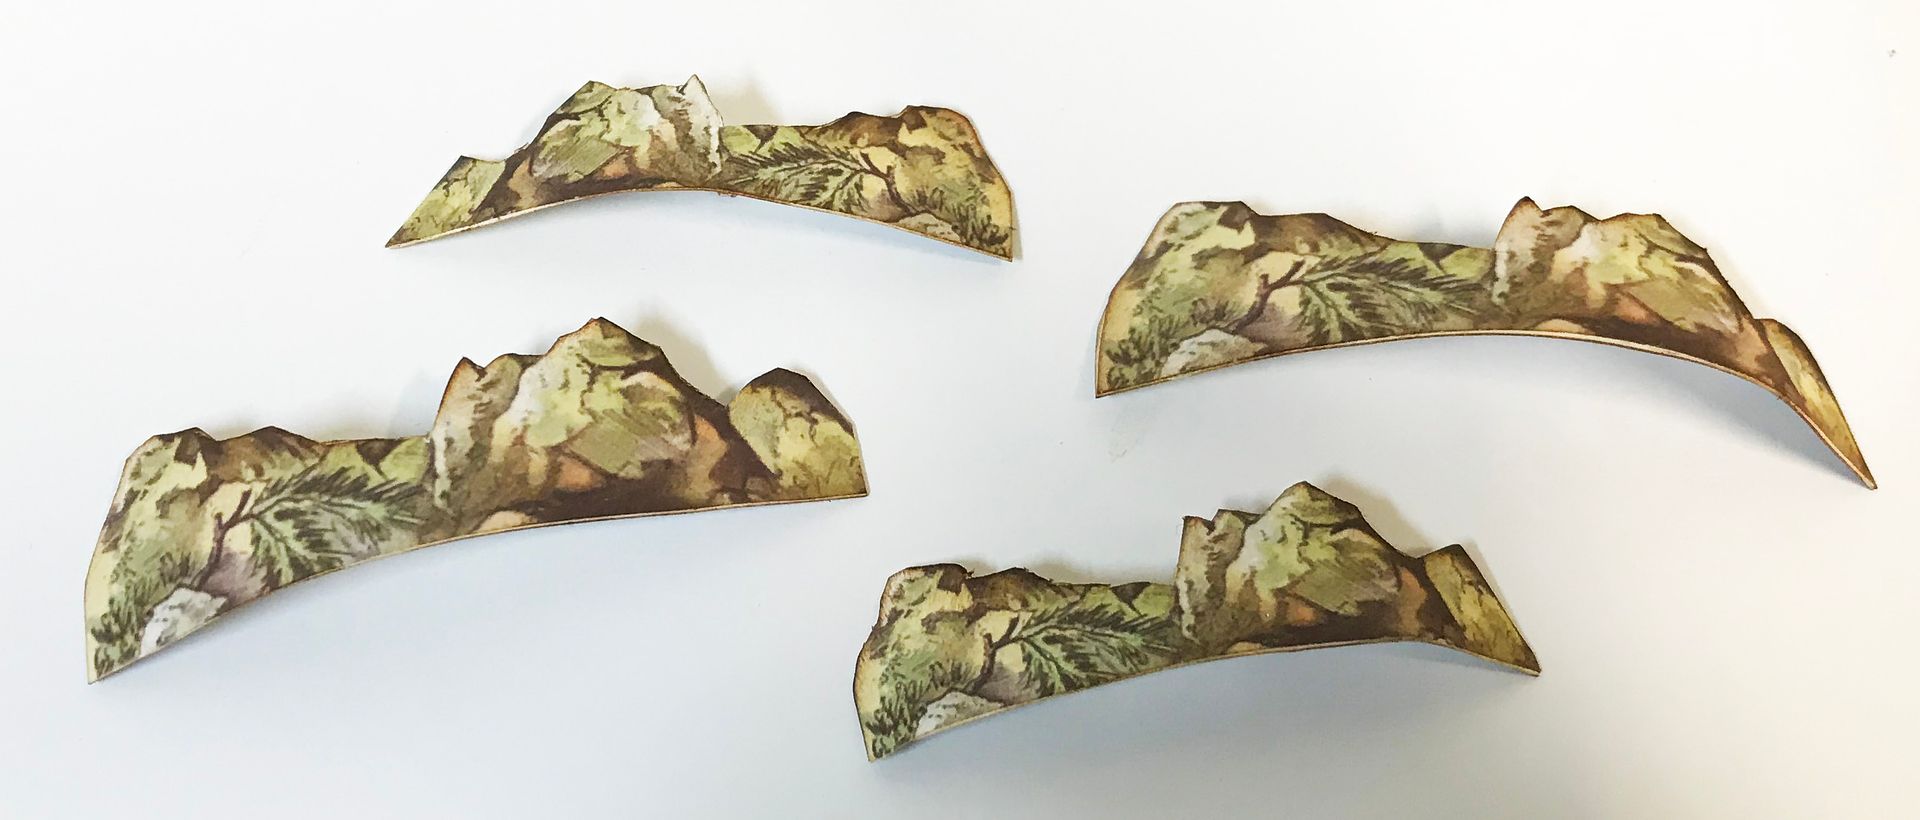
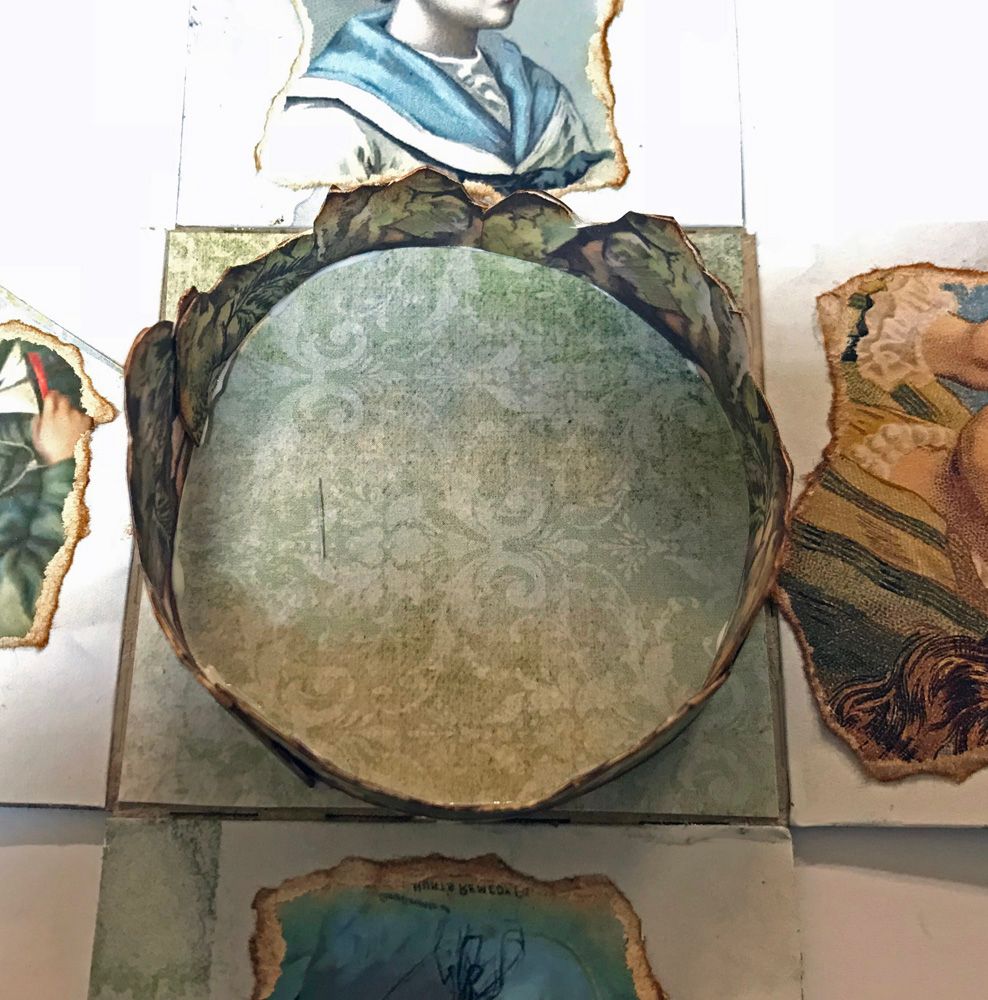
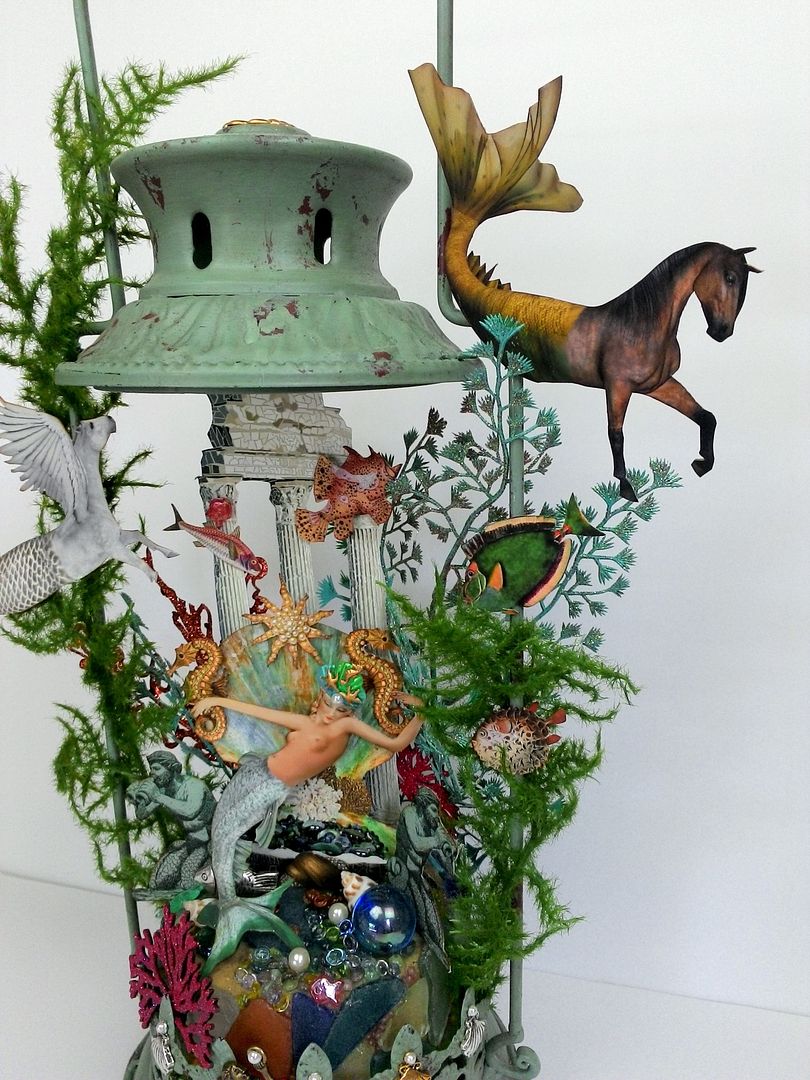
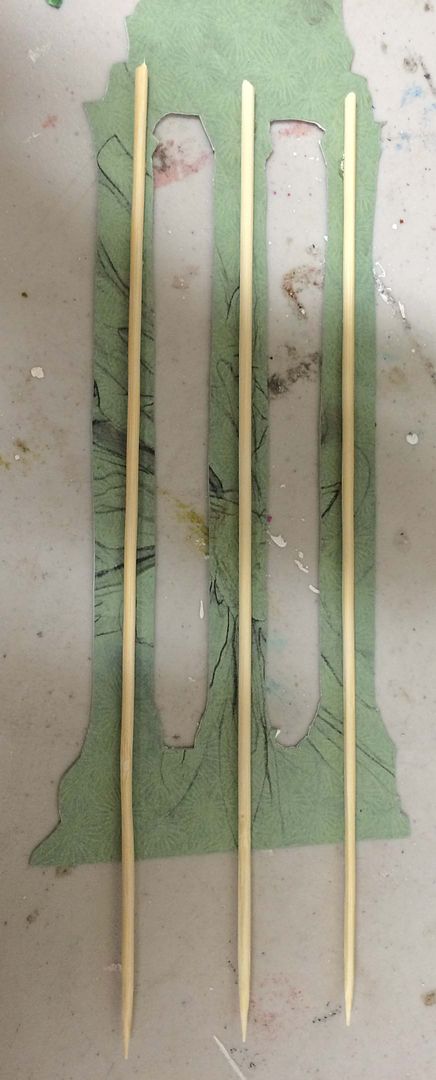
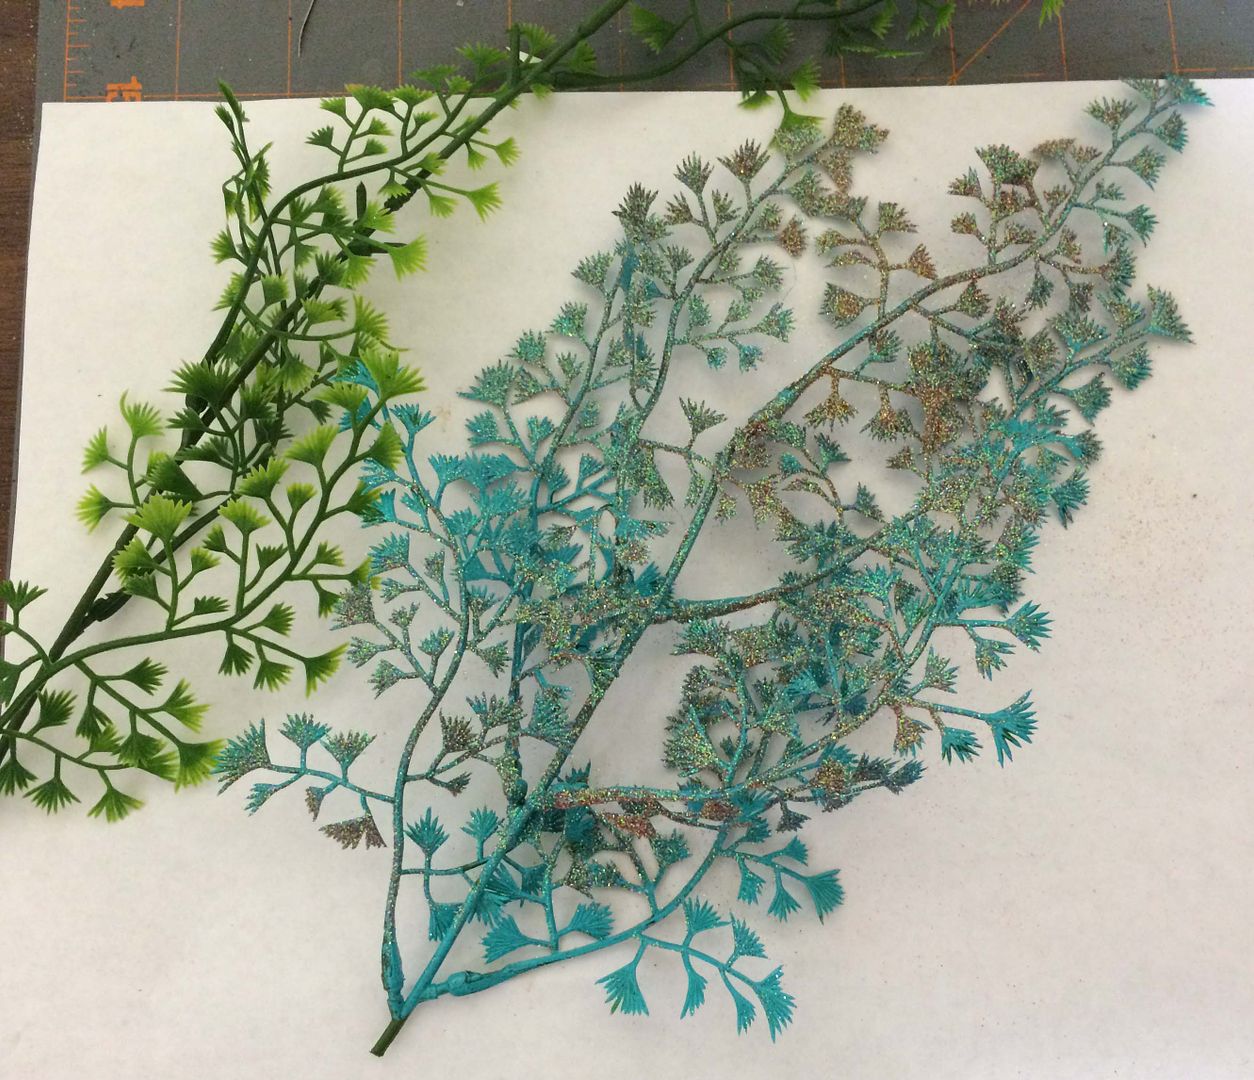
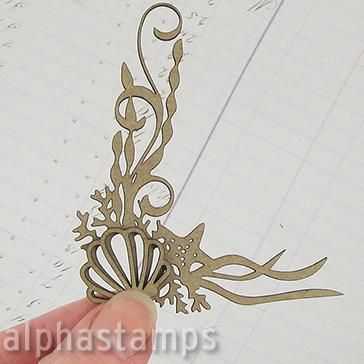
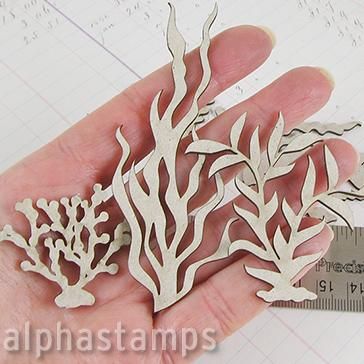
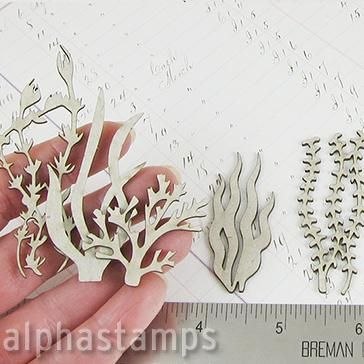
To decorate the large book, I used various fern and seaweed type die-cut chipboard which I colored and made dimensional with the use of paint, microbeads, and embossing powders.


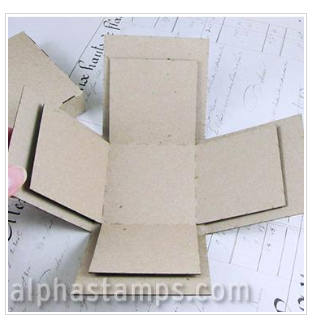
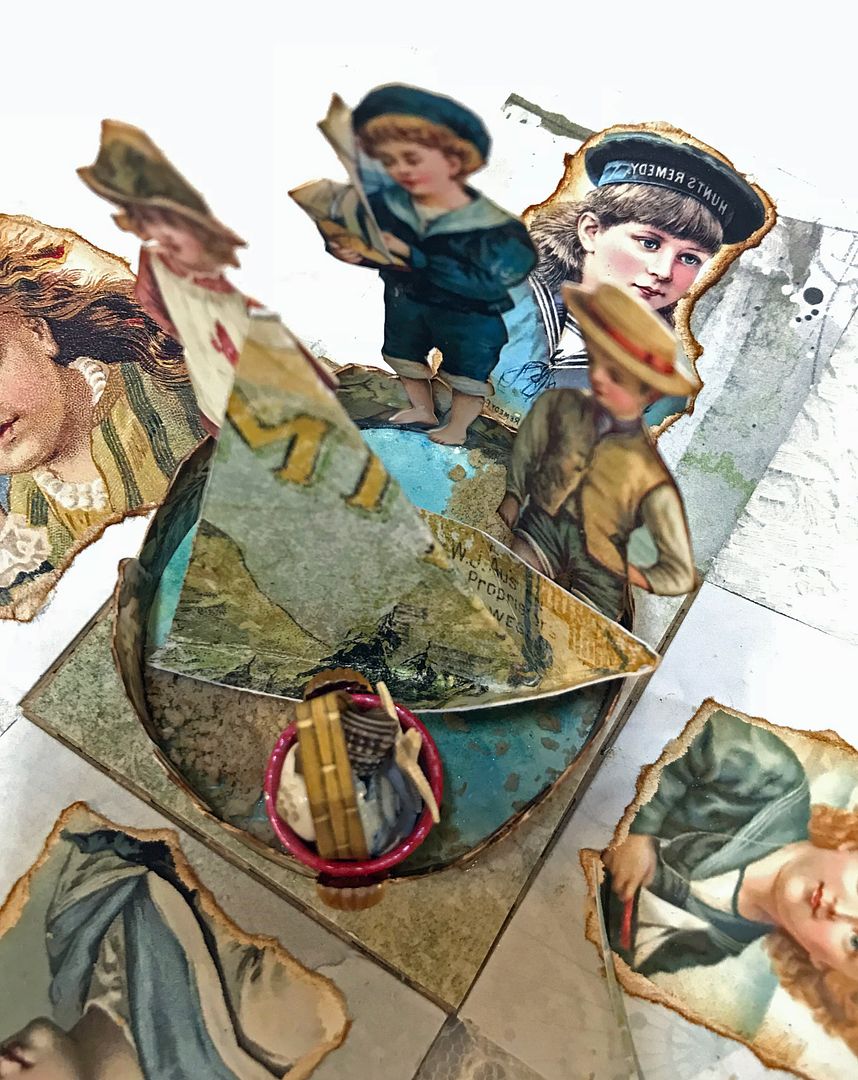
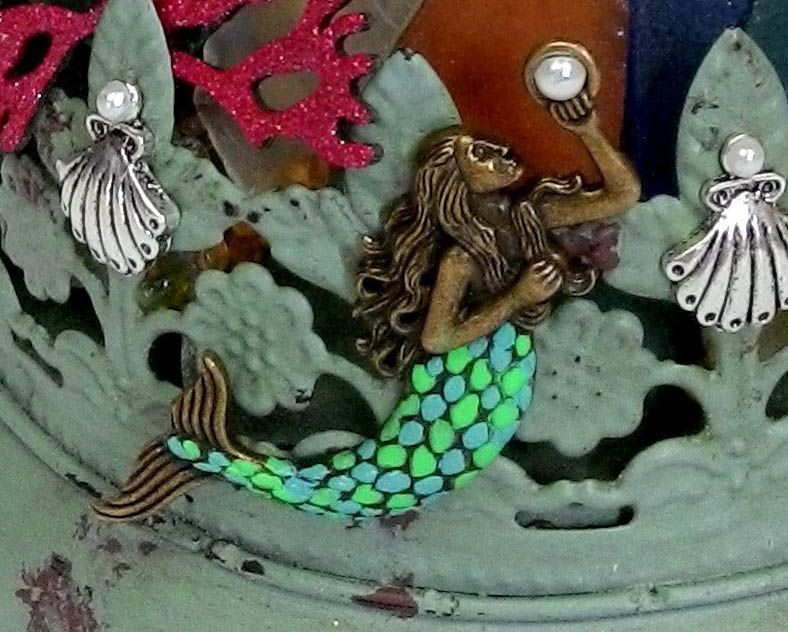
Along with how to construct the book, I’ll 
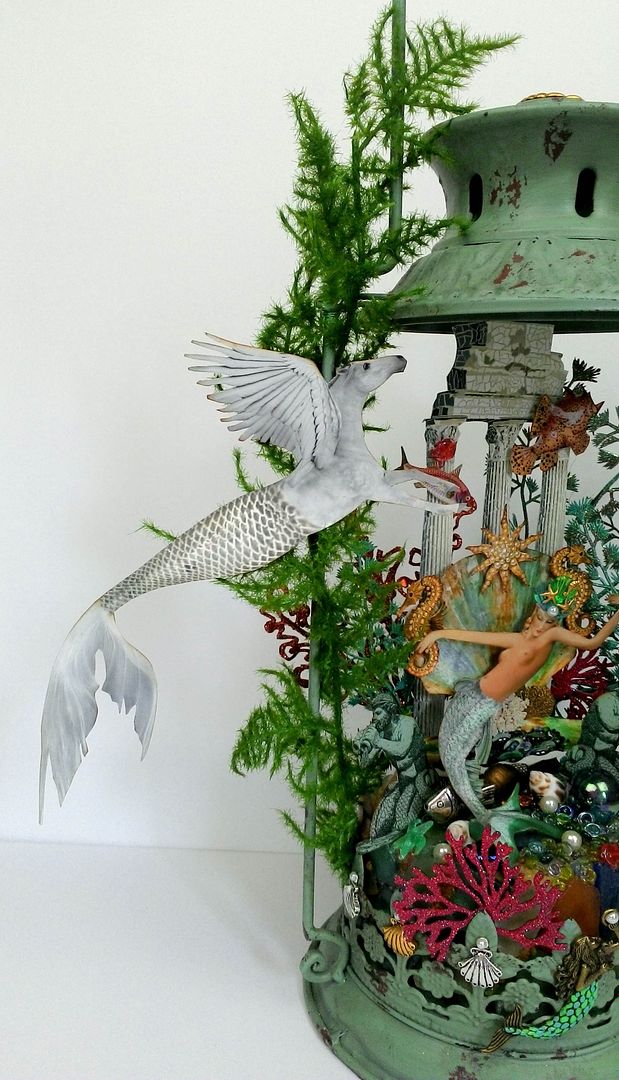
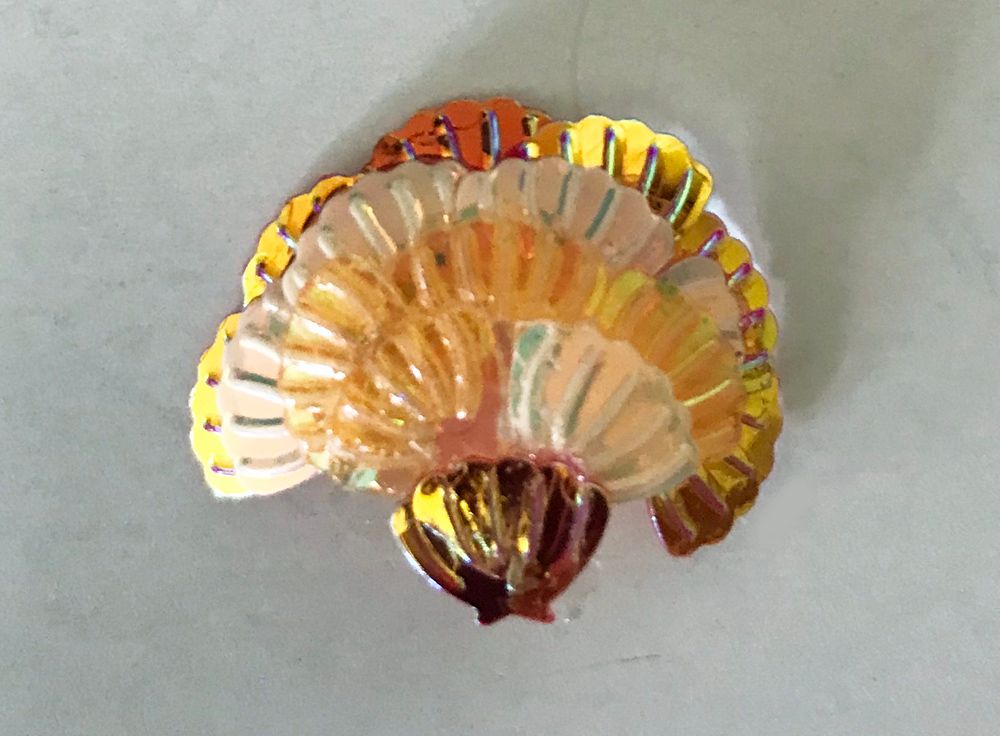
share with you other ideas for embellishments, such as taking an embellishment that is too small for the scale of the project and turning it into something that is the right scale.

In the video tutorial below, I’ll walk you through all the steps to create books like this for yourself.

SEA DREAMS COLLAGE SHEET - NEW

These vintage sea-themed images are perfect for collage projects, mini books, handmade cards, labels, and coasters.  Click on the image below to purchase this collage sheet.

VIDEO TUTORIAL

Saturday, July 21, 2018

OVER THE SUMMER SEA - DOUBLE EXPLODING BOX - NEW COLLAGE SHEET

This month’s kit theme at AlphaStamps is Vacation Memories.  For my project, I chose to go with vintage children by the sea theme.  The initial inspiration is from the Seaside Victorian Children collage sheet in this month’s kit (you’ll find a picture of the sheet further down in the post).
For the project, I used the double exploding box pictured below.  
Because there were a  lot of surfaces to cover, I create a new collage sheet titled “Over the Summer  Sea”  to complement the Seaside Victorian Children sheet.

This sheet contains vintage images of children playing by the sea, several coordinating seashells, and a framed “Over the Summer Sea” sign.  To purchase the sheet below, click on the image.
I used a ship wheel as a knob and decorated the sides of the lid with various metal, plastic, and clay shells made from a mold.

Inside, you can see all of the pictures, I used the two collage sheets as well as a scene in the center with a paper boat, a pail full of shells made from a thimble, and three children.  I flipped the images of the children and printed them twice so I could glue them back to back so that you could see them from every angle.

THE DETAILS
In addition to my new collage sheet pictured below are the other sheets I used for the project.
I use the Beach and Shore Backdrops Collage Sheet to cover the outside of the largest box.
I used the paper below to cover the inside of the large box.
I used the paper below to cover the inside and outside of the small box.

The outsides of the box are covered with images from the Beach and Shore Backdrops Collage Sheet.
For the handle, I used a bead cap on which to mount the ship wheel.

I used a variety of metal, plastic (see the detail supply list further down in the post), and clay shells to decorate the lid of the box. 

 Below is the mold I used for the clay shells.


I used images from the Over the Summer Sea, Seaside Victorian Children, and Shell Postcard collage sheets to decorate the inside of the large box.
 I used the paper below to cover the lid and to make the boat.

I used images from the Over the Summer Sea and the Seaside Victorian Children collage sheets for the inside of the small box and also the children standing in the middle.
I used images from the Beach and Shore Backdrops Collage Sheet to make the circle in the middle.
To create the water, I used watercolor pencils to color a piece of paper which I glued inside the circle.  I painted it with Glossy Accents to make it look like water.  
Next, I added some sand in a few spots.
The pail is made by painting a thimble, adding paper for a handle, and then seashells on the sides to make it look like they are holding the handle in place.  
To make the boat, I watched the video below.
The children are double-sided and are attached to either the boat or the rock circle.

DETAIL SUPPLY LIST
Double Exploding Box

Friday, February 26, 2016

MERMAID QUEEN - ALTERED LANTERN

Last summer, I purchased a set of two lanterns.  One of the lanterns arrived with the glass broken.  The company I purchased them from (Wayfair) was great, and they immediately replaced the broken lantern, and they didn't want the broken one back.  I hated throwing it away, so I created a mermaid scene.
The sides of the lantern were great for adding aquatic plants and creating the illusion that the seahorses and other creatures are swimming.
The columns stand in the center of the piece, with the mermaid queen sitting on her shell throne.  It provides a place to attach the thrown image, sea creatures, and aquatic plants.
All the images you see come from my Mermaid Garden Collage Sheet series.  These sheets are packed with all kinds of images to create a magical underwater world.

MERMAID GARDEN COLLAGE SHEET #1


MERMAID GARDEN COLLAGE SHEET #2


MERMAID GARDEN COLLAGE SHEET #3


CONSTRUCTION
I first wrapped the wire around the top piece to keep it from sliding down.  Without the glass, there is nothing to hold the top piece in place.  I painted the wire to blend in with the lantern.
Next, I cut the bottom off of a Styrofoam cone to create a base. 
I applied glue to the Styrofoam and coated it in the sand.  I inserted a wooden skewer in the Styrofoam so I could lift it to sprinkle the sand on the sides.
To make the columns that are the centerpiece of the scene stand up, I added wooden skewers to the back side.  The bottom of the skewers sticks into the Styrofoam.  The column image comes from the mermaid garden collage sheet and is backed with thick printed cardstock.
In addition to the Asparagus Fern Garland, I found some cheap plastic greenery at the craft store, which I painted and glittered.
I glued various colors of sea glass around the Styrofoam base.  Tip:  you can use alcohol ink to change the color of the glass or to add more colors.  I used lots of pebbles and marbles from my stash on the top of the Styrofoam base.
On the base of the lantern, I added a mermaid pendant charm painted with Patina Paints.