-->

Welcome

I love answering your questions. If you ask them in the comment section, I have no way to answer you (if you haven't heard from me, that is why). If you use the "EMAIL ME" in the left column of this page, I will be able to respond to you. You can also use it if you want to be added to my newsletter. Laura
Showing posts with label Fairies. Show all posts

Saturday, February 24, 2018

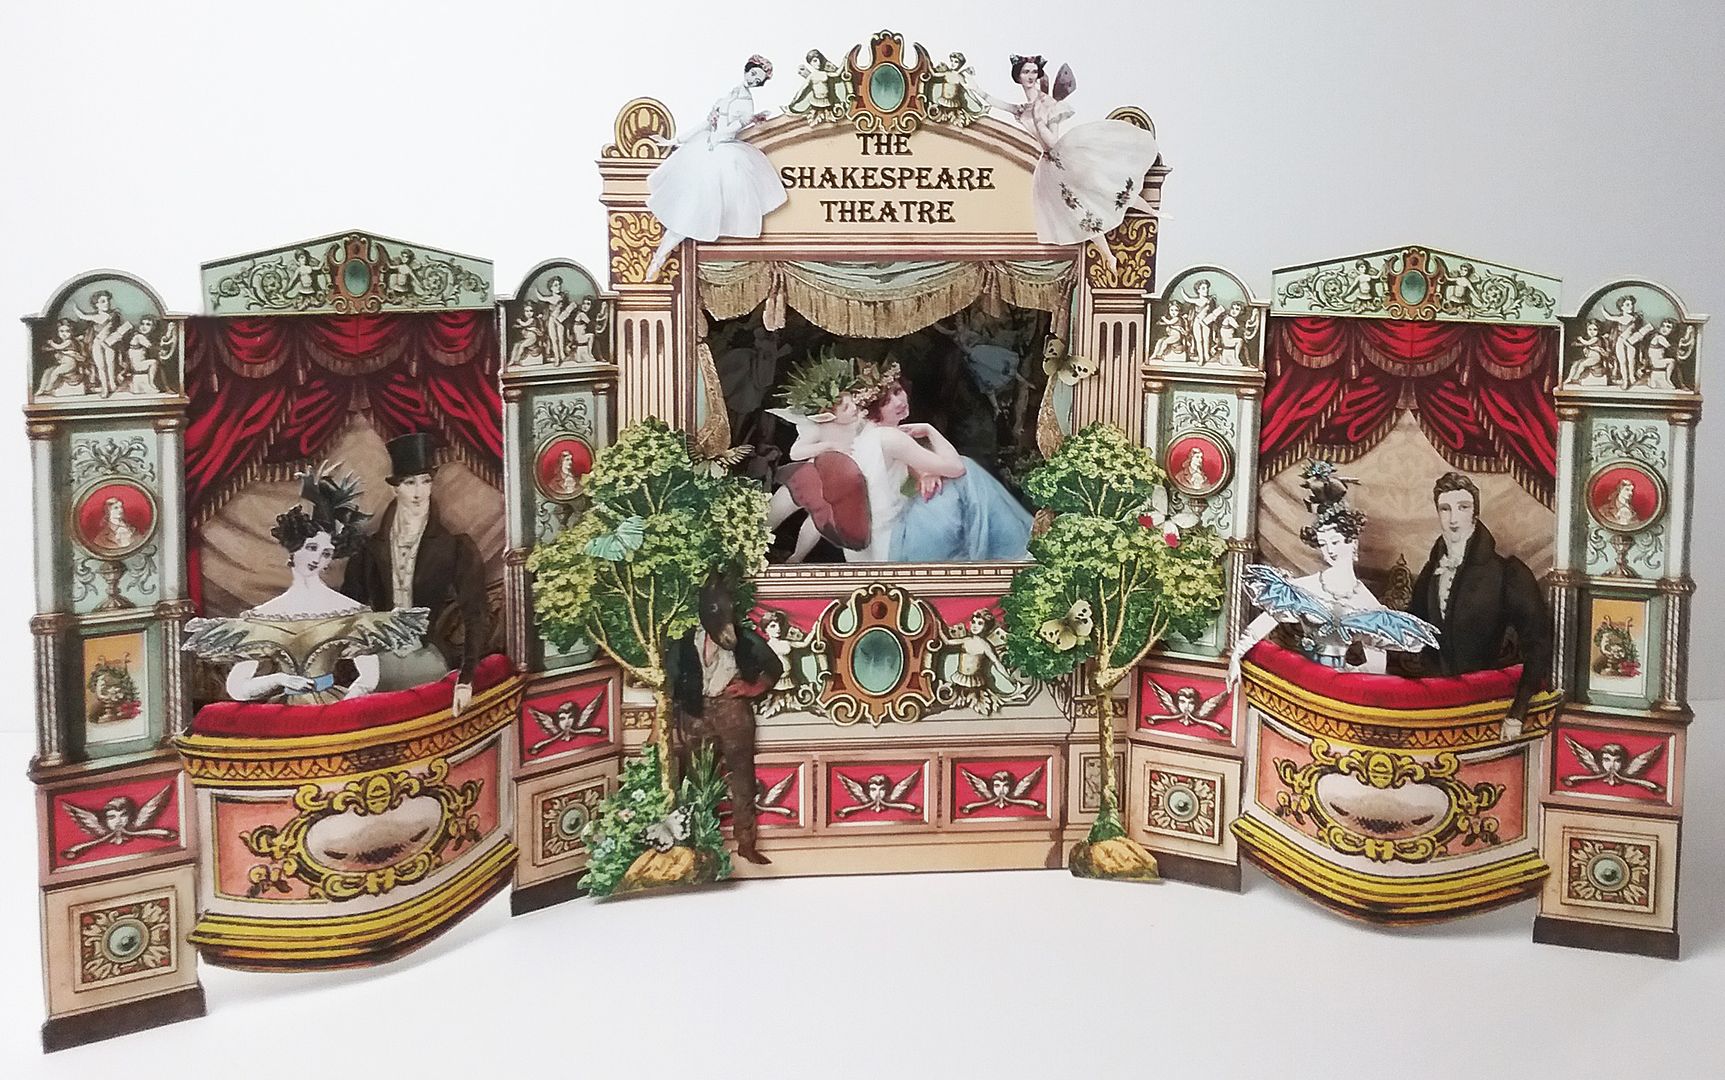
The Shakespeare Theater Presents A Midsummer Night's Dream and Giveaway

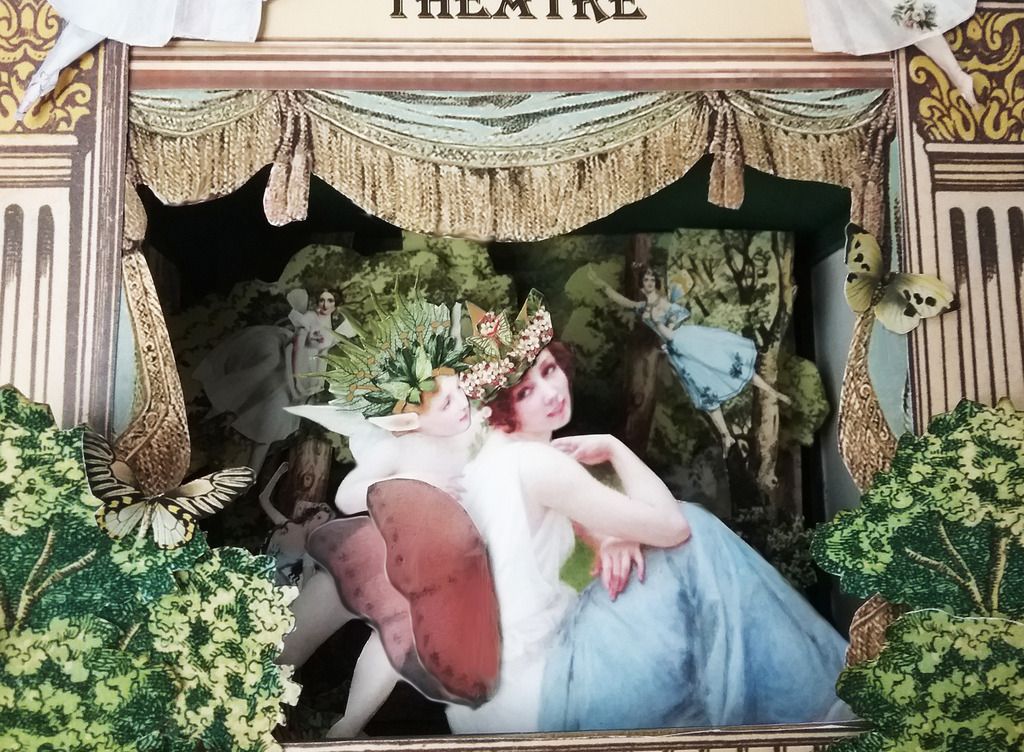
This month’s theme at AlphaStamps is Theaters.  For my theater, I chose to portray a scene from Shakespeare’s A Midsummer Night's Dream.

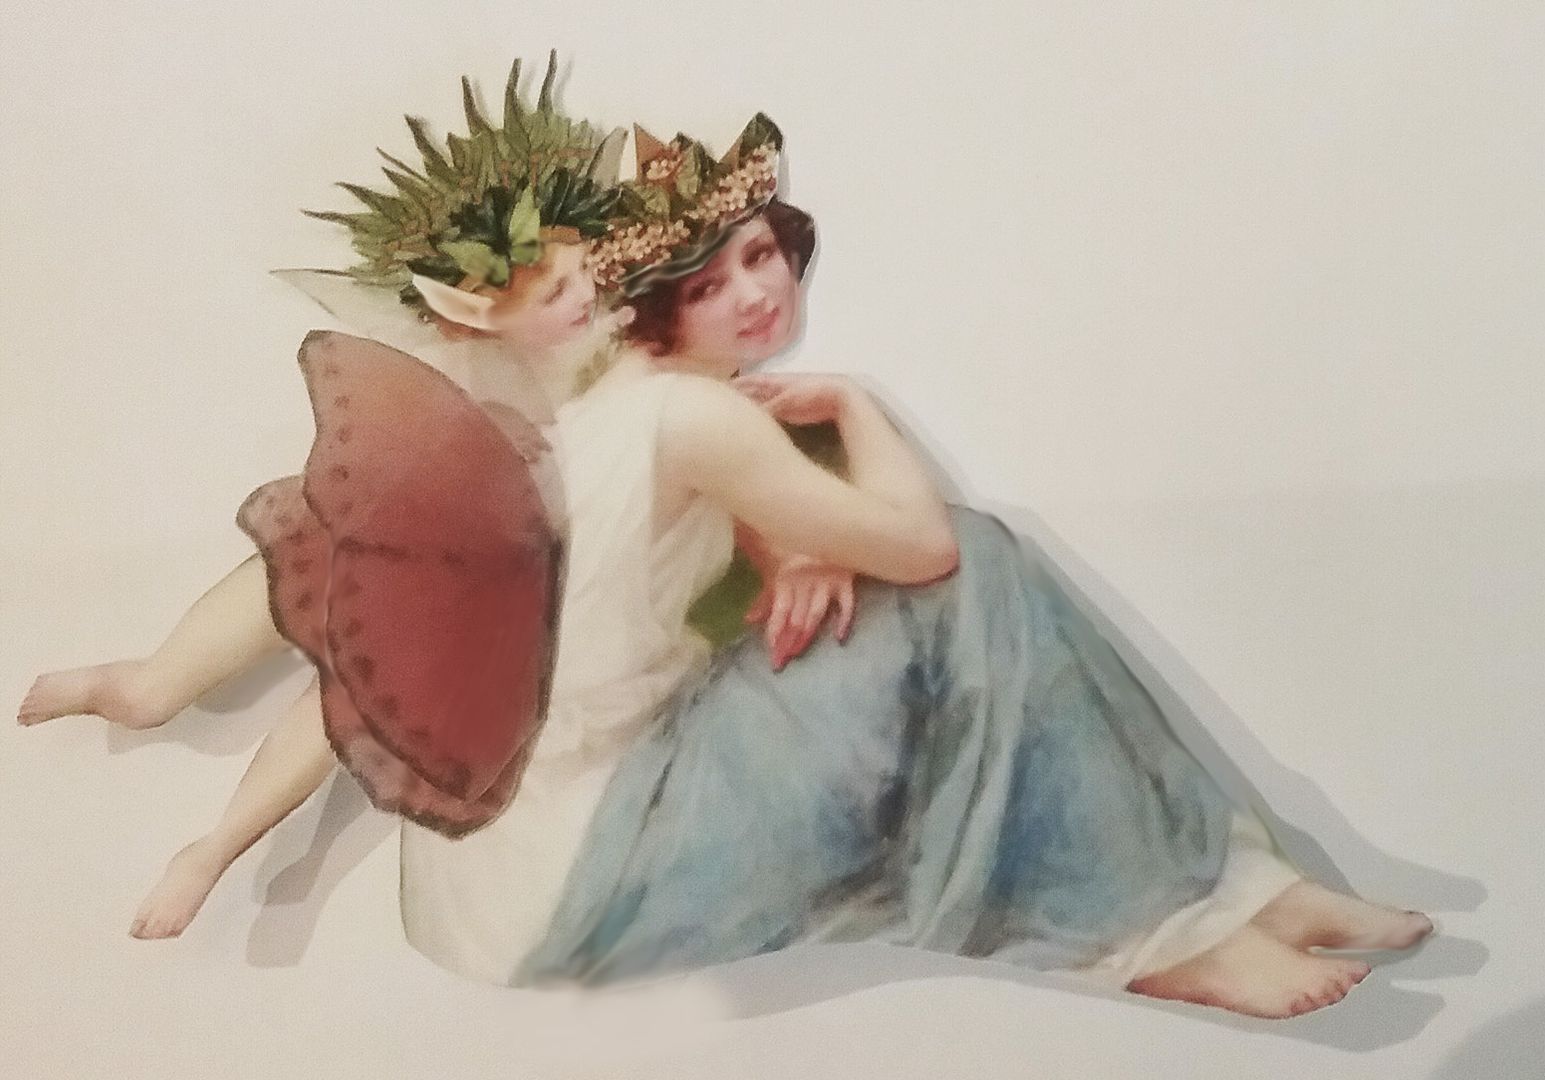
At center stage, is Titania (Fairy Queen) and Puck (a fairy or sprite) sitting in the woods.
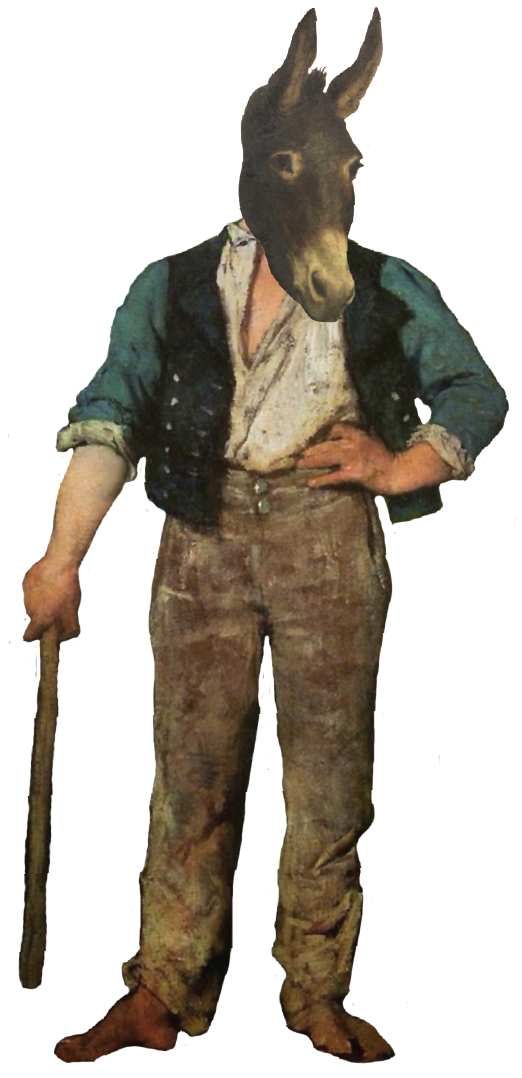
Down below, Bottom (whose head has been turned in to an ass by Puck) is lurking in the trees.
Within and around the center stage, are all kinds of woodland fairies.
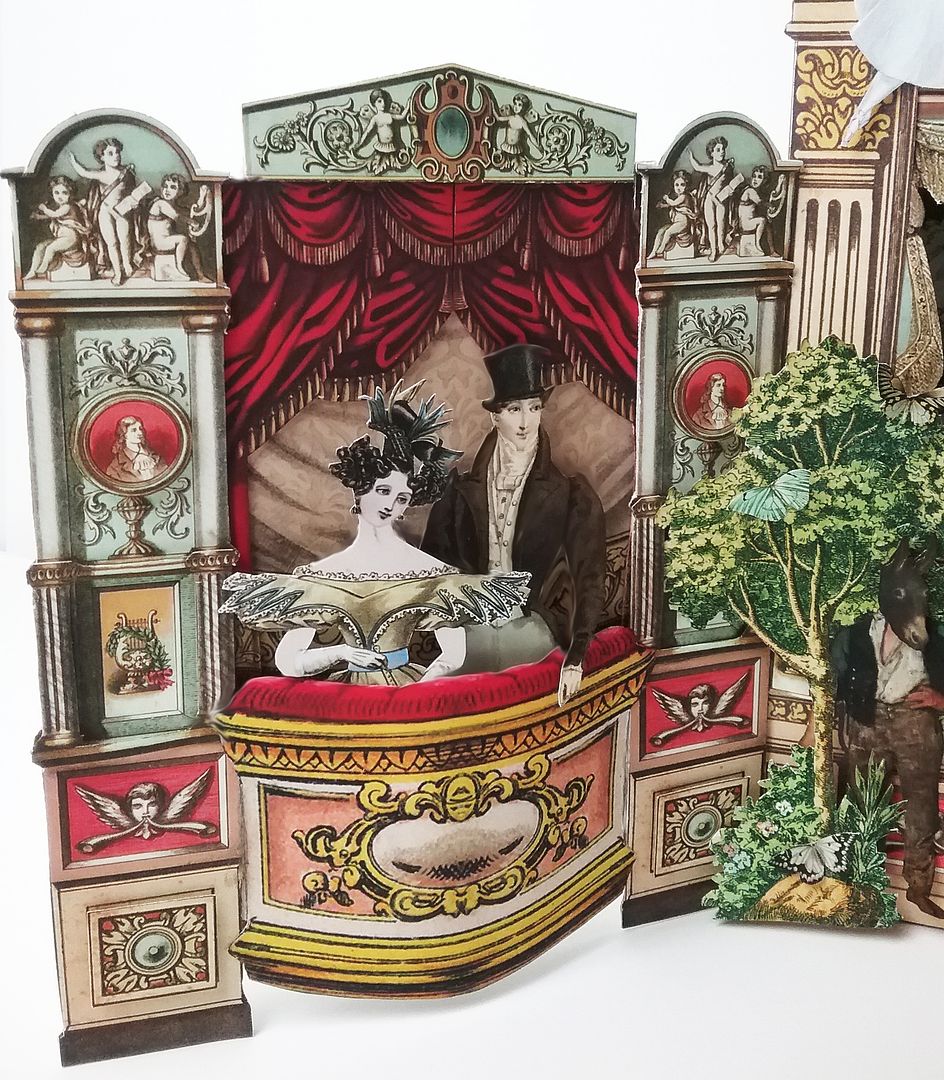
You can see the audience avidly watching the play from their box seats.


THE PROJECT DETAILS
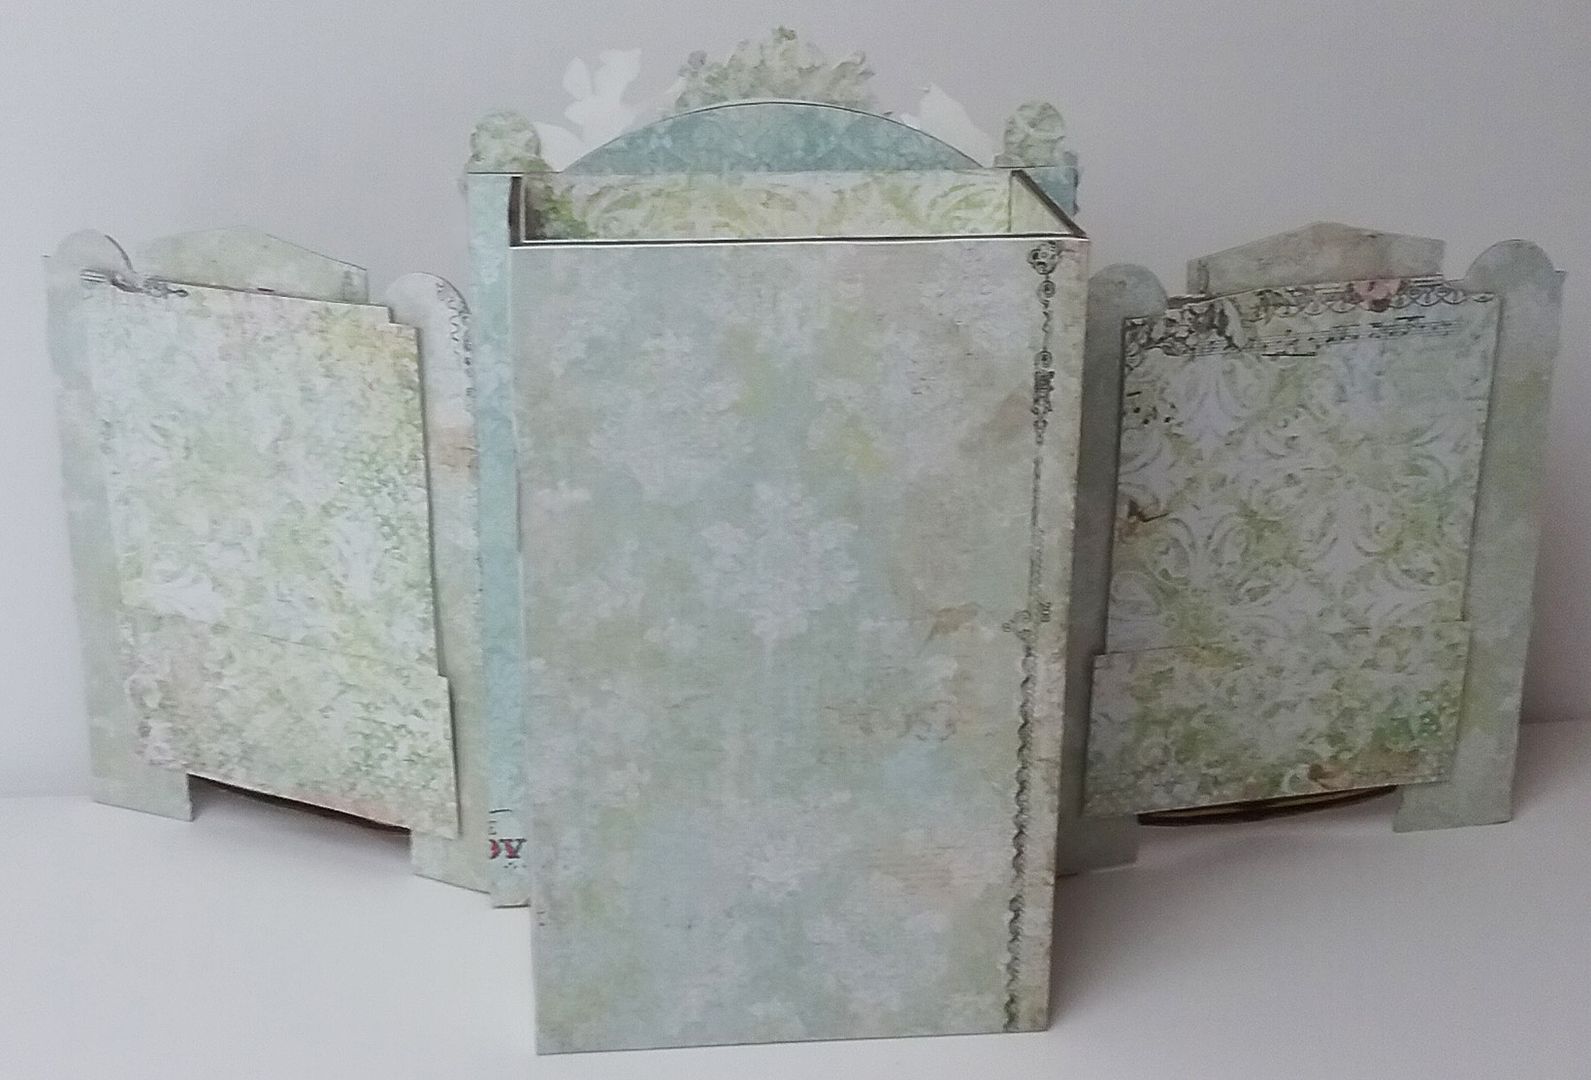
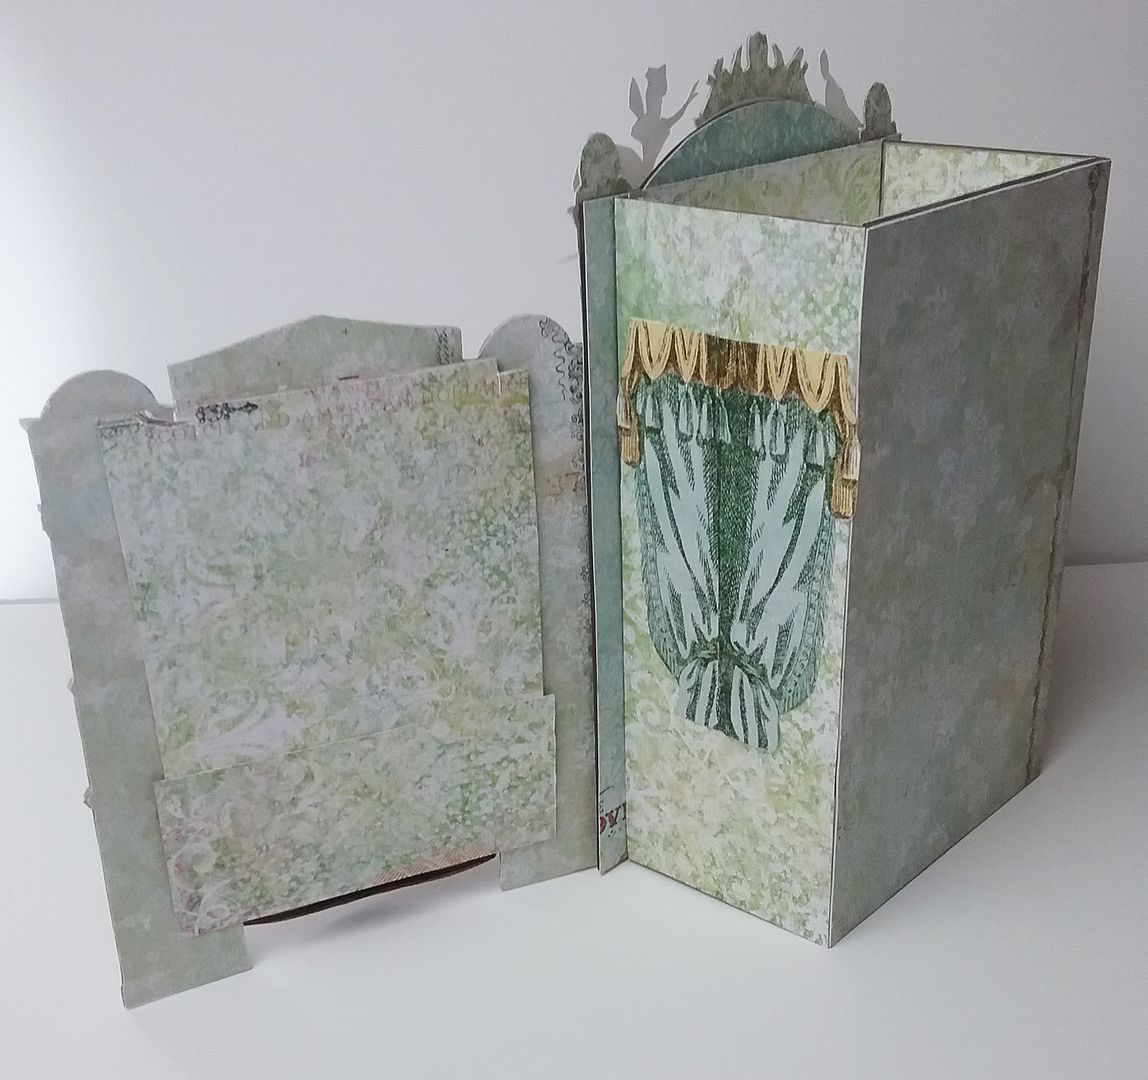
The center of the theatre is made from the Punch & Judy Theatre chipboard kit. 
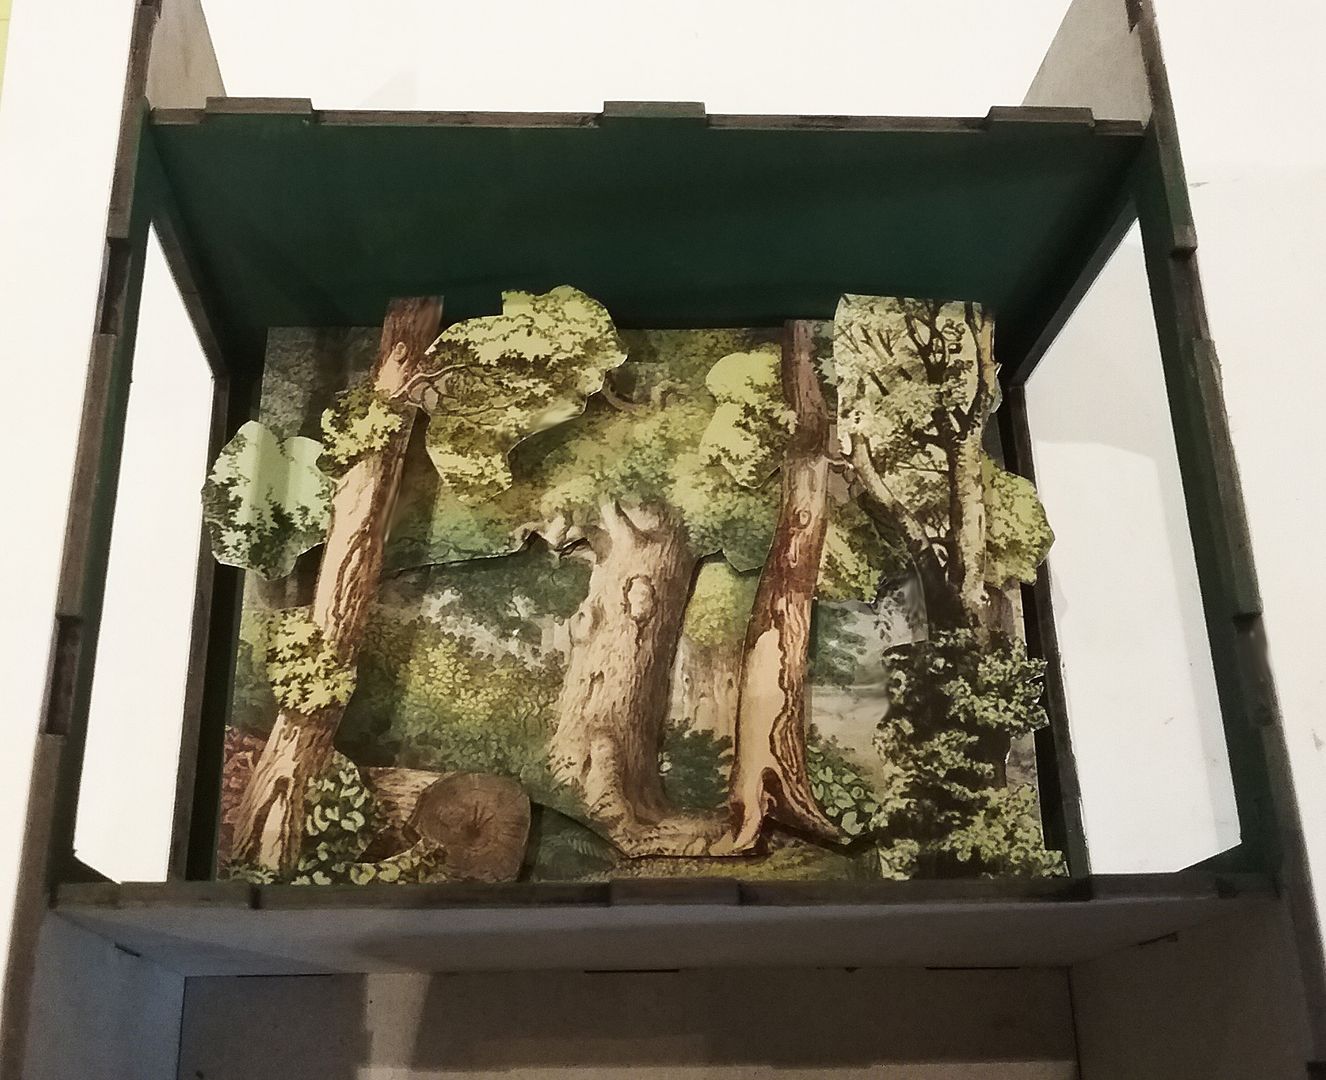
First, I painted the inside of the opening green and then started adding greenery from the Forest Theatre Backdrops Collage Sheet & the Rustic Trees & Foliage Collage Sheet.
To create a 3D effect, I layered the images using double-stick tape and beads.

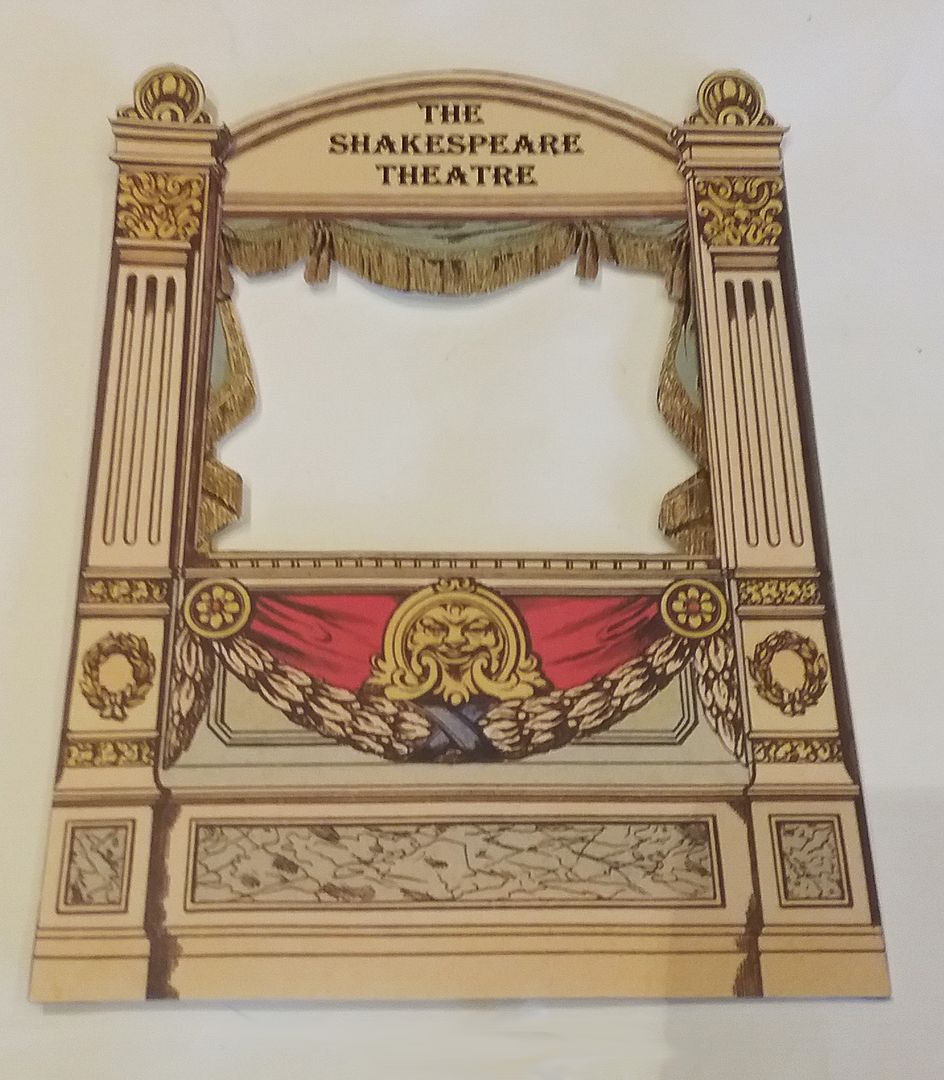
I used The Marionnettes Theatre Collage Sheet for the front and attached it to the Arched Top Theatre Façade.  
To further embellish the front, I added curtains, and at the top and bottom, bits of the pediment image from the Large Theatre Curtains, Columns & Box Seat Set of digital images.
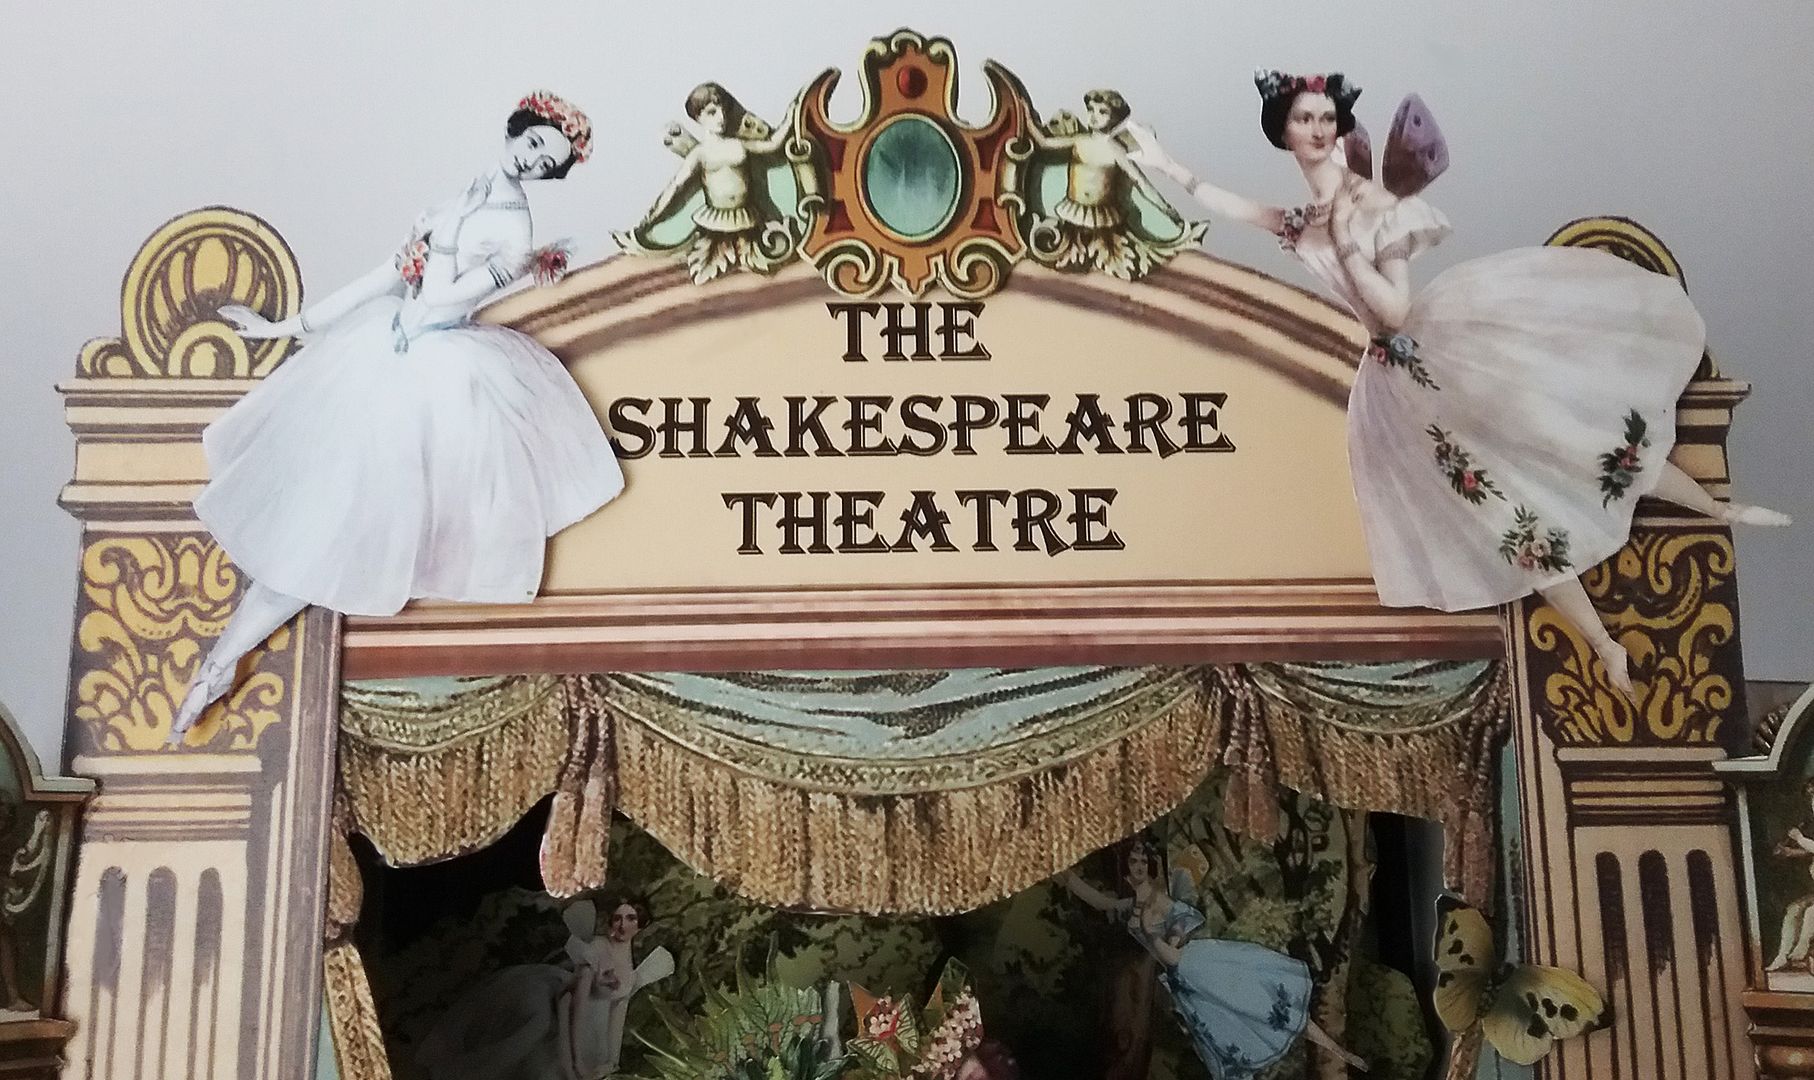
All of the images of fairies you see in the opening of the theatre and around the outside are from the Fairy Ballerinas Collage Sheet.  And the butterflies are from my Butterflies & Moths Collage Sheet; you'll also find them in the digital kit version.
The image of the character “Bottom” peaking out from behind the tree is from my stash.  You’ll find it further down in the post, so feel free to download it and use it for your art.
 
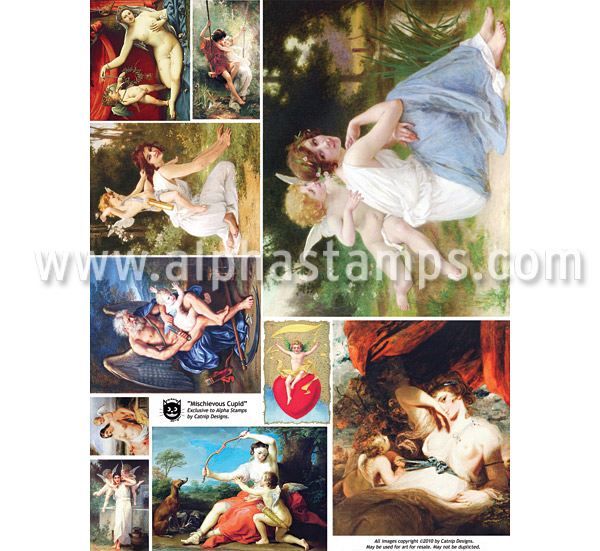
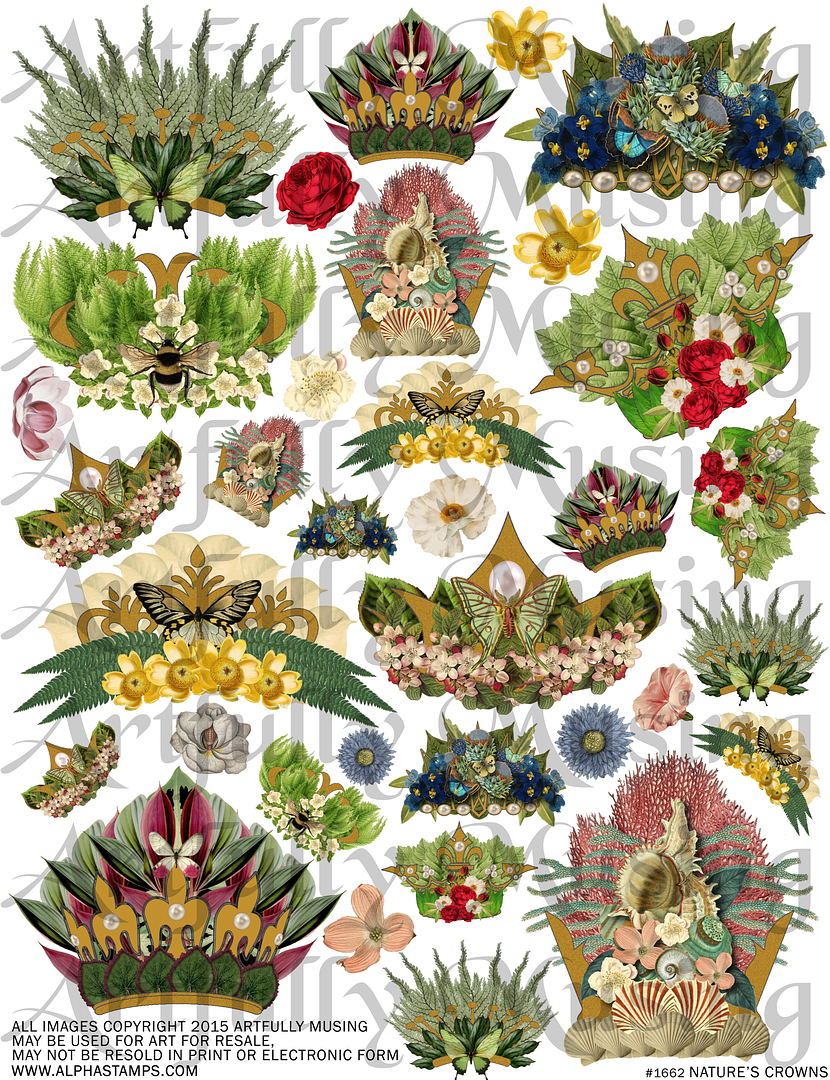
Inside the theatre opening, I added an image from the Mischievious Cupid Collage Sheet and dressed them up with crowns from my Natures Crowns Collage Sheet, then added wings from my stash. I added an ear to Puck to make him look more elvish or sprite-like as opposed to a cherub.
I glued a bead on the bottom back to give me something to attach the image to the floor of the opening.

For the side panels, I used a combination of images from the Large Theatre Curtains, Columns & Box Seat Set of digital images.  
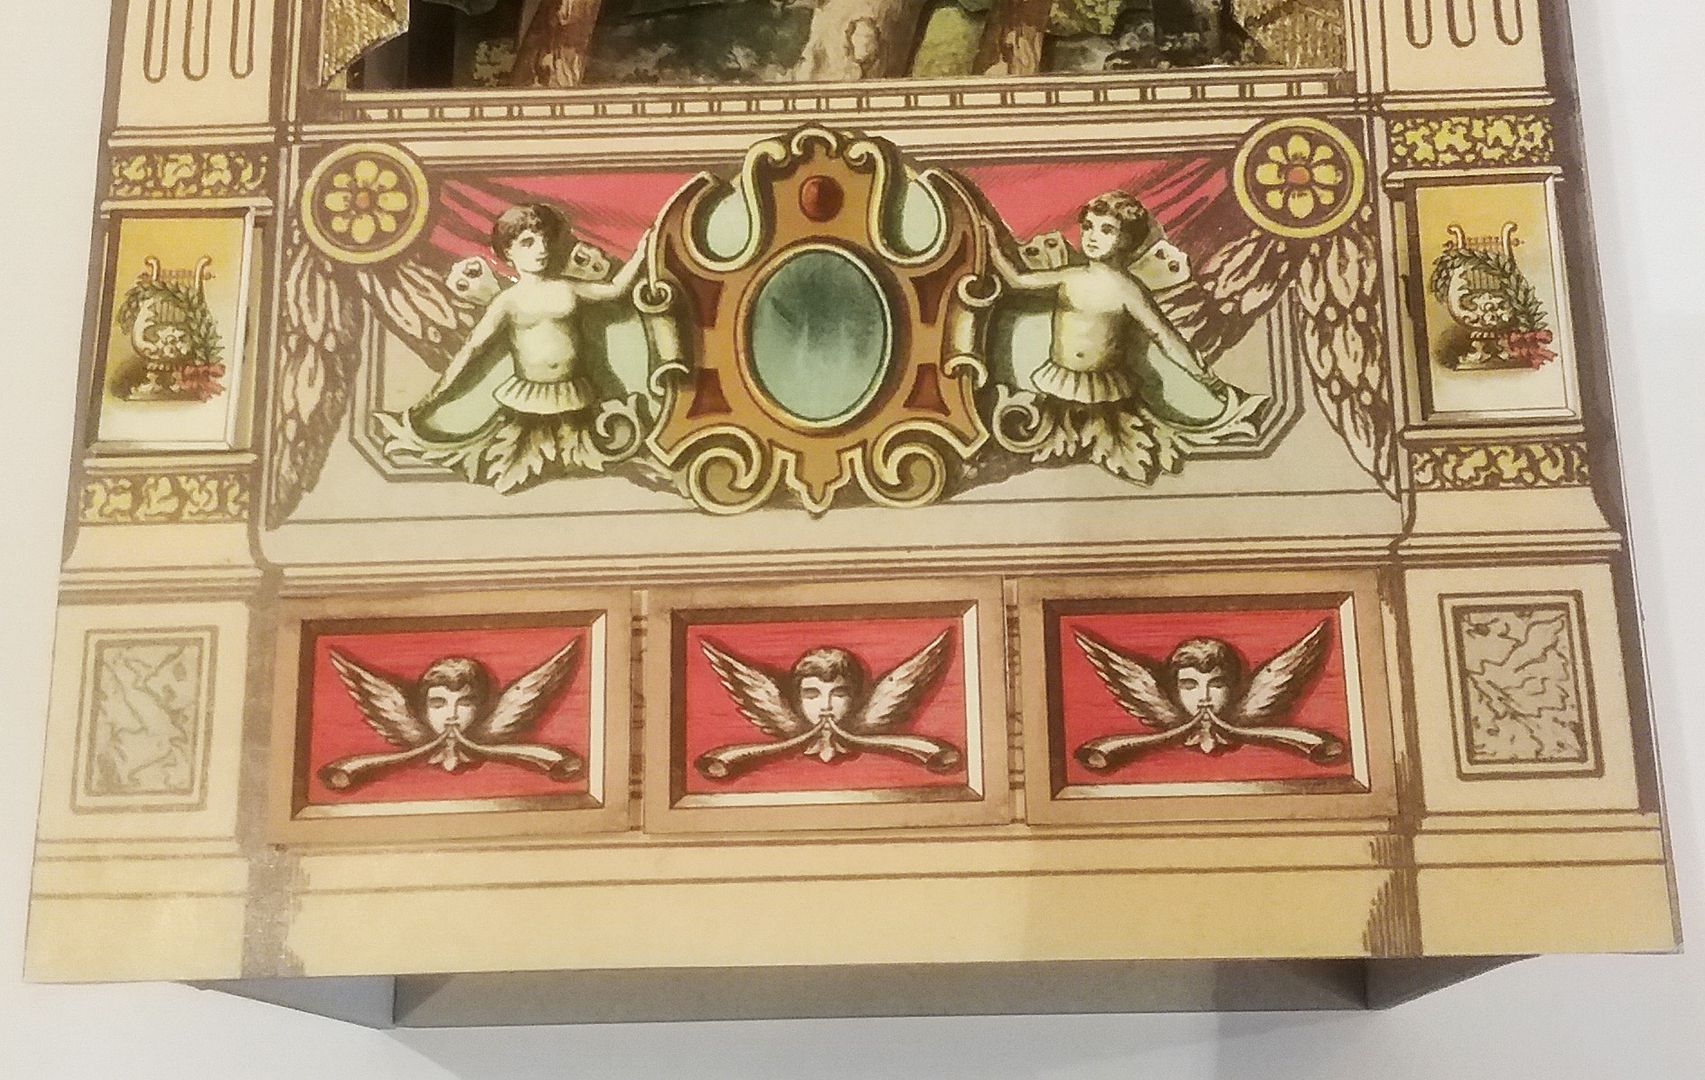
I printed the columns multiples times so that I could cut out bits of the image and layer them on top of the original to create a 3D look.

I had some of the column bits left over, so I added them to the center section to tie the center and the sides together.
I made the column area narrow enough so that I could make the box bow out making it look 3D.
The couples sitting in the box seats are from the 1830s Gents & Ladies Fashion #1 Collage Sheet.
To cover the back and sides of the theater and to hide any exposed areas of the side panels, I used three different scrapbook papers; Red Rose Ball, Devoted & Love Song Serenade.
To cover the opening of the sides of the center section, I used curtains from the Gatefold Square Shrine Curtains Collage Sheet.

Feel free to download the images below and use them in your artwork.

DETAIL SUPPLY LIST
Punch & Judy Theatre
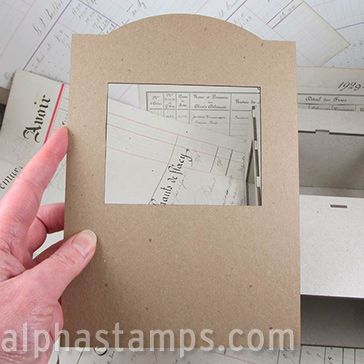
Arched Top Theatre Façade
The Marionettes Theatre Collage Sheet
Large Theatre Curtains, Columns & Box Seat Set Download
Gatefold Square Shrine Curtains Collage Sheet
                           Or
Fairy Ballerinas Collage Sheet
Mischievous Cupid Collage Sheet
Forest Theatre Backdrops Collage Sheet
Rustic Trees & Foliage Collage Sheet
Heartland Scrapbook Paper – Red Rose Ball
Blush Scrapbook Paper – Devoted
Heartland Scrapbook Paper – Love Song Serenade

Saturday, April 9, 2016

Woodland Tea Party

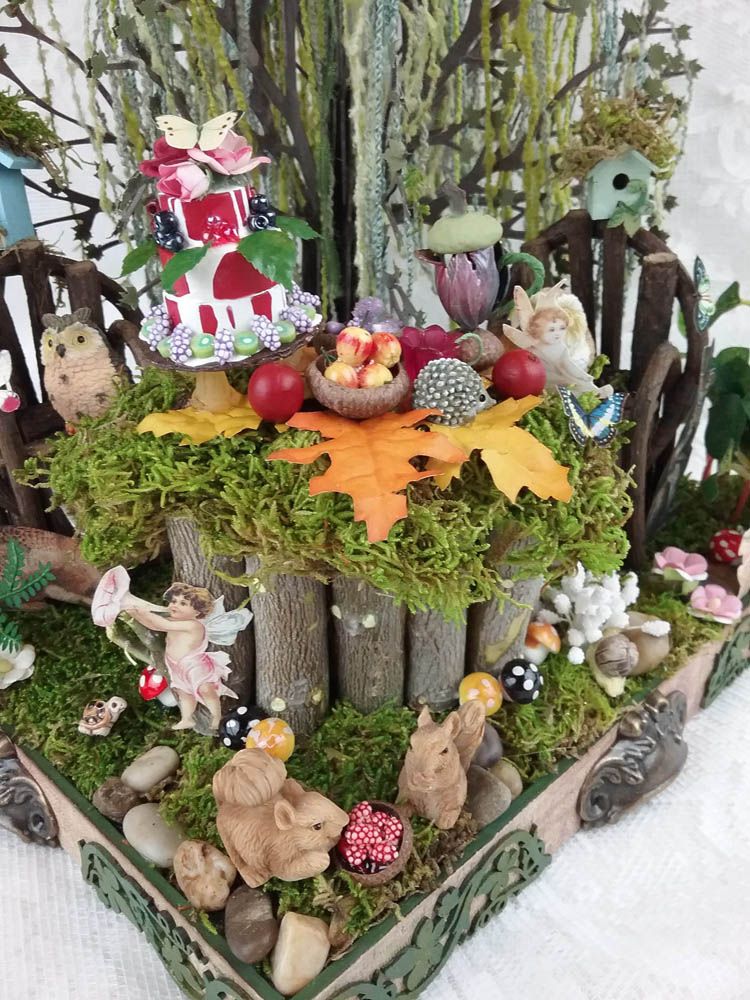
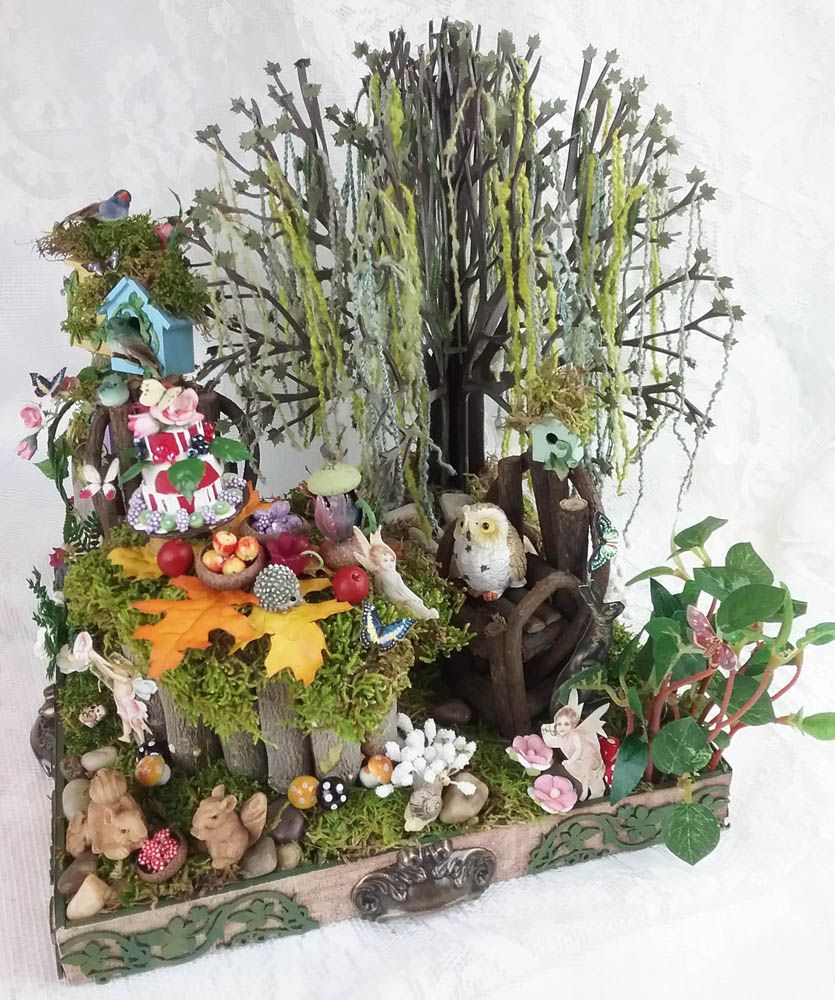
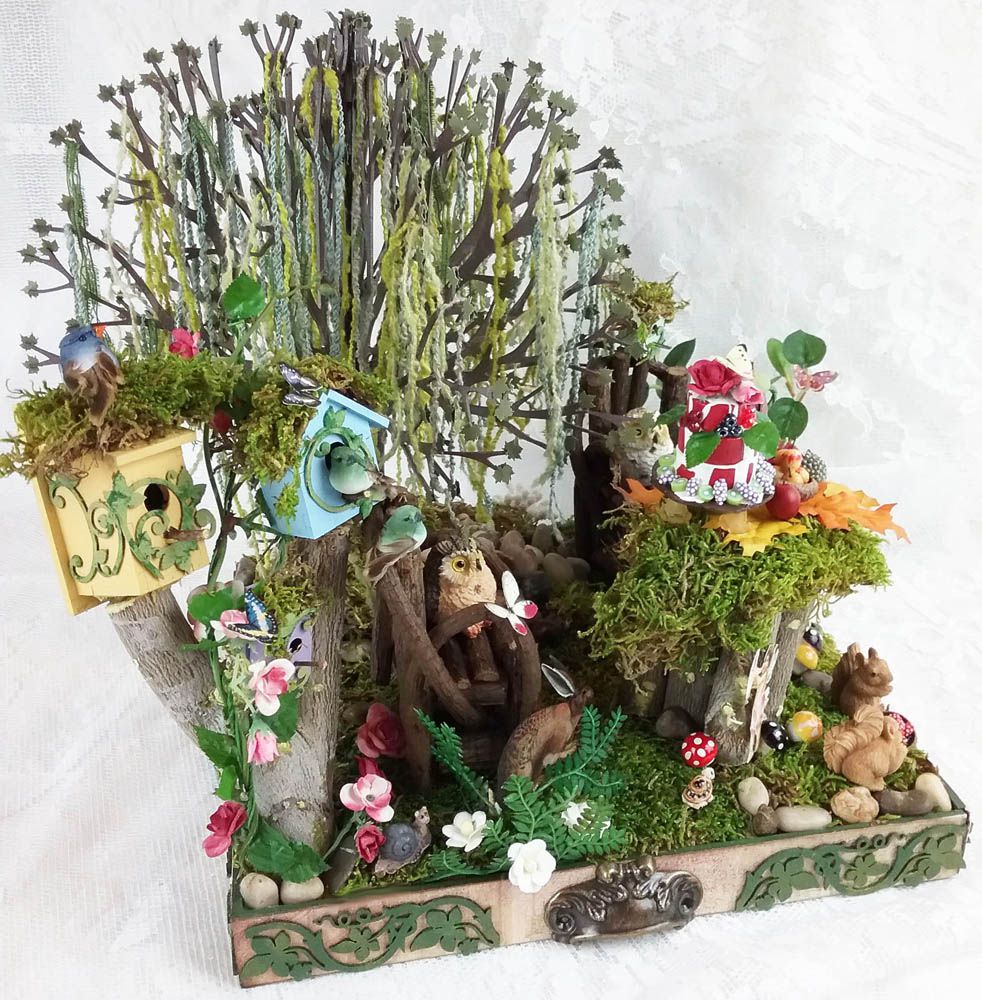
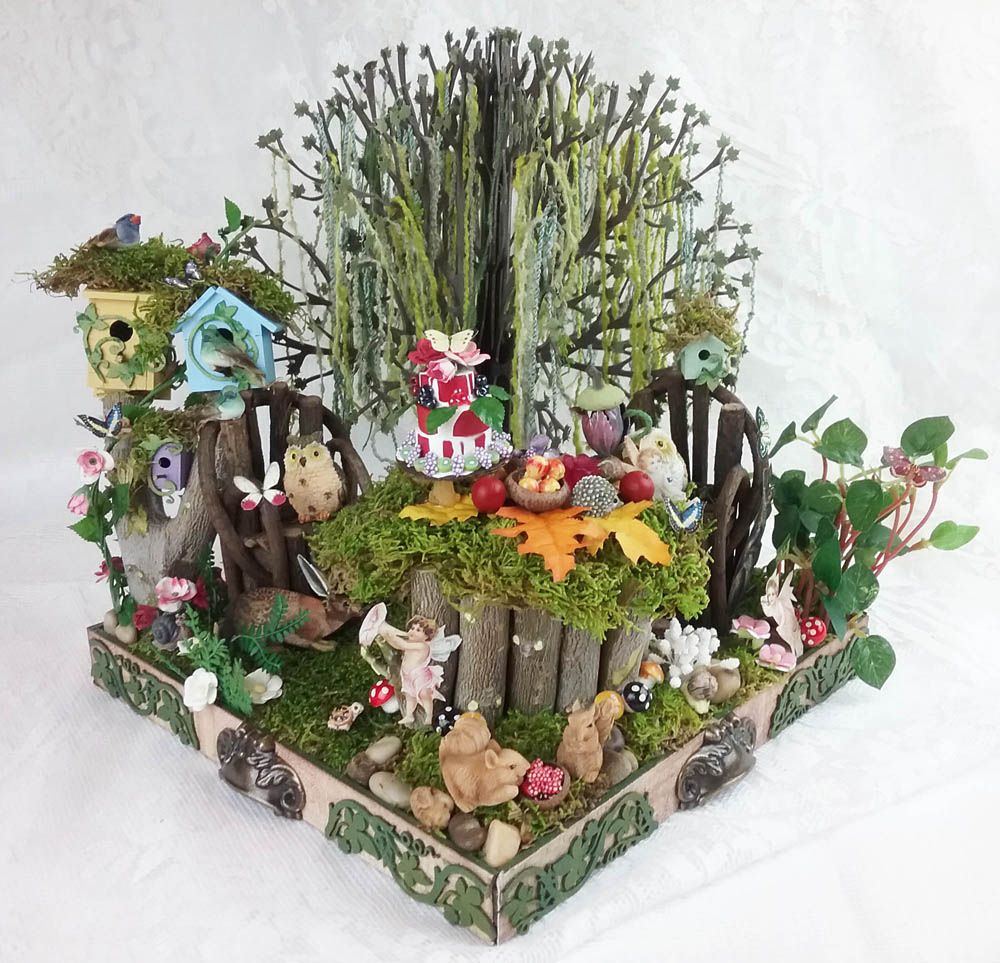
Deep in the forest, a tea party is set to begin under a moss-draped tree.  Looks like the fairies have created a sumptuous feast for the woodland creatures.
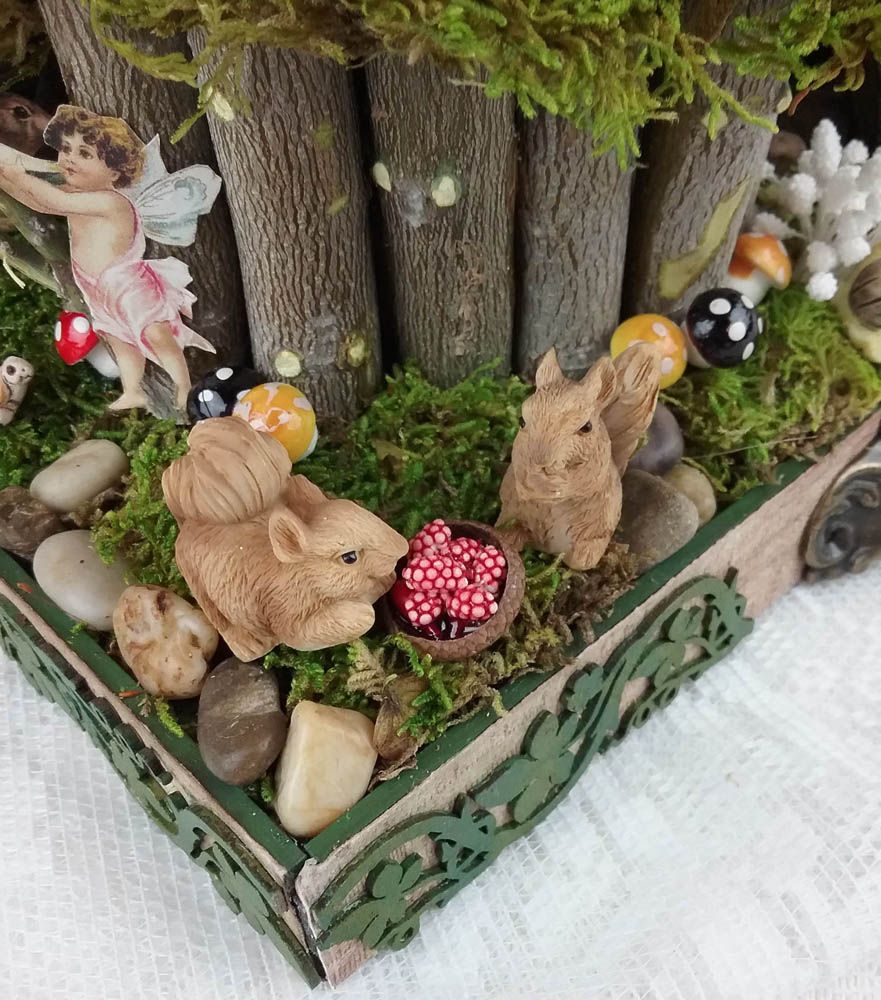
I see the squirrels are already munching on a bowl of berries.
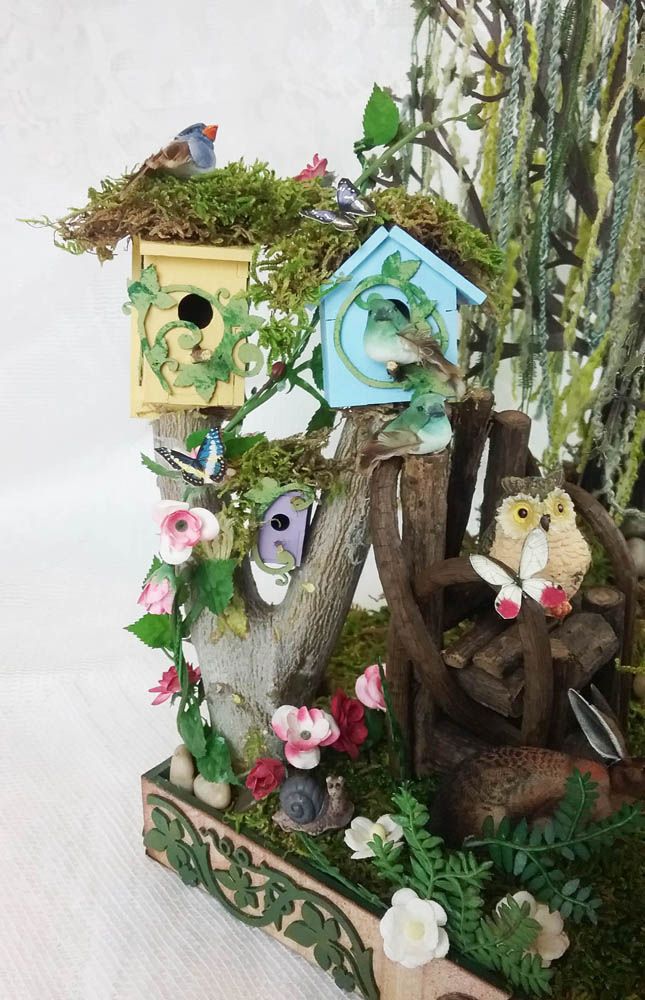
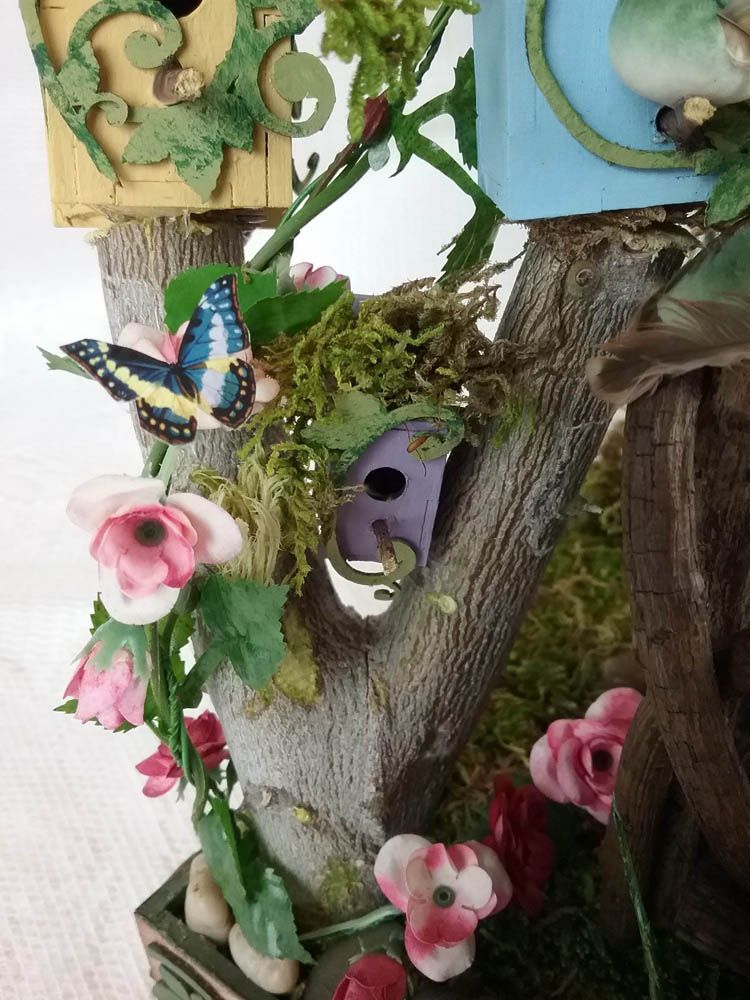
The birds are enjoying the sun sitting on the roofs and ledges of their houses.
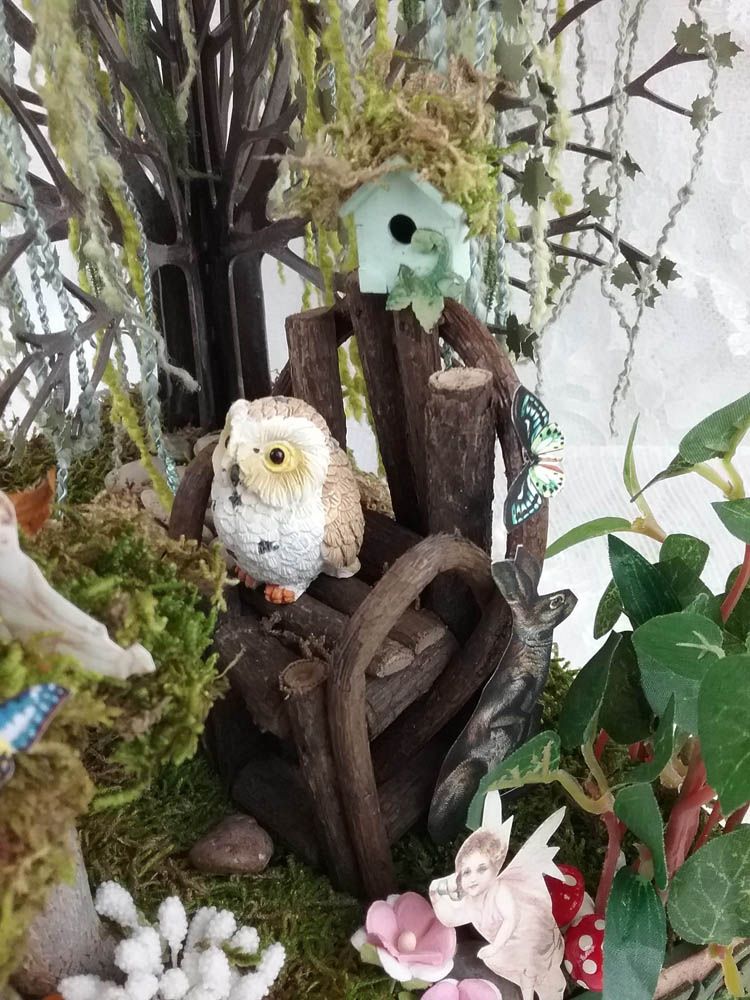
Vine chairs make comfortable seats for owls.  At the bottom, you see a rabbit from the Into the Woods collage sheet.
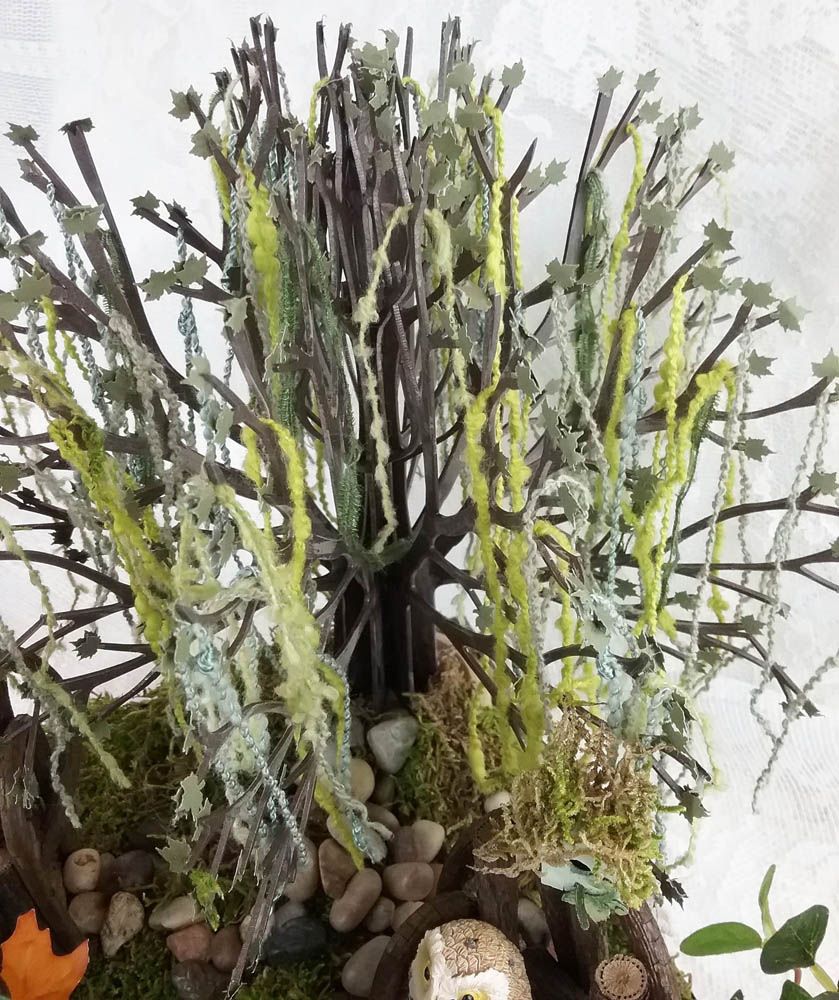
A 3-D tree made from a kit anchors the scene with fiber moss hanging from the branches.
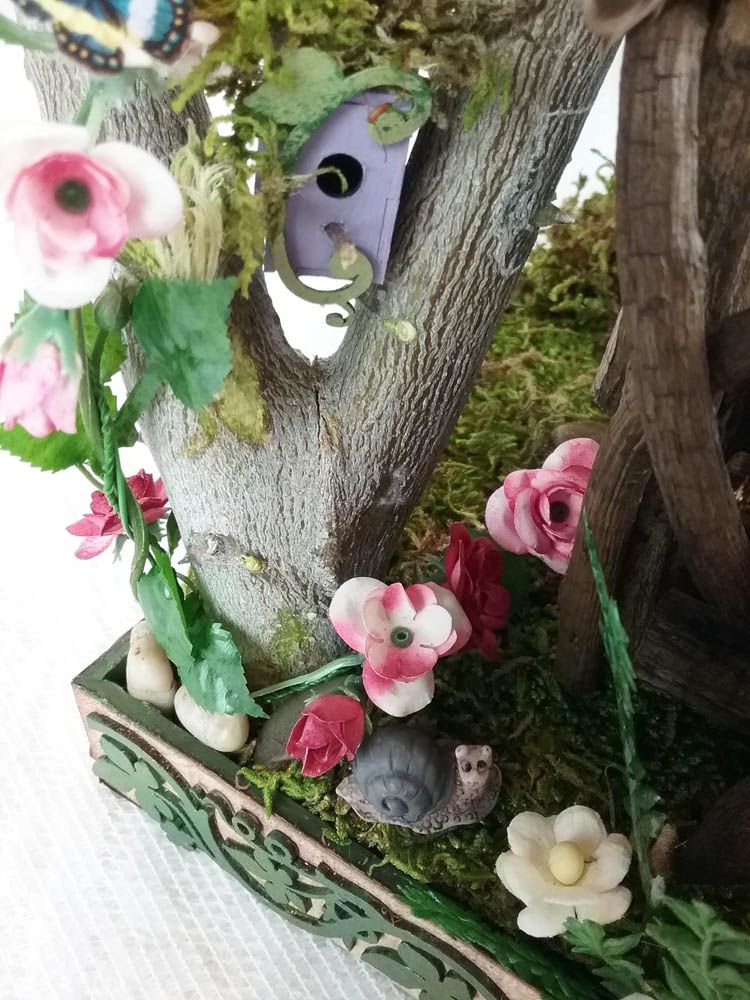
Even the smallest of creatures, a snail, is joining in on the party.
This happy scene is built into a box with handles that serve as a tray, making it easy to lift and reposition.


MAKING THE BASE
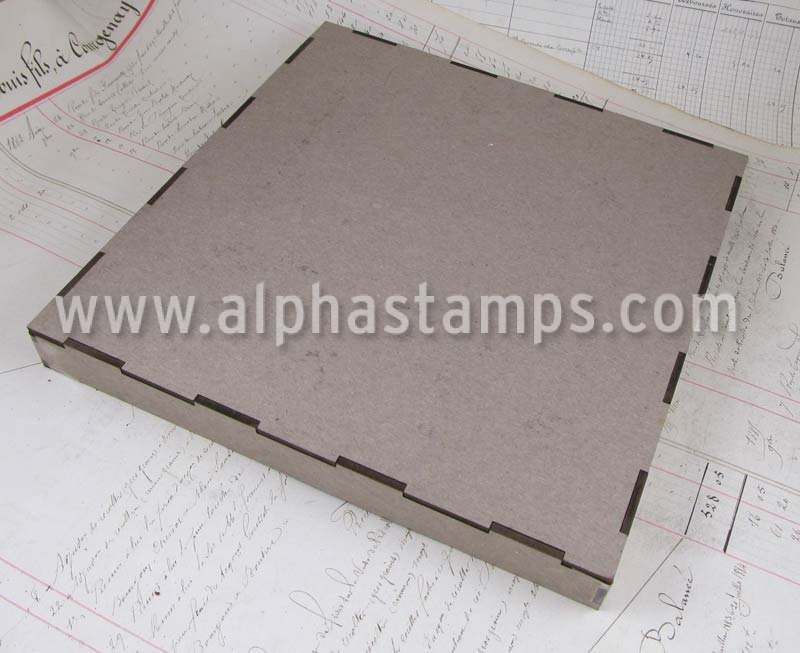
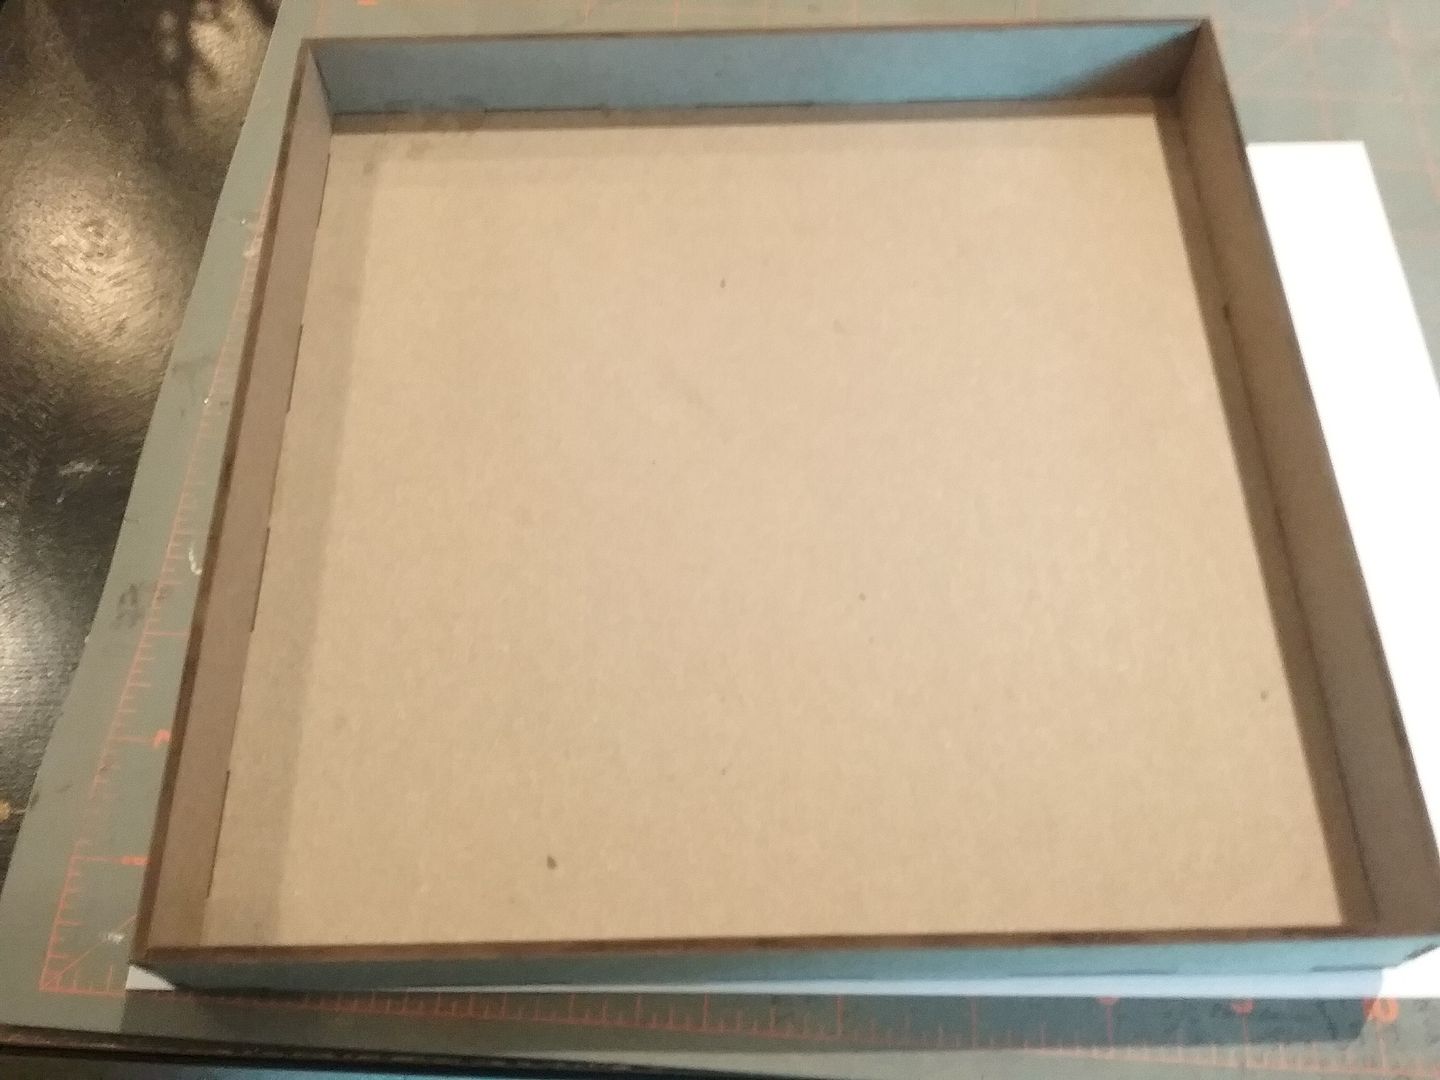
The base is made from an easy-to-assemble Cottage Base kit which I flipped to make a tray.  
I started by painting the inside of the tray green (anywhere you think it may show) and papering the outside of the base.
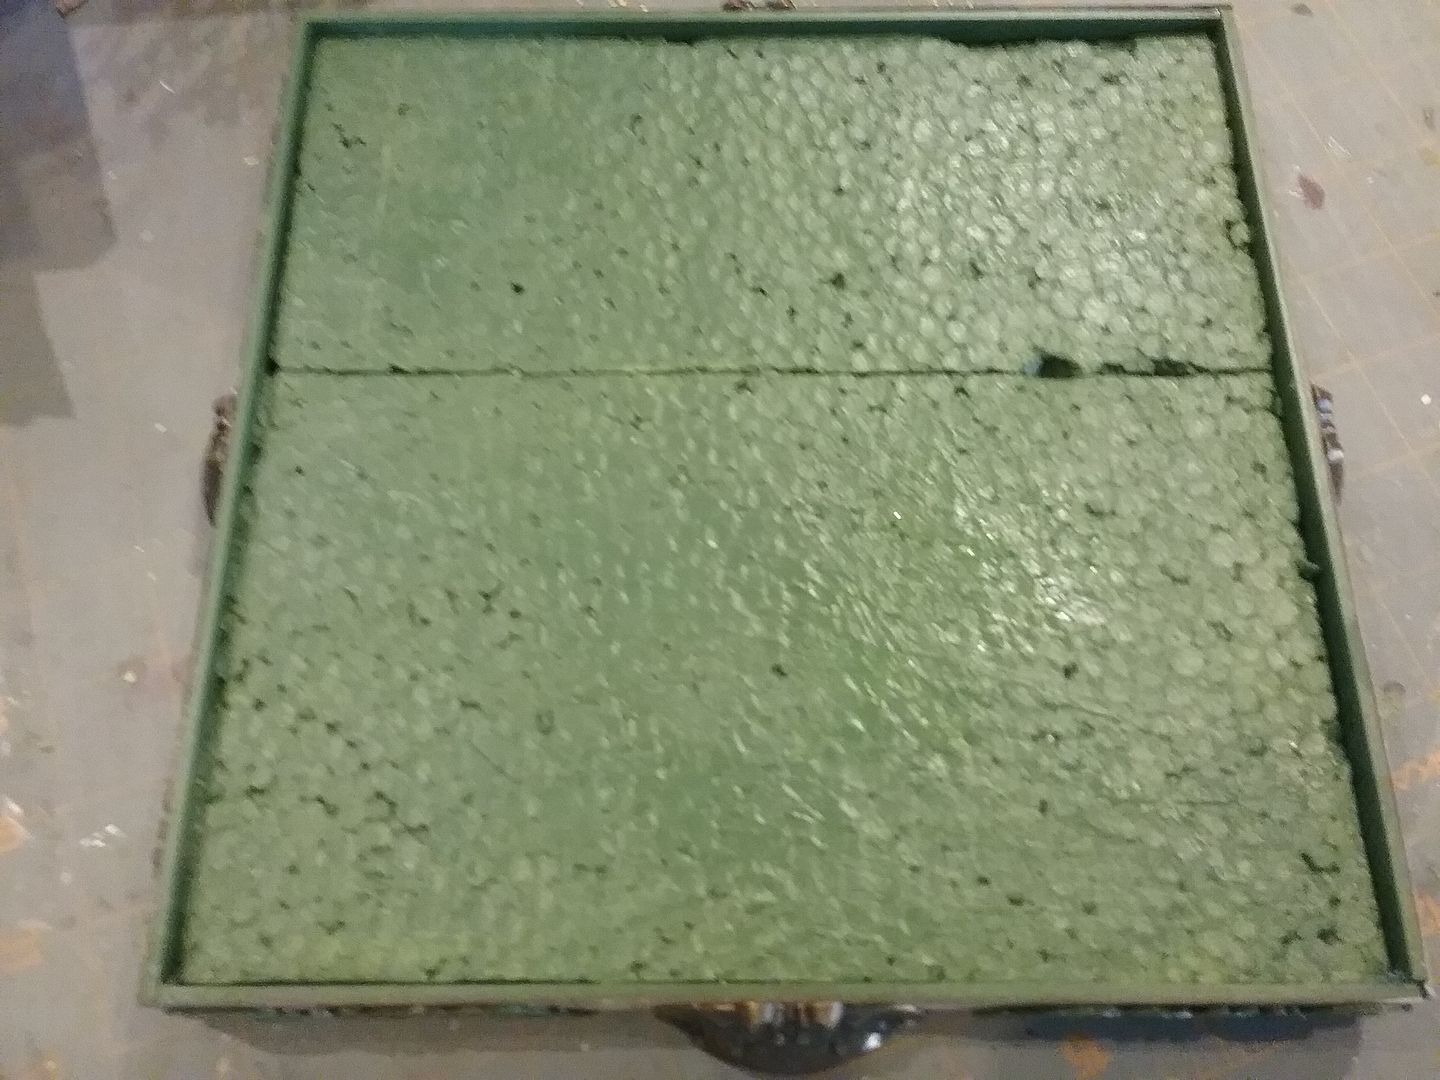
I then cut a piece of Styrofoam to fit the inside of the tray.  They are also painted green.  The Styrofoam gives me something to insert the embellishments into.
To jazz up the outside of the tray, I added pieces of chipboard ivy border painted two colors of green and door pulls to serve as handles.

THE TREE
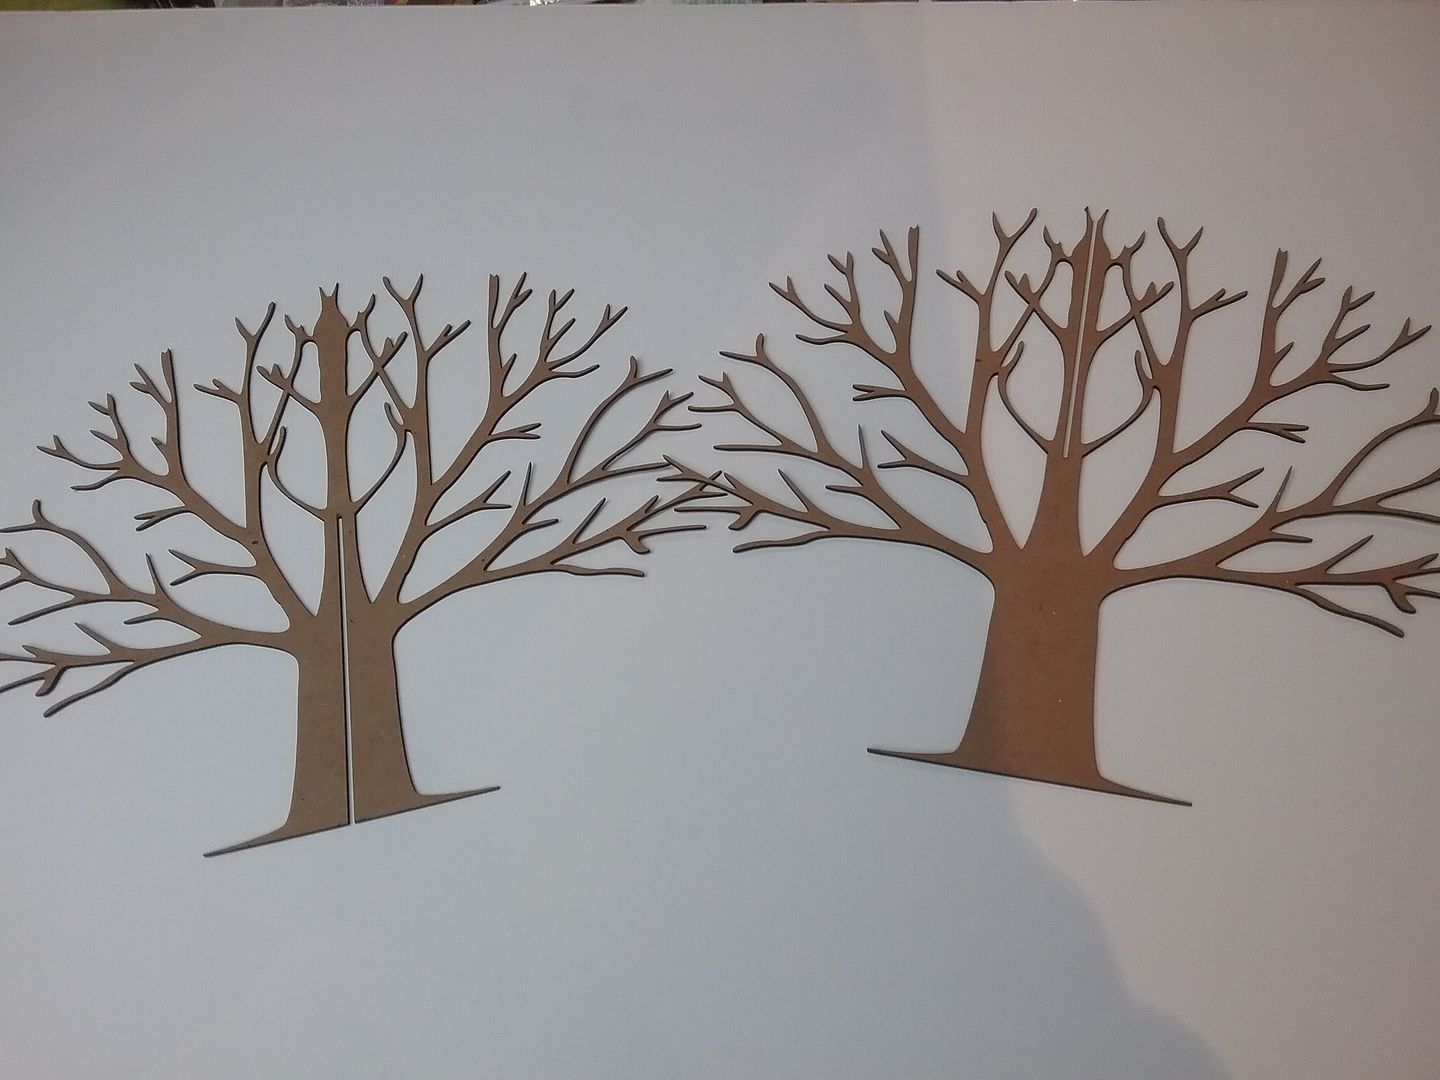
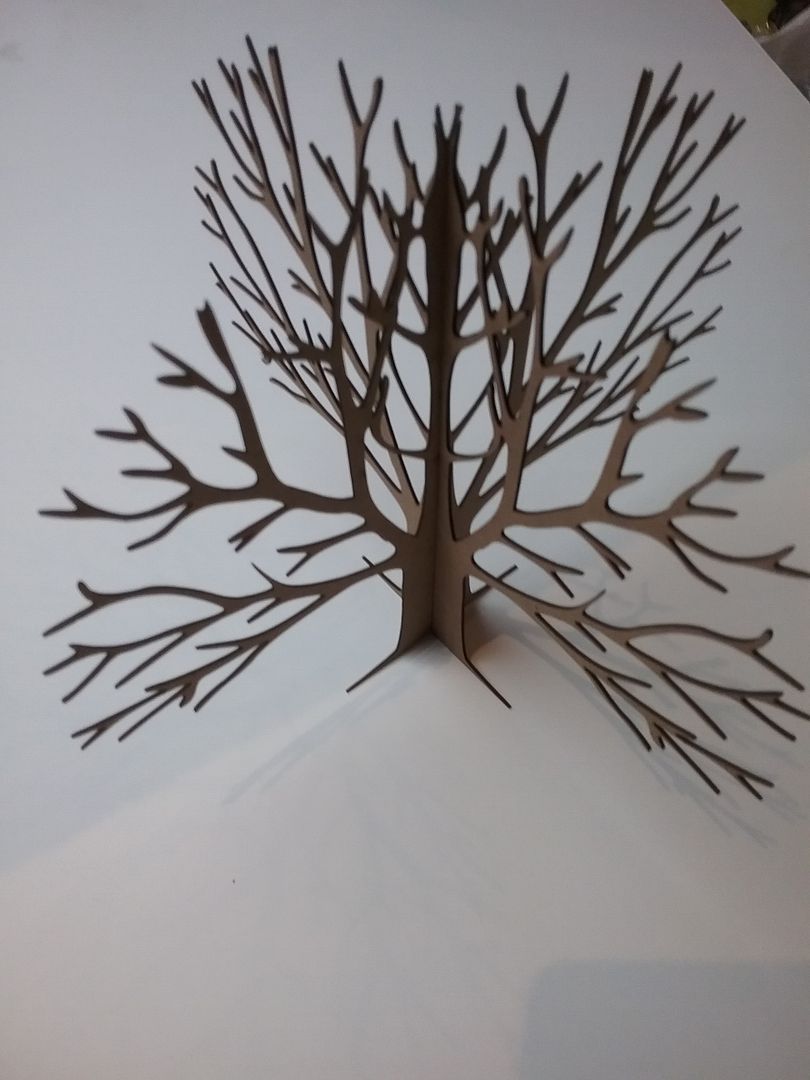
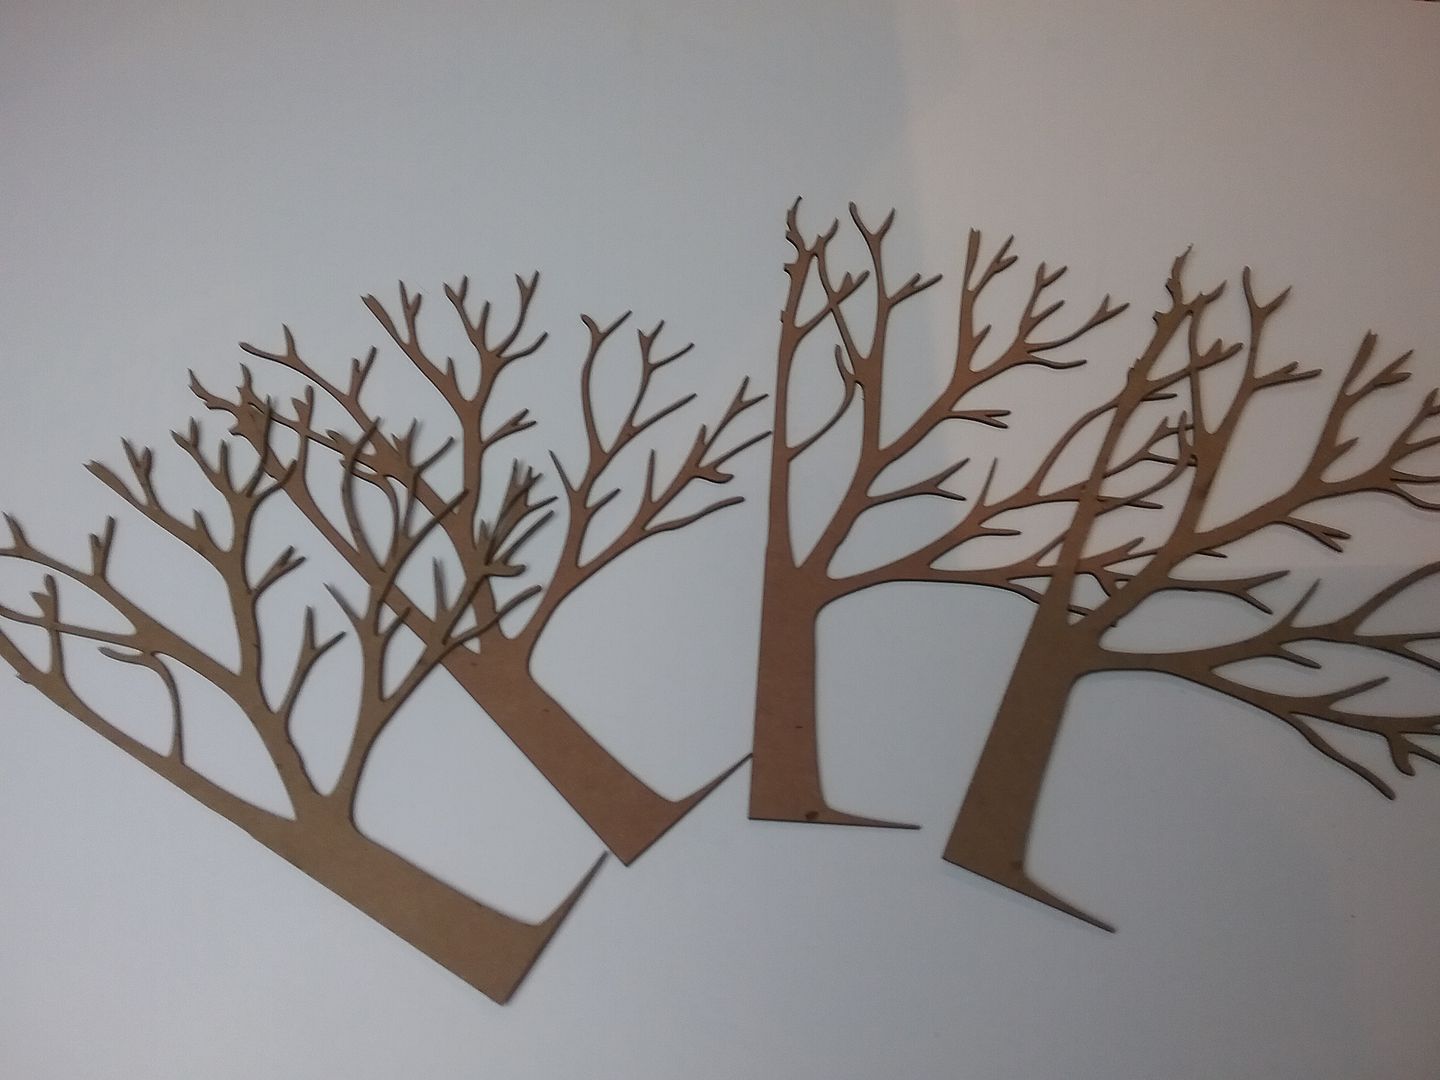
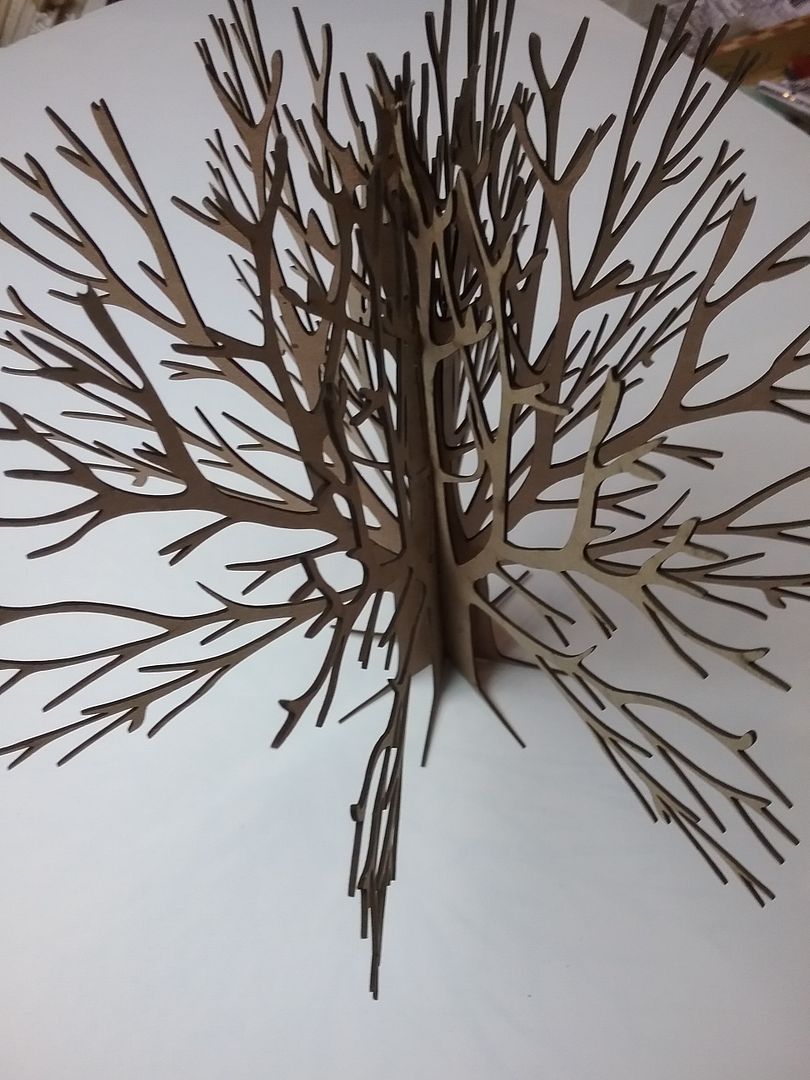
The 3D Tree kit consists of 2 pieces.  The pieces slip one into the other.  I added glue to the slits before combining the pieces and then wiped away the excess glue with a damp cloth.  This kit comes in three sizes.  I used the largest (8") for this project. The tree is one of my favorite parts of the project and a special request of mine to Alpha Stamps.  I can see using this in many future projects.
To add fullness to the tree, I used a second kit in which I cut each of the pieces in half, giving me 4 additional pieces.  I glued the cut pieces into each intersection of the main tree, which gives you a full-looking tree.
Then, I painted the tree two colors of green and attached the leaves, which I punched from paper.  There is nothing special about the order of assembling first and then painting.  You could choose to paint first and then assemble.  If you are going for a winter or spooky look, leave off the leaves.
The last step was to drape various colored fibers over the branches.  I soaked the fibers in water first to straighten them out, laid them flat to dry, and then draped them over the branches.  Before mounting the tree in the scene, I added wood blocks to the Styrofoam and then glued the tree to the blocks.  This was to give the tree more height and make it look like it was on a small hill.  The tree's base and the wood are covered with sheet moss and pebbles.
THE TABLE AND PARTY GOODIES
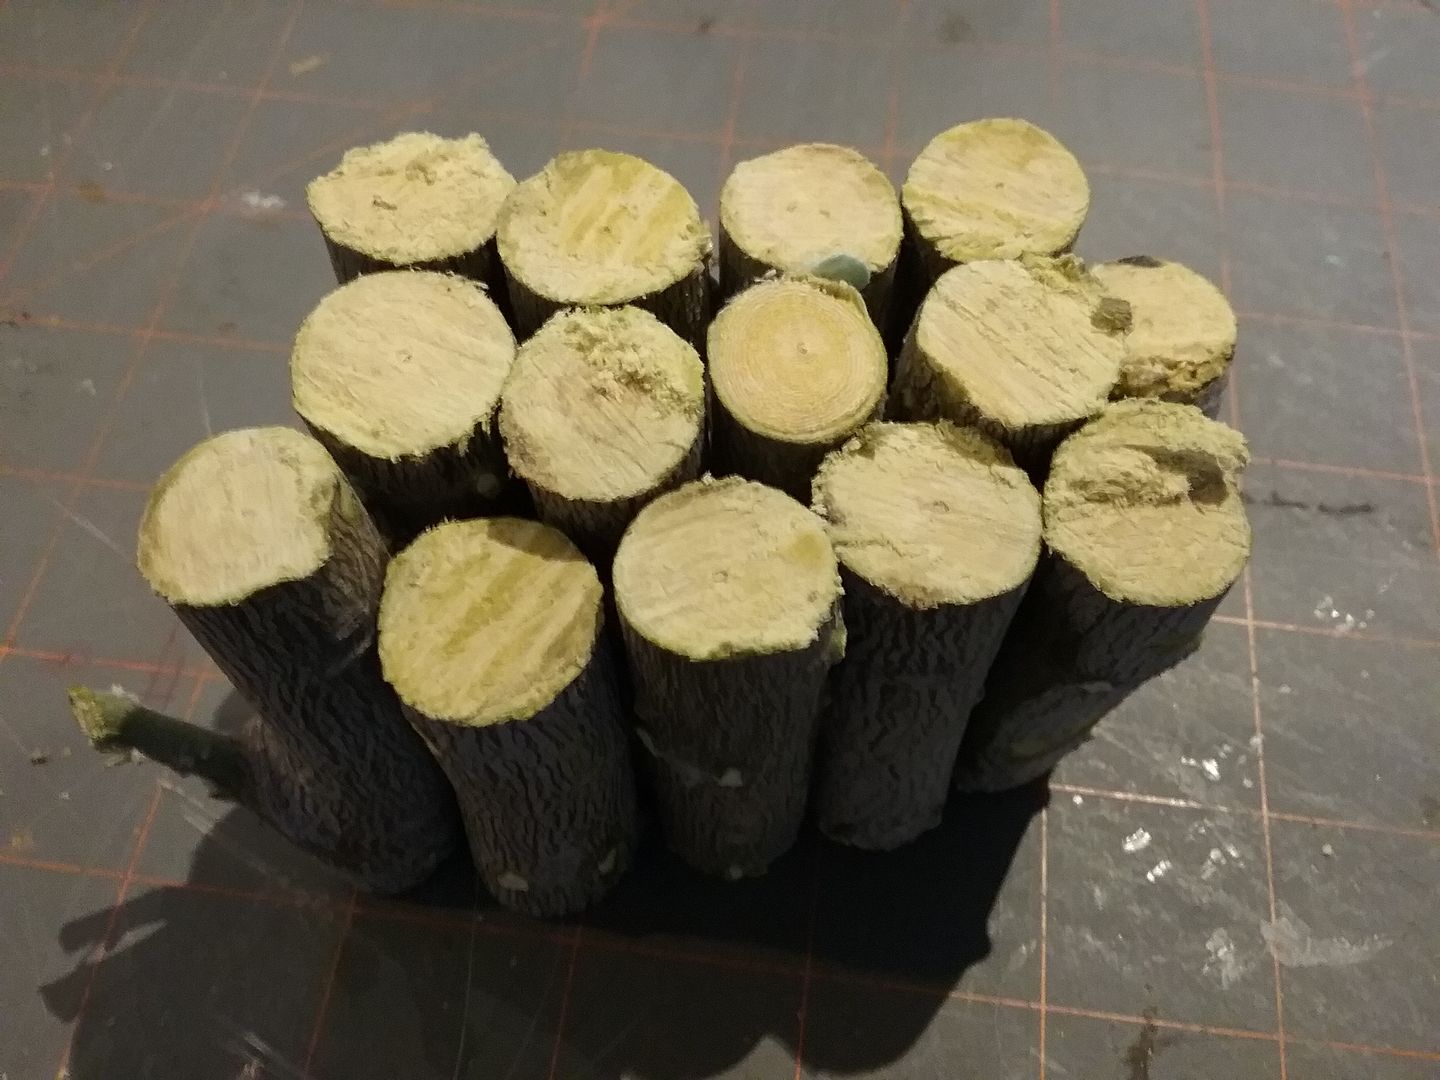
The base of the table is made from branches cut from a tree in my yard.  Of course, I had to pick a tree with what seemed to be the hardest wood.  It’s an Ironwood tree, so I guess its name is accurate. 
The lengths of the pieces don’t have to be exact, as I covered the top with sheet moss.
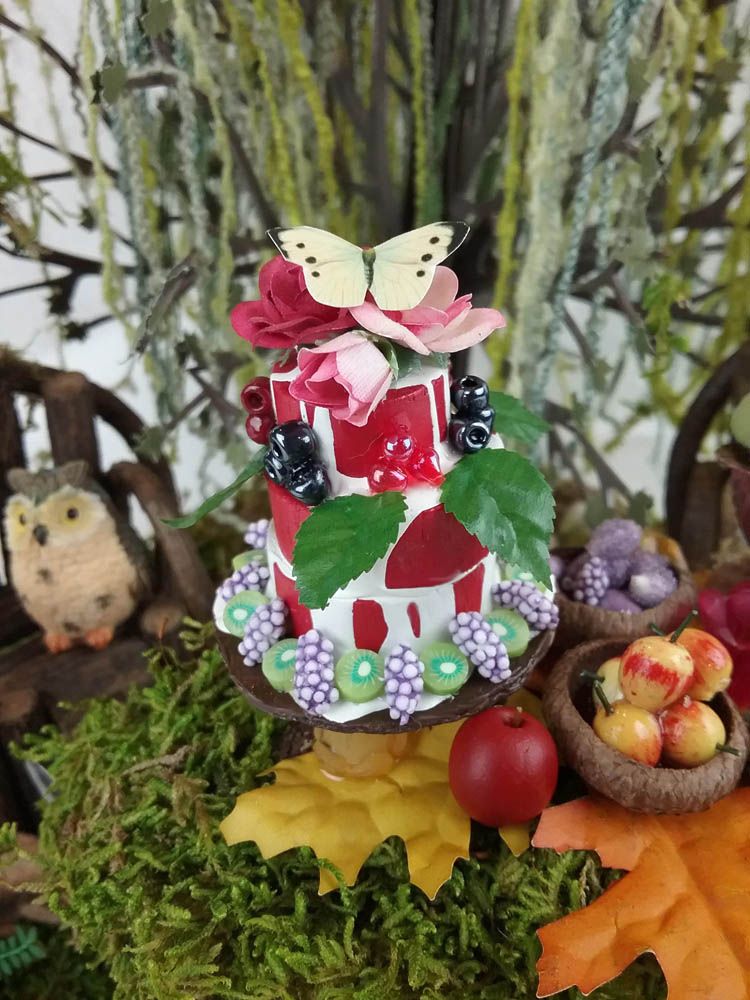
On top of the table, I added some fall oak leaves for contrast.  The main item on the table is the scrumptious cake.  The layers of the cake are made from a wood miniature cake kit.  I used pieces from 2 of the kits.  I painted the cake red and drizzled white paint over the cake to serve as icing.  I cut out a larger circle of chipboard (painted brown) to serve as the plate.  Around the edges of the cake are lavender berries, kiwis cut from polymer clay, beads serving as berries, and leaves from the rose garland I used in other parts of the scene.  At the top are roses from the garland and a butterfly.
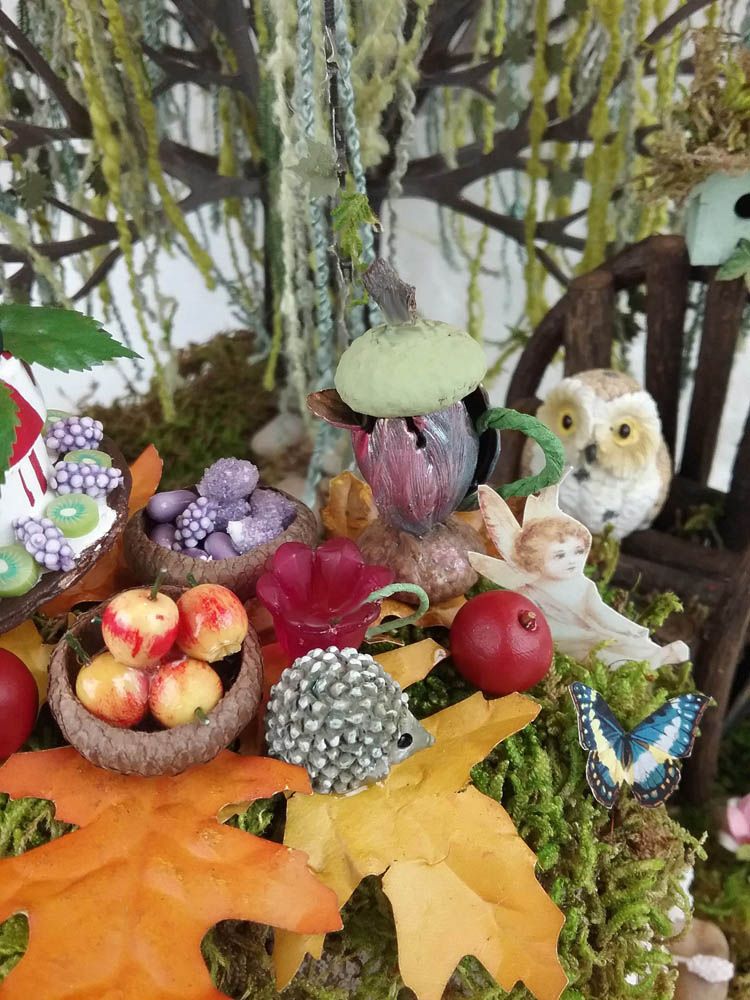
Berries and apples are sitting in bowls made from acorn caps.  You can see a little hedgehog waiting to dig in.
The teacup is made from a tulip bead.  The handle is the stem cut from one of the mushrooms in the scene.  The teapot is made from a tulip bead cap with acorn caps as the base and top.  The handle is made from three stems twisted together.  On the table sits a fairy from the Vintage Postcards Fairies collage sheet, which is the source of all of the fairies in the piece.
BIRDHOUSES AND CHAIRS
The birdhouses are from chipboard kits that are easy to assemble.  I assembled them first and added the paint, moss on the roofs, and leafy chipboard pieces as decoration.  Small twigs from my yard served as ledges.  The wood the houses sit on is again from the Ironwood tree.

MY COLLAGE SHEETS USED IN THIS PROJECT
or