-->

Welcome

I love answering your questions. If you ask them in the comment section, I have no way to answer you (if you haven't heard from me, that is why). If you use the "EMAIL ME" in the left column of this page, I will be able to respond to you. You can also use it if you want to be added to my newsletter. Laura
Showing posts with label Tissue Paper Texture. Show all posts

Saturday, October 18, 2014

HOCUS POCUS INSPIRED BOOK APOTHECARY - VIDEO TUTORIAL

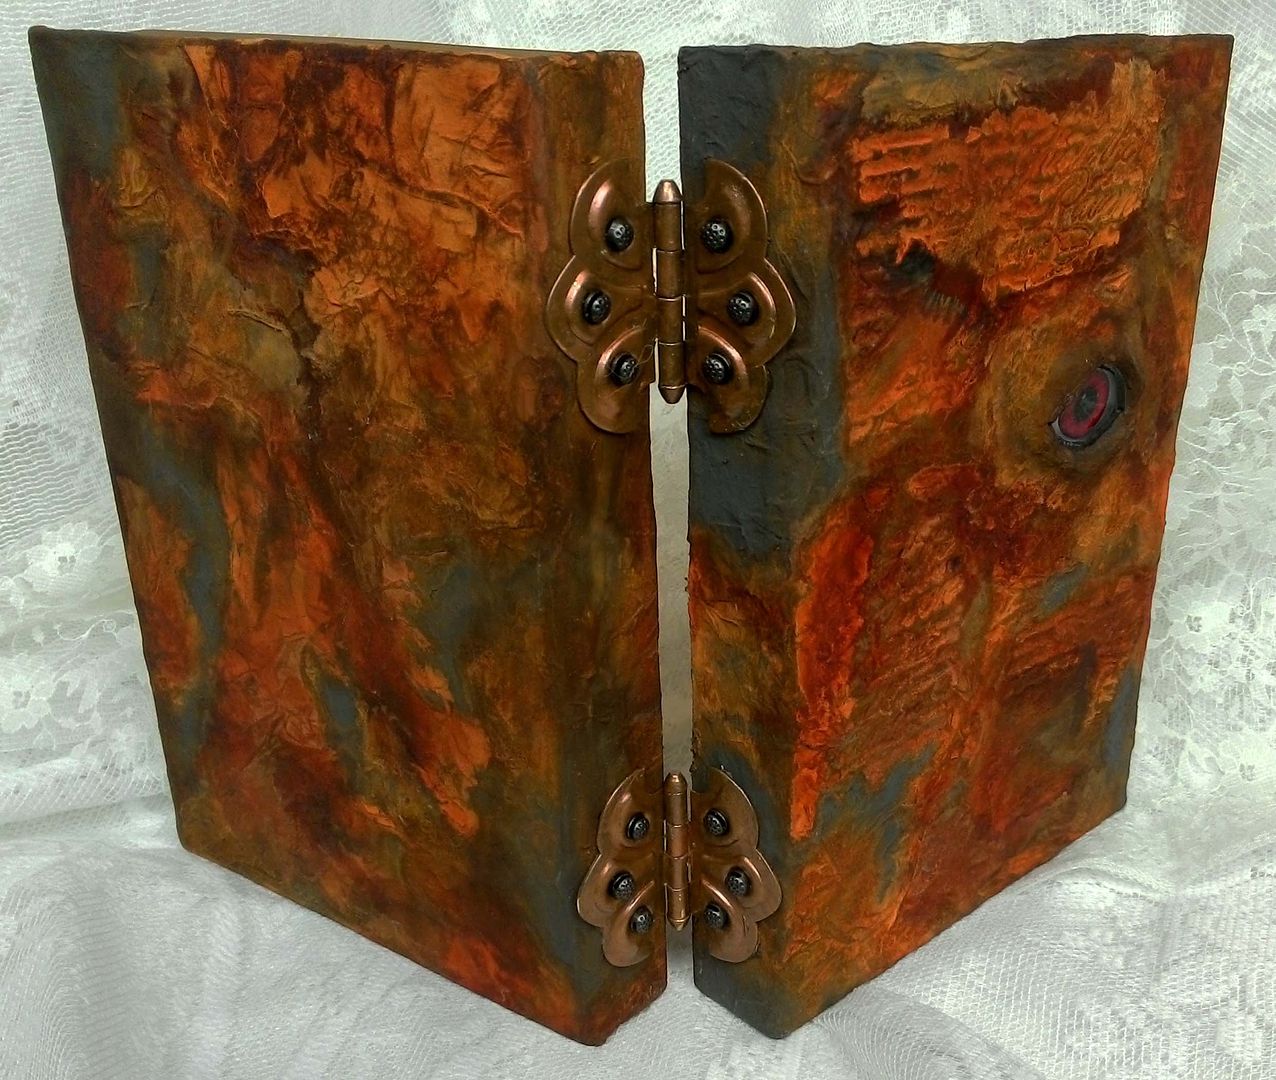
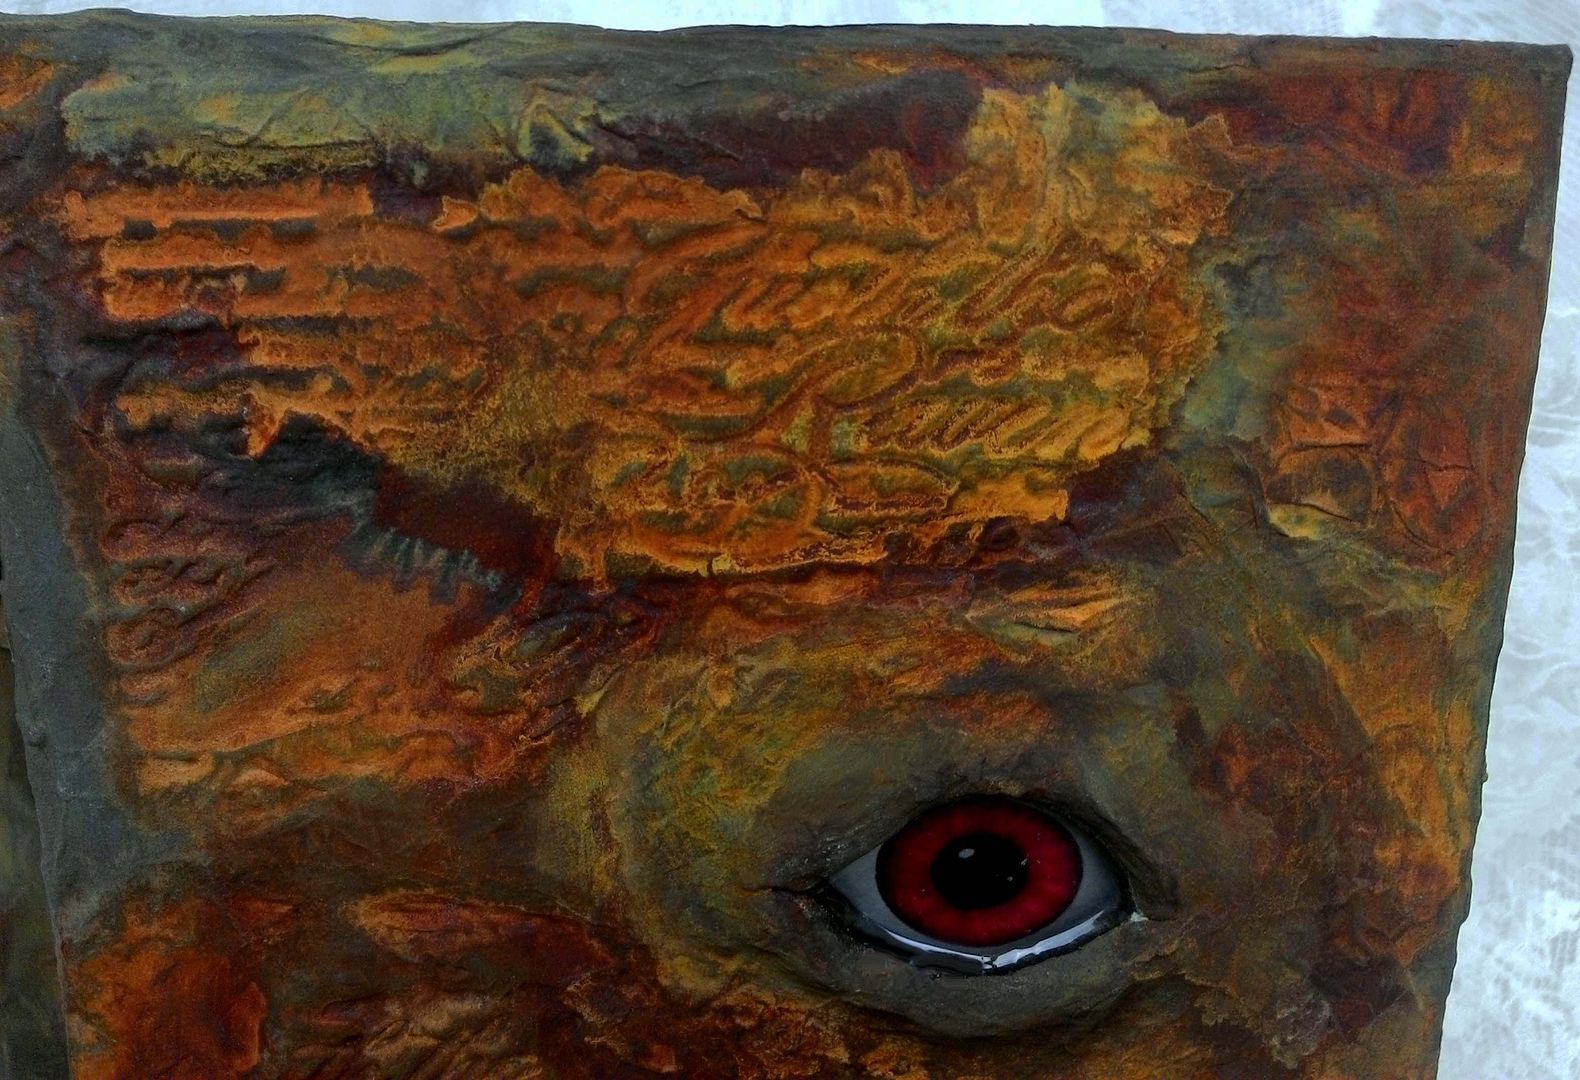
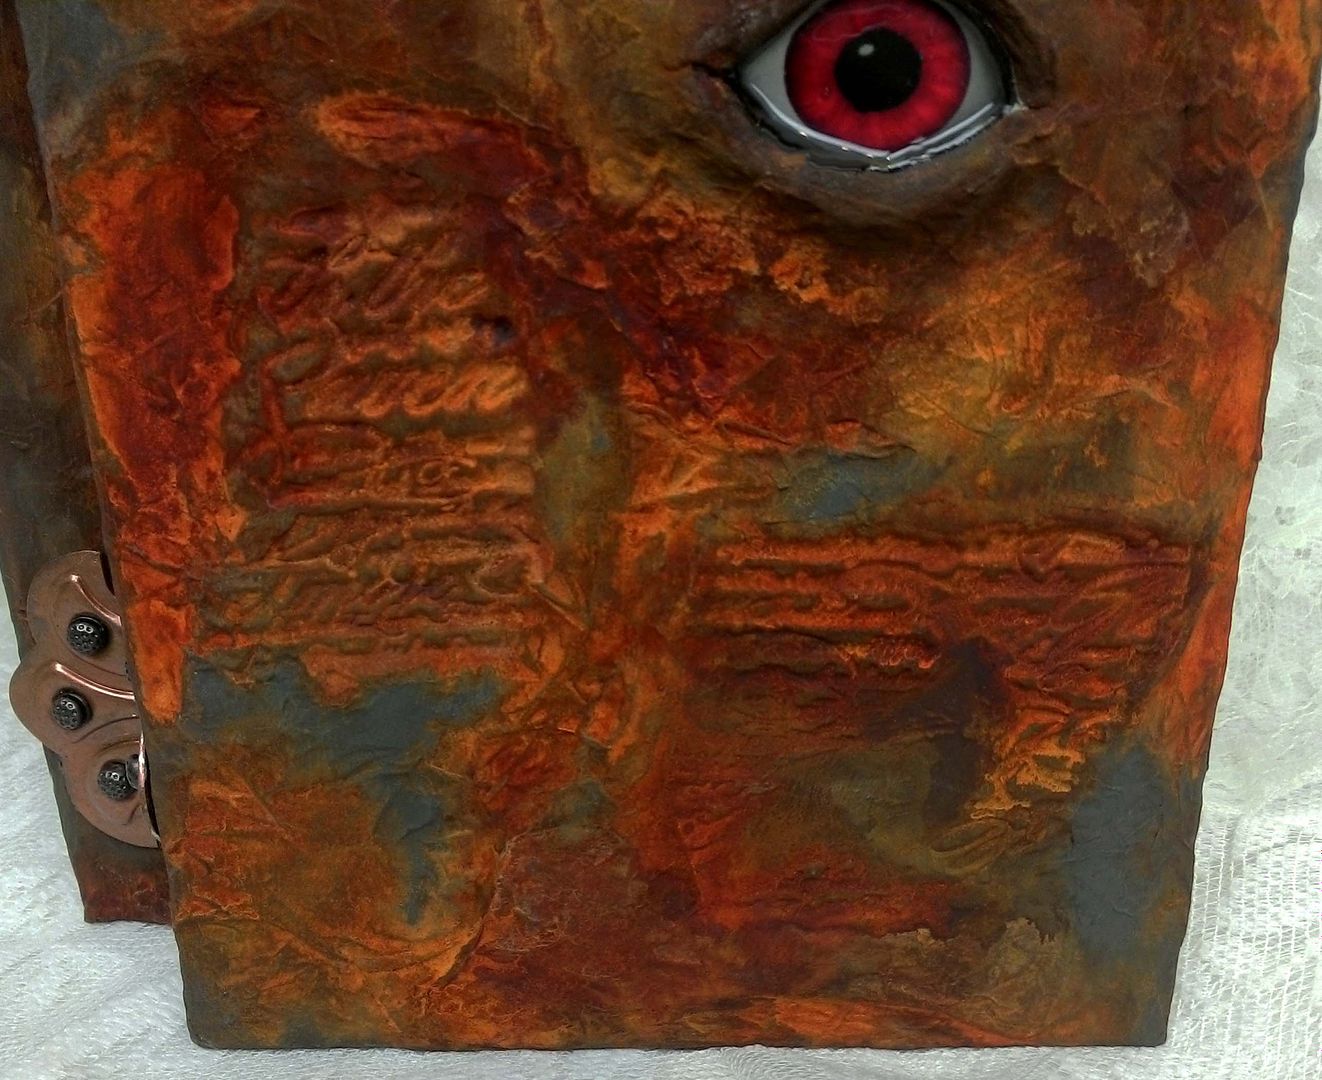
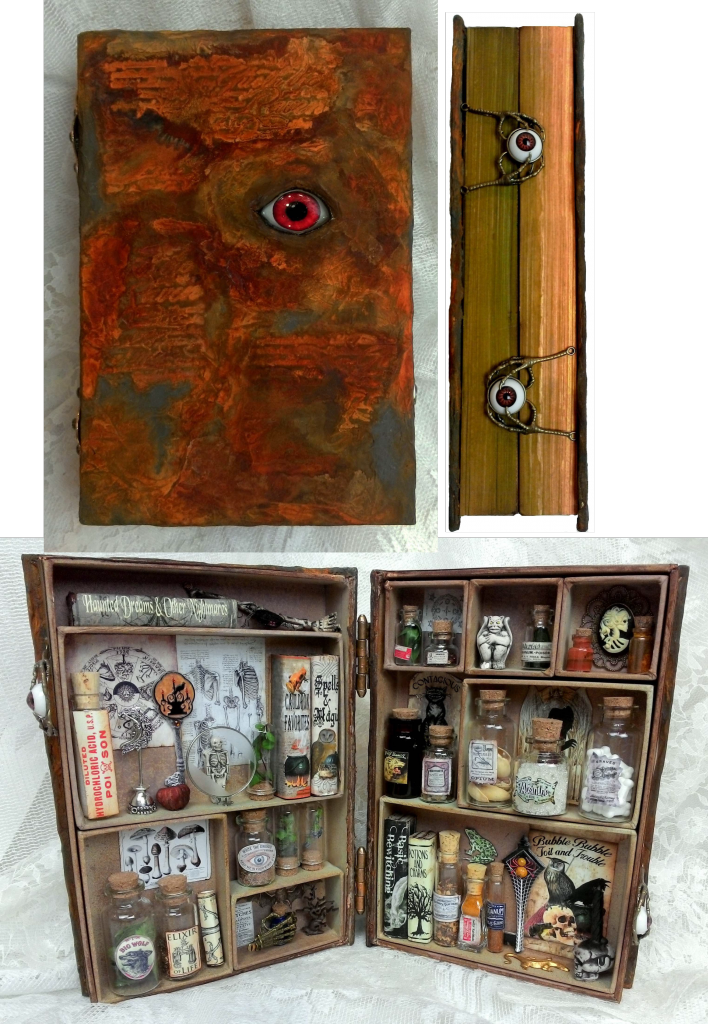
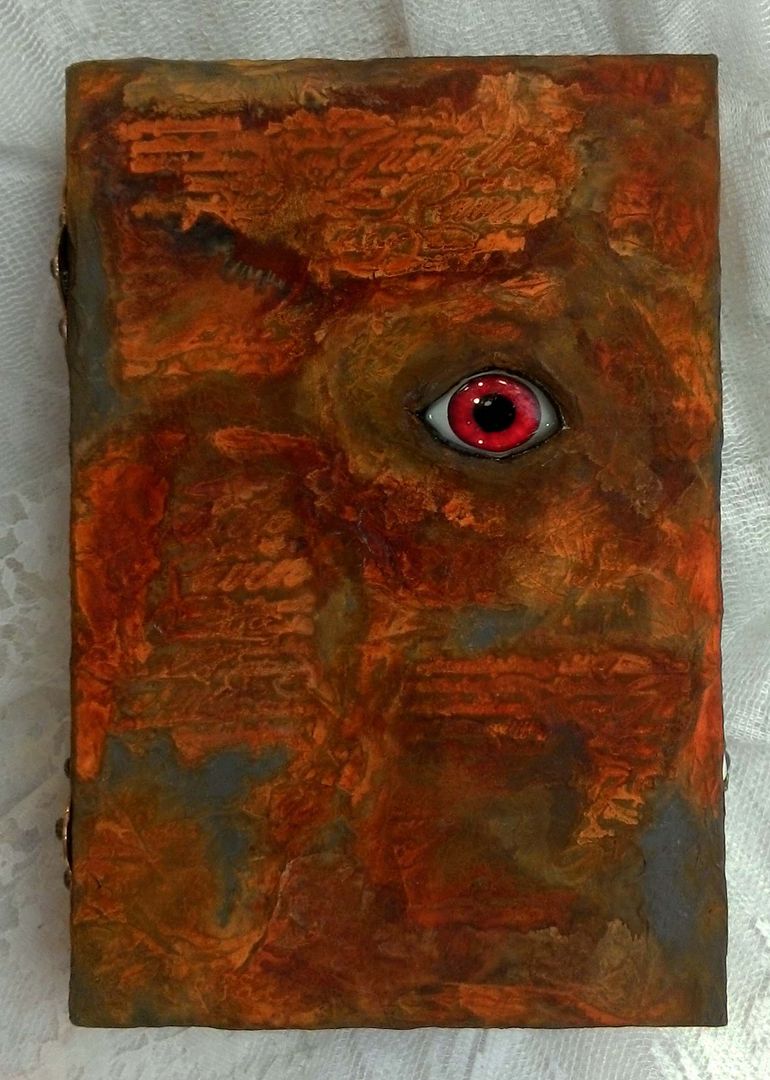
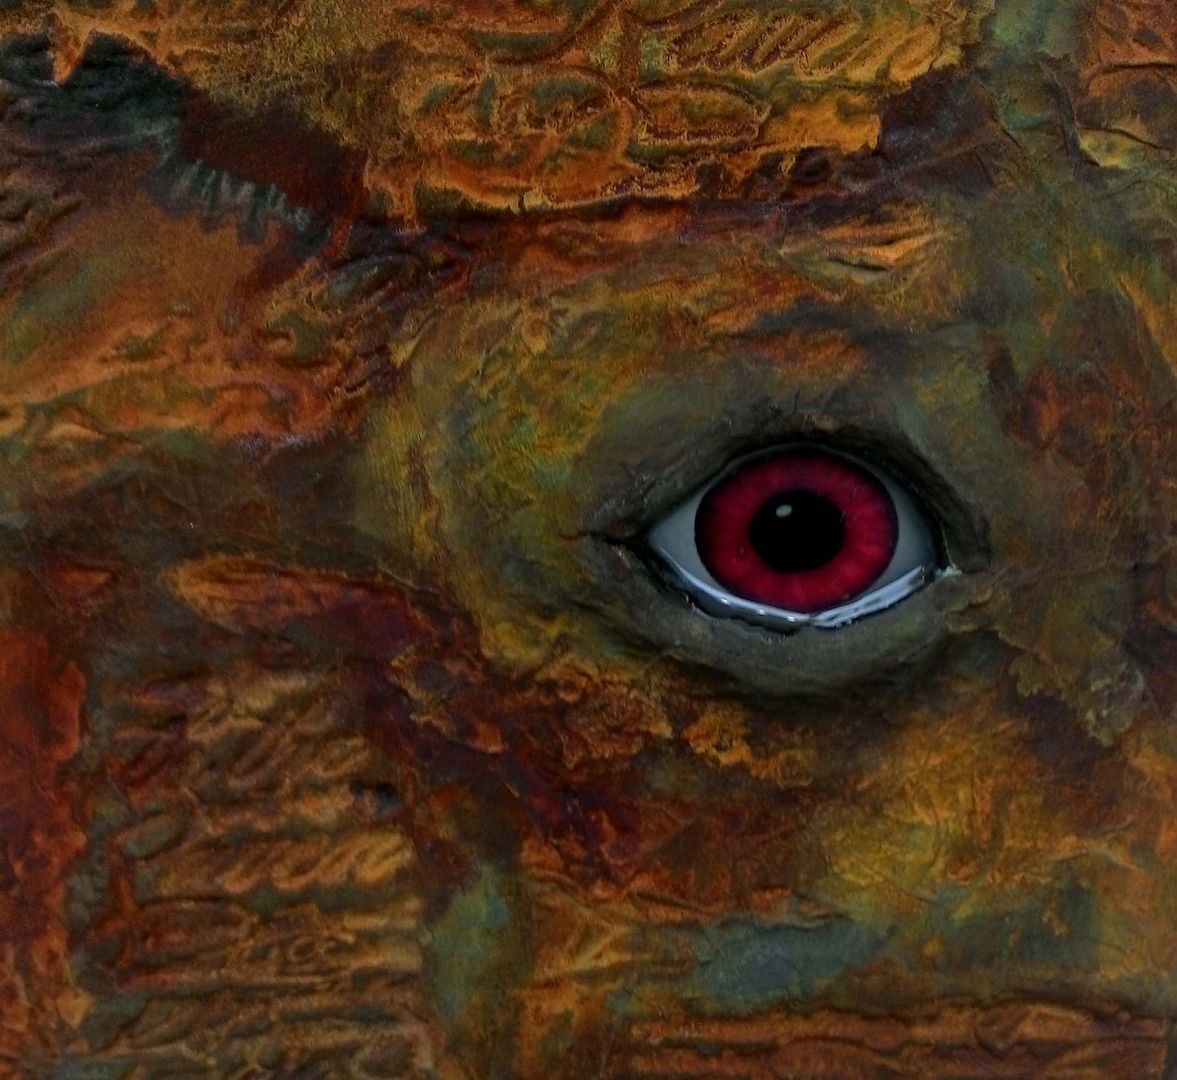
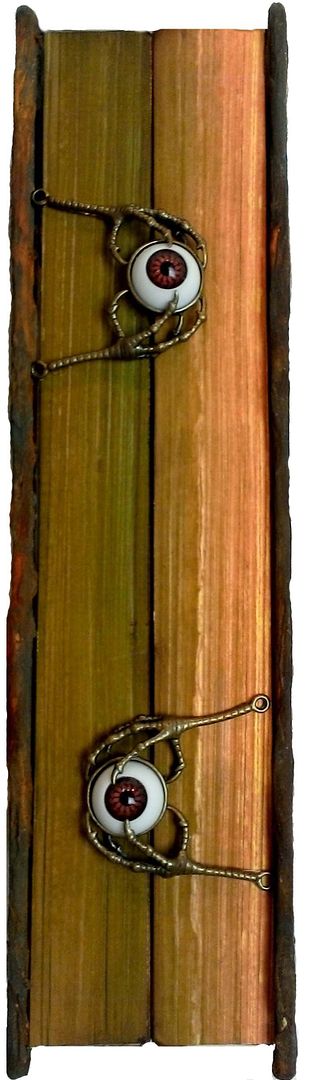
“Boooooook come home or make thyself known” cries Winnie in the movie Hocus Pocus.  This movie is a must-see for me every Halloween season.  It’s the only one of my spooky movies that I can get my husband to watch with me.  He loves the “I put a spell on you” scene when the Sanderson sisters sing.  You can tell by the eye on the book that this apothecary draws inspiration from the Hocus Pocus spellbook. 
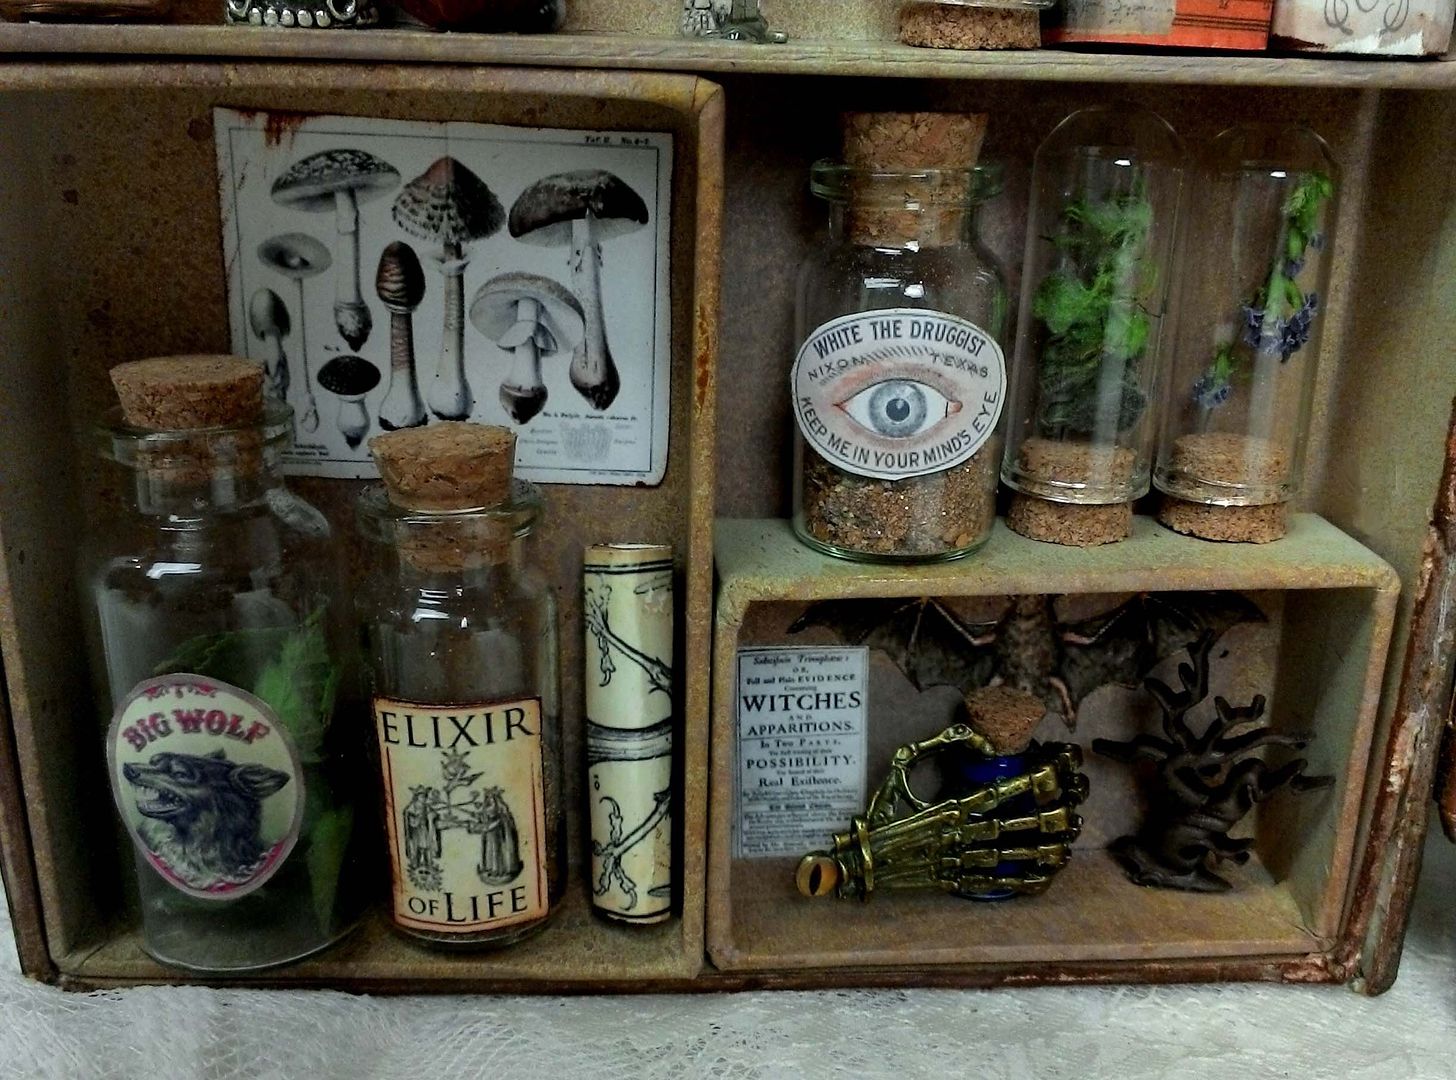
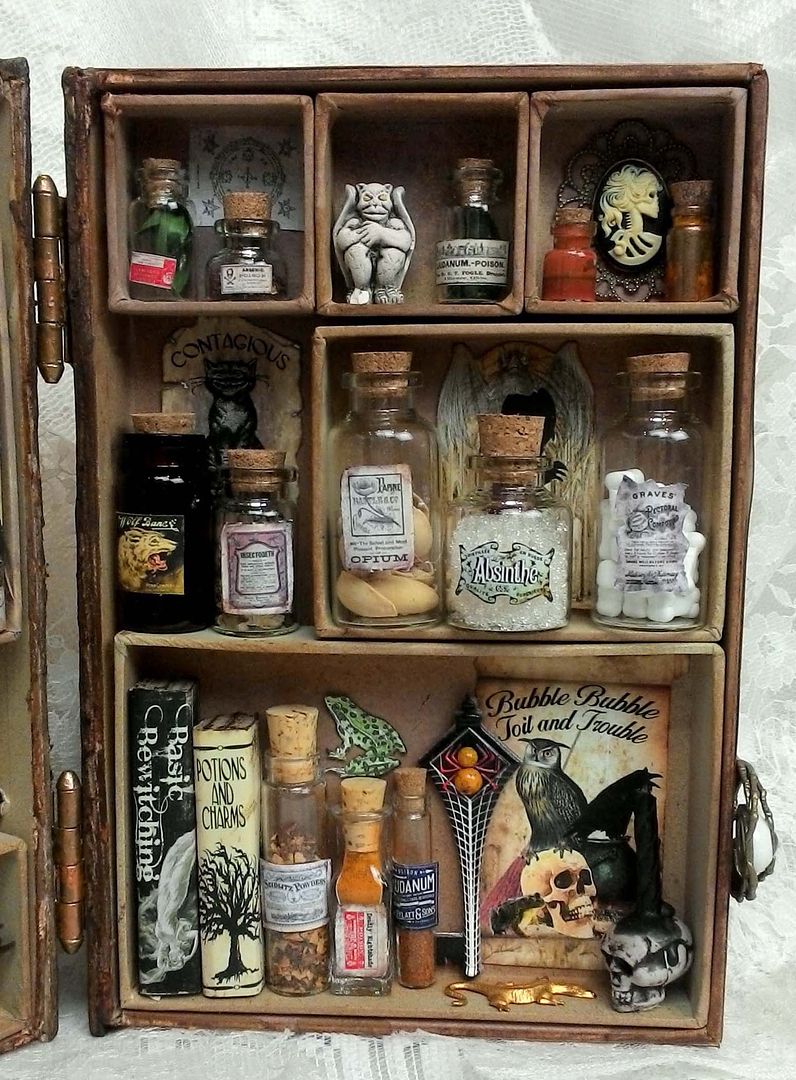
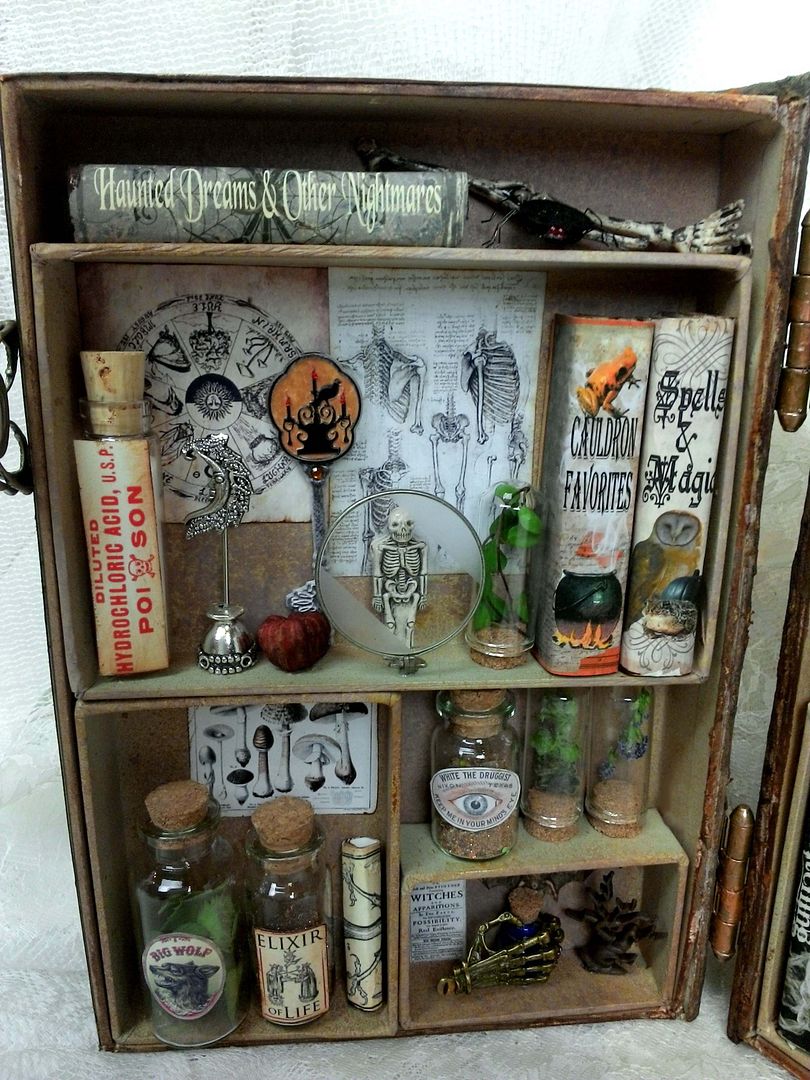
Unlike the book in Hocus Pocus, which is filled with spells; this one opens to reveal an apothecary.
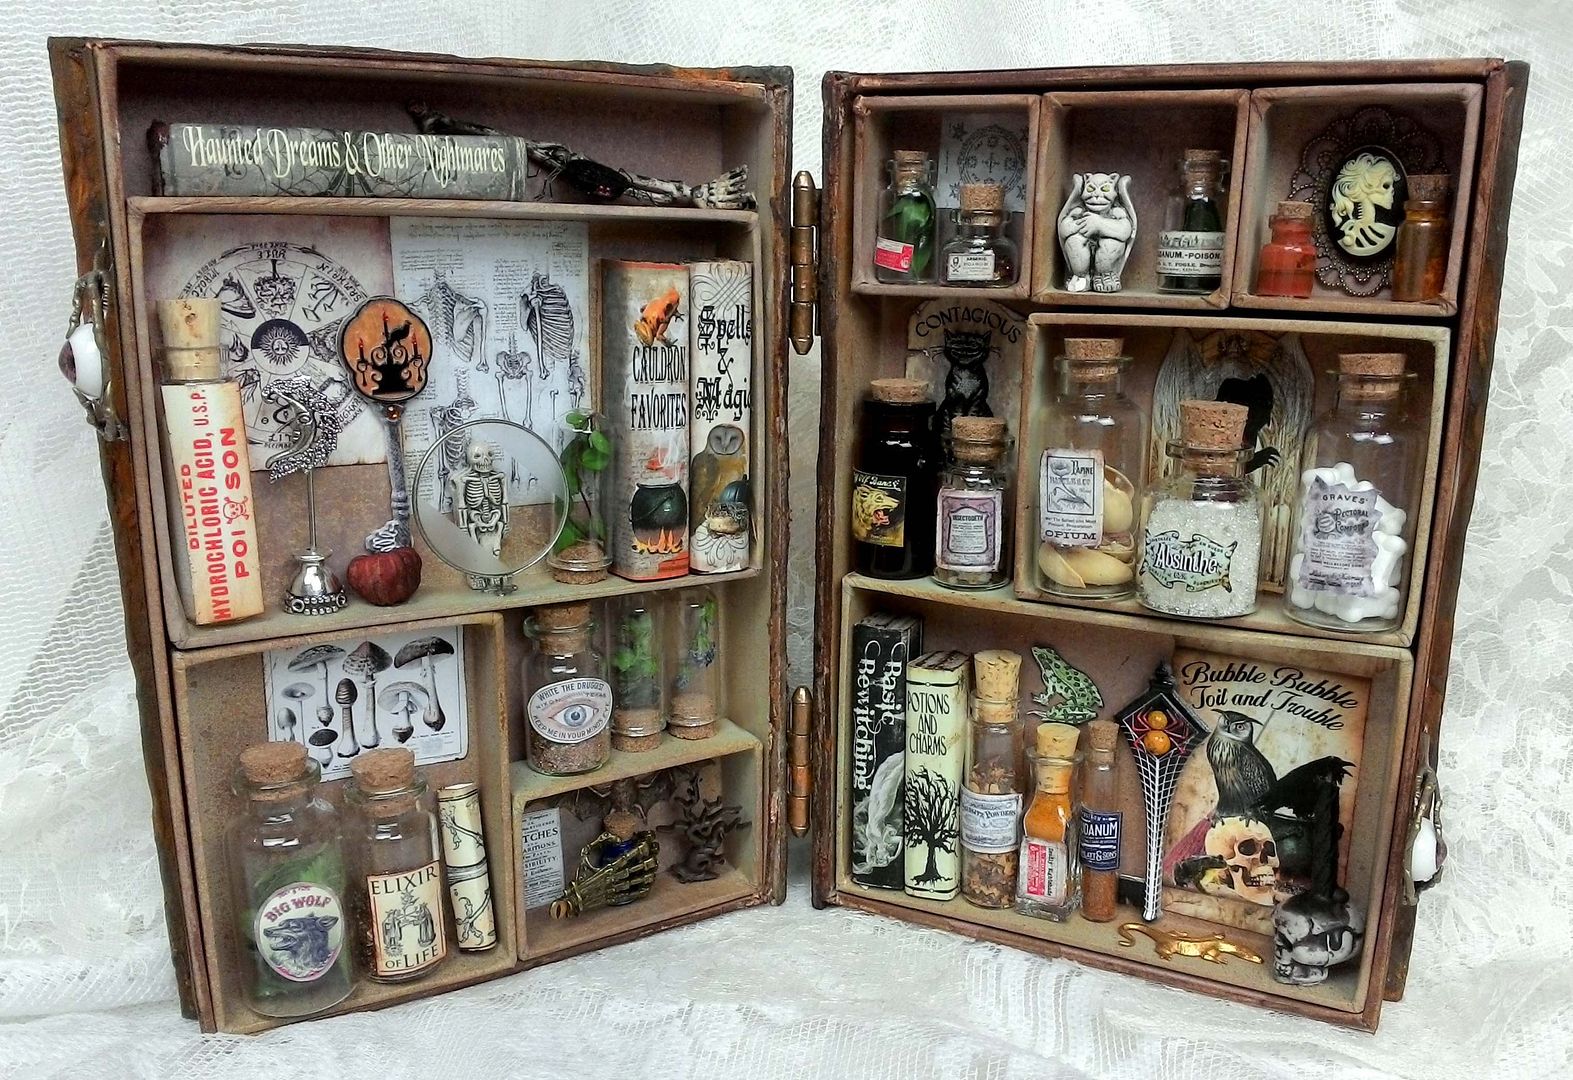
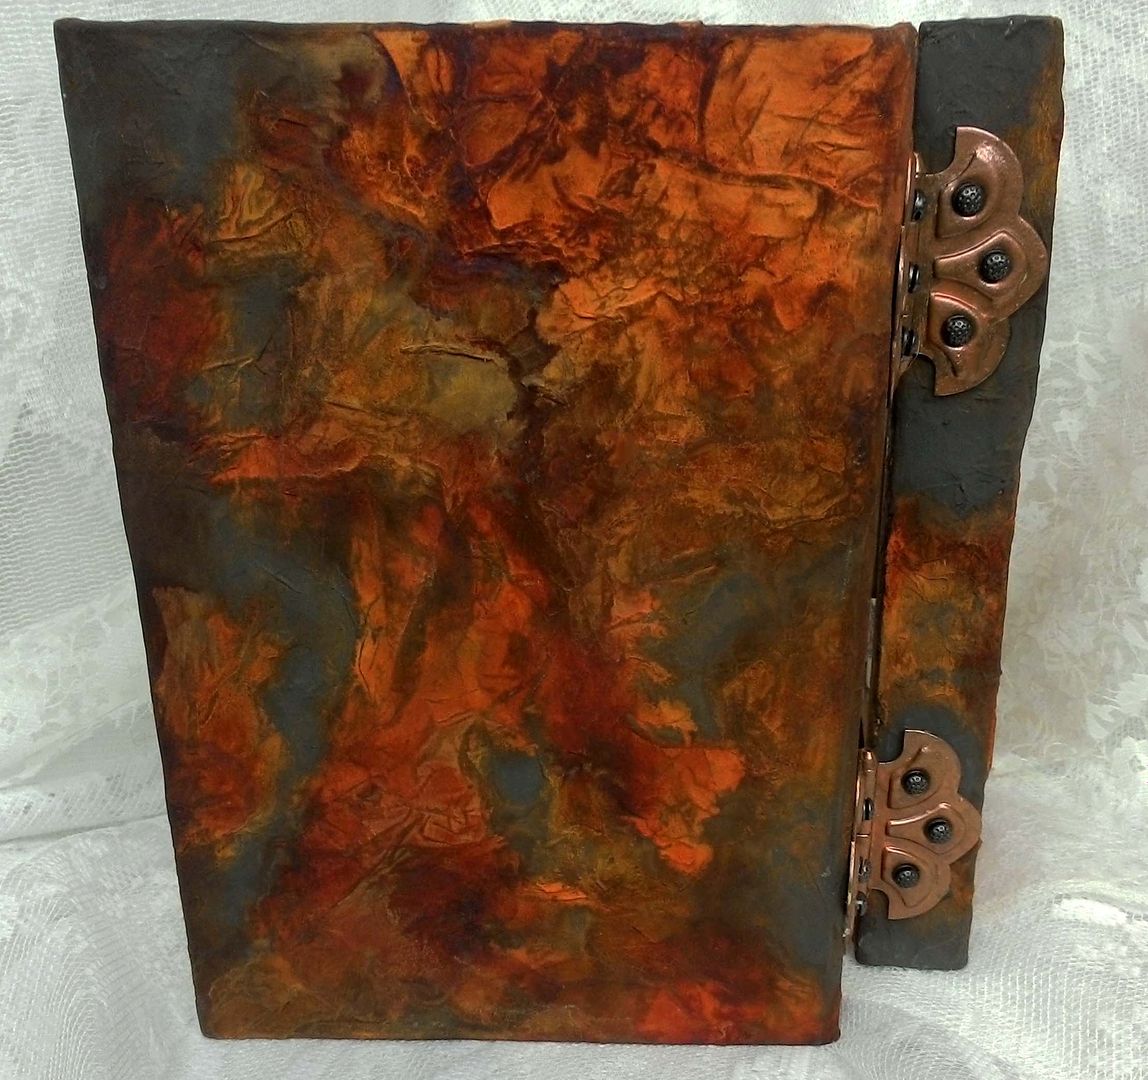
The book is constructed from two Tim Holtz Mini Configuration Books hinged together.
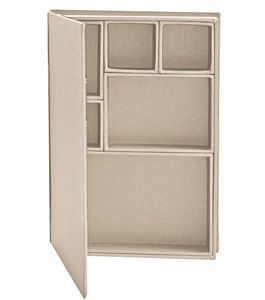
The texture and patina on the covers is achieved with tissue paper, stamped paper clay and Modern Masters Metal Effects Iron Paint and Rust Activator.  I've been working with these products for years, and love them so much, I rusted an entire wall in my house.
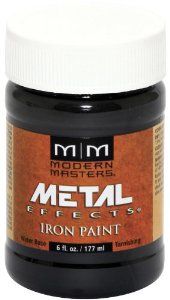
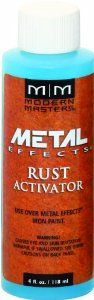
WHERE TO FIND MODERN MASTERS PRODUCTS
You can find Modern Masters products on Amazon.com, online paint stores, and some neighborhood paint shops.  Their products are easiest to find in the US & Canada.  For those in the UK, you can find them on Amazon.co.uk.  For other countries, the best thing is to Google the product name to see if anyone in your country carries it.
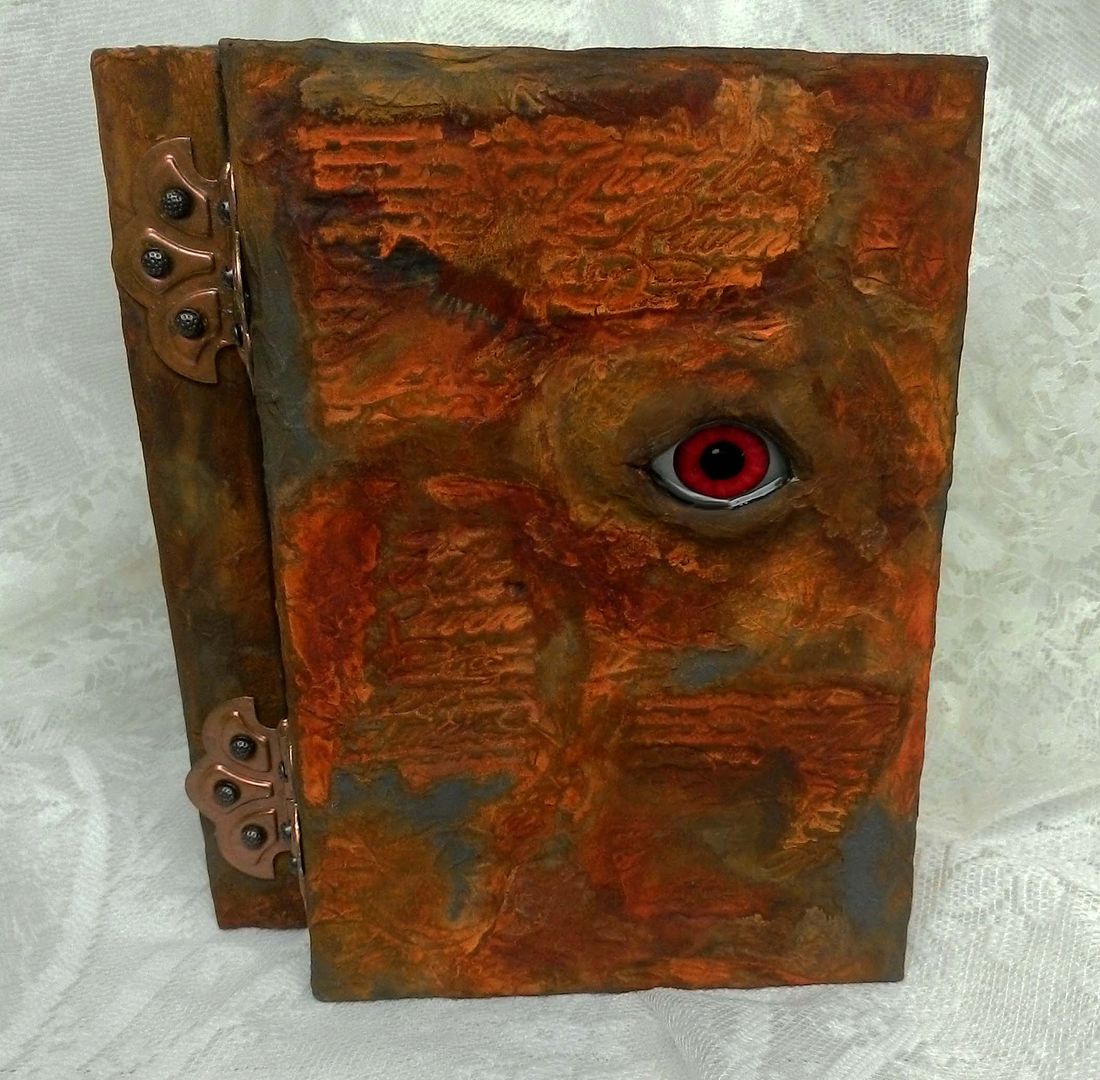
Notice how the middle of the book looks like pages - it’s really just an image, which you’ll find for download further down in this post.
By using two of the configuration books, you’ll have lots of room to display all kinds of cool bits and bobs.
VIDEO TUTORIAL
In the video tutorial below, I’ll step you through making the covers and assembling the book.  If Halloween or this particular project is not your thing, you might still want to watch the video as the techniques to create the cover can easily translate into other projects and themes.


EYE & BOOK PAGES IMAGES
To download the eye and book page images that I used in the tutorial, click on the image to expand it, right-click and select Save As.


Friday, March 1, 2013

Tissue Paper Texture Tutorial

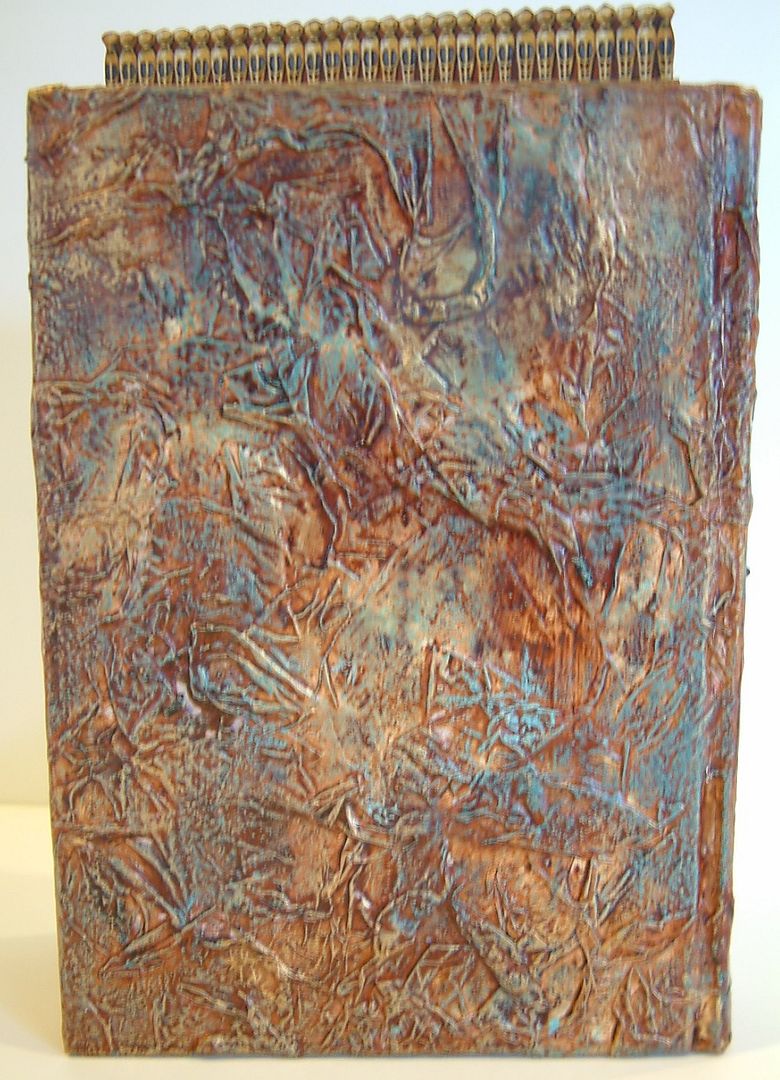
In this video tutorial I demonstrate an easy way to create the texture you see on the cover of the books above by using tissue paper and Mod Podge.  This technique works on any surface.  I’ve even used it on glass bottles!

Links to Gilders Paste and Stains

Enjoy!

Wednesday, February 27, 2013

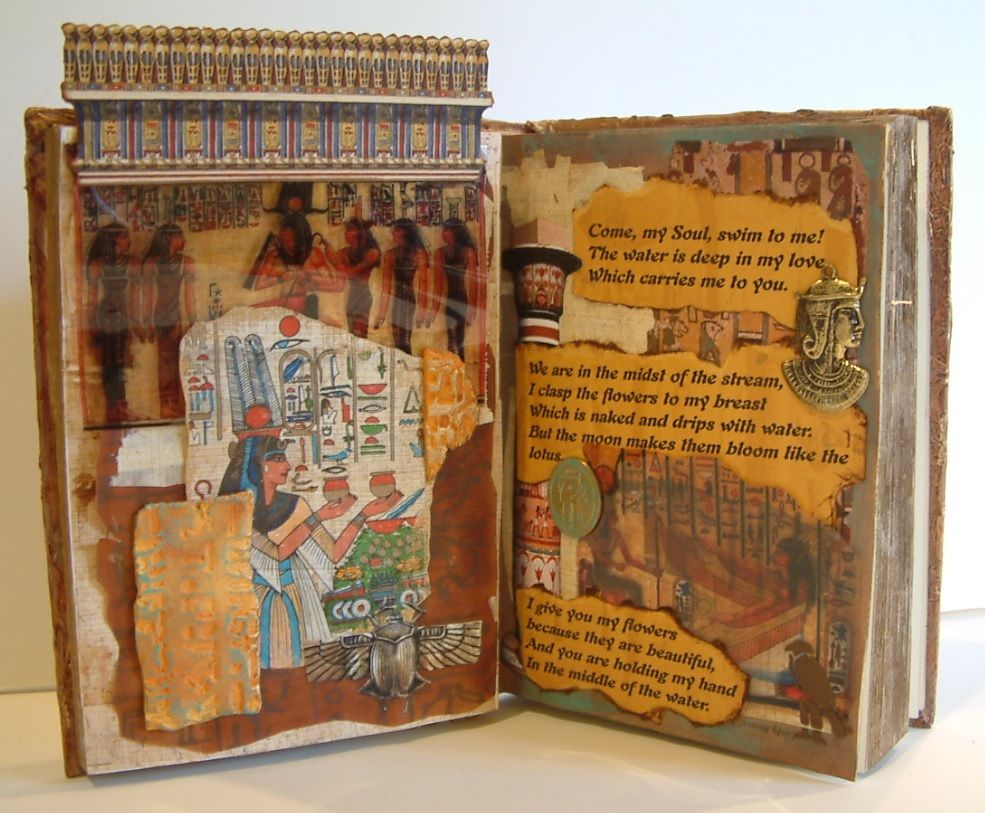
Ancient Egyptian Themed Round Robin Book

The Creative Team has been pretty quiet lately; outside of the canvas books I’ve been posting.  Karol Taylor who is the boss of us all (by mutual agreement) has decreed that we start a round robin altered book project. 
In the early days, when the group started working on art projects together, (this was way before my blog) we participated in several round robin books.  Eventually, we migrated to other types of art.
Karol has brought us back to the beginning and once again we are creating altered books.  We’ve each chosen the theme for our book and will exchange books once a month; passing it on to the next person in the list.  I thought I would document the process; sharing what I receive with you and also using the things I do to the girl’s books as tutorials.  I’m hoping you will have fun following our project.
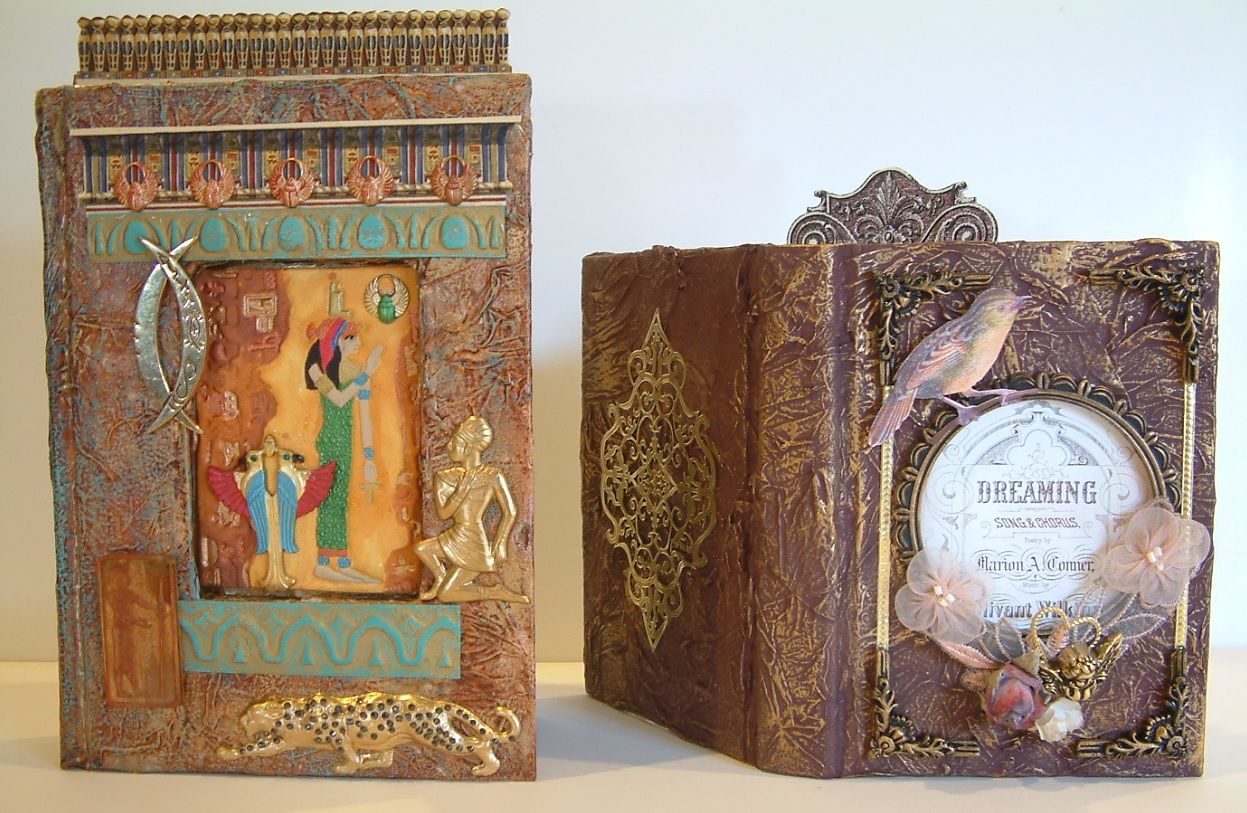
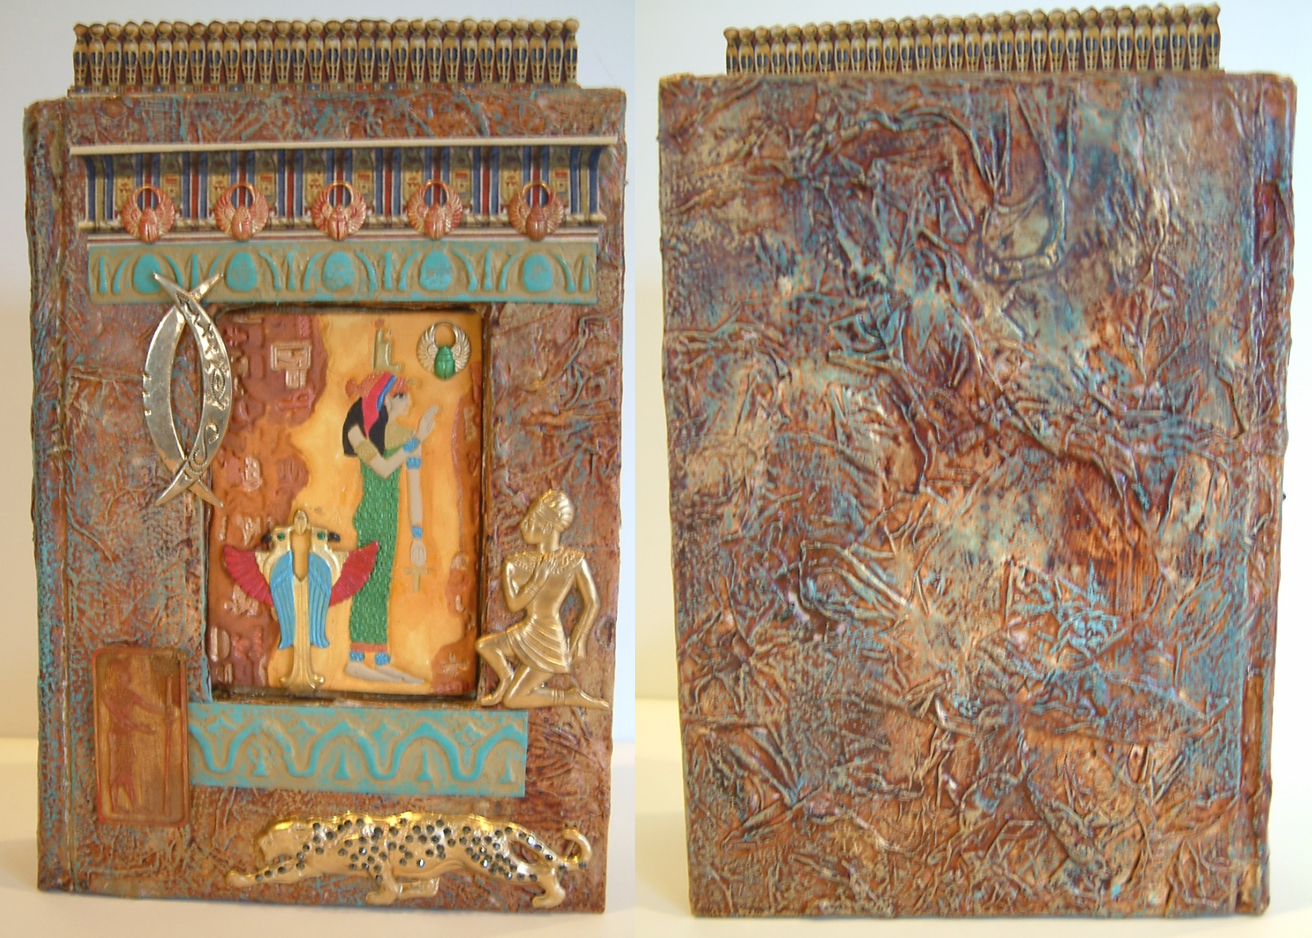
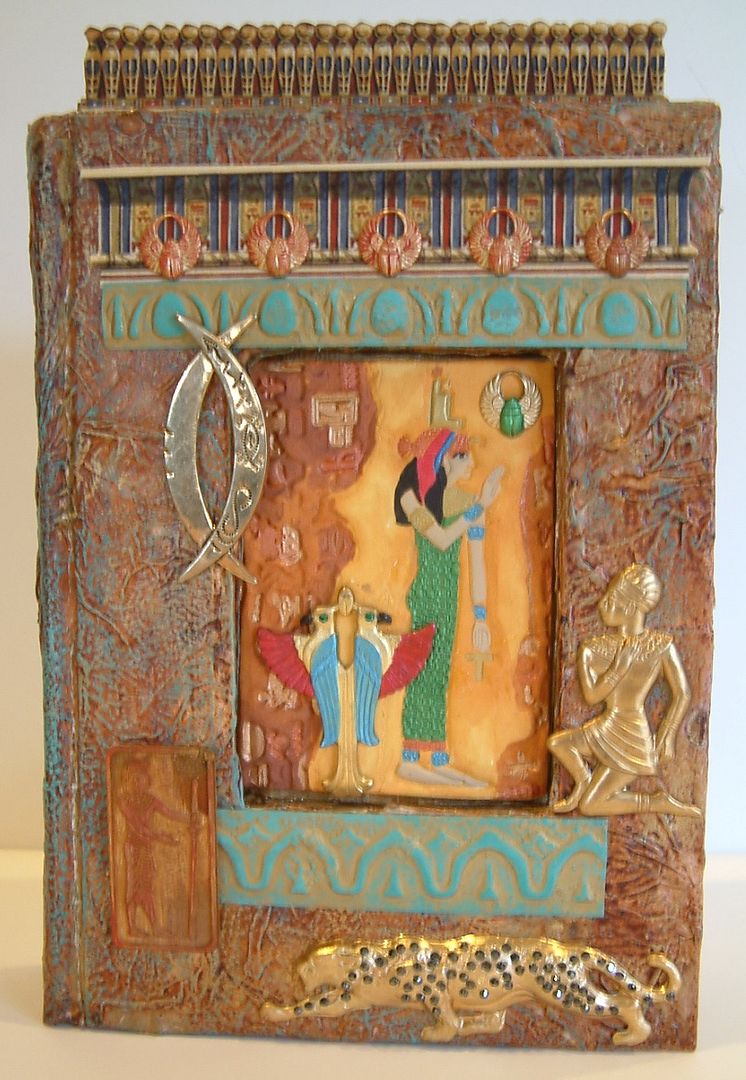
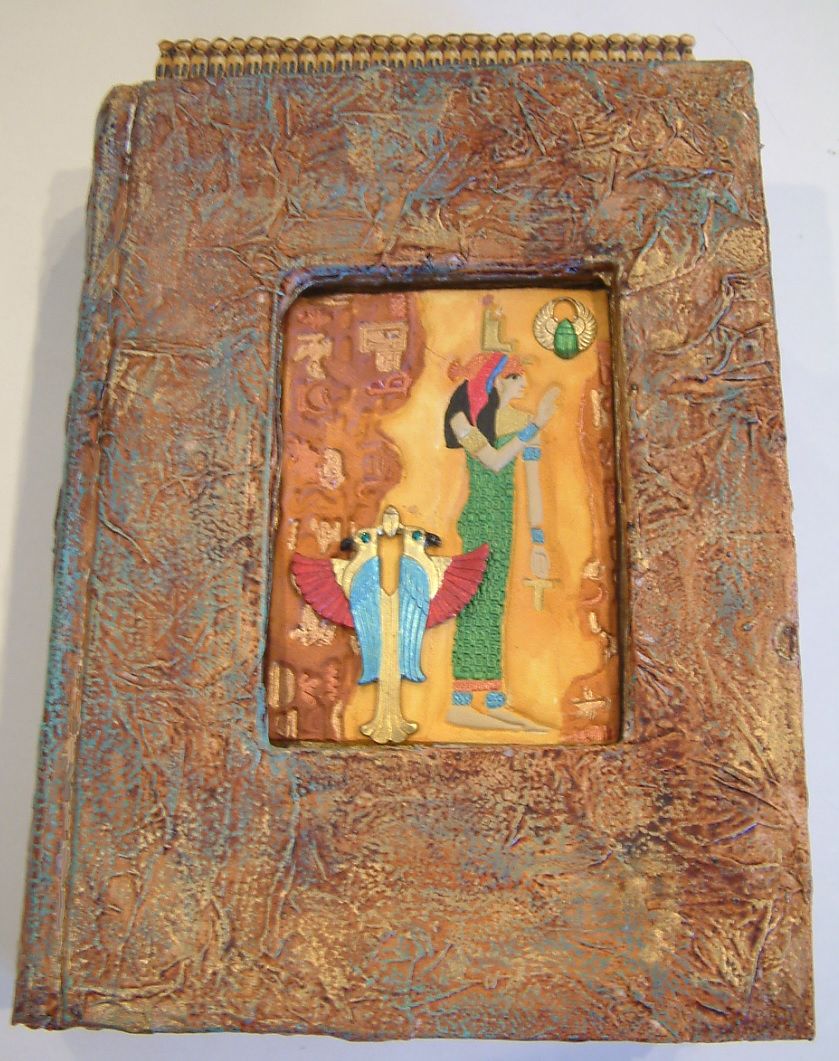
My choice of theme is ancient Egypt.  I started with a regular book (actually and old Readers Digest Best Loved Book).  I added the texture to the cover using the same tissue paper technique I used for the Dreaming of Romance Book.  I will have a video tutorial posted for you this weekend that walks step by step through the process.
On the front of the book I cut a hole in the cover and through several pages of the book to accommodate embedding an ATC that is made from paper clay.  The clay has been stamped with various rubber stamps and painted with inks and metallic paints.  To see a detailed post on the techniques used click here “Egyptian Stamped Paper Clay ATC”.
Inside the book I’ve decorated two pages with stains, papyrus, stamped clay, transparencies and various metal bits.  I’ve also included and ancient Egyptian poem.
I’ll probably add more to the inside of the book when it returns to me but I wanted to leave plenty of room for the girls to work.  Karol’s book is already here so I’ll be sharing that with you next month.
I hope you’ll come back this weekend and checkout the Tissue Paper Texture Video Tutorial.