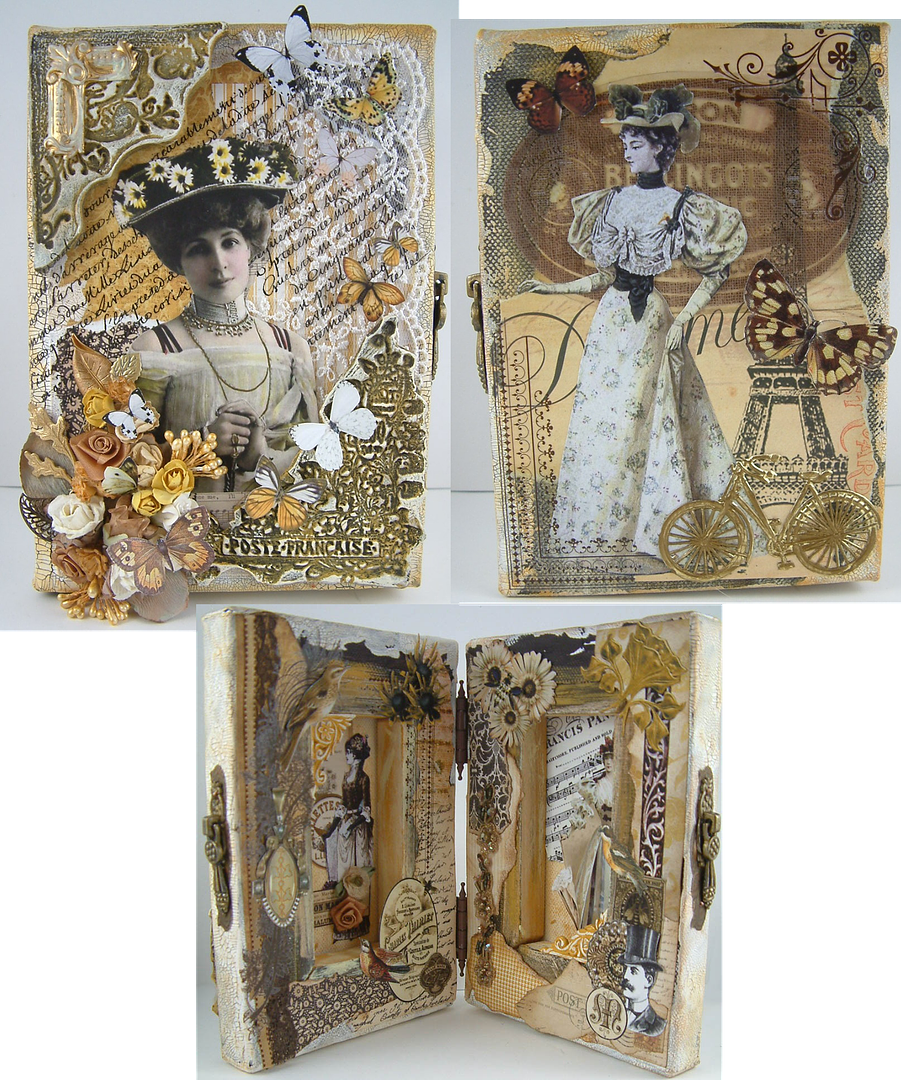
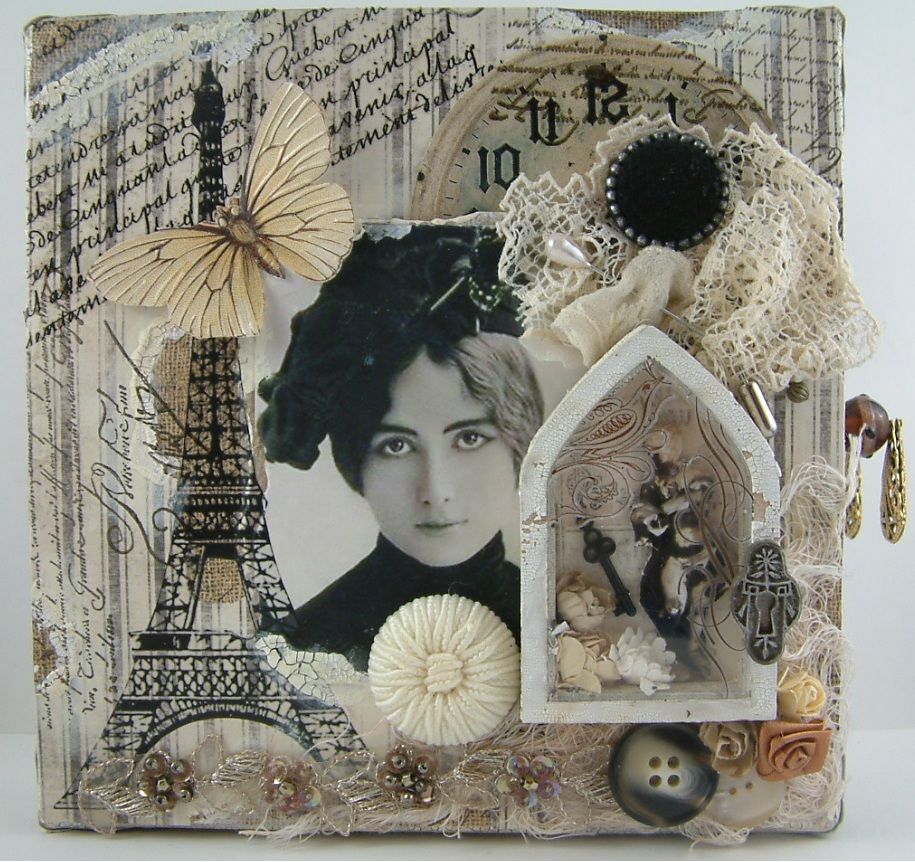
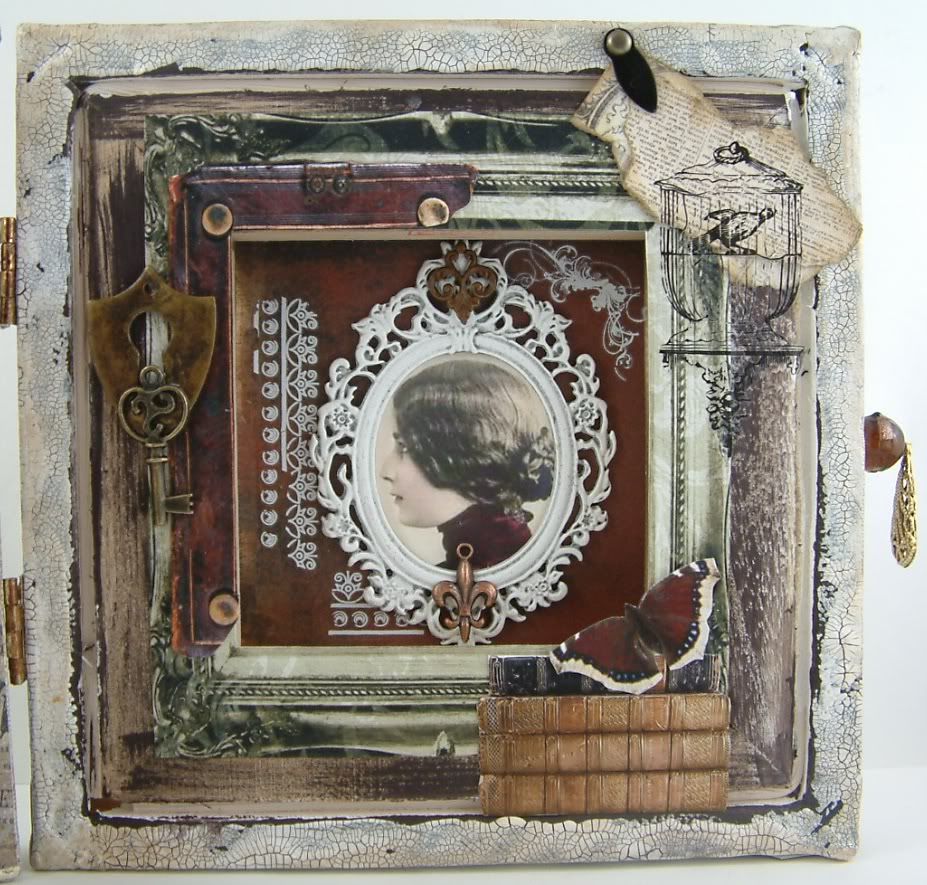
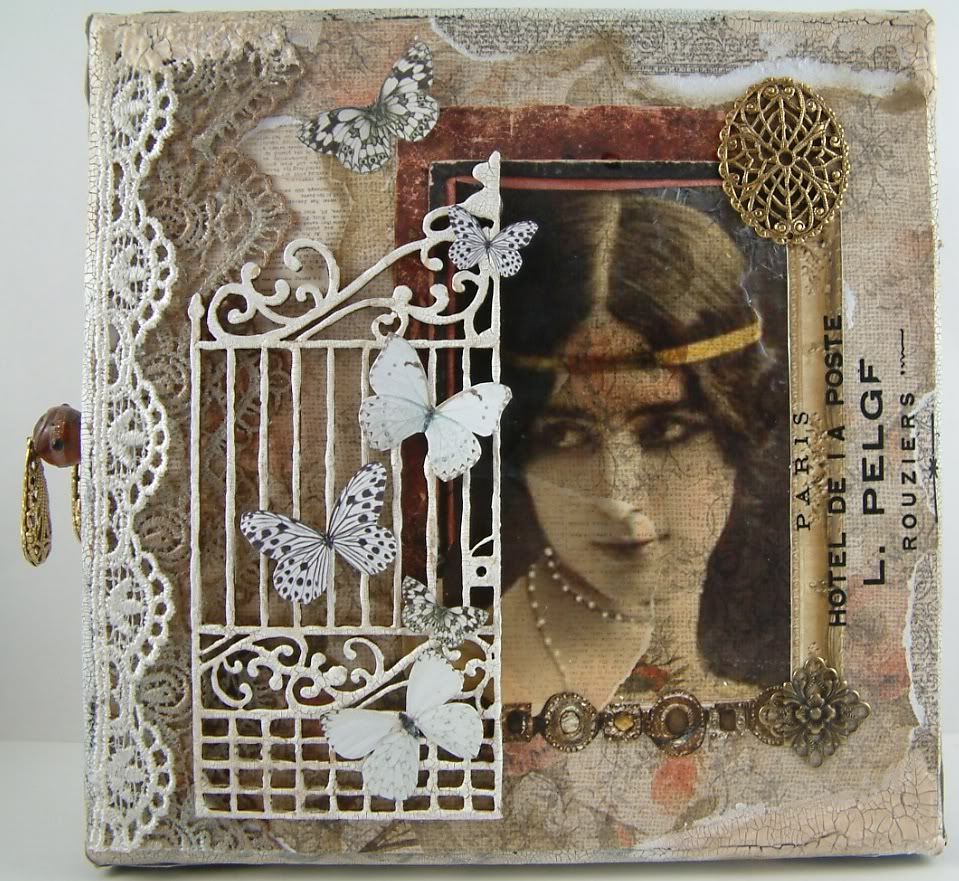
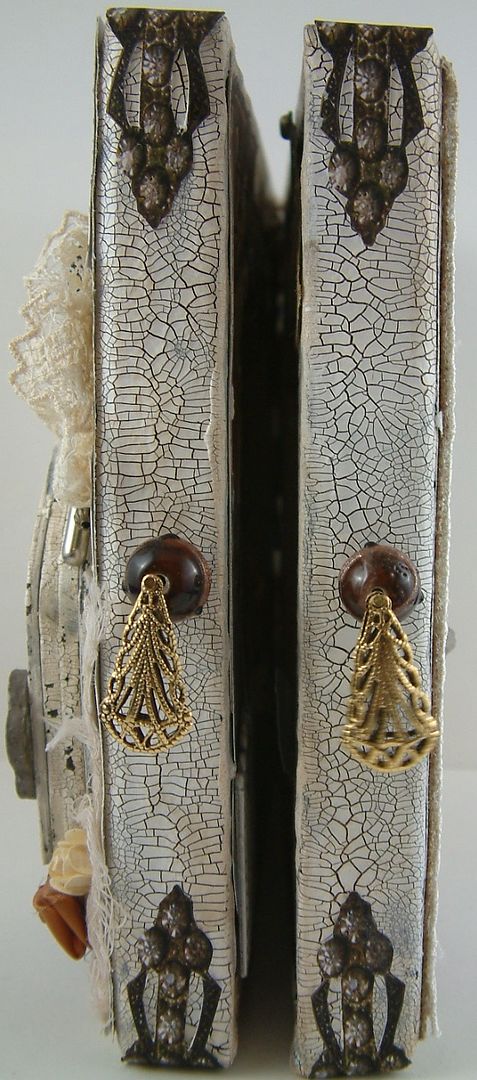
This project started with Leslie of Alpha Stamps sending me a picture of the French Kiss 6x6 paper pad and asking me if I would like to create something using these papers. I said “YES”! These papers are so up my alley. Next, I had to decide which images I would use as a focal point and I couldn’t resist using the Cléo de Mérode collage sheet. Her images are some of my favorites. With the papers dictating the style and with Cleo as my muse, I decided to make a vintage French book from two painter’s canvases. I love using canvases because the wood frame on the backside creates little niches that you can fill will all kinds of goodies and it’s really easy to hinge the canvases together.
INSIDE OF THE BOOK
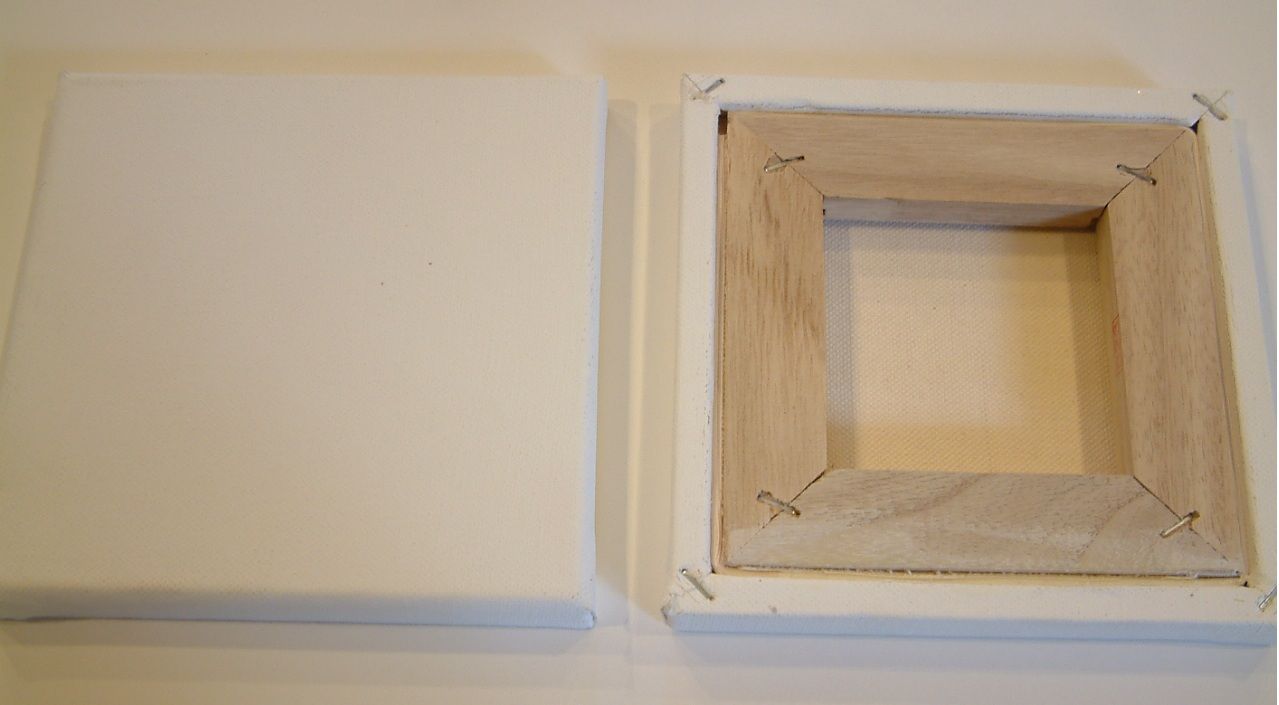
I started with two blank 6” x 6” painters canvases. You can use any size you like just make sure that wooden frame creates open spaces in the back. Some really small canvases don’t have much of a niche in the back.
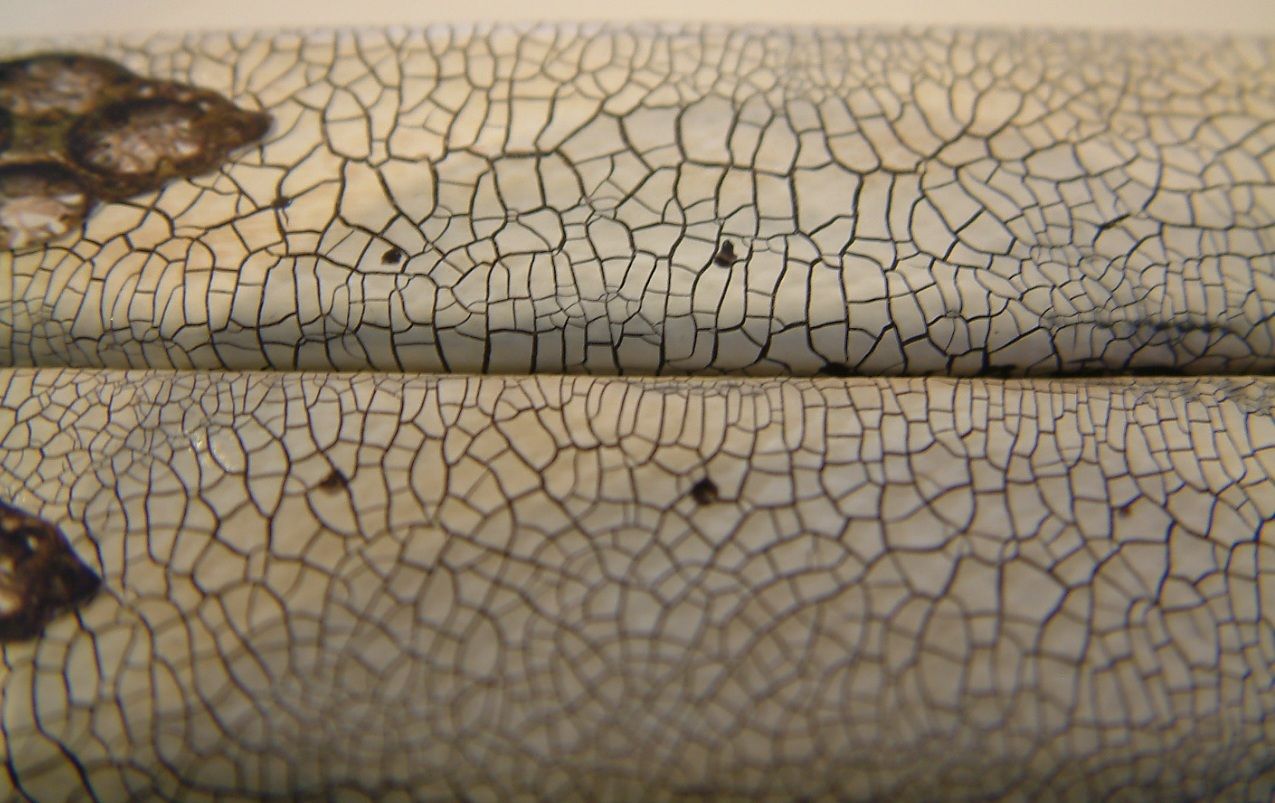
Before you hinge the canvases together, paint, stain, ink, paper etc. all of the edges on both canvases. If you want to paint, stain, ink etc. the entire surface of the canvases, go ahead and do that now, but don’t add any dimensional objects to the front or back of the canvases until they are hinged together. Creating bulk at this stage makes the hinging process more difficult. I decided to use a vintage aging technique on the edges of the canvases and paper for the front and back of the canvases.
Hinging the Canvases Together
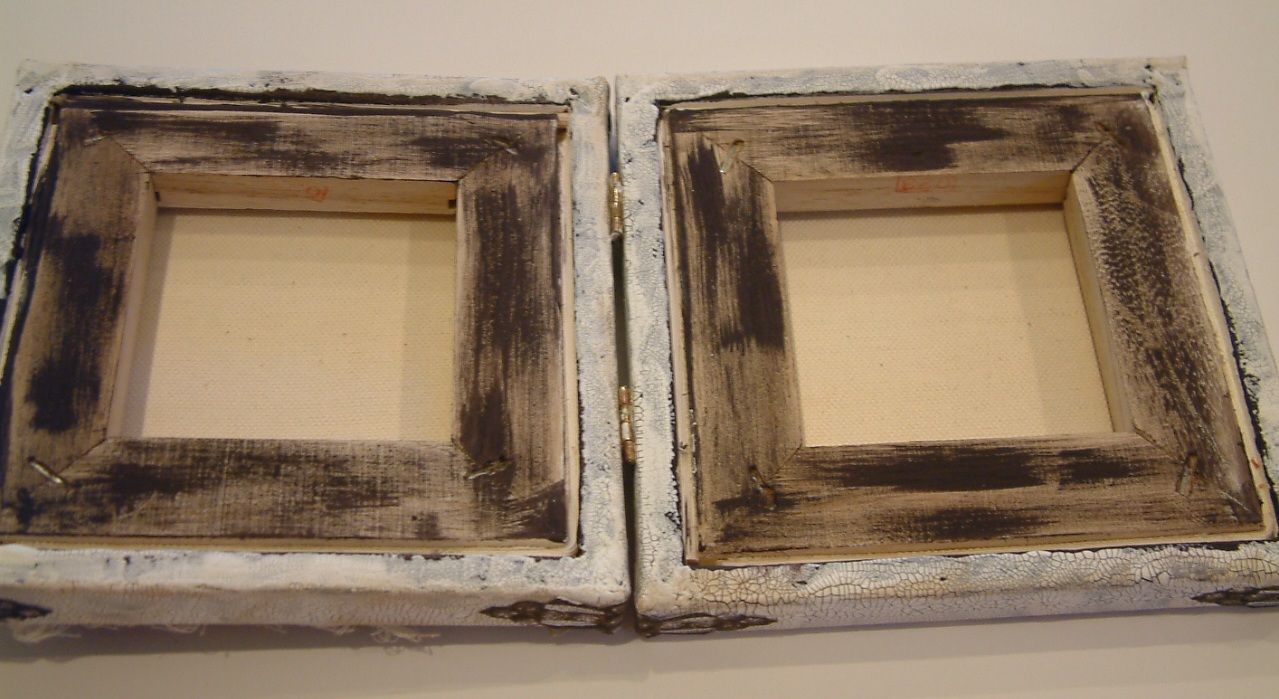
Once you finish decorating the edges, hold the two canvases together with the niches facing each other (backsides of the canvas facing each other). You can see in photo below there is a slight gap between the canvases. When you decorate the edges and backsides of the canvases, it creates a little extra bulk. Having a slight gap insures that the book closes properly.
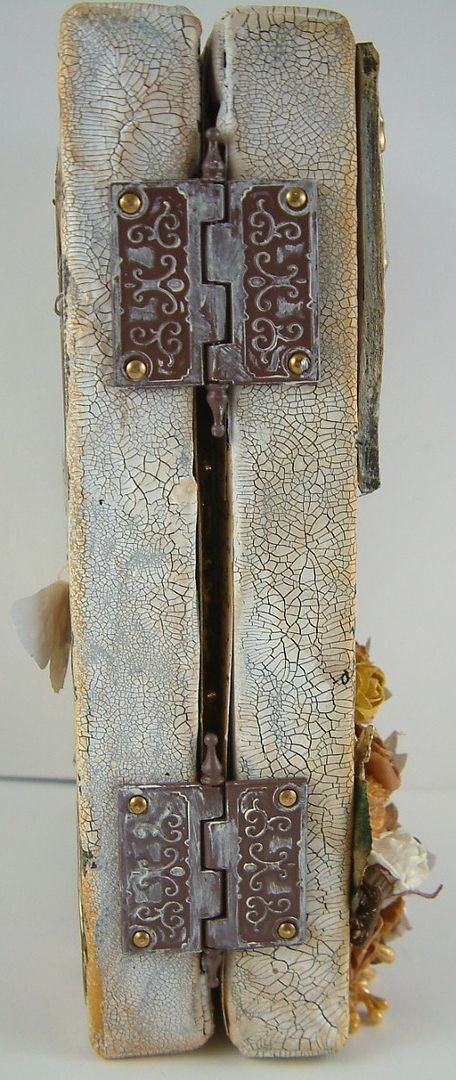
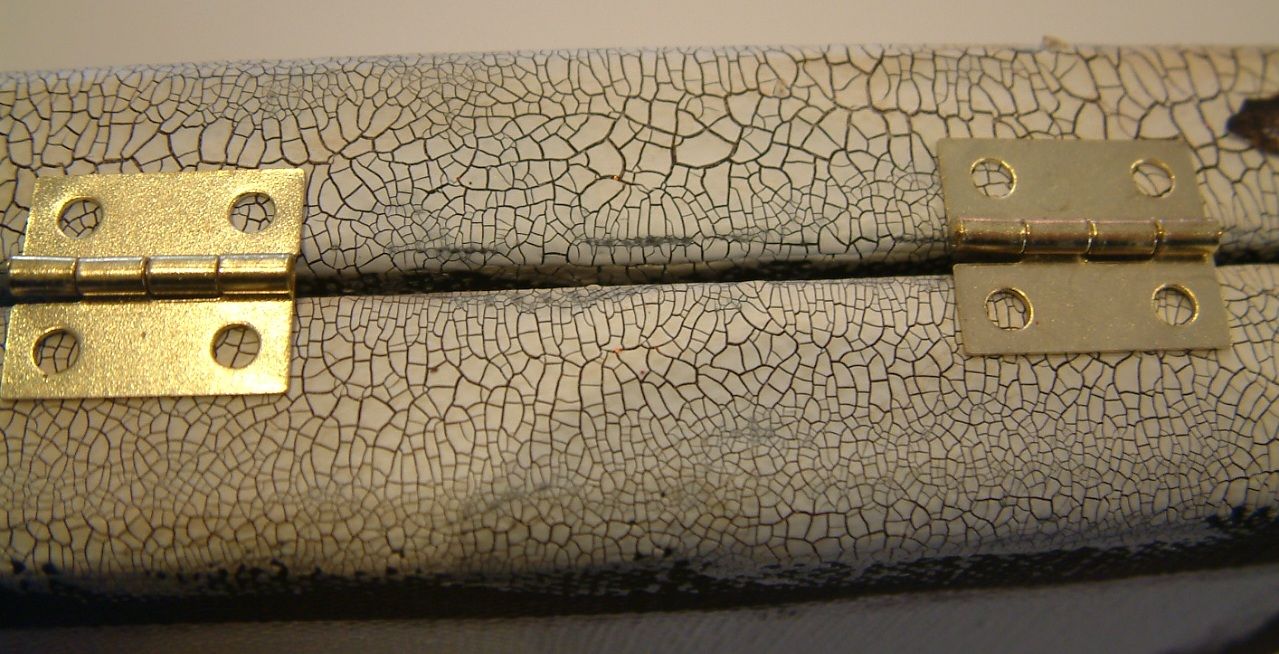
With the canvases held together (with a slight gap), place your hinge or hinges along spine of the canvases (as in the picture below). The number of hinges you use depends on the size of the hinge and the size of the canvases. I used two hinges that are 1/2” long by 5/8” wide and the center of the hole is 1/4” from the edge of the canvas.
Using a pen or pencil mark the placement of the hinge holes.
Remove the hinges and pre punch the holes using an awl and hammer. Pre-punching makes it a little easier to insert the screws. Screw the hinges into the canvases. Don’t use nails or glue as they will not hold. If the hinges you purchase don’t come with screws you can purchase tiny screws at any hardware store. The embellishment at the corners my canvases are images of vintage jewelry.
Decorating the Insides of the Canvases
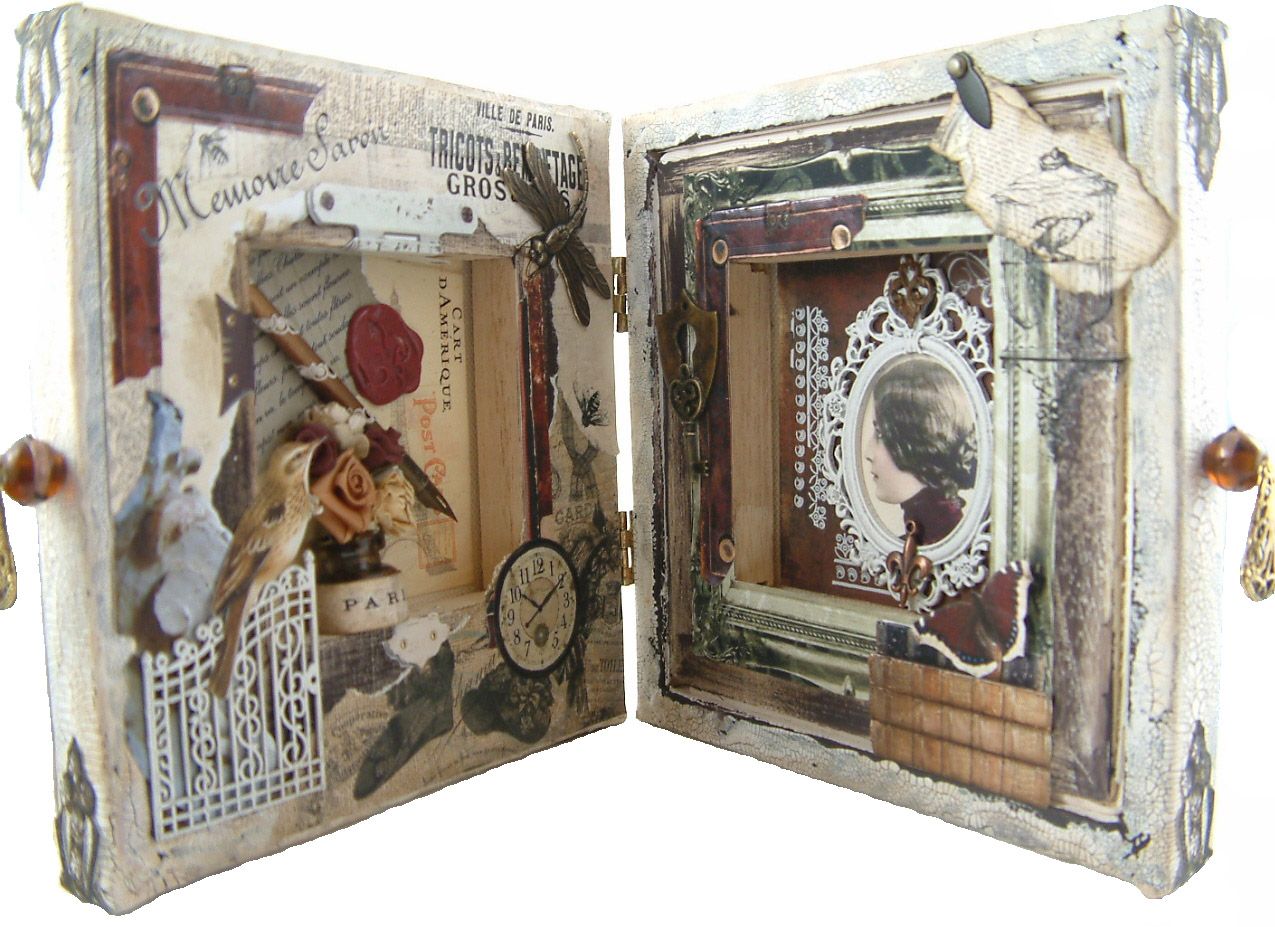
After you have hinged the canvases together, I suggest decorating the inside of the canvases first. If you start with the outside of the canvases they won't lay flat on your work surface when you get ready to work on the inside, making it harder to paint, ink, apply rub-ons, paper and other embellishments. On the inside of my book I dry brushed brown paint on the wood frame.
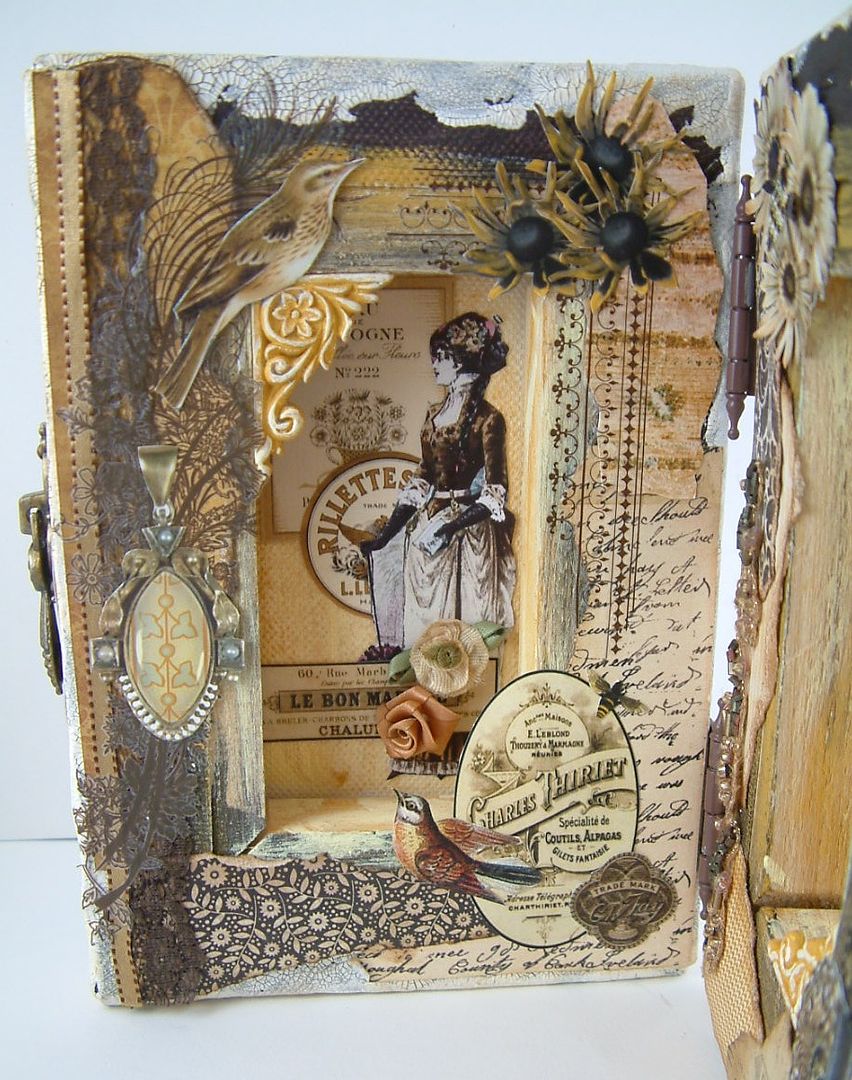
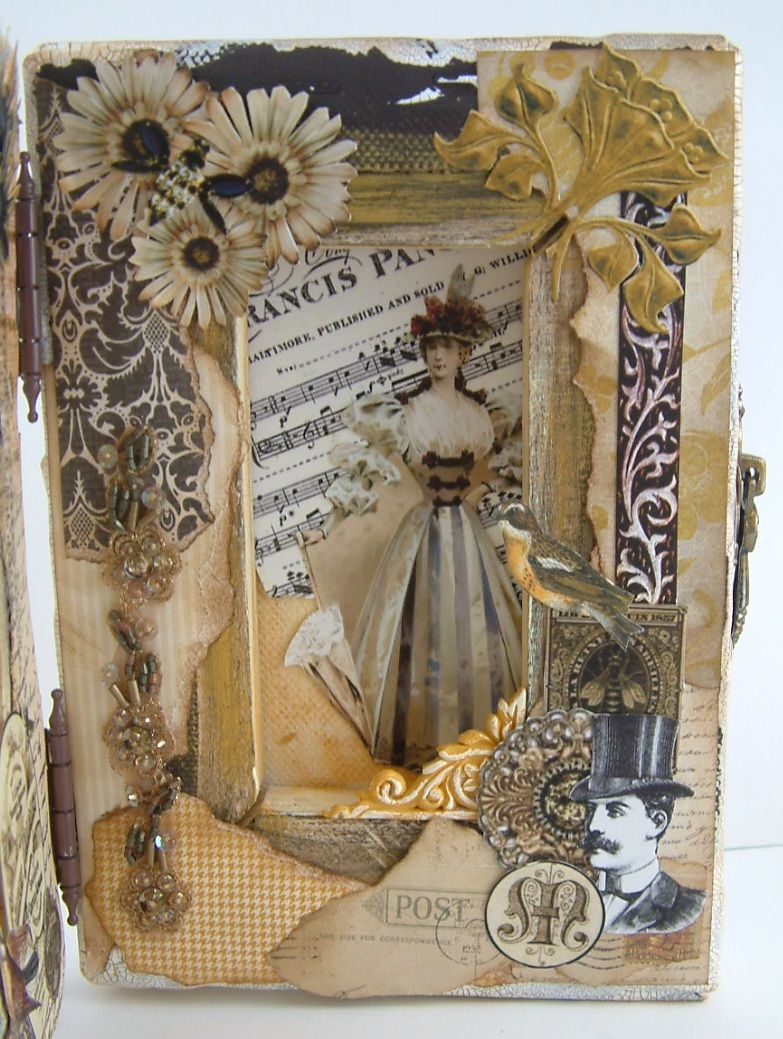
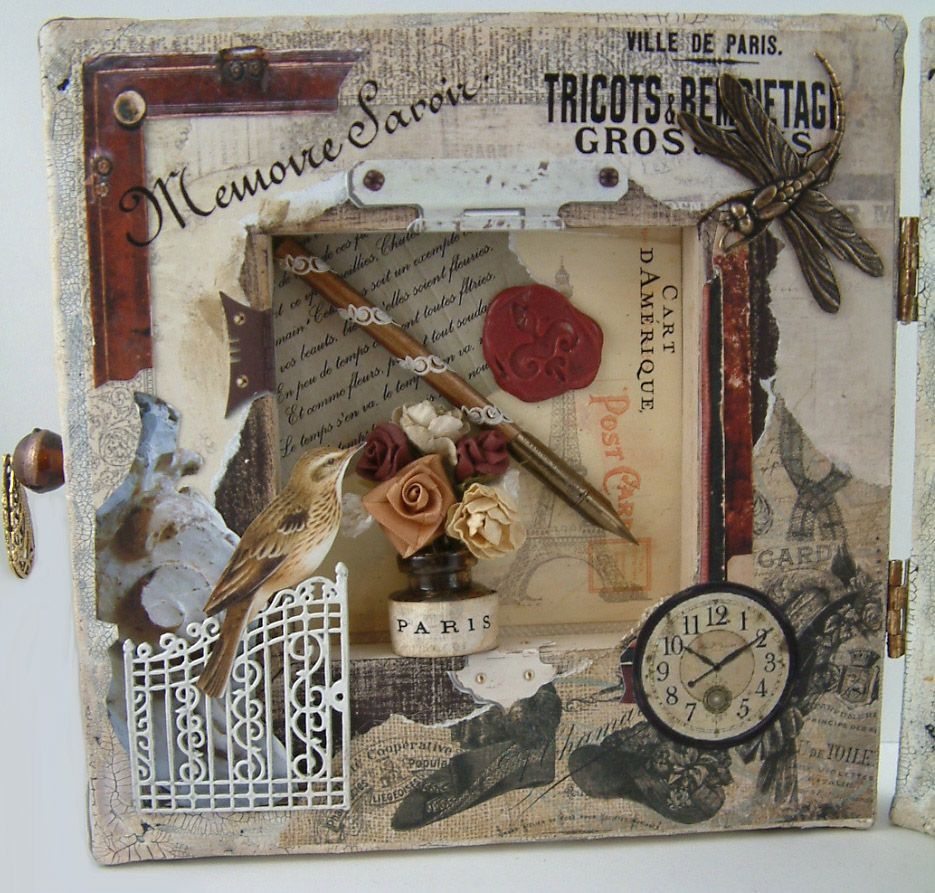
To the inside surfaces I added decorative paper, paper images, rub-ons and flat metal embellishments. I kept the elements I added to the outside edges as flat as possible to make it easier to close the book. In the niches I added the bulkier elements like a mini glass inkwell, a pin nib attached to a wooden skewer, a wax seal, flowers and a metal frame and gate. Niche on the left side of the book
Niche on the right side of the book
Decorating the Front and Back Covers
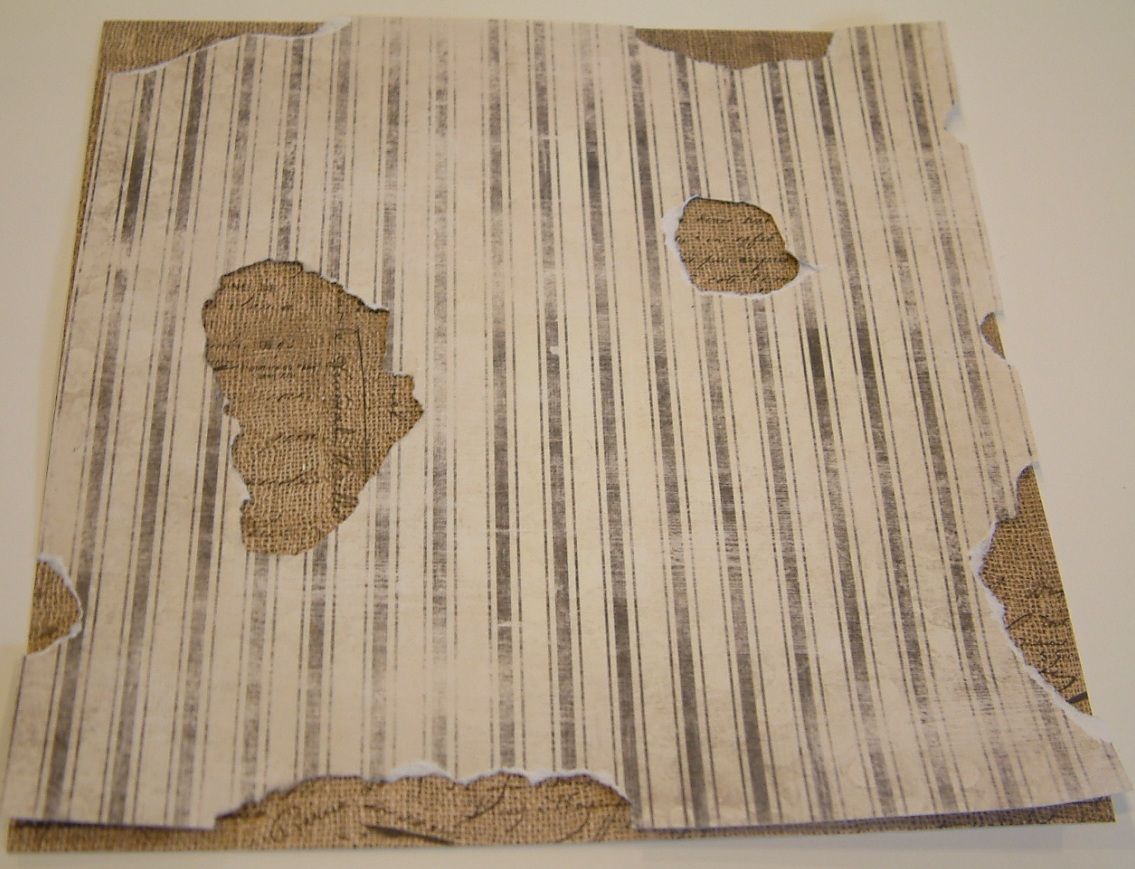
The key to creating the look of this book is lots of layers. I decided to use paper as my base layer for both the front and back covers. I started by choosing two papers from the French Kiss paper pack. I tore holes in the middle and sides of the top paper then glued the papers together. This technique allows the paper on the bottom to show through the paper on the top and gives them a worn look. Then I used a technique to make the paper look even more worn and tattered. Front Cover Décor
For the next layer I added the focal point image (Cleo), a paper clock, various rub-ons (French writing and the Eiffel Tower), and rubber stamped designs and writing. The next layer consisted of dimensional items such as died cheese cloth, buttons, vintage lace, decorative straight pins, flowers, beaded trim and a butterfly.
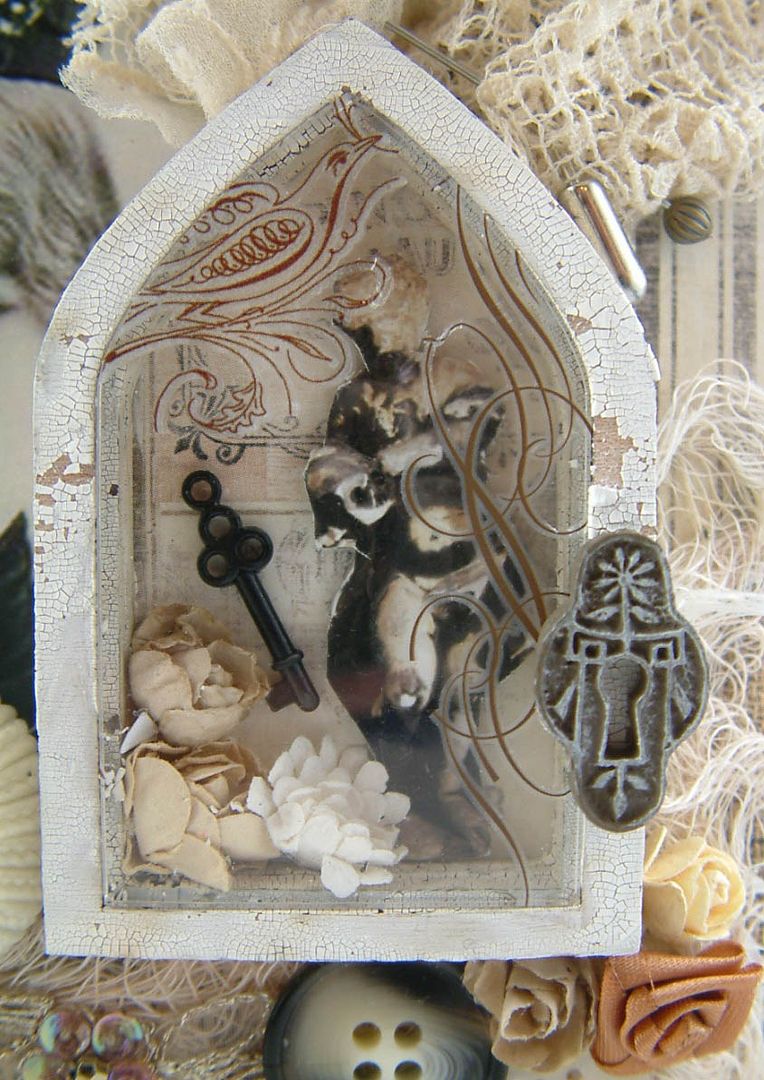
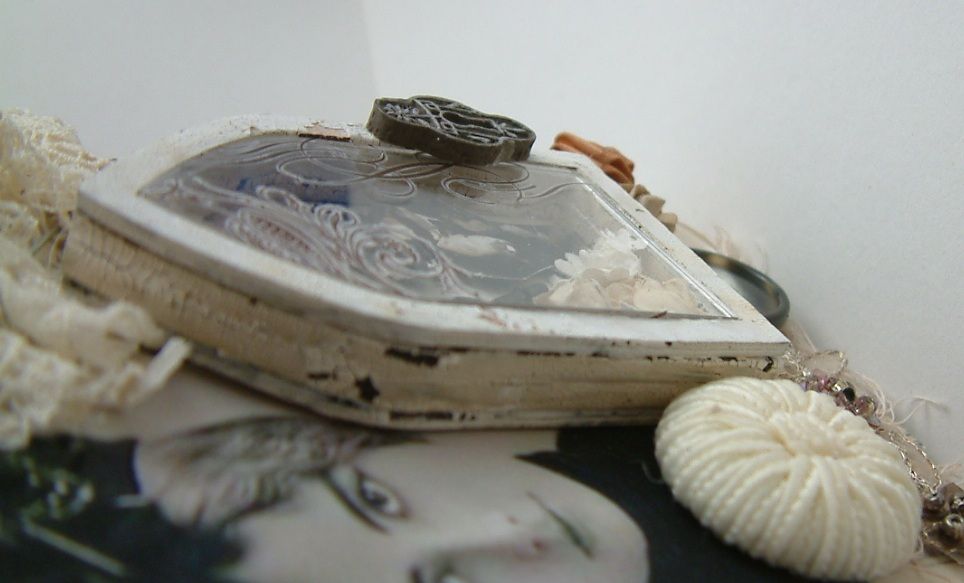
Lastly, I added the Shadow Box Shrine. I used a distressing technique on the frame and applied rub-ons to the glass. I backed the inside of the shrine with the French Kiss paper, then added an image of a weathered statue, paper flowers and a key. The final touch is the key hole of the front. After assembling the décor for the front cover, I glued it to the canvas and married the distressing technique I used on the edges of the canvas, to the edges of the paper on the front cover.
Back Cover Décor
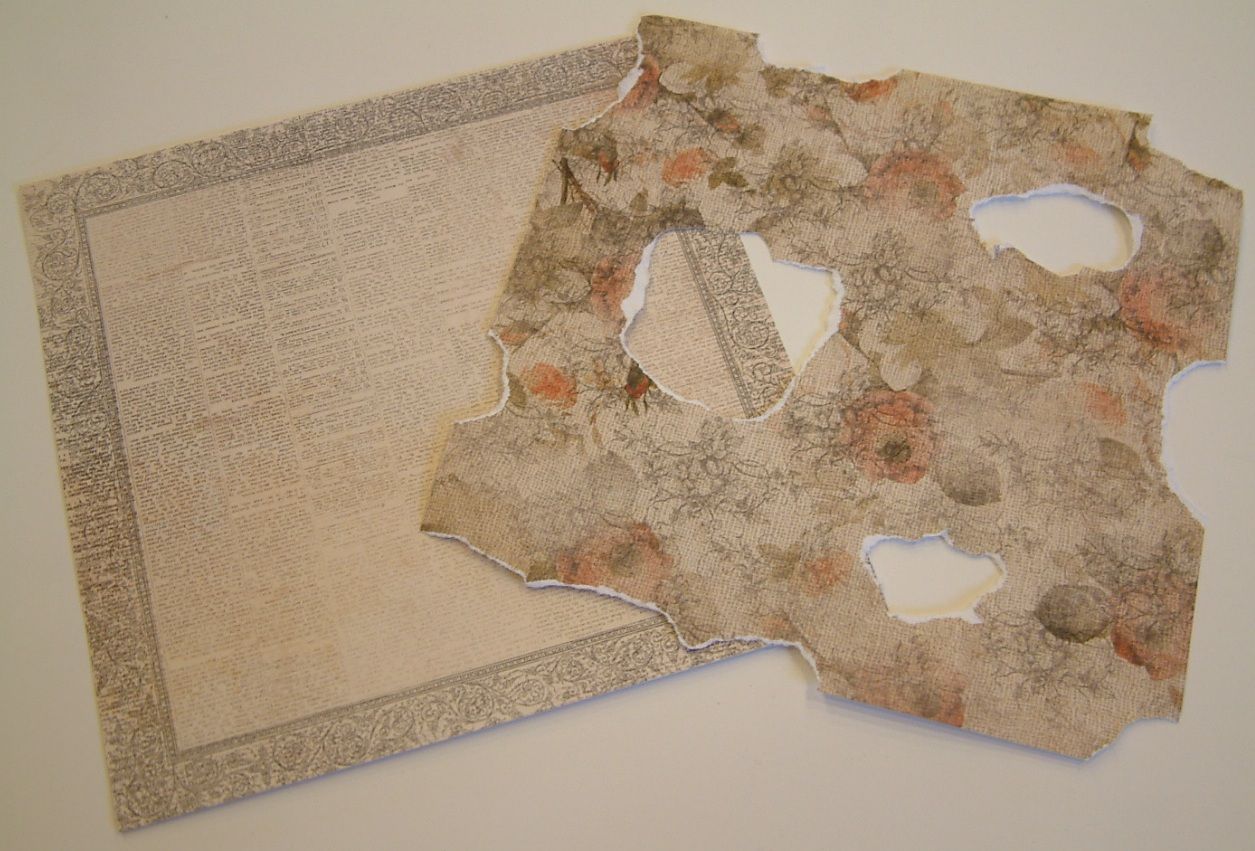
Just as in the front cover, I choose two papers from the French Kiss Paper pack, tore holes in the middle and sides of the top piece of paper and glued them together.
Opening the Book
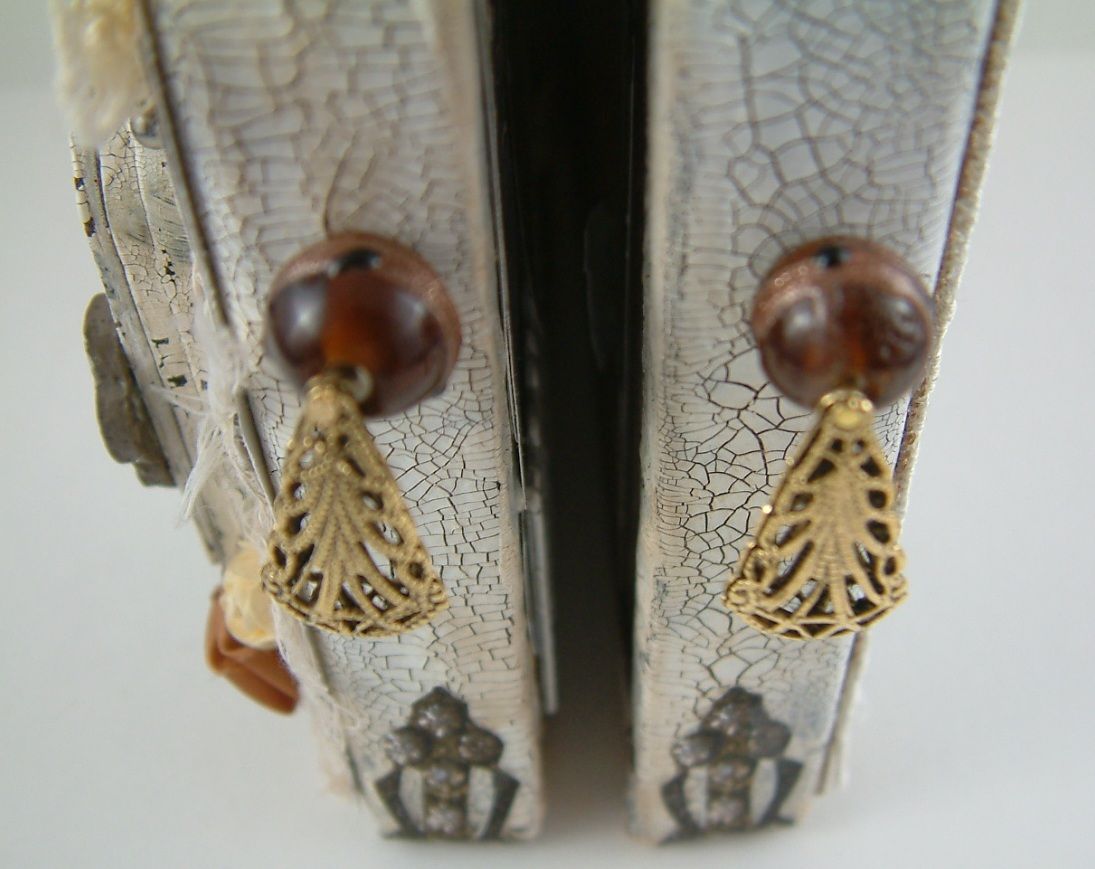
On the edges where the book opens I added beads with filigree drops. I used the awl to poke holes into the canvas. Next, I inserted a metal pin through the filigree drop and bead, and glued the end of the pin into the hole. A Complete List of the Alpha Stamps Supplies Used in this Project I know you are going to want to know all about the aging and distressing techniques I used and referred to in the tutorial. Well stay tuned as all will be revealed!