

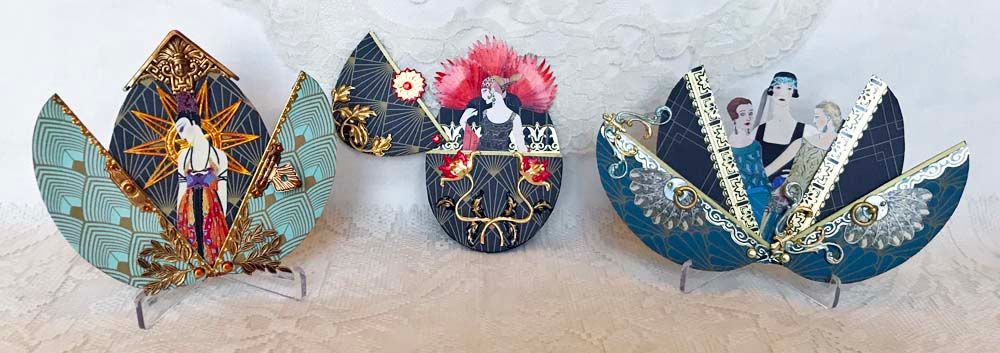
Not the typical eggs you might see at
Easter, these ATC sized eggs are inspired by the Art Deco Style paper pictured
further below in this post and Faberge Eggs which open to showcase various
elements inside. Several years ago, I made
a set of Faberge inspired eggs, and for this set, I decided to use ladies
dressed in 1920s style fashions.
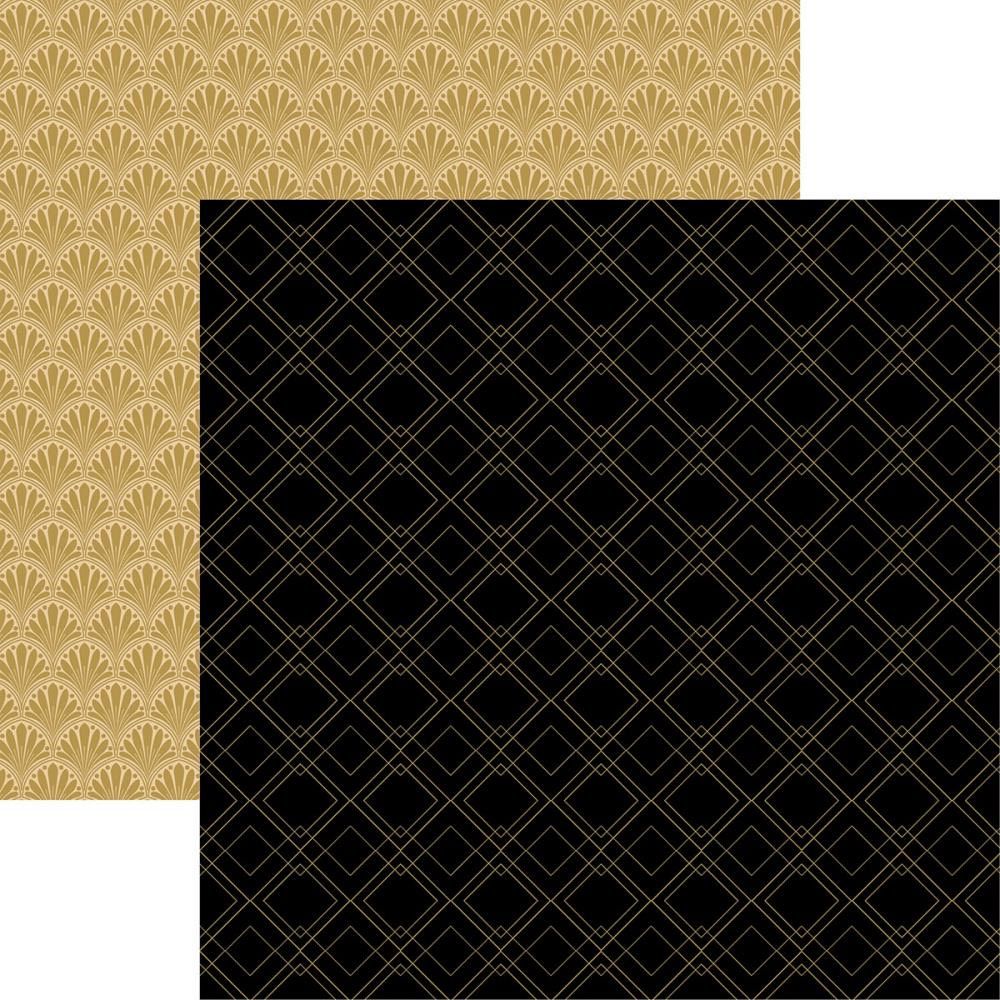
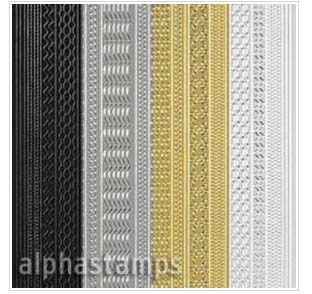
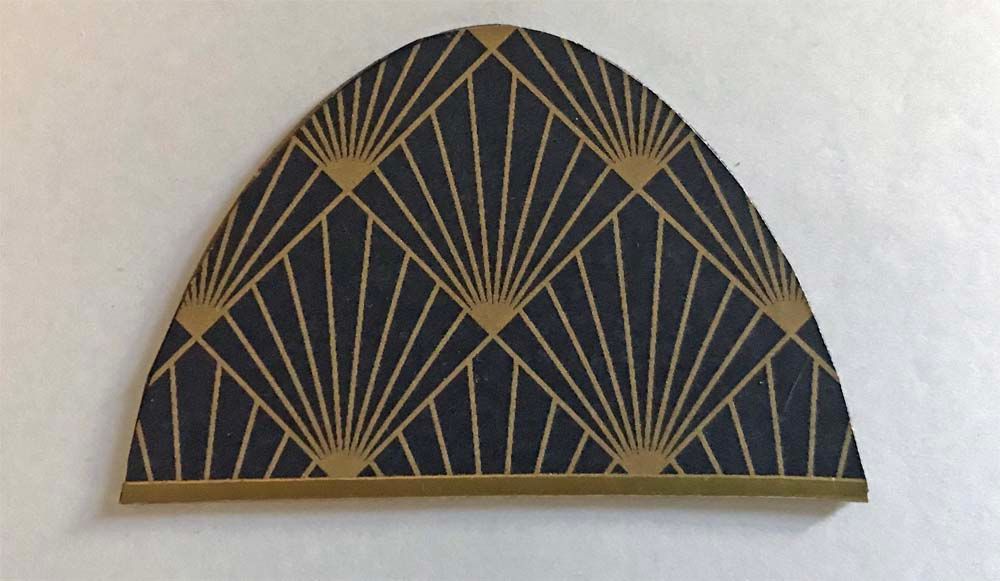
ART DECO THEMED PAPERS

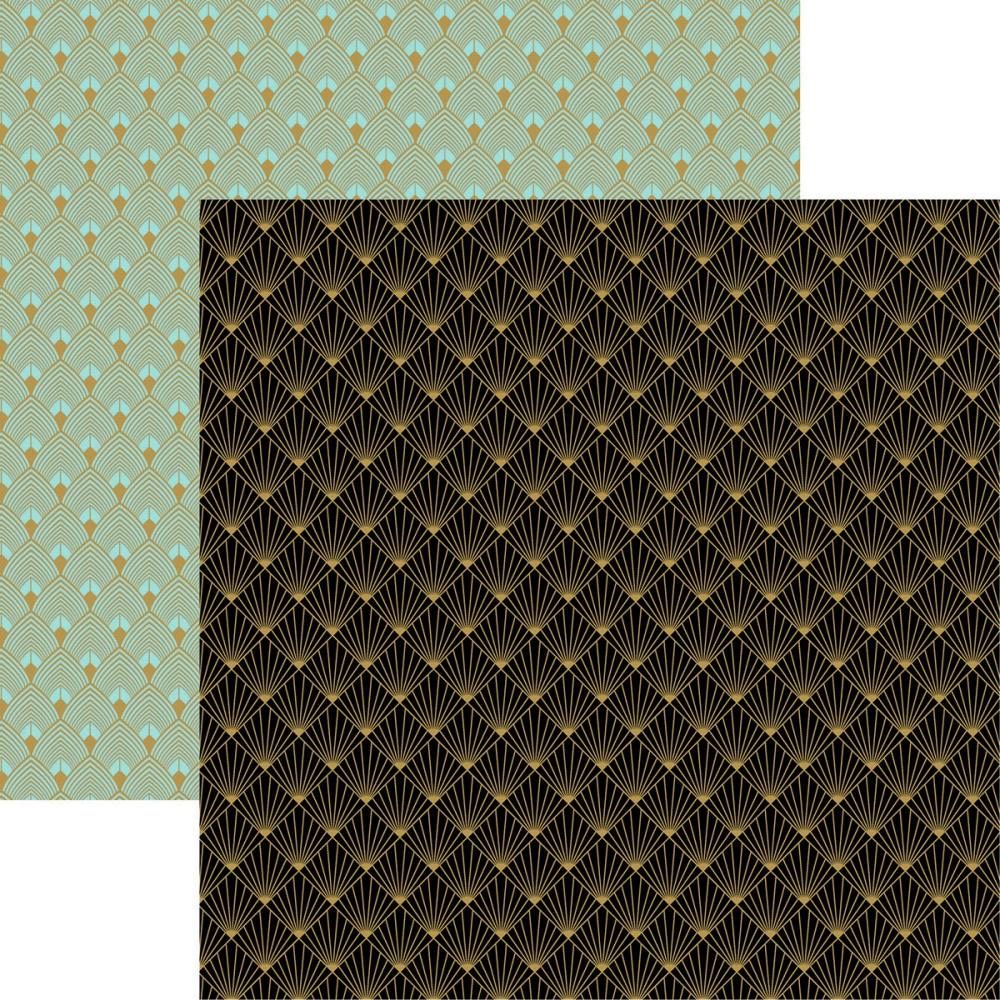
Another major element that I
incorporated into these eggs are various metallic stickers, which can be used
as is, cut into pieces or painted with Alcohol inks to change their color while
preserving the metallic look of the sticker.

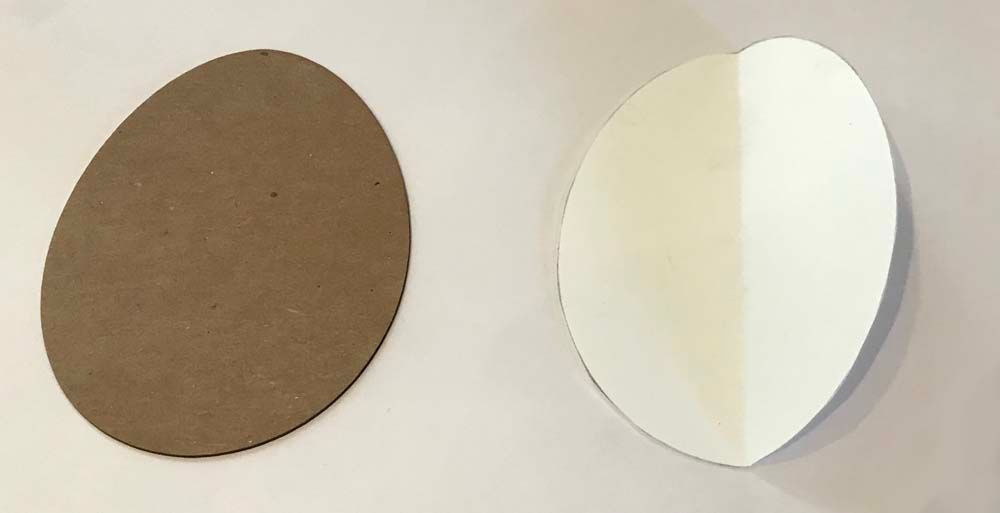
For the base of the eggs, I used a set
of precut ATC-sized chipboard egg shapes.
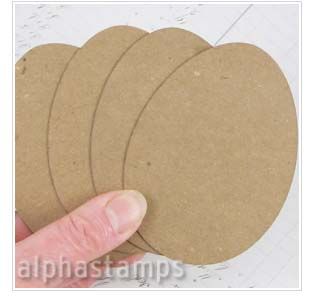
To add lots of bling and interest, I used various brass pieces and gold Dresden which I cover further down below, where I walk you through how I constructed the eggs.
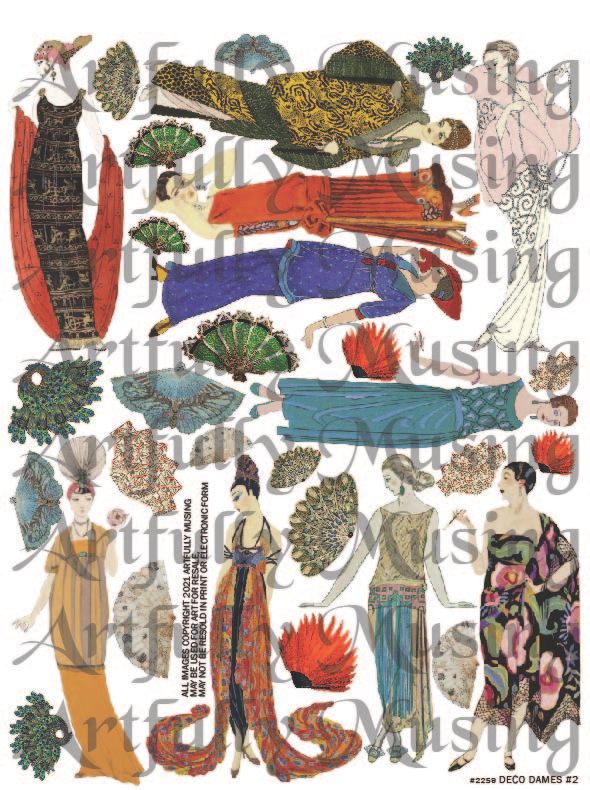
This is a companion sheet to the original Deco Dames collage sheet (also pictured below) and contains 10 ladies in 1920s fashion and 7 unique fan designs with 3 sizes of each fan design. Click on the image below to purchase this sheet.


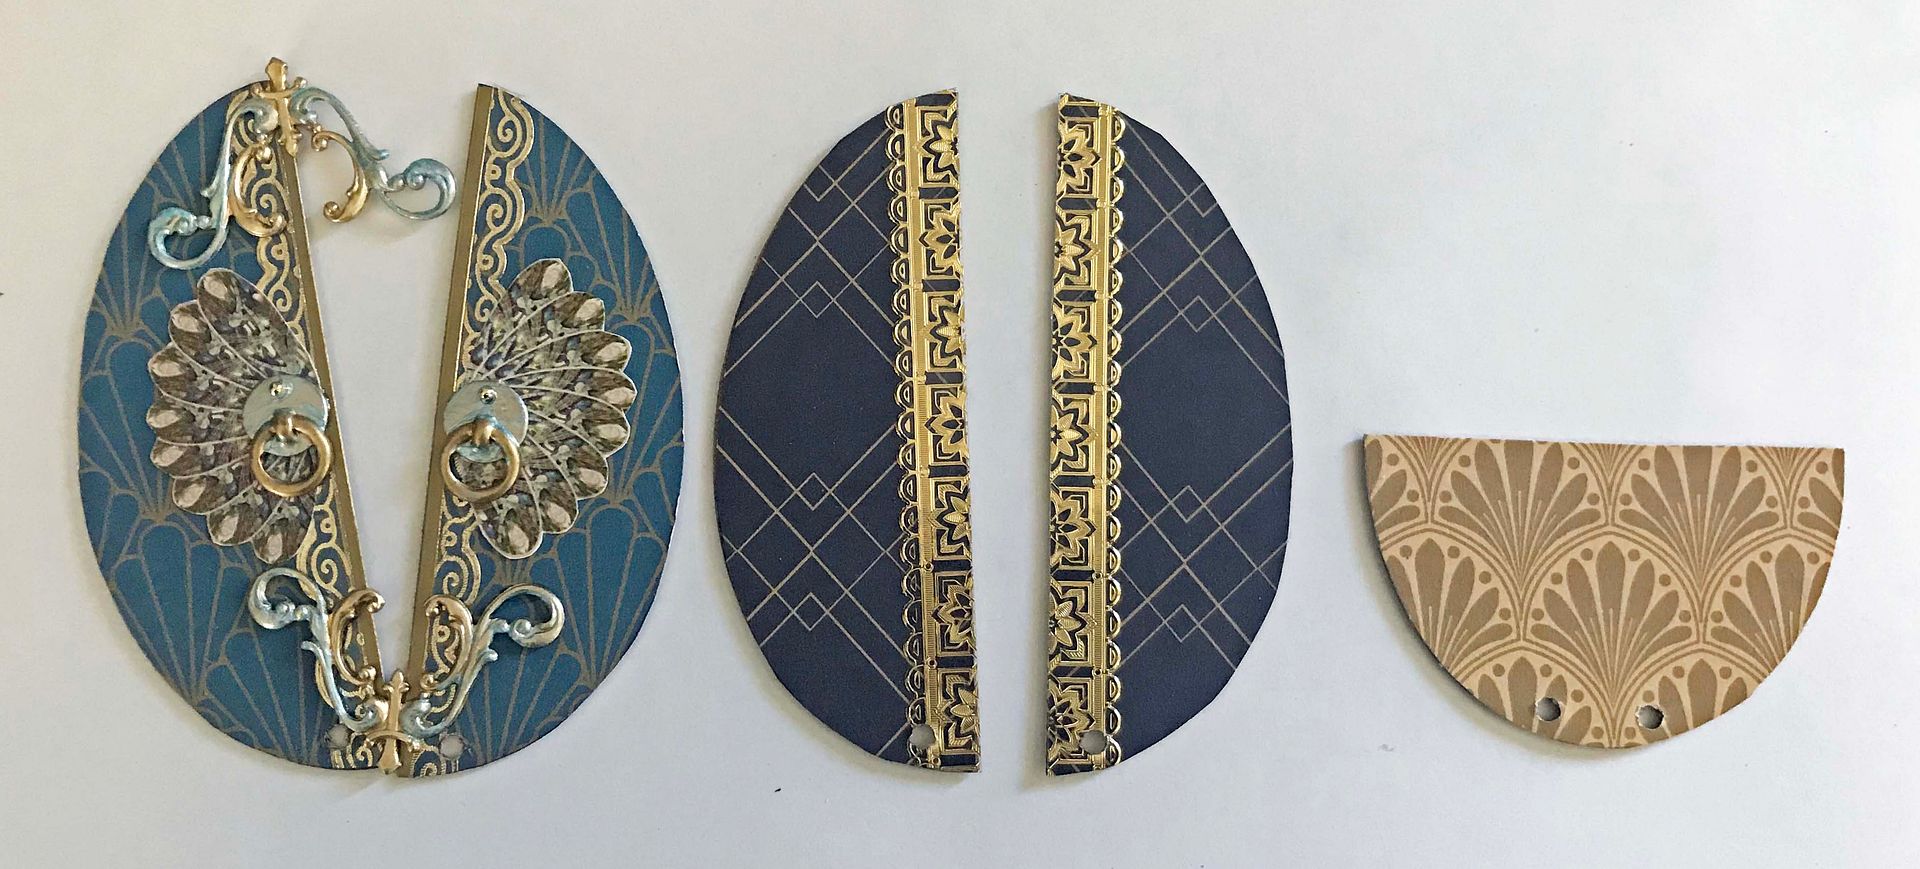
To get the design centered on the egg, I
placed the chipboard shape onto the patterned paper and traced the egg's shape; I then cut out the paper and glued it to the chipboard egg.
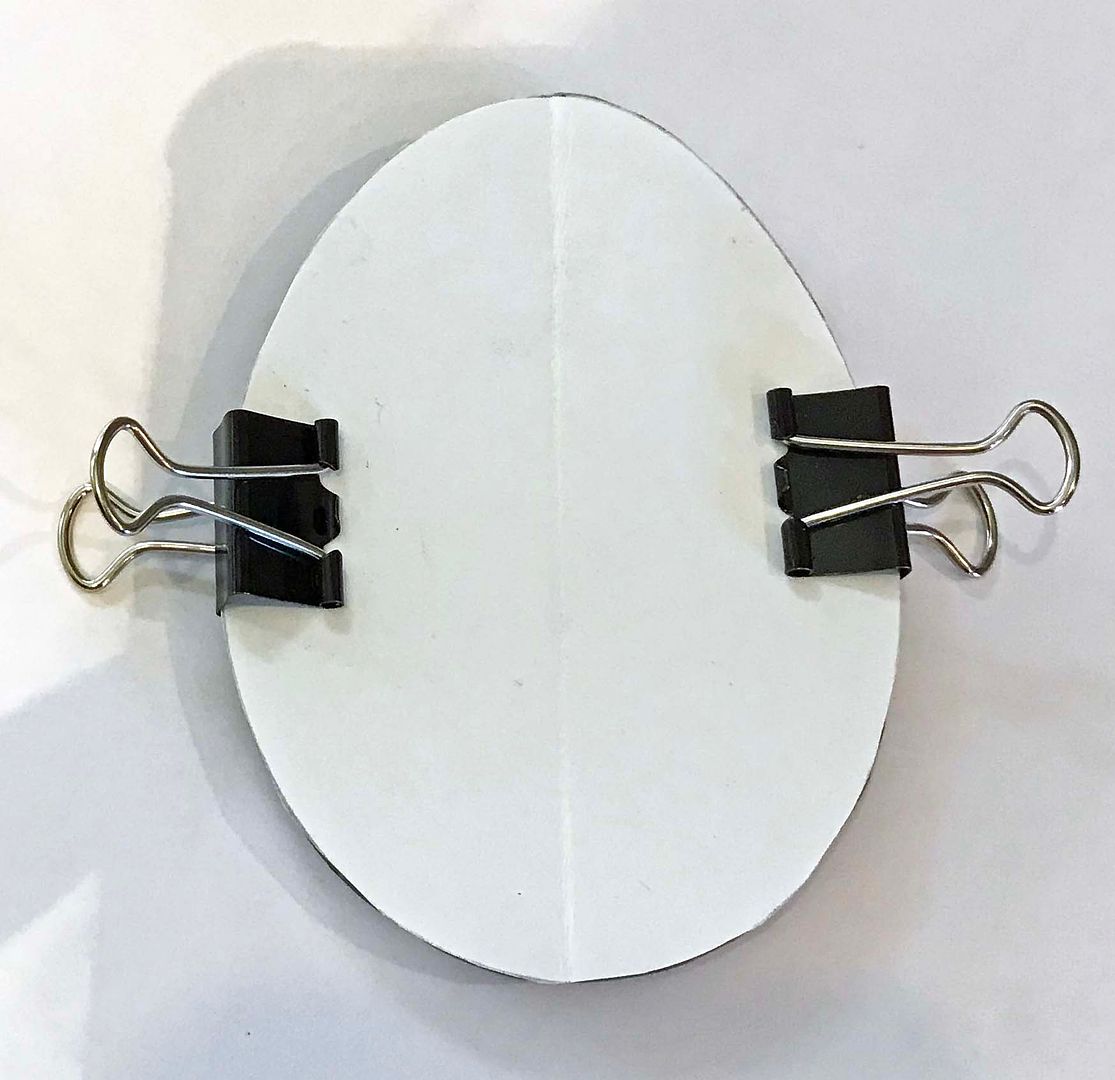
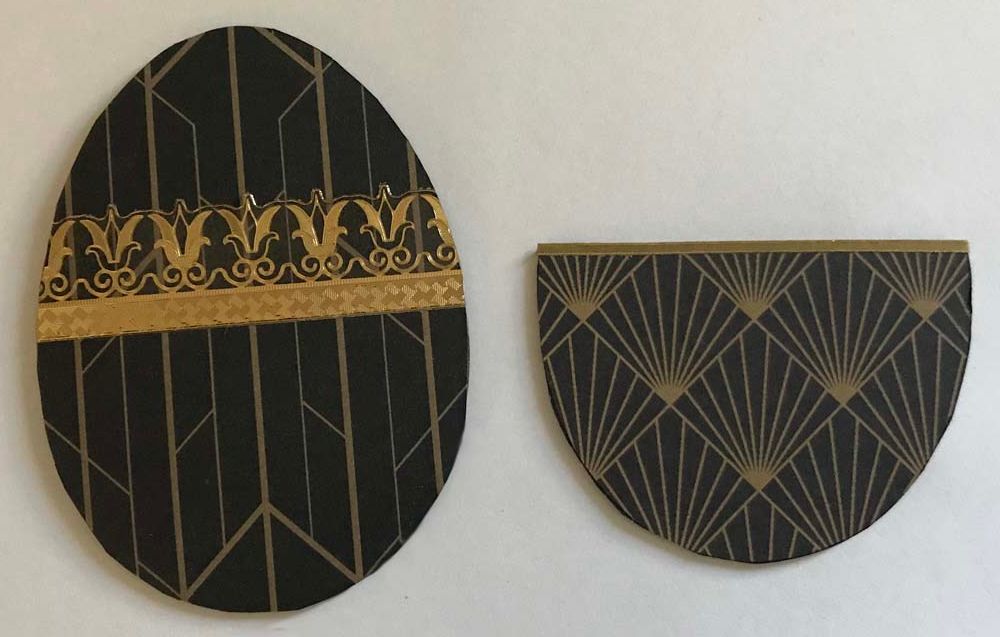
To split the egg into two equal vertical parts, I again used the chipboard egg to trace the shape onto a piece of
paper. Next, I cut out the shape, folded
it in half, and then clipped it to the egg.
I then used the crease in the paper as my guide in splitting the egg.
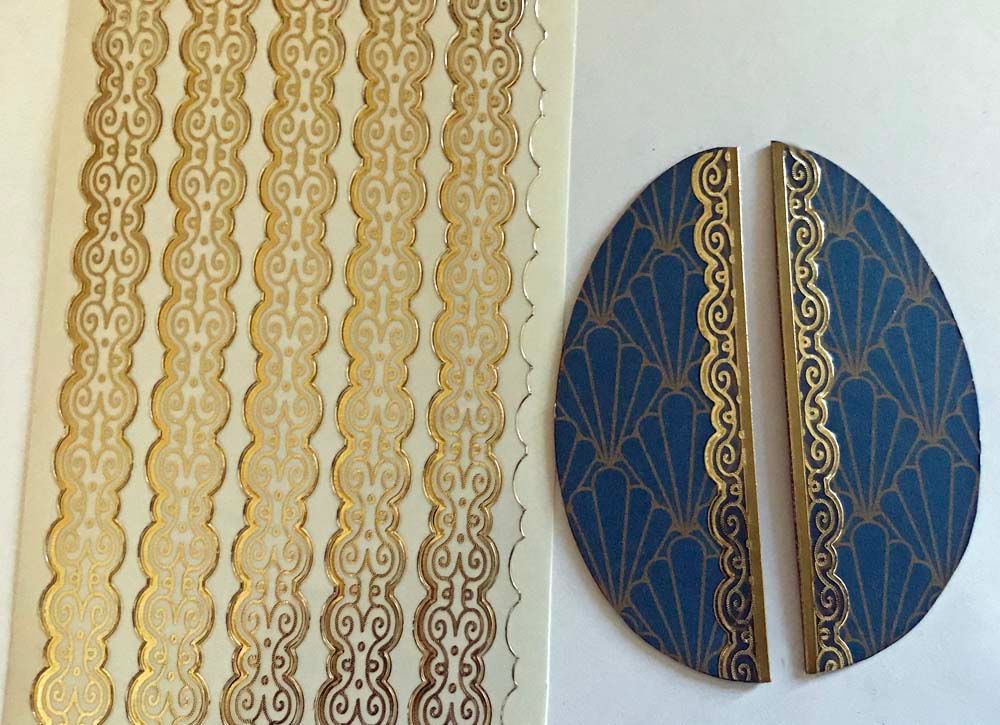
I trimmed the edges of the split egg
with stickers. In one case, I cut a
strip of sticker in half and applied each half to the split egg. In the other case, I first painted the sticker
strip with Alcohol ink to get the desired metallic color. Using Alcohol ink preserves the metallic look.
For two of the eggs, I used two of the
chipboard eggs, but for one, I used three chipboard eggs, giving me a double reveal.
Once you have covered the eggs with decorative paper and other flat elements, you need to stack the eggs one on top of the other and then punch the holes used to insert brads that will hold the eggs together and allow you to open the eggs.
For the eggs, which I split vertically down the middle, I punched two holes in the bottom (one on each piece of the egg),
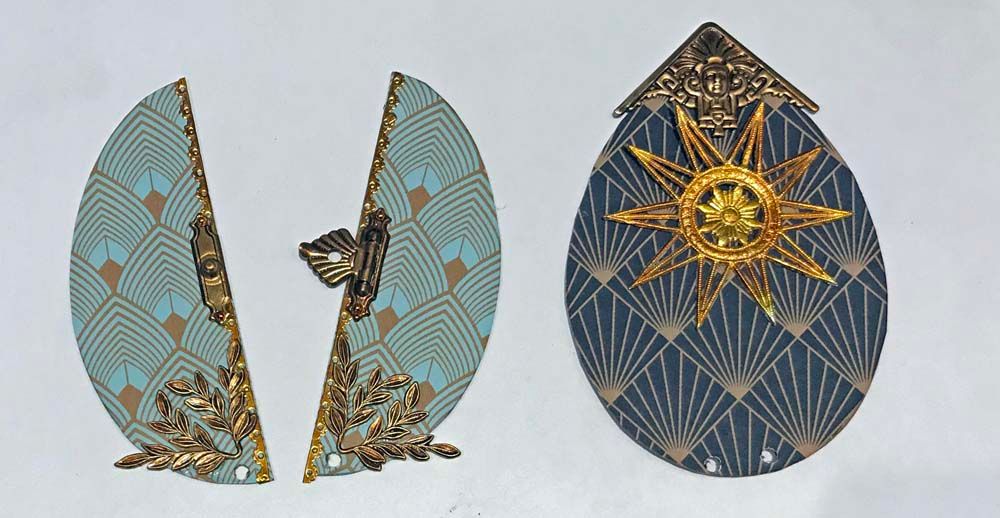
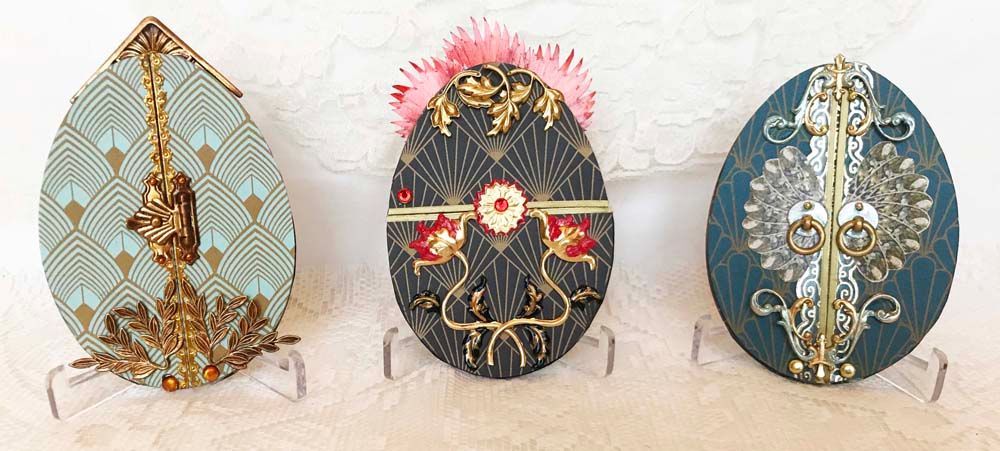
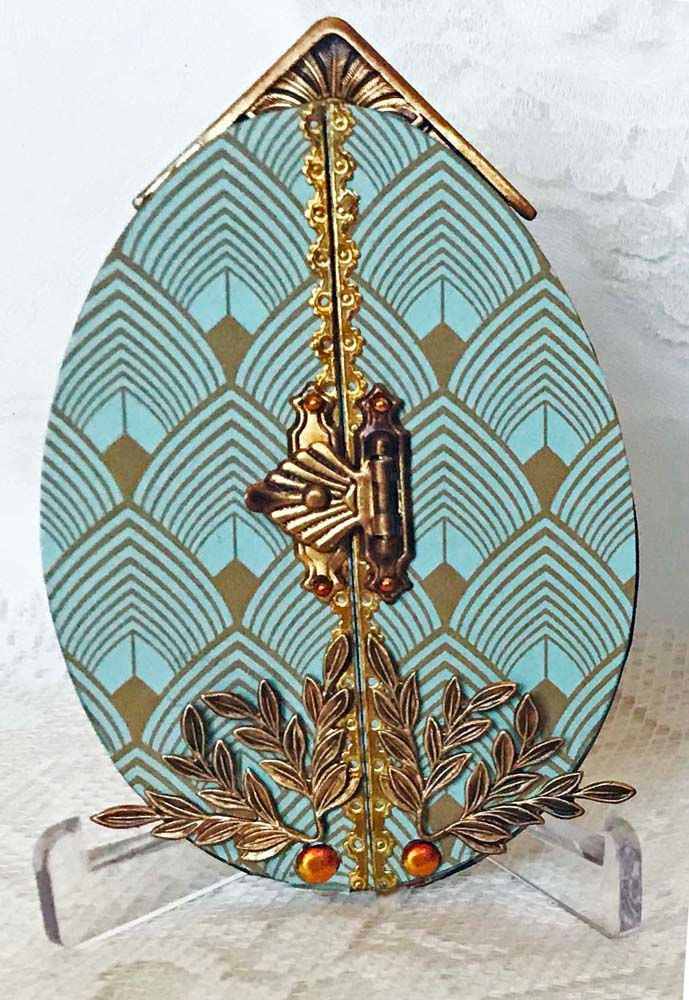
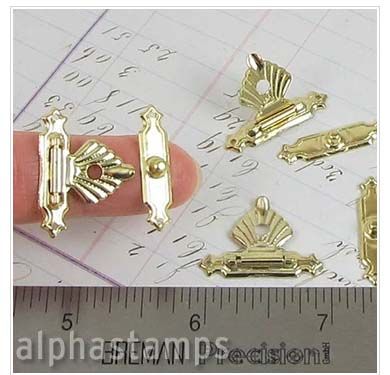
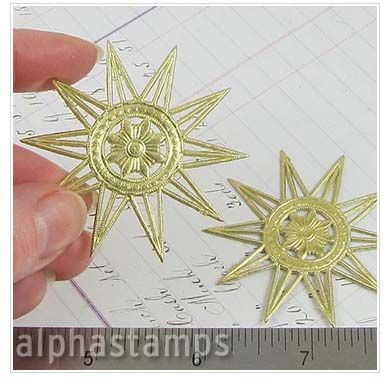
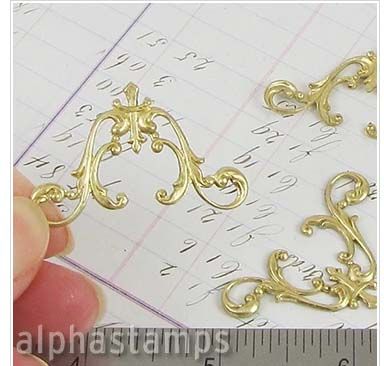
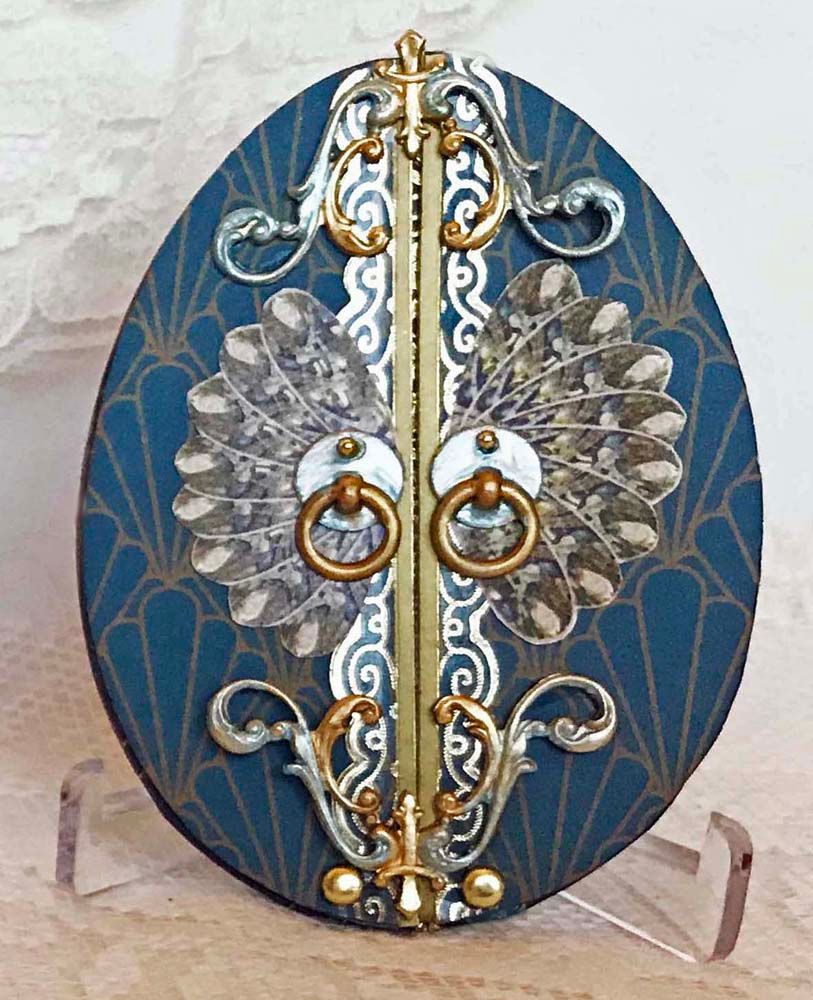
Below you can see the brass pieces I
used on the egg above. I painted these
pieces with metallic copper spray paint to match the copper color in the paper.

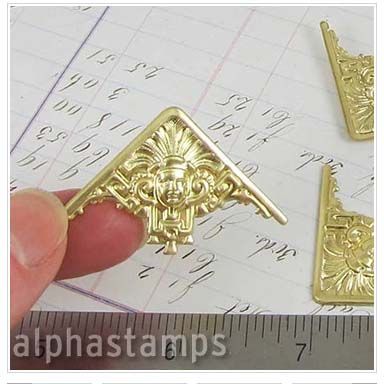
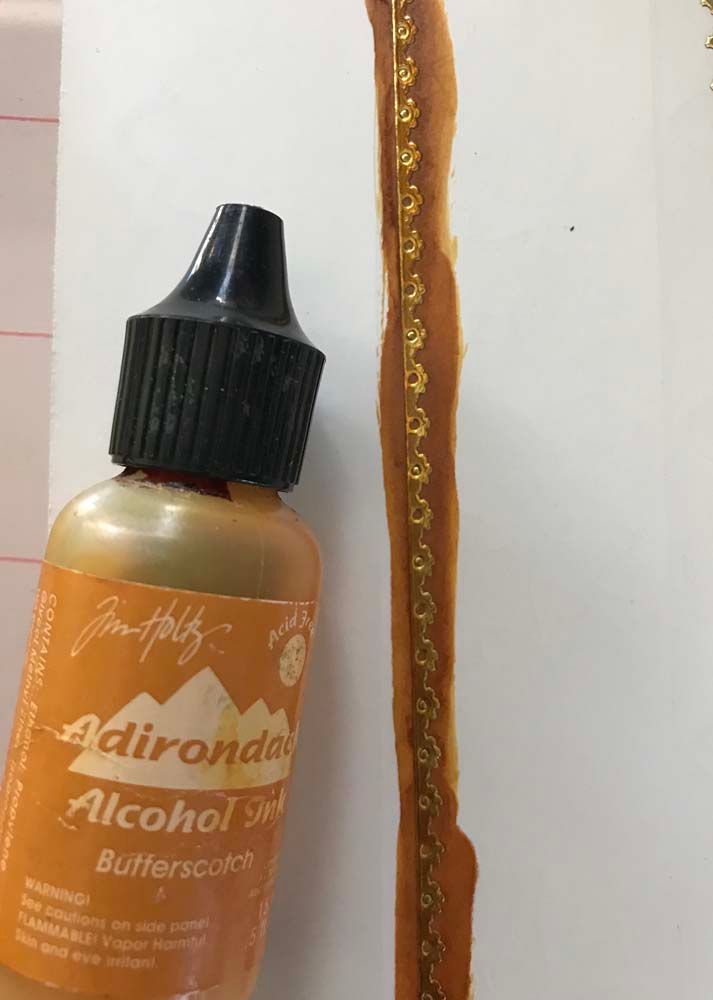
Below you can see the Dresden I used for the egg above, which I painted with Butterscotch Alcohol ink and is the same ink I used for the metallic stickers on the egg's edge.
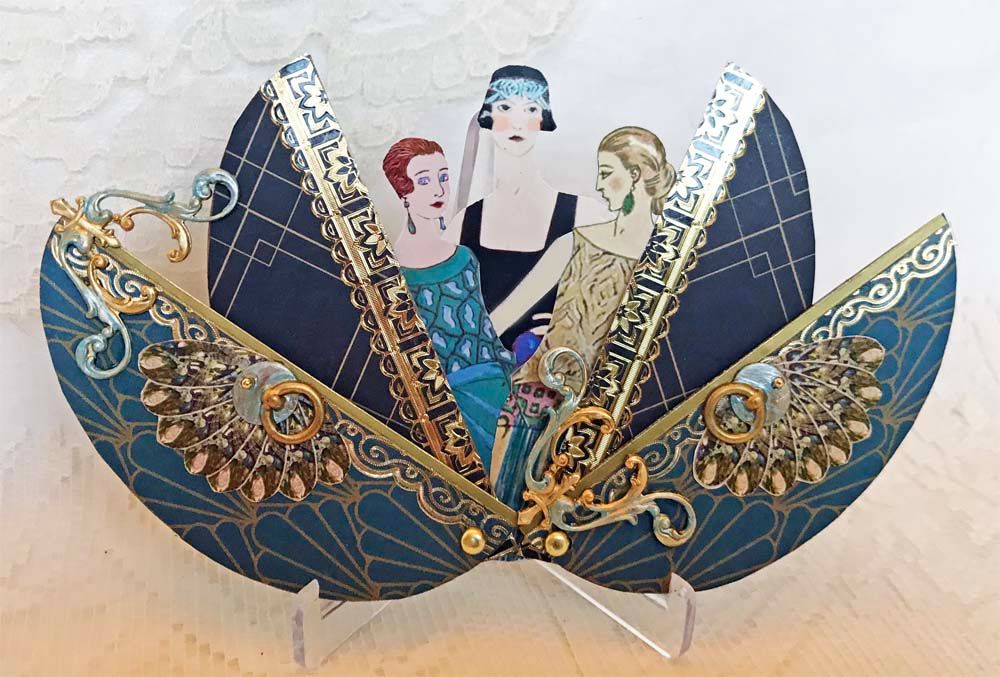
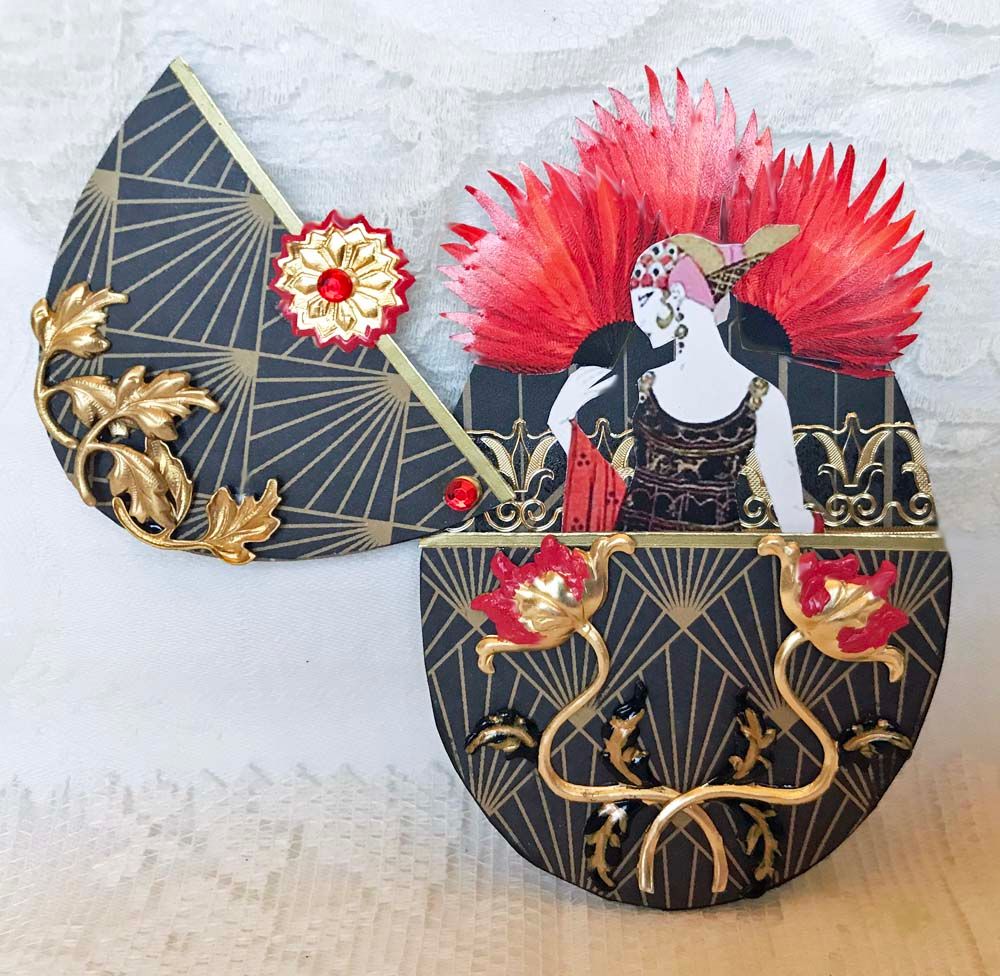
Notice for the egg above, I have used
three chipboard eggs, splitting the first two vertically and cutting the last one a little
less than in half horizontally. The ladies' images mount to the last egg and look free-floating when you open the first two eggs.
For the egg above, I used fans from the collage sheet to decorate the front and various stickers to dress up the eggs' edges. Also, I added brass scrollwork and handles painted with teal paint.
NOTE: Always be mindful of where you attach brass pieces to the front of the egg, so they don’t get in the way of opening the egg. For this piece, I attached one of the brass pieces to the top left side of the egg and the one to the bottom right side of the egg.
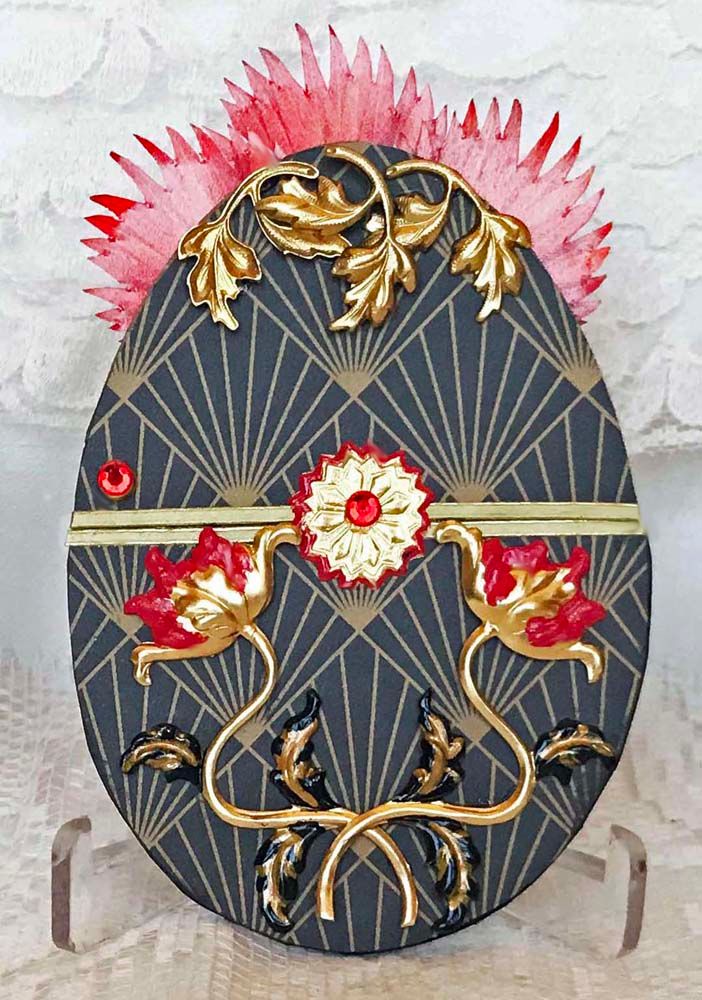
For the egg above, I split the top egg horizontally. Notice the brad is in the corner left of the top piece. I added stickers to the split edges of the front egg and to the middle of the back egg. On the front, I added brass leaves, a Dresden piece to the top of the front piece, and brass flowers. I used Patina paints to paint the brass and Dresden.
NOTE: Always be mindful of where you attach brass pieces to the front of the egg, so they don’t get in the way of opening the egg. For this piece, I attached the Dresden to just the top of the egg.

