-->

Welcome

I love answering your questions. If you ask them in the comment section, I have no way to answer you (if you haven't heard from me, that is why). If you use the "EMAIL ME" in the left column of this page, I will be able to respond to you. You can also use it if you want to be added to my newsletter. Laura

Friday, January 22, 2016

Two Romantic Collages; Star Crossed Lovers & Queen of Hearts

As part of the countdown to Valentine's Day, I have two more romantic-themed pieces to share.  These pieces were started last year when the Alpha Stamps Star Crossed Lovers Kit came out in January 2015.  Usually, when I work on a kit, I make more than one piece, sometimes even three or four.  This was one of the additional pieces that didn’t get finished, as I was not happy with my direction.  
I had originally hinged the two pieces together, but after laying out different designs, I just wasn’t happy.  In a last-ditch effort to save them from the trash can (which is where pieces I hate go), I took them apart and focused on them separately (which finally took me to my happy place!).

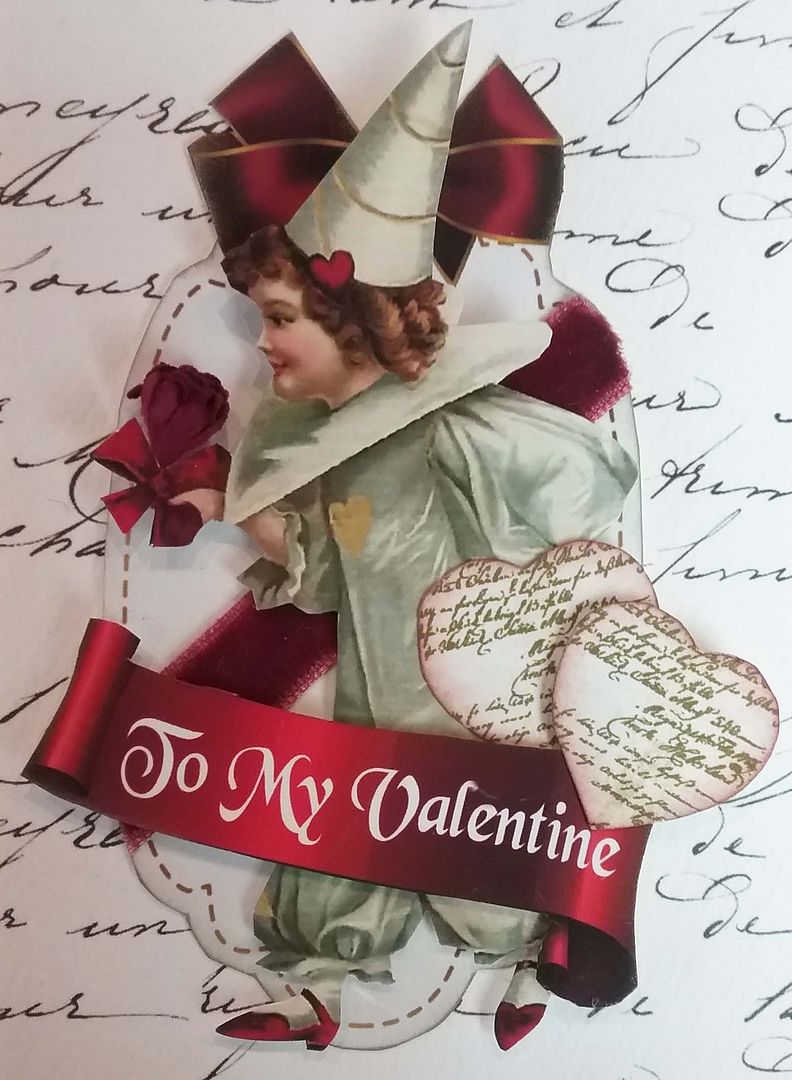
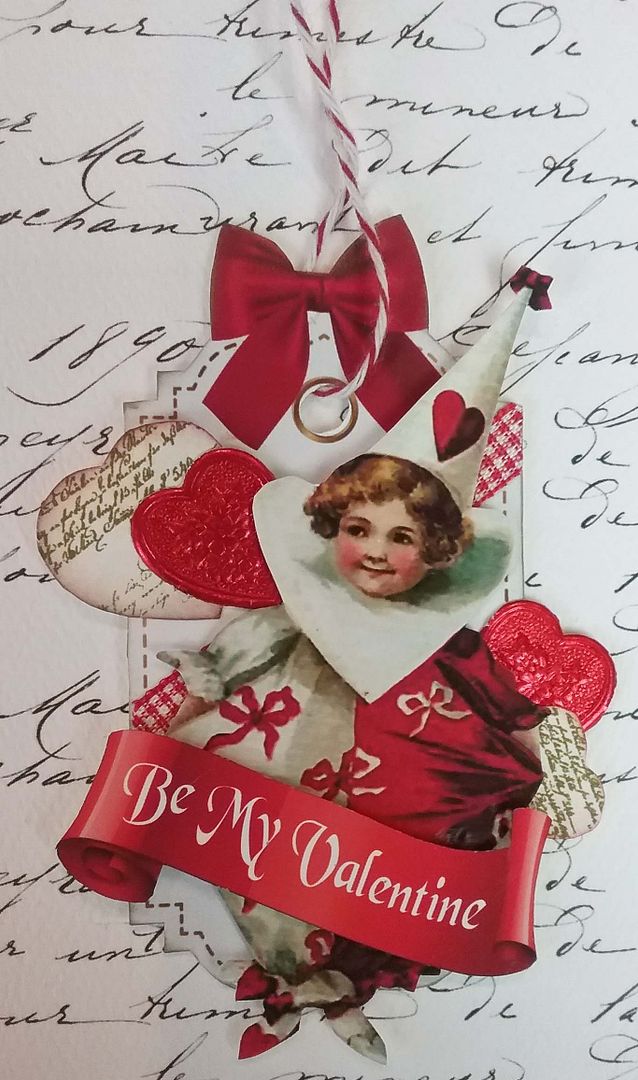
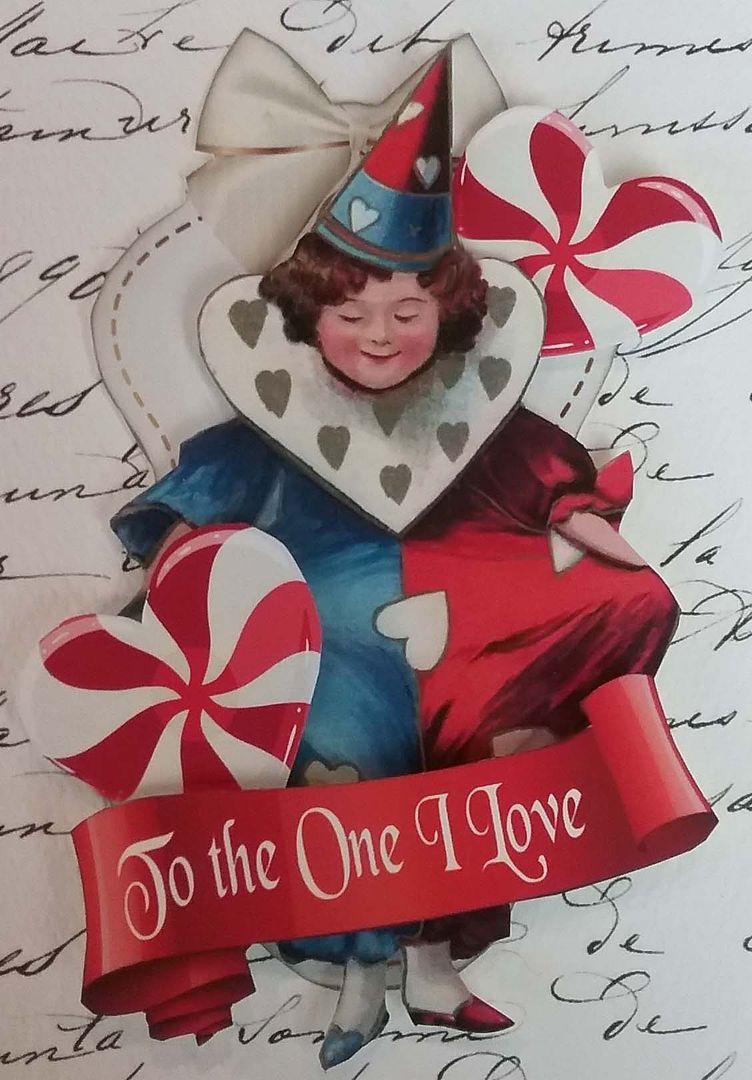
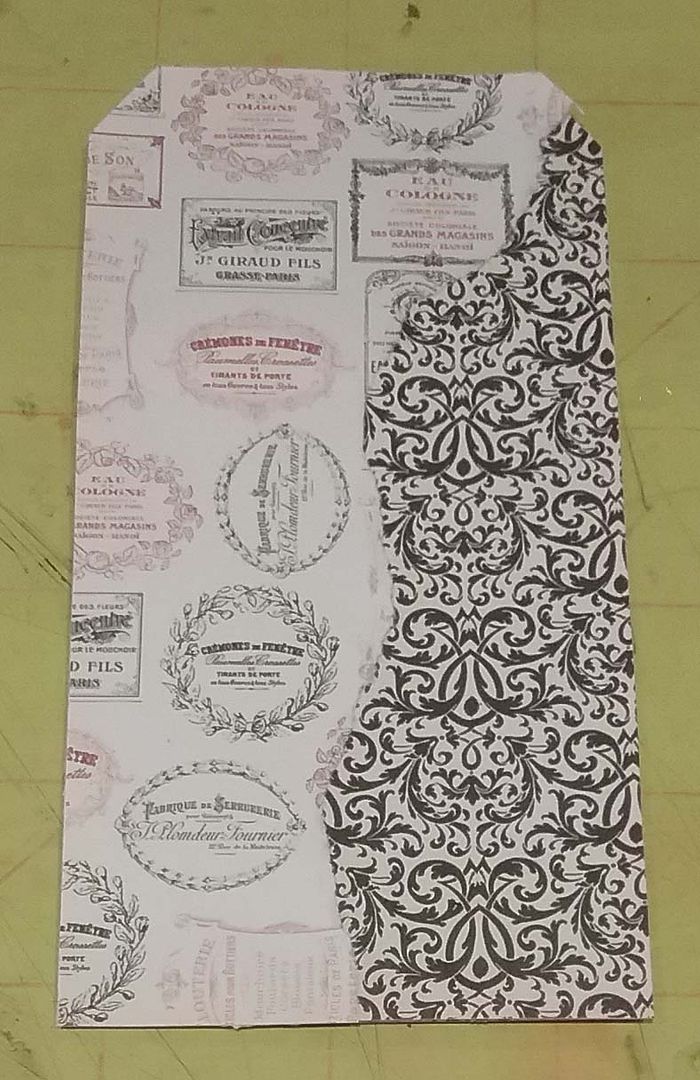
PUTTING THE PIECES TOGETHER
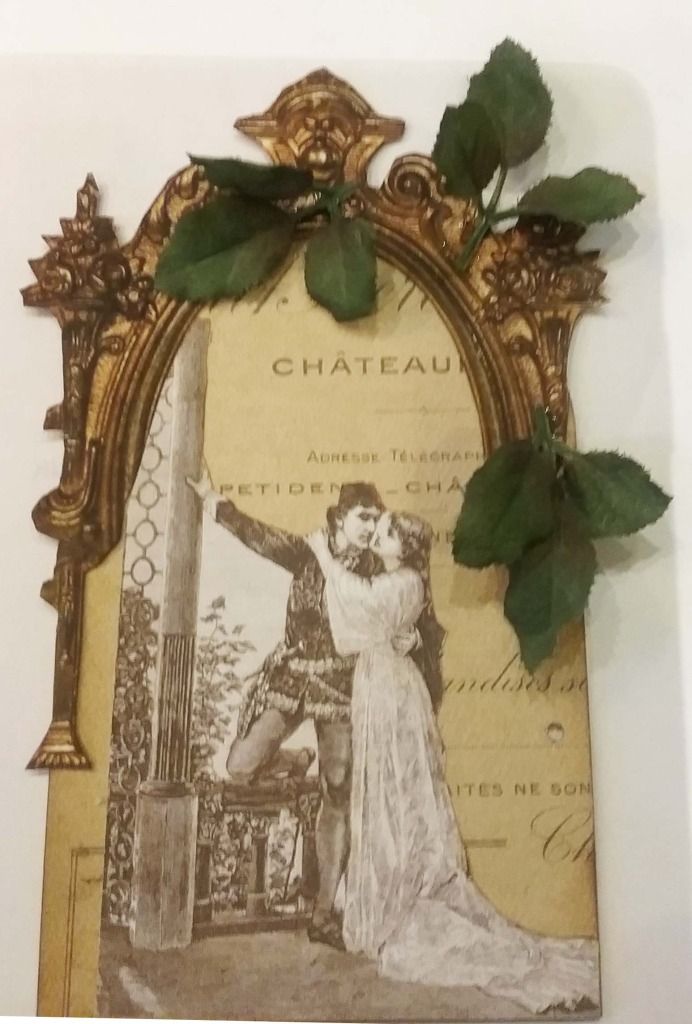
For both of the pieces, I started by covering a piece of chipboard with decorative paper. Next, I added images from the Alpha Stamps Juliet Collage Sheet.
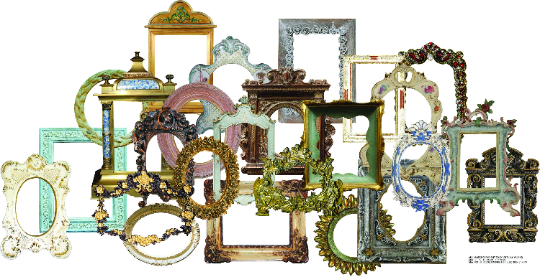
I also used one of the frames from my Large Vintage and Elegant Frames Digital Image Set.  I printed the frame twice and cut away part of the bottom of each frame (the back of the frame is covered with coordinating cardstock).  The frame I used is the last one (far right) on the second row in the picture below.  I love using large frame images to give a piece structure.

LARGE VINTAGE AND ELEGANT FRAMES DIGITAL IMAGE SET
To purchase this digital image set, click on the image below.
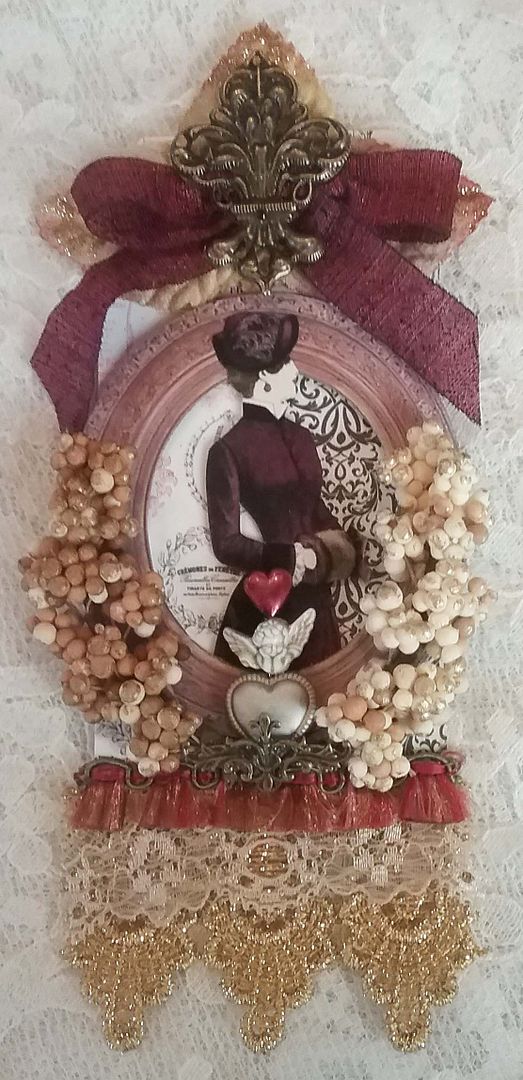
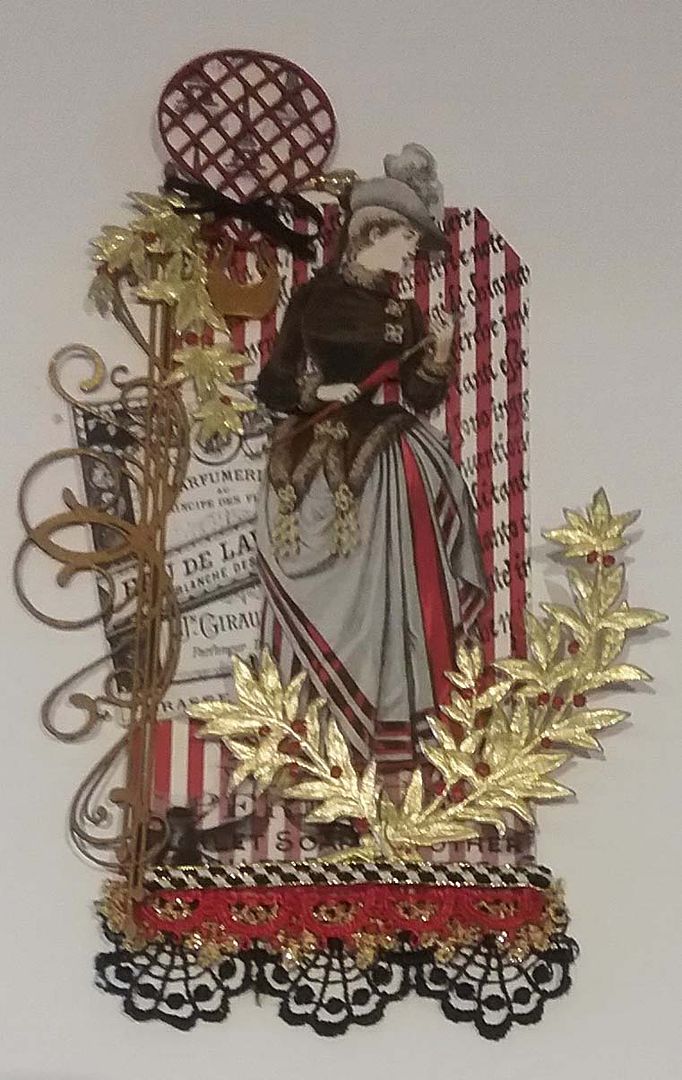
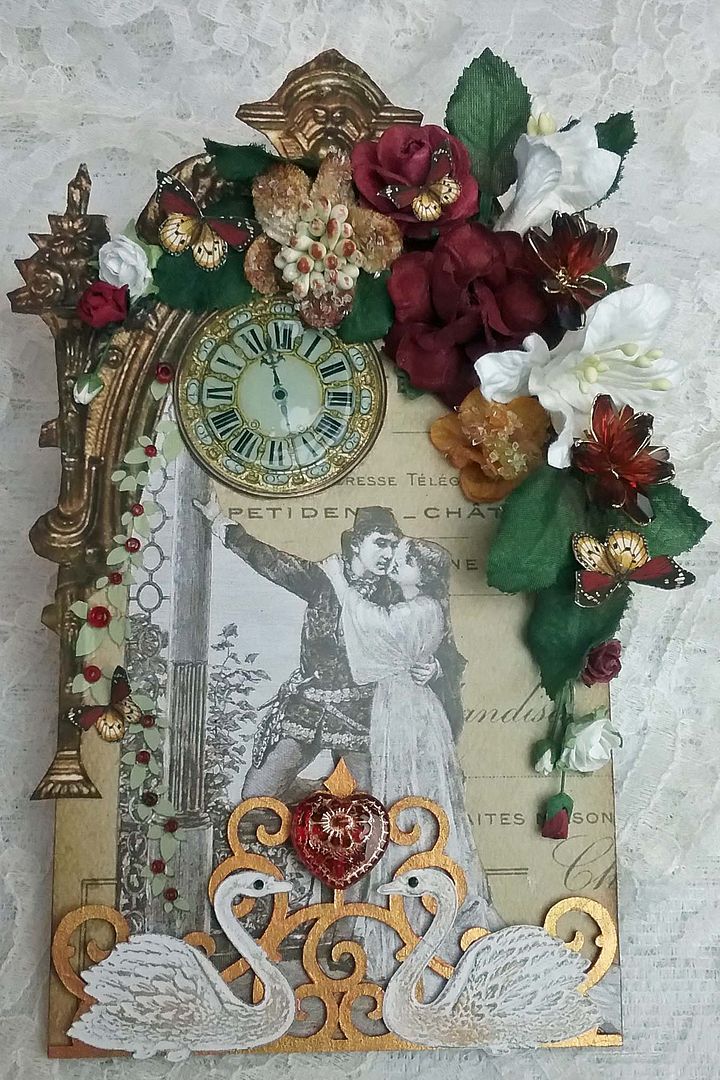
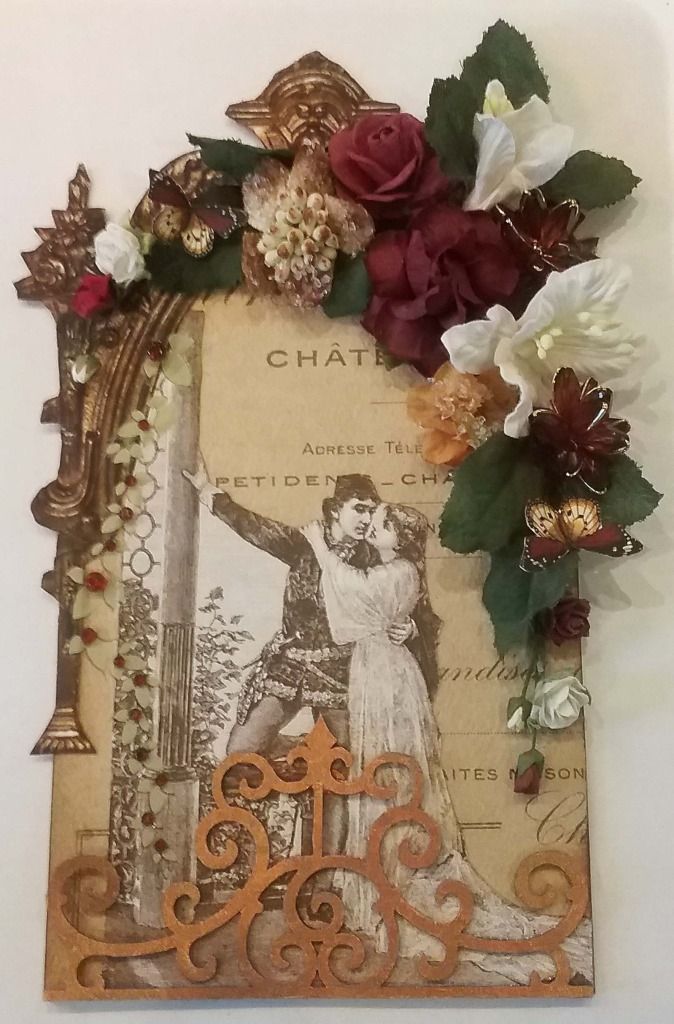
STAR CROSSED LOVERS
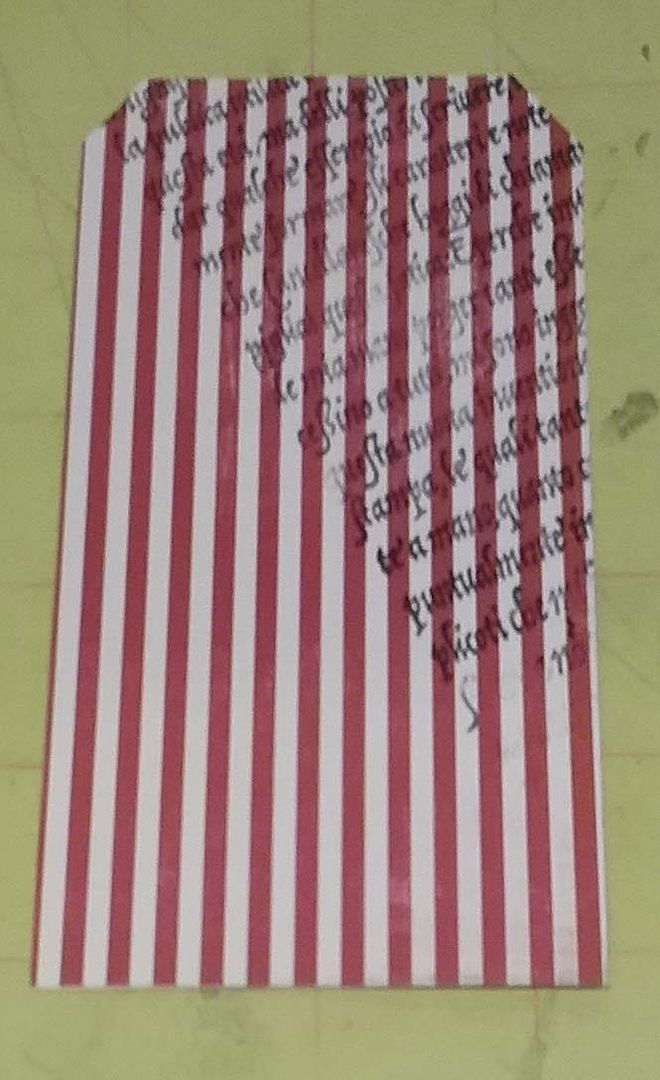
In the picture below, you can see the holes going down the right side of the piece, but no worries, as the cascading flowers will hide my misstep.
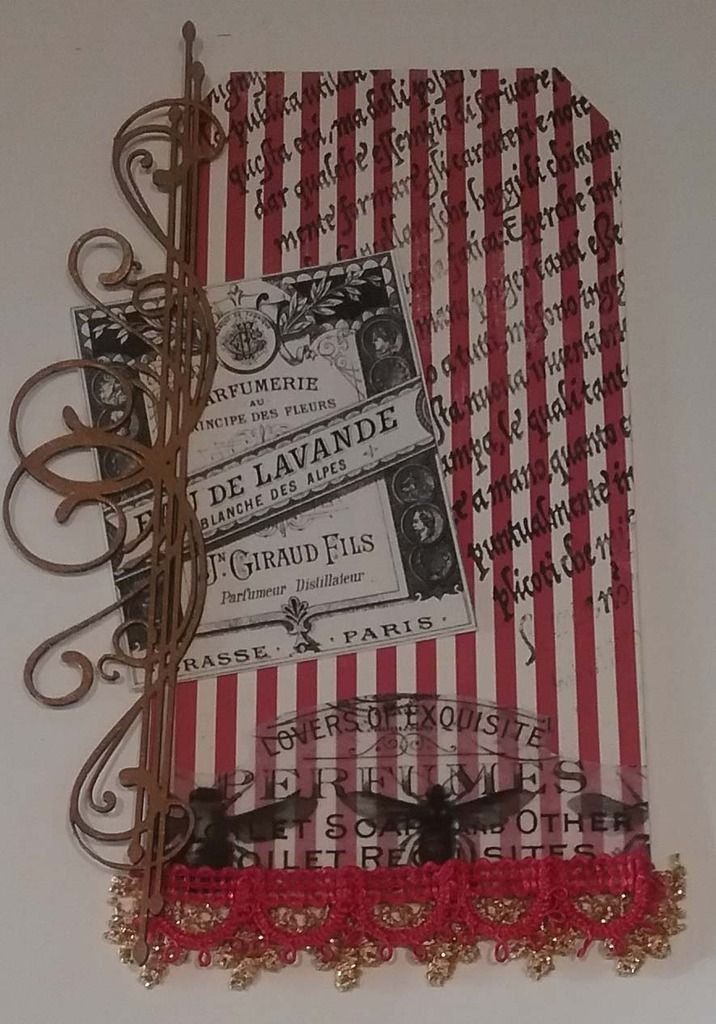
I started building the flower cascade by attaching leaves from my stash.  I think these leaves had a flower that I used on another project.
Next, I added the larger burgundy, white and yellow flowers.  
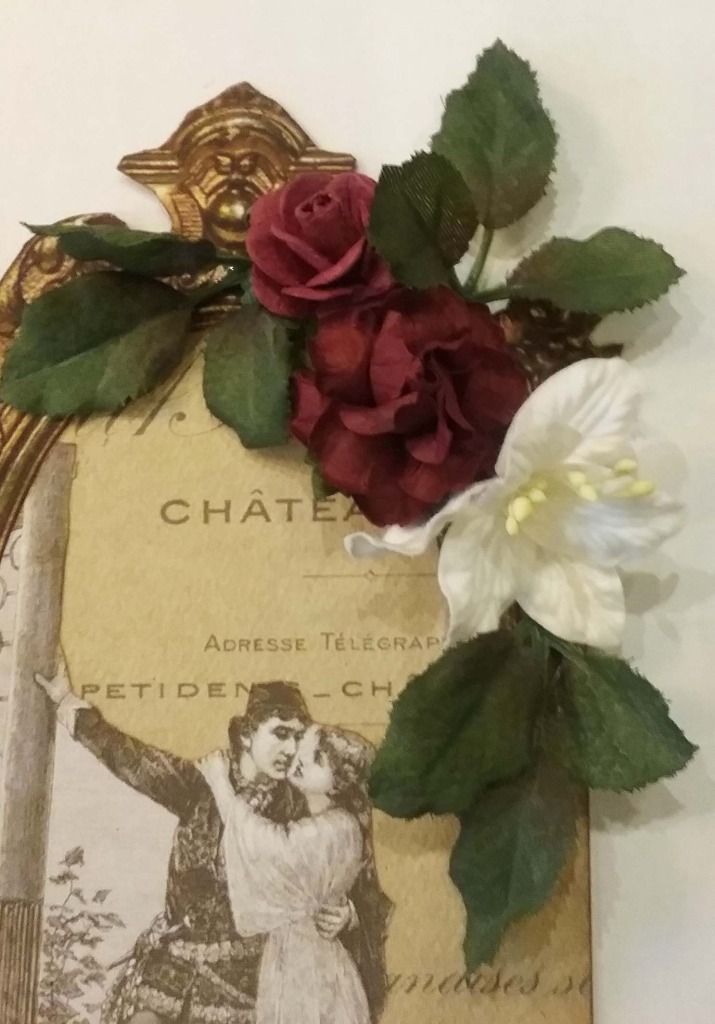
The brown beaded flowers are from my stash.  Next, I added the smaller burgundy and white roses and rose buds.  The ones on the right hide the holes.  As a final touch to the flower cascade, I added paper butterflies. 
On the left side of the piece, I added a green vine using a rub-on from my stash.  Red beads add a sense of red buds to the vine.  
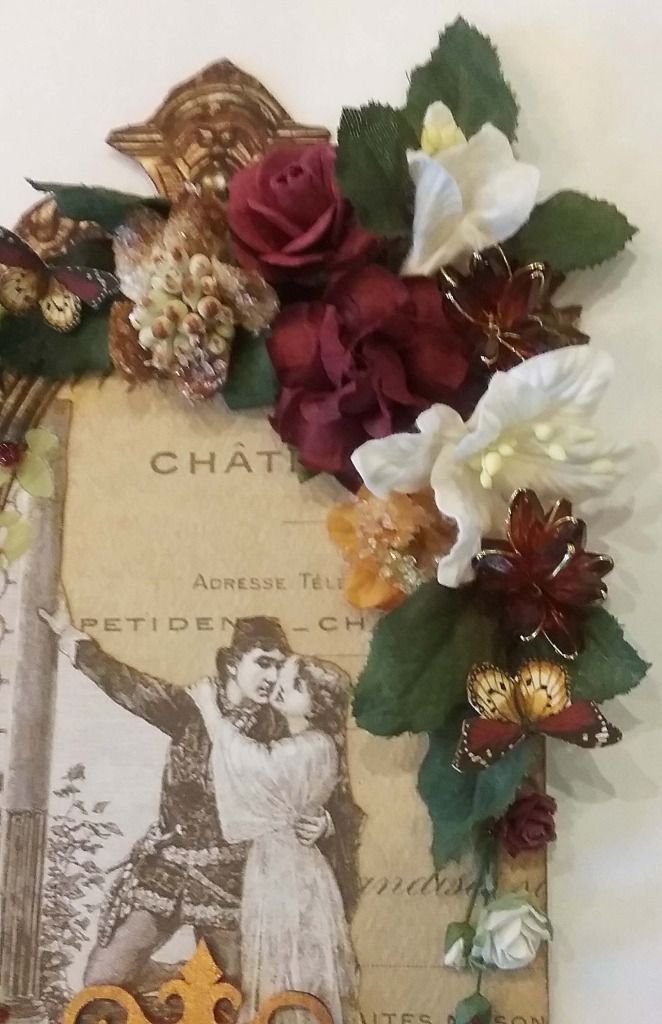
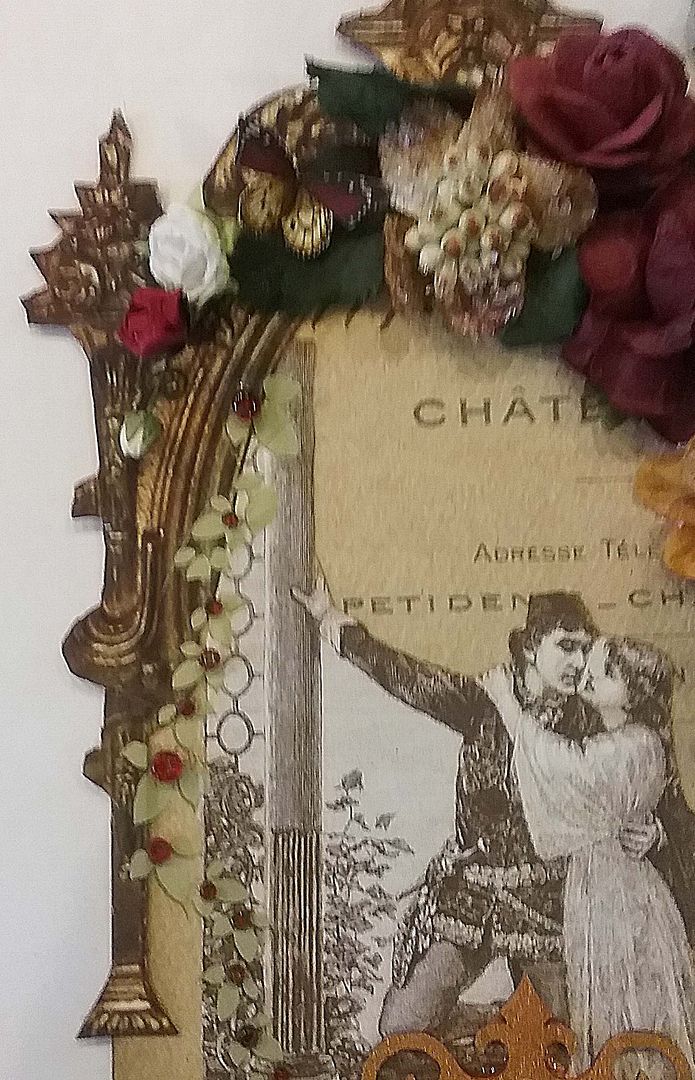
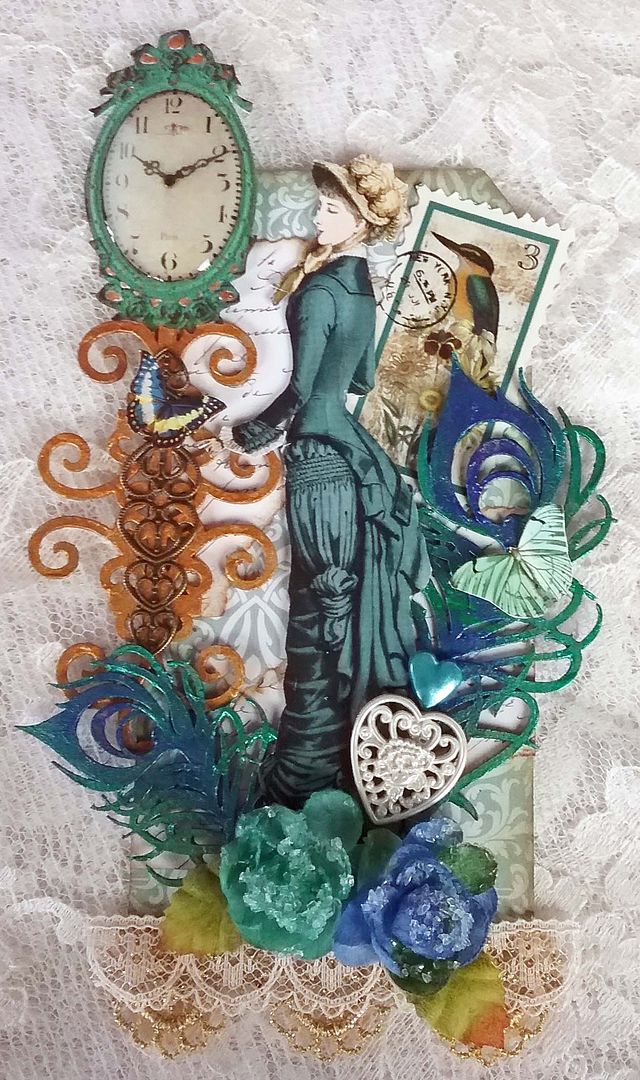
In addition to the vine, I used a clock from my Tick Tock collage sheet.  I added Glossy Accents to the center to give it a domed and shiny appearance.
At the bottom, I added a chipboard flourish painted gold, two Dresden white swans rubbed with Inca Gold Gilders Paste, and black Swarovski crystals for eyes.  The final touch is the red and gold glass bead.
MY COLLAGE SHEETS AND DIGITAL IMAGE SETS USED FOR "STAR-CROSSED LOVERS"
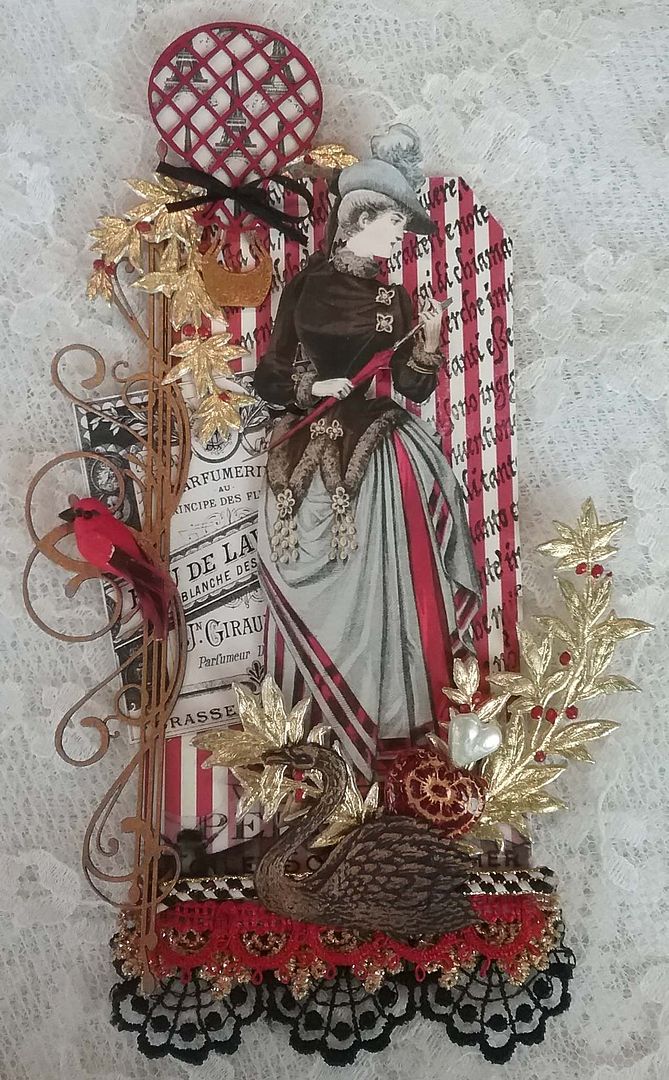
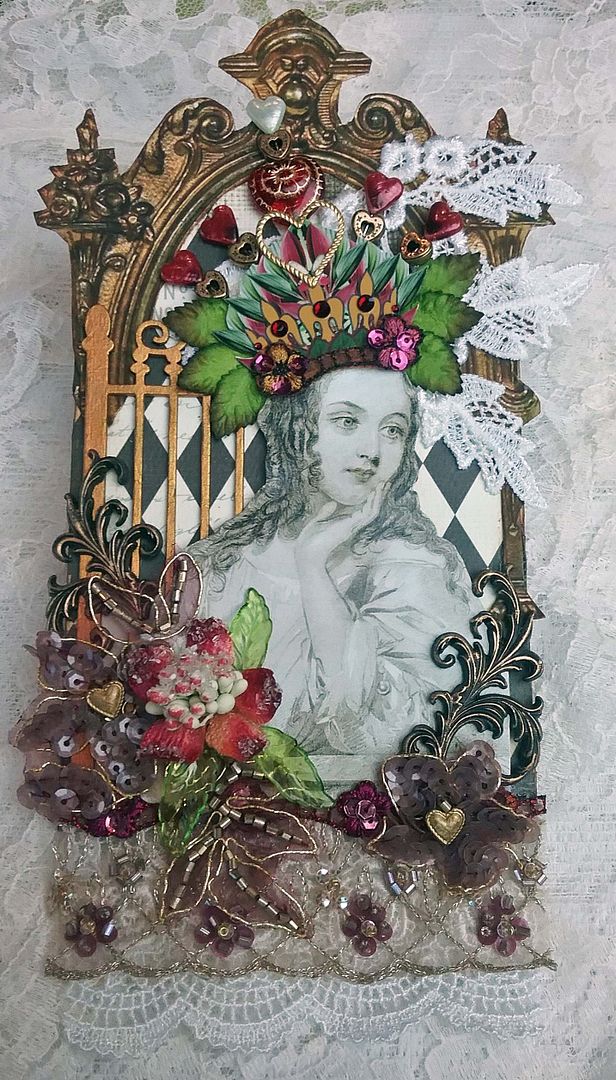
QUEEN OF HEARTS
The approach for this piece was the same as the one above.  I used the same chipboard, paper frame, decorative paper (opposite side), and the image from the Juliet Collage Sheet.
Next, I added half of a chipboard gate (painted gold) to give the piece an architectural feel and cover the holes on the left side.  I also added lace (from my stash) to the top right side of the piece.
Next, I glued the image in place and started building her heart crown.  I used one of the crowns from the Natures Crowns collage sheet as the base.  Click on the image below to purchase this collage sheet.
Using heart stick pins, I added small heart beads and glued the stickpins behind the crown.  In the center, I also added a glass heart bead to the stickpin in addition to the small heart bead.  To the front, I added a gold heart, rhinestones, and a piece of trim to the crown.  The final touch was to add some leaves behind the crown.
To the bottom of the piece, I added first lace, a large beaded trim, and a small beaded trim.  Next, I added resin swirls and beaded flowers.  The final touch is the sugared bloom with acrylic leaves.

MY COLLAGE SHEETS AND DIGITAL IMAGE SETS USED FOR "QUEEN OF HEARTS"

Wednesday, January 6, 2016

ROMANTIC VICTORIAN ART TAGS & VALENTINES CUTIES GIFT TAGS PLUS NEW COLLAGE SHEET

To kick off the New Year, I have Valentine-themed tags to share with you. I've been doing so many miniatures. Lately, I thought it would be a fun change to create some collaged pieces.  First up are romantic art tags featuring Victorian women.
  
You’ll notice that I’ve incorporated one or more hearts on each tag and other elements.
The Amour 6x6 paper pad I used for the tags is loaded with beautiful papers.
Next up are fun vintage Valentine tags that can be used as gift tags or on Valentine's cards and are super quick to make.  The images are from my new Valentine Cutiescollage sheet.  The base of the tags is a new gift tag sheet I’ve created that is free with purchase at Alpha Stamps (more details below).  


This new sheet includes 7 cuties in two sizes, three Valentine banners, and two different styles of hearts in various sizes.  Click on the image below to purchase this collage sheet.

FREE GIFT TAG COLLAGE SHEET
Feel free to download this collage sheet (by clicking on it).

In addition to the images from the free Gift Tag and the Valentine Cuties collage sheets, I also used ribbon to jazz up the tags.


ROMANTIC VICTORIAN ART TAGS
For each of the tags, I used my VictorianLadies Collage Sheet, Manila Tags (2-5/8"x 5-1/4"), and paper from the Amour 6x6 Paper Pad.  Click on the image below to purchase this collage sheet.

RED TAG
For the red tag, I started by covering the tag with red and white striped paper from the paper pad.  Next, I stamped the paper.
I continued building the background by using an image from the Parfumerie Edwardian Gents & Ladies 2 Collage Sheet Set and an image from the French Floral Overlays collage sheet (printed on vellum).  At the bottom, I added red and gold lace, and to the side, I added a chipboard scroll painted gold.
Next, I added the woman (focal point), Dresden myrtle leaves, and a chipboard hot air balloon.  The balloon is painted red and backed with paper from the paper pad.  The basket is painted gold, and a black ribbon is tied around the middle of the balloon.
At this point, I decided the bottom needed more ribbon, so I added black lace to the back and a black, white, and gold braid to the front.  Adding these touches of black to the bottom balances out the black ribbon tied around the balloon. 

The final touches are the red bird, white swan (painted black and rubbed with Inca Gold Gilders Paste), and a heart stick pin threaded through a red glass heart bead.

TEAL TAG
Just as with the red tag, I started by covering the manila tag with papers from the paper pad.
I added a faux postage stamp from my Birds & Bees Collage Sheet to build up the background.  To the bottom, I added white and gold lace.  On the left side, I added chipboard flourish painted gold.  The flourish is accented with a piece of bronze filigree and a clock from the Tick Tock Collage Sheet.  I added Glossy Accents to the clock face to give it a glass-like domed appearance.
Next, I added chipboard peacock feathers painted with Liquid Pearl paints.
I continued by adding the woman to the center, flowers at the bottom, a heart stick pin glued behind a heart button (with the shank removed), and three butterflies from the Butterflies and Moths Collage Sheet.

PINK TAG
Again I started by adding papers from the paper pad to a manila tag.  
Next, to the top of the tag, I added three leaves, a ribbon, and a piece of filigree.  I added gold lace, cream lace, and pink sweeper fringe to the bottom.
I then added the image of the woman (both behind the frame at the bottom and on top of the frame at the top) and then attached the frame to the tag.  The frame is from the Large Vintage and Elegant Frames Digital Image Set and is popped up from the background. 
 
To the sides of the frame, I added berries (these come in the set with the leaves), a heart stick pin threaded through a puffy bead heart, and a cherub button glued between (shank removed).  On top of the puffy bead heart, I glued a piece of filigree.