-->

Welcome

I love answering your questions. If you ask them in the comment section, I have no way to answer you (if you haven't heard from me, that is why). If you use the "EMAIL ME" in the left column of this page, I will be able to respond to you. You can also use it if you want to be added to my newsletter. Laura
Showing posts with label House. Show all posts

Wednesday, April 25, 2018

BUILDING STRUCTURE TO HOUSE SHOPS - Streets of Paris Event


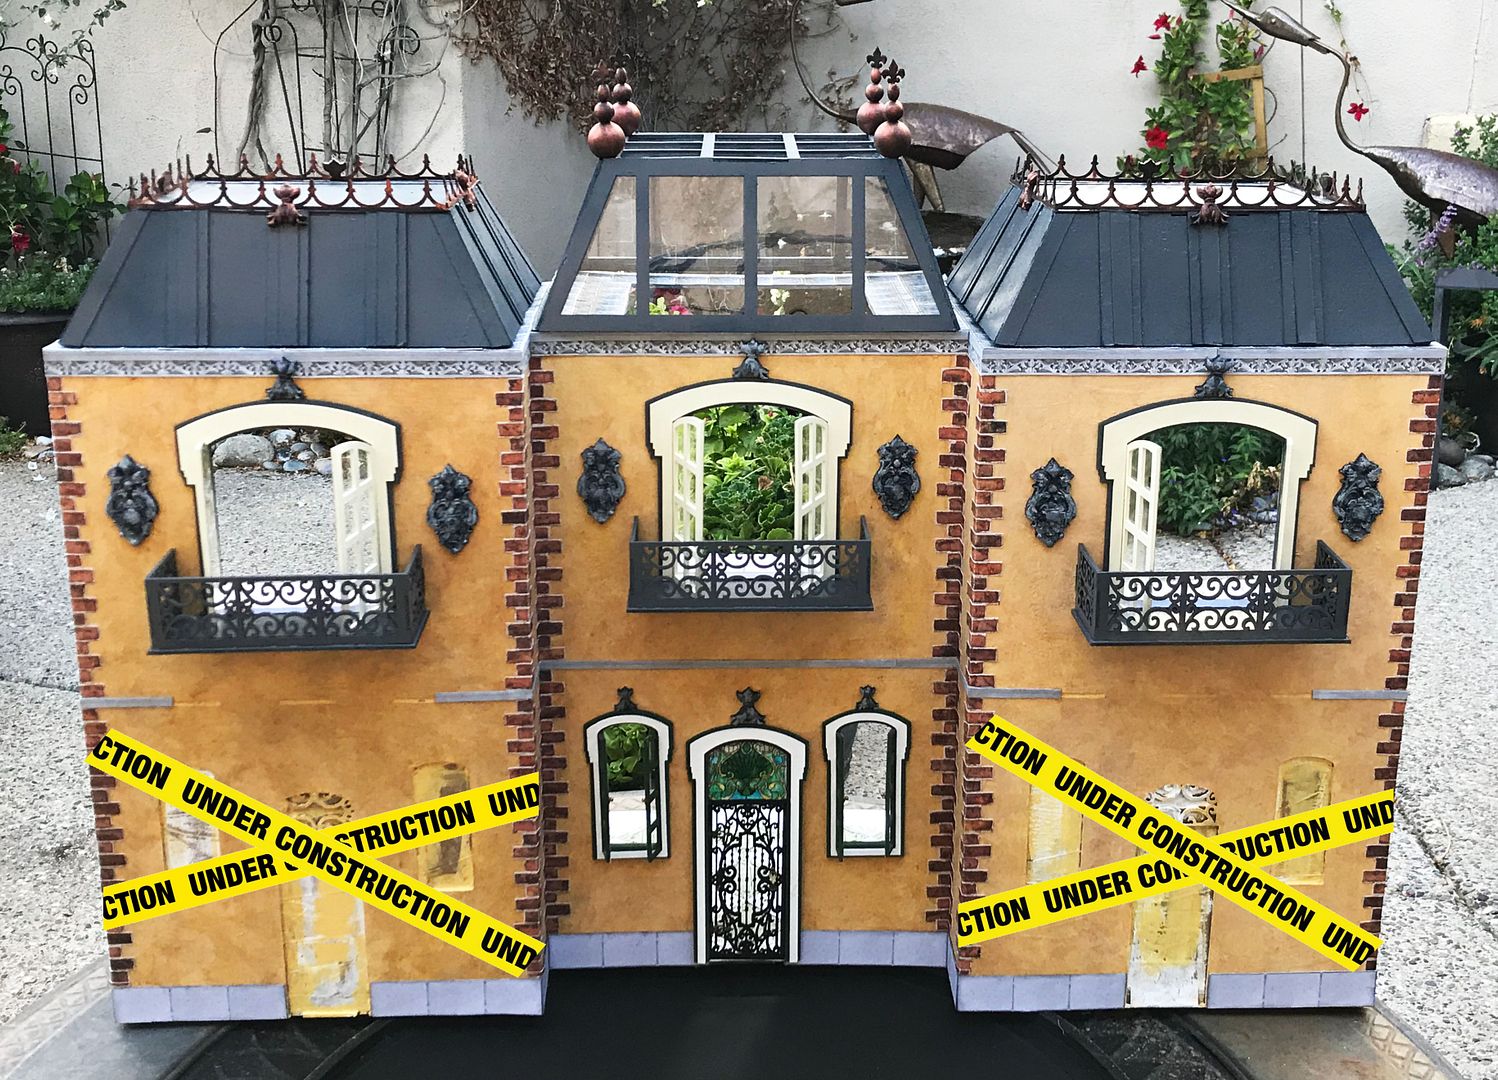
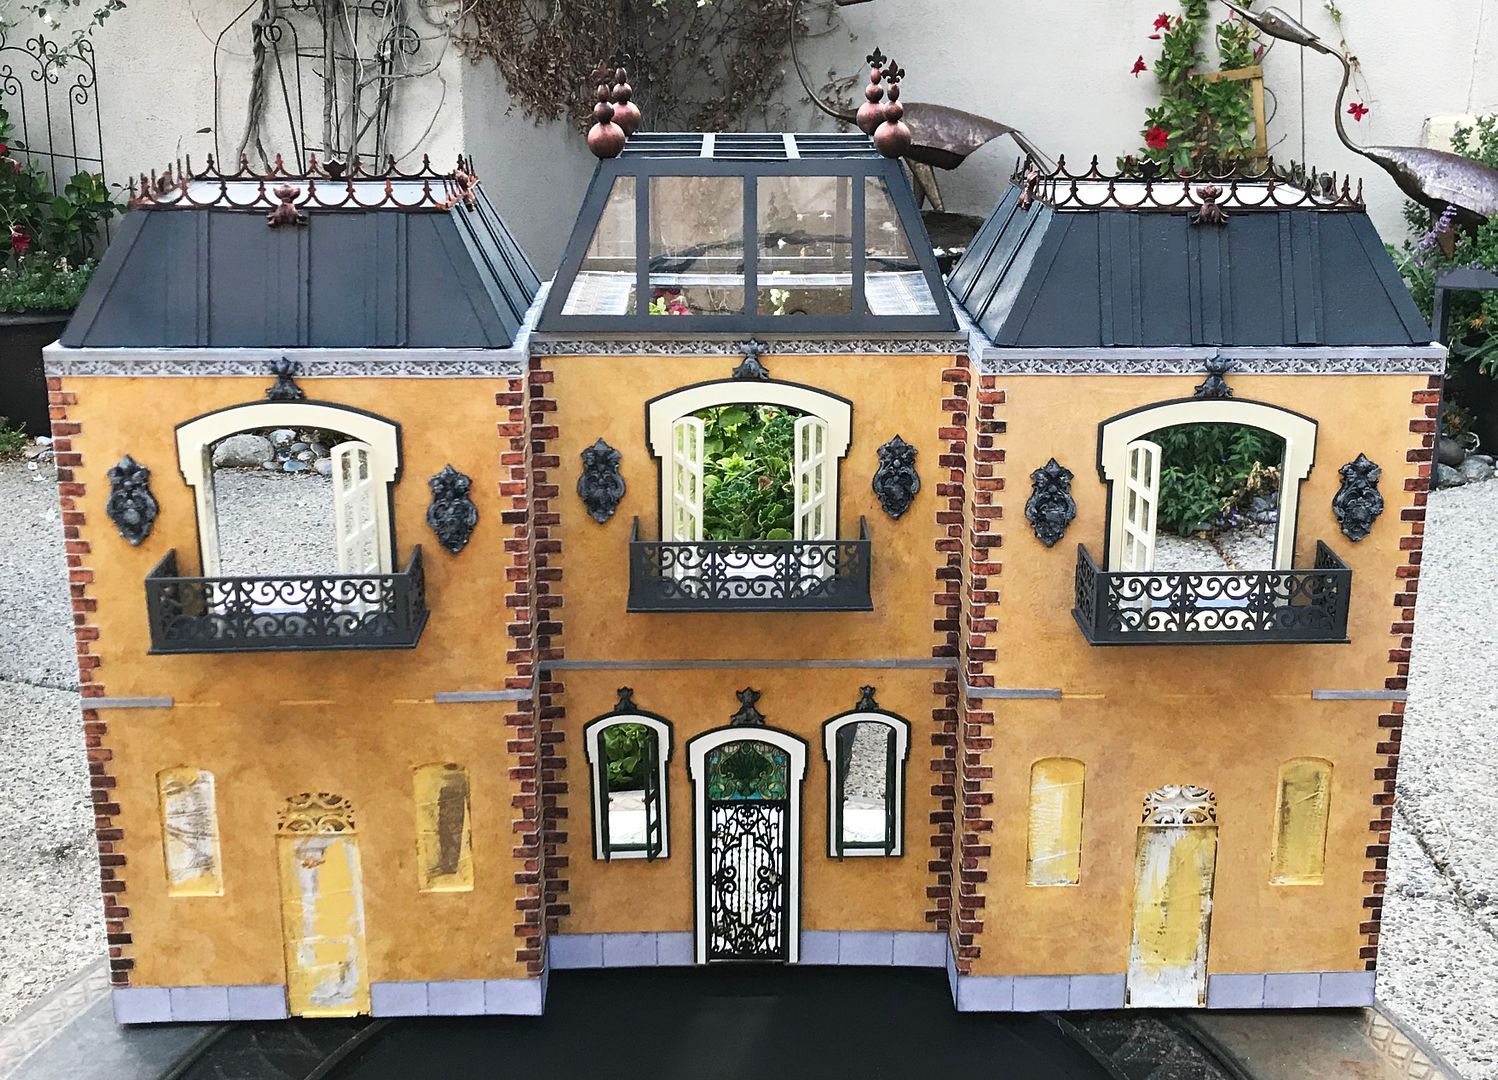
The Streets of Paris project event continues with the construction of the structure that will house the shops.  My approach is to connect three 2-Story Room Box French Quarter kits.
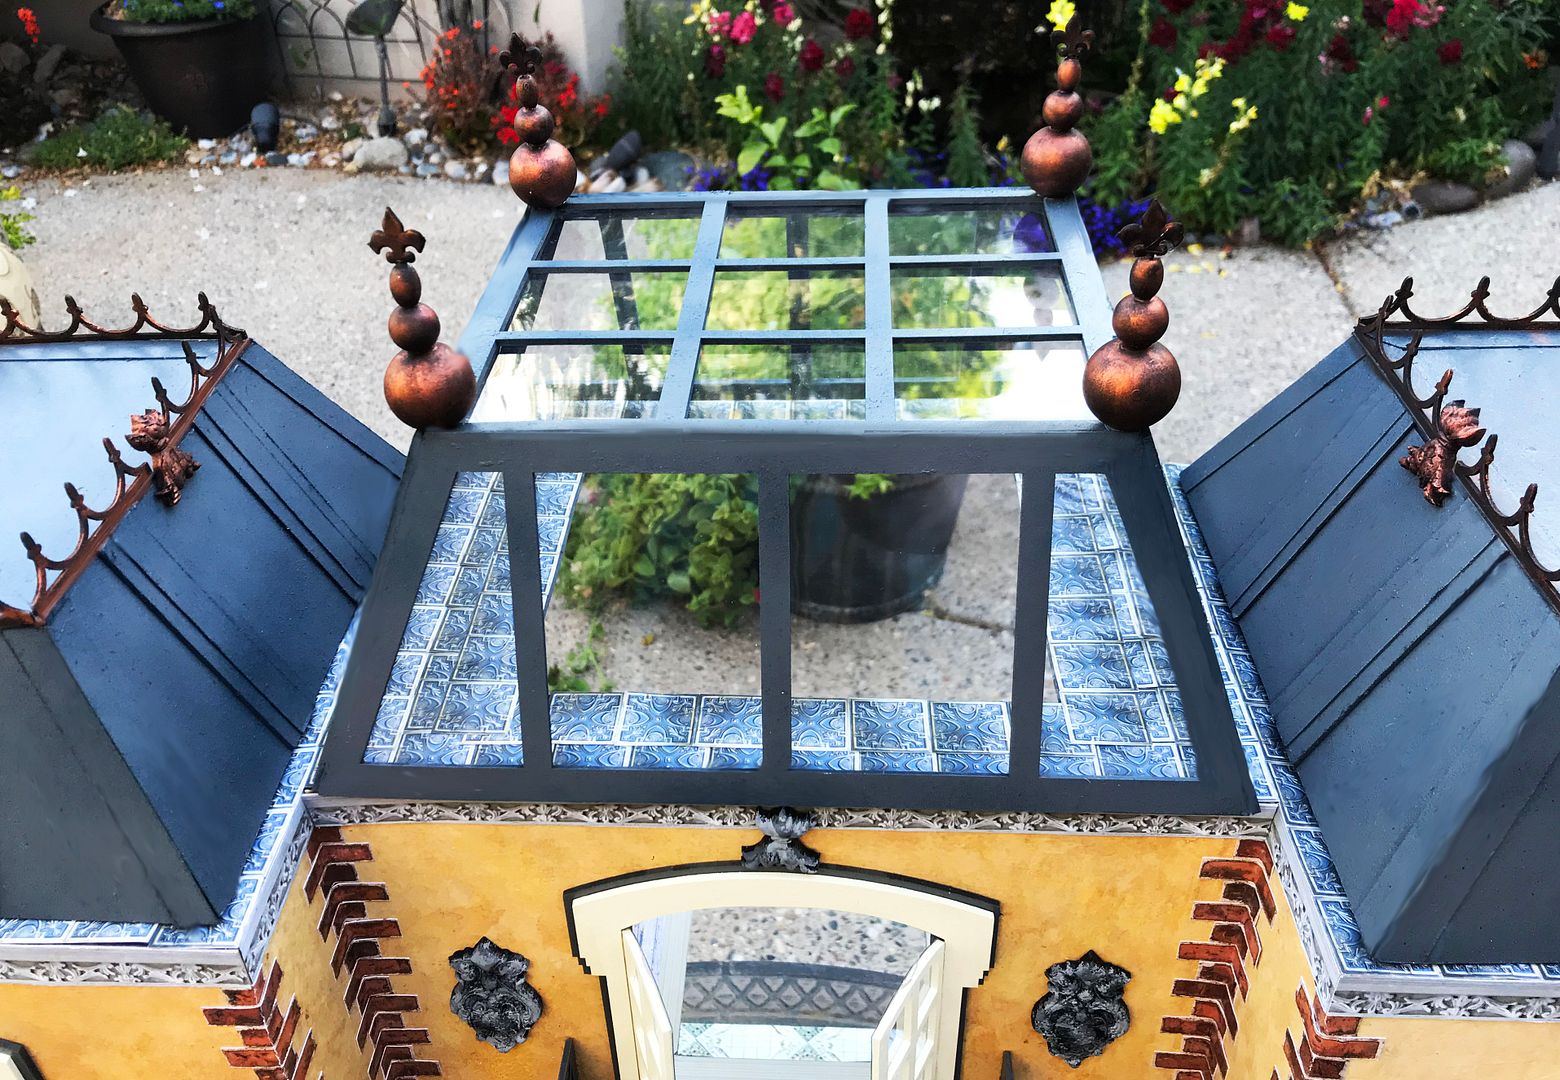
I wanted the height and style of each structure to vary, which I accomplished by using the new French Quarter Short Roof on each side of the structure and the new French Quarter Open Roof in the middle.  
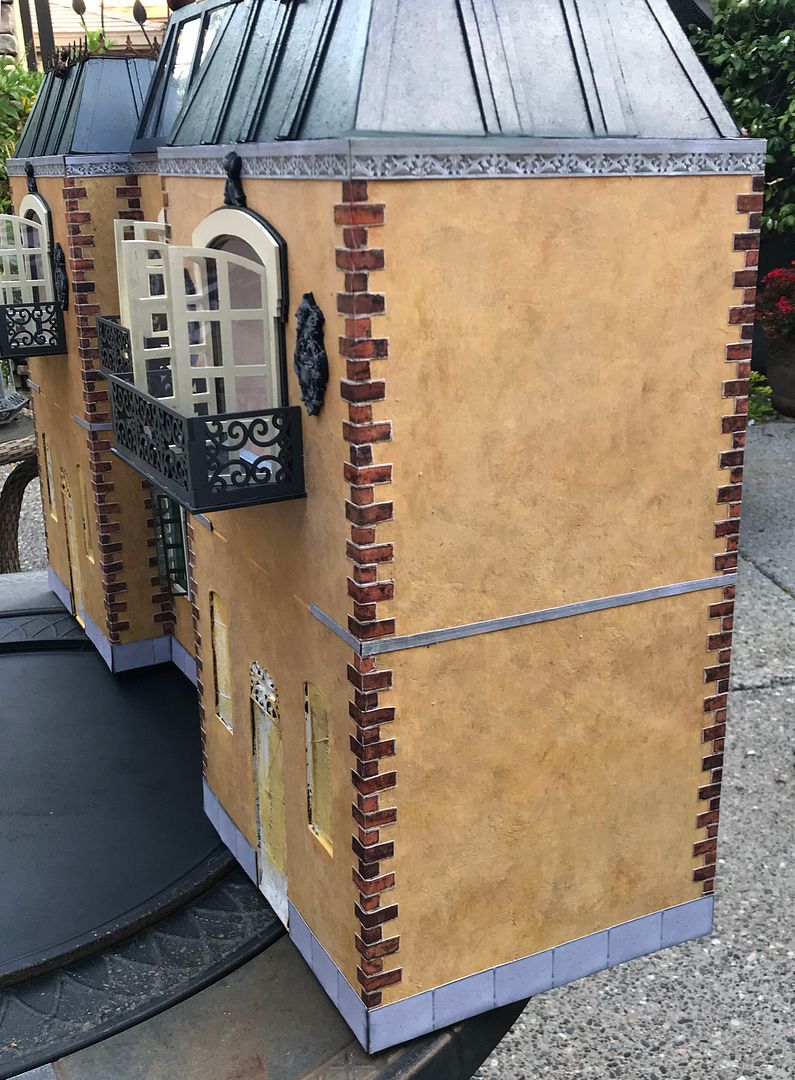
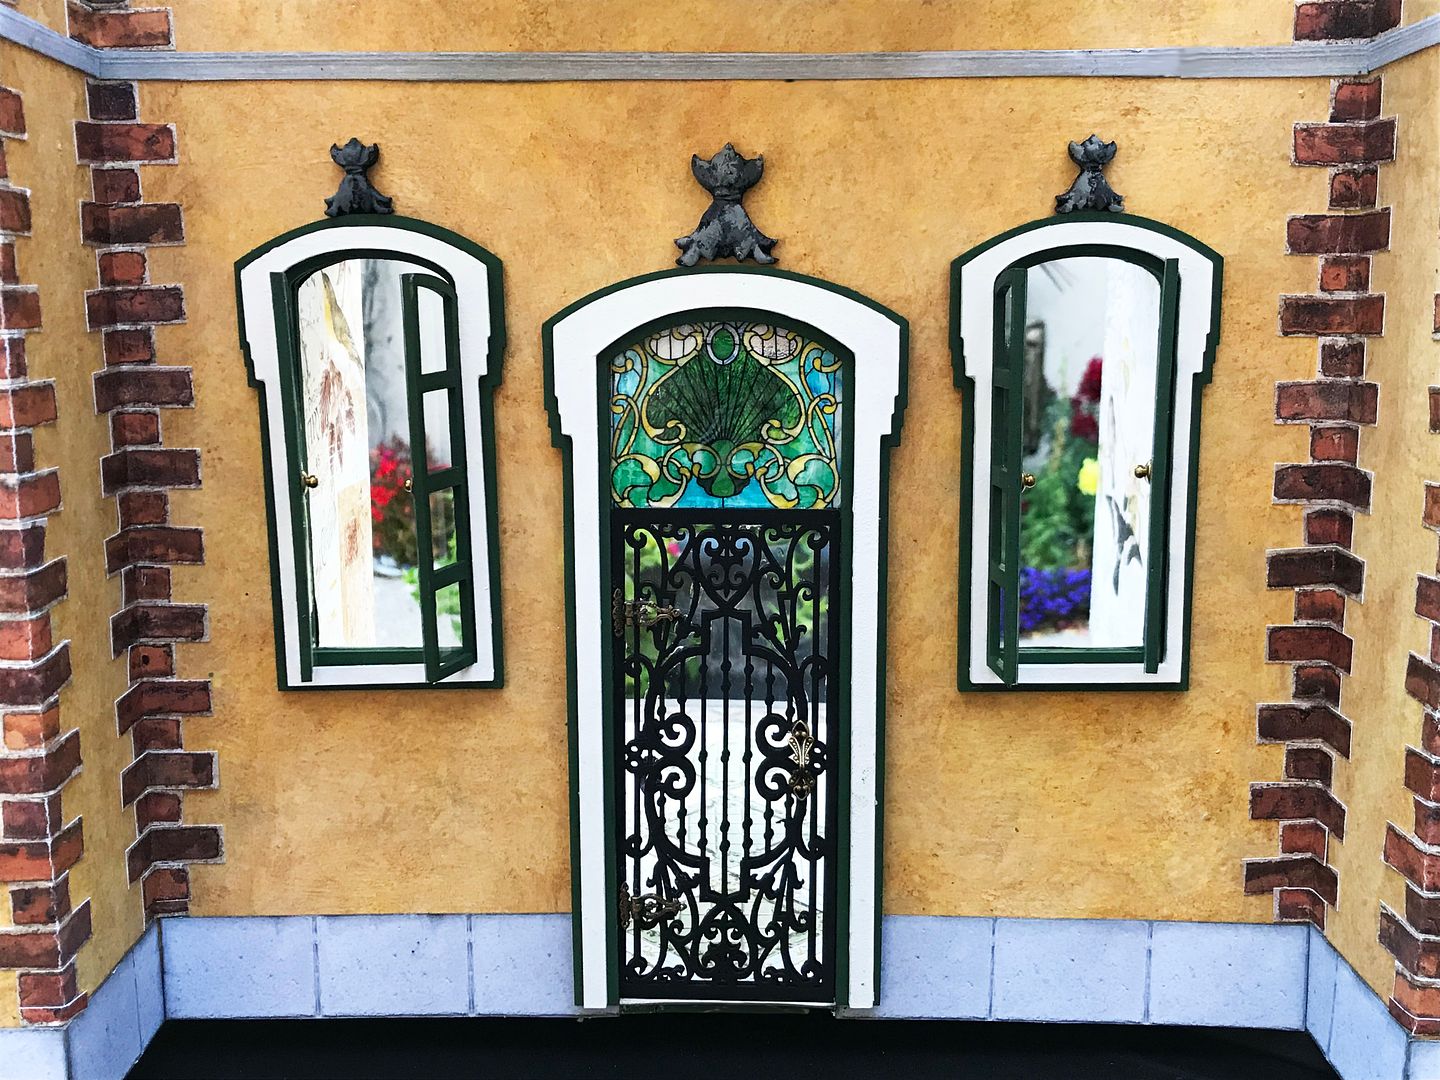
To further add interest to the row of shops, I am staggering the shops by recessing the middle kit.  The video tutorial demonstrates the painting technique I used for the exterior.
Art Decor Silicone Mold - Renaissance
The decorative stonework is made of clay using the Renaissance Art Decor Silicone Mold, which is packed with decorative designs.
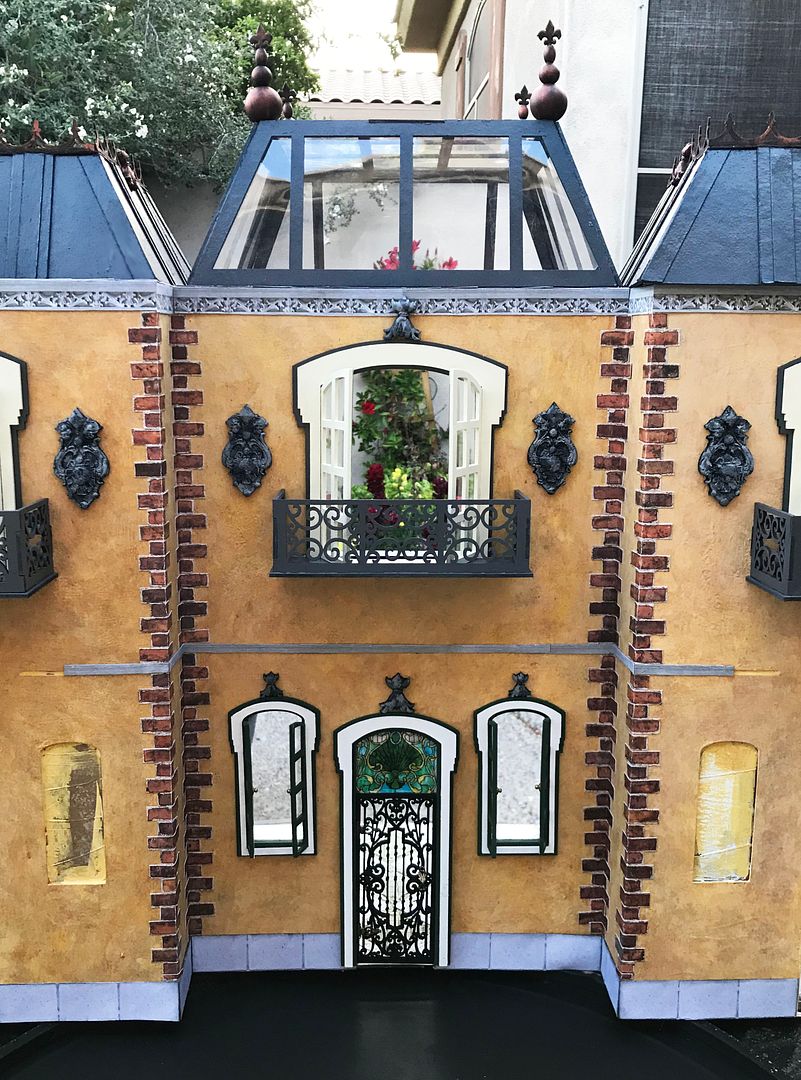
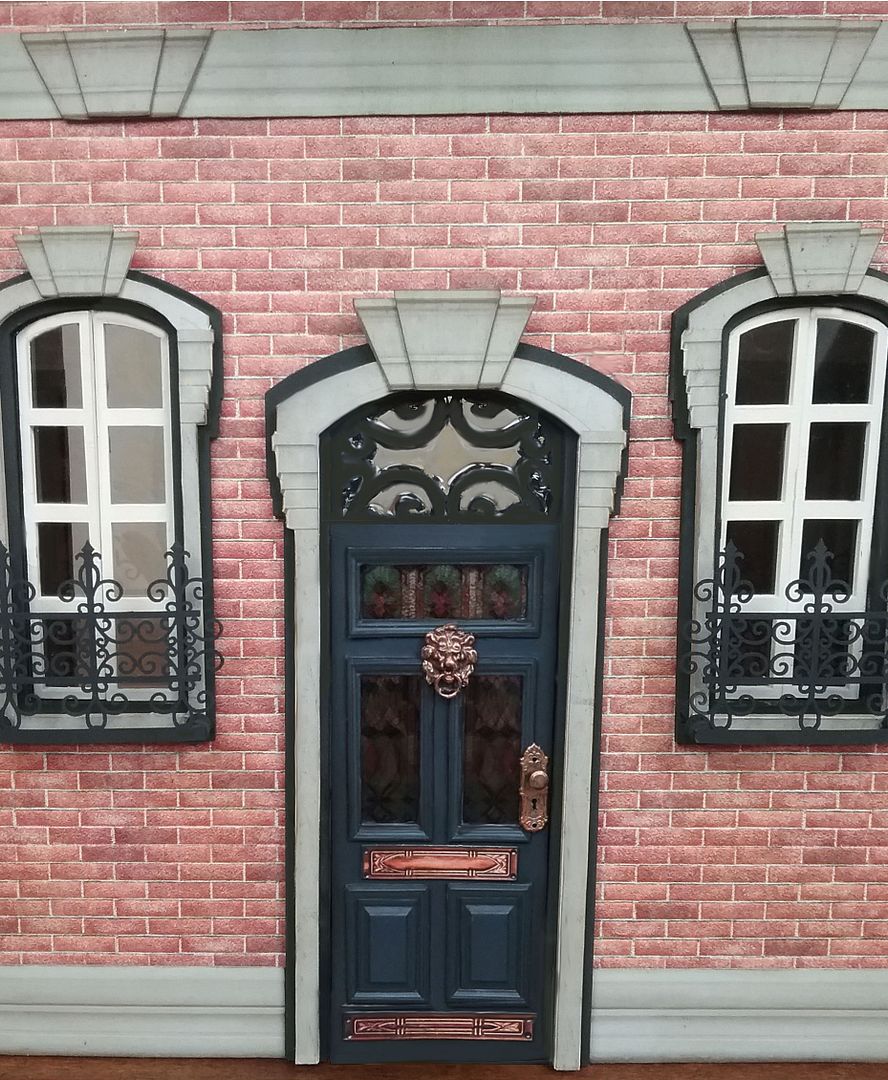
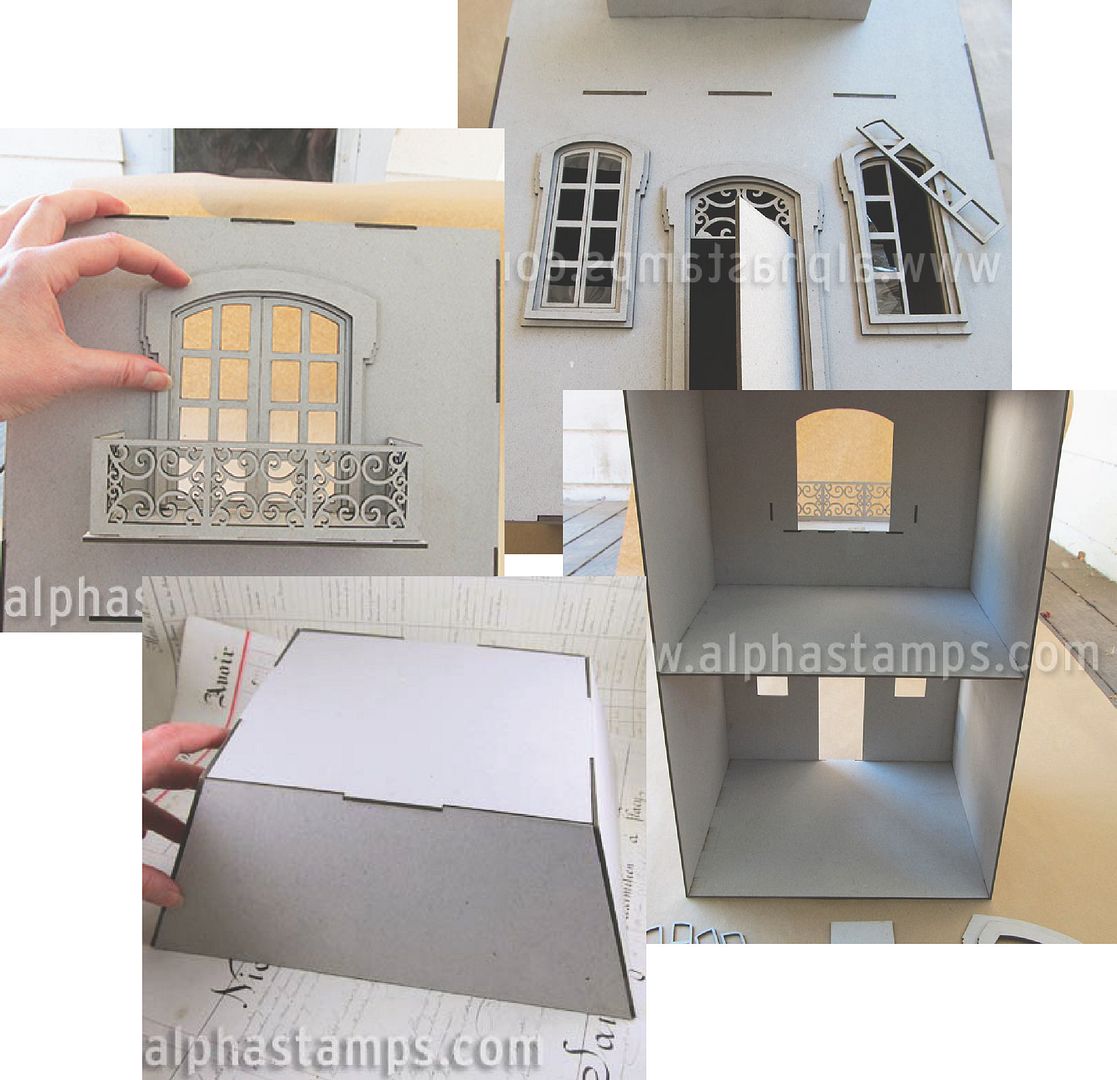
The main entrance door includes beautiful stained glass and an elegant wrought iron and glass door made out of sandwiching faux glass with two Folding Screen Fretwork Inserts.  You’ll find the stained glass image further down in the post. 
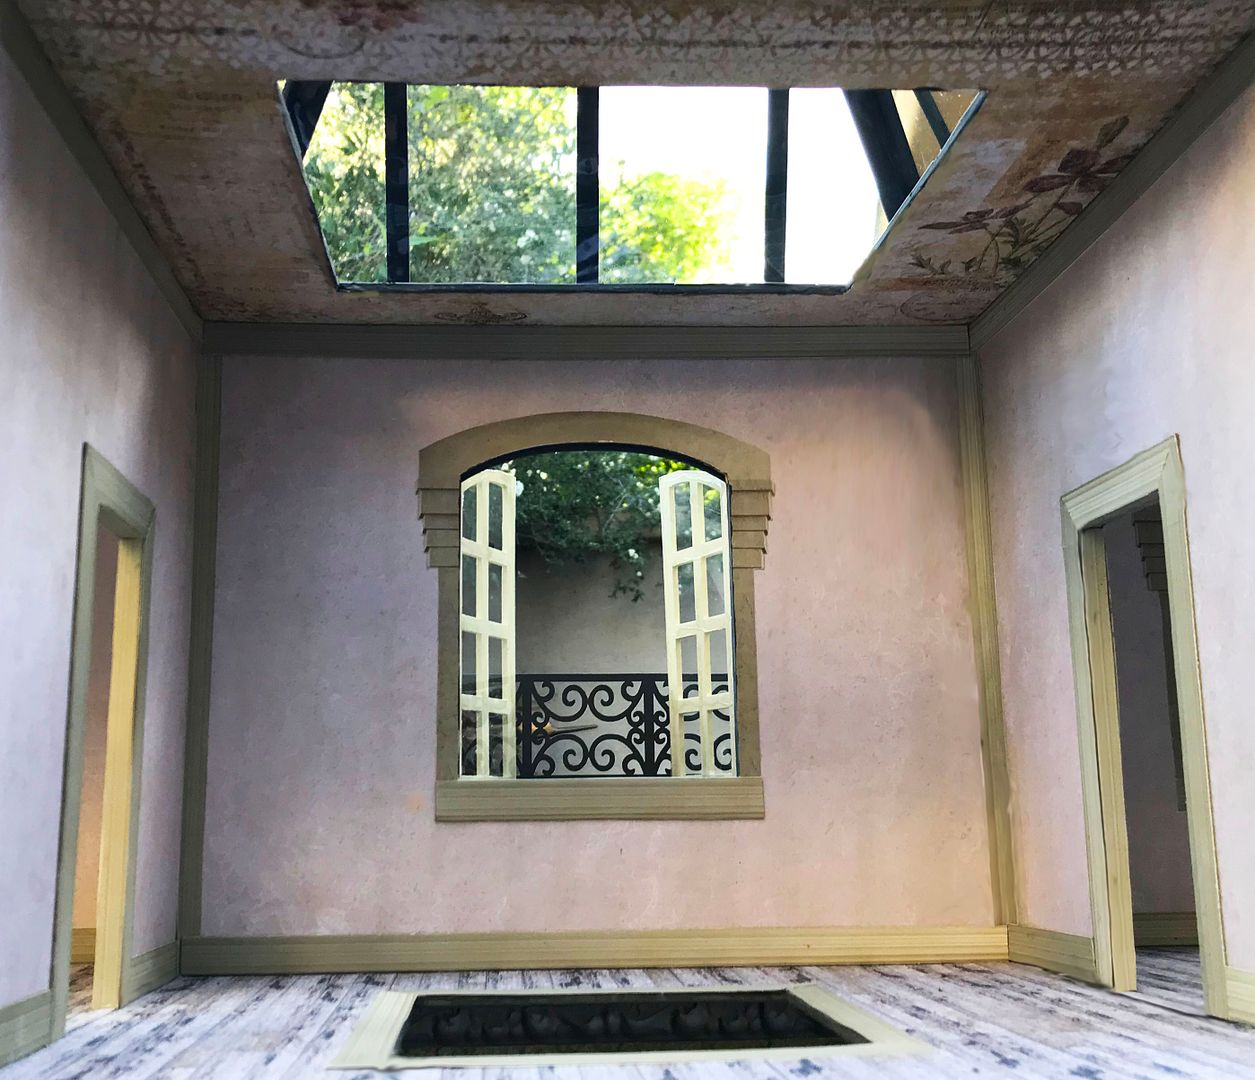
Inside, the rooms are papered and ready for their new occupants.  An elevator will be installed to take customers from the first to the second floors.
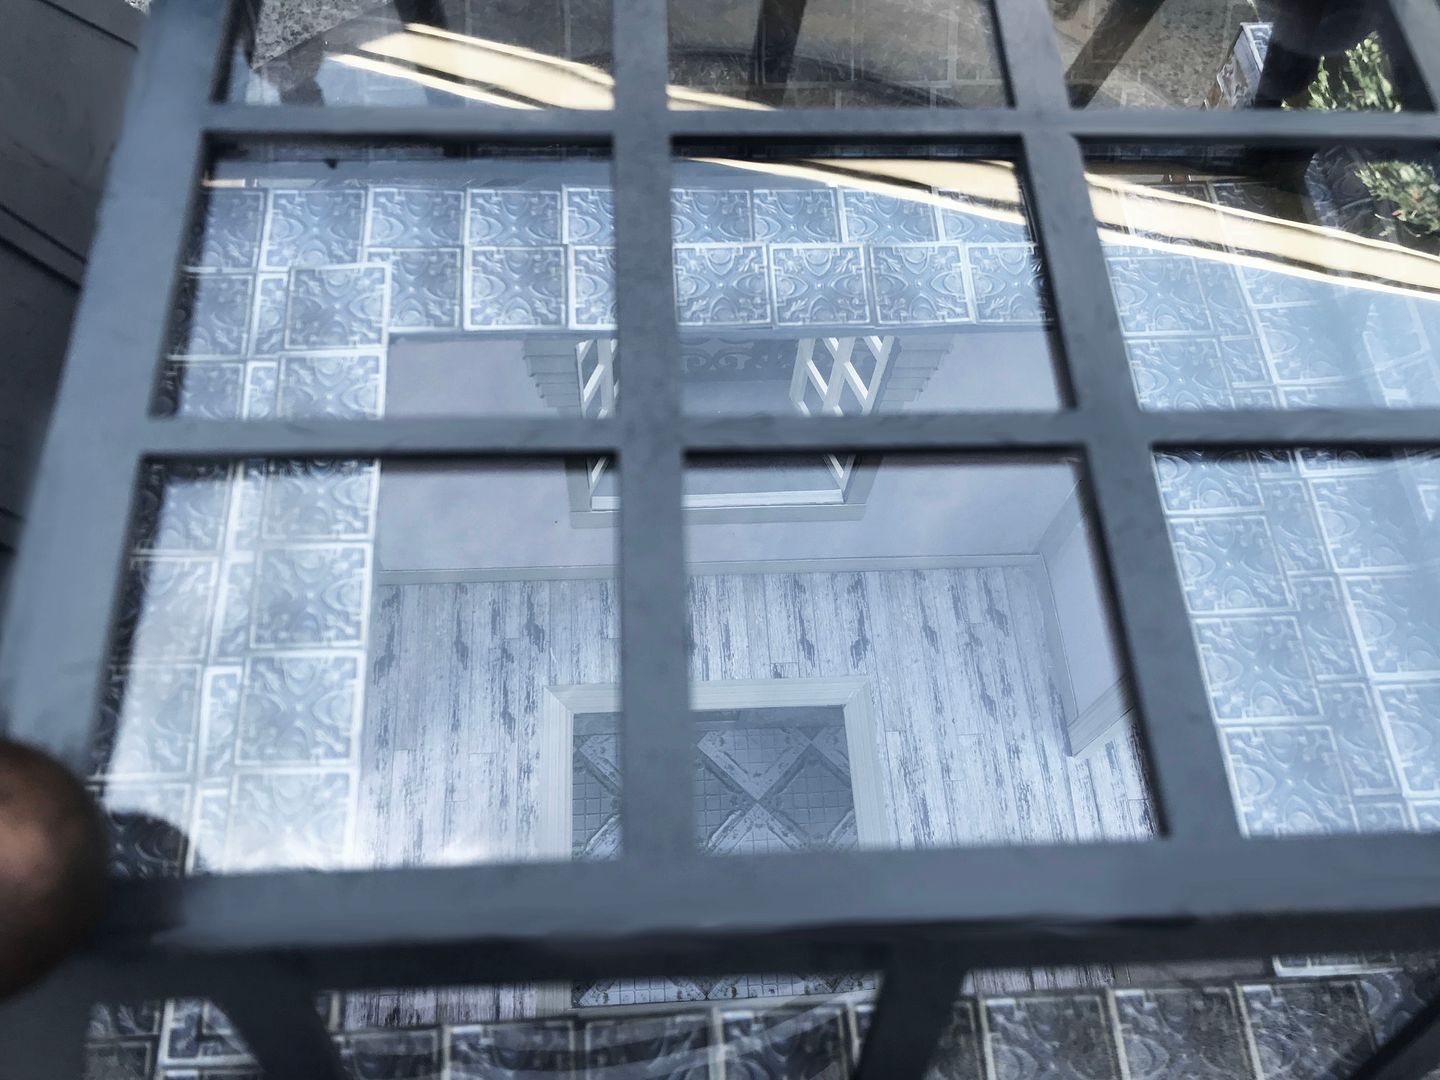
The holes I cut for the future elevator are not only functional but let in lots of light coming through the open roof.
Since the house of fashion will be occupying multiple rooms on the second floor, I’ve cut doorways between the room kits.
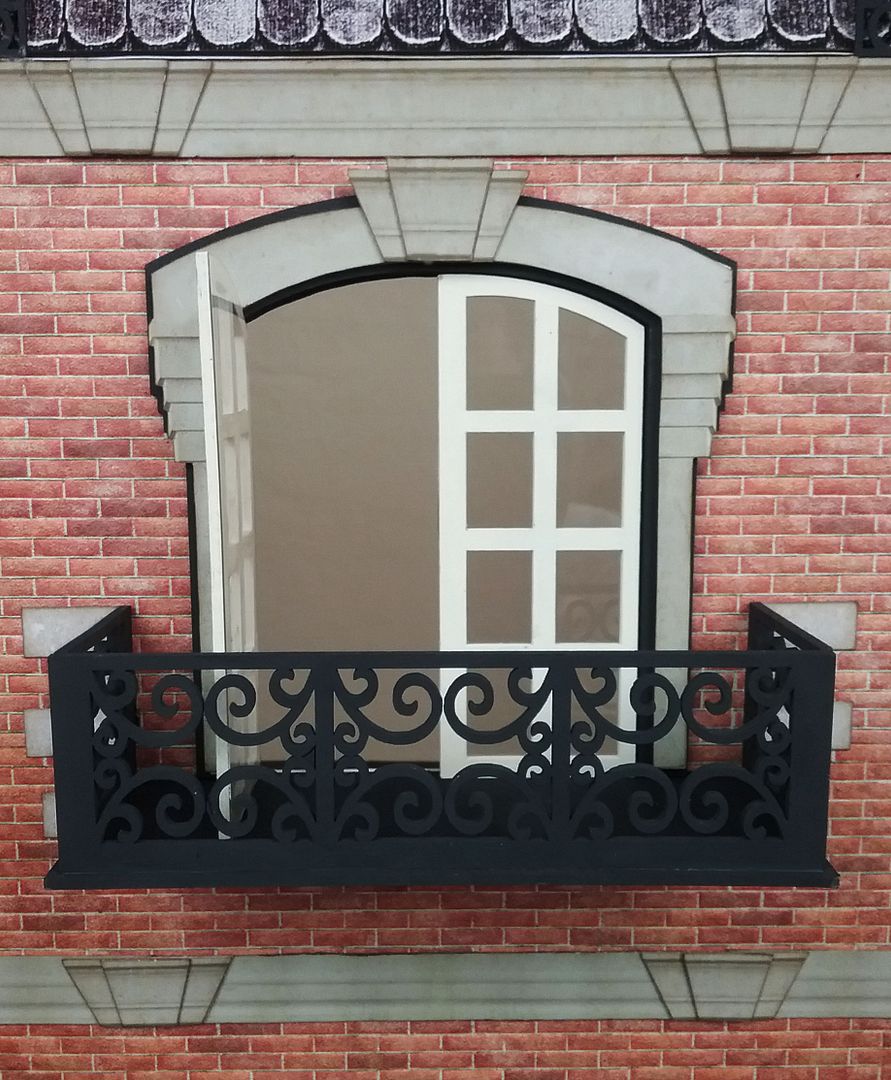
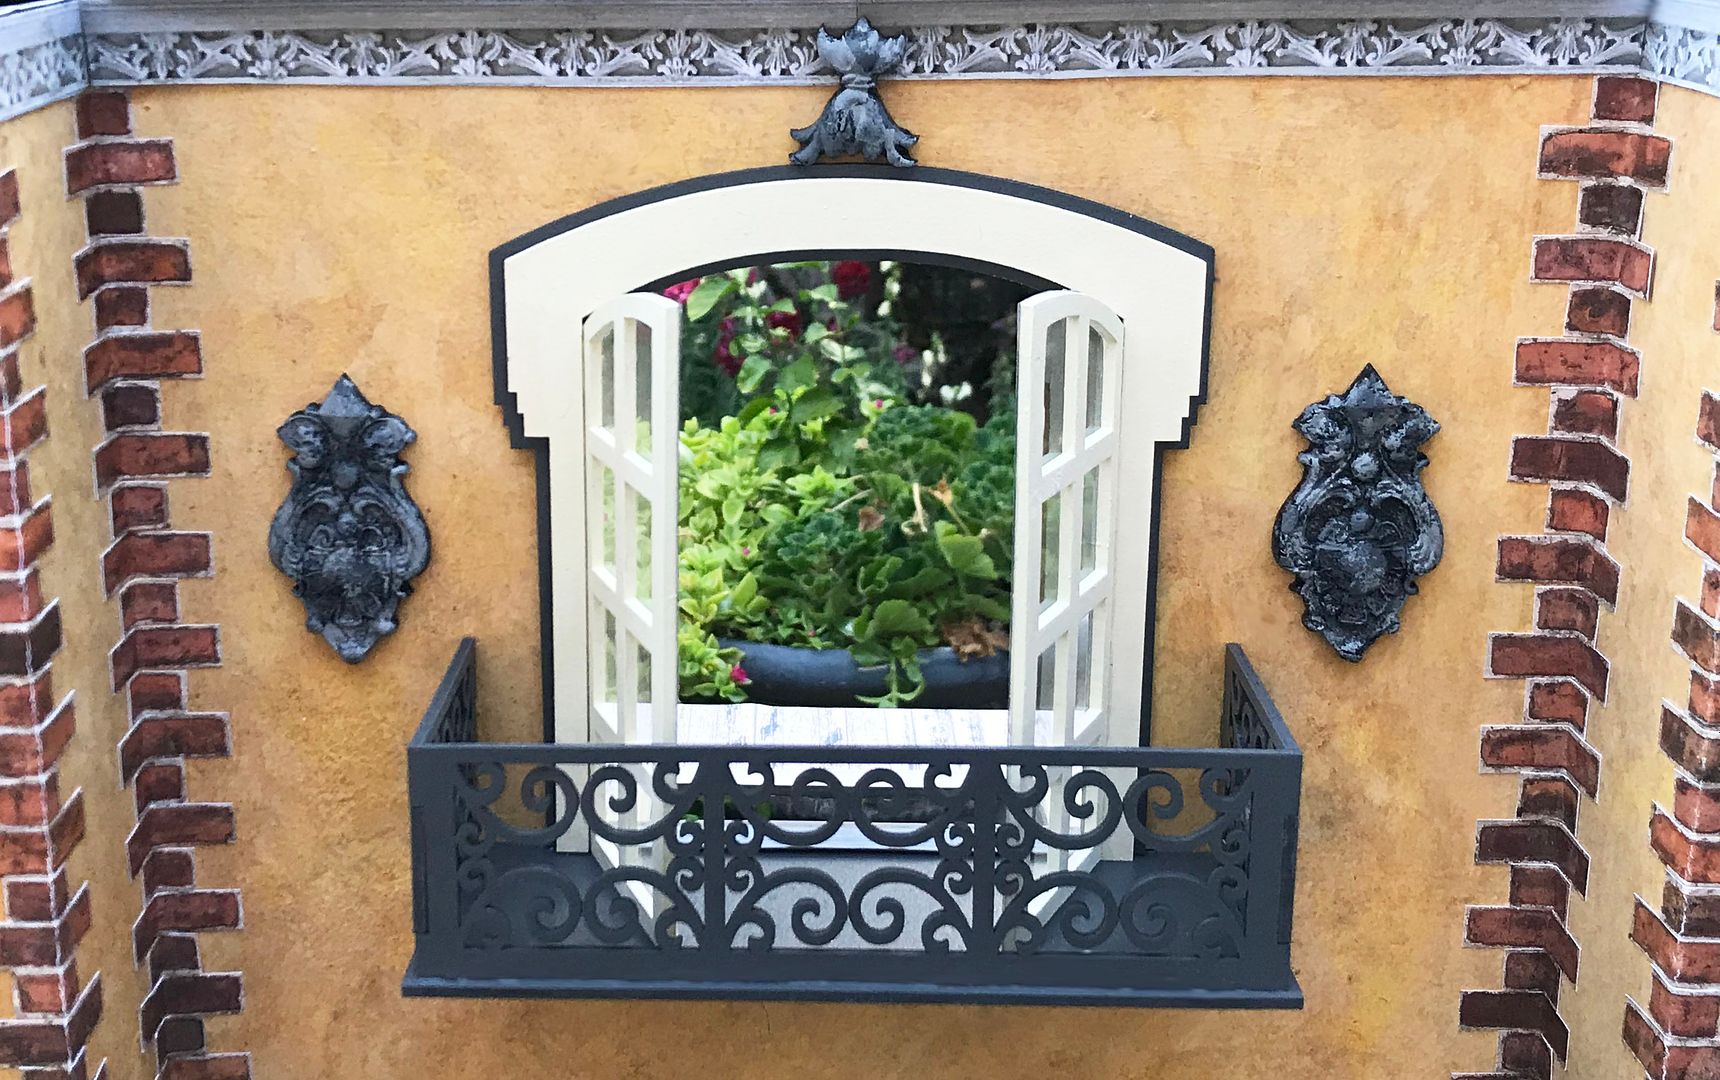
Just imagine beautiful gowns showcased on the balconies.
The image below is of what will become the florist shop “L’Amour des Fleurs.”
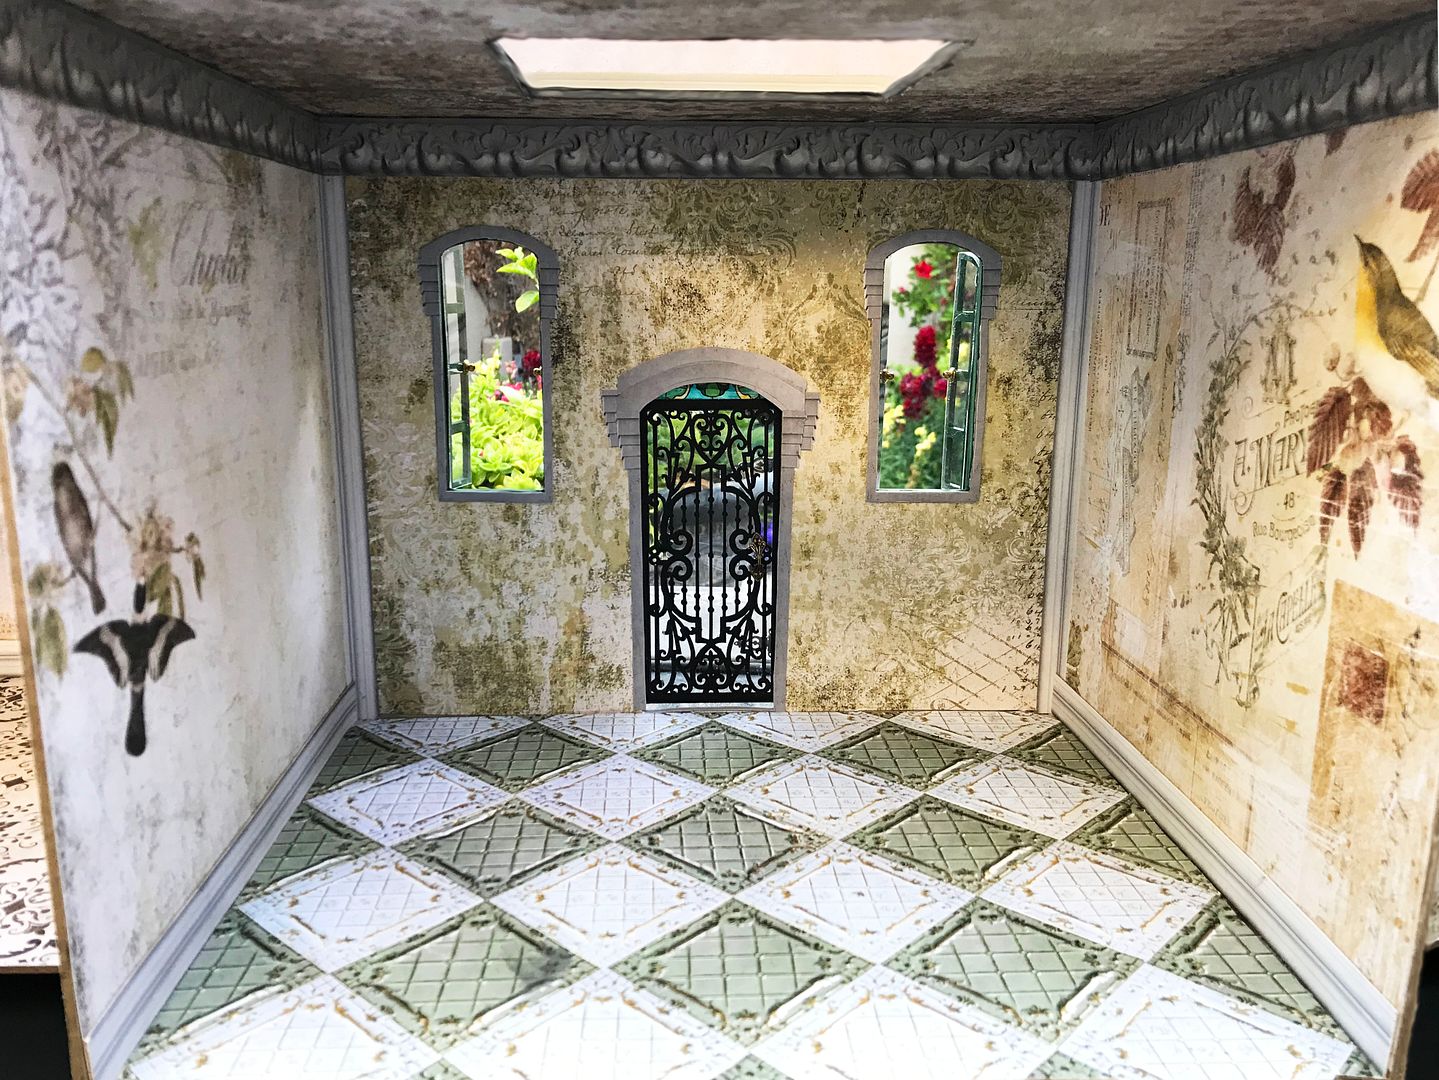
The room will become the "Cafe Chat Noir."
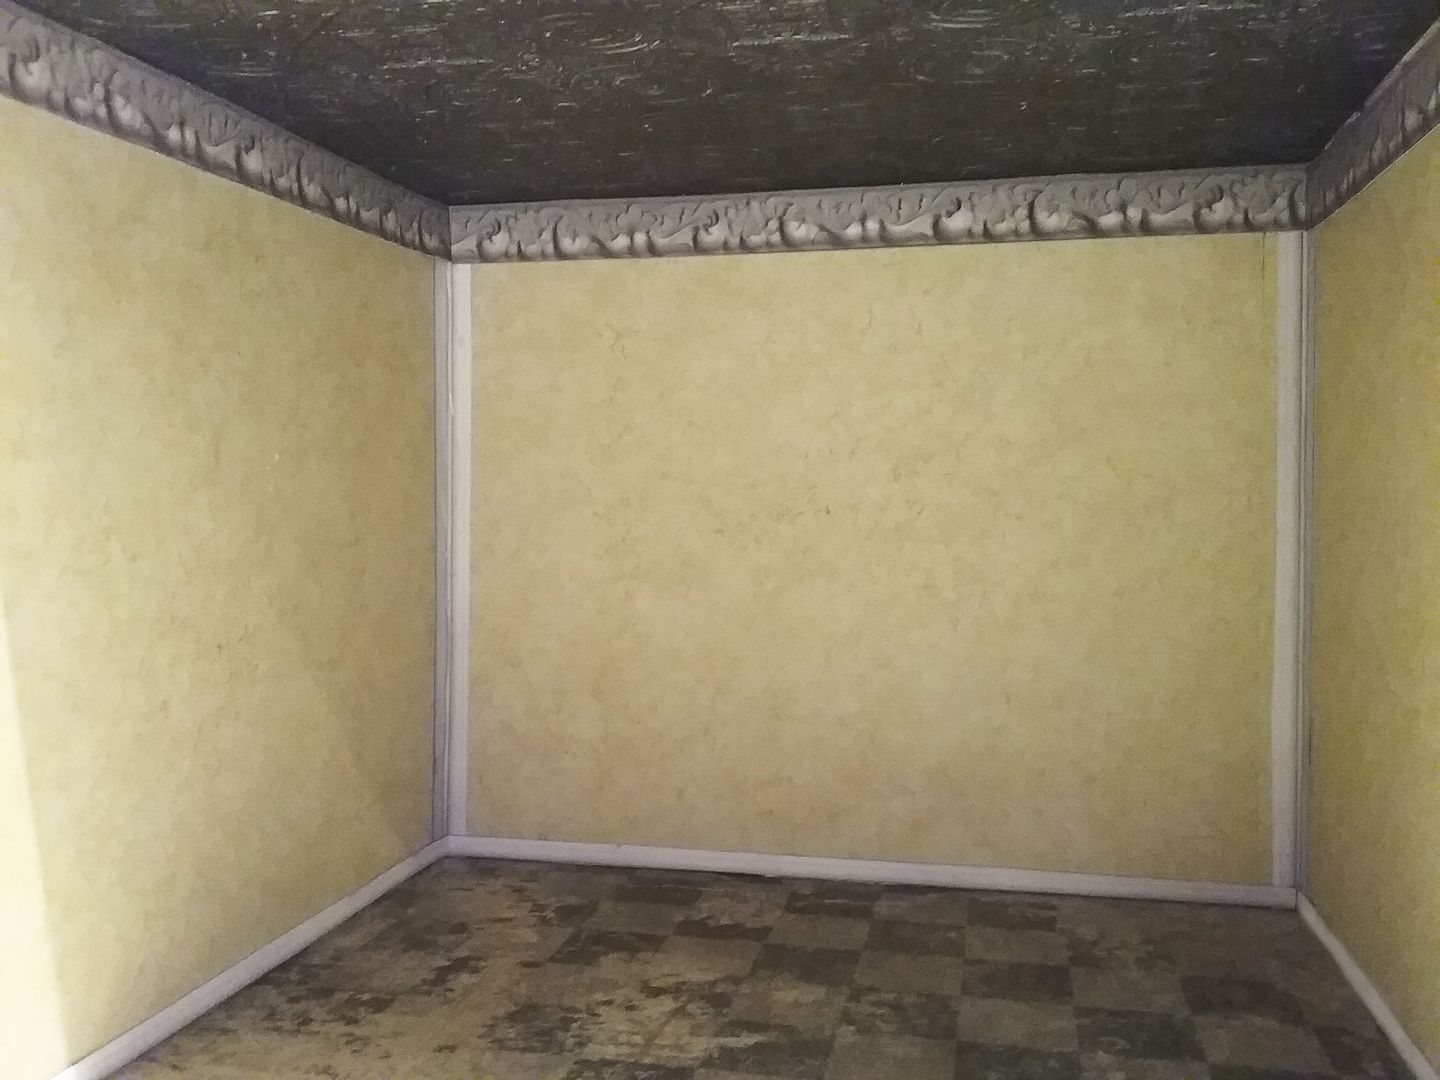
And the room below will be the Chocolatier, which will be the next tutorial in the series.
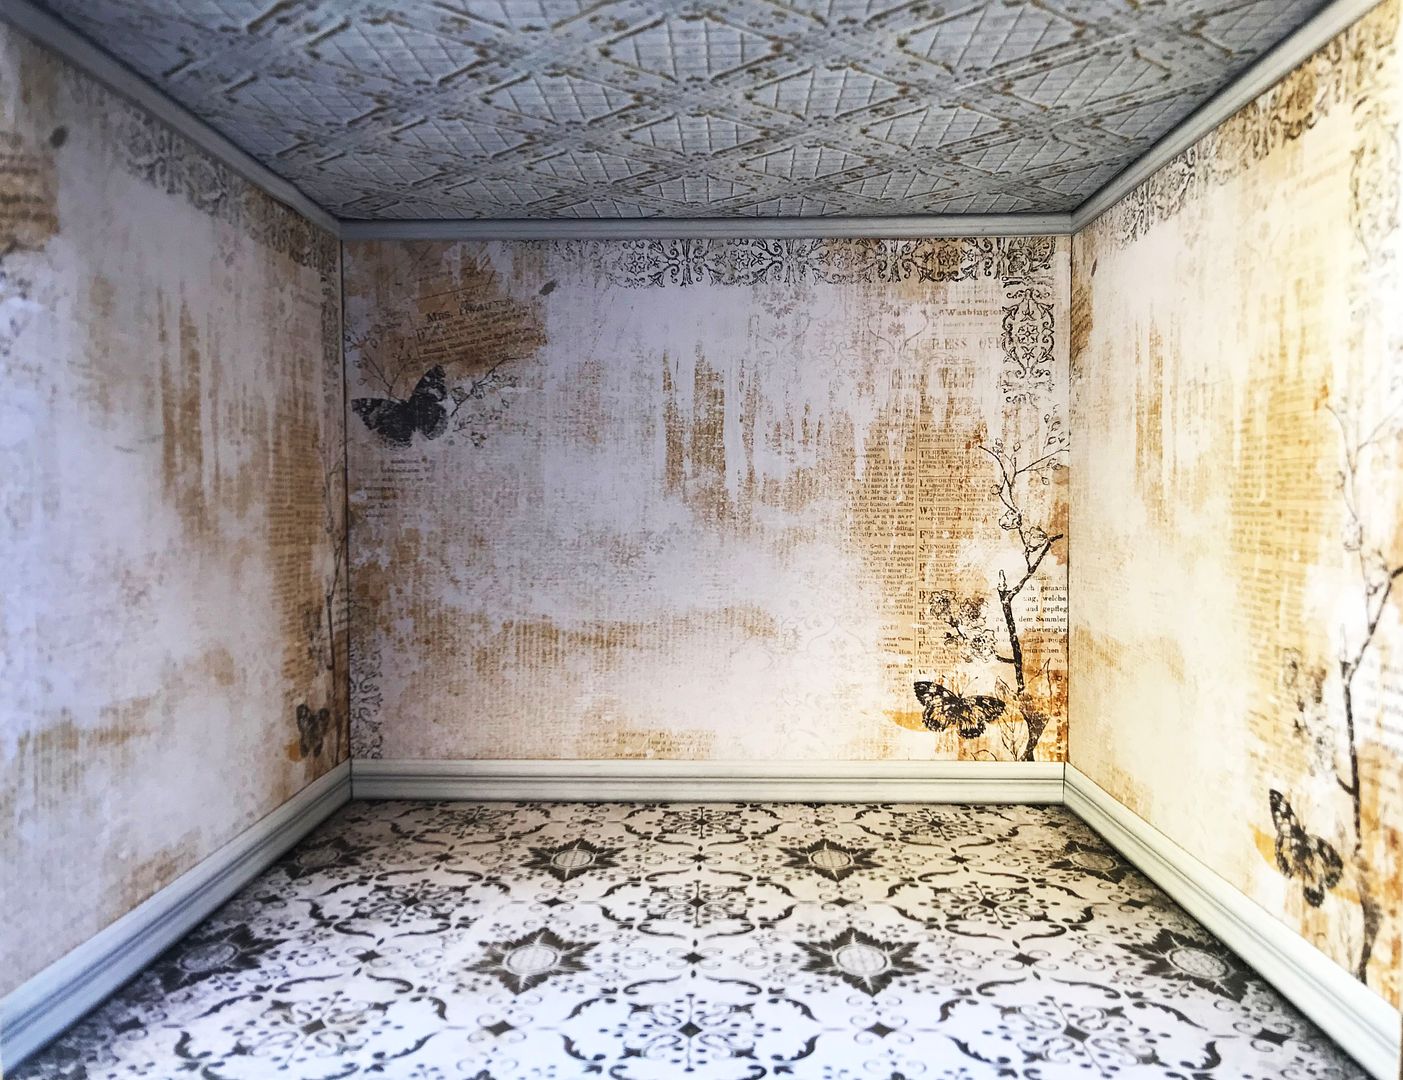
You’ll notice that the building looks like it’s still under construction.  This is because in future videos, I will be adding lovely external lighted display windows, awnings, doors, signage, and more as I cover the details of each shop.
 Not to worry if this is too big of a project to tackle, as I’ll also talk about how you can make individual shops from room kits.  Of course, you could also opt to use just one or two house kits.
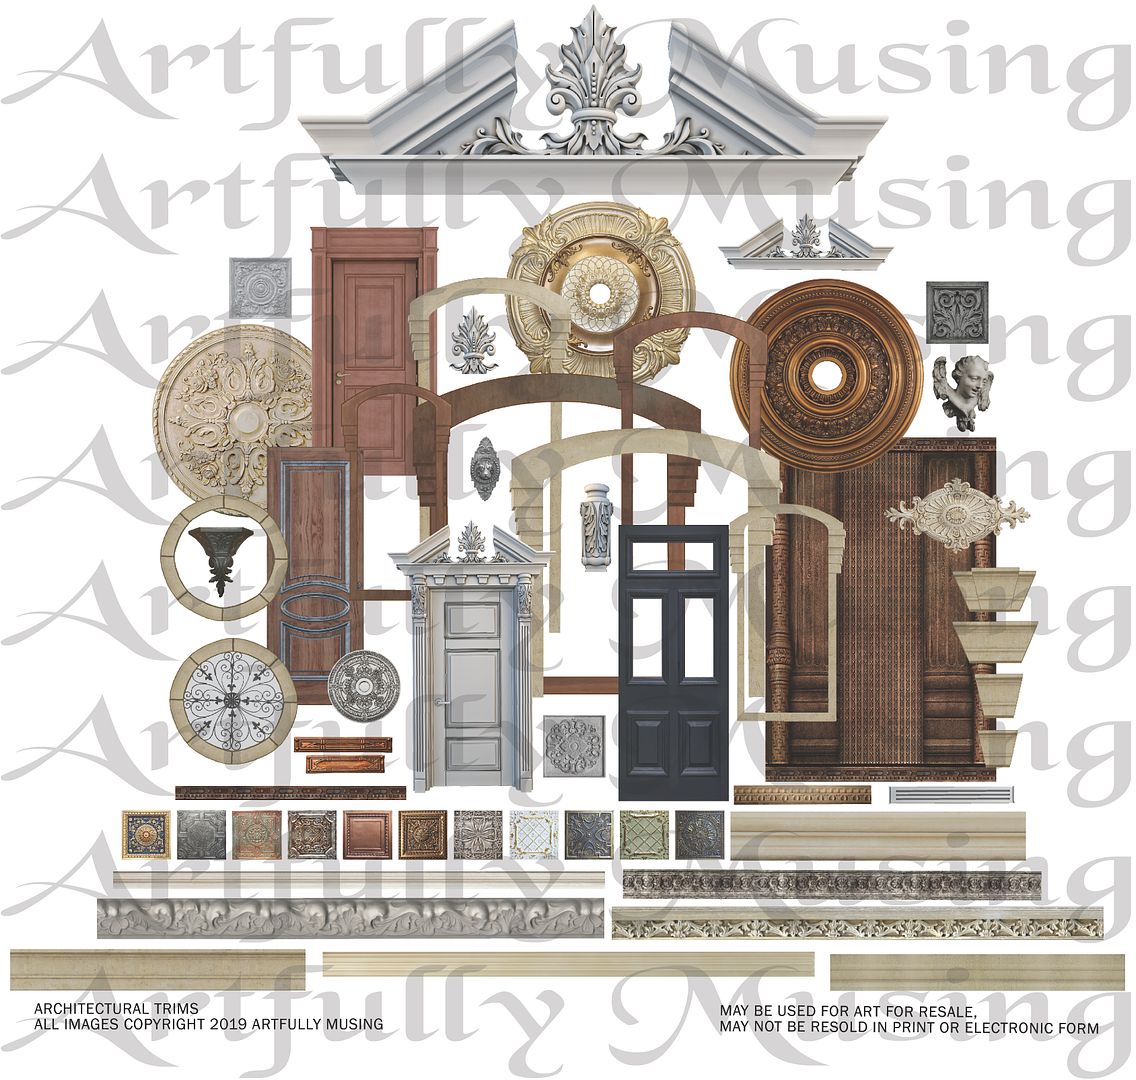
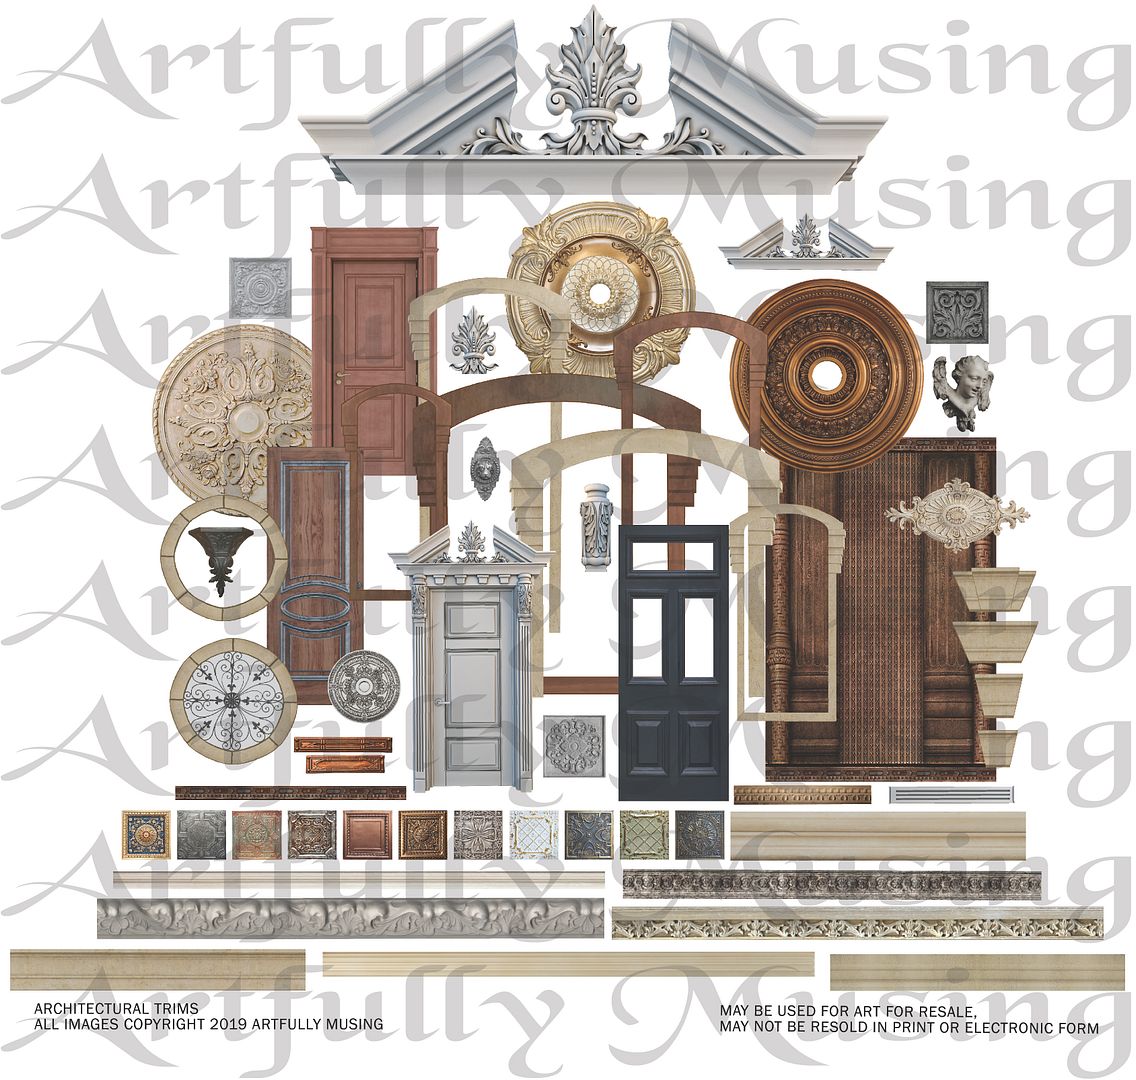
All of the trim work, interior window framing, and tile work come from this digital image set.  Click on the image below to purchase this digital image set.


NOTE: Since I have covered the basic assembly of the house kit in the previous Steamtown video series, in this tutorial, I’m only going to cover construction techniques that are different.  If you would like detailed kit assembly information, click here to hop over to the first Steampunk House Video Tutorial.
VIDEO TUTORIAL


FREE DISTRESSED WOOD FLOOR COLLAGE SHEET
Feel free to download the collage sheet and other images to use in your projects.
Stonework I used it on the bottom of the exterior.
Stain glass used in the center (Florist Shop) door.


DETAIL SUPPLY LIST
Chesterville Chester Scrapbook Paper - Cafe Floor
Mottled Cream Heavy Paper - Cafe Walls
Faded Cream Wallpaper Scrapbook Paper - Cafe Walls
Remnants Scrapbook Paper - Beaumont - Chocolatier Walls
Remnants Scrapbook Paper - Mini Remnants - Chocolate Floor
Remnants Scrapbook Paper – Bloomsbury - Florist Ceiling
Remnants Scrapbook Paper - Devonshire - Florist Walls
Remnants Scrapbook Paper - Westfield - Florist Walls
Remnants Scrapbook Paper - Mayfair - Florist Walls
Romantique Grand Scrapbook Paper - Boutique Walls
Barber Shoppe Razor Scrapbook Paper - Boutique Ceiling
Red Brick Wall Scrapbook Paper - Exterior Brick Trim
2-Story Room French Quarter
2-Story Room Box French Quarter Open Roof
2-Story Room Box French Quarter Short Roof
12x12 Clear Plastic for Windows
Folding Screen Fretwork Insert
Pair of Fancy Mini Hinges w Pins
6mm Raw Brass Bead Caps or Knobs
Scalloped Gingerbread Trim Strips
Art Décor Silicone Mold – Renaissance
Gilders Paste - Copper
Saturday, July 8, 2017

STEAMTOWN - TWO STORY HOUSE PHASE 1 - VIDEO TUTORIAL - NEW DIGITAL IMAGE SET

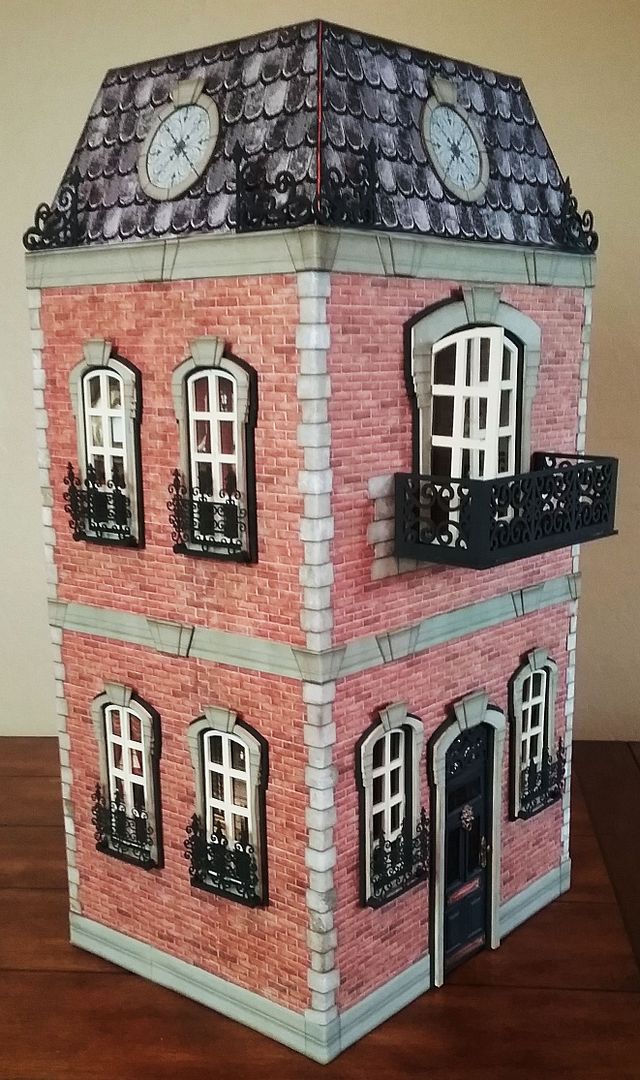
In Steamtown on Irongate Street is a beautiful house that has sat empty for too long.  Rumor has it that a famous explorer has recently leased the house and will be moving in shortly.  Gossip flies around town as the residents try to guess who will be the new tenant.
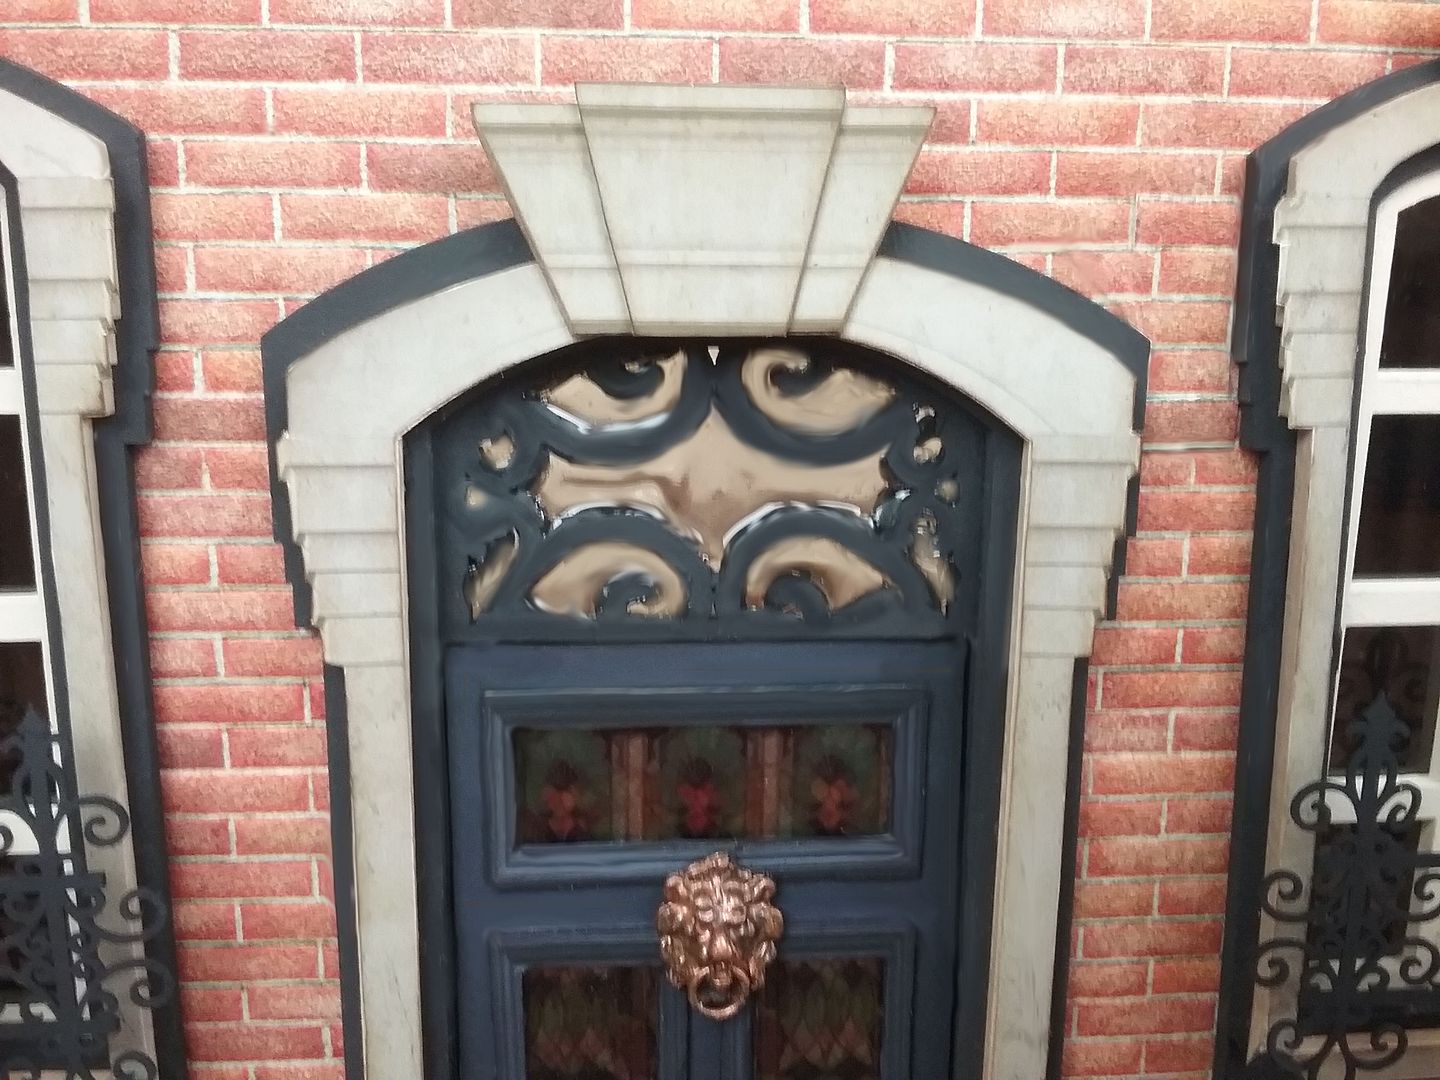
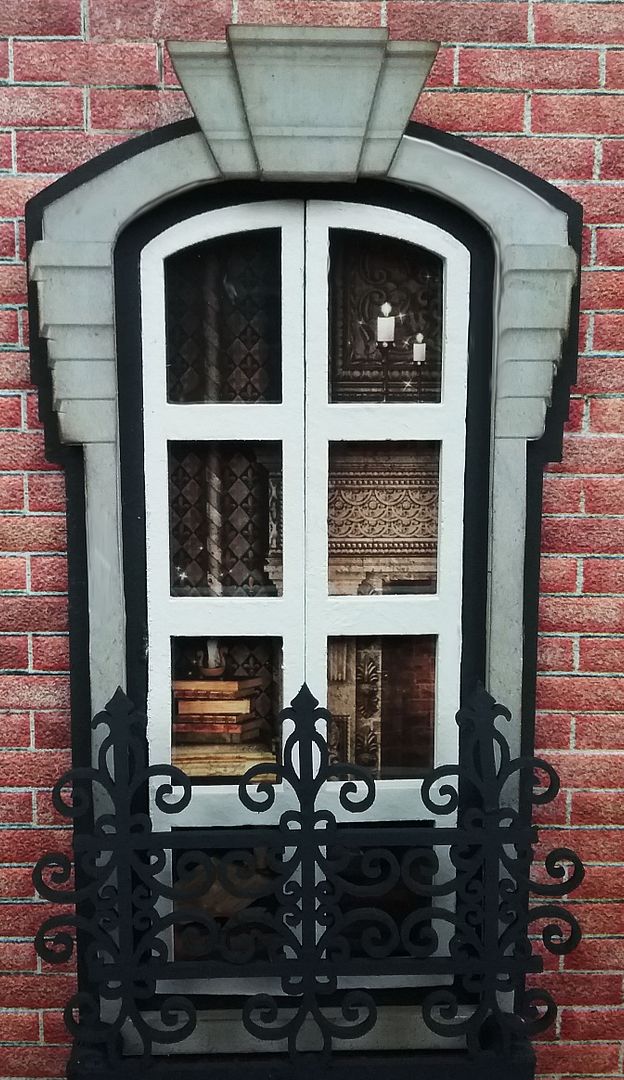
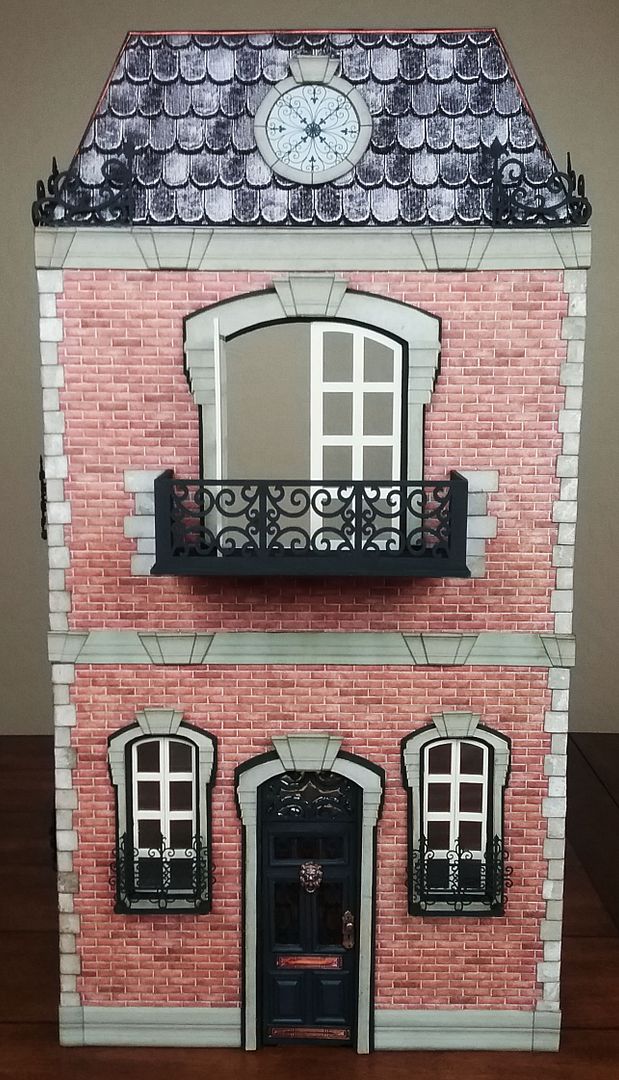
The brick house is beautifully trimmed in stone and wrought iron filigree.  
The front door and ironwork above are inset with antique stained glass.
On the second floor is a lovely balcony with French doors.
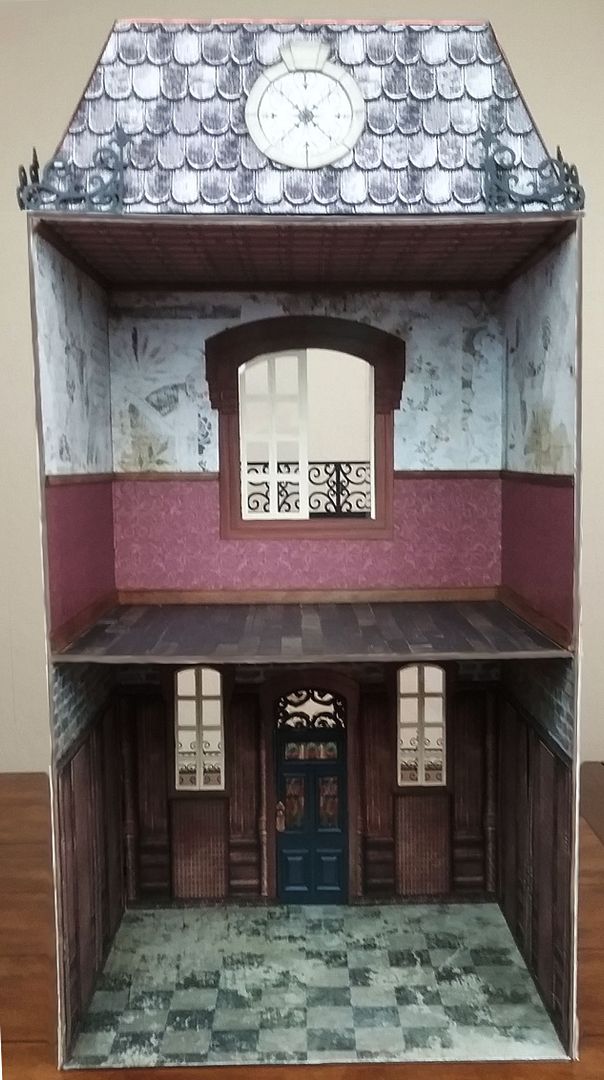
Although the inside is a bit worn, it still has great character.
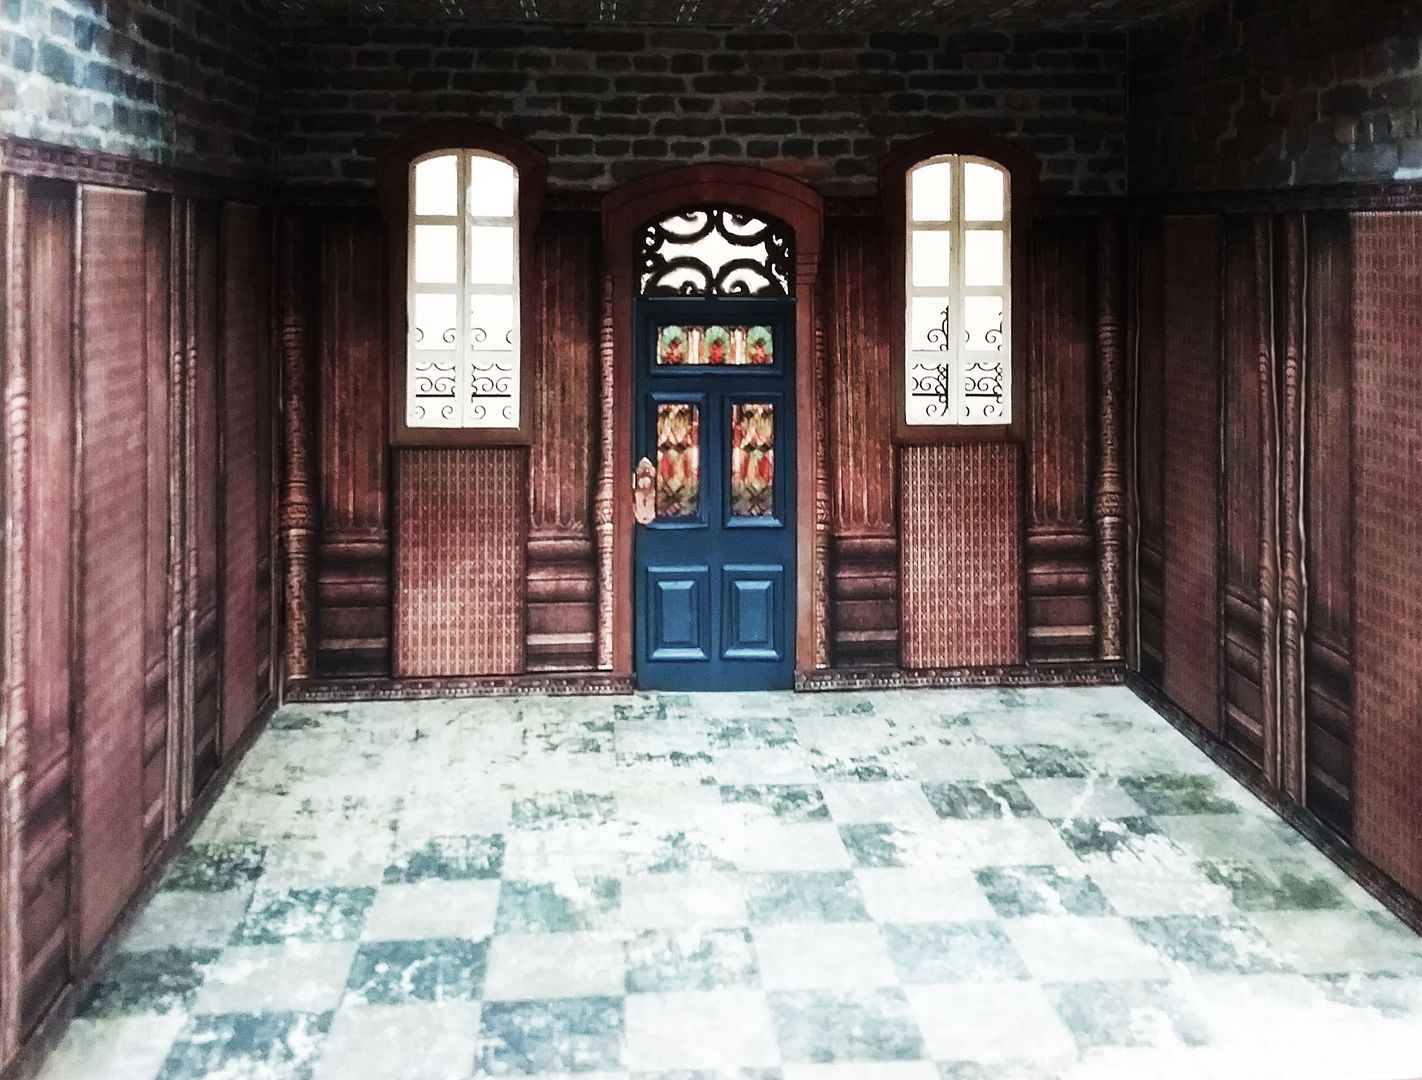
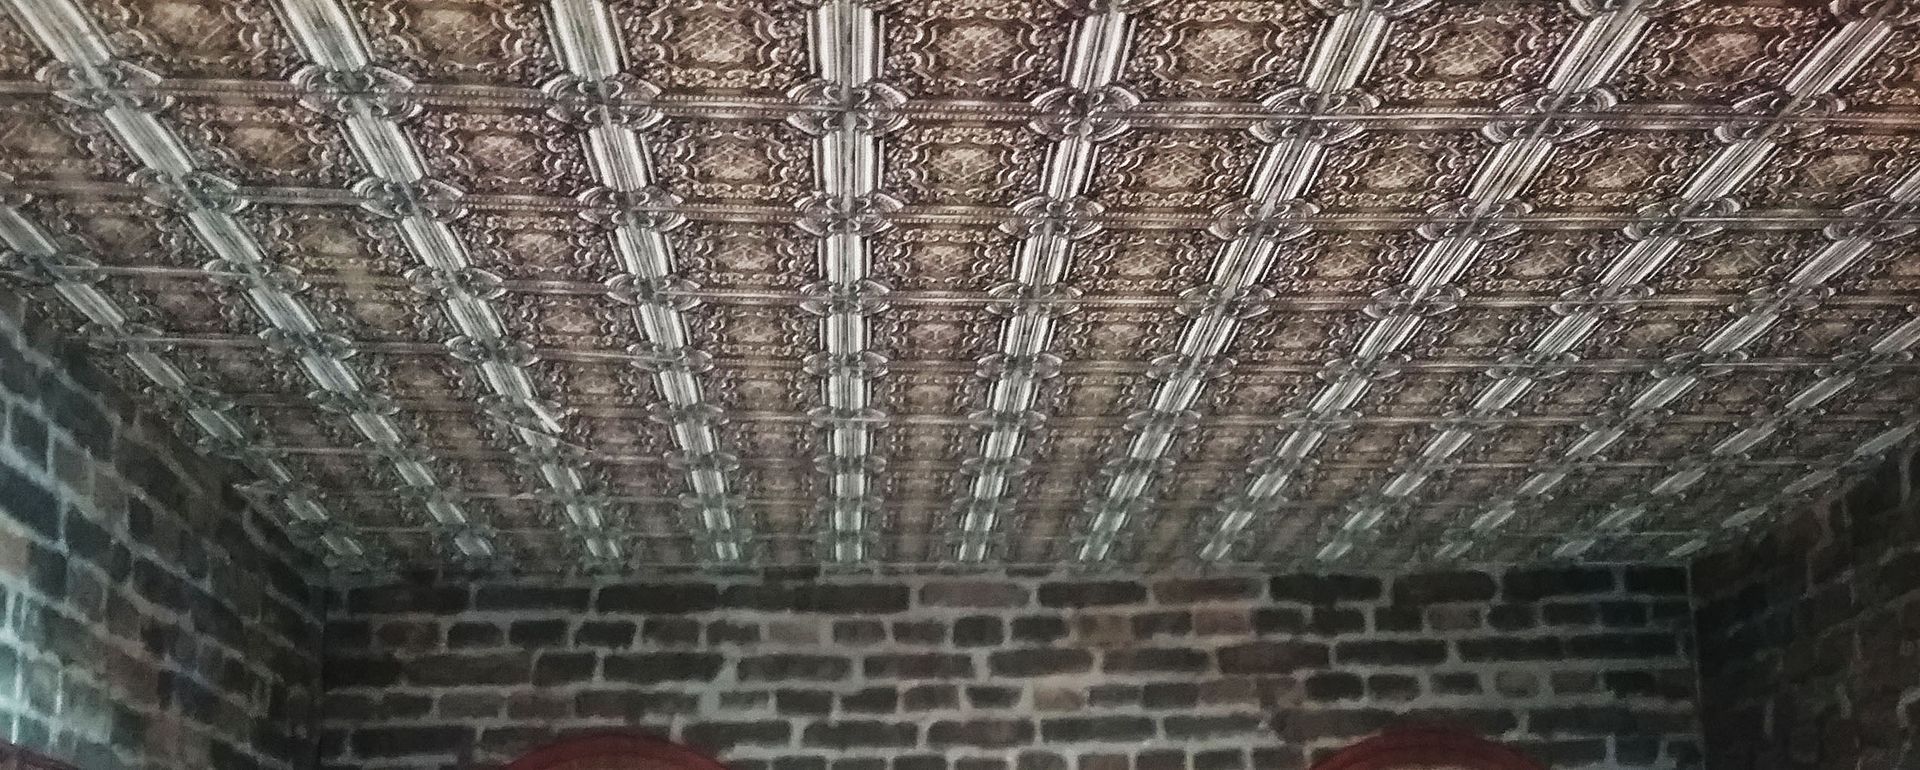
The walls downstairs are covered in dark wood paneling, and the ceiling is made of tin tiles.
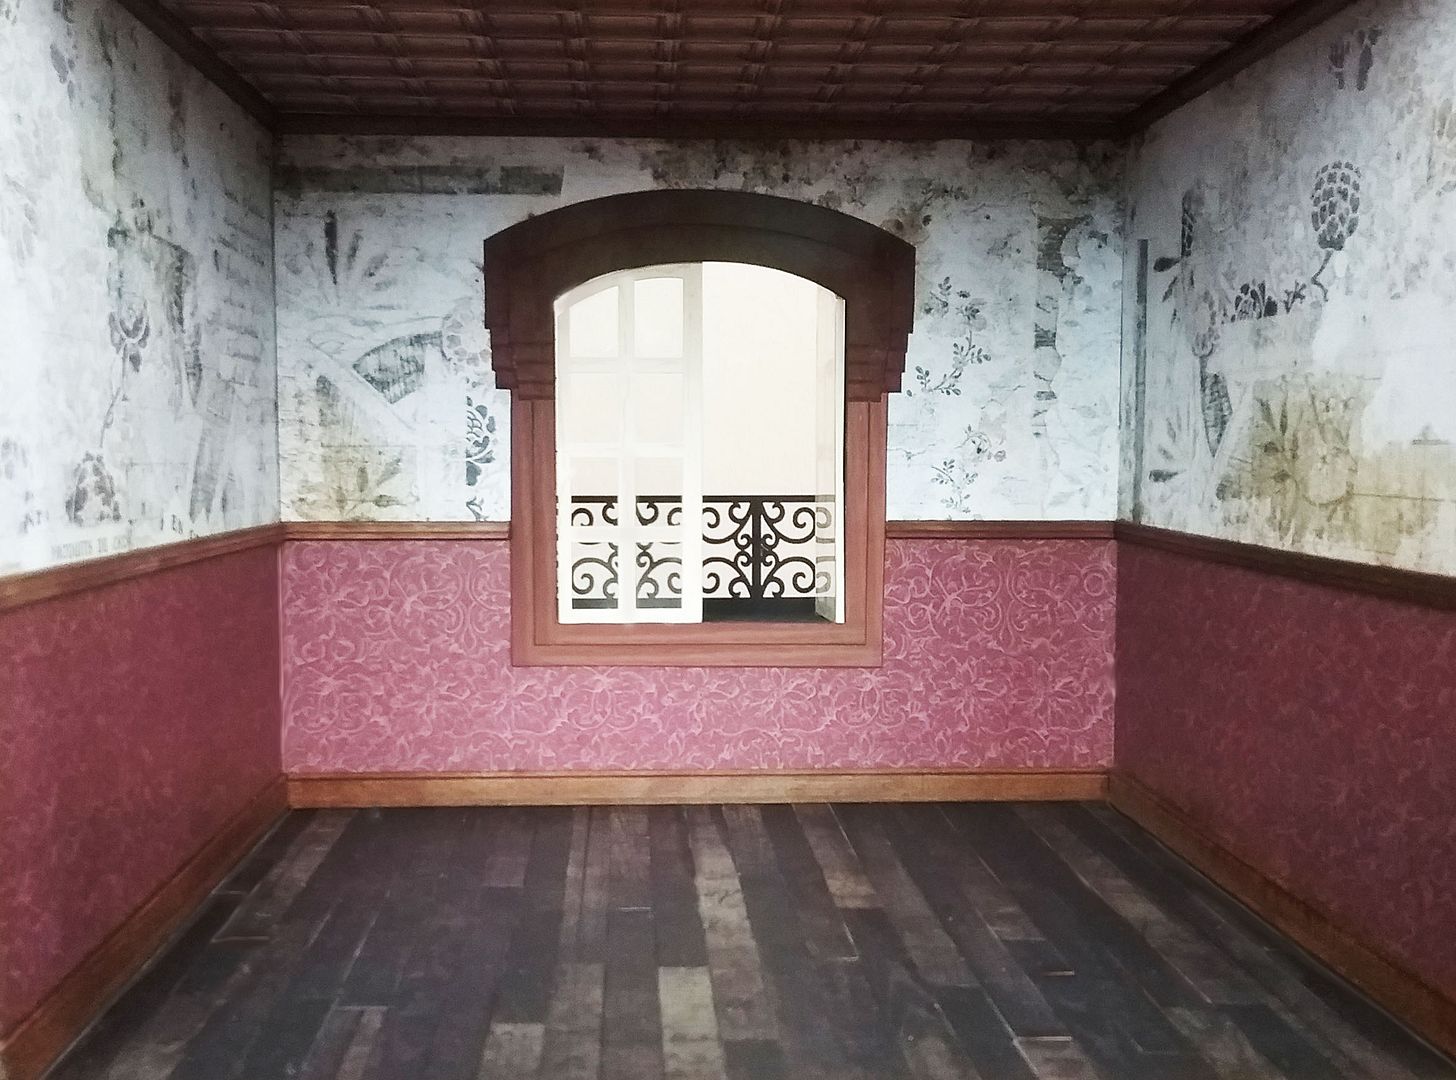
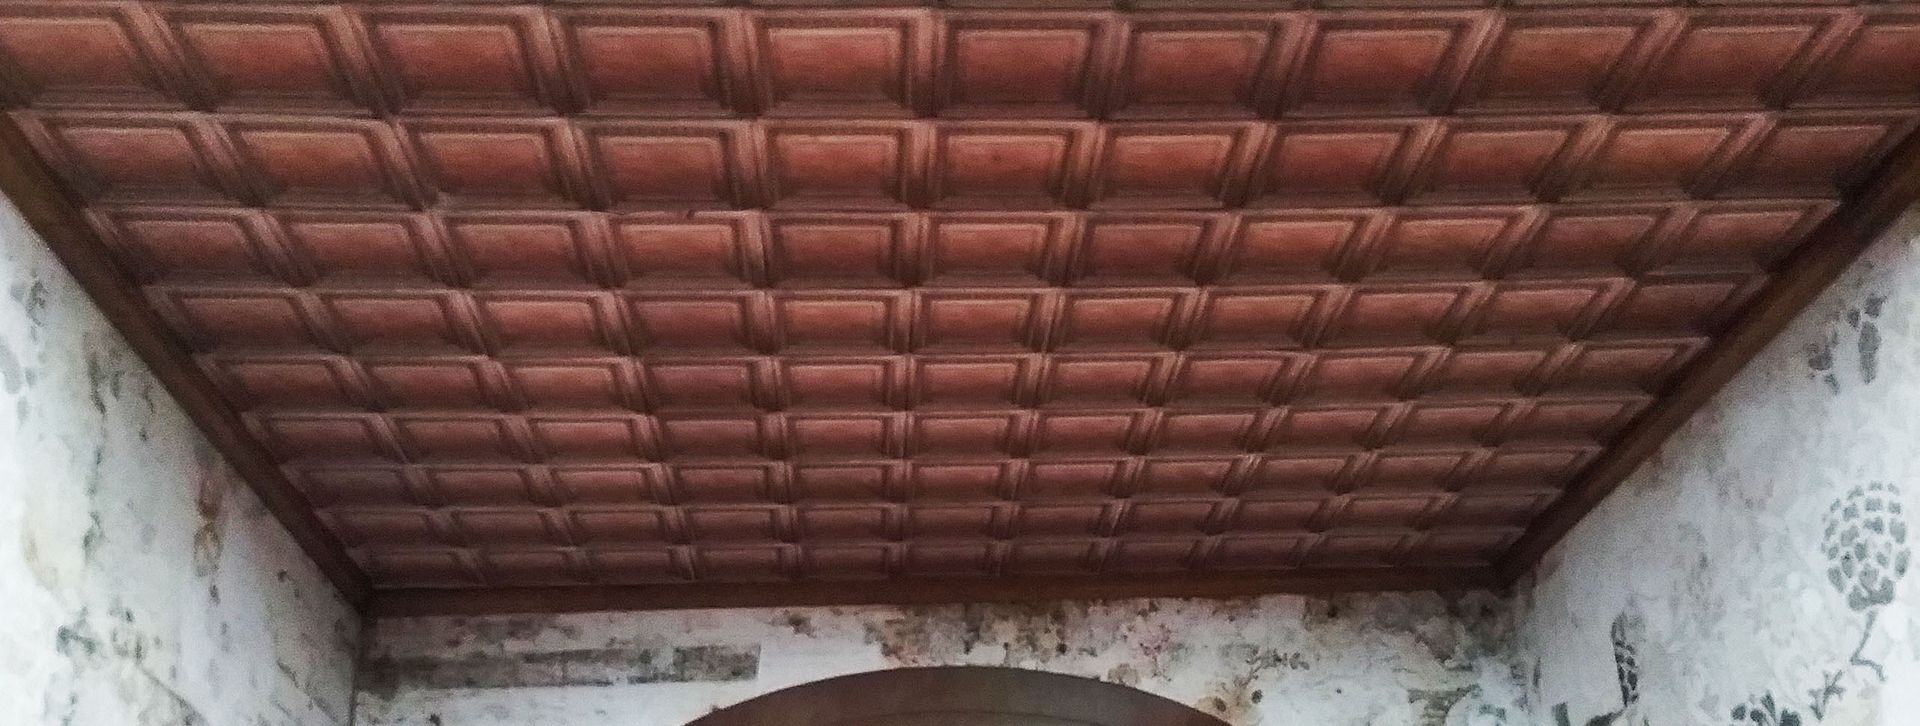
Upstairs the walls are covered with faded paper, and more tin tiles grace the ceiling.

It’s a diamond in the rough, and how fun it will be to see just what the new tenant does with it, surely bringing their love of travel, exploration, and adventure to the decor.

This project was made possible by a NEW amazing 2 Story House Kit, Add-On Roof Kit, and Add-On Window Kit, plus Chesterville Scrapbook Papers, Slate Roofing Paper, Embossed Brick Paper, NEW Architectural Trims Digi Kit, and many other bits and bobs.
I’ve been chomping at the bit for a two-story house kit, and it was fun to help design it.  For this project, I’ve used it as a house, but it would make a great two-story shop.  The overall design lends itself to multiple facade styles.  If two rooms are not enough, you can use multiple kits joined together to have as many rooms as you like.

In addition to the 1:12 scale house that I've used for this project, there is a NEW Half Scale 2 Story House Kit & Roof Kit.  

This project is just the start; in the coming weeks, I'll be decorating and furnishing the rooms and adding other elements to the exterior.


This set is packed with all kinds of trims and is sized to work with the new “Two Story House Kit, Roof Kit, and Additional Windows Kit” and other 1:12 scale projects.  There are 68 pieces in total: 11 Tin Ceiling Tiles, 3 Ceiling Medallions, 4 Doors with 3 trim pieces, 10 Window & Door Casings, 6 Decorative Plaques, 10 Strips of Molding, 2 Pediments, 1 Bracket, 1 Sconce, 1 Finial, 2 Door Plates, 7 Keystones Pieces, 4 Paneling Pieces, 1 Round Window, 2 Angels.  The scale is 1:12.  To purchase this image set, click on the image below. 

VIDEO TUTORIAL


FREE IMAGES
FEEL FREE TO DOWNLOAD THESE IMAGES & USE THEM IN YOUR ART


WINDOW SCENE IMAGES COLLAGE SHEET

STAINED GLASS WINDOW

MITERED CORNER GUIDE


DETAILED SUPPLY LIST
2-Story Room Box French Quarter
Roof for 2-Story Room Box
Windows for 2-Story Room Box - Faux windows on the side
Slate Roofing Paper
1:12 Brick Wall Sheet – Exterior Walls
Chesterville Whitford Scrapbook Paper – Outside edge stonework & roof
Chesterville Bretton Scrapbook Paper – Upstairs Walls
Dark Red Victorian Floral Scrapbook Paper – Upstairs Walls
Chesterville Hargrave – Upstairs Floor
Chesterville Chester Scrapbook Paper – Downstairs floor
Brick Wall Scrapbook Paper – Downstairs walls
Wood Trim Baseboard
Wood Trim – Chair Rail
Wood Trim – Crown Molding
Chipboard Wrought Iron Flourishes Set - Roof
12 x 12 Clear Plastic for Windows
Mini Lion Head Door Knocker
Bronze Door Handle and Keys Sets

Wednesday, December 14, 2016

CHRISTMAS TREE with CUTAWAY WINTER SCENE - NEW DIGITAL IMAGE SET

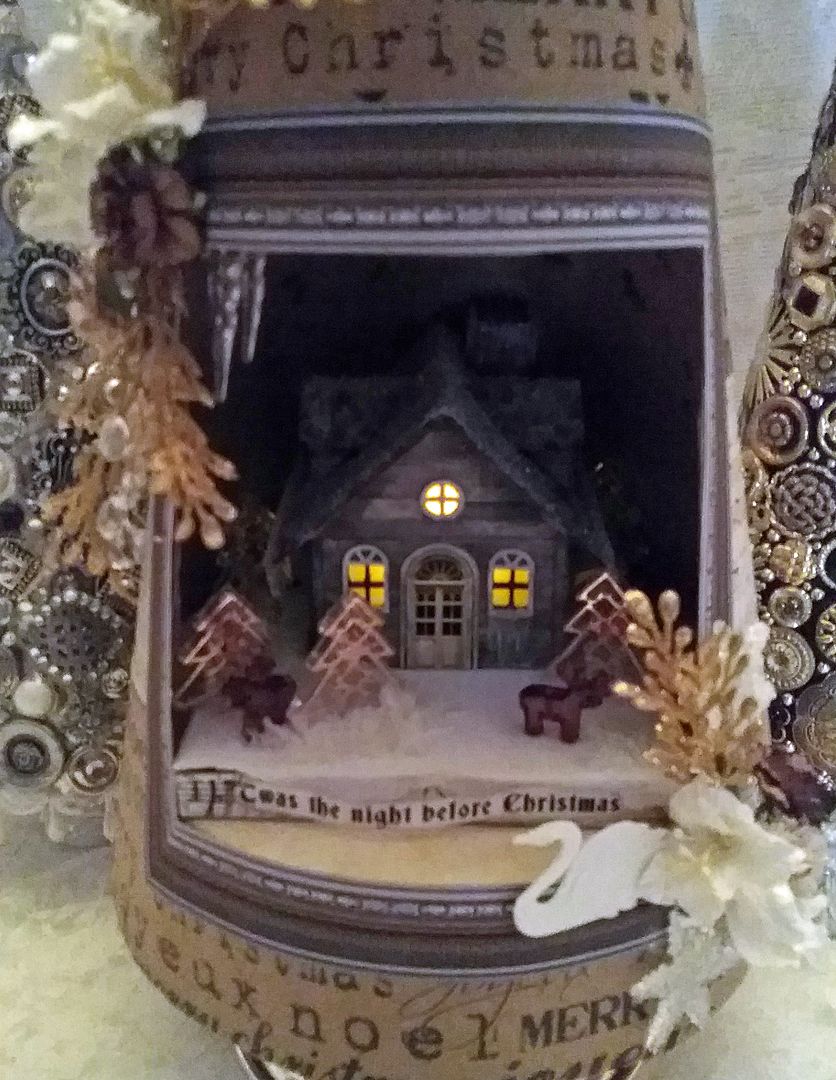
It’s a quiet night as snow falls on a little cabin in the woods.  Deer, drawn to the soft light filling the windows and the cabin's warmth, stands motionless in the snow.
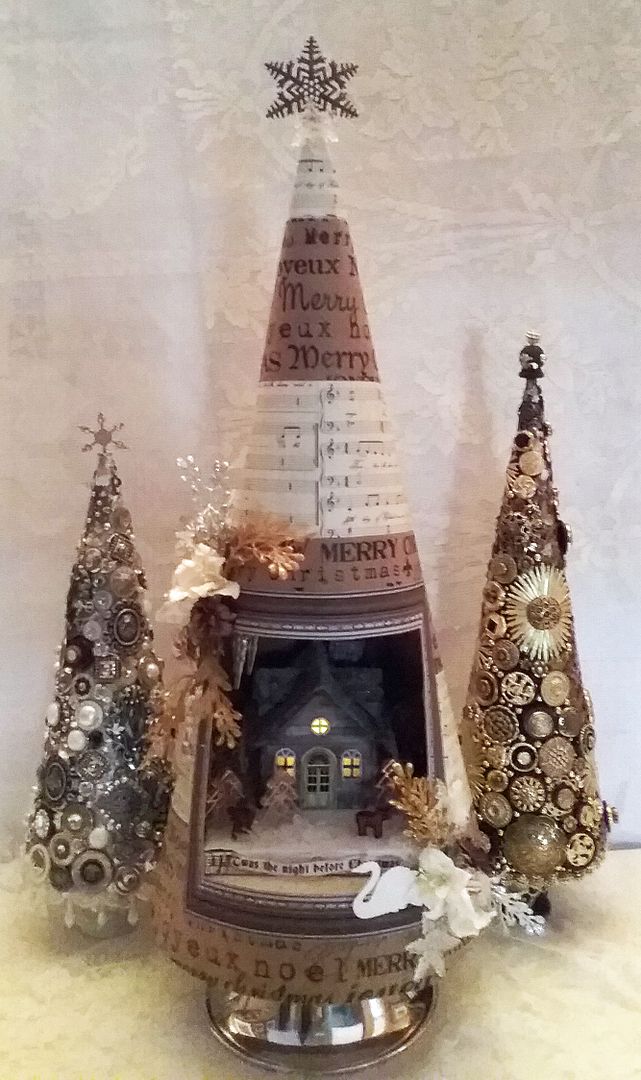
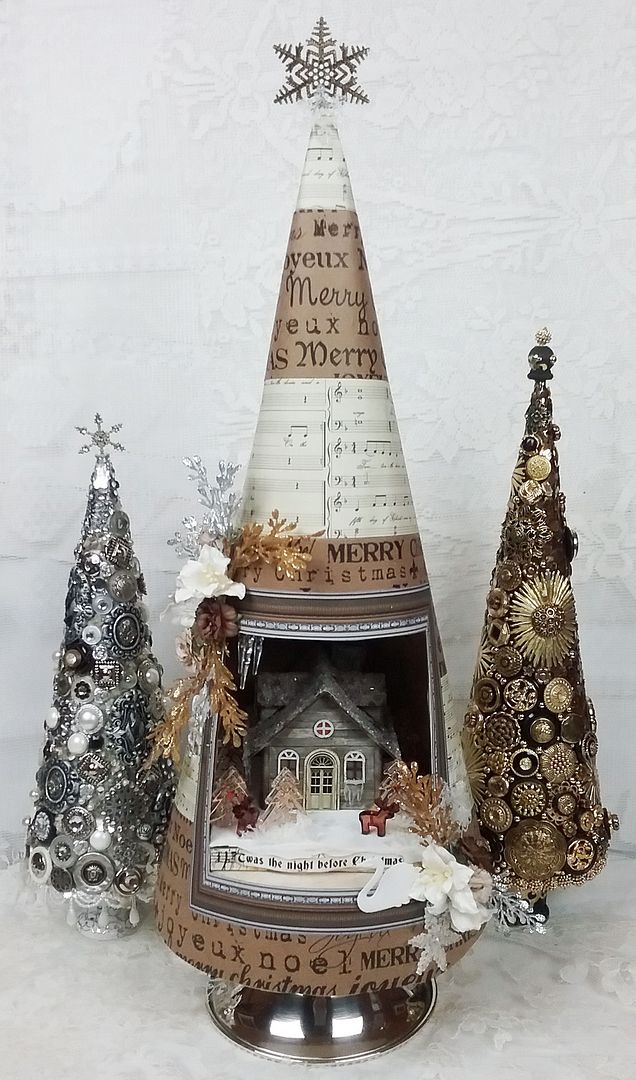
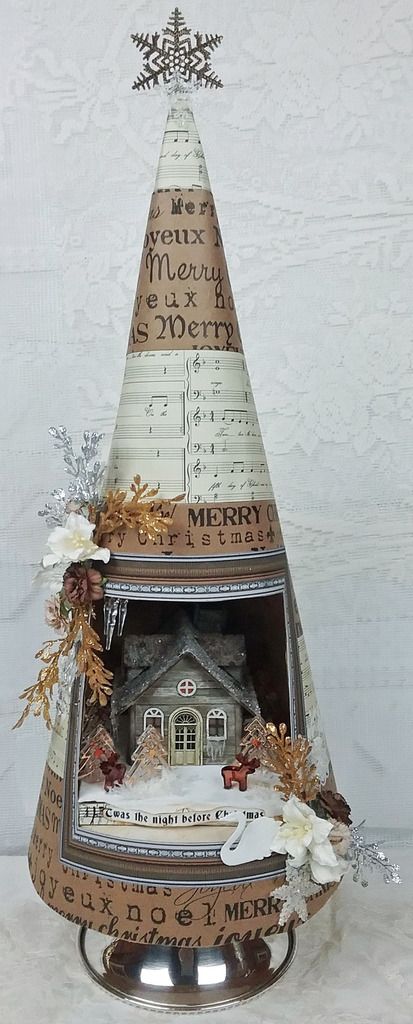
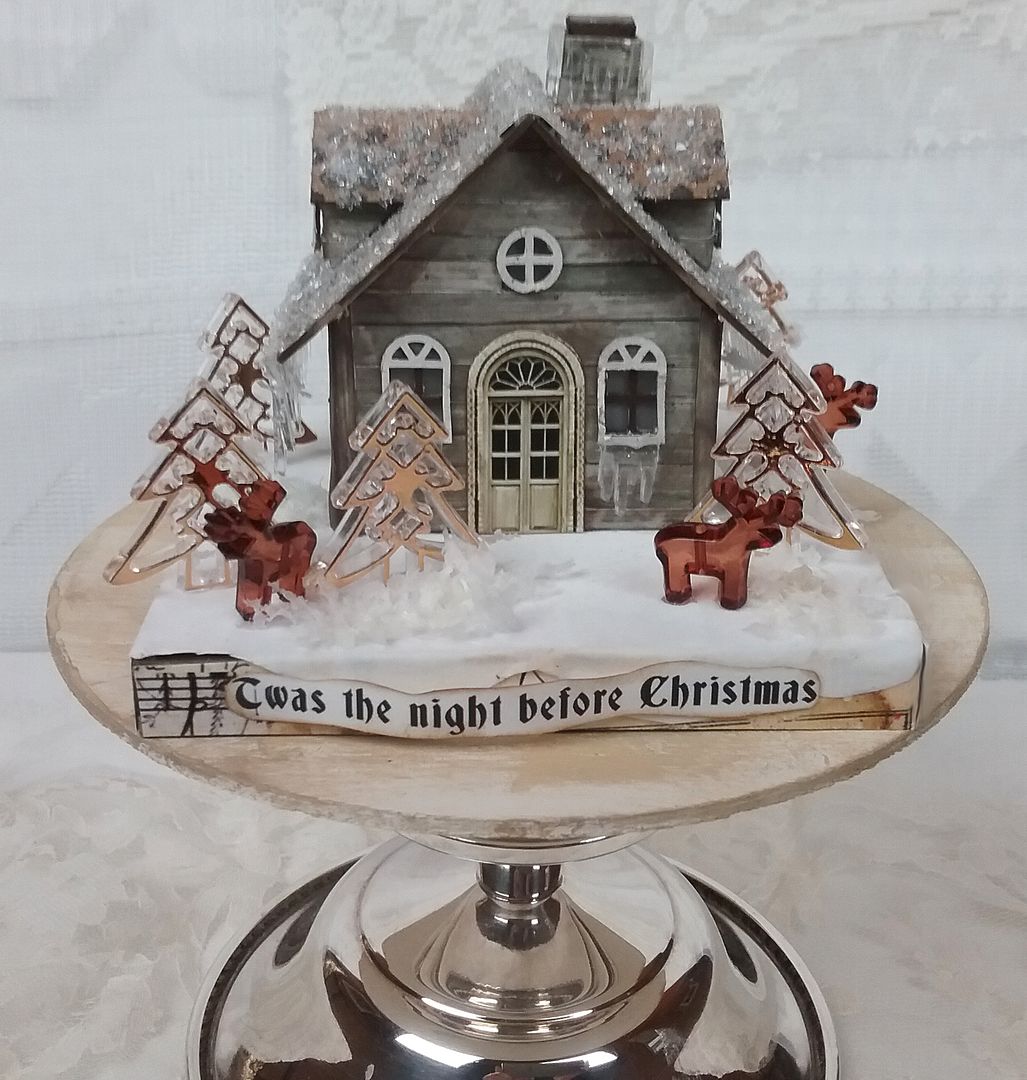
This magical scene is made with AlphaStamps new House Ornament Chimney & Dormers and the House Ornament Base.  The little cottage in the woods is tucked into a paper tree made using some of AlphaStamps new Christmas scrapbooking papers.   I thought it would be a fun change to use a color scheme that is soft and muted rather than my usual colorful projects.  
I wish I had more time this holiday season as I think a series of these in different heights would look so lovely arranged on a fireplace mantel. Instead, I paired them with my Jeweled Trees from a previous season.  


For an added touch, the little cottage is lit with a tea light giving the scene a soft glow.
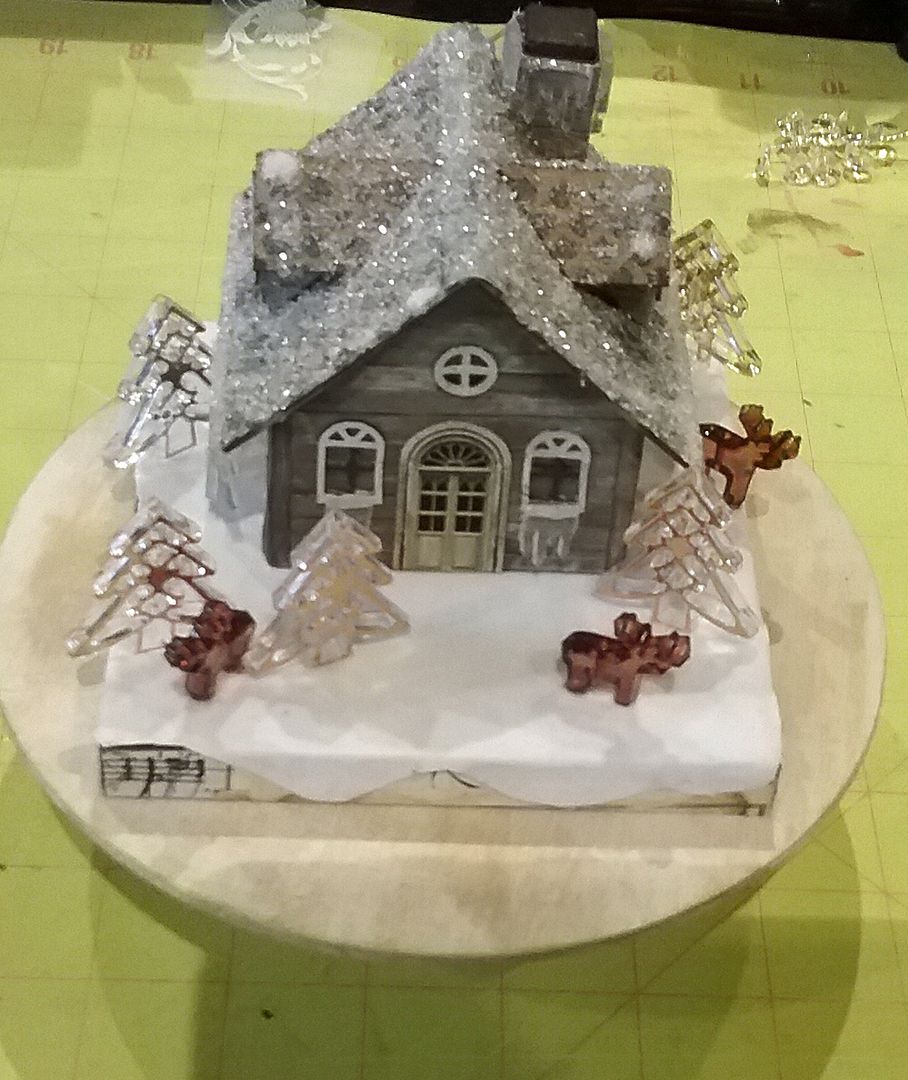
I added sparkle to the house and snowflakes on the outside decor using Twinklets Diamond Dust.  The cute trees and reindeer are acrylic beads, and the snow is faux white suede paper.
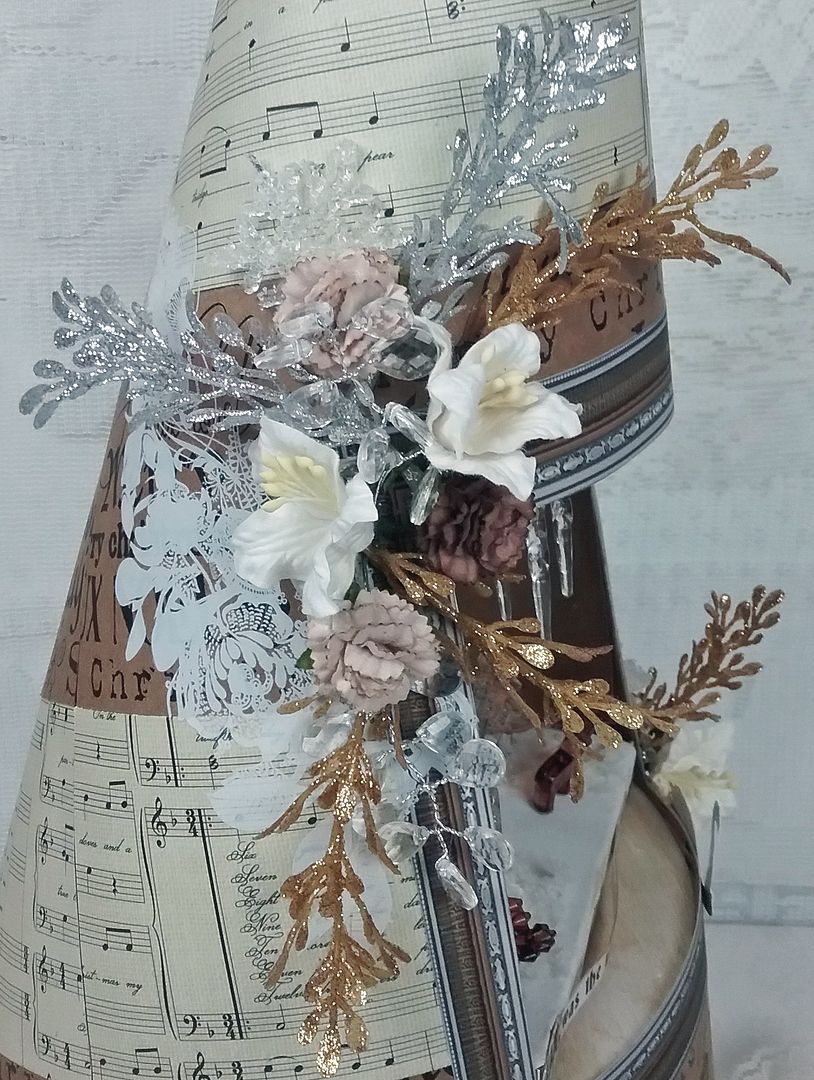
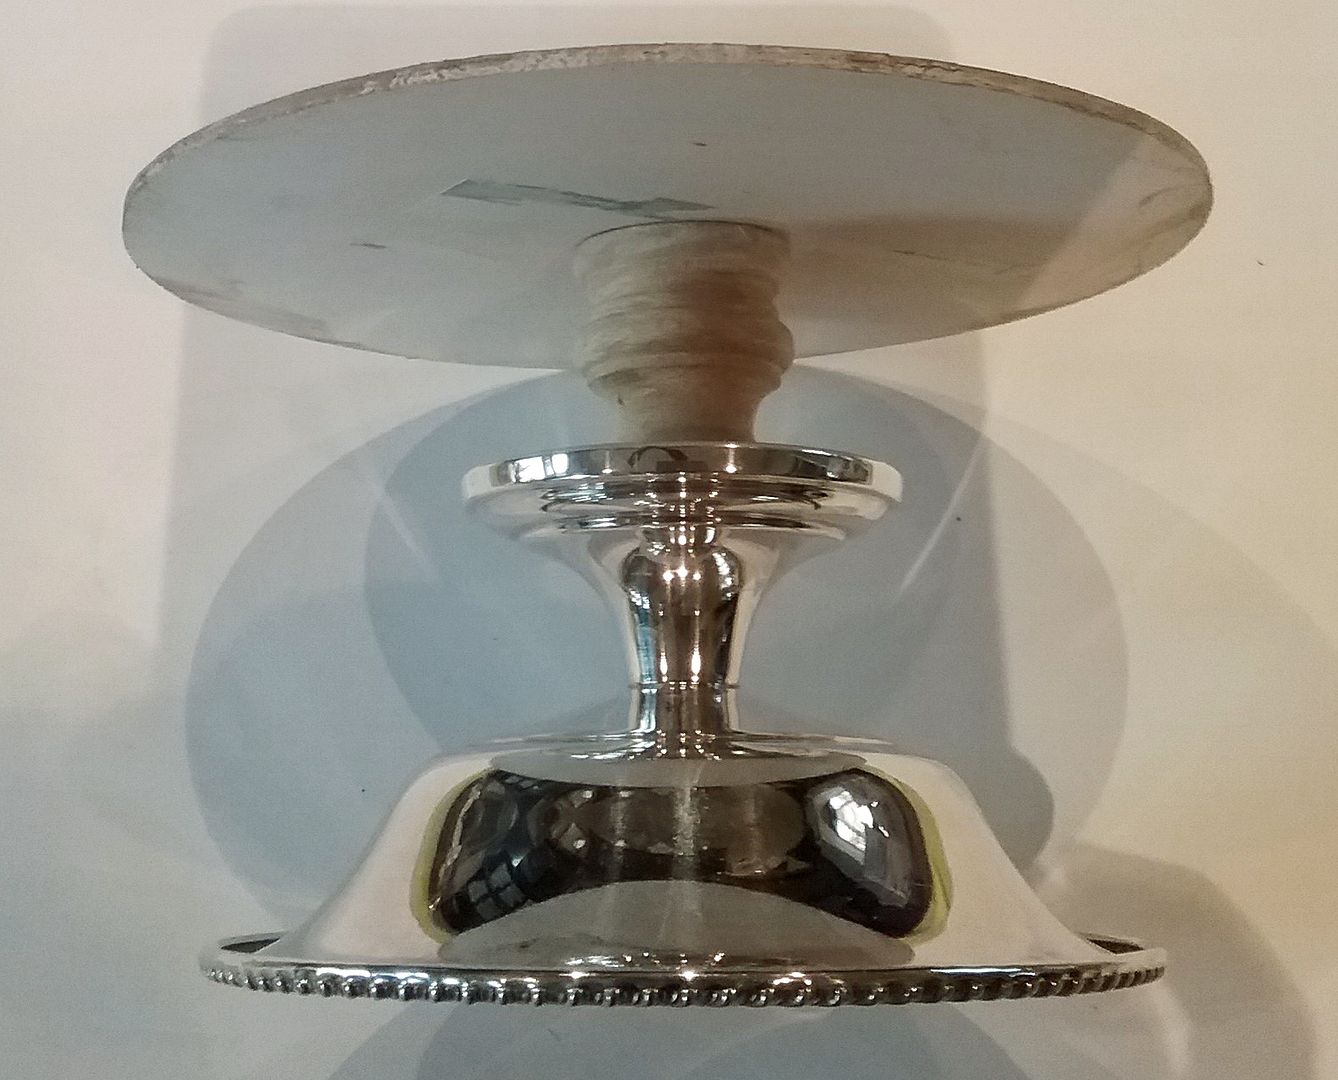
The opening in the cone is accented with a new frame from my Large Vintage and Elegant Digital Image Set.  On each side of the frame, I added decorative flowers, acrylic sprays, snowflakes, glittered sprays, and some acrylic icicles.  The base of the tree is a small silver bowl turned upside down.

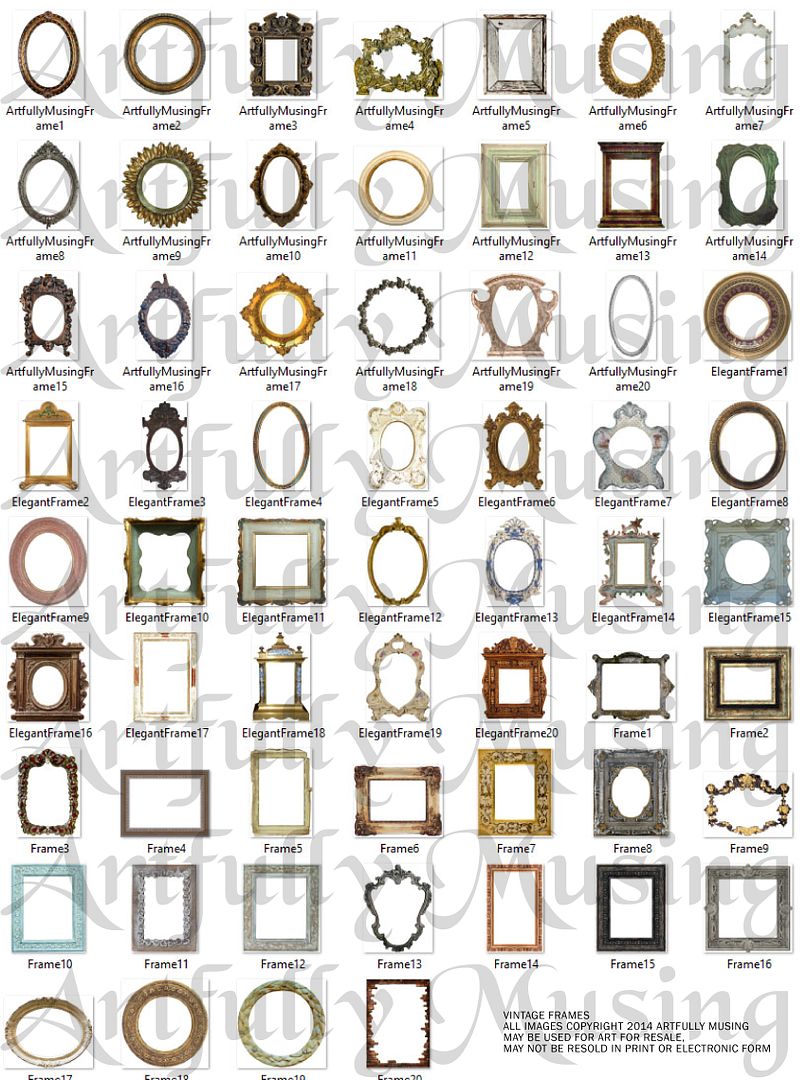
I love using frames in my projects and to add to my two other digital framesets is this new Vintage Frames set, which includes 20 new frames.  No doubt you will see me use some of these in future projects.
All of the images in the set can be re-sized for your project as they are high-resolution (300dpi) PNG formatted images.  Click on the image below to purchase this digital image set.

THE DETAILS

THE HOUSE

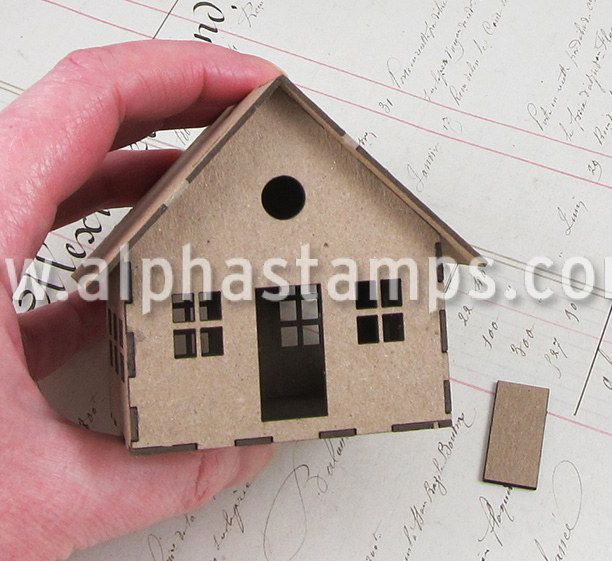
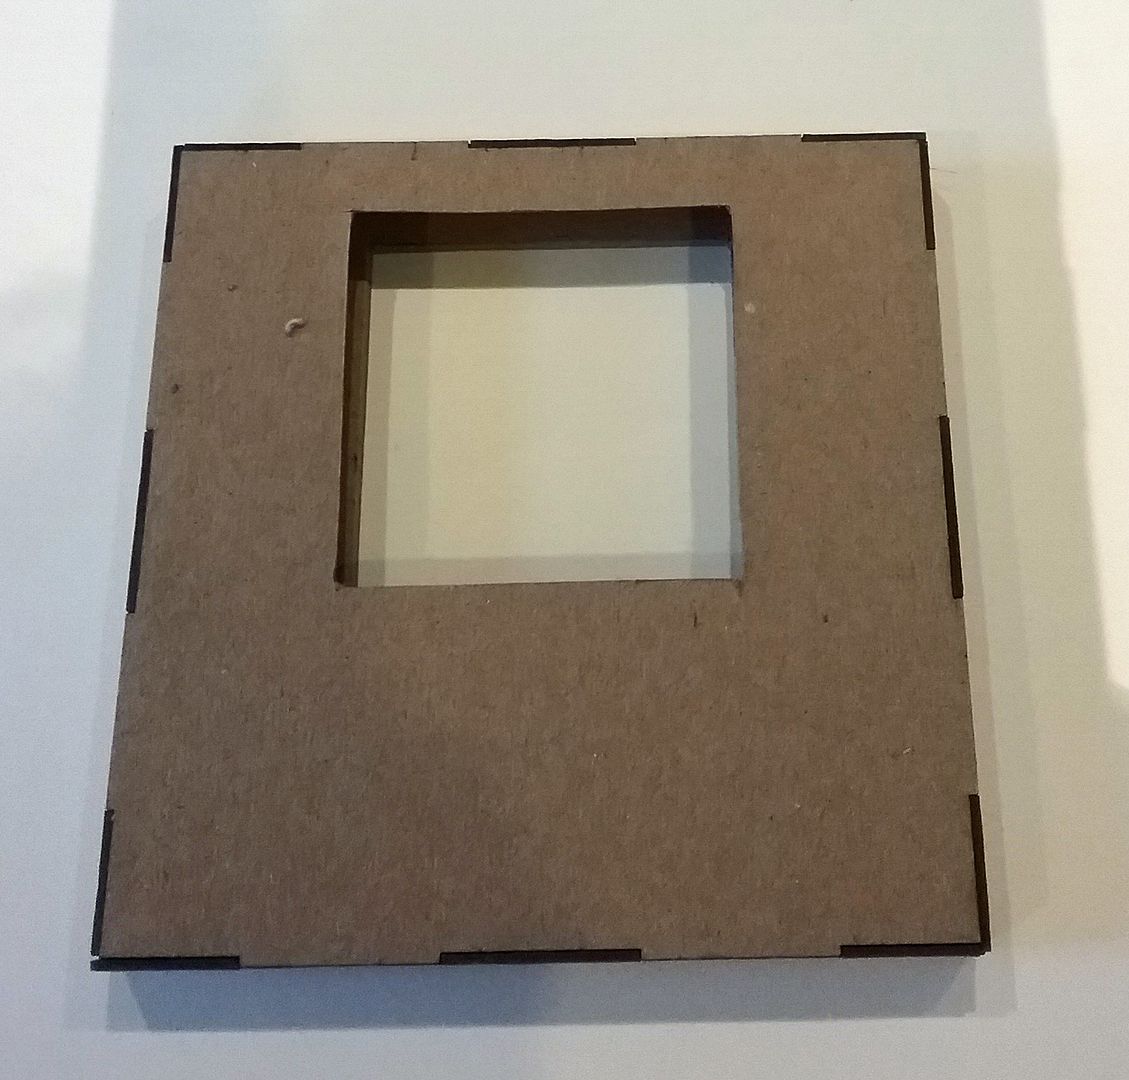
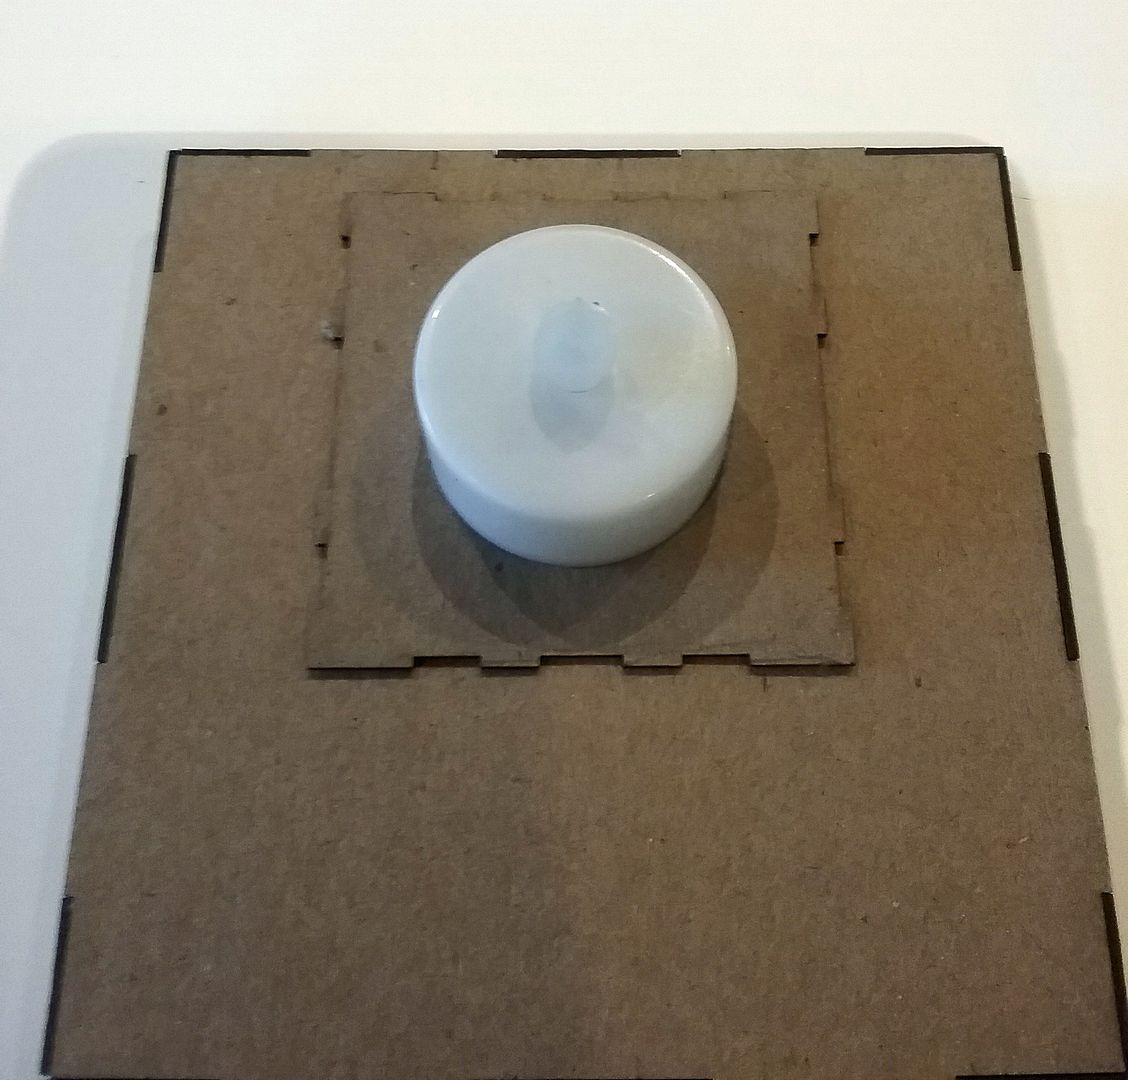
The first thing I need to work out was adding the tea light.  Many times I work with sample kits that may be slightly different than the final version.  This was the case with this house, as the final version has a trap door on the floor, so you don't need to make a hole like I did to accommodate the light.

In the picture above, you can see the kit and the trap door, which replaces what I did in the picture below.

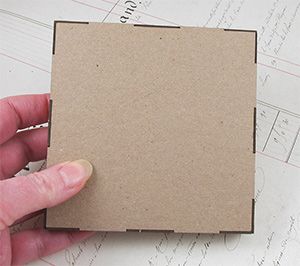
If you want to use the base with a tea light and are gluing the house to the base, then you need to cut holes in the top and bottom of the base in order to reach the tea light switch and replace the battery.
For my house, I glued the tea light to the floor of the house (over the round hole).  After I finished decorating the base and the house, I glued the house to the base with the tea light over the square holes.  This gave me access to the tea light from under the base and house.
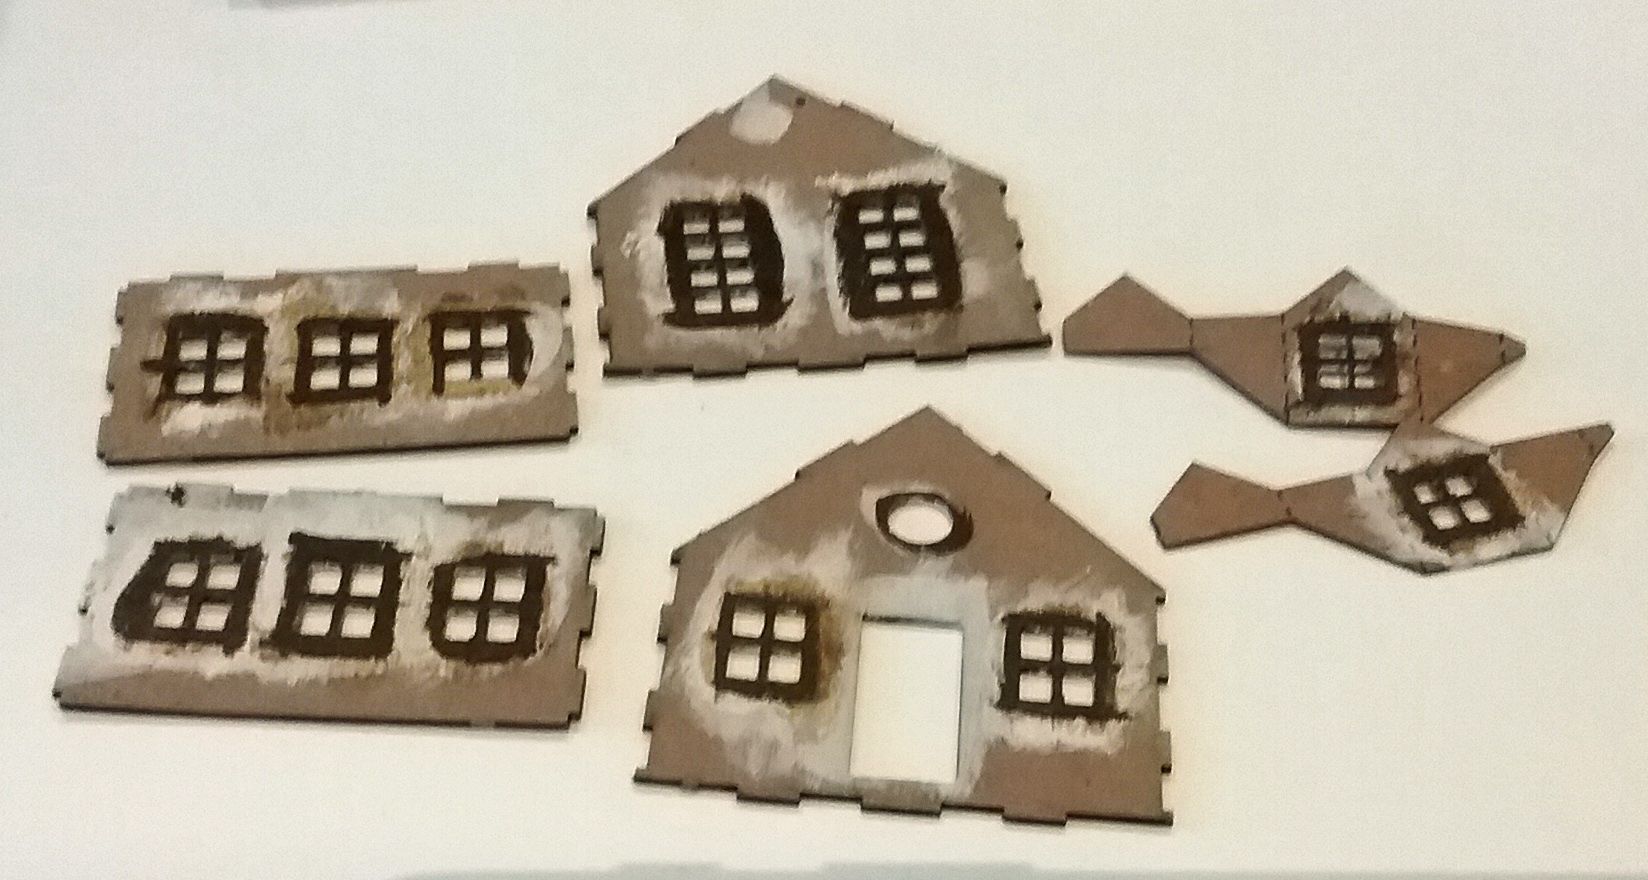
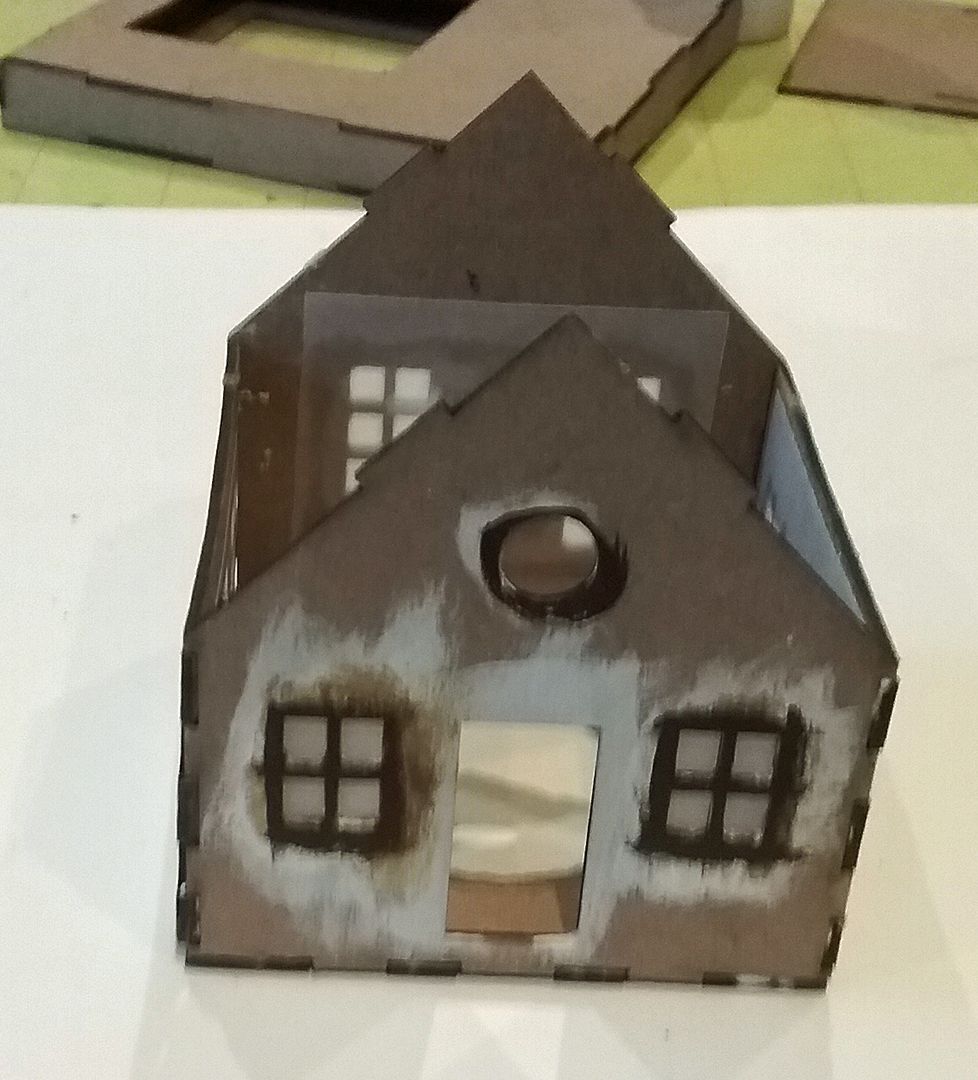
I painted all of the windows.  You see two different colors (cream and brown) because I changed my mind.  The cream was too light against the paper I was going to use on the sides.
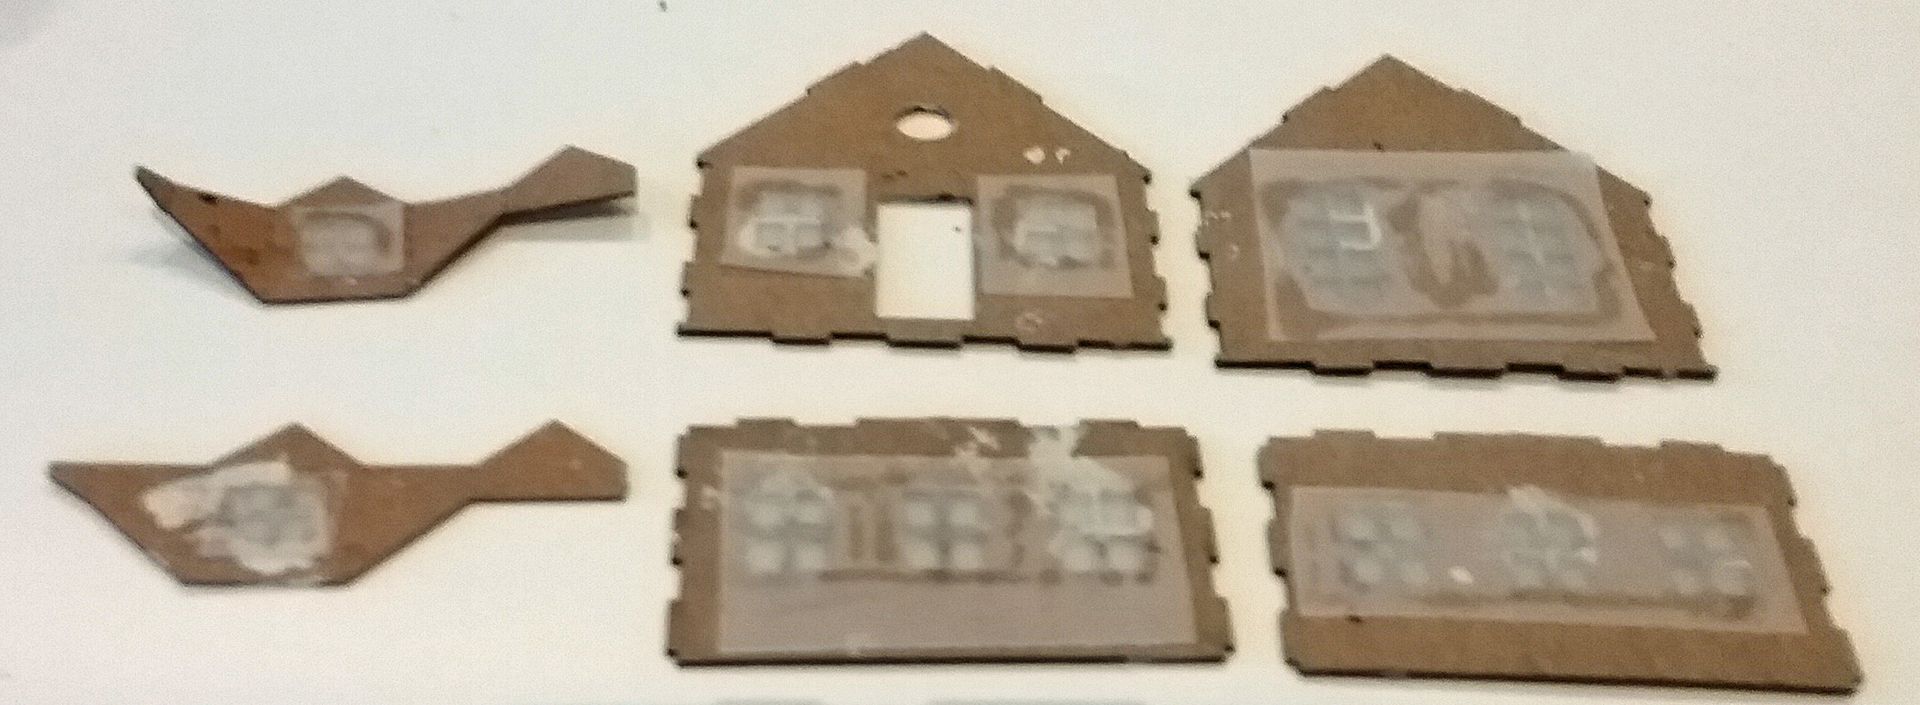
Next, I glued pieces of vellum to the backs of the windows.
I then glued the front, back, and sides to the base (with the tea light already glued in place).
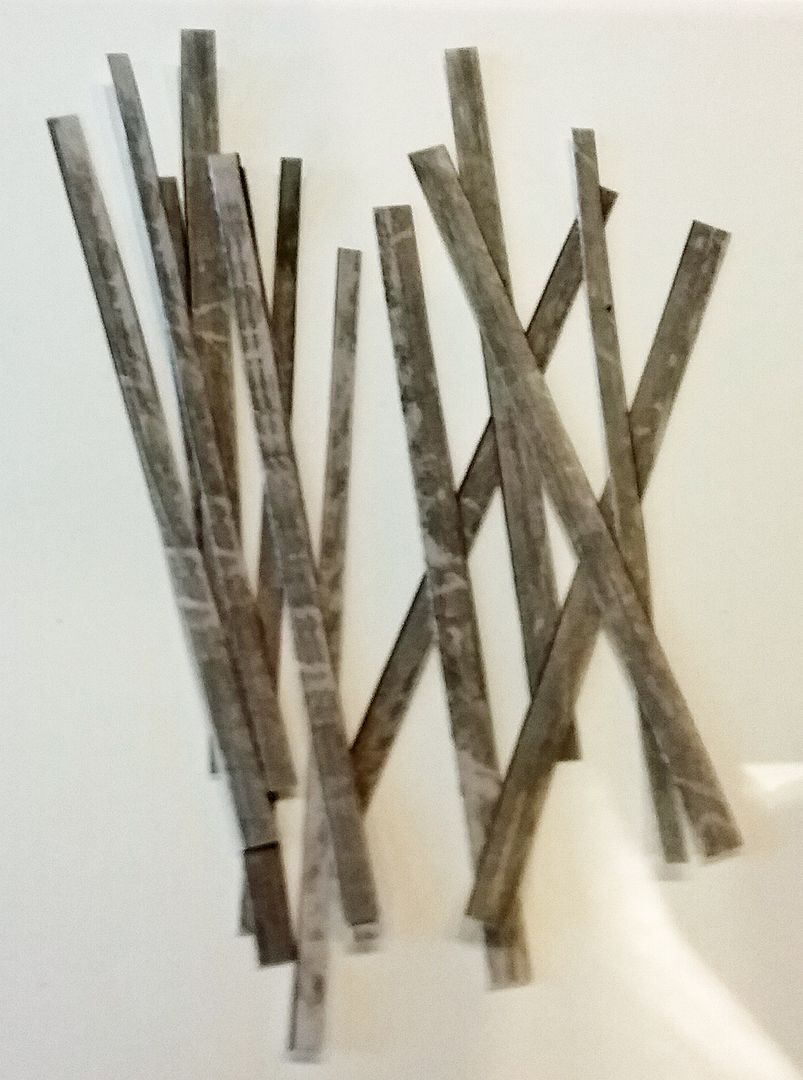
The soft brown and grey wood patterned paper from the Christmas Delivery 6 x 6 paper pad was perfect for the siding.  I cut it into smaller strips before gluing on onto the house.
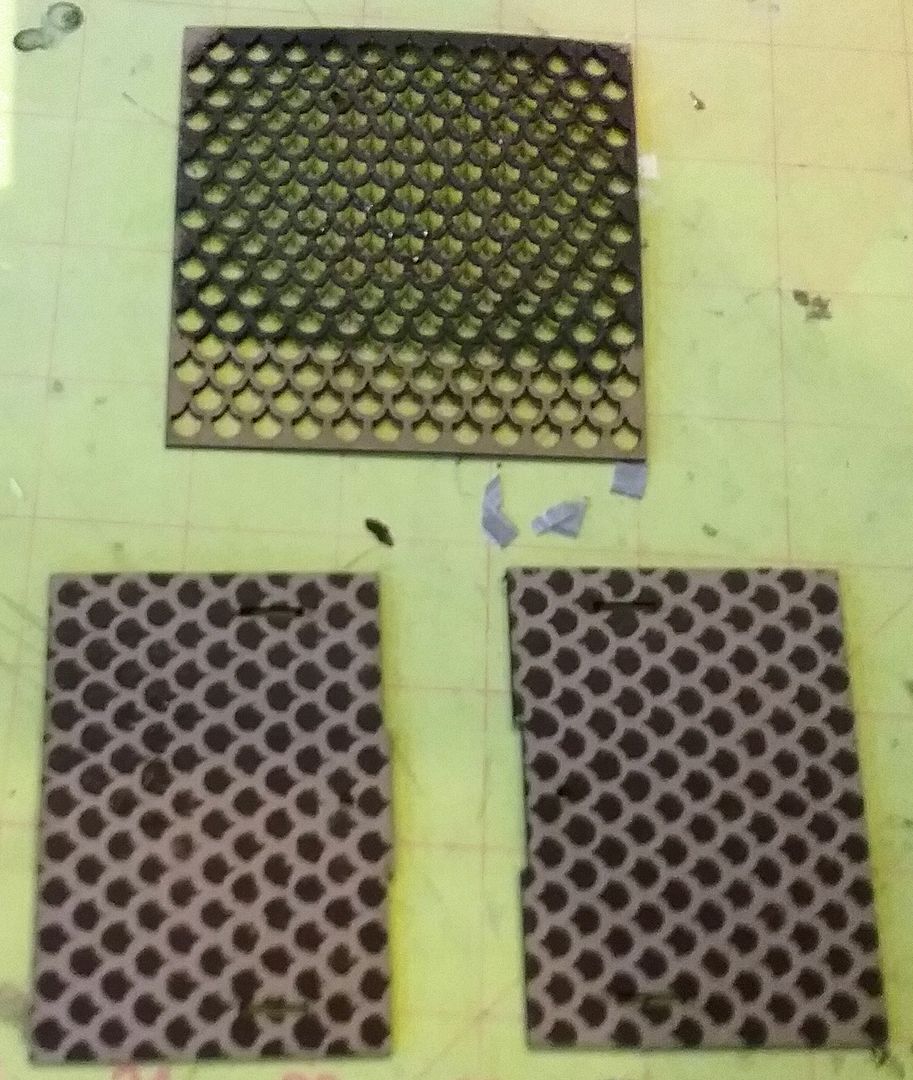
I used the Tiny Shingles Stencil for the roof to apply brown shingles.
NEXT:

  • I added a front door from the Tiny House Trims collage sheet
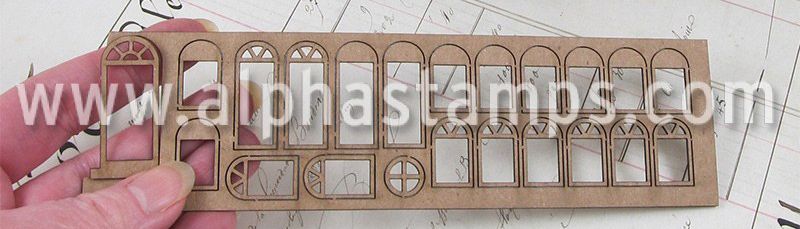
  • Glue on chipboard House Ornament Window Trims
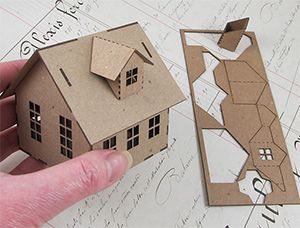
  • I glued the roof and dormers on the house
  • Glued the chimney to the roof (it is covered in wood paper with the top painted   brown)
  • Attached acrylic icicles to the sides of the roof and the chimney after I used Glossy Accents to attach Diamond Dust
  • I covered the roof, dormers, and chimney with glue with Diamond Dust.
  • I added scrapbook paper to the base and then the faux white suede paper.
  • I glued the trees and reindeer in place and then attached plastic snow from my stash
  • “Twas, the Night Before Christmas”, comes from the Mini Christmas Titles collage sheet

HOUSE ORNAMENT WINDOW TRIMS
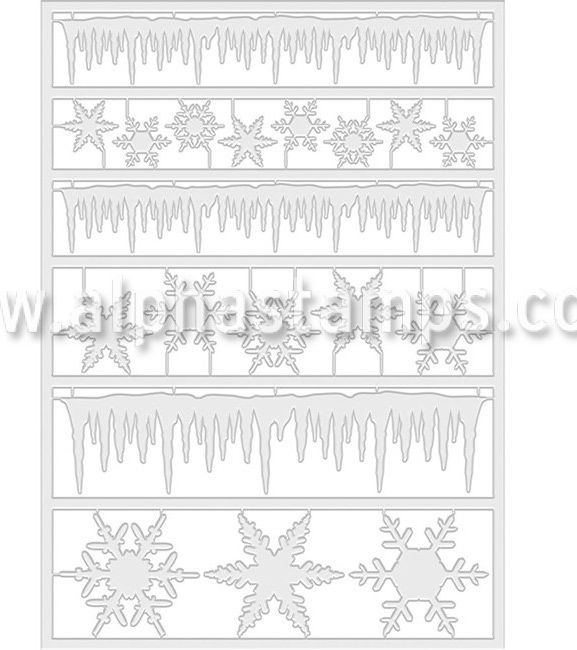
FROZEN CLEAR ICICLE BORDERS & SNOWFLAKES
I used the snowflakes to decorate the outside

THE TREE
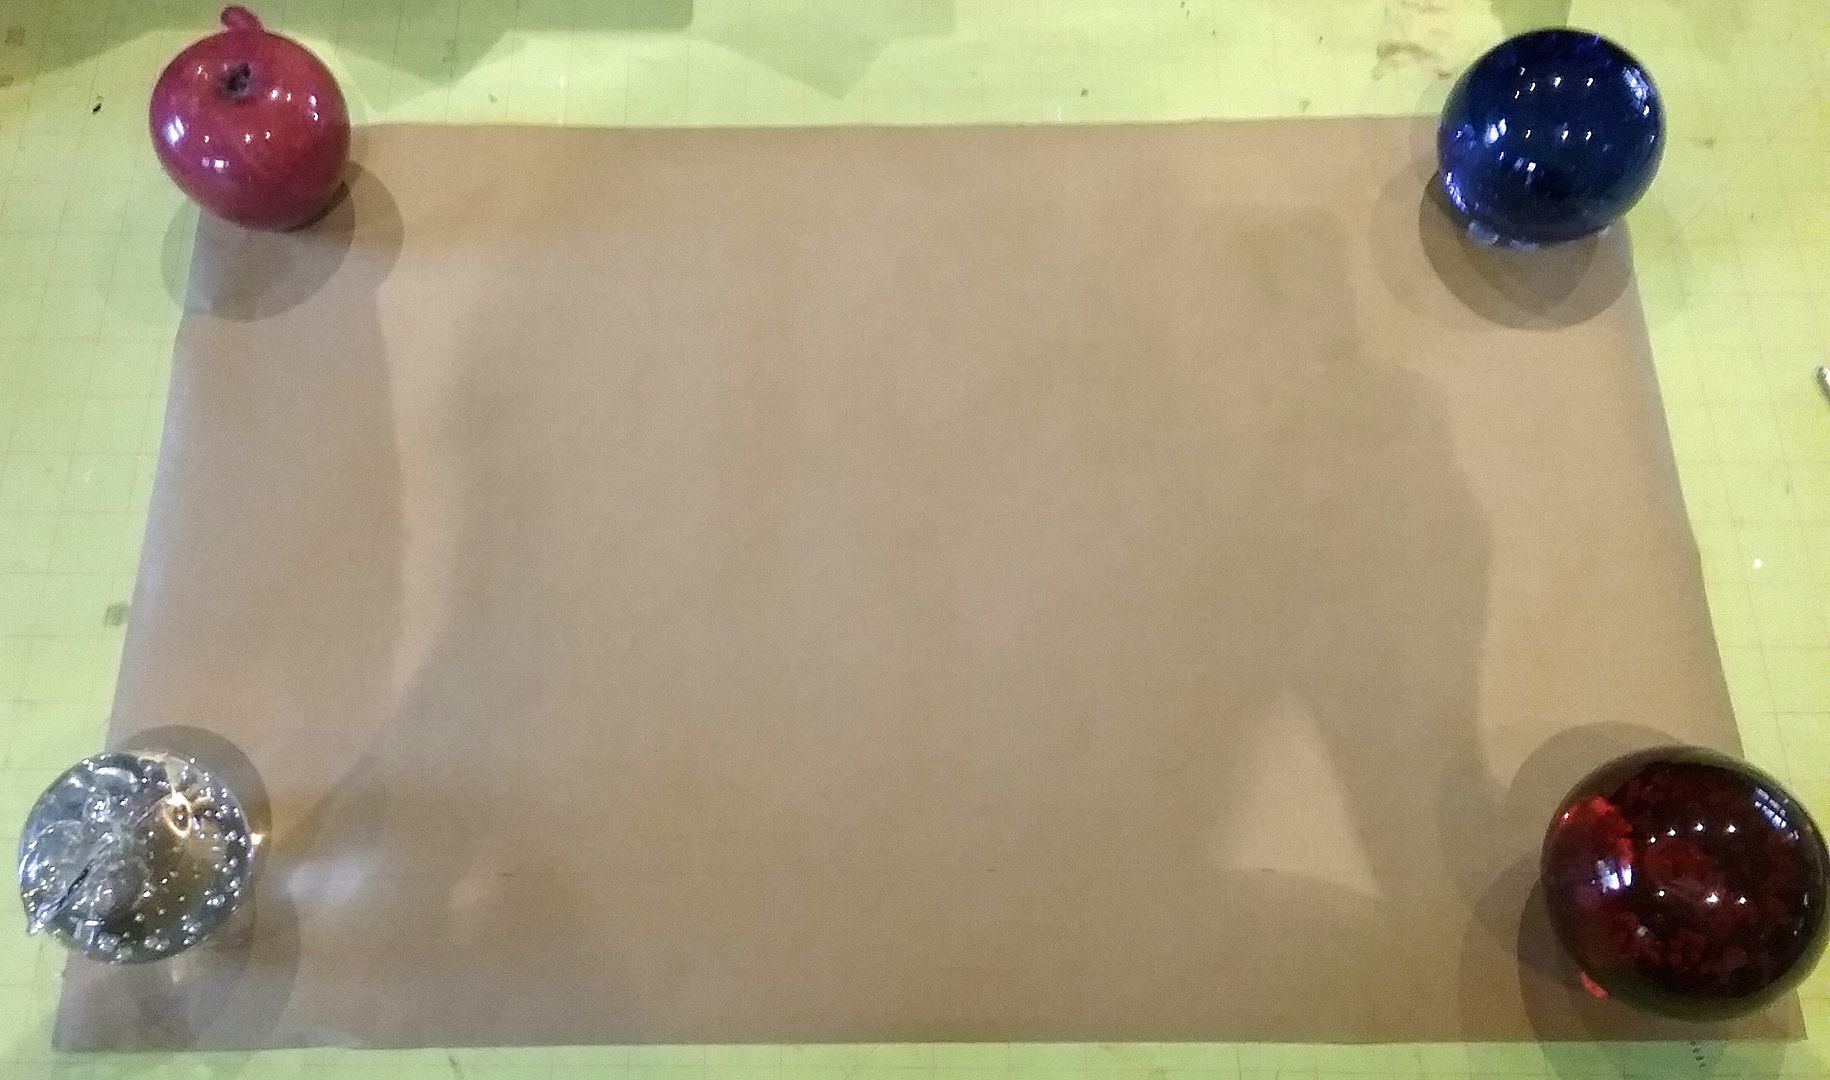
I started by determining the dimensions of the tree.  The paper I used for the base is the kind you use to wrap packages for mailing.  I choose it because of its size and thickness, plus since it comes in a roll it wants to roll up naturally.
Things to consider when determining the dimensions of the tree:
1. The size of the base (round wood base) is a guide to the width of the bottom of the tree.
2. The tree needs to be tall enough to accommodate the opening and the base and look balanced.
3. The opening needs to be large enough to see the house and remove it (if you need access to the light).

TREE BASE WIDTH
The circumference of my round wooden base is 21”.  You'll want to add extra for wrapping and gluing the edges.  Better to have the base too wide than too narrow, as you can overlap the edges more when gluing them together.  Also, the tree gets narrower as it goes up from the bottom, so it has to be large enough that when you insert the wooden round base inside, it will fit.  The round wooden base will be a few inches up inside the tree, which is narrower than at the base.

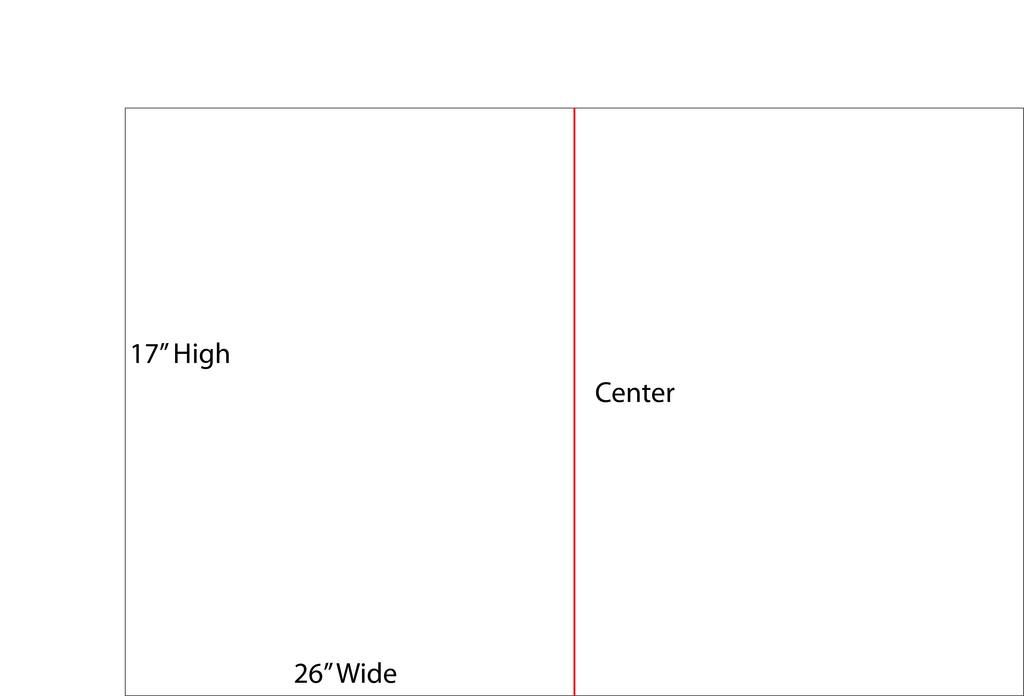
I cut out a piece of wrapping paper that was 26” wide.  The height of the paper at this point didn’t matter as the paper was more than high enough.


HOLE DIMENSION
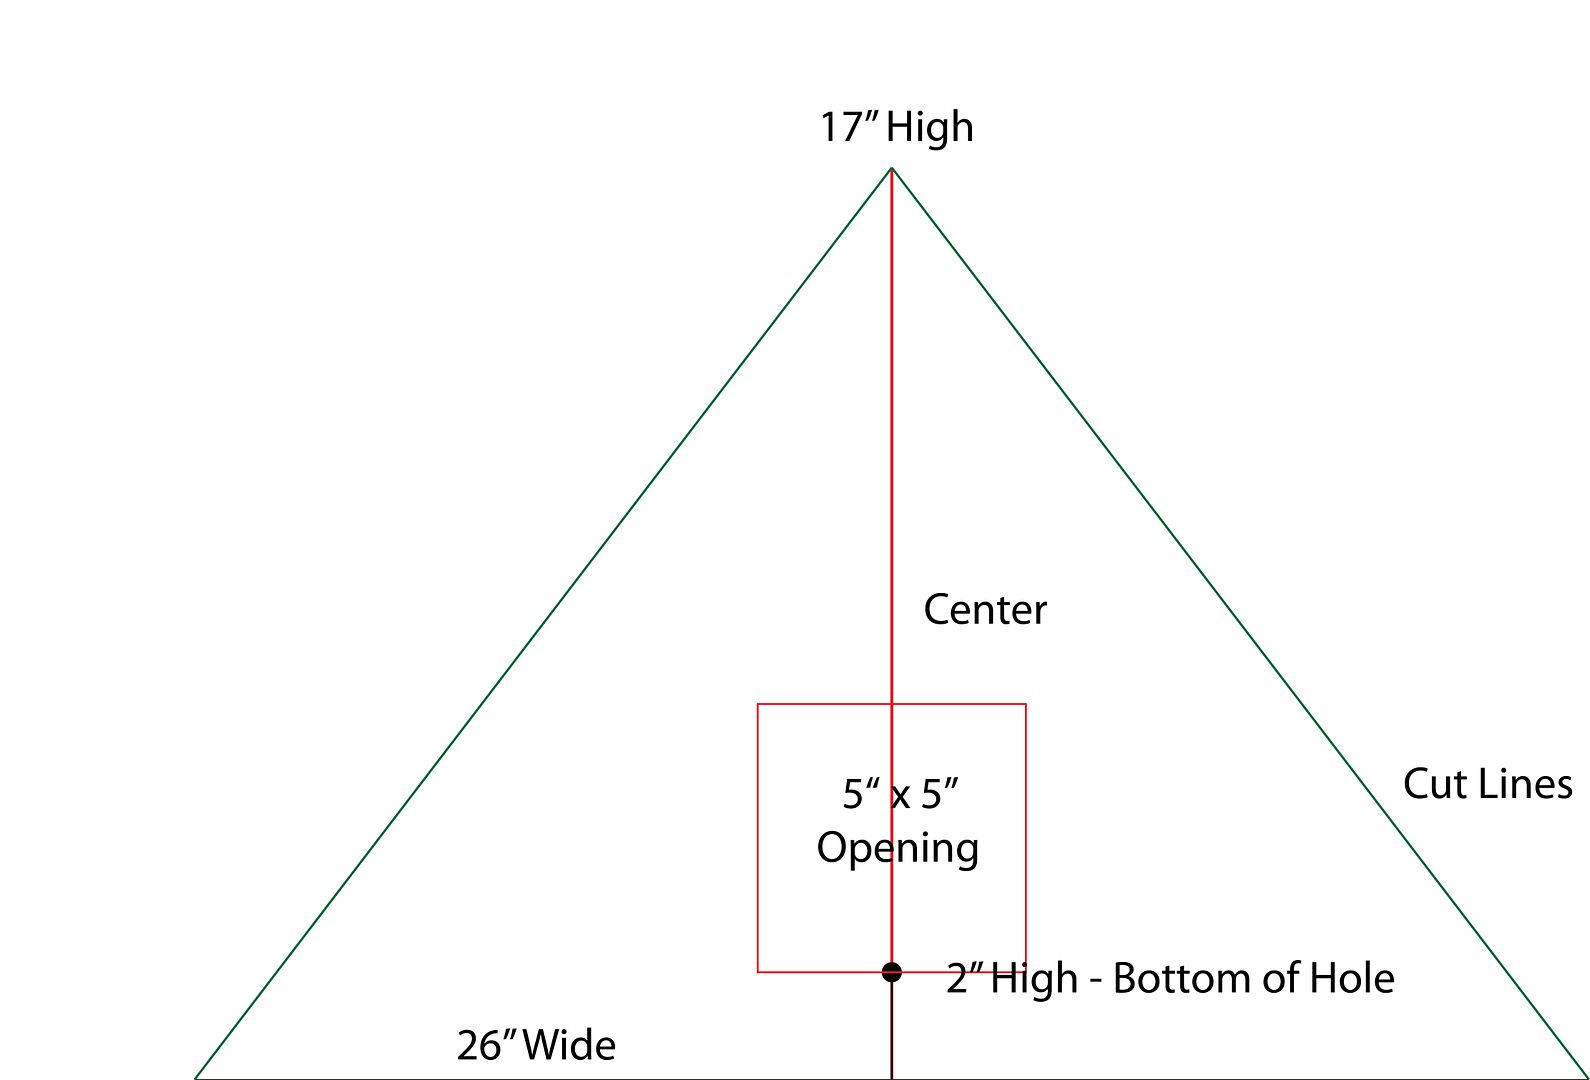
For the opening measurement, I used 5” by 5” large enough to see the scene and remove the house and chipboard base to access the light.

HOLE PLACEMENT
The size of the hole and its placement are factors in determining the tree's height.  I decided I wanted the hole to start 2" above the bottom of the tree.  The round wooden base will be glued inside the tree just a little bit lower than the bottom of the opening.  The 2" of the tree at the bottom covers the candlestick holder and the very top of the silver bowl. See in the picture below where the hole will be.  Also, notice how the hole is centered.


TREE HEIGHT
I decided to use 17” for the height by kind of trial and error method.  I had allowed 2" for the bottom plus 5" for the hole, which was a total of 7".  To determine how much more to add to the height, I rolled the paper into a tree shape and decided what height looked the best.  Too short and you won’t have enough room in the tree for the house; too tall and the piece looks unbalanced (too much tree above the opening).  I decide to add another 10" to the tree height, which gave me a total of 10".

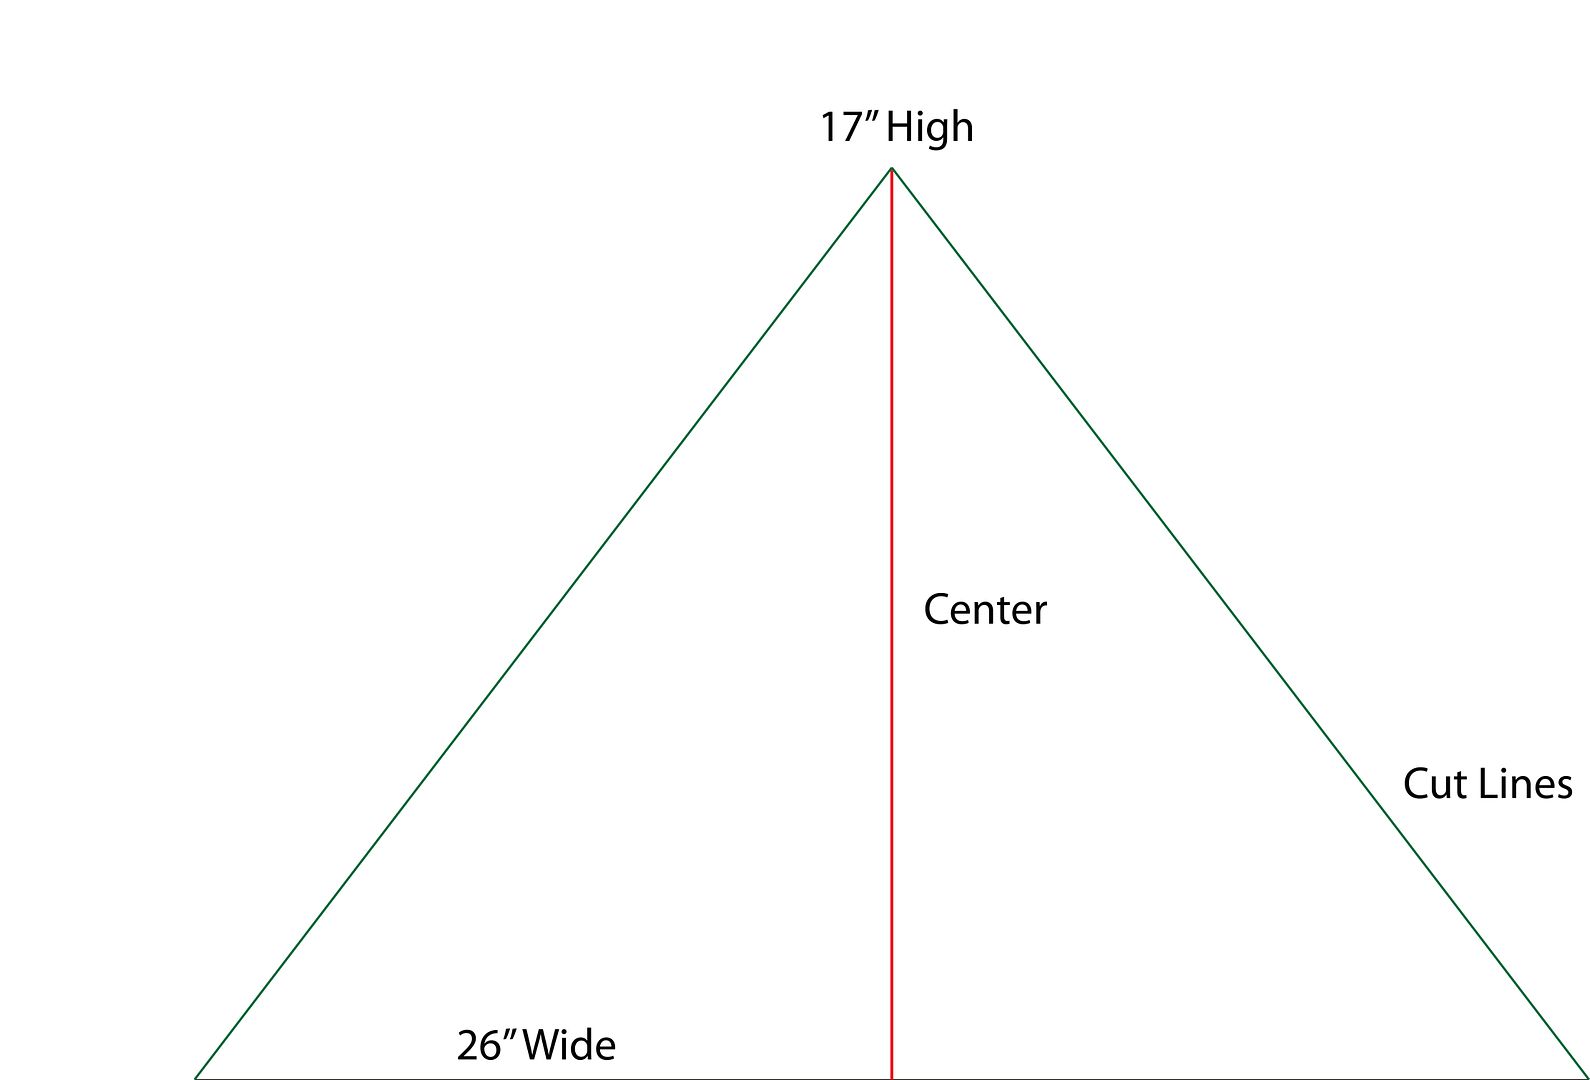
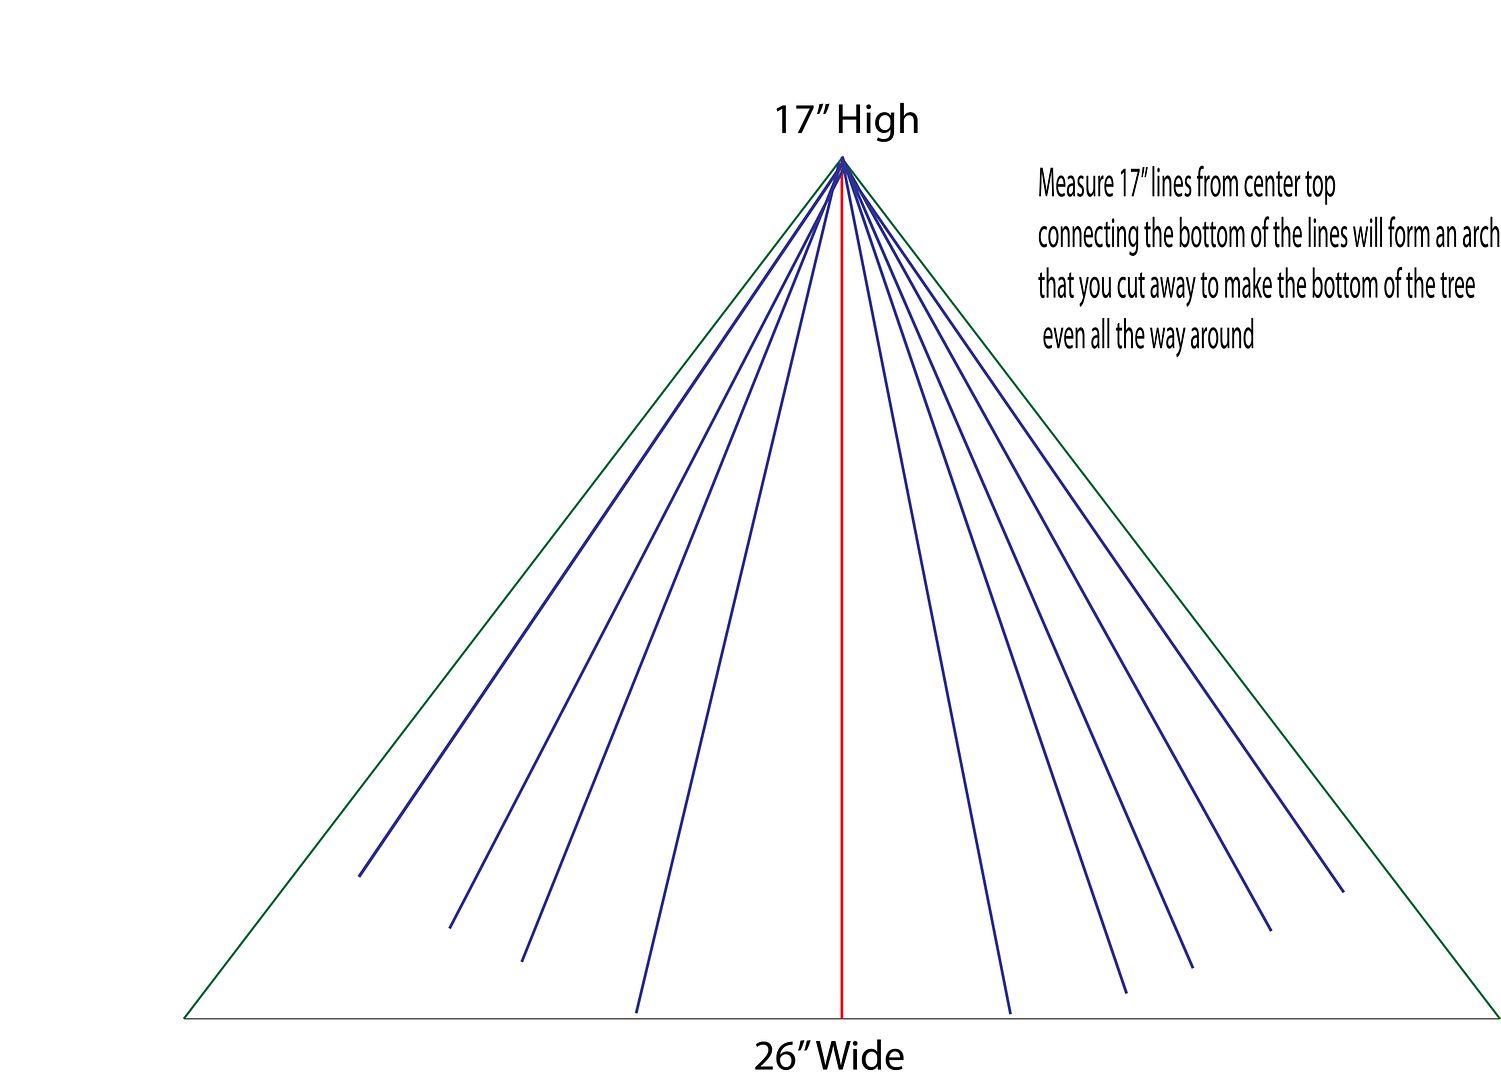
Next, I cut out a triangle.  From the center of the base, measure up 17" and mark. 
Next, draw a line from the mark at the top to each edge of the base (green lines).  Cut along the lines, and you have your triangle.

ADD DECORATIVE PAPER
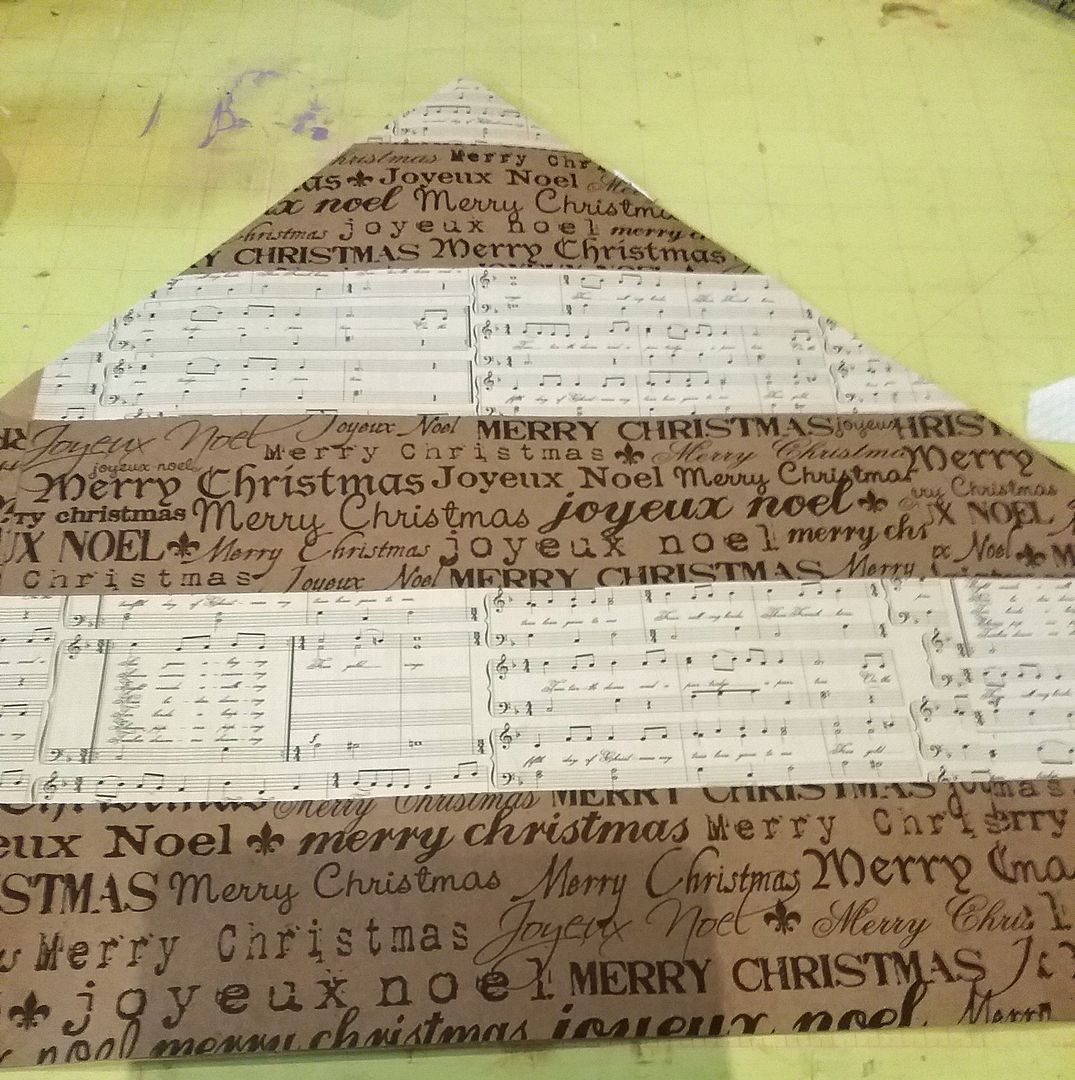
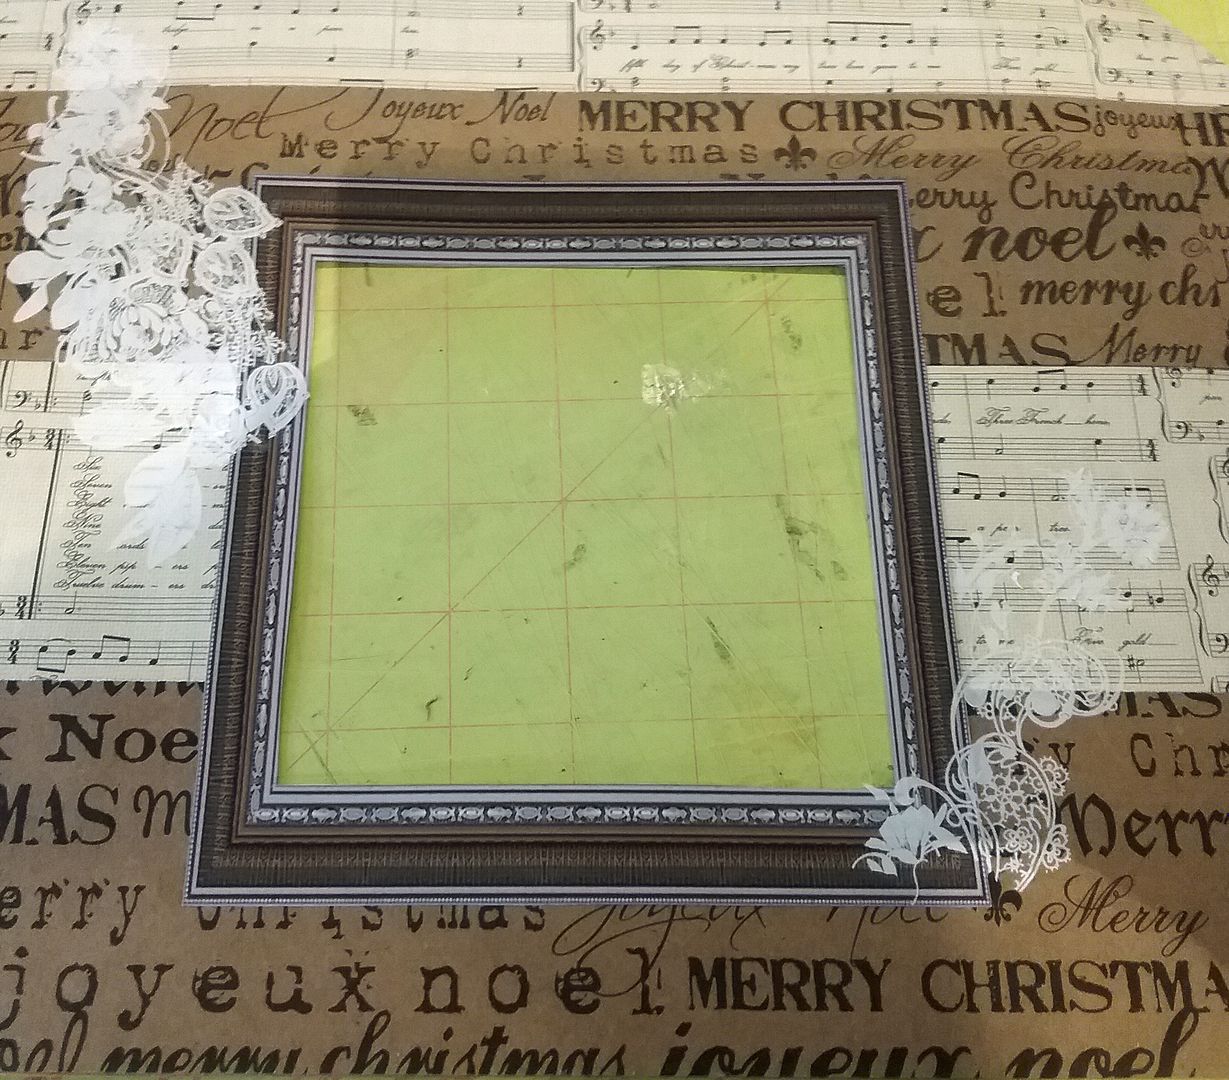
I decided to cut 2 different papers into strips and glue them to the wrapping paper at an angle.
I marked and cut open the hole (see the diagram below), then glued the frame from the Vintage Frames download set over the hole.  Since the frames are .png files, you can size them to fit your hole.
Next, I applied some white rub-on from my stash to the sides of the opening.

MAKING THE BOTTOM OF THE TREE EVEN
Before gluing the tree edges together into a cone shape, you need to level out the bottom of the tree, as it will not be even on the bottom.   The bottom of the triangle shape needs to be rounded.  Using the height measurement (17”), measure from the top point to the base and mark, moving along the base marking 17" inch or so.  Once you have marked the entire bottom of the tree, use those marks (blue lines below) as a guide to cut away the paper, and you will have a rounded bottom which will be even when you glue the edges together.

PUTTING THE TREE TOGETHER AND ADDING EMBELLISHMENTS
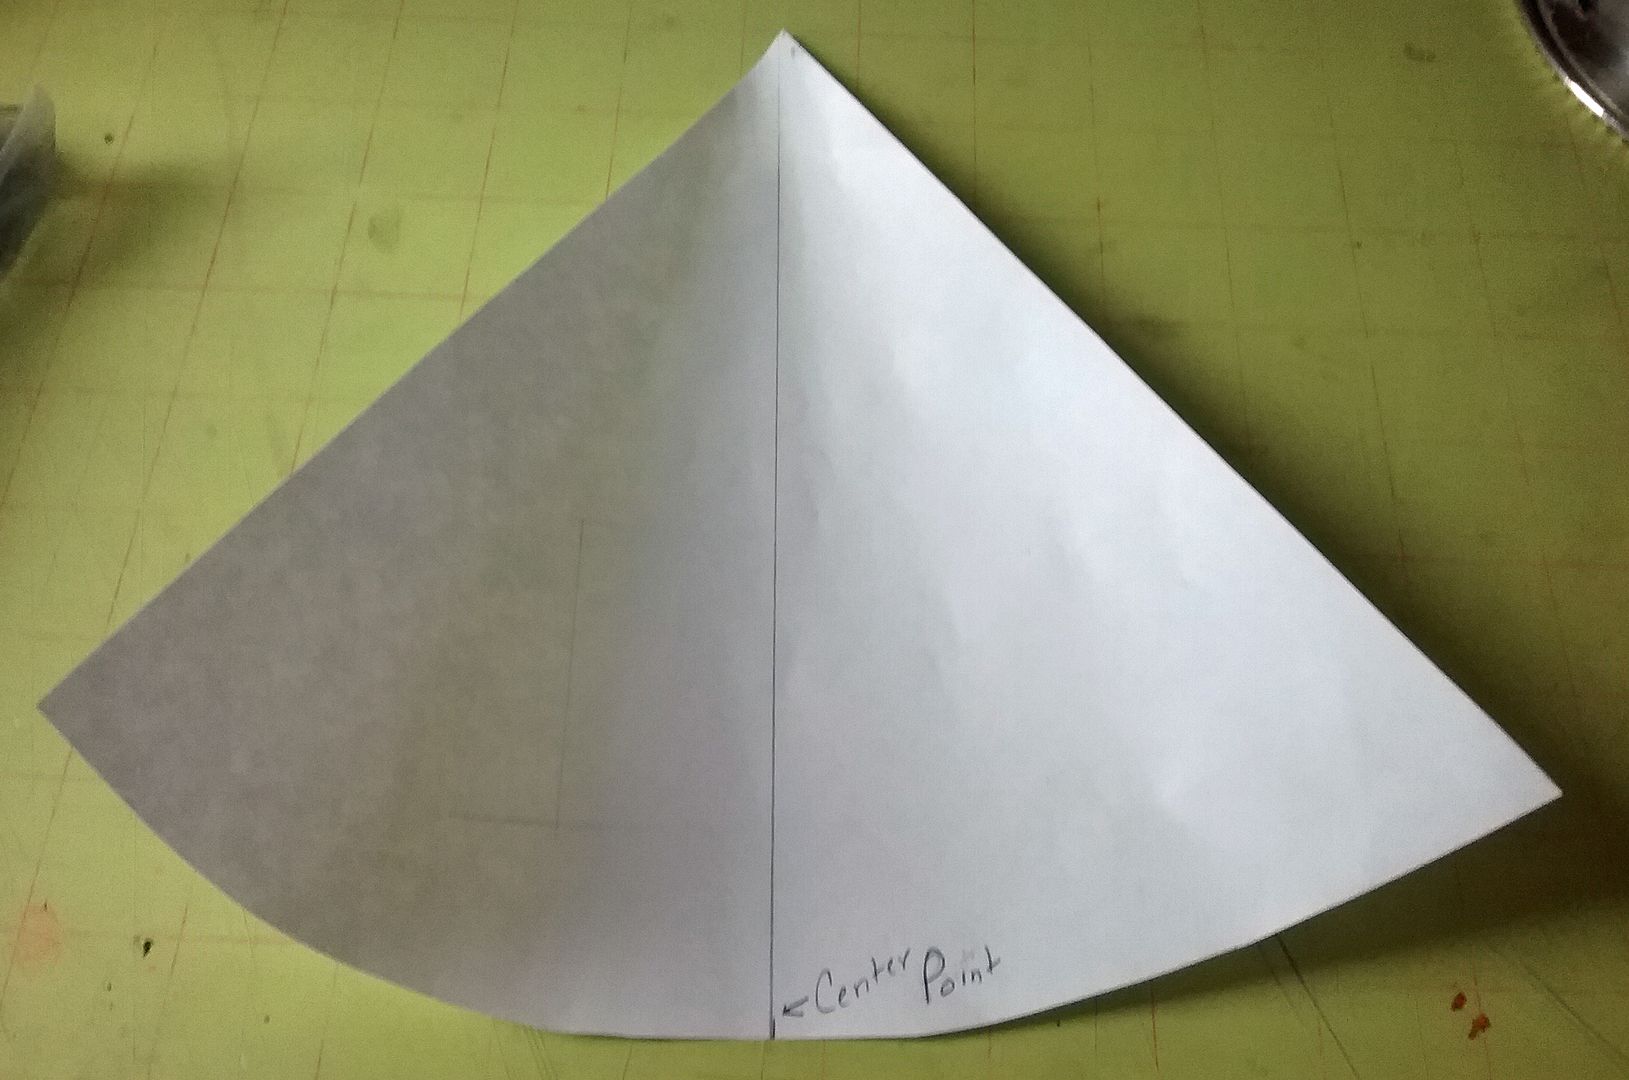
Glue the edges of the tree together (they should overlap), forming a cone shape.  Being mindful of the diameter of the base.  I suggest checking that the base will fit in the bottom before gluing, in this case, 2" up from the bottom (I clipped and marked mine before gluing).  Remember that 2" up in the cone it is not ad large around as it is in the base.  In the case of my tree, the round wooden base was 21" around, but my base at the bottom is bigger, so 2" up, it is 21" around.

I added more of wrapping paper to the inside of the tree to cover the seam where the sides are glued together.  The color of the wrapping paper worked fine for the color scheme I was using.  I also glue gold and silver stars to the inside of the tree.
Next, I added all of the embellishments to the sides of the frame.  At this point, I had not yet glued thee the round wooden base inside the tree.


THE STAND

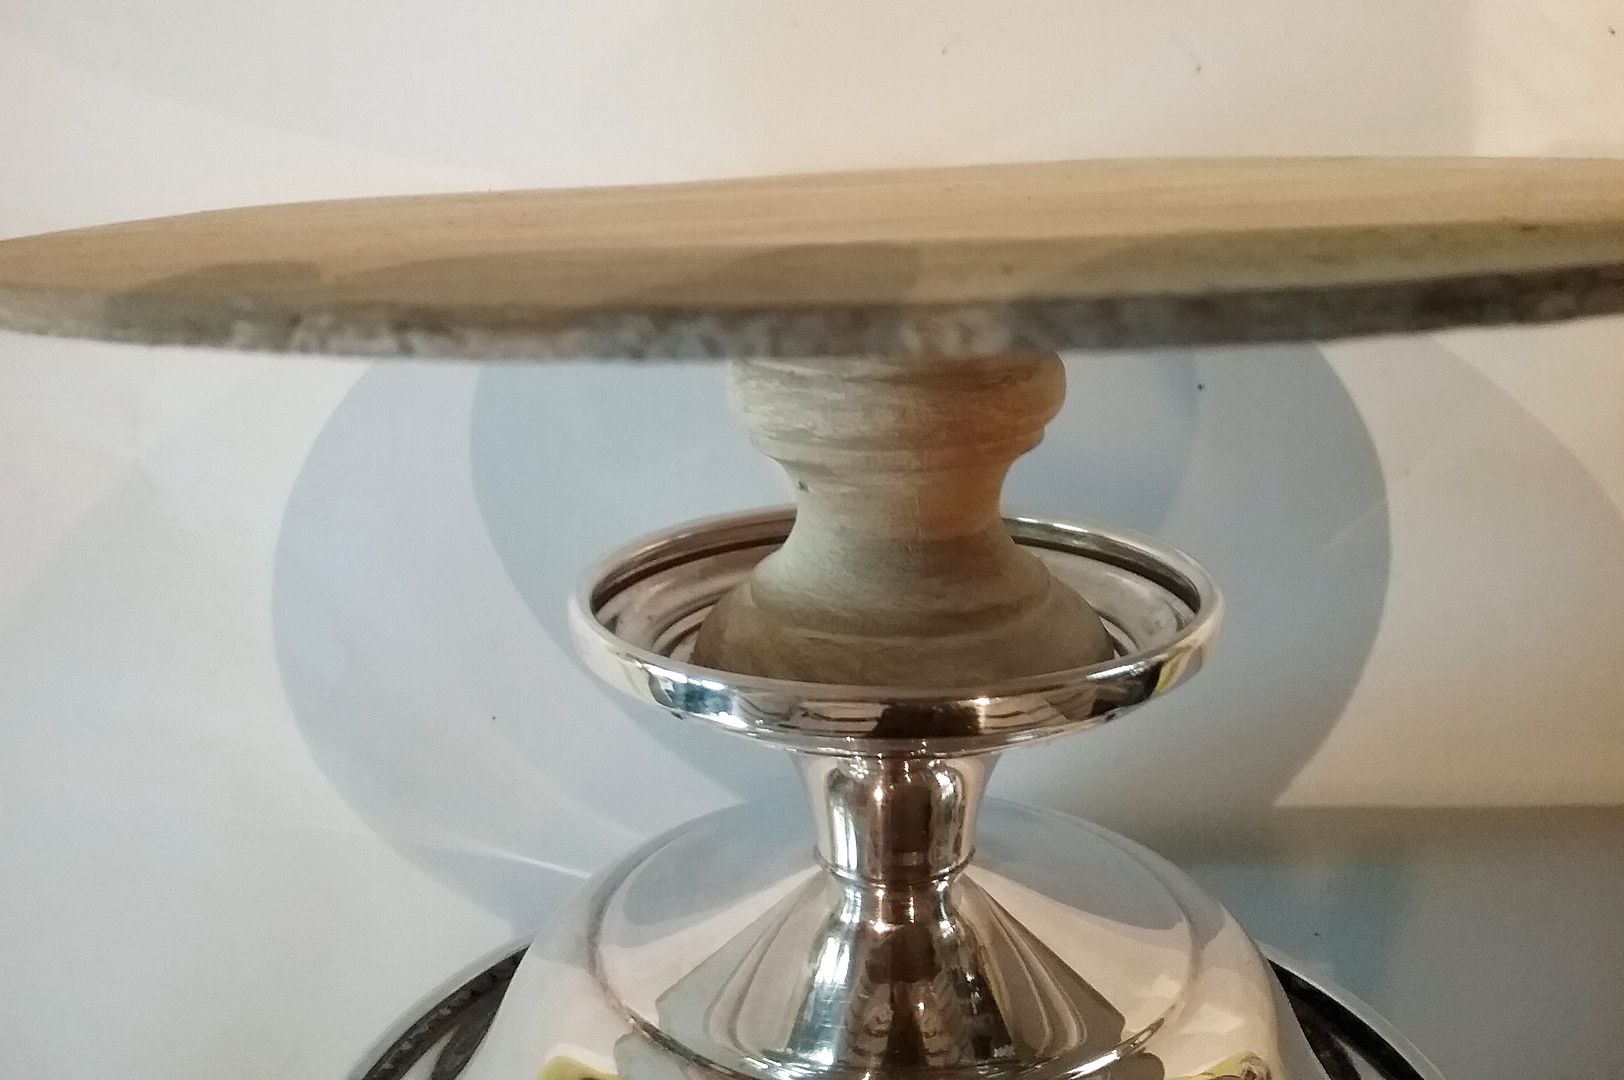
The round wood base is from my stash.  I glued a wooden candlestick holder to the round wood base.  The combination chipboard house and base are NOT glued to the round wooden base.  By not gluing it in place, I can remove it via the opening in the tree and turn the light on and off.

I had originally thought that I would just use the candlestick as the base, but it didn’t make the stand high enough to appear at the right height in the opening, and I didn’t think it had enough sparkle.
Next, I attached a silver bowl turned upside down to the candlestick holder using sticky dots.  I used the dots because it makes it easy to remove the bowl from the candlestick holder (without damage) for polishing.  It is also easy to remove the sticky dots and replace them.
The final touch was the filigree star at the top with an acrylic snowflake (with Diamond dust).
Notice in the picture below of the finished tree; I can remove the house to access the light switch.


DETAIL MASTER SUPPLY LIST
Mini Christmas Titles Collage Sheet
Tiny House Trims Collage Sheet
Black & Kraft Christmas Text Scrapbook Paper
Classic Christmas Postcards & Music Scrapbook Paper
Christmas Delivery 6 x 6 Paper Pad
White Suede Paper
House Ornament
House Ornament Base
House Ornament Window Trims
House Ornament Chimney & Dormers
Tiny Shingles Stencil
Candlestick Holder
3mm Gold & Silver Stars
Acrylic Christmas Bead Mix
Frozen Clear Icicle Borders & Snowflakes
LED Tea light
Giant Snowflakes – Bronze
Twinklets Diamond Dust
5mm Star Sequins
Clear Acrylic Bead Sprays - Asymmetrical
Mulberry Paper Lilies - Red & White Mix