

Welcome back to the house on Irongate Street. Looks like Helena has made more improvements.
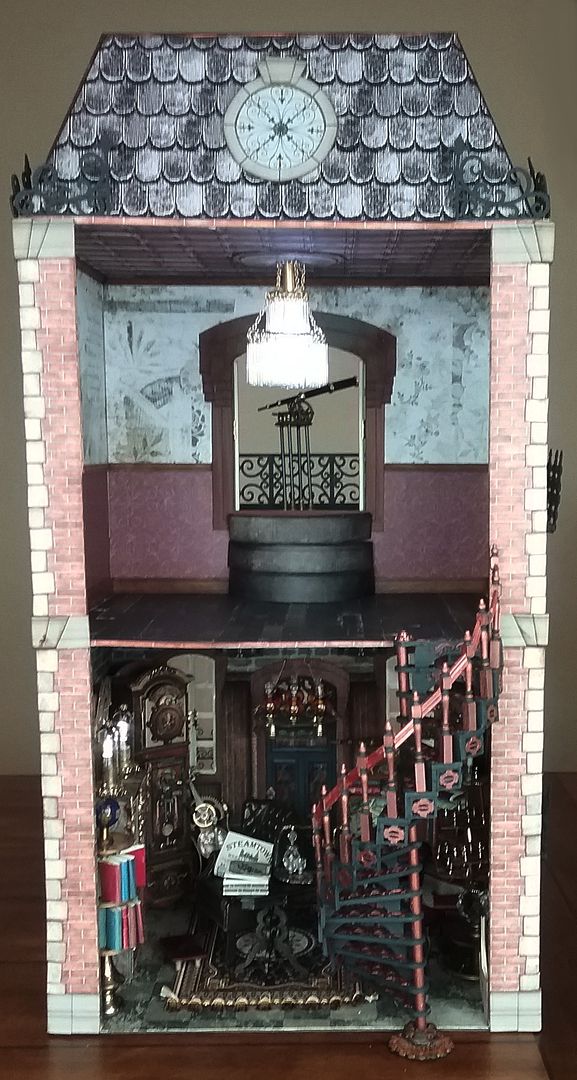

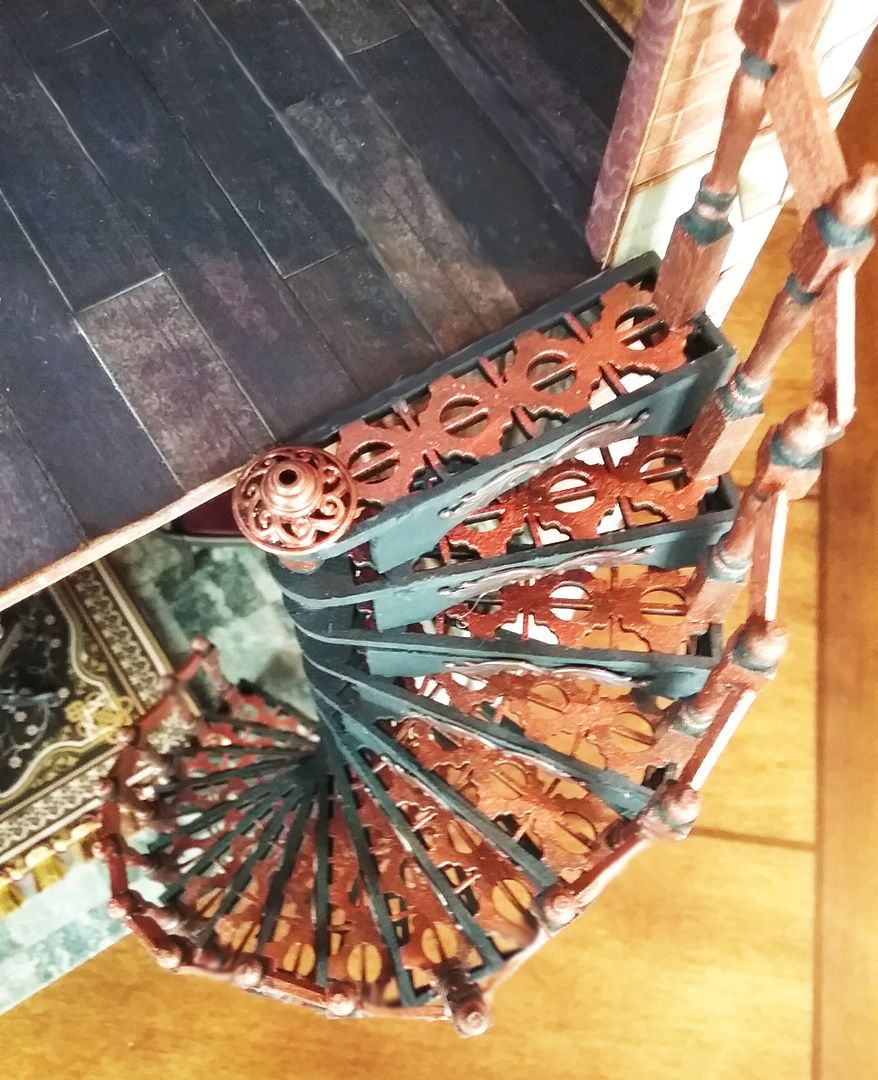
It starts on the first floor and spirals up to the front of the second. The staircase design is versatile and can be used outside of the house (as in this example) or inside the house by cutting an opening in the ceiling. For this project, I chose to locate the staircase outside so I would have more room for furniture.
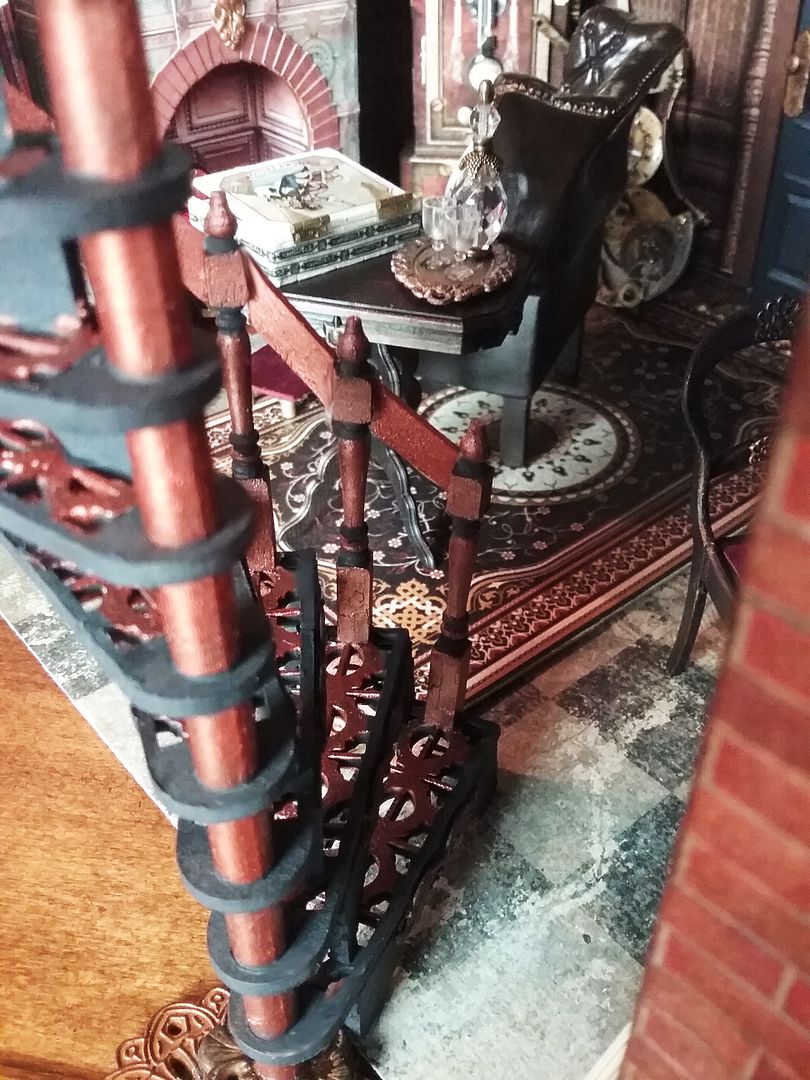
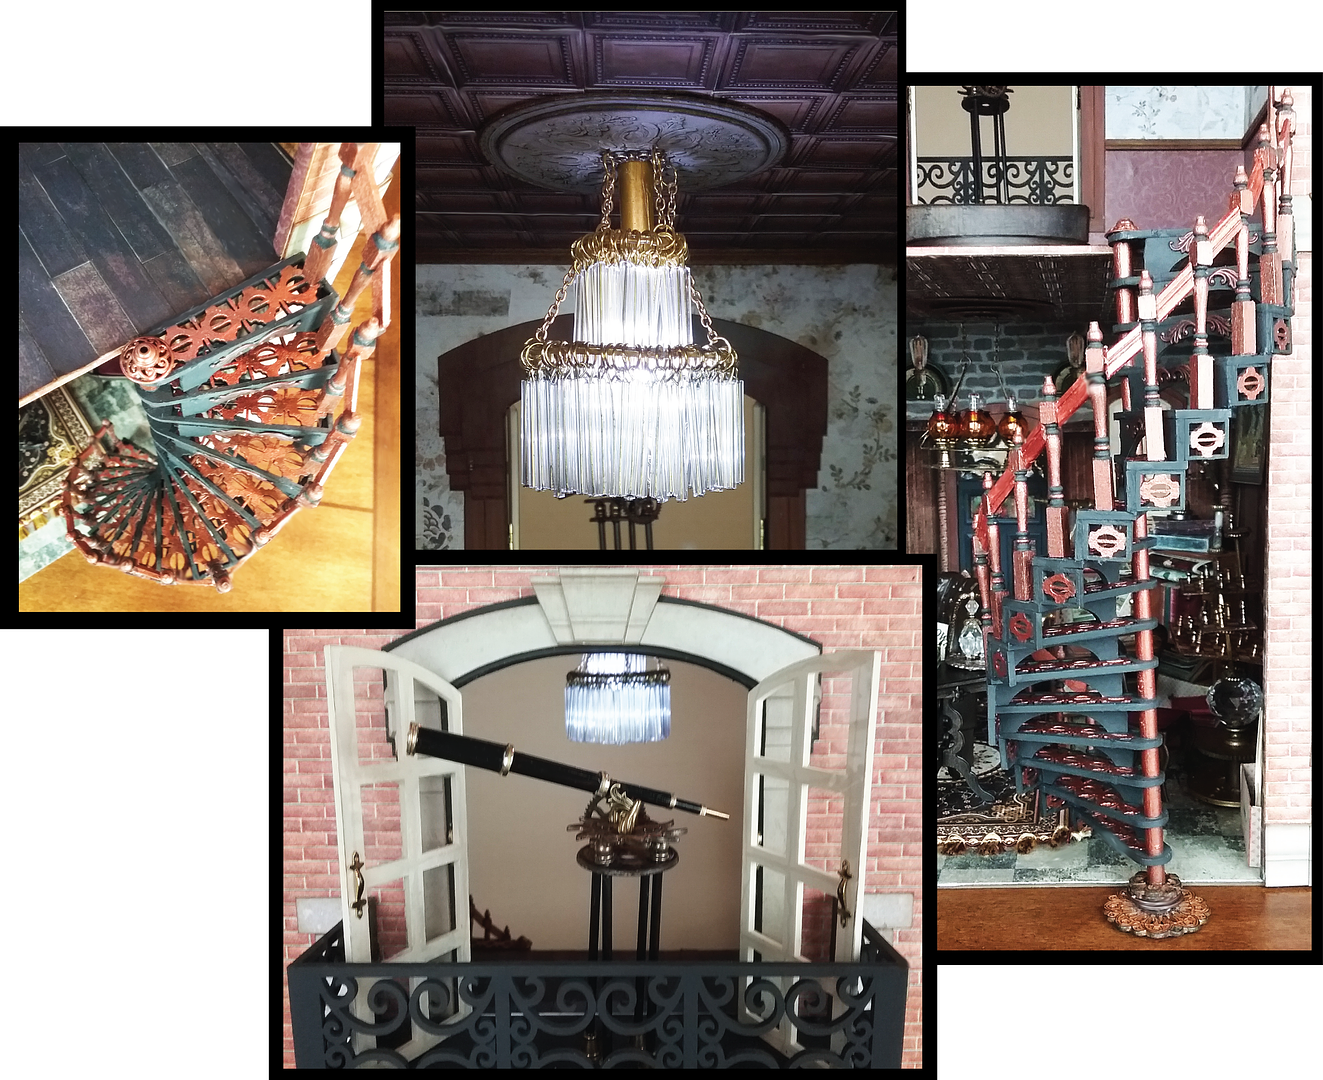
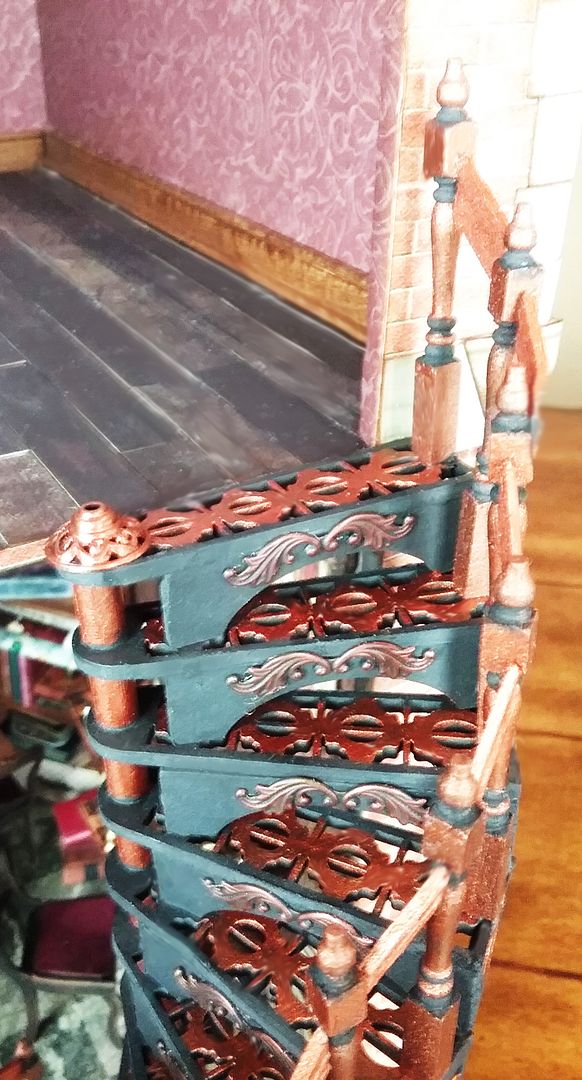
The staircase has beautiful fretwork details. The good news is that it’s a kit, yeah for kits!
There are so many things you can do to add a railing. In this example, I’ve used wooden table legs as the spindles and cut pieces of wood chair railing as connectors.

Upstairs you’ll find a lovely lighted chandelier. Helena thought the room needed some bling and this chandelier fit the bill. Notice how the light casts shadows on the ceiling.
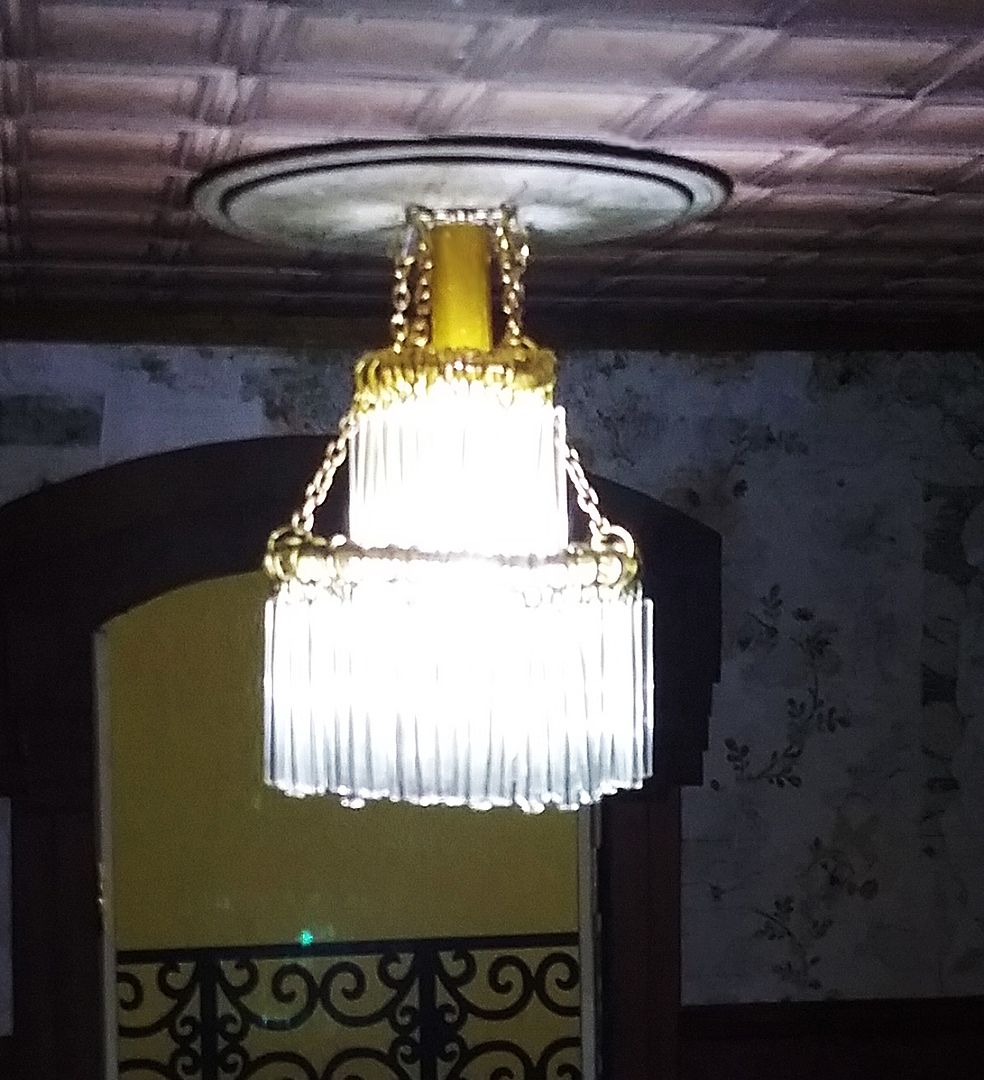
You’ll be surprised at how easy it is to make. I used two different-sized rings (an earring and a keychain ring) connected with a chain. Hung on each ring are lots of 1-inch glass bugle beads. The light comes from two sets of mini fairy lights. There is a hole in the ceiling where the strings of lights are inserted through a plastic straw down into the chandelier. The roof hides the batteries and switch, allowing easy access to turn the lights on and off. But don’t worry; I’ll walk you through the assembly in the video tutorial.
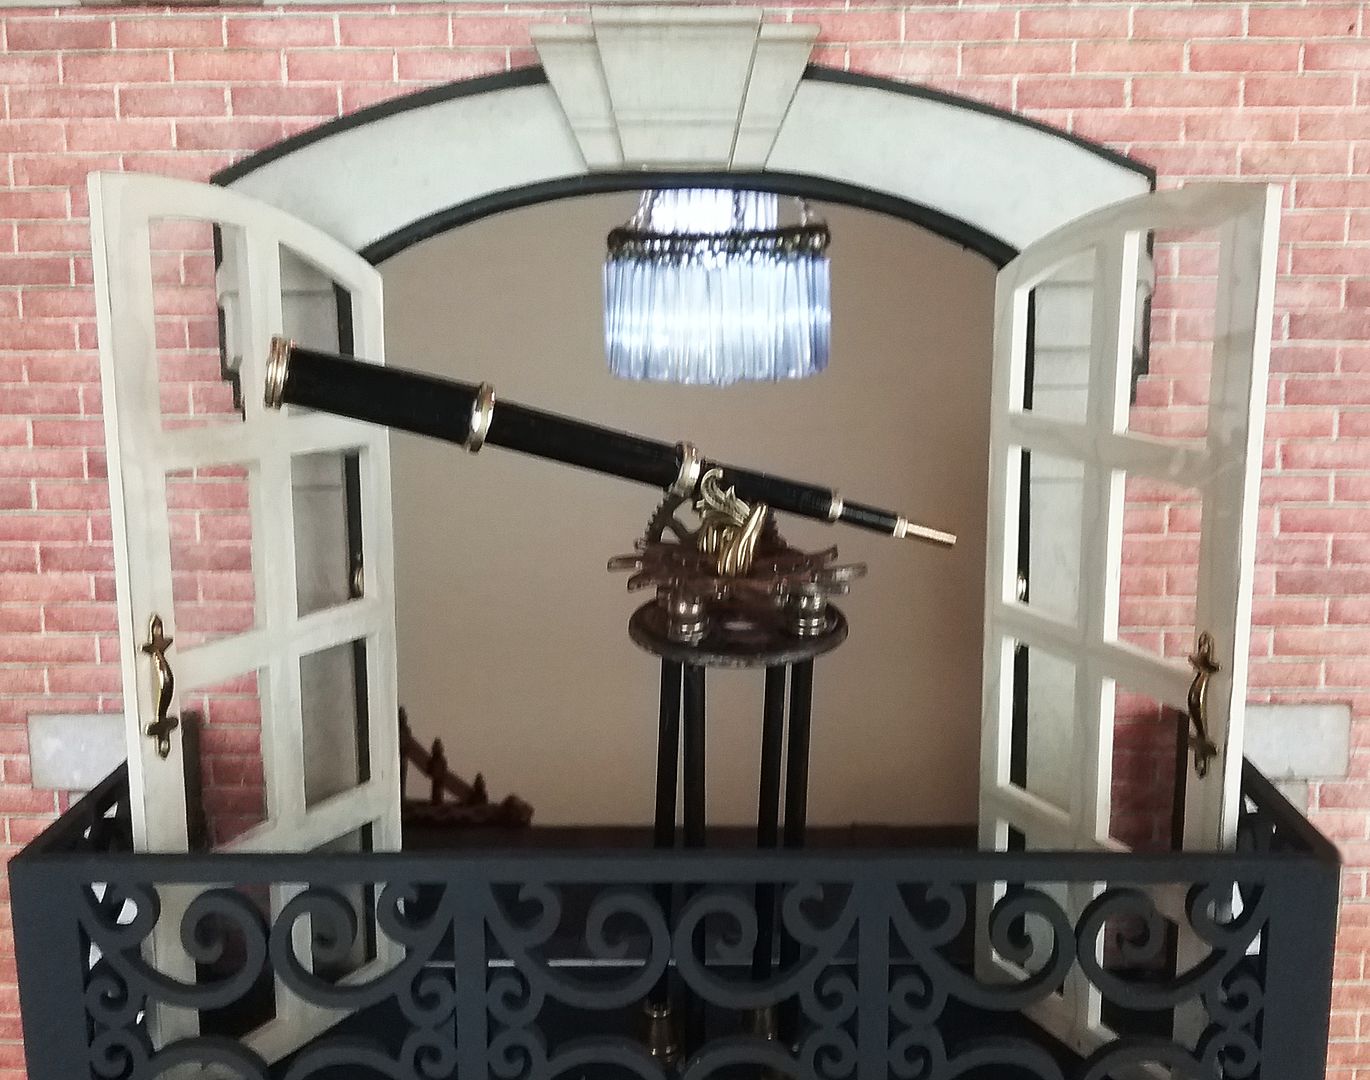
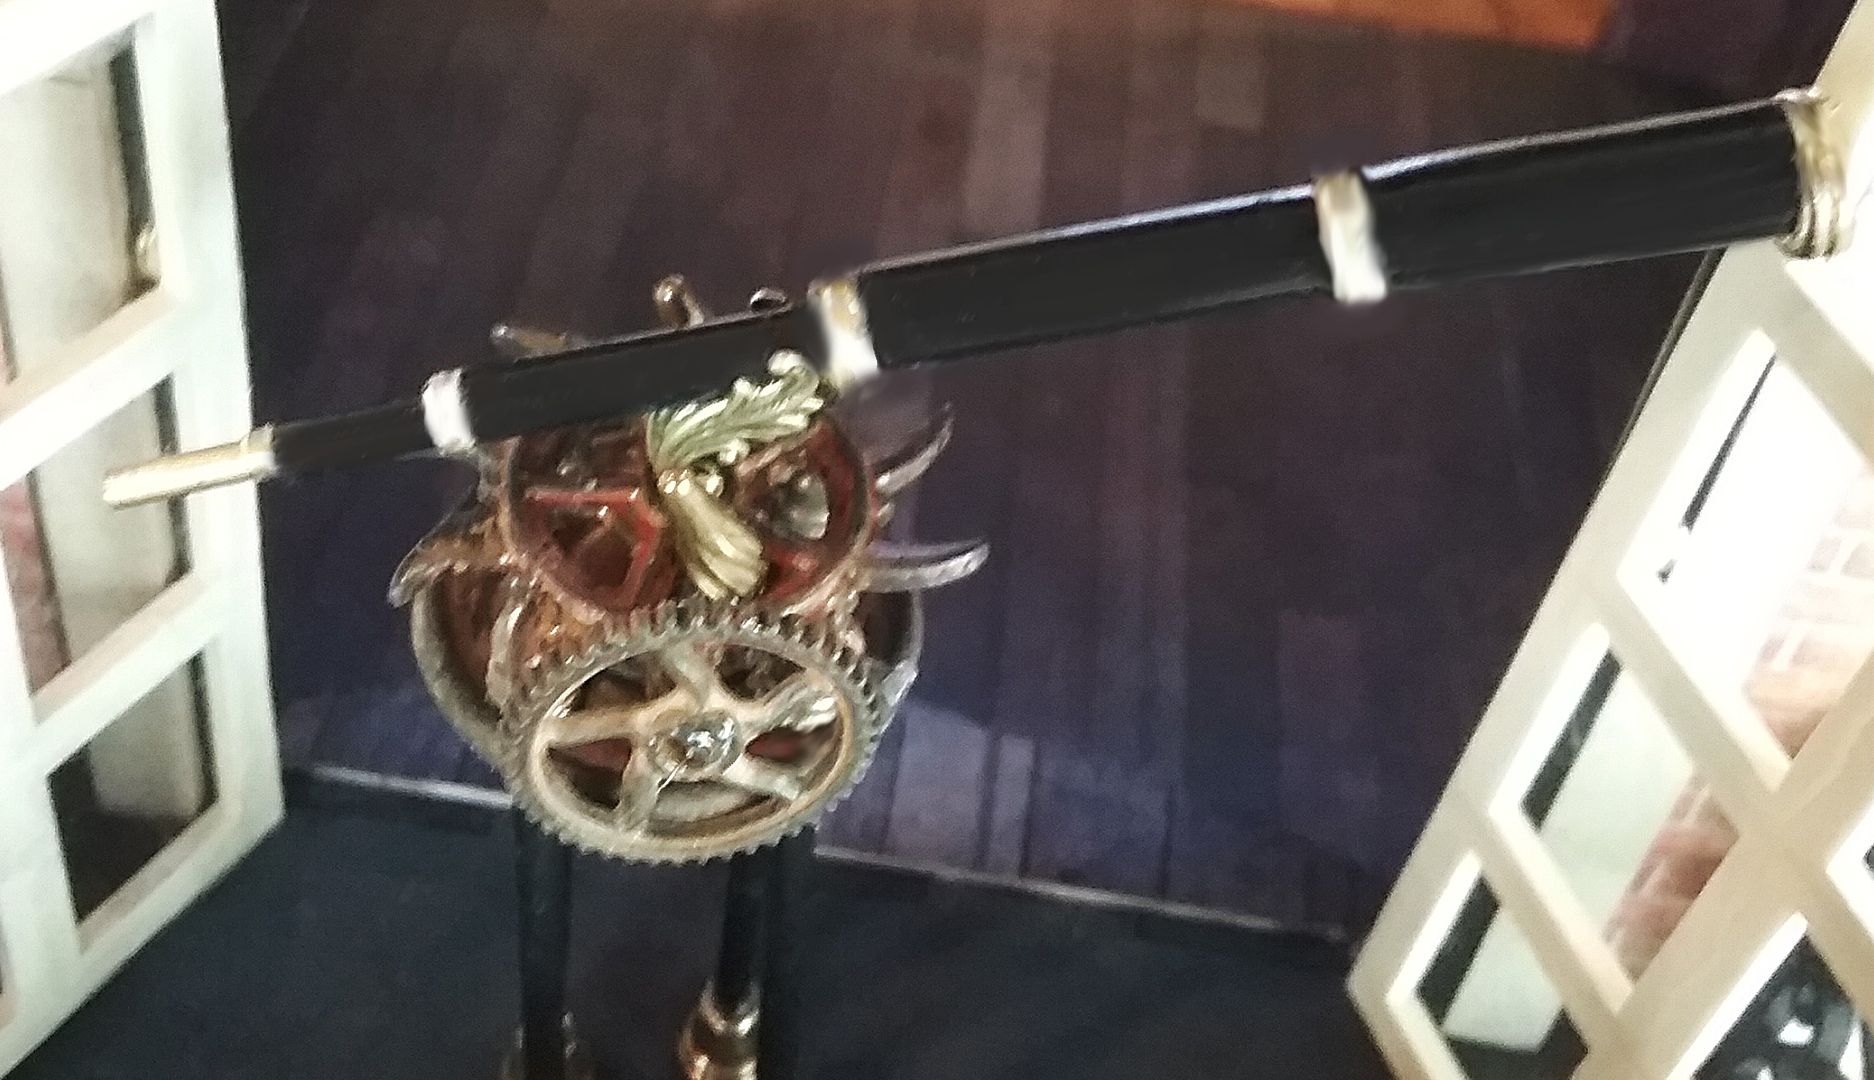
Helena’s spy scope is on the balcony, a necessity for any explorer. Again I have used one of my favorite construction materials, various sizes of plastic straws; yep, the scope and legs are made from straws.
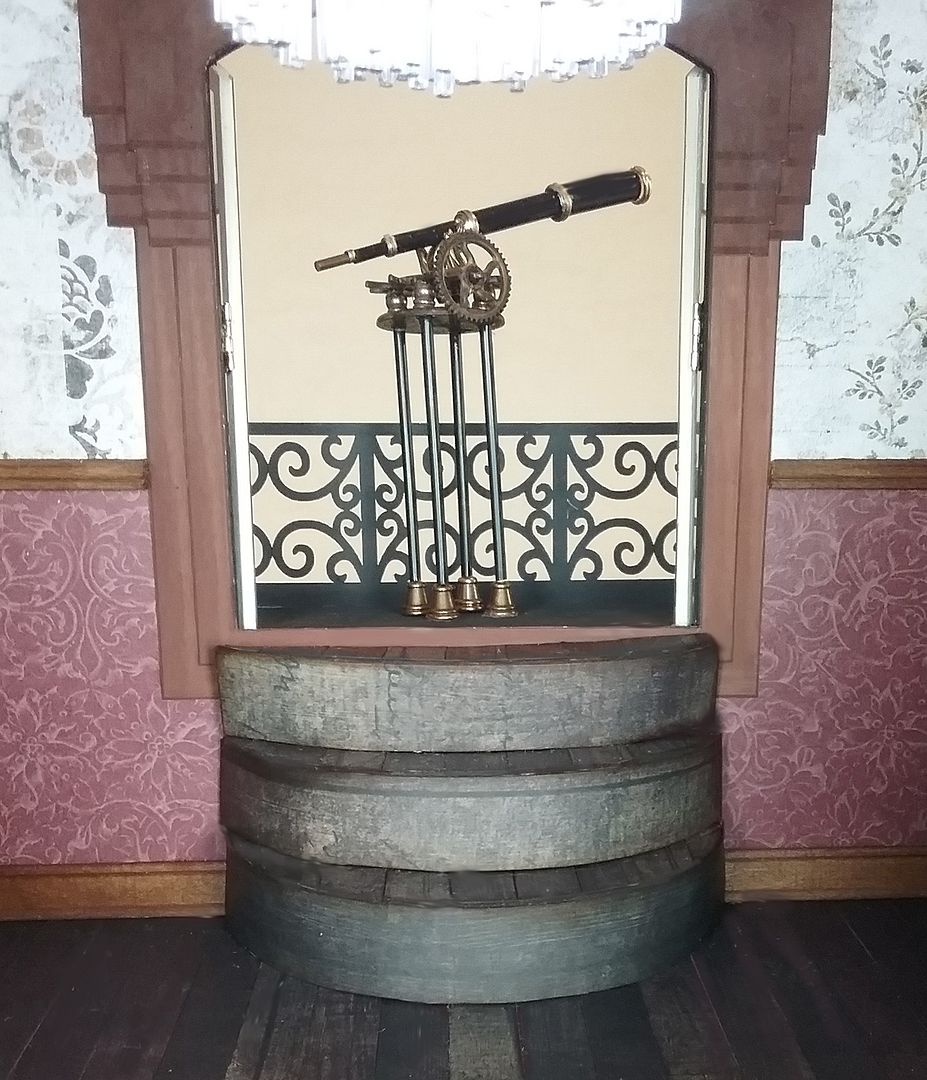
The cool rusted platform is made from Finnabair Mechanical Metals sets. They come pre-rusted and in various shapes. You’re going to see me use these repeatedly in future projects. In this project, I also used them for the base of the staircase.
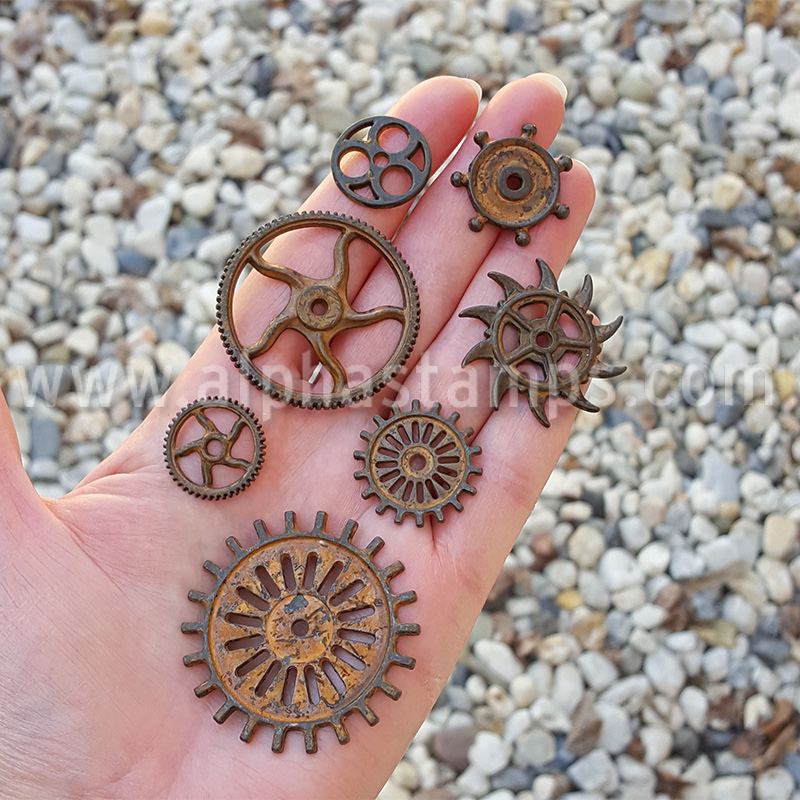
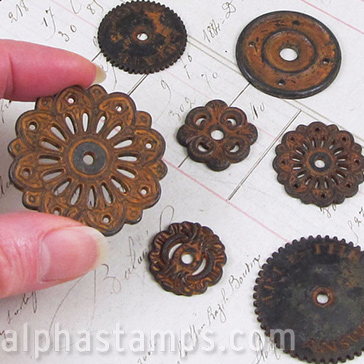
One of the Finnabair wheels and brass fluted dangles are used for controls, and a bronze flourish (folded) is used to connect the scope to the base.
When you first saw the house, you might have wondered, “how in the world do you get up to the balcony.” In the video, I’ll show you how to build a custom set of steps. I’ve included the template (at the bottom of the post).
You might have noticed at the end of the last project post, I indicated that decorating the second floor would be the next post. For timing reasons, I decided to flip the posts and deal with the staircase, chandelier, etc., first, and the next post (I promise) will be decorating the second floor. Besides, there is no way to get up there without a staircase.
Below you'll find the video tutorial, a link to a picture gallery, the balcony step template, and the complete supply list.
VIDEO TUTORIAL

OTHER VIDEOS IN THIS SERIES
BALCONY STAIRS TEMPLATE

DETAILED SUPPLY LIST
Spiral Staircase Kit
Chesterville Hargrave Scrapbook Paper – Balcony Stairs
Set of Wooden Table Legs – Spiral Staircase
Wood Trim – Chair Rail – Spiral Staircase
Symmetrical Bronze Flourish – Spiral Staircase
15mm Antique Bronze Filigree Bead Cap – Spiral Staircase
Finnabair Mechanicals Metals – Rustic Washers – Spiral Staircase
Architectural Trims Set Download – Chandelier - Medallion
Mini String of Fairy Lights - Chandelier
1 Inch Glass Bugle Beads or Dollhouse Straws – Chandelier
Antique Gold Square Filigree - Chandelier
Vintaj Metals Patinas – Victorian Gold - Chandelier
5 comments:
Straws? I am blown away! This is such a beautiful masterpiece you are putting together..Thank you for all of your inspiration!
BRILLIANT to the MAX! Love the staircase, the chandelier and the telescope.
When it comes to creativity- You are THE BOMB! :D
Laura, this project is just so fantastic! I love everything you make. You are so creative!!
Holy Moly!!! You are an inspiration. Just found your blog. Don't know what took me so long. You "got skills". I've been in a severe depression for years and have been trying to pull myself out of the funk by finding great things on the internet to get my mojo back. Thanks so much for posting on your blog as I know how much time it takes to do it. For people like me it is so helpful. You don't think when you are posting what a positive effect it might have for others. Sometimes people like you need to be told that they are helping those of us out here like me so much. thanks...micki
Wonderful blog post! I'm building a steampunk dollhouse with my daughter and this is so helpful! My wish list at Alpha stamps is huge!!! Thank you, Wendy
Post a Comment