-->

Welcome

I love answering your questions. If you ask them in the comment section, I have no way to answer you (if you haven't heard from me, that is why). If you use the "EMAIL ME" in the left column of this page, I will be able to respond to you. You can also use it if you want to be added to my newsletter. Laura
Showing posts with label Circus. Show all posts

Saturday, May 16, 2015

THE CIRCUS COMES TO TOWN – NEW Clowning Around Collage Sheet & FREE Circus Collage Sheet

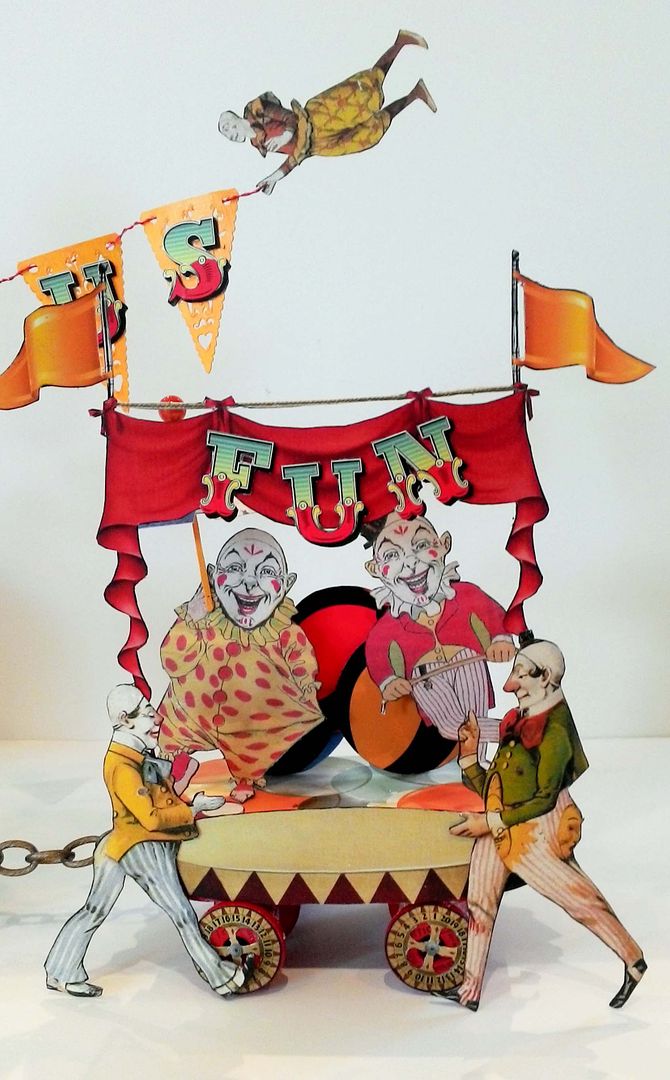
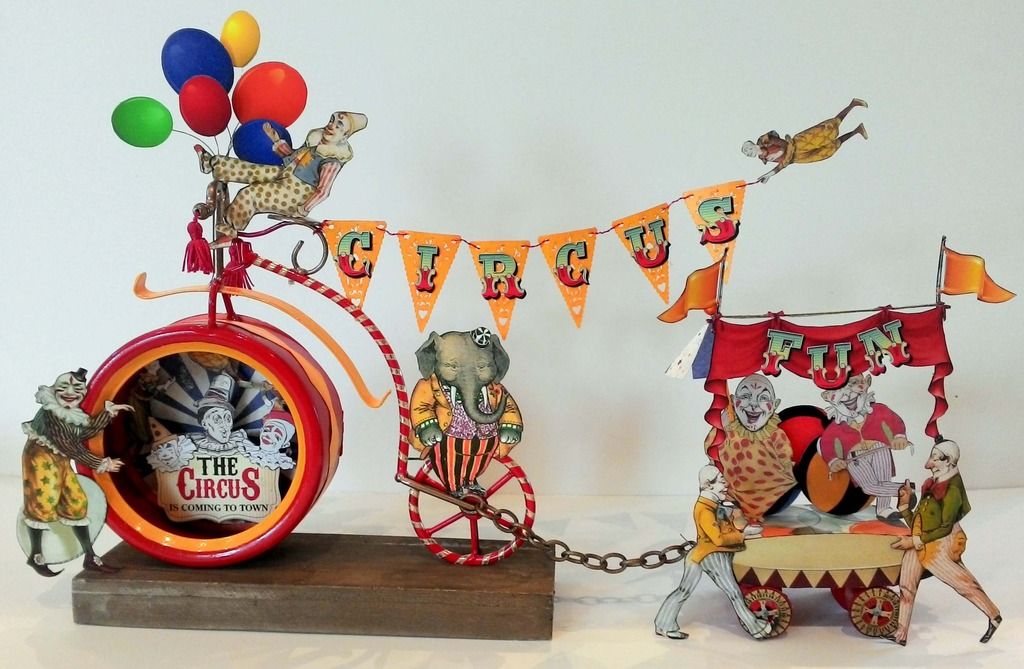
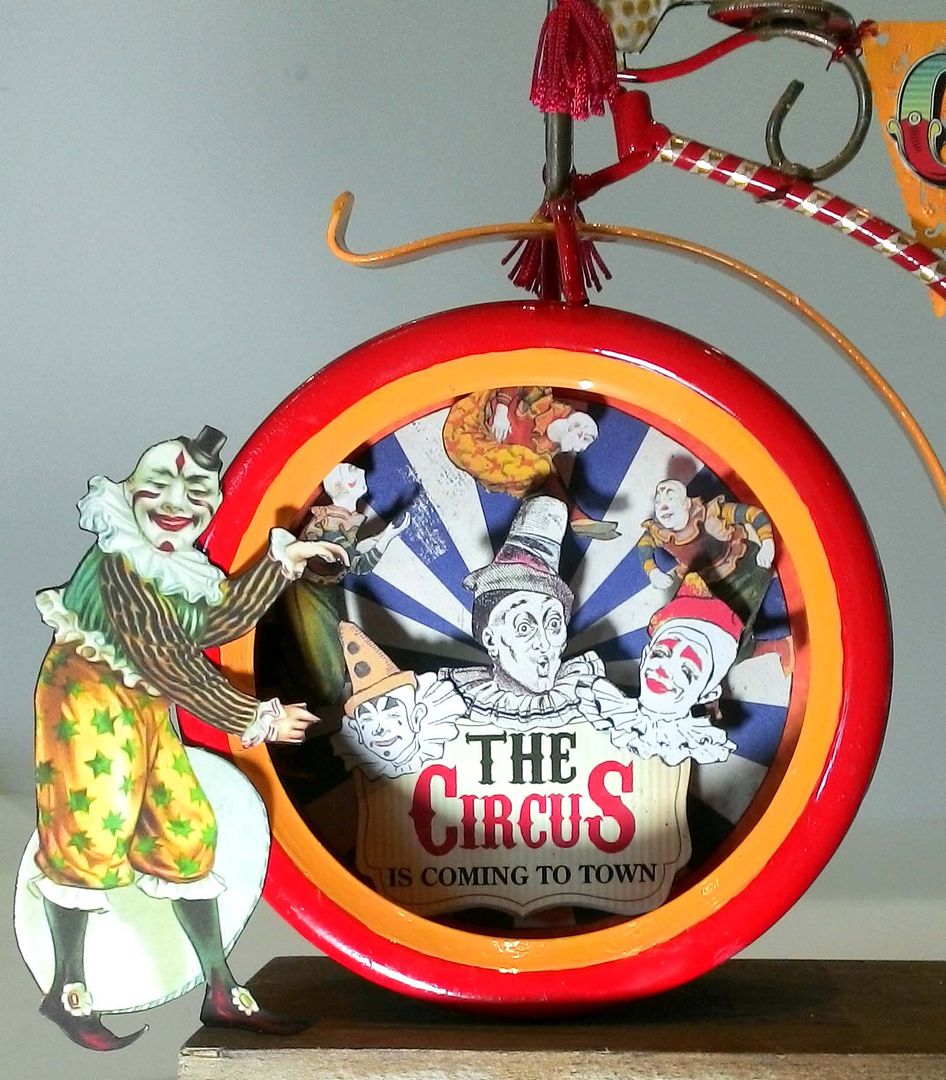
The circus is coming to town, led in by a parade by the clowns.  In my version of a circus, it’s not the people who are in charge but the animals.  Standing on the back wheel of the bike is the ringmaster himself Mr. Elephant.
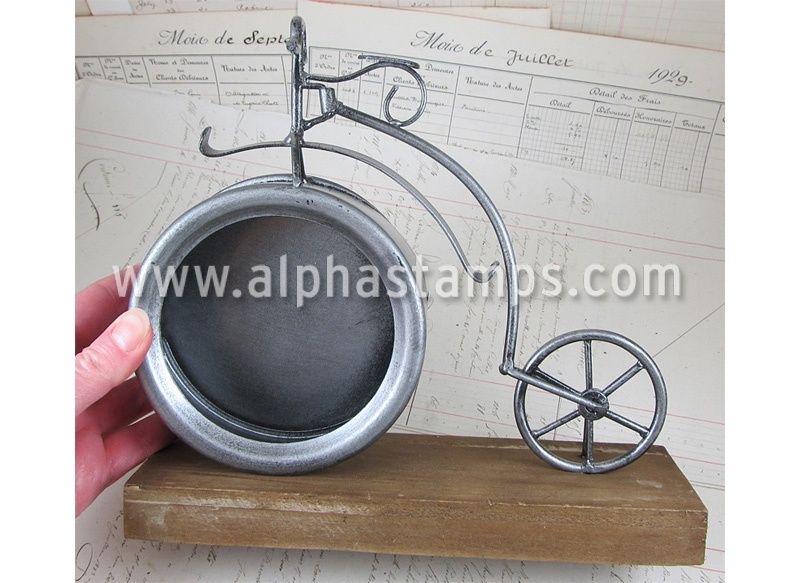
The inspiration for this fun-filled piece is the Metal Bicycle Frame; it makes such a cool backdrop for clowns' shenanigans.  I could also see this piece being incorporated into other themed projects like Steampunk or a summer/children-themed piece.
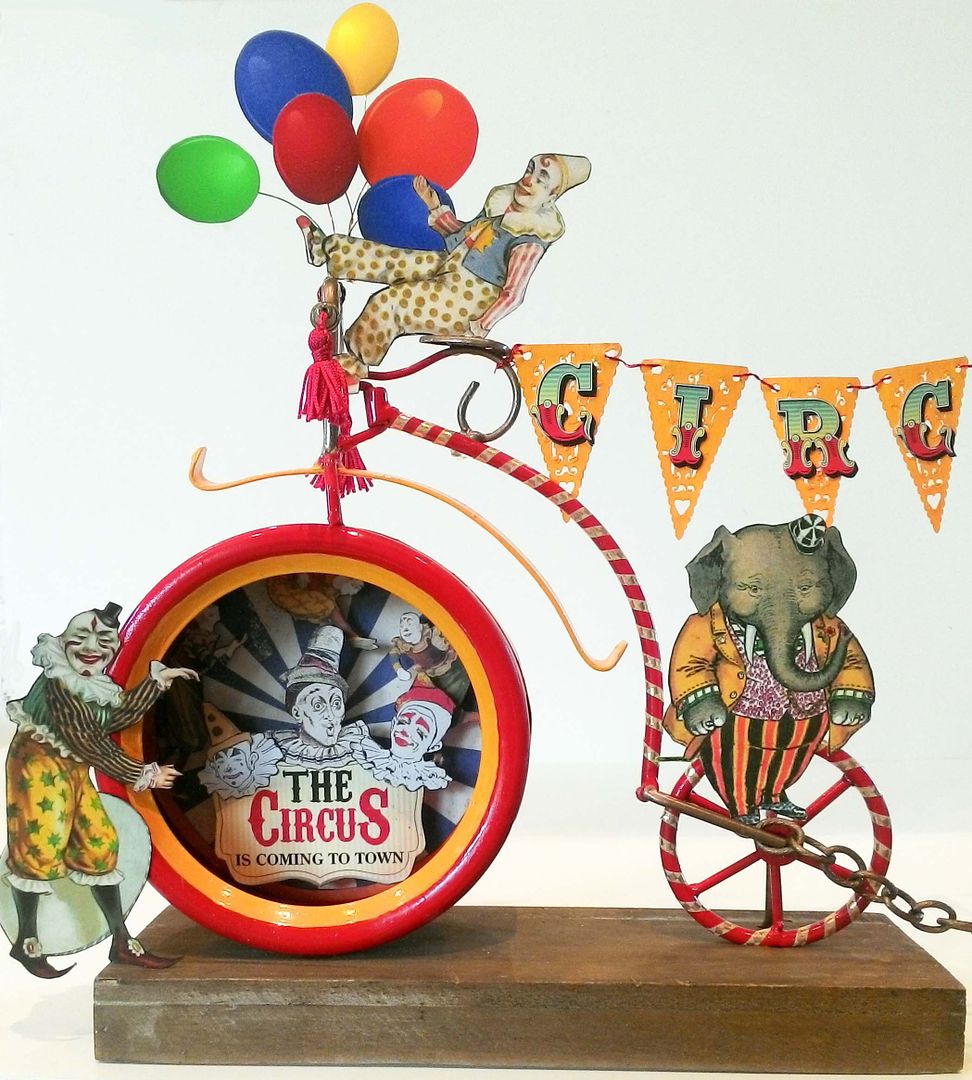
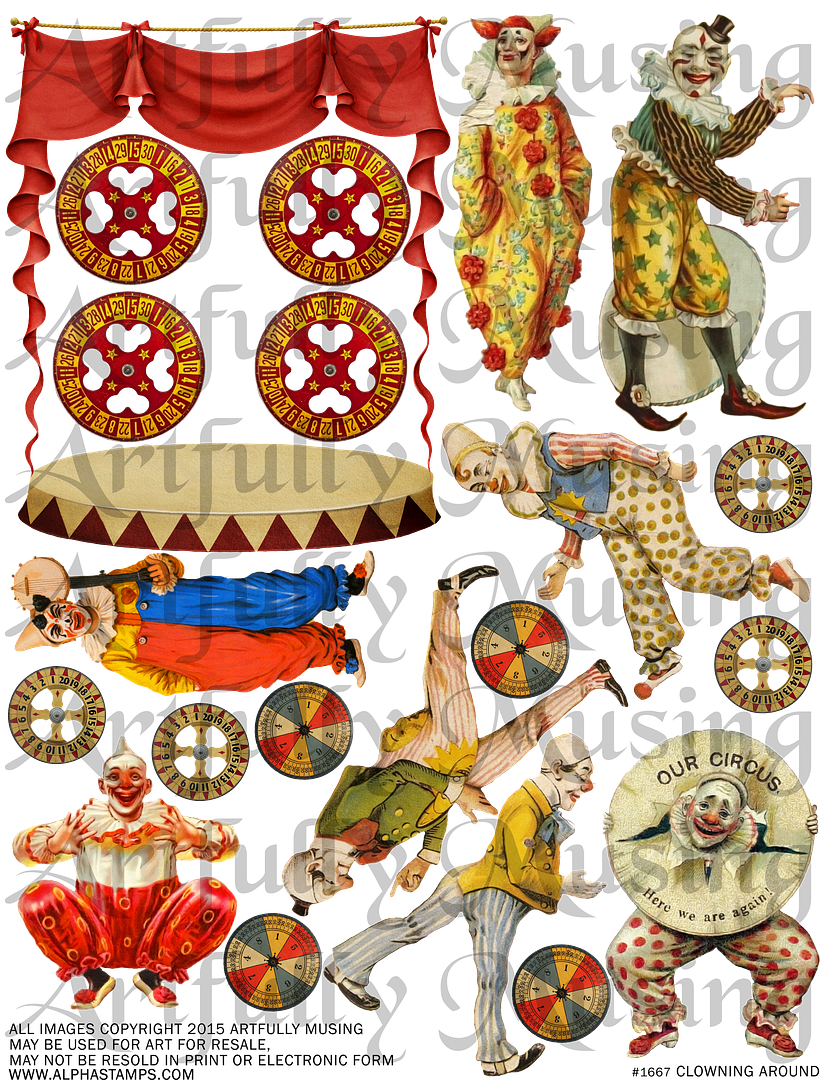
Many of the images you see are from my new “Clowning Around” collage sheet.
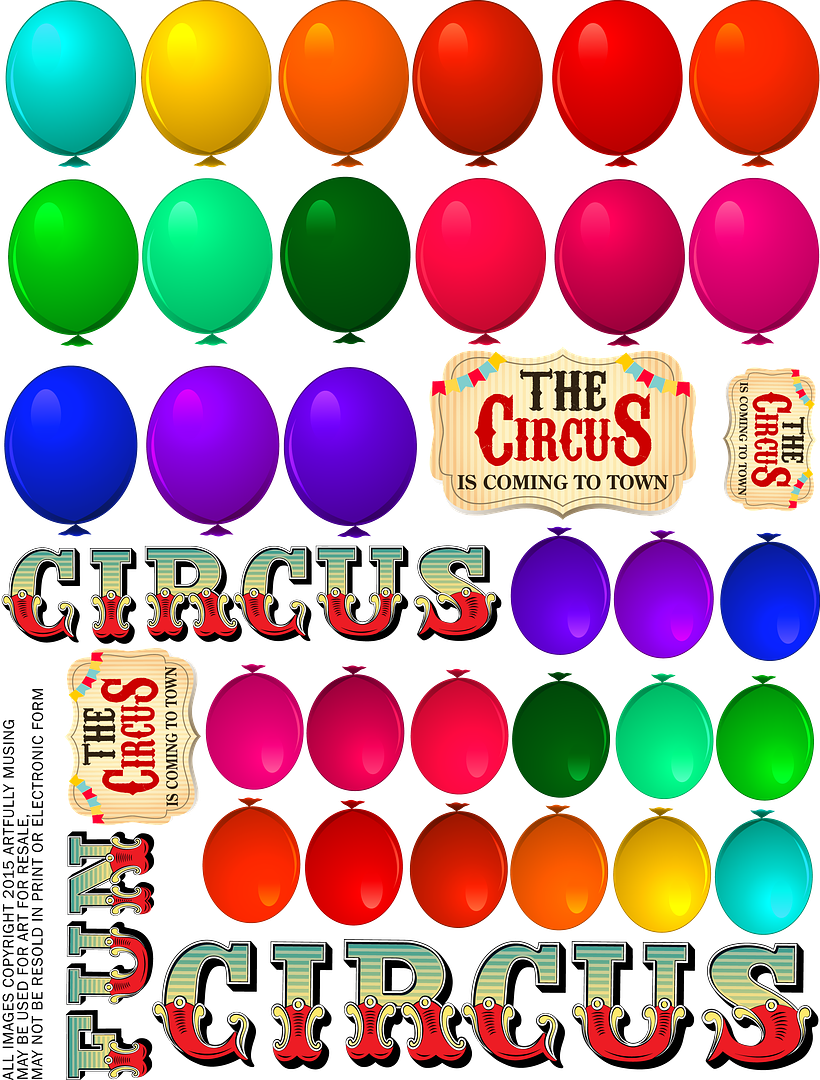
I also cooked up a FREE Circus collage sheet for you, which is filled with balloons, letters, and a couple of circus signs.  You’ll find the sheet at the bottom of the post.  Feel free to download it and use it for your art.
This sheet included seven wacky clowns, a stage, and 3 sets of wheel covers.  The wheel covers are sized to fit large and small wooden thread spools.
TUTORIAL
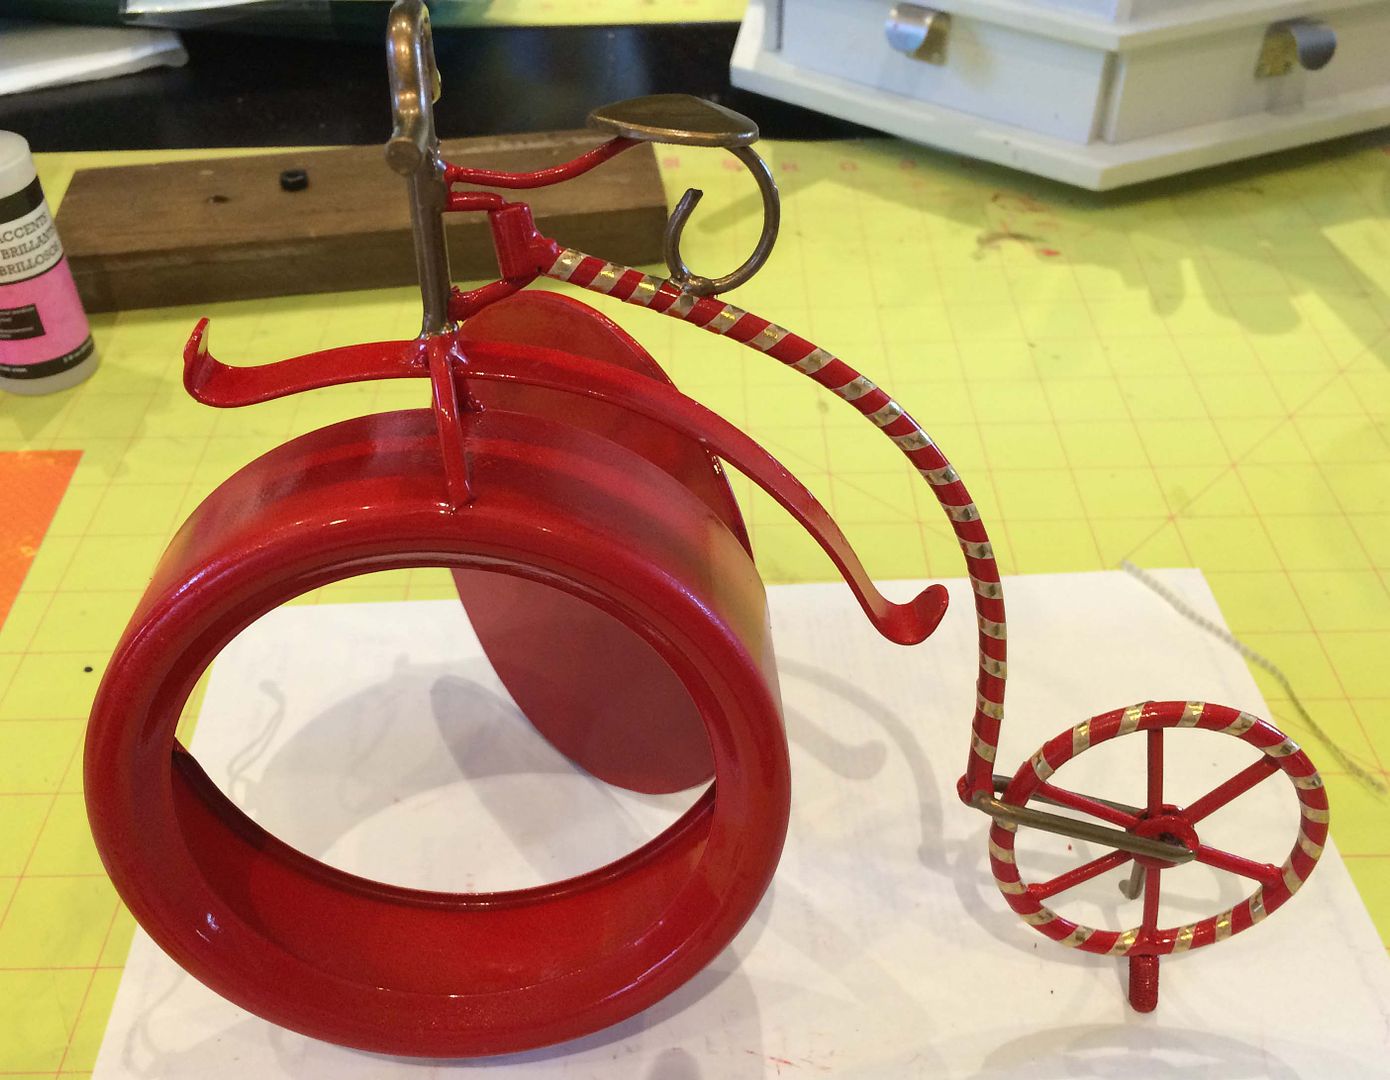
I started by removing the bike from the wooden platform by unscrewing the nuts from the screws.
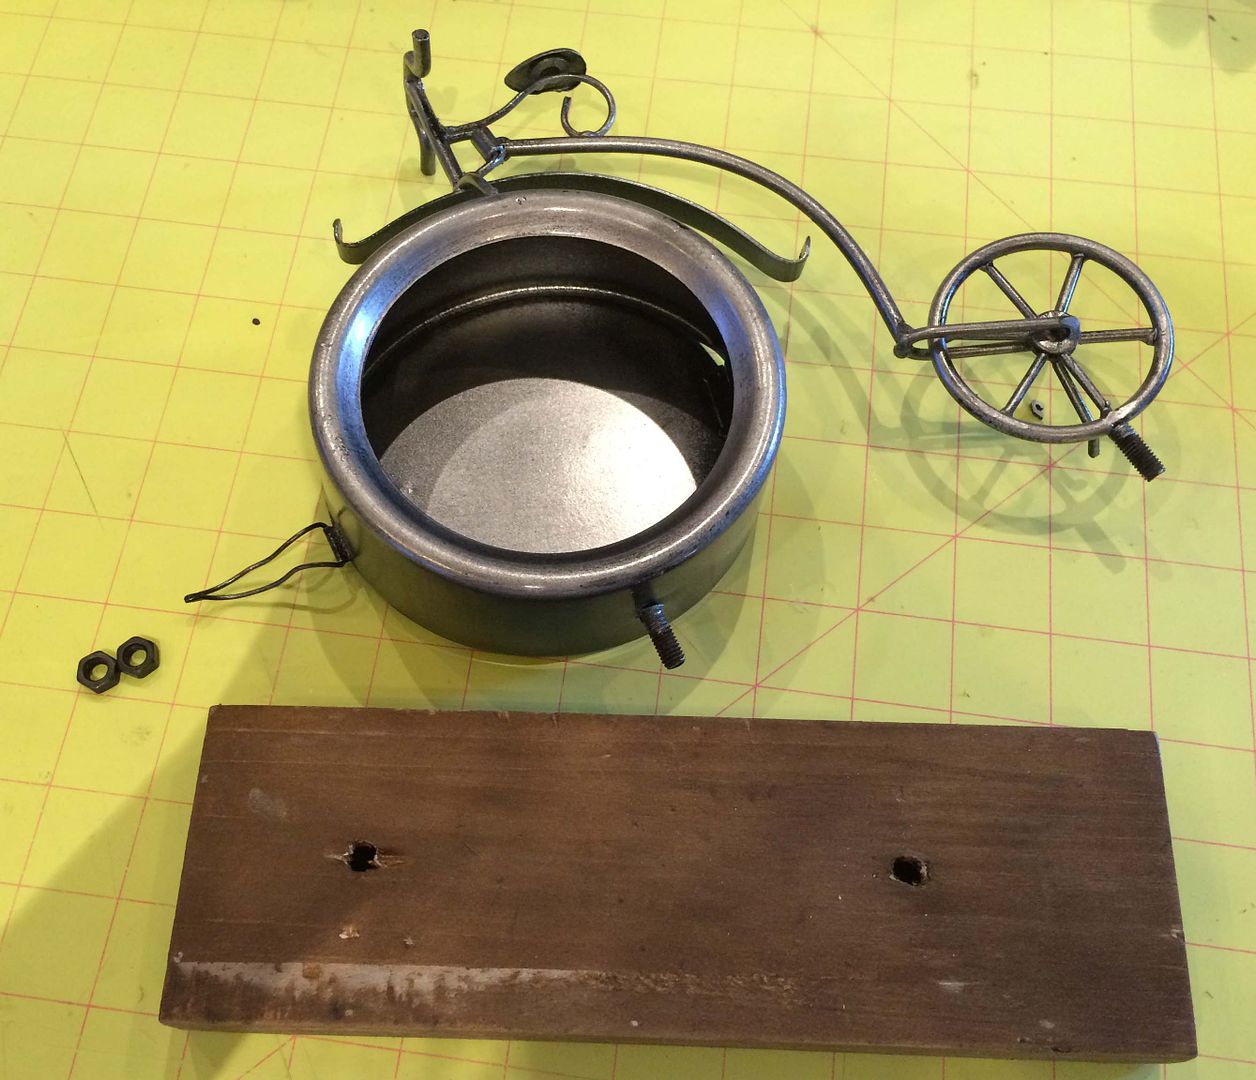
To make the process fast and easy I sprayed the bike with red spray paint that is made for metal (found at my local hardware store).
Once the paint was dry, I wrapped the frame and back wheel with Gold Harlequin with Diamonds Tape.
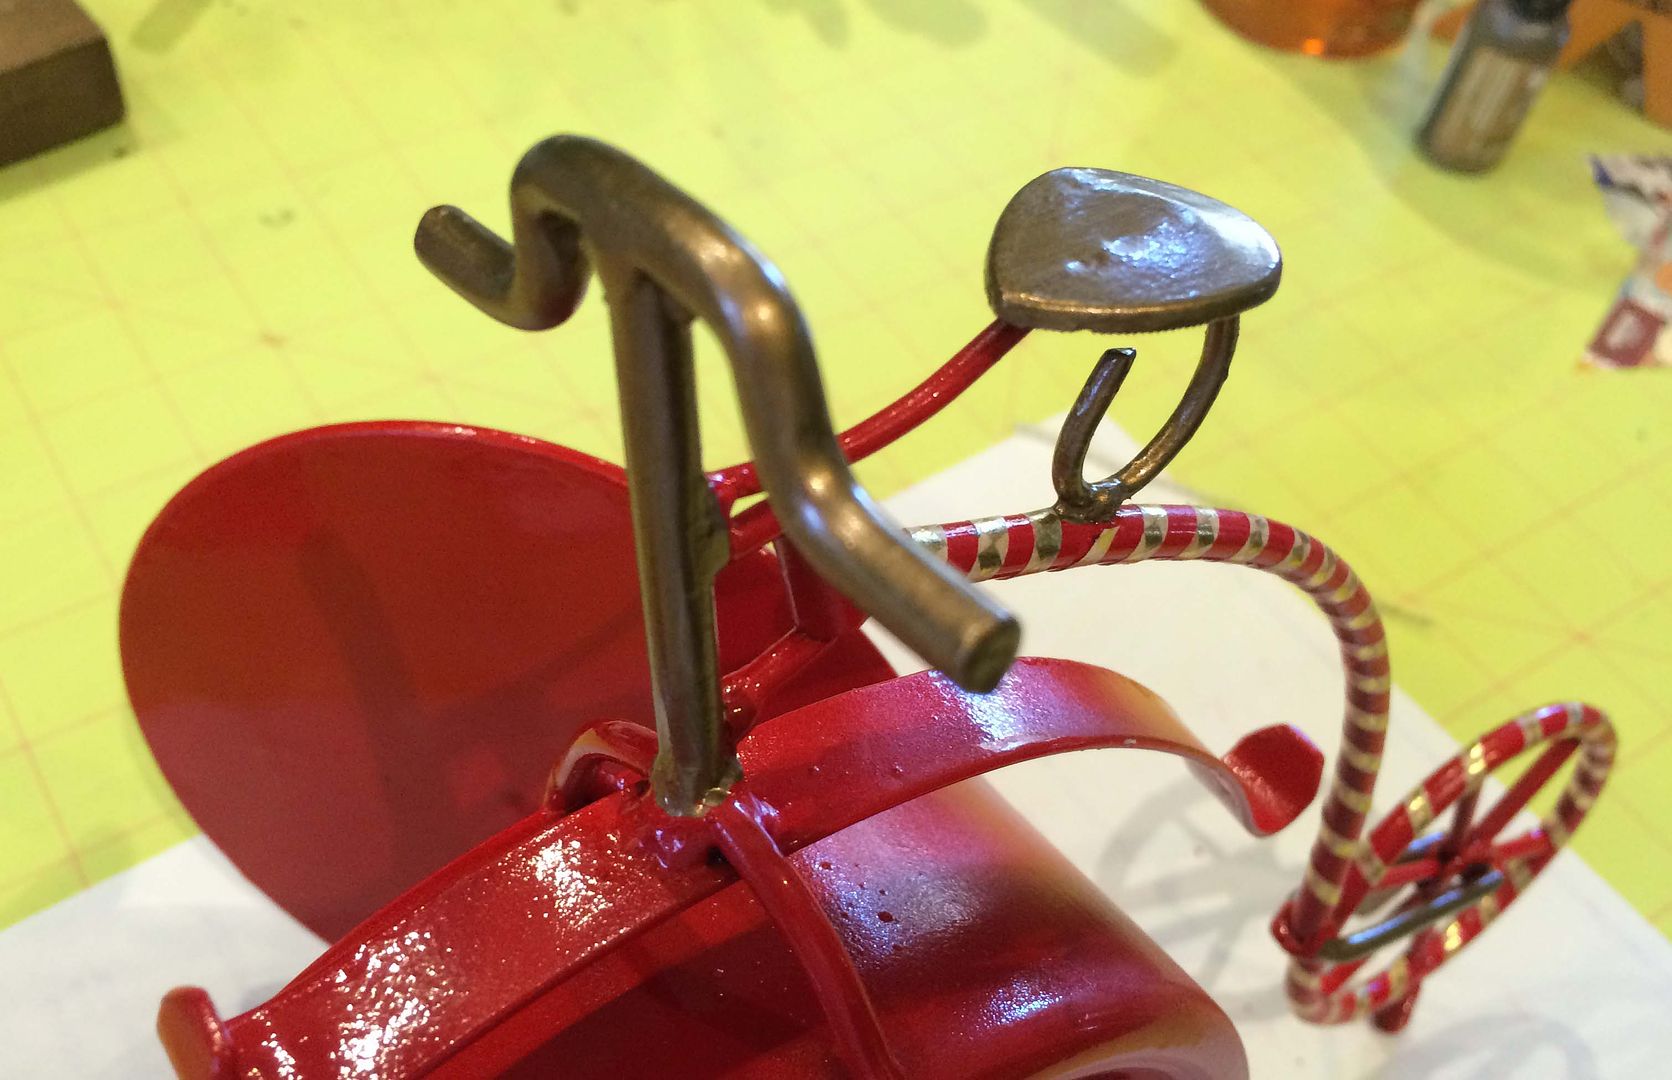
Next, I painted the handlebars and seat with Metal Patinas Aged Bronze paint. 
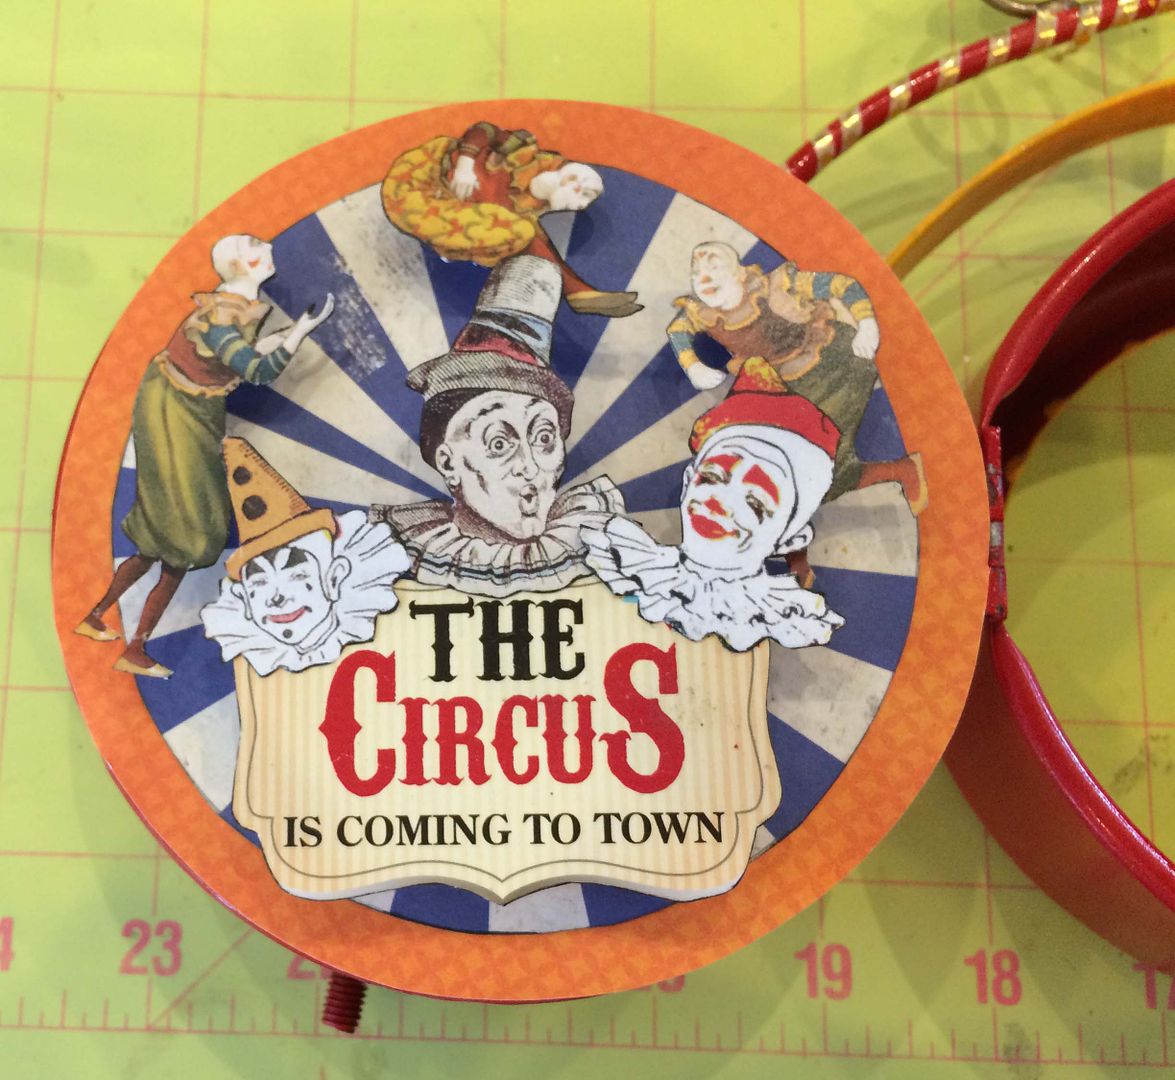
The back of the front wheel of the bike opens up to make it easy to add embellishments.  The wheel is really deep so there is lots of room to add large dimensional items.  
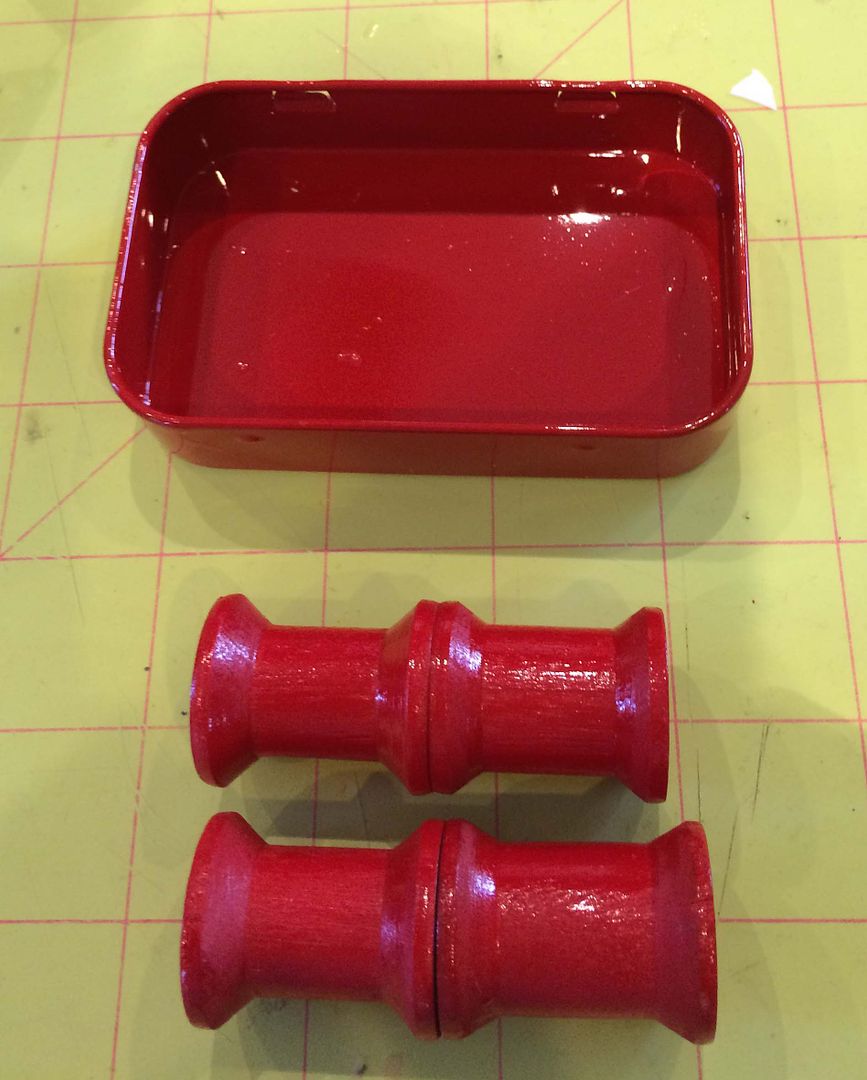
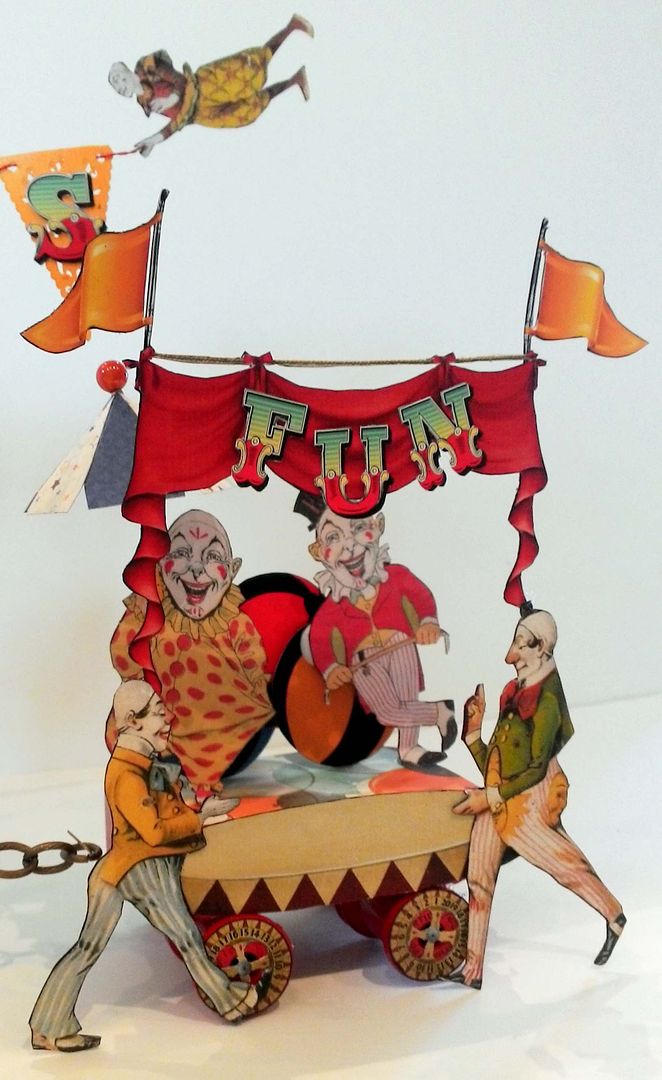
To make the stage that is pulled by the bike, I used the same red spray paint to paint the bottom of an Altoids tin and 4 wooden spools that are glued together.
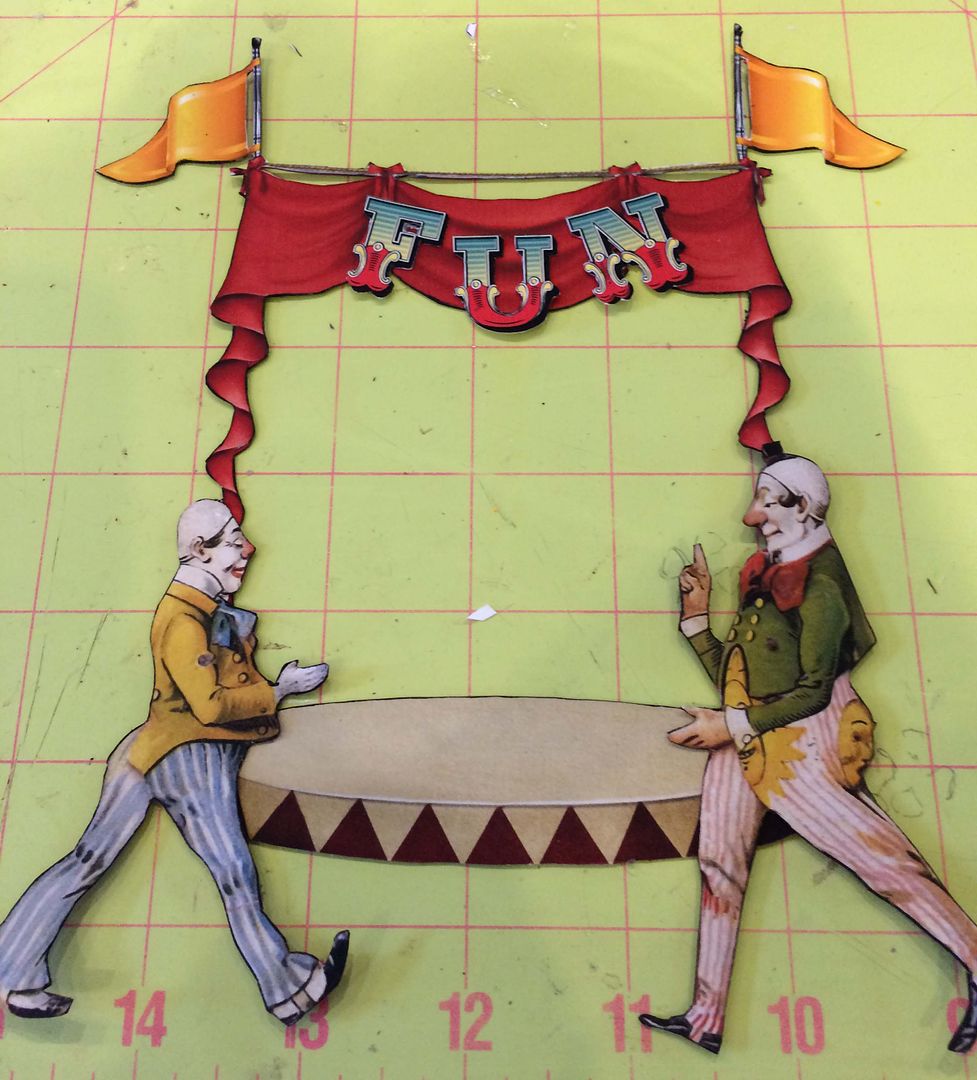
The stage comes from the Clowning Around collage sheet.  Tip:  Notice how narrow the curtains at the bottom of the stage are which would make it difficult to stand up without support.  I added the clowns to the front of the stage to give that area support and I also like how it looks.
NOTE:  All the images I used are back with decorative paper or cardstock to make them stiffer so that they will stand up when attached to the piece.

The bottom of the Altoids tin is the top of the stage and is covered with paper from the Carnival 6x6 Paper Pad (which is where all of the paper you see comes from). The clowns on the stage are from the Reversible Clowns Collage Sheet.
I glued the wheel covers from the Clowning around collage sheet to the wooden spools and attached the paper stage to the side of the Altoids tin using E6000 glue.
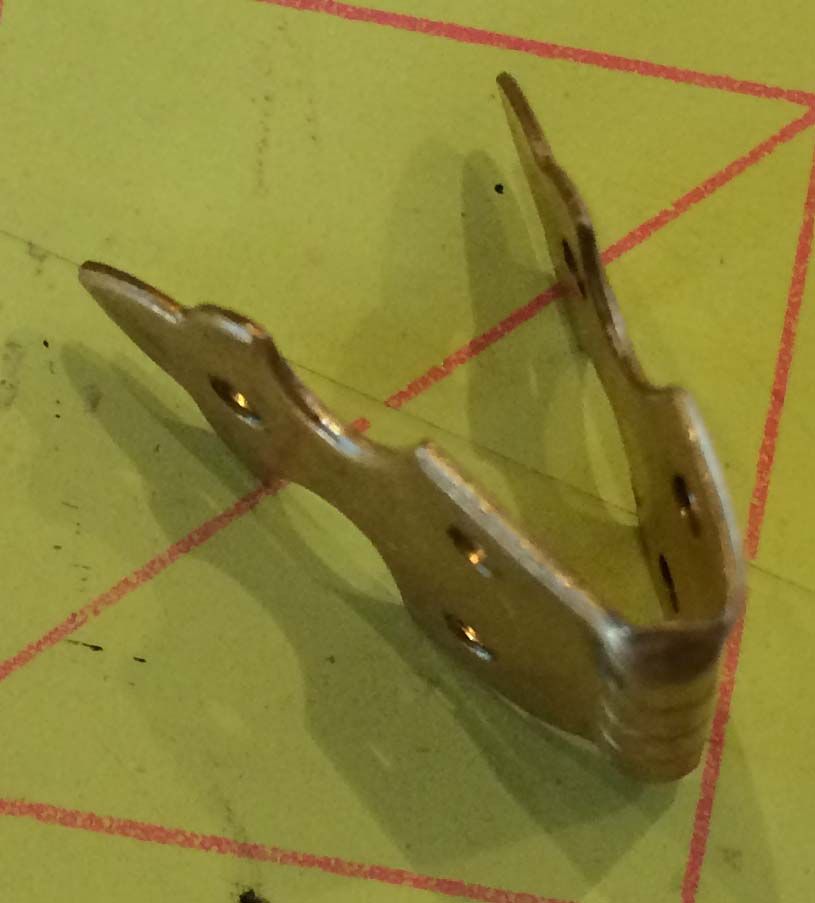
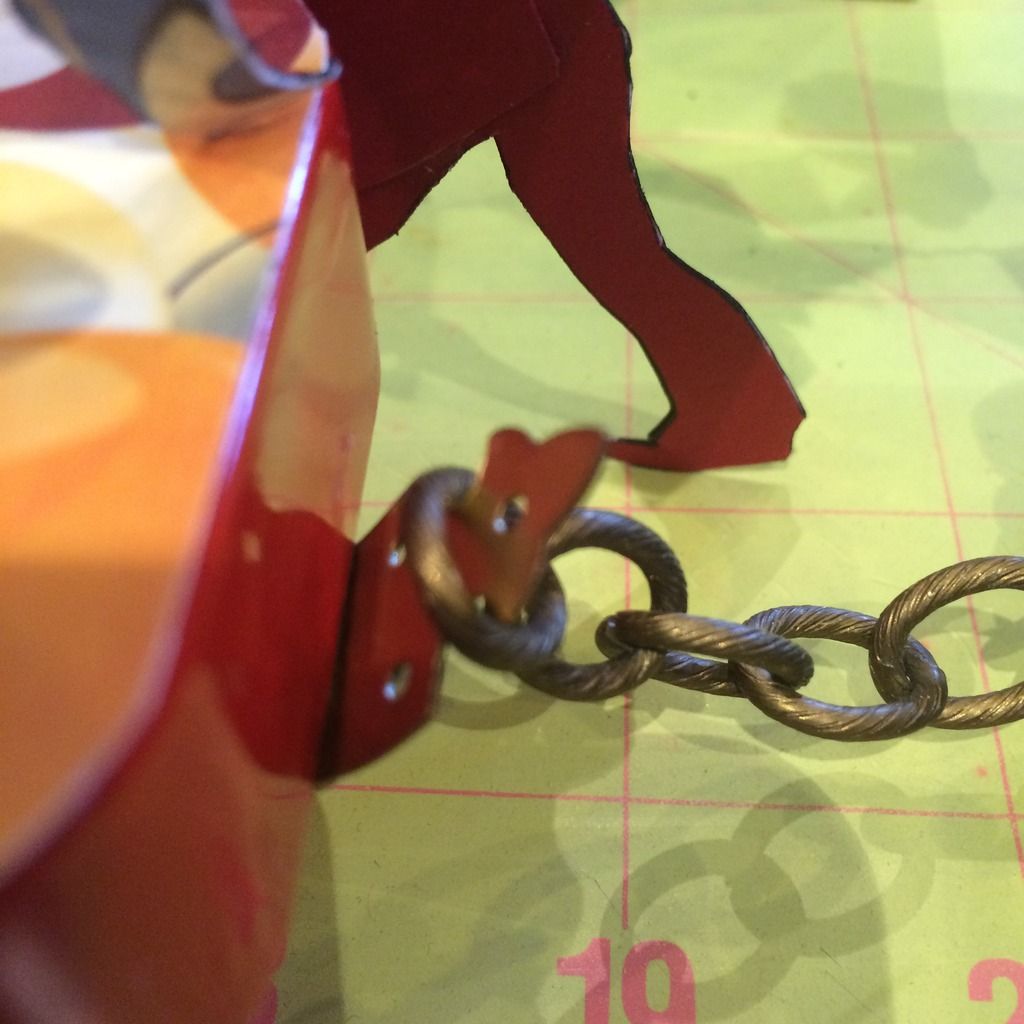
I bent a faux hinge and attached it to the Altoids tin to give me a place to hook the chain (from my stash).
You can see in the picture below how it hooks under the edge of the Altoids tin.
The tassels on the handlebars are made by pulling some of the tassel string through a hole in a brass cone, gluing the string in place, and then gluing the cones to the ends of the handlebars.  
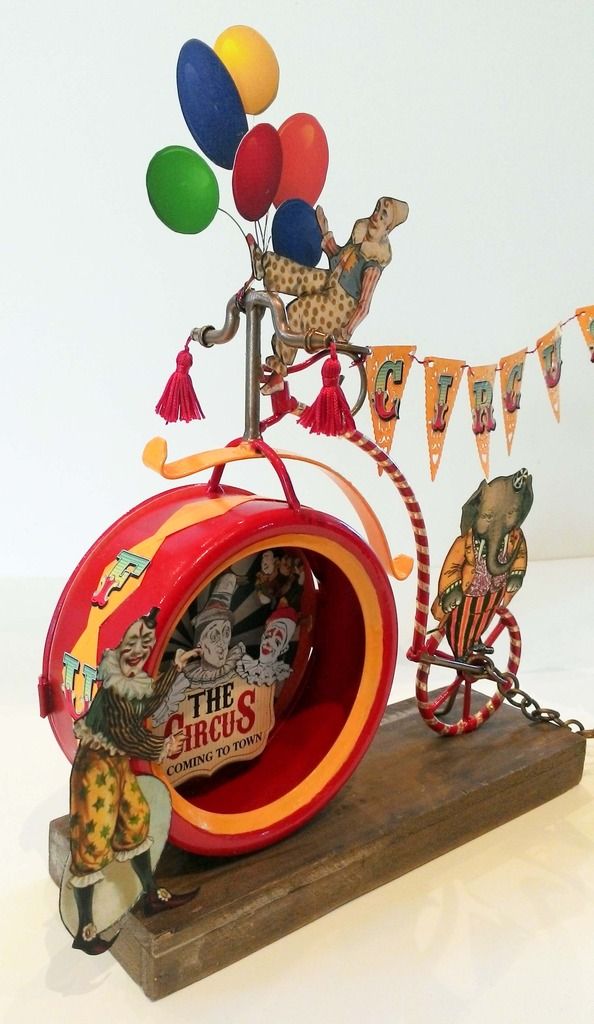
I painted part of the frame and large wheel with the Metal Patinas Ochre paint.
I punched diamond shapes from white cardstock, glued them together and painted them yellow.  After gluing them to the front wheel I added “FUN” from the free Circus collage sheet.
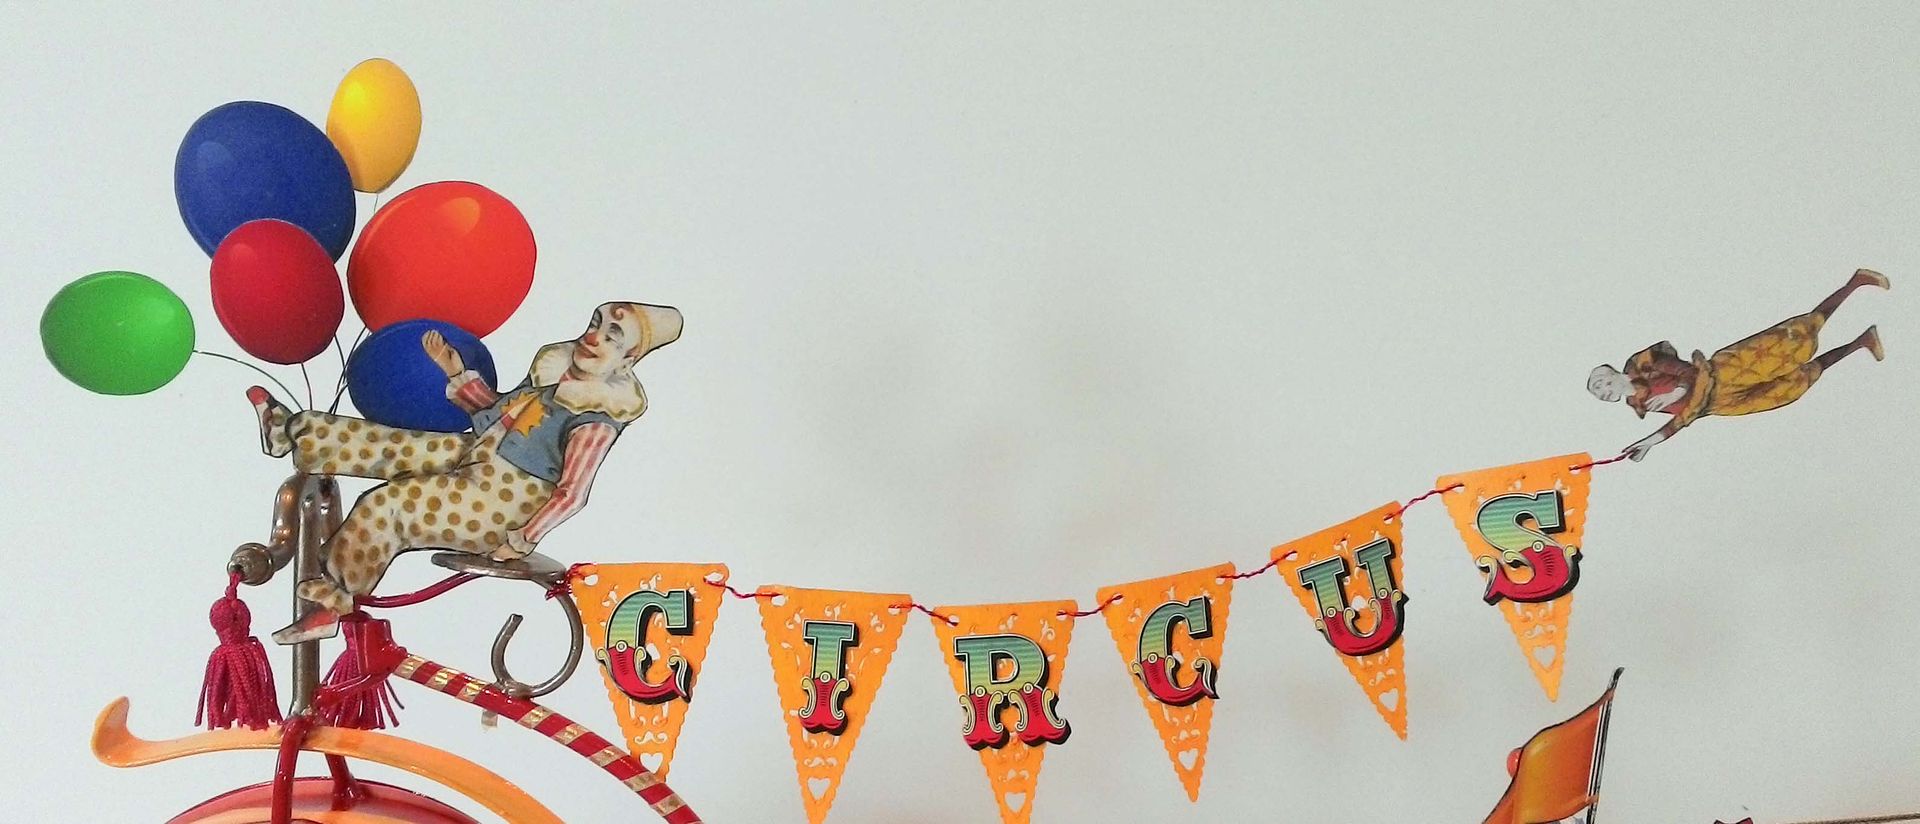
The balloons are also from the Circus collage sheet.  I glued wire in between the balloon image and a piece of decorative paper and then used the wire to attach the balloons to the handlebars.
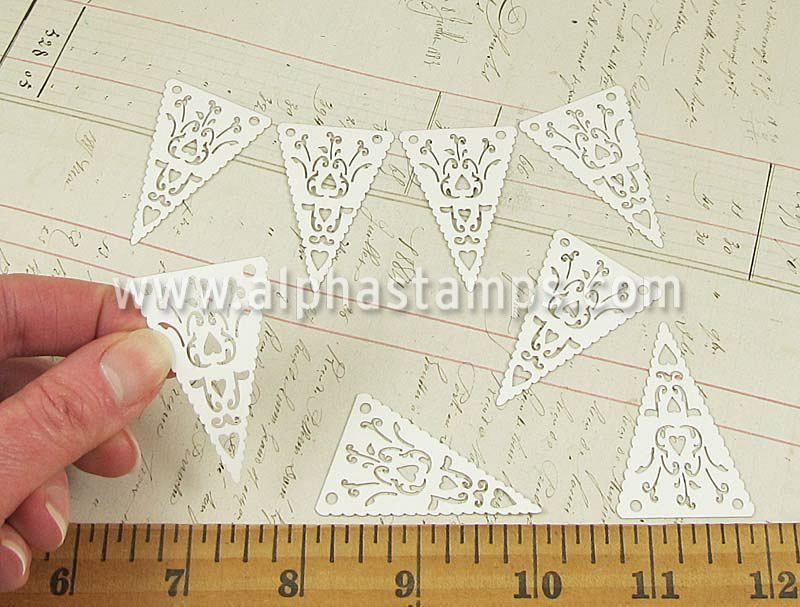
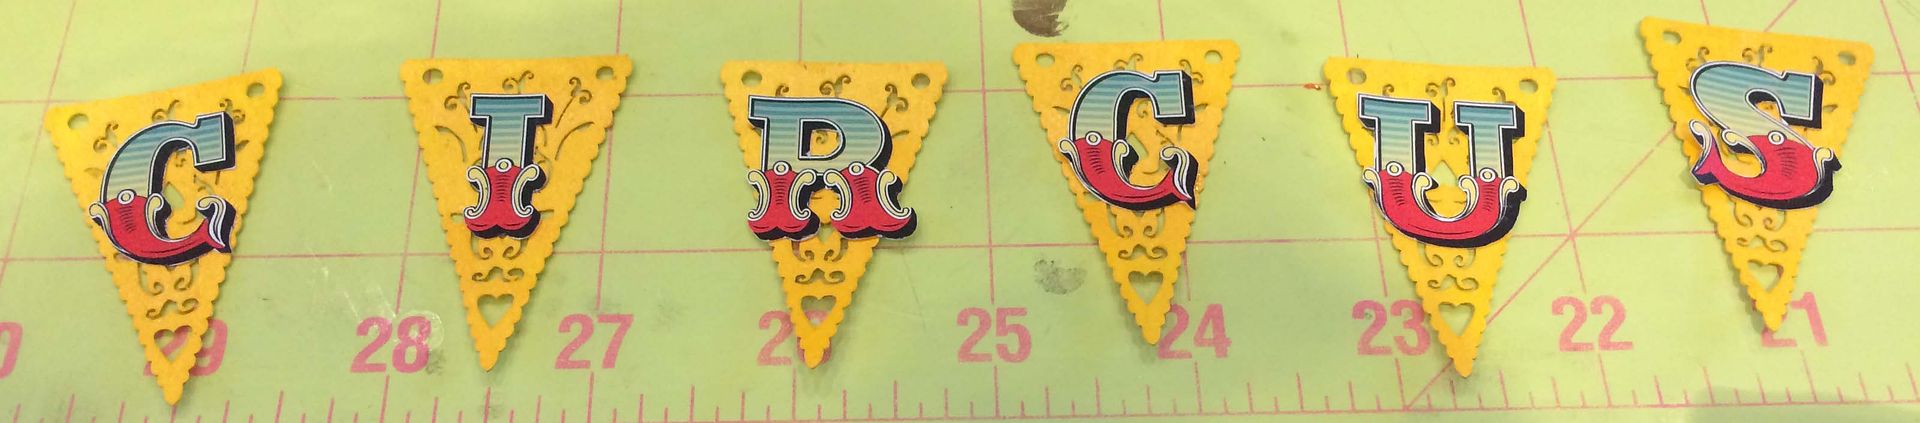
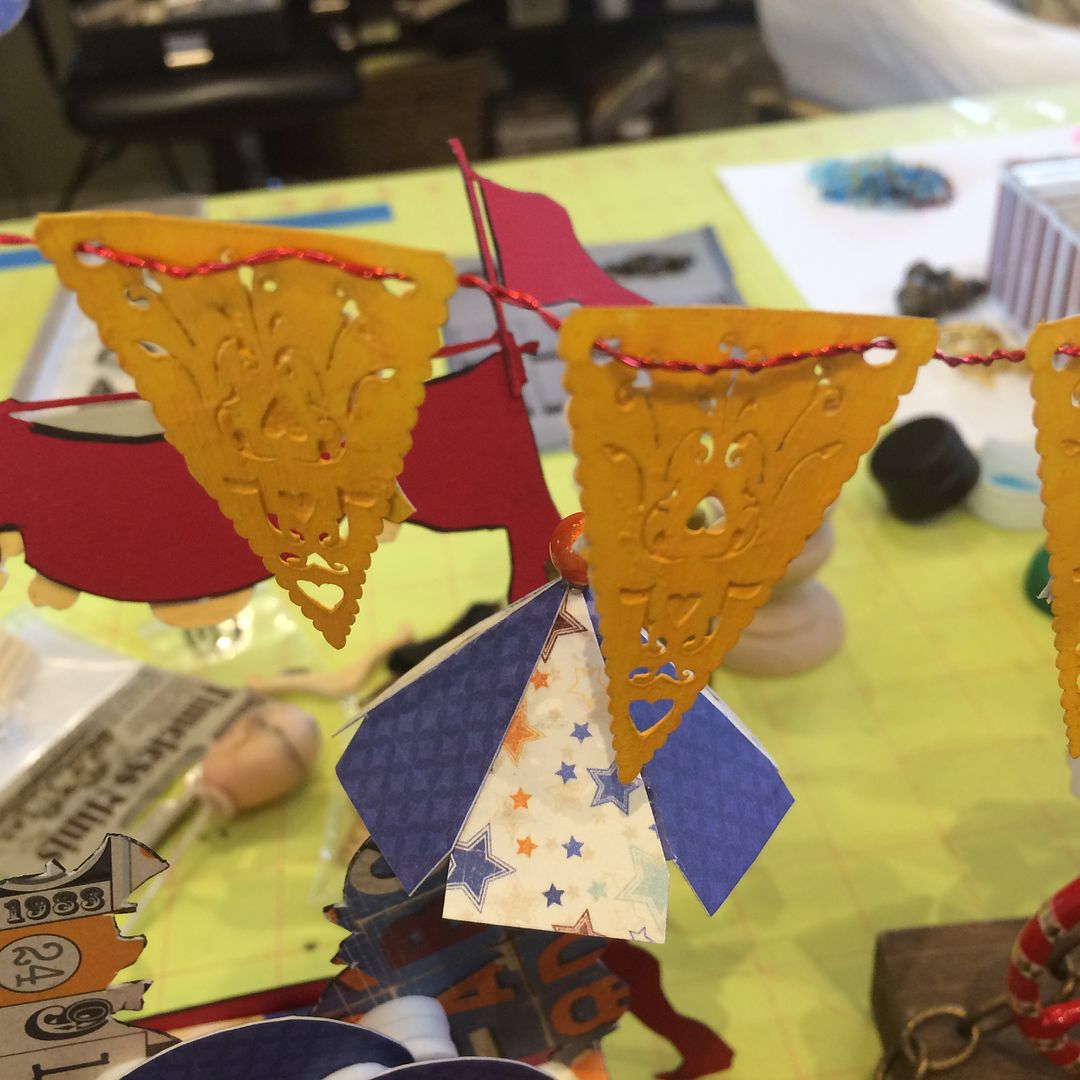
To make the circus banner, I started with Mini Lacy Banner Flags which I painted yellow.  
Next, I added the "CIRCUS" letters from the free collage sheet.
I twisted 2 pieces of red wire together and threaded it through the pre-punched holes in the flags.  The wire is threaded through the backs of the flags.  The reason I used two strands and twisted them together was to make the wire stiff enough to hold the weight of the flags and the clown hanging on at the end.  Make sure to use enough wire to have extra at both ends; on the one end to wrap it around the bike handles and at the other end to attach the clown.
To keep the flags in place you can add a tiny dab of Glossy Accents to the back at each hole and use a little on the handlebars before wrapping the wire around the bars.   
ALPHA STAMPS SUPPLIES
Altered Metal Frame – Bicycle
Clowning Around Collage Sheet
Reversible Clowns Collage Sheet
Clowns At the Beach Collage sheet
Elephants #1 Collage Sheets
3D Circus Tent Collage Sheet - Flags
Beach Babes Collage Sheet - Balls
Carnival 6x6 Paper Pad
Mini Lacy Banner Flags
Zebra Wire Multi-Color Mini Set
3mm Tape – Gold Harlequin Diamonds
Raw Brass Box Feet - Cones
Blank Altoids Tin
Vintage Brass Faux Hinge
Metal Patinas – Retro Highway – Ochre
Metal Patinas – Ancient Coin – Aged Bronze


FREE CIRCUS COLLAGE SHEET

Feel free to use the images on this sheet for your art.  To download the collage sheet, right-click on the image and select “Save As” from the menu.

All you Steampunk and fantasy fans out there I've got some cool stuff coming your way!  Stay tuned!!!

Saturday, July 12, 2014

Circus Carousel & Circus Theaters - Tutorial

Step right up and checkout these two fun circus-themed projects.  The first is a spinning carousel made from a Masonite kit which makes building a carousel easy. 
 
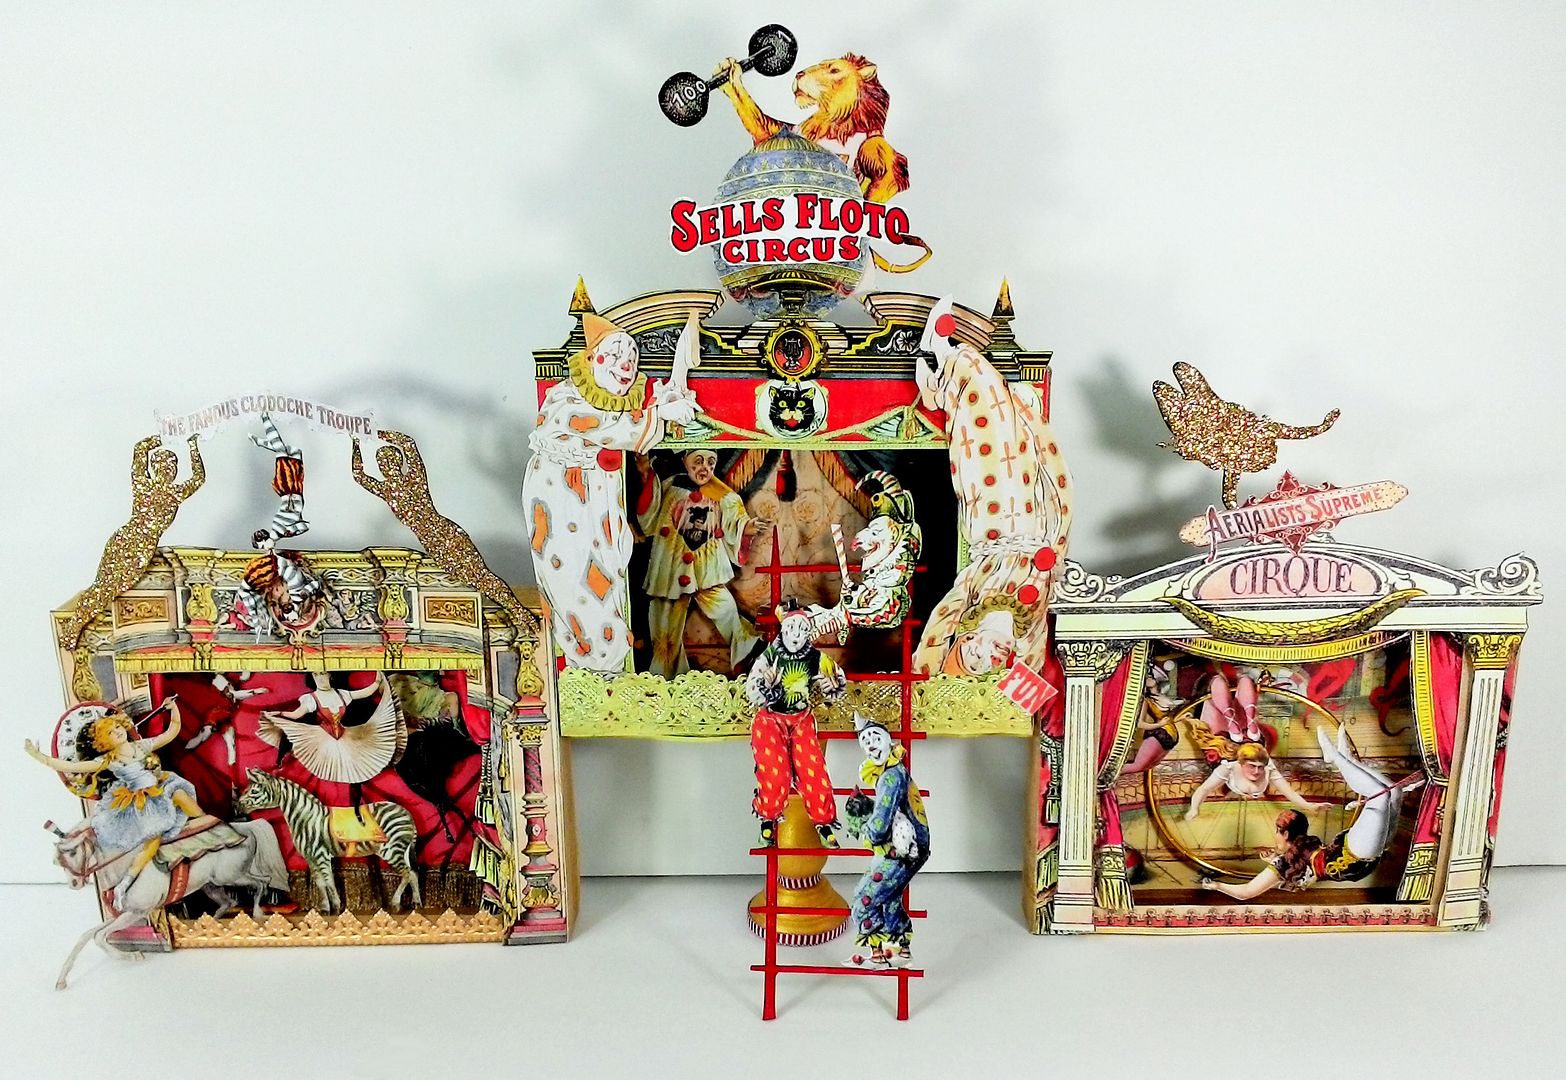
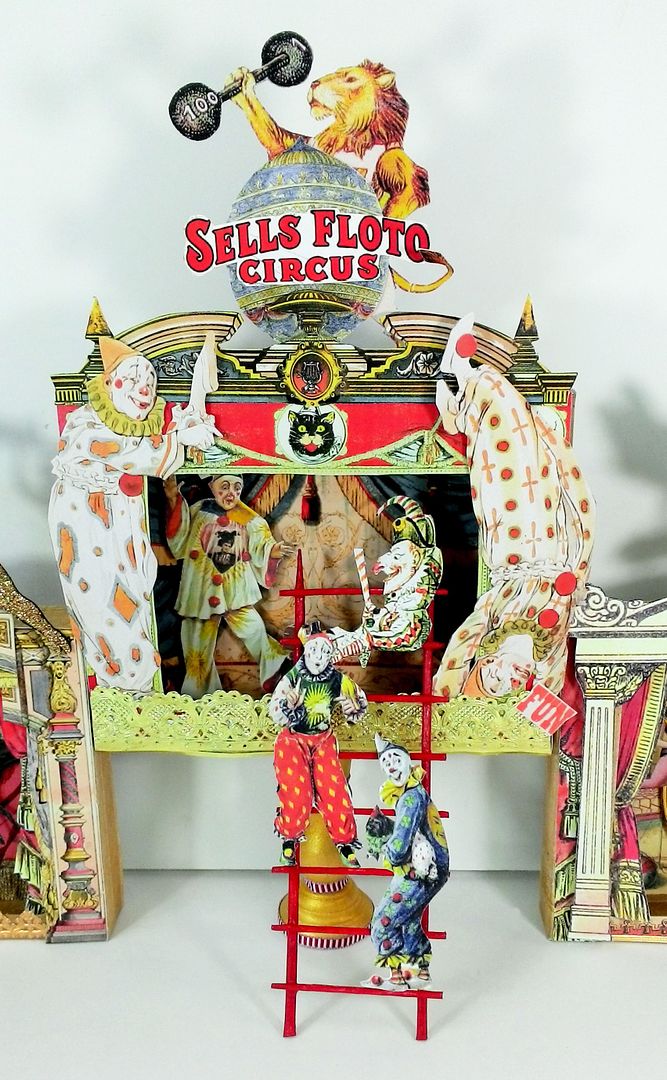
The second is Sells Flotos Circus made from chipboard theater boxes and lots of collage sheet images.

CIRCUS CAROUSEL TUTORIAL
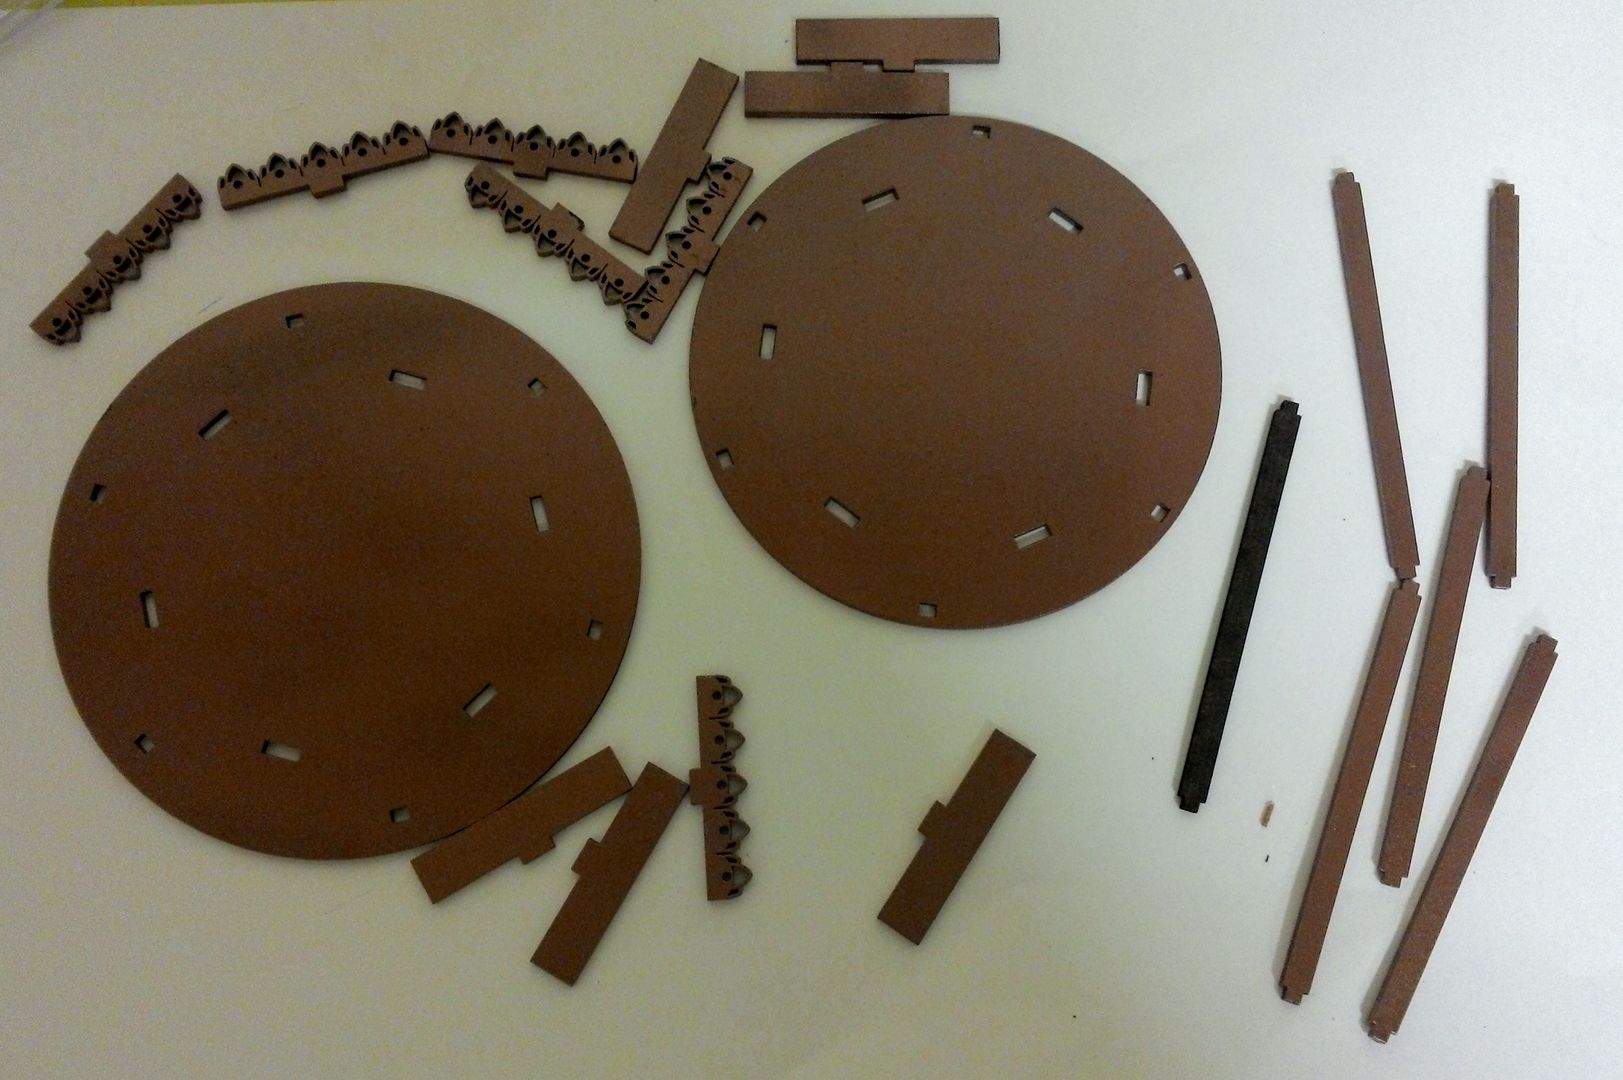
The carousel kit comes with all of the pieces you need to construct the carousel as well as assembly instructions.  Depending on how you want to decorate your carousel, you may need to make adjustments to the assembly order.

I started by spray painting the piece's gold.  Using spray paint made the job quick and easy.  In the picture below, you can see that I left one of the poll pieces unsprayed to show you the change in color.
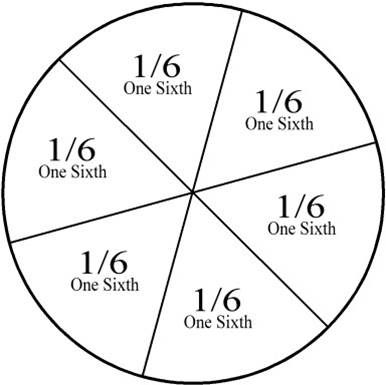
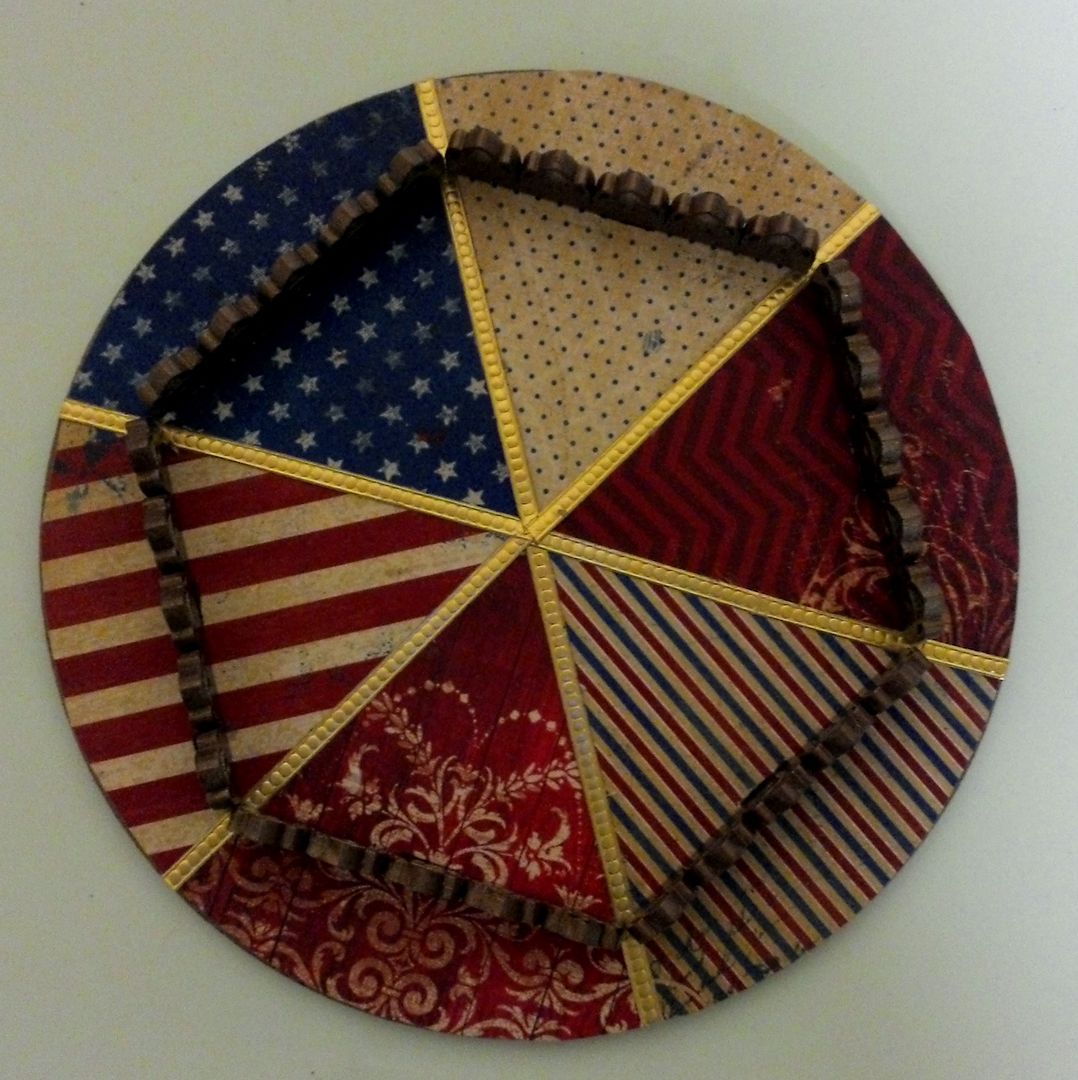
Next, I covered the top of the base piece with wedges of paper from the Anthem 6x6 paper pad.  I used a template that divides the circle into 6 wedges (for each of the 6 horses).  I cut out the wedges and glued them to 6 different pieces of patterned paper.  Lastly, I cut out the paper wedges and glued them to the base using the pole holes as a guide.
Below you’ll find the template sized to fit the base piece.  The base is slightly larger than the top piece so you need a different template for each.  Further down in the tutorial is the template for the top piece.  To download the template, click on the image to expand it, right-click and select Save As.
Next, I reopened the holes for the posts using filing tools.  The tools are from Basic Grey’s Precision File Set which you can find online at Amazon and other stores.
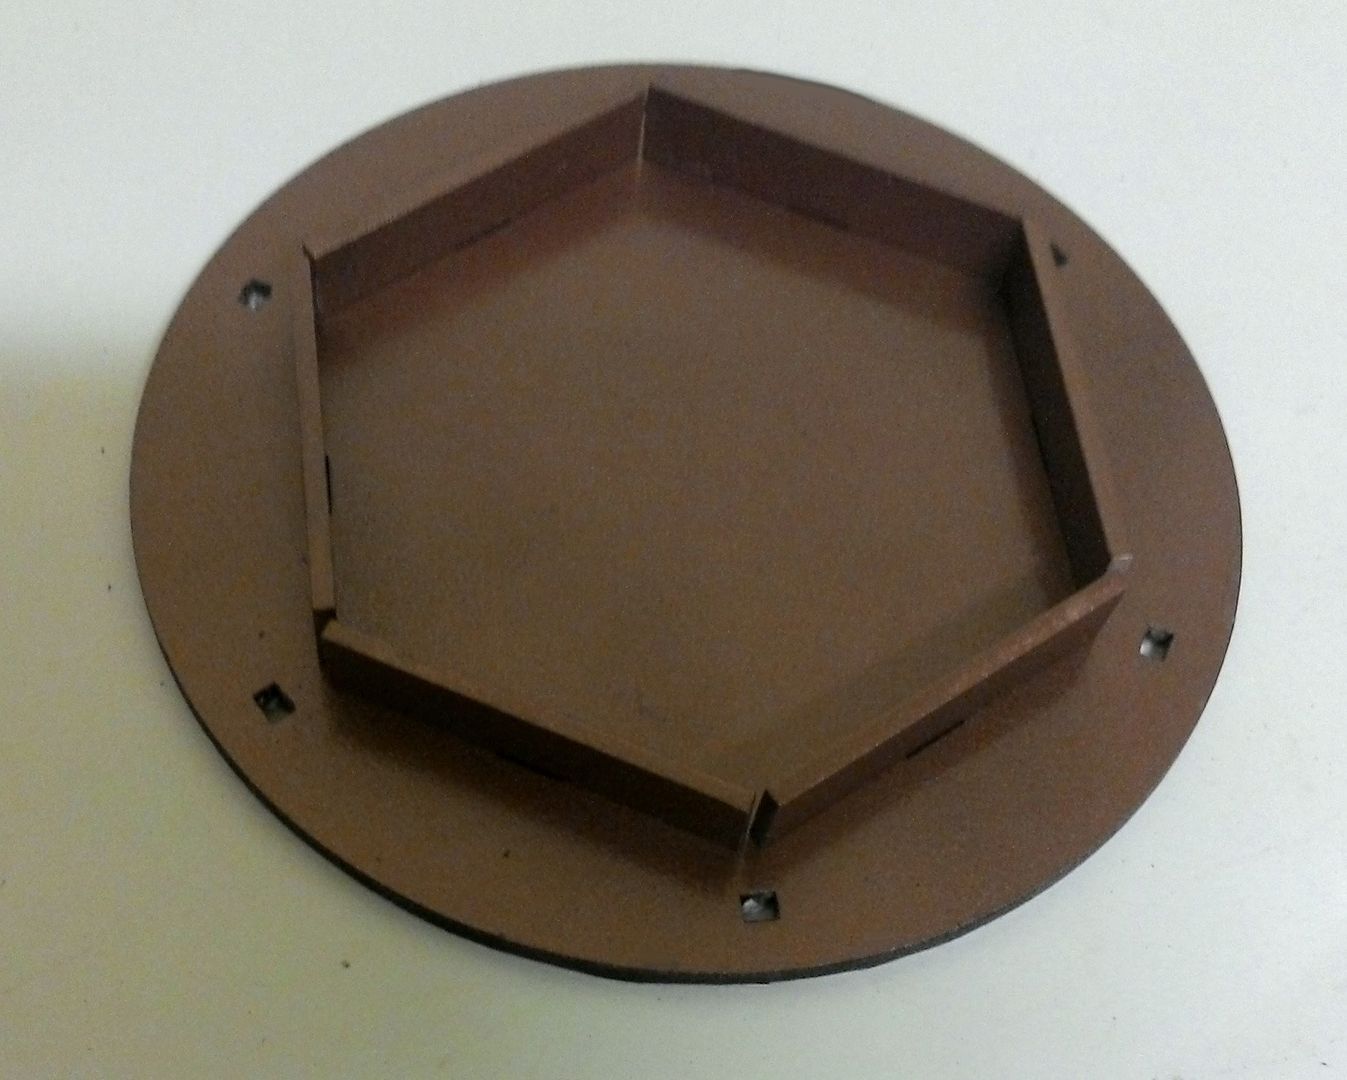
I flipped the bottom over and glued the base panels in place.  These panels lift the base off of the surface.
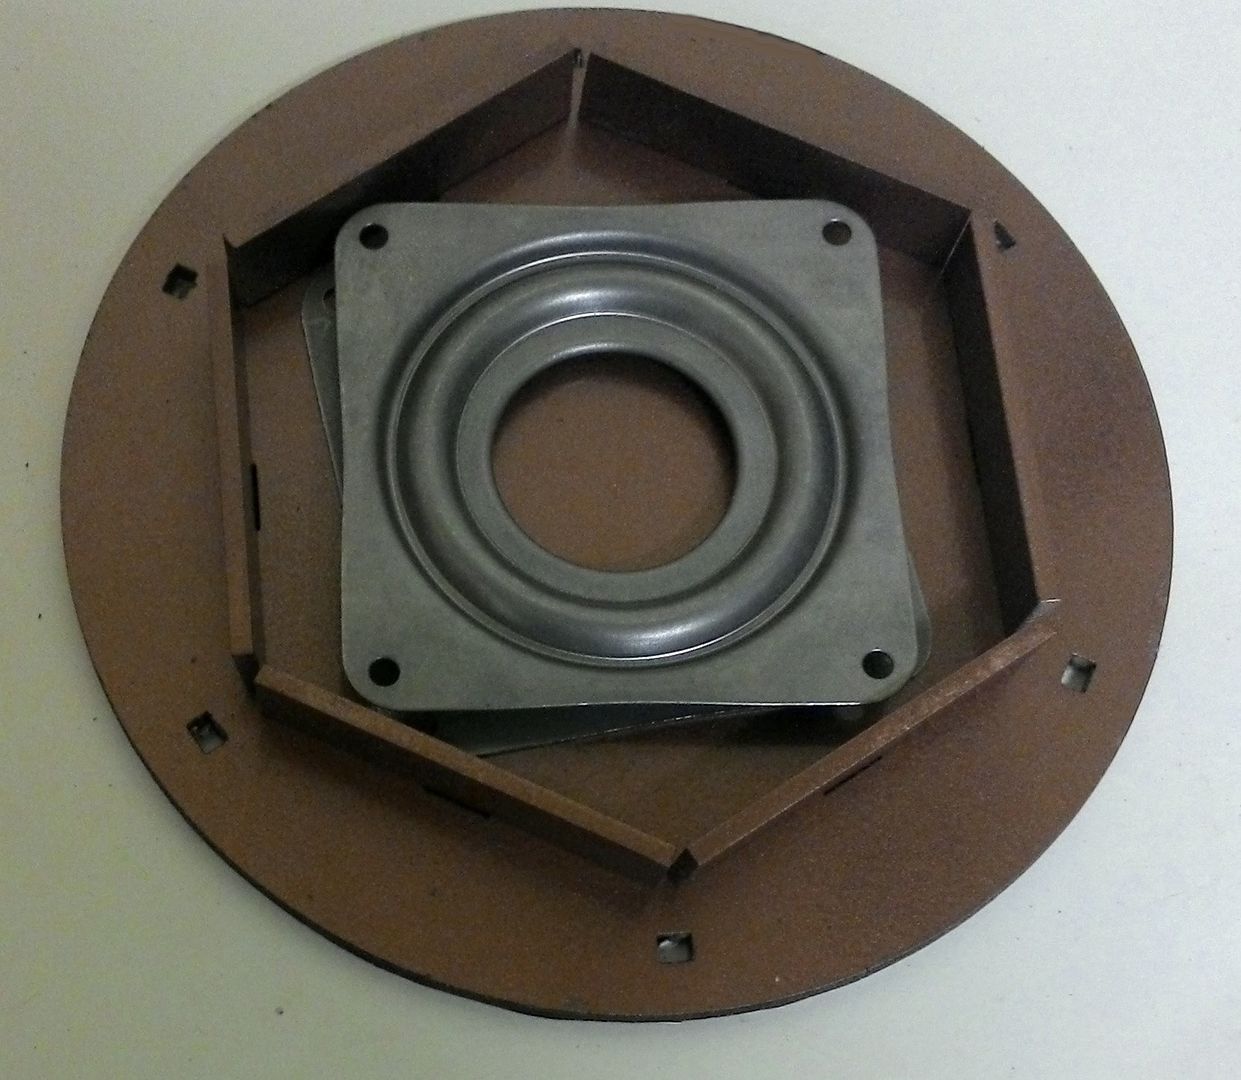
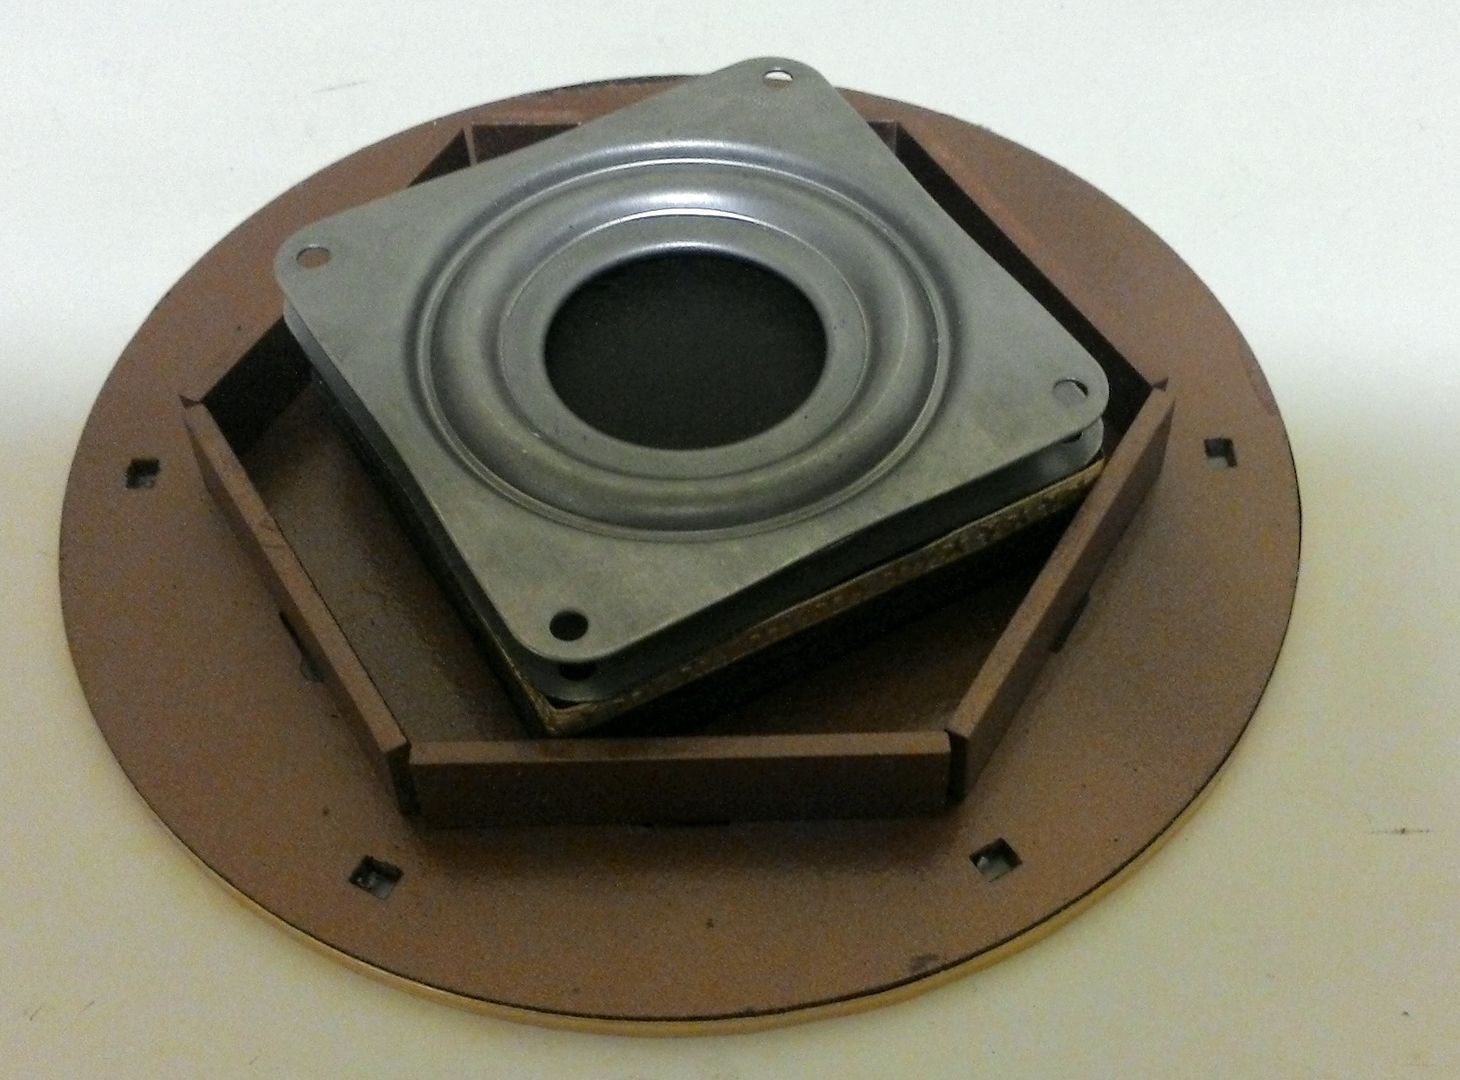
In order to make my carousel spin, I added Lazy Susan hardware.  The hardware is inexpensive and can be found at hardware stores and online.  The one I used measures 3 inches square.
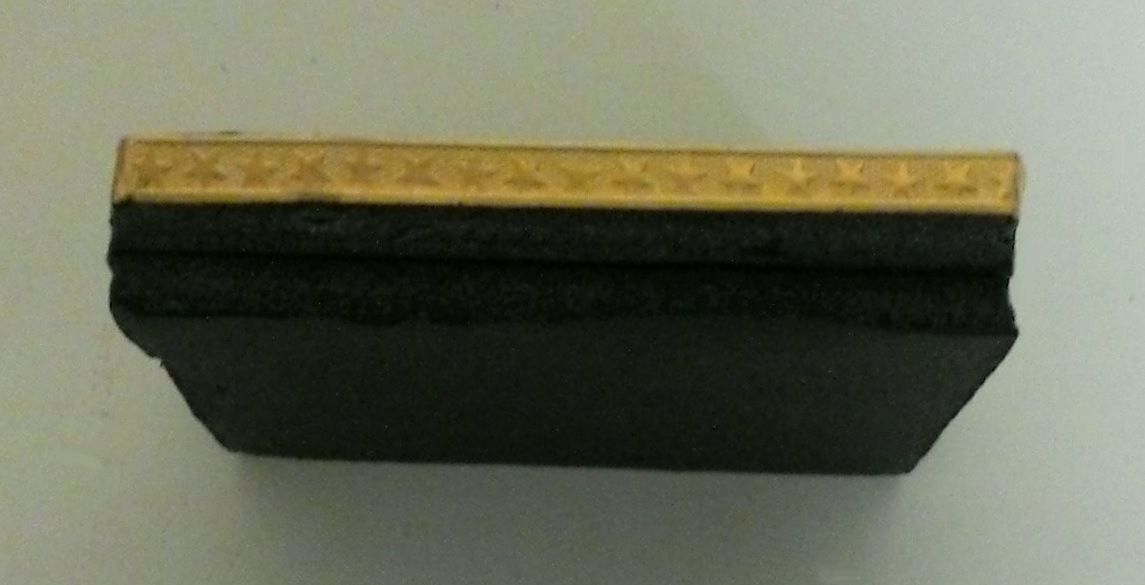
I added layers of foam core to the base to raise the Lazy Susan above the panels, so it would spin.
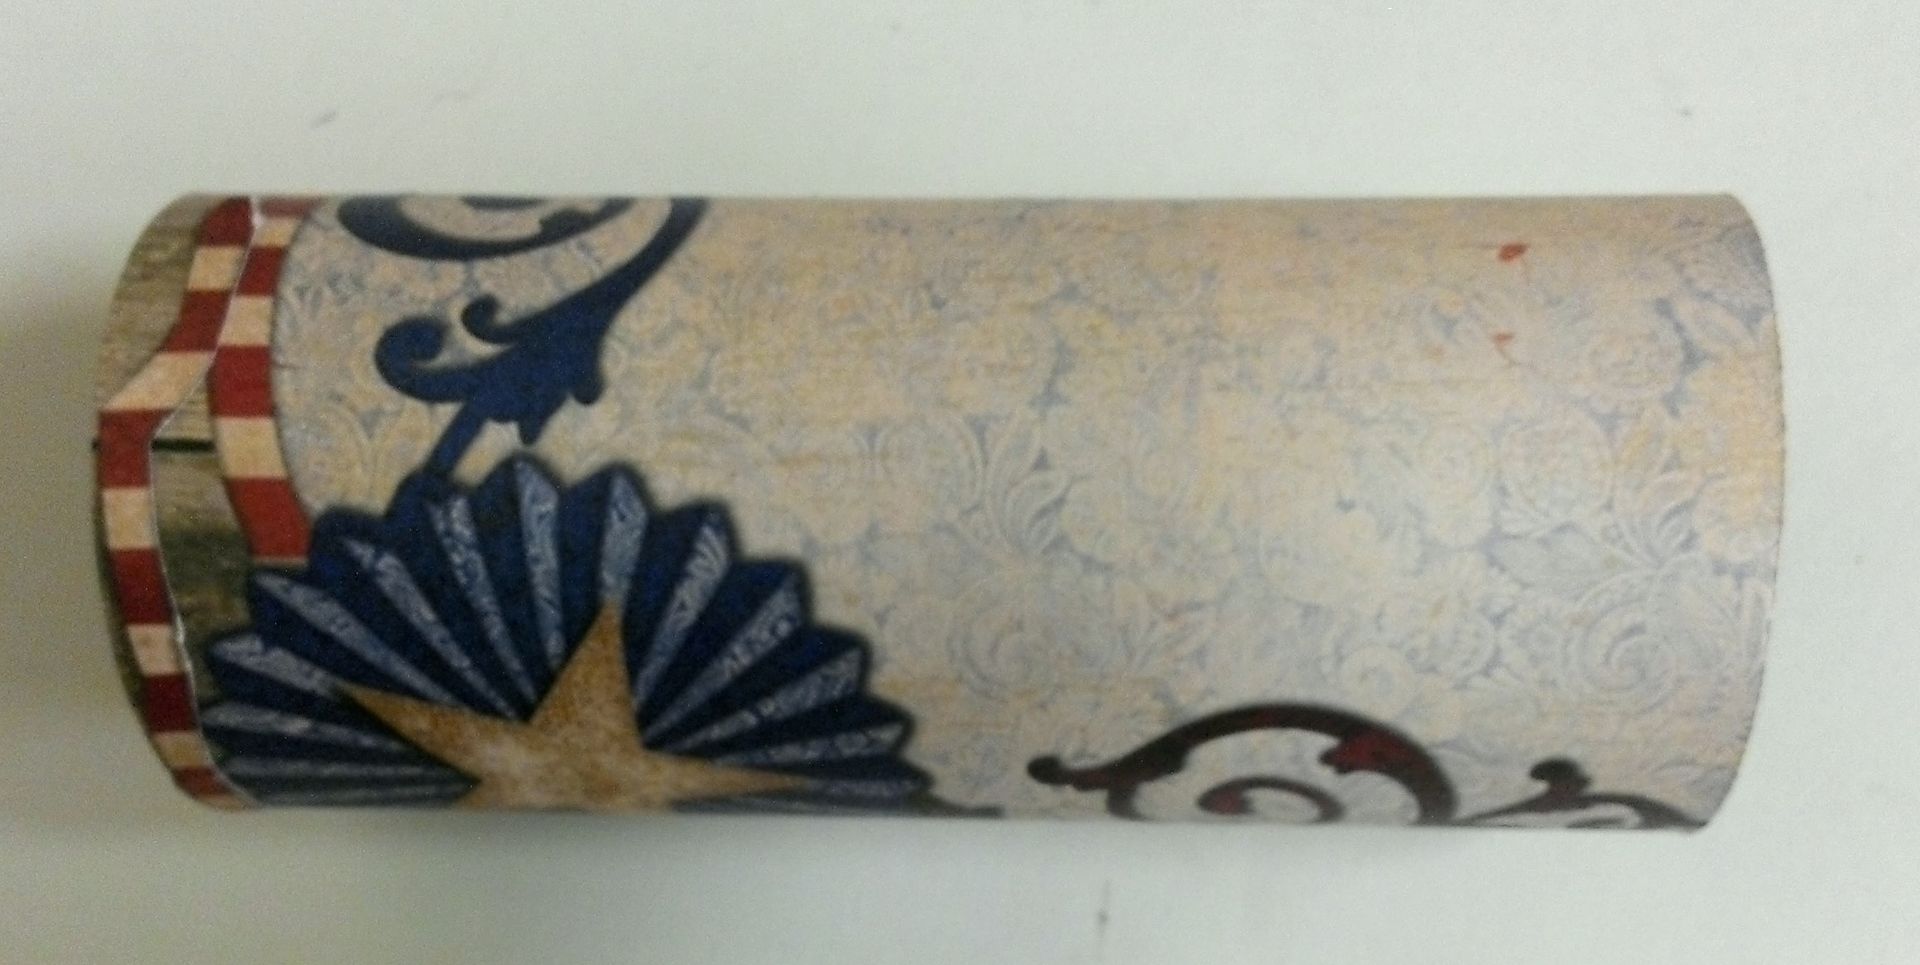
Next, I cut a piece of paper tubing for a center column and covered it with paper.
I glued the tubing to the base.  Note, I also added Dresden in between each of the paper wedges.
I cover the posts with Dresden and wrapped them in red star tinsel.  Next, I glued the horses to the posts at different heights so that it would look like they were going up and down.  Horses – the kit comes with 6 horse images that I glued to one side of the Masonite horses.  So that the horses would look the same on both sides, I scanned the image, flipped it and printed it 6 times.  I cut out the images and glued them to the other side of the horses.  An alternative is to paint or paper on the other side.
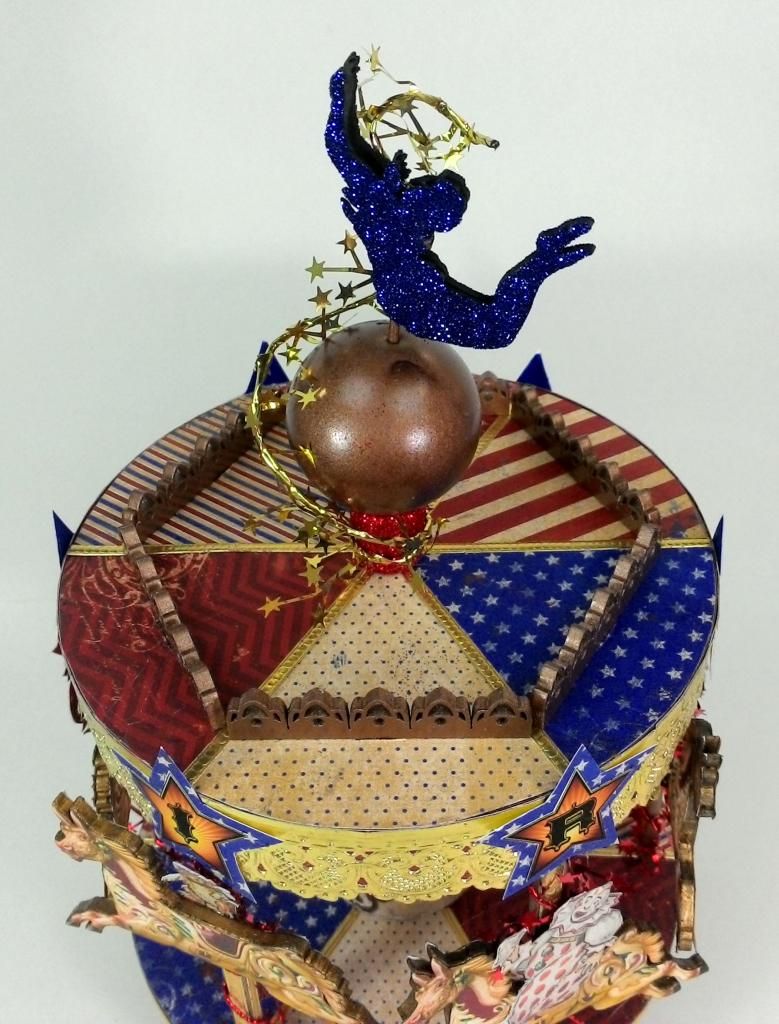
I covered the top of the top piece with paper wedges and Dresden just as I did with the bottom piece.  I reopened holes for the decorative panels and glued them in place.
Below you’ll find the template sized to fit the top piece.  The top is slightly smaller than the bottom so you need a different template for each.  To download the template, click on the image to expand it, right-click and select Save As.
On the top, I added a ping pong ball spray painted with the same gold paint I used for the other pieces.  It is attached to the top with a small wooden box foot.  The woman is from a set of mat board cut-out acrobats.  The set includes two of each piece.  I coated the pieces with glitter and glued them to each side of a flat toothpick.  I poked a hole in the ball with a pin and then glued the toothpick in the hole.  Lastly, I wrapped the wooden piece and ball with a piece of gold star tinsel.
Around the edge of the top, I added Dresden and stars that spell Circus.  To each of the horses, I added clowns, cats, and a ballerina.

SELLS FLOTO CIRCUS
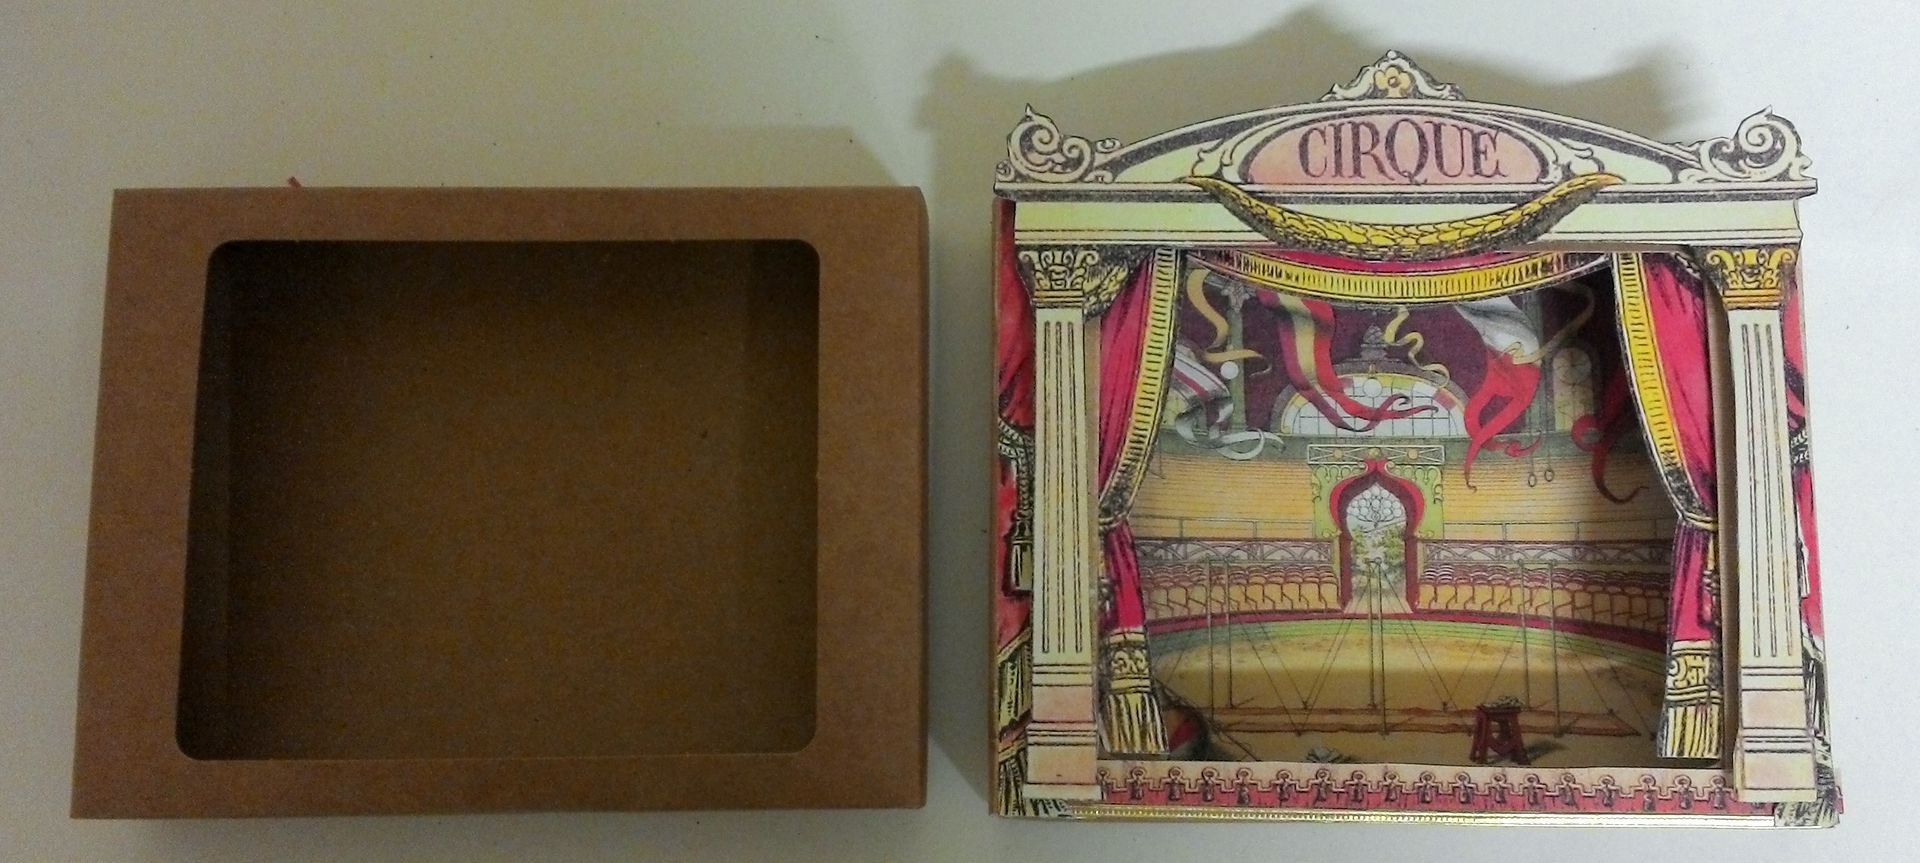
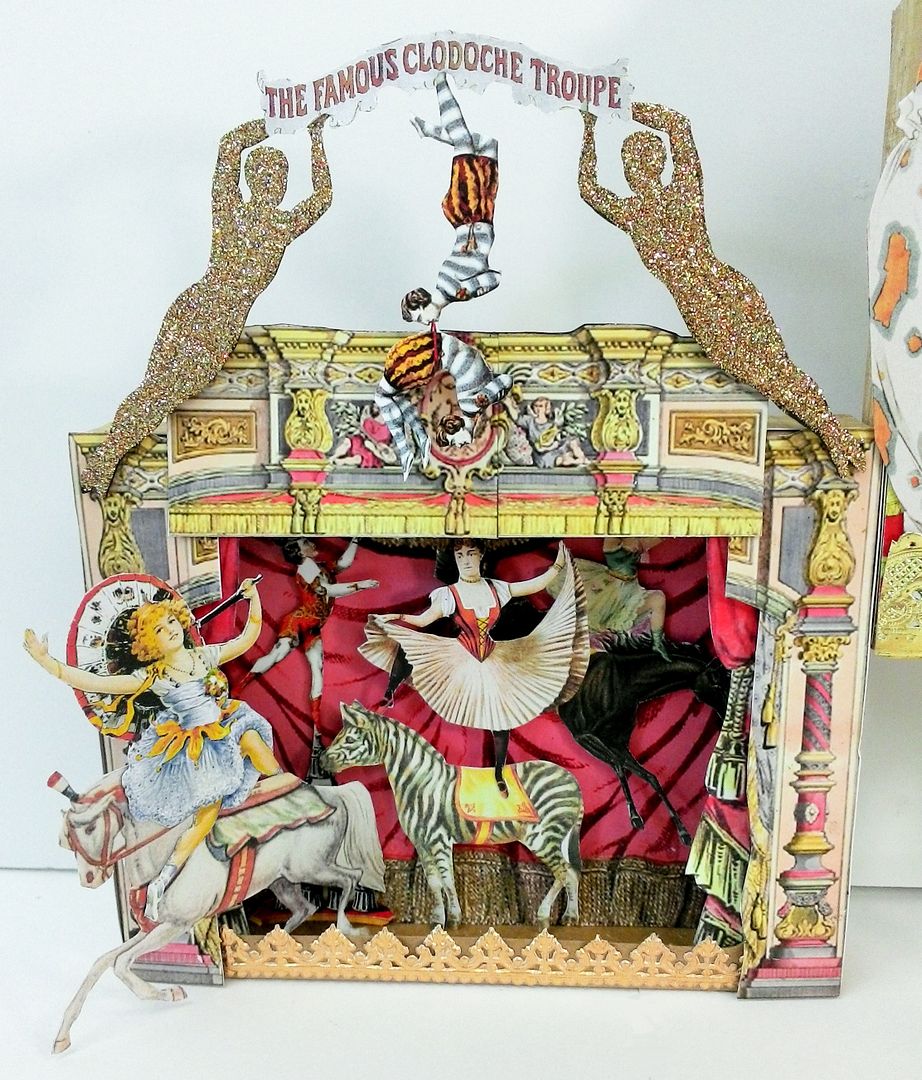
This circus is made from chipboard theater boxes.  They come in a set of 3 boxes so I thought I would create a scene in each box and then combine the boxes.

Unlike most of my projects, this one includes very few embellishments.  The circus is created almost entirely with collage sheet images.
I first assembled the box leaving one side open.  I glued the scene in place (in the back) then glued the tab of the open side to the back of the box rather than inside the box.  I finished by covering the sides, top, bottom and backs with paper.  I did not color or paper the inside except for the background scene or curtains you see in the back of the boxes.  Once you have the facade in place you can't see the inside except for the back.

To create more dimension, I glued the paper curtains to the inside front of the box.  On the outside front of the boxes, I glued various paper theater facades.
 
In addition to the paper theater facades, I added gold Dresden.  The characters in the boxes are attached with double-stick foam tape at various distances from the back, making them appear 3-D.
The latter on the front of the center box is made from 2 wooden skewers and toothpicks.
Notice the clown at the top of the latter; he has a stick and I think he is trouble.
All of the images are backed with paper adding stiffness and providing more support.
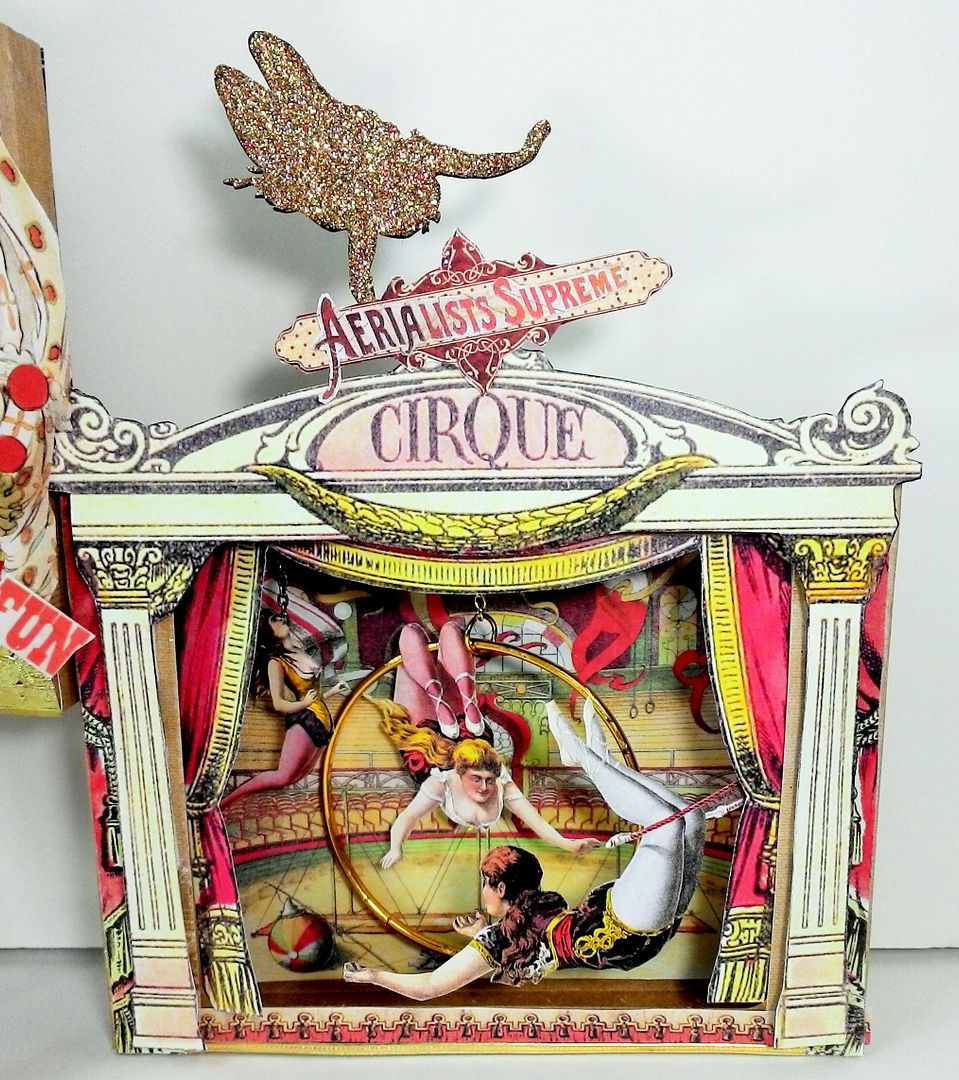
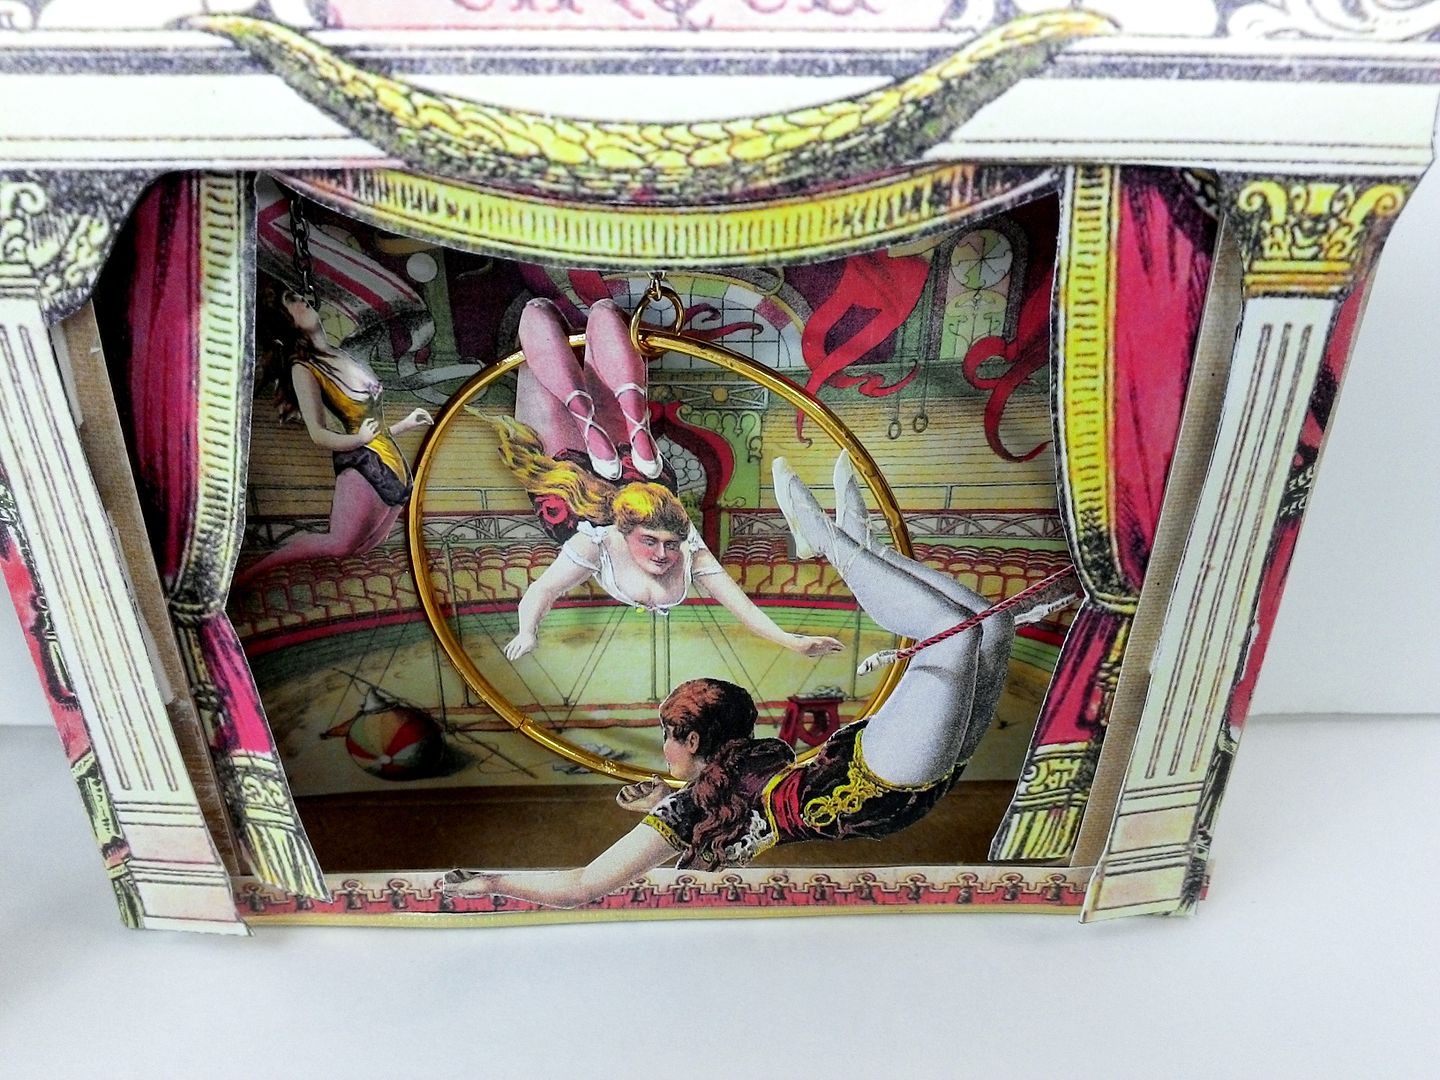
The gold bangle is attached to a chain which I inserted into a hole on the top of the box and is held in place with a jump ring which is bigger than the hole.  The woman on the left is also attached with a chain going through the top of the box.

Notice how the one acrobat is extending outside of the box.  The same is true for the woman on the horse in the first box.  Having some of the characters coming out of the box added to the 3-D appearance.

Wednesday, October 23, 2013

NEW 3D Tent Collage Sheets & Digital Image Set - Plus a Video Tutorial

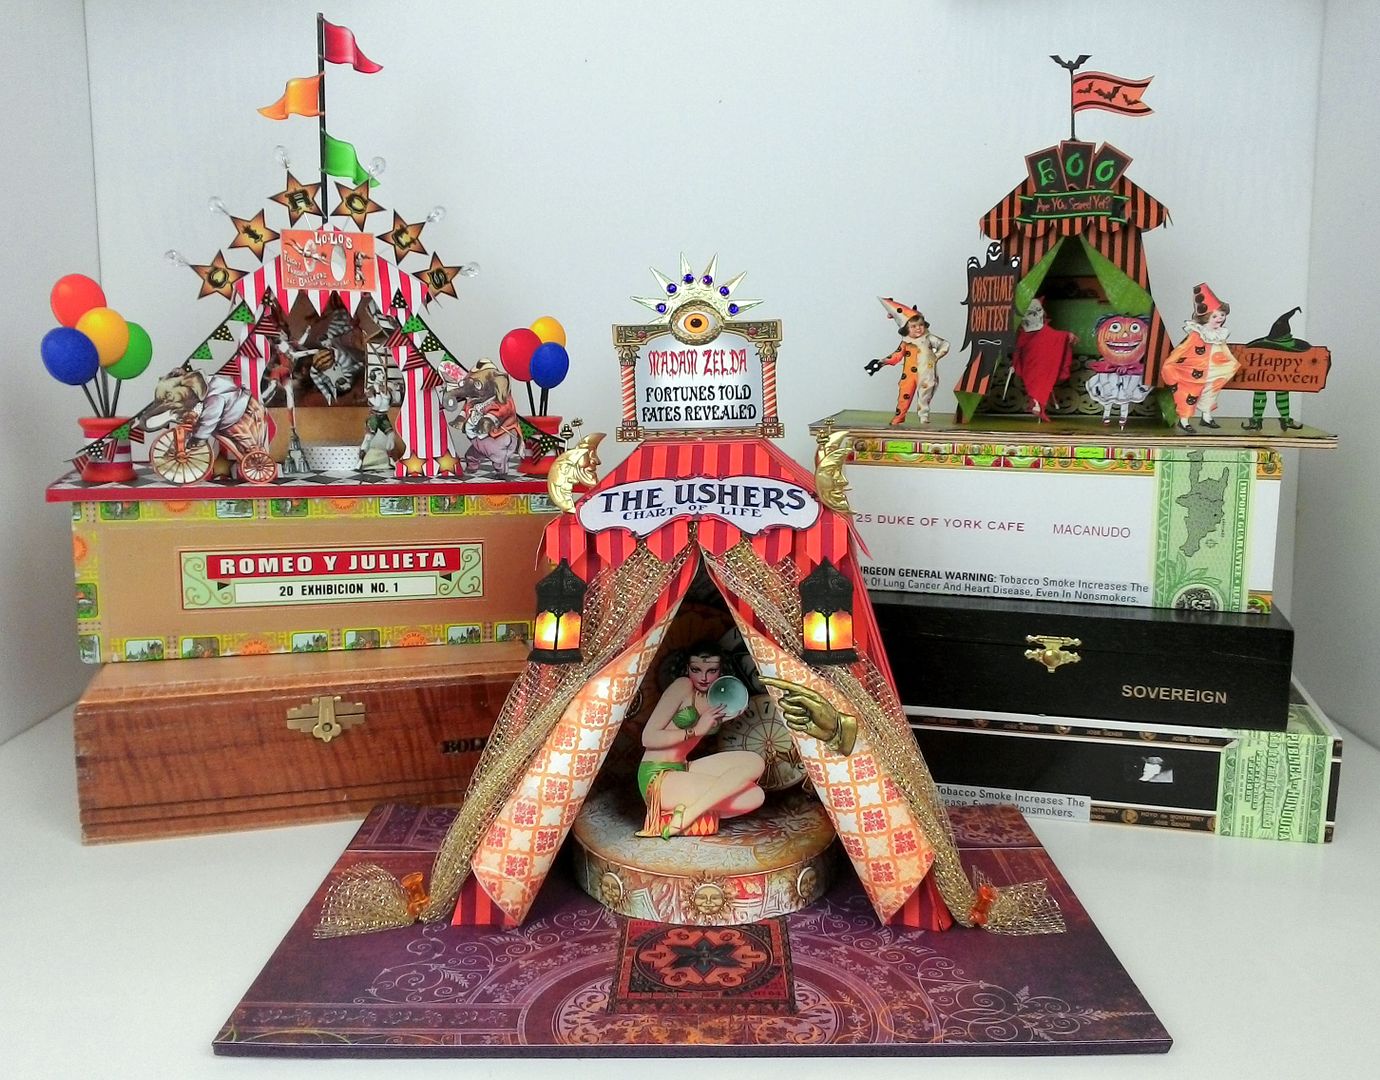
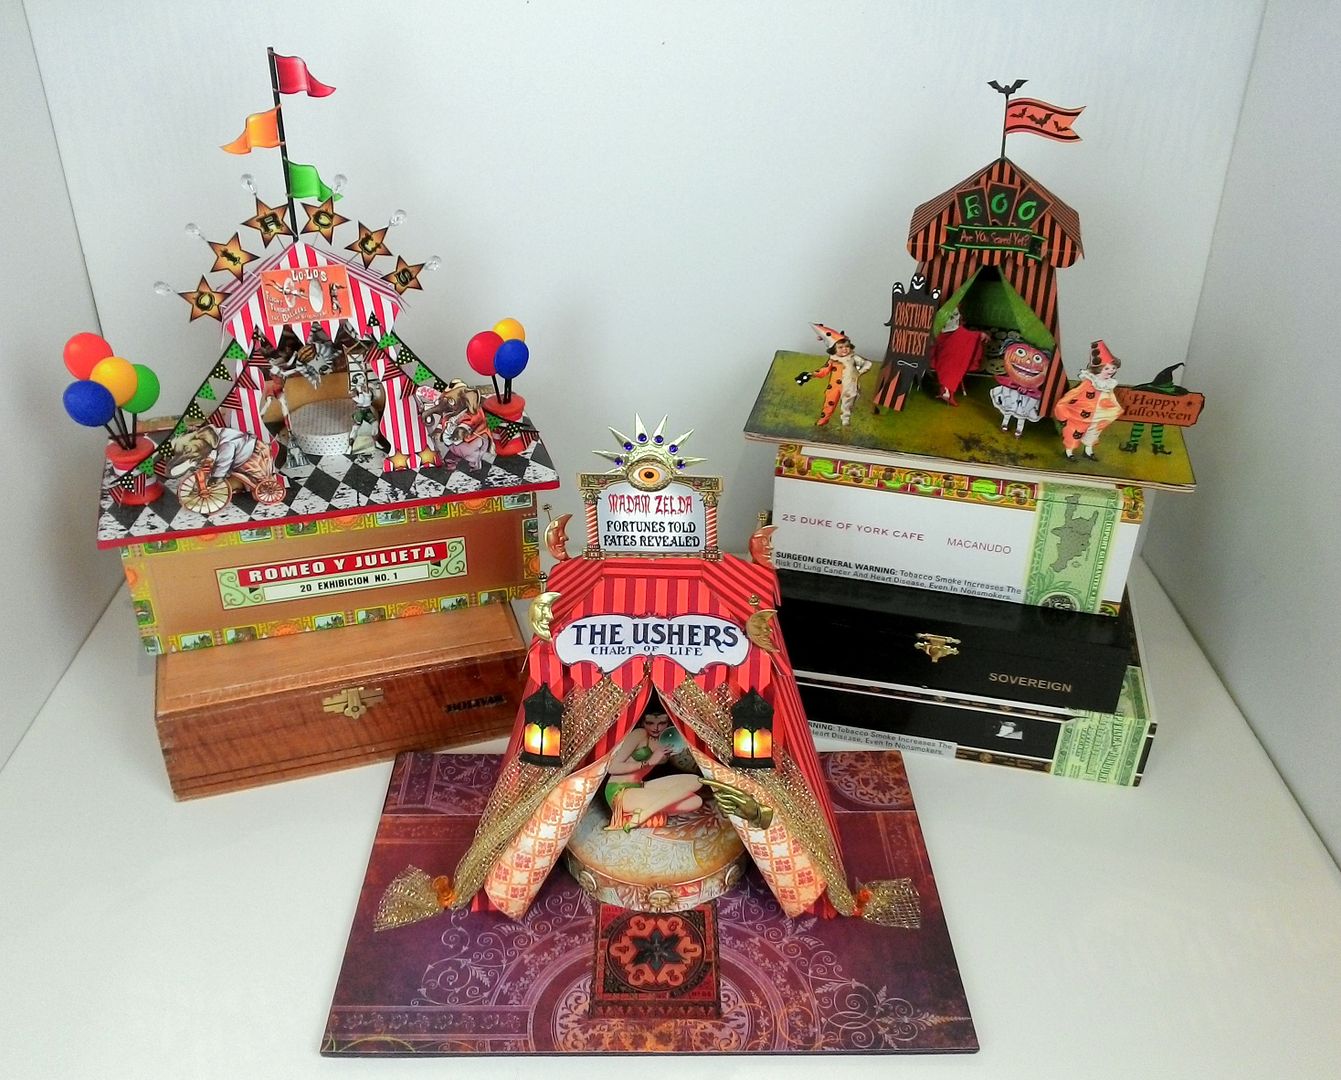
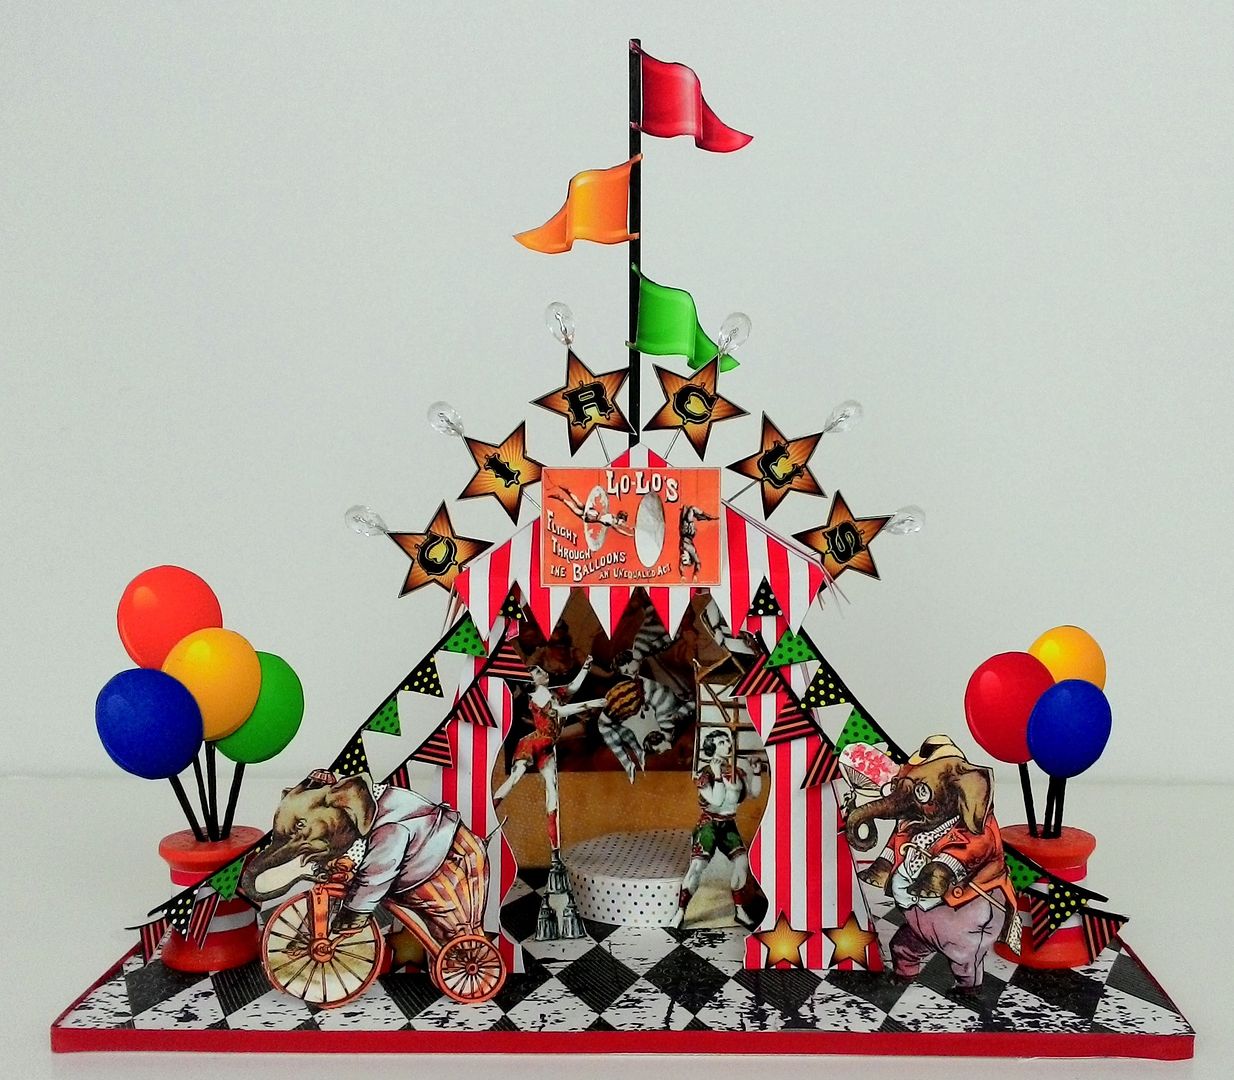
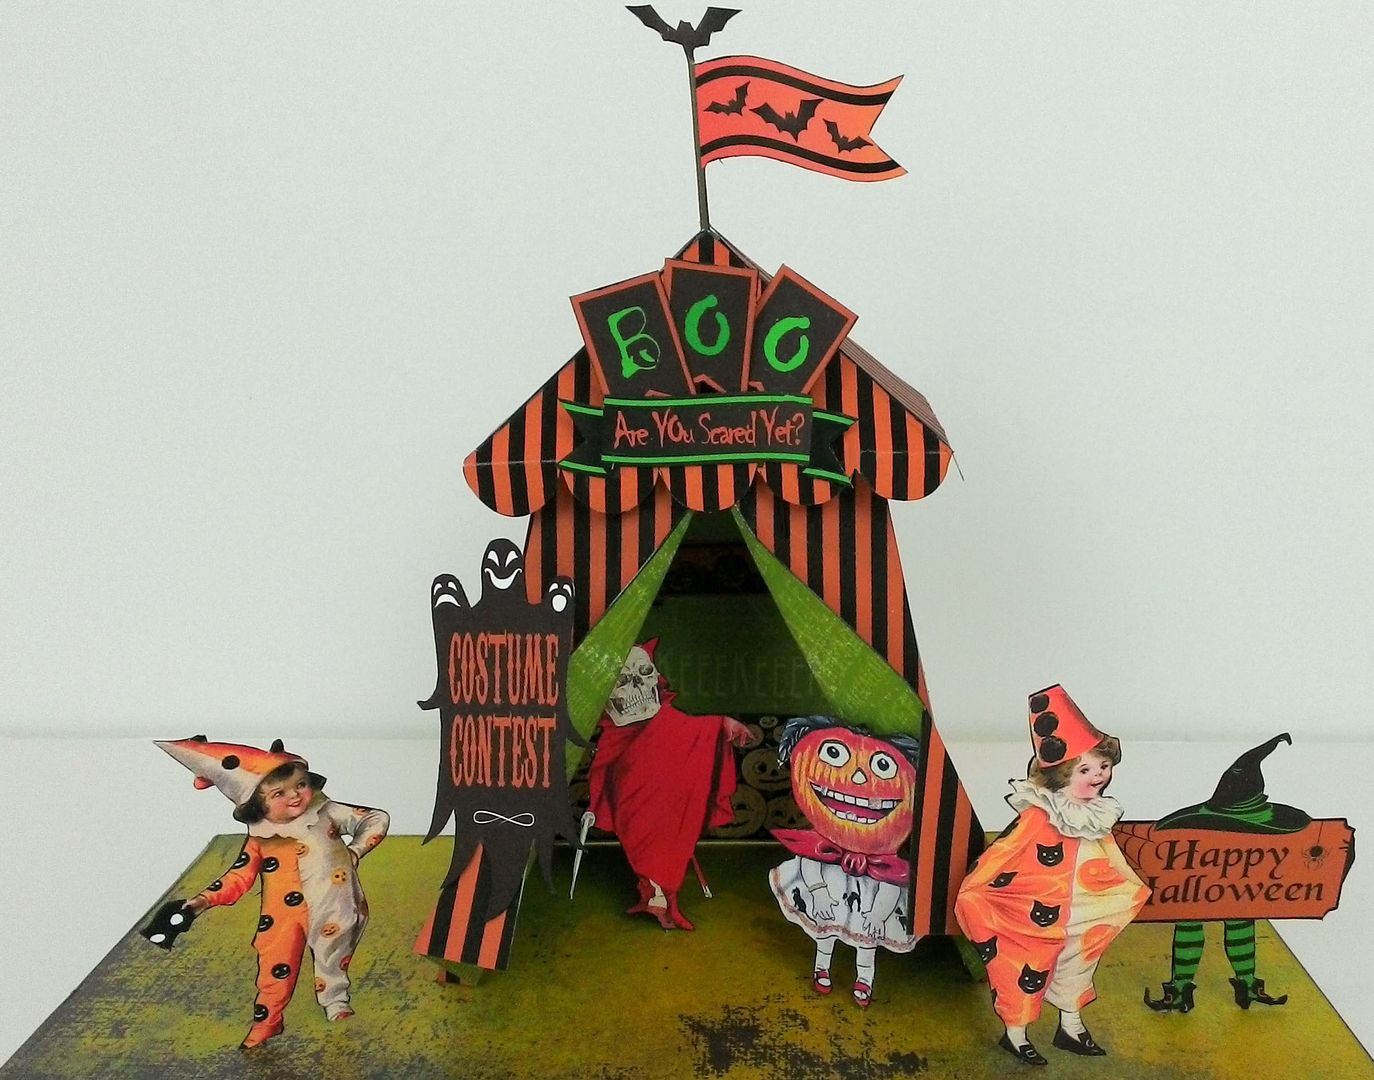
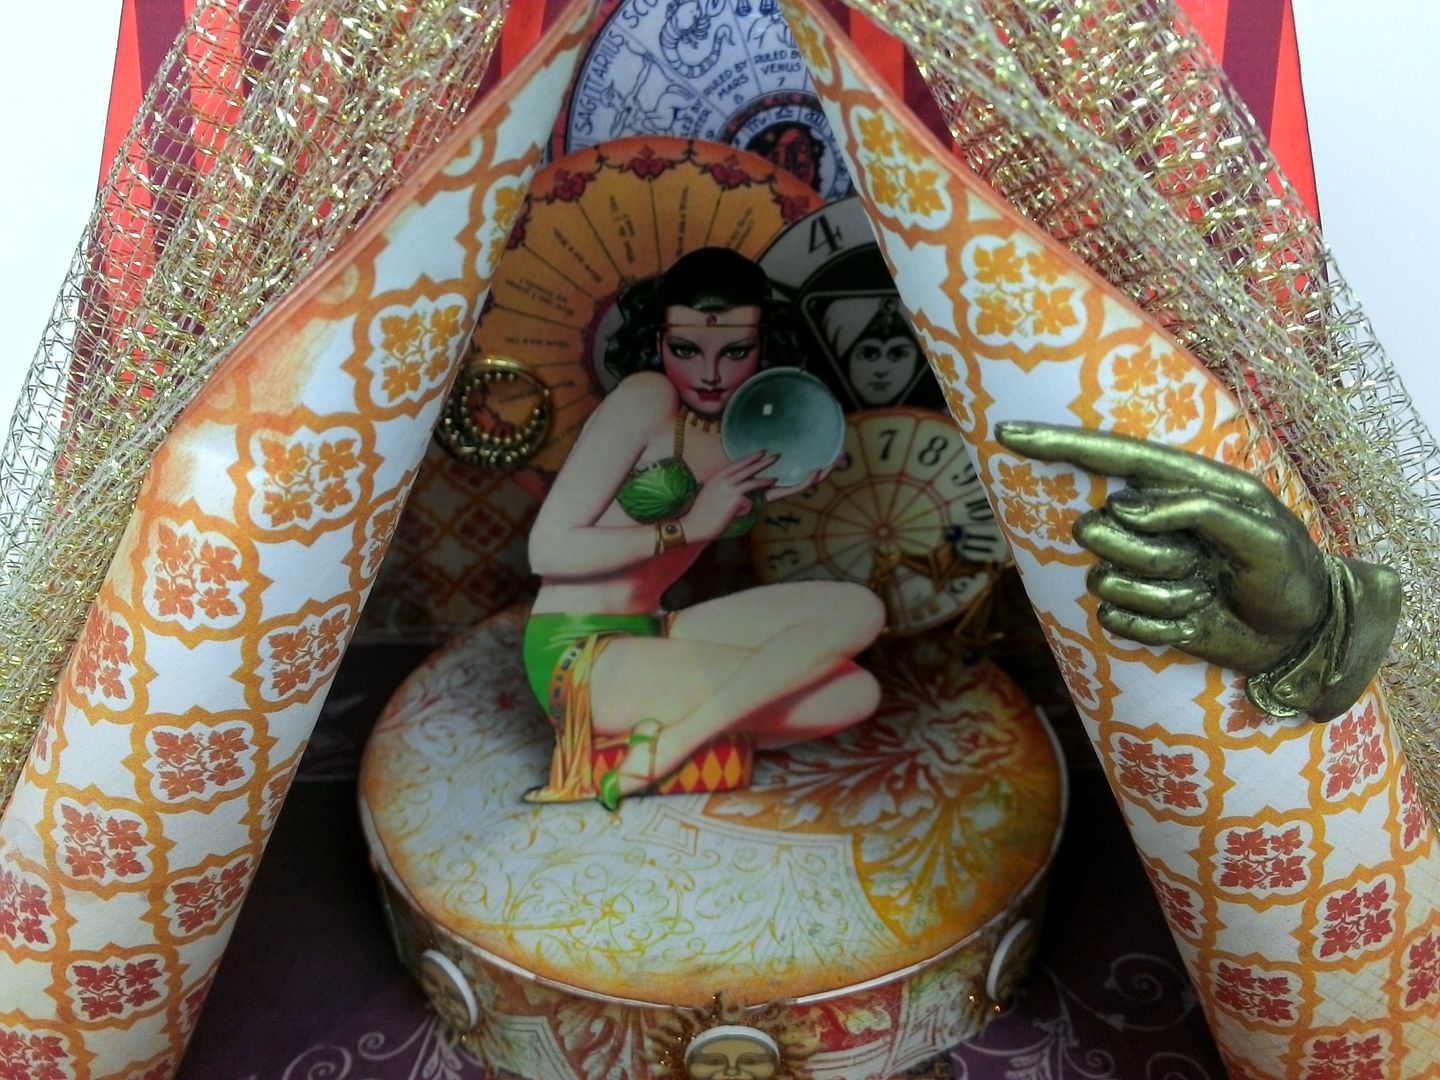
Step right up to check out my new 3D Tent Collage Sheets and Digital Image Set available on Etsy (see links below).  On offer are Halloween, circus, gypsy and carnival tents.  These tents work great for your art project or decorations for a party.  For those of you building a Halloween Carnival, imagine adding a few tents to your carnival display.
COLLAGE SHEETS
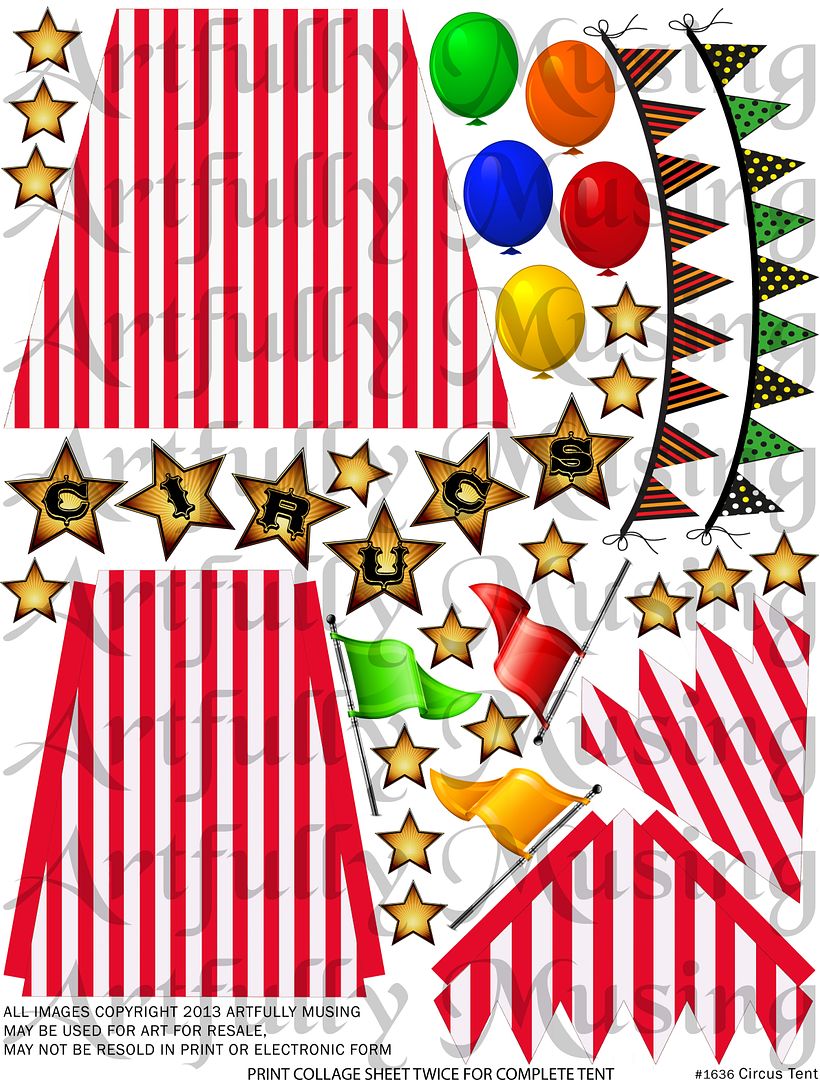
One collage sheet features a Circus Tent.  Click on the image below to purchase the sheet.

Printing the sheet twice gives you all of the pieces needed to construct the tent.
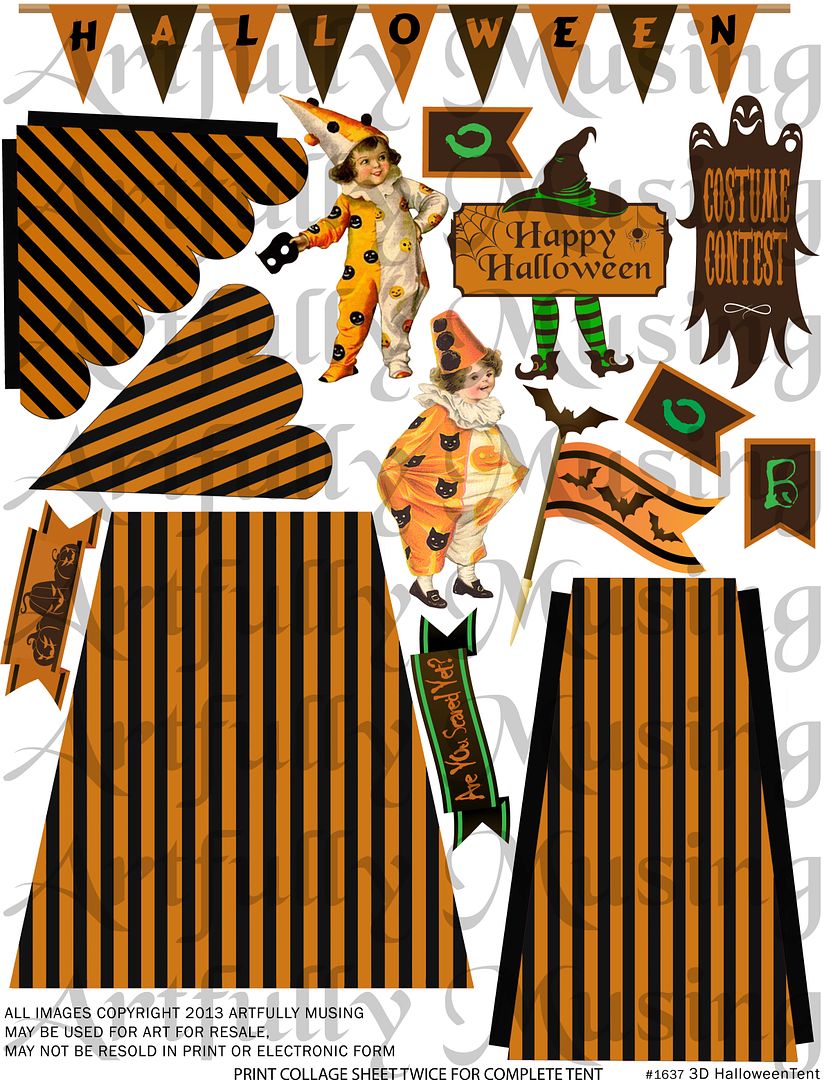
The other collage sheet features a Halloween Tent.  Click on the image below to purchase the sheet.
Printing the sheet twice gives you all of the pieces needed to construct the tent.
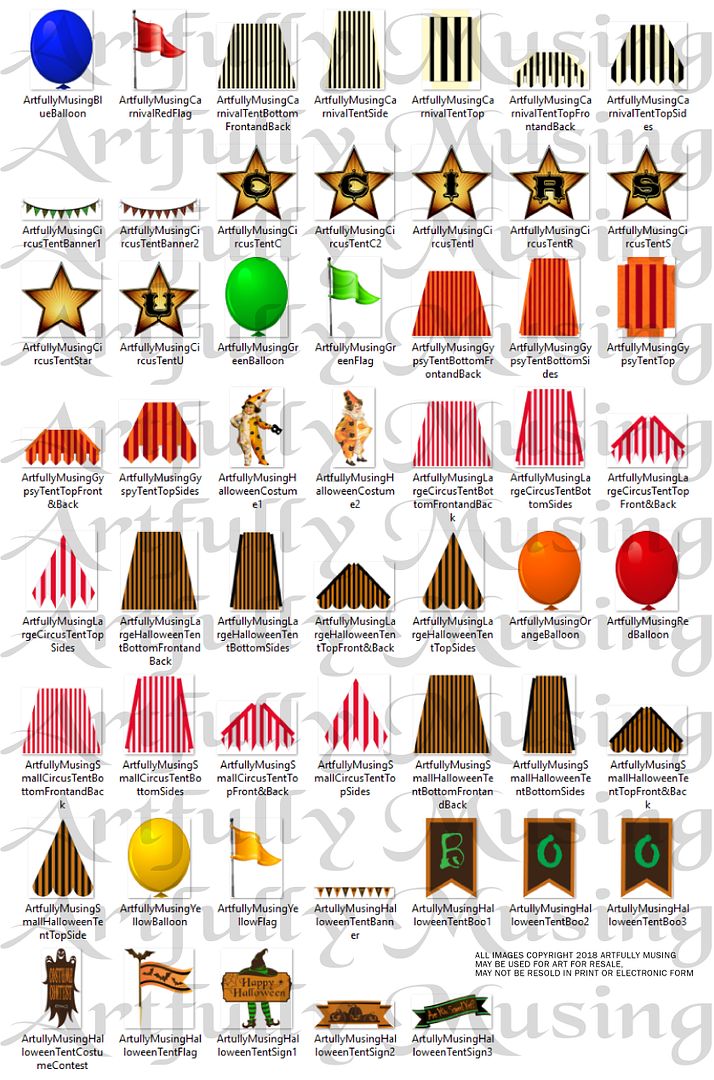
Digital image sets are a great option in that they allow you to easily resize individual images.  You can also print only the images you need.  The image set includes:
  • All of the images on the Circus sheet plus a larger version of the circus tent
  • All of the images on the Halloween sheet plus a larger version f the Halloween tent
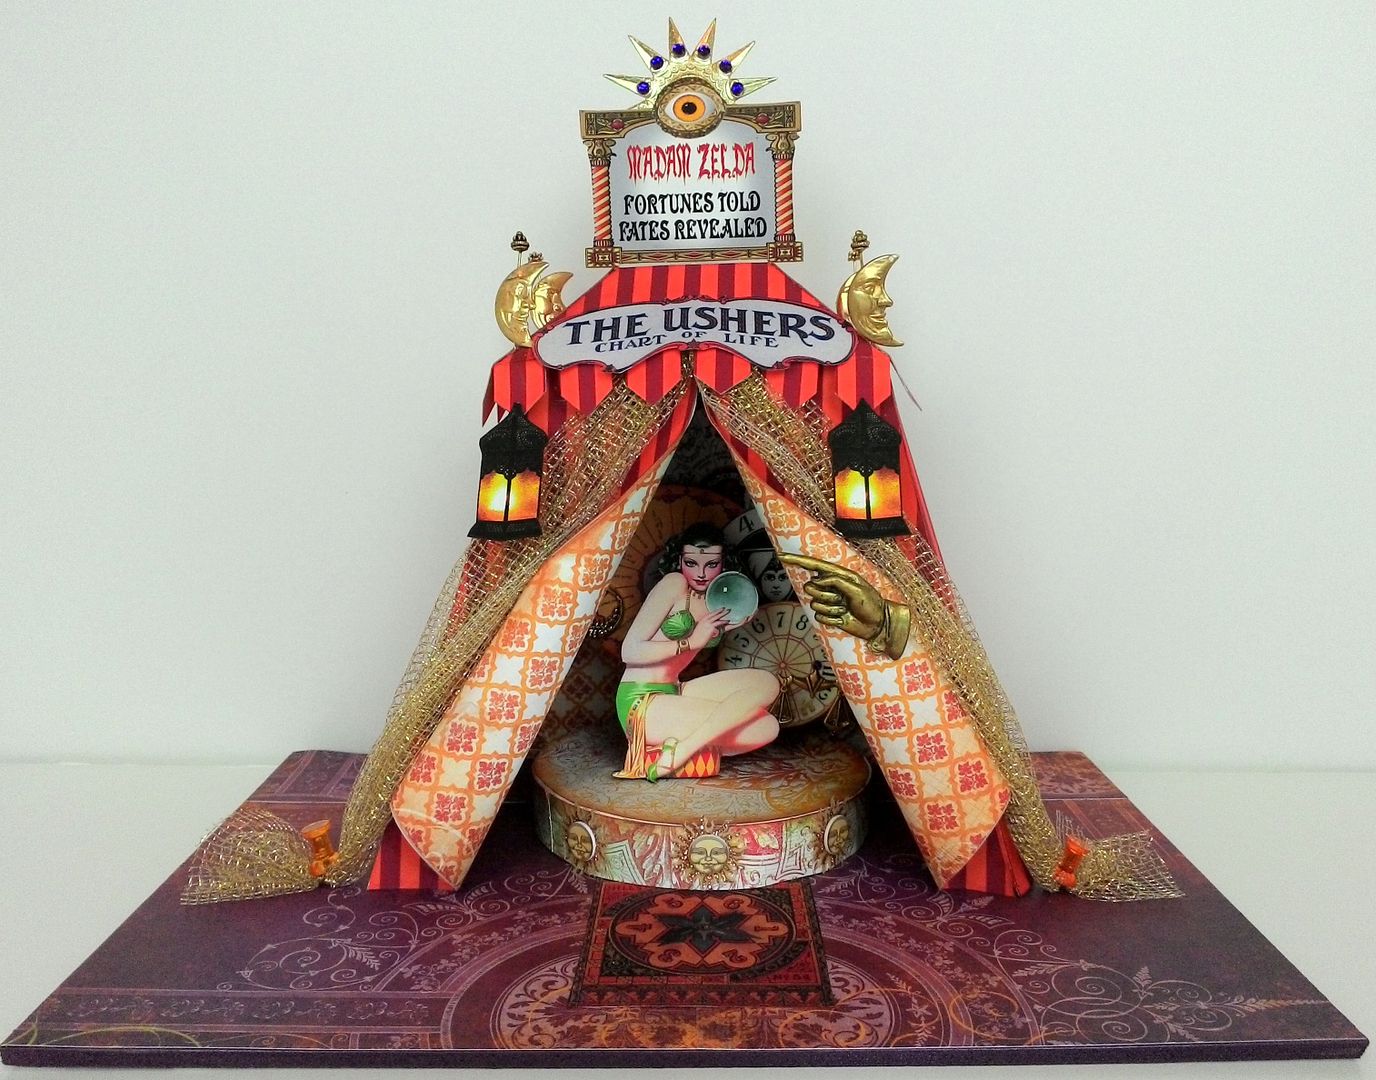
  • A large gypsy tent (pictured below)
  • A large Carnival tent (you’ll see this one in the video tutorial)
Click on the image below to purchase the image set.


 GYPSY TENT
TENT TUTORIAL
In this tutorial, I’ll show you how to assemble the 3D paper tents and give you all kinds of ideas on how to use the pieces.  I’ll show you how to create a different opening for the tents, ideas on how to use just the tops of the tents and how to use the tent pieces as a pattern to create tents with other designs.