.JPG)
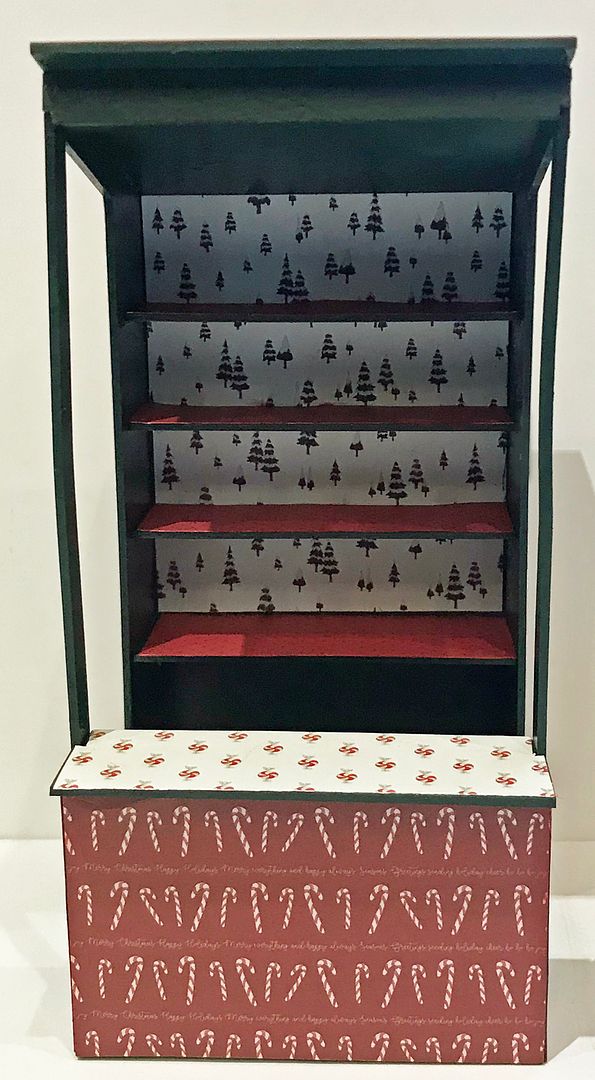
If you are looking for a Christmas project, perhaps I can
tempt you with a Christmas Decoration Market Stall, which was inspired by a die-cut Market
Stall & Base Kit, which makes assembly easy.

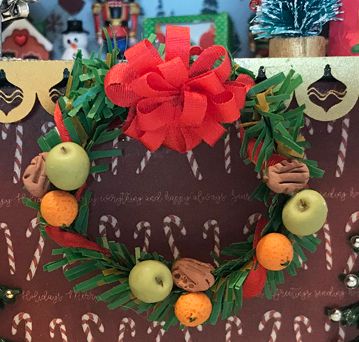
I made wreaths out of pine stems, candy canes, snowflake sequins and polymer clay slices.
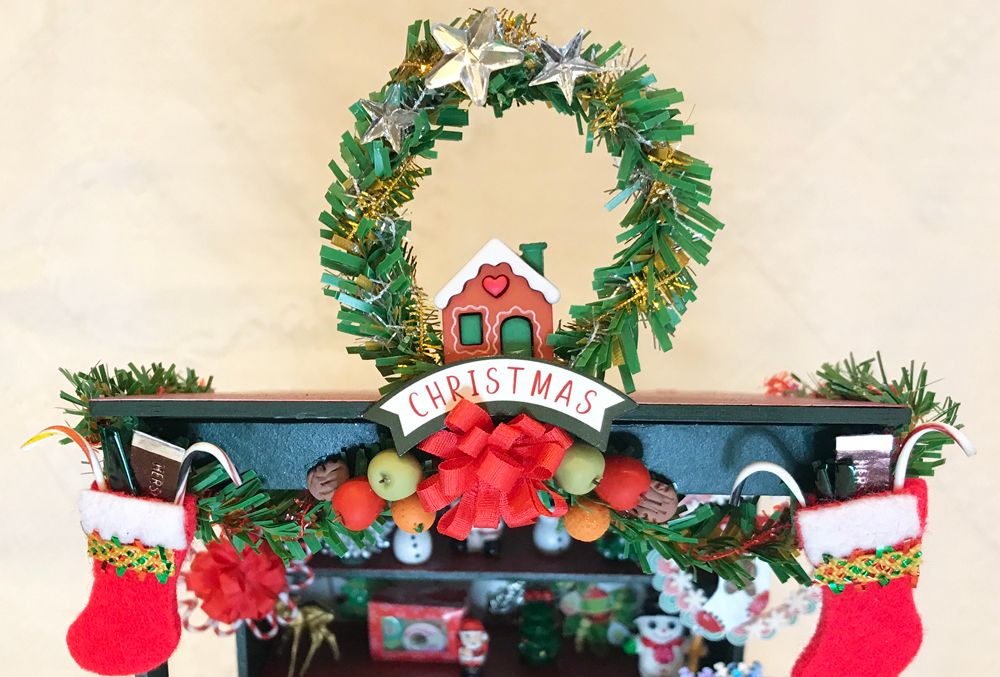
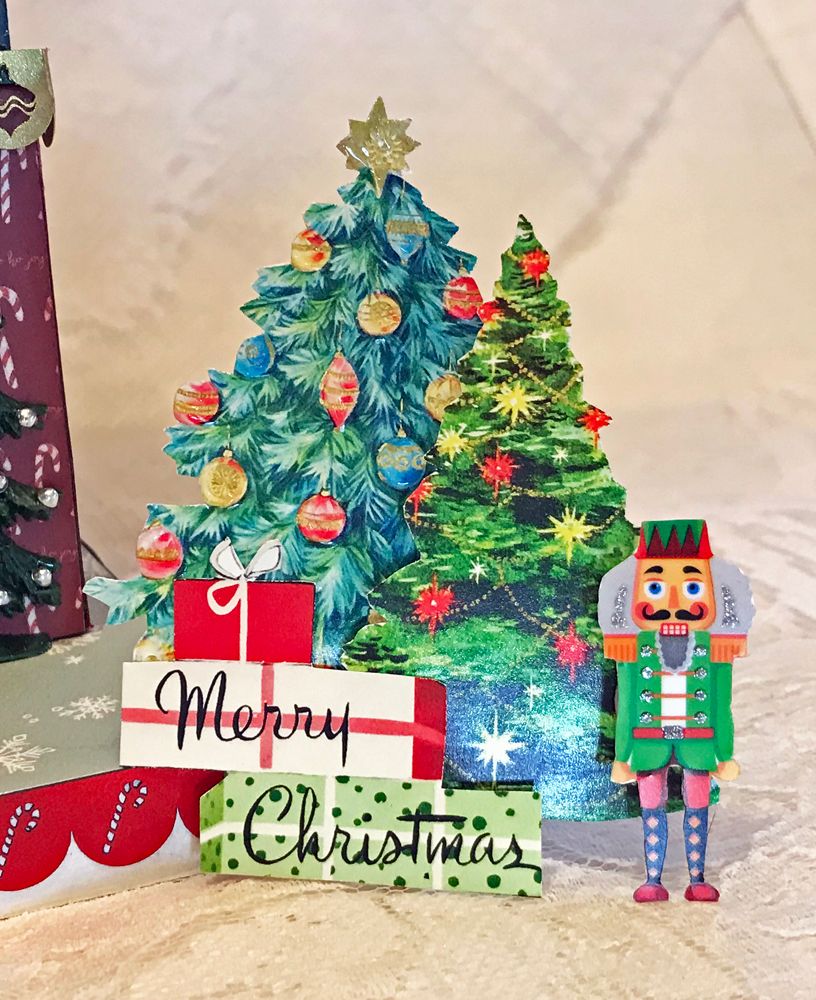
In front of the stand is a sign (which you can
download and use and is further down in the post) a 3D tree and snowman made
from the Tiny Christmas Shape Set, a nutcracker made from the Mini Nutcracker Kit, and Christmas trees with a stack of packages from the Tiny Trees, Gifts & Ornaments Collage Sheet.
Trimming the counter and base are Scalloped Christmas Borders.

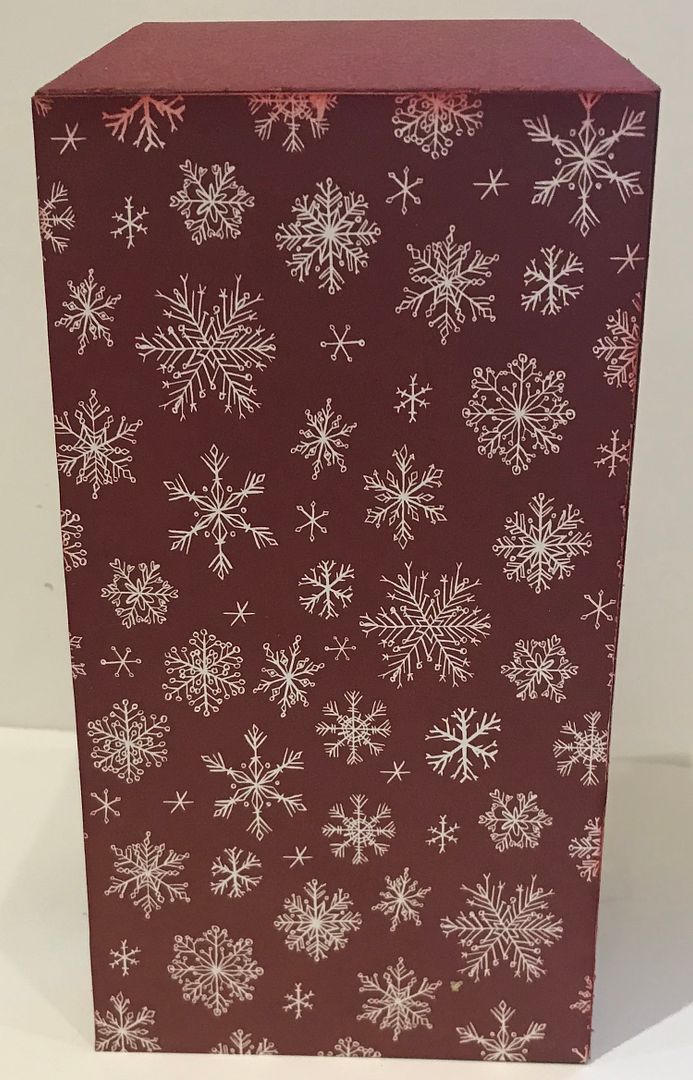
To cover the market stall and for other elements, I used the 6x6 & 12x12 Hello Christmas Paper pad and Collection Kit plus the 6x6 Christmas Pets paper pad.
Below I’ll cover many of the details of how I
constructed and decorated the market stall.
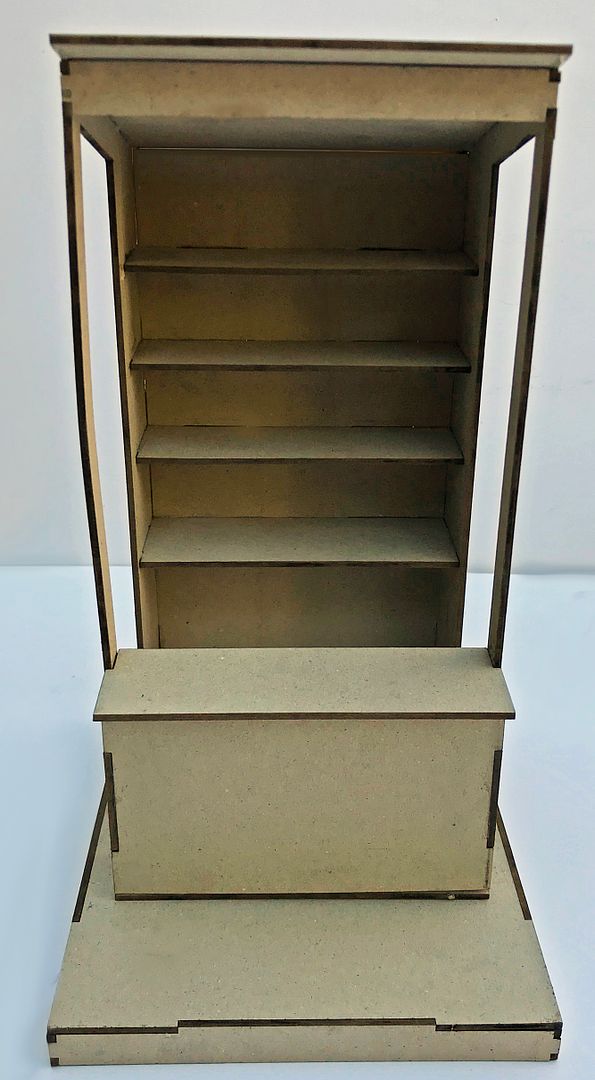
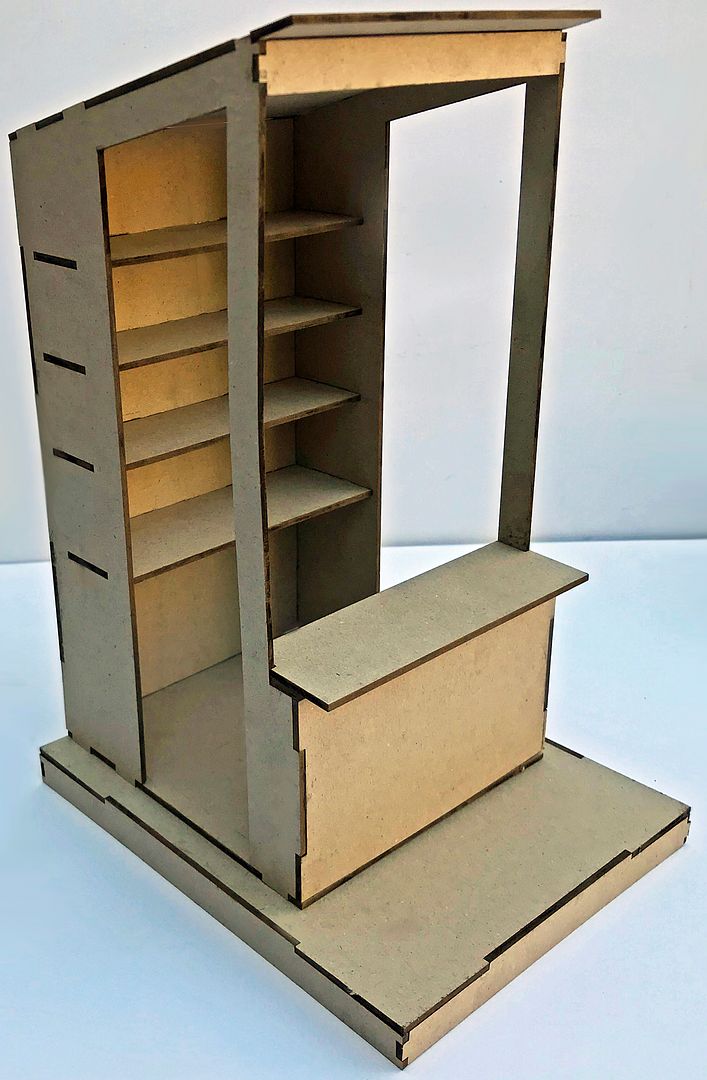
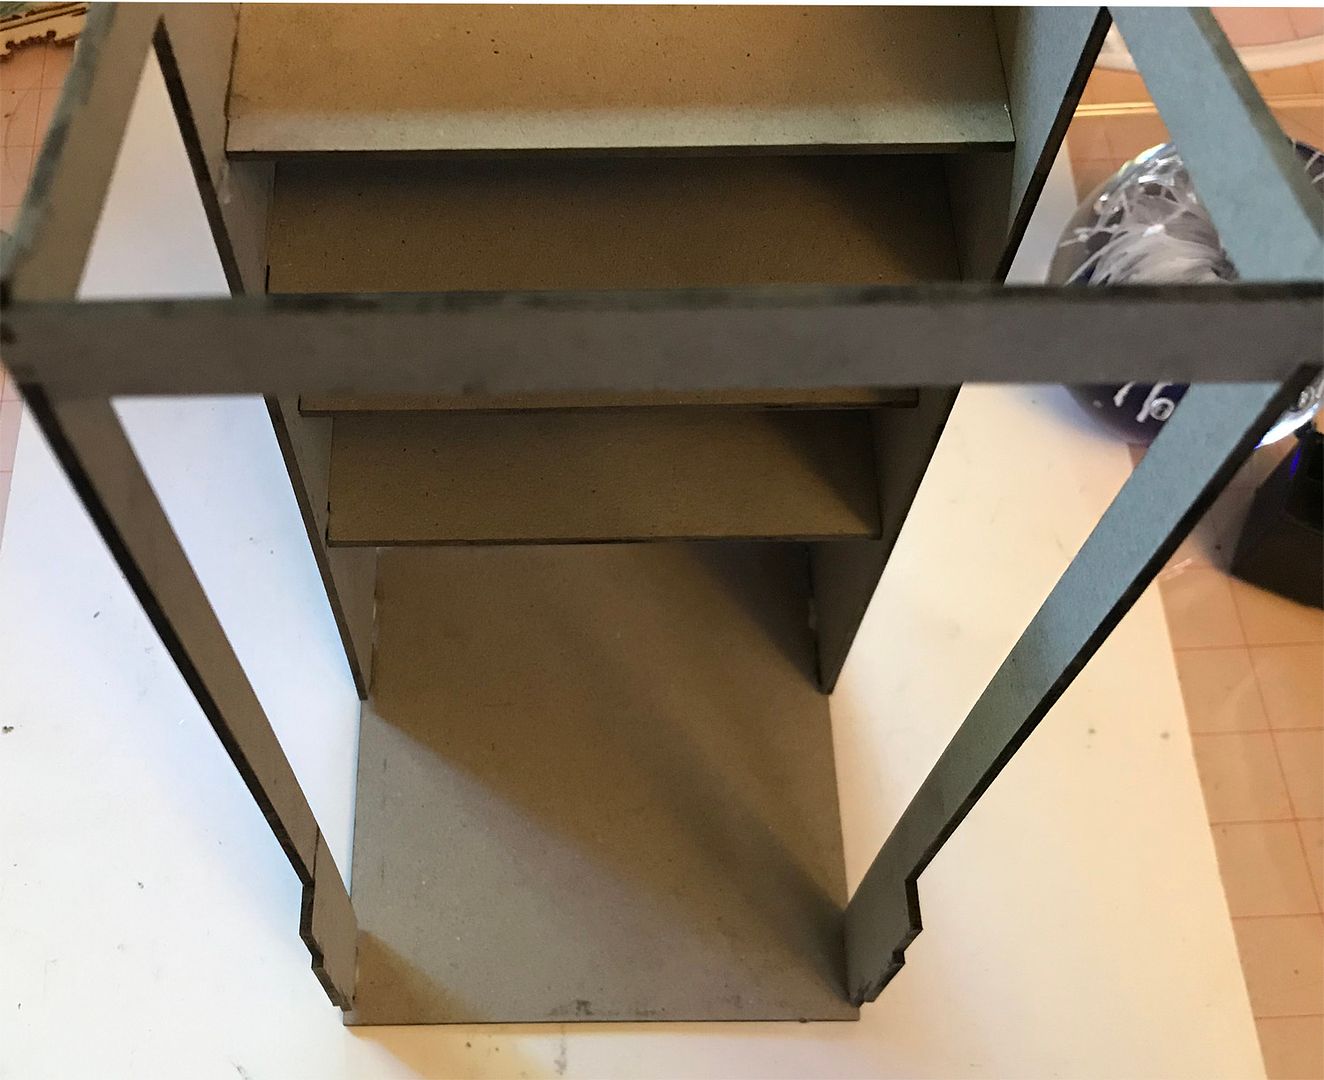
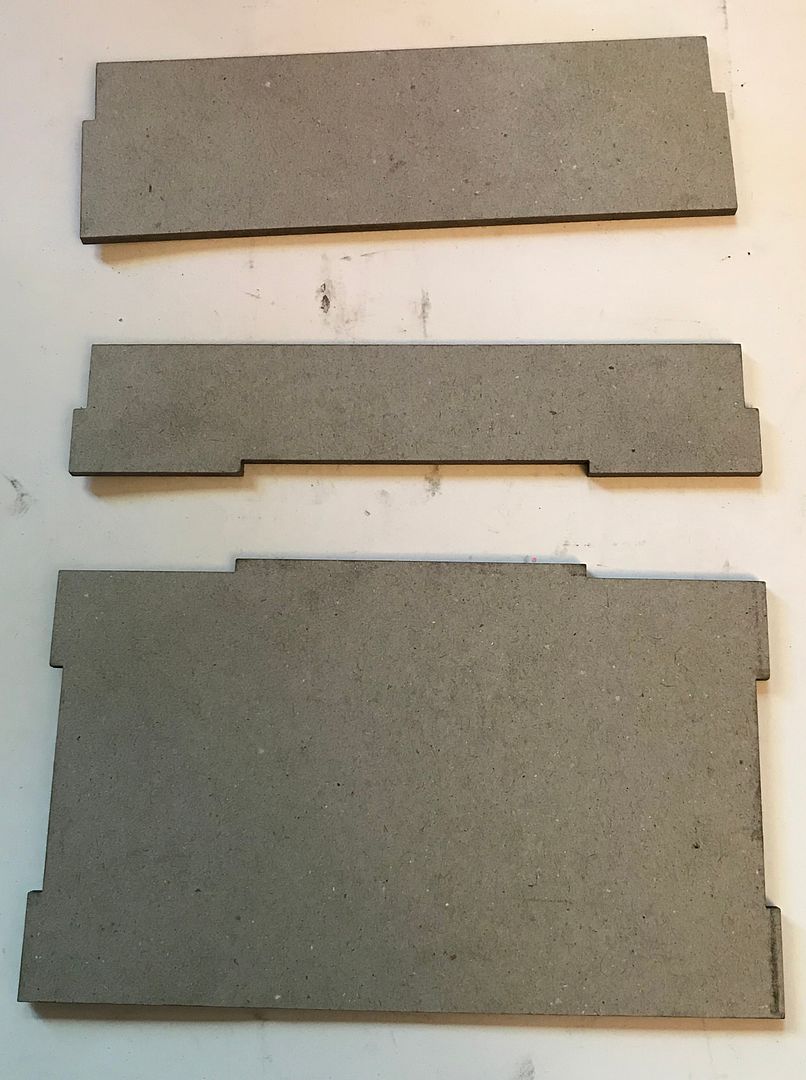
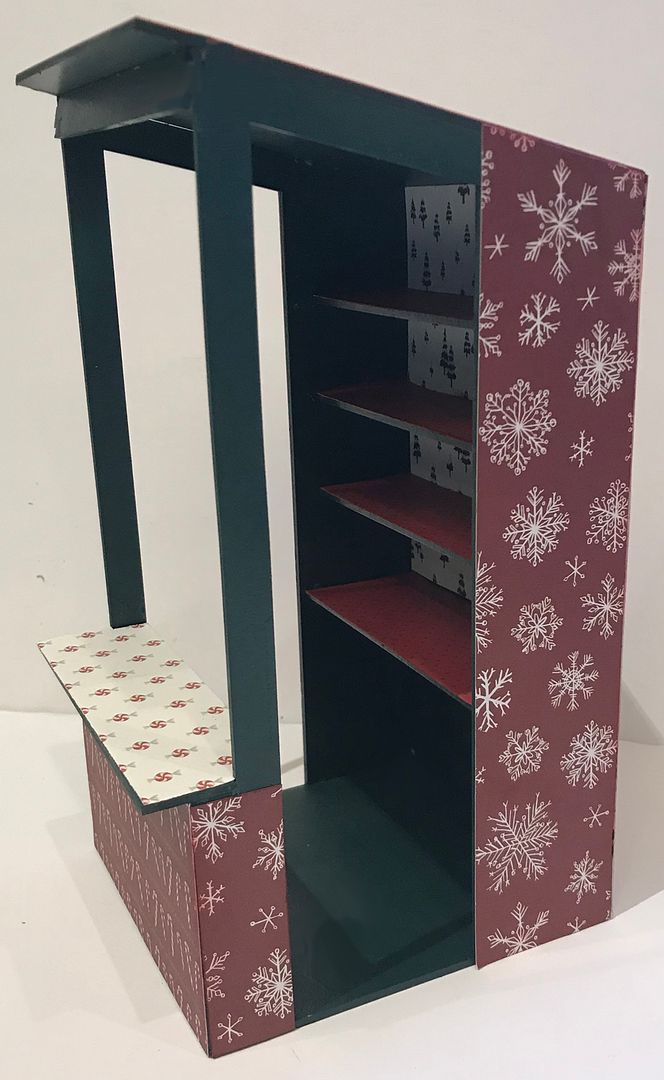
STALL ASSEMBLY
I started by gluing together the back and one of the sides plus the shelves. The widest of the shelves goes last.
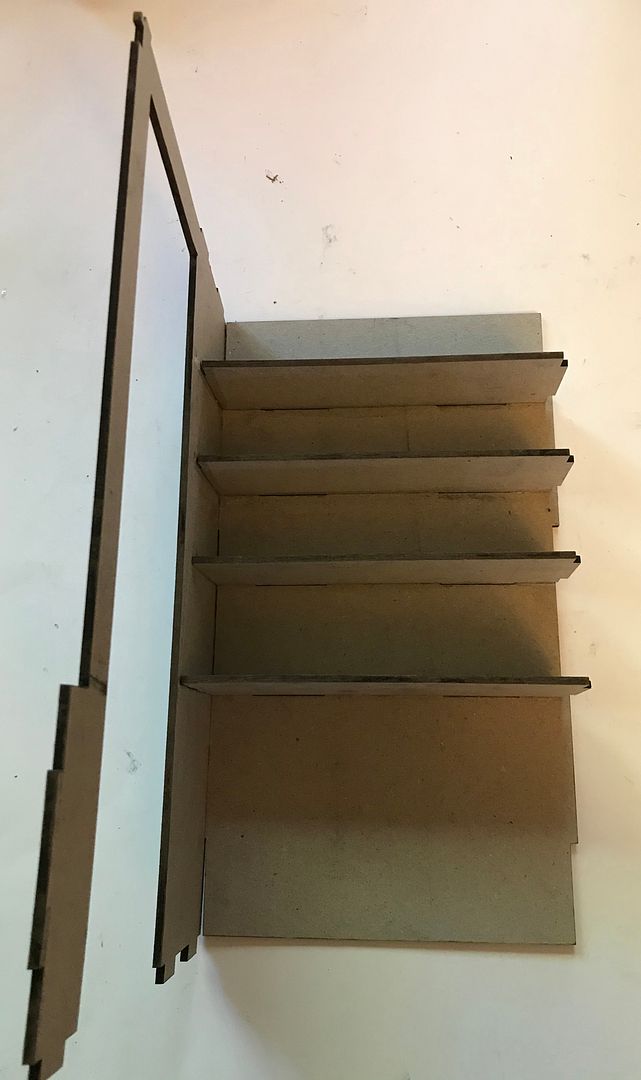
Next, I attached the other side, base, and roof support.
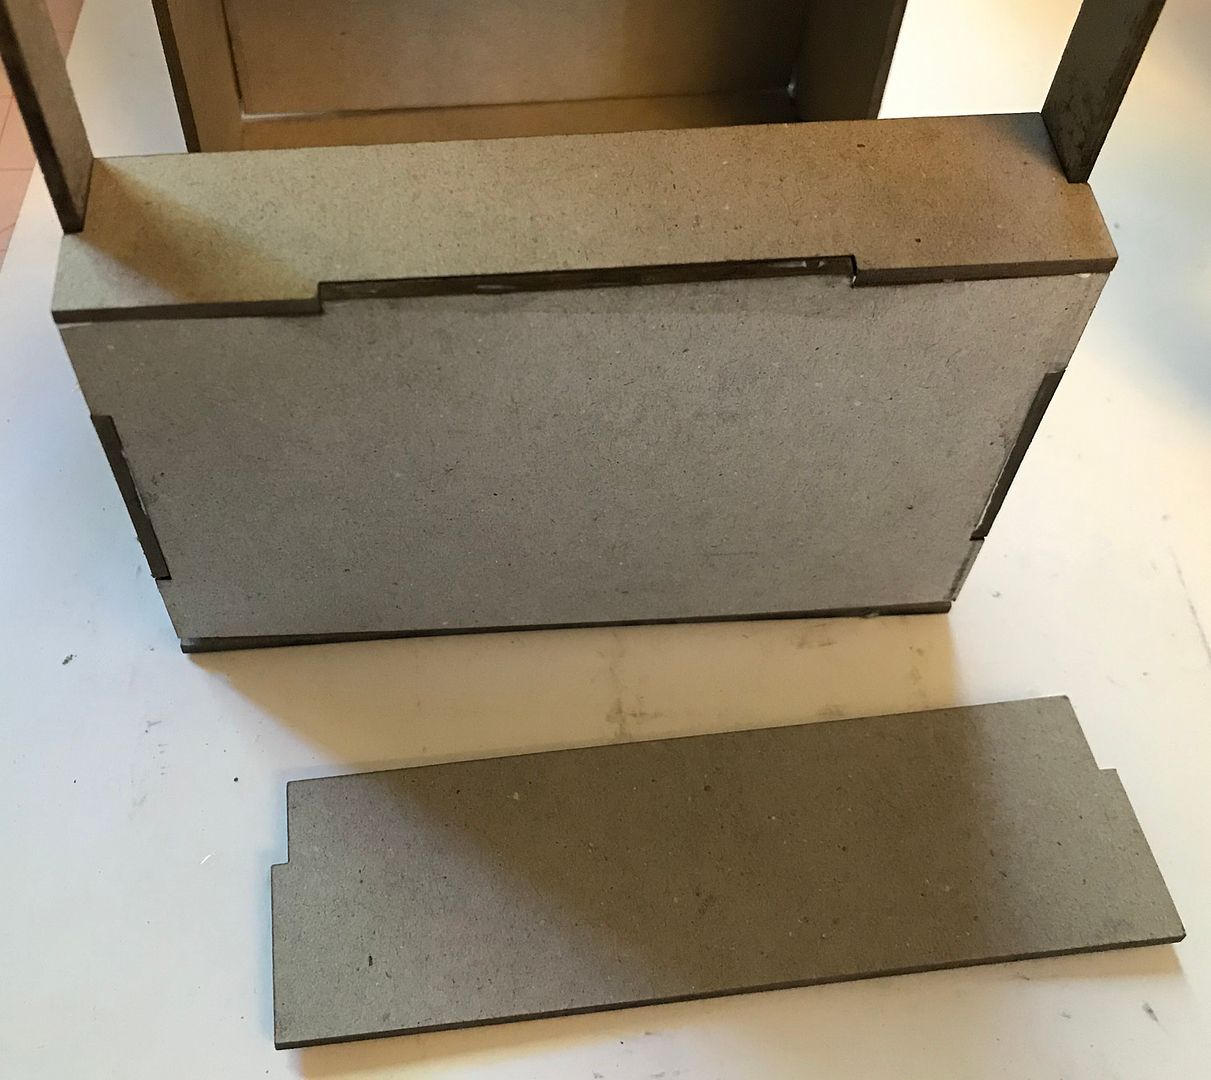
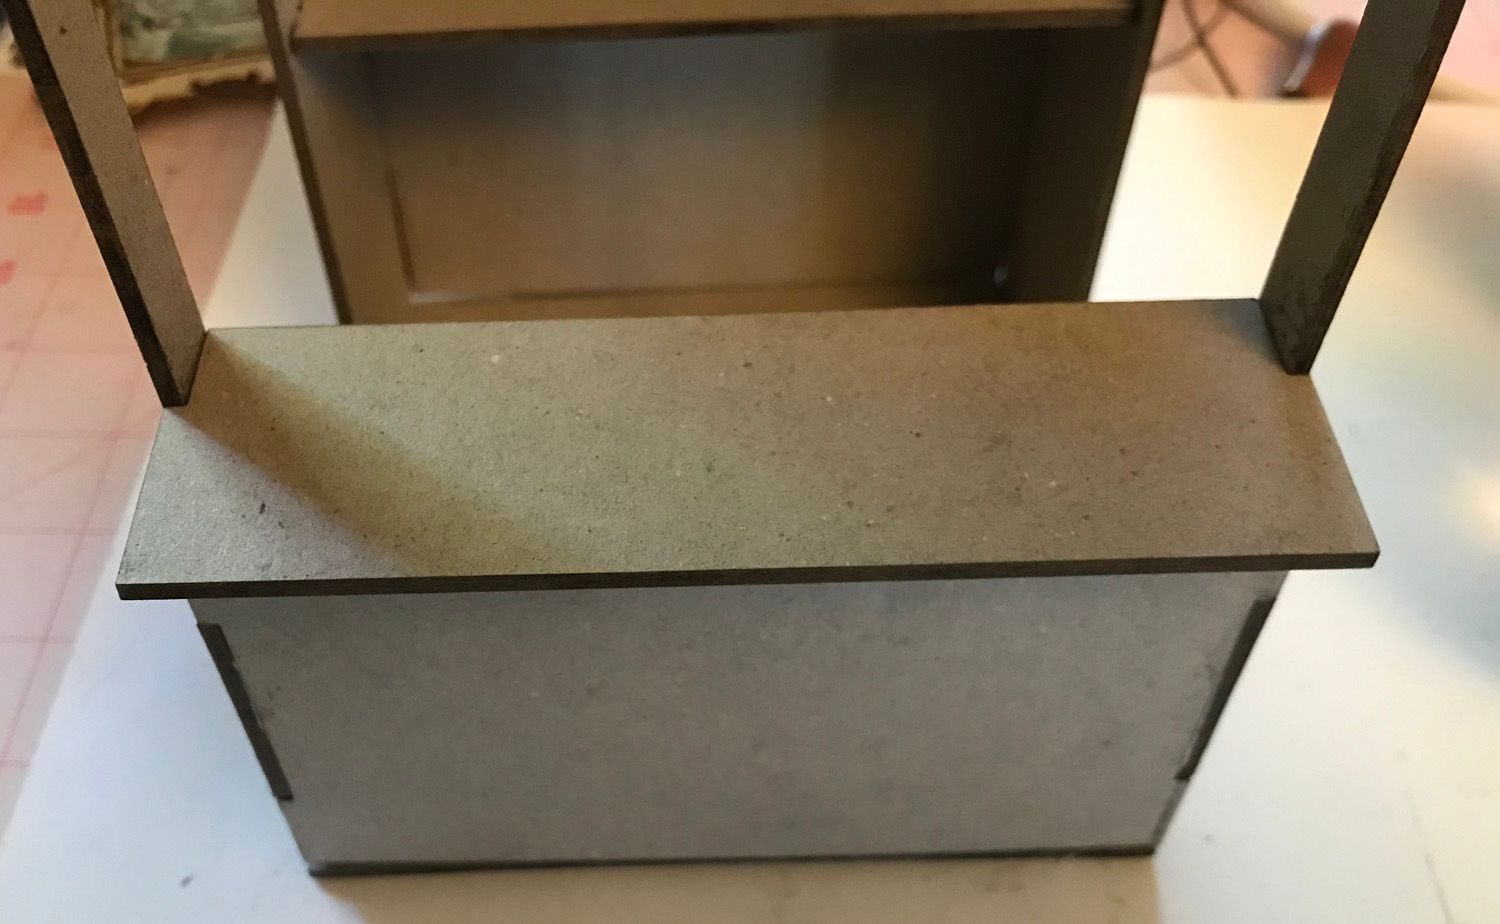
For the front counter, I attached the larger front
piece and the smallest counter piece, which supports the larger
counter piece.
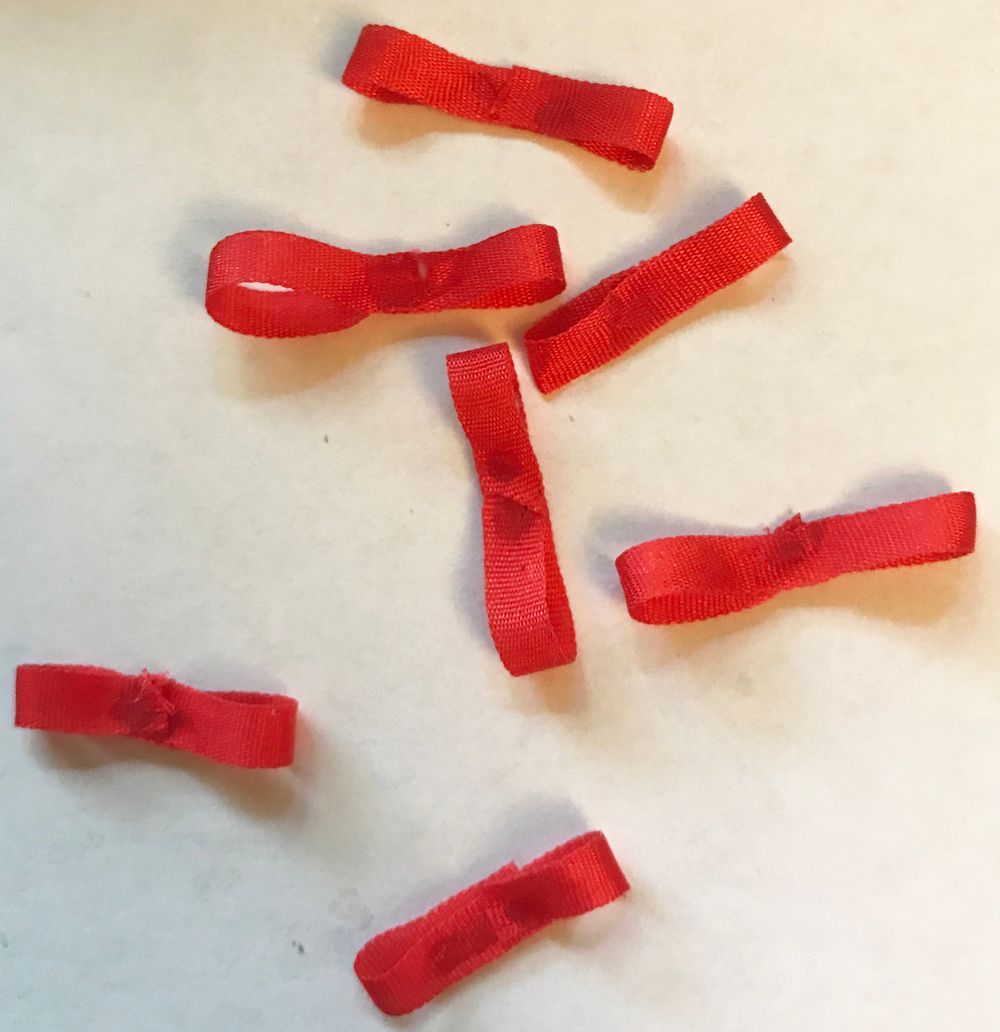
RIBBON BOWS
To make the bows, I cut 4 lengths of ribbon (the length
is based on how big you want the bow to be) and then another four lengths that
are approximately 2/3 the length of the first cut ribbon. I put a dot of glue in the middle of each
strip of ribbon then folded the ends to the middle.
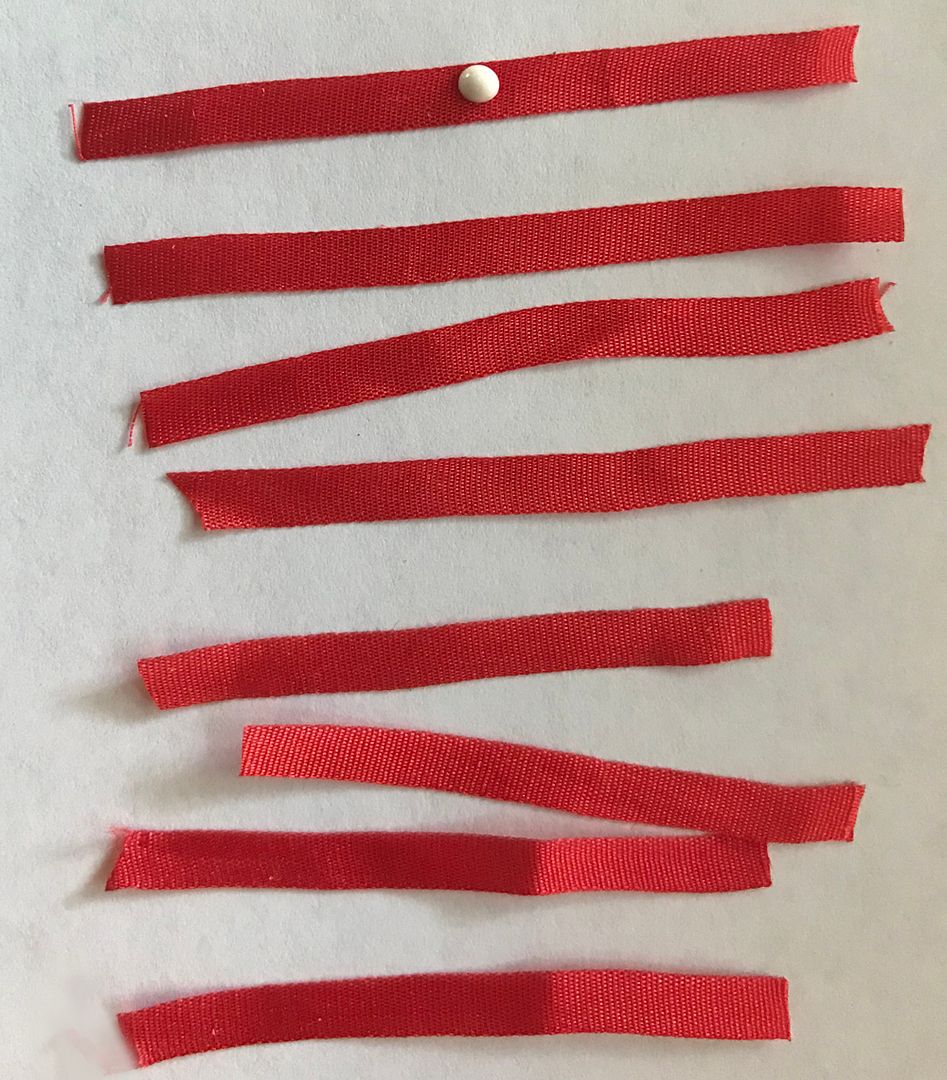
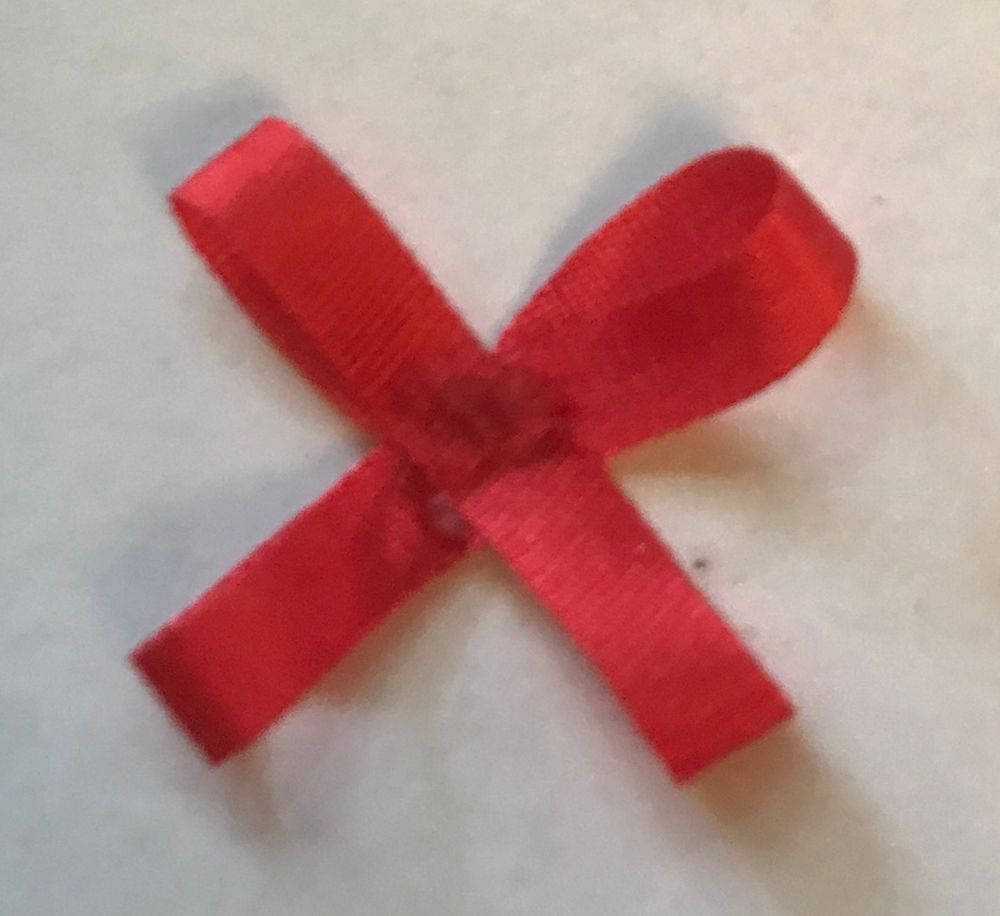
Next, I stacked the longer folded ribbons in
alternating directions. I did the same
for the shorter folded ribbons and then glued them together.
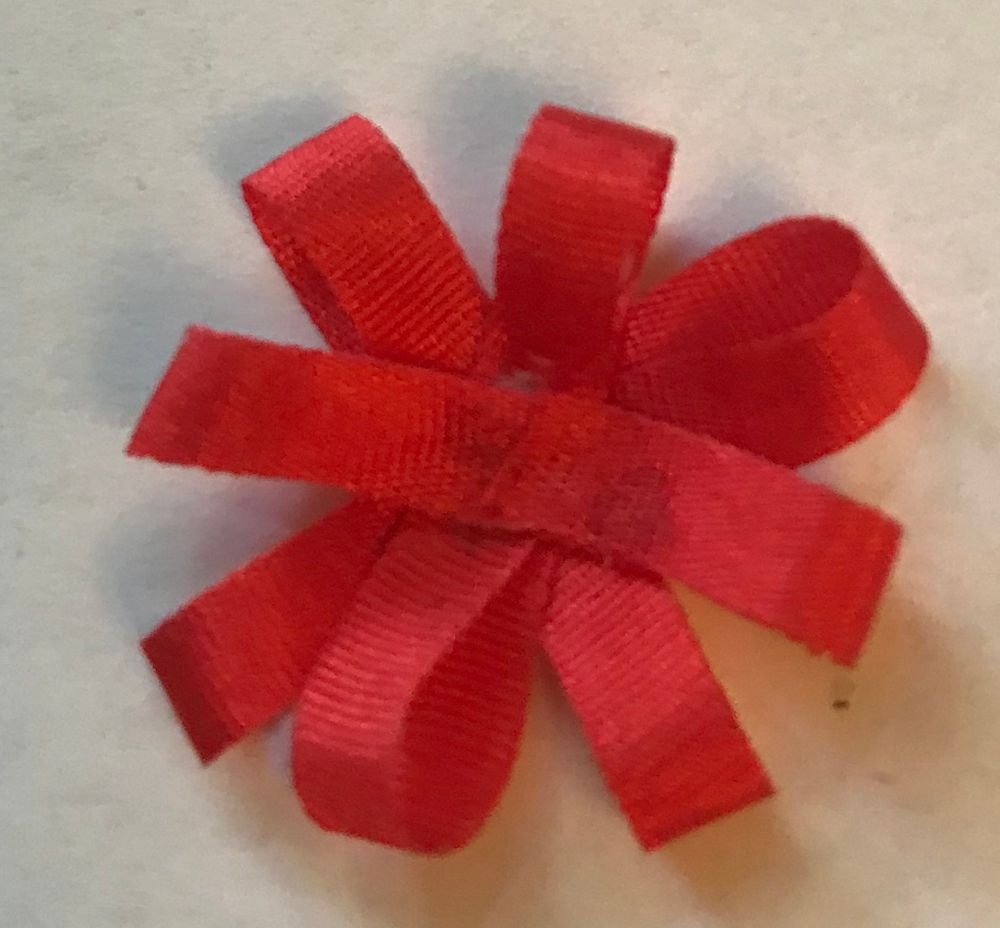
Finally, I made a loop from the ribbon and glued it to the
center to finish the bow and hide the glue marks.

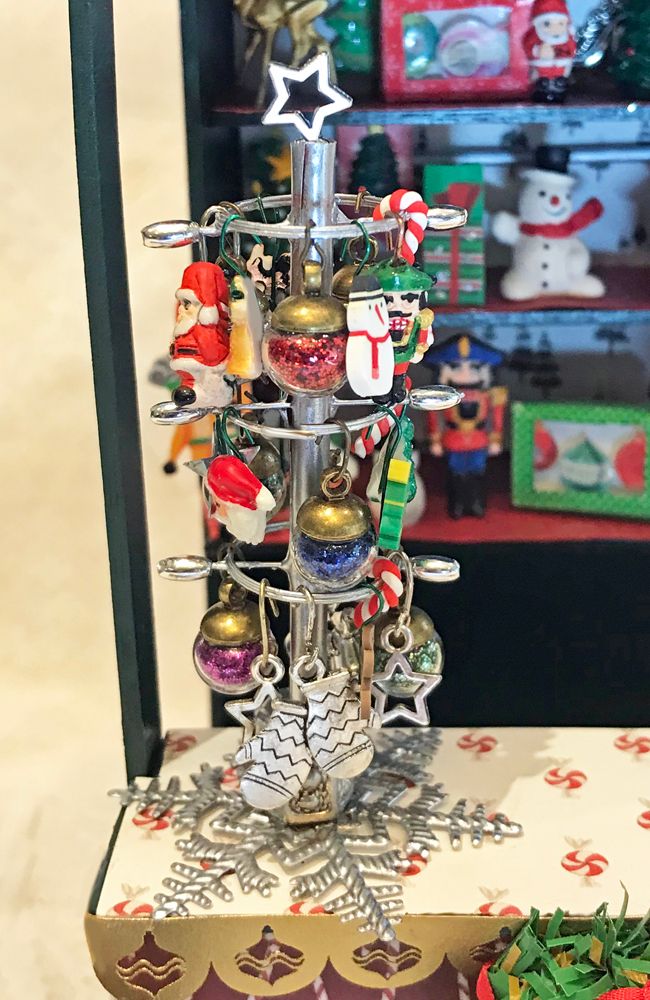
ORNAMENT
STAND
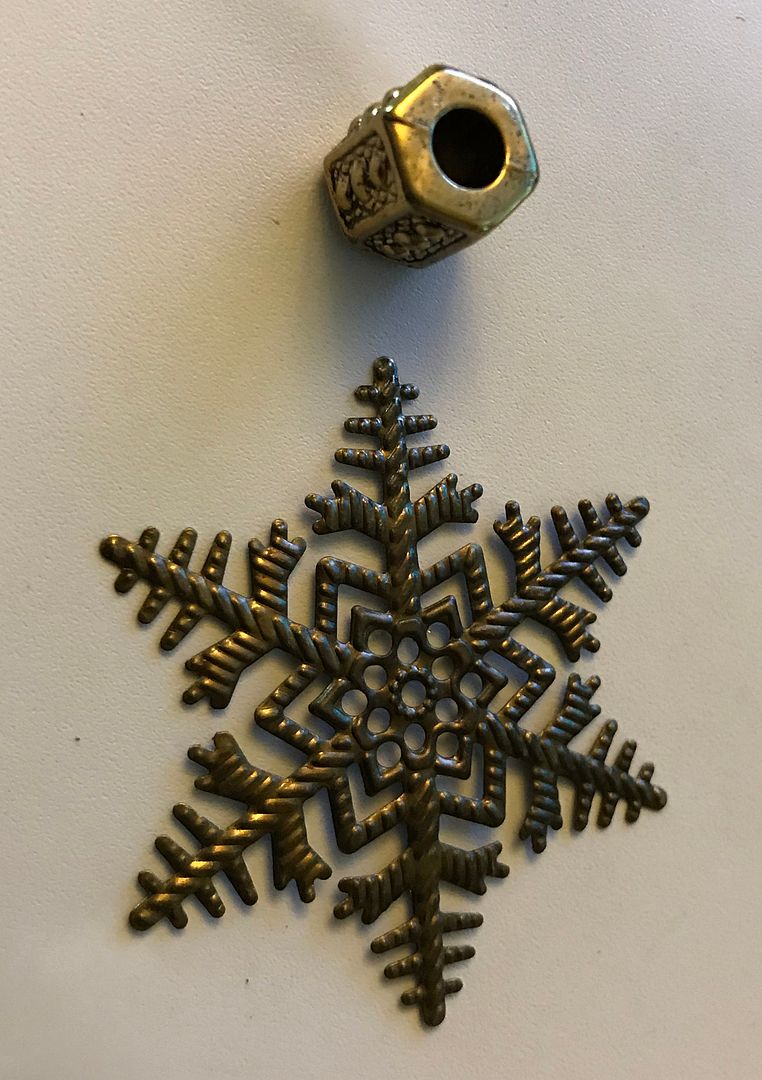
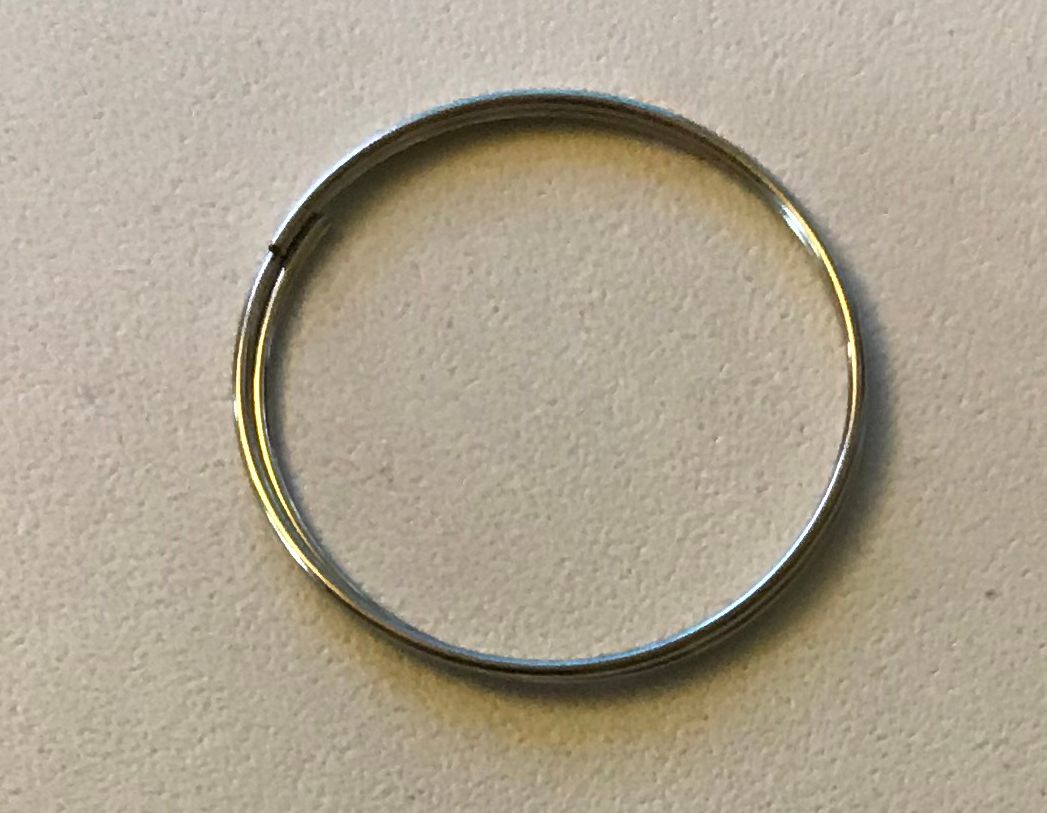
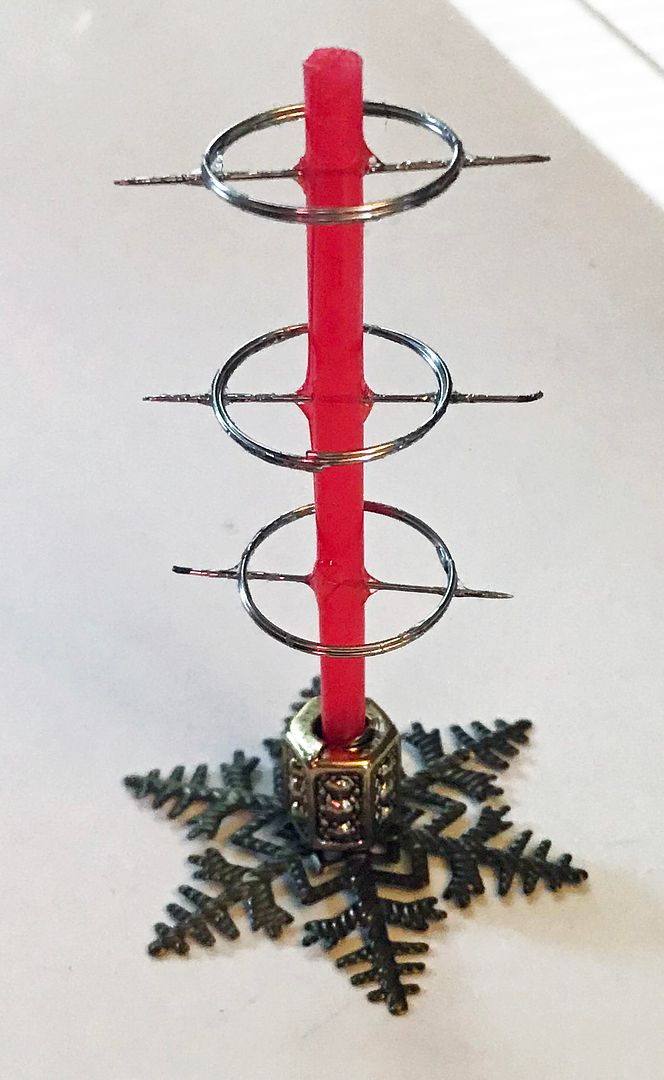
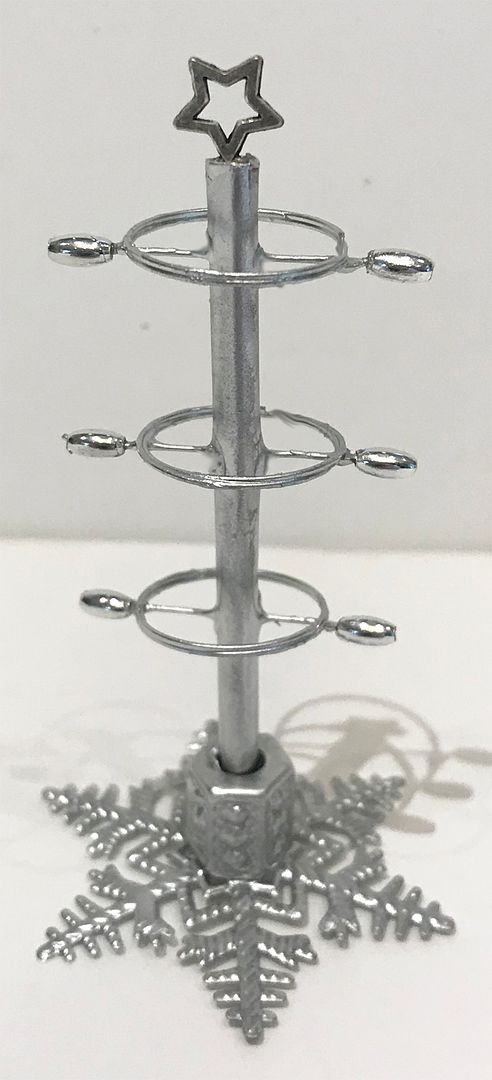
To make the ornament stand, I used a metal snowflake as the base, and a large bead to support a straw. I inserted pinheads into the straw to act as supports for the lightweight key rings. I cut the heads off of the pins and used beads to cap the pointed ends. The keyrings are glued on top of the pins. Finally, I spray painted the entire piece (which acts as more glue to keep everything in place) and added the star charm to the top.

NUTCRACKER
KIT
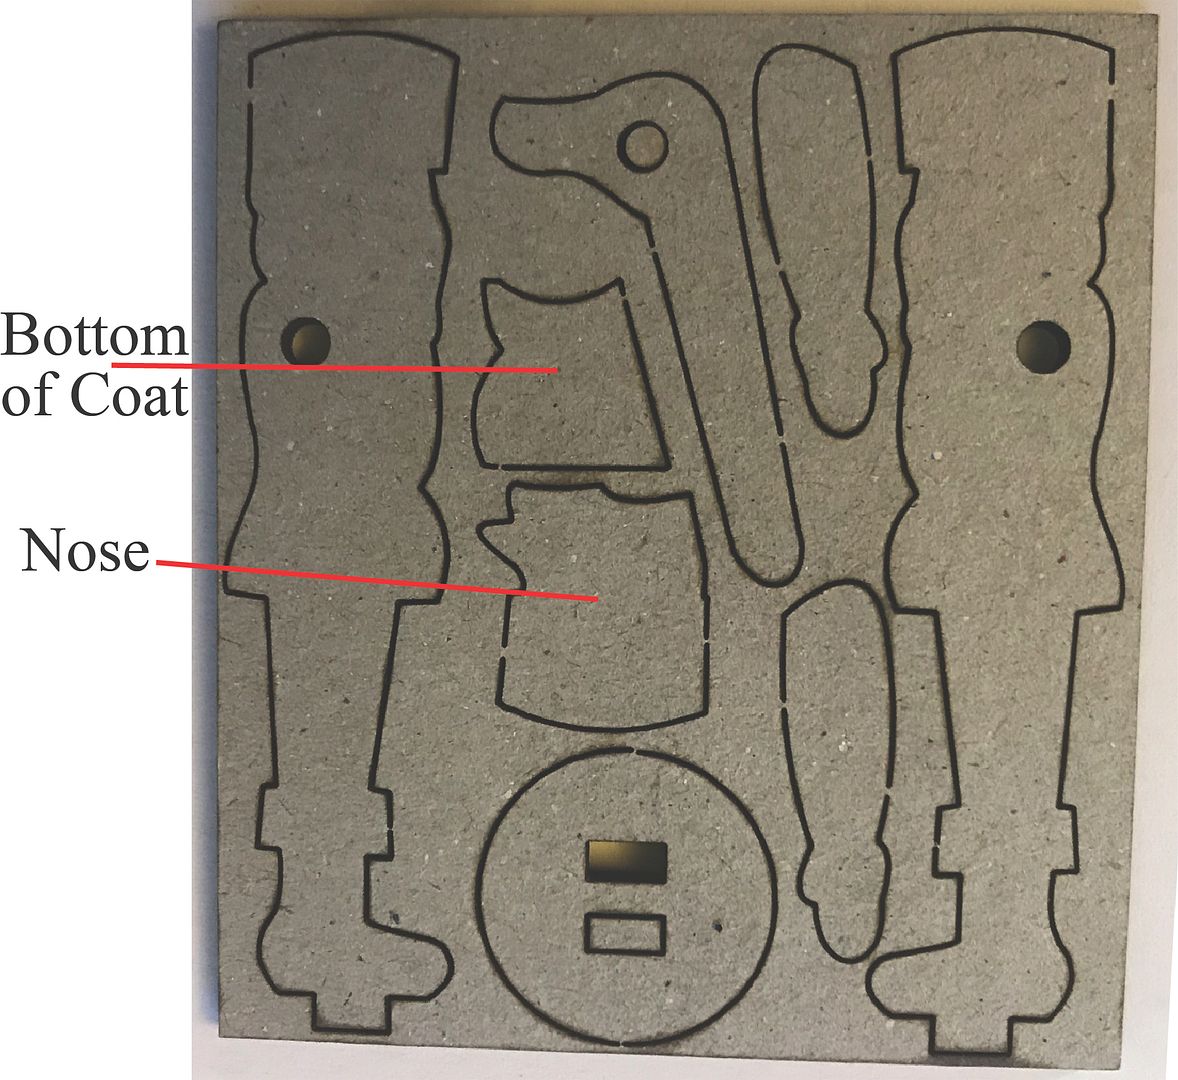
The nutcracker is made from a kit. In the picture below, you can see there are
two sides, two arms, a stand plus two pieces that go between the side pieces. The middle pieces are for the hat/nose and the bottom of the coat. Lastly, there is the handle, which also fits in the middle between the two sides. The purpose of
the holes and for the middle pieces is to accommodate a wooden peg, which allows
the handle to be moved up and down like a real nutcracker.
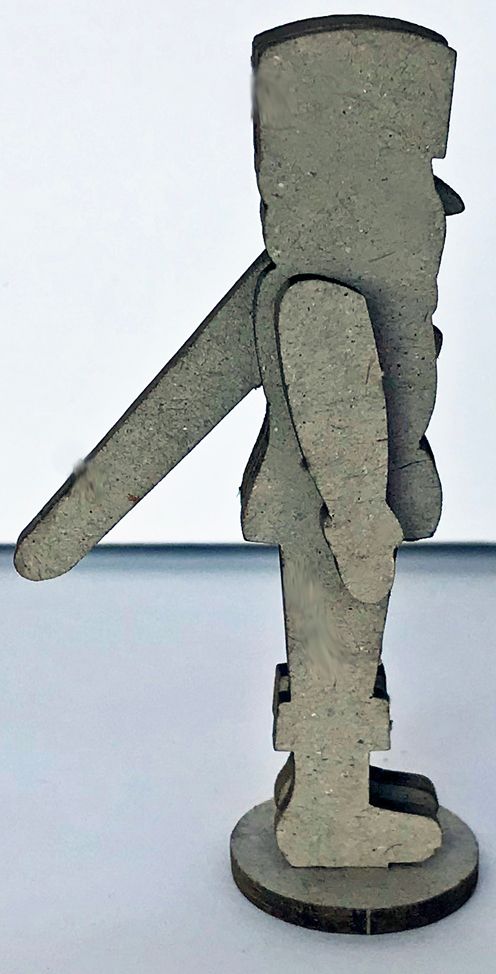
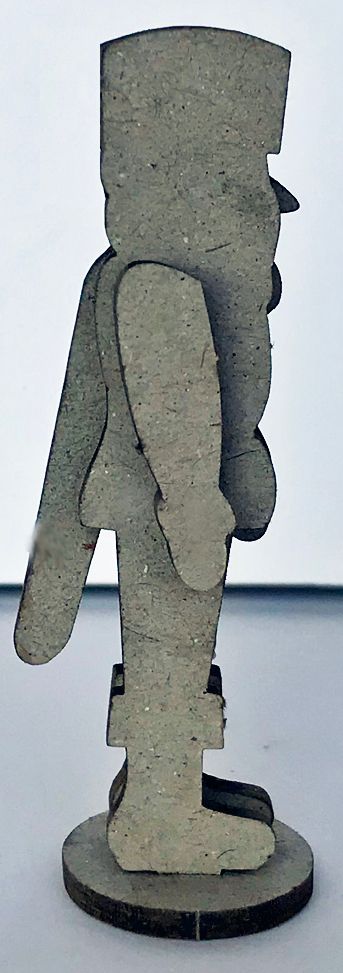
I painted the pieces first, then assembled the kit and
touched up the paint after assembly. Be
careful not to get paint in the hole for the peg or in the holes in the stand
or it will be difficult to insert the peg through the hole and the nutcracker in the stand.
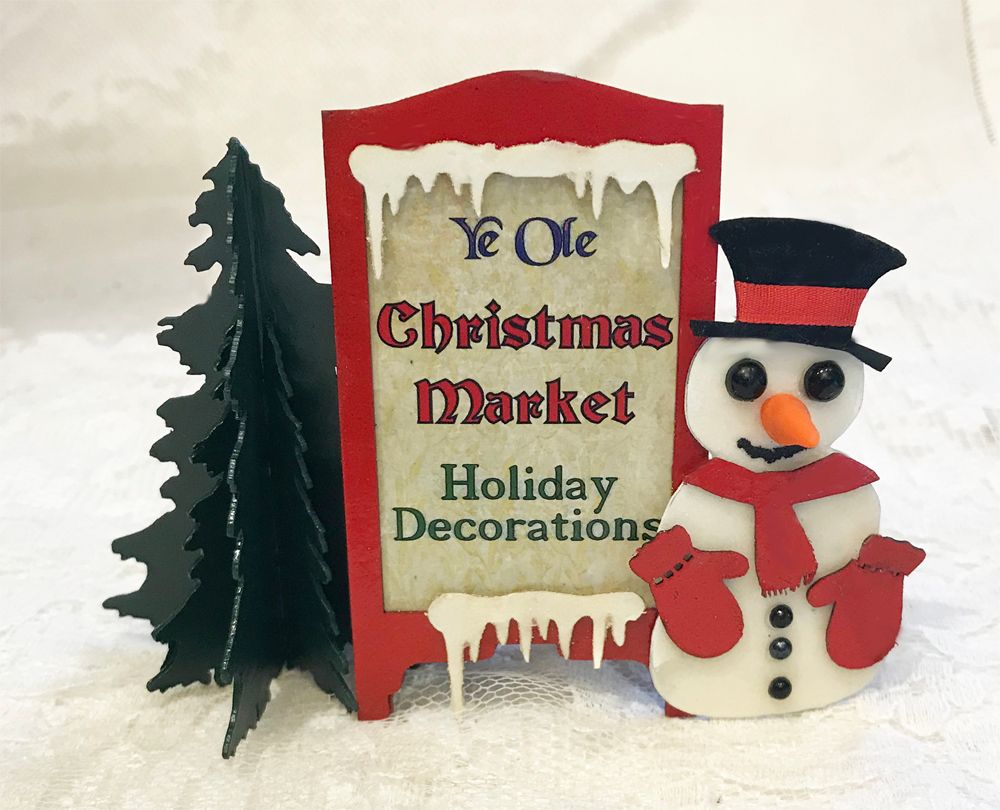
3D TREE/SNOWMAN/SANDWICH BOARD
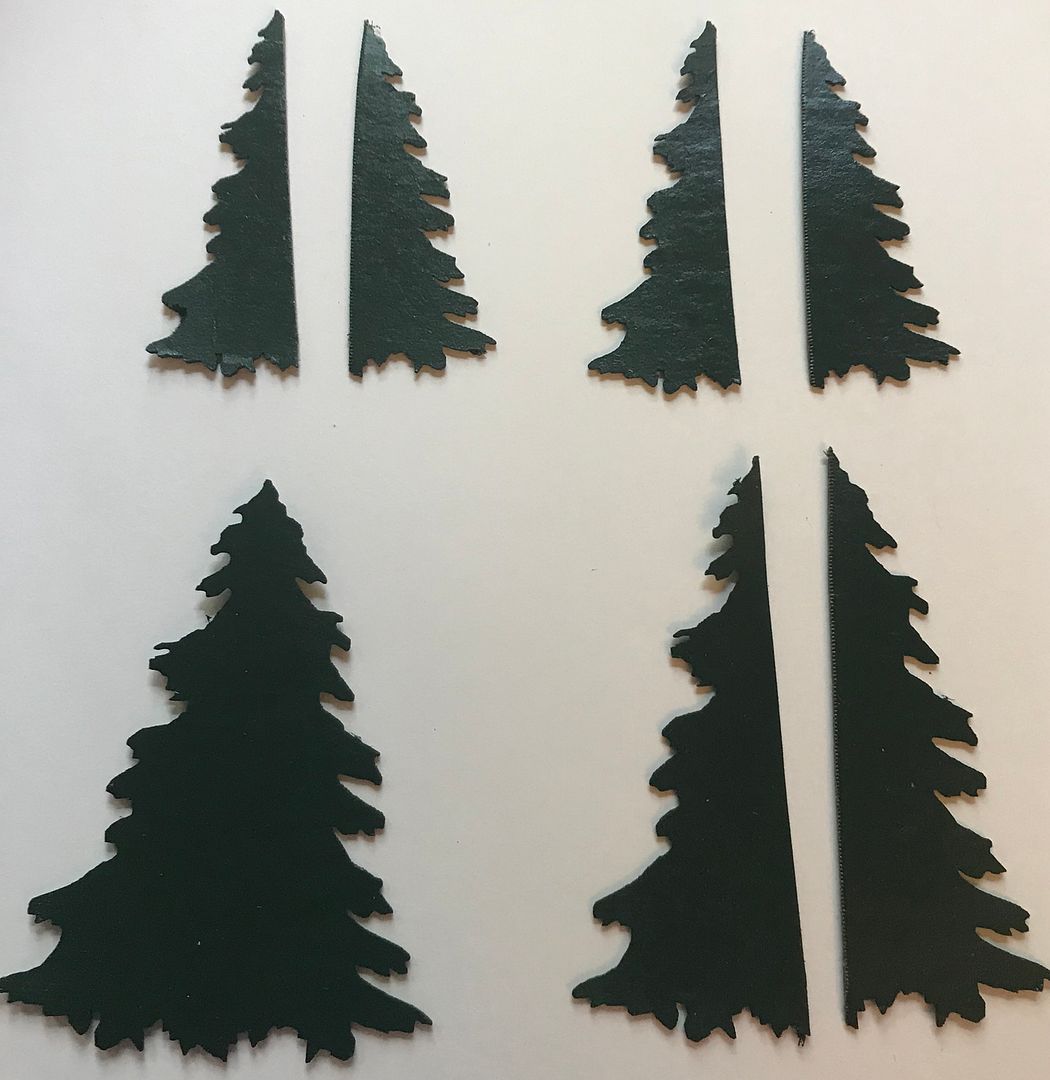
To make the tree, I used two of the Tiny Christmas Shape Sets. Each set contains two trees
in two different sizes. I painted all of the trees green, then cut three of them in half and glued the half pieces to the
uncut tree. This shape set also contains the components for the snowman and the stocking used in the polymer clay
slice wreath plus many more items.
The sandwich board is from a kit (I can see using this for lots of projects) and is accented with
icicles from the Tiny
Cardstock Icicles & Christmas Ornaments. You’ll find the sign further down in the
post; feel free to use it in your project.
BOXES OF
ORNAMENTS -
I used boxes from the Holiday Bags, Tags & Boxes
collage sheet and cut a hole in the lid, then backed it with transparency
film. The ornaments inside come from the
Tiny Tree, Gifts & Ornaments Collage sheet.
To make them look more dimensional, I added Glossy Accents.

.JPG)

Tiny Trees, Gifts & Ornaments Collage Sheet
Holiday
Bags & Boxes Collage Sheet
Hello
Christmas 12x12 Collection Kit
Tiny Cardstock Icicles & Christmas Ornaments
Saint
Nick Polymer Clay Slice Mix
Tiny
Ceramic Nutcracker Soldier Bead
Mini
Filled Christmas Stocking
Flatback
Resin Snowman with Shovel
Unfinished
Wooden Mini Snowman
Hello
Christmas Polymer Clay Slice Mix
Christmas
Cookies Large Polymer Clay Slice Mix
1
Inch Victorian Christmas Trees w Candles
1.5
Inch German Fairytale Trees
Large
Ceramic Nutcracker Soldier
Large
Ceramic Santa Claus Bead
Frosted
Mini Green Sisal Trees
Miniature
Silver Tinsel Garland
Large
Hollow Silver Star Charms
Iridescent
Snowflake Sequins Mix
Tiny
Resin Christmas Embellishments
Silver
Double Bell Christmas Charms
14mm
Clear Flat-Back Acrylic Rhinestone Stars