Many
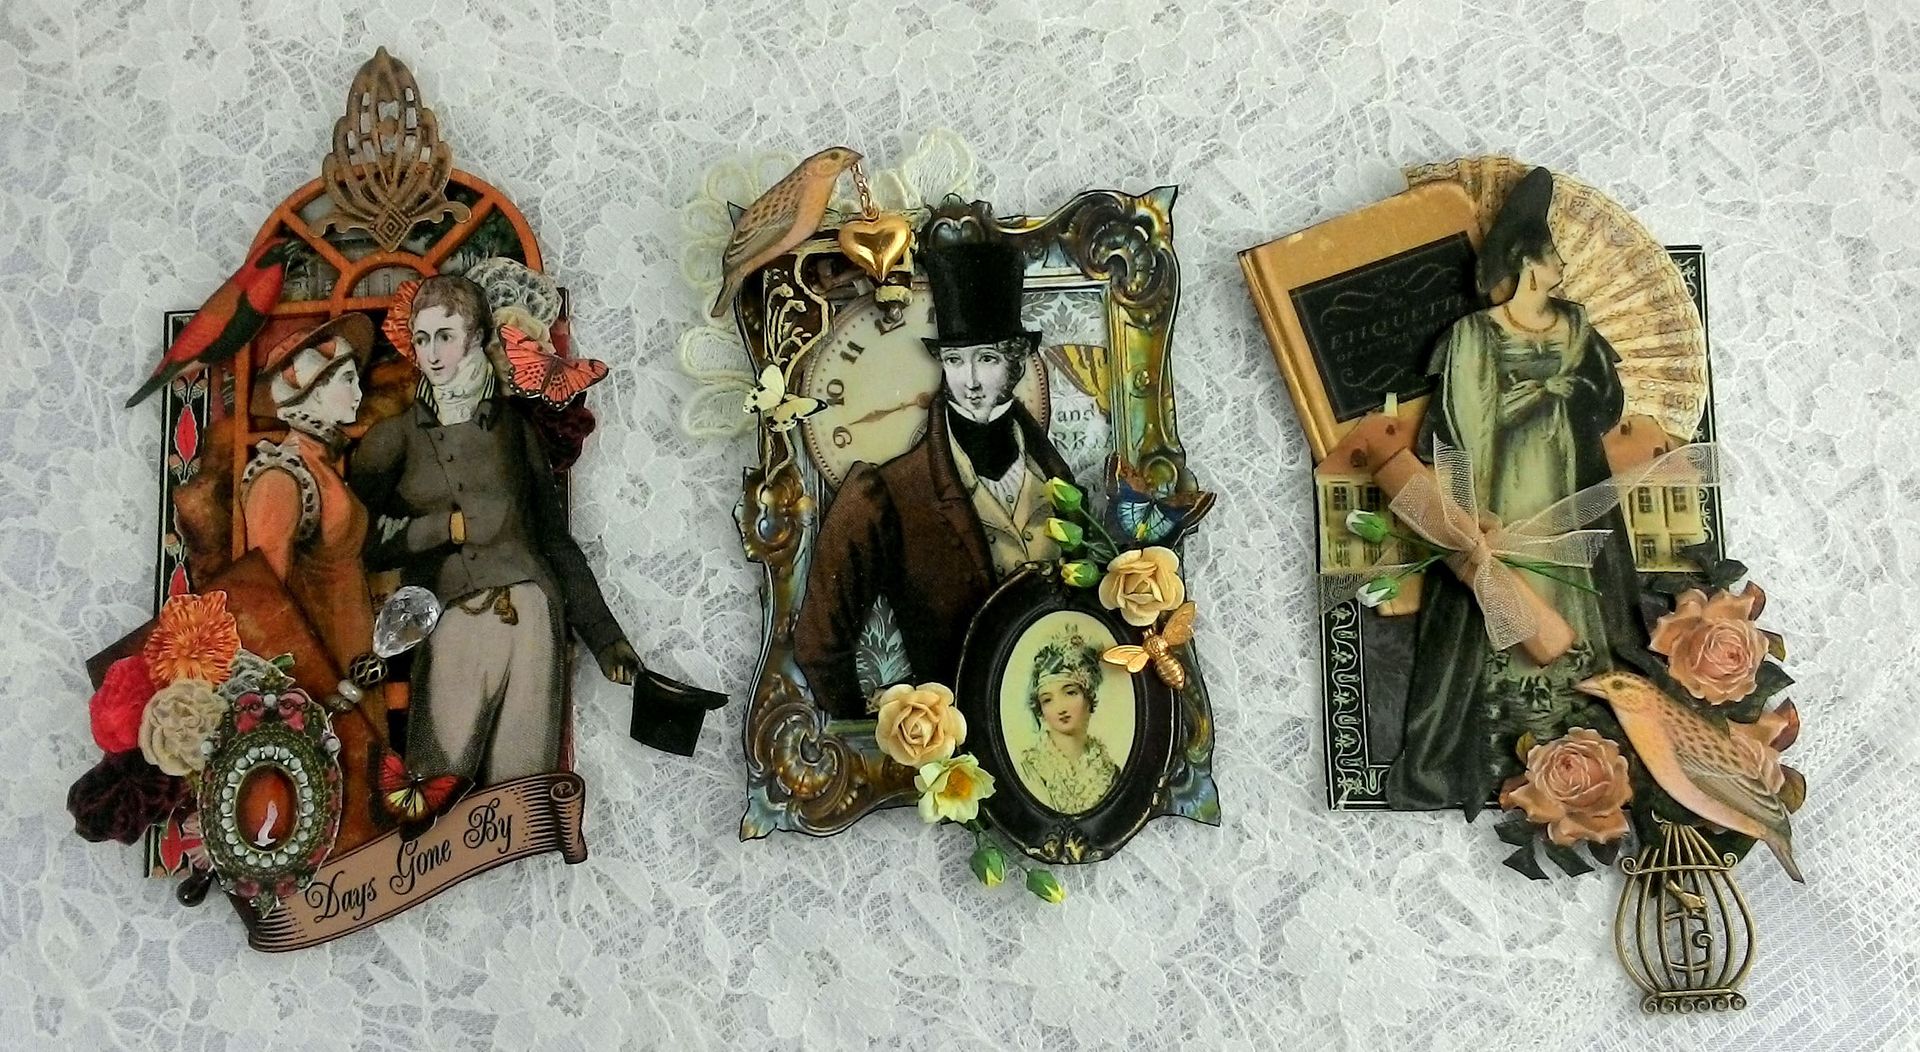
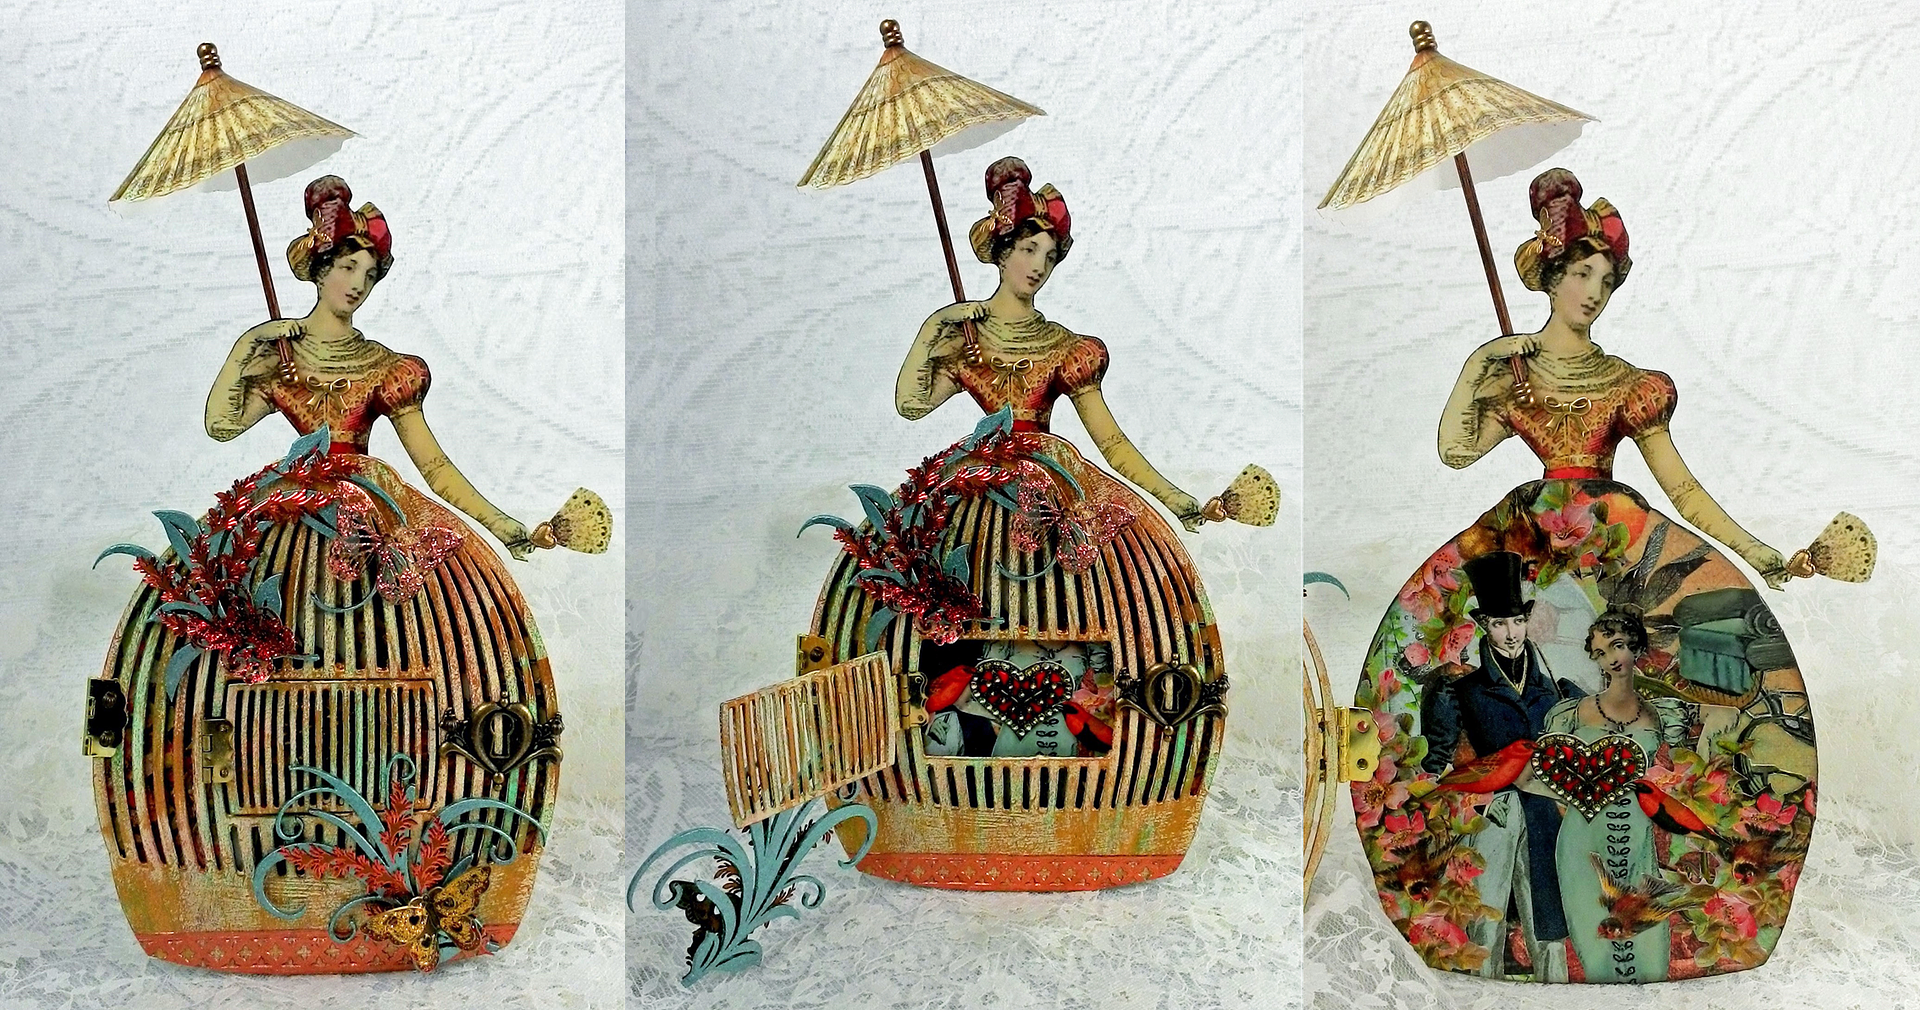
times when I design a piece I have a story in mind. The design is then influenced by the story
and the feelings I wish to convey. As
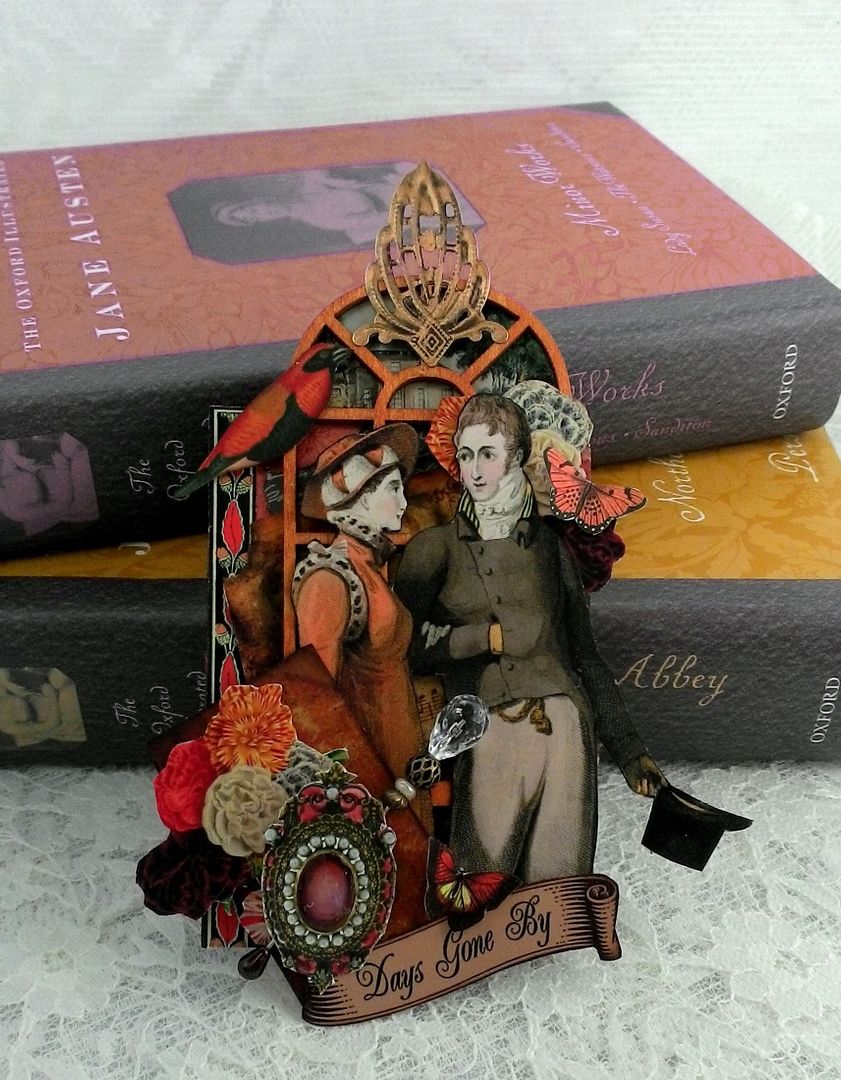
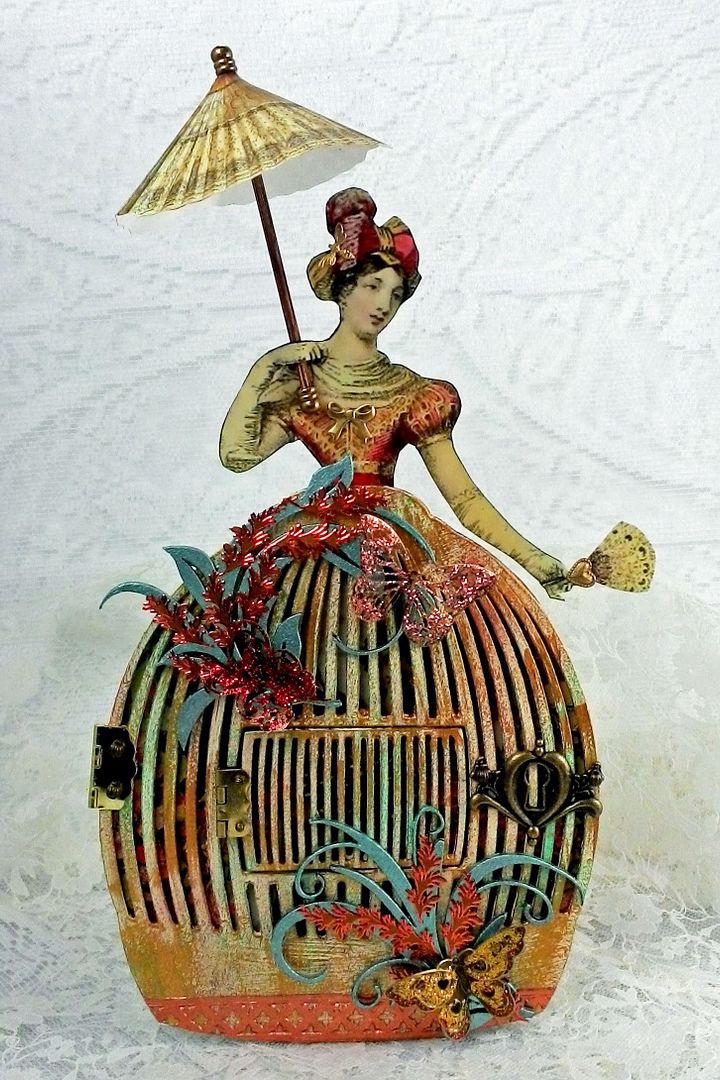
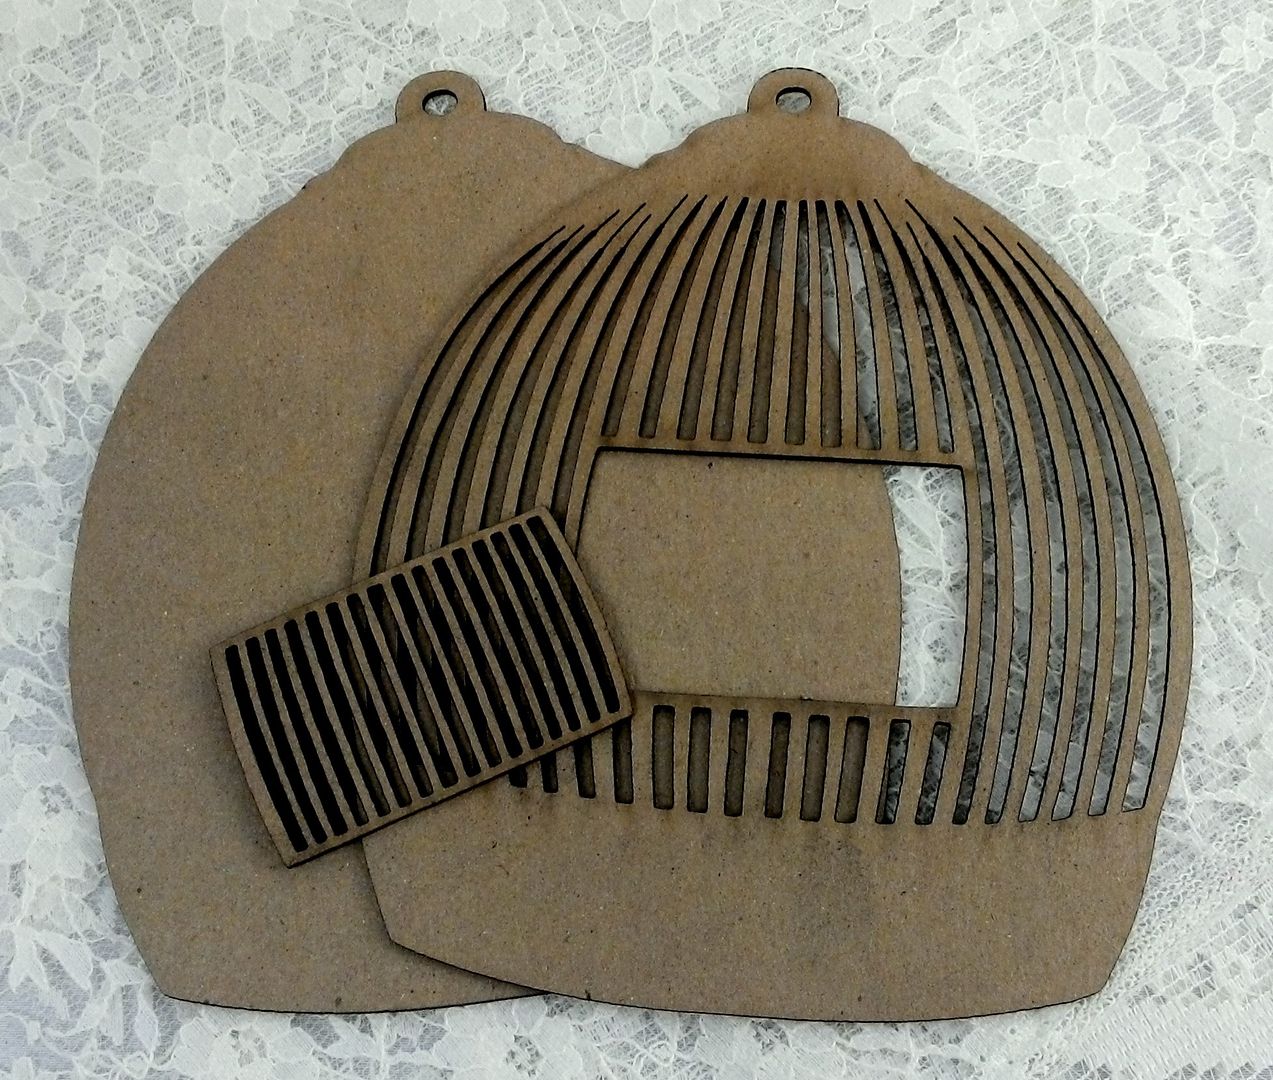
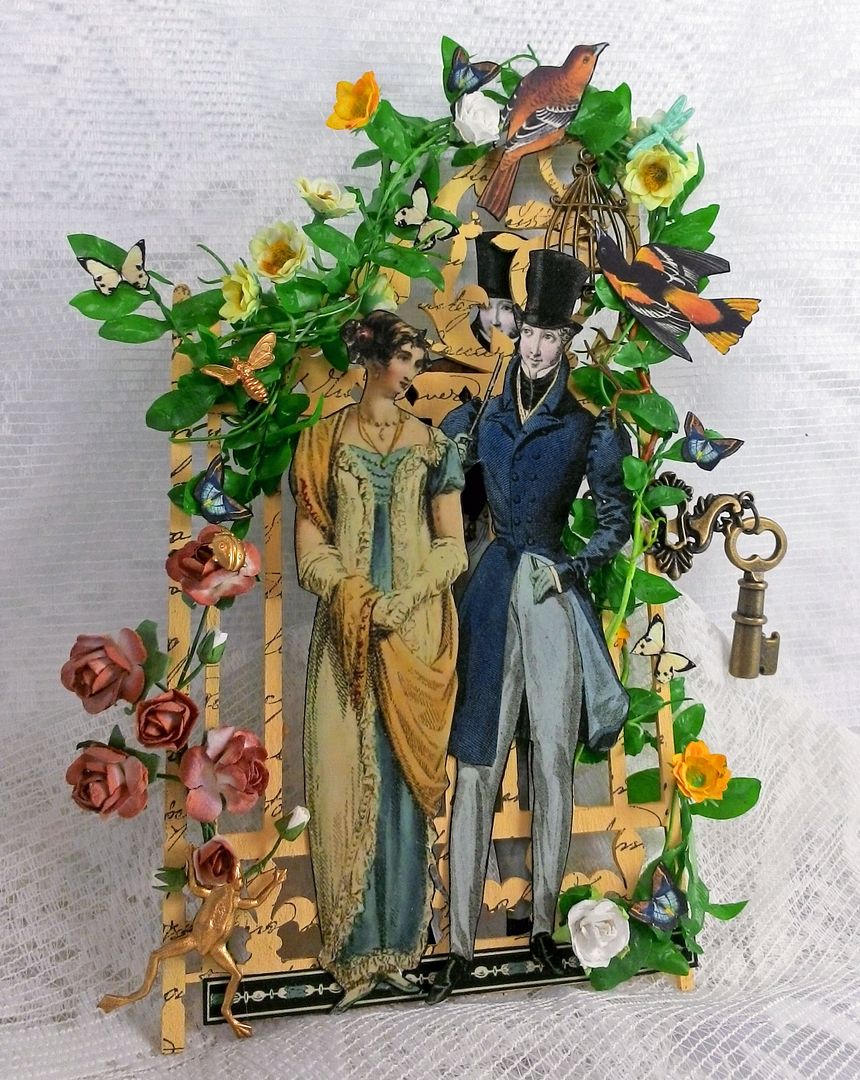
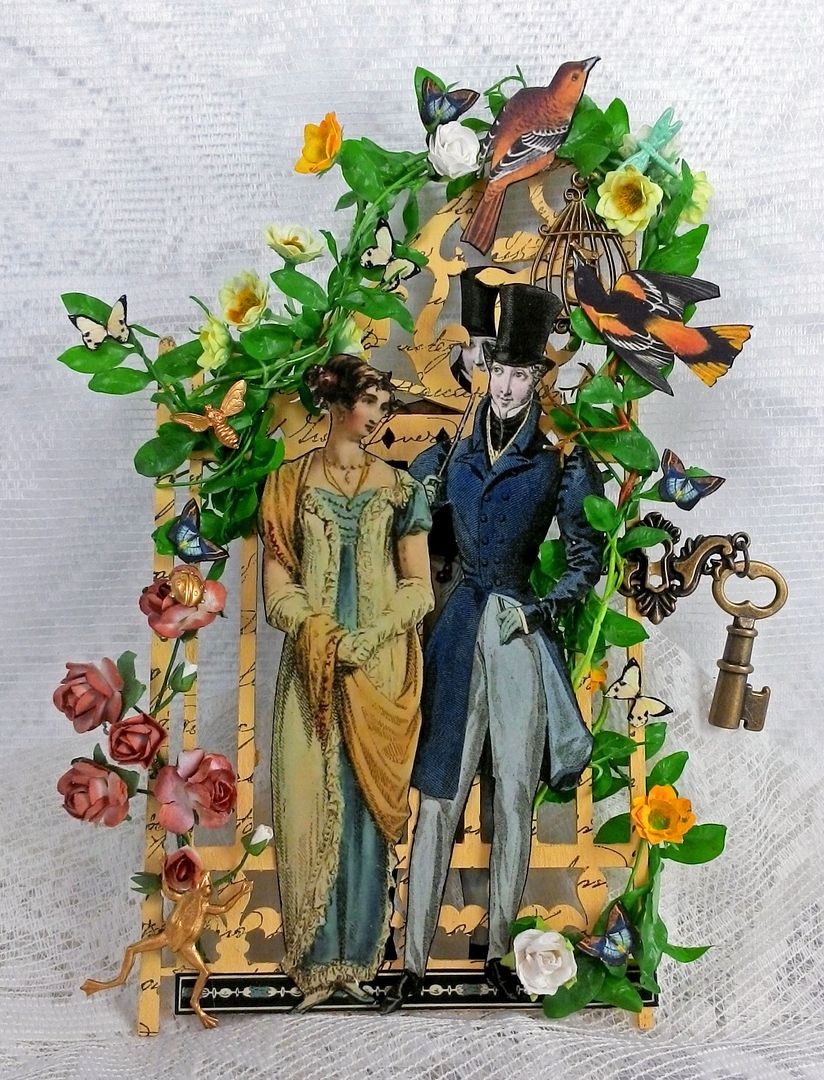
soon as I saw the chipboard gate I thought what a great backdrop, and using the
gate gave openness to the piece. I
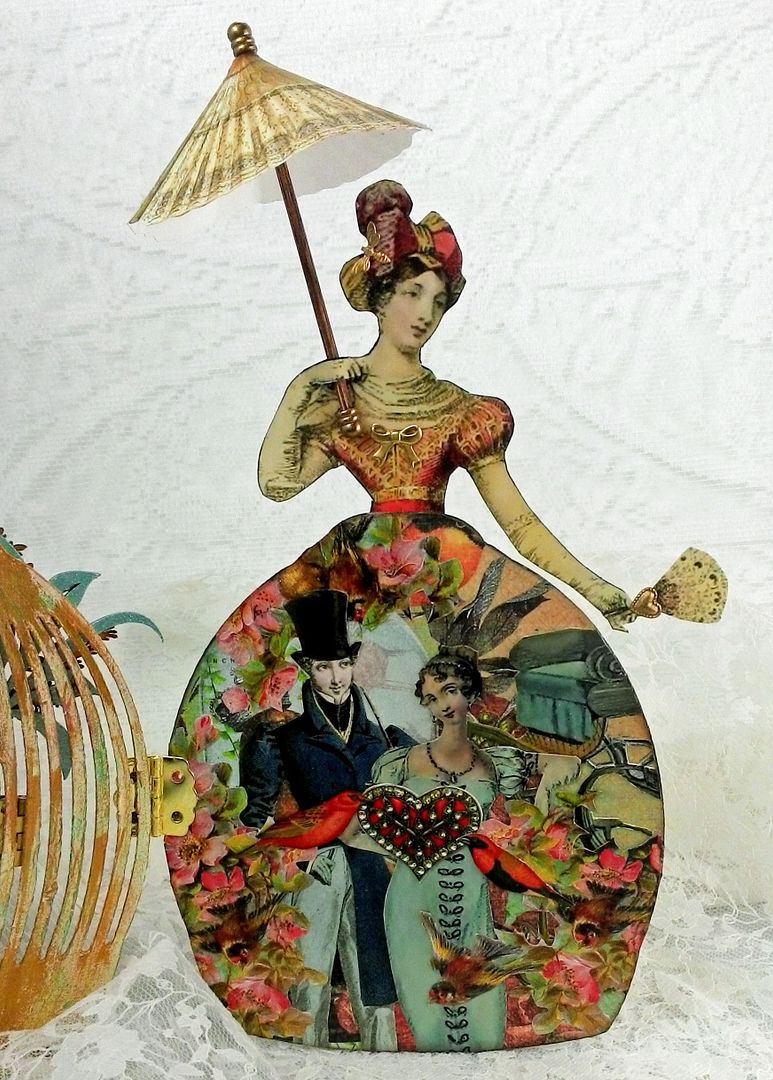
imagined two young lovers meeting in a garden unbeknownst to anyone. As I began work, I started thinking about
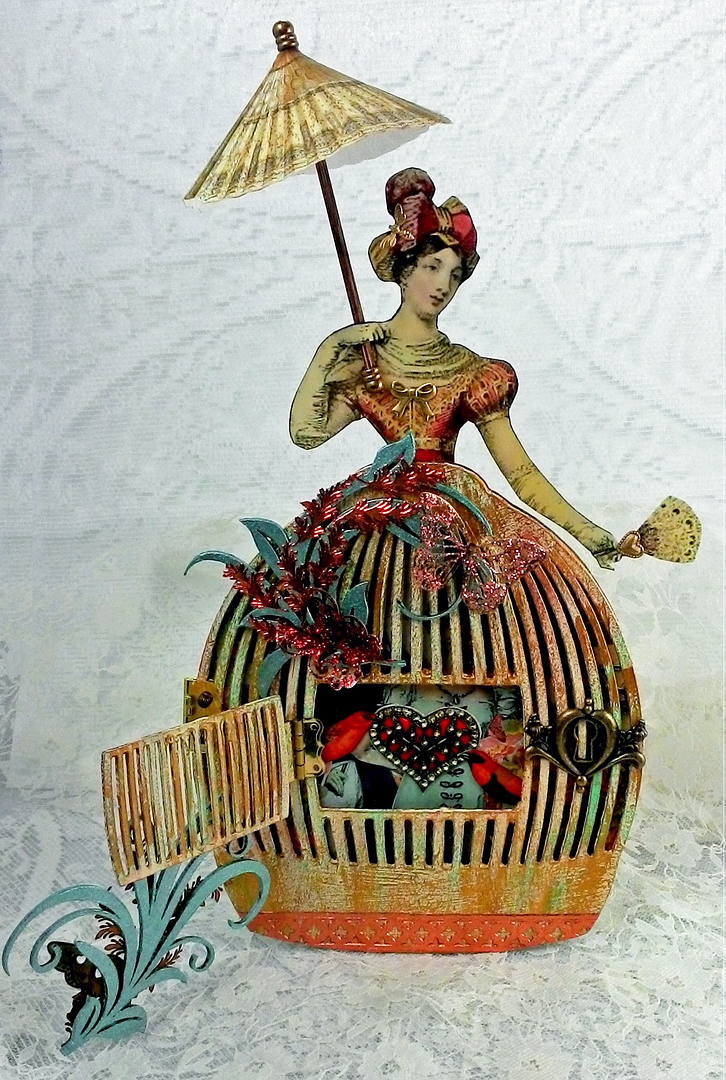
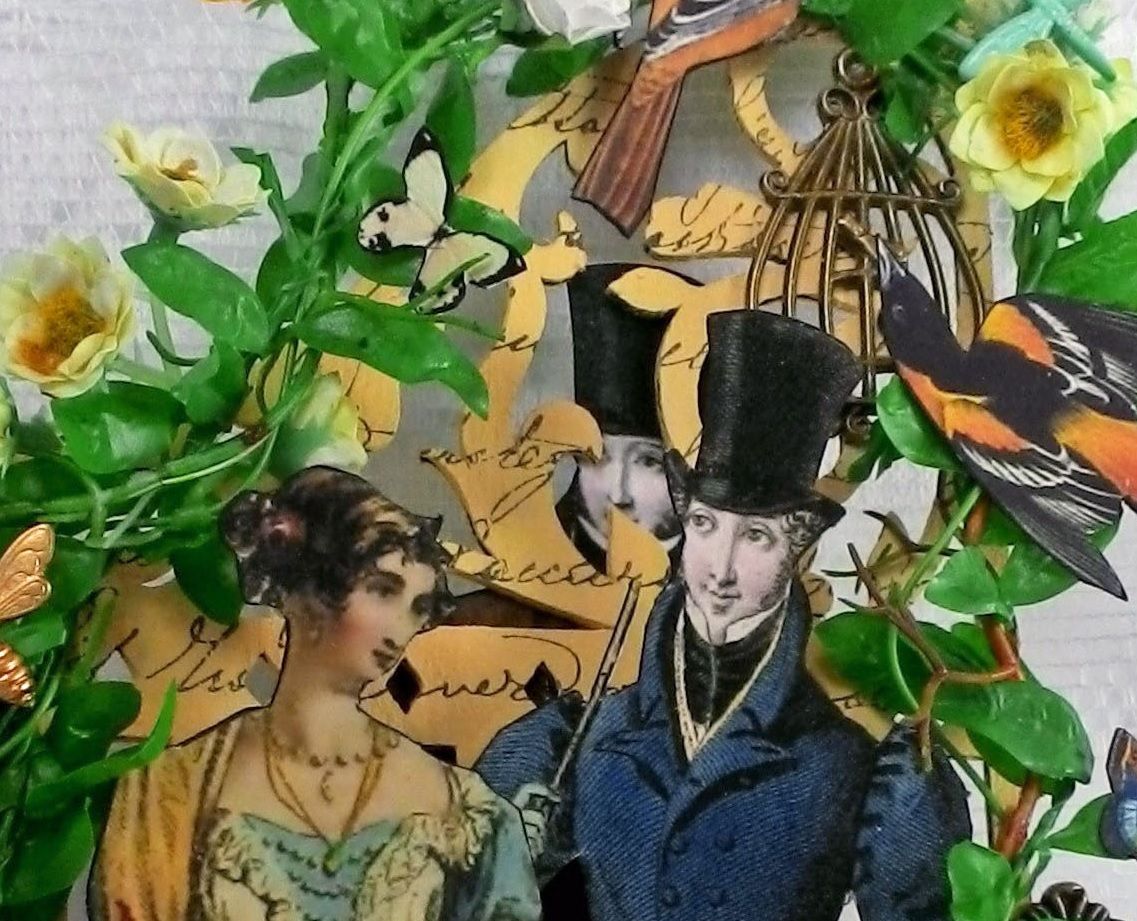
what if they weren't alone, maybe they were being watched. Did you notice the gentleman standing on the
other side of the gate? Is he there by
chance or perhaps a rival for the ladies affections, you decide.
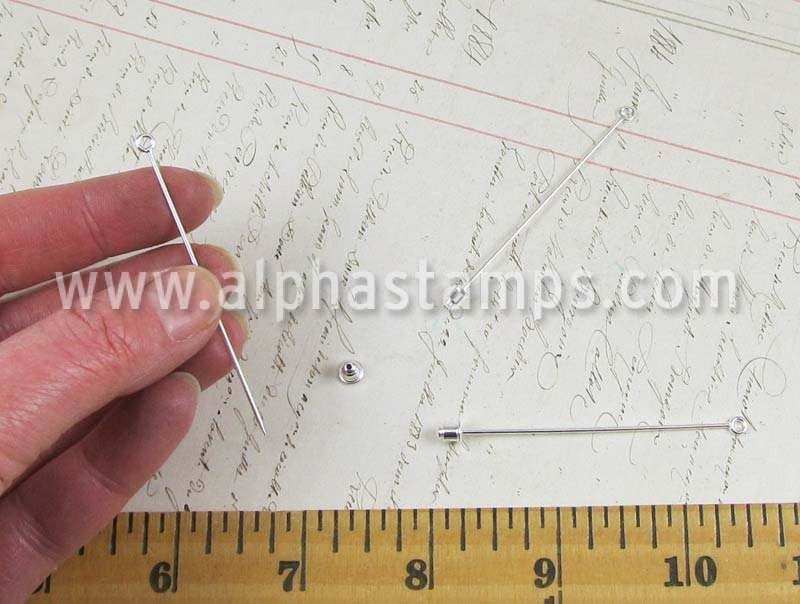
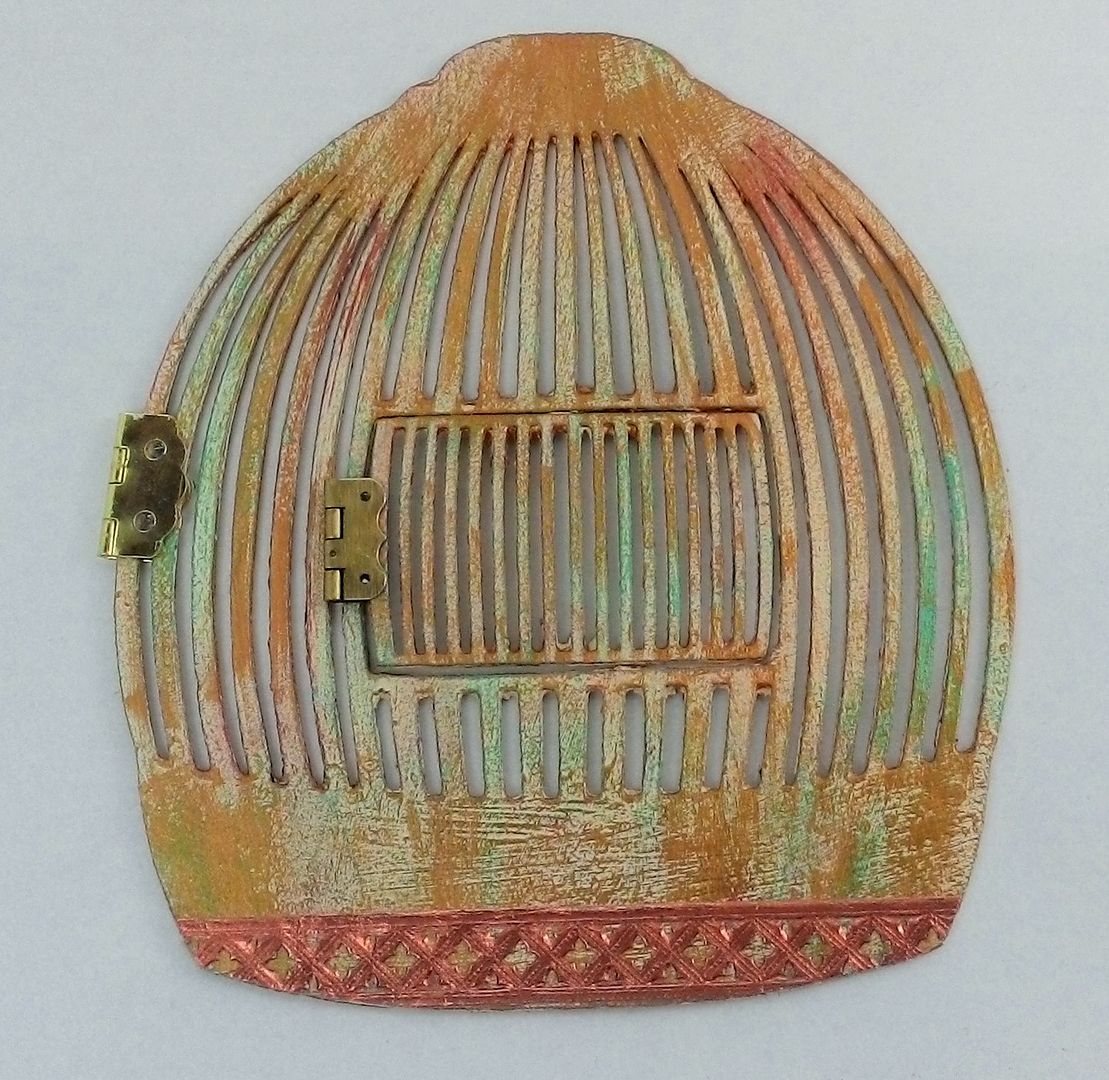
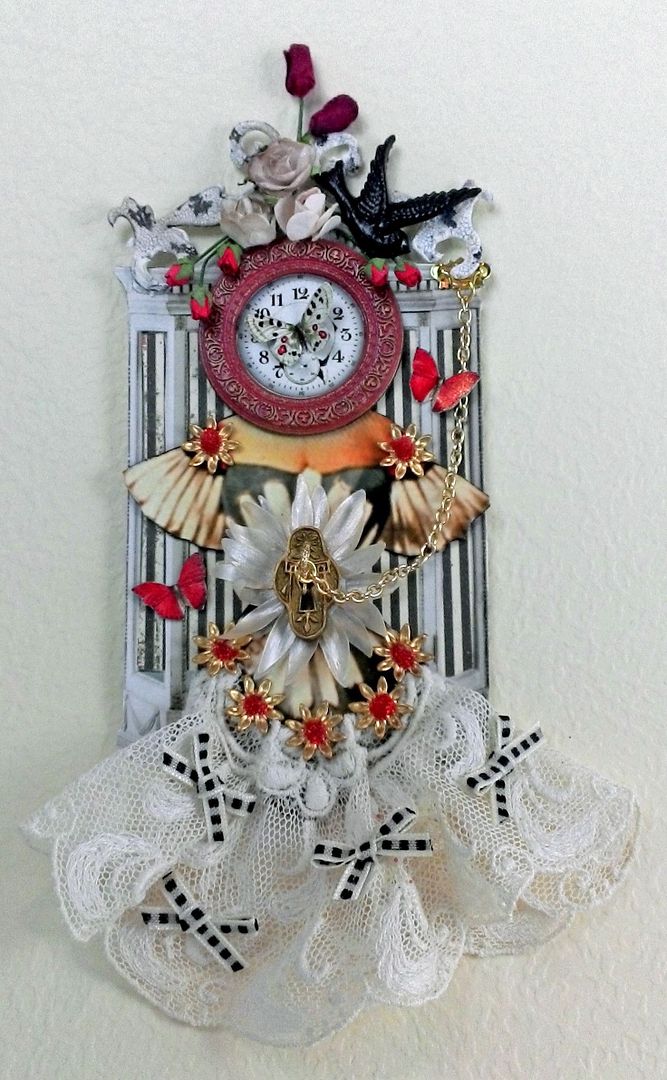
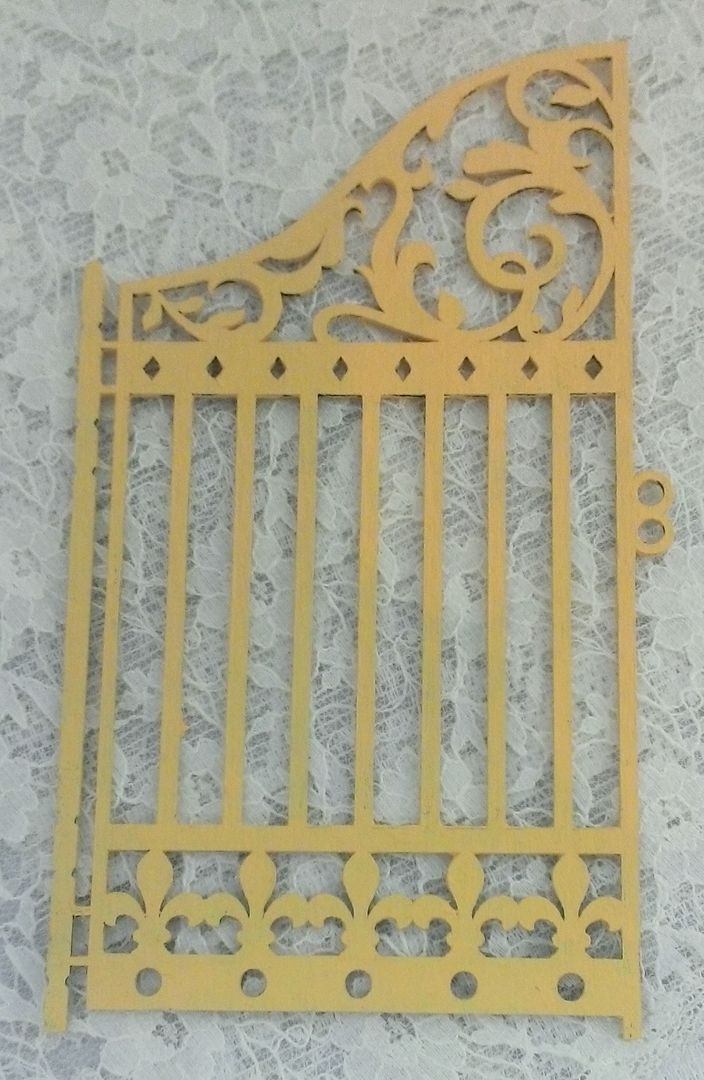
The
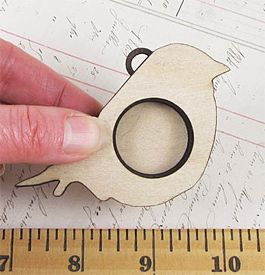
base of the piece is one side of a Garden Gate Die-Cut Chipboard which is
approximately 3 1/8” wide by 5 3/8 wide. I'll be using the other half in a future project.

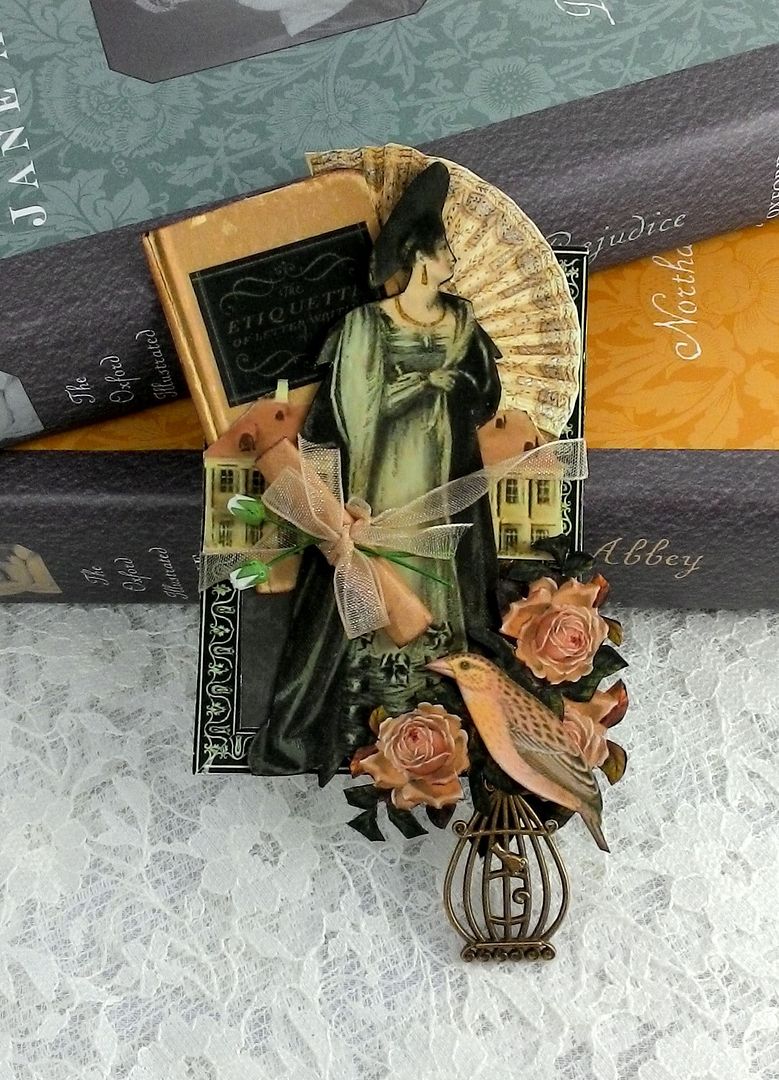
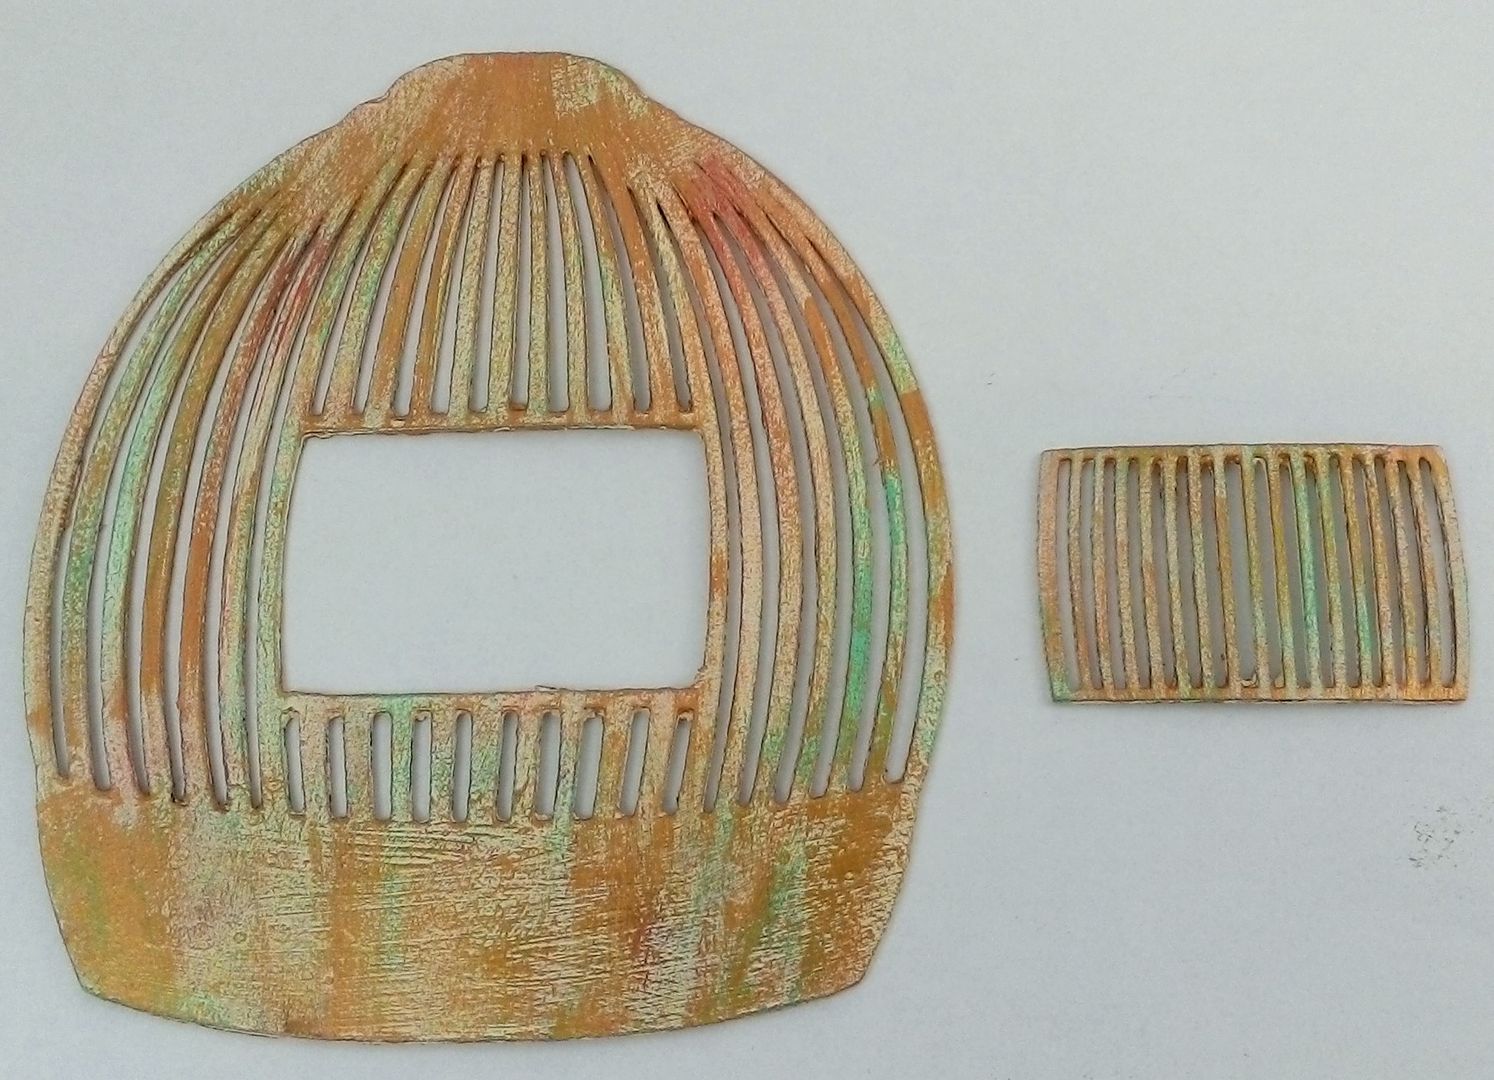
I
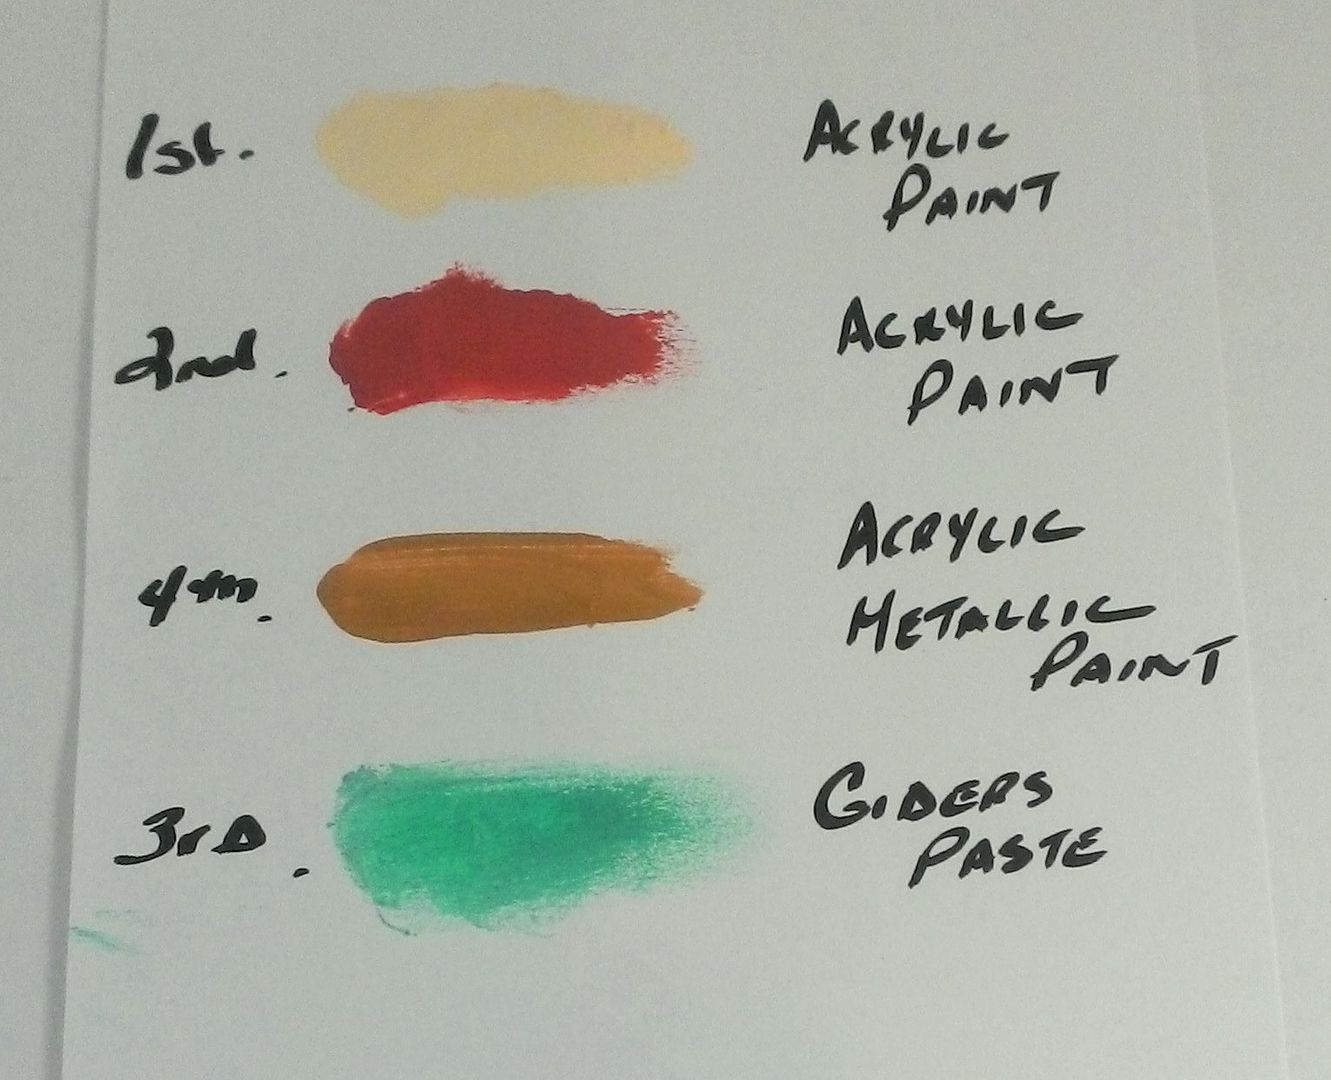
started by painting the gate a pale yellow.
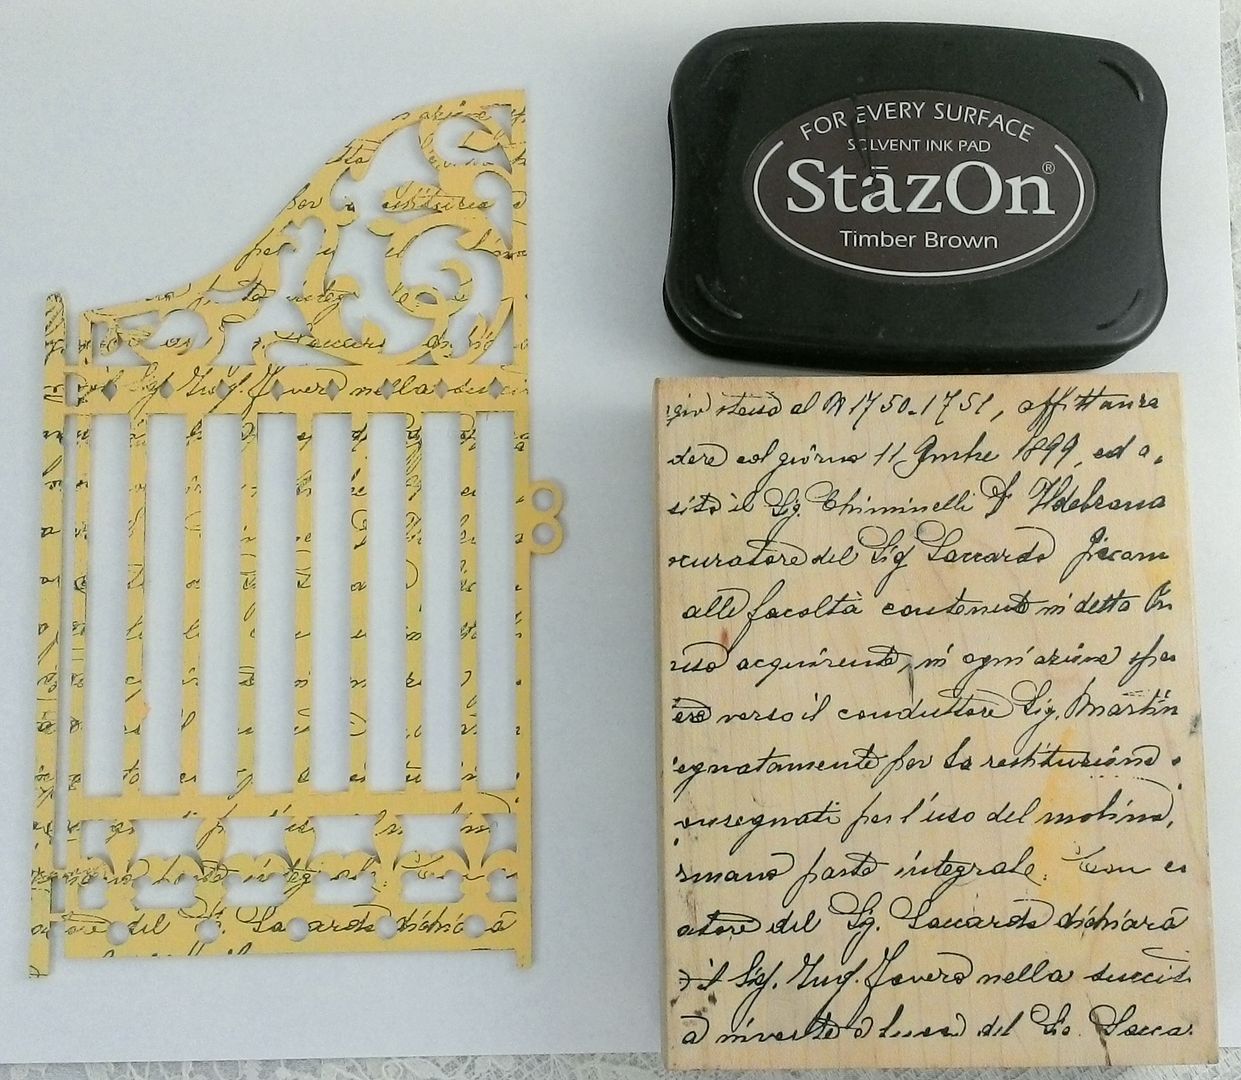
Next,
I used a rubber stamp with writing and Timber Brown StazOn ink to stamp writing onto
the gate.
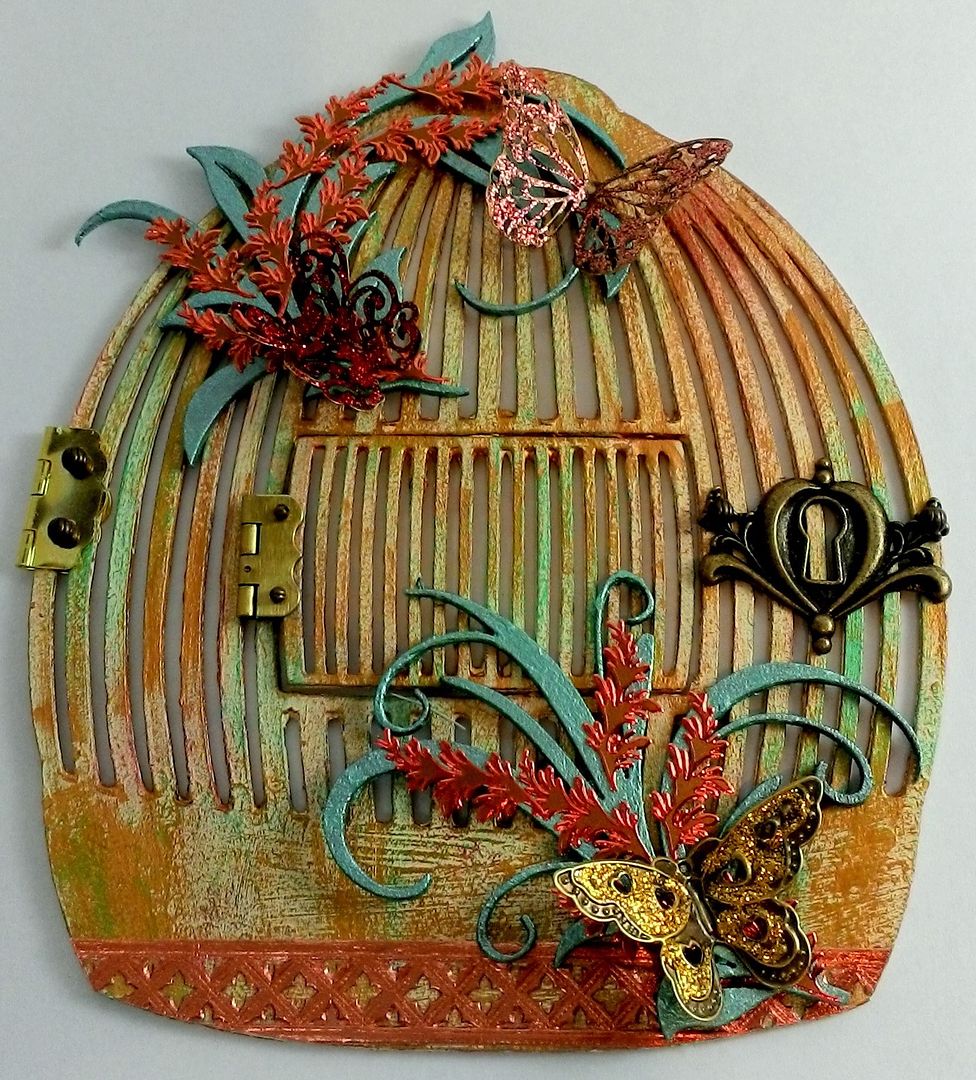
I
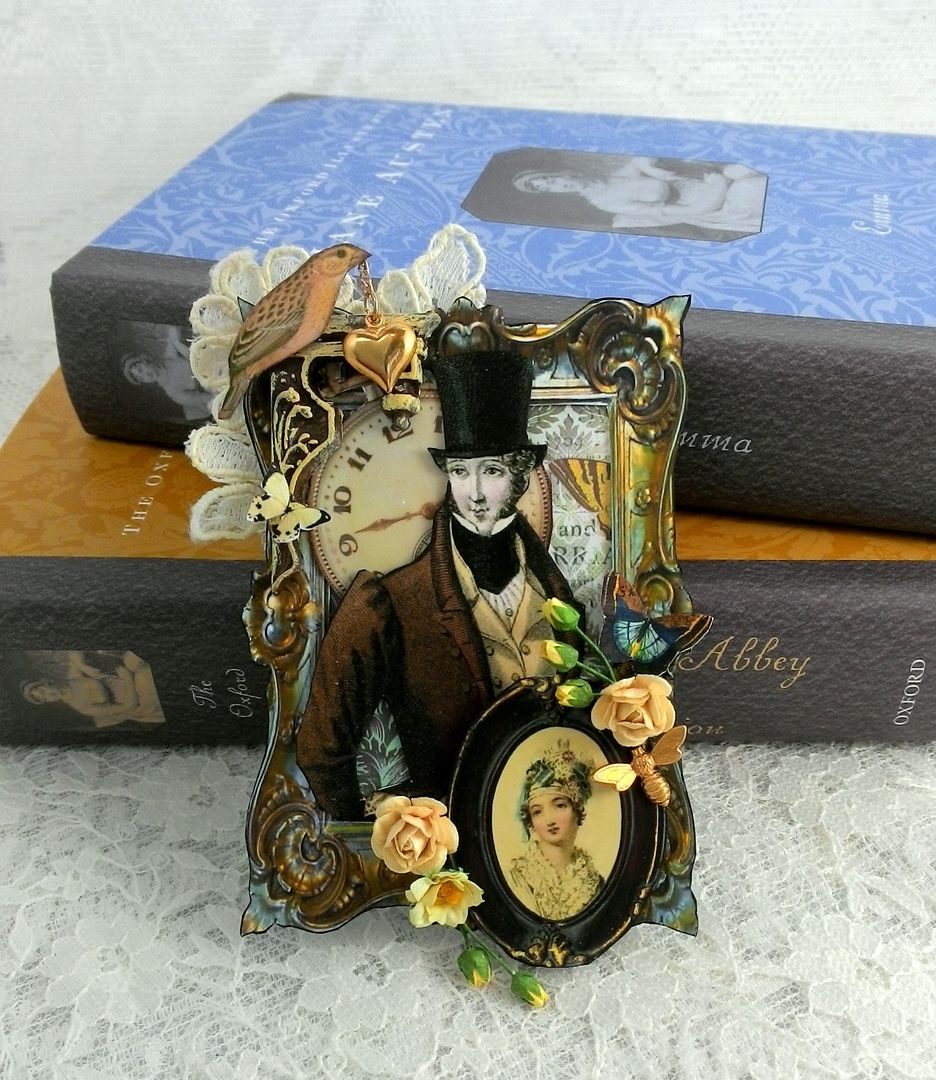
attached the keyhole and key to the gate using E6000 glue. The Yellow Flower Garland is wired which made
it easy to wrap around the gate and secure it with glue. To the garland, I added paper birds,
butterflies, and brass bees. The brass
frog and ladybug were from my stash. All
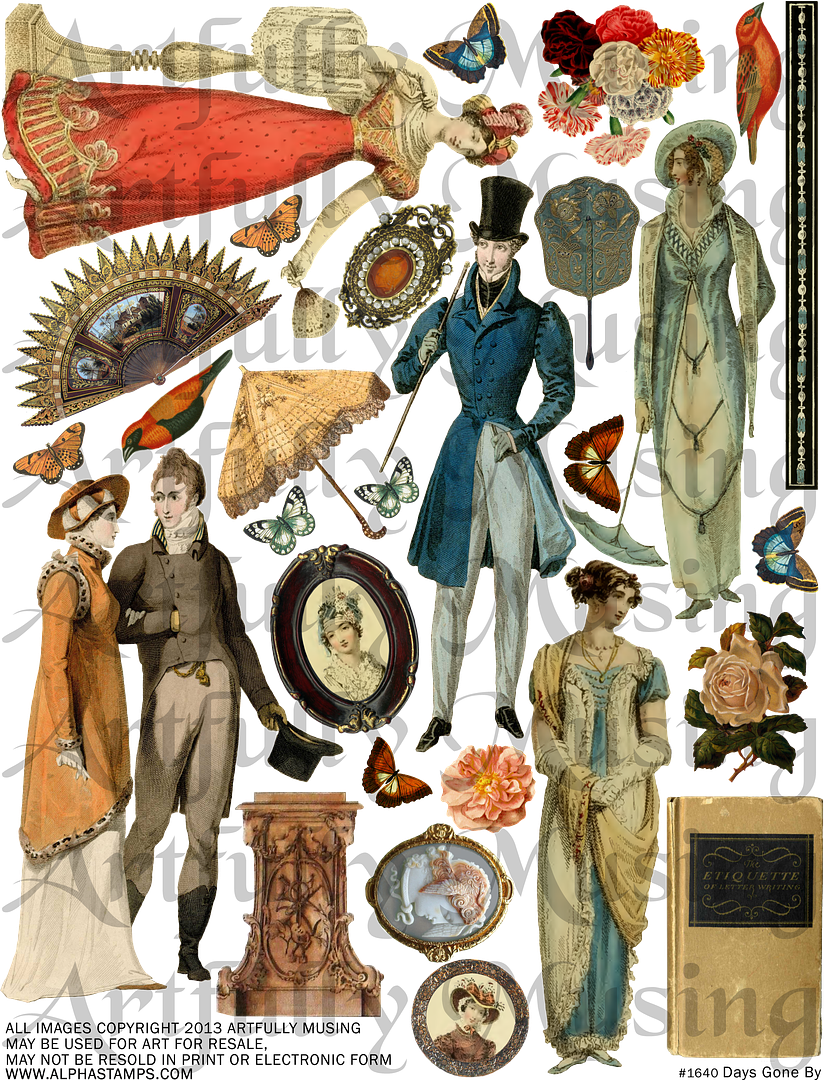
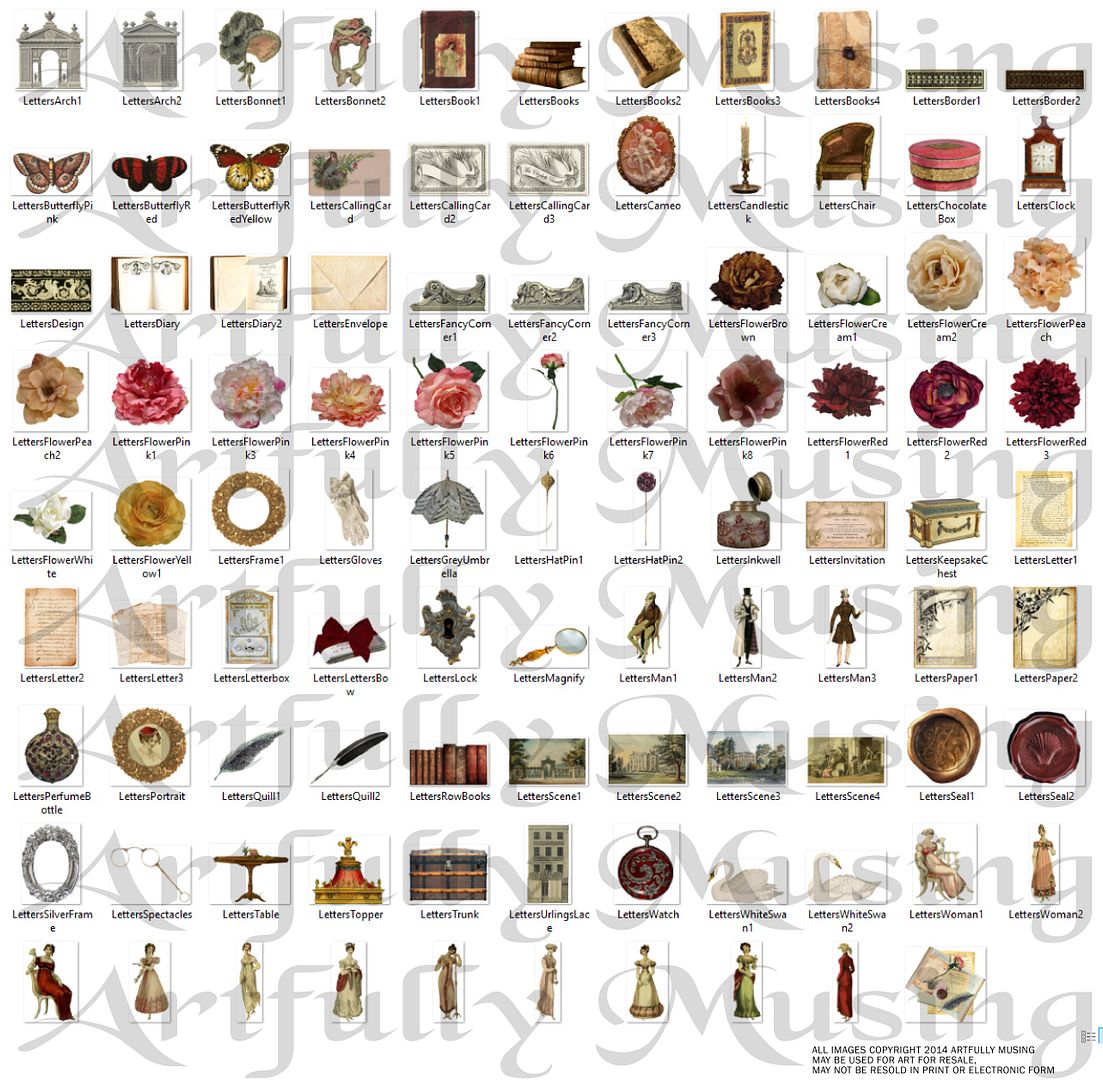
of the images you see are from my collage sheets.
Lastly,
I added the couple to the front and the interloper to the back.
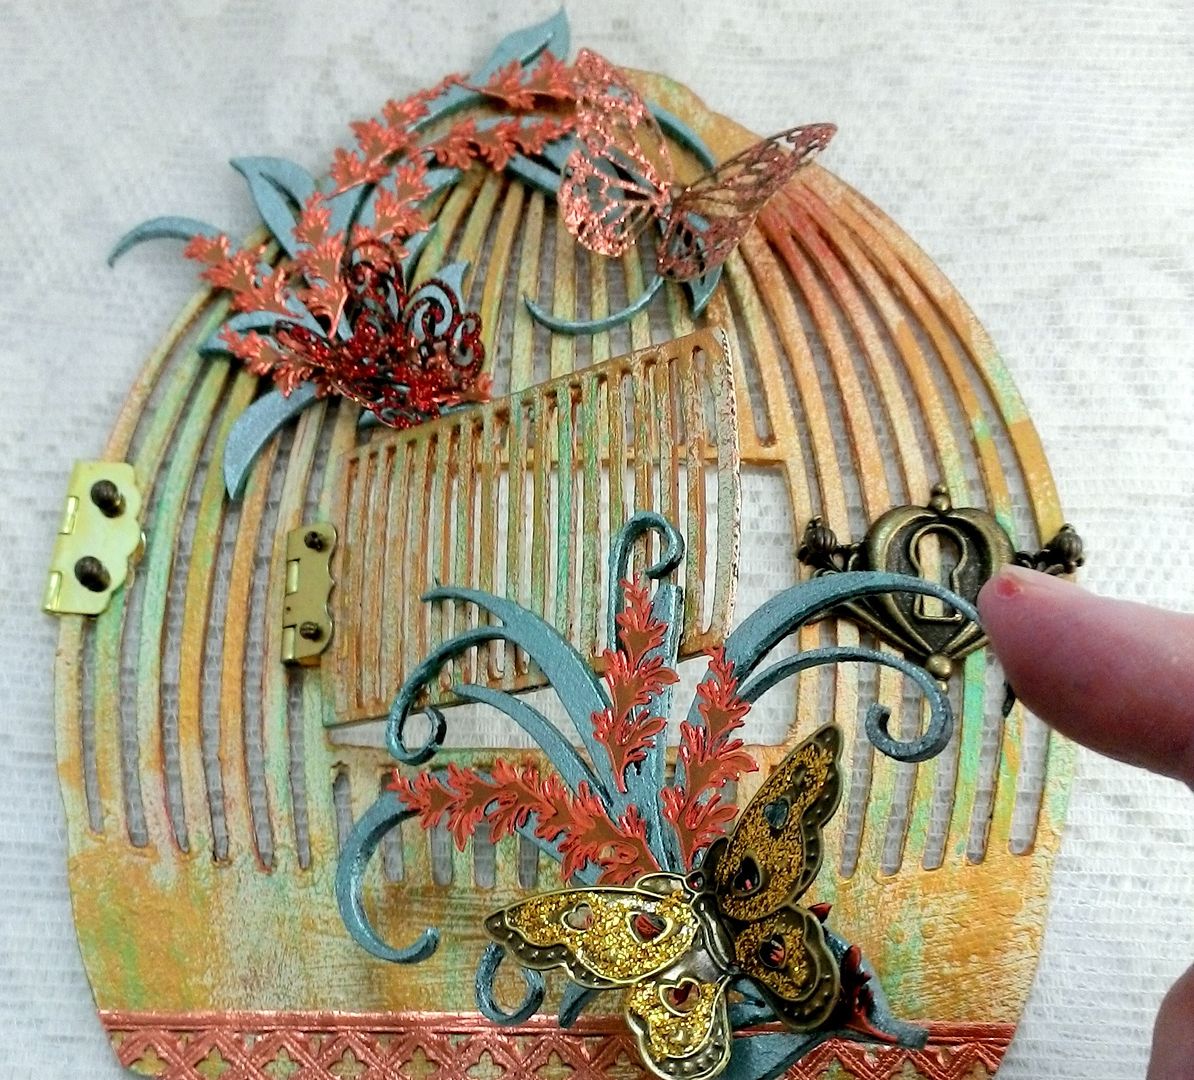
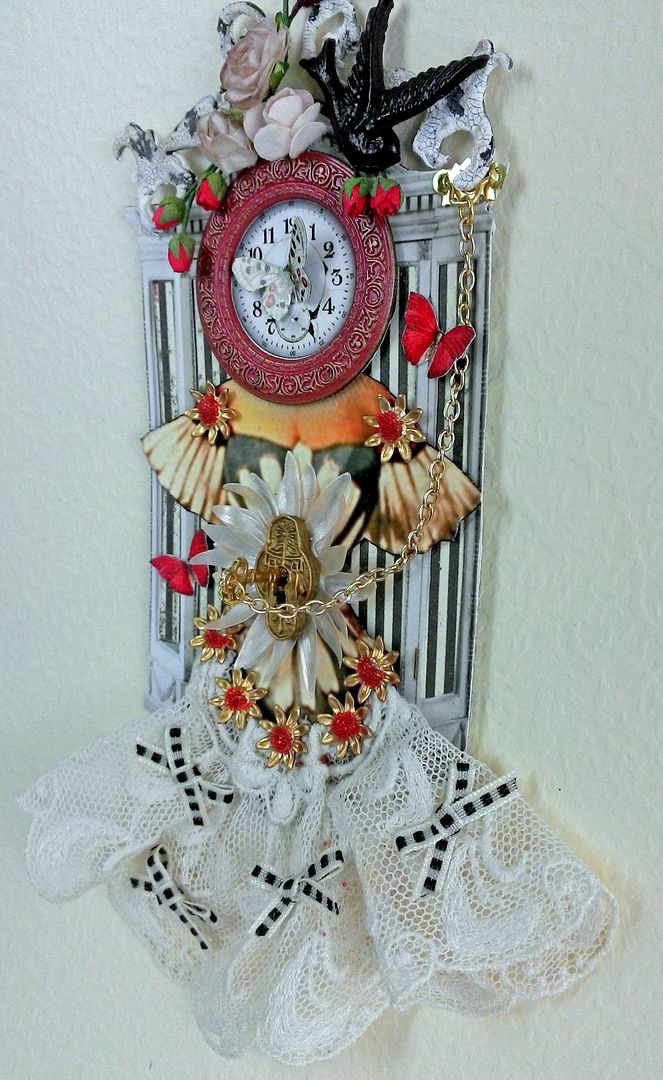
I
attached the keyhole and key to the gate using E6000 glue. The Yellow Flower Garland is wired which made
it easy to wrap around the gate and secure it with glue. To the garland, I added paper birds,
butterflies, and brass bees. The brass
frog and ladybug plus the roses were from my stash. All of the images you see are from my collage
sheets (see the complete supply list below.
Lastly,
I added the couple to the front and the interloper to the back. All of the paper images are back with
decorative paper to make them look pretty from the back of the piece and to
make them stiff.