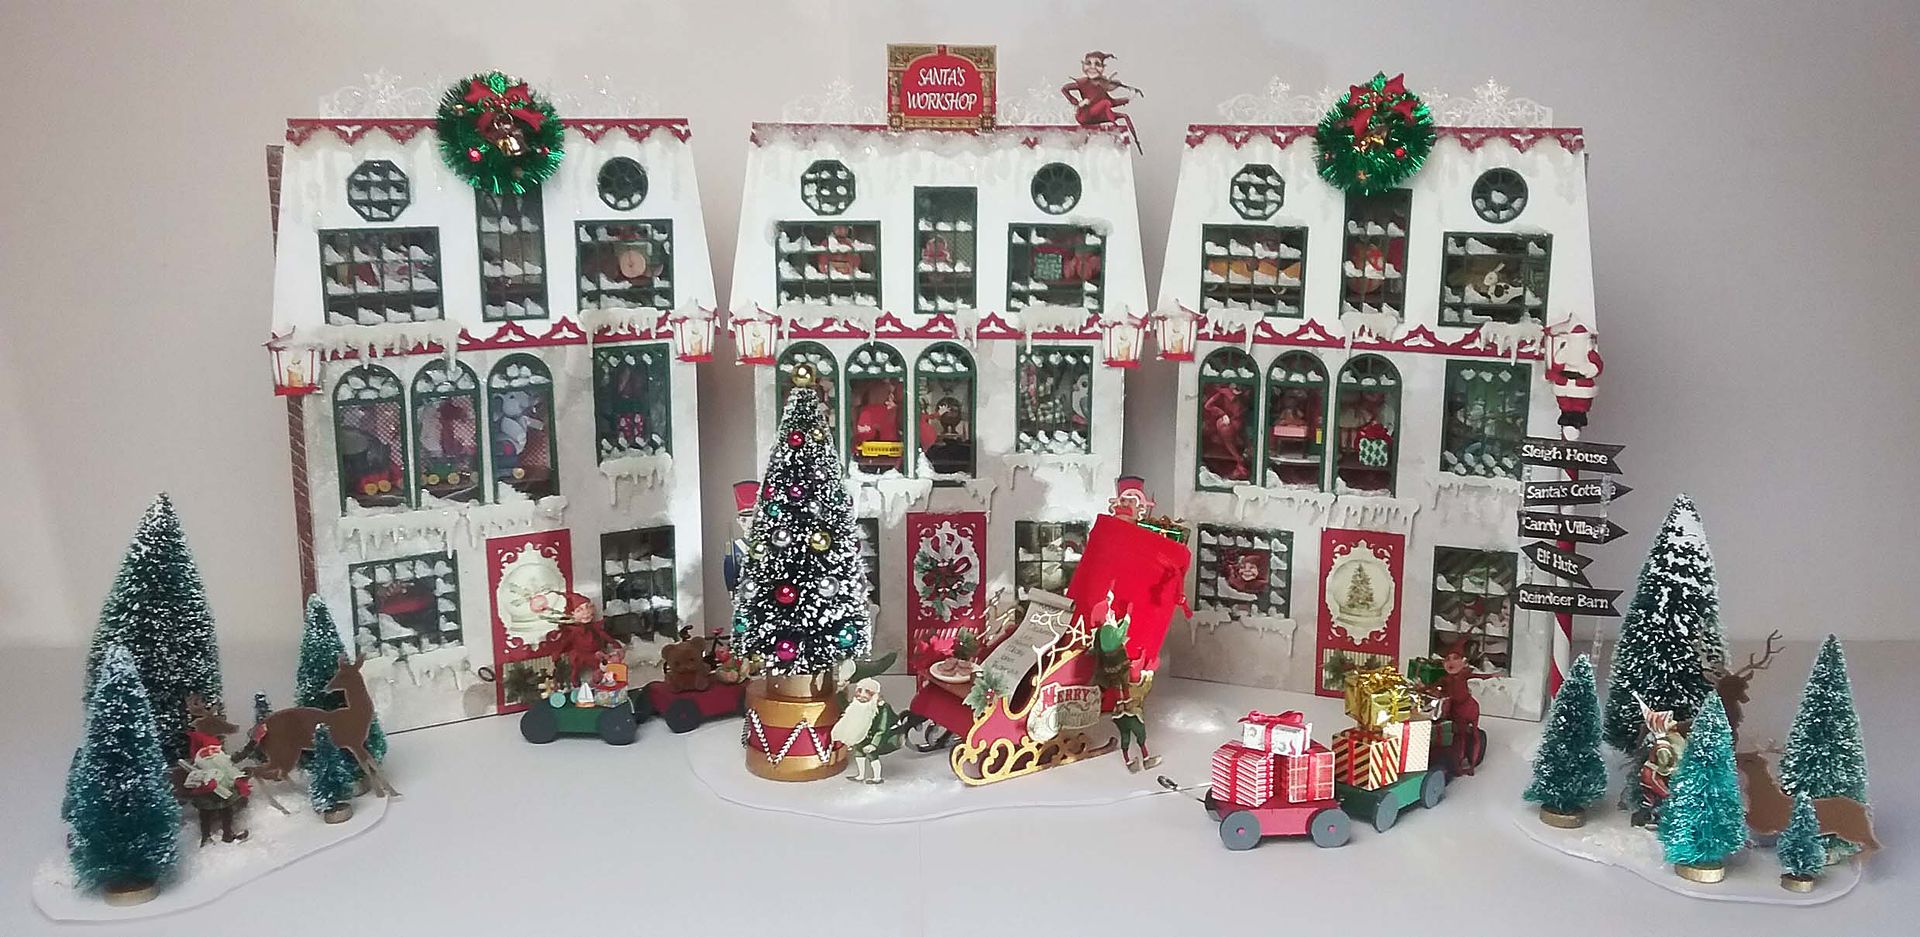
Things are hopping at the North Pole, where Santa’s Workshop is in full swing pumping out toys.
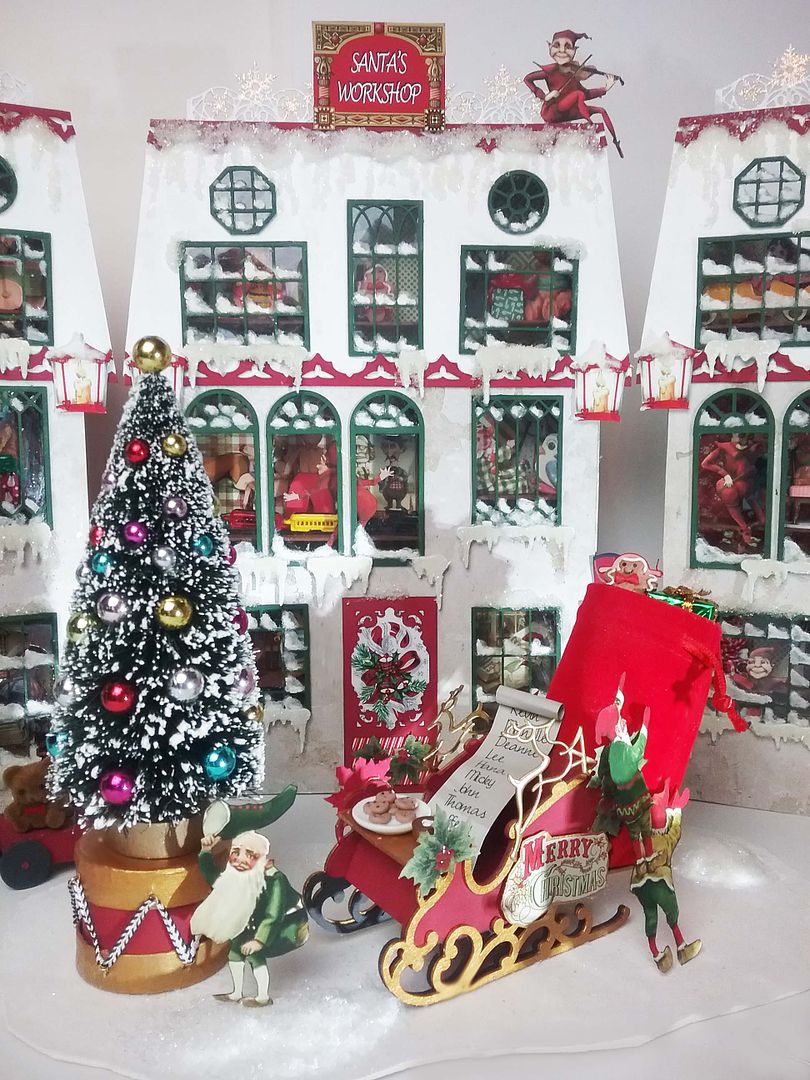
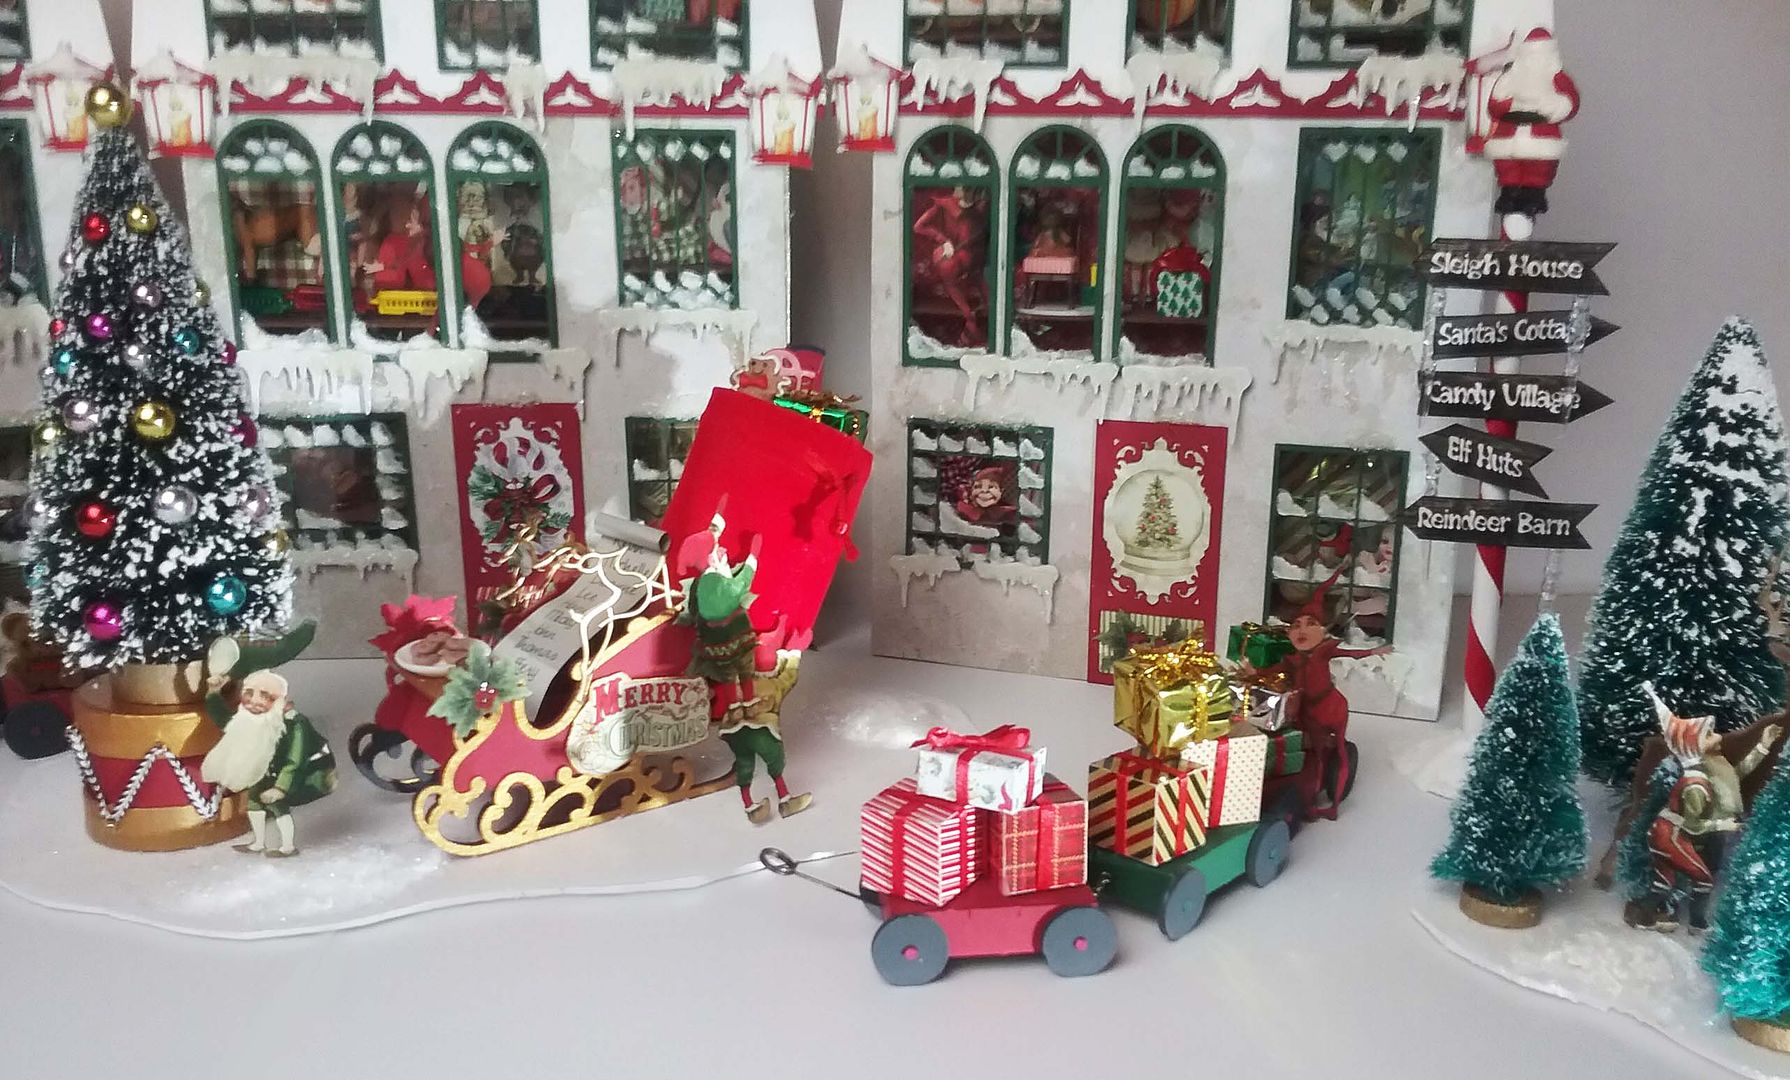
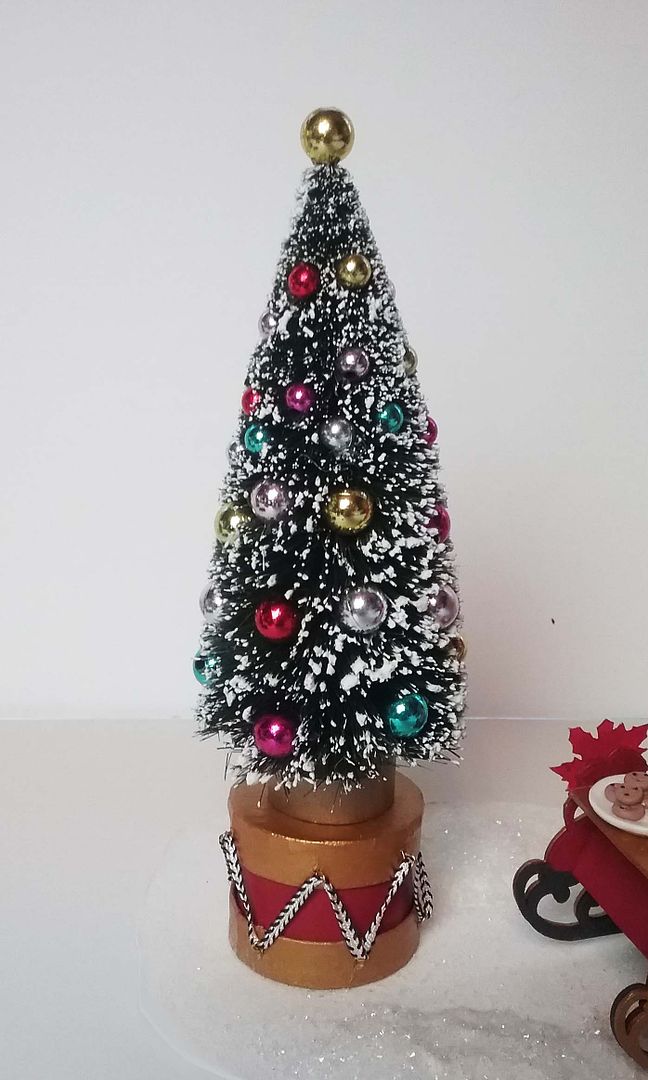
Everything in this wintry scene is covered in sparkling ice and snow. In the center is a decorated tree standing on a giant drum.
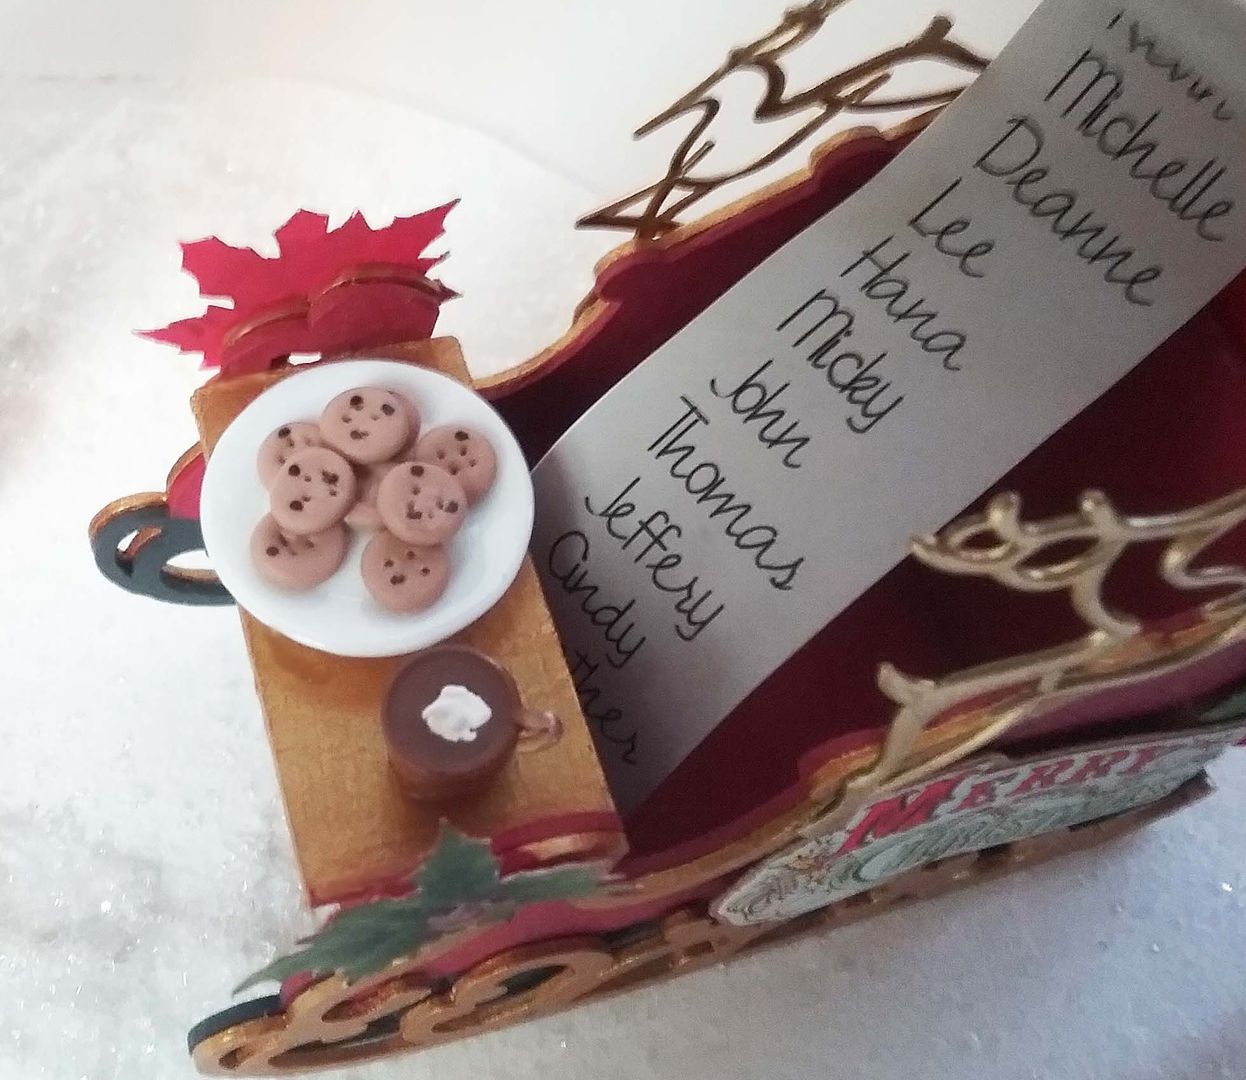
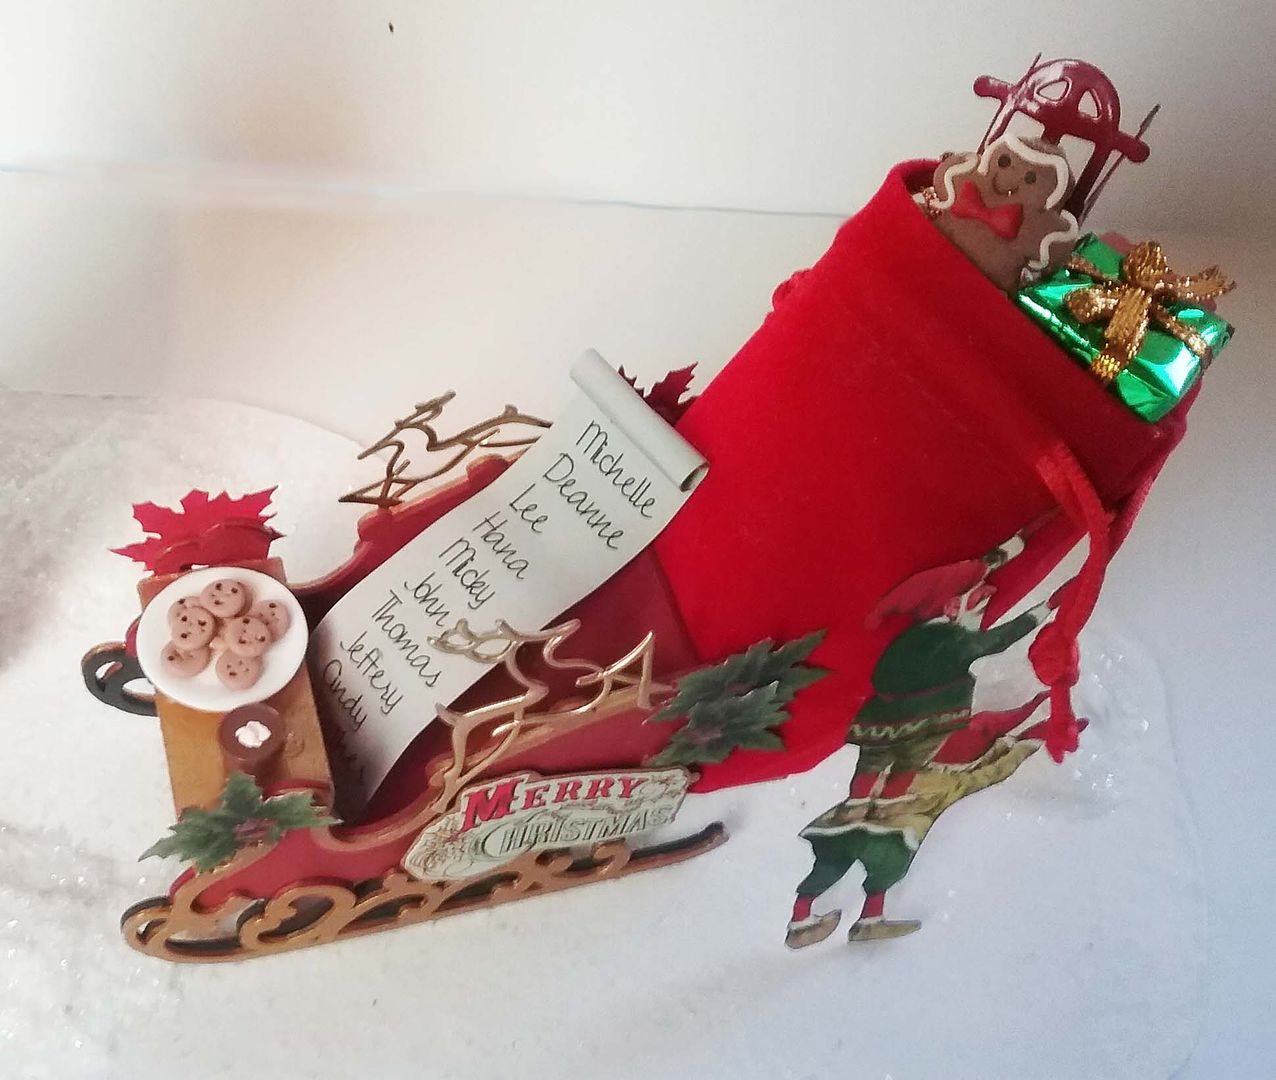
The elves are loading up Santa’s Sleigh with a bag of toys, chocolate chip cookies, and a cup of cocoa.
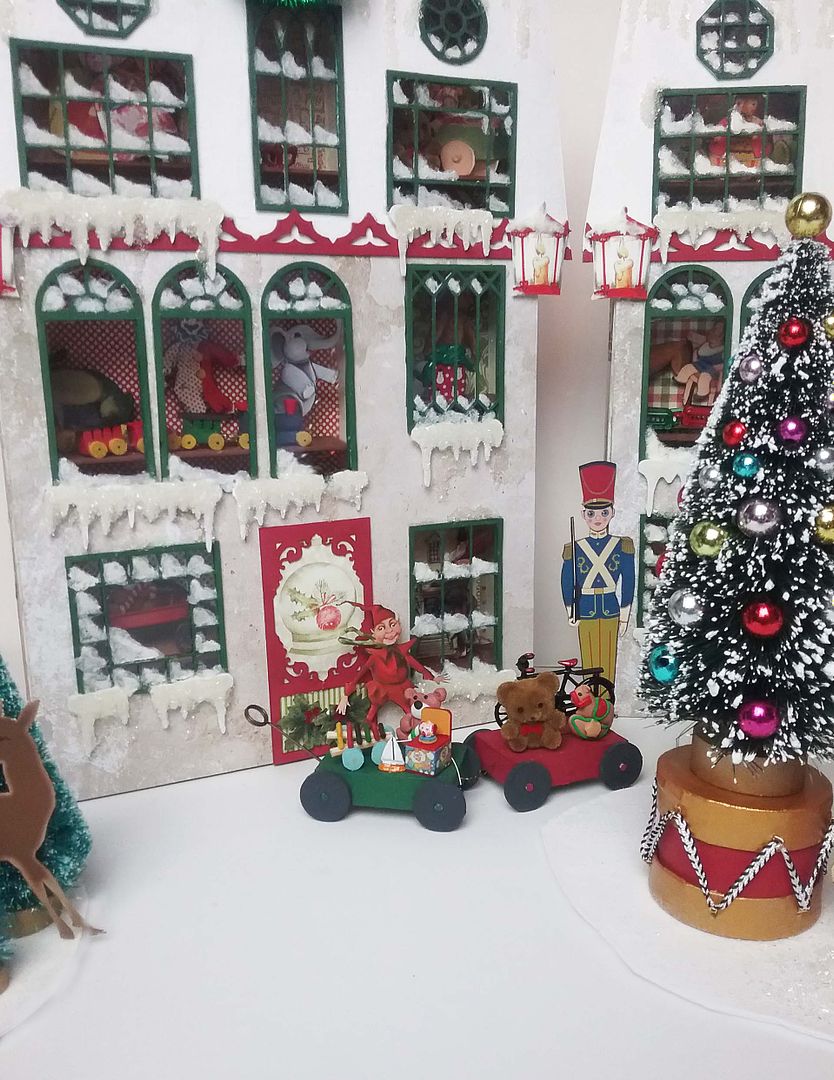
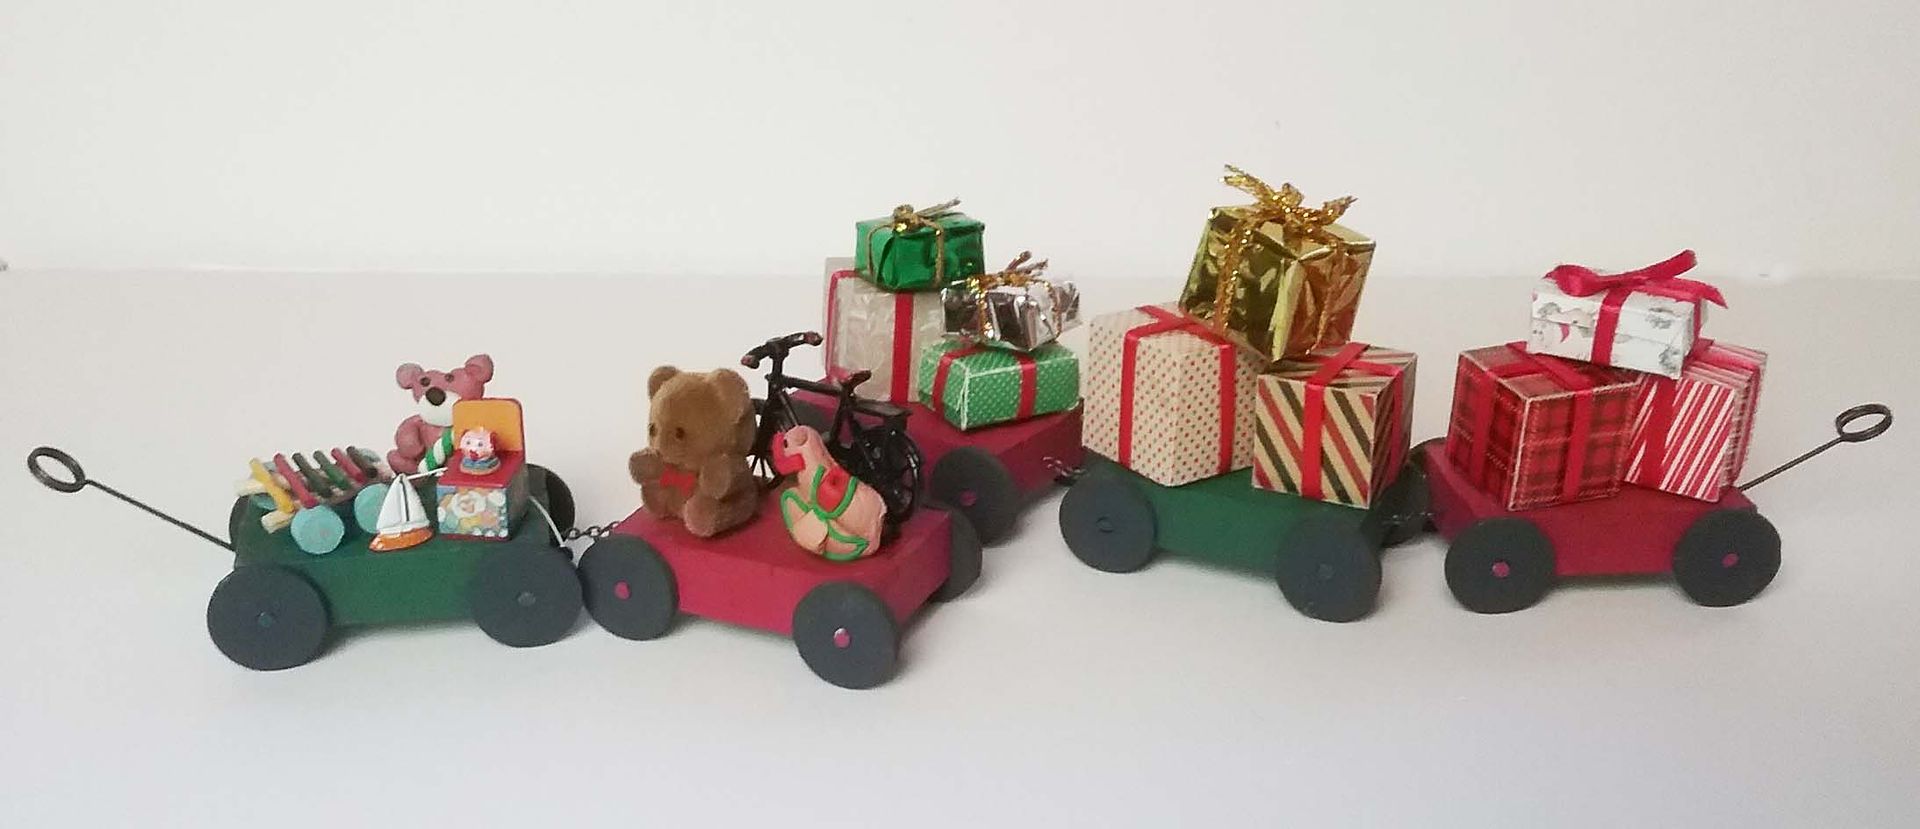
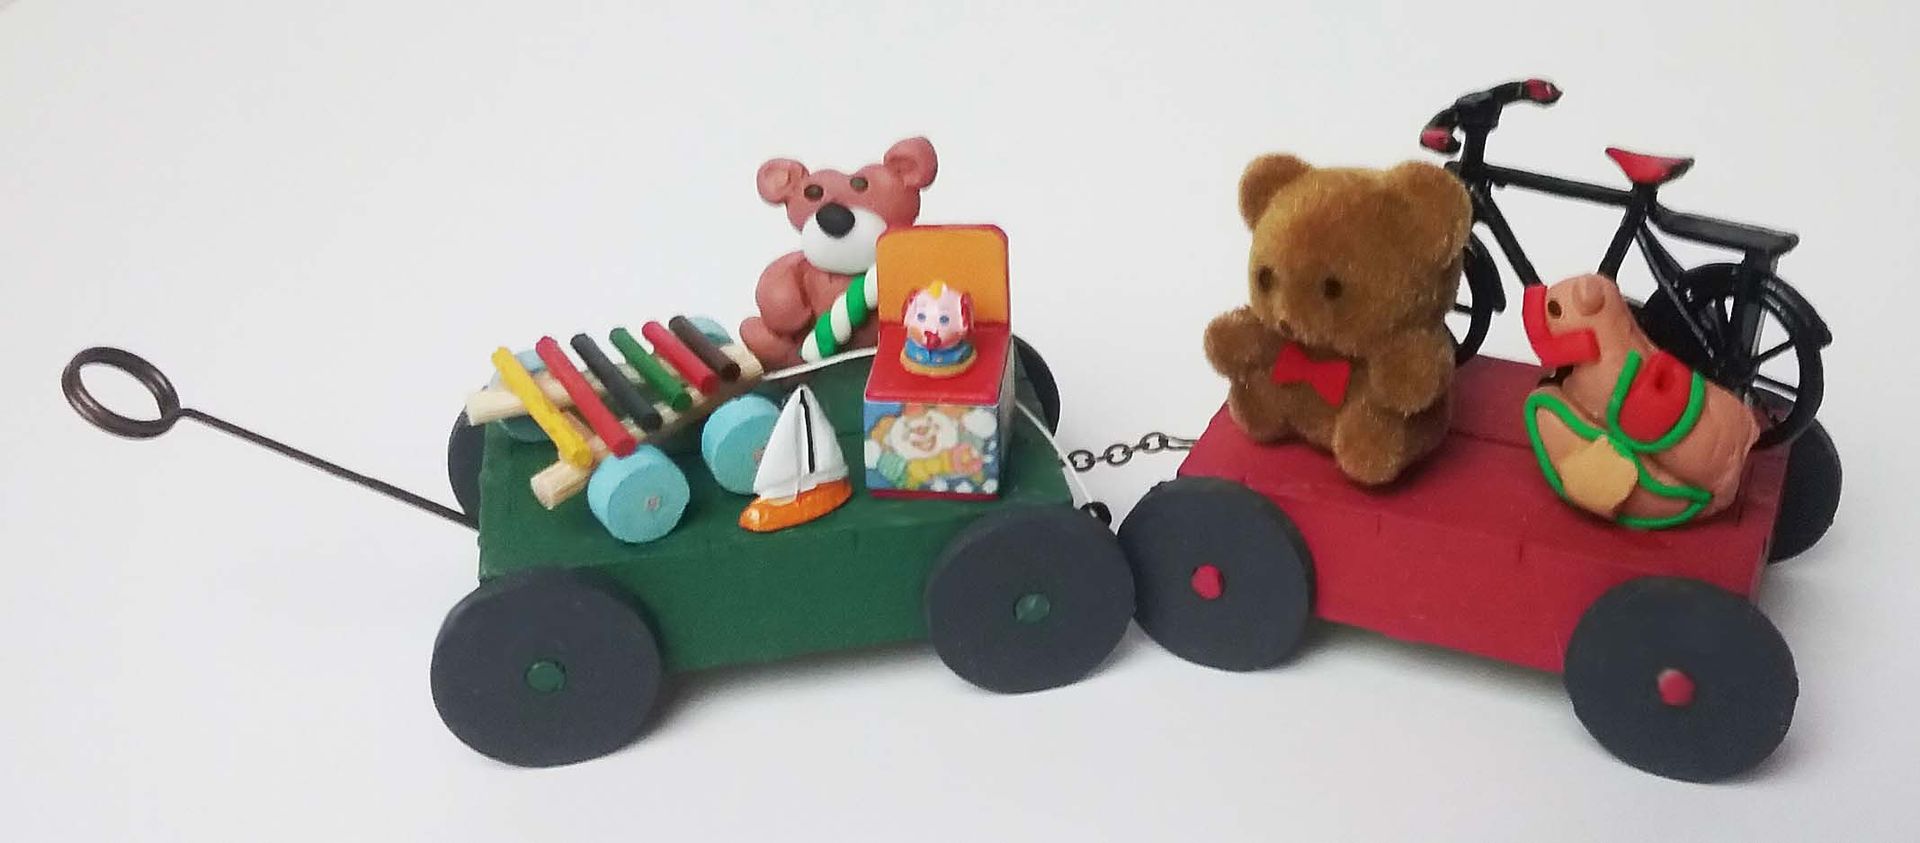
The elves use a pull train to move piles of wrapped packages and toys.
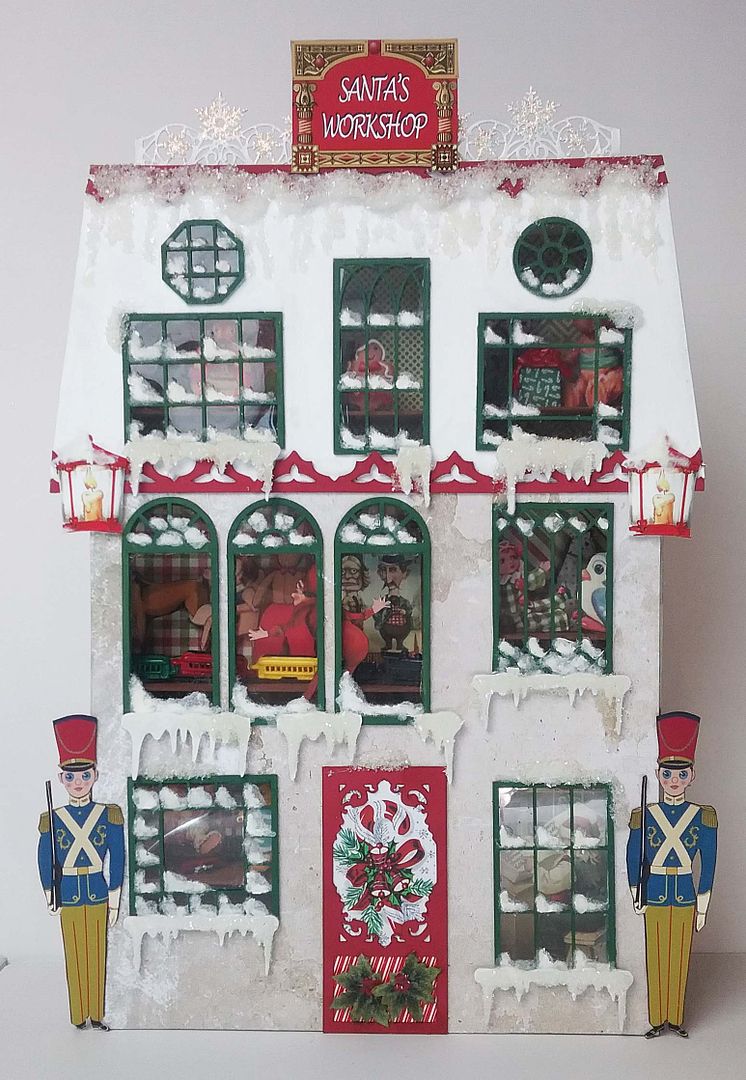
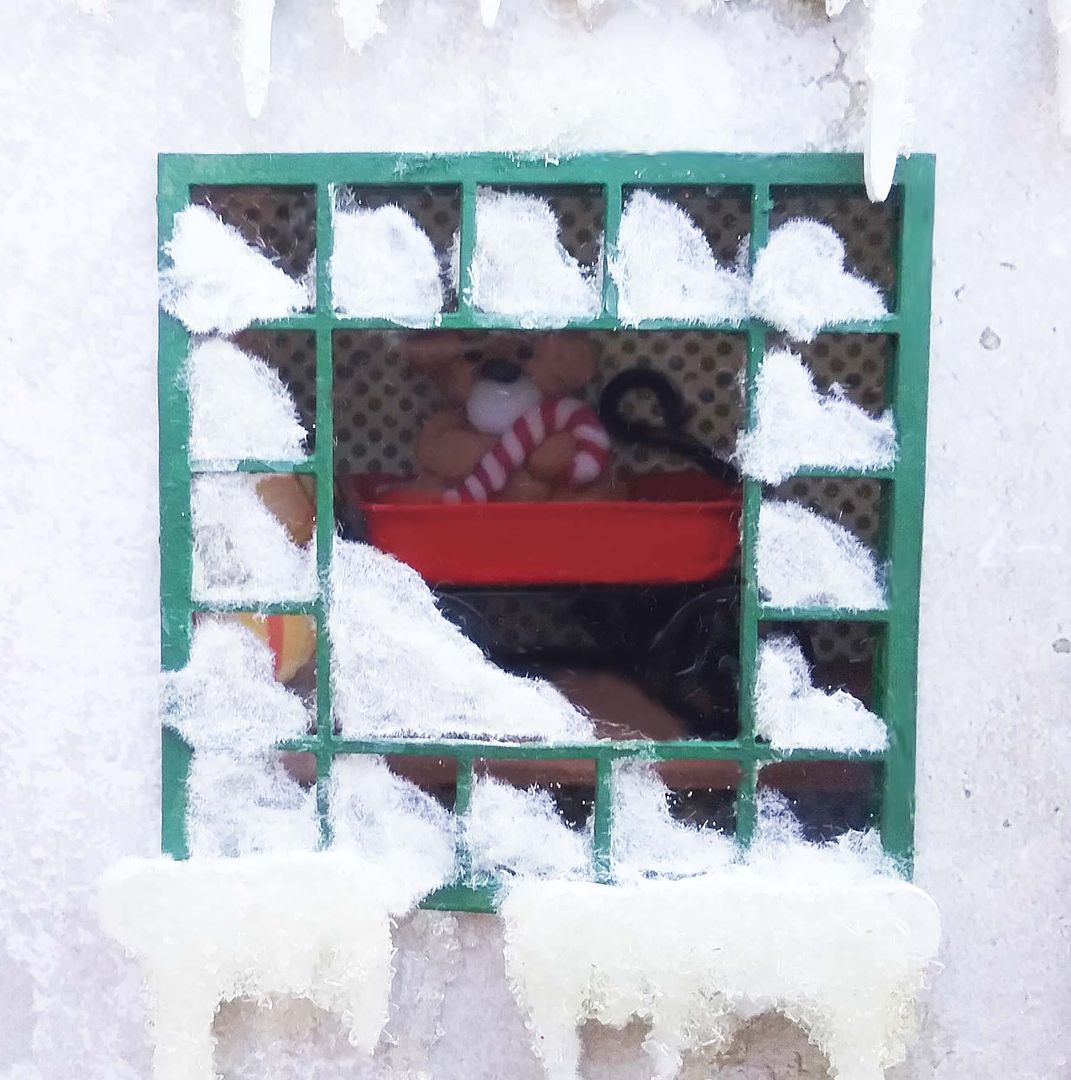
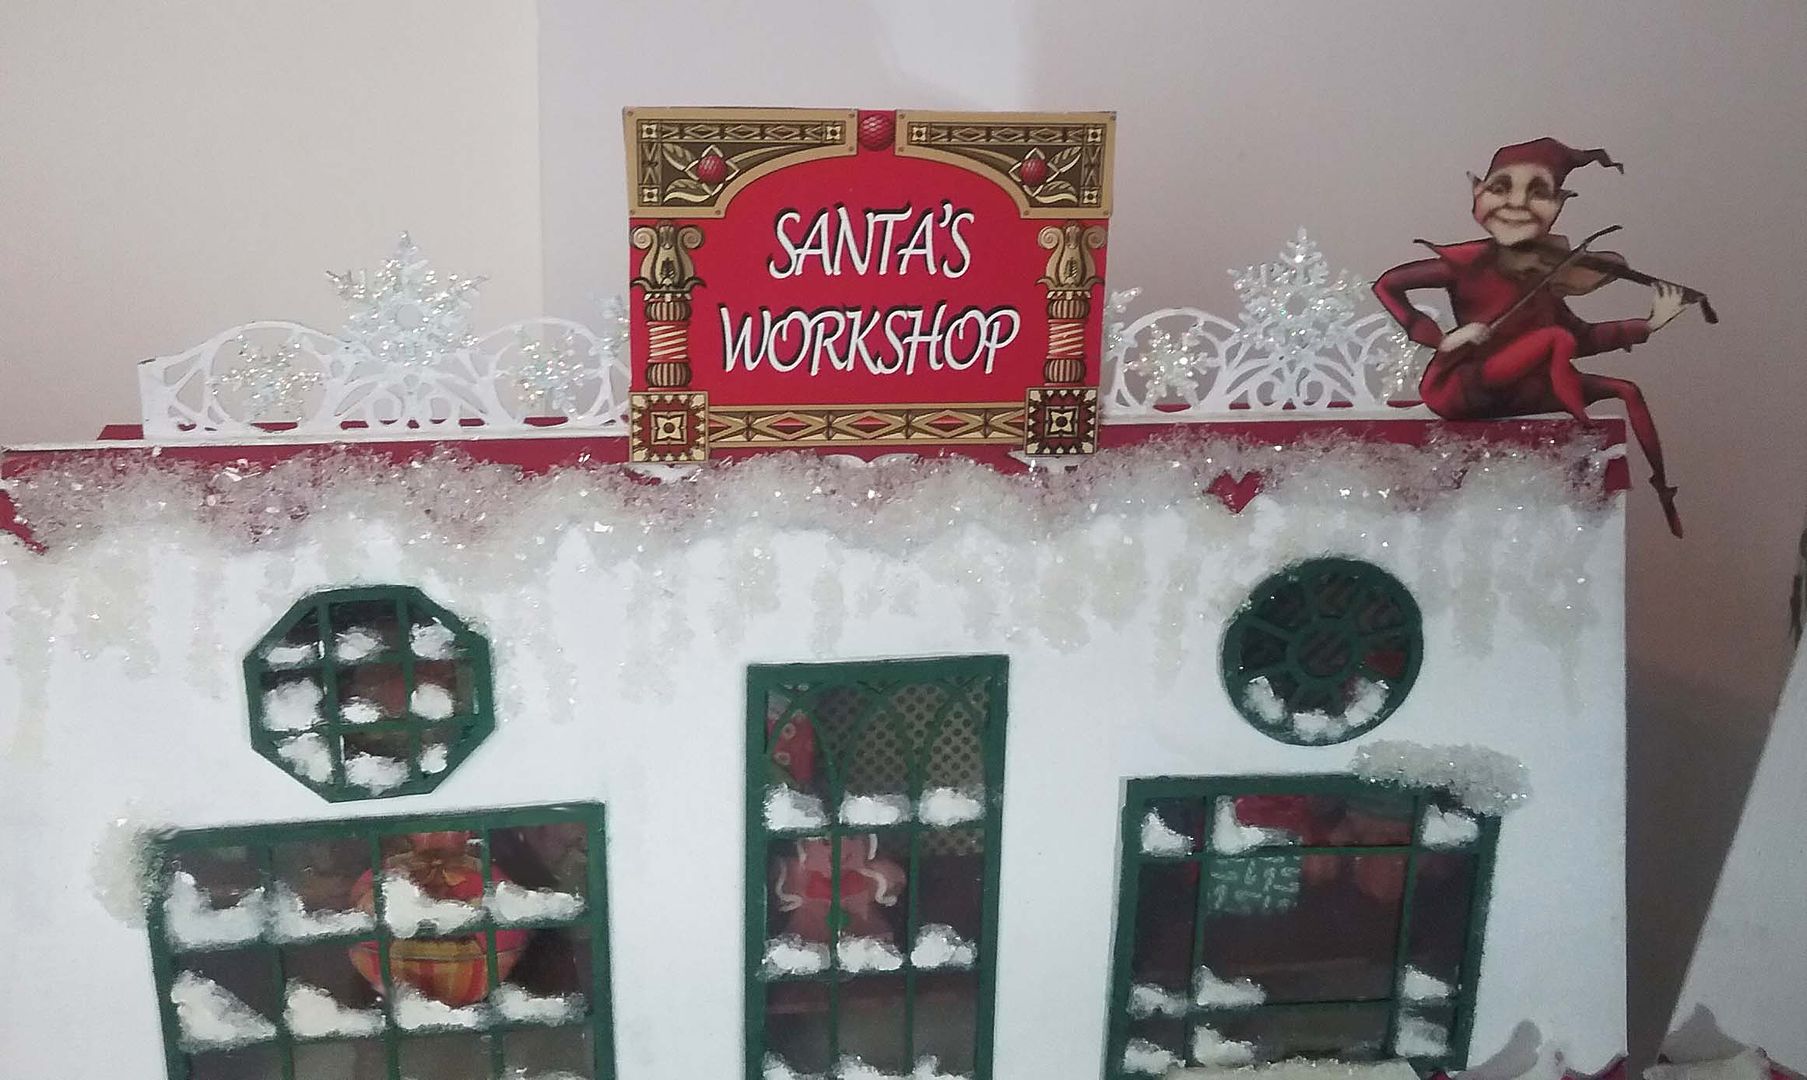
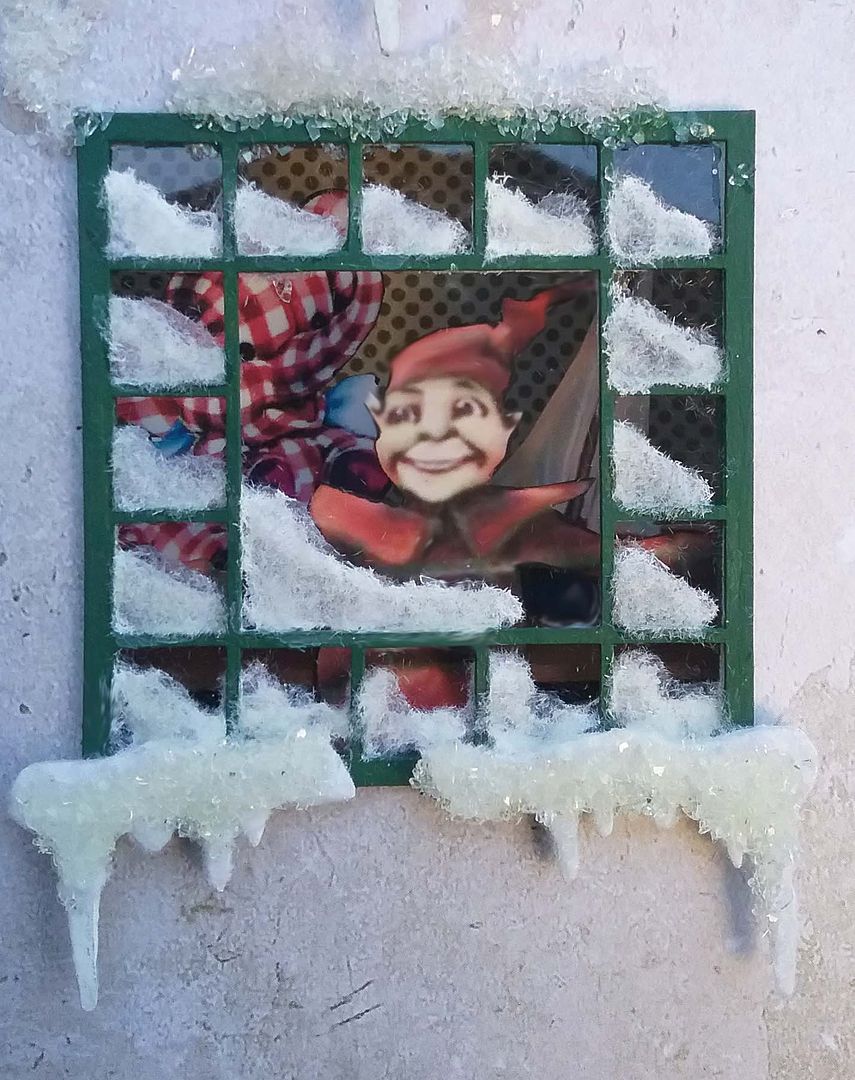
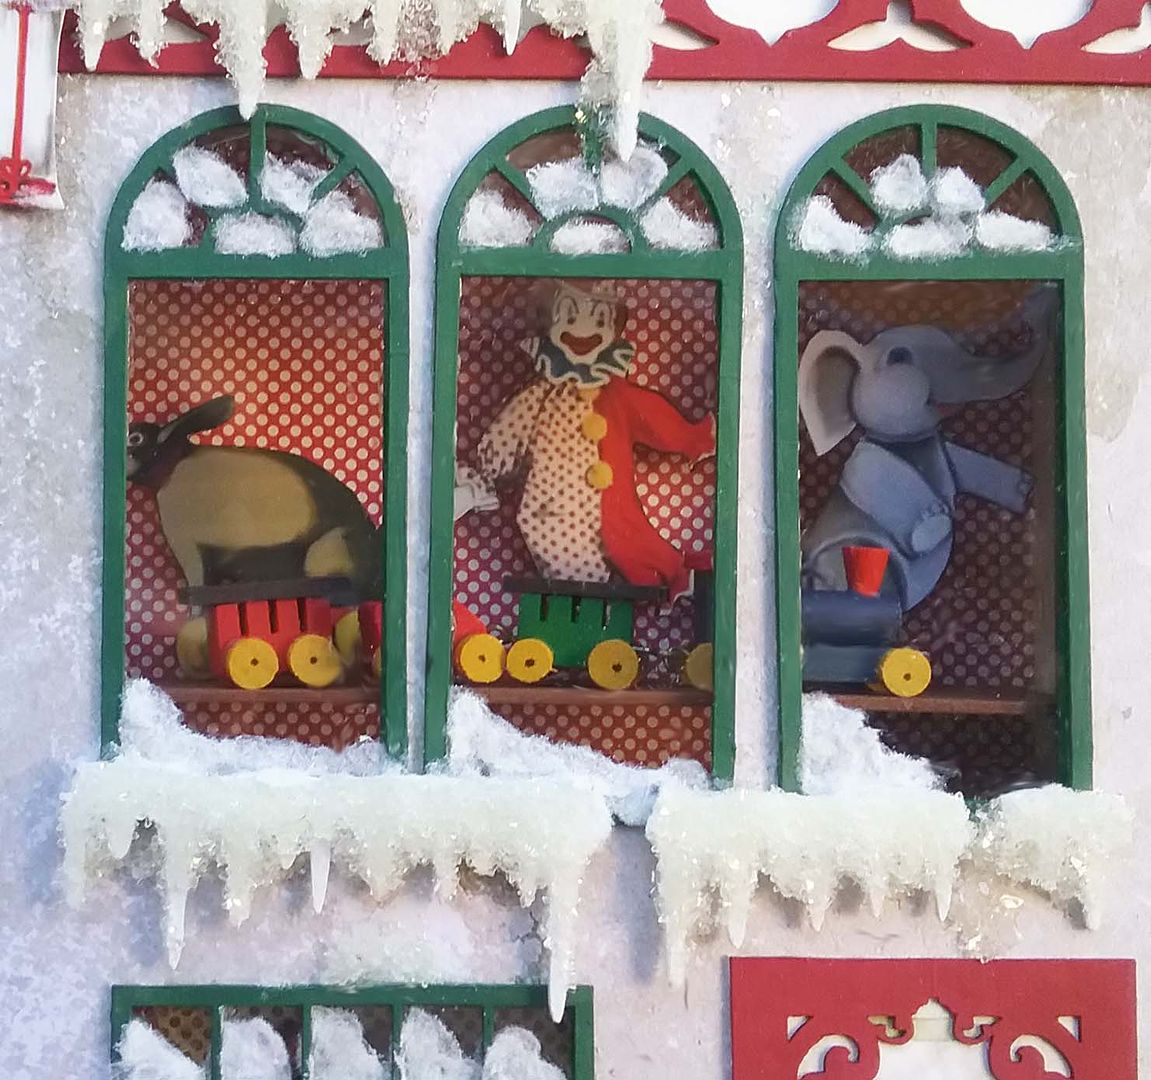
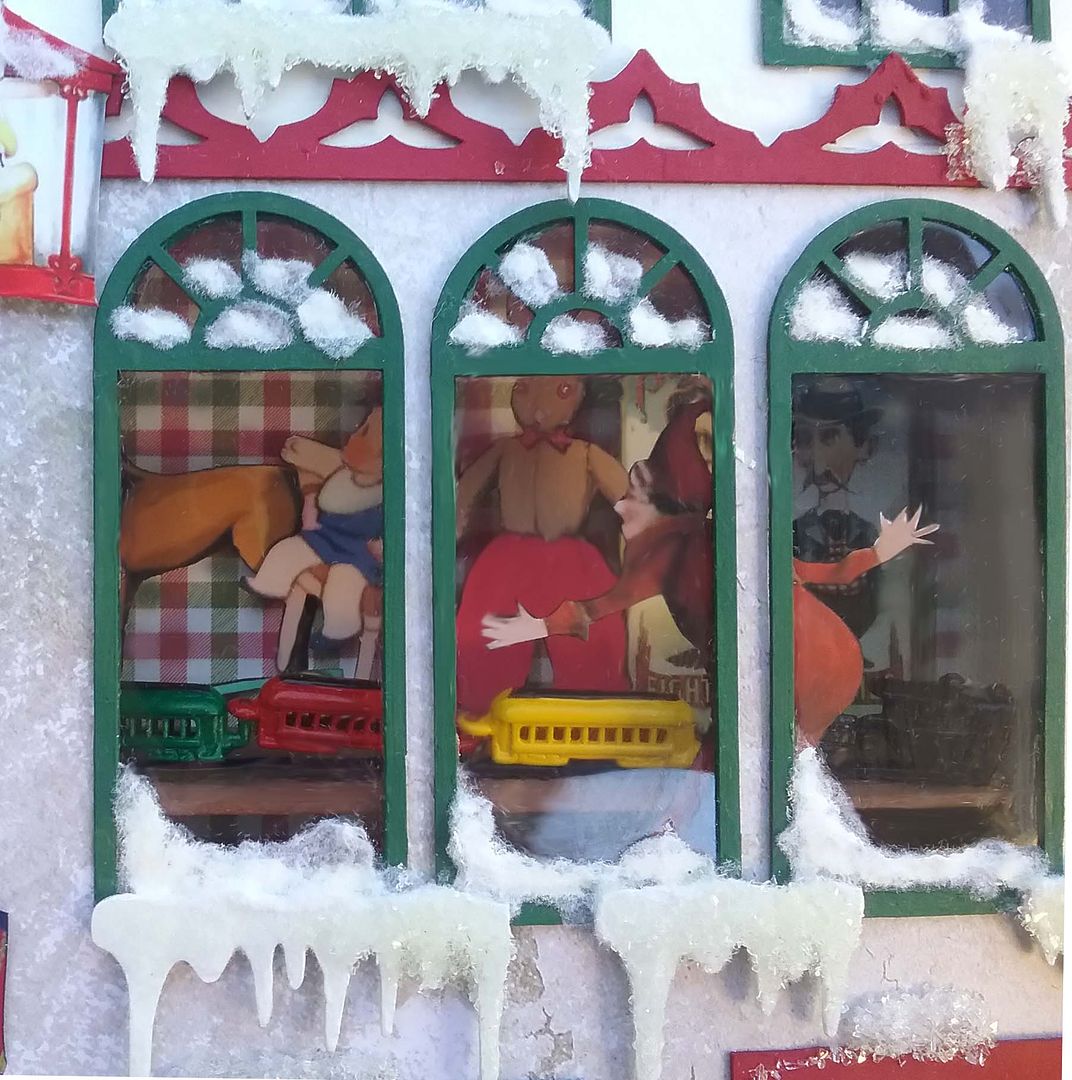
If you peek in the windows, you'll see lots of toys and elves at work.
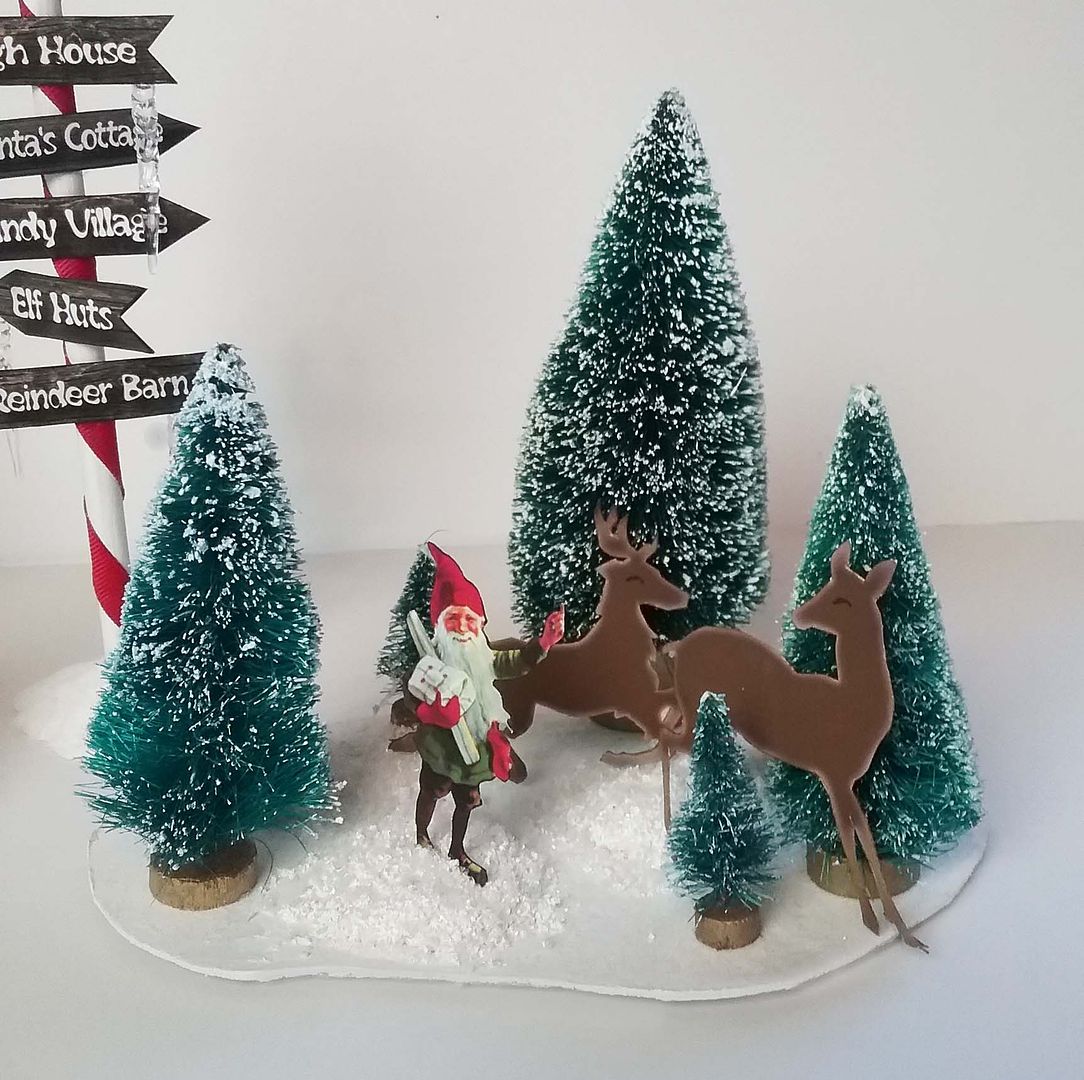
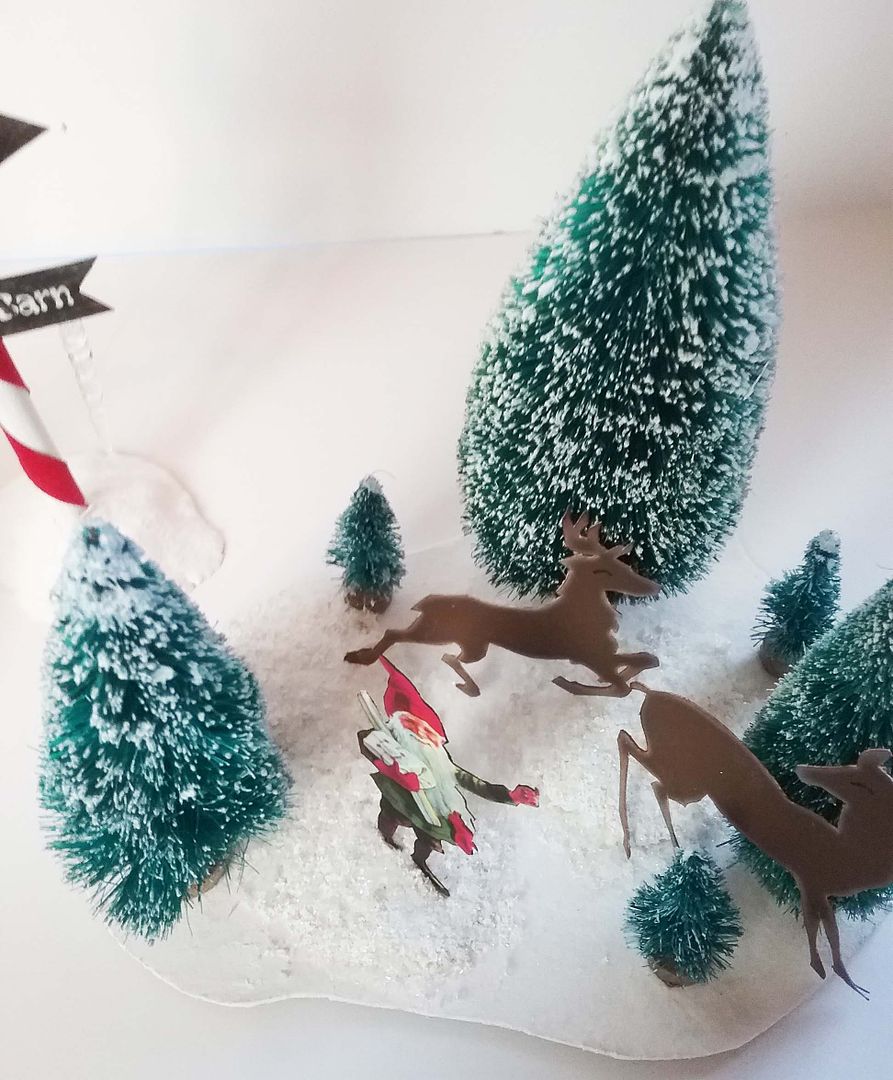
The elves are beginning to round up the reindeer in the grove of trees.
Santa’s doing the last-minute check of his list.
NEW COLLAGE SHEETS
To complement this project, I’ve created 4 new collage sheets, sheets filled with elves, toys, and other things you might find at the North Pole.
This collage sheet contains lots of elves, Santa in his workshop, candy canes, gingerbread cookies, and more. Click on the picture to purchase.
This sheet is packed with toys and games. Click on the picture to purchase.
Toys, toys, and more; this sheet is packed with toys just like the first. Click on the picture to purchase.
This half-sheet contains things you might find at the North Pole. Click on the image to purchase.
CLICK HERE FOR THE SUPPLY LIST OF ITEMS USED FOR THIS PROJECT AT ALPHA STAMPS
THE DETAILS
FAÇADE
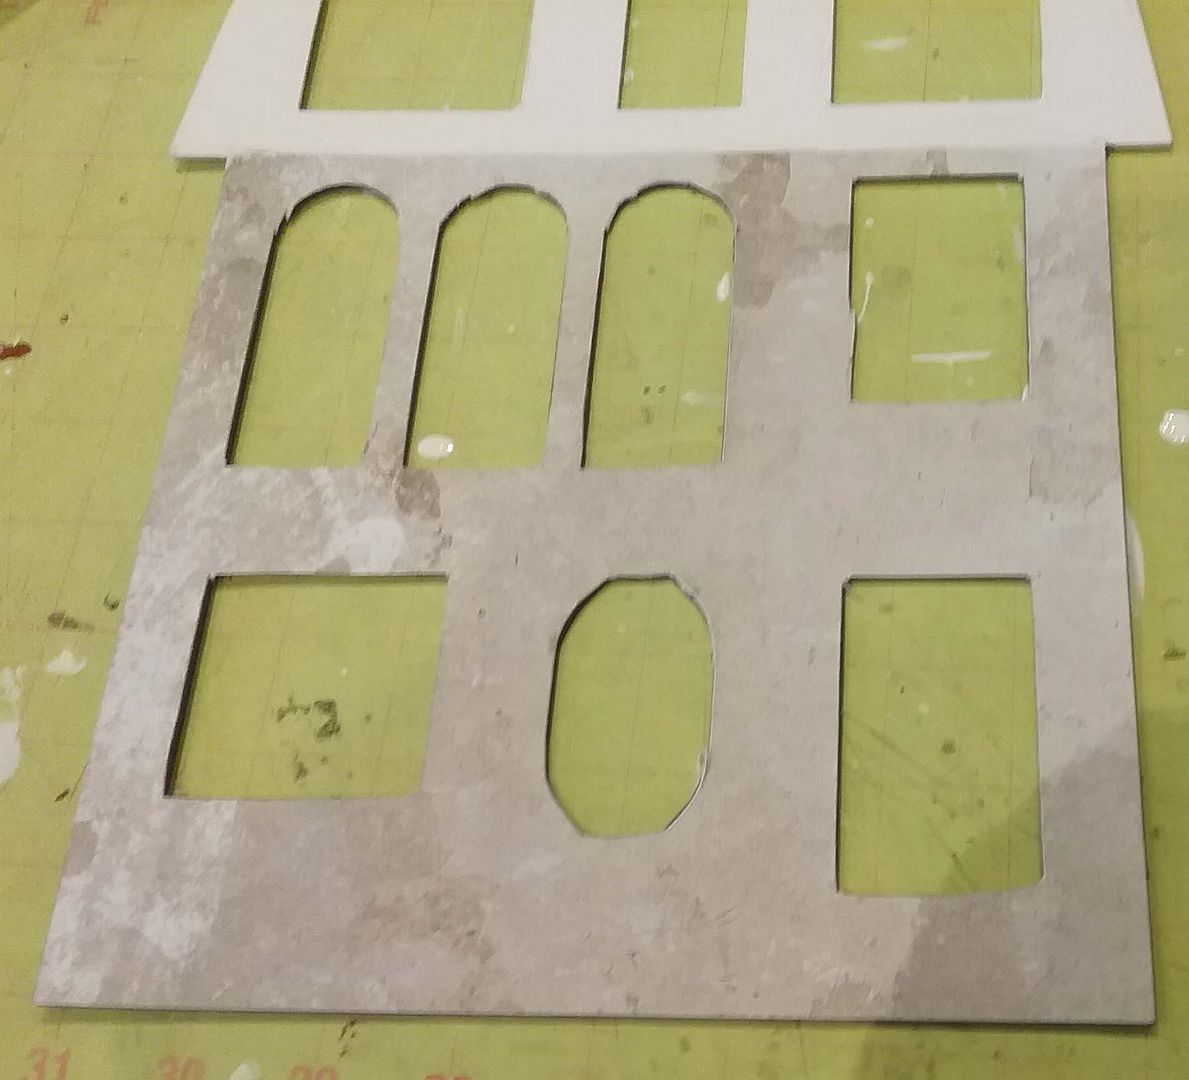
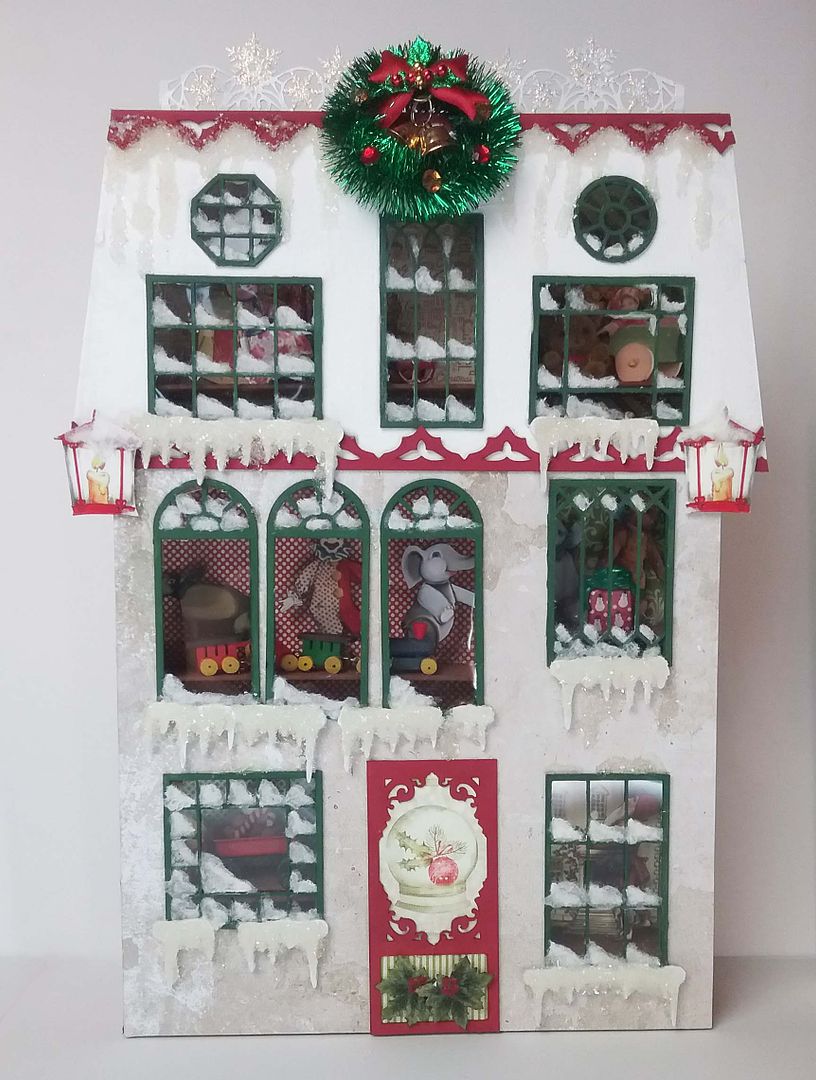
The bases of the buildings are made using the Large Haunted House Shadowbox and the Large Haunted House Window Trims.
I painted the roof section white and then covered the bottom area with Chesterville Whitford Scrapbook Paper.
I also painted the roof trim red and attached it to the facade. I then coated the roof area with Mod Podge and sprinkled it with white flocking.
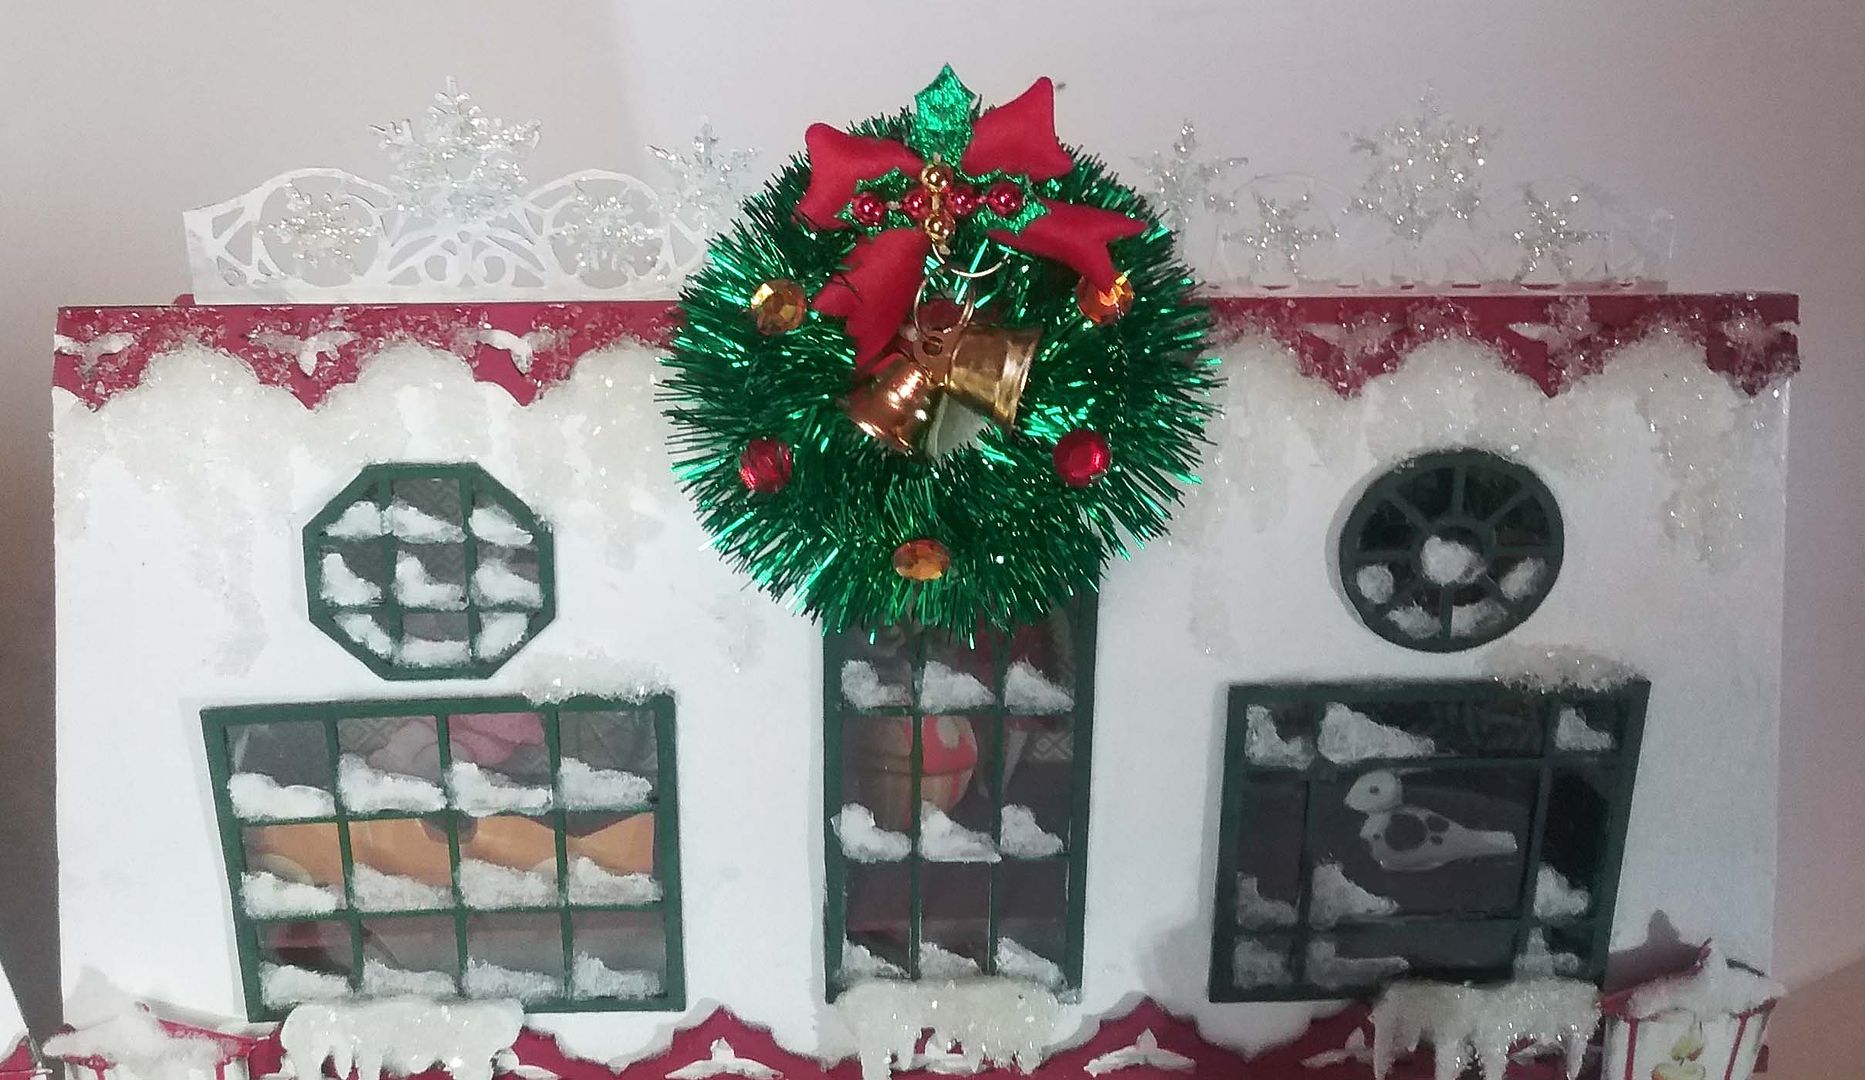
I painted the Large Haunted House Window Trims green and the doors red.
I backed the windows with 12 x 12 Clear Plastic for Windows,
then glued the windows to the openings. NOTE: I also painted the edges of the window openings green before attaching the windows.
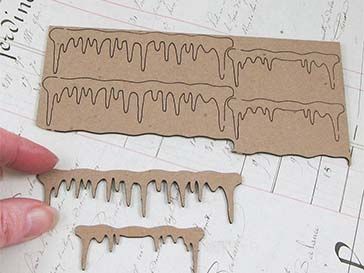
I painted the Icicles Roof & Winter Trims white, covered them with Glossy Accents, and sprinkled Twinklets Diamond dust on top. I then glued them under the windows.
I added white paint to the corners of the windows. Next, I applied Glossy Accents over the paint and then sprinkled white flocking on the Glossy Accents.
NOTE: To create ice and snow, I used three products; Twinklets Diamond Dust, Fluffy Snow Flakes, and White Flocking. These products are somewhat translucent, so it is important to paint the surface white first if you want these products to look white.
I applied Glossy Accents to various places on the facade and in a dripping direction from the top roof trim. I then sprinkled Twinklets Diamond Dust on the Glossy Accents giving these areas the look of ice and icicles. Note: this is the only time (papered area of the facade) that I did not paint the surface white before adding the Diamond Dust, as I wanted it to look more like ice.
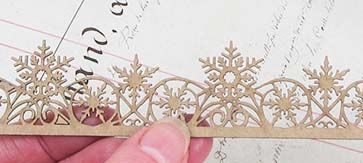
To the top, I added a Snowflake Border that I painted white and then used Diamond Stickles to accent the snowflakes.
SHADOWBOX
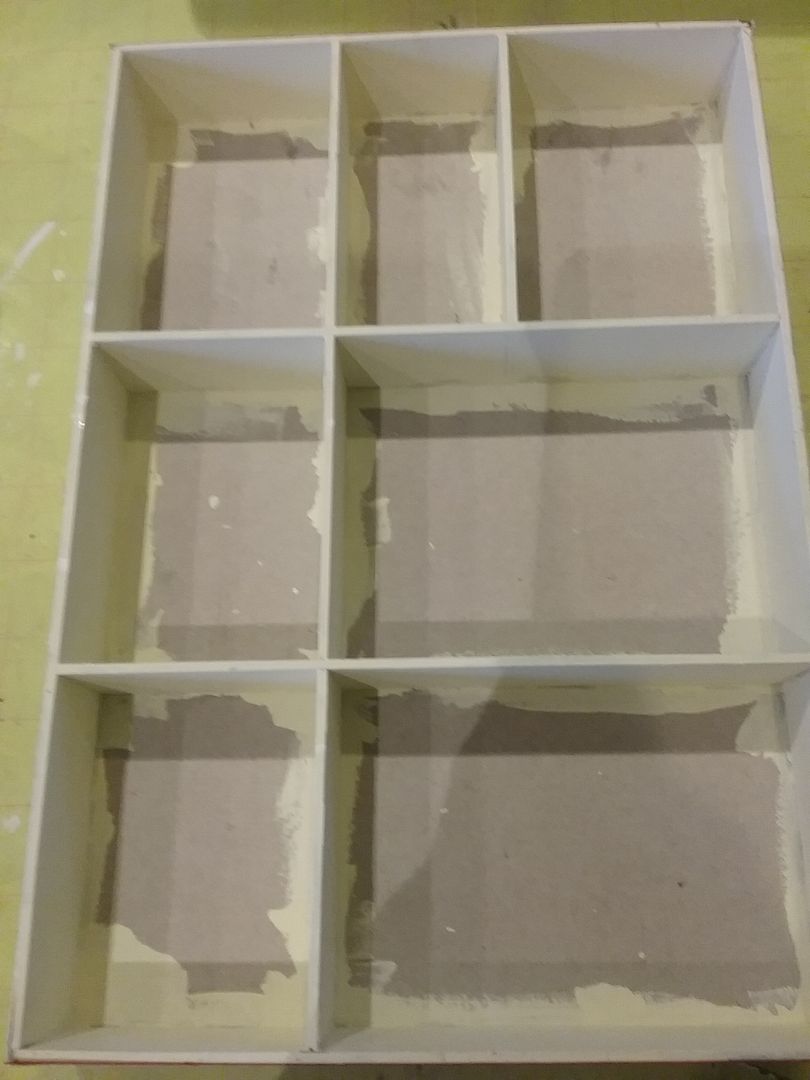
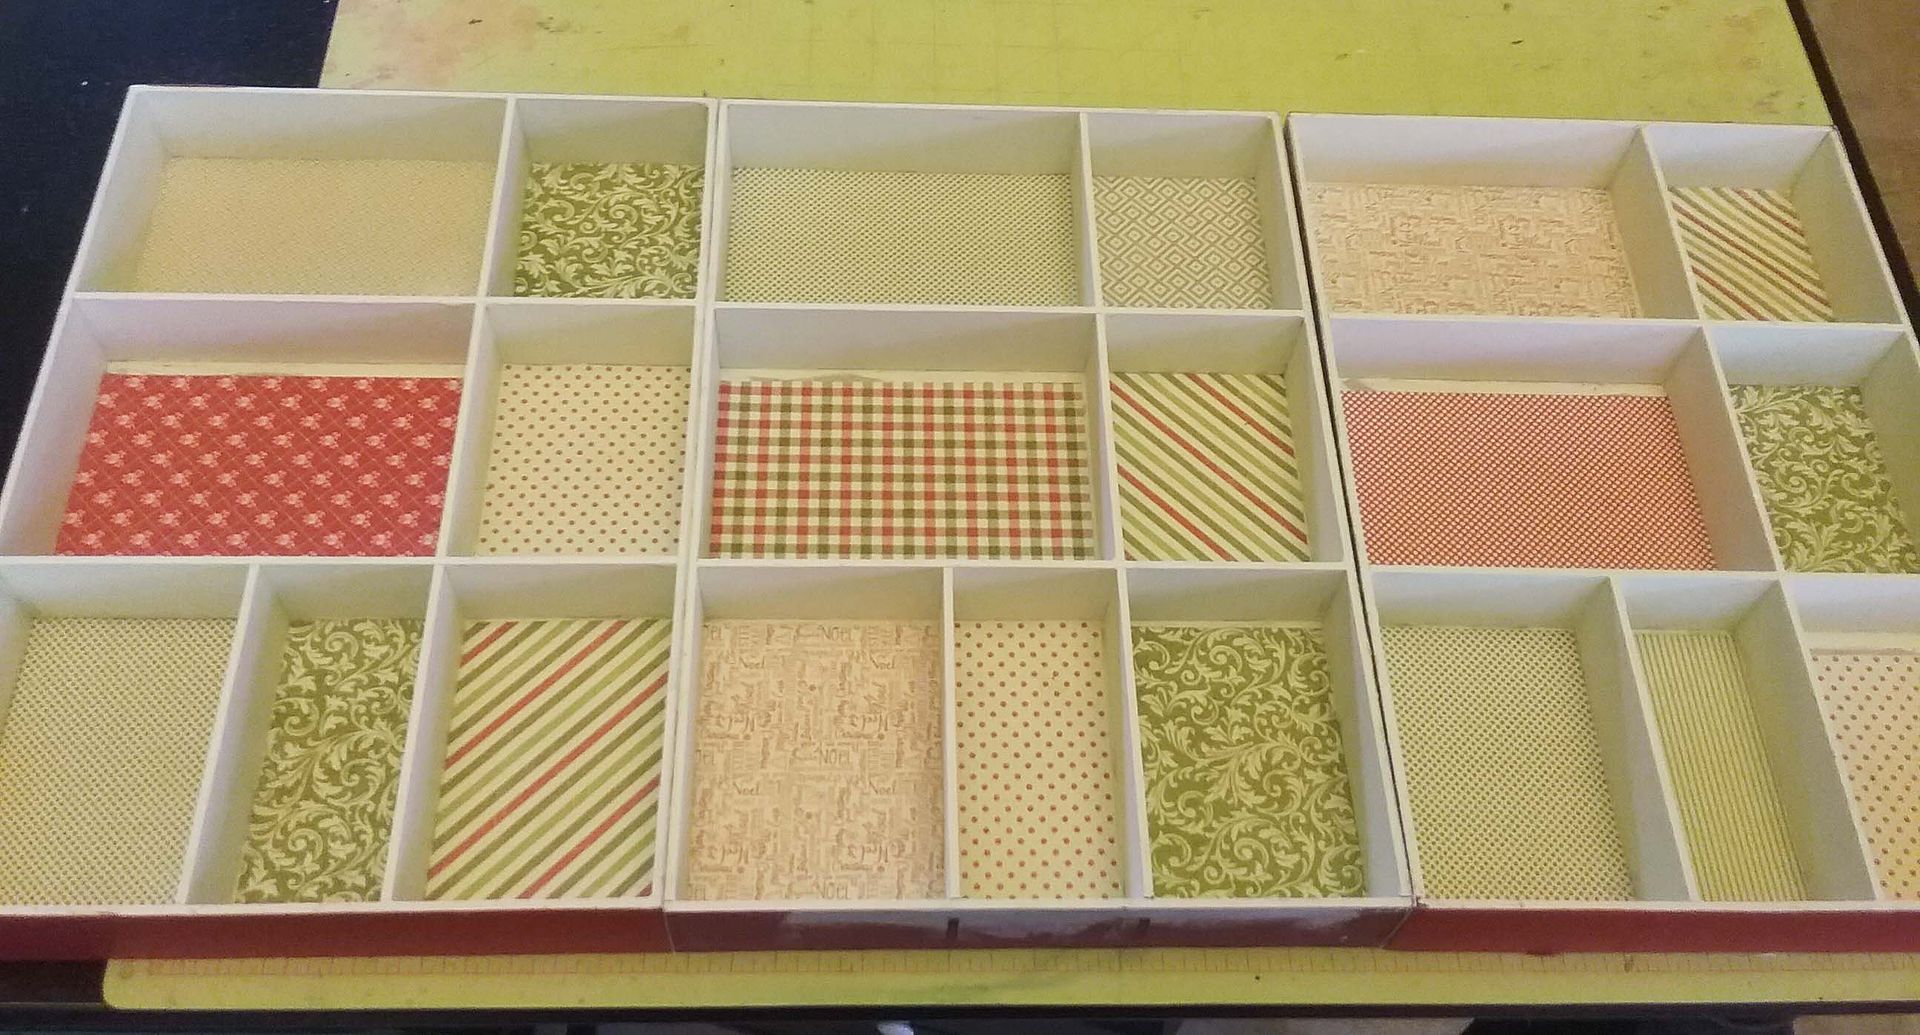
Next, I assembled the shadowbox, covered the outside with paper, and painted the inside a cream color. I suggest using a light color so that once you attach the façade, the opening will be as bright as possible inside.
I added Christmas-themed paper to the inside; this is the same paper I used for the previous Christmas Ornament project. You don’t need to worry about the paper going to the edges of the cubbies, as you will not see all of the openings once you add the façade. NOTE: If you plan to hinge the façade to the shadowbox, make sure the paper and paint completely cover the cubbies.
As noted above, once the façade is attached to the shadowbox, you cannot see all of the areas within each cubie. It’s important that before you add the toys, figure out what part of the opening shows through the window. Once I made that determination (by laying the facade over the shadowbox), I added chipboard shelves.
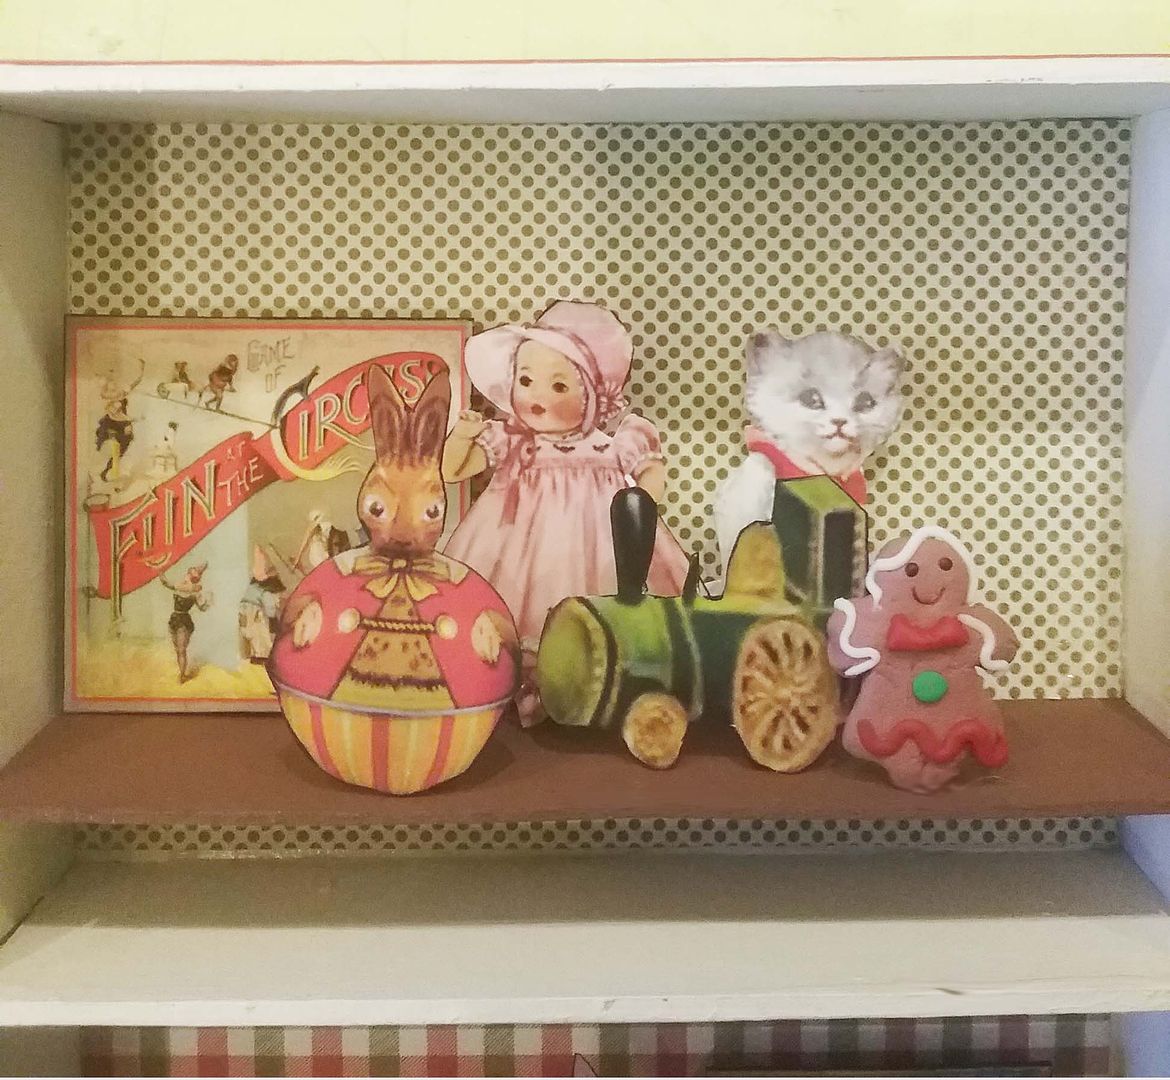
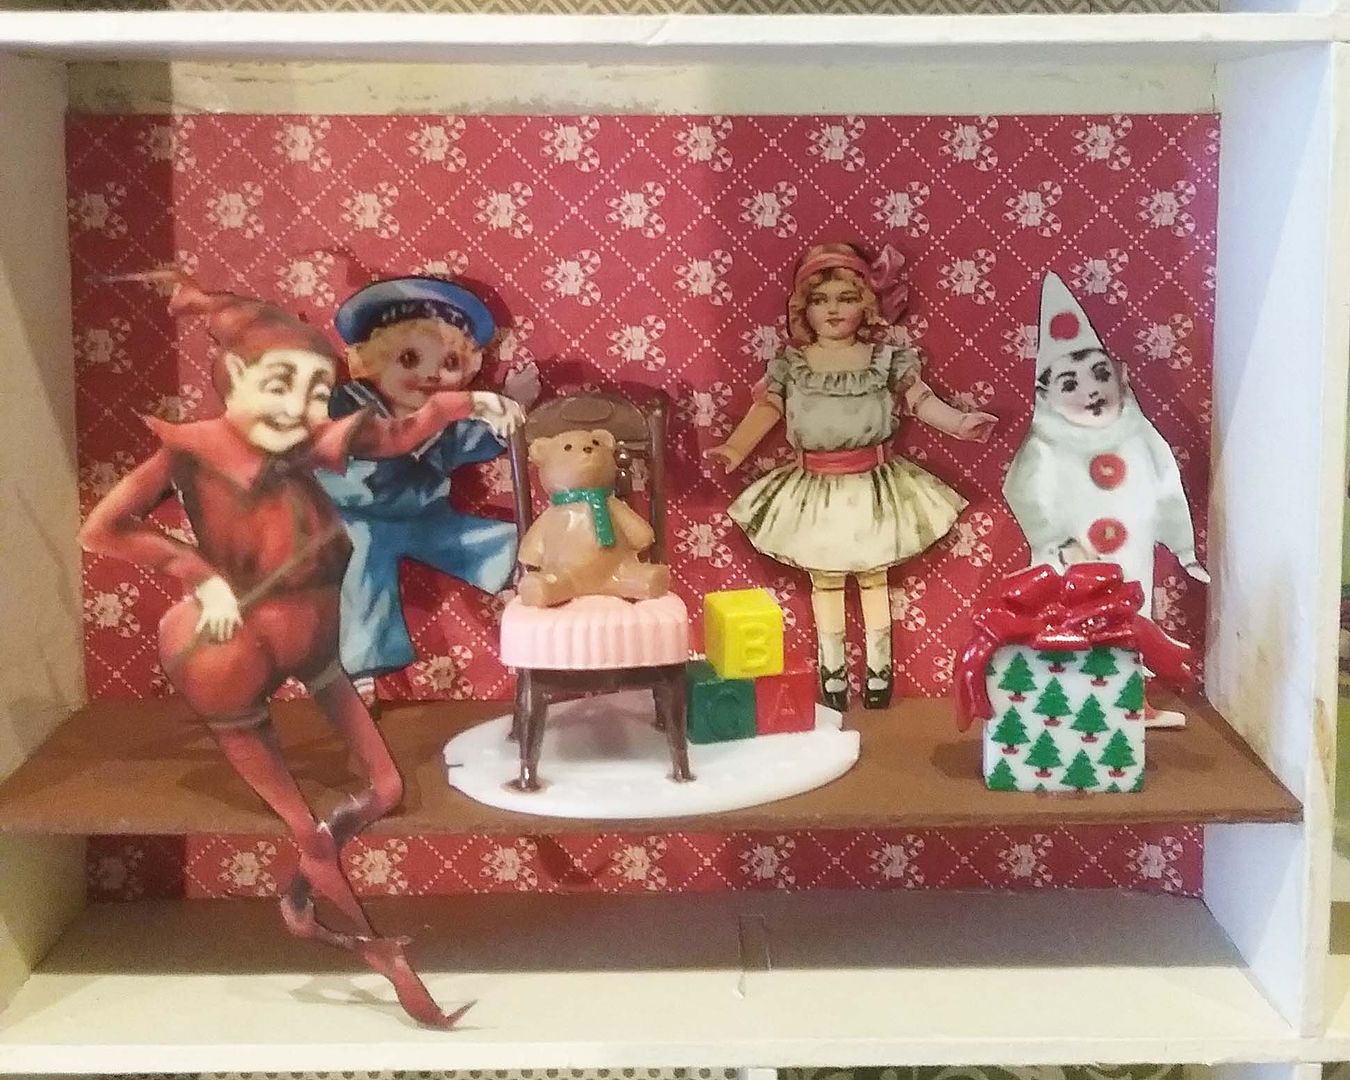
For the toys in the windows, I used both 3D miniature toys and paper toy images from the new collage sheets.
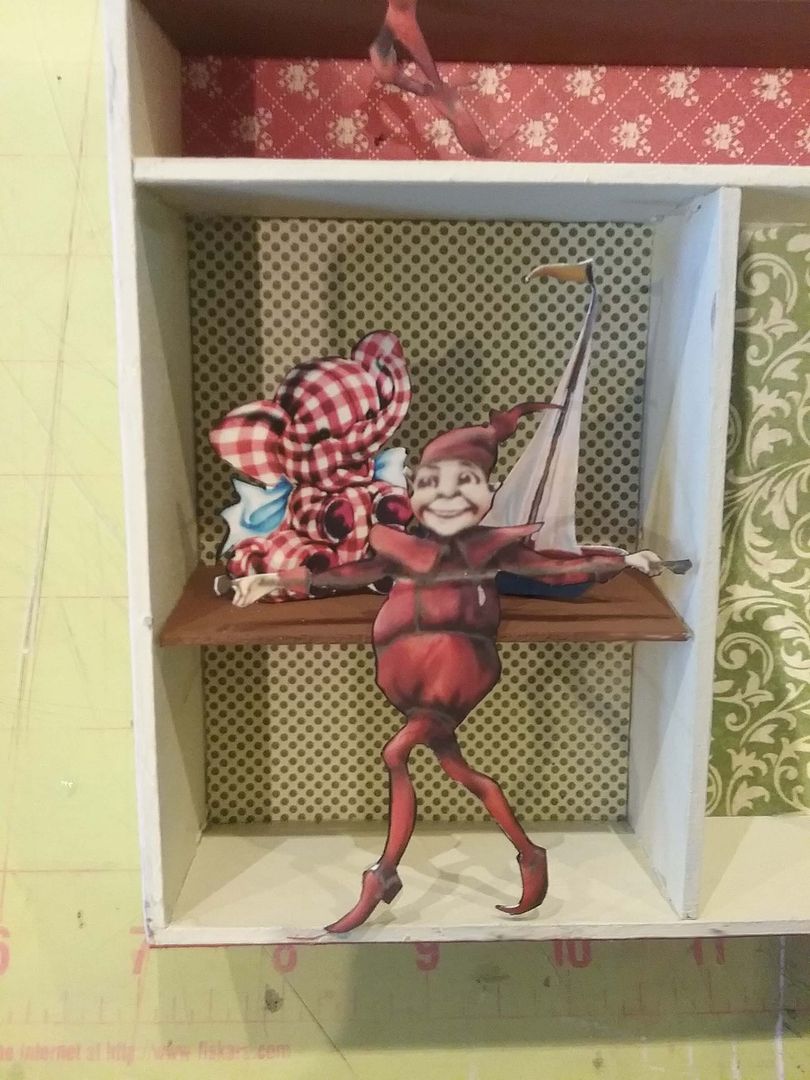
To attach the toys to the cubie/shelf, I used foam tape, pop dots, and flat beads. Some images are attached to the wall; for some, I added a flat bead and attached them to the shelf. The 3-D toys are glued to the shelves.
I attached the elves to the front of the shelves.
Lastly, I glued the façade to the shadowbox.
The final touches to the façade are the “Santa’s Workshop” sign, wreath, paper lanterns, and paper soldiers.
SLEIGH
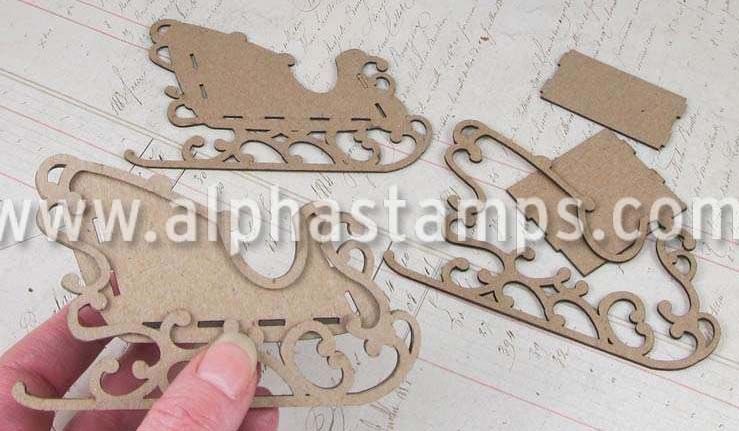
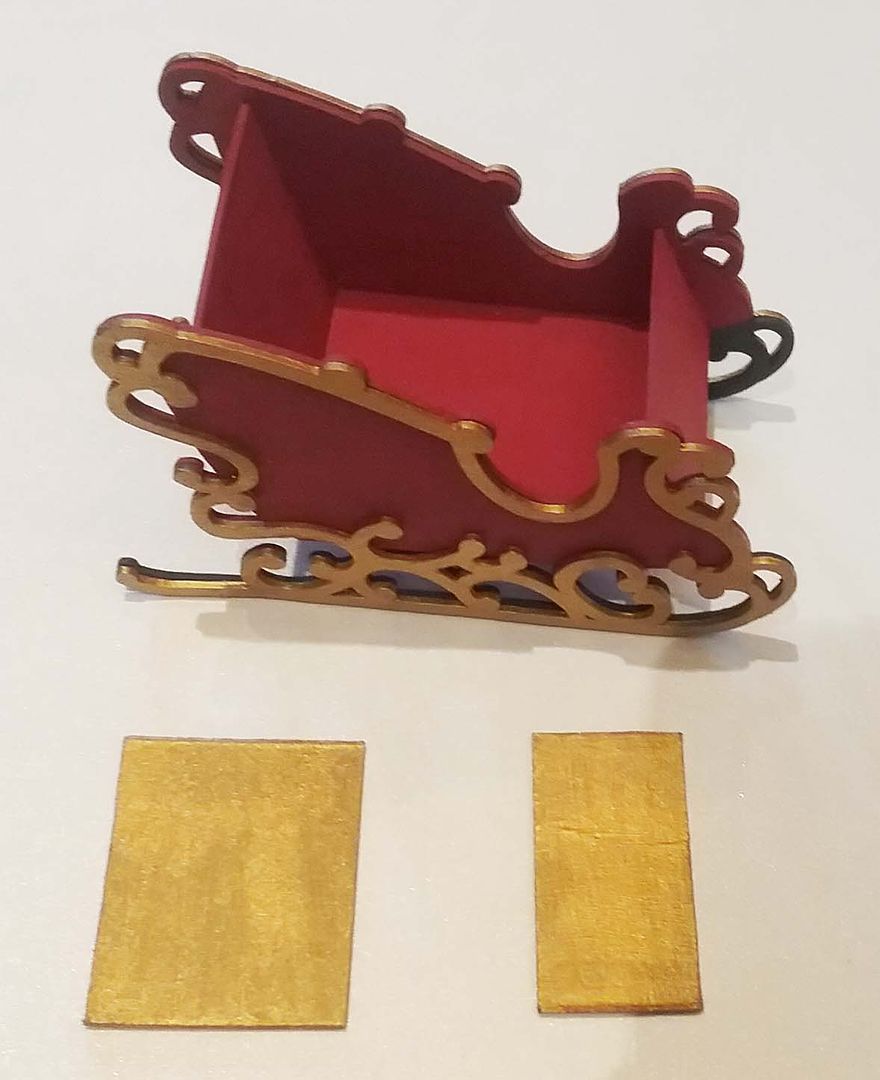
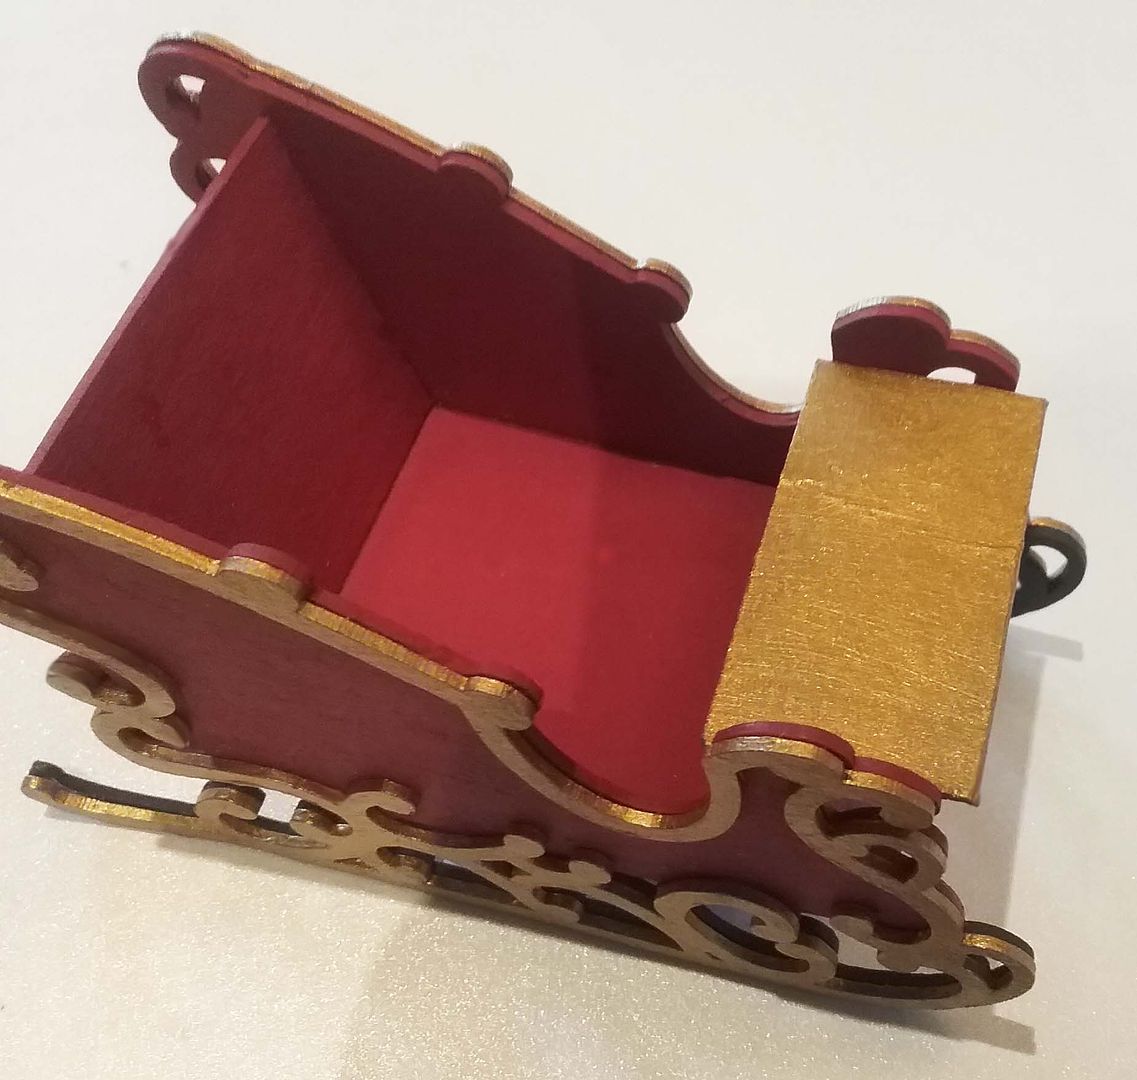
The sleigh is made from a chipboard kit which I painted red and gold.
I cut two pieces of chipboard, one to serve as a ledge on the front and one to accommodate the bag on the back.
To the sides of the sleigh, I added greenery from the collage sheets, metal reindeer from my stash, and a Merry Christmas sign at the bottom of this post (that you can download and use).
The bag in the back is a red velvet jewelry or gift bag. I stuffed the bottom with tissue paper. I inserted packages, a gingerbread boy, and a toy sled.
I added a tray of cookies and a cup of cocoa to the front ledge. I filled the cup with brown paint and then added a dab of white paint to serve as whip cream.
TRAINS
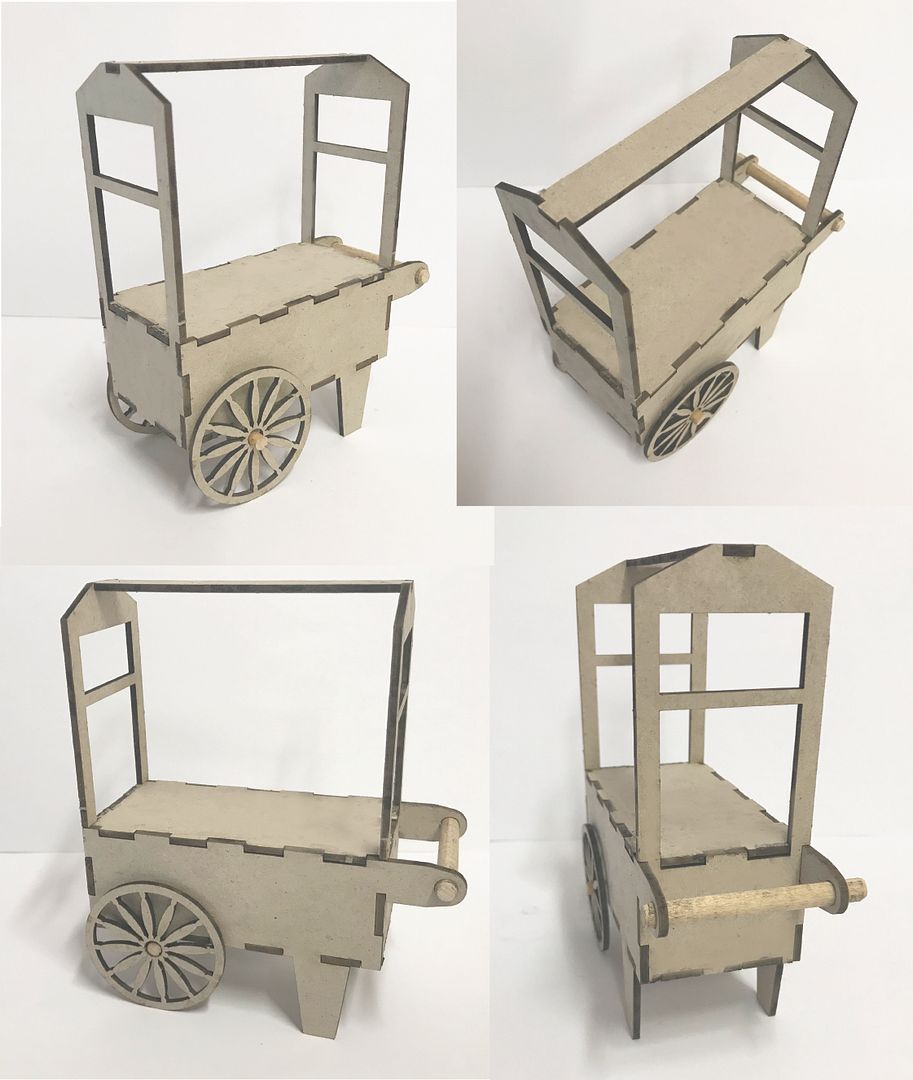
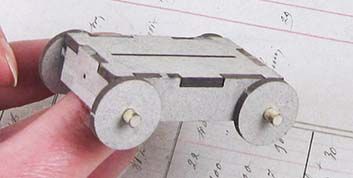
The trains are made from a chipboard kit. This kit can also be used to create a pull toy.
I decided to connect two pull toys together for transporting toys to the wrapping department and connected three together for transporting wrapped toys to Santa’s sleigh. Alpha Stamps is carrying all of the cute miniature toys in the windows, on the train, and in Santa’s bag.
Some of the packages are made by wrapping wooden boxes. The paper I used is from a free wrapping paper collage sheet that you’ll find at the bottom of this post. I also made boxes from the Holiday Bags, Tags & Boxes Collage Sheet, plus some foil-wrapped gift boxes.
TREE DRUM BASE
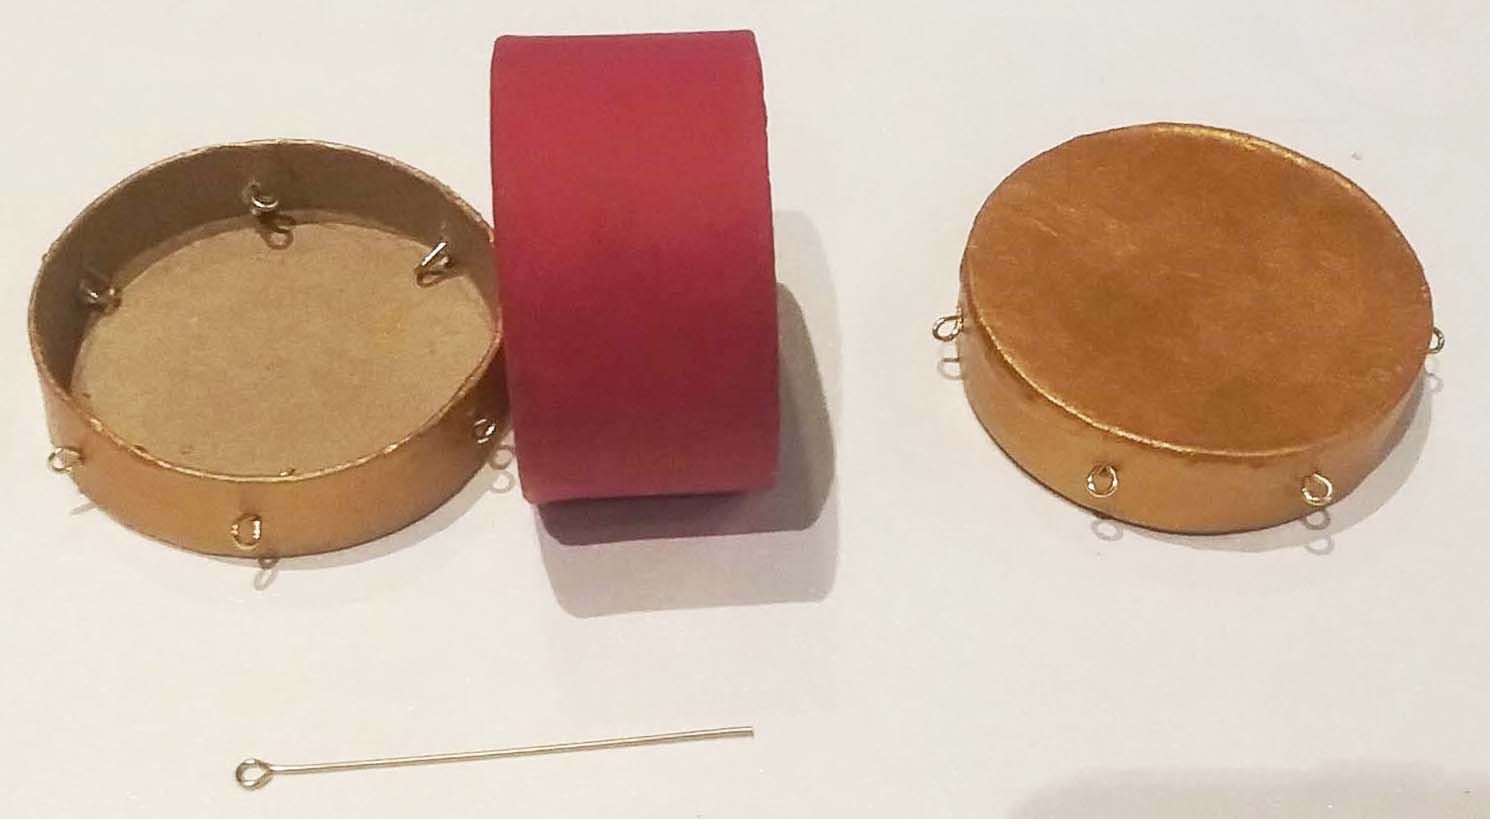
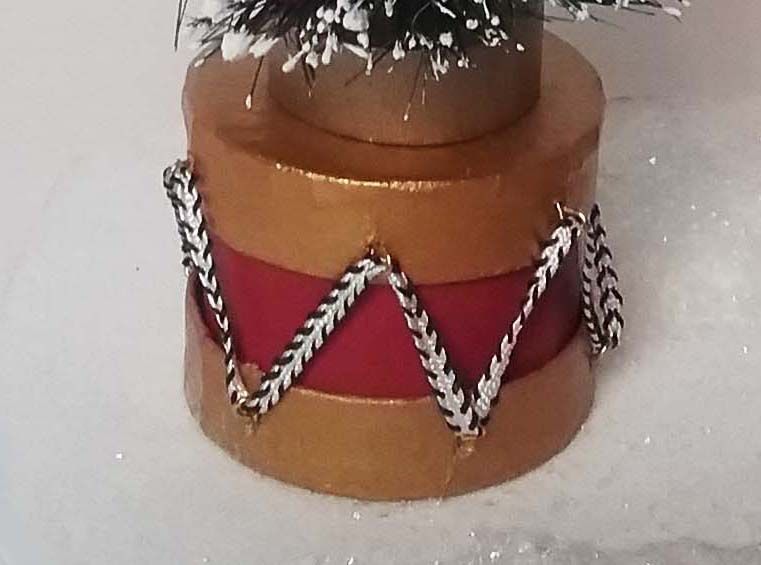
I decided that the decorated tree would look great on a drum base. I started with a round paper mache box and a lid from another box to make the drum.
I painted the middle section red and each lid gold. To accommodate the ribbon, I added eye pins around the outside of the lids.
I glued one lid to the bottom of the box and one to the top of the box. I used a spool on the inside to keep the top lid from sliding too far down on the box.
Lastly, I strung ribbons through the eye pins.
BASES & POLE SIGN
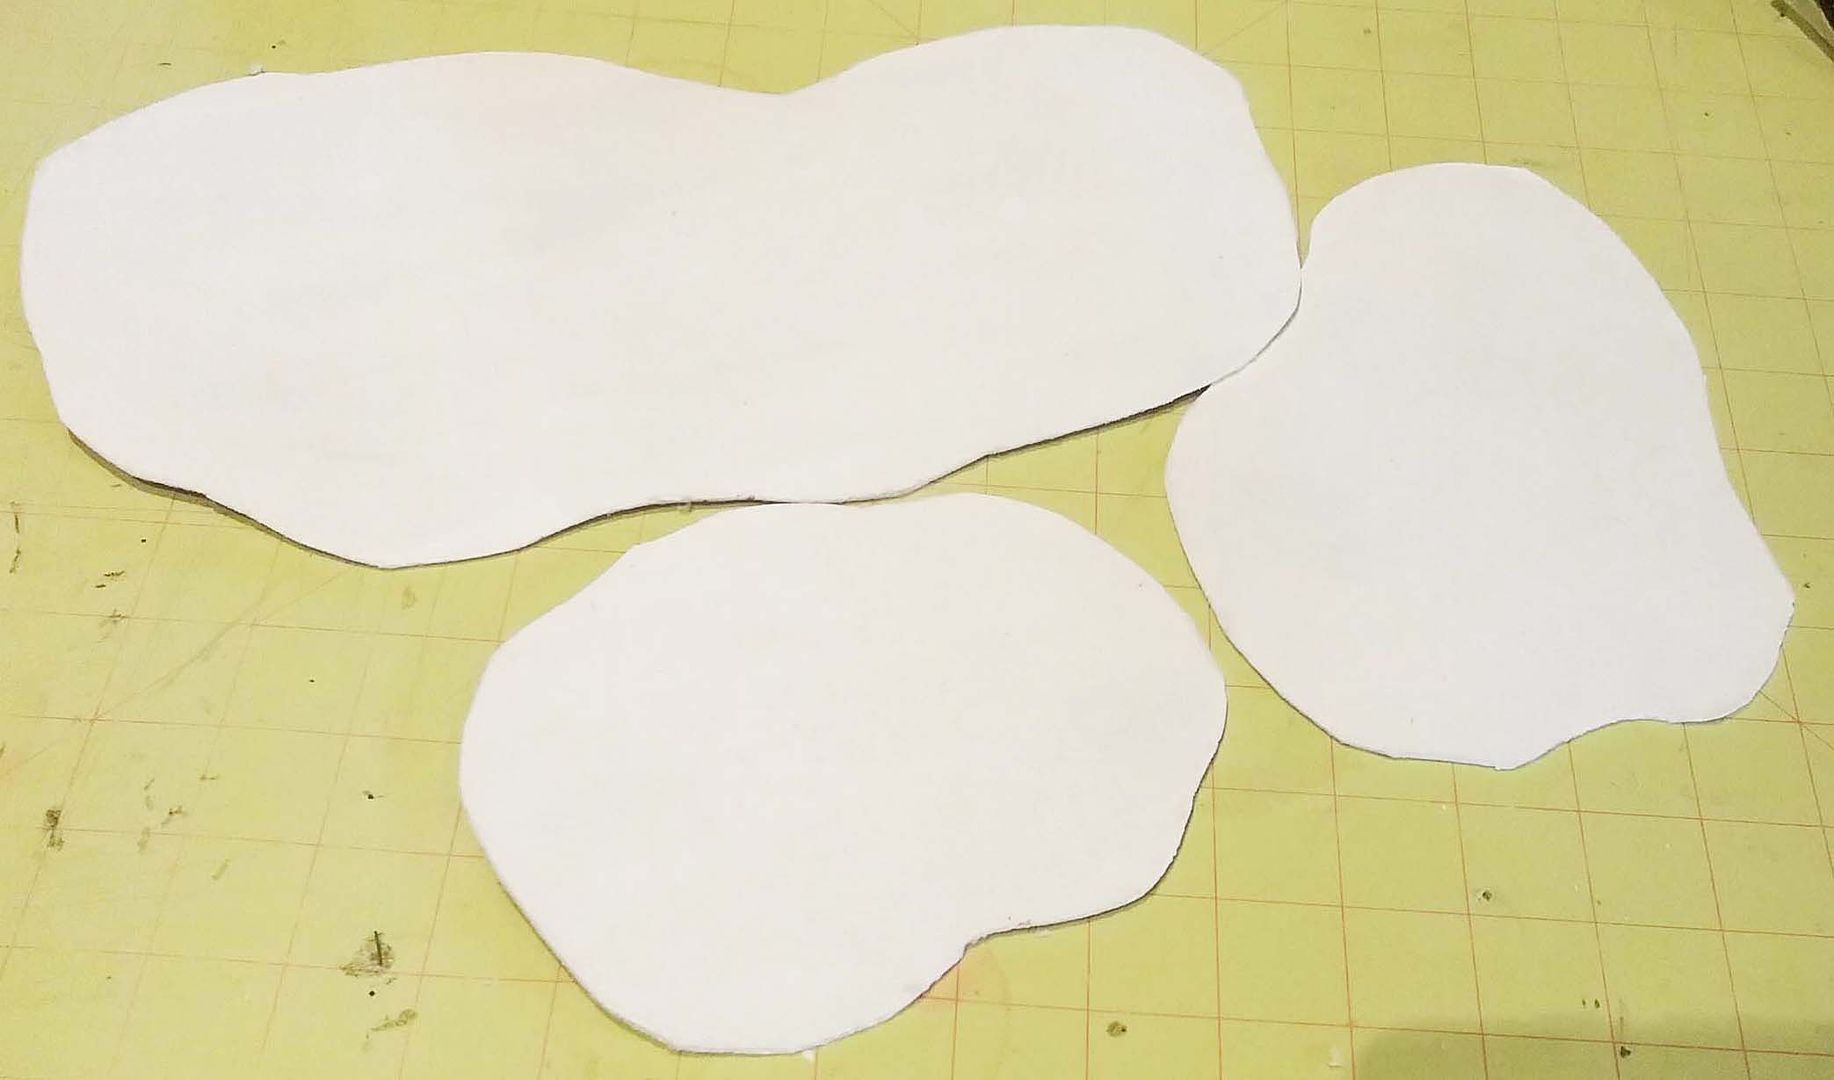
The bases are made by:
· Cutting shapes from heavy chipboard
· Painting the shapes white
· Painting the shapes with Mod Podge
· Sprinkling Mod Podge with white flocking
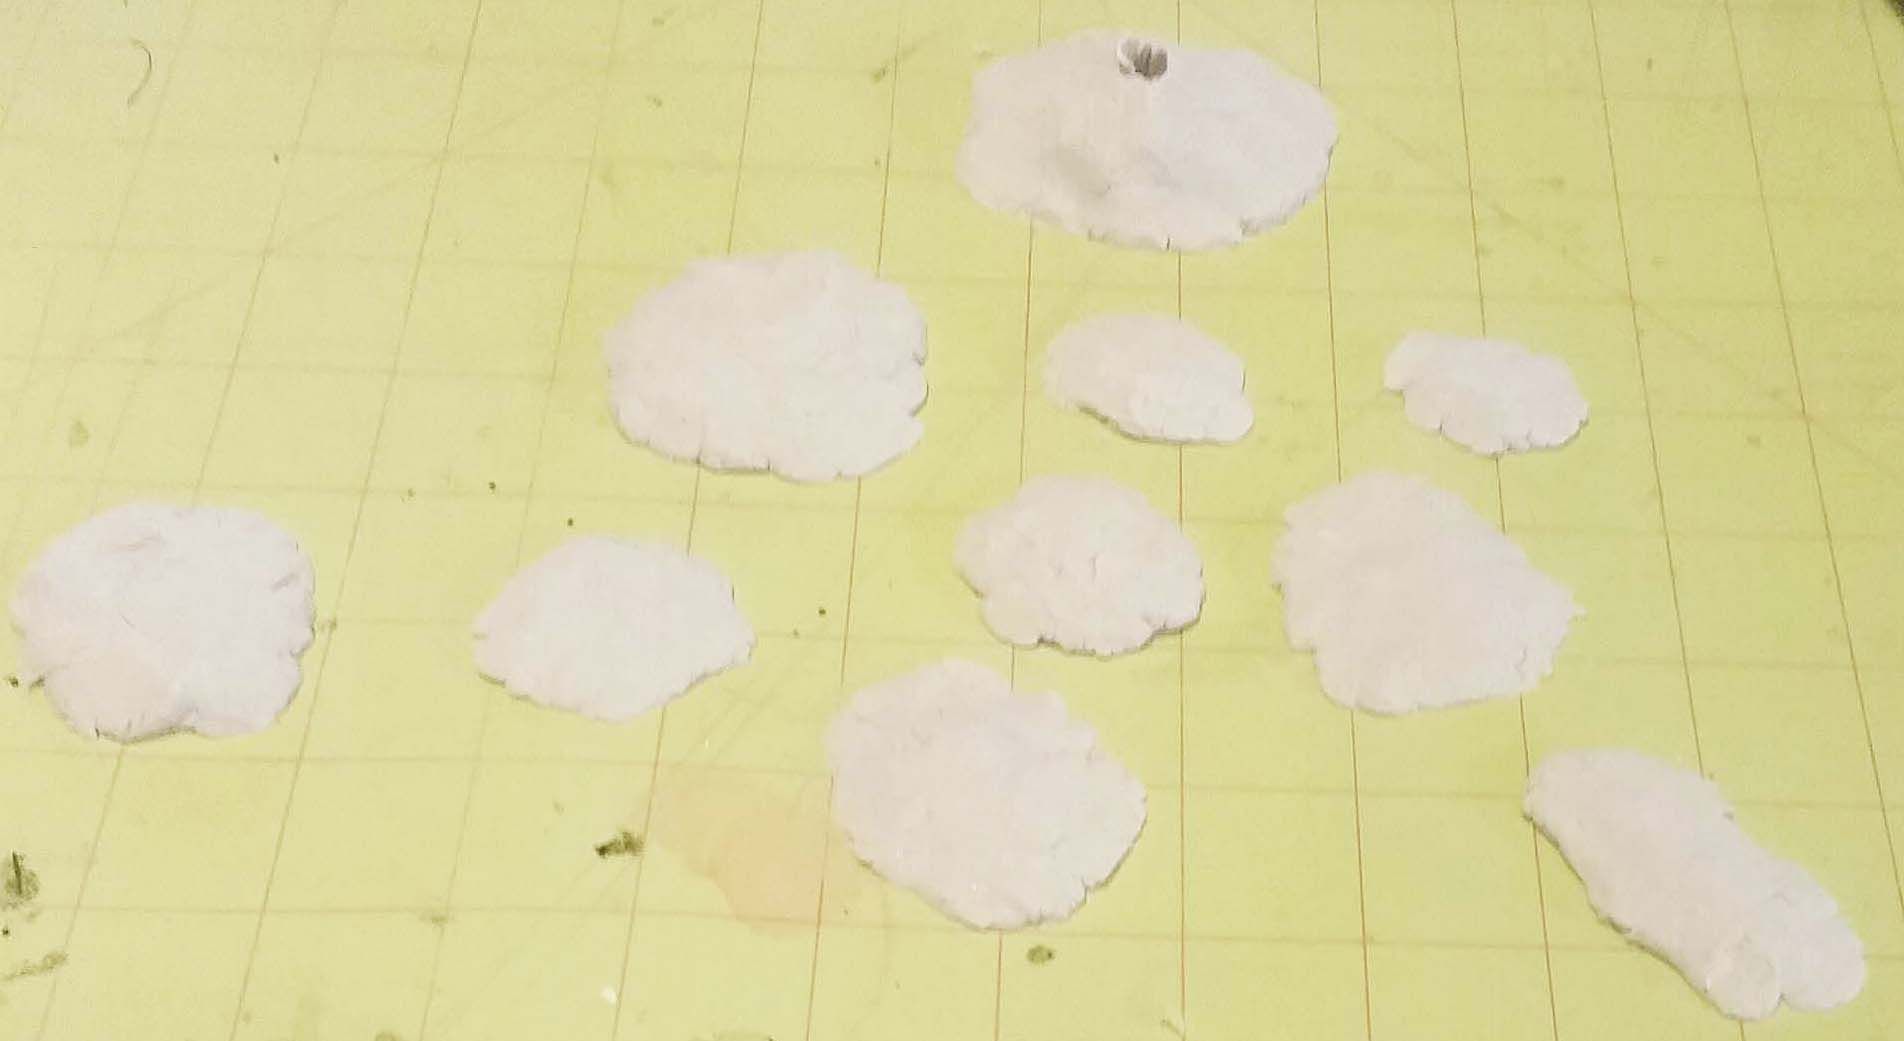
I used paper clay to create mounds of snow. I painted them white and added the flocking the same way I did to the bases.
Next, I glued the clay to the bases, painted them with Mod Podge, and sprinkled them with fluffy winter snow.
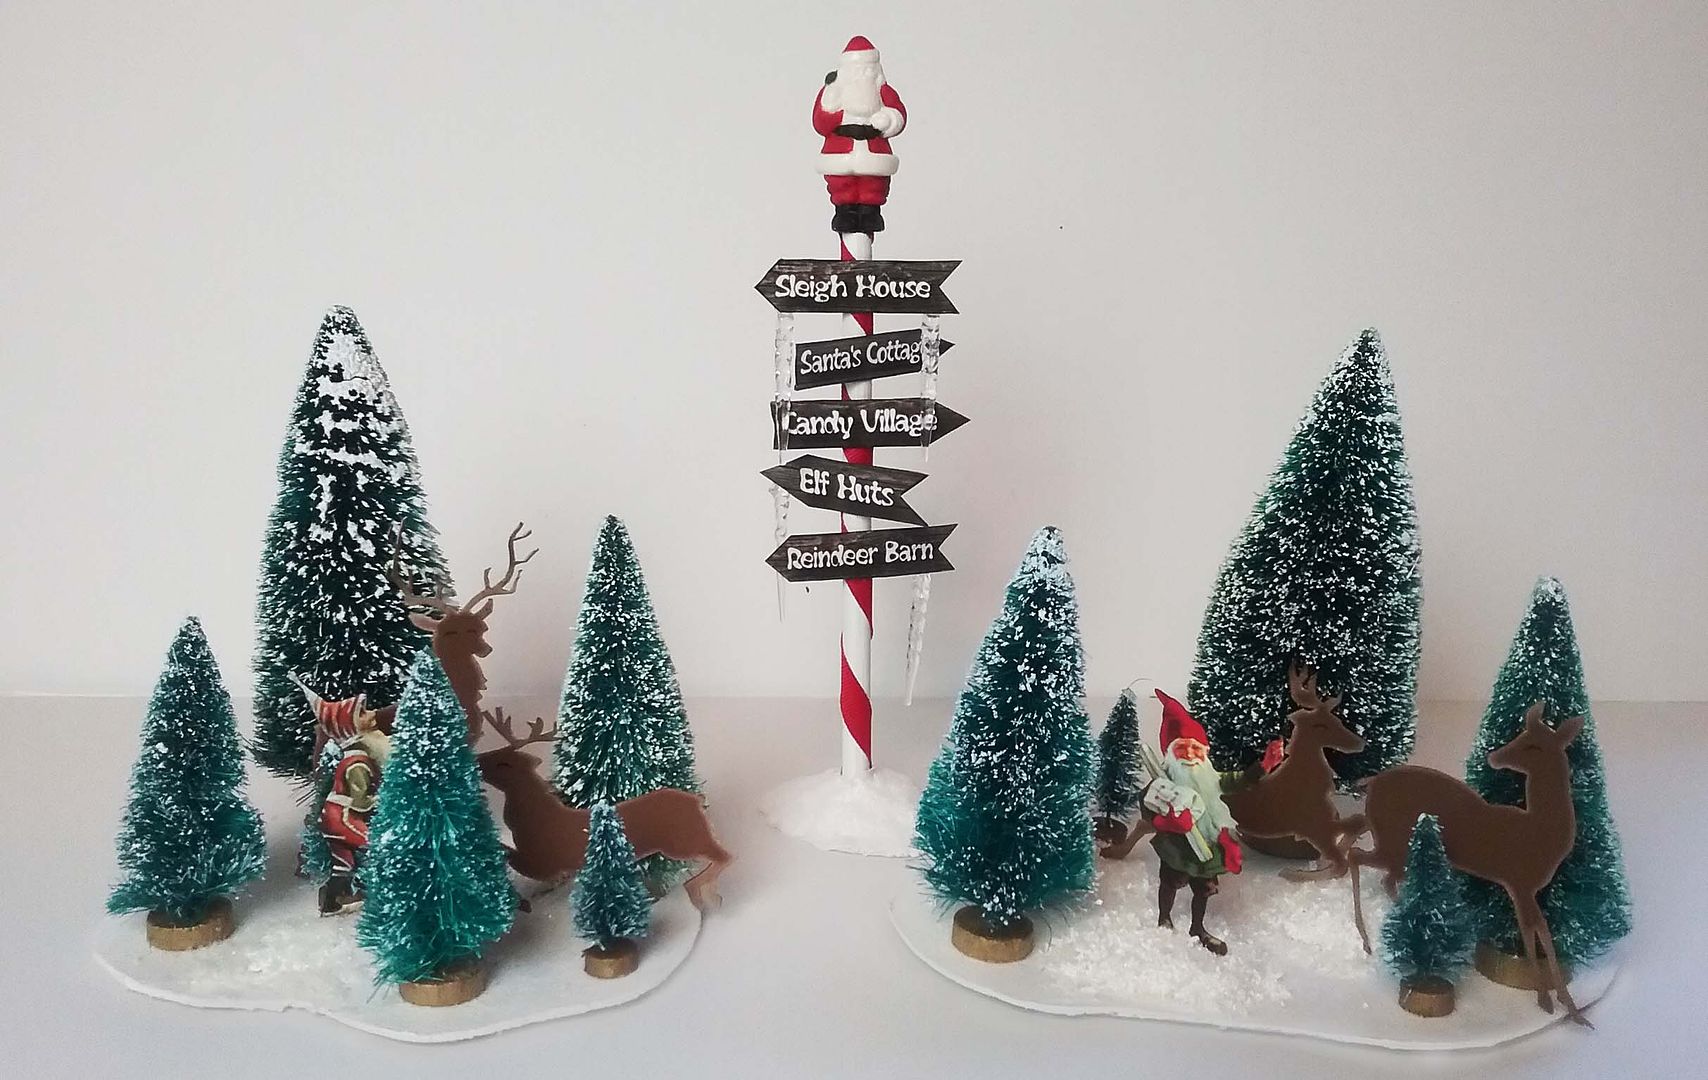
I glued the trees to the base and added reindeer from my Winter Wonderland Collage Sheet. It's easy to add images by cutting slits in the clay mounds and gluing the images in place.
The pole is made from a wooden dowel, painted white, wrapped in red ribbon, and glued into a clay base. NOTE: I inserted the dowel into wet clay to create a hole for the pole. Once the clay dried, I glued the pole in place. The signs are from my Elves in Santa’s Workshop Collage Sheet and have clear mini icicle ornaments dripping from them. At the top is a Tim Holtz Salvaged Santa painted with acrylic paints.
FREE IMAGES
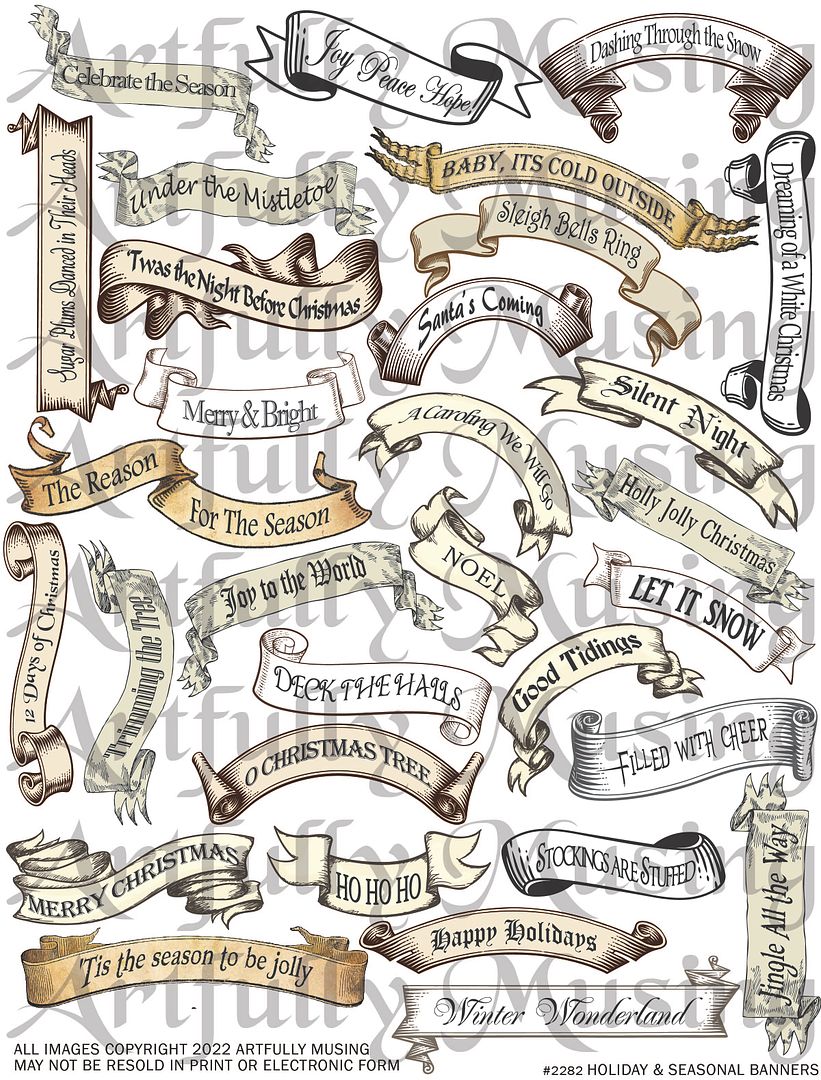
Feel free to download the images below and use them in your projects.