-->

Welcome

I love answering your questions. If you ask them in the comment section, I have no way to answer you (if you haven't heard from me, that is why). If you use the "EMAIL ME" in the left column of this page, I will be able to respond to you. You can also use it if you want to be added to my newsletter. Laura

Thursday, May 23, 2013

Frolicking in the Sea – Altered Book

After creating the Dreaming of Romance altered book, I decided to continue experimenting with the technique of cutting and folding the pages of a book to create a scene.  The idea being that the book seems to be coming alive.  I’ve seen a couple of really outstanding artists on Pinterest that use this technique to achieve some amazing results (my stuff is primitive by comparison).
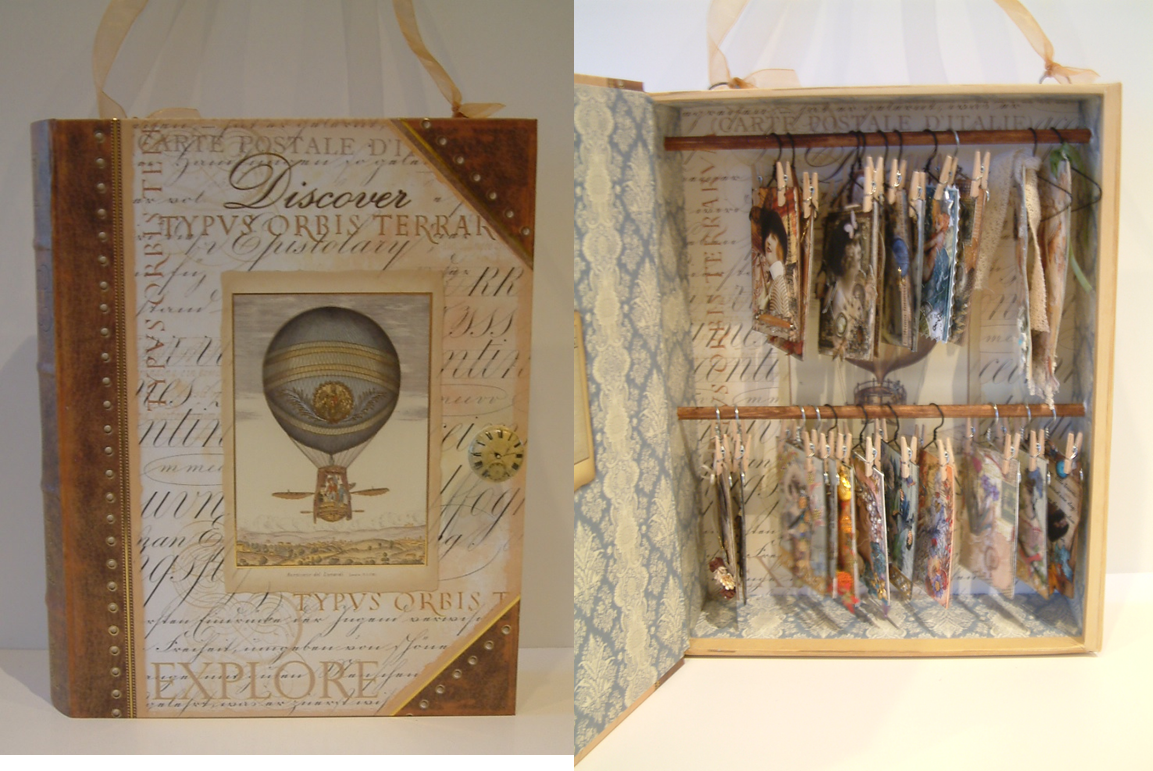
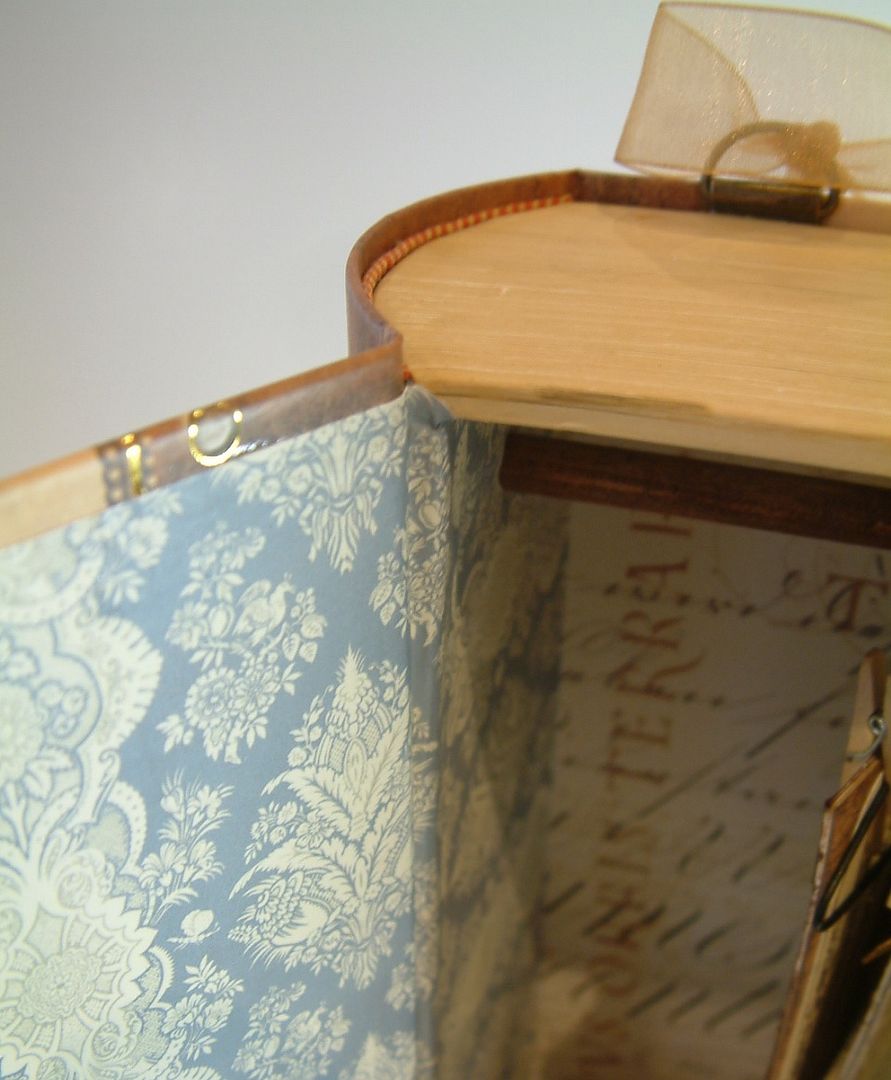
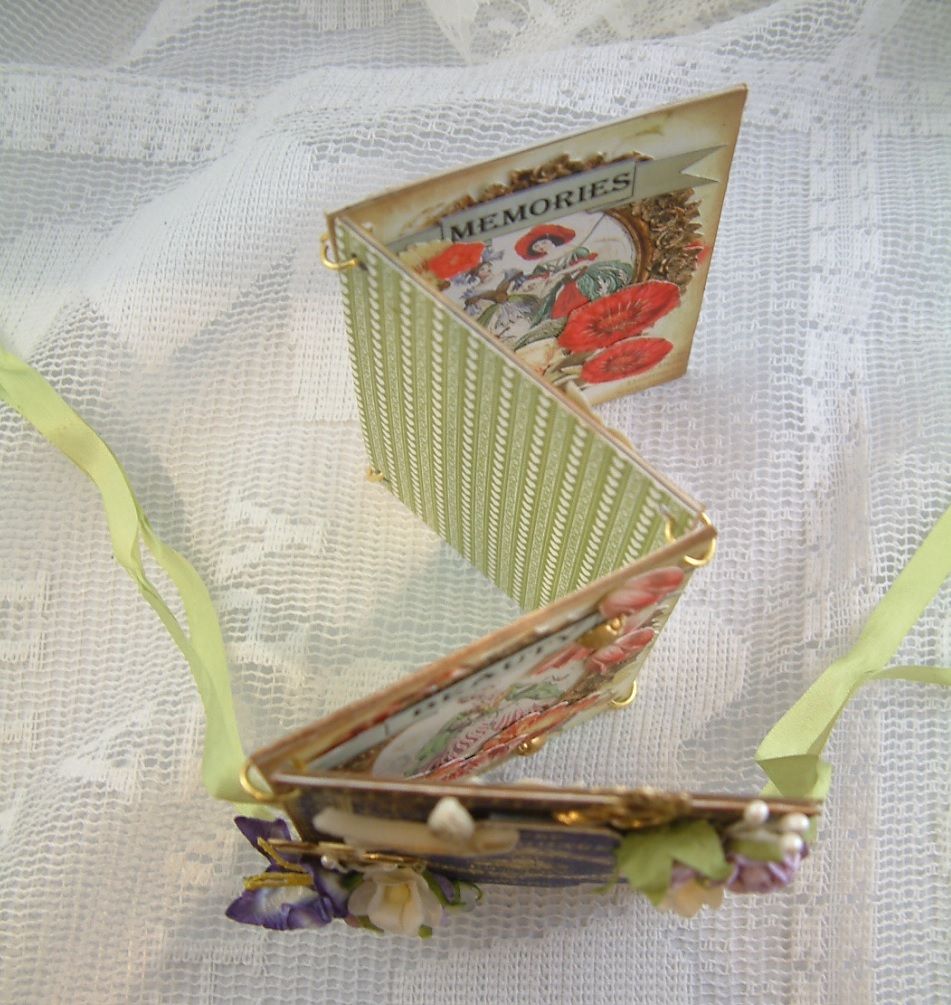
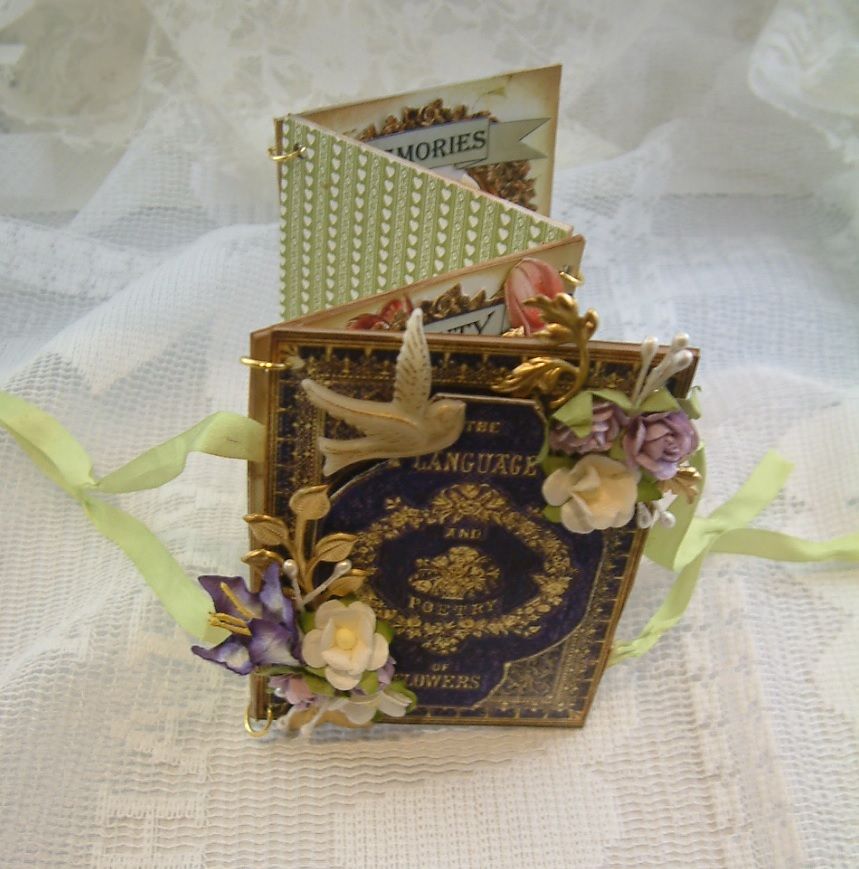
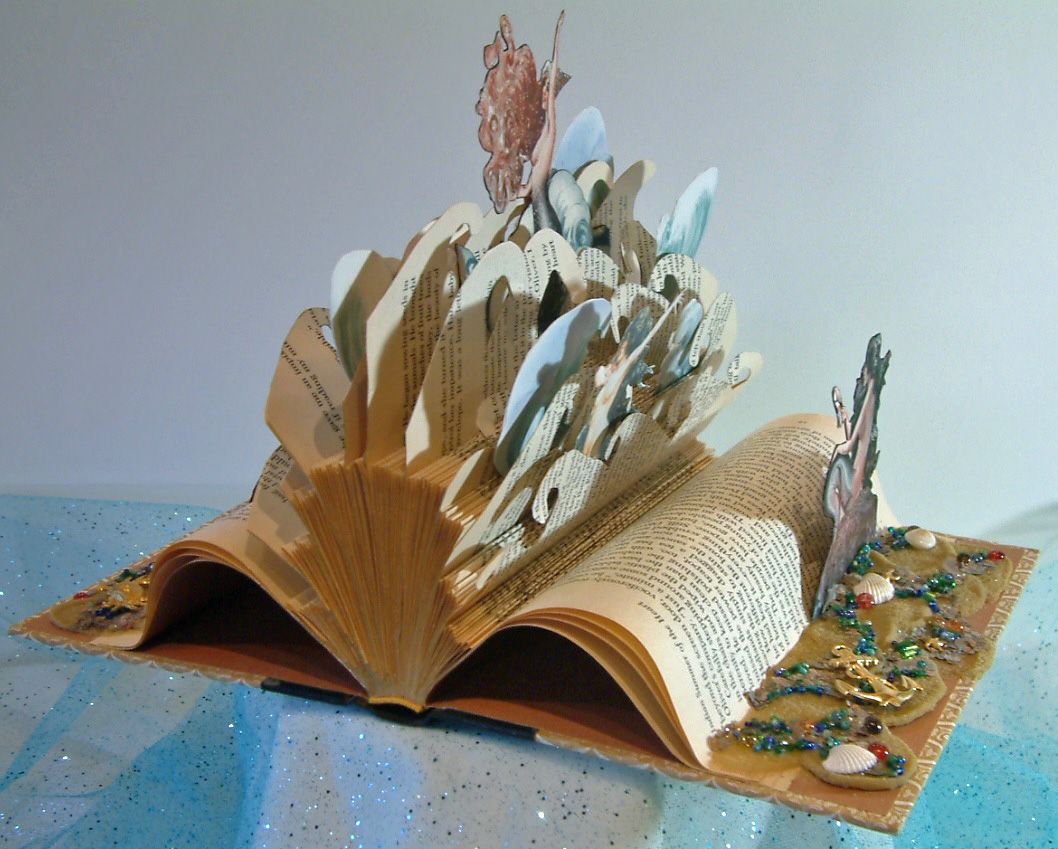
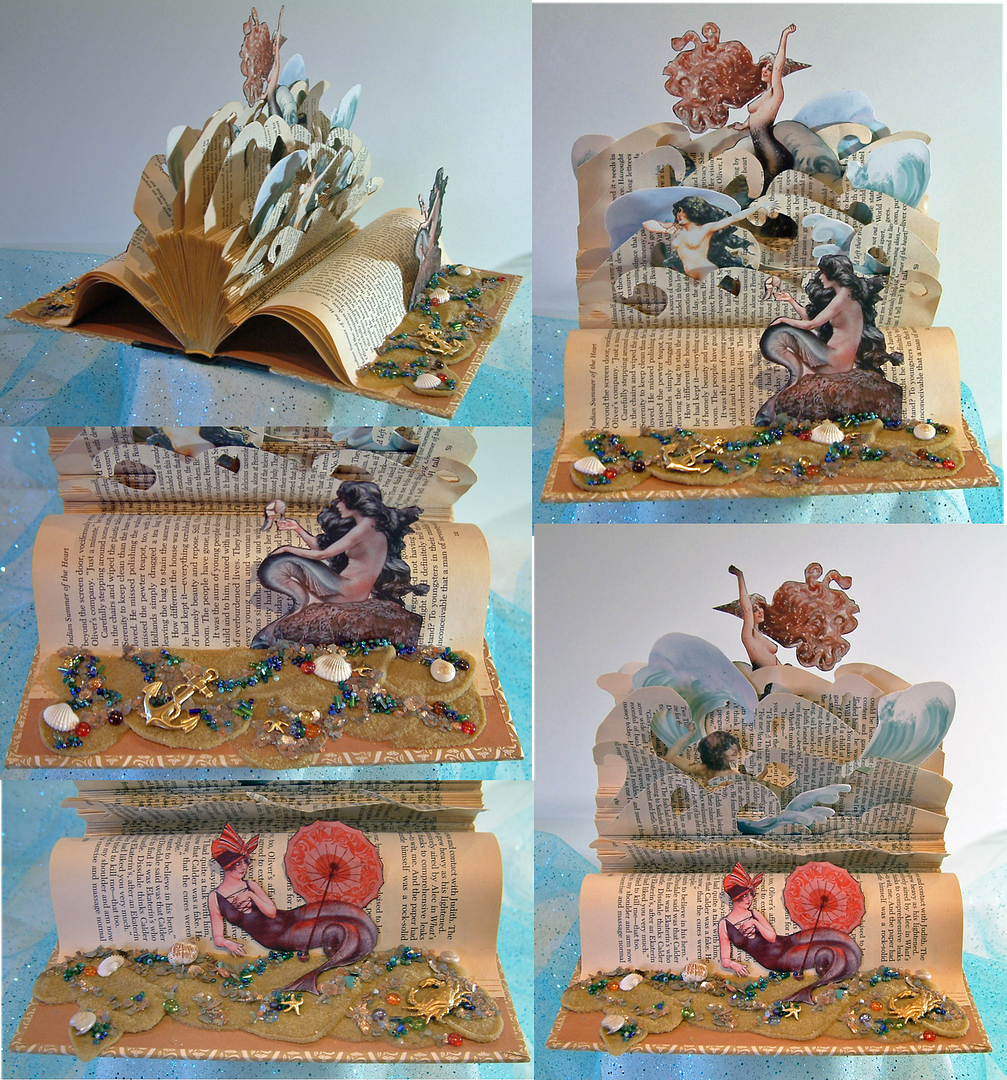
My challenge for this book was to figure out a way to make the center section stand up, which I achieved by gluing the some of the pages in the front and the back of the book to the inside covers.
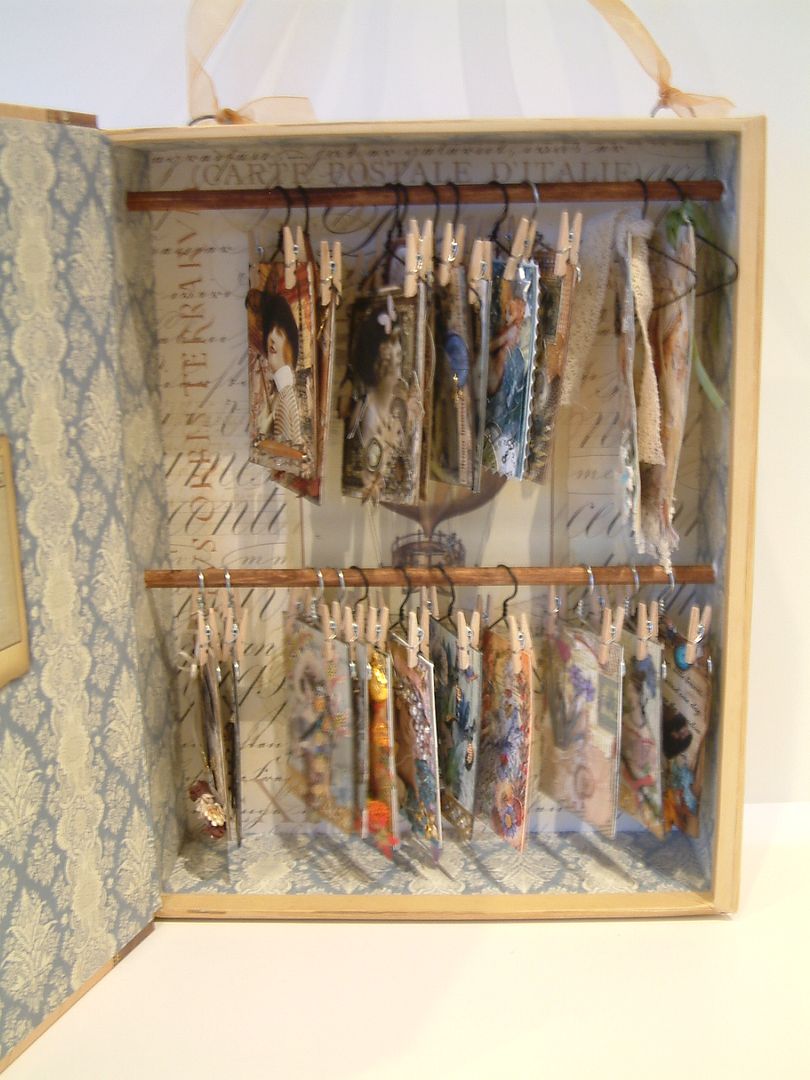
I folded pages in the middle of the book in groups with each group folded more so that the group in the middle stood up the highest and the groups on the sides became shorter and shorter.  For the shorter folded groups I had to cutoff some ends of the pages before folding so I could get a shorter fold.
In between each group of folded pages, I reserved 3 pages which I glued together.  Just as with the folded page, I cut off the ends of the pages to get shorter pages.  I used a couple of templates of waves to trace the wave pattern onto the pages.  Cutting the waves was pretty easy until I got to the shortest pages which were tough to cut as they were so close to the spine of the book.
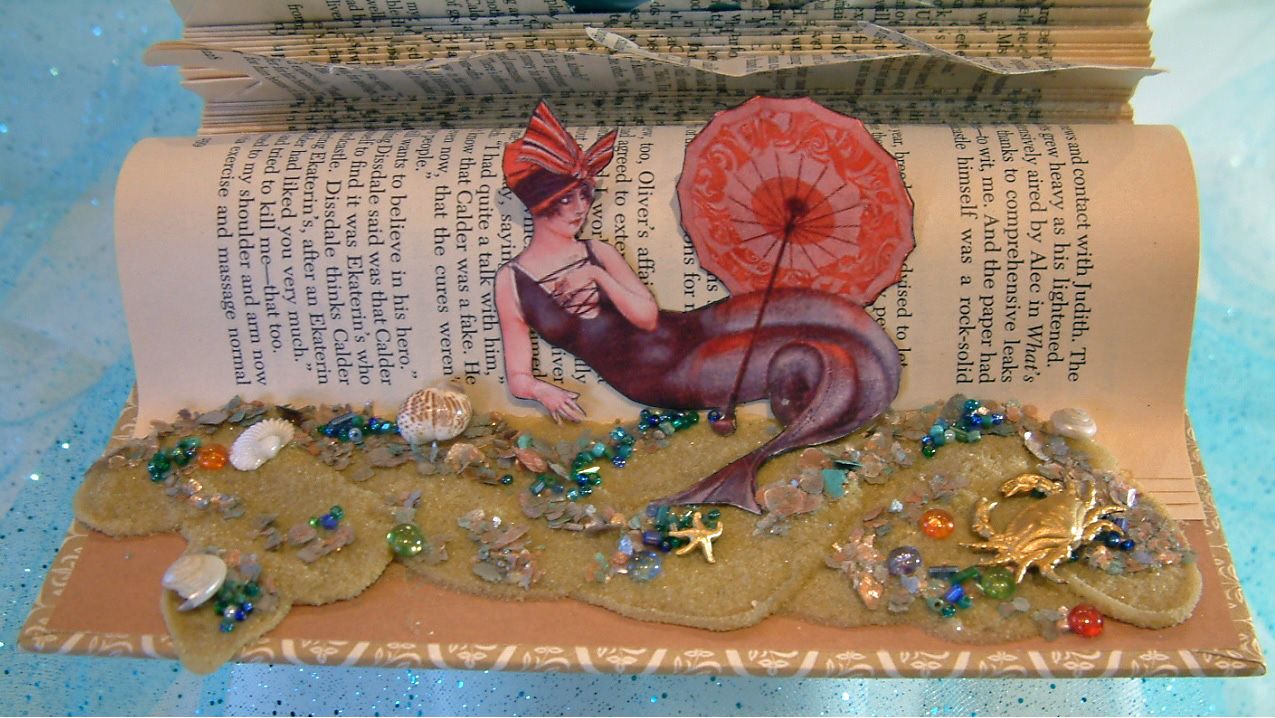
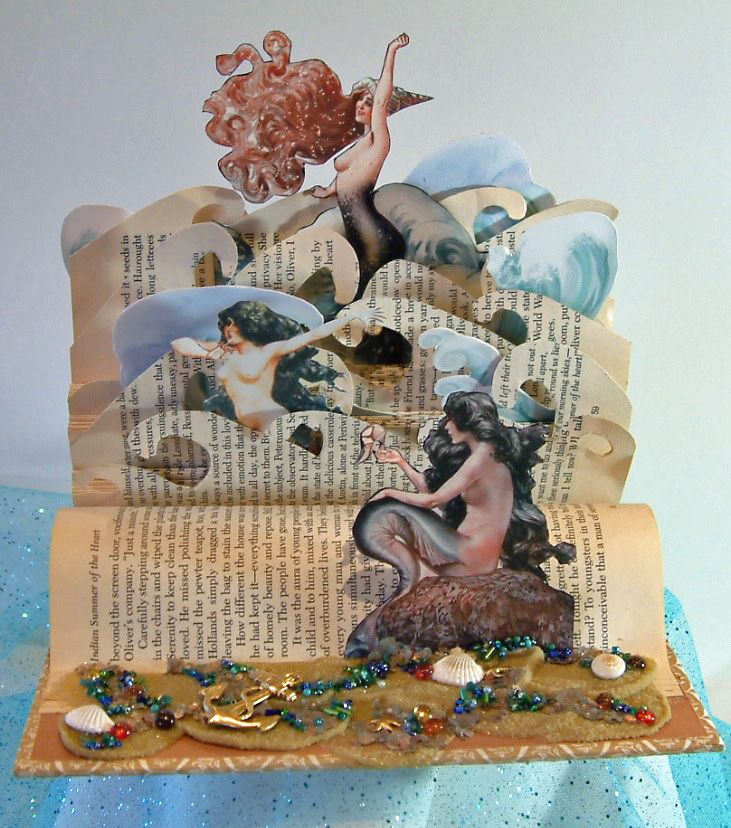
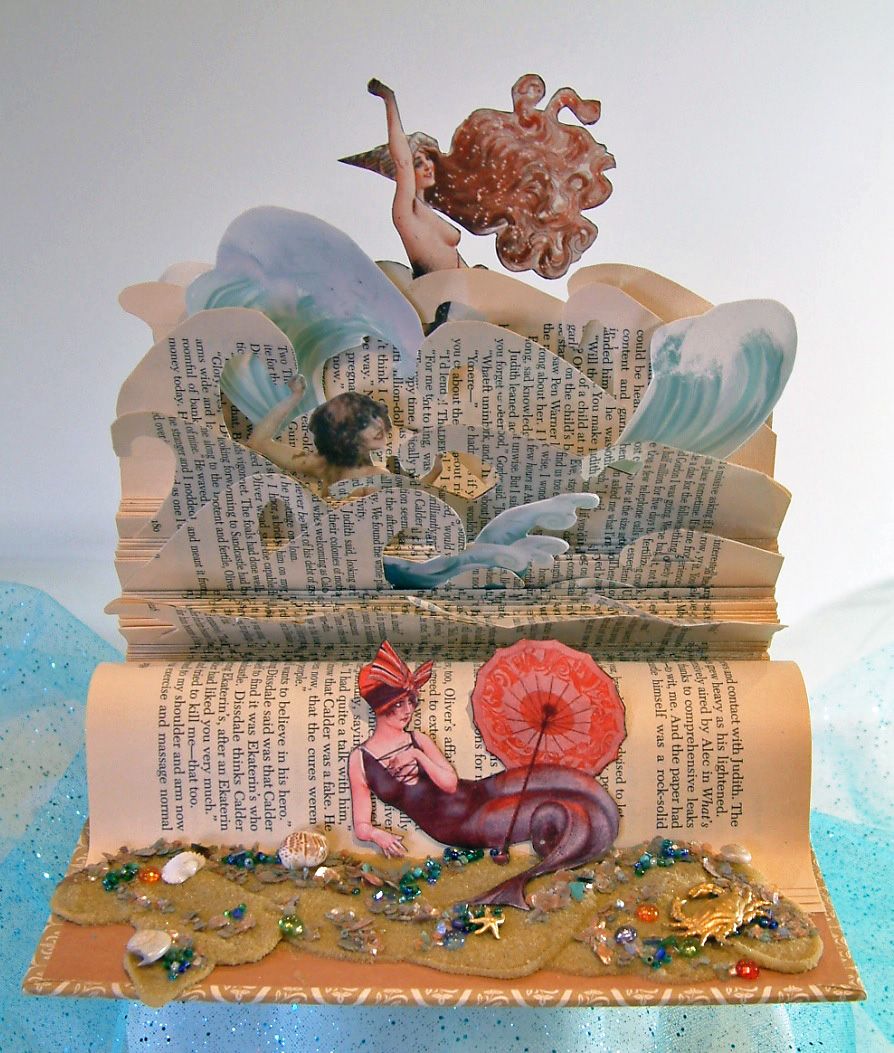
Lastly I added the double sided images of the mermaids and waves.  The beach areas are made of sand, mica flakes, beads, brass findings and seashells.
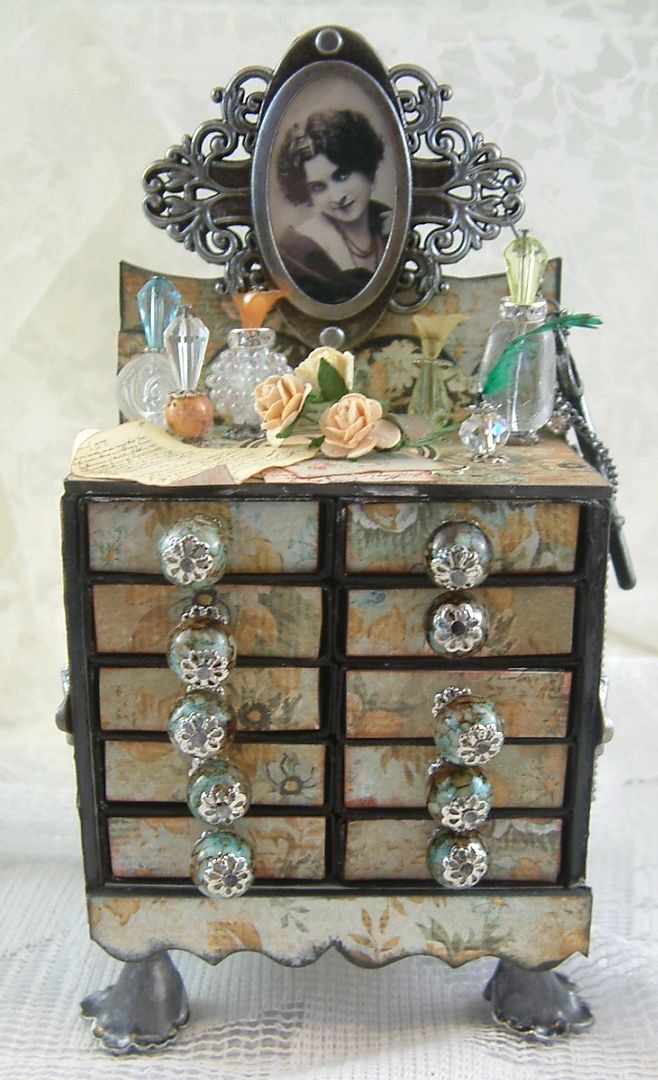
My next book is an Edgar Allen Poe themed project.

Sunday, May 19, 2013

Faux Book – ATC Storage & Display

I’d like to share another idea with you for storing and displaying ATCs.  I purchased several faux books from Michaels Craft Store.  These books are already decorated with all kinds of lovely paper.  It just so happened that the largest one was 3” deep.  This is just deep enough to accommodate hanging ATCs (as long as the embellishments don’t go off the sides of the card).  The overall dimensions of the book are 13 ½” tall x 10 ¾” wide x 3 ¼”deep on the outside and 3” deep on the inside.
This was such a quick to put together project because the book was already assembled and covered with beautiful embossed and gilded papers.  All I did was add a knob and the two dowel rods.
The spine of the book bows out so I was able to hide the left side of the dowel in the spine.
On the right side of the book I hid the ends of the dowels with stickers.
I decided to hang the book on the wall so I added two loops and ribbon to the back of the book

Wednesday, May 15, 2013

French Themed Matchbox Chest by Dawn Shotton

A couple of months ago I hosted a matchbox chest swap in the Marie Antoinette Mail Art group.  Dawn Shotton was my partner and here is the fabulous chest she made for me.  This piece is so wonderful inside and out.
Thanks so much Dawn for making such a treasure for me!!


Tuesday, May 14, 2013

Language of Flowers Book – Banners For Your Use


Below are the banners I used in the Language of Flowers ATC Book.  Feel free to download them for your personal use.  To download an image, click on the image to expand it, right-click and select Save As.

Monday, May 13, 2013

Another Language of Flowers ATC

For this ATC I tore layers of paper and curled the edges.  In the opening I inserted a stickpin that has ribbon twisted around it.  I used lots of flowers and flower fairies to further embellish the card.
Alpha Stamps Products Used in the Card

Saturday, May 11, 2013

Faux Typewriter by Creative Team Member Karol Taylor


Recently, Creative Team Members Karol Taylor and Naomi Towner took a class at the fabulous Paper and Metal Scrappers store in Payson Arizona taught by instructor Gladys Moreno .  This typewriter is the end result.  One of the coolest things about this project is that no actual typewriter pieces were used.
The main construction is from approximately 3/8” thick chipboard, cut out and painted black.  The metal look is achieved by covering a thinner piece of chipboard with silver plumber’s tape.  You can find the tape at hardware stores.  It’s the kind you unroll and peel off the protective paper.  It was then embossing with Tim Holtz clock “Alterations” pocket and colored with a copper patina.
Other items used in the project are old sewing machine parts, Tim Holtz glass knobs and gears, round pipe, wrapping paper tube and other bits of chipboard cut to shape.
Here is the link to Gladys’s Blog Heart of a Gypsy in case you want to check out more of her art.  If you live in Arizona you might what to check out the classes in your local stores to see if she is teaching in your area.


Wednesday, May 8, 2013

Language of Flowers ATC Book

Continuing on with Alpha Stamps May theme of “Language of Flowers” is a super simple to make ATC book.  The ATCs makeup the pages of the book and are connected with jump rings.  The cards accordion fold and are held together with ribbon.  The first ATC in the book also serves as the cover.
This is a great project for a swap.  Each swapper creates a set of ATCs and keeps one which they use as their cover.  Then they receive cards from other swappers which become the other pages of the book. 
 
In the picture below, you can see the placement of the jump rings circled in black.  I started by punching the holes in the first ATC on the left.  I then used the punched holes to mark the holes in the second card, insuring that the holes in both cards matchup when they are connected with the jump rings.  I continued marking the holes in the next ATC using the holes already punched in the previous one.
The ribbon used to close the book is attached to the first ATC (that is the front cover).  Attach the ribbon before adding the decorative paper etc. to the ATC.  In the picture below, you’ll notice that the ribbon is shorter on the right side than on the left.  When the book is closed by accordion folding the ATCs you will need extra ribbon to reach around the back of the book.  I usually use more ribbon than I need and trim the excess after the bows are tied.  I used two ribbons in this example as the ribbons were thin.  If you have a larger ribbon you can use just one.
Note in the pictures below, how the ATCs are folded to close the book.  A few things to consider when creating your book are:

  • You need to use an even number of ATCs (this includes the front cover ATC).
  • Stick to thinner embellishments for the inside ATCs but you can go crazy on the cover.
  • You can have items that extend past the top and the bottom of the ATCs by not the sides.
In the pictures below, you can see the ribbon wrapped around one side and tied on the other side.
I also like to decorate the back of the last ATC so that it looks pretty when the book is closed.
Below are detailed pictures of the ATCs.  The frames are from my Whimsical Frames Collage Sheet

Alpha Stamps Products Used for This Project

Saturday, May 4, 2013

Future Tutorial Polls

I’m in the process of planning tutorials for the summer and fall and would love to have your feedback on what you would like to see.

FABERGE INSPIRED PAPER EGGS
The next definite tutorial is Faberge inspired eggs.  With this tutorial in addition to the instructions I’ll have a template and some images that you will be able to download.  Below are a couple of picture of my eggs (made of paper) to show you what I mean.

CAROUSEL
During the Le Mysterieux Carnival event last October I had some requests for a tutorial on the Haunted Carousel which is made from a tin pie and cake pan (see the pictures below).

Would You Be Interested In a Tutorial on How to Make a Carousel

PAPER SHOES
I’ve had a request for a paper shoes tutorial.

Would You Be Interested In a Tutorial on How To Make Paper Shoes


If there are other tutorials you would like to see please leave a comment on this post or email me using the Email Me Graphic in the right hand column of the blog. 
Your feedback is greatly appreciated!