For
those of you who love altering bottles like I do, I have some fun and easy techniques
to share with you. I’ve created four
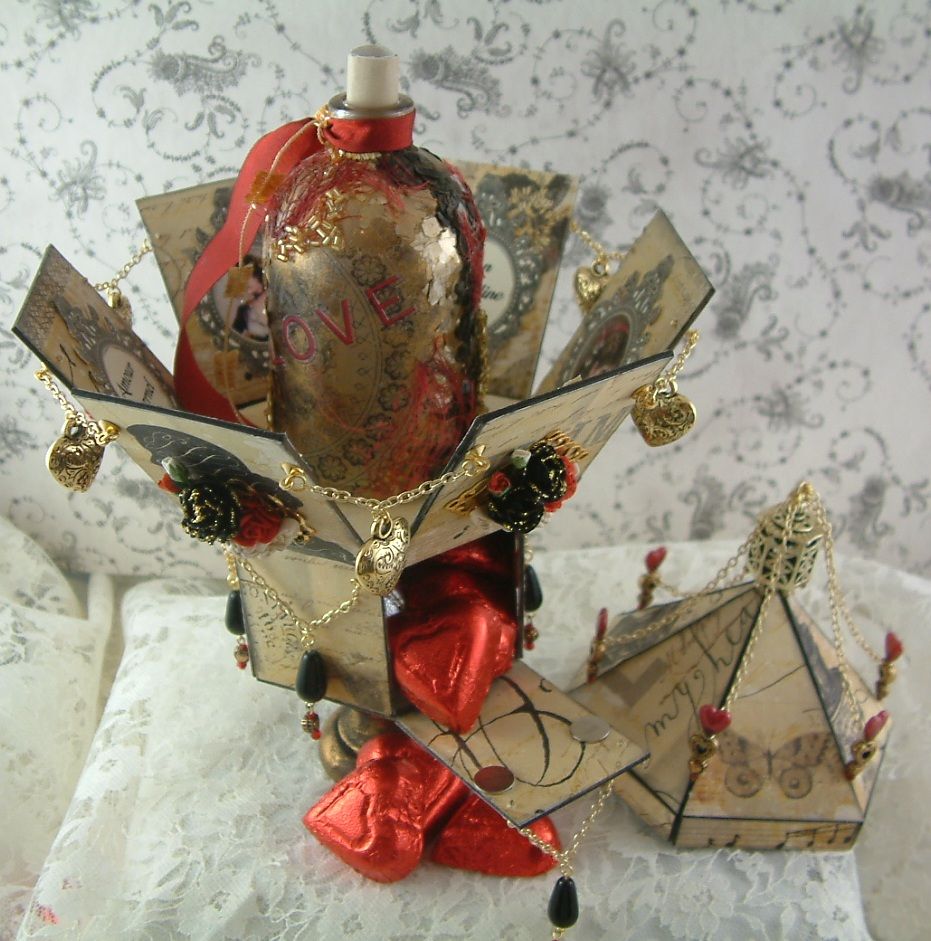
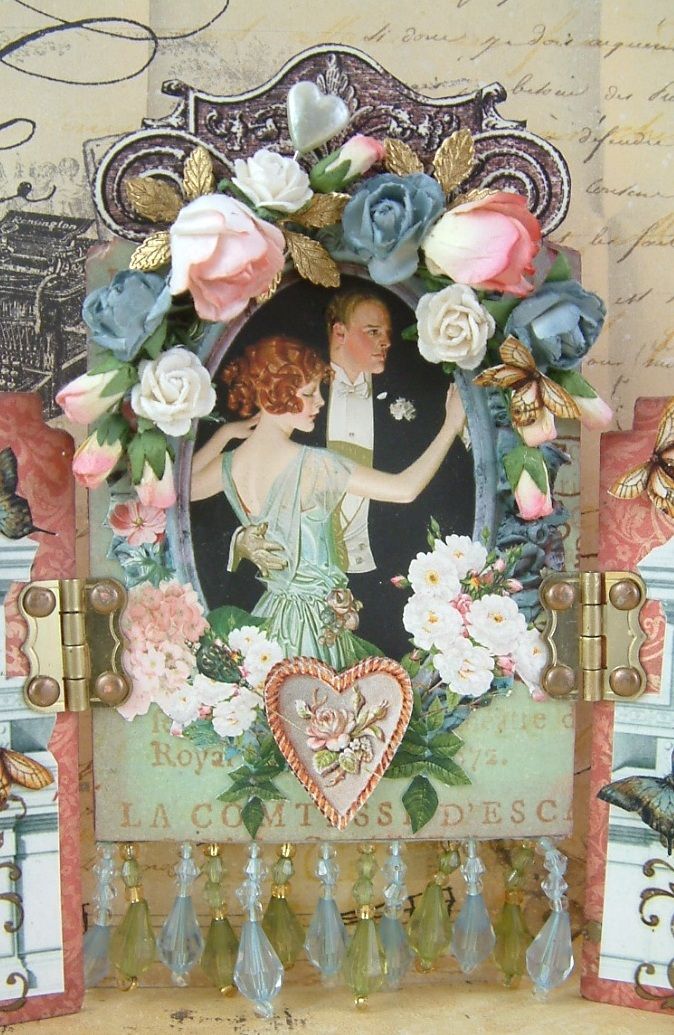
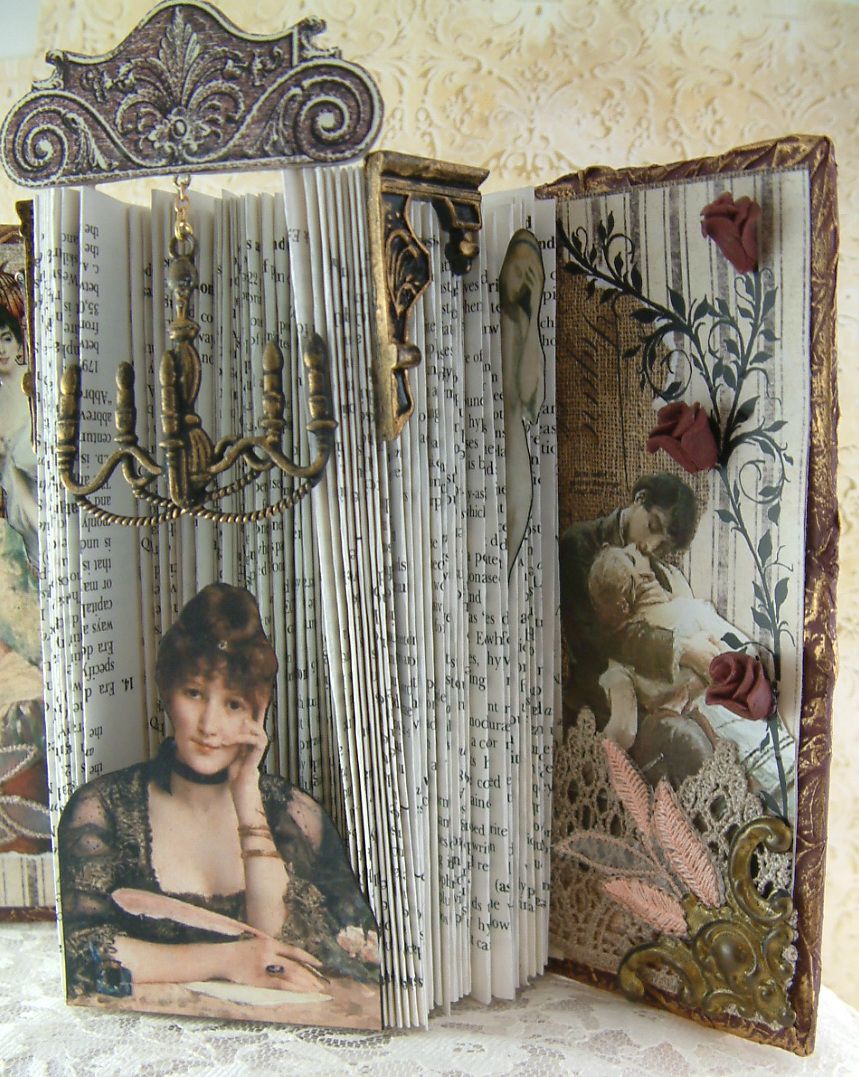
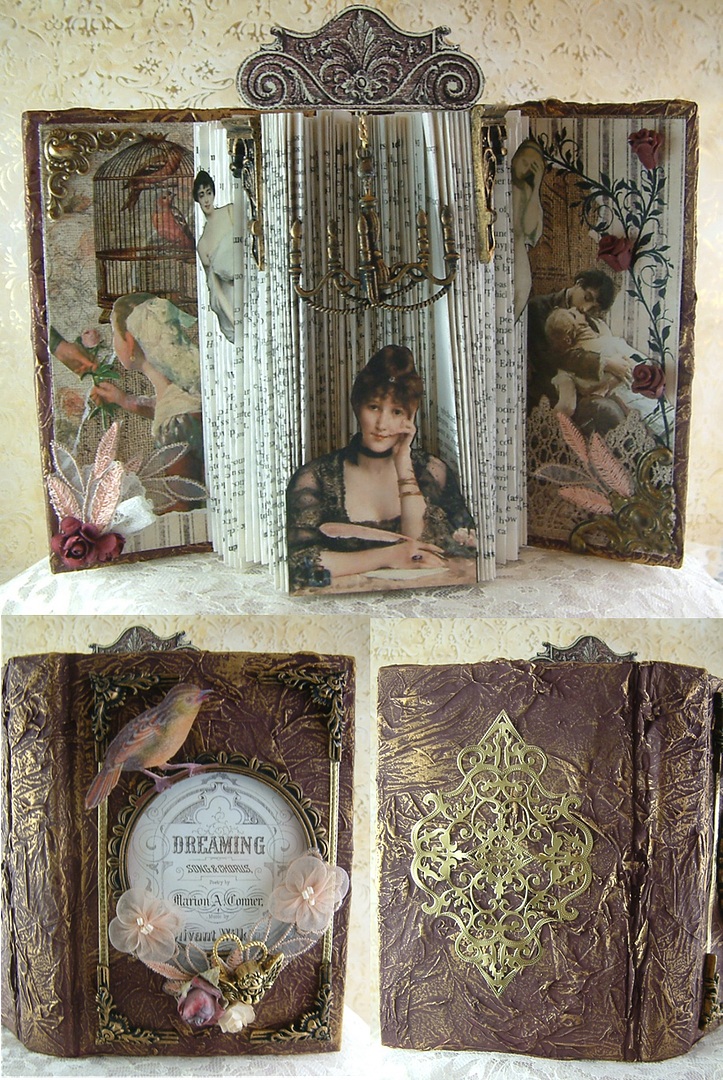
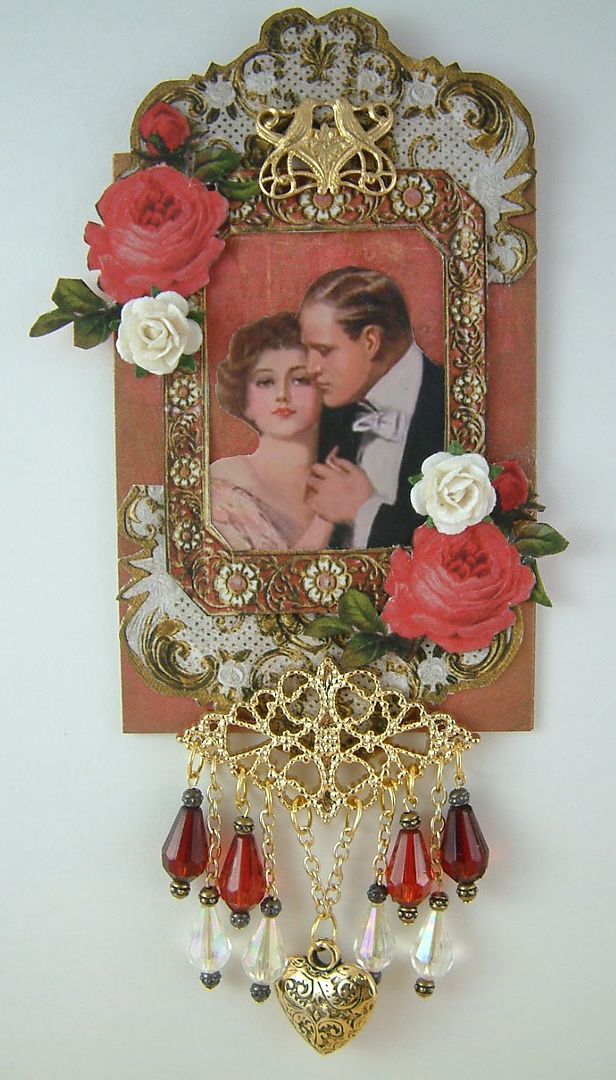
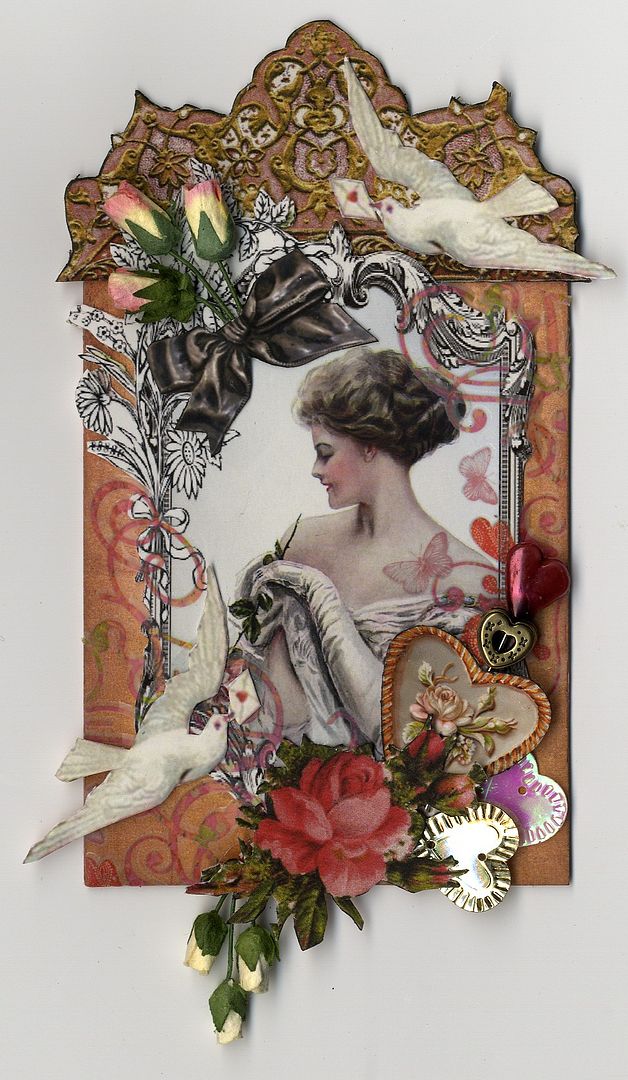
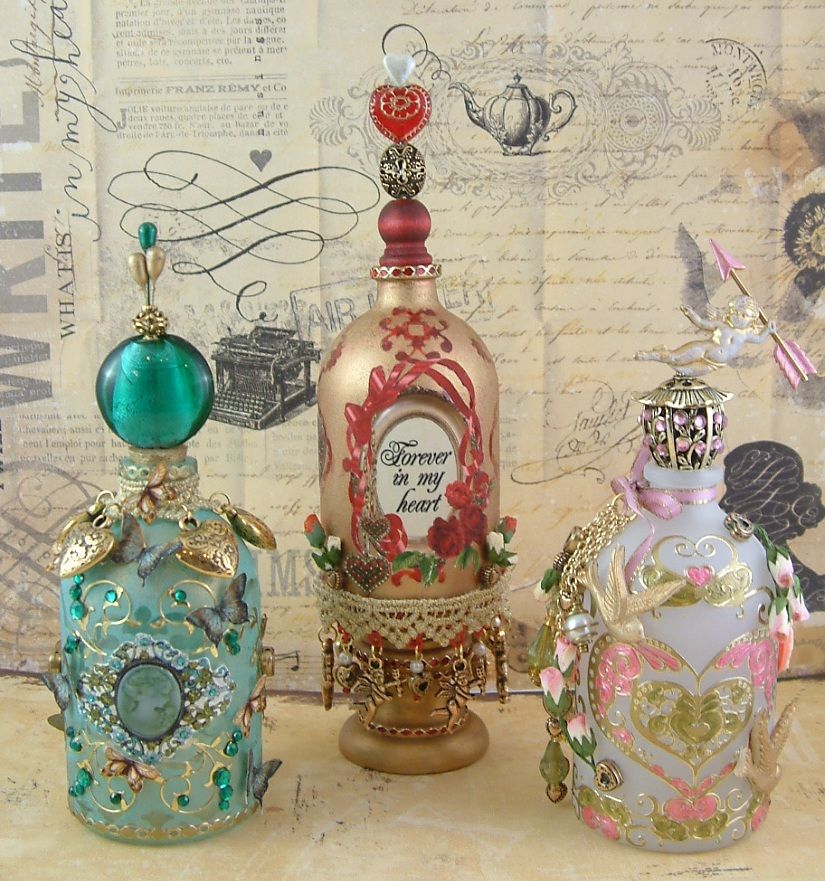
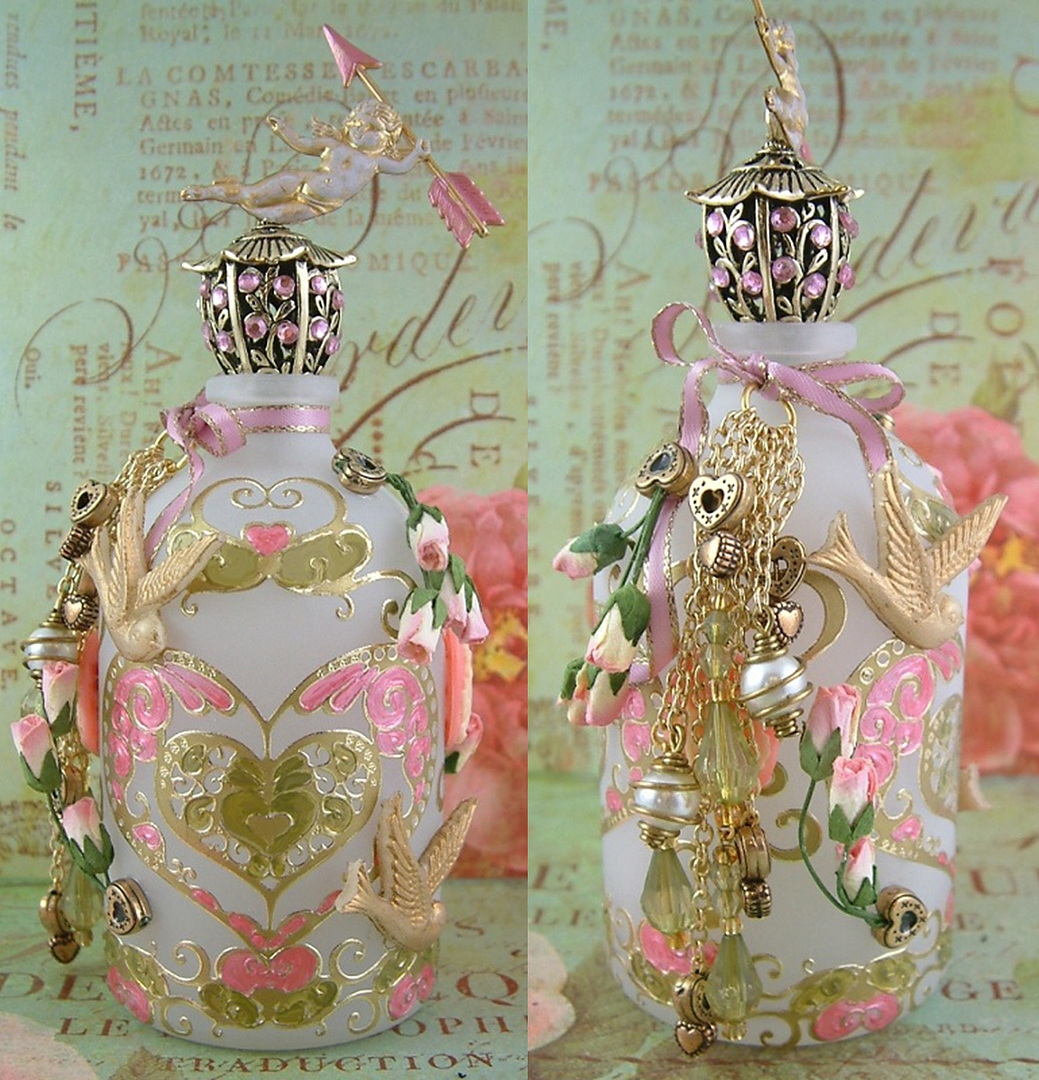
altered bottles using a different technique on each bottle. Three are Valentine themed (shown in the
picture above) and one is winter themed.
I’ll walk you through how I altered each bottle and explain the products
and techniques I used.
Blue and Silver Winter
Themed Frosted Bottle
The
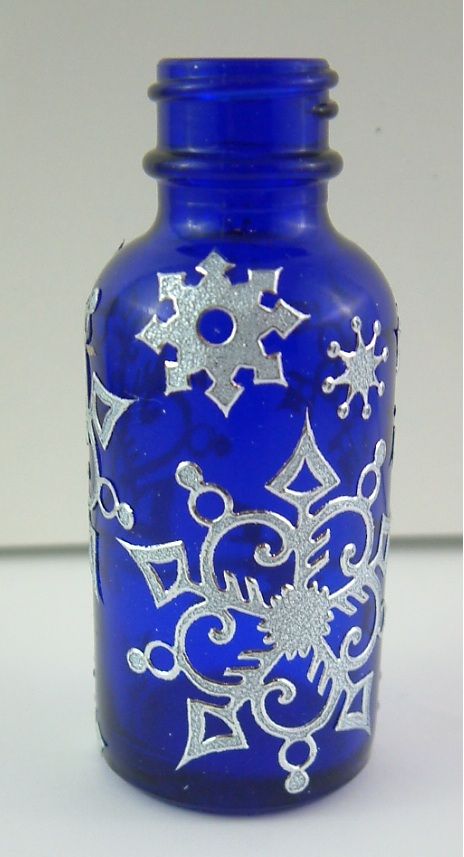
winter themed altered bottle was inspired by a cobalt
blue bottle. To me this bottle
screams “winter” and is begging to be frosted.
For this project I’ll show you how to use stickers to create a mask and
how to apply Frosted Glass Spray to a bottle.
Start with a clean bottle. Next,
apply snowflake
stickers to the bottle in the design you desire. Make sure the stickers are flush against the
bottle to insure that the spray does not seep under the stickers.
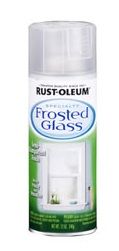
 To create the frosted effect I used Rust-oleum Specialty Frosted Glass spray. You can find the
spray in many hardware and paint stores.
I purchased my can at Home Depot.
To create the frosted effect I used Rust-oleum Specialty Frosted Glass spray. You can find the
spray in many hardware and paint stores.
I purchased my can at Home Depot.
There are some important items to note in
order to obtain a good result.
- First, shake the can longer than it says in the cans
directions; particularly when the can is full.
This stuff is really hard to mix-up.
The can says 2 minutes but shake it longer.
- Be sure to work in a well ventilated area.
- Keep the bottle and spray can moving to avoid the spray
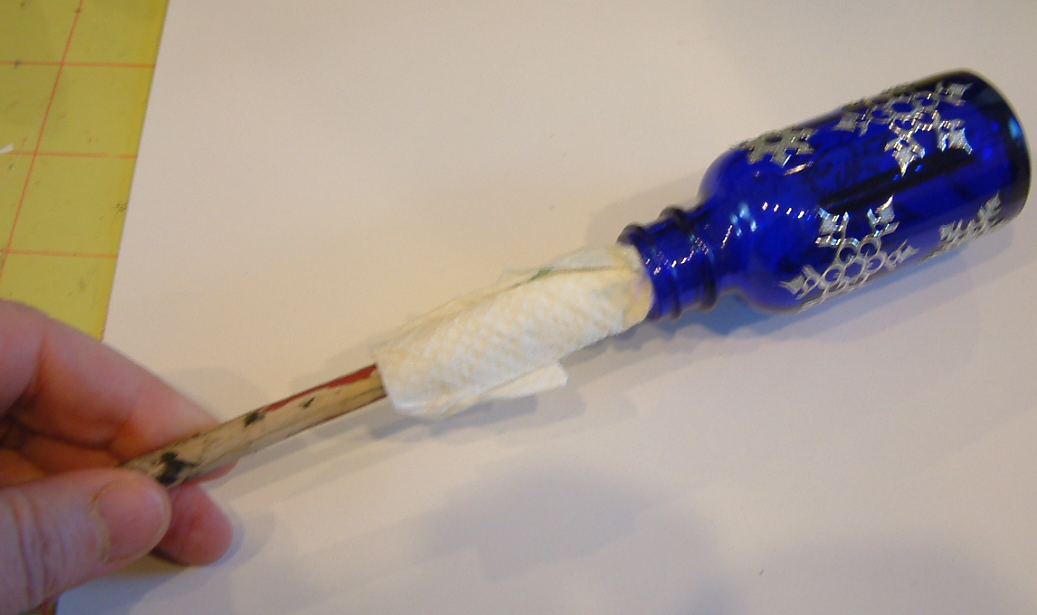
concentrating in one area. Into the
bottle I insert a large paintbrush handle wrapped in a piece of paper towel so
that the handle fits snugly. This gives
me a way to hold the bottle securely and allows me to turn the bottle while
spraying.
- If you are using stickers as a mask, spray the bottle
lightly. The spray will dry darker. If you get too much frosting on the bottle
you will not be able to lift the stickers without lifting the frosting. You might want to practice on a piece of
glass before tackling the bottle.
- If you make a mistake and want to start over, soak the bottle
in warm sudsy water then you can easily remove the frosting and start over.
Below is a video demonstrating how to frost the
bottle.
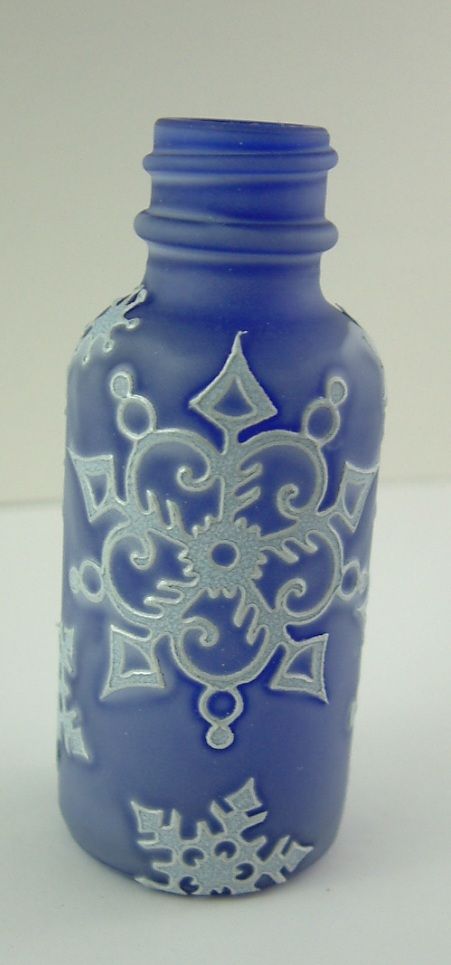
Once the frosting is dry (I give it 30 minutes to be
sure), use the point of an X-Acto knife to gently lift the stickers from the
bottle and reveal the pattern.
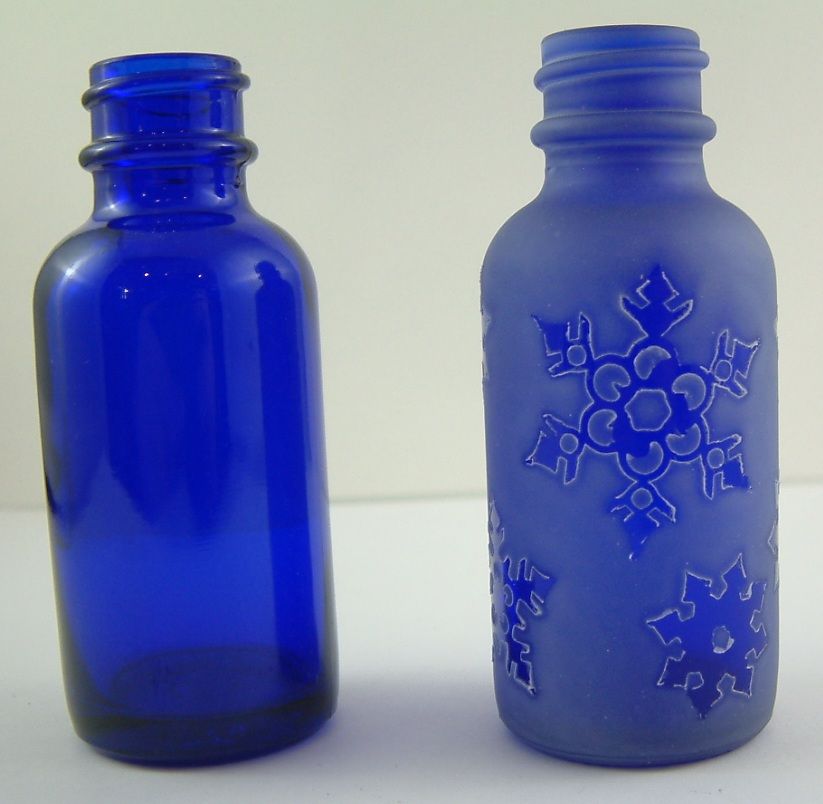
Before and after frosting.
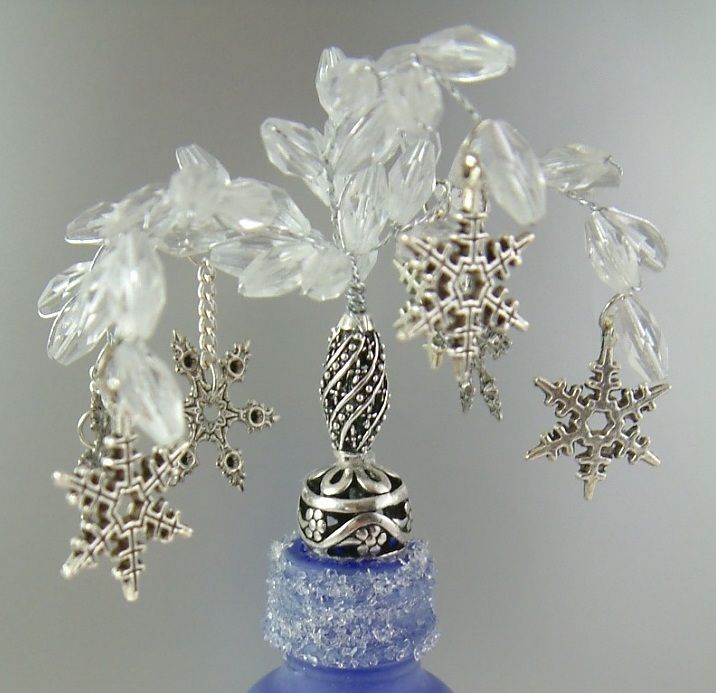
I applied Glossy
Accents to the neck of the bottle and sprinkled it with Diamond
Dust to give it an icy look.
I used two silver
beads (glued together with E-6000 glue) as the stopper. The wire from the ends of the acrylic
wheat sprays are inserted into the beads. I
hung 2 different silver snowflakes from the wheat sprays using jump rings. The entire assembly is glued to top of the
bottle using E-6000 glue.
To finish the décor, I added more of the same stickers I used for the
frosting process, dabs of Silver
Stickles and some clear rhinestones.
Blue and Silver
Bottle Supply List
Items
Used for the Bottle Topper
Frosted Pink and Gold
Bottle
With
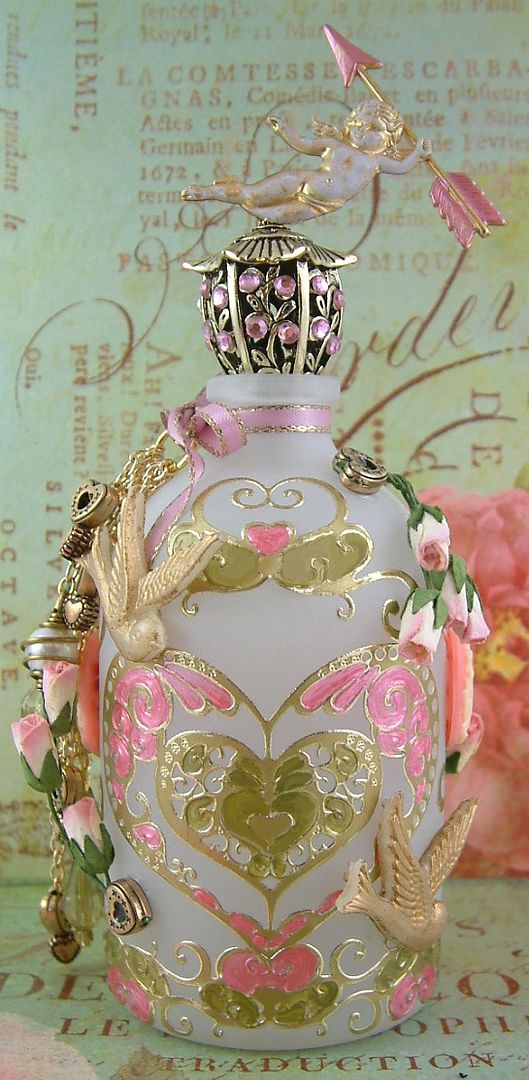
the Valentine themed bottle pictured to the left, I’ll demonstrate another
option using the Frosting Spray. Instead
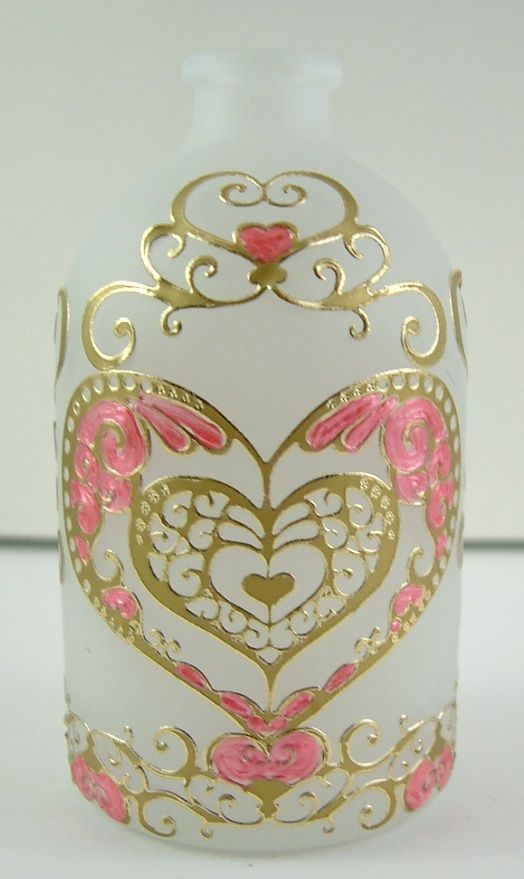
of masking the bottle with stickers and then frosting the bottle, I first frost
the entire bottle and apply the stickers after as a decoration. Unlike the blue winter themed bottle, with
this option you can apply the spray as thick as you like.
Just as with frosting the blue bottle there are some
important items to keep in mind.
- First, shake the can longer than it says in the cans
directions; particularly when the can is full.
This stuff is really hard to mix-up.
The can says 2 minutes but shake it longer.
- Be sure to work in a well ventilated area.
- Keep the bottle and spray can moving to avoid the spray
concentrating in one area. Into the
bottle I insert a large paintbrush handle wrapped in a piece of paper towel so
that the handle fits snugly. This gives
me a way to hold the bottle securely and allows me to turn the bottle while
spraying.
- Spray one layer then allow it to dry about 30 seconds before
spraying the next layer. Continue in
this fashion till you have applied as much as you desire. Remember the bottle will dry darker than it
appears when it is wet.
- If you make a mistake and want to start over, soak the bottle
in warm sudsy water then you can easily remove the frosting and start over.
Below is a video demonstrating how to frost the
bottle.
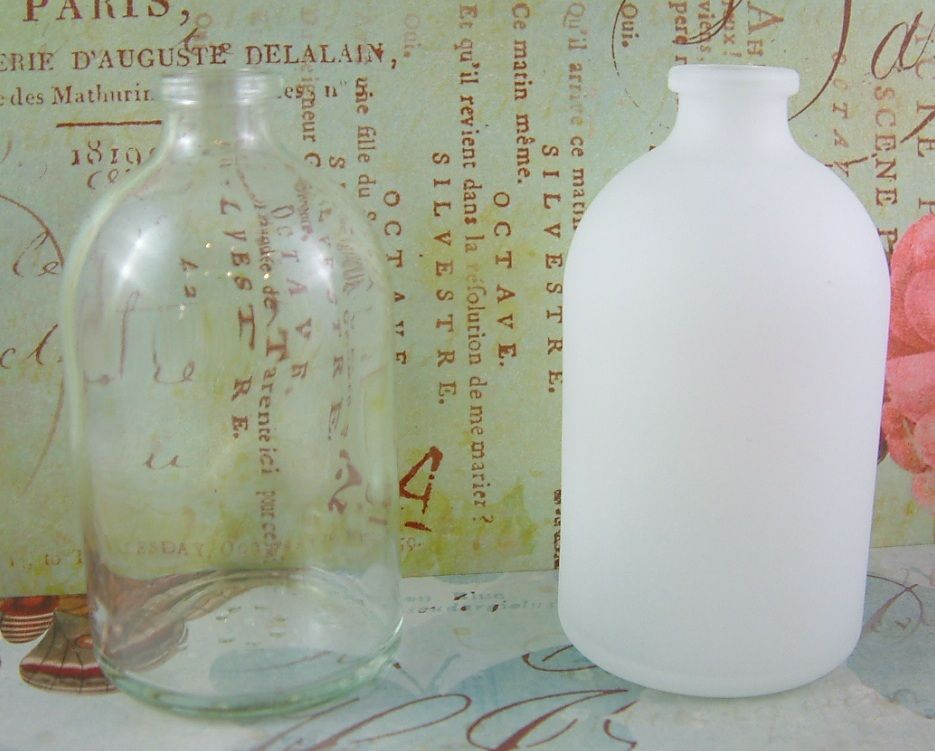
In the picture below you can see the before and
after versions of the bottle.
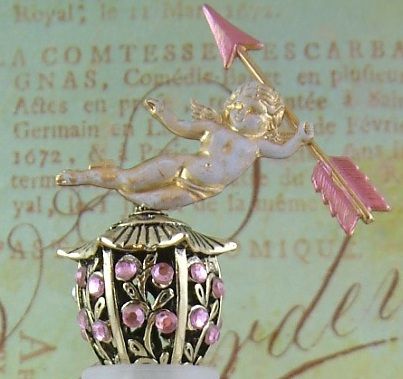
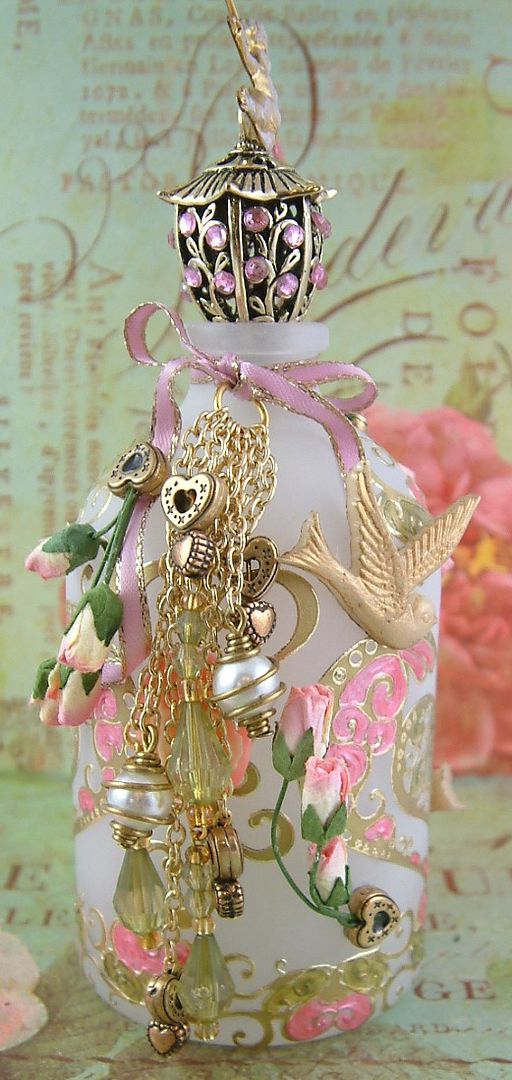
I used E-6000 glue to combine the arrow, cherub and
lantern. The arrow is painted with Flamingo Liquid
Pearls. I used White
Gilders Paste on the cherub and the lantern is jazzed up
with some pink rhinestones. To hold the
stopper in place I used more of the E-6000 glue.
Alpha Stamps also carries two other lanterns that would
work great as stoppers:
I attached various beads and chain to a jump ring held by a ribbon on
the side of the bottle.
The green beads
are restrung from a piece of beaded
trim (pictured above). It’s a great
way to use a leftover piece of trim that is too small to use on other projects
Frosted Pink and Gold
Bottle Supply List
Items
Used for the Bottle Topper
Items Used for the Dangling Beads at the
Side of the Bottle
Gold and Patina
Bottle Colored with Gilders Paste
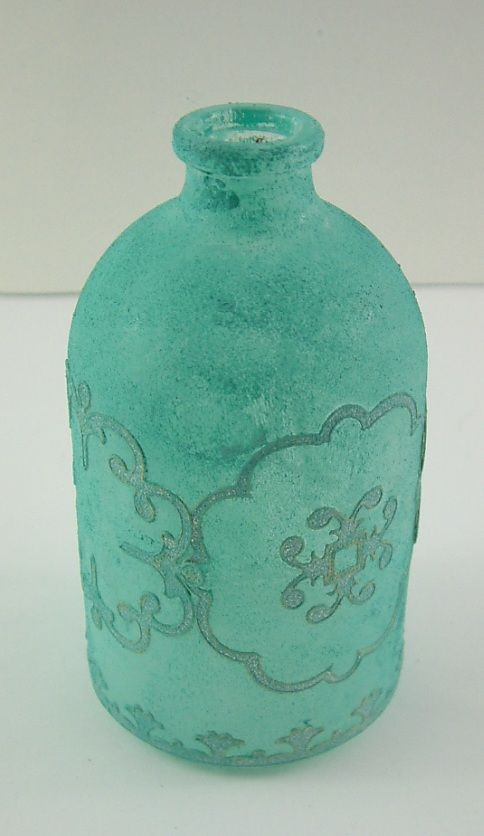
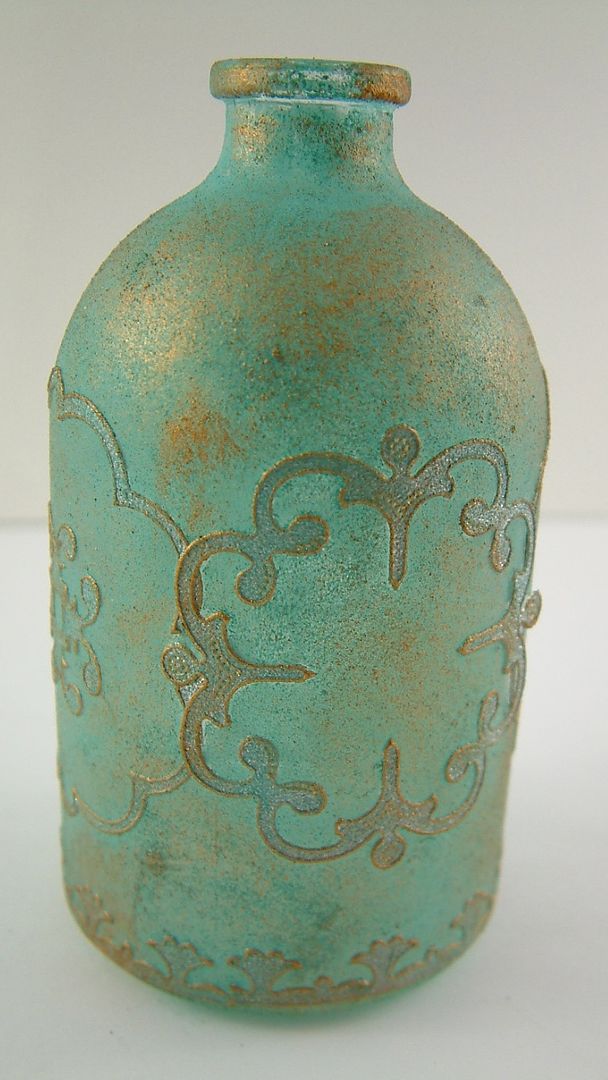
In
addition to the Frosted Spray there are other products that work well with the
sticker masking technique. For the
bottle pictured above, I’ll demonstrate how to use Gilders Paste to color the
bottle.
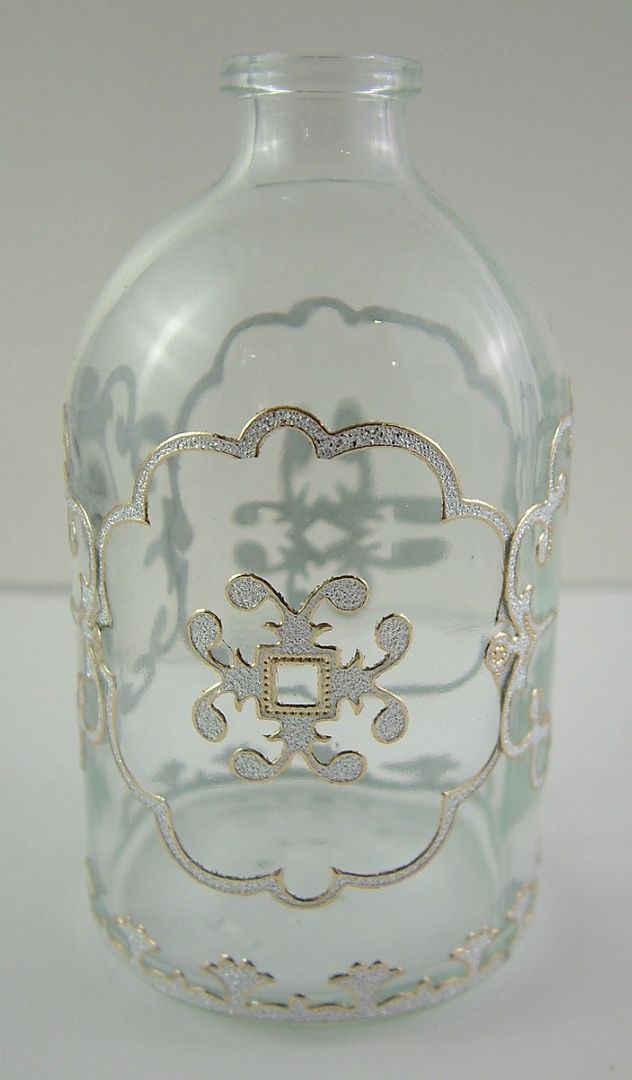
Start with a clean bottle. Next,
apply stickers in the design you
desire. Make sure the stickers are flush
against the bottle.
Use a piece of foam (I used Cut-N-Dry Foam, but you can use any foamy
material like a makeup sponge) to apply Patina
Gilders Paste to the bottle in a pouncing motion.
Do not rub the bottle as it
may cause the stickers to lift or may force Gilders Paste under the
stickers. Continue until the bottle is
completely covered and allow the paste to dry.
Give it a longer drying time than the product instructions indicate.
Use a different piece of foam; apply the Inca
Gold Gilders Paste in a pouncing motion. Note in the picture below I applied the paste in a
random pattern so that you can still see the Patina paste. Allow the gold paste to dry. Give it a longer drying time than the product
instructions indicate.
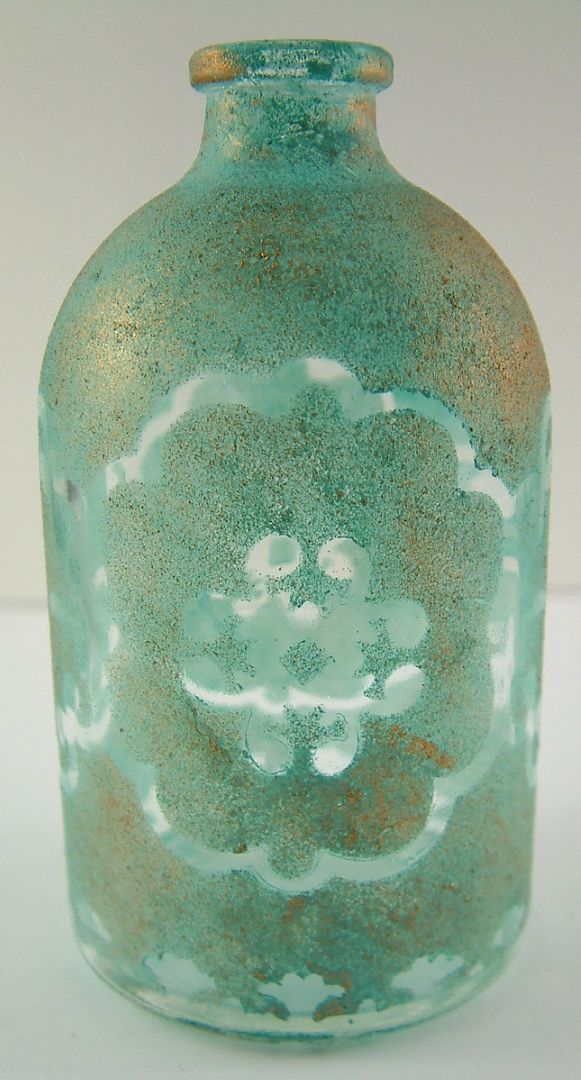
Use the point of an X-Acto knife to gently lift the
stickers from the bottle and reveal the pattern.
Another option with
sticker masking is to keep adding another layer of stickers, apply more color
and remove the stickers to reveal an additional pattern
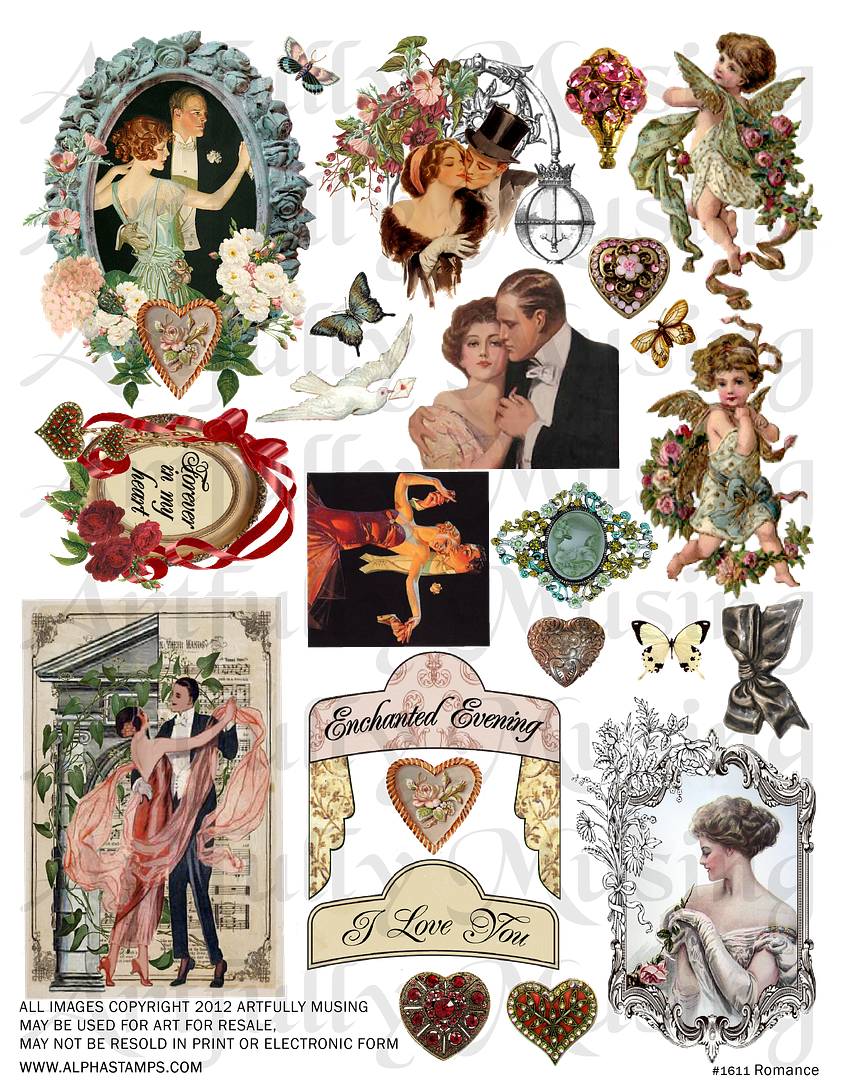
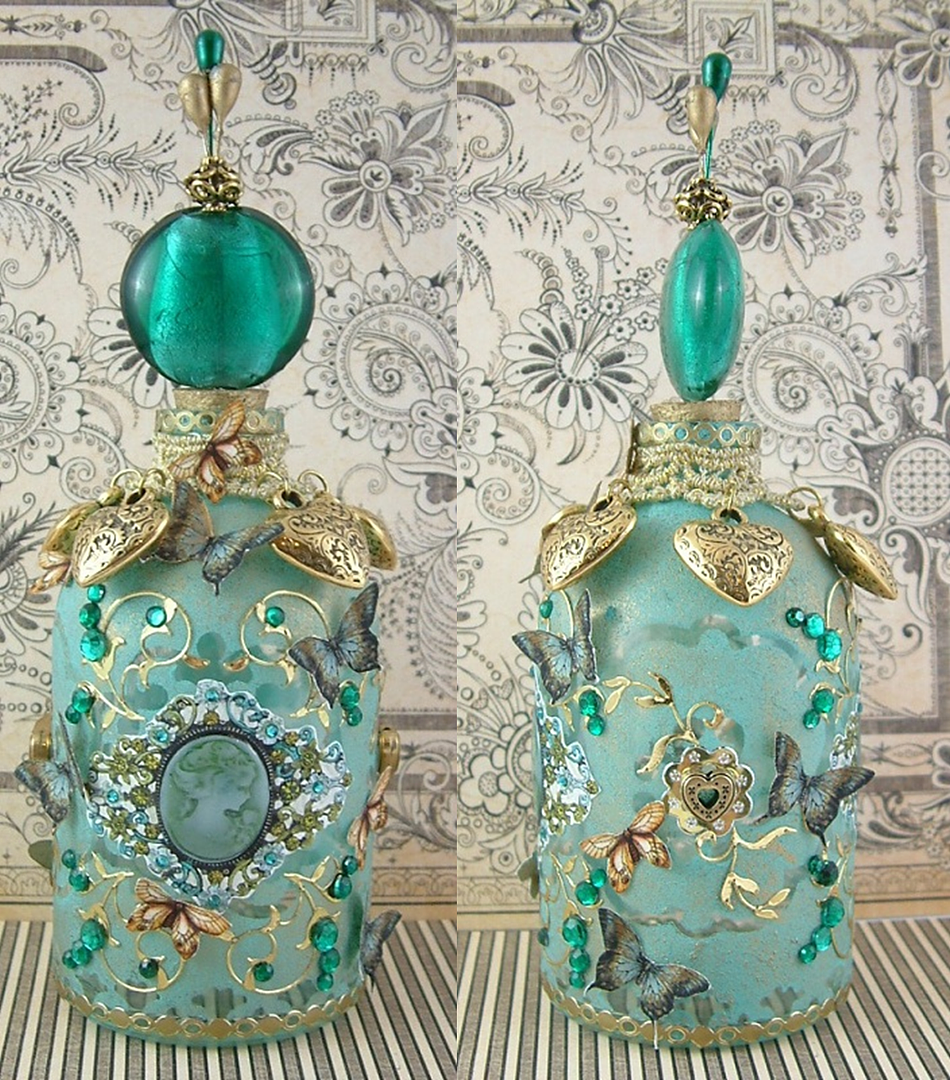
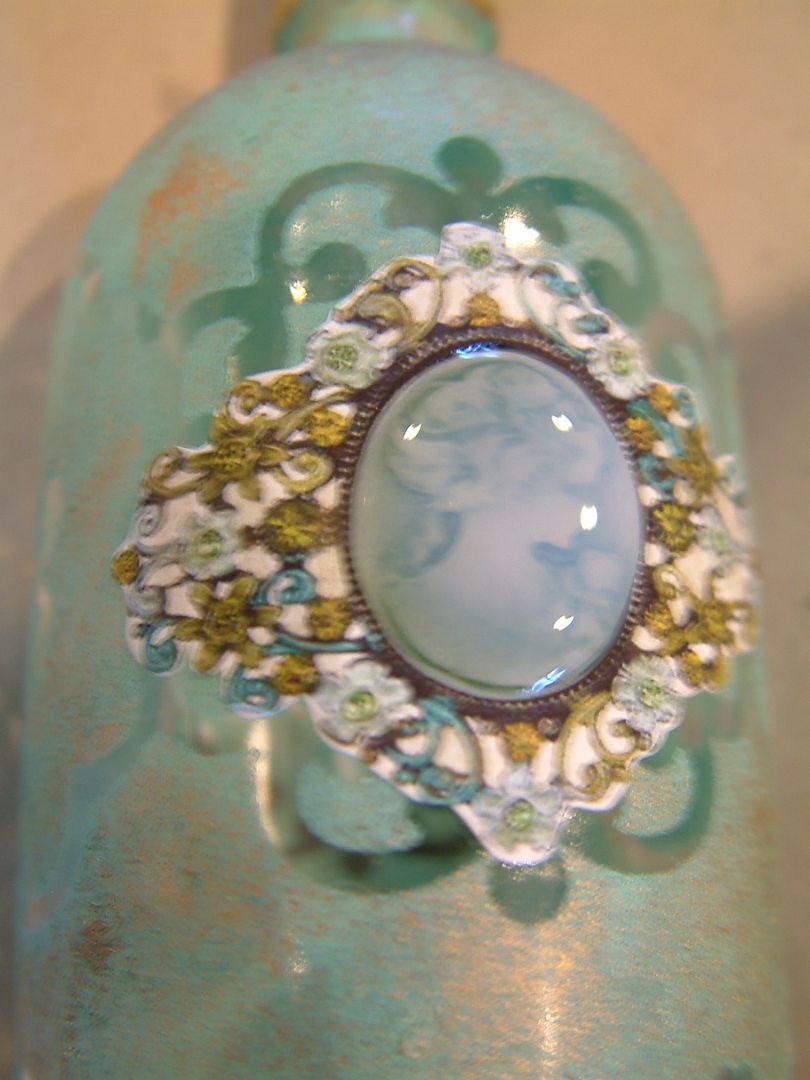
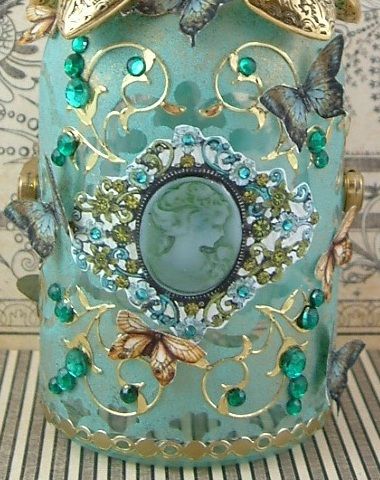
The main feature on the front of the bottle is a cameo
from my new Romance
Collage Sheet. To
create a bezel over the cameo, I applied Glossy
Accents. The glue
naturally likes to dome. The picture below shows the wet glue; it will dry clear and shrink some.
Tips: It’s
important to avoid inserting air bubbles into the dome. Store your Glossy Accents bottle upside down
so that any air bubbles float to the bottom and won’t be dispensed with the
glue. As you are dispensing the glue,
don’t lift the tip of the bottle out of the dispensed glue; keep it down
squeezing out more glue and using the tip to spread glue into the areas you
desire. And lastly, never shake the glue
bottle as it will introduce air bubbles into the glue.
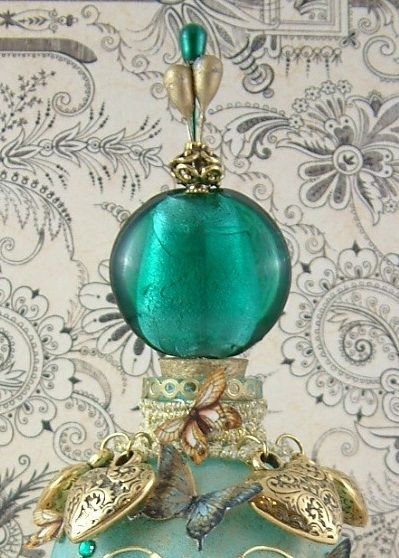
The hole in the large teal bead was big enough to insert
all three stickpins. The bottoms of the
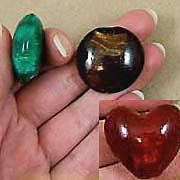
stickpins are inserted into the cork which holds everything in place. Alpha Stamps carries the puffed bead in other
colors and shapes (teal,
brown and a red heart).
I decorated the bottle with gold stickers and
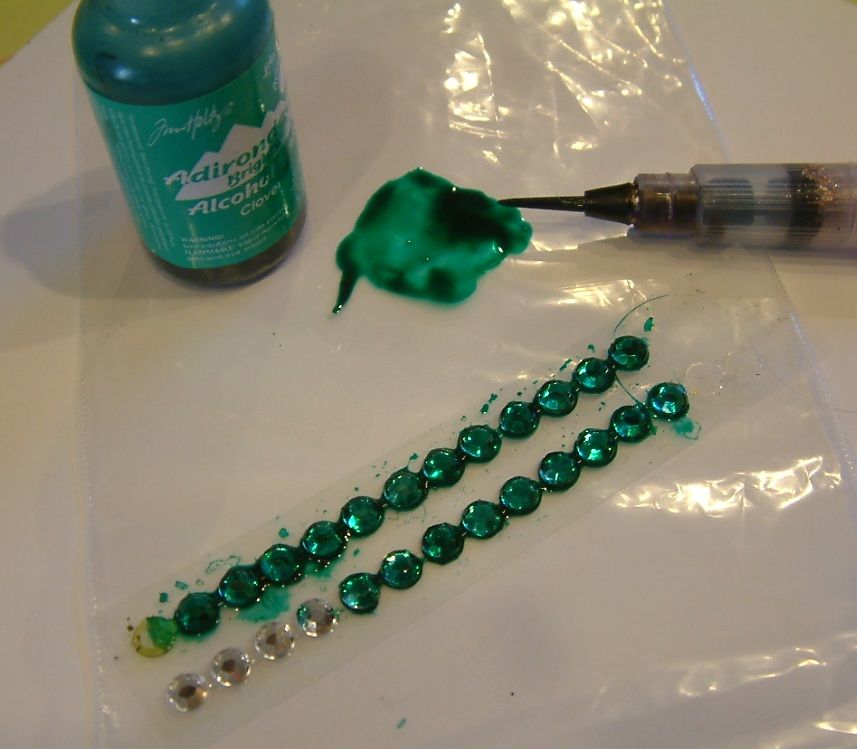
rhinestones. Just as with the stickpins,
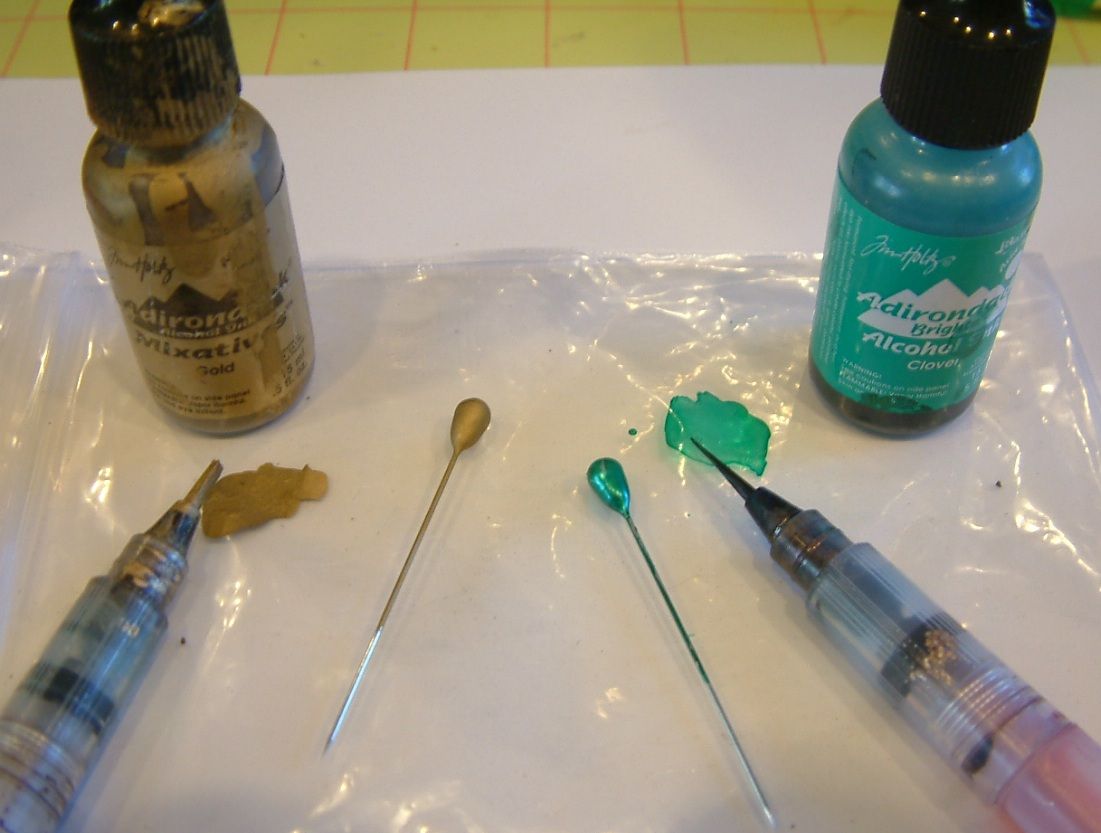
I used the Clover
Alcohol Ink to paint clear rhinestones the perfect
color. The last touch was to add
butterflies from my Romance
Collage Sheet
I decorated the bottle with gold stickers and rhinestones. Just as with the stickpins, I used the Clover
Alcohol Ink to paint clear rhinestones the perfect color.
The last touch was to add butterflies from my Romance
Collage Sheet.
Gold and Patina
Bottle Supply List
Items
Used for the Bottle Topper
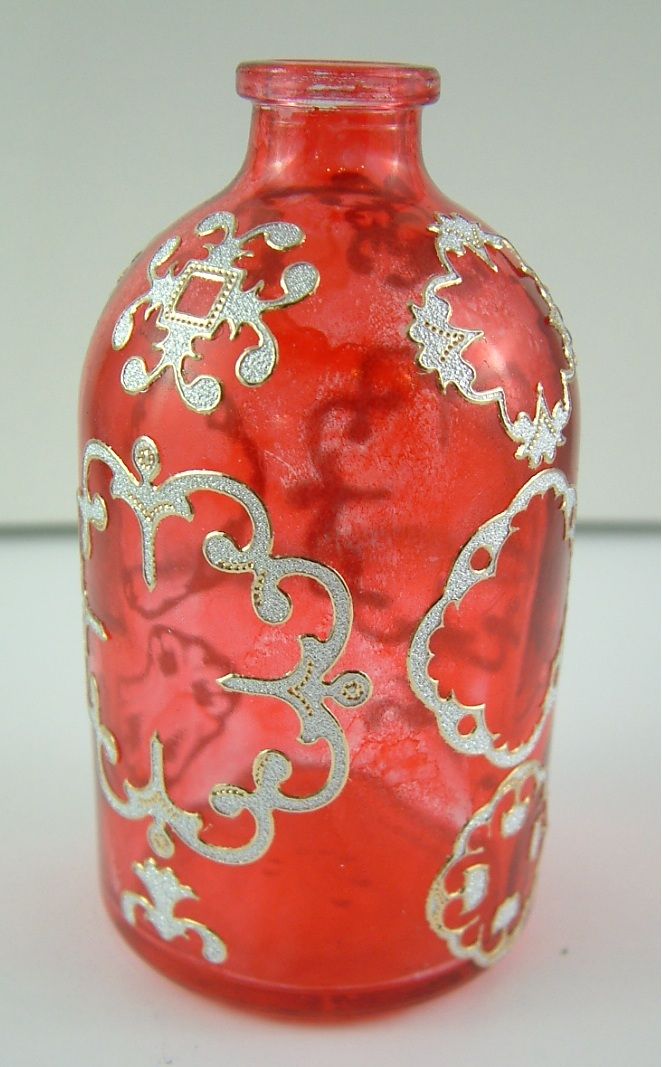
Red and Gold Bottle
Colored and Stenciled with Alcohol Inks
Using Alcohol
Inks is another option to use with the sticker masking technique. For this bottle I’ll demonstrate how to use
both the transparent and opaque versions of alcohol ink and stickers to create
a design.
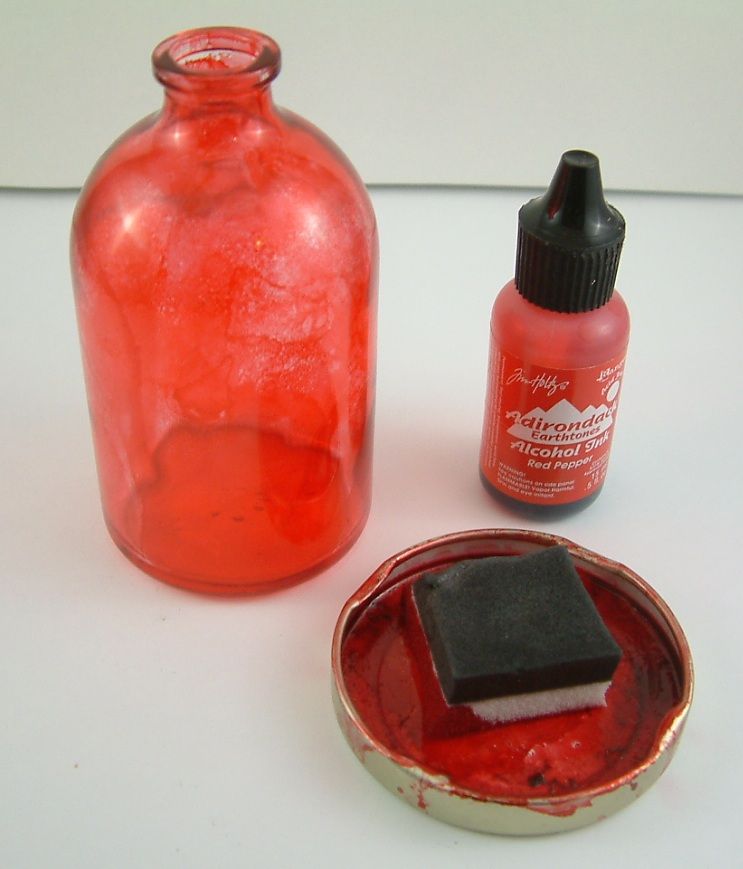
Start with a clean bottle. Using
a sponge, apply Red
Pepper Alcohol Ink to the bottle; covering it completely. Allow it to dry. Notice how the ink is transparent.
Apply stickers in the design you
desire. Make sure the stickers are flush
against the bottle so that the next layer of ink won’t seep under the stickers.
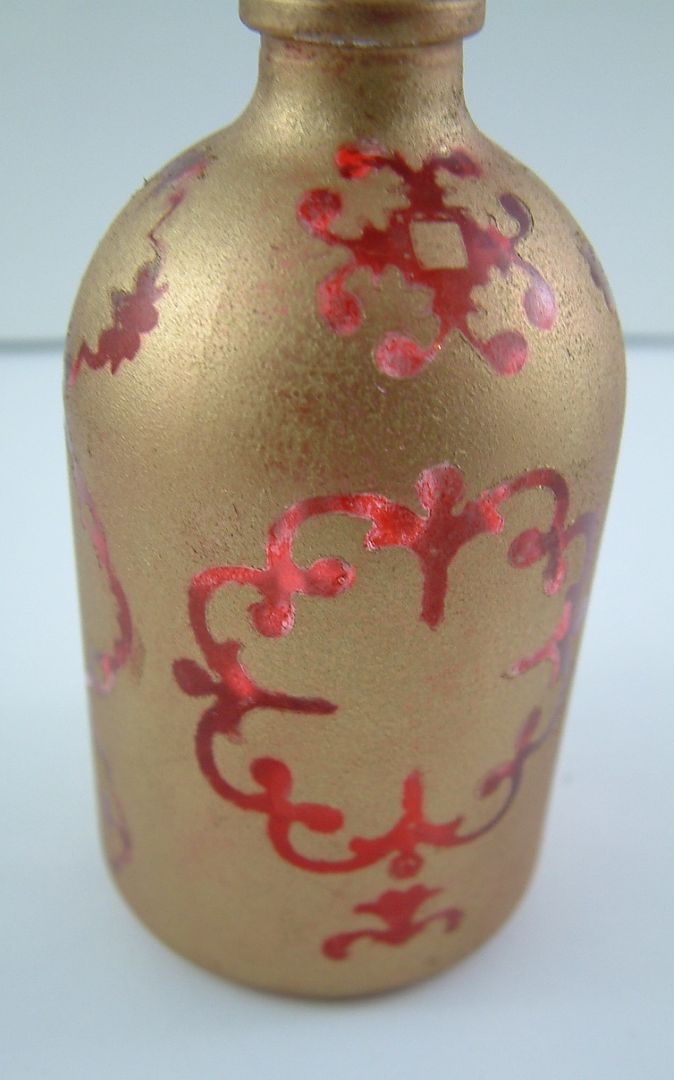
Use a piece of foam to apply Gold
Mixative Alcohol Ink to the bottle in a pouncing motion. Do not
rub the bottle as it may cause the stickers to lift or may force ink under the
stickers. Continue until the bottle is
completely covered and allow the ink to dry.
Notice how this ink (Mixative) is opaque unlike the Red Pepper ink. The silver and copper versions of this ink
are also opaque.
Using the point of an
X-Acto knife, gently lift the stickers from the bottle to reveal the pattern.
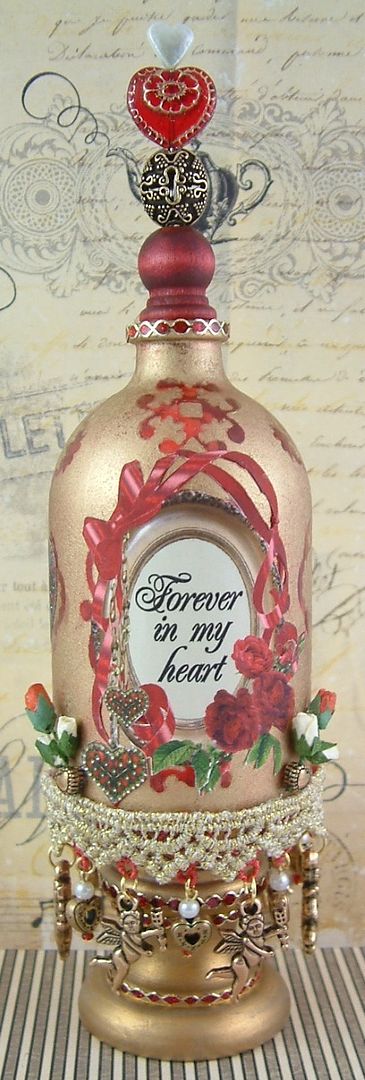
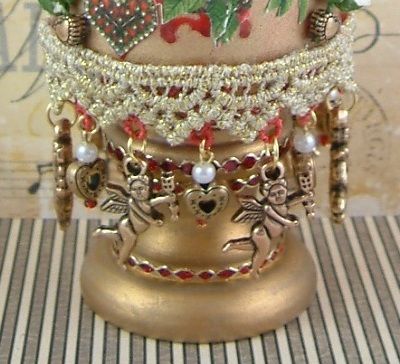
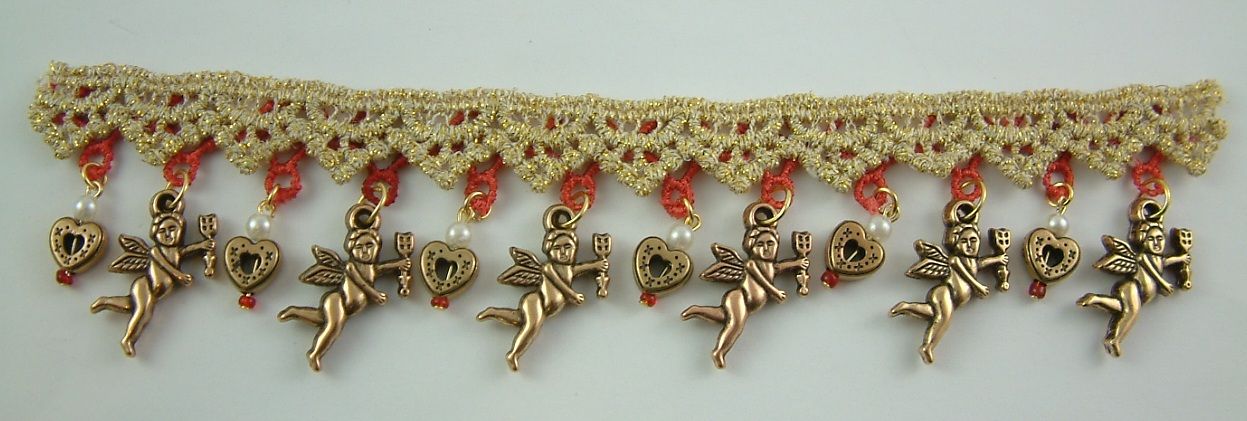
Making your own beaded trim; the trim at the base of the bottle is made
from gluing together two strips of trim (red and gold) and adding cherubs, hearts and cream
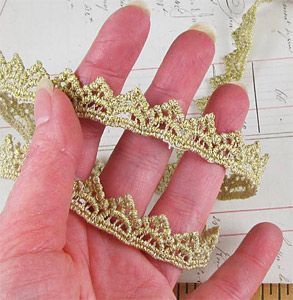
beads with jump rings. The gold trim
is the same trim I used around the neck of the Patina and Gold bottle
To dress up the rest of the bottle I used more of the red border
stickers, images from my Romance
Collage Sheet and red and ivory paper rose buds.
Red and Gold
Bottle Supply List
Items Used for the Bottle
Topper
Items Used for the Beaded
Trim and Base
The sticker
masking, frosting, Gilders Paste and Alcohol Ink techniques covered in this
tutorial will work on other non-porous surfaces like metal and plastic.