For the
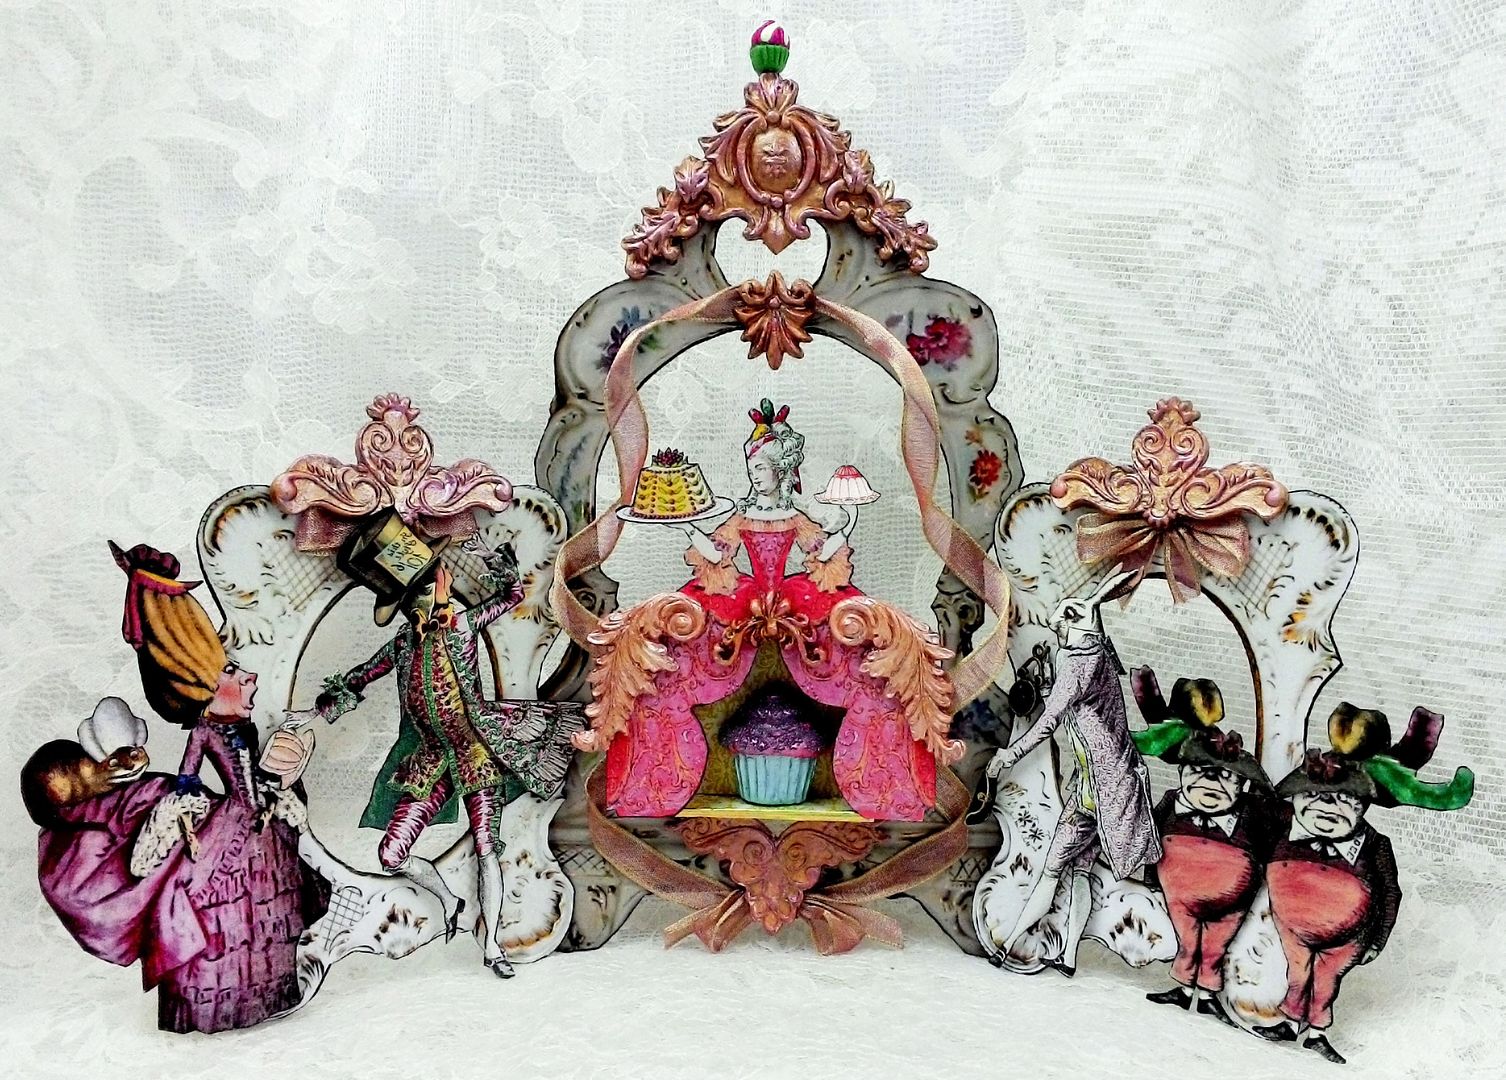
month of March at Alpha Stamps it’s all about Marie Antoinette in Wonderland. In imagining Marie in
Wonderland, I envisioned the residents seeing her outrageous outfit and wanting to get in on the act; which meant, mixing the Wonderland character’s heads with Rococo style bodies and wigs.
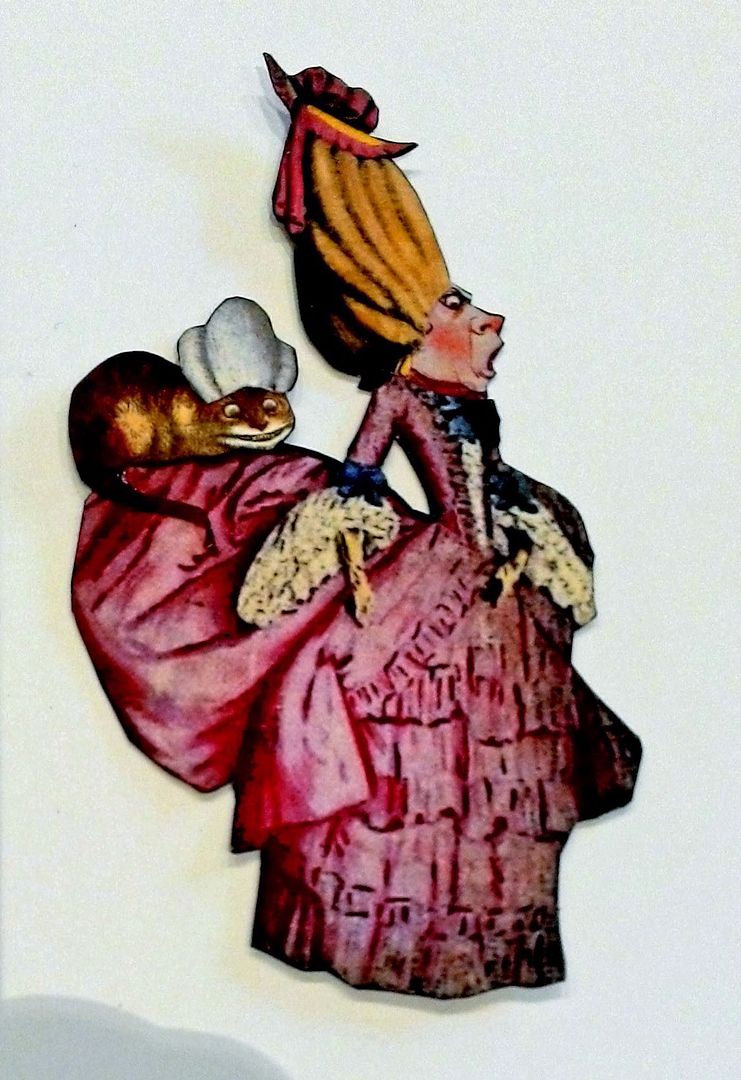
For the
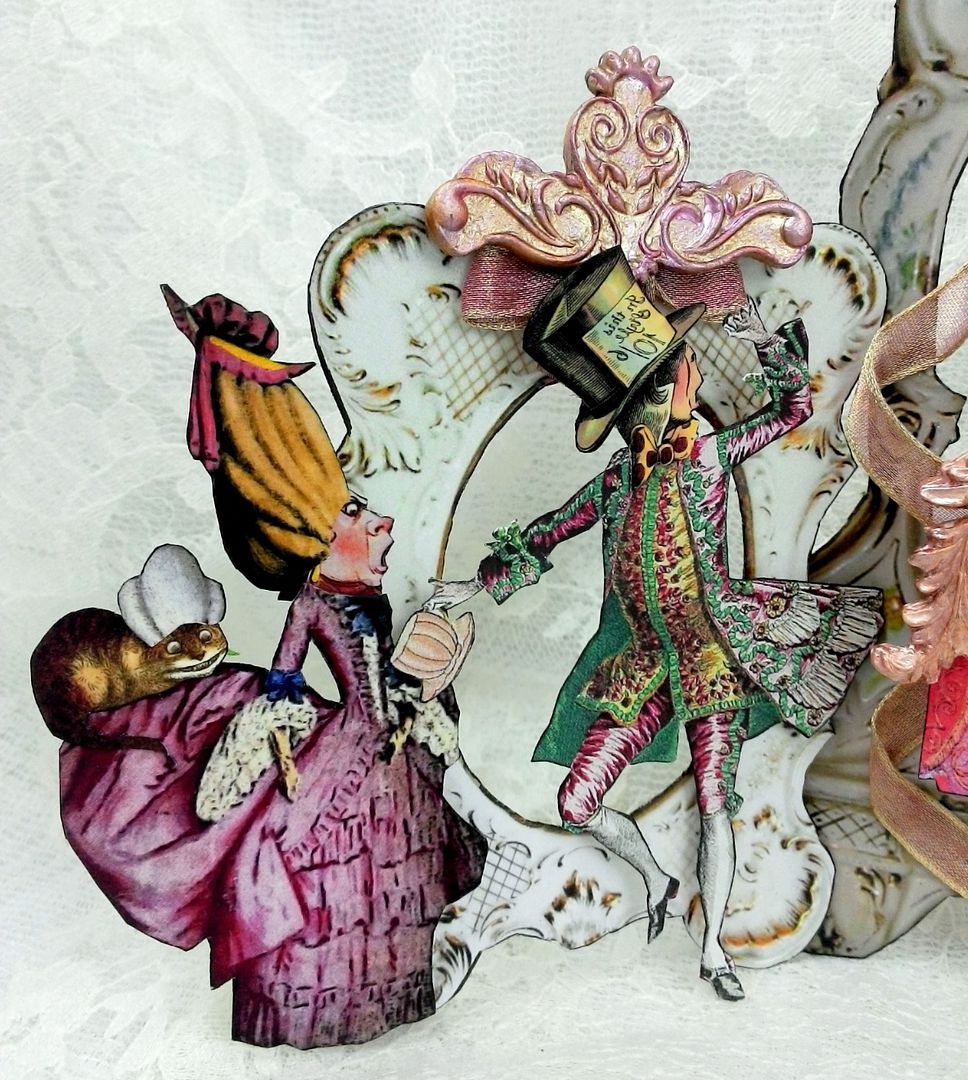
Queen of hearts I used the dress and wig from the “How’s
My Hair” collage sheet and her head is from the “Were
all Mad Here" collage sheet”. Instead
of the little dog sitting on the back of the dress (as in the collage sheet) I
used the Cheshire cat with wig from the sheet.
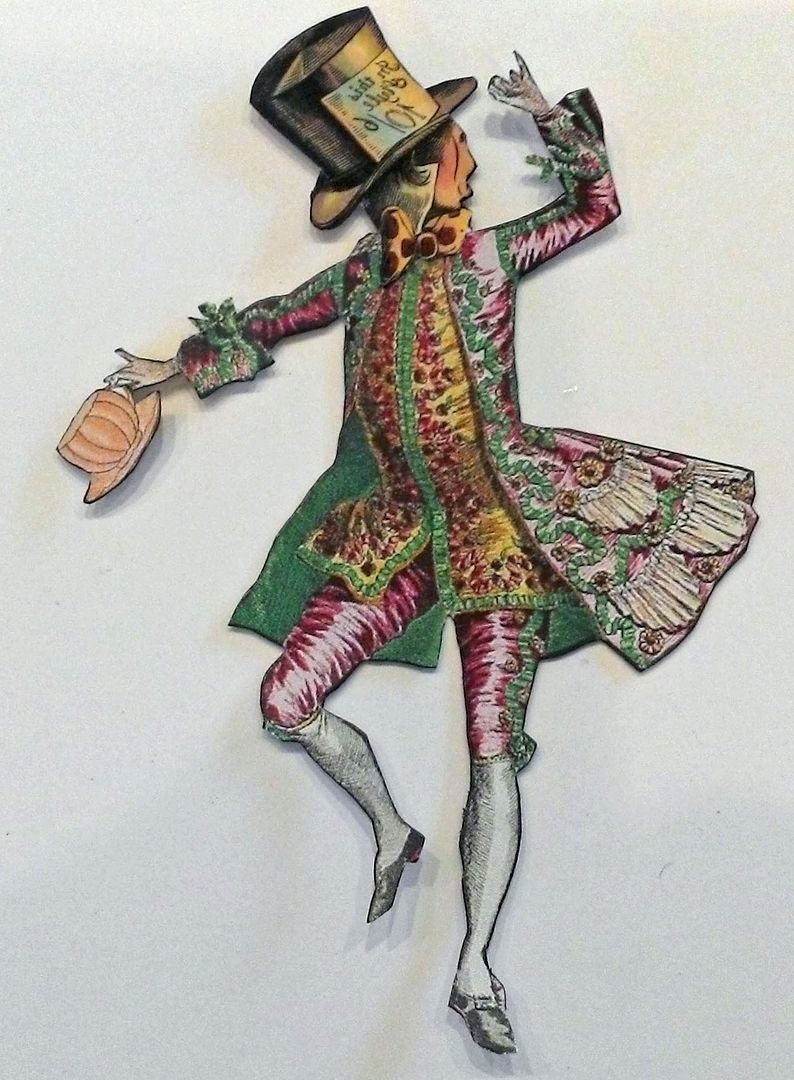
The
hatter’s head is from the “Were
all Mad Here” collage sheet and the body is from the “French
Ballet Costumes” collage sheet.
Marie is,
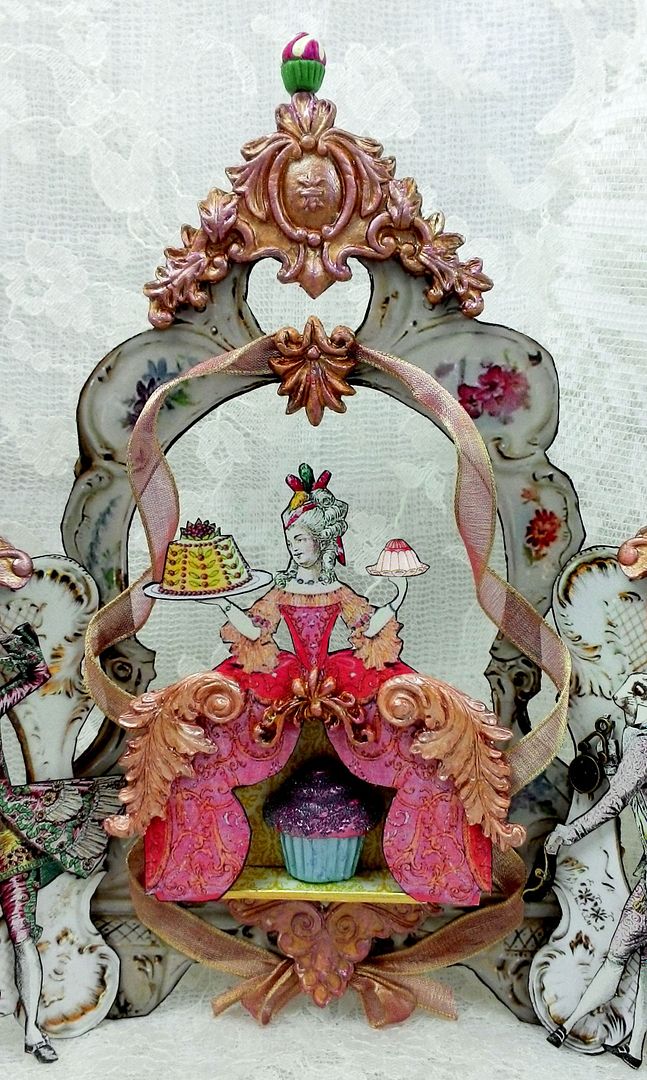
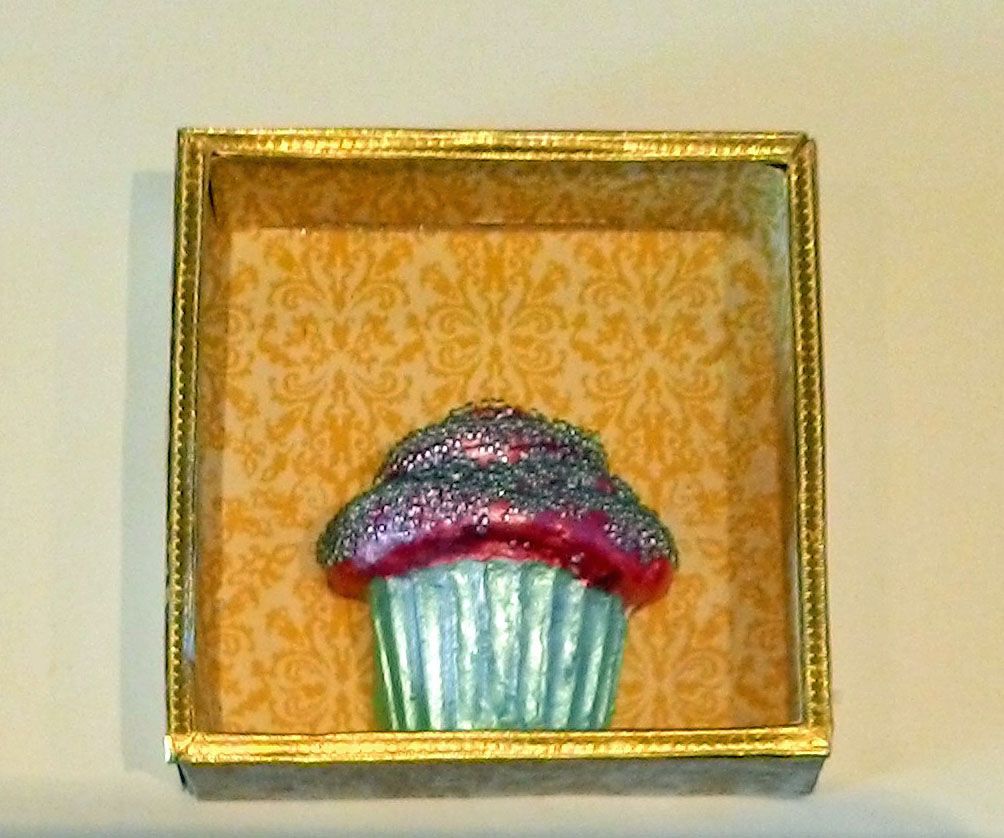
of course, at the center of everything, even outdoing the Queen of hearts. She is holding her cakes and behind her dress
is a box top containing a paper clay cupcake.
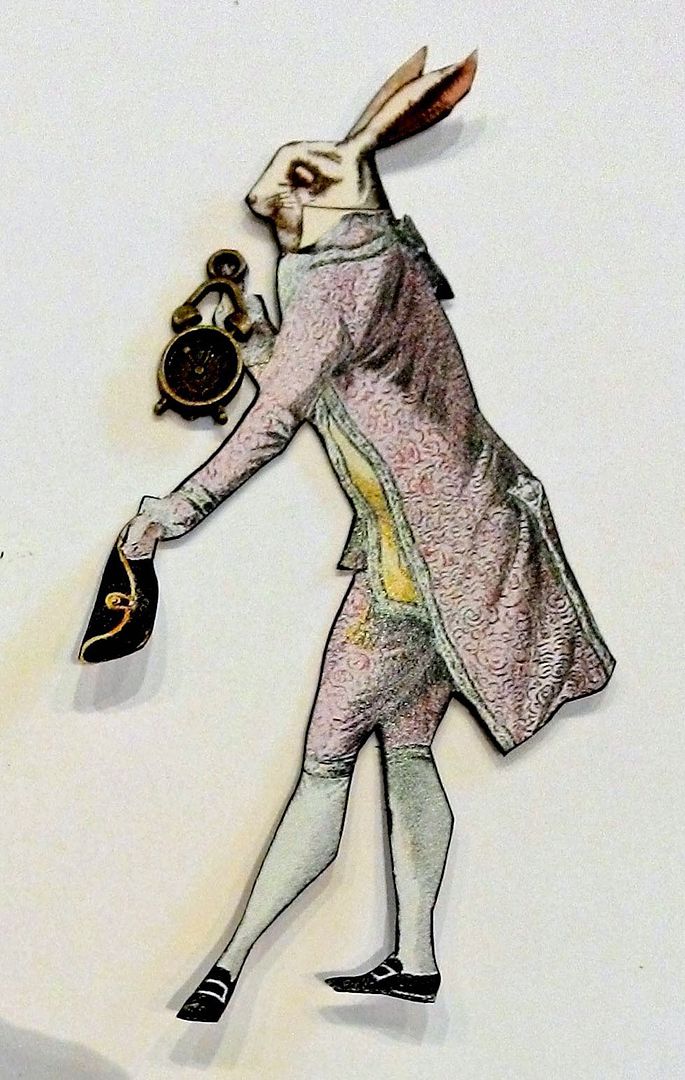
The
White Rabbit’s head and Tweedle Dee & Dum are from the “Were
all Mad Here” collage sheet. The White Rabbit’s
body is from the “French
Ballet Costumes” collage sheet and Tweedle Dee and Dum’s hats are from the “How’s
My Hair” collage sheets. To make
Tweedle Dee & Dum blend better with the color scheme of the piece, I used a
color pencil to change their yellow pants to pink.

As a
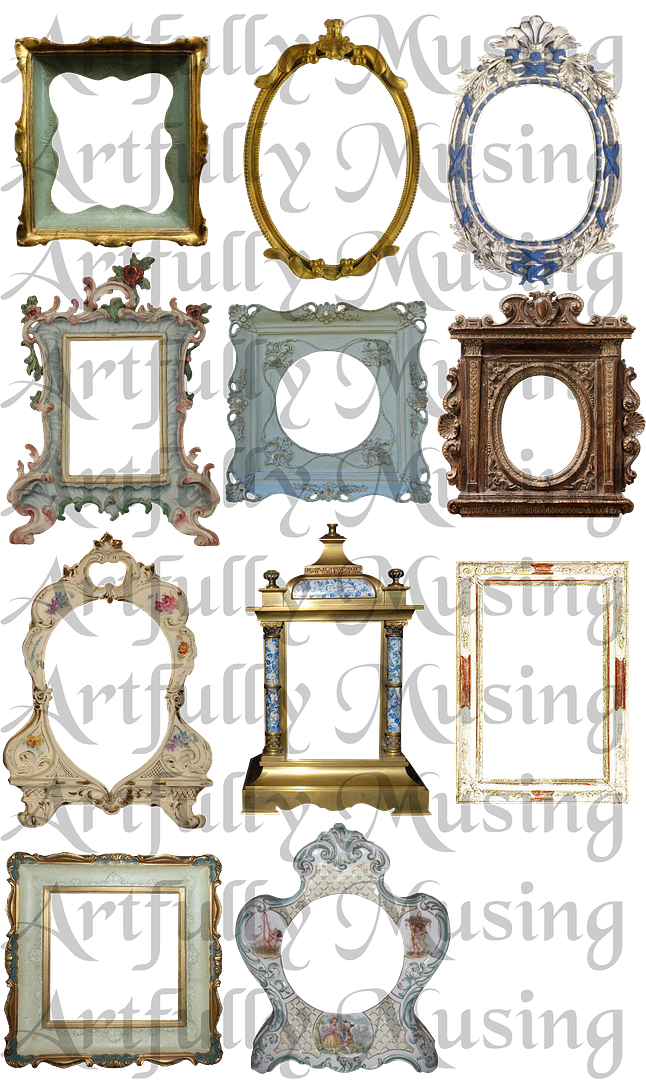
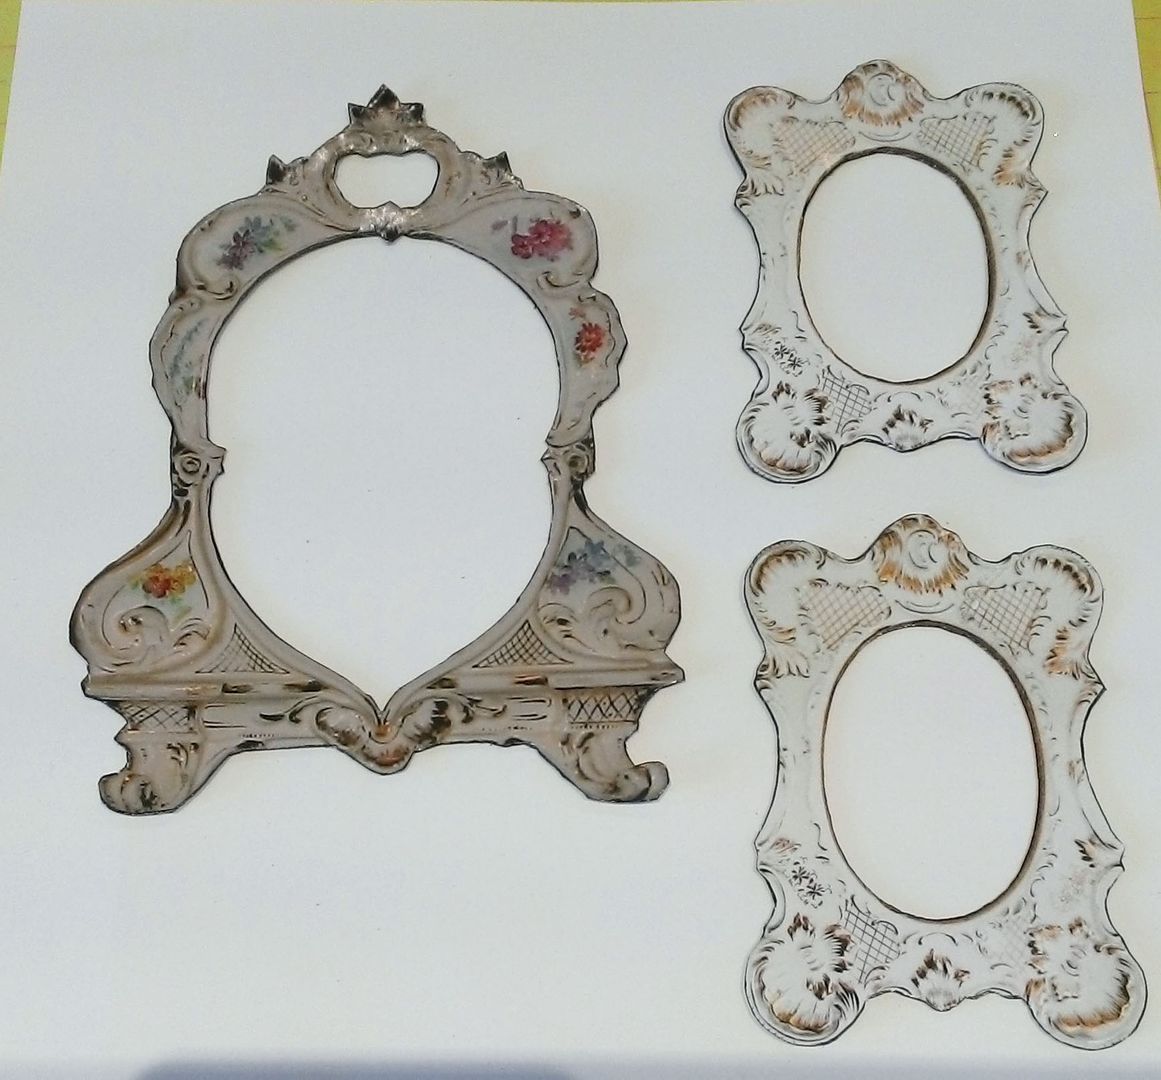
backdrop for the characters I used three frames from my new “Elegant
Frames” digital image set.
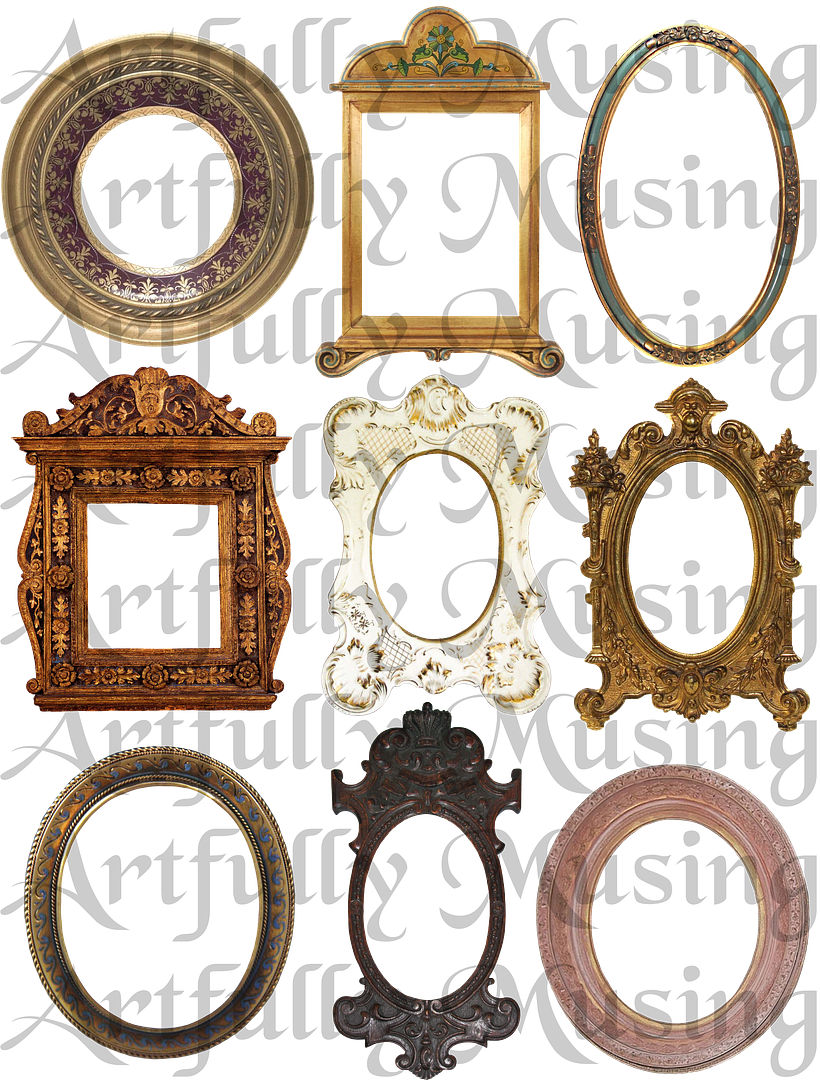
I
decided that I needed more frames to play with so I’ve created a new digital set of frames as an addition to the Antique Frames set I created a few years
ago. This set contains 20 frames that
are great for backdrops or for use as architectural elements. I’ve used two of the frames as backdrops for
the Marie in Wonderland piece.
Digital
files can be resized, rotated or flipped as needed. The files are in a .png format. PNG formatted files
have a transparent background making
it easy to layer an image over other digital images. You can open .png files using graphic programs
like Photoshop Elements. Digital collage
sheets and digital images can be saved to your computer and printed as many
times as you wish.
PHOTOS OF THE ALTERED
CHARACTERS
To make
the bodies, heads and wigs fit each other I had to alter the sizes of some of
the images. If you missed it, I have a video
on YouTube that shows you how to take a snapshot of an image from a collage
sheet and then resize the image. You
might find this helpful if you don’t have a graphics program like Photoshop
with which to modify images.
I chose
2 frames from the Elegant Frames digital set.
The large one on the right is approximately 8” tall and is exactly the
size it is in the image set. The other
frame which I printed twice was reduced to 90% of its original size from the
image set. I reduced it by the 10% to
make the scale of the smaller frames work better with the larger frame. The smaller frame (after reduction) is
approximately 5” tall.
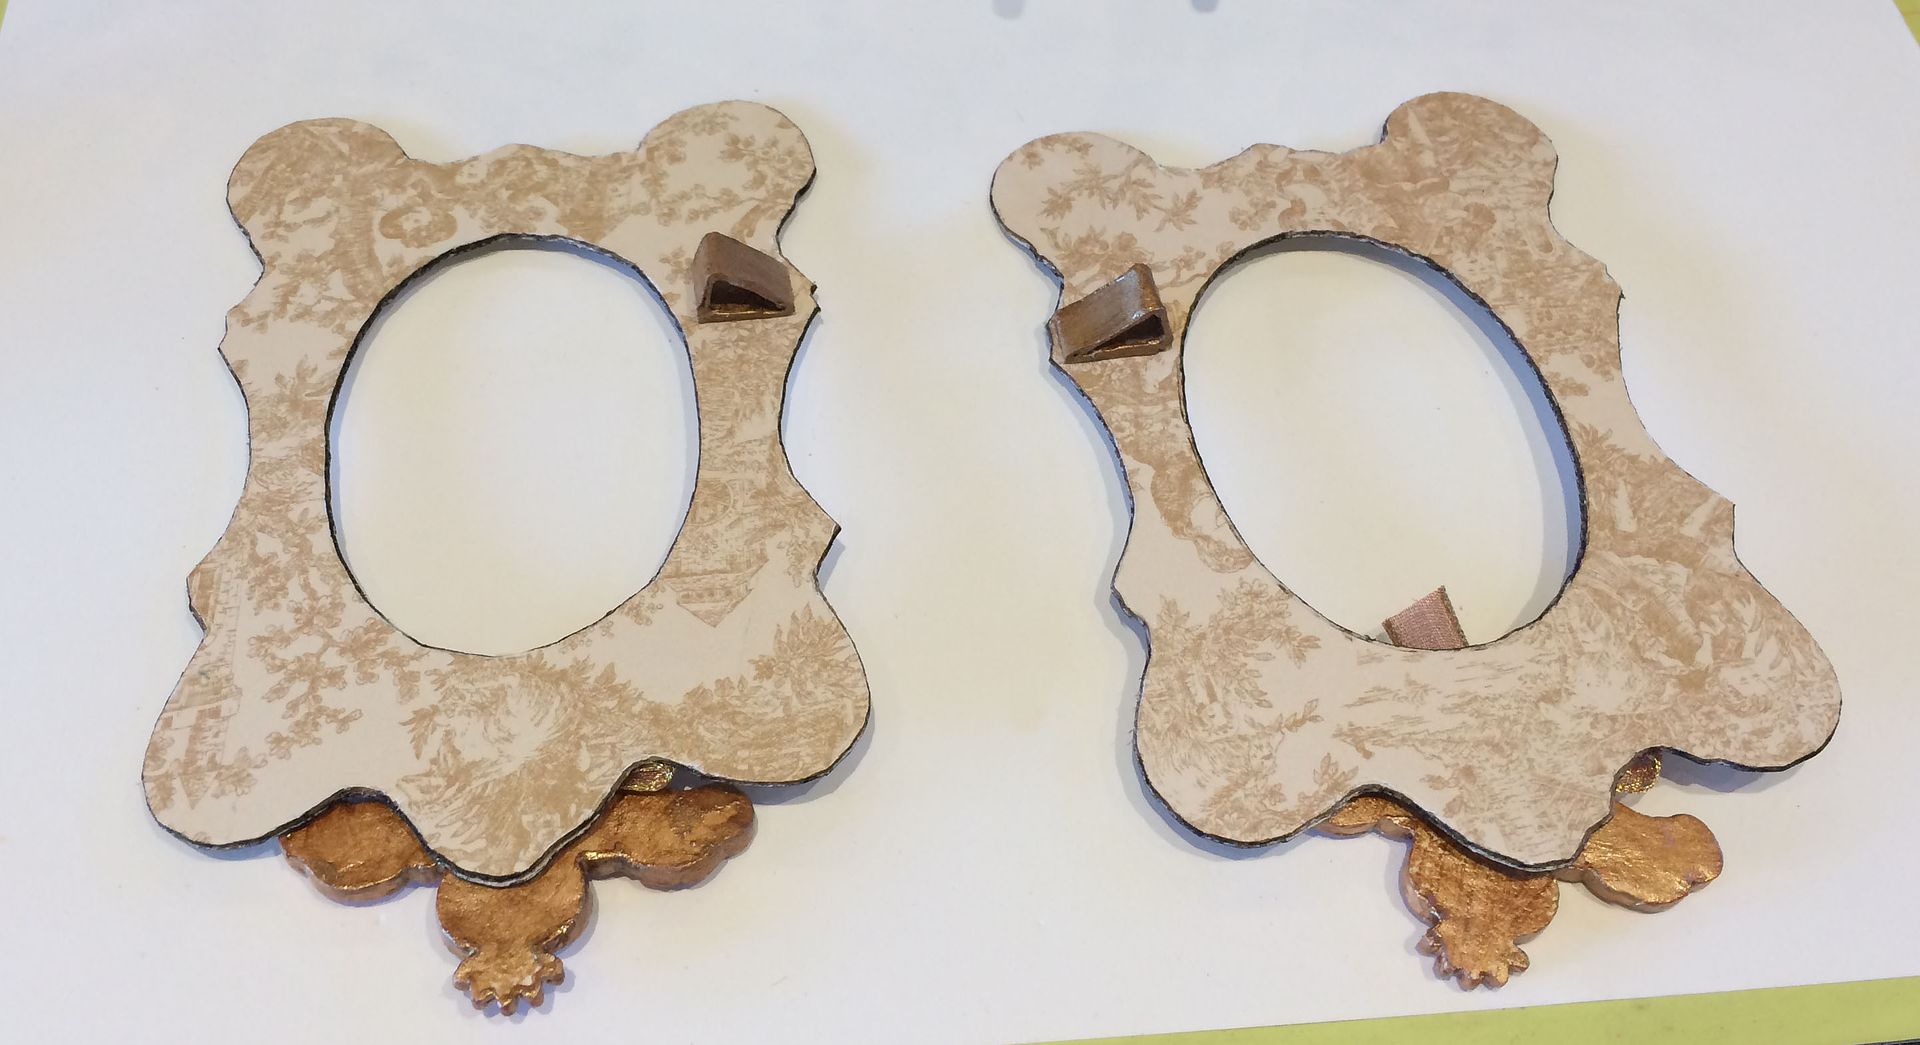
To make
the frames more rigid and sturdy, I glued the images to thin chipboard and then
to decorative paper (so the piece would look pretty from the back).
I
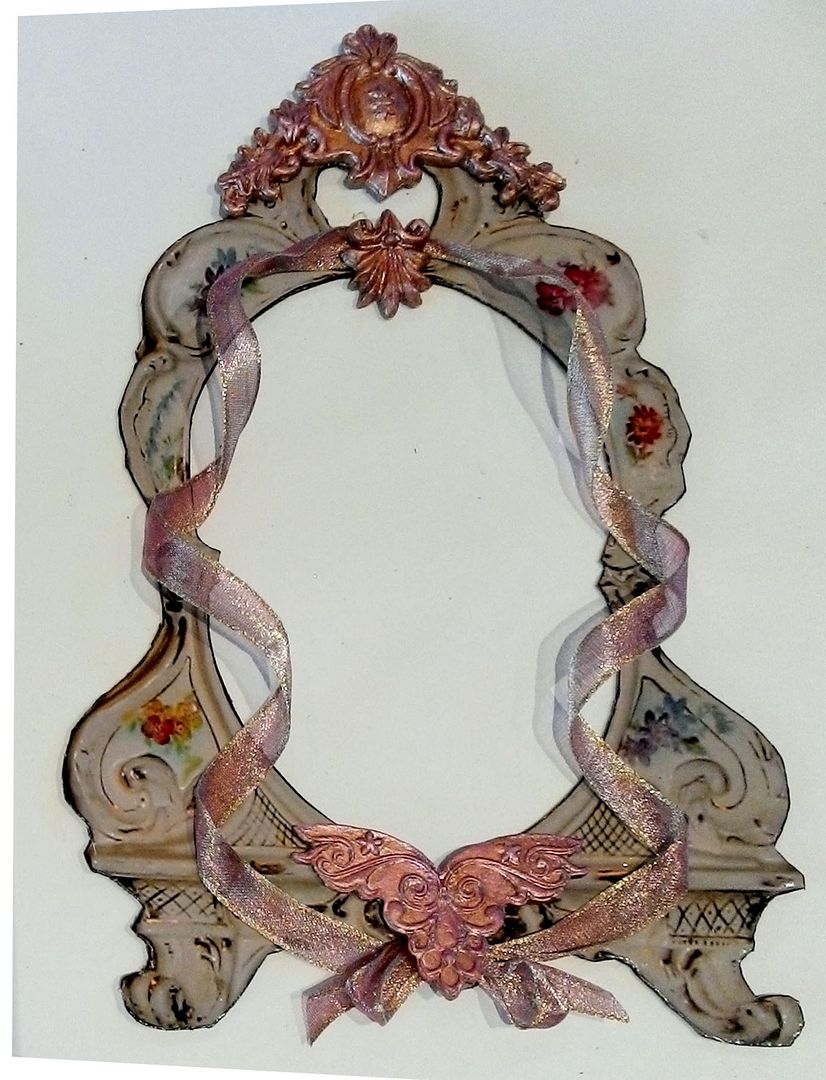
decorated the center frame with iridescent ribbon and embellishments made from
paper clay that are painted with Rose Gold Liquid Pearls and then on the high points, lightly brushed with Brass Liquid Pearls .
I used
four different silicone molds packed with all kinds of goodies that
you can use again and again for art projects .
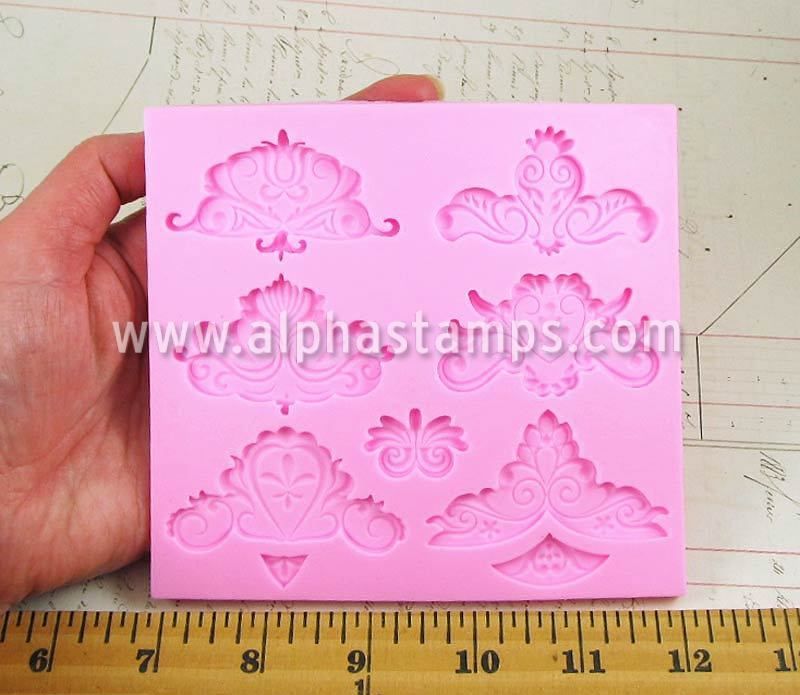
Below
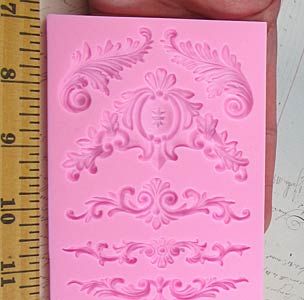
you can see the Architectural
Flourishes Mold which I used for the top of the center frame.
The
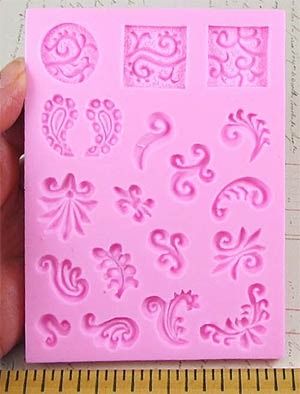
small embellishment at the top of the center piece is from the Symmetrical
Ornaments Mold.
Behind
Marie’s dress is the lid
of a paper mache box papered on the inside and out and trimmed with gold
Dresden.
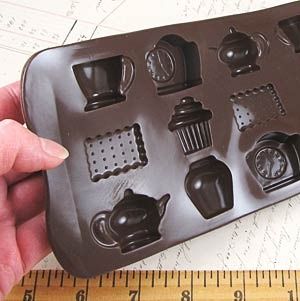
For the
cupcake I used a 3D Tea Party Silicone
Mold. One
of the coolest things about this mold is that you can make two of the same items, glue
them together and you have a 3D piece.
For the
embellishment at the top of the side frames I used the Symmetrical
Ornaments Mold (shown above) and ribbon.
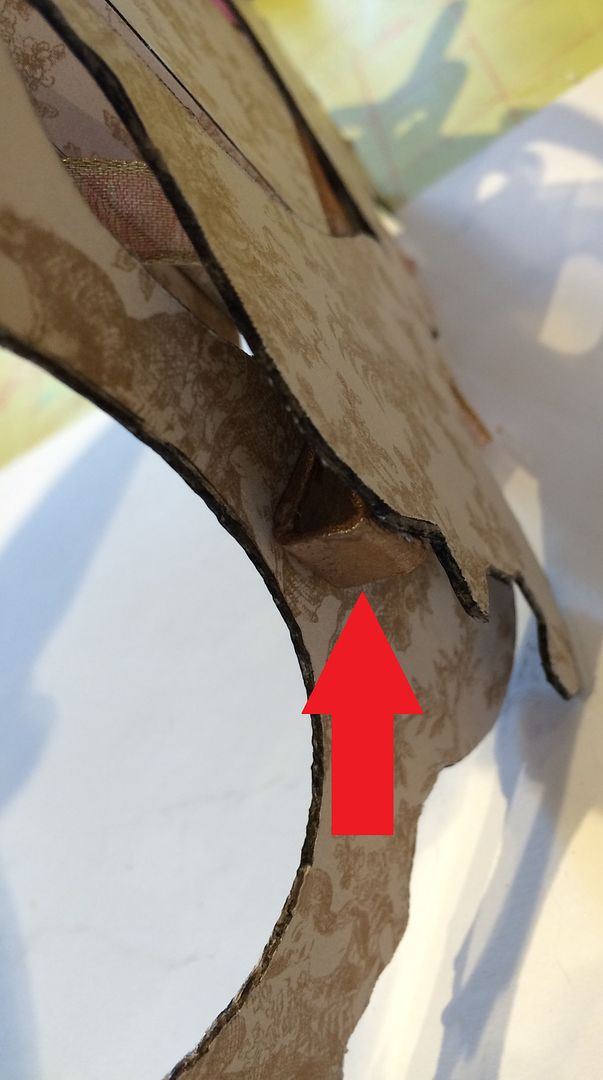
To
attach the frames to the each side of the center piece and to make them curve inward
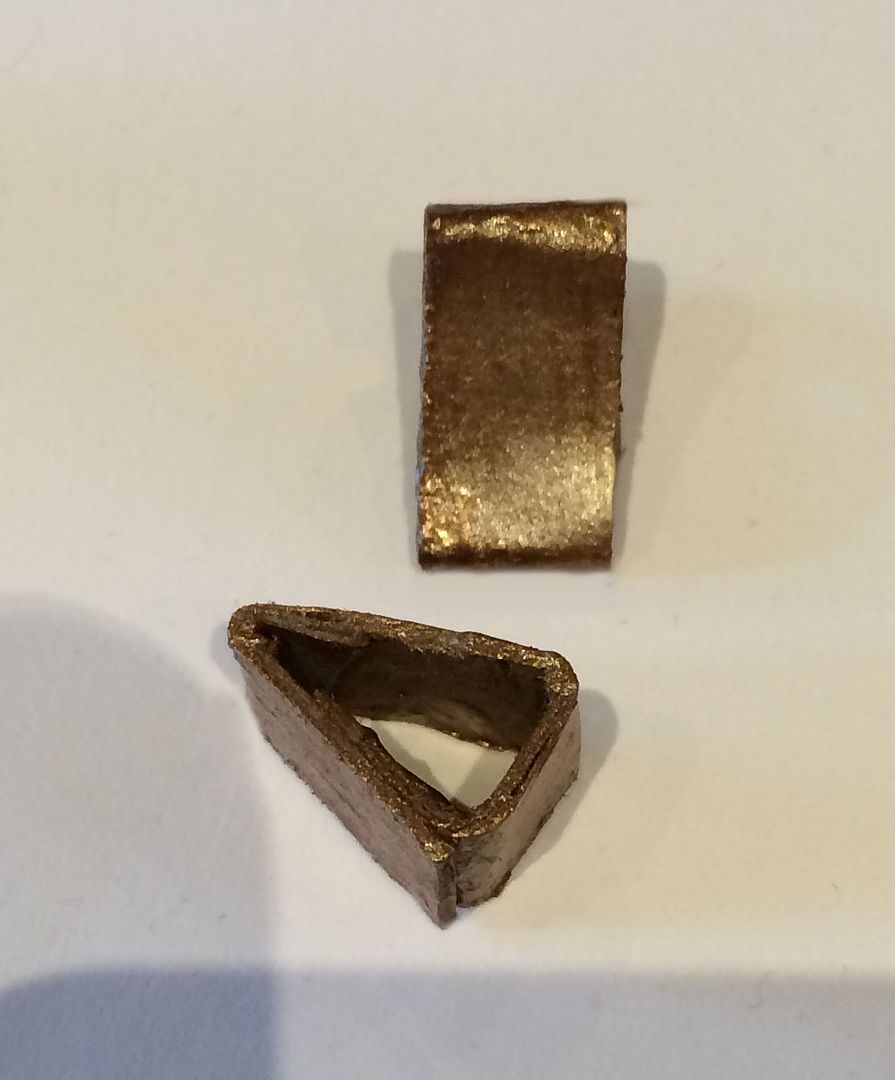
(which makes the piece stand on its own), I made wedges from chipboard.
The
size of the wedges depends upon where you want to attach them. Make them small enough that they are hidden
by the frame. I started by cutting two
thin strips of lightweight chipboard.
Next, I started bending them into the shape of a wedge. I bent the chipboard 3 times which gives you
4 sides. Three sides make the wedge and
the fourth side is used to glue the wedge to itself. Lastly, after gluing the wedge together, snip away the excess chipboard strip.
I
painted the wedges with Brass Liquid Pearls and glued them in place on the back
of the smaller frames.
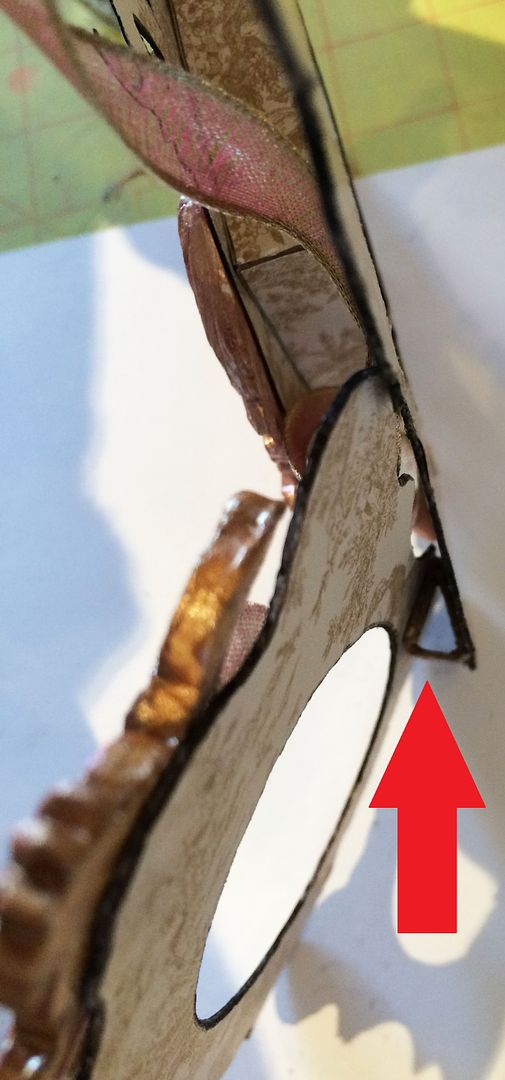
Next,
glue the wedges on the smaller frames to the large center frame.
Now all
three pieces are combined with the outside frames curving slightly inward
causing the piece to stand without support.

ALPHA STAMPS PRODUCTS USED FOR THIS PROJECT
Creative
Paper Clay


3 comments:
Gorgeous! oh my gosh so beautiful!
I must try the molds soon.Thank you for this beautiful art.
hugs
susan s
This is absolutely fabulous. And so creative, out of the box wonderful. Can you tell I love it !!!!
Your attention to detail and imagination is fantastic and this project has a real wow factor. I love to visit this blog so full of inspiration
TFS and best wishes
Annie
I love your projects, they are so imaginative/creative and so professionally done. You got me hooked on these molds :) May I ask if the Architectural Flourishes and other molds here are from Mod Podge? I don't see the brand name for any of them mentioned. Hope that's clarified, thanks!
Post a Comment