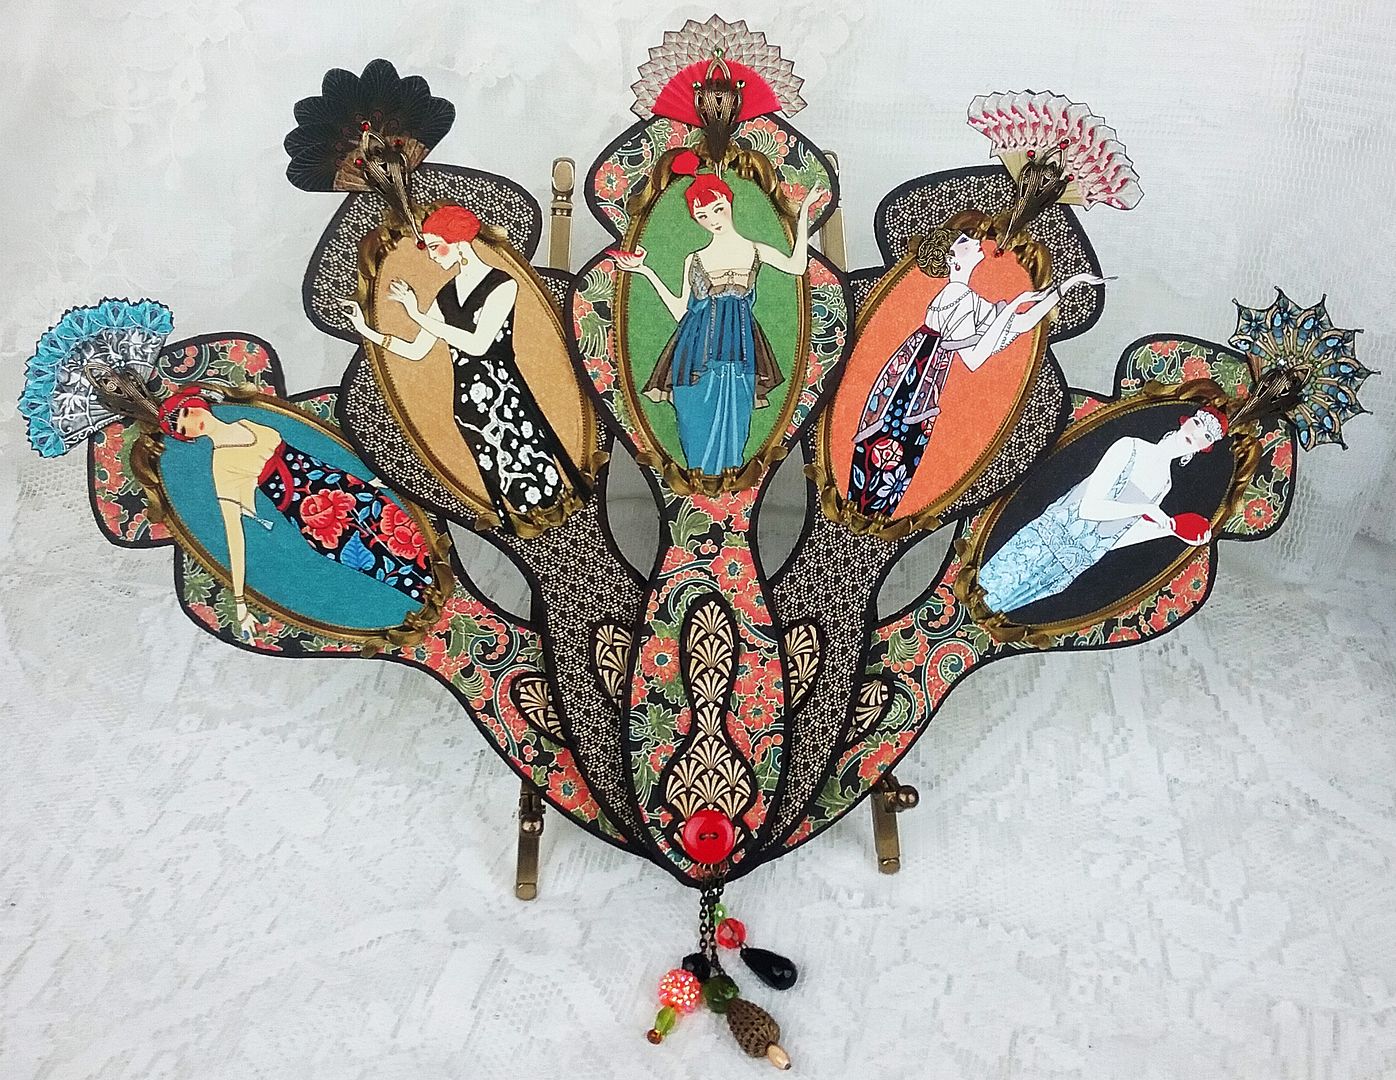
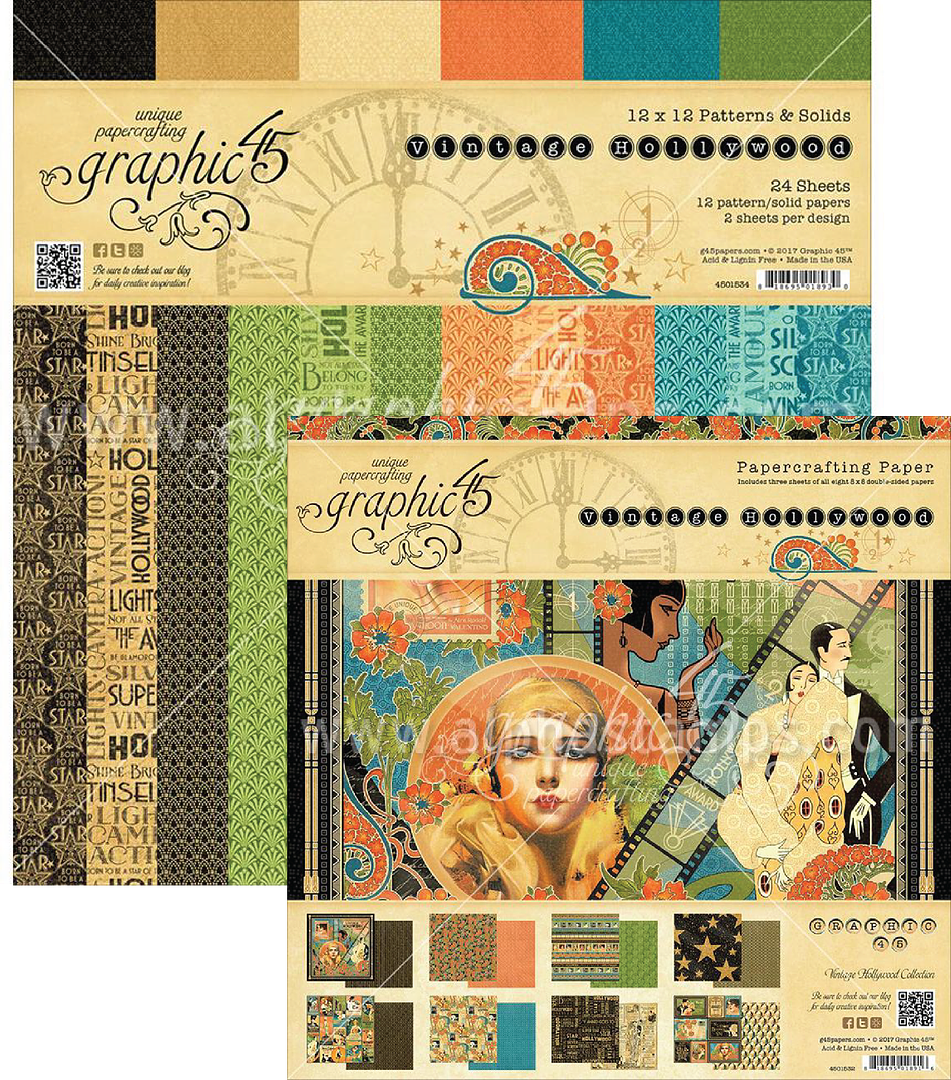
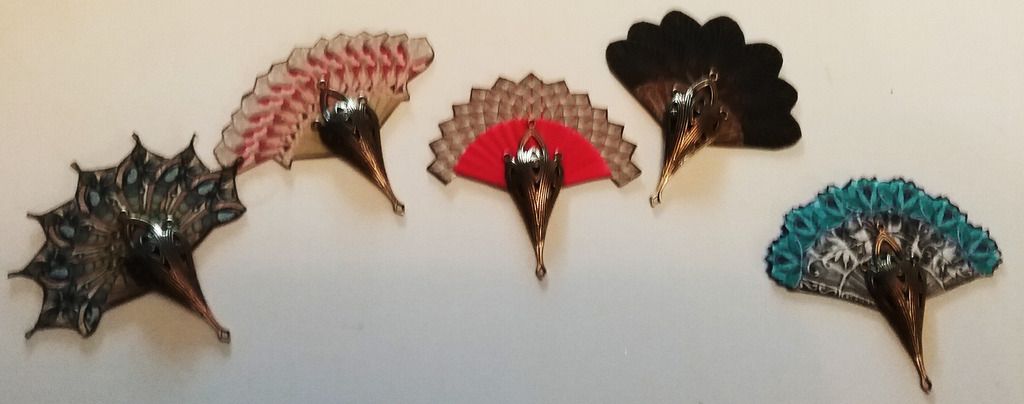
The new Vintage Hollywood paper and Venetian Fan Blade sets were the inspiration for this project. The fan blades work great for creating either a fan for display purposes or a working fan.


NEW COLLAGE SHEETS

This sheet contains 8 lovely ladies in 1920’s fashion with 7 fan designs in various sizes. To purchase this collage sheet, click on the image.

This sheet contains 19 sassy ladies from the 1920s. To purchase this collage sheet, click on the image.
 This sheet contains two sets of ladies from the 1920s for a total of 38 images. The collage sheet is sized to fit the mini fans. To purchase this collage sheet, click on the image.
SAMPLE MINI FAN
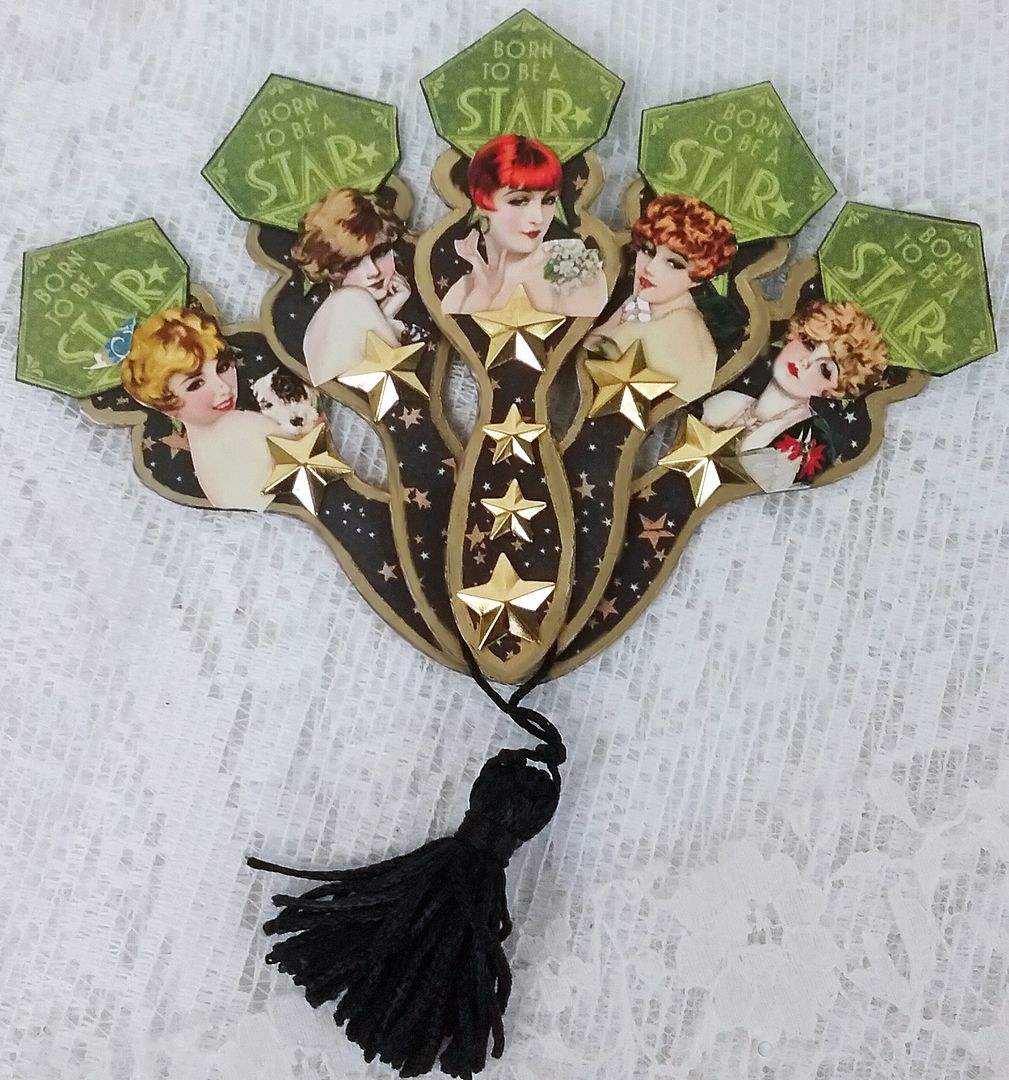
SUPPLIES USED IN THE MINI FAN
Vintage Hollywood 8x8 Paper Pad
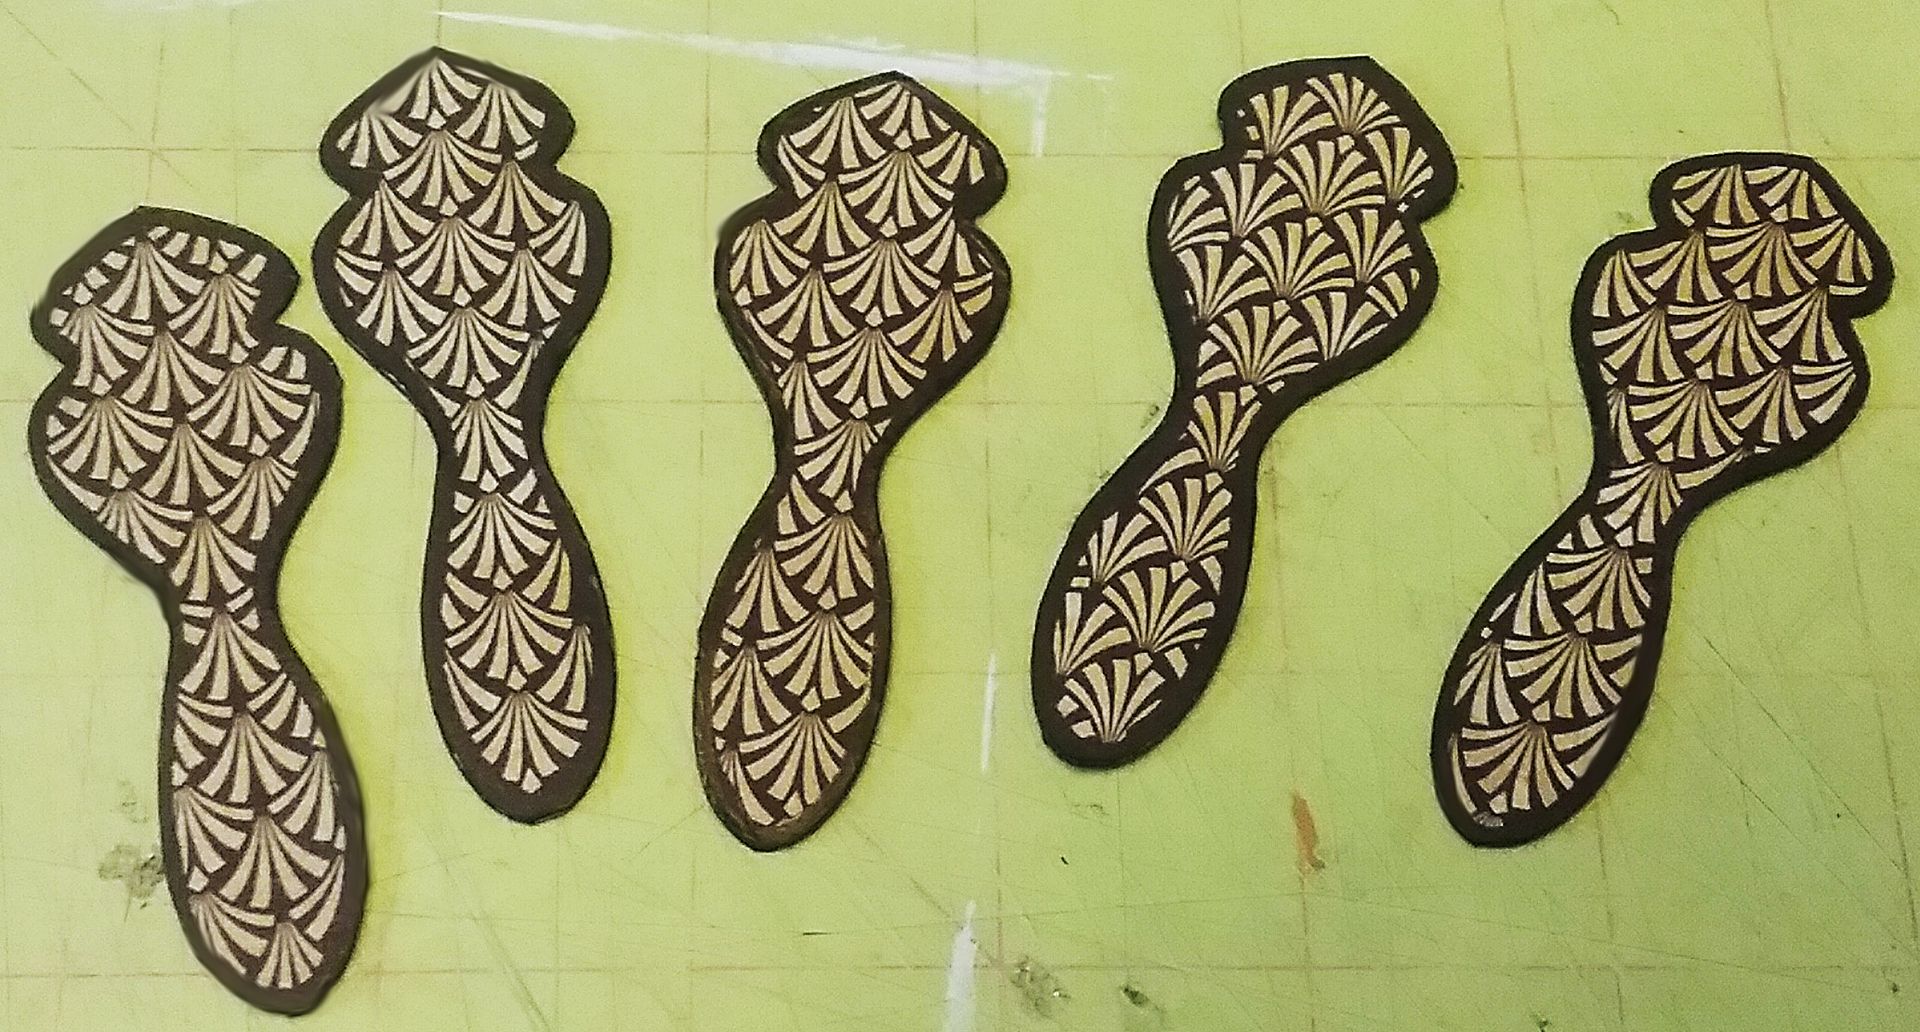
Venetian Fan Blades – Set of 5
Flat-Back Gold Star Studs - 12mm
Flat-Back Bold Star Studs – 8mm
1 Inch Mini Tassel - Black
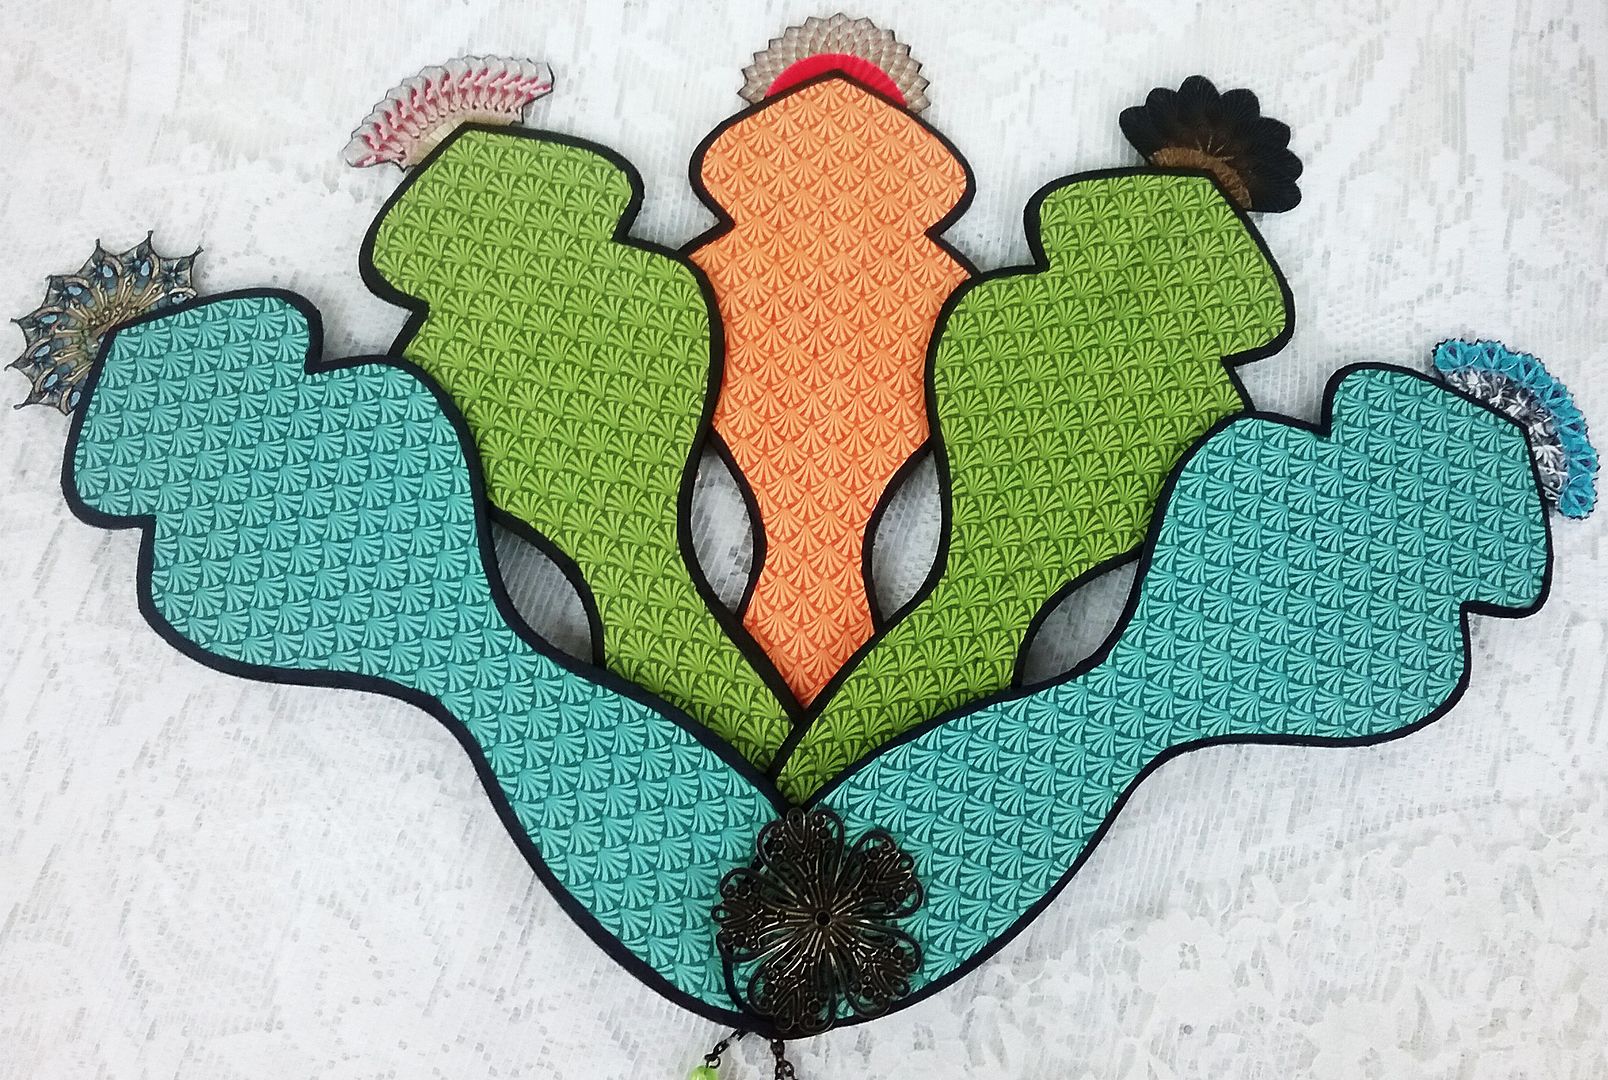
LARGE FAN DETAILS
DECORATING THE FAN BLADES
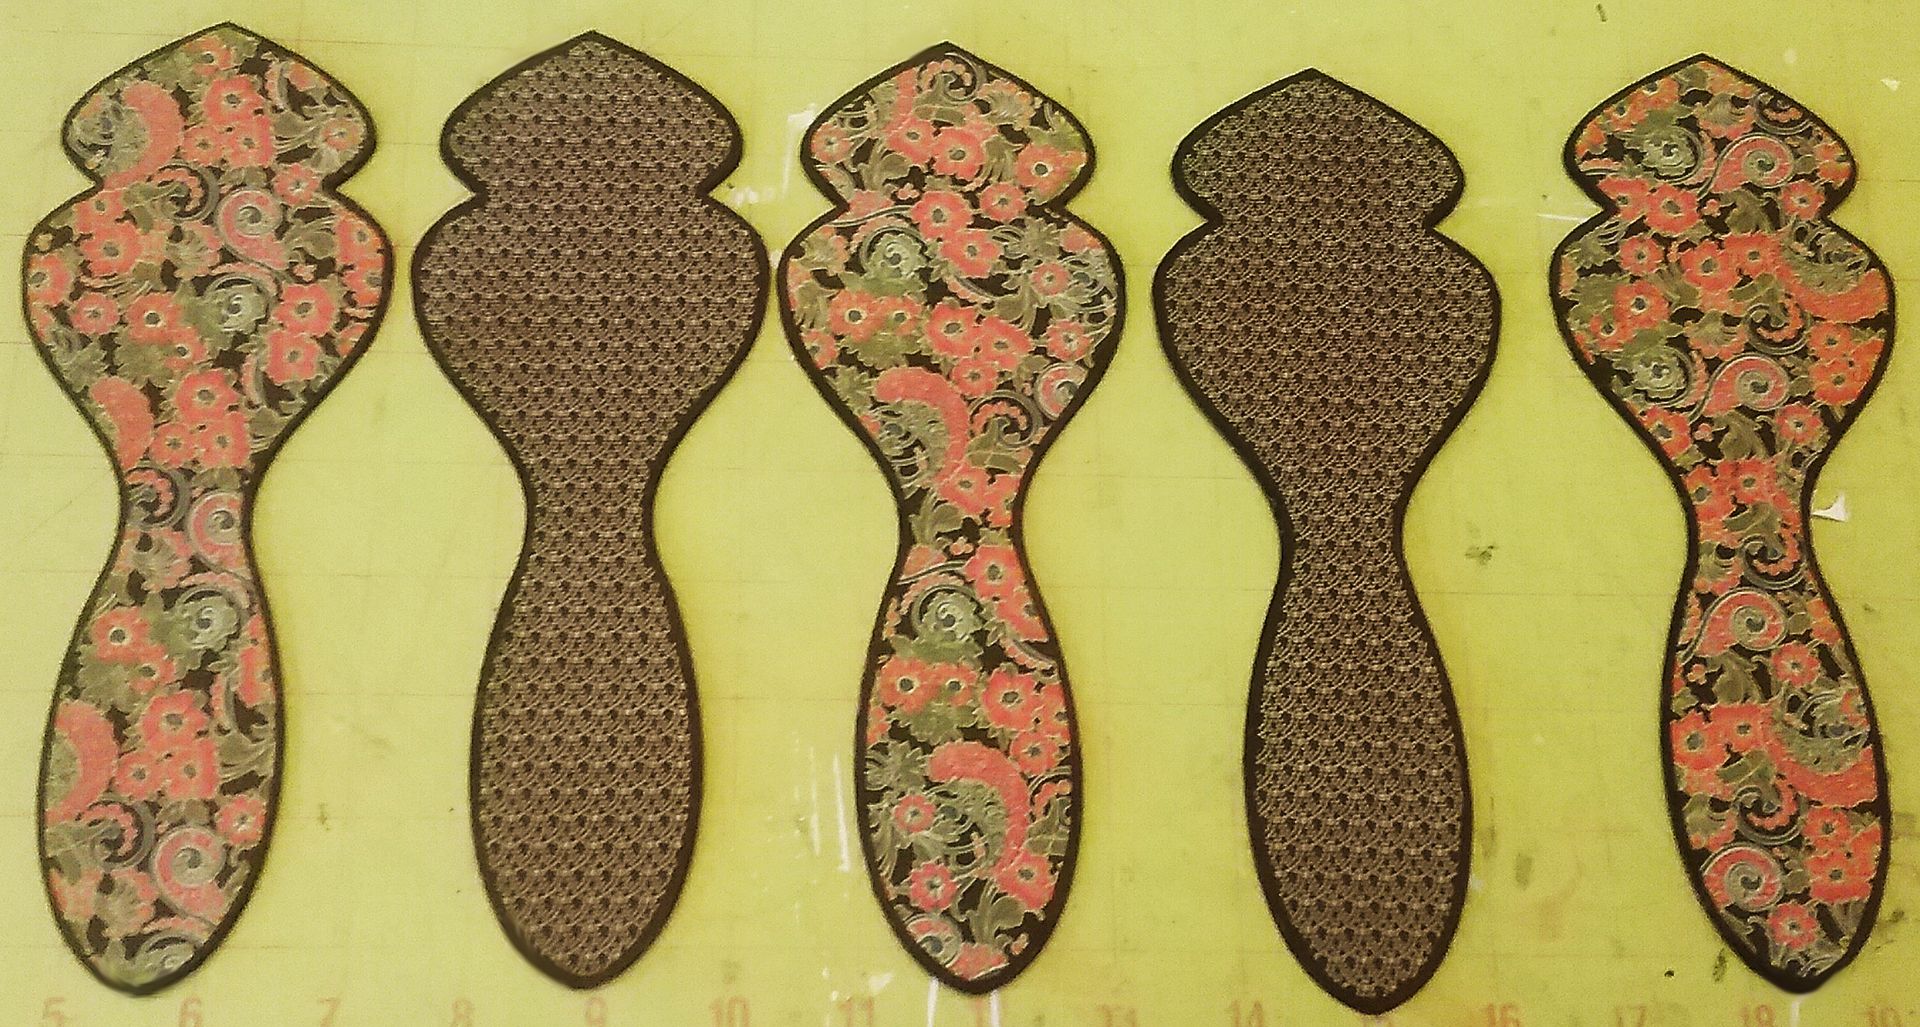
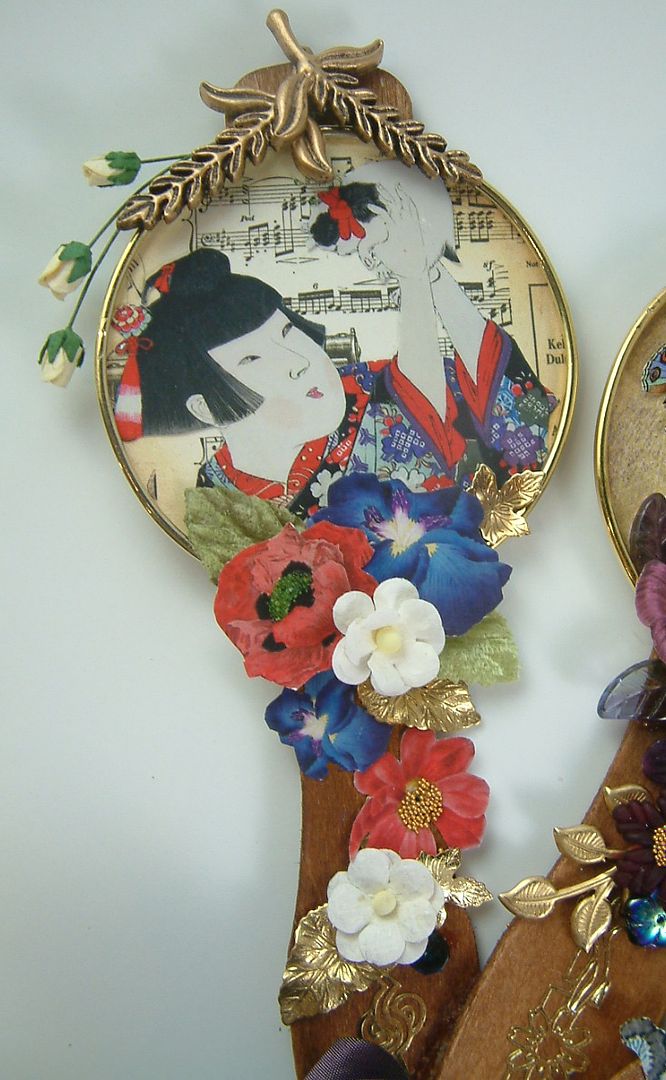
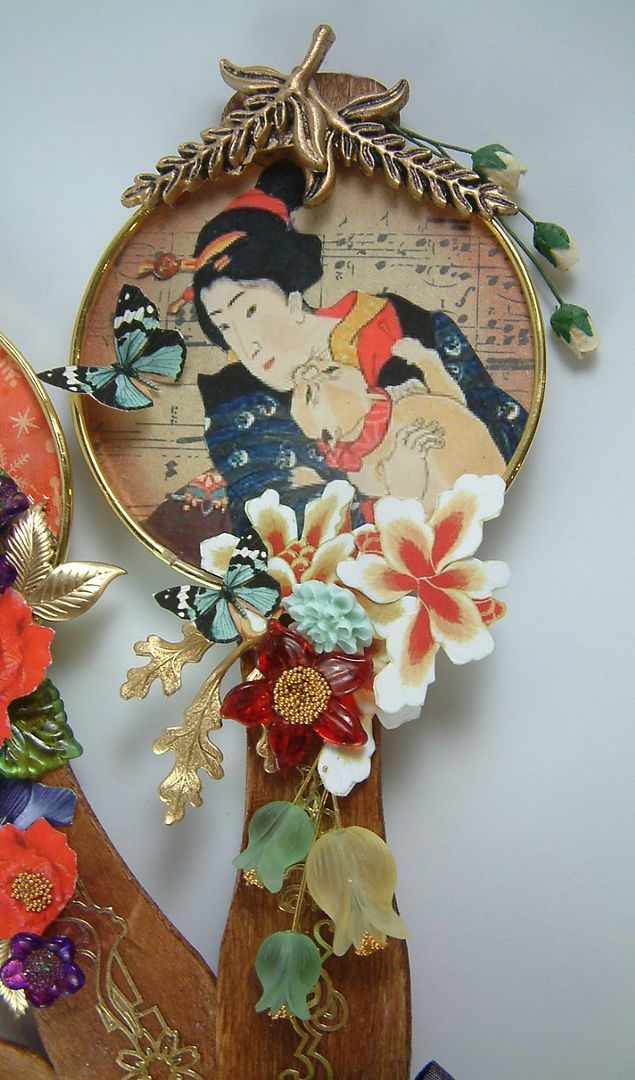
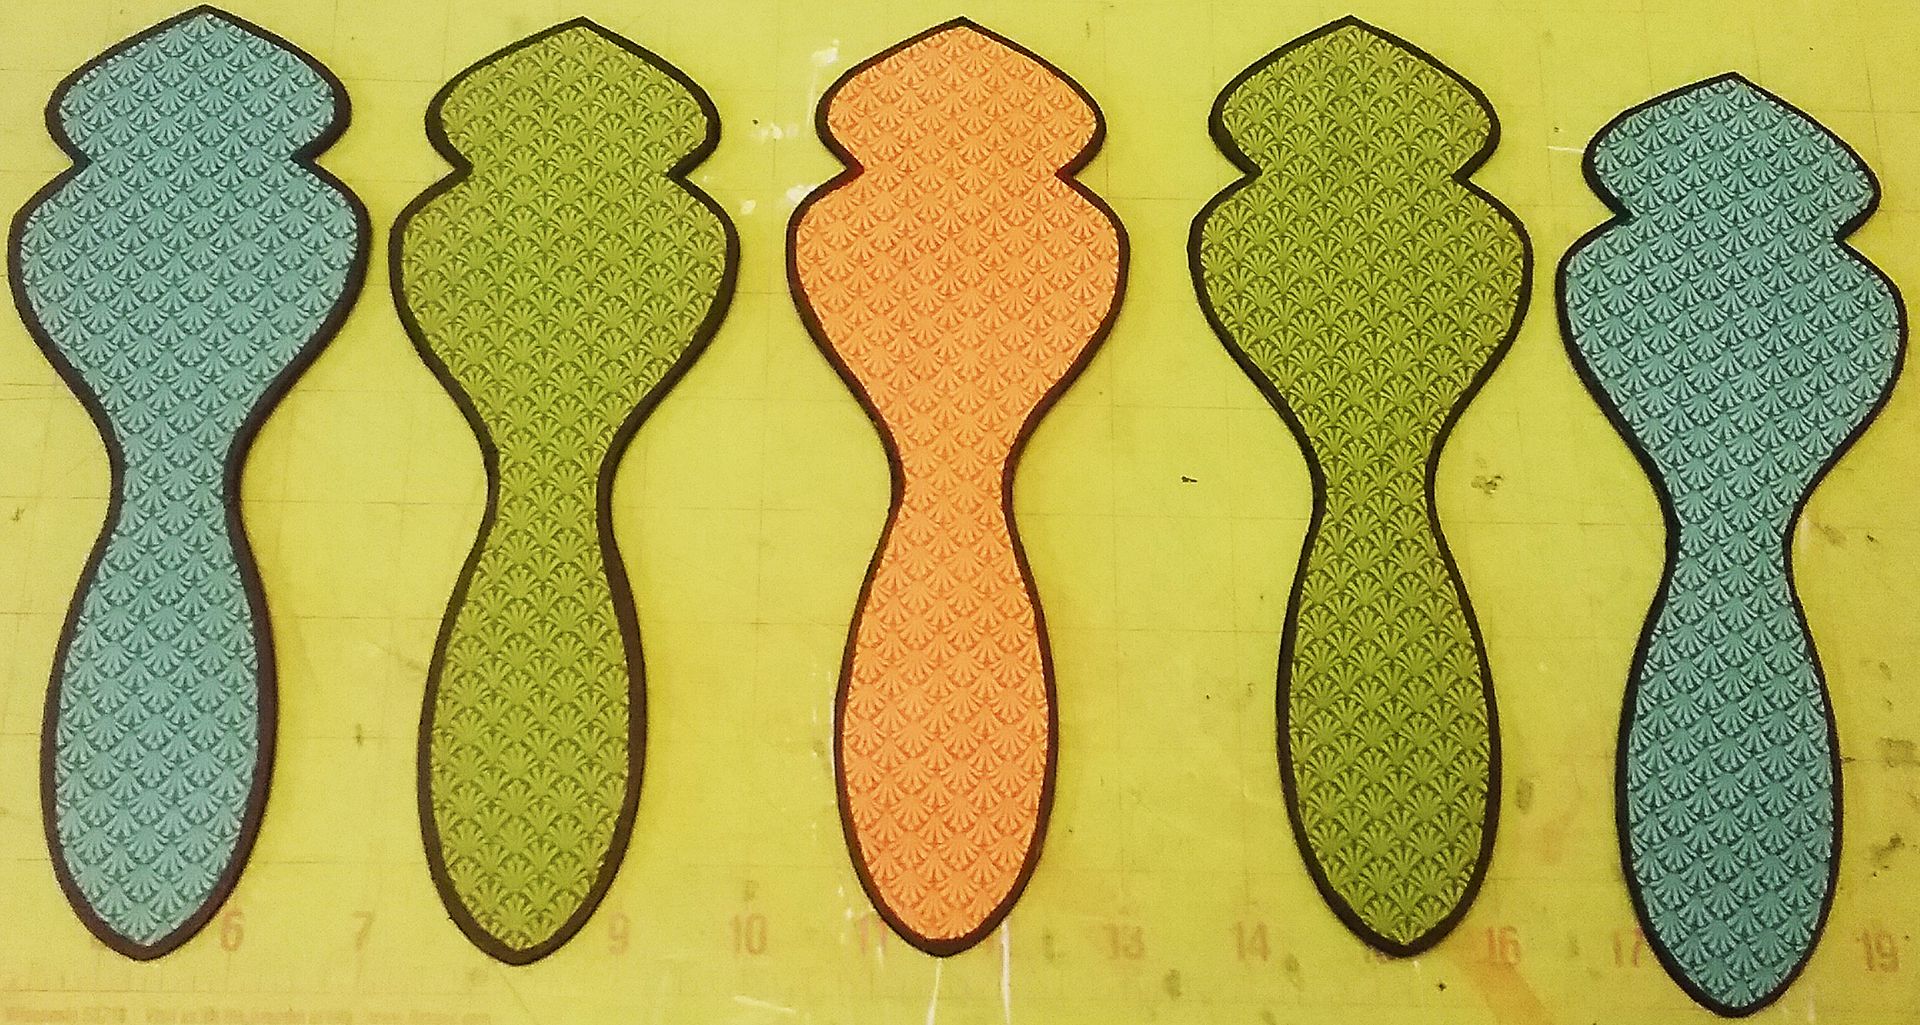
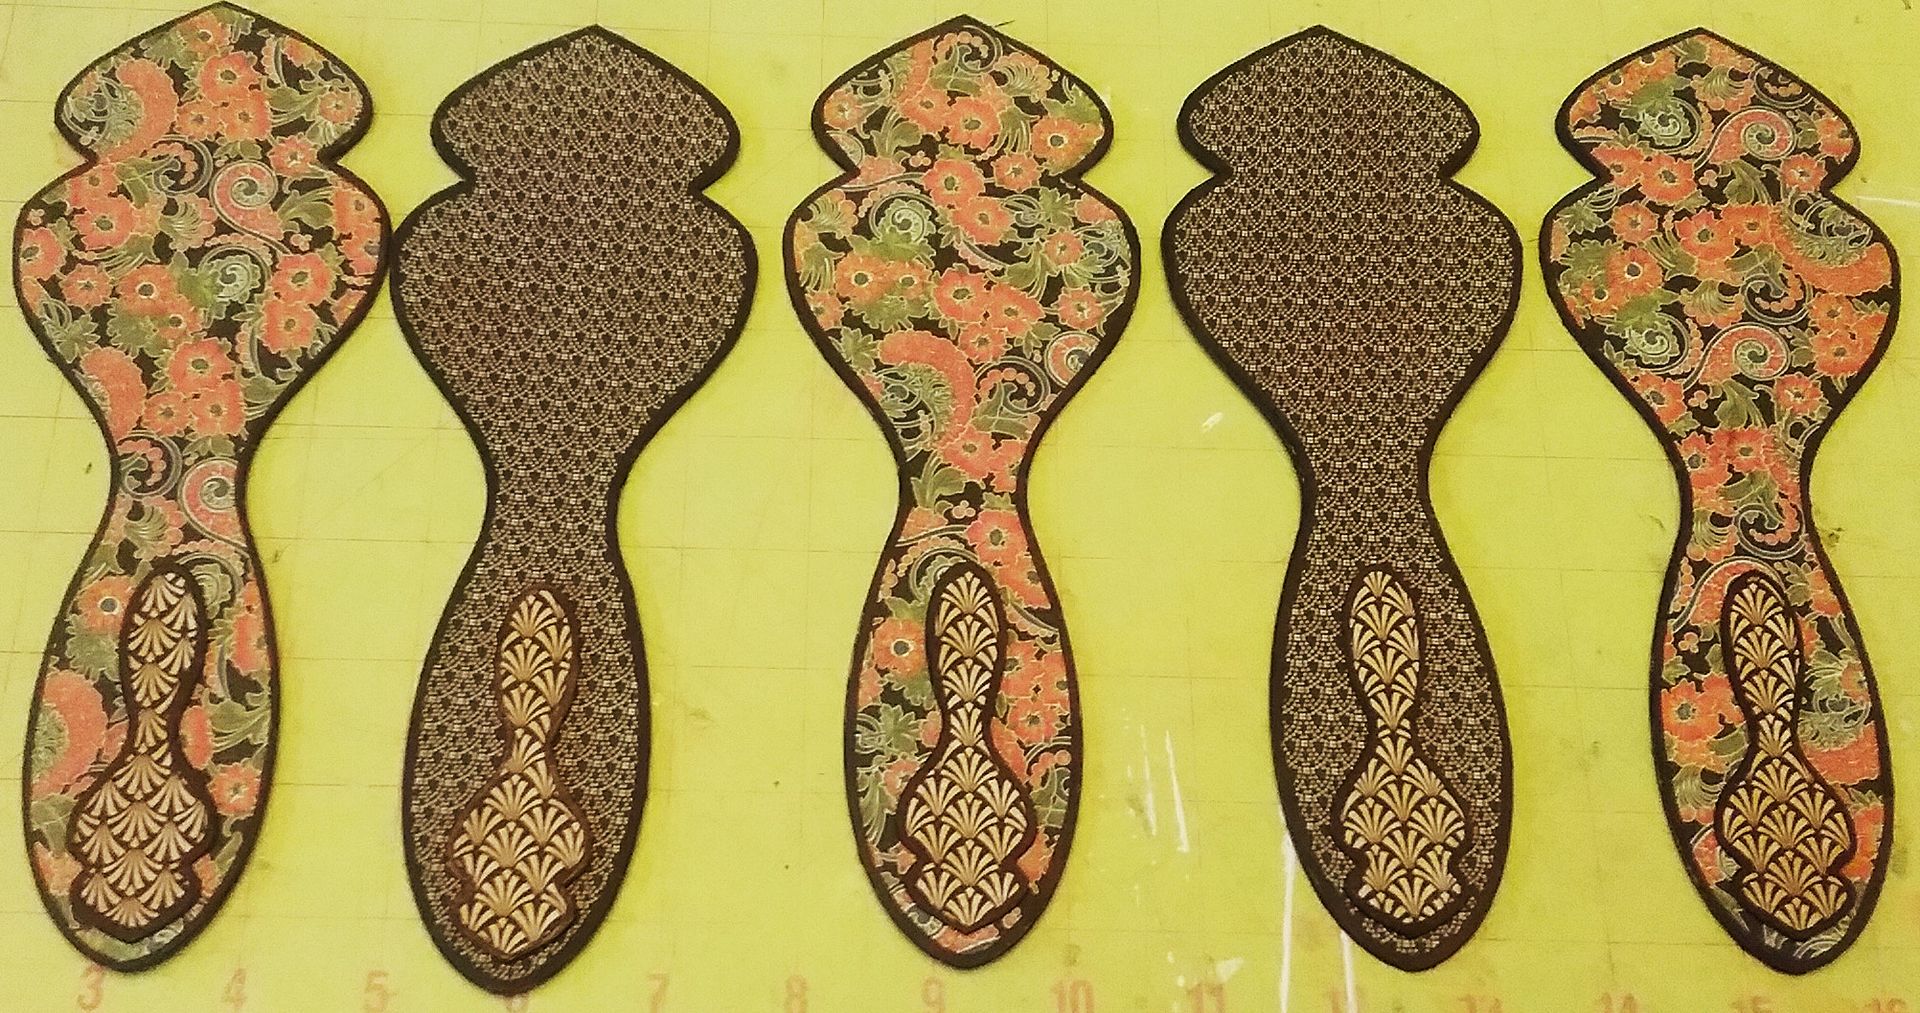
I started by covering both sides of a set of large and small fan blades with Vintage Hollywood decorative paper.
I glued the smaller fan blades to the bottom of the larger blades.
I then punched a hole in one of the blades and used it as a template to mark and punch the holes in the remaining blades.

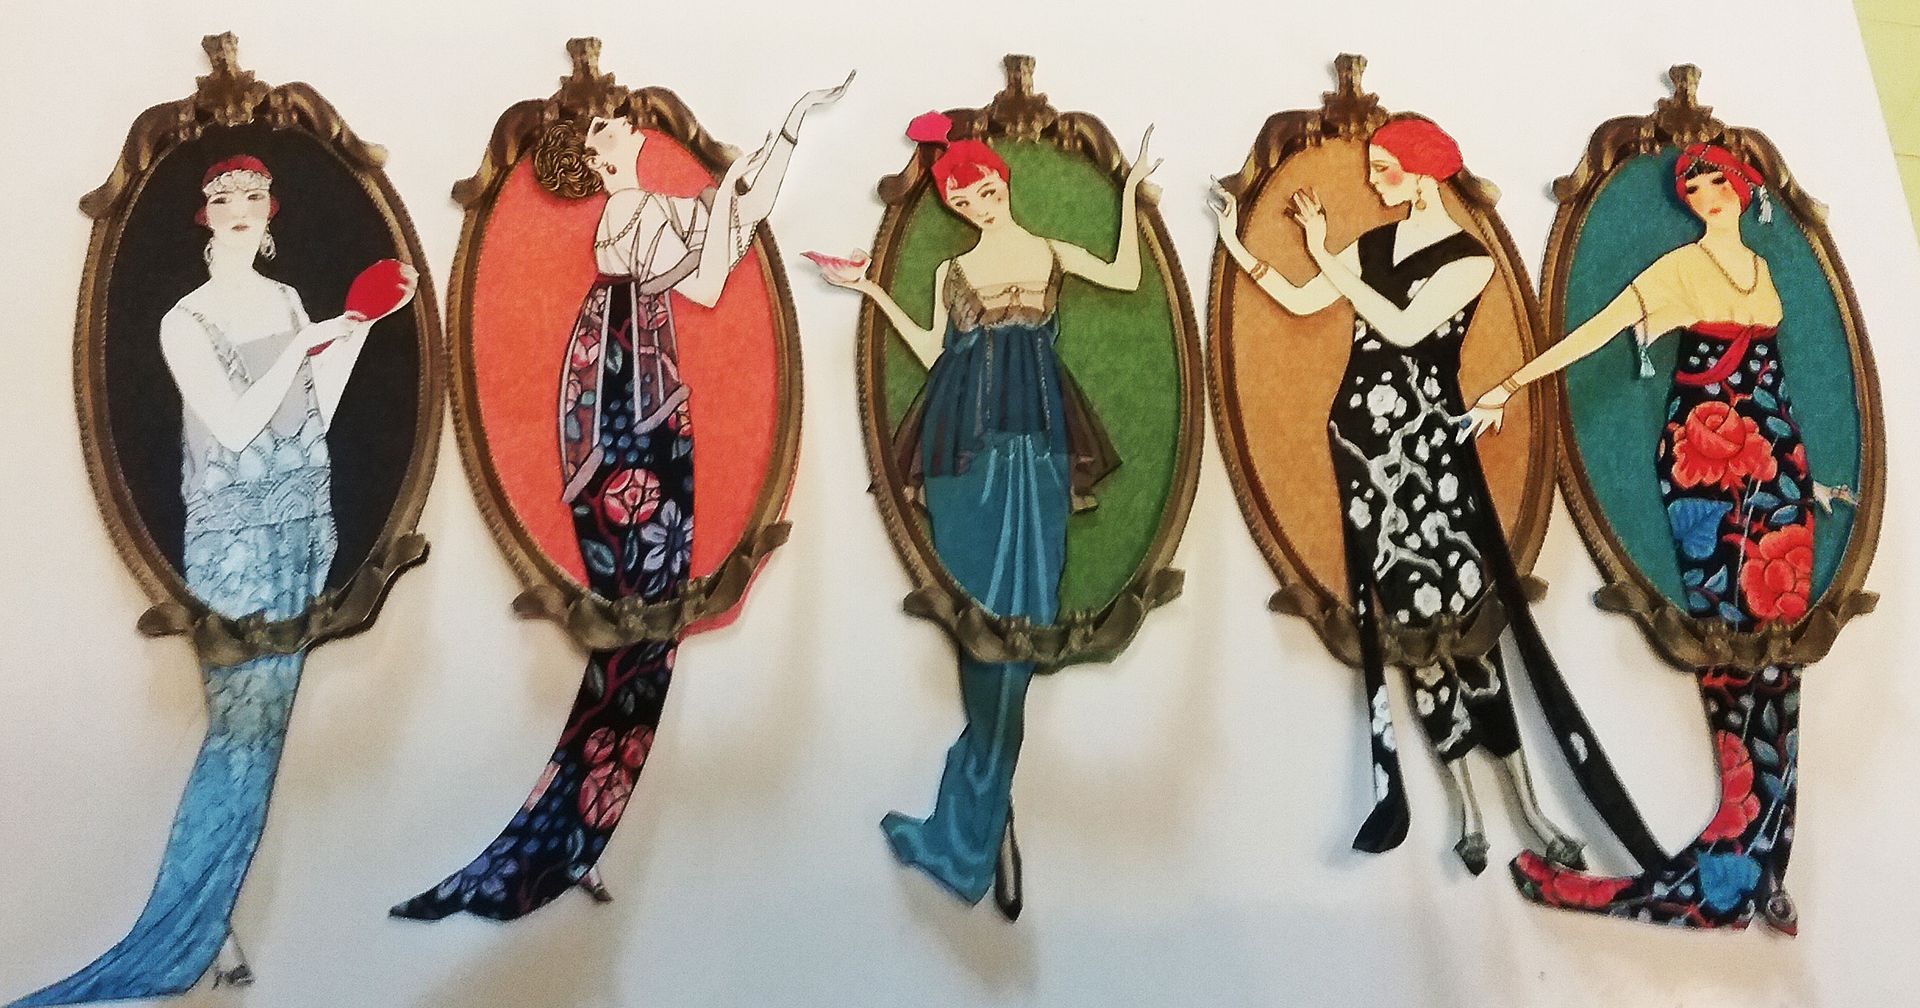
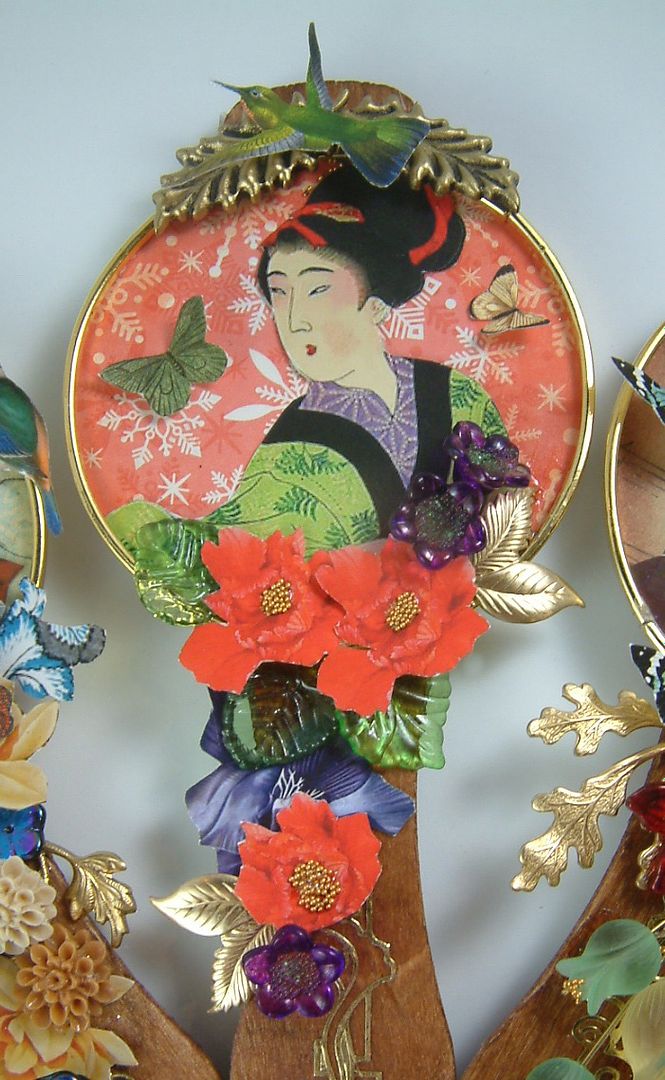
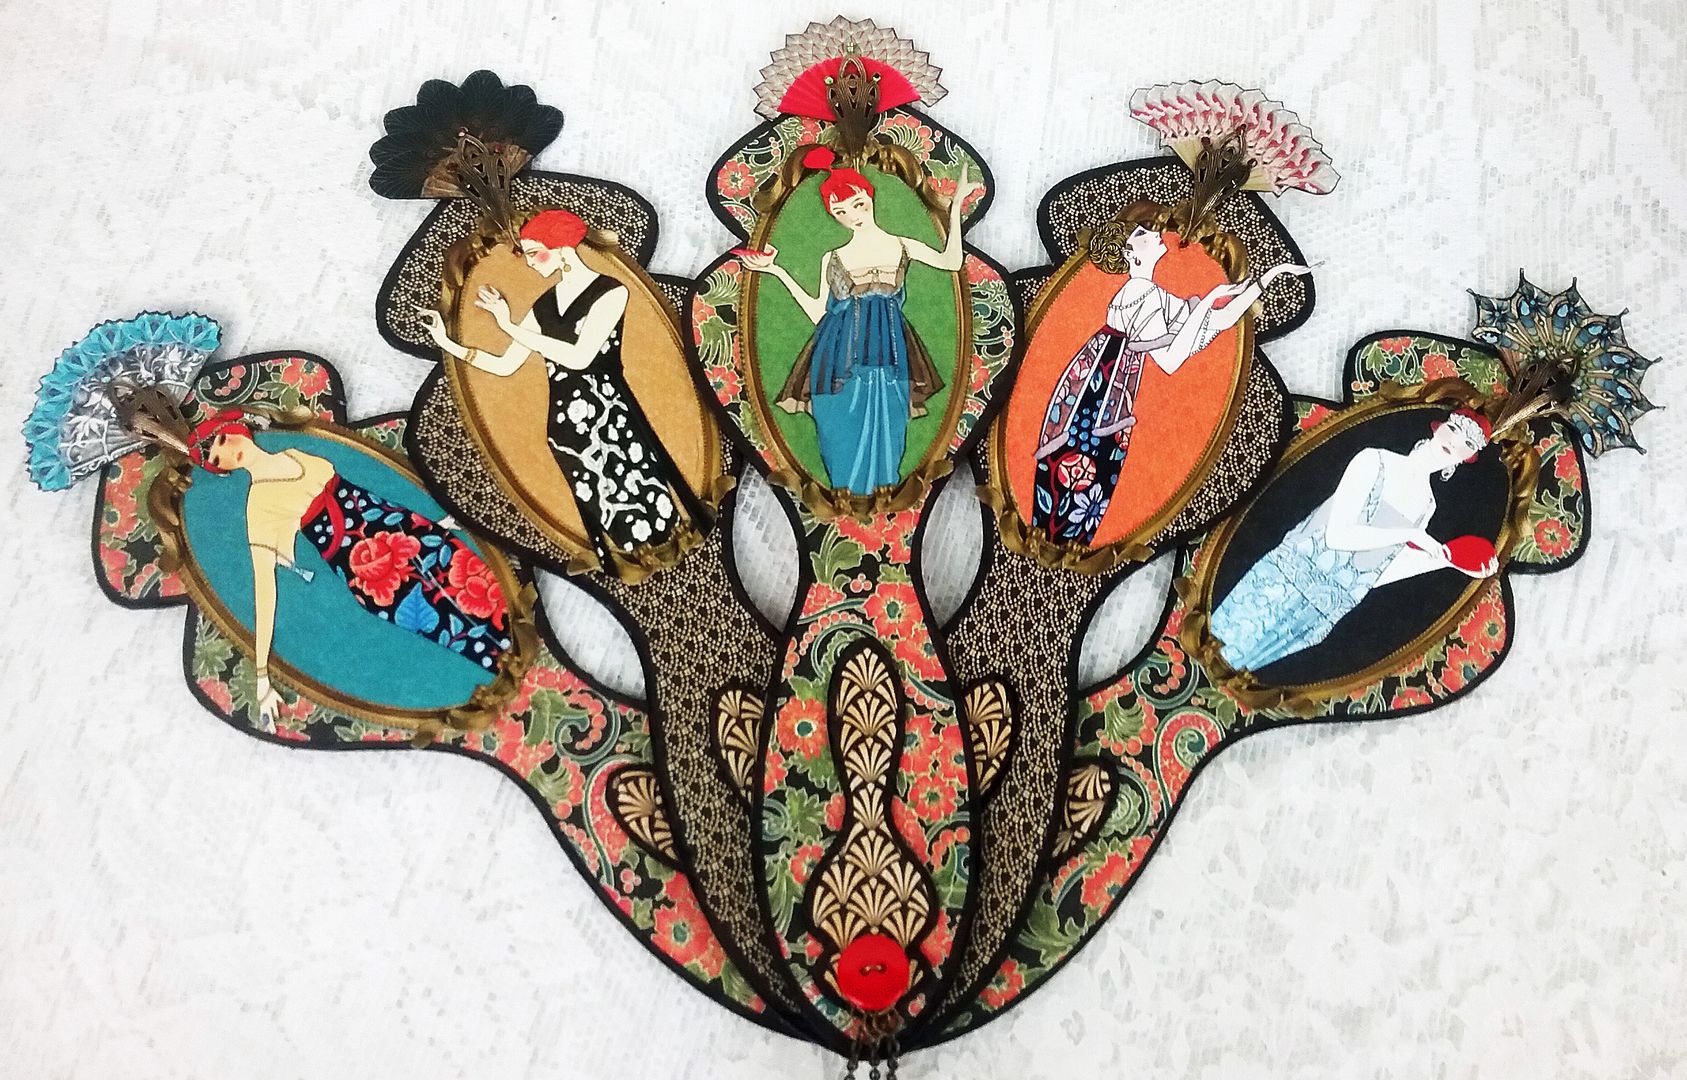
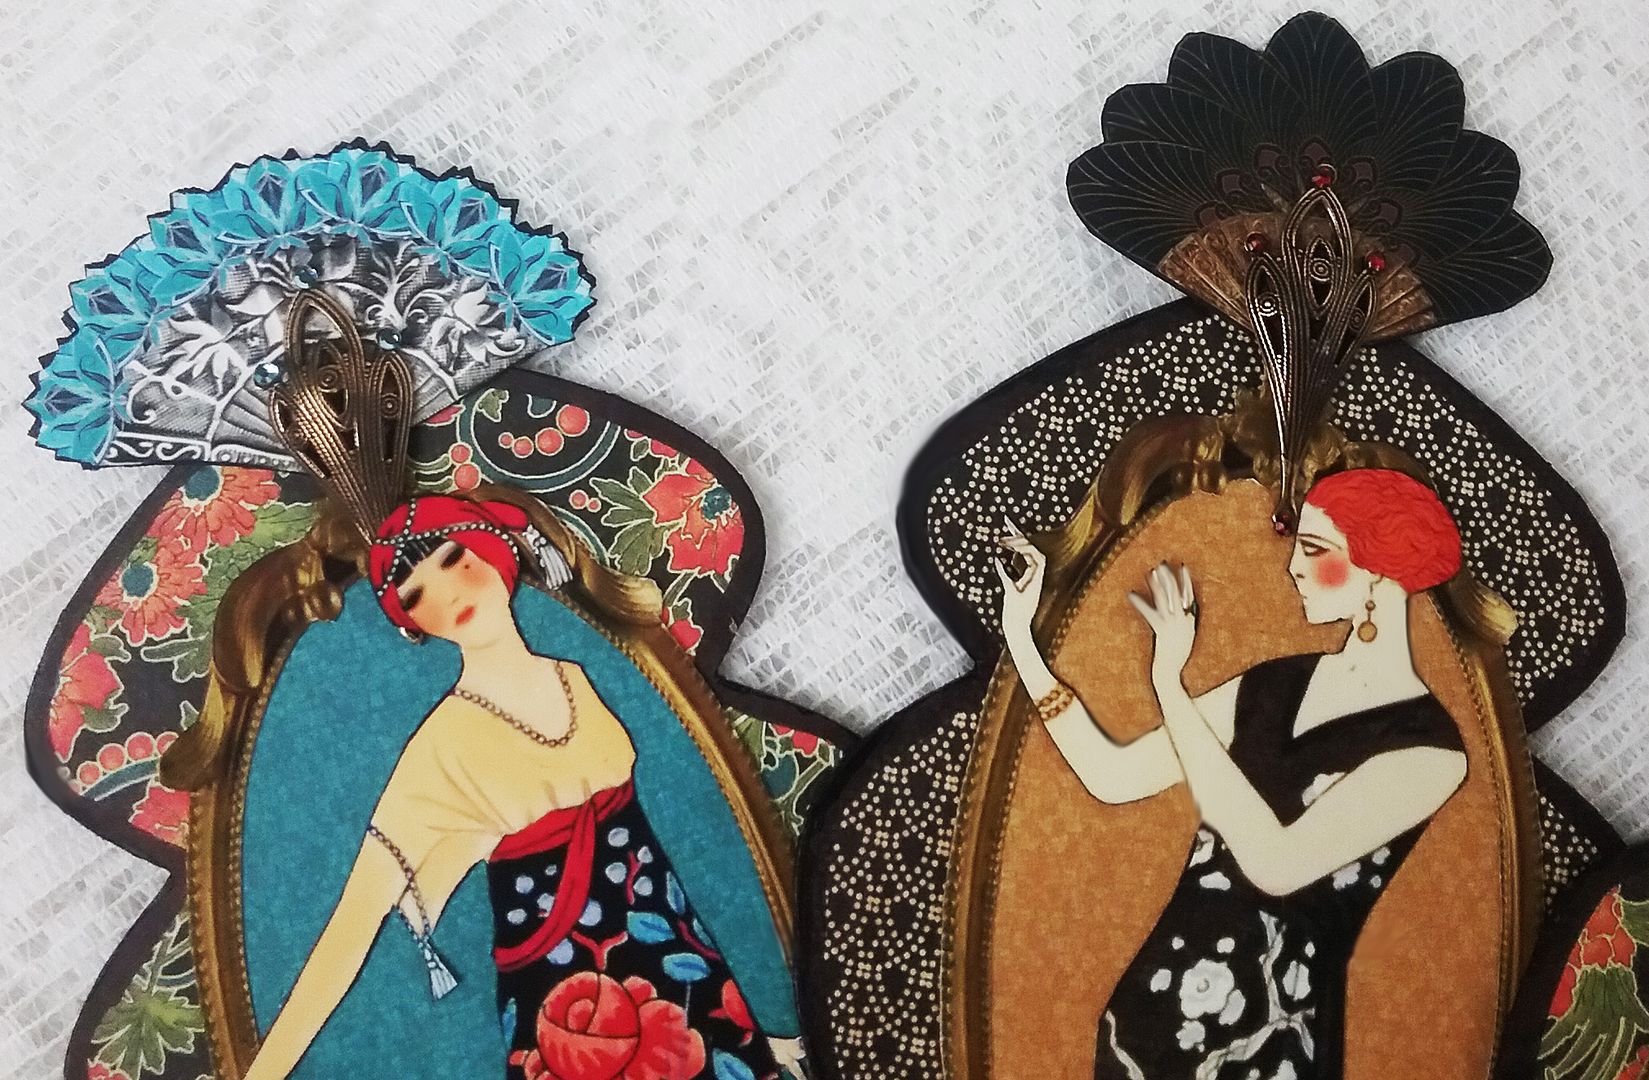
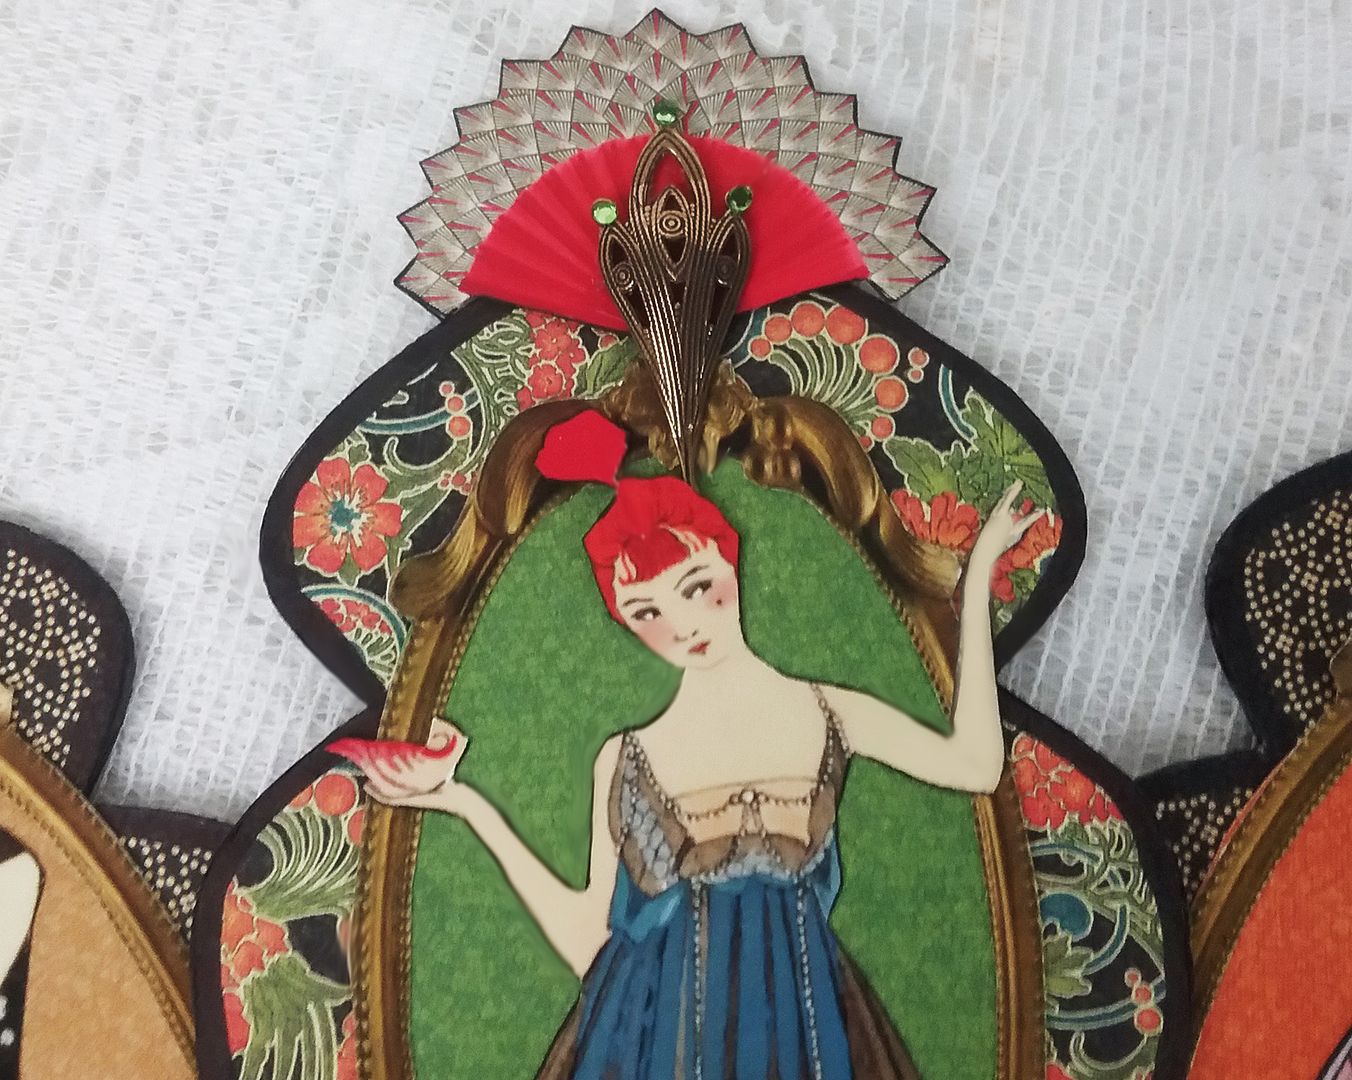
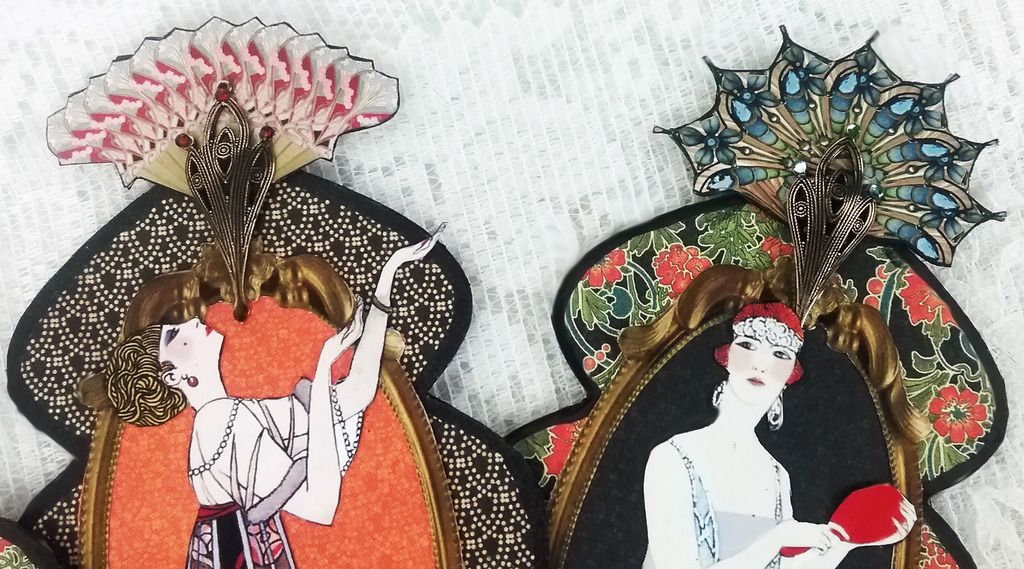
I glued the framed ladies to the fan blades and then added the fans. To give the fans more sparkle, I added colored rhinestones.
ASSEMBLING THE FAN
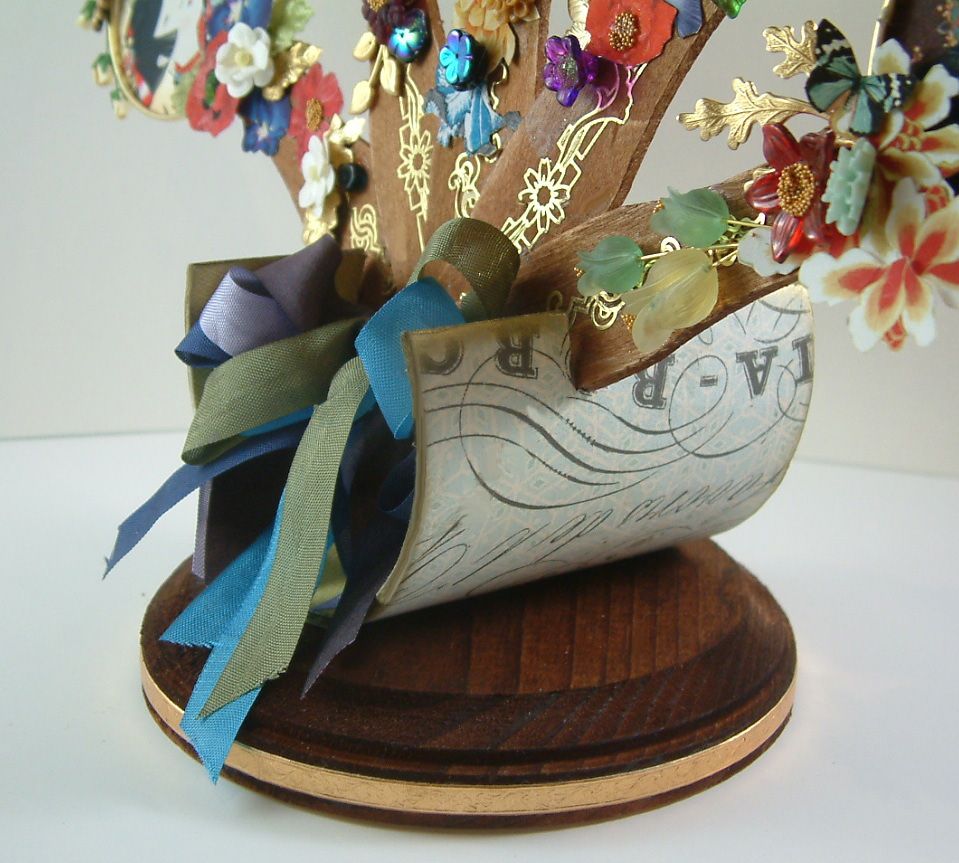
I decided to glue the fan blades in place instead of making them a working fan, as this fan was for display. By gluing the blades in place, you can add more dimensional embellishments.
Notice how the blades are attached with the middle blade on top, followed by the blade on the right, then the blade on the left, then the last blade on the right, and finally, the last blade on the left.
NOTE: If you want to learn how to connect the blades of the fan together to make a working fan check out the links to other fan tutorials at the bottom of this post.

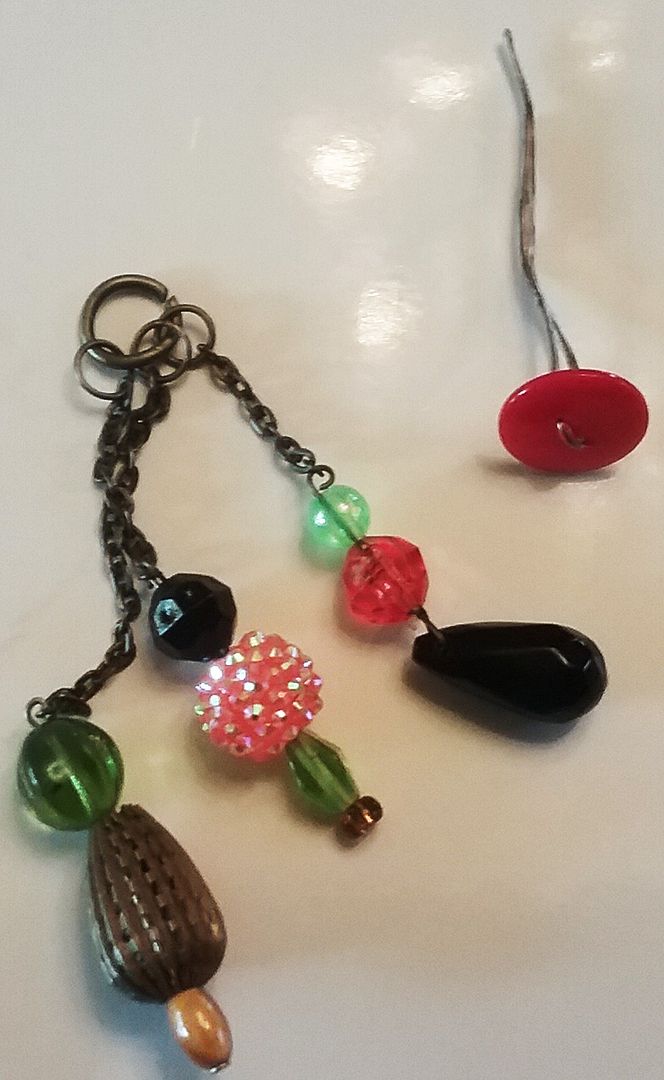


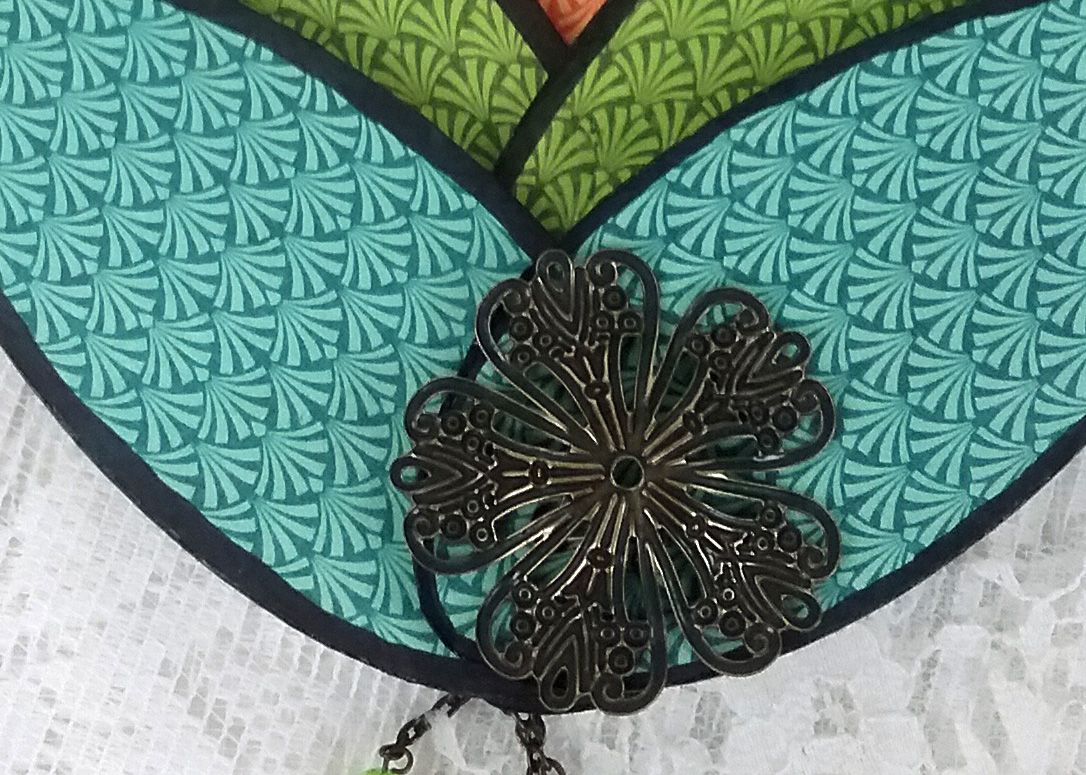
On the back of the fan, I folded the wire, glued it in place, and covered it with a piece of filigree.
DETAIL SUPPLY LIST - FOR BOTH FANS
ADDITIONAL FAN PROJECTS


Vintage Hollywood 8x8 Paper Pad
Vintage Hollywood 12 x12 Patterns & Solids Pad
Venetian Fan Blades – Set of 5
Mini Fan Blades – Set of 5
Abez Drop/Connector – Antique Gold
Corrugated Brass Pears
Flat-Back Gold Star Studs - 12mm
Flat-Back Bold Star Studs – 8mm
1 Inch Mini Tassel - Black
ADDITIONAL FAN PROJECTS
CLICK ON AN IMAGE BELOW TO HOP TO MORE OF MY FAN TUTORIALS