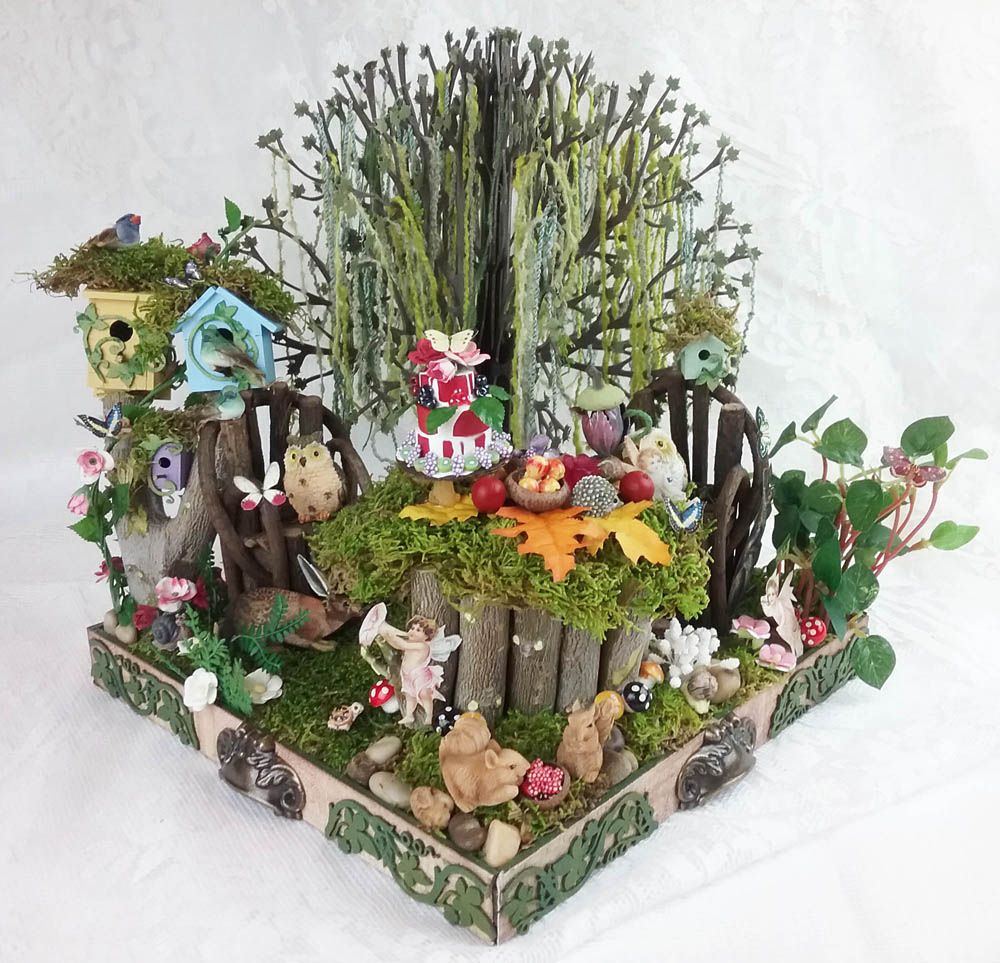
Deep in
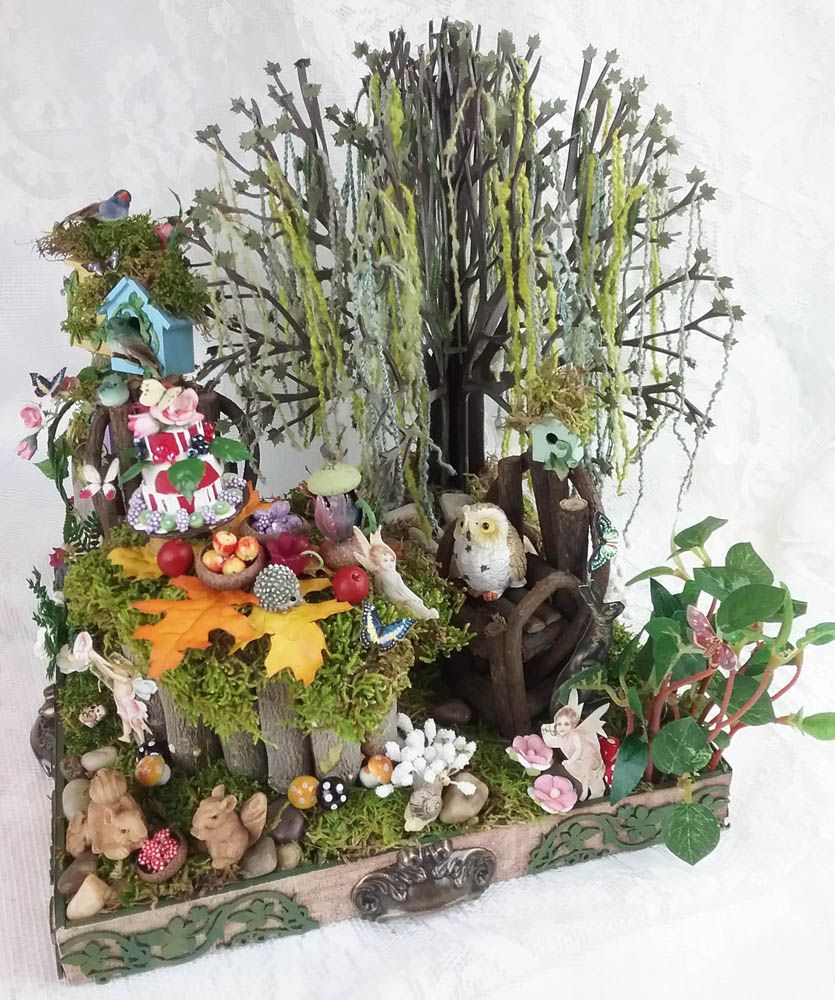
the forest, a tea party is set to begin under a moss-draped tree. Looks like the fairies have created a sumptuous
feast for the woodland creatures.
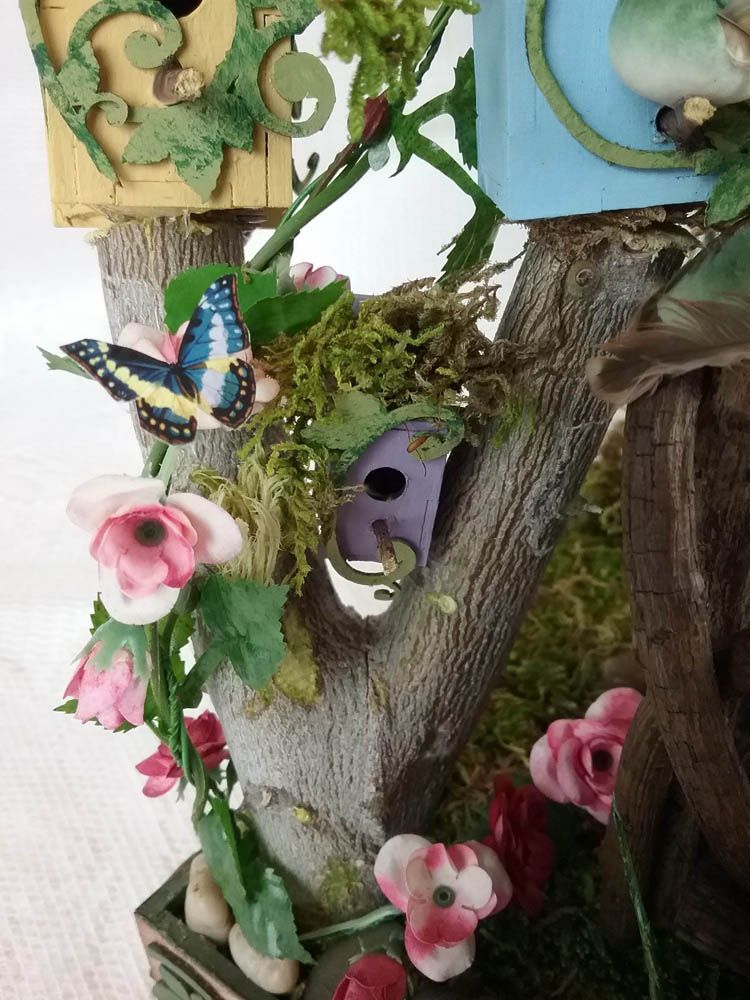
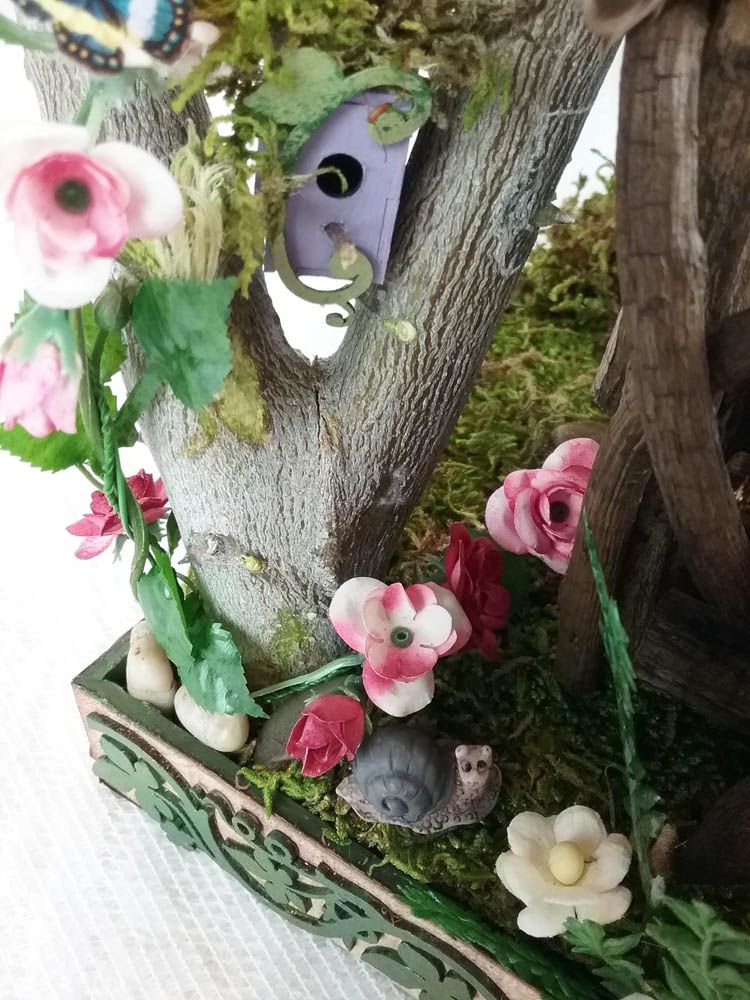
The birds are enjoying the sun sitting on the roofs and ledges of their houses.
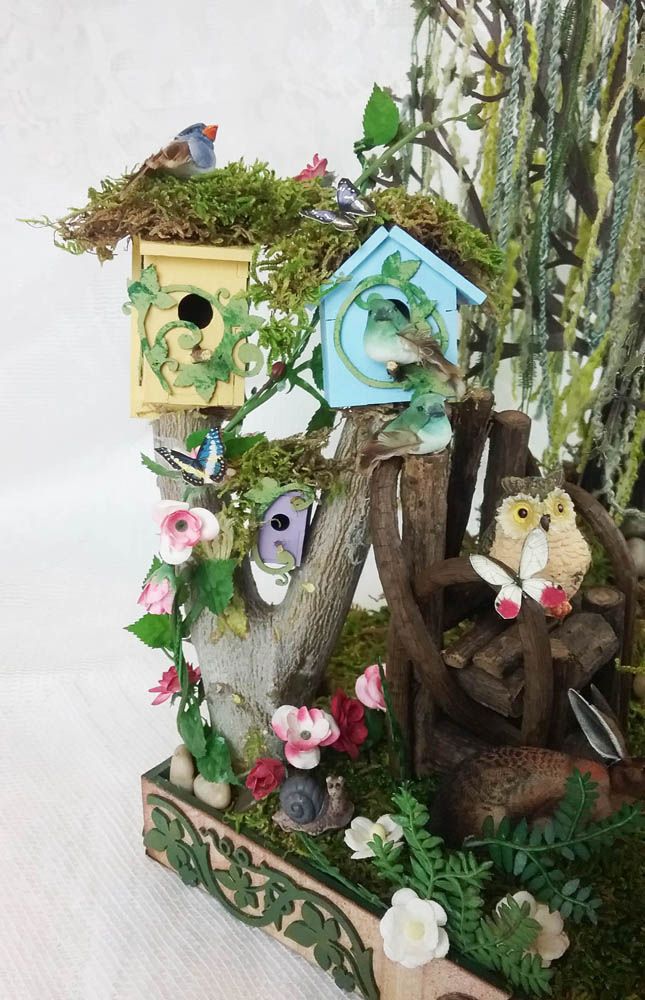
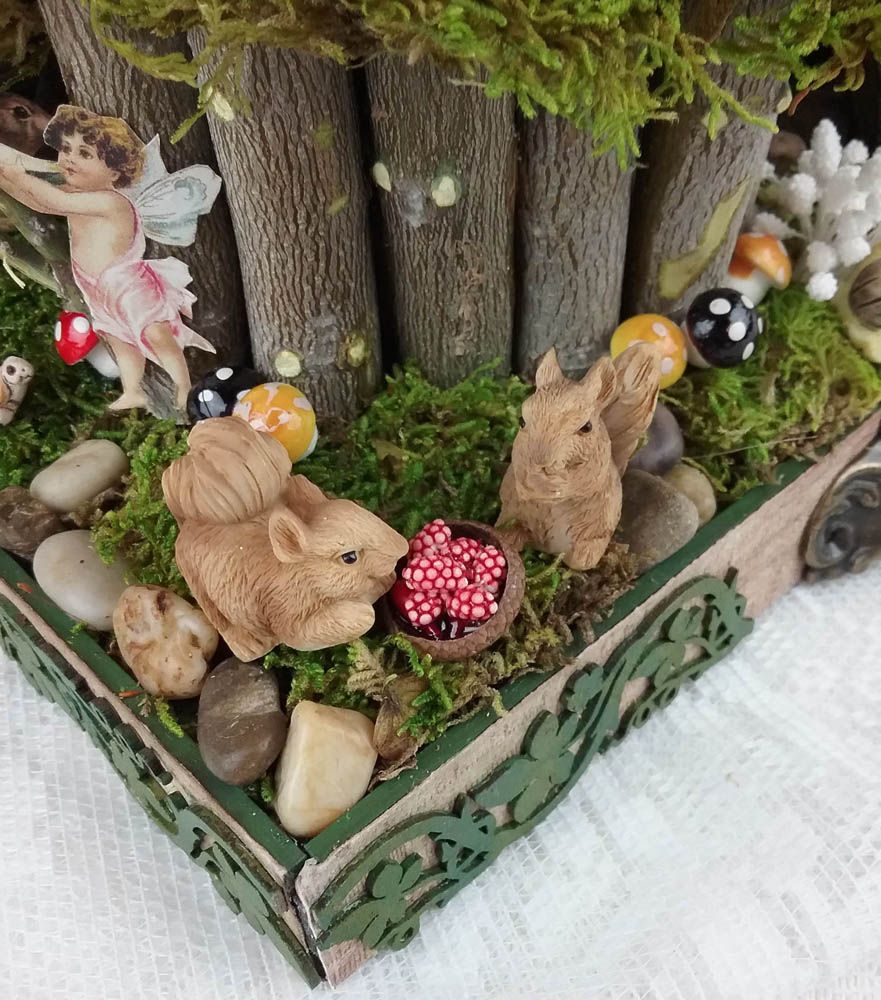
Vine chairs make comfortable seats for owls. At the bottom, you see a rabbit from the Into the Woods collage sheet.

A 3-D tree made from a kit anchors the scene with fiber moss hanging from the
branches.
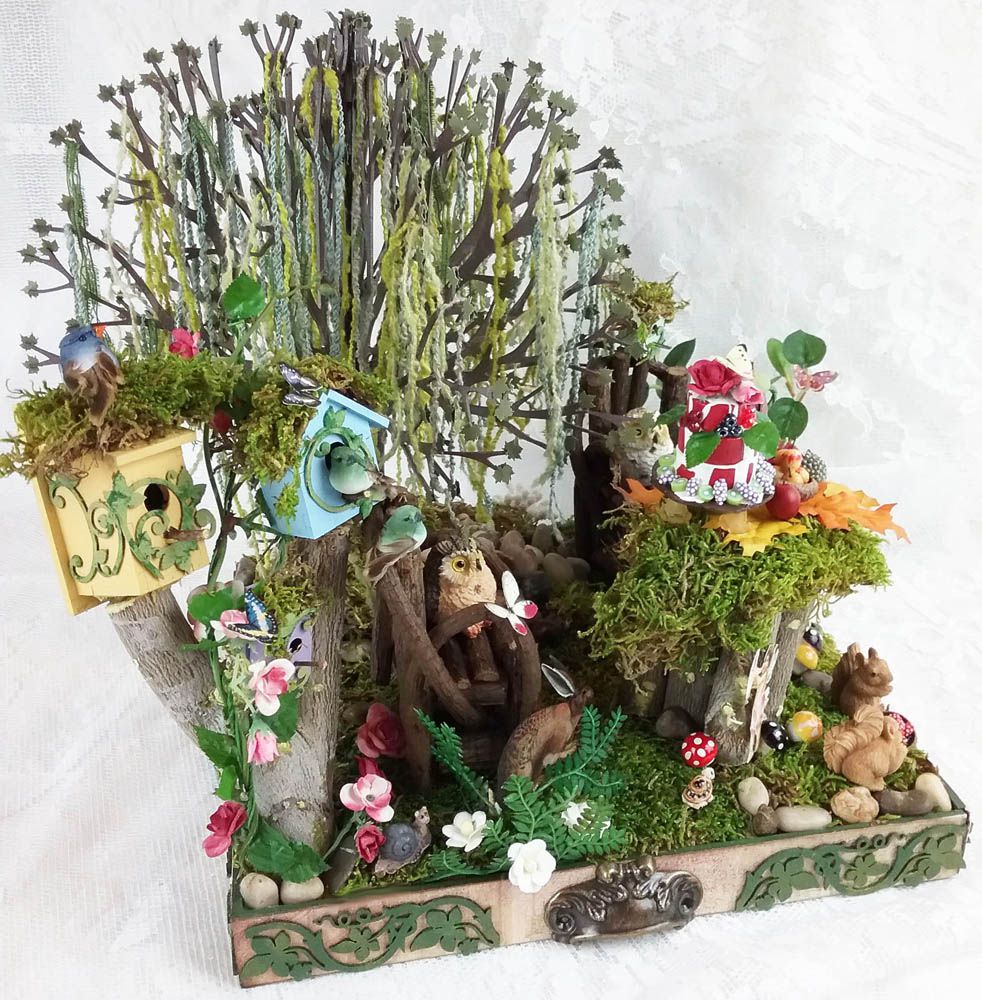
Even the
smallest of creatures, a snail, is joining in on the party.


MAKING THE
BASE
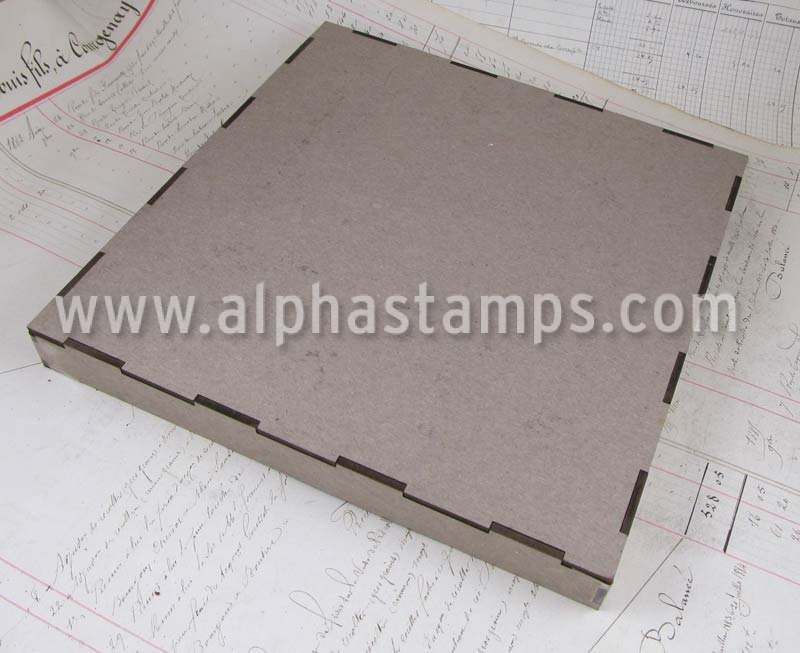
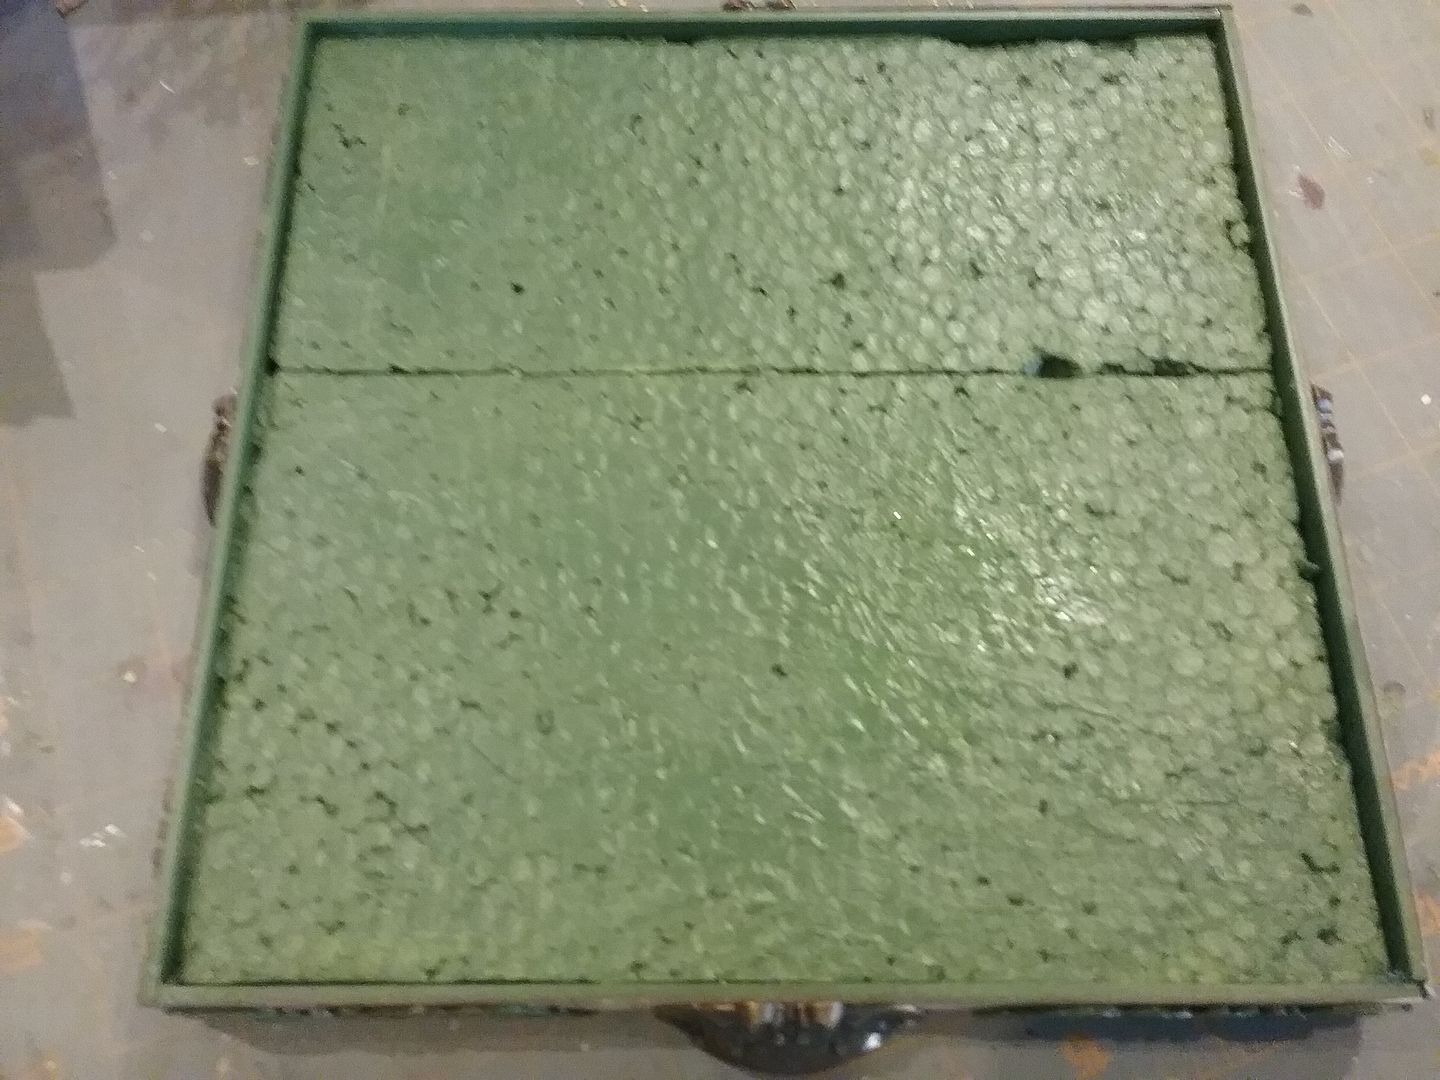
The base
is made from an easy-to-assemble Cottage Base kit which I flipped to make a
tray.
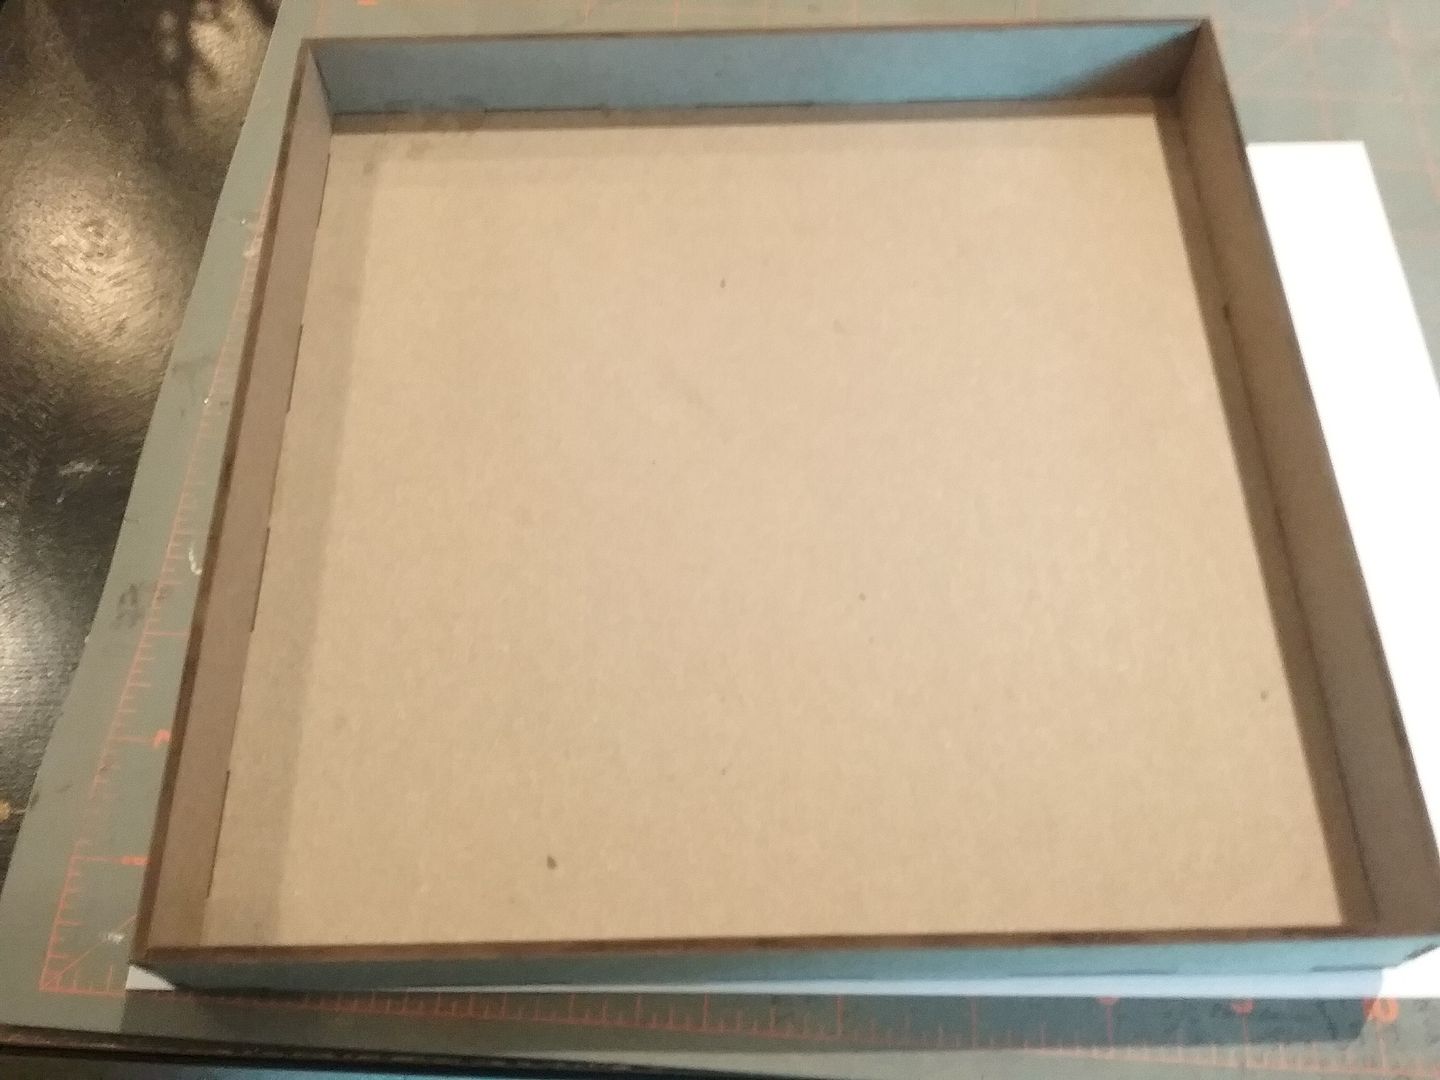
I started
by painting the inside of the tray green (anywhere you think it may show) and
papering the outside of the base.
I then cut a piece of Styrofoam to fit the inside of the tray. They are also painted green. The Styrofoam gives me something to insert
the embellishments into.
To jazz
up the outside of the tray, I added pieces of chipboard ivy border painted two
colors of green and door pulls to serve as handles.
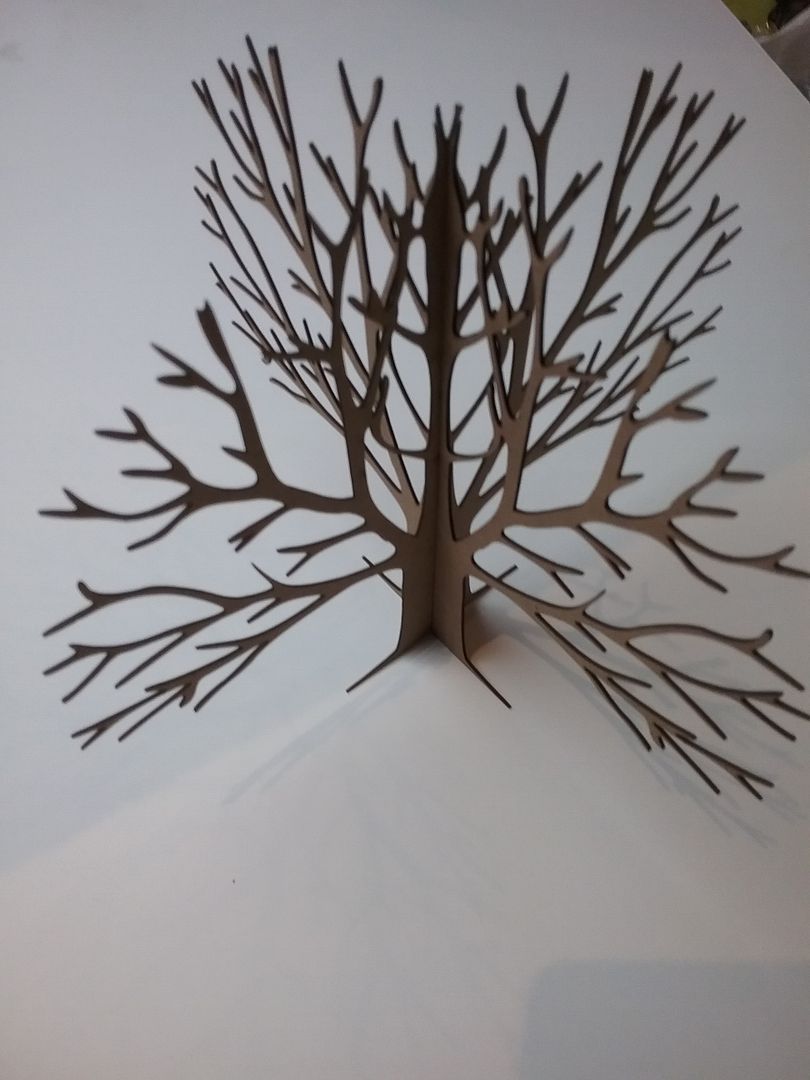
THE TREE
The 3D Tree kit consists of 2 pieces. The pieces slip one into the other. I added
glue to the slits before combining the pieces and then wiped away the excess
glue with a damp cloth. This kit comes in three sizes. I used the largest (8") for this project. The tree is one of my favorite parts of the project and a special request of mine to Alpha Stamps. I can see using this in many future projects.

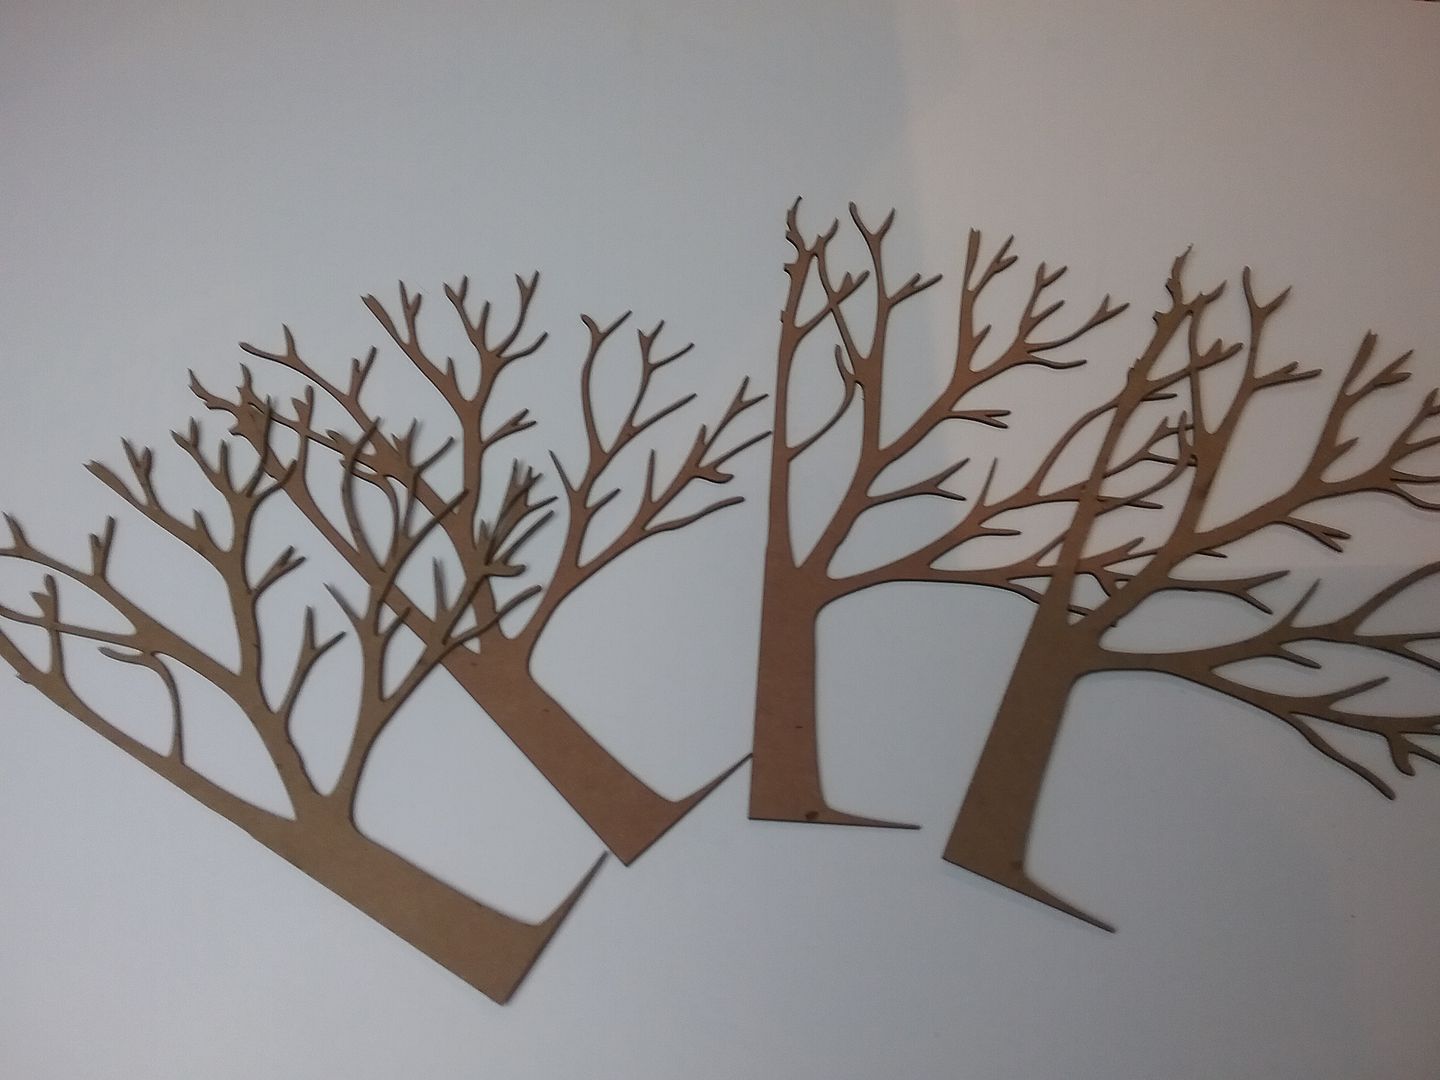
To add fullness to the tree, I used a second kit in which I cut each of the pieces in half, giving me 4 additional pieces. I glued the cut pieces into each intersection of the main
tree, which gives you a full-looking tree.
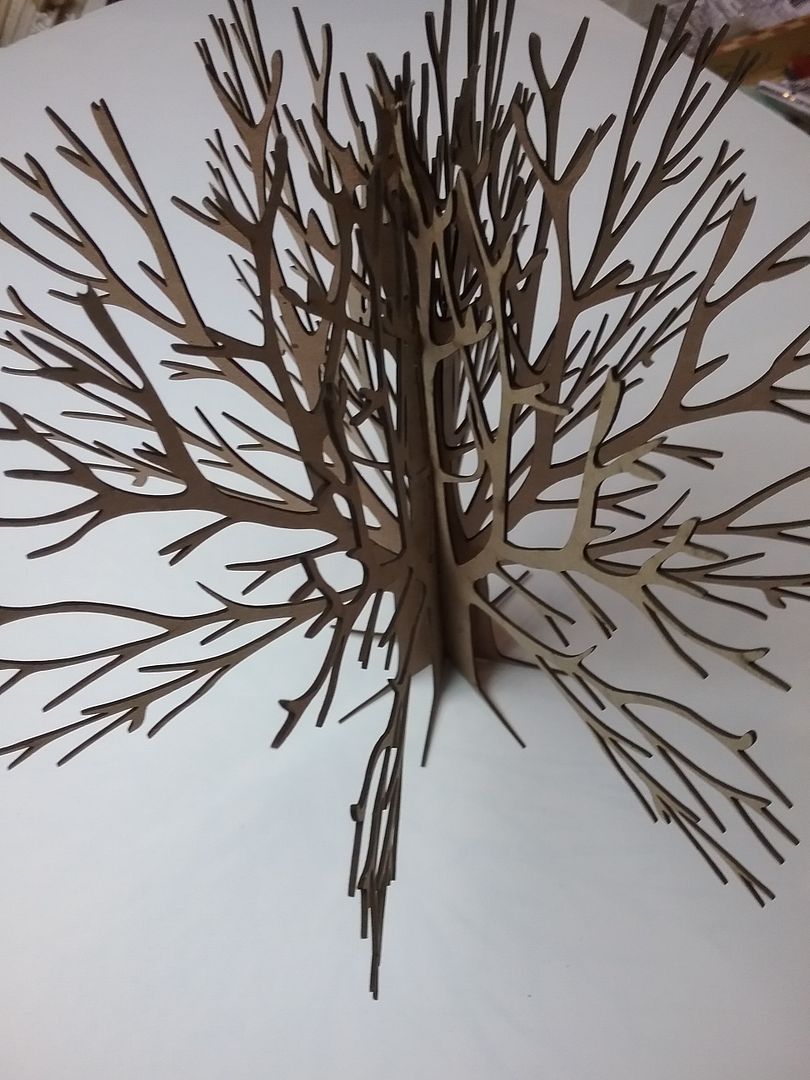
Then, I
painted the tree two colors of green and attached the leaves, which I punched
from paper. There is
nothing special about the order of assembling first and then painting. You could choose to paint first and then
assemble. If you are going for a winter
or spooky look, leave off the leaves.
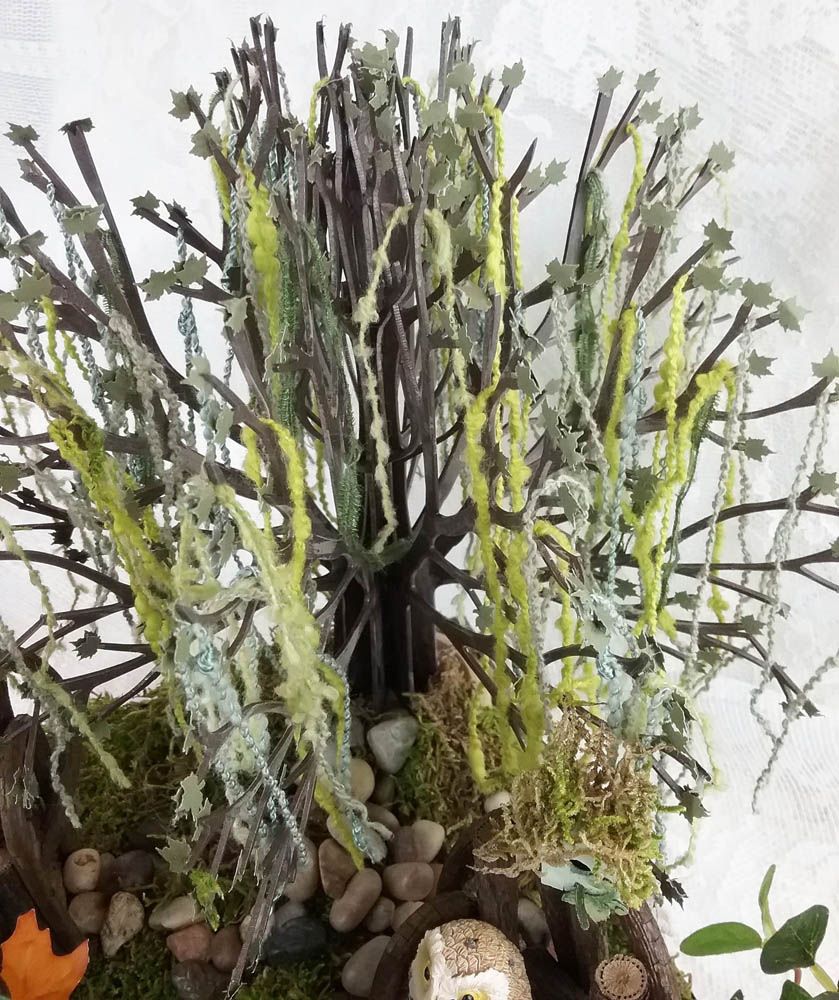
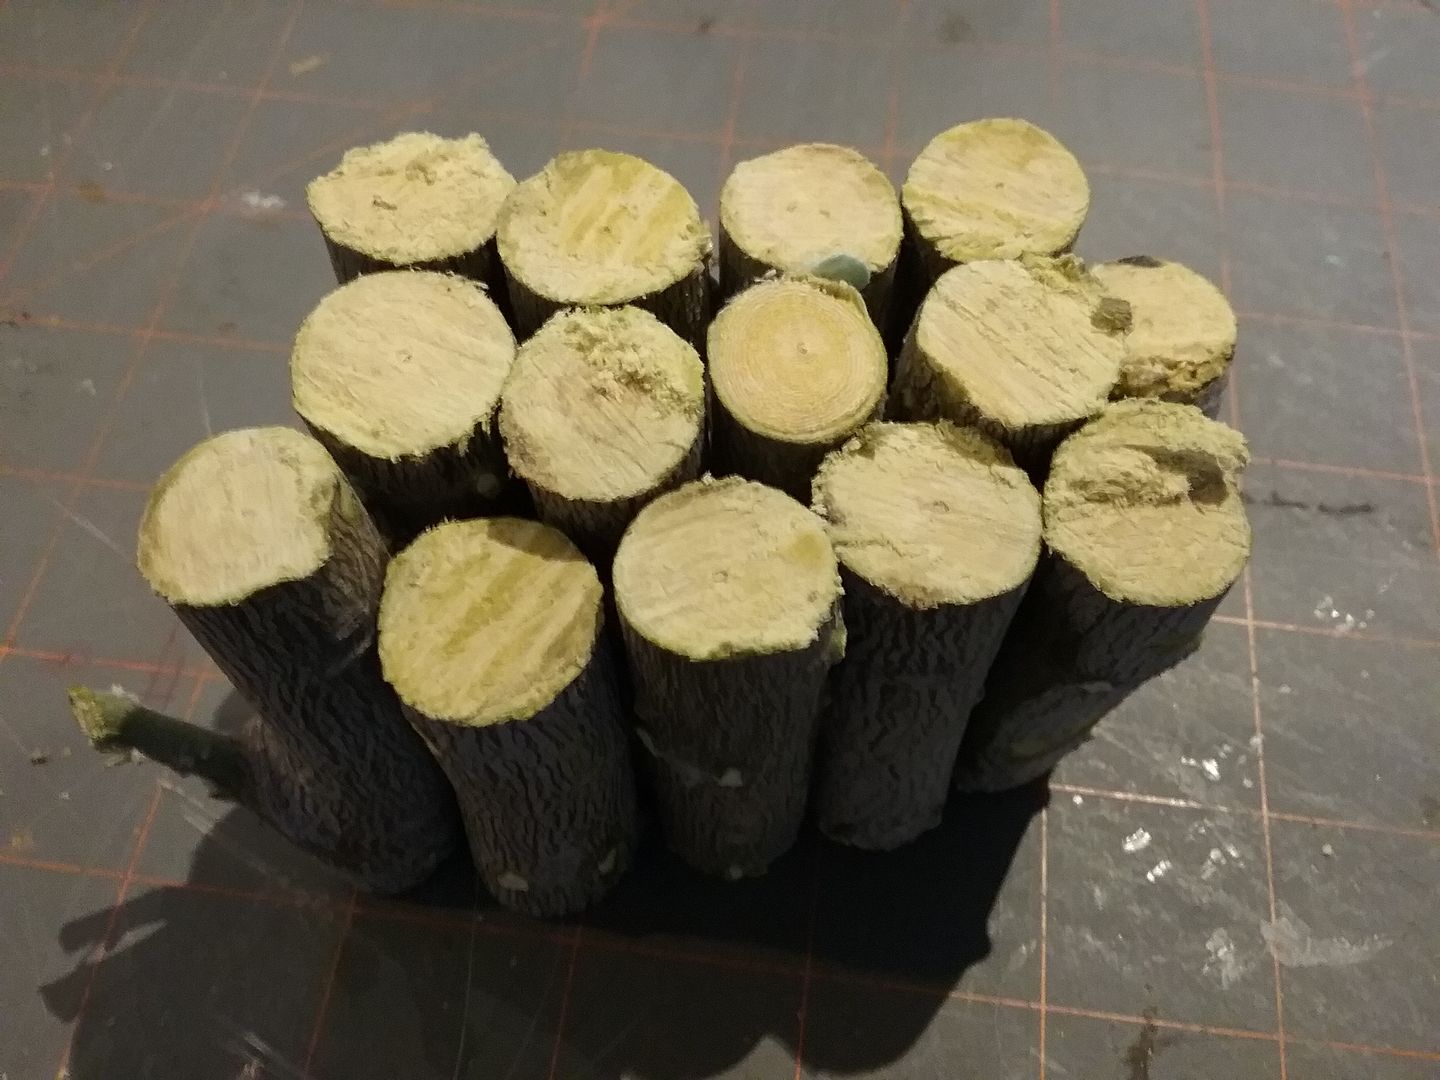
The last
step was to drape various colored fibers over the branches. I soaked the fibers in water first to
straighten them out, laid them flat to dry, and then draped them over the branches. Before mounting the tree in the scene, I added wood blocks to the Styrofoam and then glued the tree to the blocks. This was to give the tree more height and make it look like it was on a small hill. The tree's base and the wood are covered with sheet moss and pebbles.
THE TABLE
AND PARTY GOODIES
The base
of the table is made from branches cut from a tree in my yard. Of course, I had to pick a tree with what
seemed to be the hardest wood. It’s an
Ironwood tree, so I guess its name is accurate.

The lengths
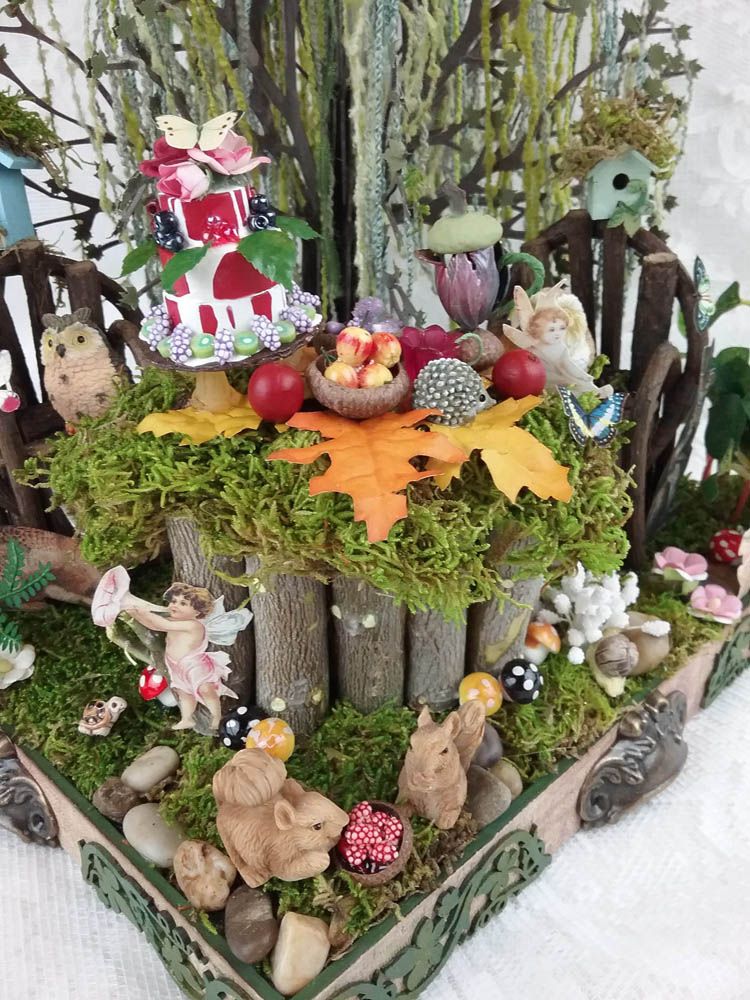
of the pieces don’t have to be exact, as I covered the top with sheet moss.
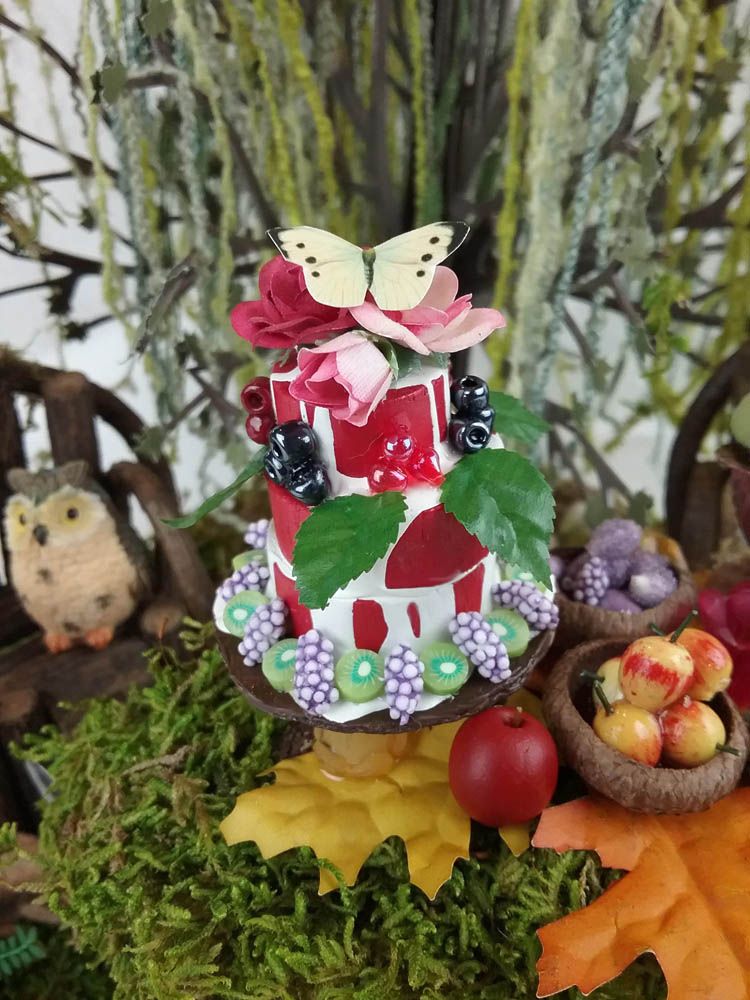
On top of
the table, I added some fall oak leaves for contrast. The main item on the table is the scrumptious
cake. The layers of the cake are made
from a wood miniature cake kit. I used
pieces from 2 of the kits. I painted the
cake red and drizzled white paint over the cake to serve as icing. I cut out a larger circle of chipboard
(painted brown) to serve as the plate.
Around the edges of the cake are lavender berries, kiwis cut from polymer clay, beads serving as berries, and leaves from the rose garland I used
in other parts of the scene. At the top are
roses from the garland and a butterfly.
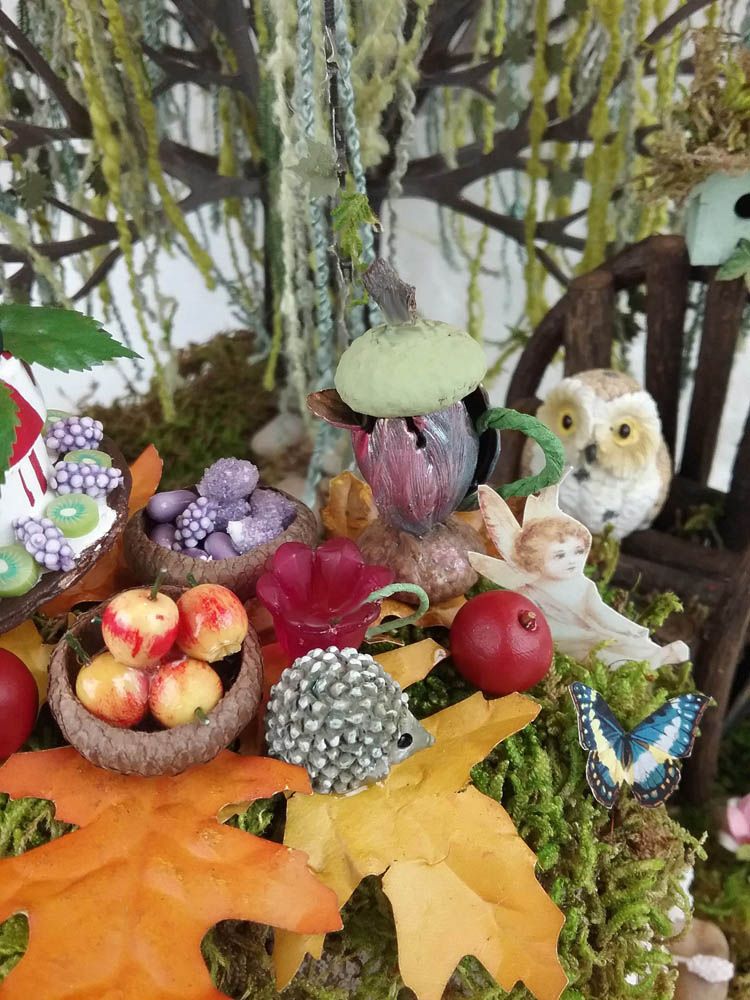
Berries and
apples are sitting in bowls made from acorn caps. You can see a little hedgehog waiting to dig
in.
The
teacup is made from a tulip bead. The
handle is the stem cut from one of the mushrooms in the scene. The teapot is made from a tulip bead cap with
acorn caps as the base and top. The
handle is made from three stems twisted together. On
the table sits a fairy from the Vintage Postcards Fairies collage sheet, which
is the source of all of the fairies in the piece.
BIRDHOUSES
AND CHAIRS
The birdhouses are from chipboard kits that are easy to assemble. I assembled them first and added the paint, moss
on the roofs, and leafy chipboard pieces as decoration. Small twigs from my yard served as ledges. The wood the houses sit on is again from the Ironwood tree.

MY COLLAGE SHEETS USED IN THIS PROJECT
or