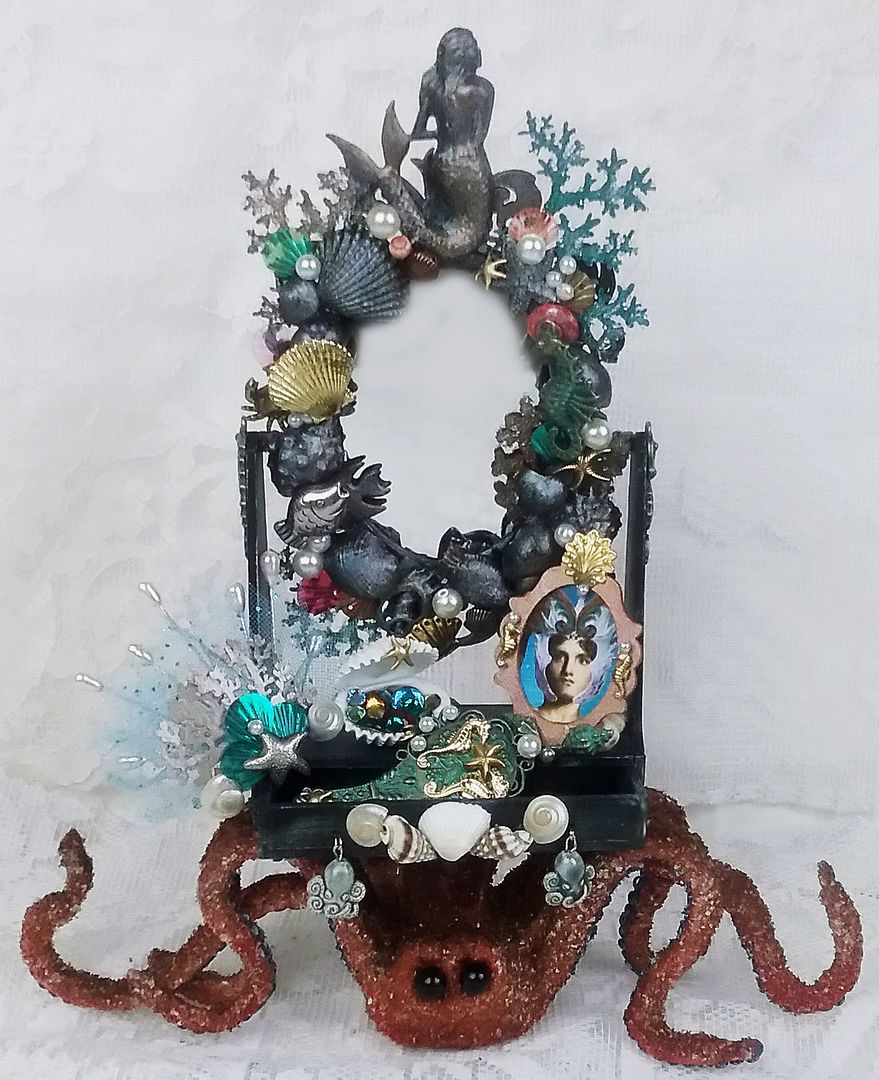

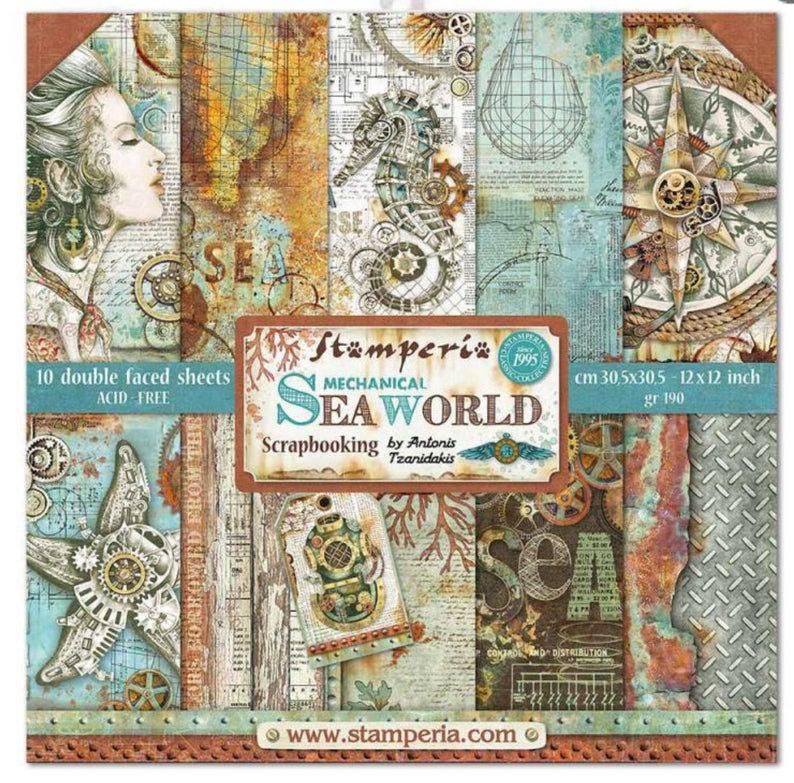
The
inspiration for these projects came from the Sea World Paper pictured
below. This is one of the most
beautiful and whimsical paper sets I’ve seen in a long time. I love the merging of Steampunk with sea
creatures, which then inspired me to create two new collage sheets along the
same vein, which are “Welcome to Atlantis 1 & 2” and other complimentary sheets
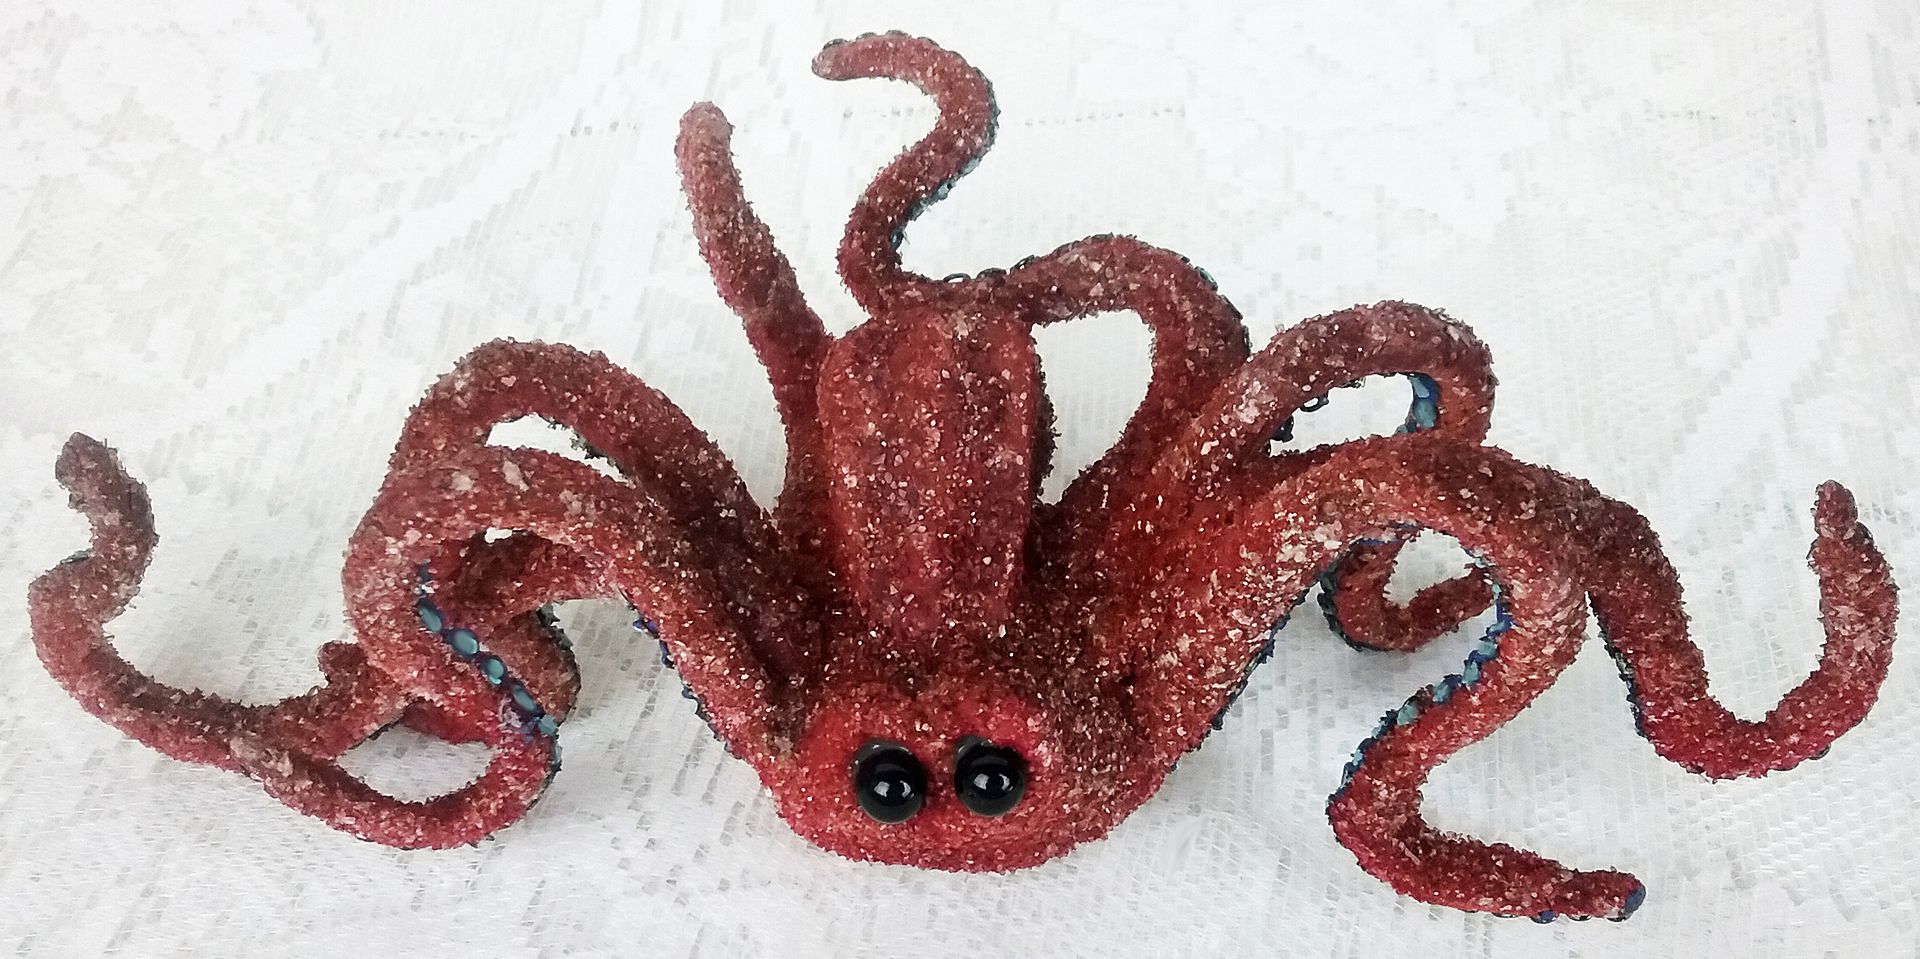
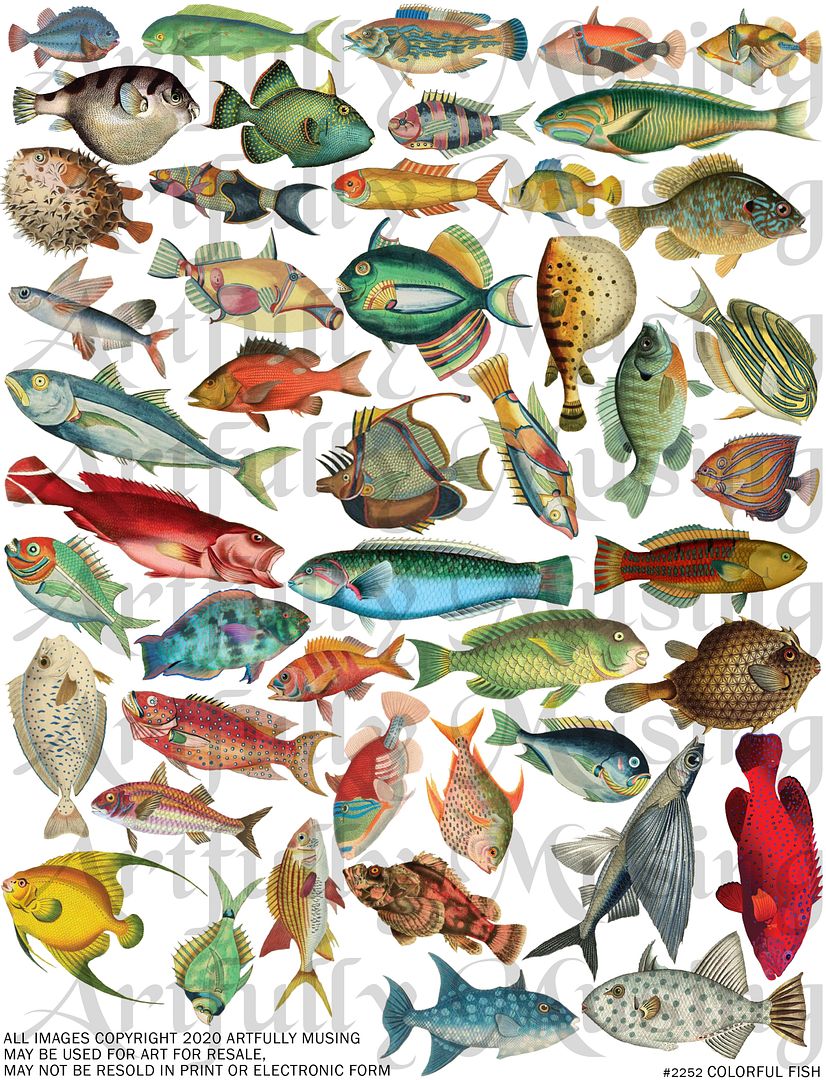
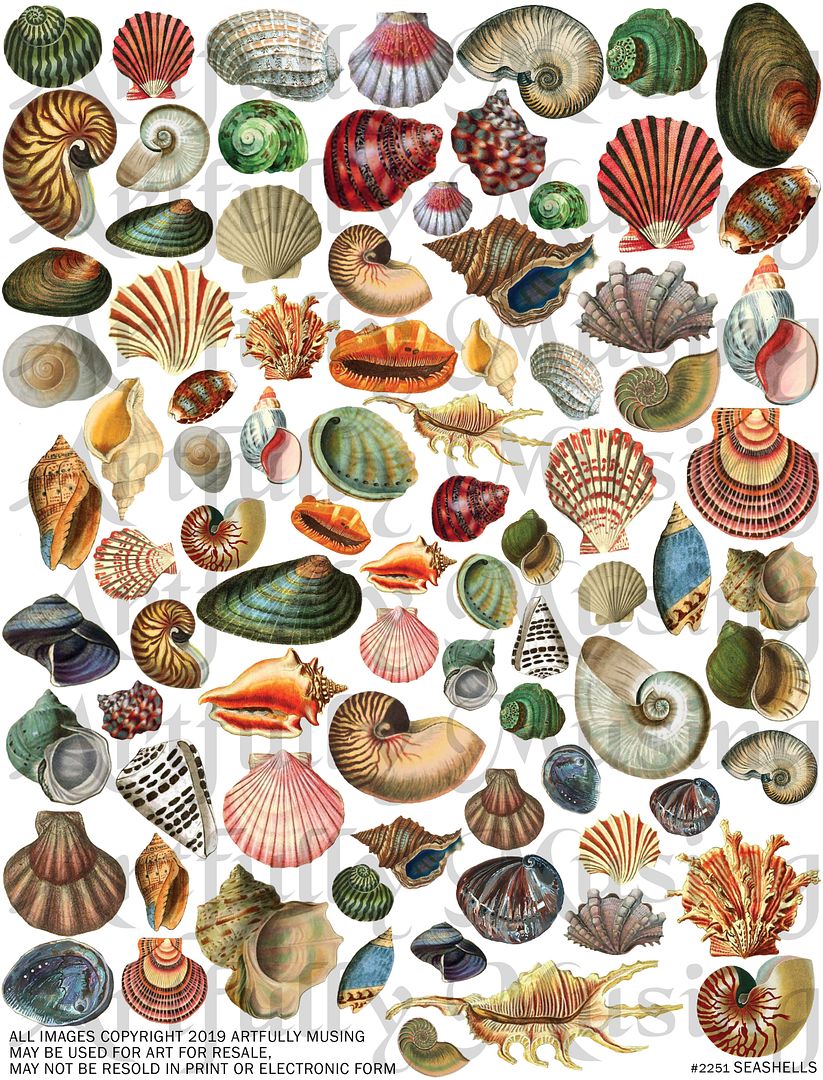
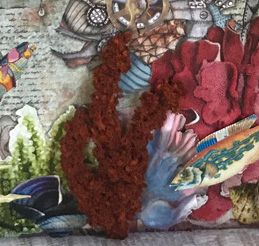
containing seashells, coral, seaweed, and fish.
Further down in the post, I cover how I put these pieces together and the techniques I used to alter Steampunk and sea-themed chipboard shape sets.


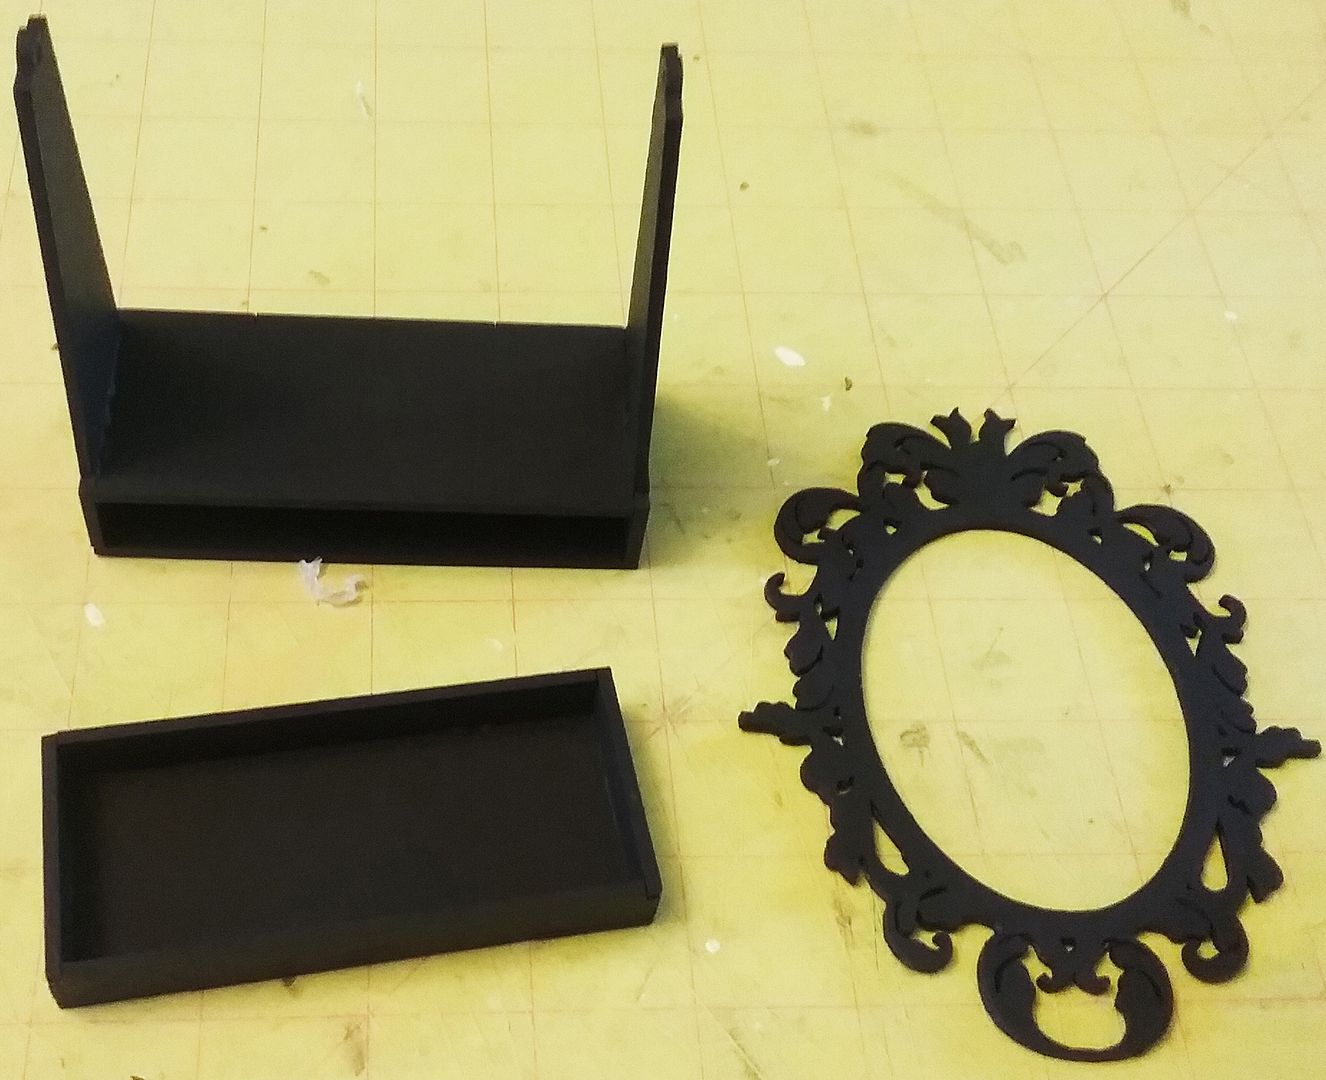
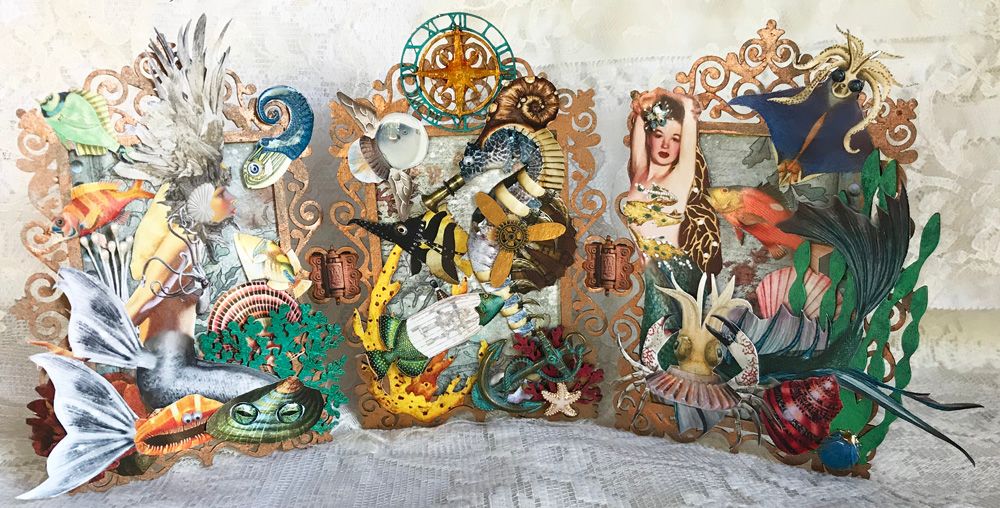
The
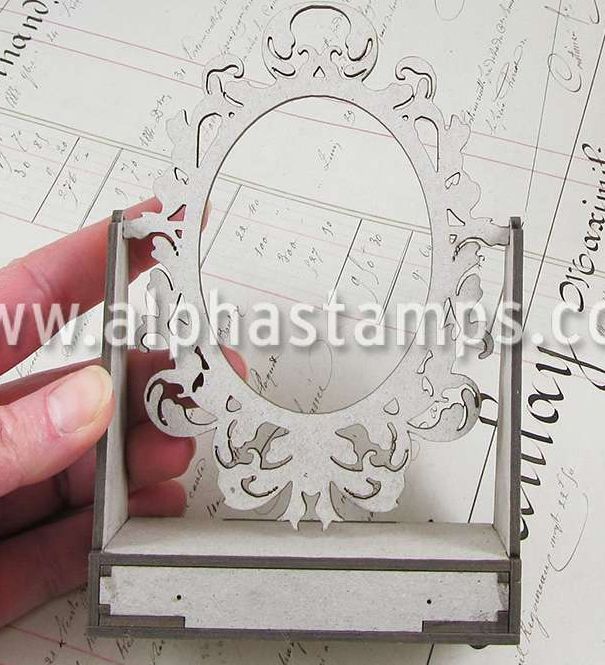
triptych is constructed using three chipboard frames. To connect them and make them
stand, I trimmed some of the scroll work from the bottom of the frames and from
the sides of the frames.
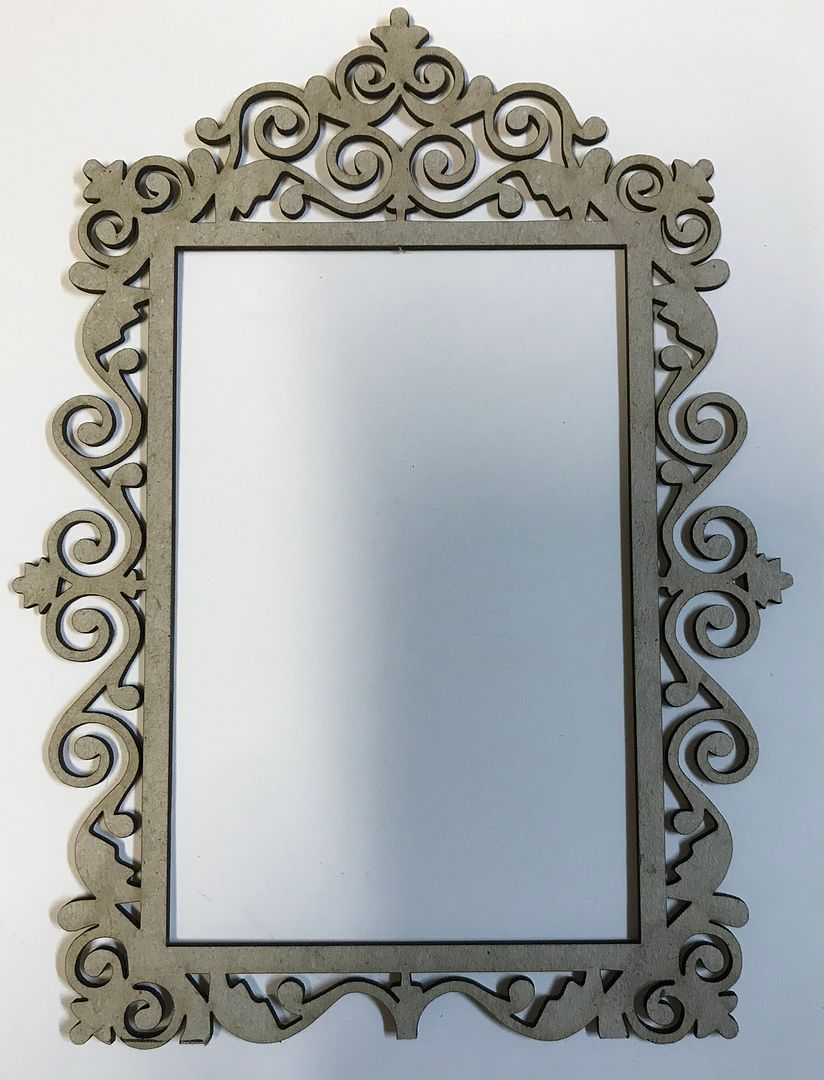
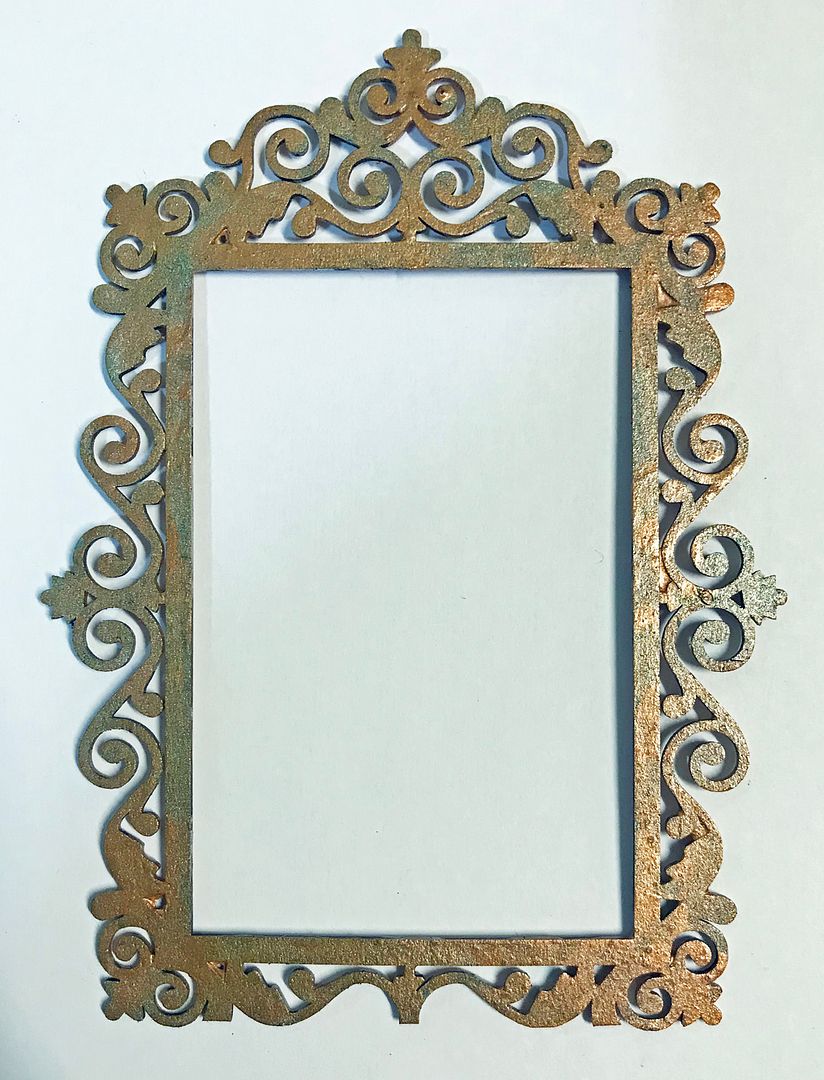
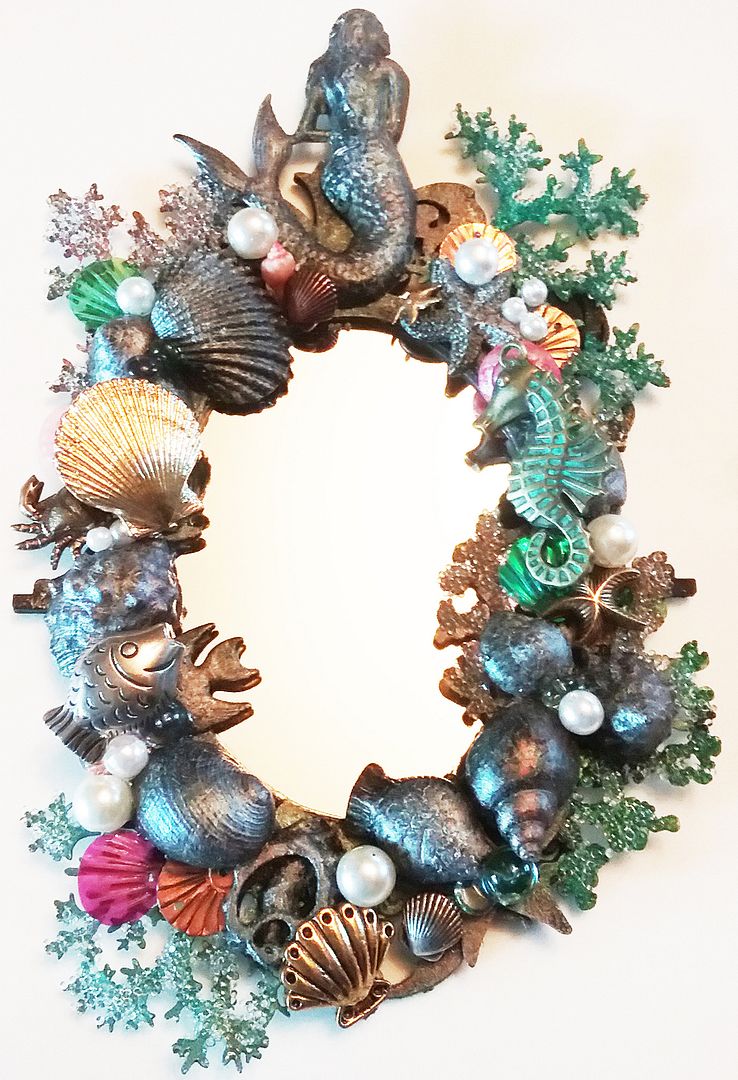
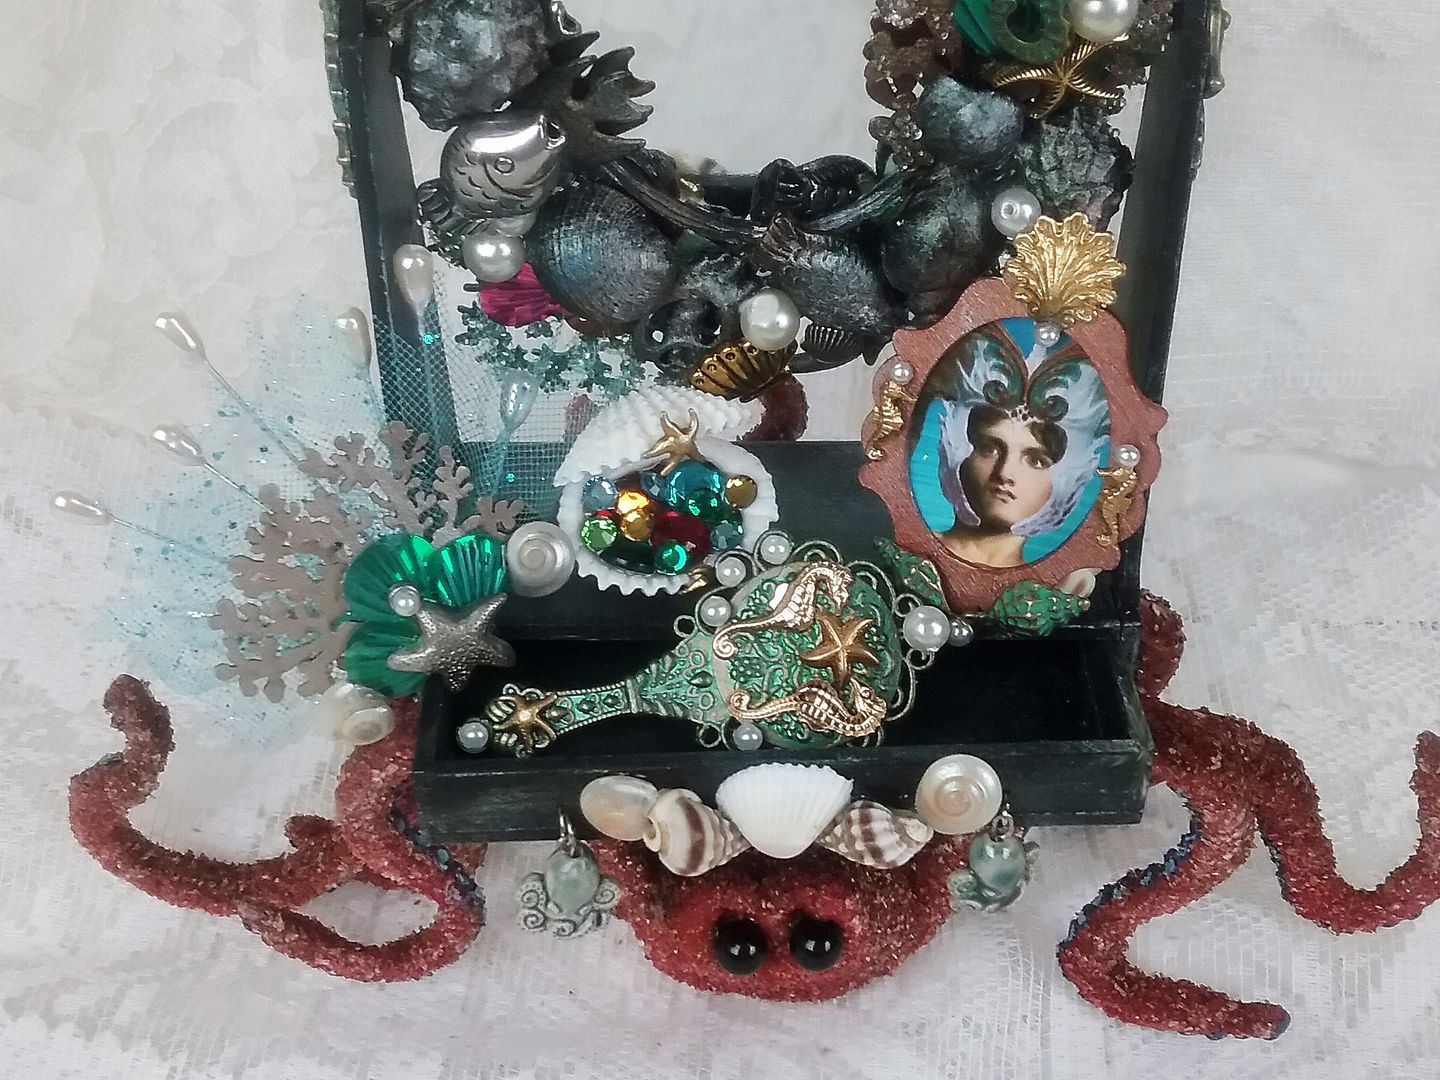
I
backed the frames with paper from the 8x8 Sea World paper pack and used images
from my Mini Hardware Collage Sheet to attach the frames to each other.
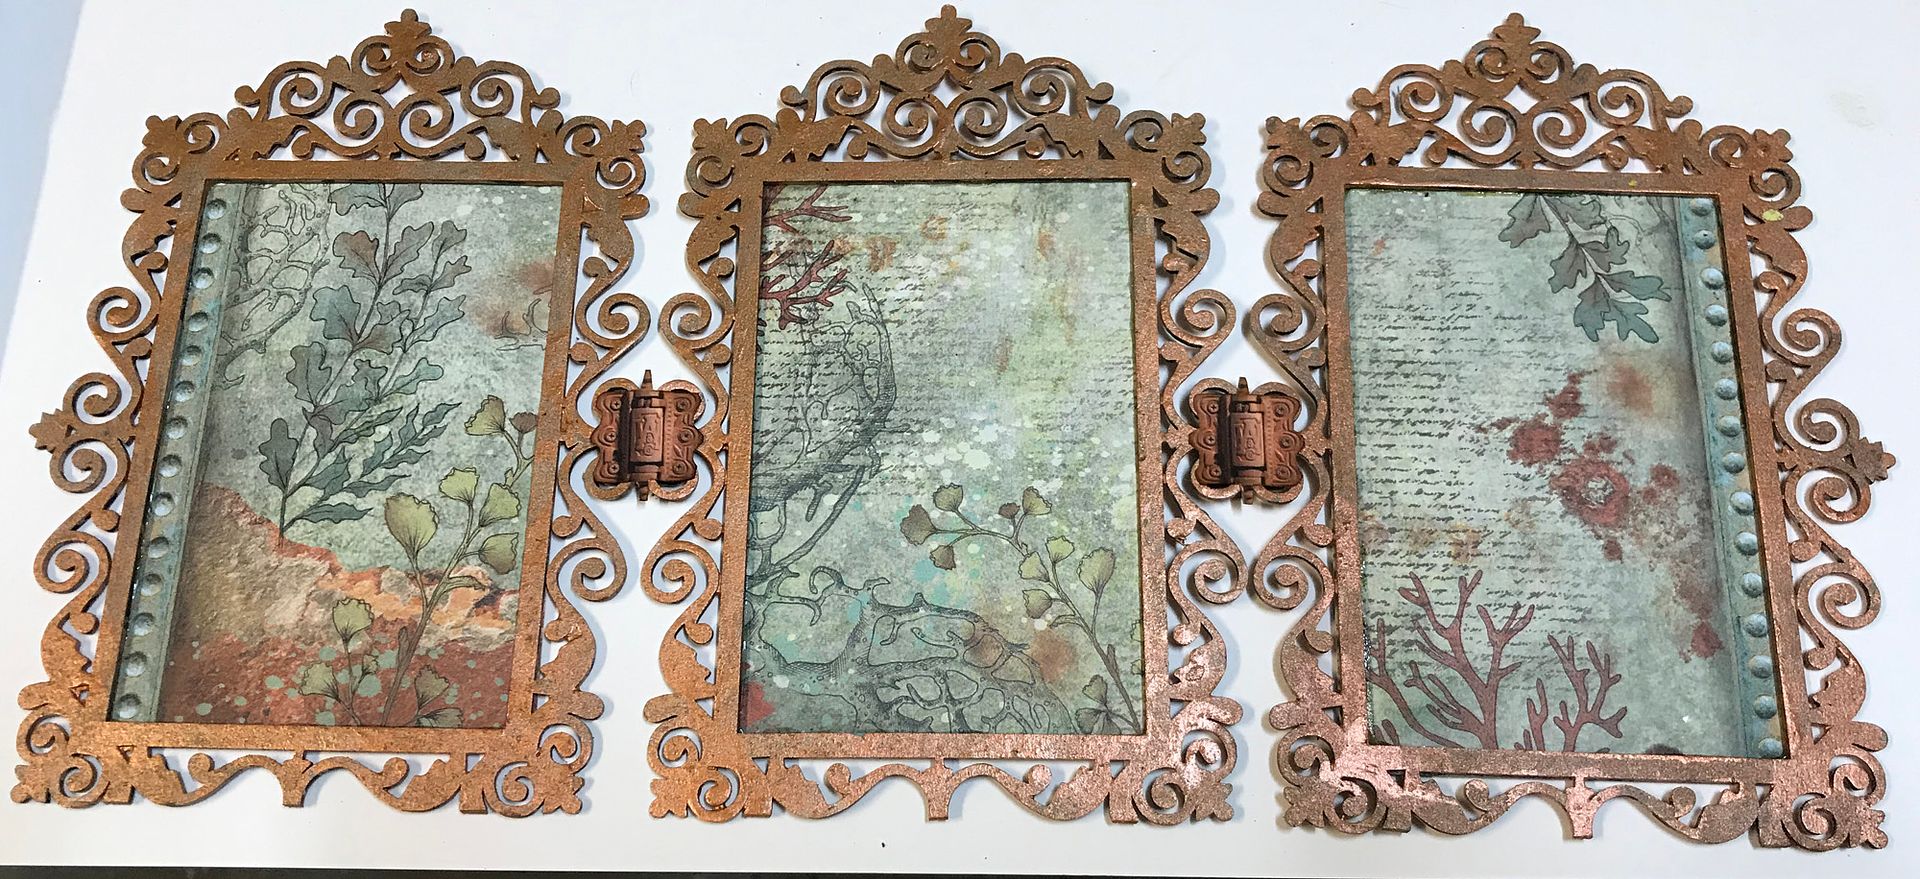
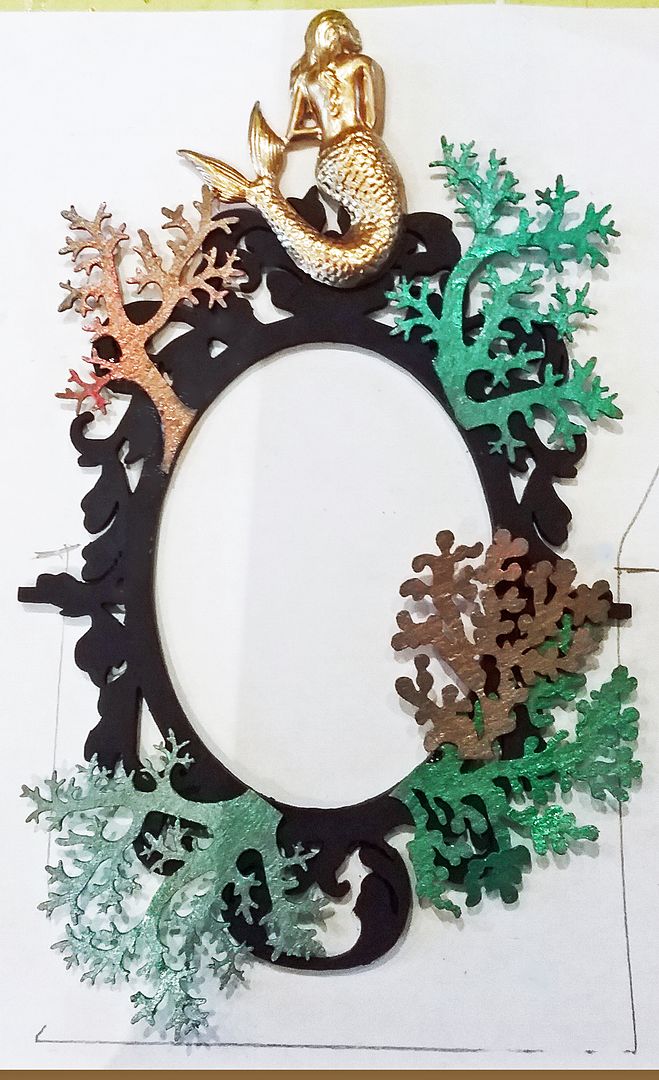
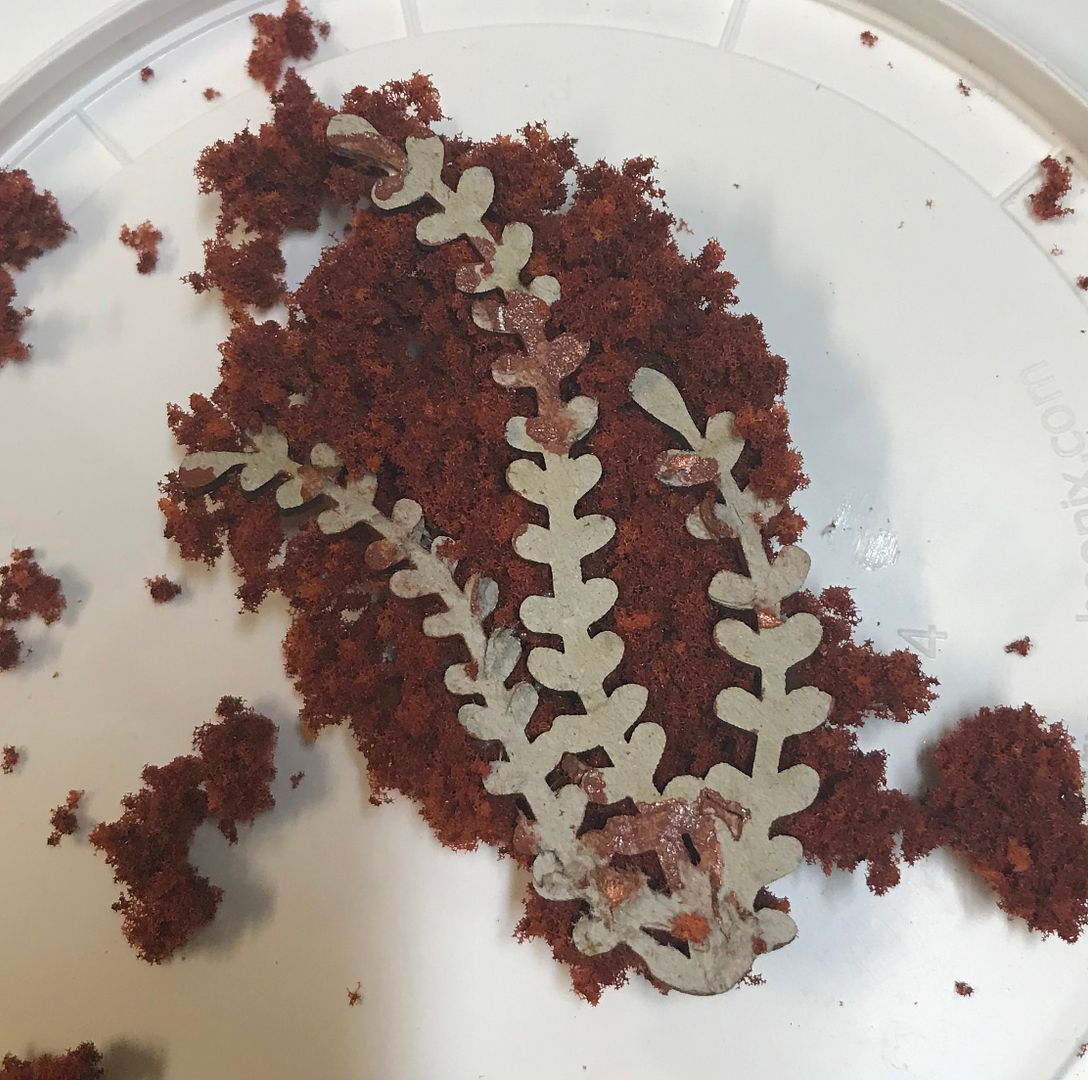
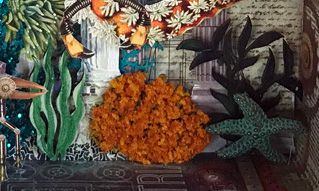
I started adding background components which were a combination of images from the collage sheets and chipboard seaweed.

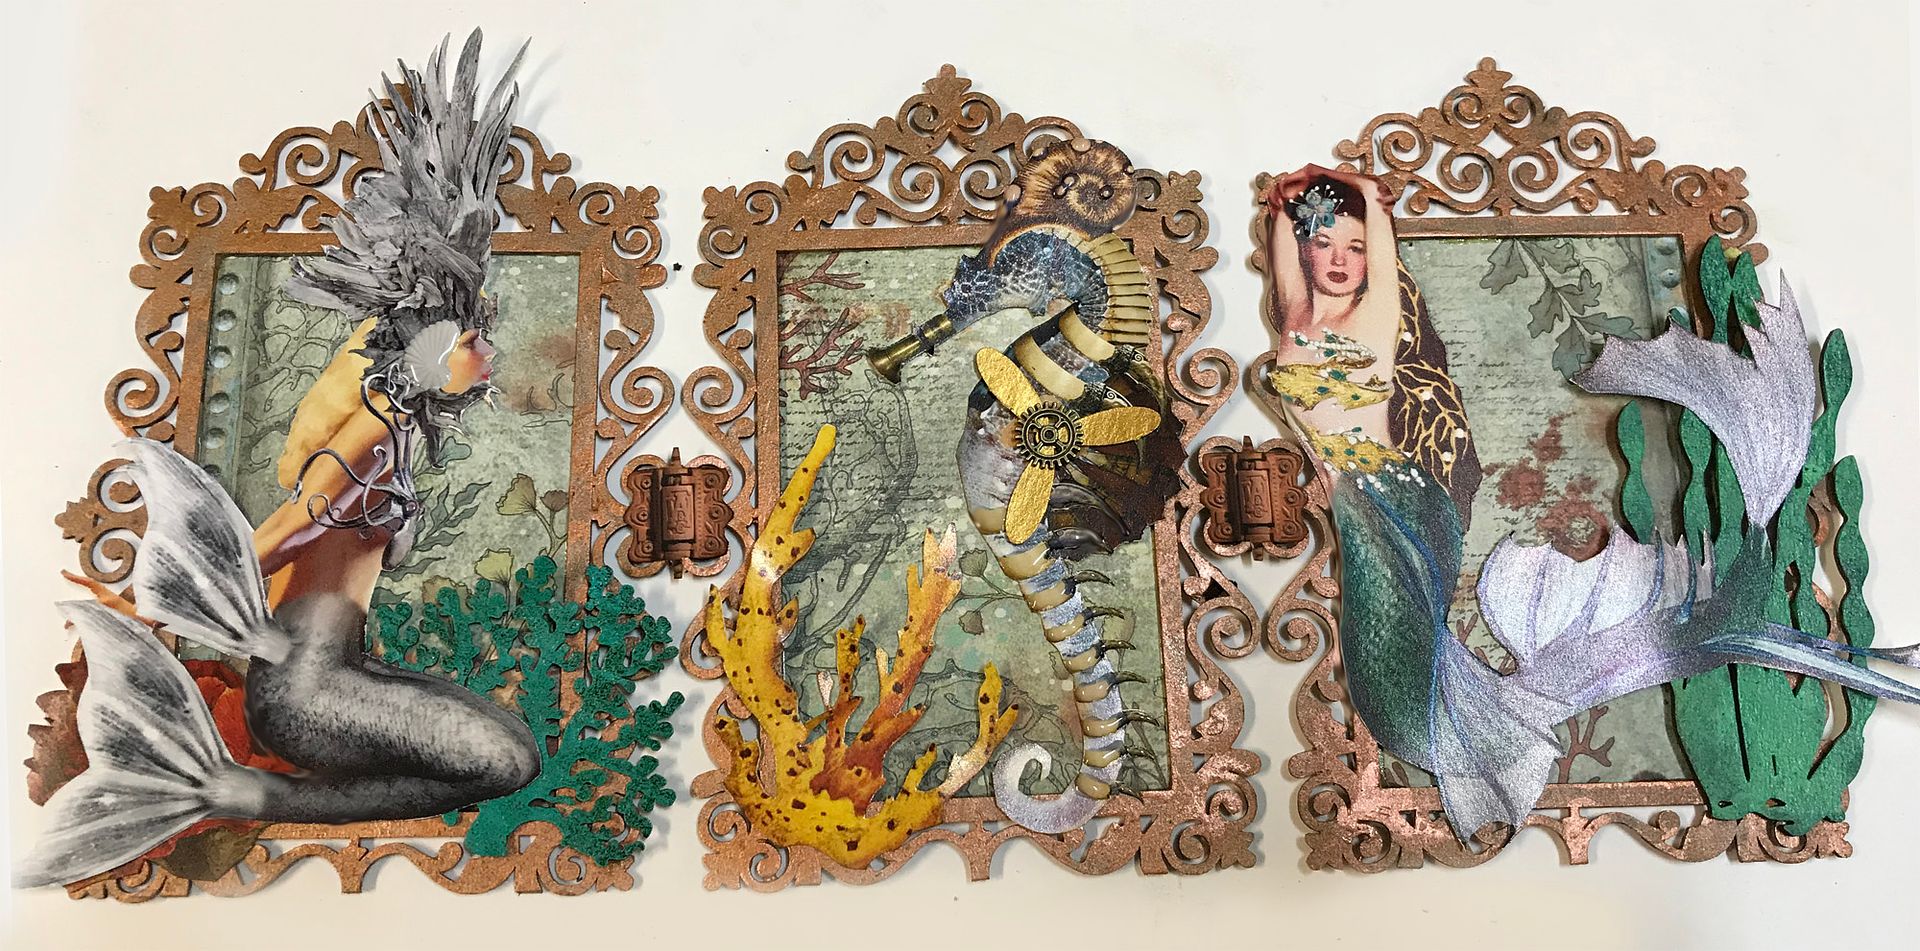
To
add more dimension to the seahorse, I added a chipboard propeller and metal
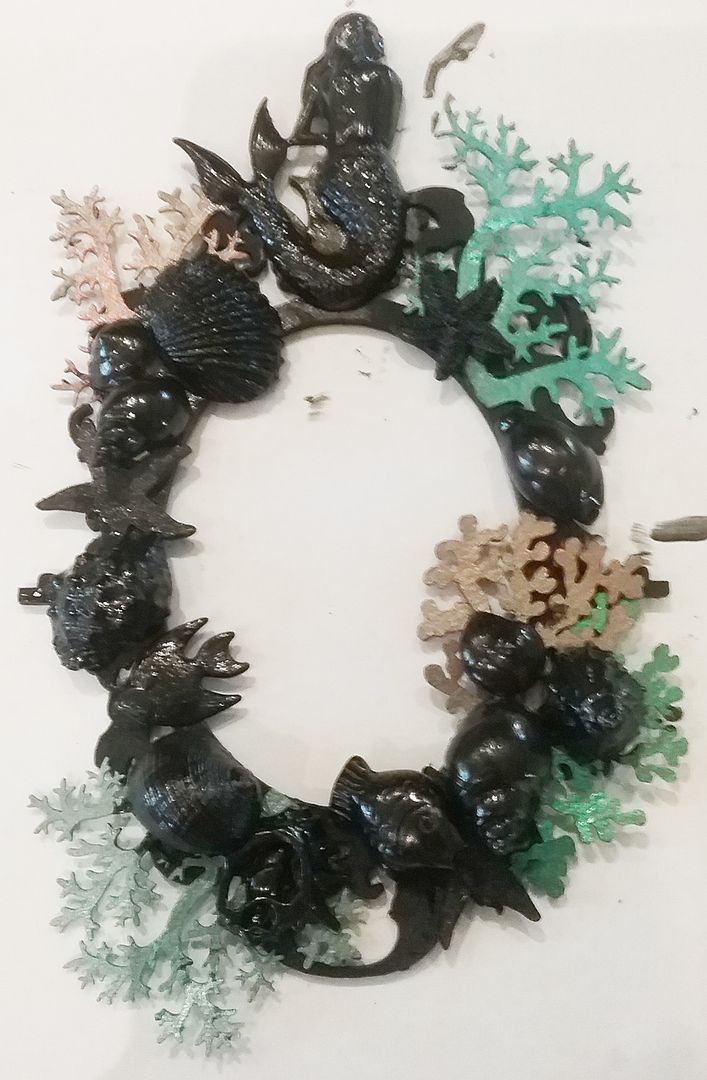
gear. On many of the images, I added
Glossy Accents to add dimension.


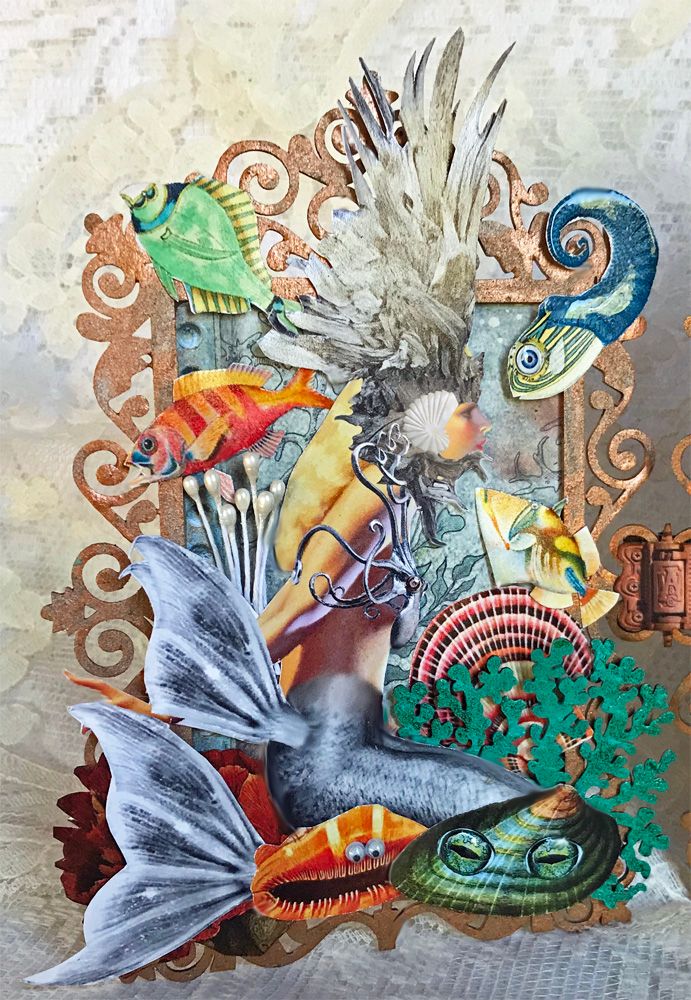
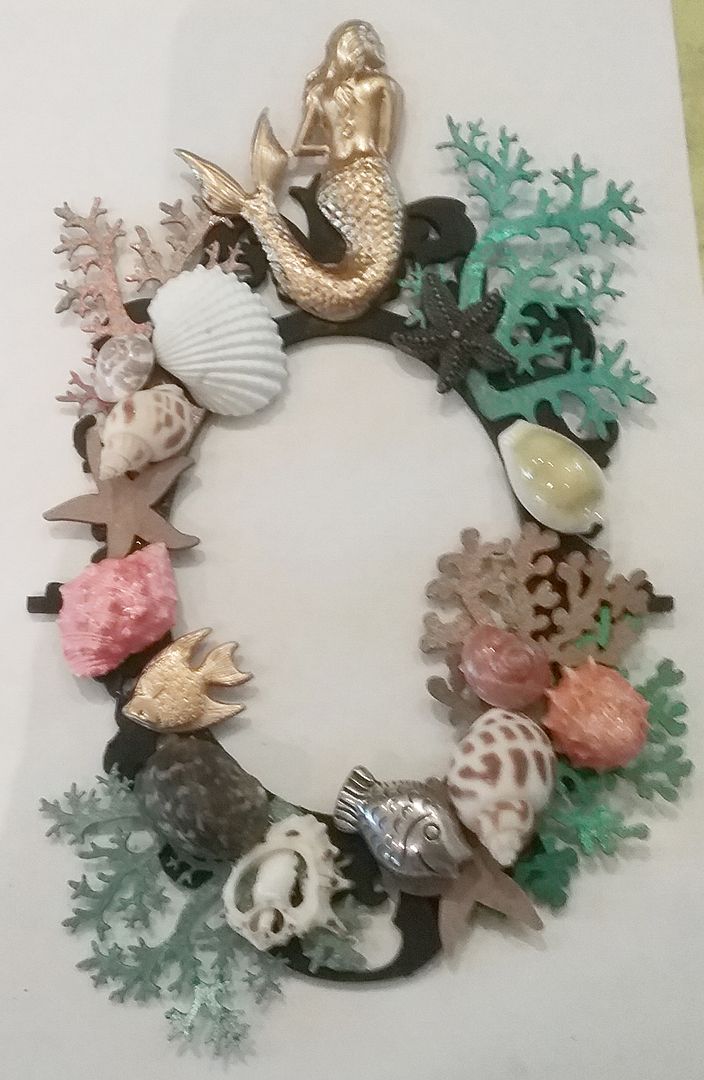
I
then added more images on top of and around the focal point images.
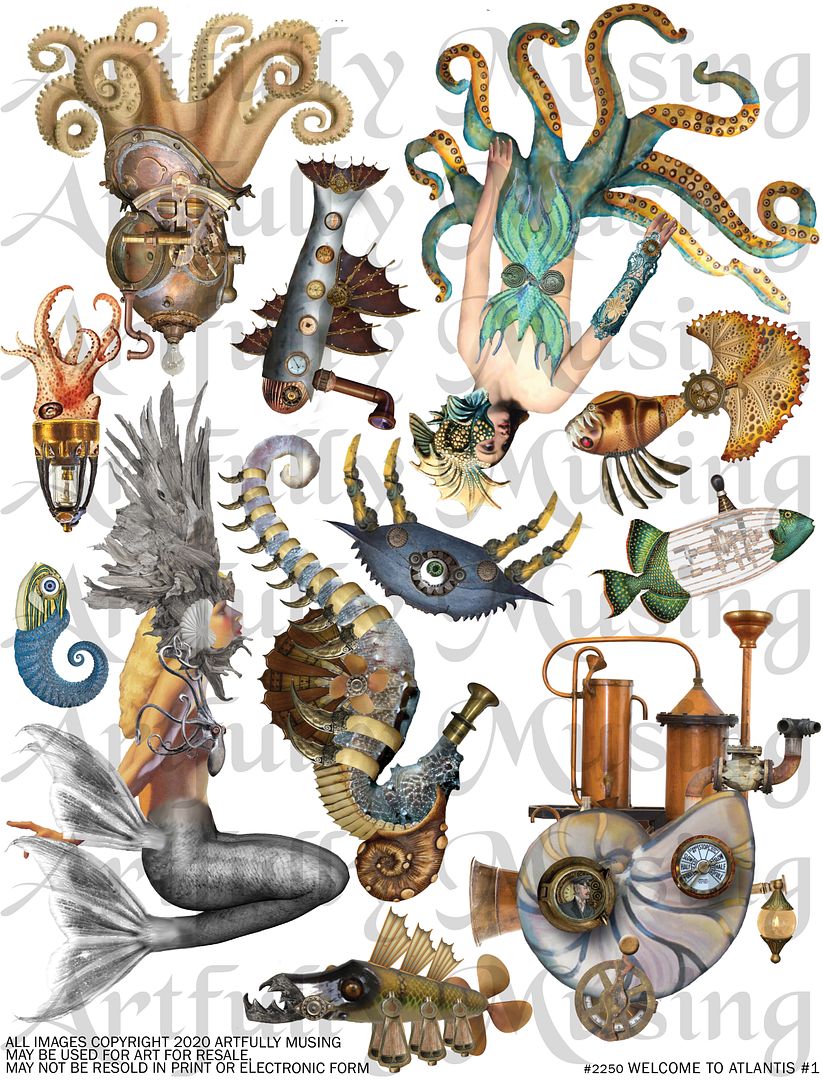
Welcome
to Atlantis #1 Collage Sheet
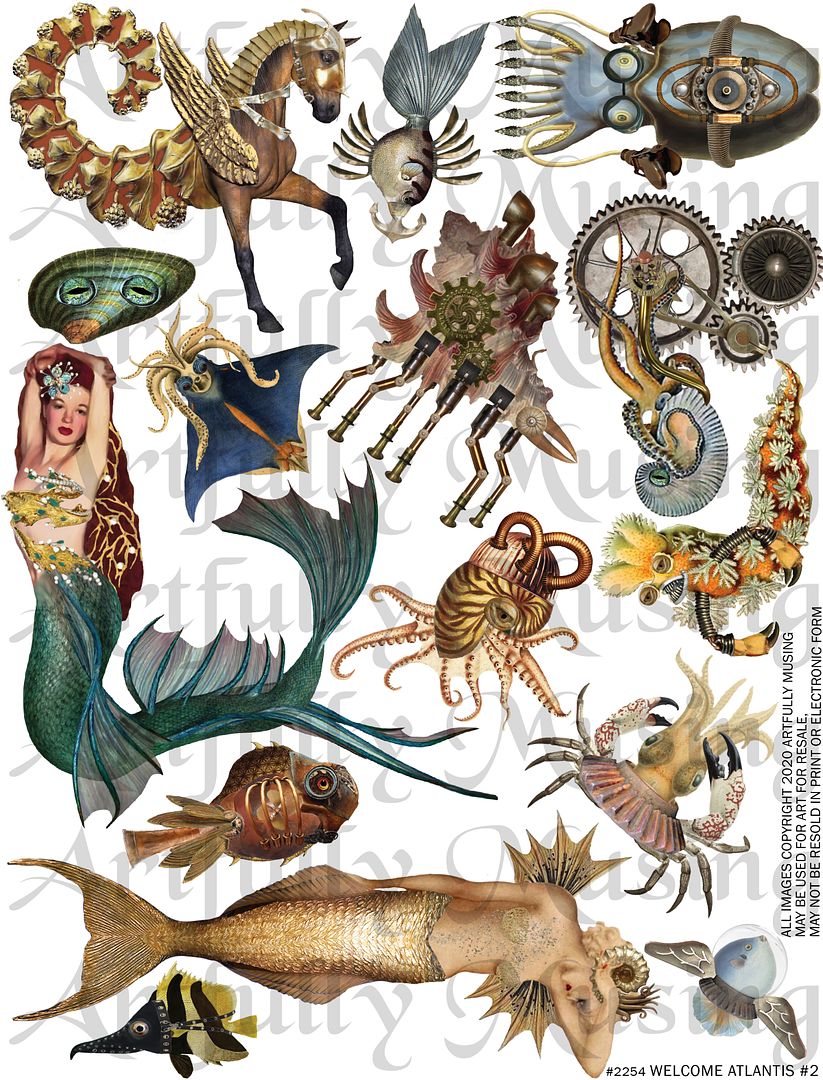
Welcome
to Atlantis #2 Collage Sheet
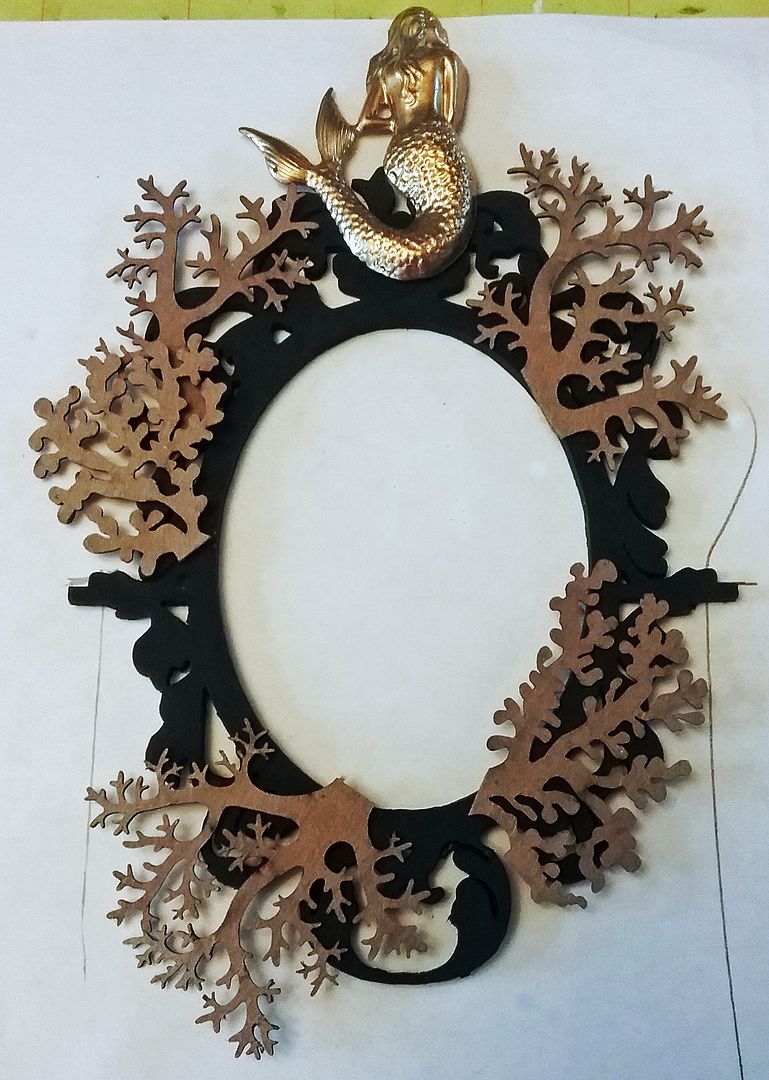
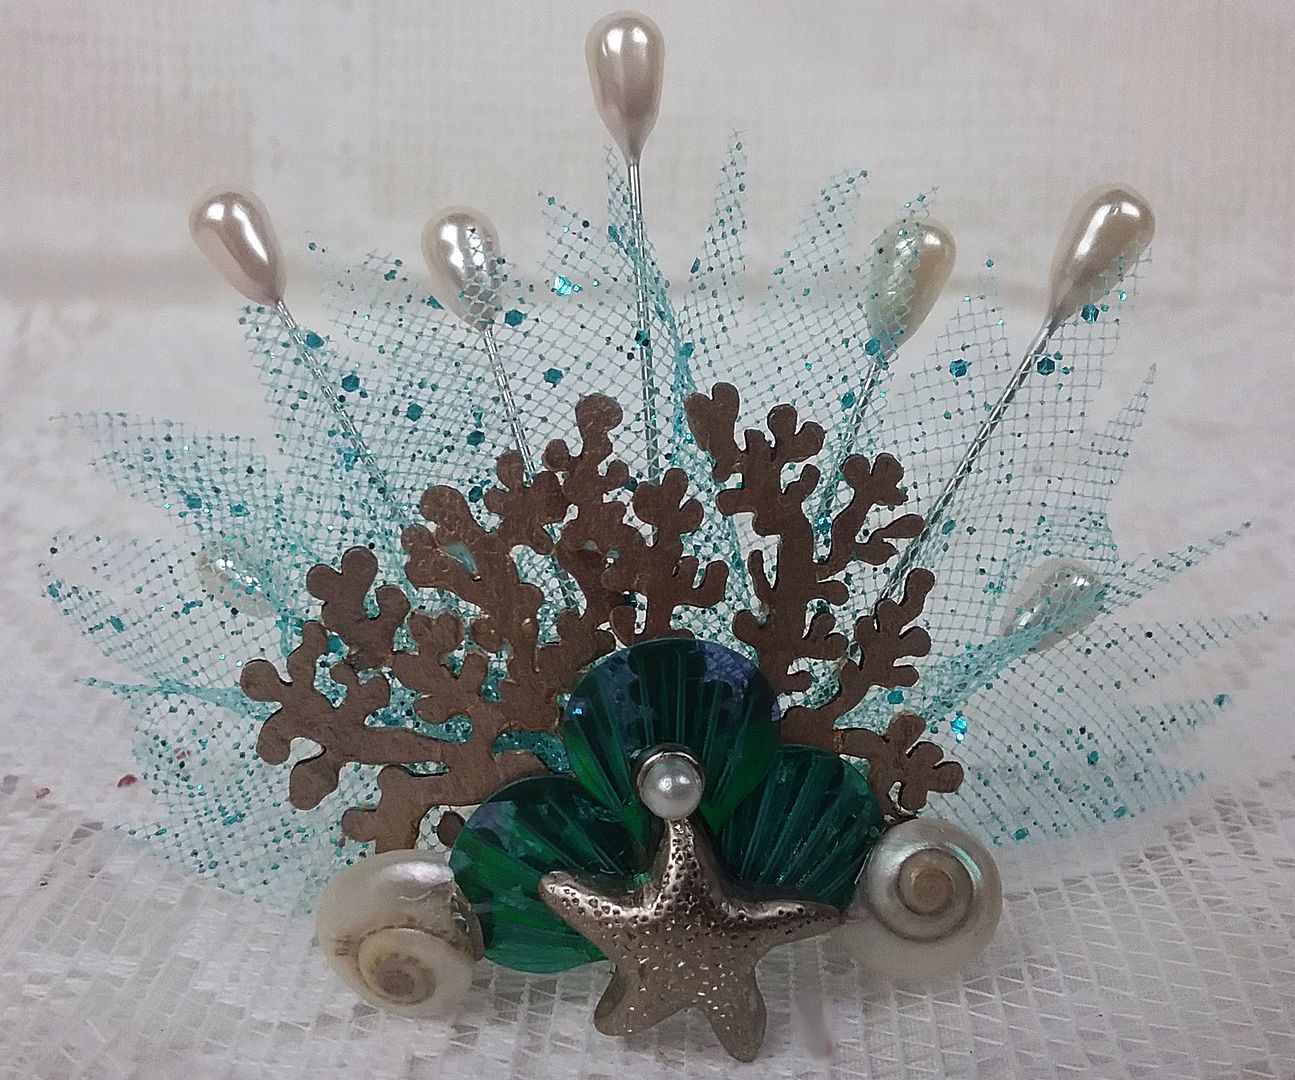
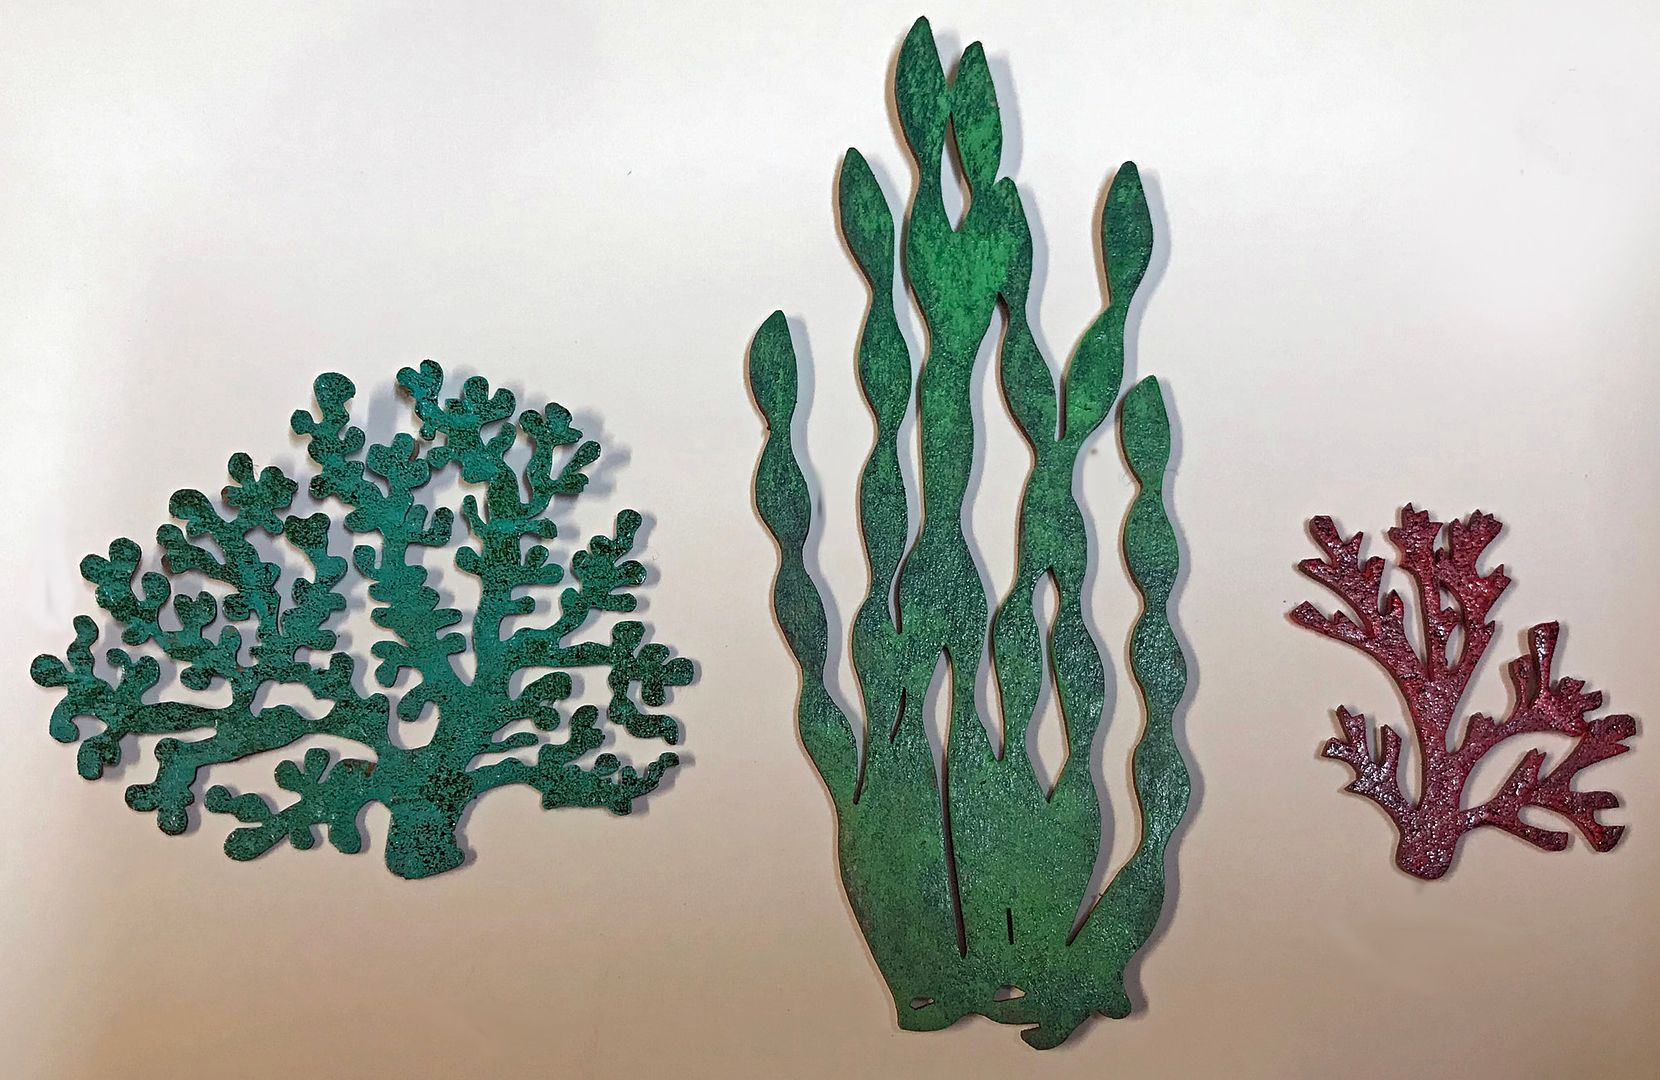
Coral Chipboard Set – 4 Pieces
Chipboard Tall Seaweed Silhouettes
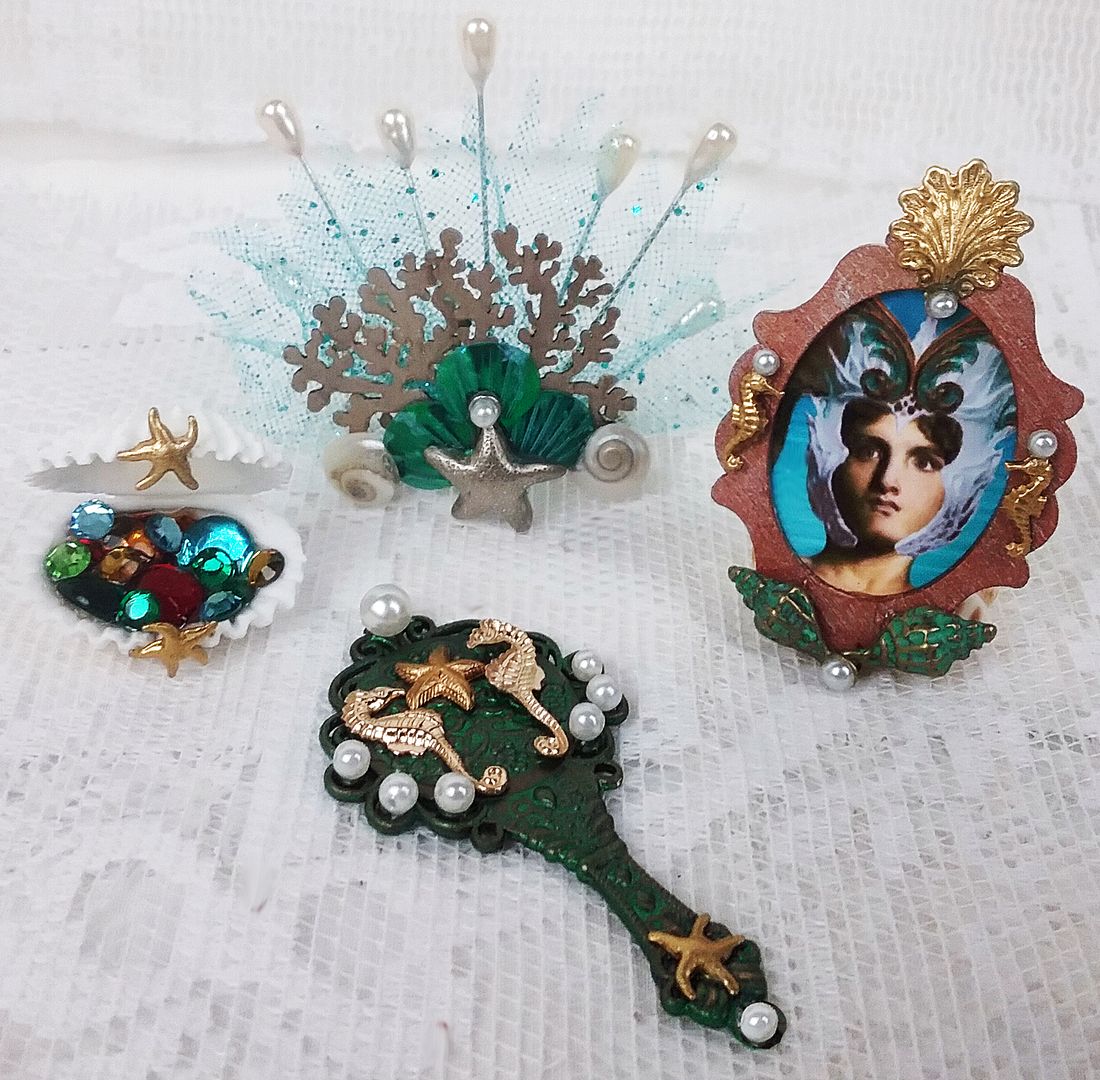
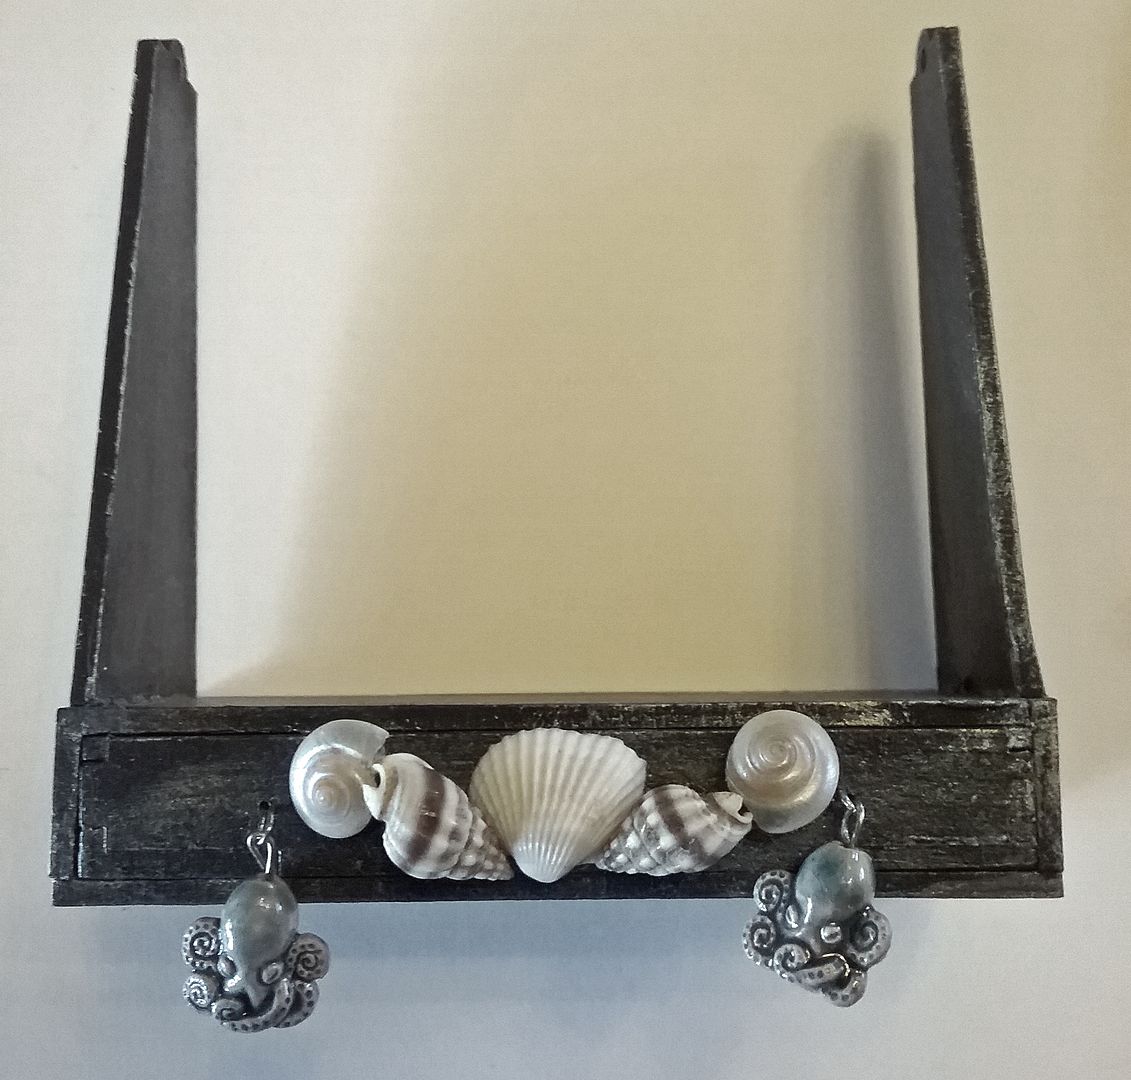
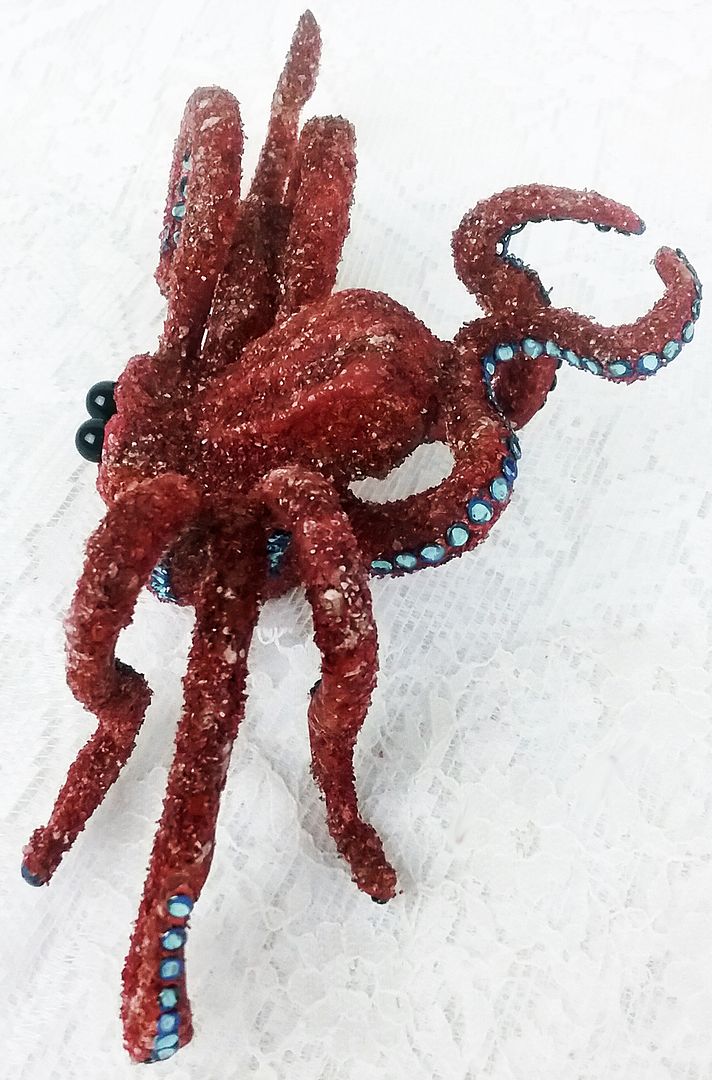
Enameled Seashell Charm Mix – Set of 3
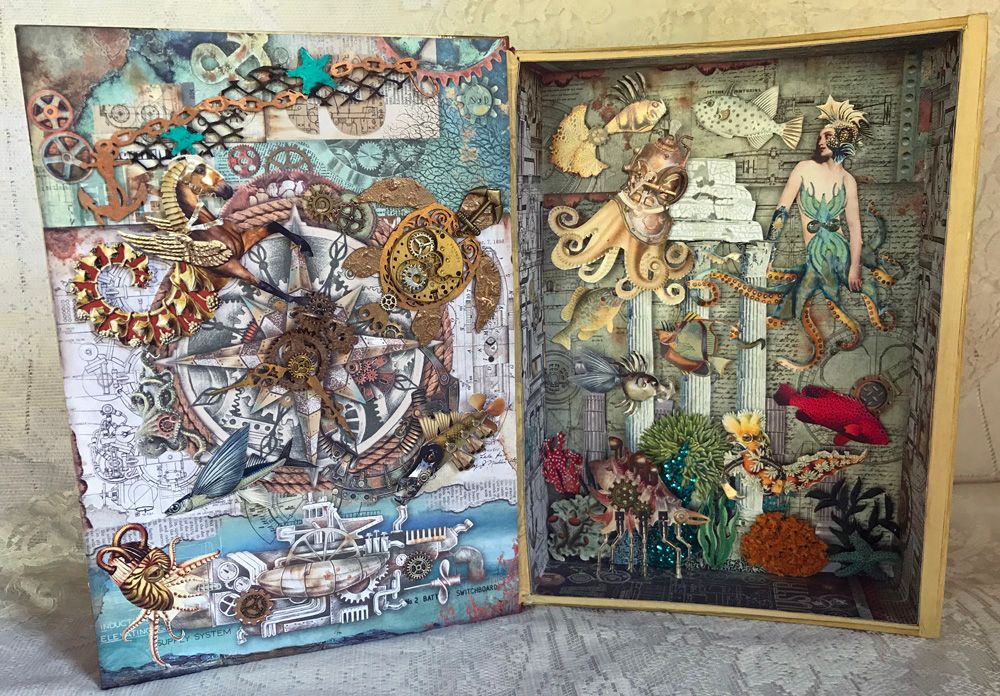
THE DETAILS - FAUX BOOK
I started with a faux book I purchased some years back at a craft store. The colors worked great with the papers. So, I didn’t need to paint or paper the edges or spine.
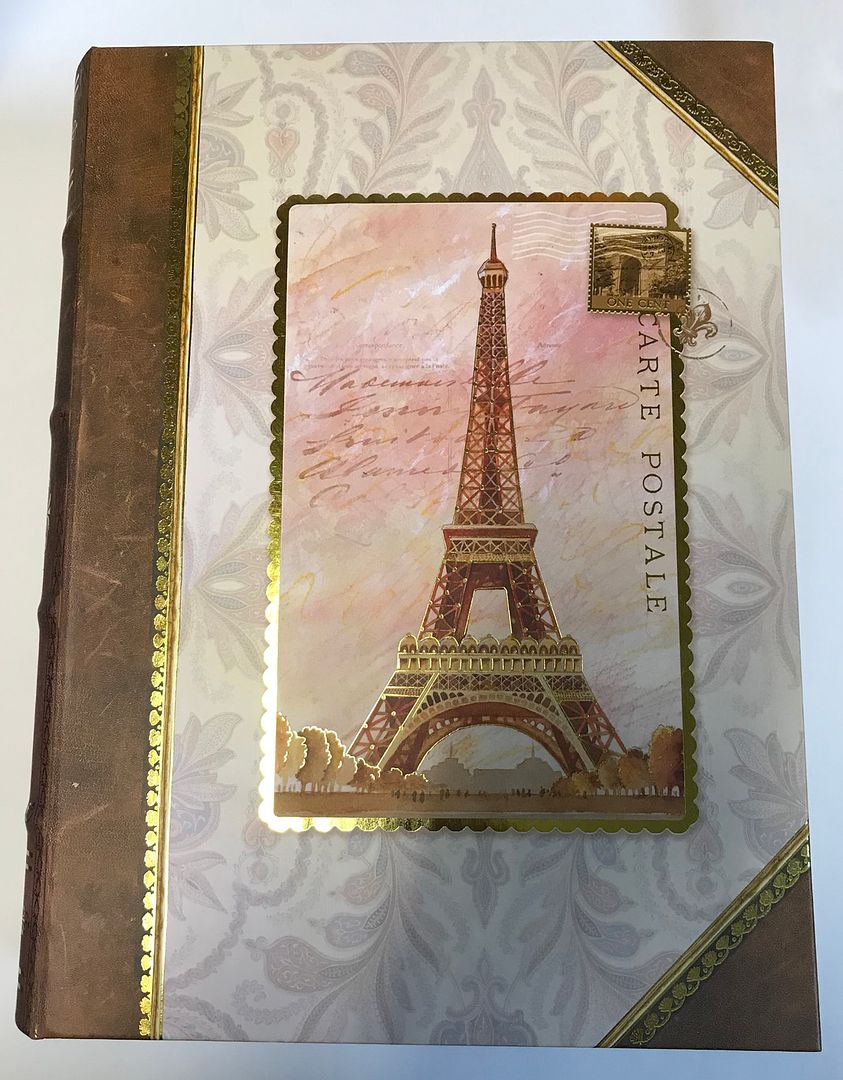
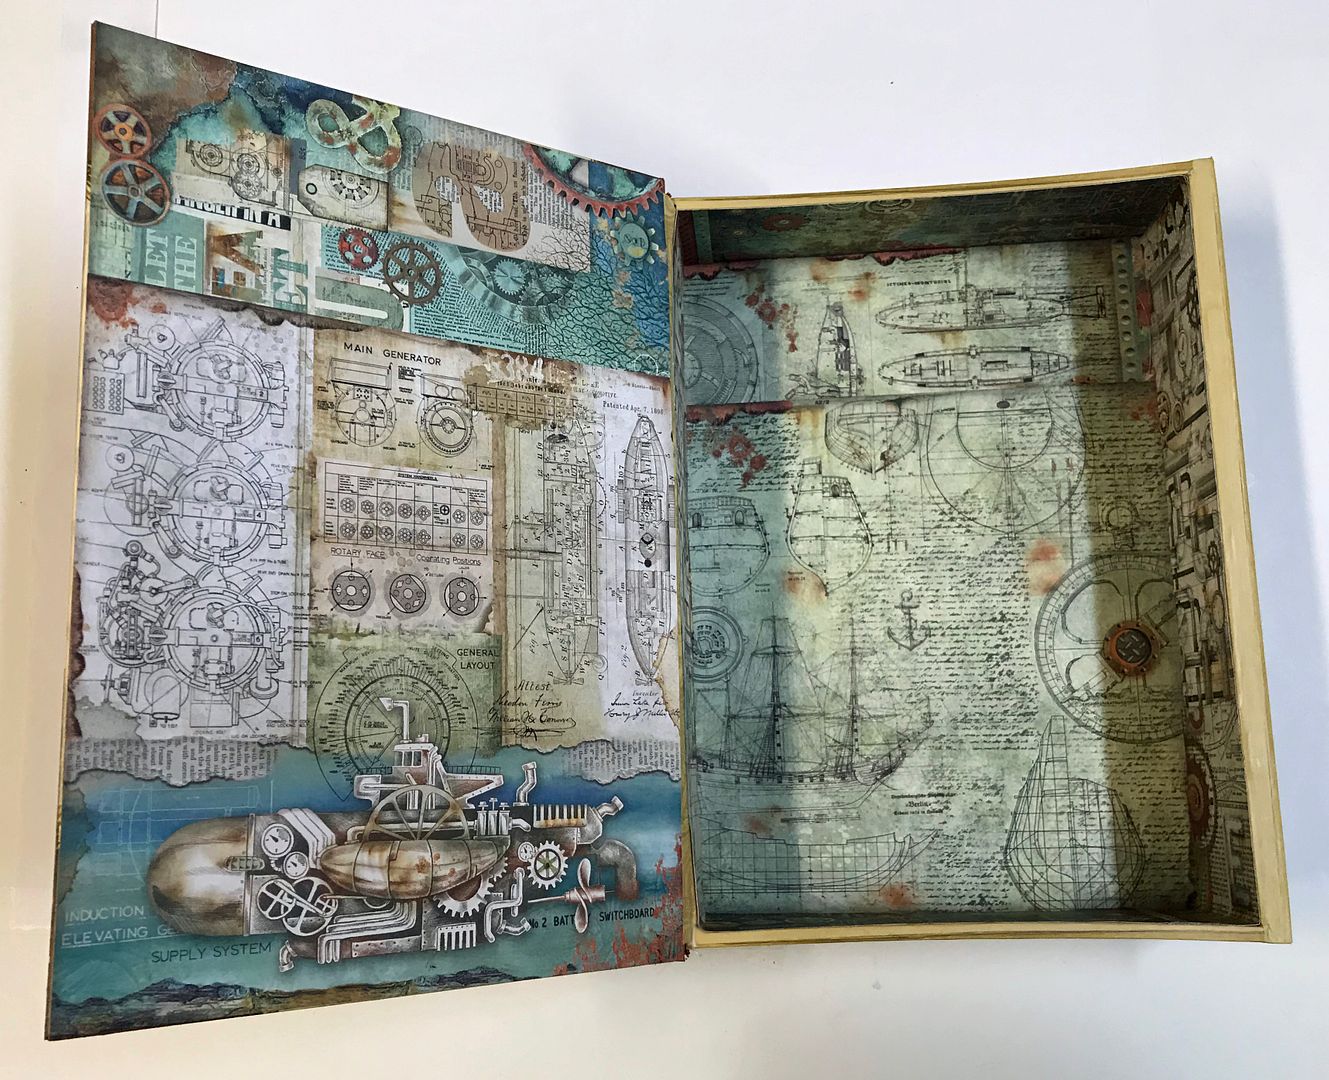
I started by papering the outside (except the spine) and inside using Sea World Paper. As I was using 8x8 paper and the surfaces of the book were larger, I cut up and pieced the paper with the designs I liked.
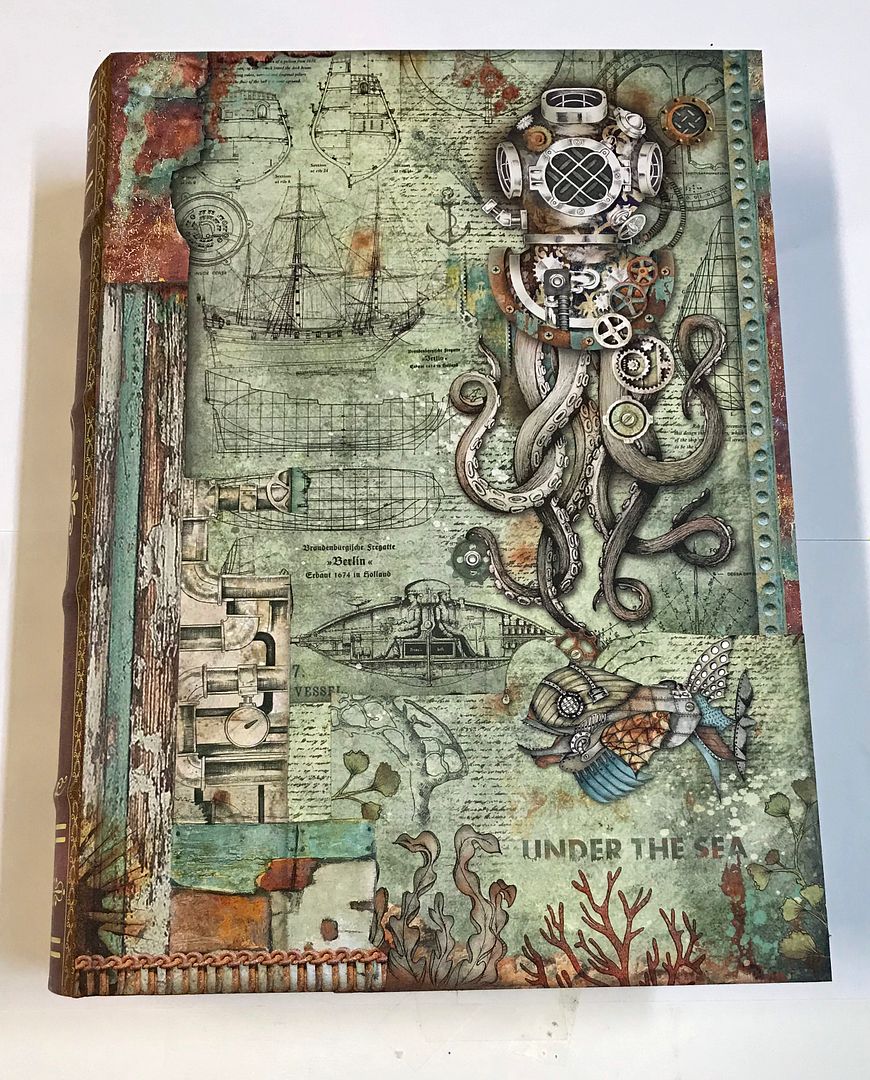
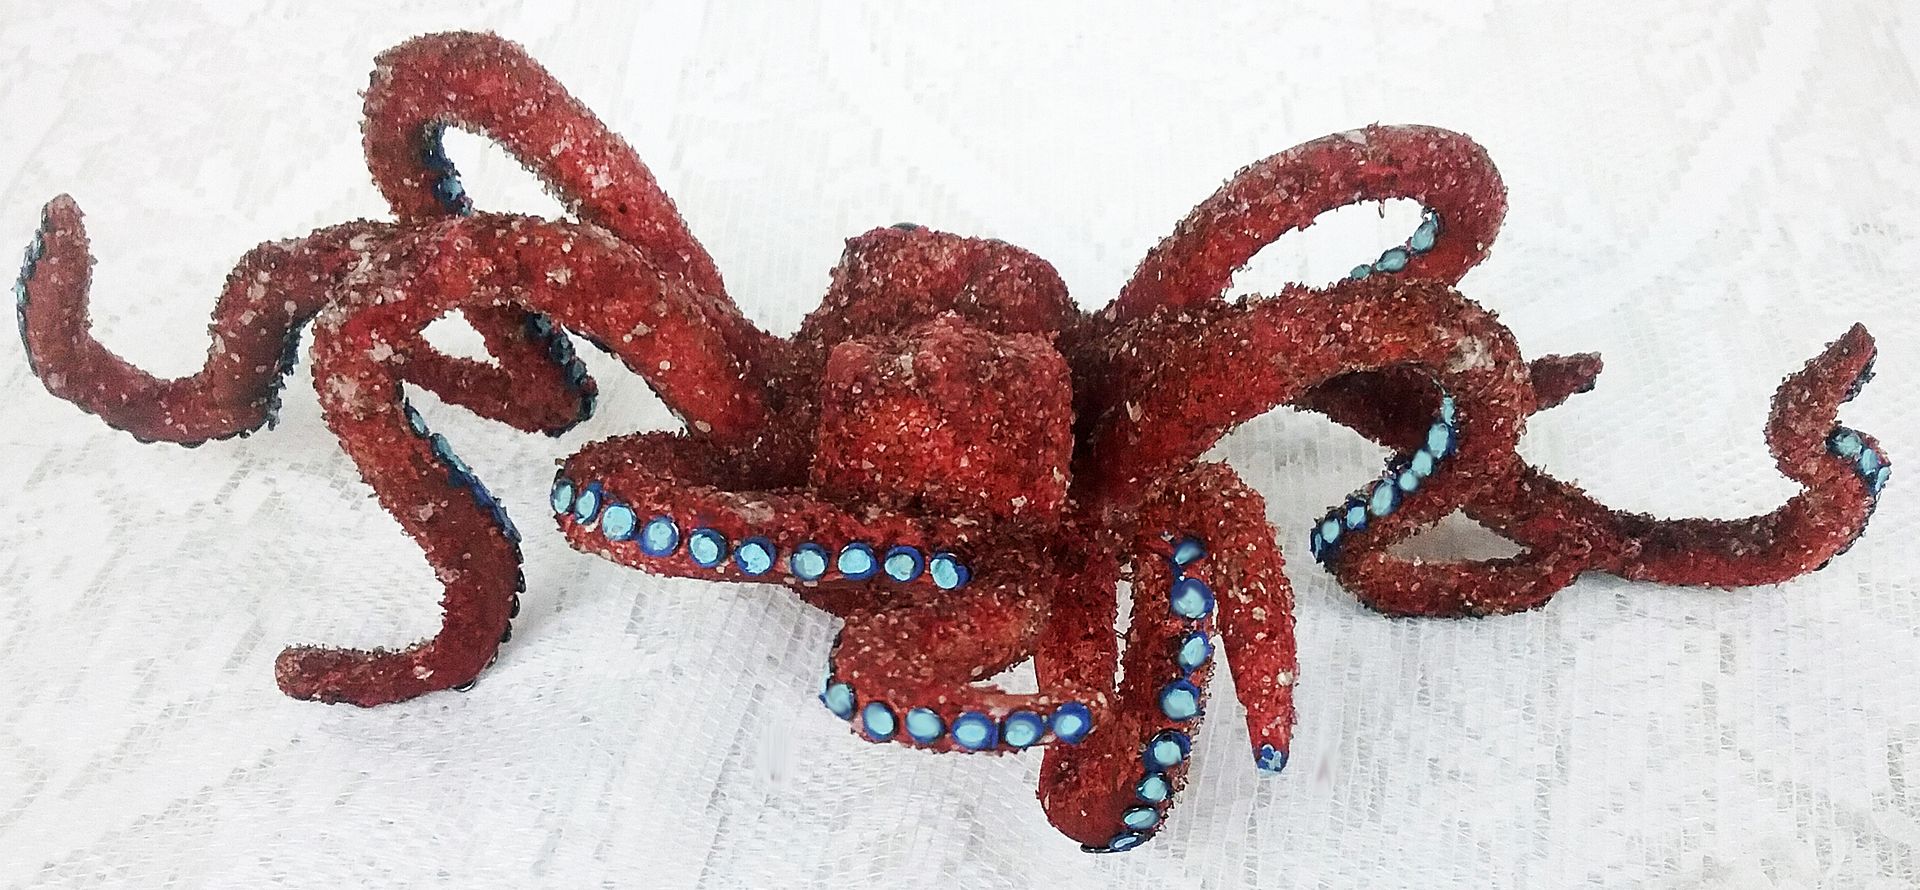
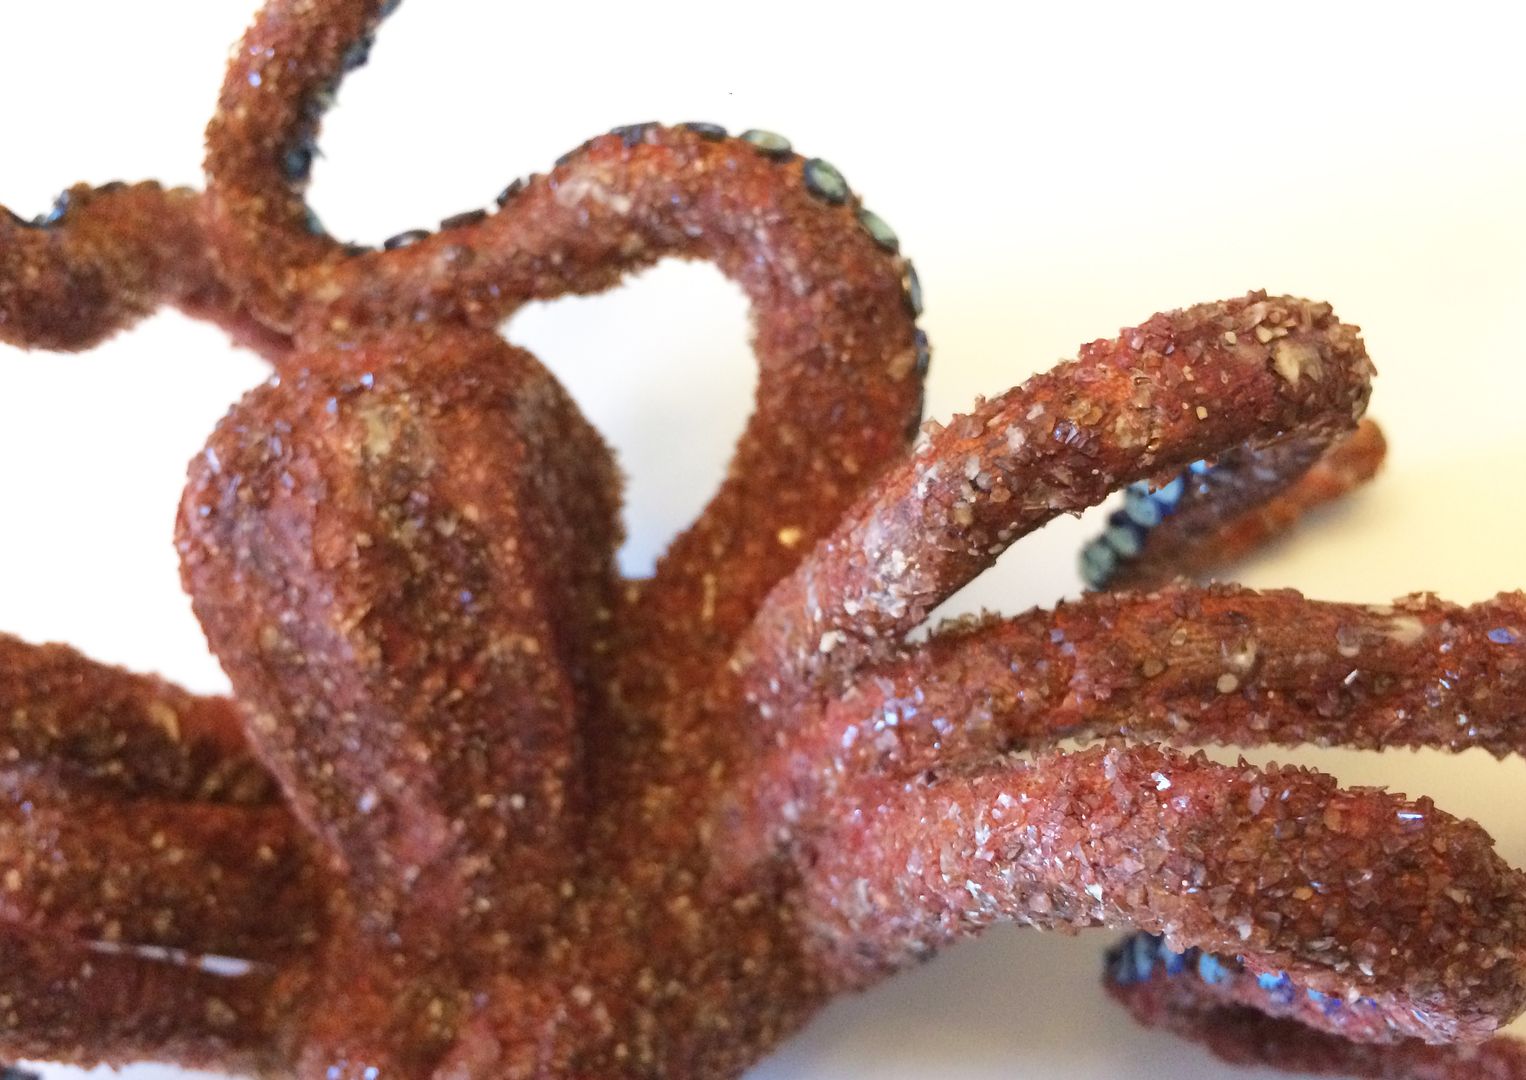
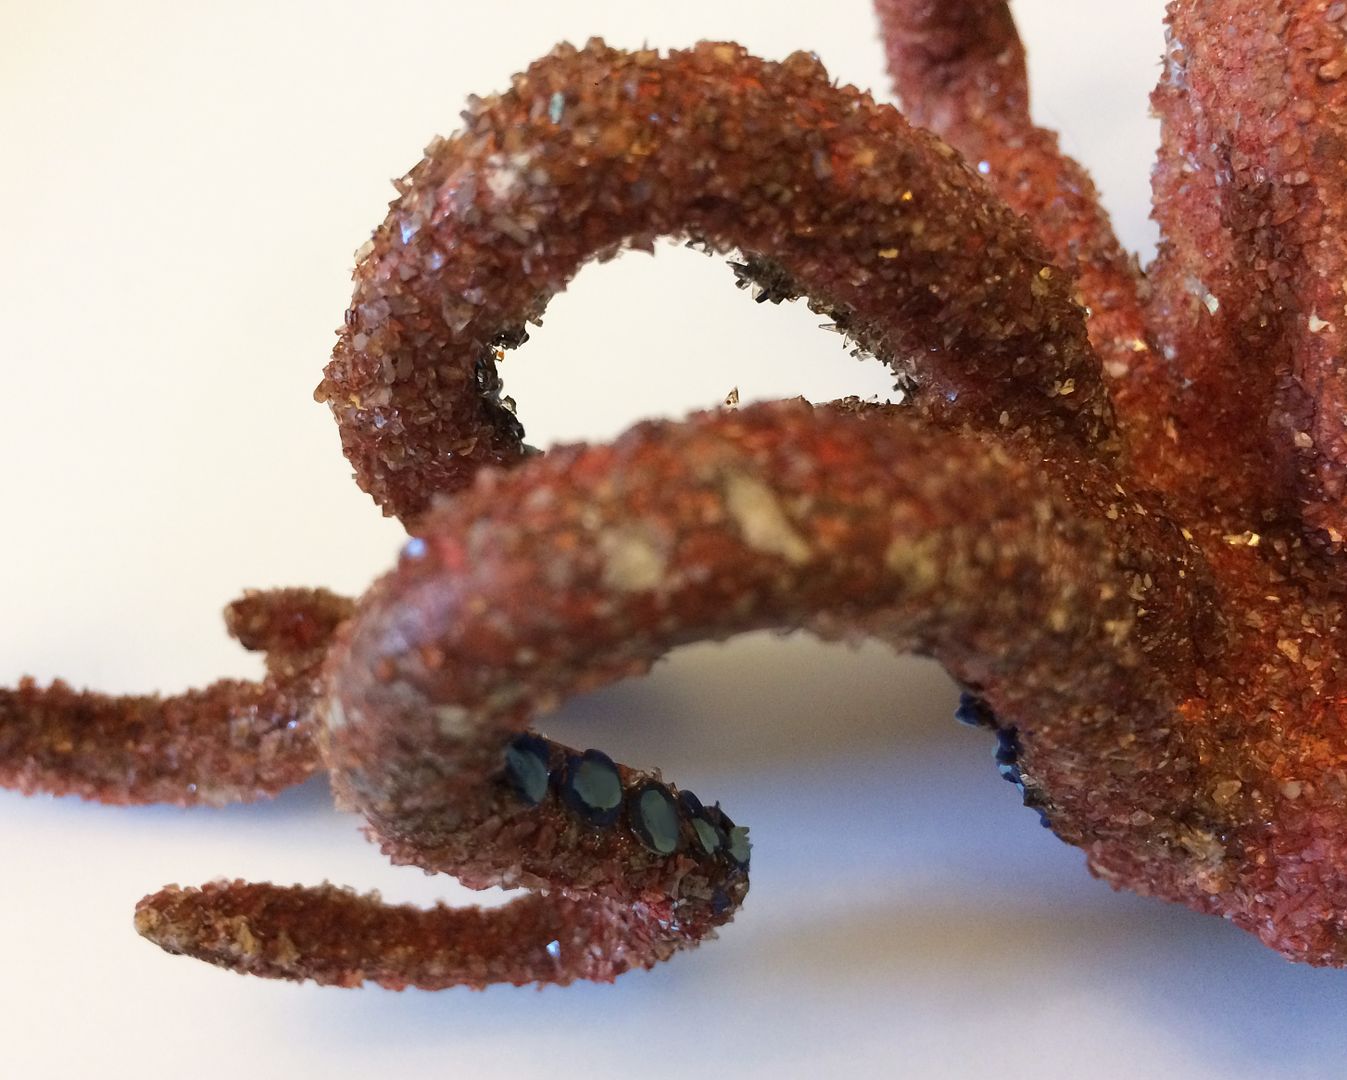
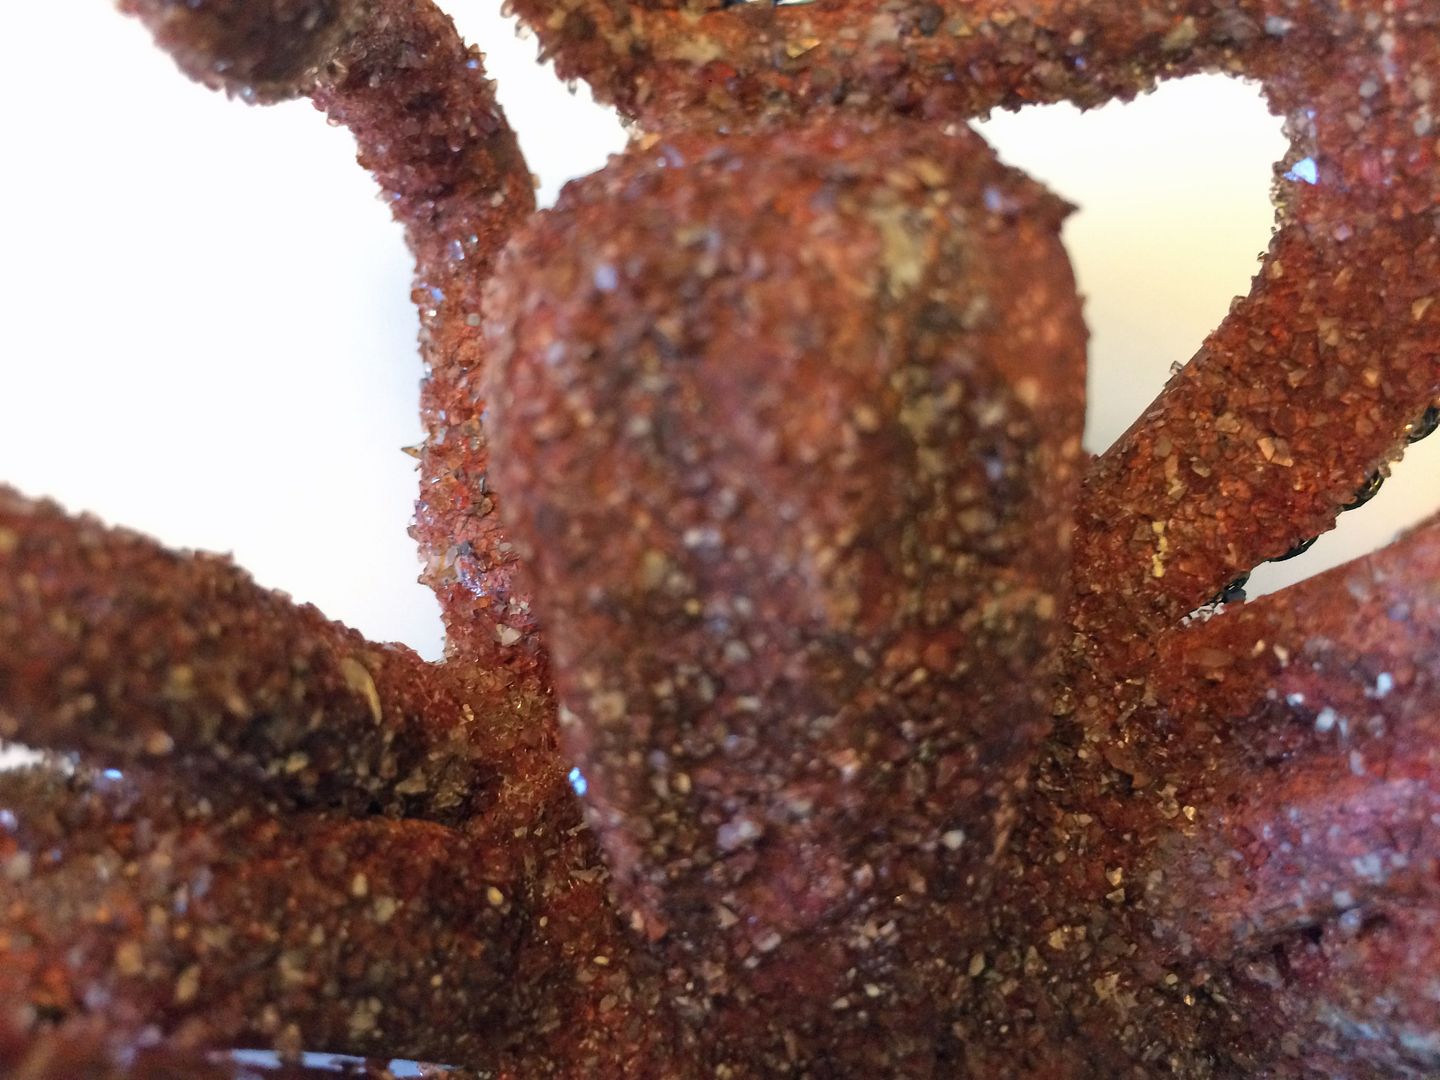
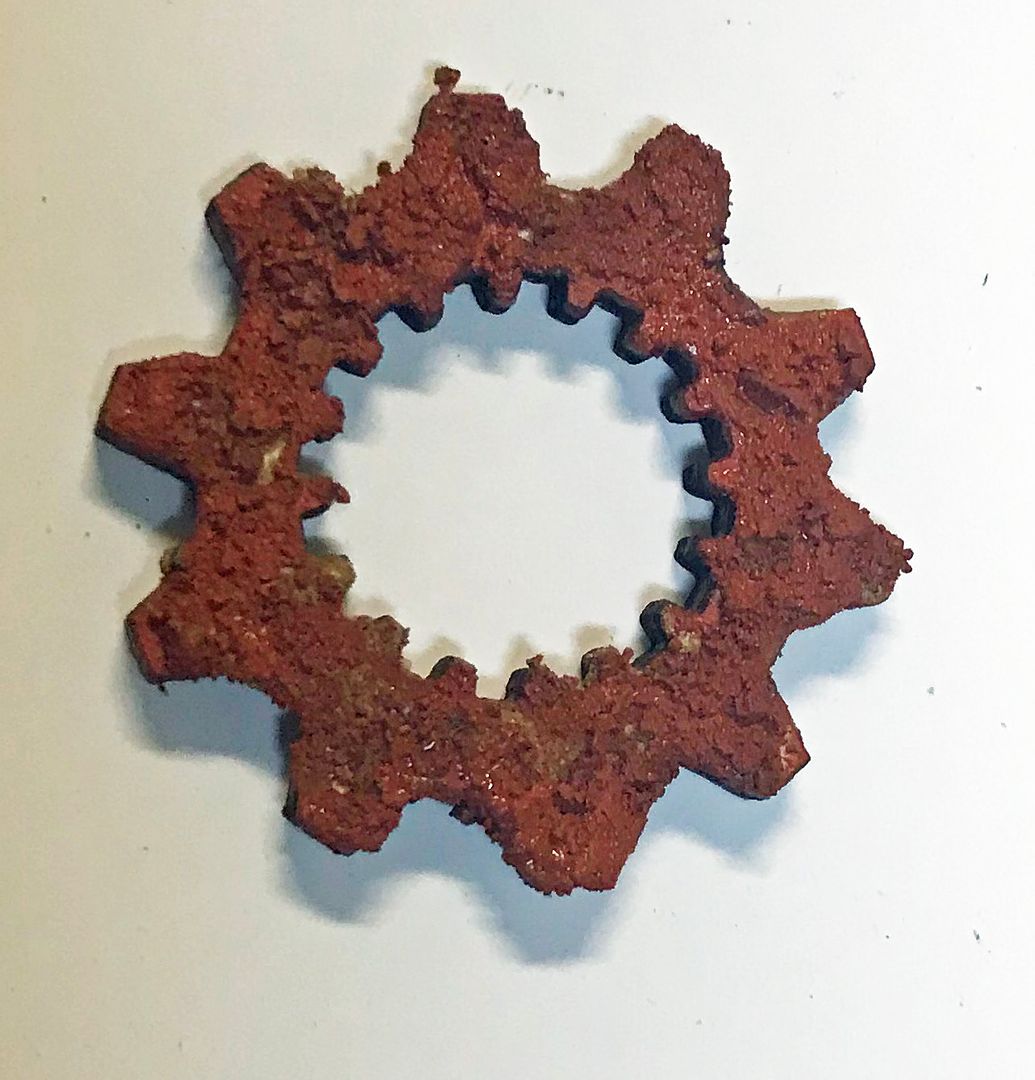
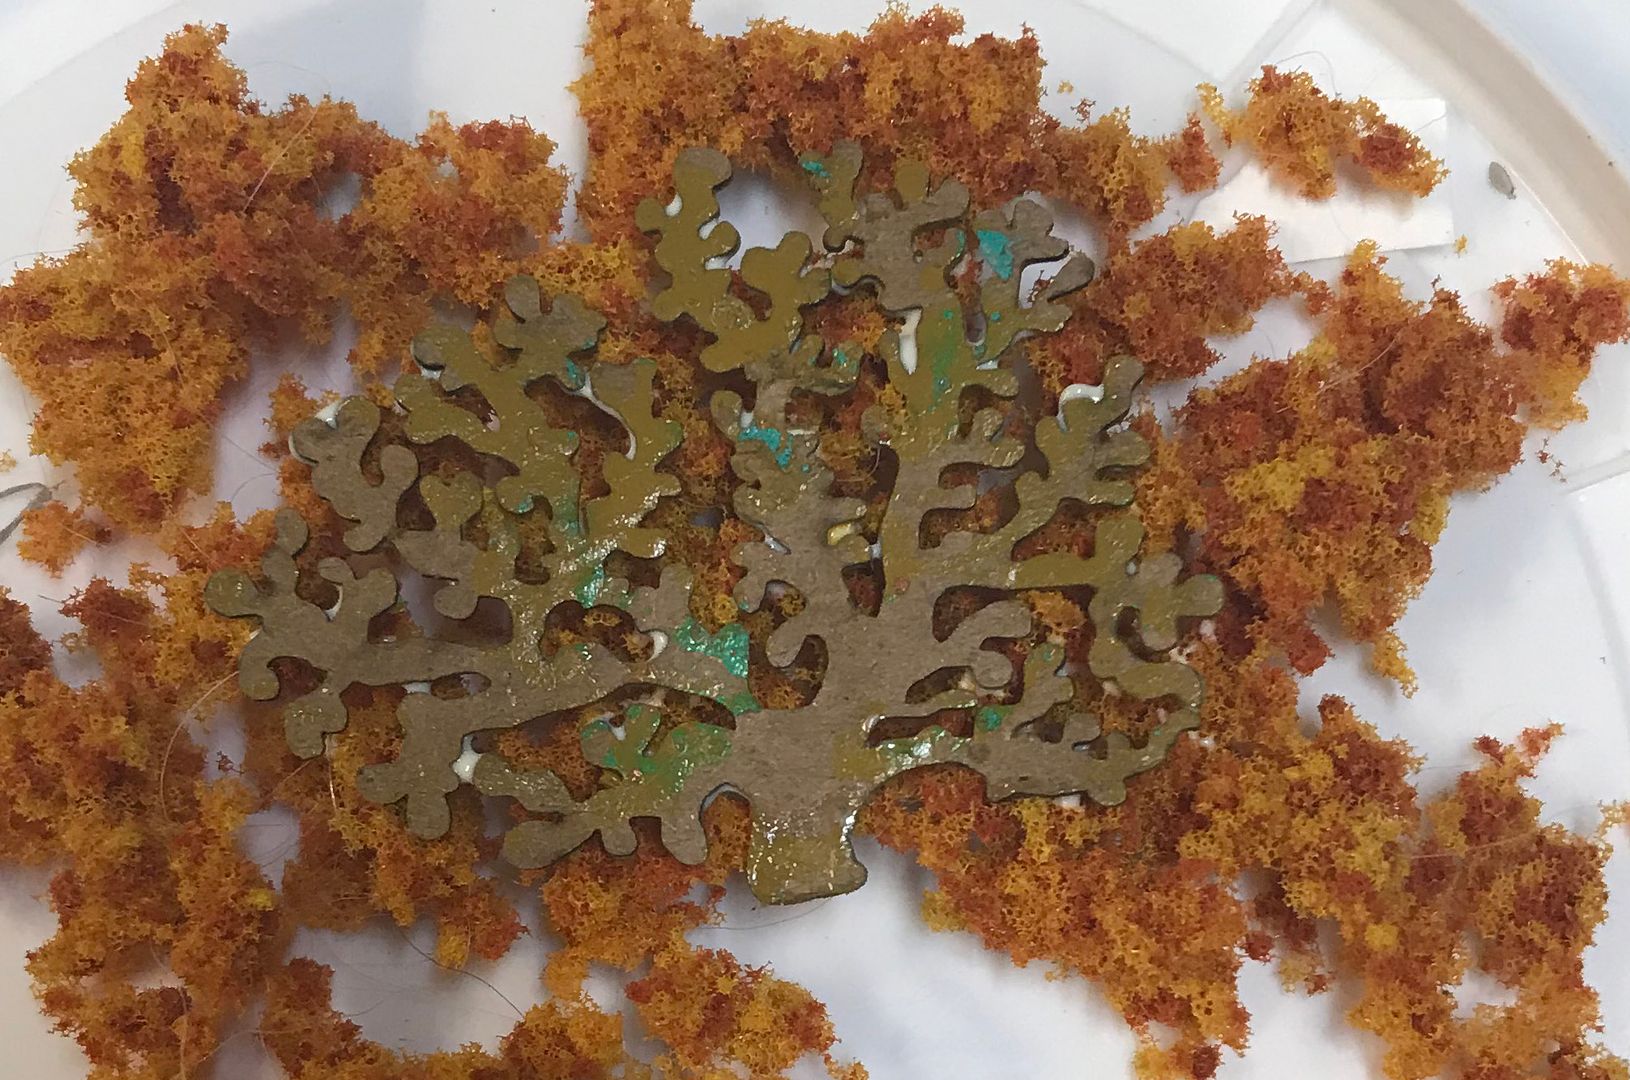
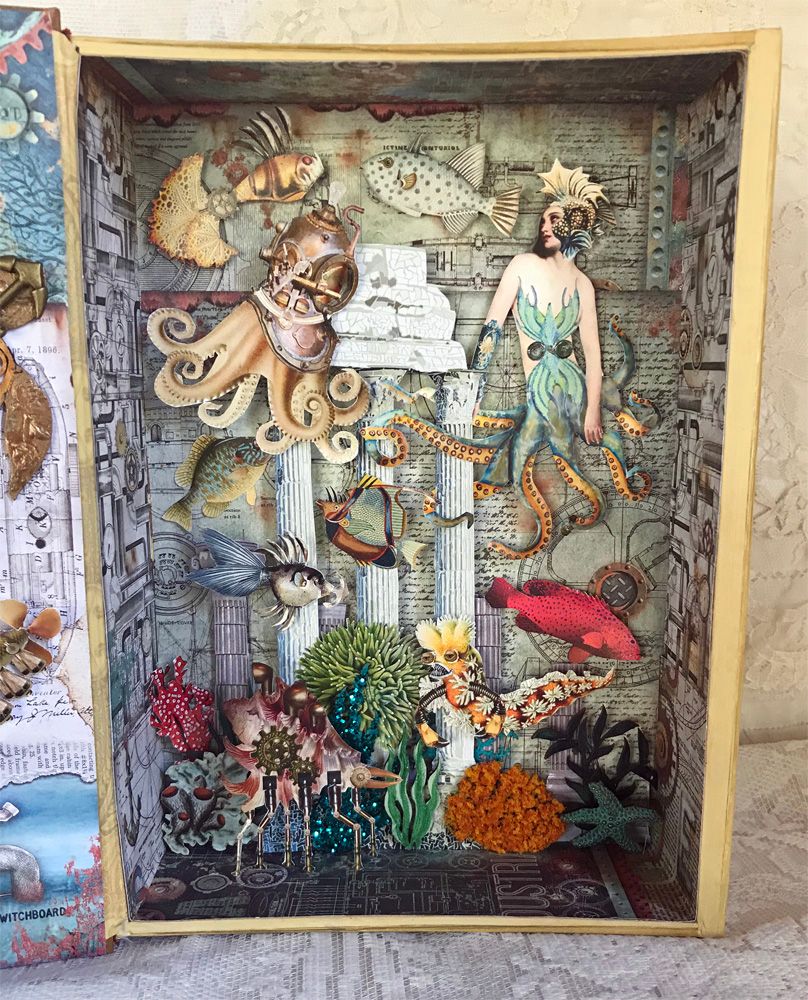
For this project, I used chipboard and wood gears to embellish both the paper pad images and the collage sheet images. To make them look rusted, I added glue and then sand from my yard. The sand makes it look more like it is rusting, bubbling up, and flaking pieces of iron.
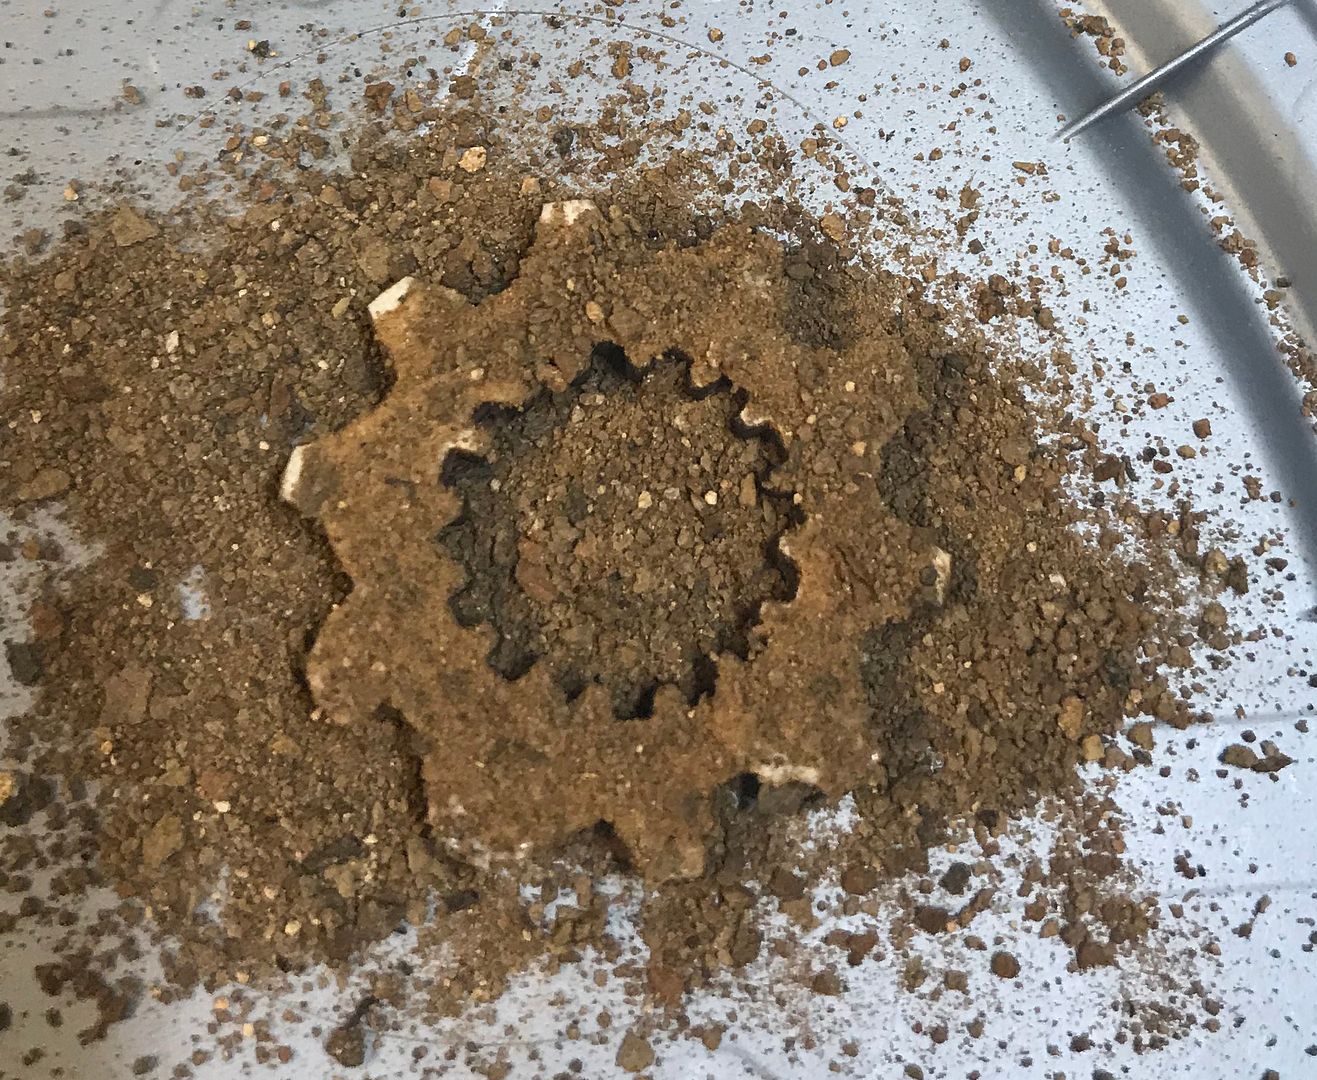
Next, I painted the gears with a flat dark orange color; then, to give them more dimension, I applied a small amount of bronze paint to various areas on the gears (don’t cover all of the oranges).
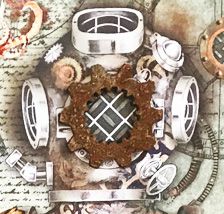
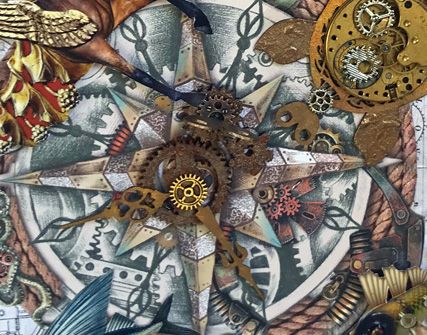
Below you can see how I used various gears (chipboard, wood, and metal) plus clock hands to embellish the paper image.

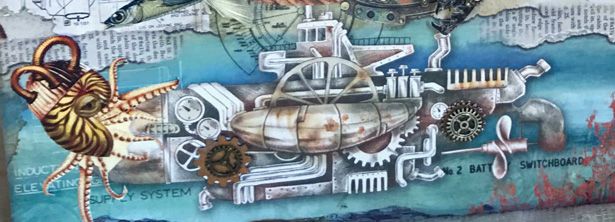
To the image of the submarine, chipboard and metal gears and a steampunk sea creature attaches themselves to the front of the sub.
The architectural pieces seen in the picture below, which help to give the scene structure, are from my MermaidGardens Digital Image Set.
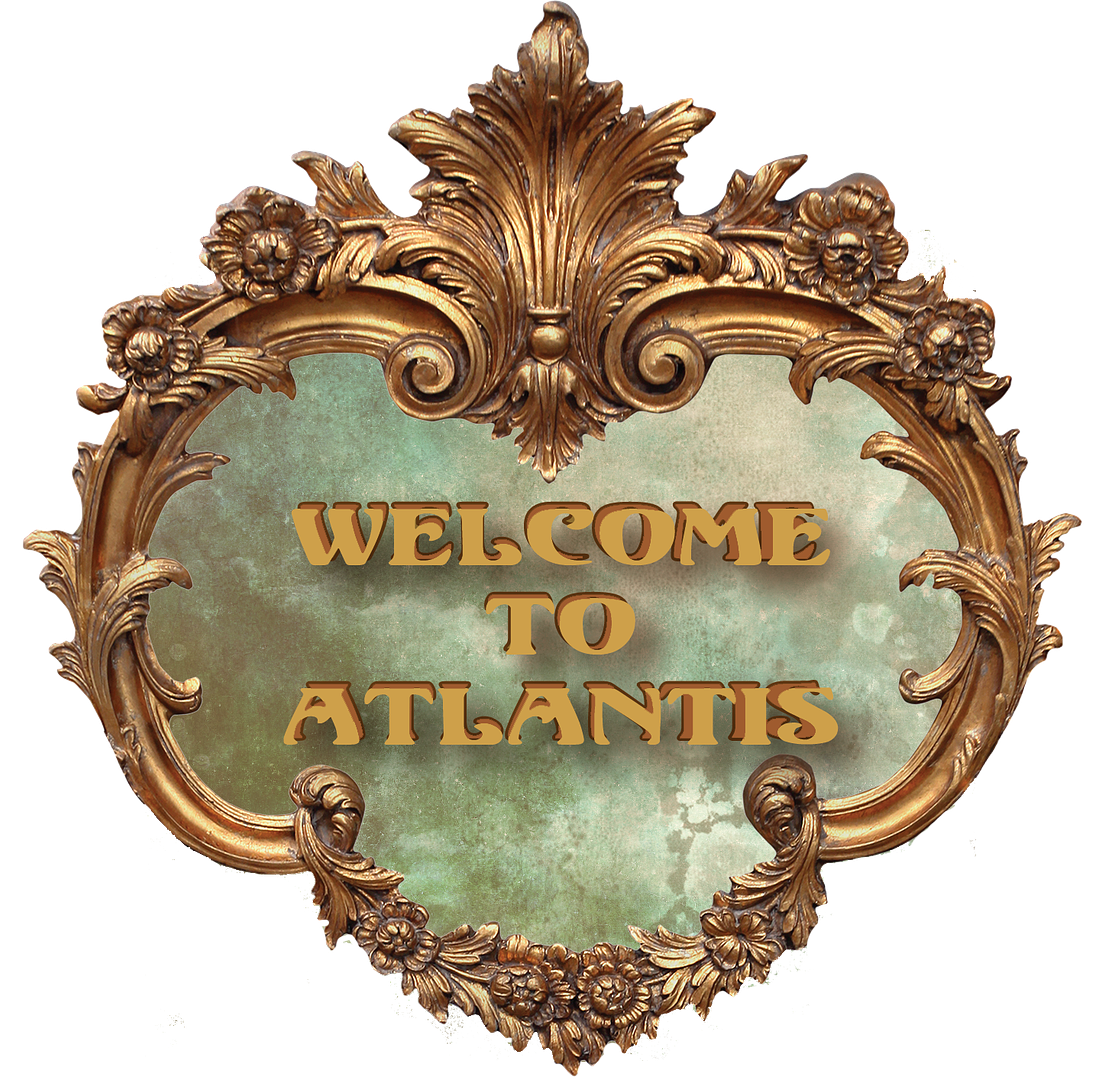
Below you’ll find the “Welcome to Atlantis” sign I used on the front cover.
FREE IMAGE
Click here to jump to the complete supply list for the Faux Book at AlphaStamps.
DETAIL SUPPLY LIST – WELCOME TO ATLANTIC
FAUX BOOK
Welcome
to Atlantis #1 Collage Sheet
Welcome
to Atlantis #2 Collage Sheet
Chipboard Shorter Seaweed Silhouettes
Chipboard Tall Seaweed Silhouettes
Anchor, Starfish & Fishnet Medley