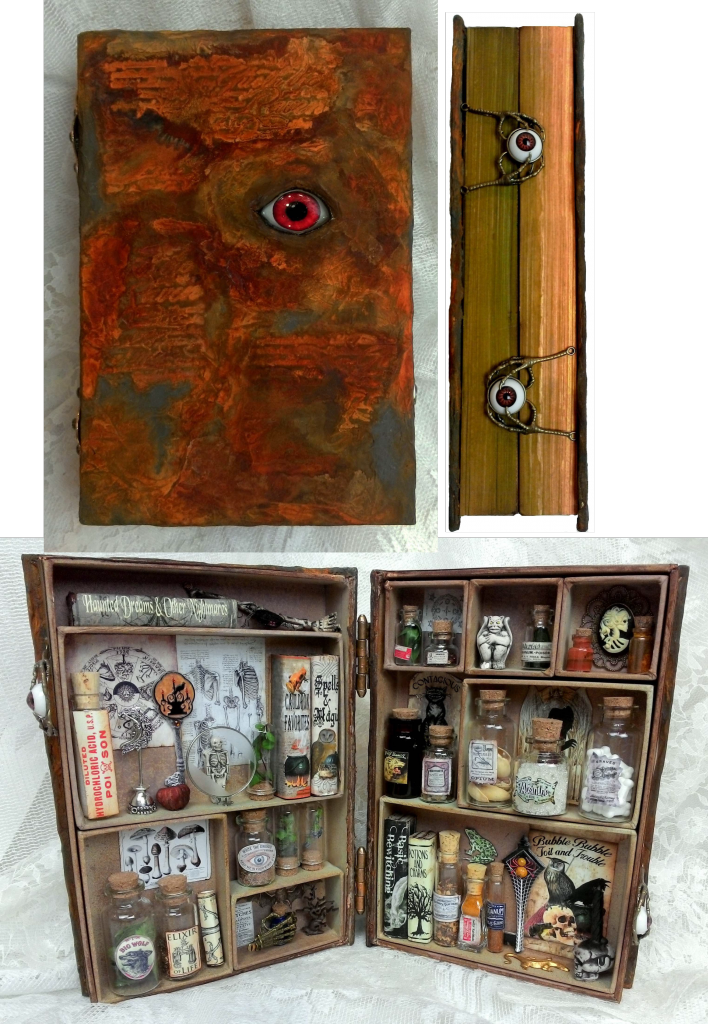
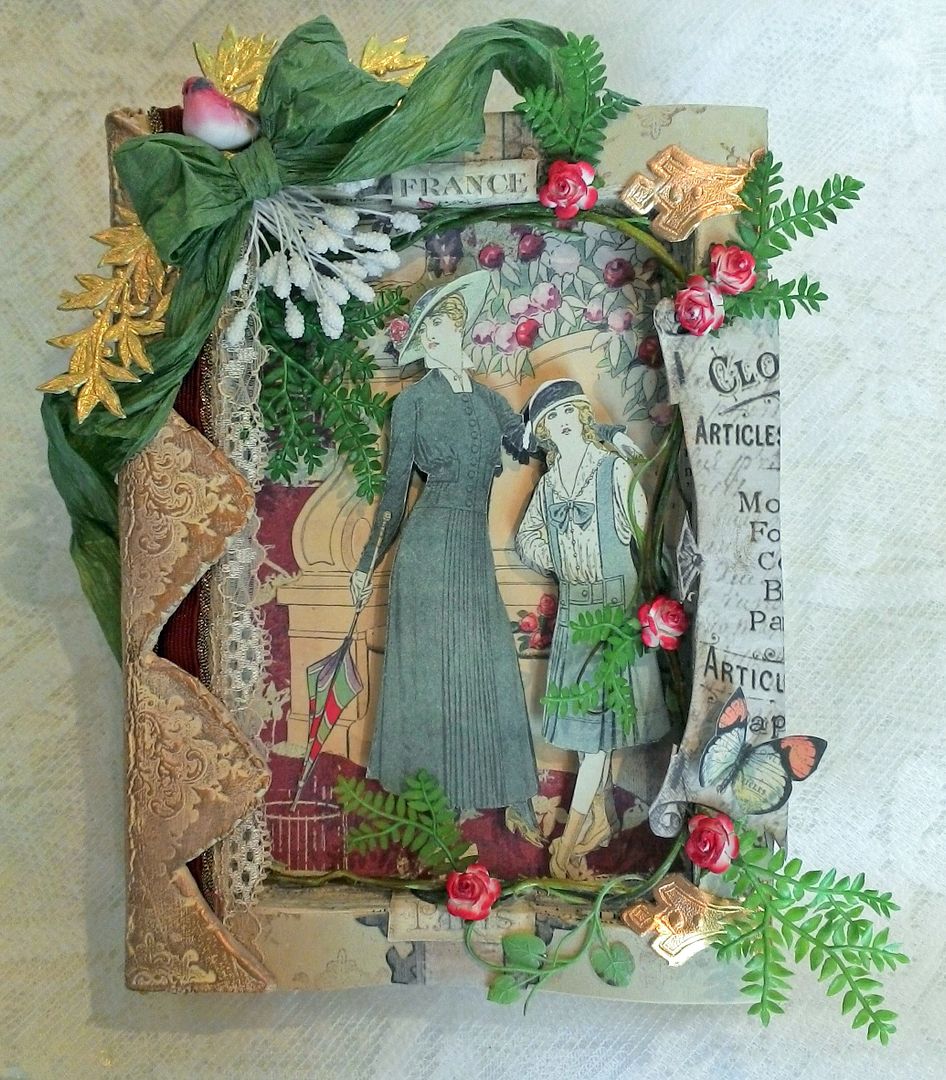
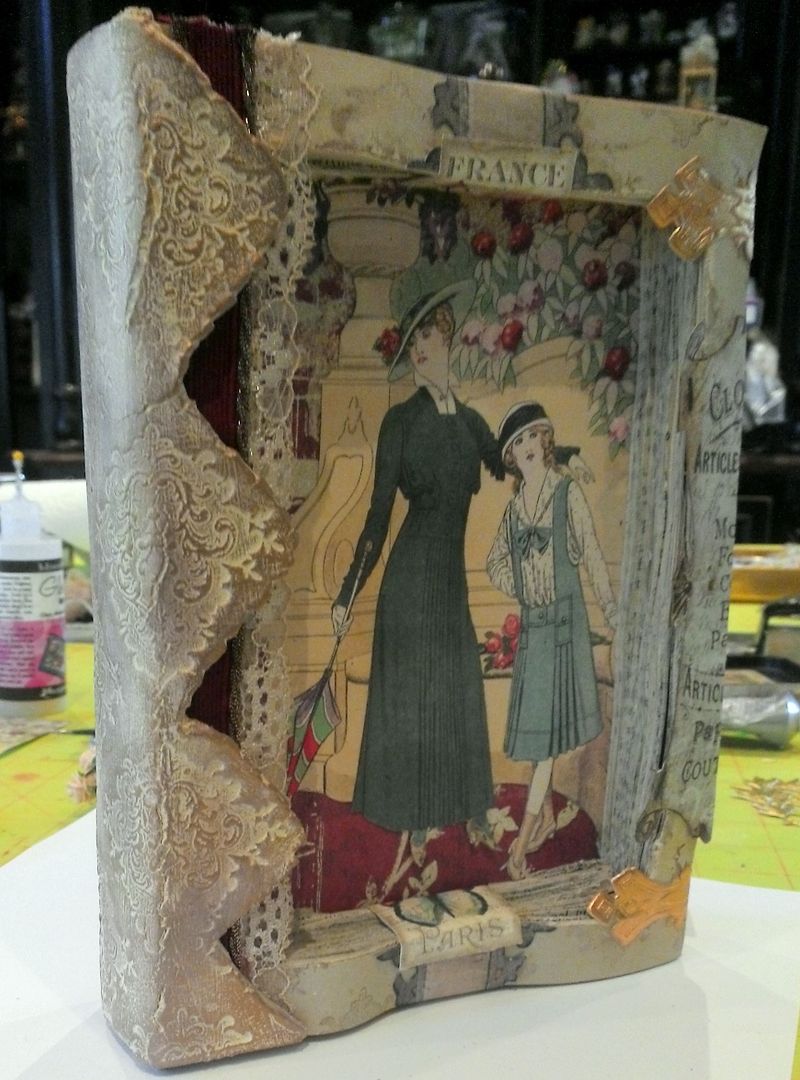
Its springtime in Paris and
my homage to the season is this altered book.
Unlike other altered books I’ve shown you, I’m using decorative images and
paper to hold the pages together rather than gluing them to each other; a big
time saver!
I’ve shown you how to stamp
on paper clay and how to mold stamped clay to a bottle, so how about stamping
clay and molding it to a book spine.
TUTORIAL
Clay Spine
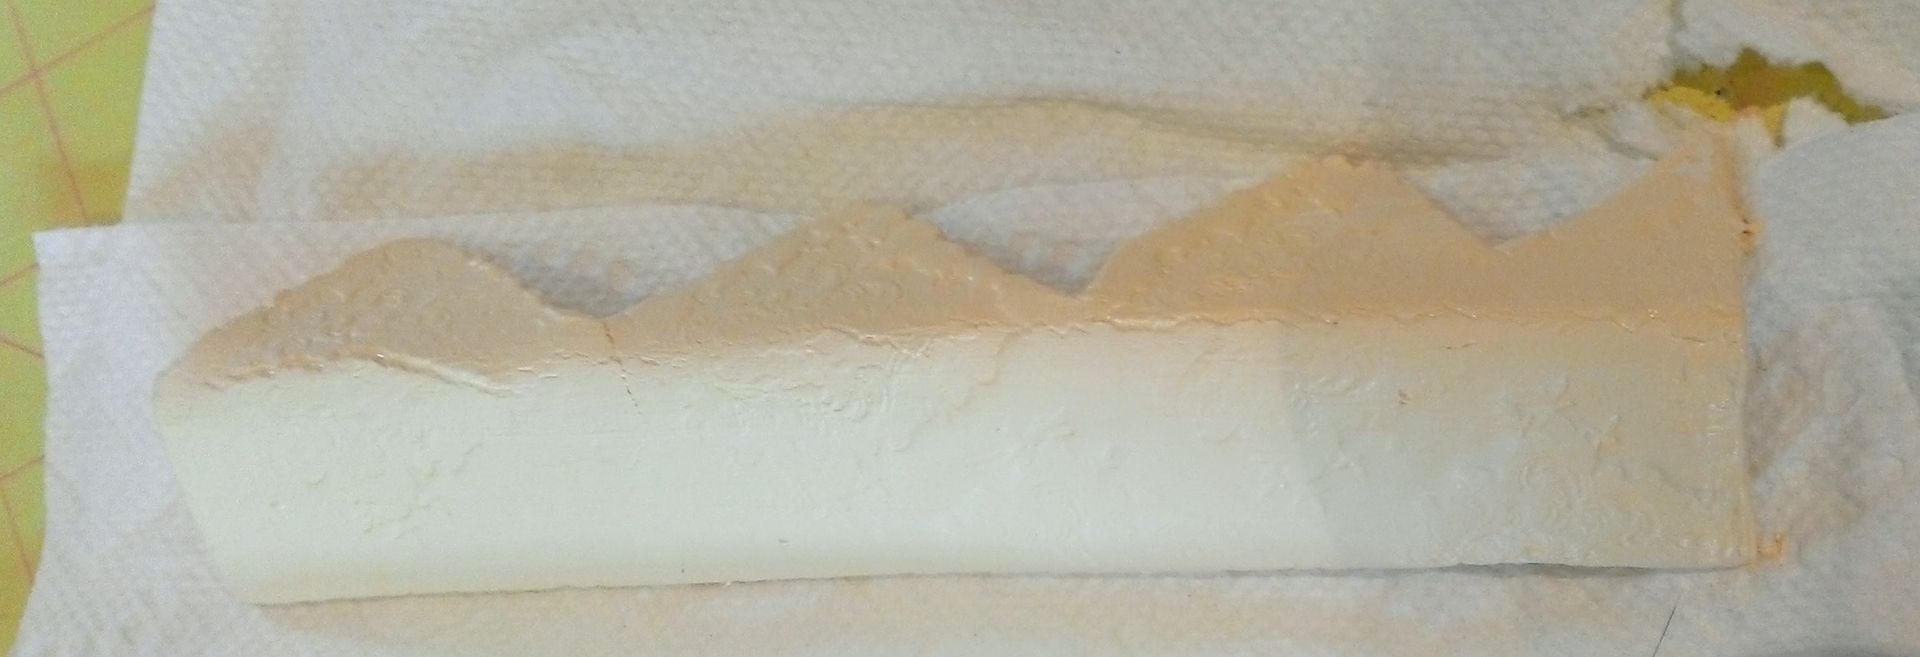
Since it takes a while for
paper clay to dry, I started by making the stamped piece for the book spine. First, I rolled out paper clay on a piece of
wax paper. You could also use a
non-stick craft sheet or tin foil; anything that keeps the clay from sticking
to the surface. I used a brayer to roll
out the clay to a thickness of about 1/8” thick.
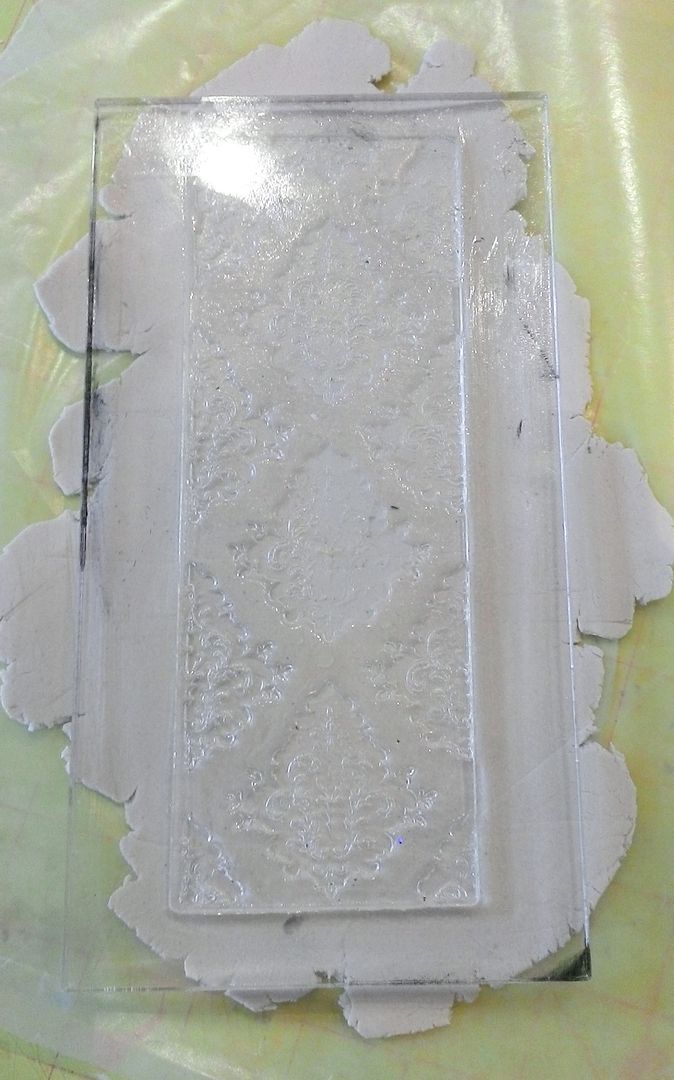
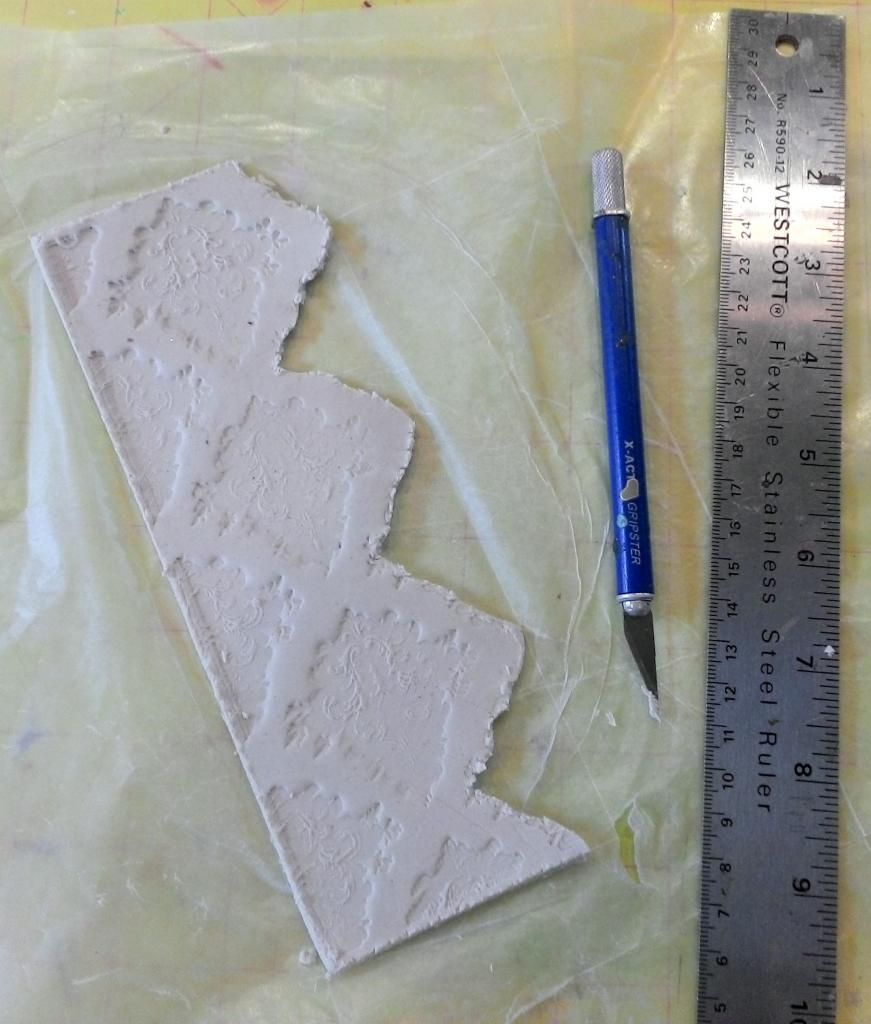
Next, using a yummy damask
clear stamp, I pressed the stamp firmly into the clay.
Carefully remove the stamp
from the clay revealing the pattern which will become more prominent when
colored.
Next, I trimmed one side and
the top and bottom of the clay using a metal ruler and X-acto knife. I used the X-acto knife to trim away some of
the clay on the right side. After the
clay dries I will sand away any remaining excess clay.
Note: Paper
clay shrinks when it dries so keep that in mind when deciding how much clay to
trim away and what stamp to use.
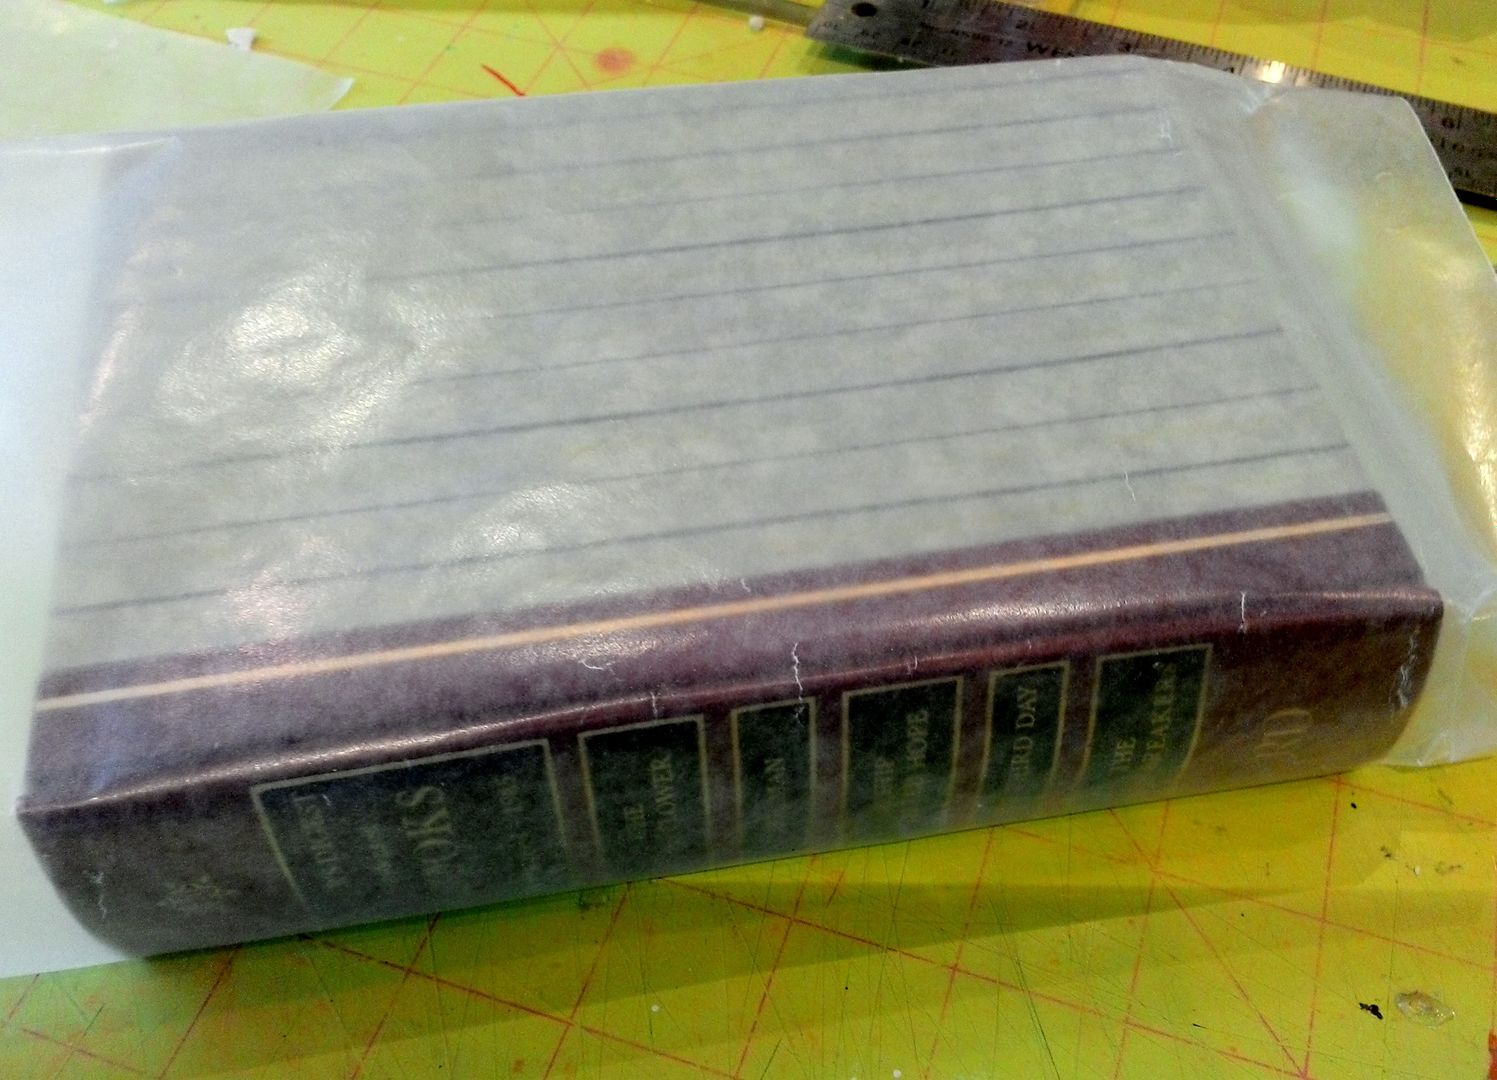
Since I wanted the clay to
curve around the spine of the book I needed it to dry in a curved
position. I wrapped wax paper around the second book (which is the same size as the book I altered) to protect the book
from the moisture in the clay.
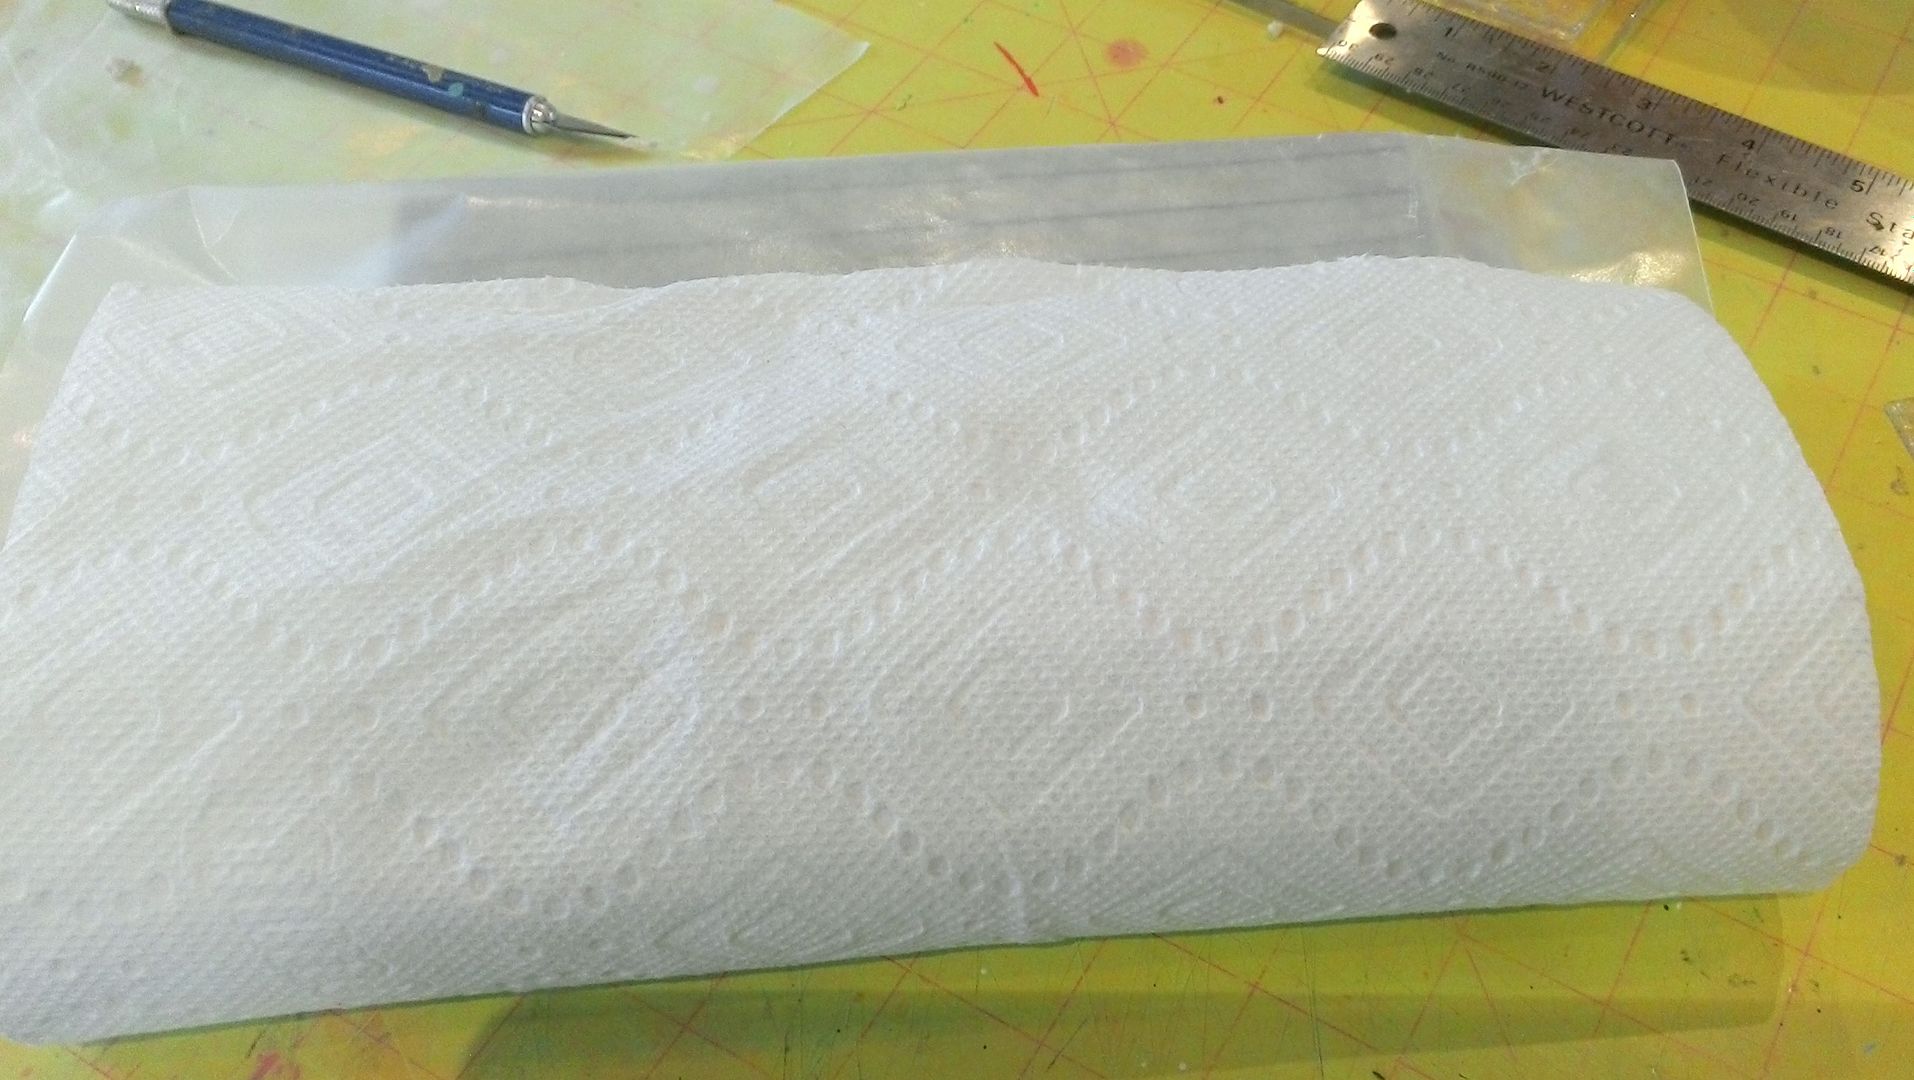
To help draw the moisture out
of the clay, I wrapped the end of the book with a paper towel.
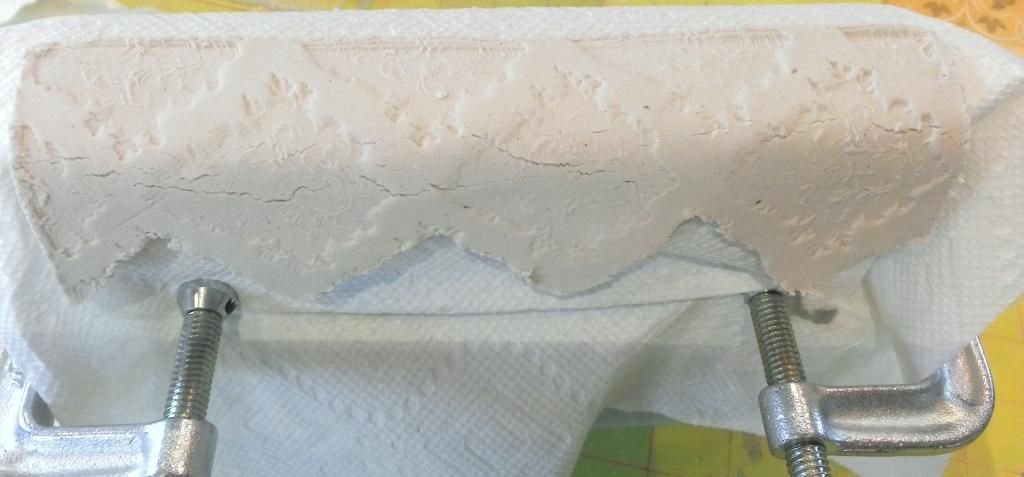
I used a pair of C-clamps to
keep book closed and the papers in place.
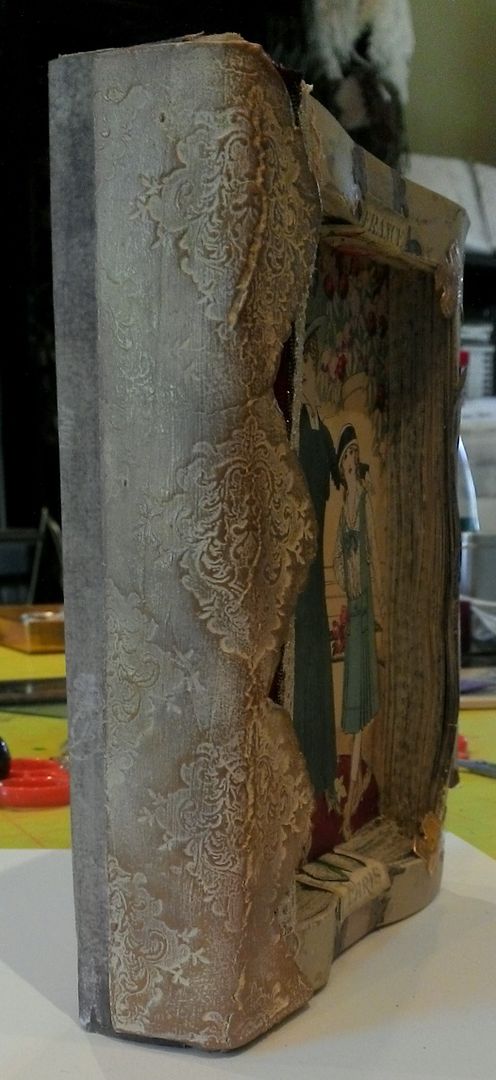
Next, I carefully molded the
clay around the spine of the book in the same position as I will attach it to
the altered book. Notice the
cracks. You may find that your clay
cracks some when you bend it. Personally, I think it adds to the vintage look of the book. If you don’t like the cracks, use your finger
dipped in a small amount of water and gently rub out the cracks; be careful not
to rub out the design.
Let the clay dry (could take
2 days). After a couple of hours, you
might want to lift the clay piece off the paper towel to allow the towel to dry
and then place the clay back on the book.
Paper clay likes to curl or warp as it is drying. Once the surface feels dry, you can place a light object on the surface to keep it from curling as the back and insides of
the clay continues to dry.
If you have never worked with
paper clay you might want to use just a small piece and experiment so that you
can get a feel for how long it takes to dry in your climate and how to prevent
warping.
Once the clay is completely
dry, you can sand away any excess or rough areas. Once I sanded the clay I painted it with pale
yellow acrylic paint.
Next, I used Walnut Distress
Ink and a sponge to add more color and to make the pattern pop. The picture below shows how it looks although
unlike in the picture, I did this before attaching the clay to the book.
Originally, the plan was to stop coloring the clay after applying the ink but I then decided (after I attached the clay
to the book) to add Inca Gold Gilders Paste to the raised parts of the
design. The gold complimented the other
gold accents on the book.
Altering the Book
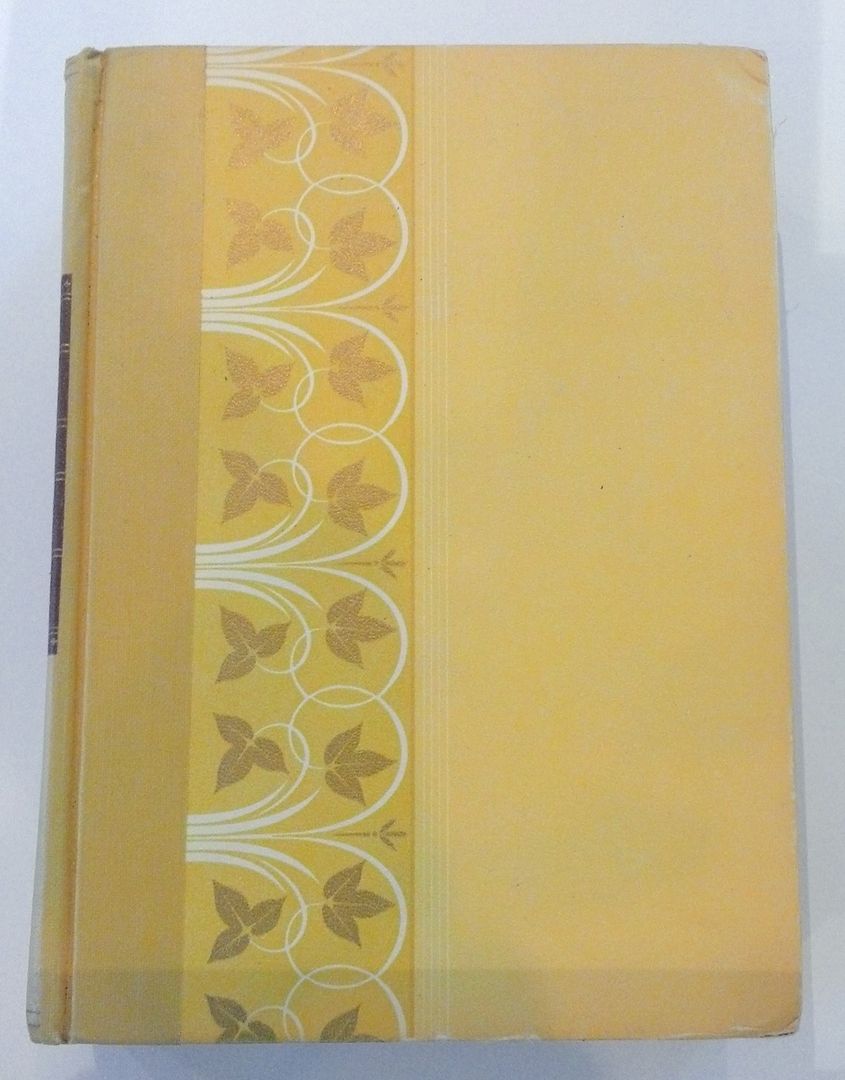
I started with an old Readers
Digest Book (I have tons of them). I
choose one with a yellow cover as I am not going to cover the edges and I
thought the yellow would coordinate with the other colors.
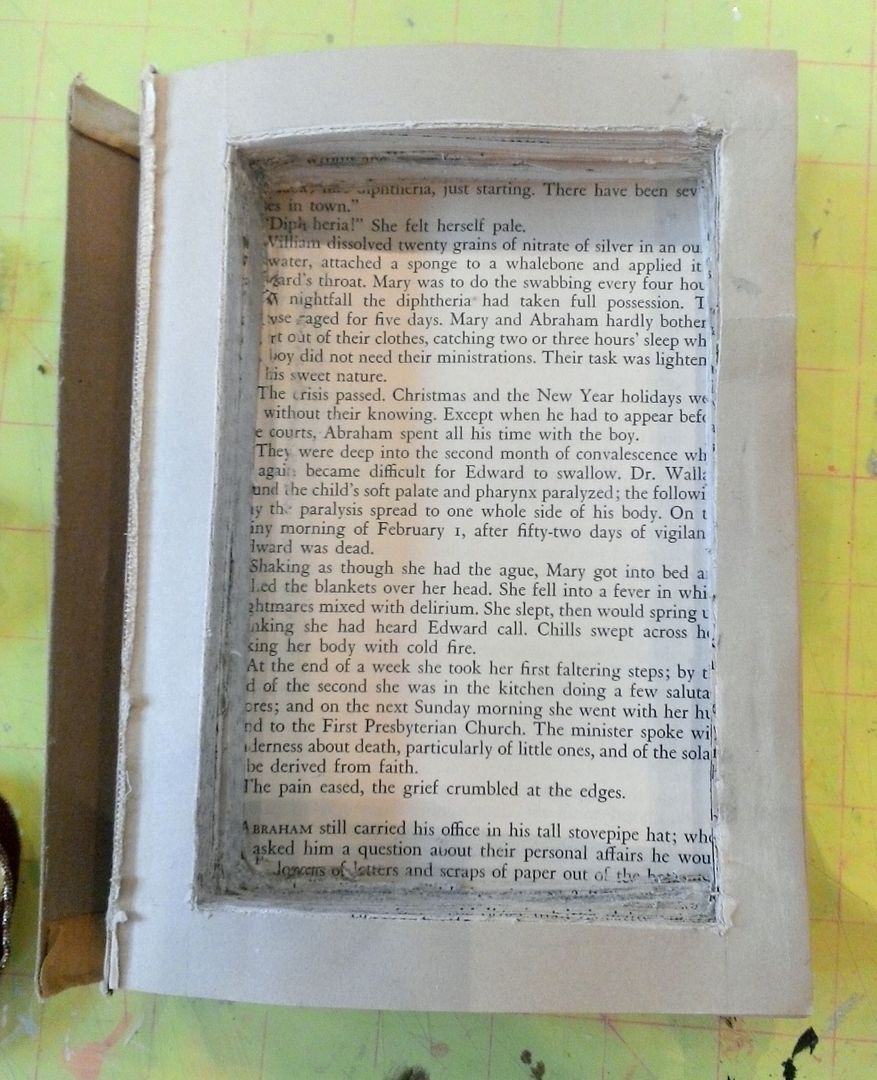
Next, I removed the front cover
using an X-acto knife.
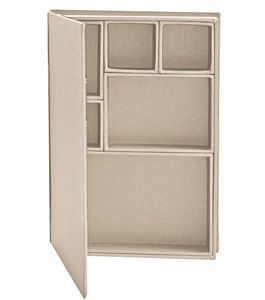
Once I decided on the size of
the shadowbox, I cut a hole through pages in the book. The depth of the hole depends on the
embellishments you intend to use. I used
a piece of sandpaper to sand away some of the ragged edges.
I stamped the front page of the
book with the same stamp I used to create the clay spine.
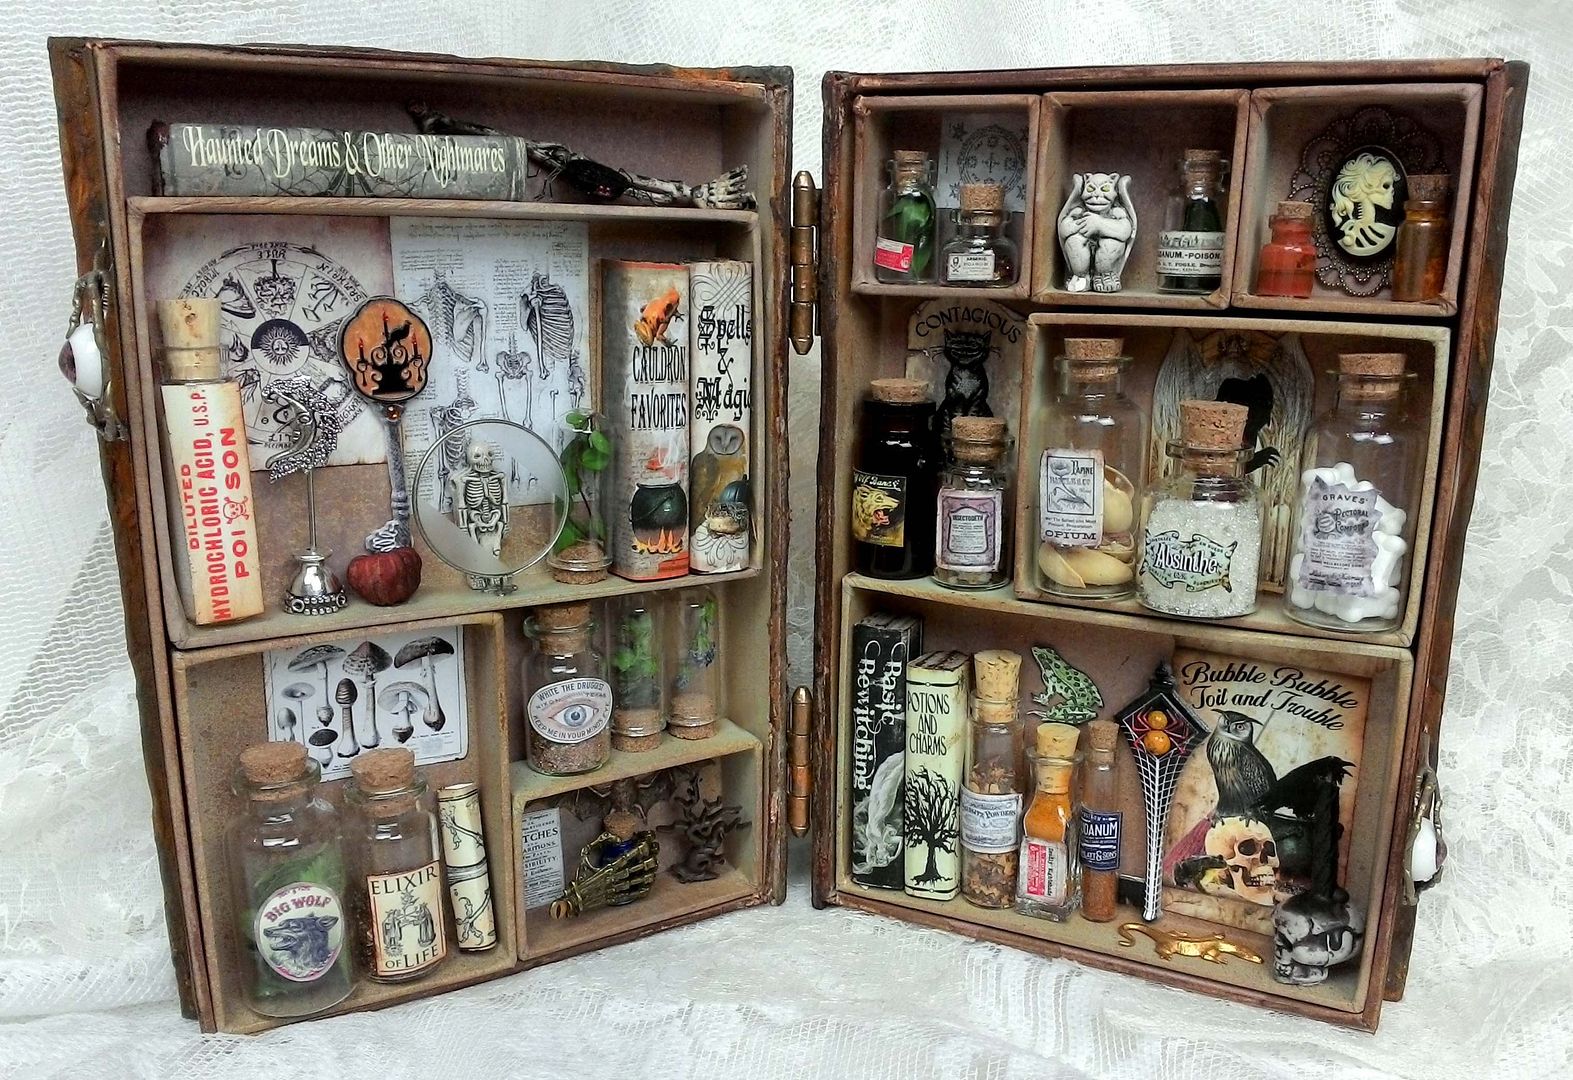
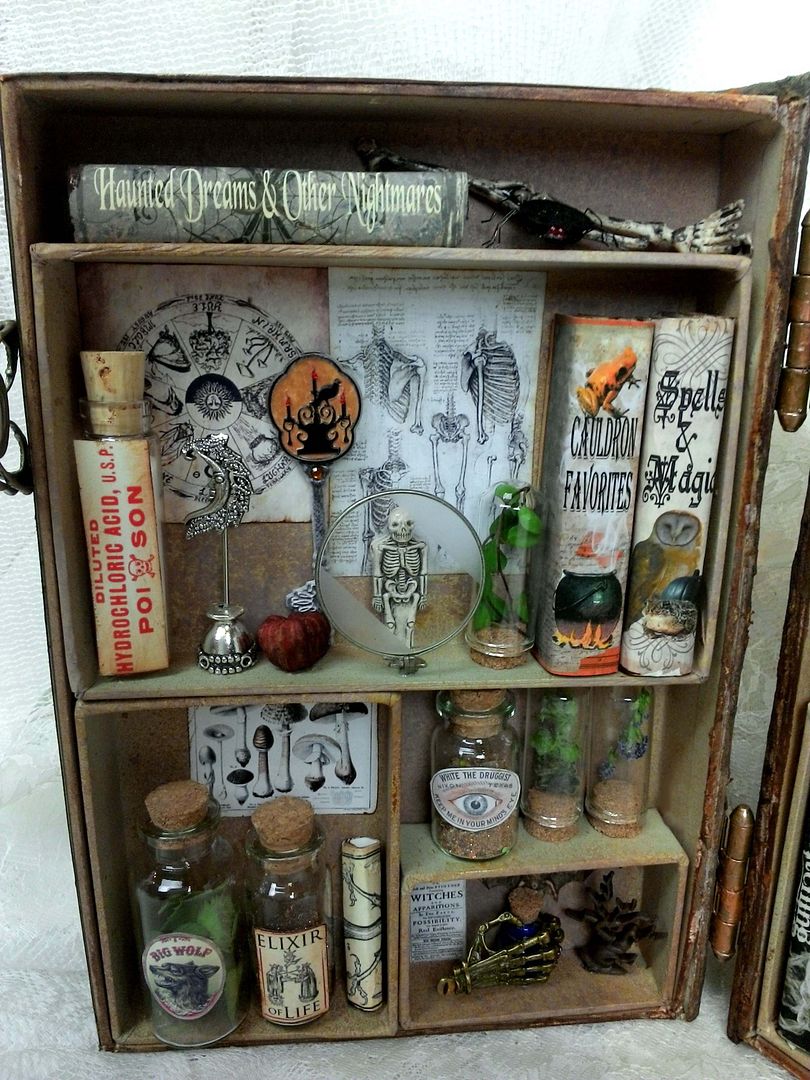
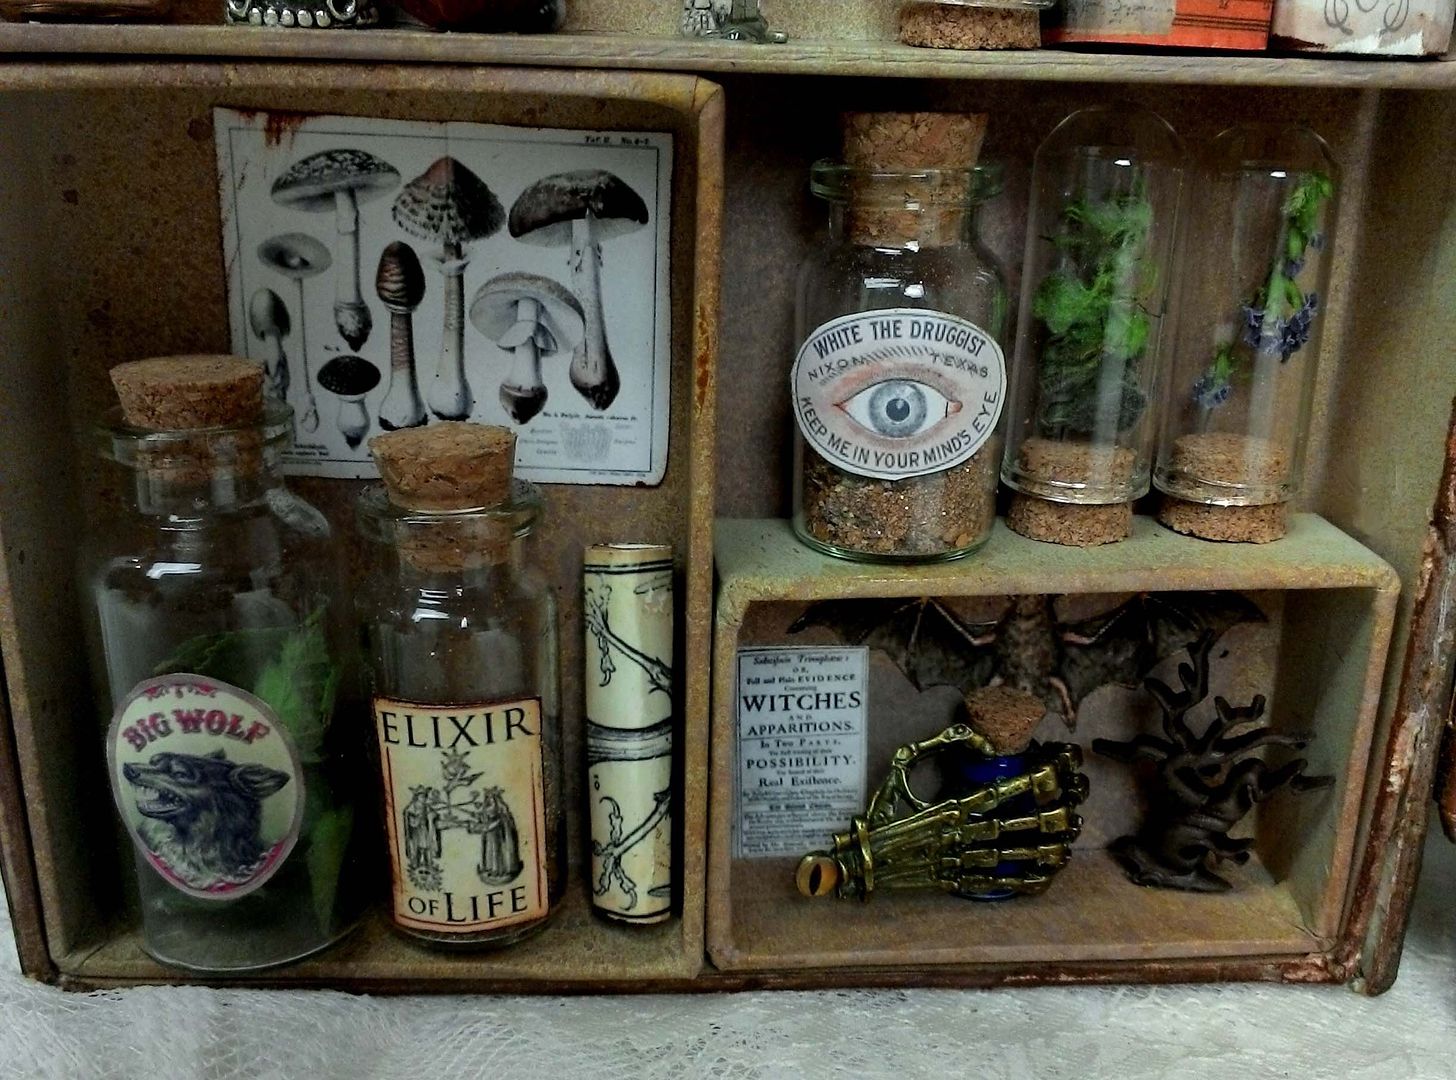
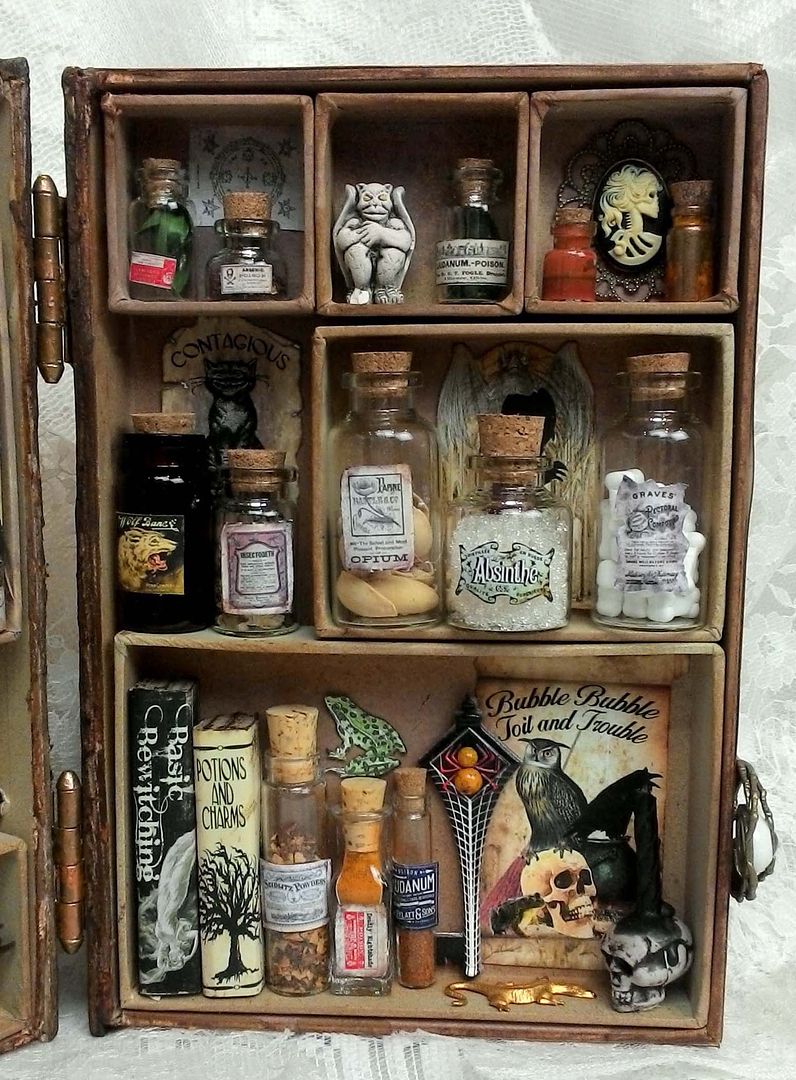
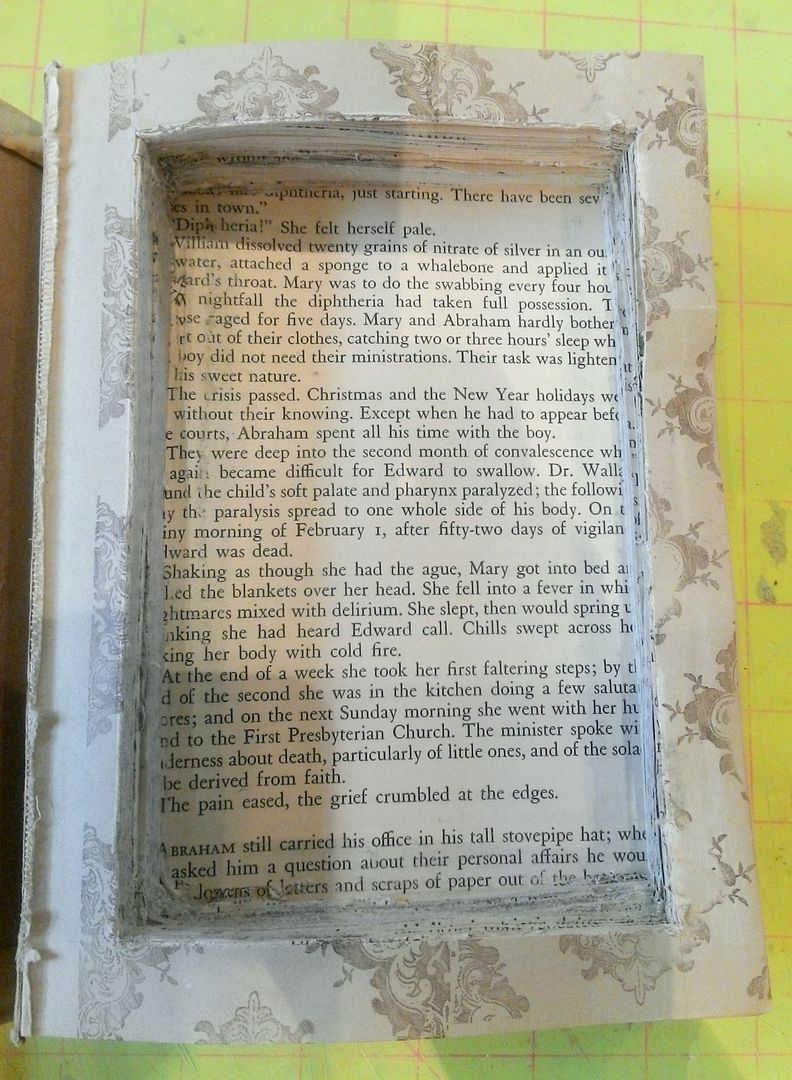
Now the fun starts and you
can begin adding images and paper in the shadow box. Anything you want to attach to the back of
the shadow box should be done before combining the pages.
For this altered book, I did
not glue the pages together to keep them in place. Instead, I used decorative paper and images
glued to the first page in the book and then wrapped around the pages and glued
the last page in the book. I did this on
the top, bottom and right side of the book.
This keeps the pages together and saves you the tedious job of gluing each
page to the next.
Once you have the images
glued to the top, bottom and right side of the book you can glue the last page
to the back cover of the book. If the spine of the book separates from the book when you remove the cover, you can glue
it to the spine of the pages (which is what I did for this book).
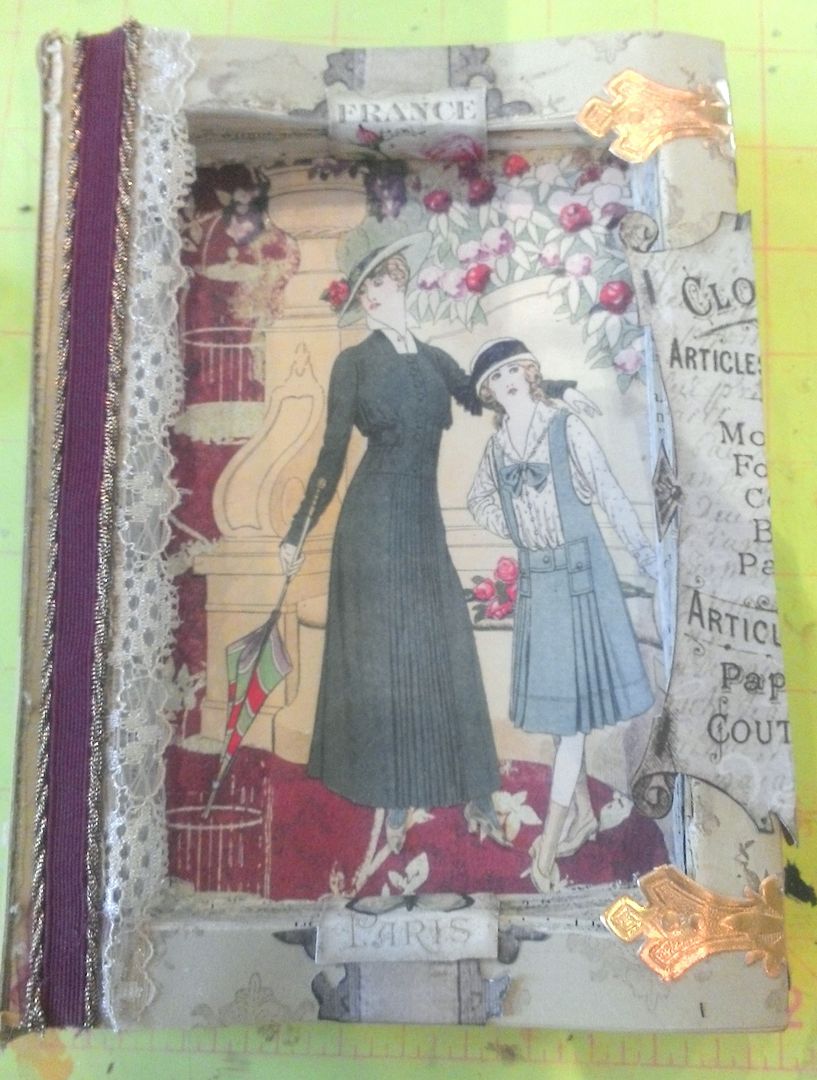
Other decorative elements
that I added to the book is the Dresden
hardware, lace
and ribbon.
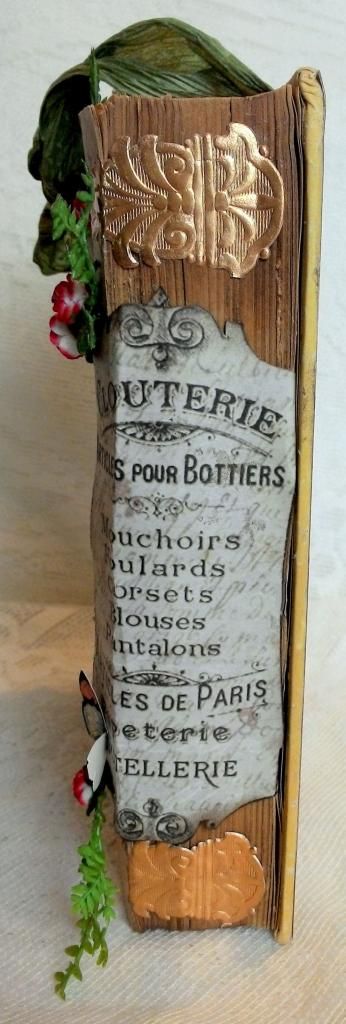
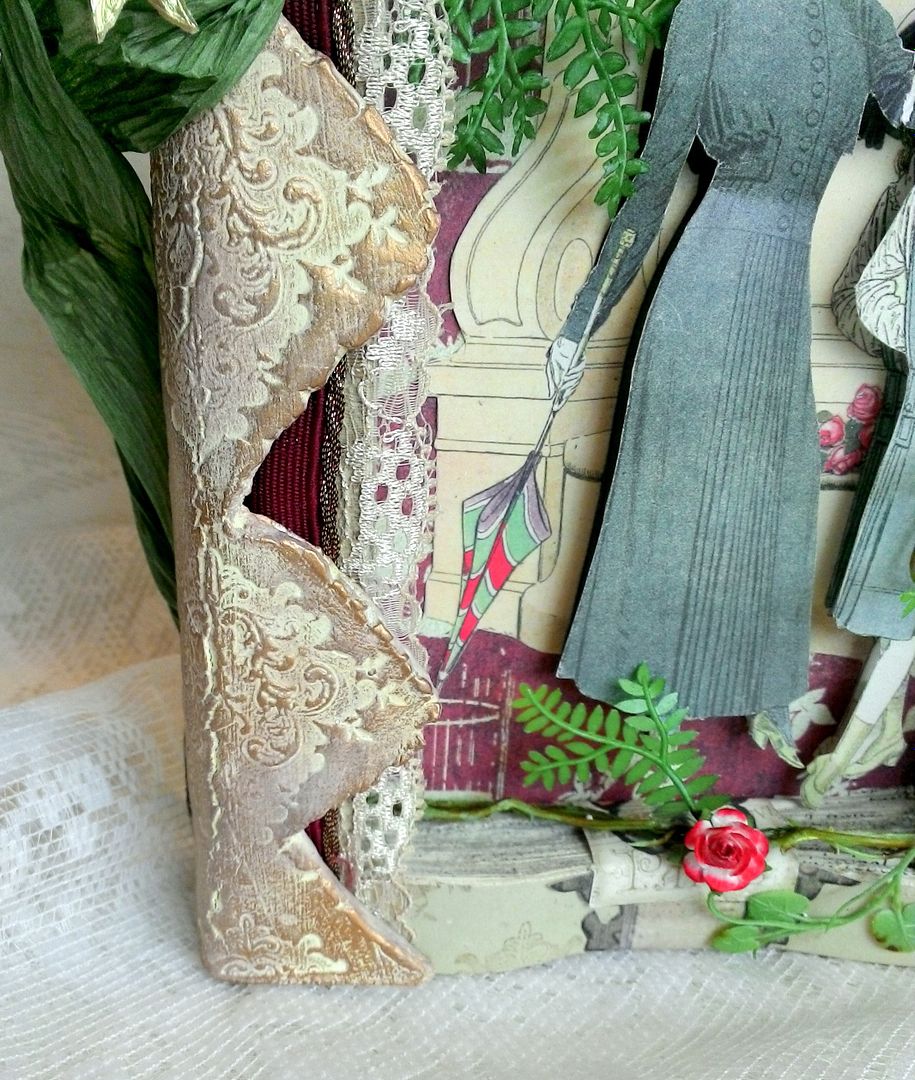
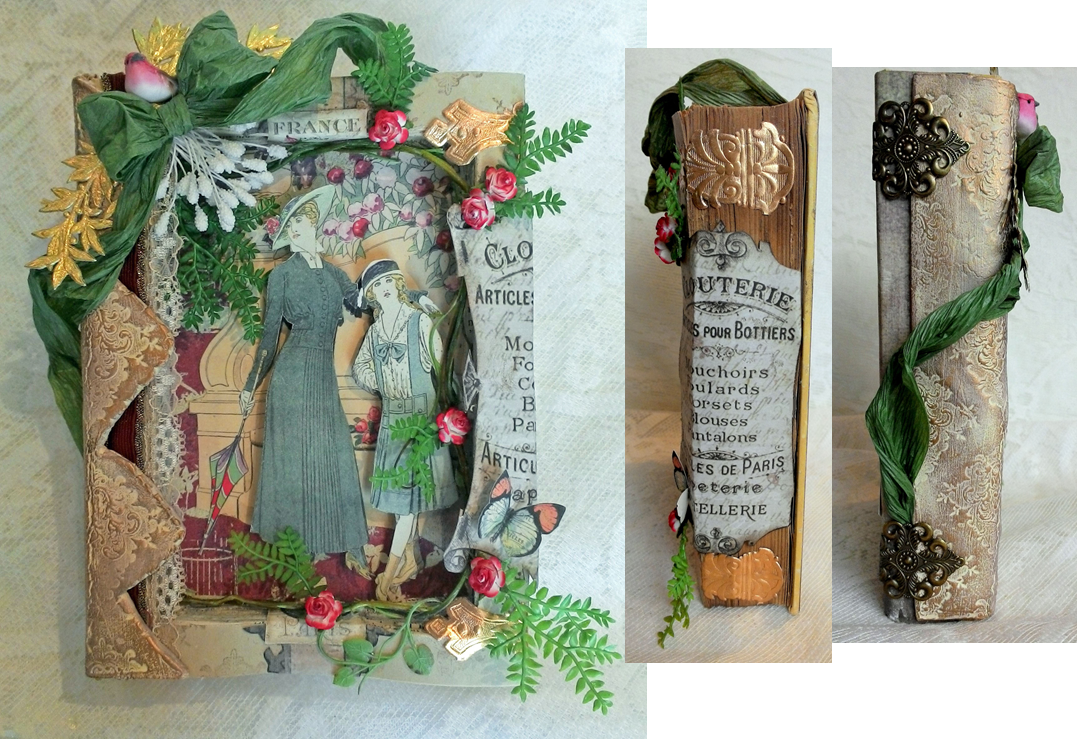
Next, I glued the clay spine
to the book.
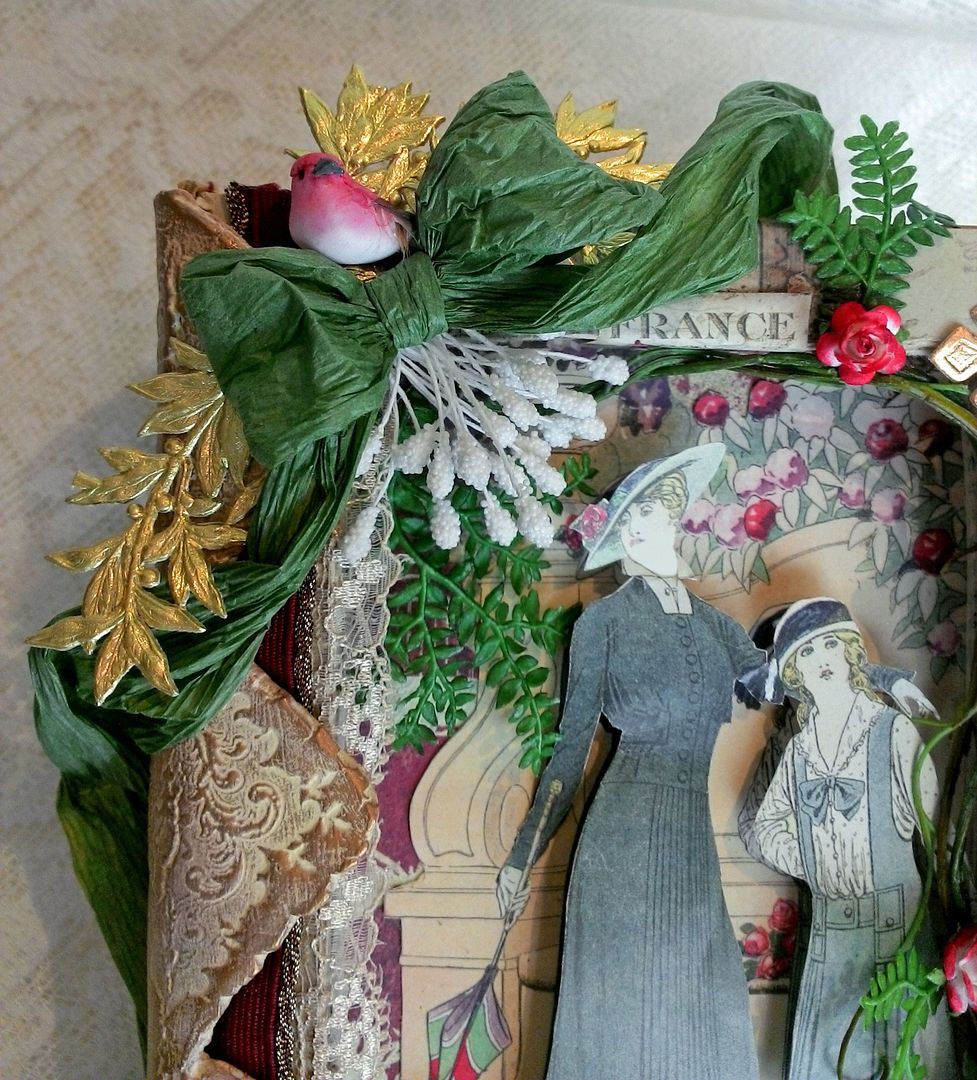
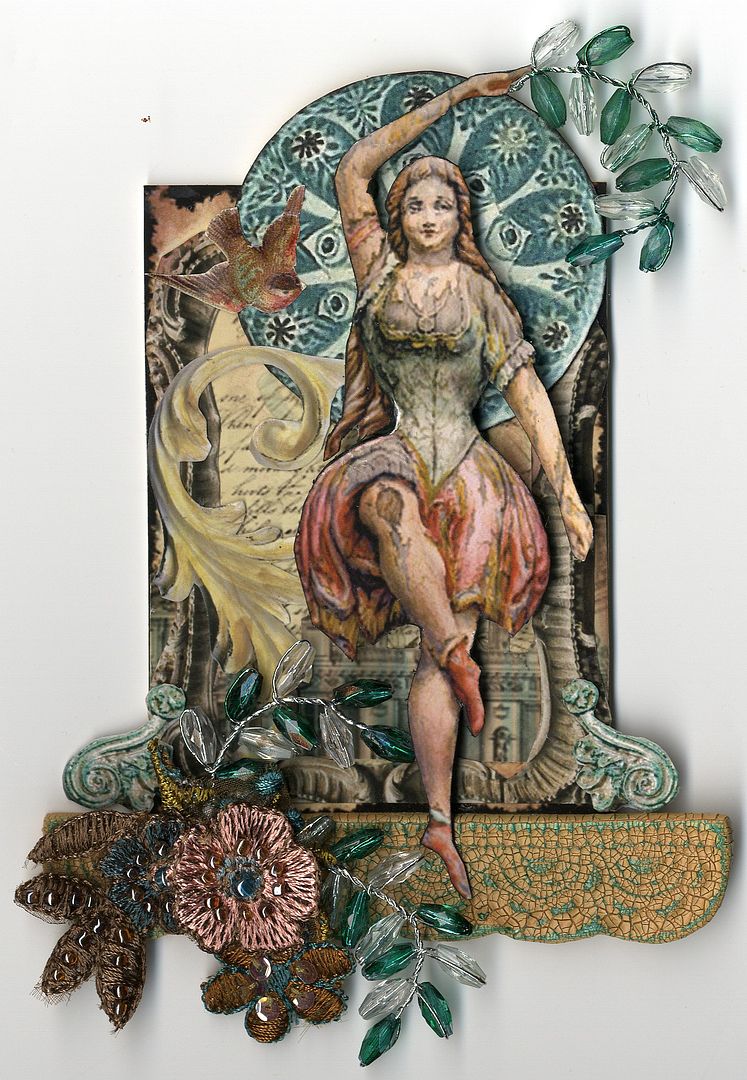
To make the woman and girl appear
dimensional, I cut out a second version and used double-stick foam tape to attach
them to the book. It was at this point
that I decided the clay needed the gold accent to balance the gold hardware.
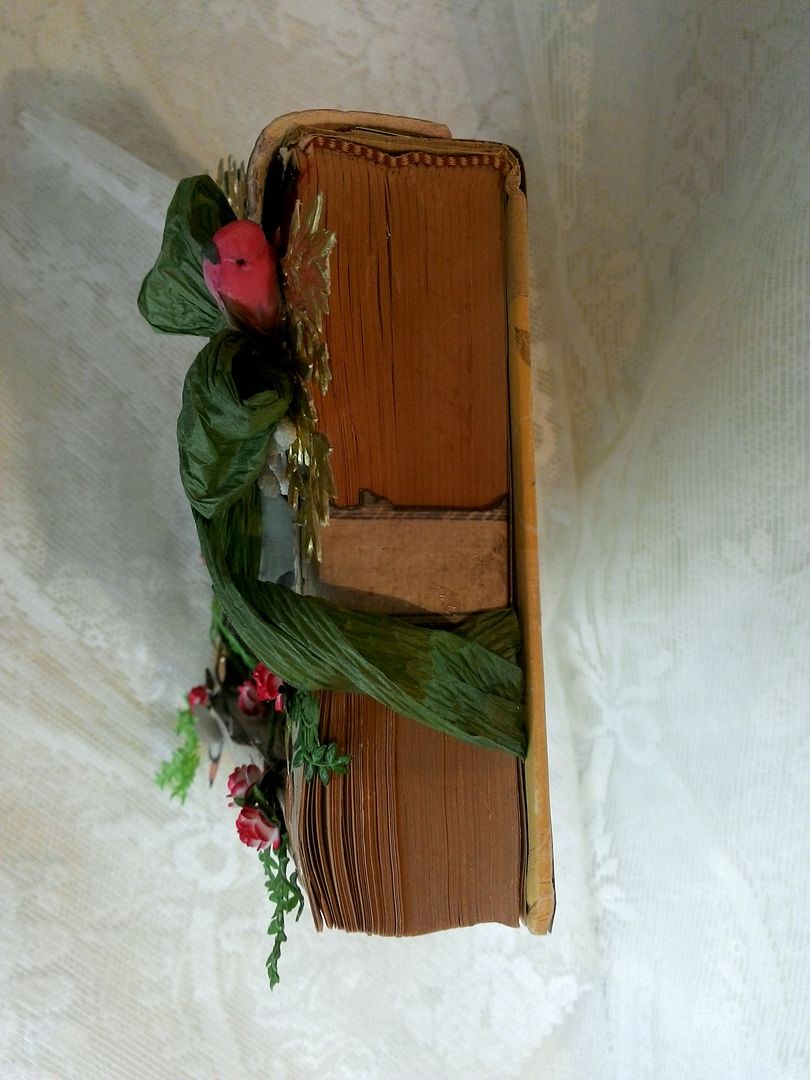
In the corner of the book, I
added the crinkle
paper ribbon. I love using this type
of ribbon because it is lightweight and holds its shape. I tucked the ends of the ribbon in between
pages of the book and underneath the clay.
I also added Dresden
myrtle, white
stamen and a little
bird.
The fern
garland is tucked into the shadowbox and some of the leaves are glued to
the front of the book. I added variegated
roses for color.
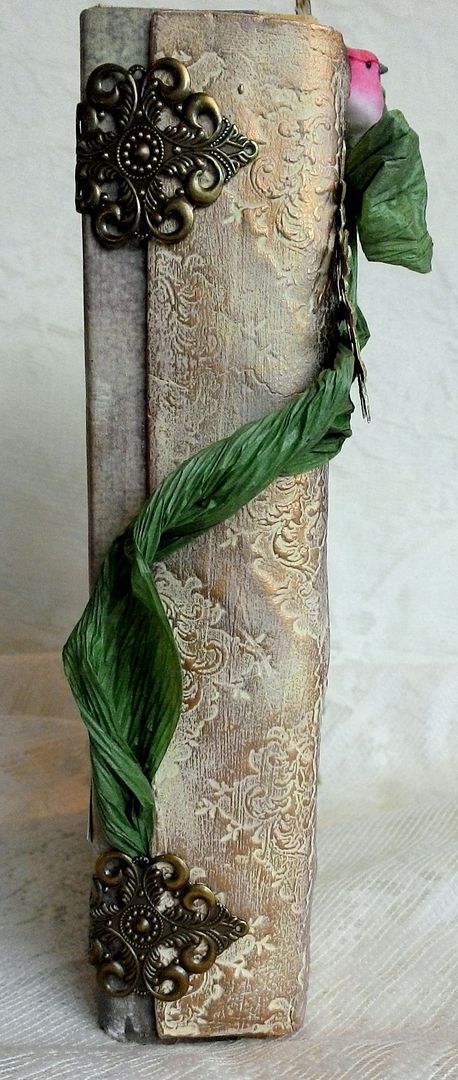
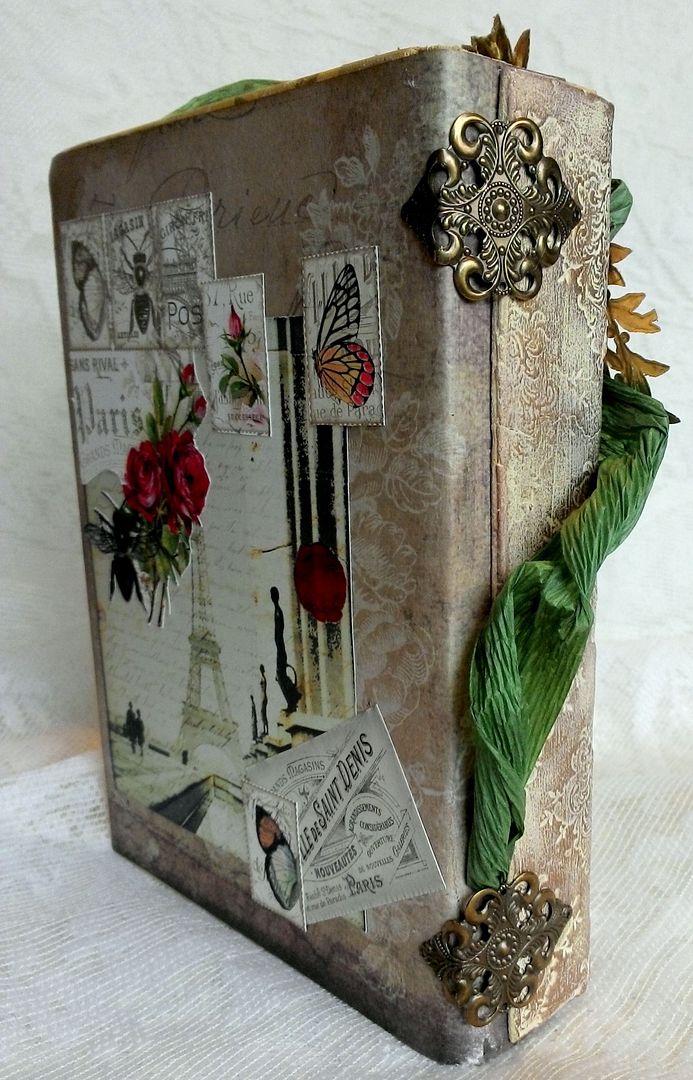
Since the clay did not wrap
all the way around the spine and to add a decorative element I bent and
attached brass filigree.