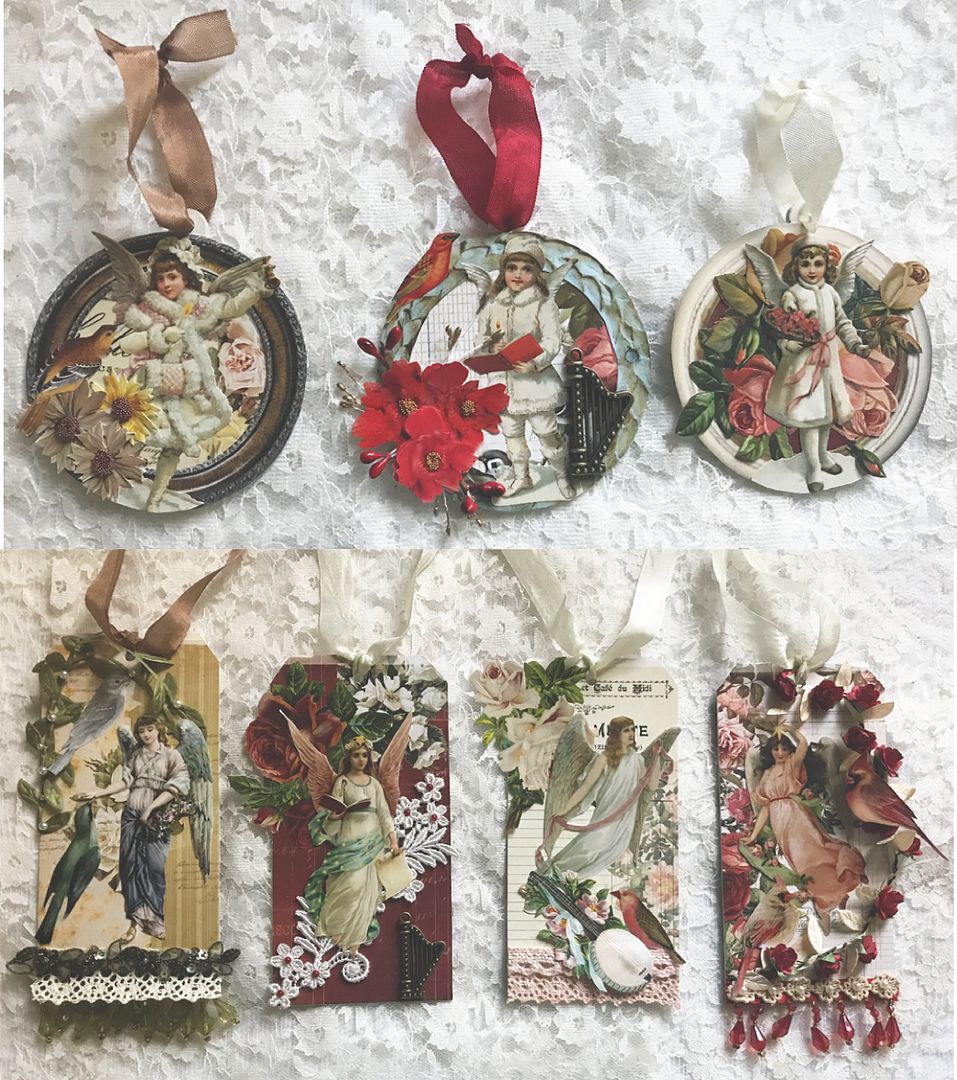
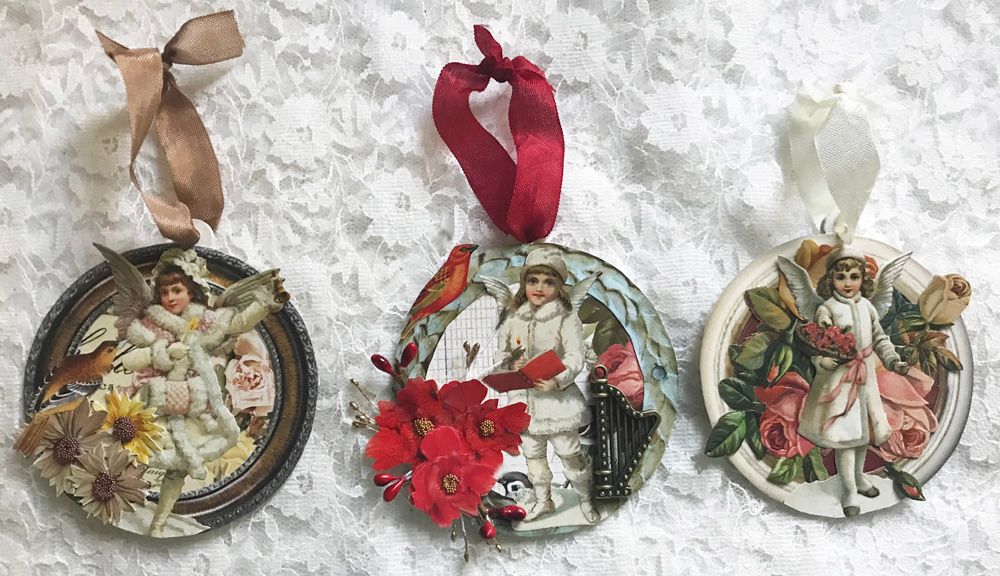
Using lovely paper, Dresden and some
images it was easy to put together a set of Victorian-style ornaments using a
die-cut wood ornament shape as the base.
NEW COLLAGE SHEETS
This sheet contains 10 Victorian style
angels with coordinating flowers. To purchase this sheet, click on the image below.

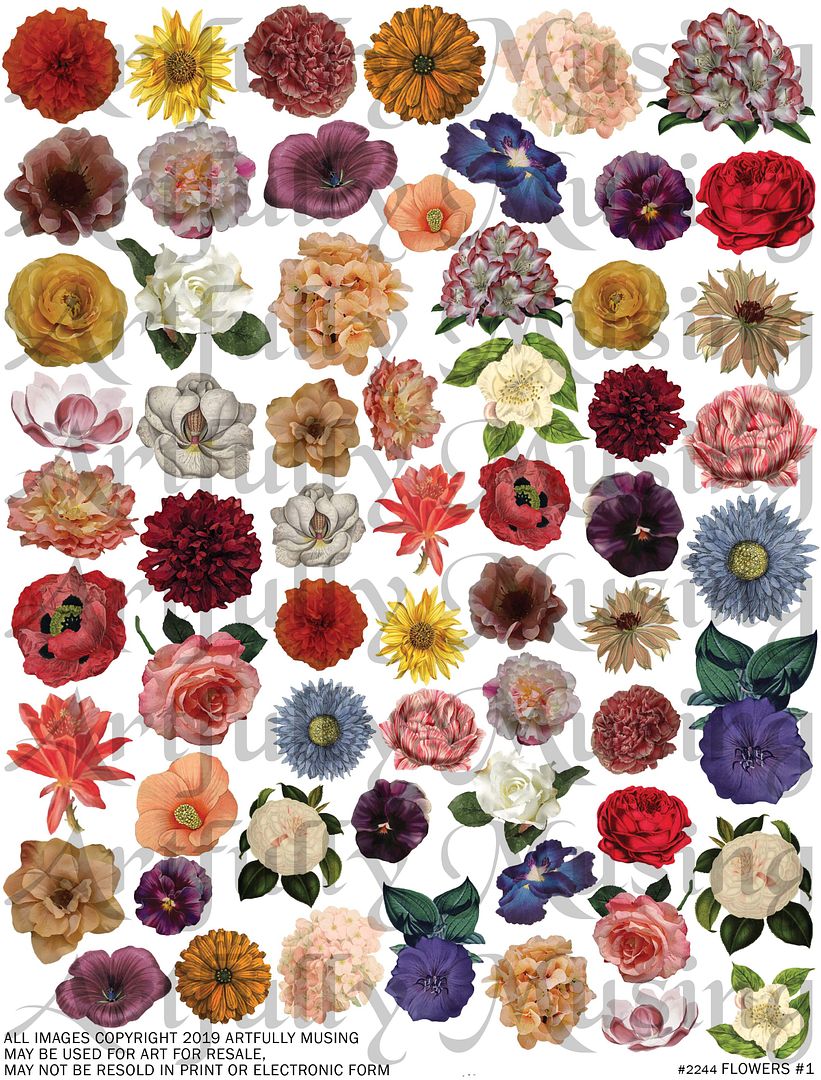
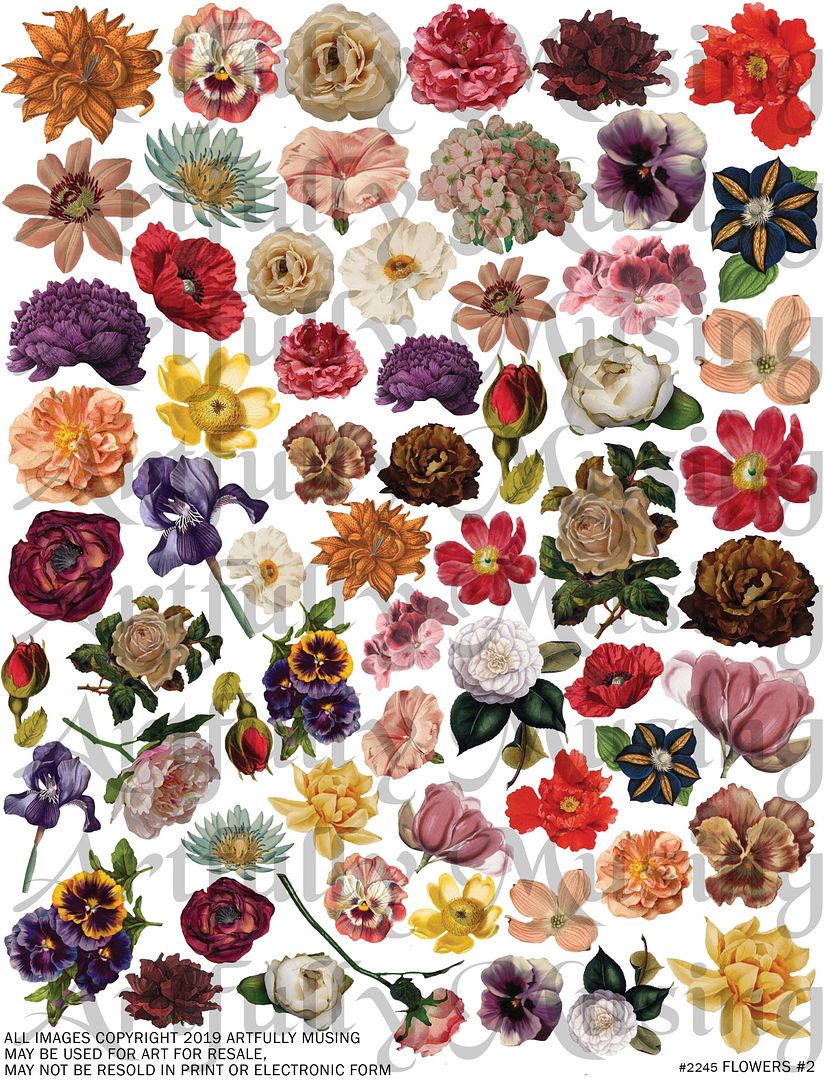
These two collage sheets are loaded with all kinds of colorful flowers in two sizes. To purchase theses sheets, click on the image below.
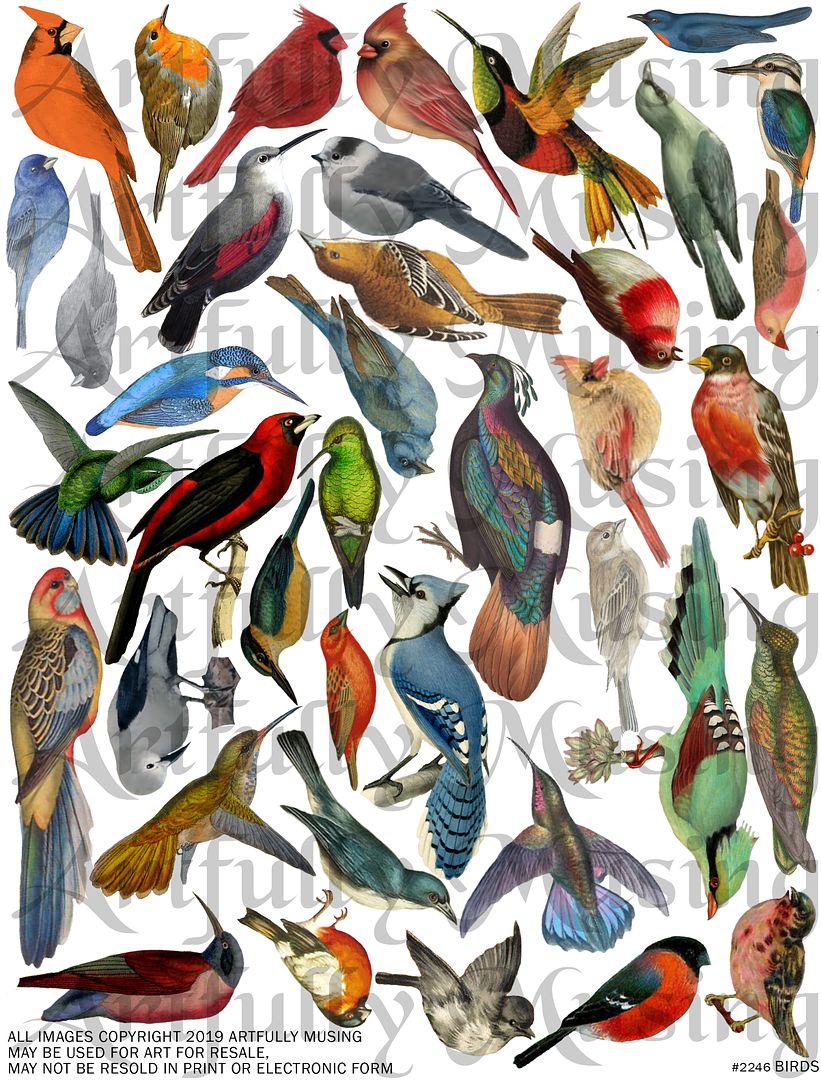
This sheet contains all kinds of colorful birds. To purchase this sheet, click on the image below.
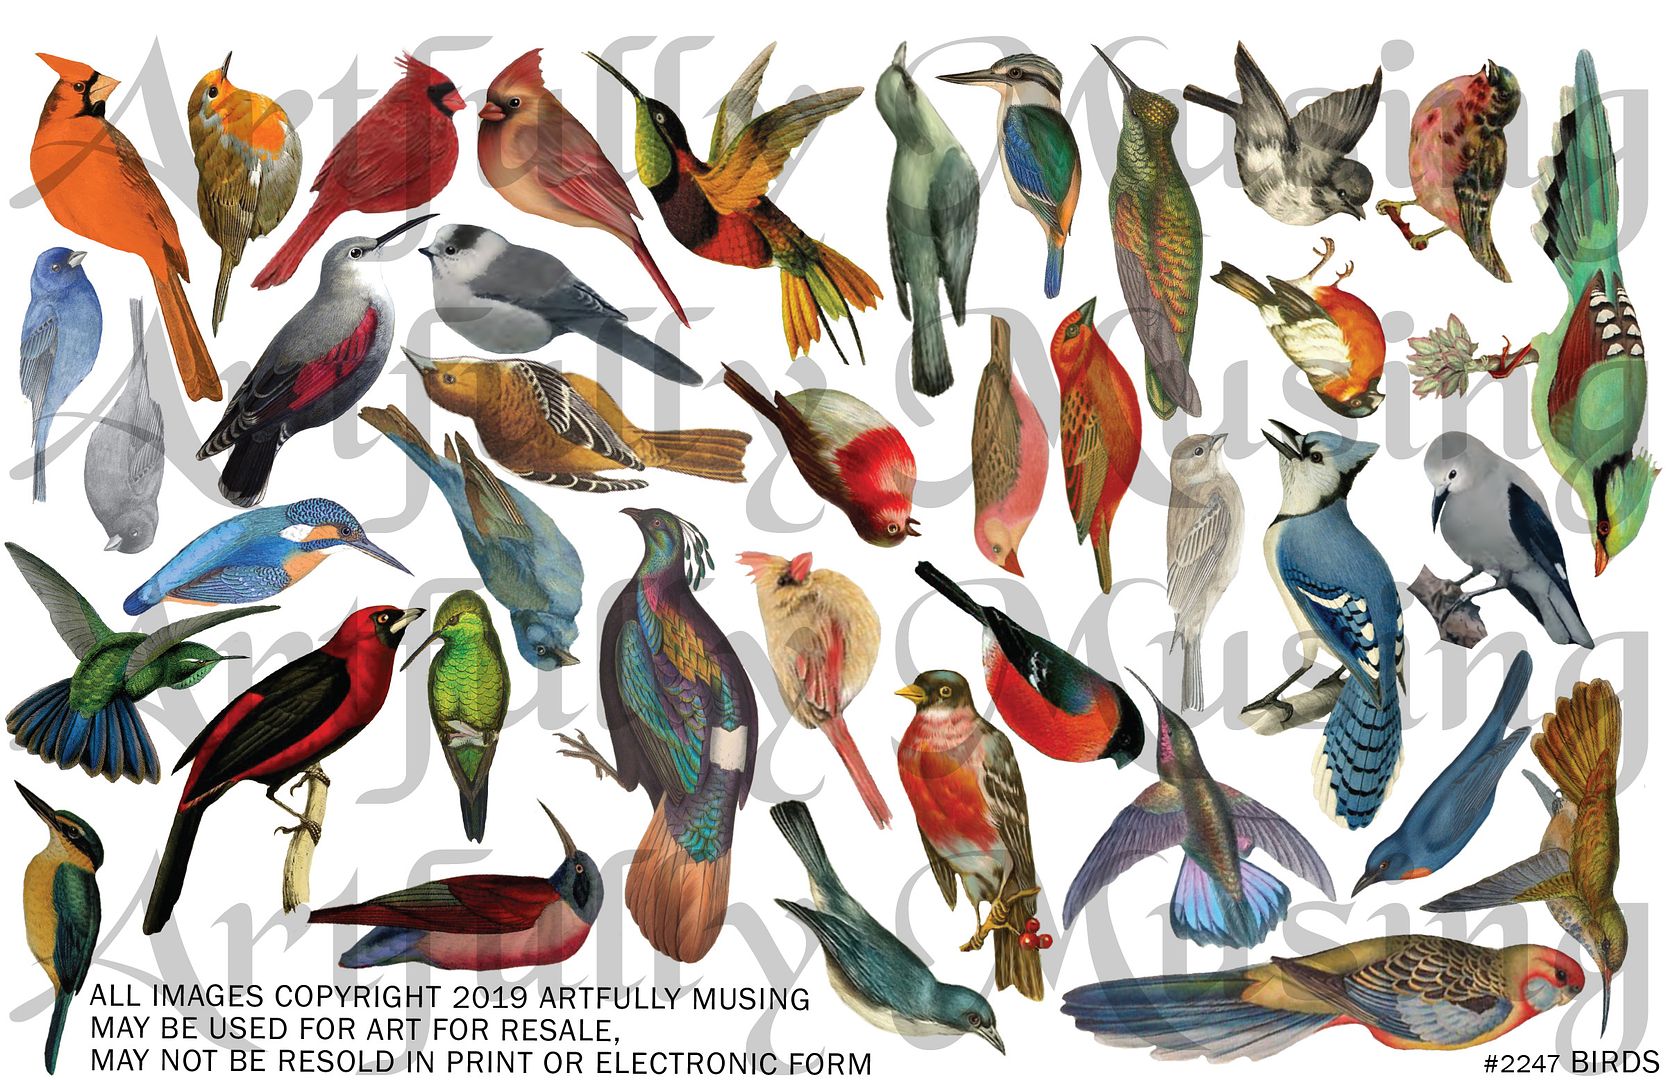
MINI BIRDS
This half sheet contains all kinds of
colorful birds (the same ones as in the larger sheet) but is smaller in
size.
THE DETAILS
Ornaments
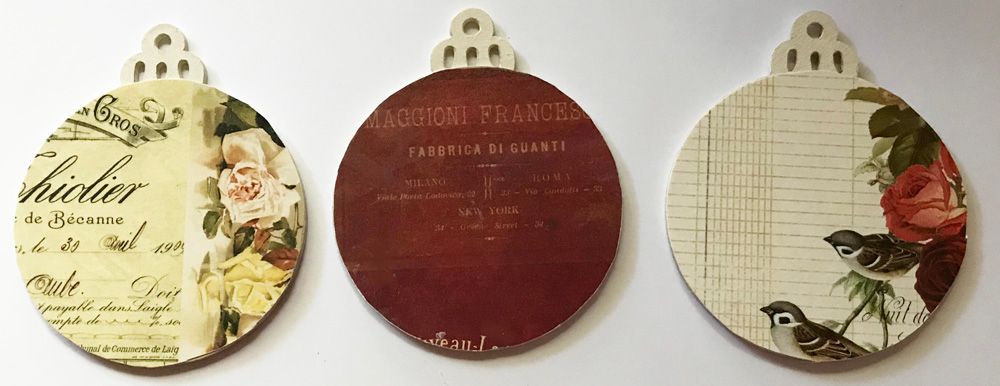
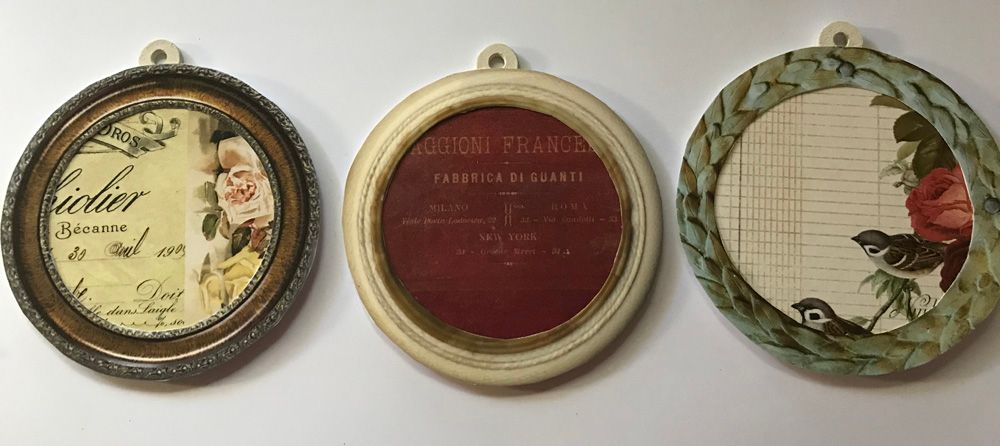
I started by painting the edges and the
tops of the wood ornaments a cream color then covered them in decorative
paper. Next, I used frames from two of
my frame themed digital image sets to dress up the ornaments.


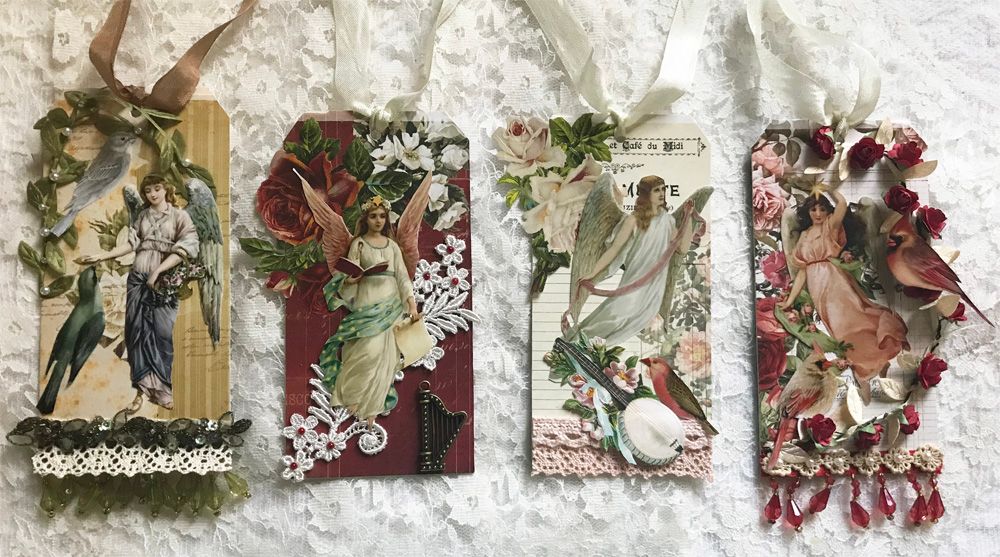
Tags
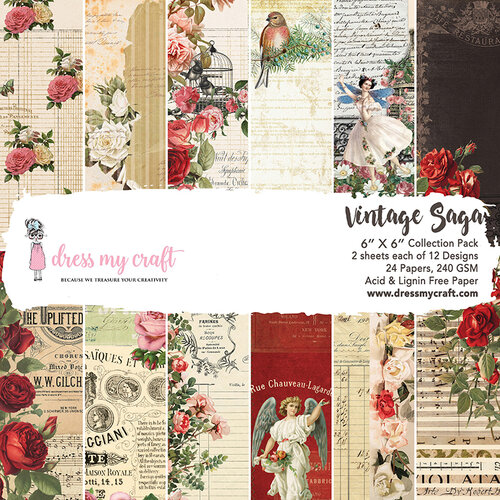
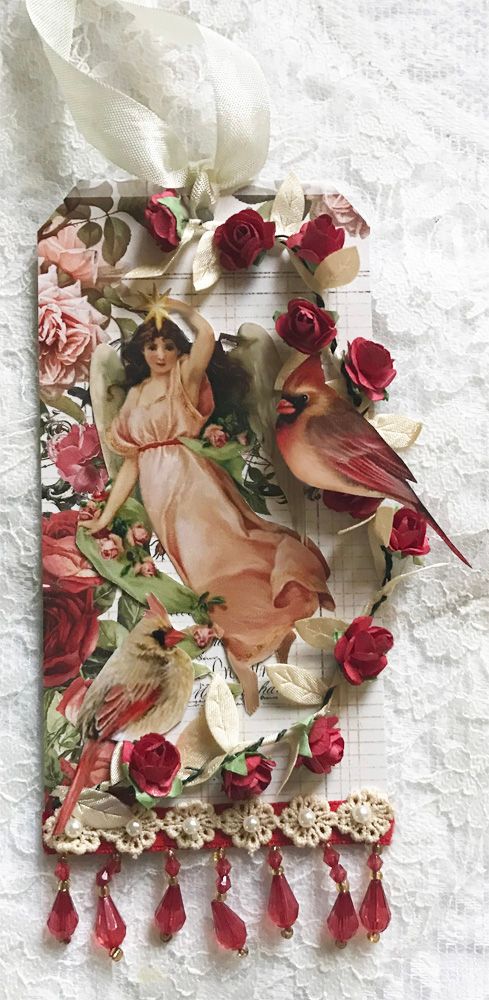
I covered each tag in the same paper as the ornaments (Vintage Saga 6x6 paper pad).
For the tag pictured below, I added a beaded ribbon and some flower lace
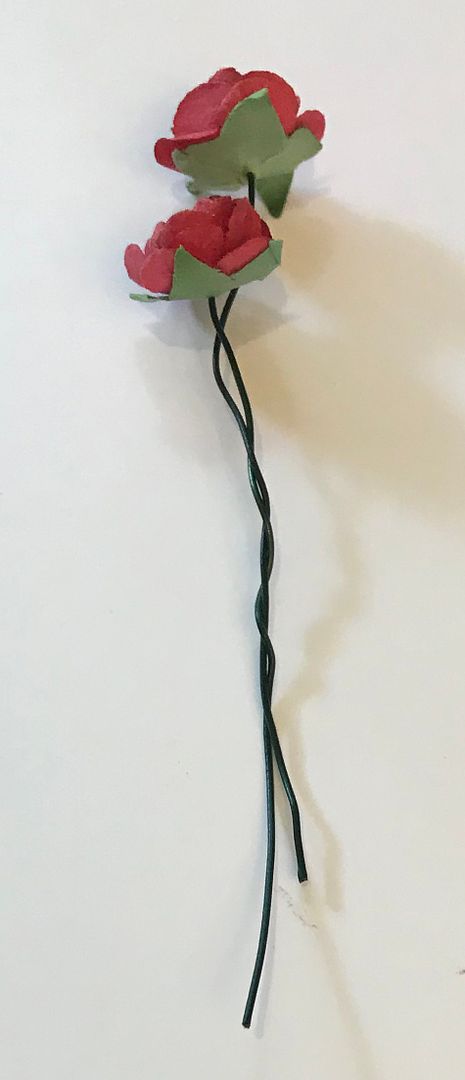
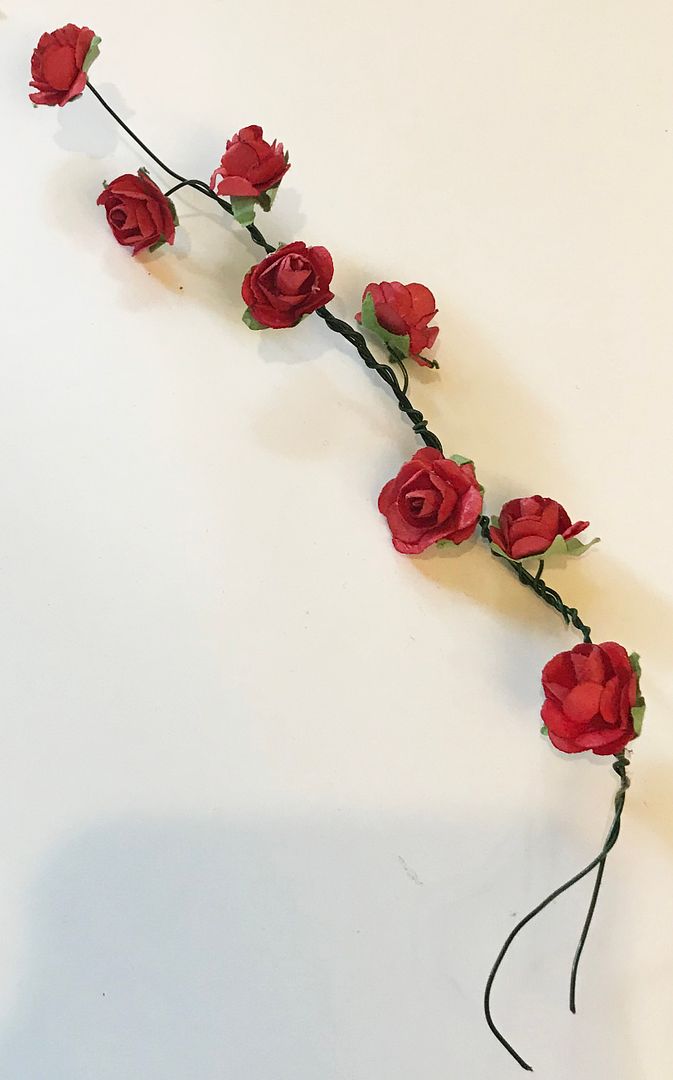
with flat back pearls glued to the center of each lace flower. The rose garland is made by twisting the wire
stems of paper roses together then wrapping the garland with a cream leaf ribbon.
The angel and birds are from the new
collage sheets.
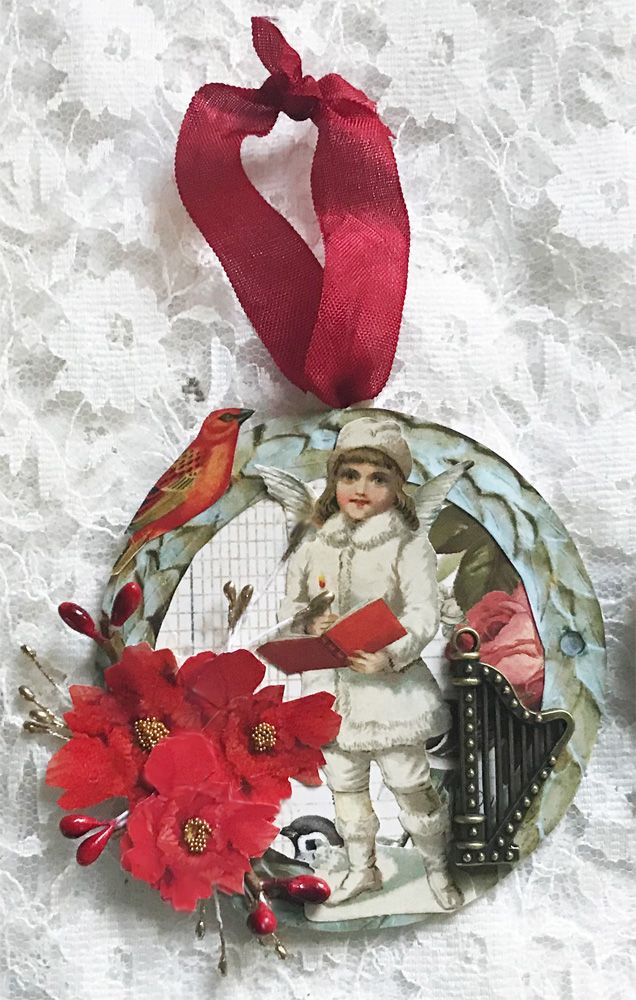
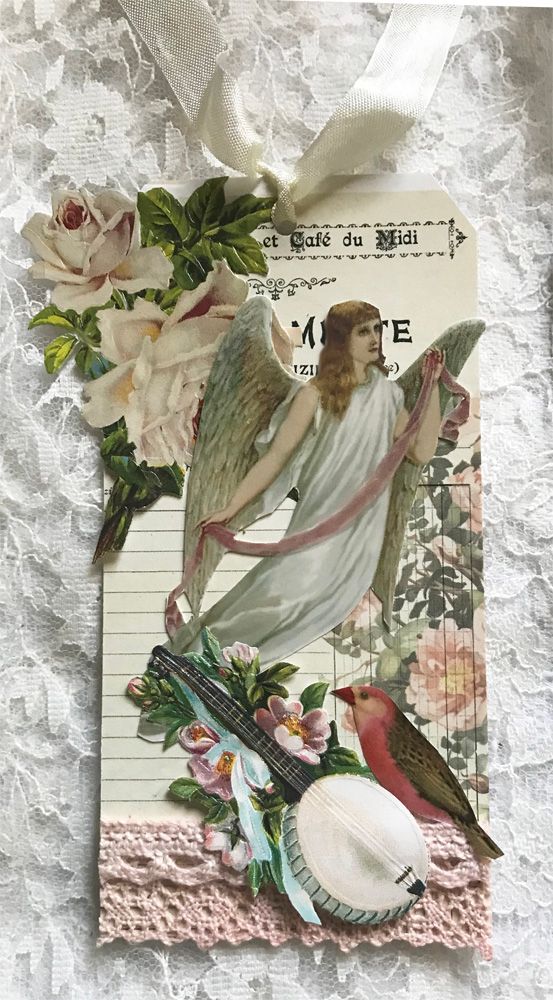
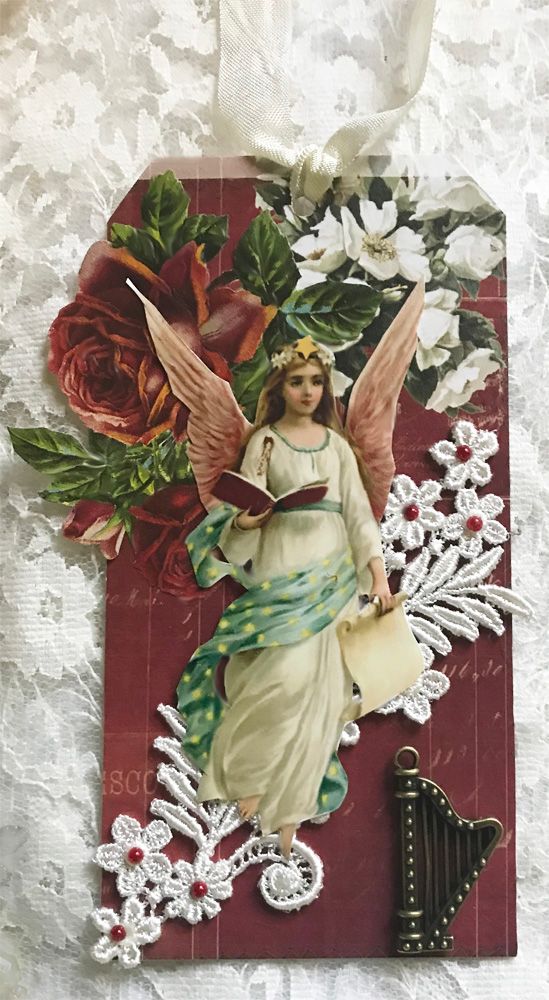
For the tag pictured below, I used more
of the Dresden roses in the background, a Dresden banjo, and an angel and bird
images from the new collage sheets.
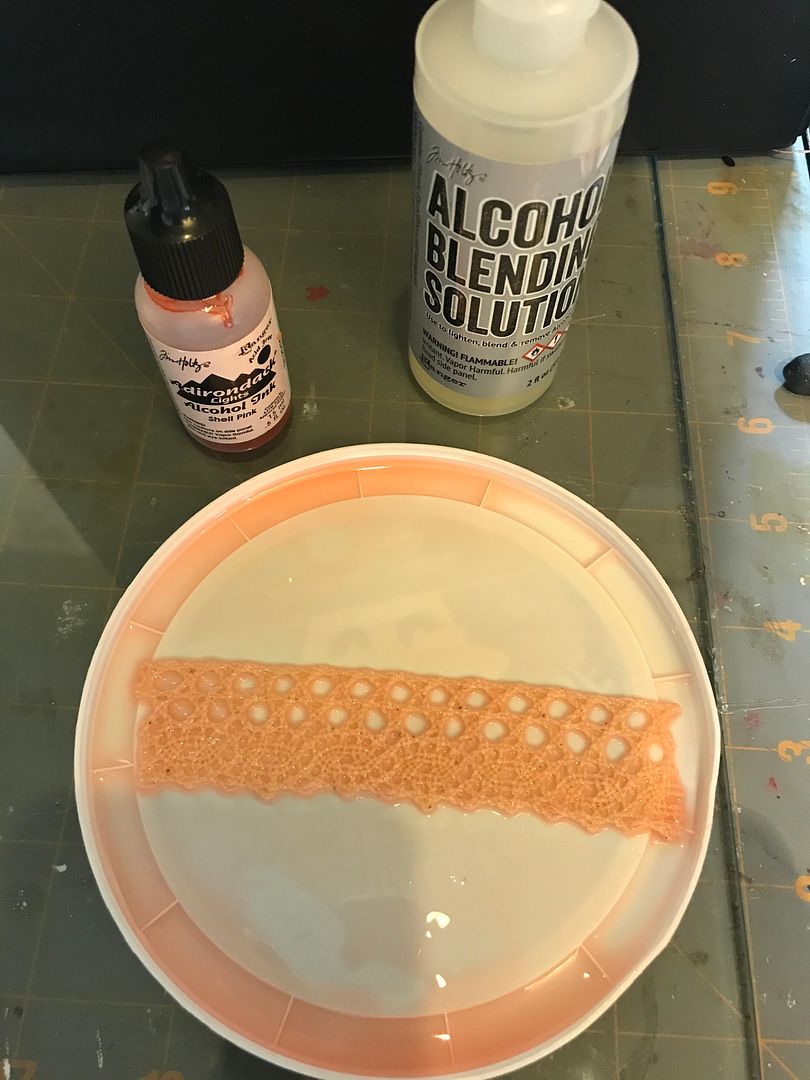
For the lace, I dyed two different pieces
of cream lace pink to match the color scheme of the tag. I used Alcohol Ink diluted with Alcohol
Blending solution to keep the color from being too intense. After soaking the lace in the solution, I laid
it on a piece of plastic to dry. DO NOT
lay the lace on something absorbent, or it will pull the color from the
lace. DO NOT hang the lace to dry, or the color will sink to the end of
the lace and give you an ombre effect (unless that is what you want).
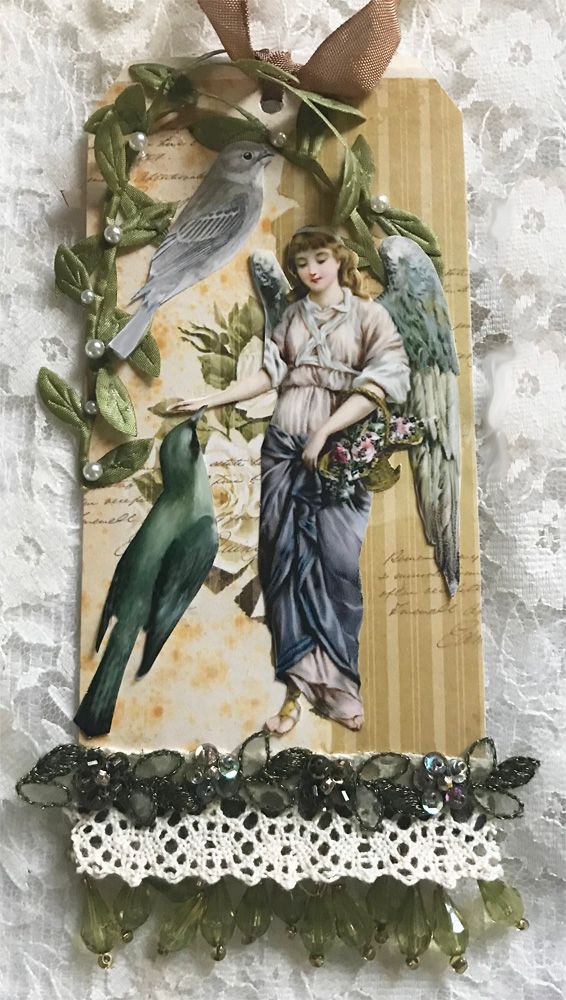
For the tag pictured below, I used a beaded
ribbon and beaded trim from my stash. I
also used more of the cream lace (not dyed).
The angel and bird are from the new collage sheets. I attached pieces of green stitched leaf
ribbon and added more of the flatback pearls as an accent.